How to Convert an Image Into a 3D Shape Using SelfCAD's Image Generator
by Sammy50 in Workshop > 3D Printing
4058 Views, 5 Favorites, 0 Comments
How to Convert an Image Into a 3D Shape Using SelfCAD's Image Generator
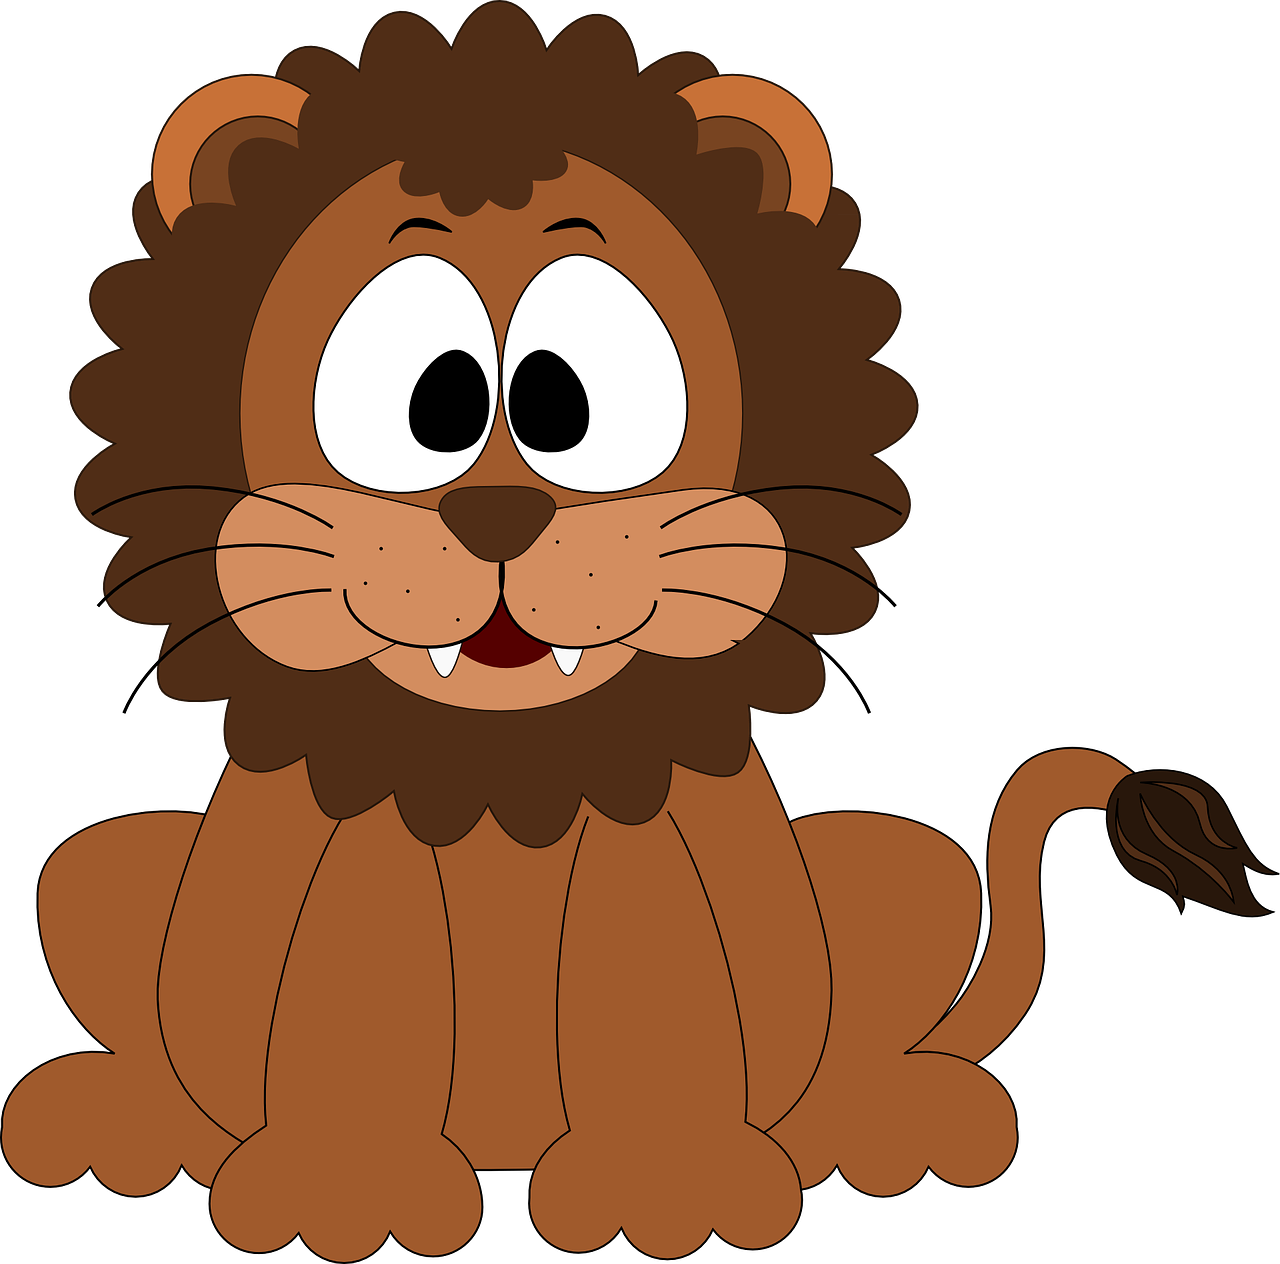
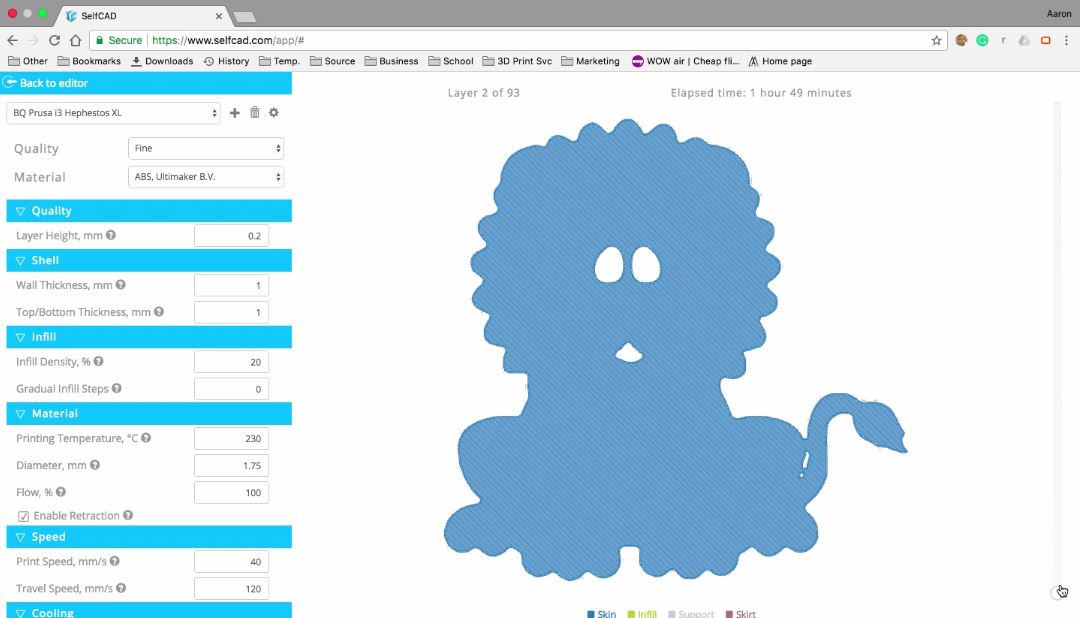
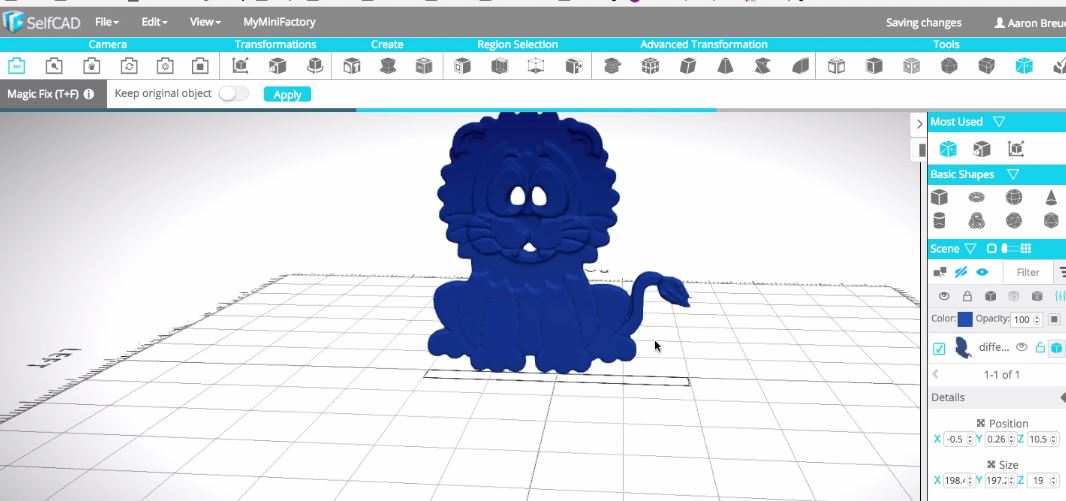
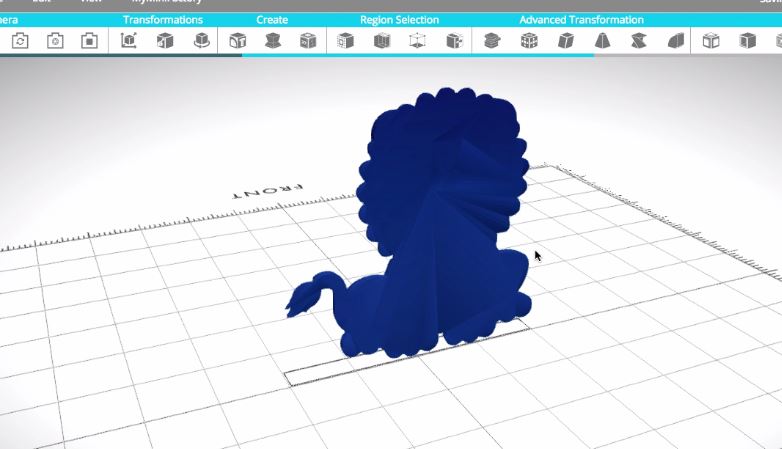
In this instructable I will show you how to design and print 3D shapes from images using SelfCAD Image Generator like this lion image or any other image of your choice.
To achieve this, you don't need to be an expert in SelfCAD, just follow the steps below and learn how to turn images into 3D models in no time!
Tools
- SelfCAD software - Go to www.selfcad.com and create a Free Trial Account (free for 30 days and $4.99 after the free trial expires). Then launch SelfCAD editor (the programs runs in your browser, no installations required).
- Select an image - Choose an image you would like to turn into a 3D shape.
- Find a 3D printer - If you do not own a printer, use one of many online 3D printing services and have the print sent to you
- Choose a printing material - Learn all you need to know about 3D printing materials on our Blog.
Start Modeling
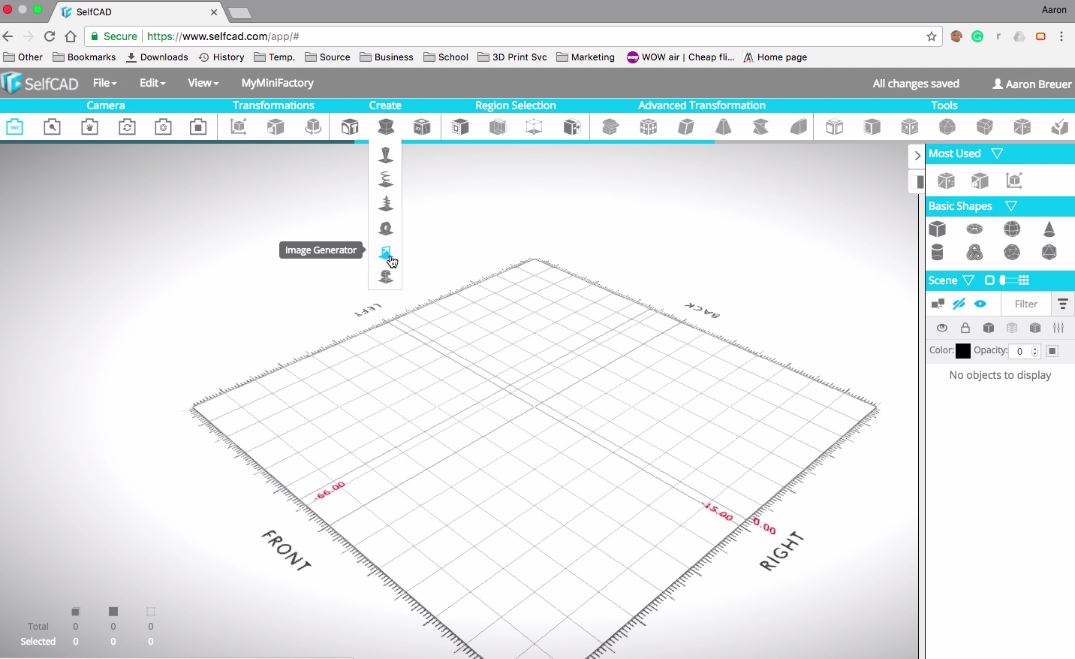
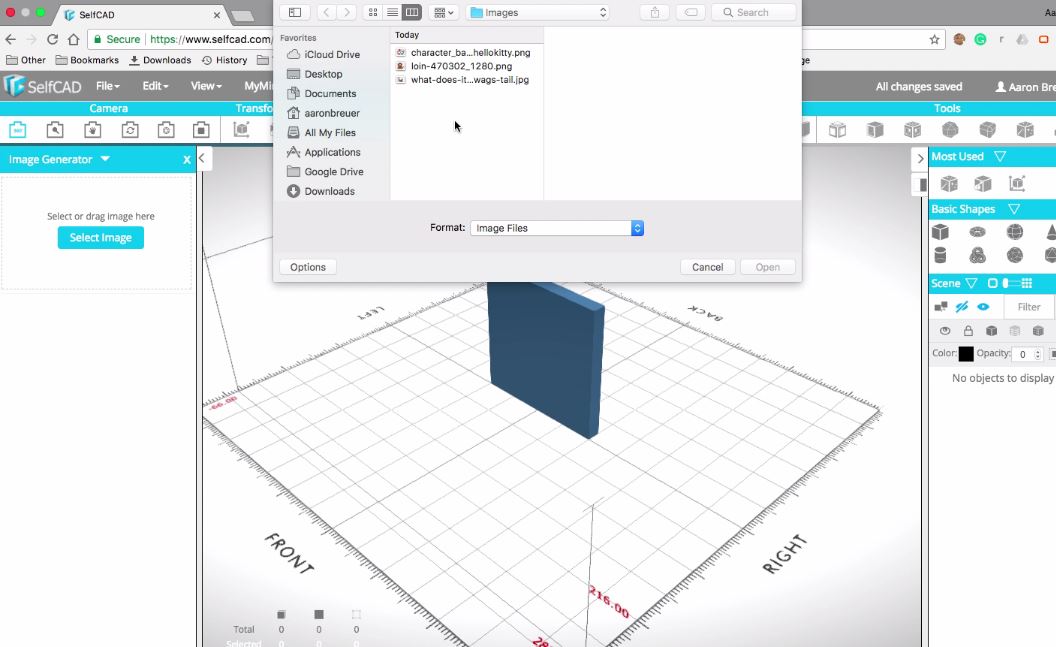
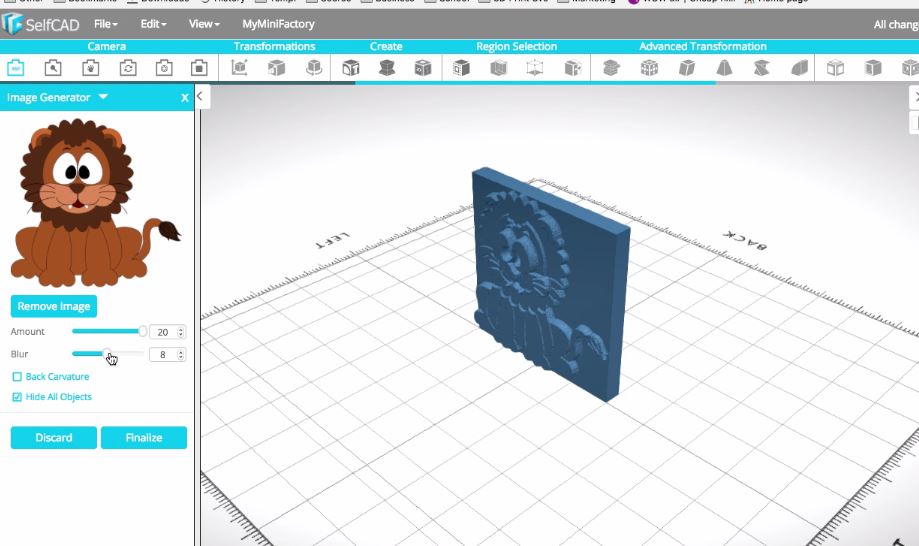
- Launch SelfCAD editor and select Image Generator in create section of the top panel as shown in the picture above.
- Select an Image you would like to convert to a 3D model by clicking Select an image button.
Modifying the Model
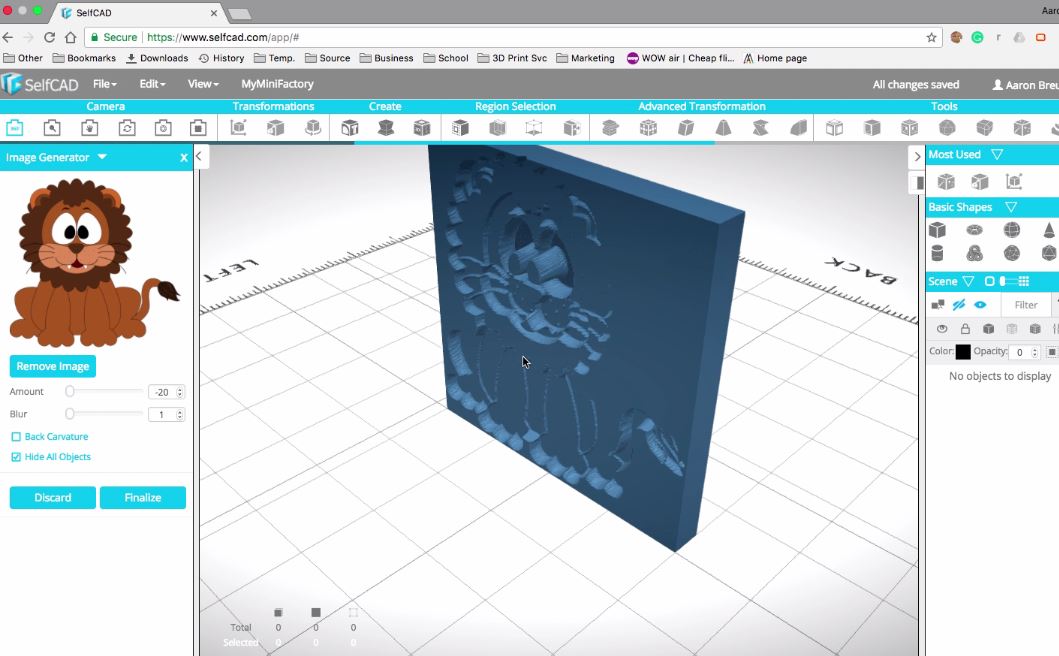
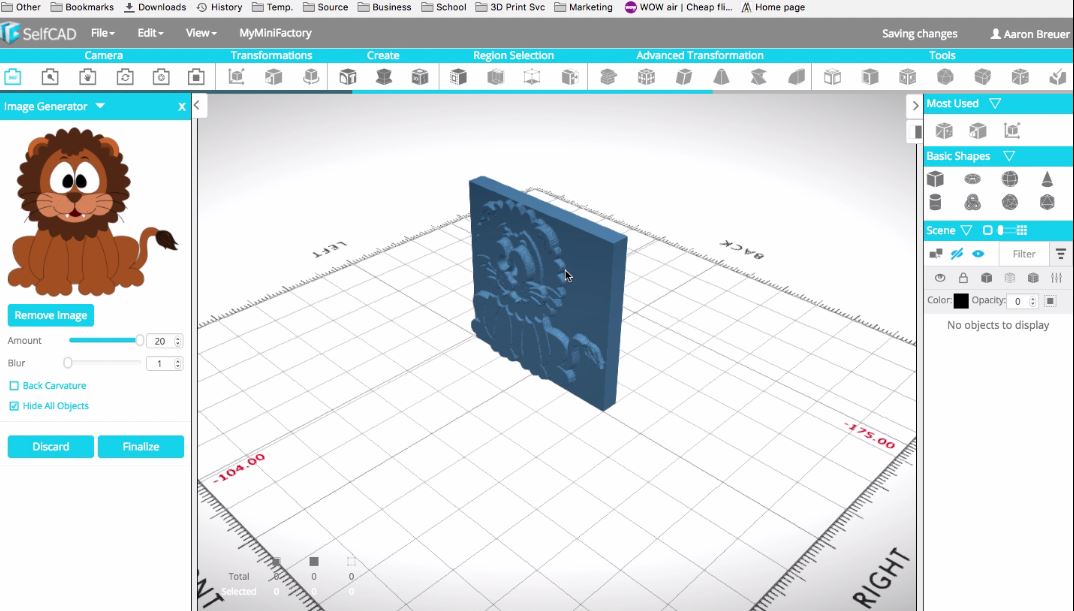
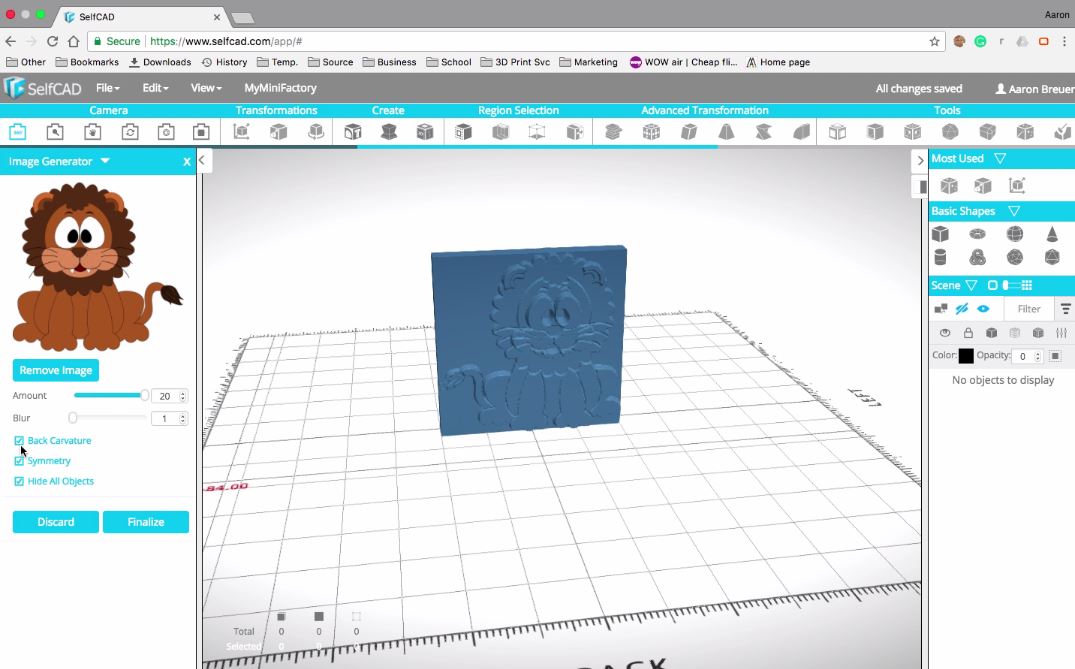
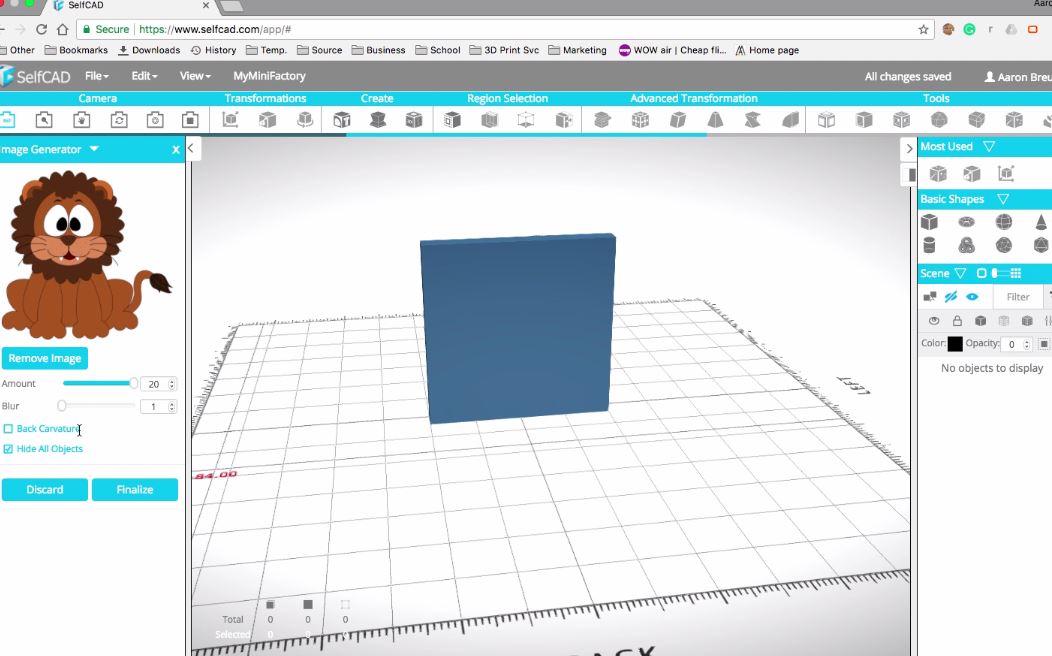
- Amount slider allows you to either engrave or emboss by a certain value. For this type of image the Amount needs to be close to 20 so that it's easy to cut it out later.
- I keep Blur setting to a minimum to keep all the details but if you by any reason want to make the shape smoother, feel free to make Blur > 1.
In this example I will not be using Back Carveture because I want the back of the shape to be flat.
Take a look at the shapes above to see what difference and Back carveture and Symmetry make.
Finalizing the Shape
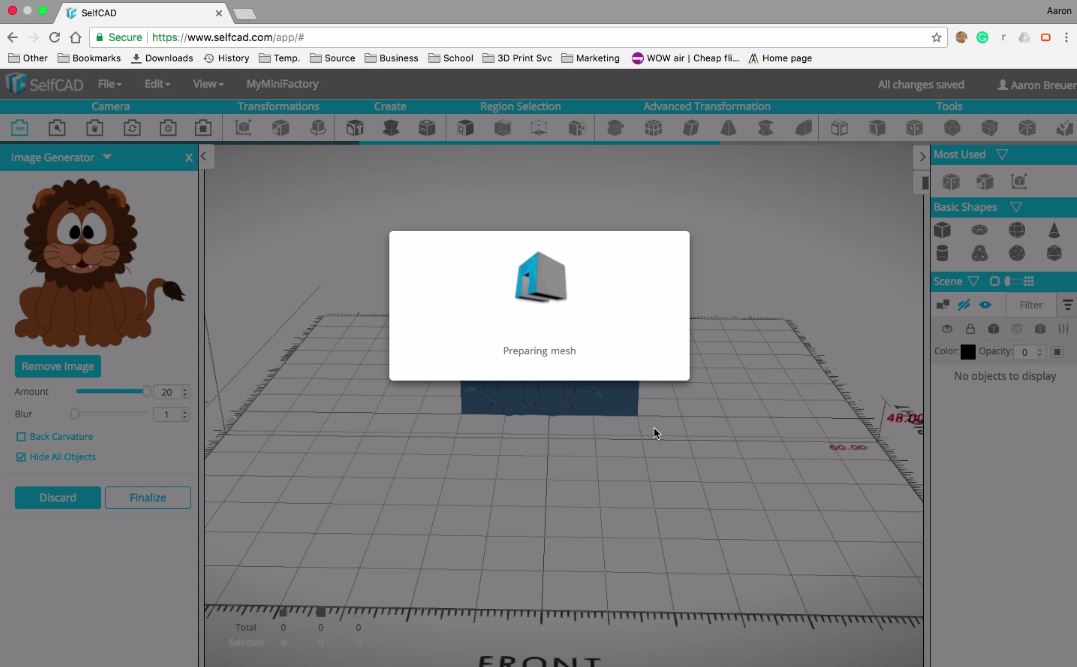
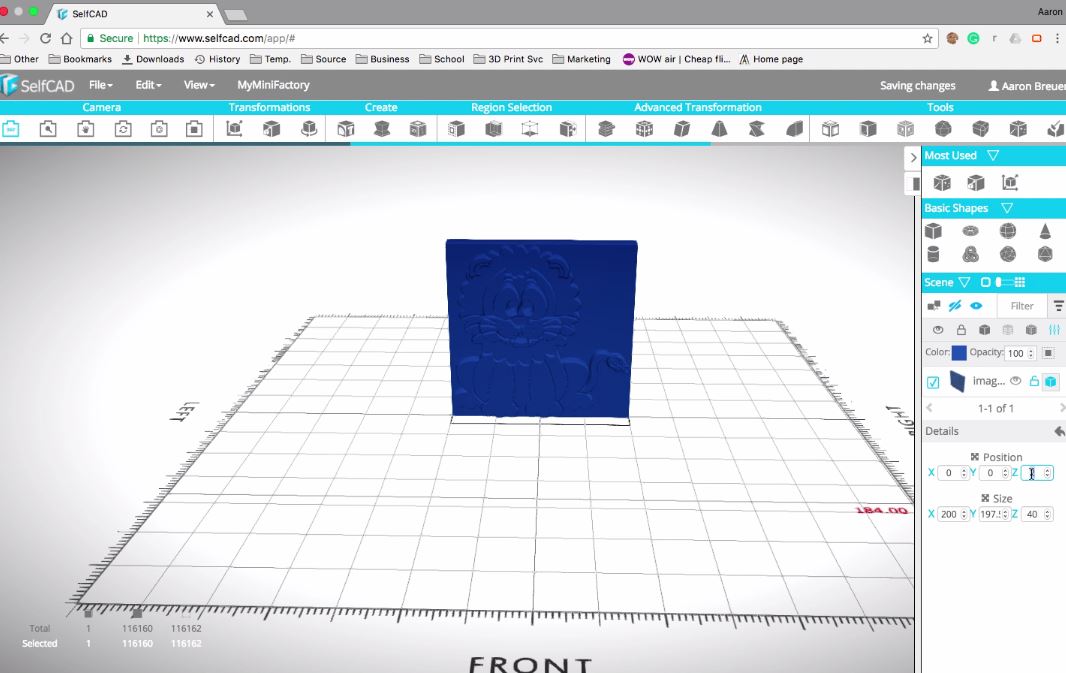
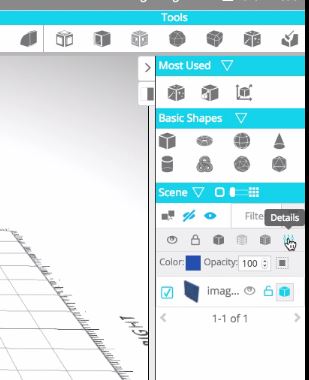

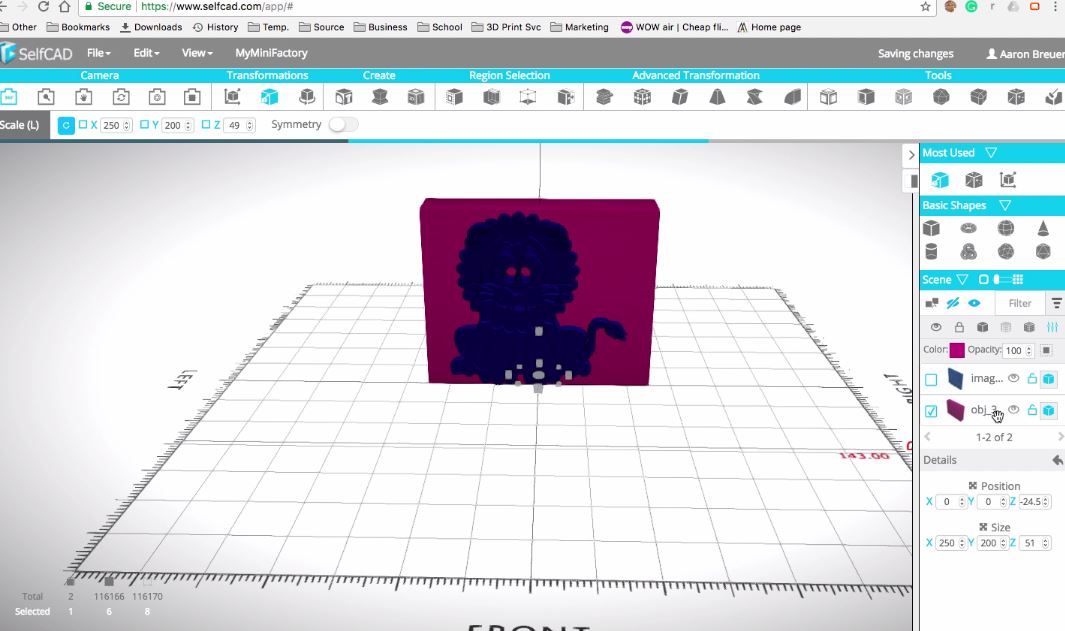
- Click finalize button after you are done with the settings. It may take a few seconds to finalize.
- Now position the shape in the center of the scene. Enter Position mode either in the basic transformations section in the top panel or from the scene and set x, y, z values to 0. This will make it easier to cut out the shape in the next step.
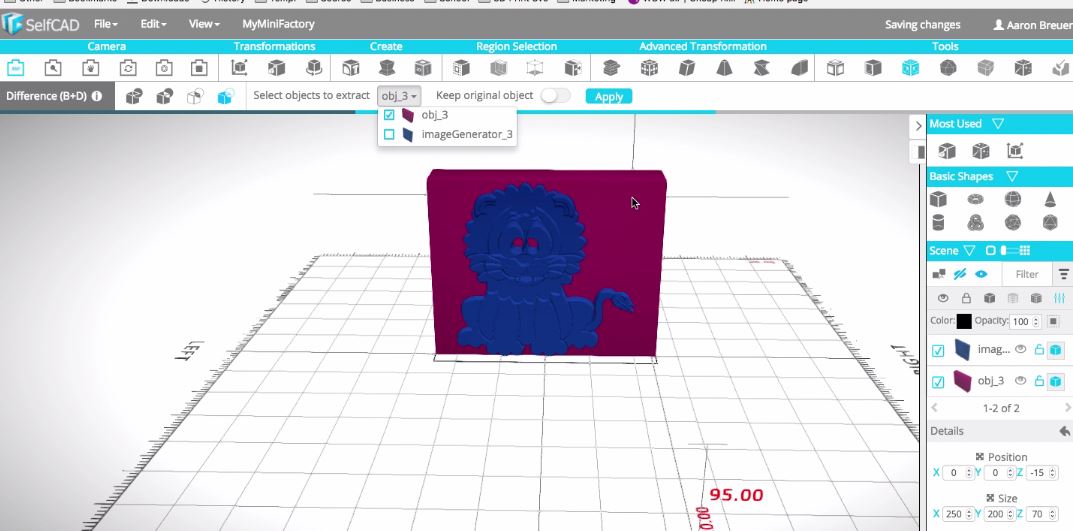
- To cut out the shape we will use Boolean difference. So we need to add a rectangle that is larger than the image generated shape and position it on the edge of the image.
- Click and drag a cube from the Basic shapes panel. Use Move and Scale tools to achieve what is shown on the image above.
- Select both shapes (the rectangle and image generated shape).
Cutting Out the Shape and Making It Printable
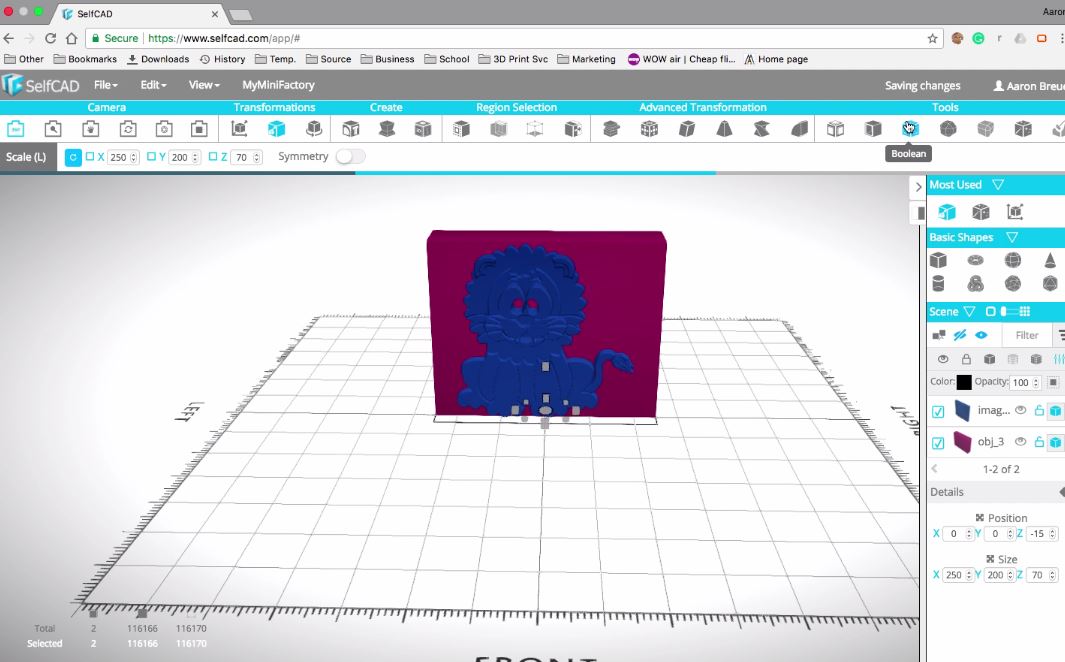
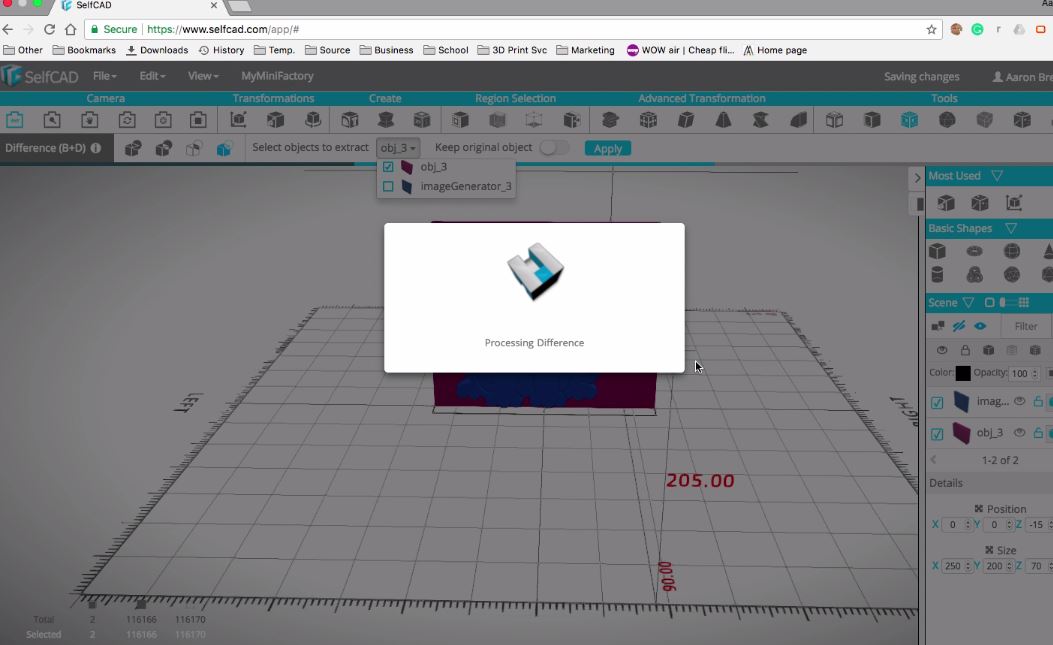
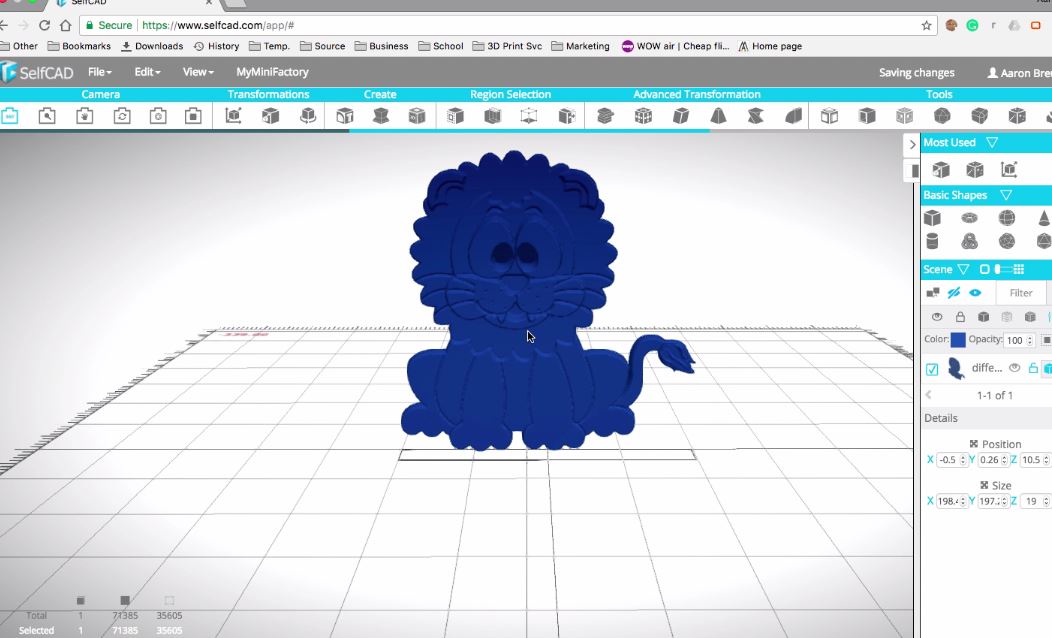
- Click on Boolean icon in the Tools section of the top panel. Select Difference.
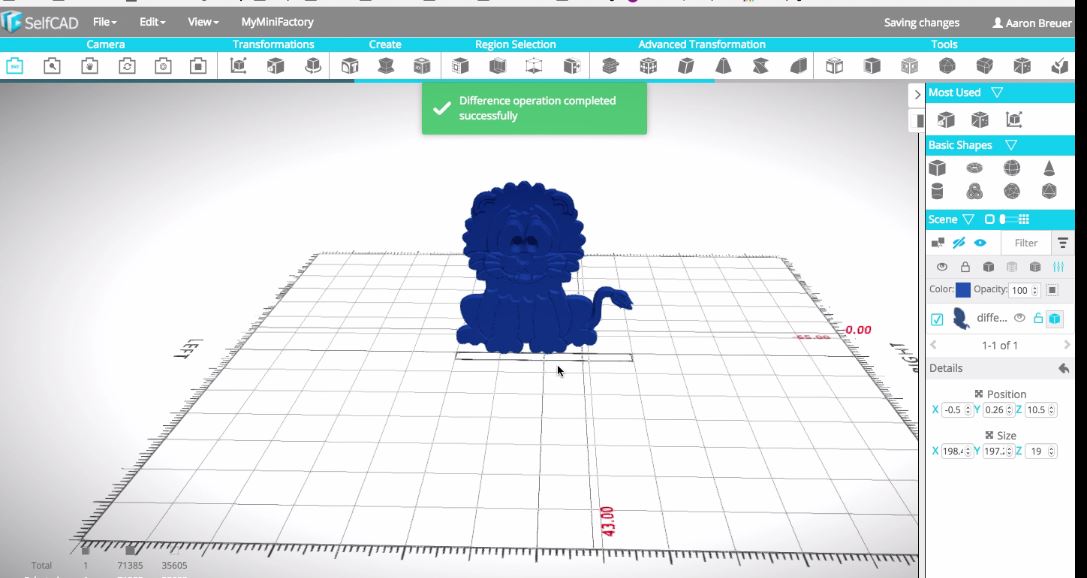
- Select the rectangle in the Select objects to subtract drop down. Click Apply.
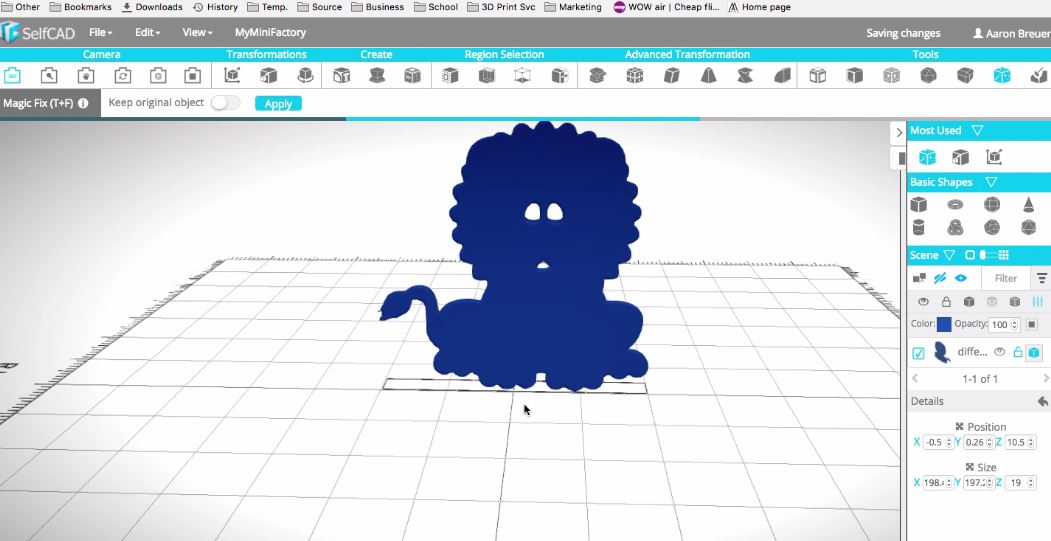
- And the model is ready! Now it's not yet printable, but no worries, that's what Magic fix is for.
- Select Magix fix tool in the Tools section and click Apply. If you want to see what it does, turn on the wireframe mode in the Scene panel.
Printing
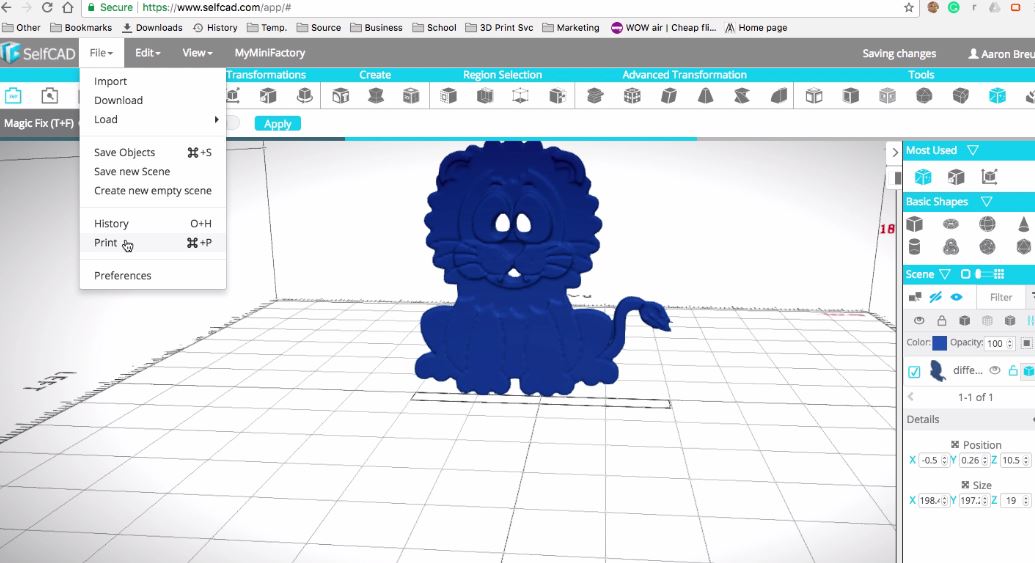
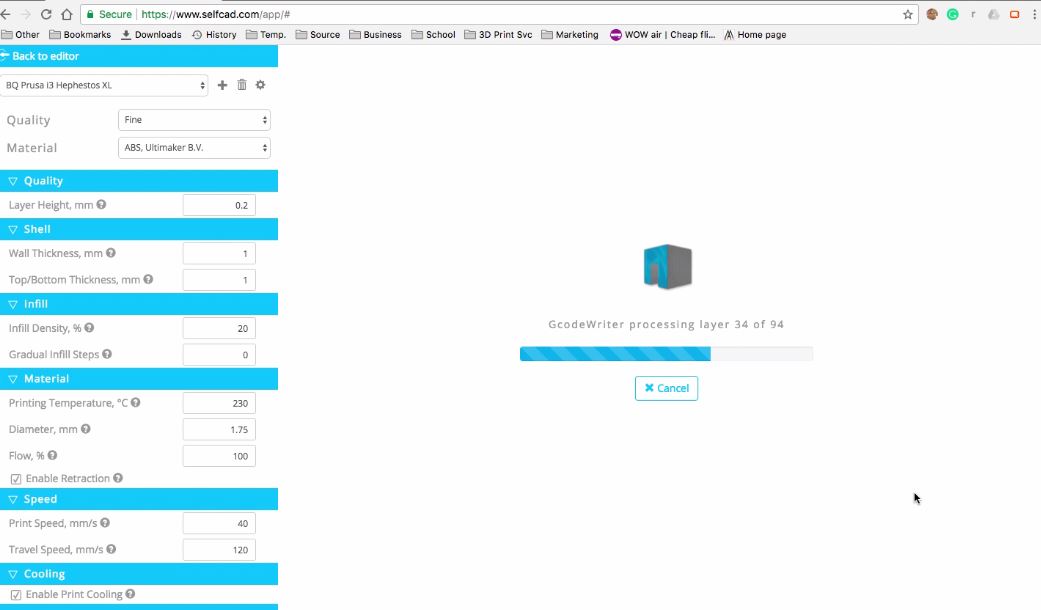
- Now that the shape is ready for printing, either download your model as an stl to later upload it to a printing provider website or in case you are using your own printer, go File - Print.
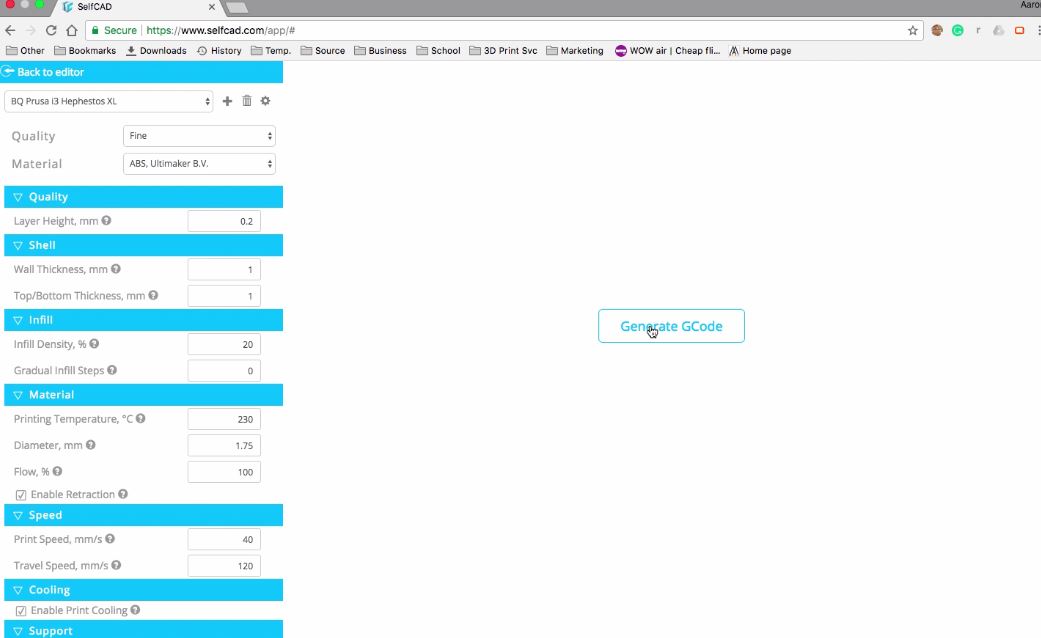
- Select the printer you are going to use from the list or use customs settings if your printer is not on the list.
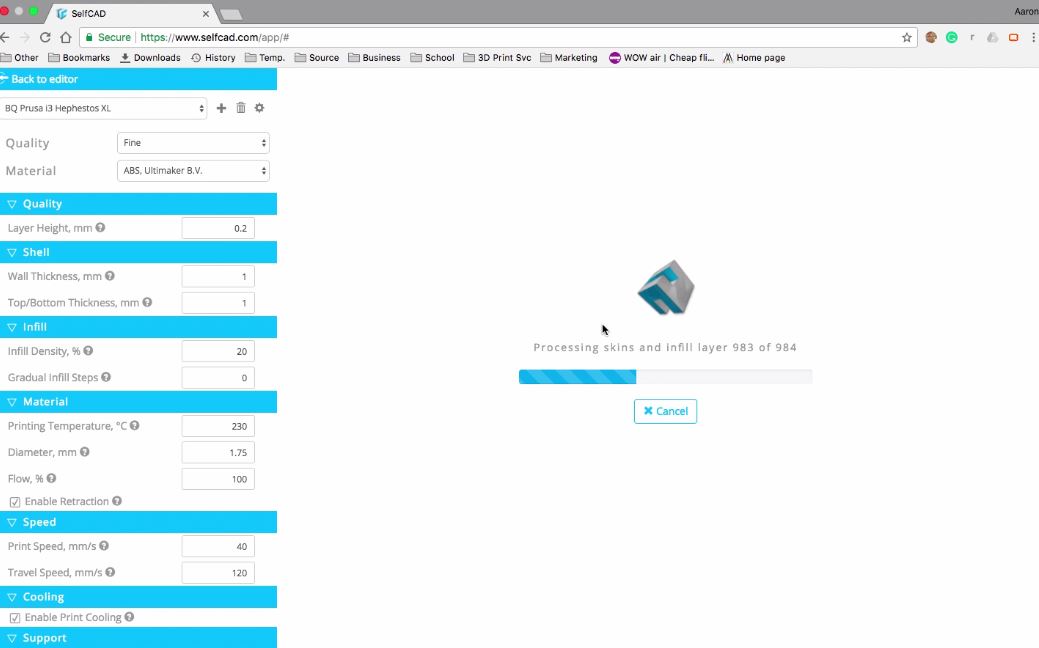
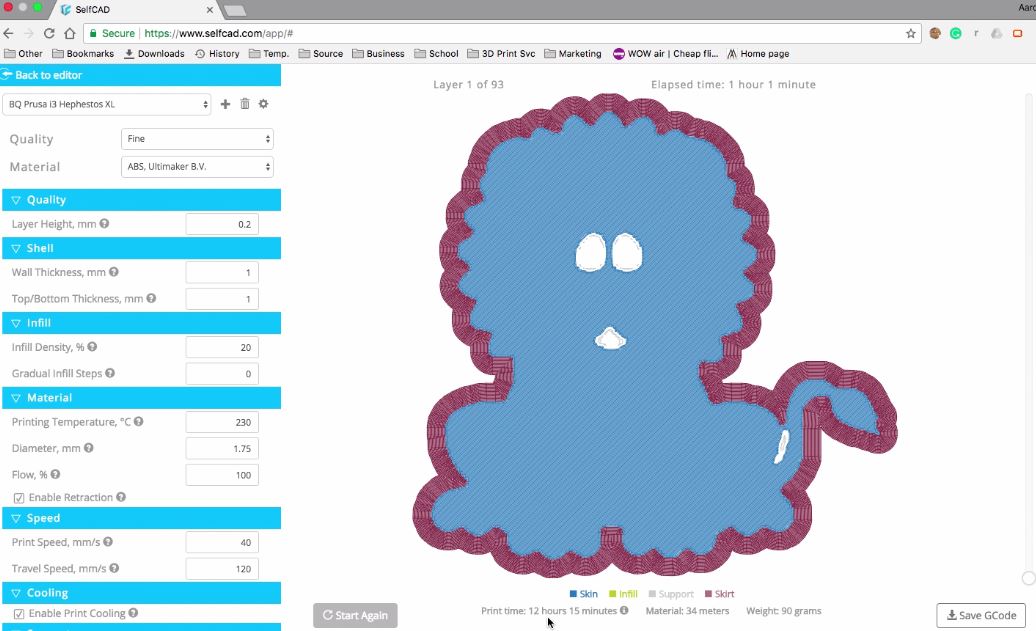
- Select printing material, set printing quality, supports etc and click Generate Gcode.
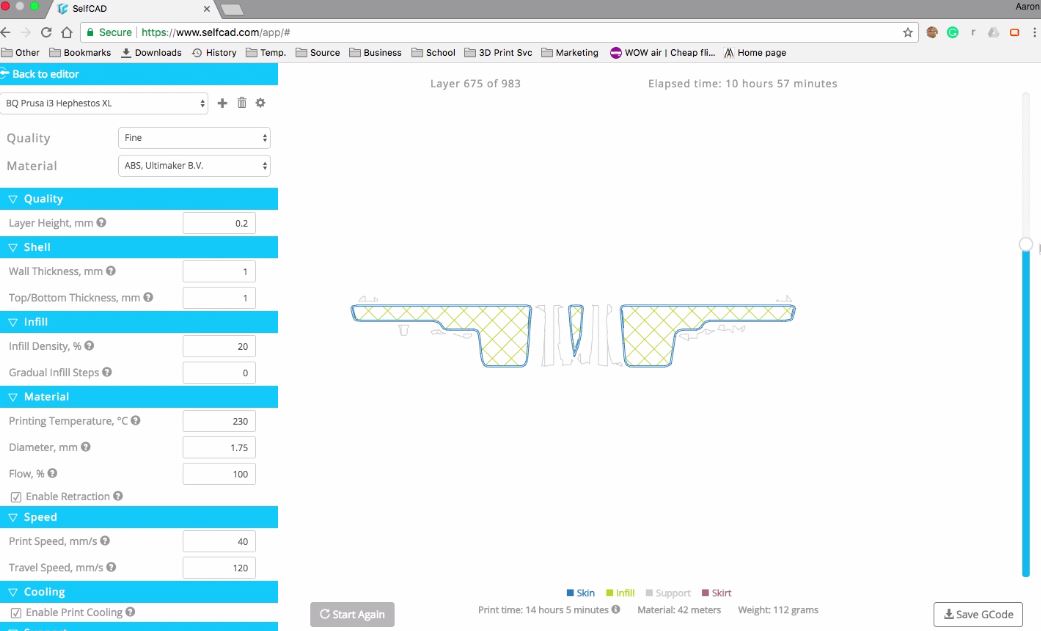
- When the Gcode is generated you can see printing time and use the scroll to view the printing process.
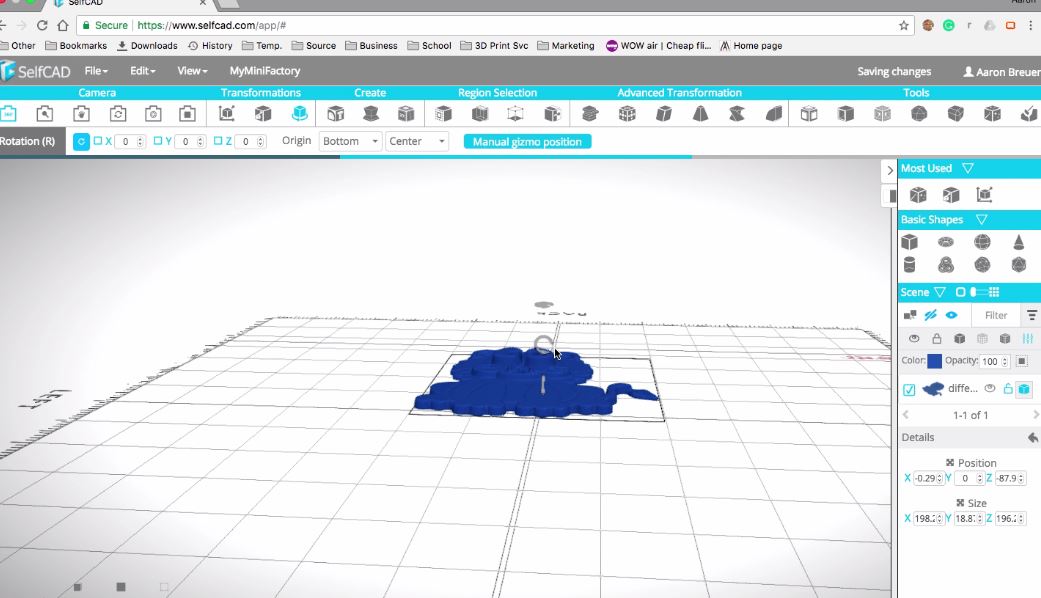
- Sometimes rotation can simplify printing process, like in this case.
Downloading Gcode. Sharing Your Model
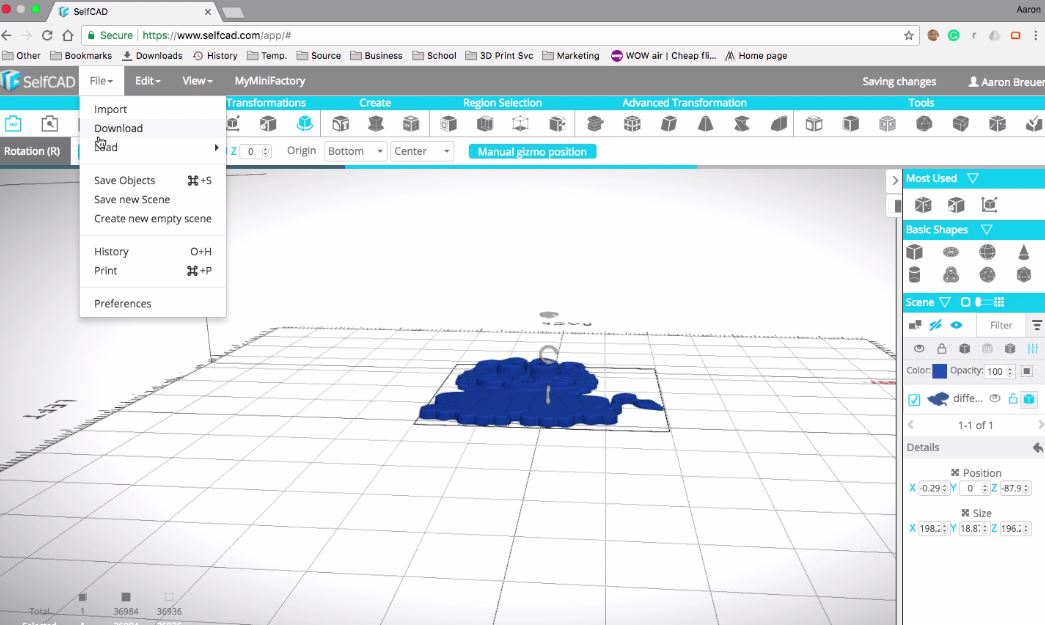
Download Gcode to send it to the printer and download the model as an stl or a png to share with friends, on social media or on 3D modeling communities like Myminifactory.