How to Make a Pendant of Your Name Using Tinkercad?
314 Views, 0 Favorites, 0 Comments
How to Make a Pendant of Your Name Using Tinkercad?

Hi!
Today, we will be discussing on how to make a pendant of your name. This is a very interesting project to make using tinkercad. Proper safe measures must be used while making this project. Let's get started!
Supplies

Since this is an online project, the supplies required are very simple:
- Tinkercad account
- Laptop or any device for using Tinkercad
- 3D Printer (Optional)
Writing Your Name
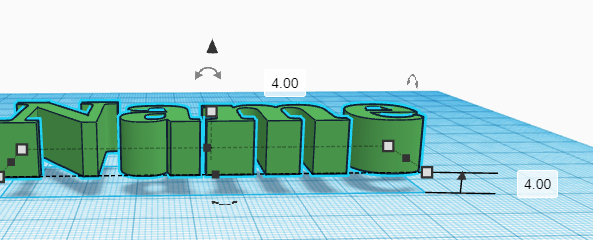
In this step, we have to create our name in Tinkercad. This is a very simple step. Follow the given steps:
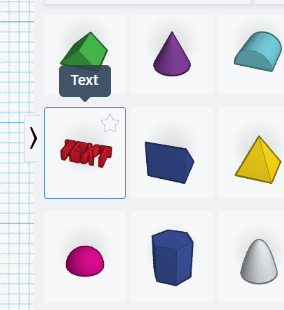
- Click on the "Text" option.
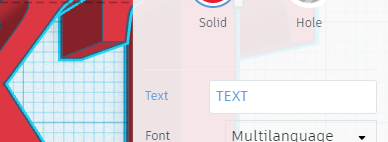
- Edit your Name in the "Text" blank.
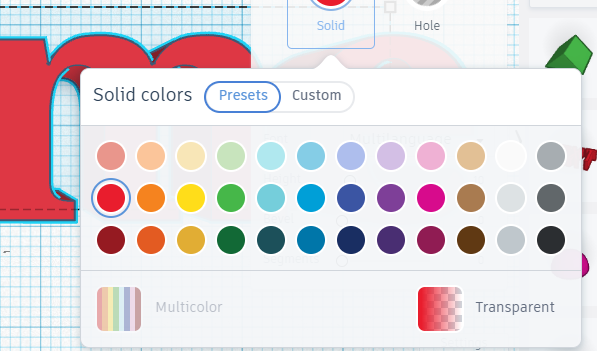
- You can choose the color of your name by clicking on the "Solid" option.
Engraving Your Name on a Background
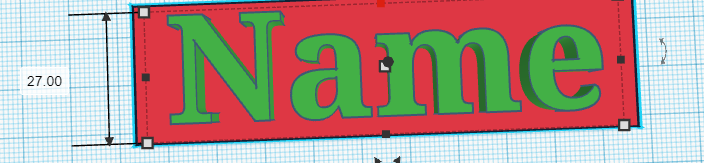
This step is very important, as your name needs to be engraved on something to stay together, instead of being letters. Follow the given steps:
- Move the Name up by 4.
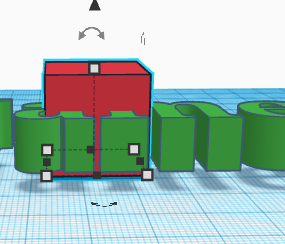
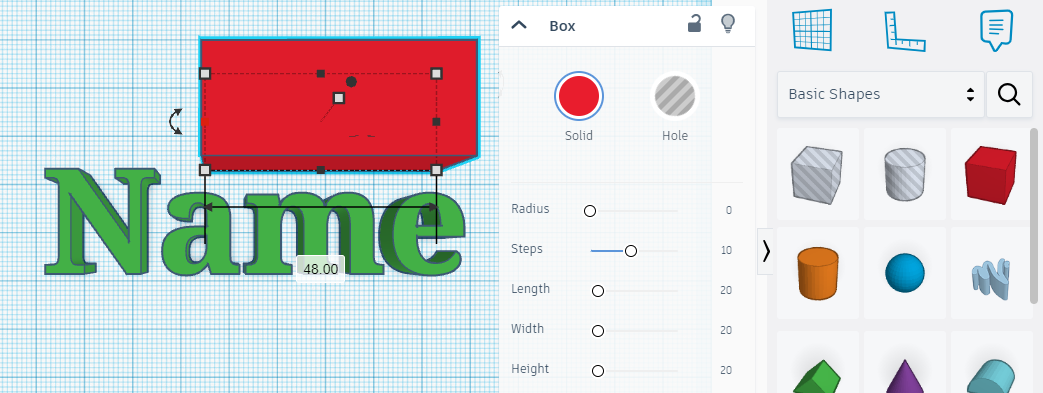
- Create a "Box."
- Drop the "Box" in the name created.
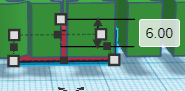
- Reduce the size of the box to 6.
- Increase the width of the box to 27.
Now, we have engraved the name on the box.
Adding a Circle for the Chain
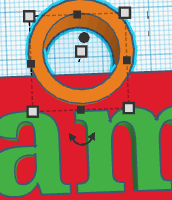
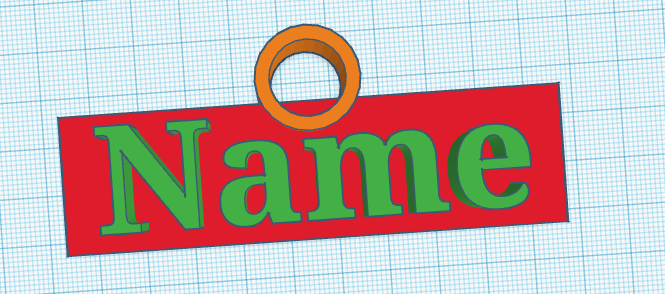
We have almost completed the project! Follow the given steps:
- Create a circle as shown above.
- Position the circle in the centre of the name.
Congratulations! You have created a pendant of your name!