How to Make a Paper Lantern With Your Electric Paint Lamp Kit
by Bare Conductive in Circuits > LEDs
1479 Views, 2 Favorites, 0 Comments
How to Make a Paper Lantern With Your Electric Paint Lamp Kit

In this tutorial, we'll show you how to hack your Electric Paint Lamp Kit to make a paper lantern. For this tutorial, we used the candle light setting, one of the Light Up Board's additional modes. All you need for this tutorial is some card, the Electric Paint Lamp Kit, a couple of tools and some inspiration!
Materials
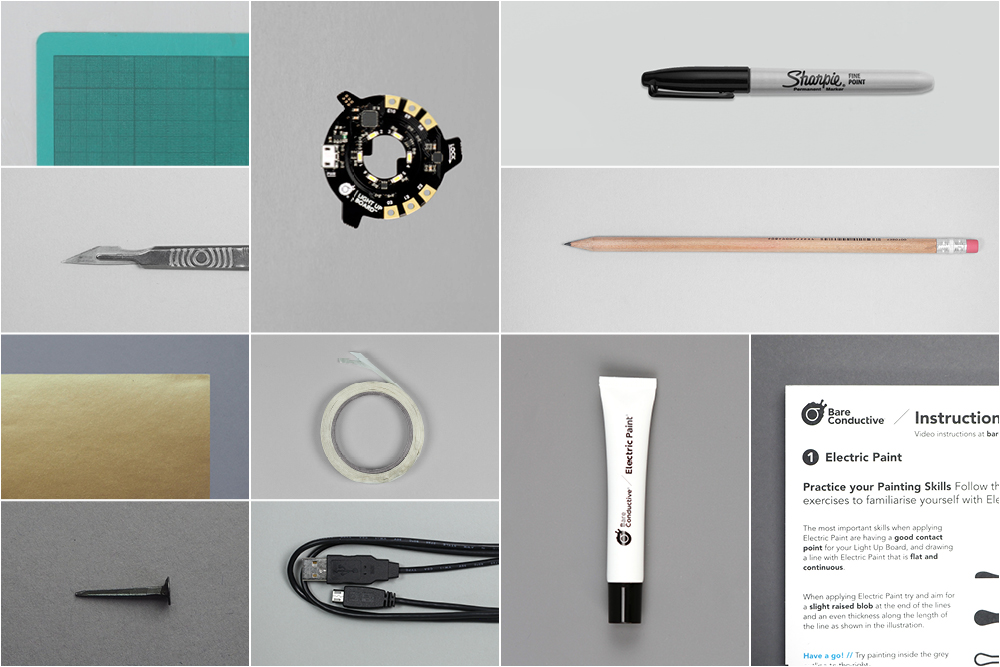
Light Up Board
Electric Paint
Electric Paint Lamp Kit template
-
card
pencil
marker
double-sided tape
cutting knife
cutting matt
-
tube
pin
Cut Lantern
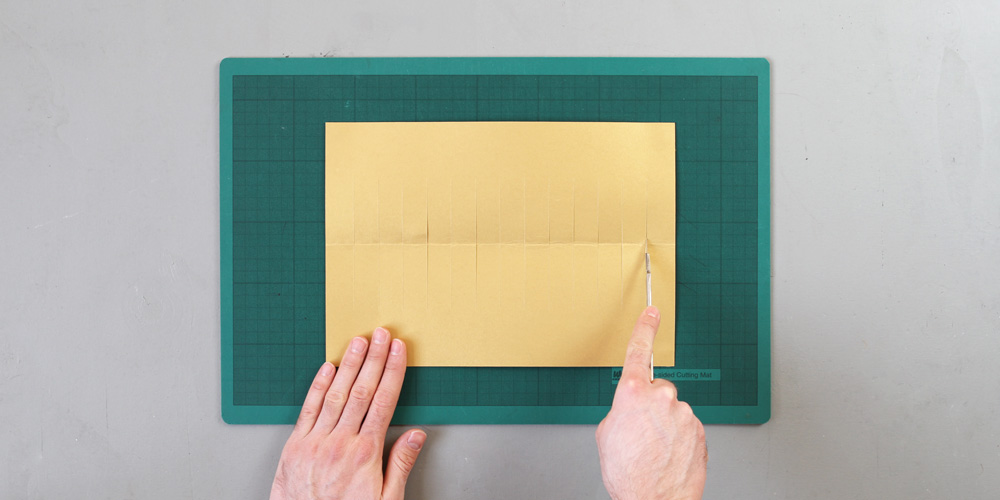
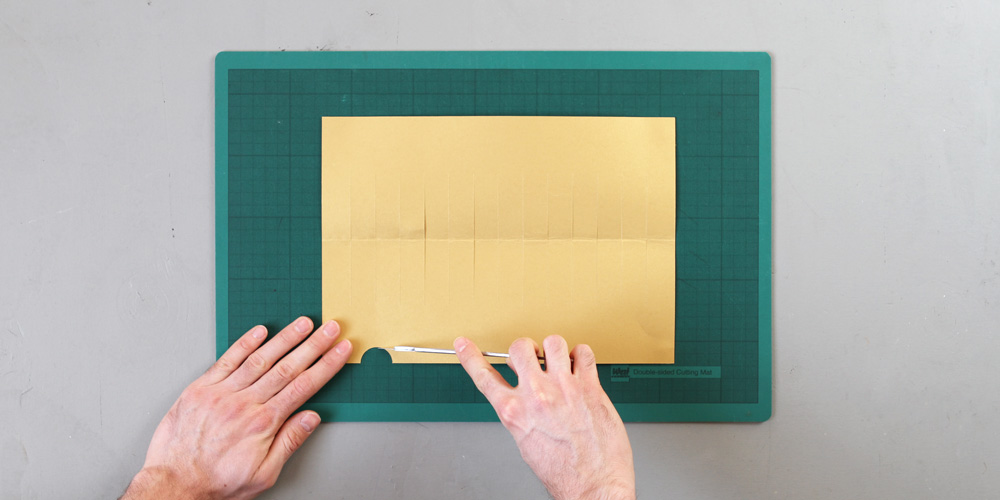

First, you need to make your lantern shade. Before you start, choose paper or card that is thick enough. We recommend at least 160gsm. Feel free to get really creative with your lantern design. For example, we folded the card and cut parallel lines. Next, make sure to cut a small hole at the bottom of the lantern, for the USB cable that will be connected to the Light Up Board. Finally, apply one strip of double-sided tape to one end, then stick one end of the paper to the other. When connecting the two sides of the paper together, it helps to use a tube or a bottle as support.
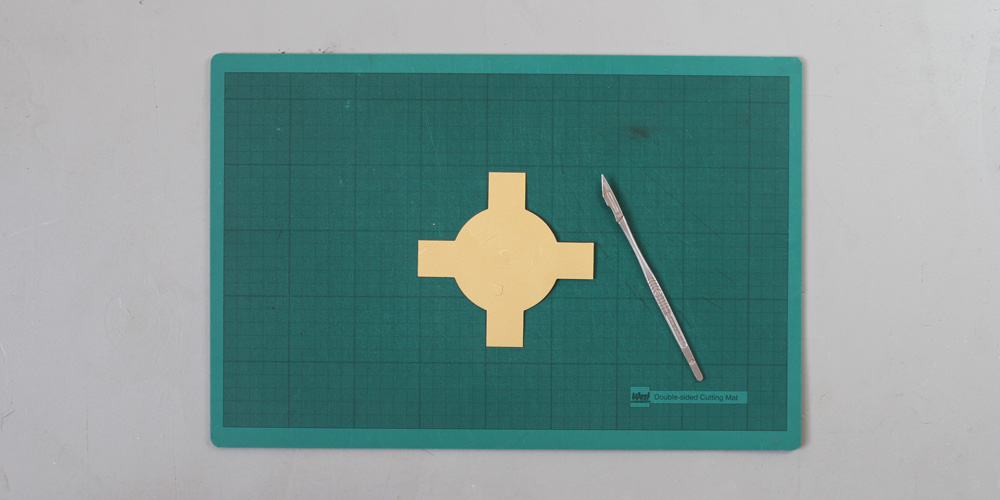
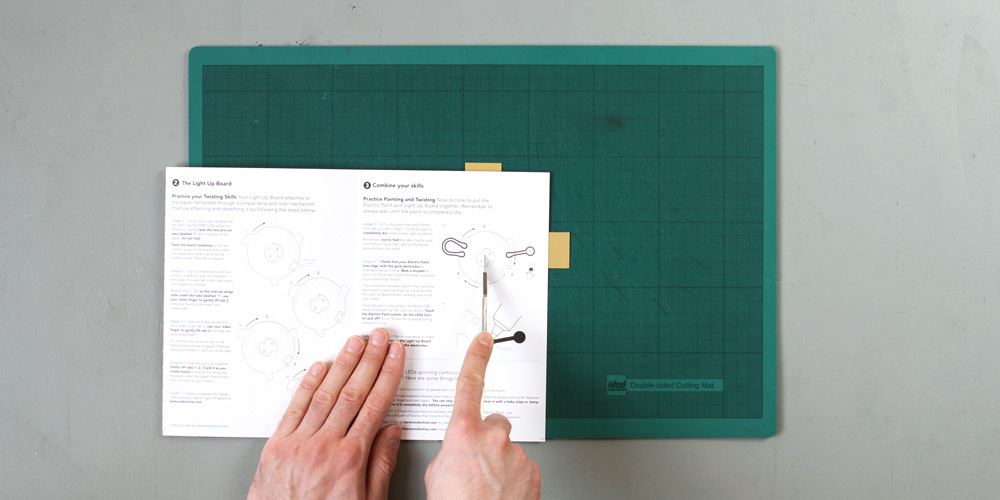
Using the base of the lantern you just created, mark out a circle on a piece of card and add four tabs on the sides. This will be the base of the lantern, where we'll attach the Light Up Board. Then, using one of the lamp templates, or the Instruction Sheet from the Electric Paint Lamp Kit, cut the traces for the Light Up Board. Also, make sure to cut the traces in a way that doesn't allow the Light Up Board's USB cable to obstruct any of the tabs.
Apply Electric Paint

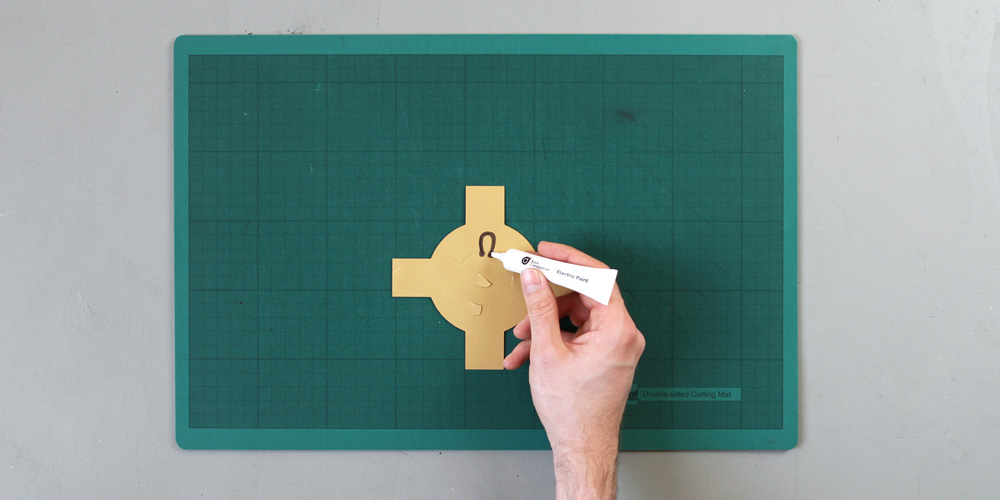
Now, twist in the Light Up Board and mark the position of electrodes E1 and E2. Remove the board and paint a connection between E1 and E2 with Electric Paint. Afterward, when the paint has dried, twist the board back in and cold solder E1 and E2.
Add Switch

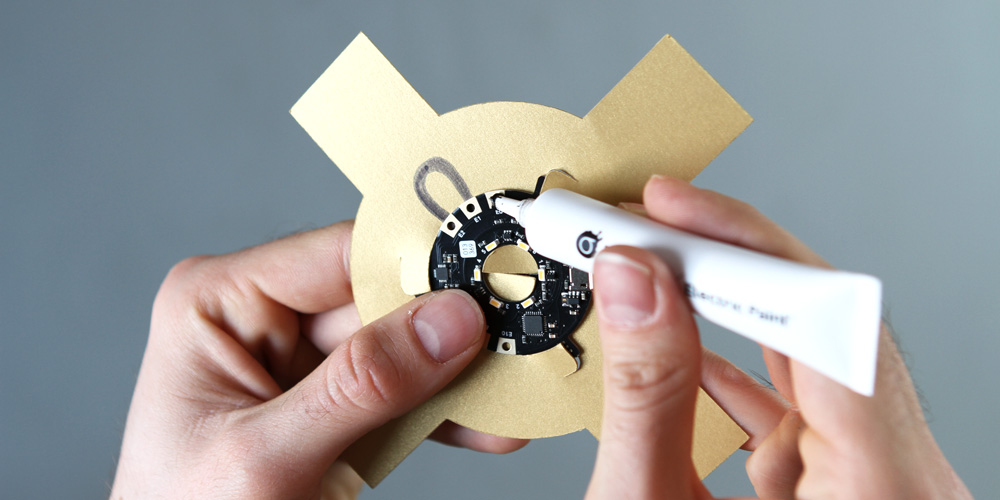
When the paint has dried, pierce a hole using a pin through E0, but be careful not to prick yourself. Then, pierce the base again, this time from the back, so that the round end of the pin is behind the Light Up Board, as shown in the picture. Again, solder the pin with Electric Paint to E0. Once done, to avoid hurting yourself later, make sure you blunt the end of the pin.
Attach the Base to the Lantern
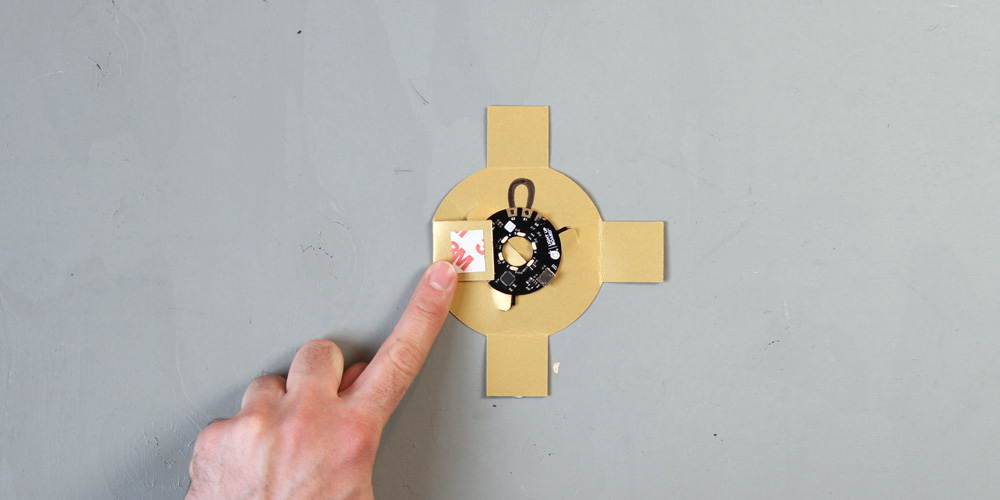
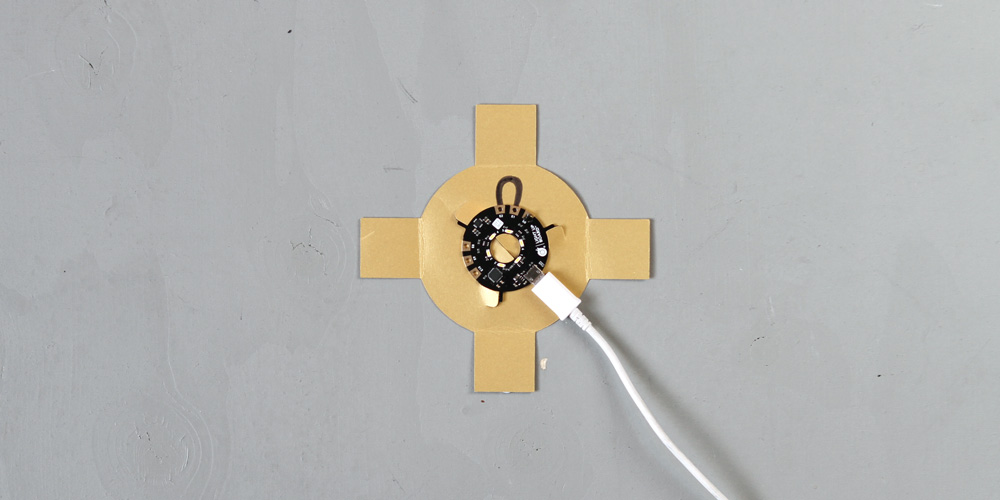

Now, attach four small pieces of double-sided tape to the four tabs of the base. Then, plug the USB cable to the Light Up Board. Finally, carefully stick the base to the lantern, attaching each tab to the inside of the lantern.
Final
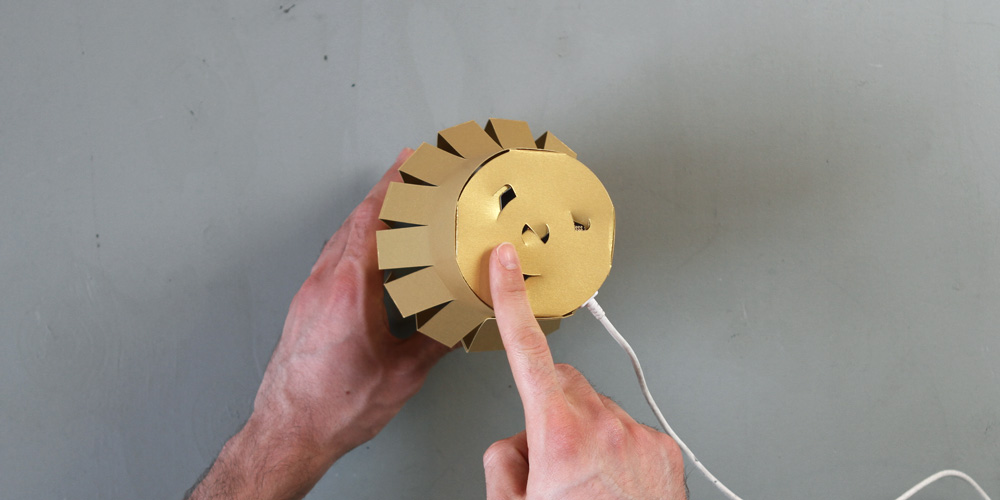
When everything is stuck securely, plug the board into a power source. Now, if you touch the pin underneath the lantern, it will then turn on the lantern in the candle light mode. Congratulations, you have made your own paper lantern!
We'd love to see your creations, too! So, send us images either via email at info@bareconductive.com or via Instagram or Twitter .