How to Make a Multi-anchor Multi-tag Positioning System Using MaUWB
by Lan_Makerfabs in Circuits > Arduino
1911 Views, 2 Favorites, 0 Comments
How to Make a Multi-anchor Multi-tag Positioning System Using MaUWB
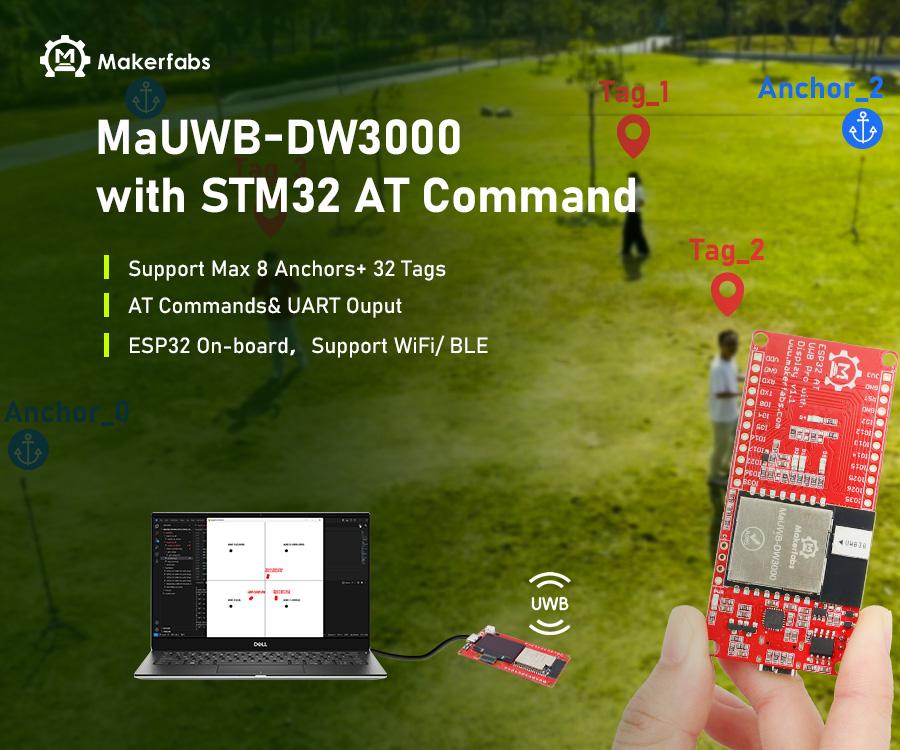
In this article, I'll introduce how to make a multi-anchor multi-tag positioning system using MaUWB in two ways.
Well, in practical application, the most problem of UWB is the signal mutual conflicts/interference, that when there multiple anchor& tags exists.
And now, Makerfabs latest MaUWB module solves this problem by integrating an STM32 controller running default firmware, and MaUWB arrange up to 500m, support 8 anchor/32 tags, suitable for applications such as indoor position/robot tracking...
Supplies
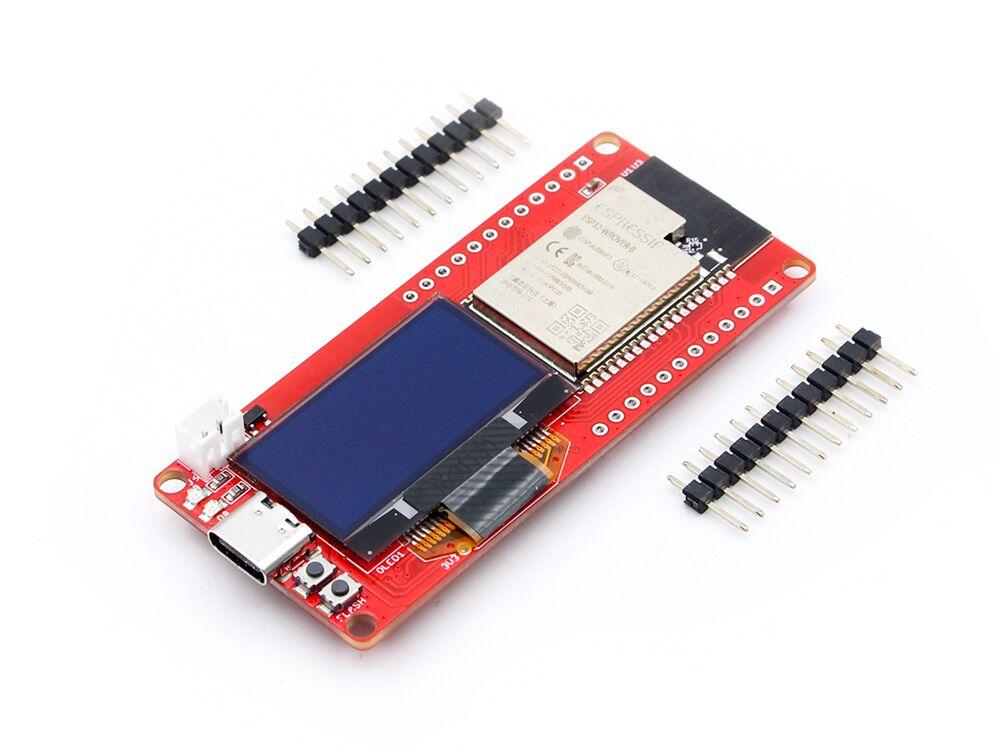
Note at least four modules for positioning, three for Anchor and one for tag.
UWB Module Configuration
.jpg)
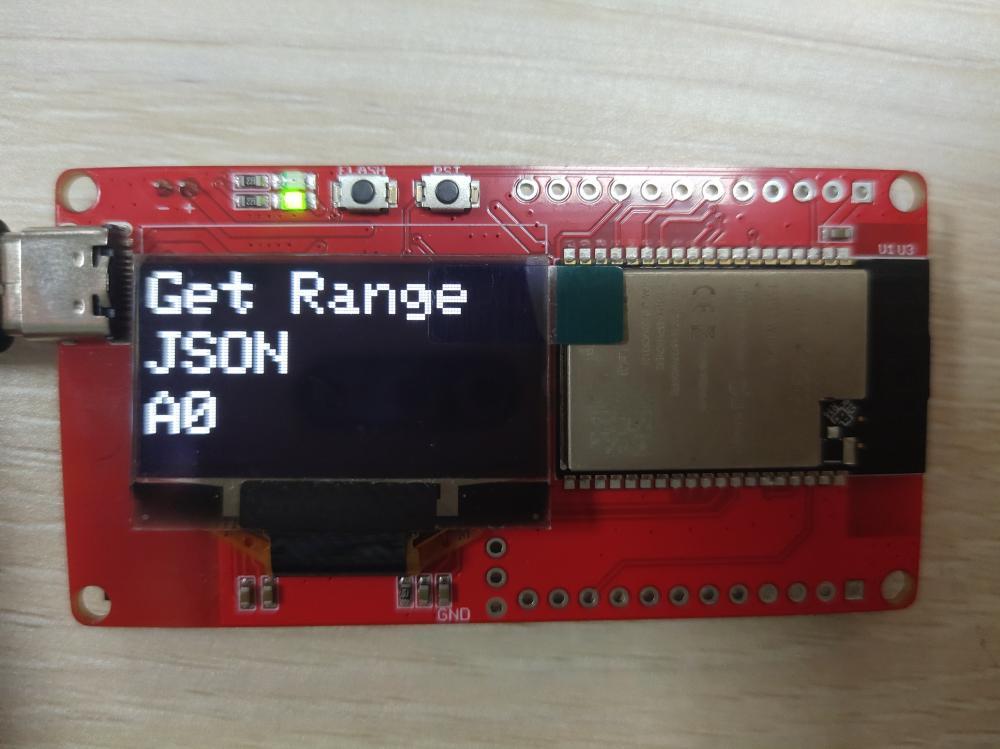
1.Configure Anchor0
- Open the get_range.ino by Arduino IDE. This program parses the AT instructions into JSON format and uploads them through the serial port.
- Use Type-C USB cable to connect the board and PC, and select the development board "ESP32 Dev Module" and the port.
- Verify the code and upload.
2.Configure other devices
- Open the esp32_at_t0.ino by Arduino IDE.
- Use Type-C USB cable to connect the board and PC, and select the development board "ESP32 Dev Module" and the port.
- Change module settings
#define UWB_INDEX 0  //Device ID(Anchor 0-7,Tag 0-31)

#define TAG
// #define ANCHOR    //Device Role(Tag or Anchor)

#define FREQ_850K
// #define FREQ_6800K    //Equipment communication rate(850K or 6800k)
- Verify the code and upload.
Note configure at least three Anchors for positioning.
More information, such as pre-preparation of the arduino environment and how to download the code into the module, can be found here.
How to Use UWB Positioning


1.No python environment required
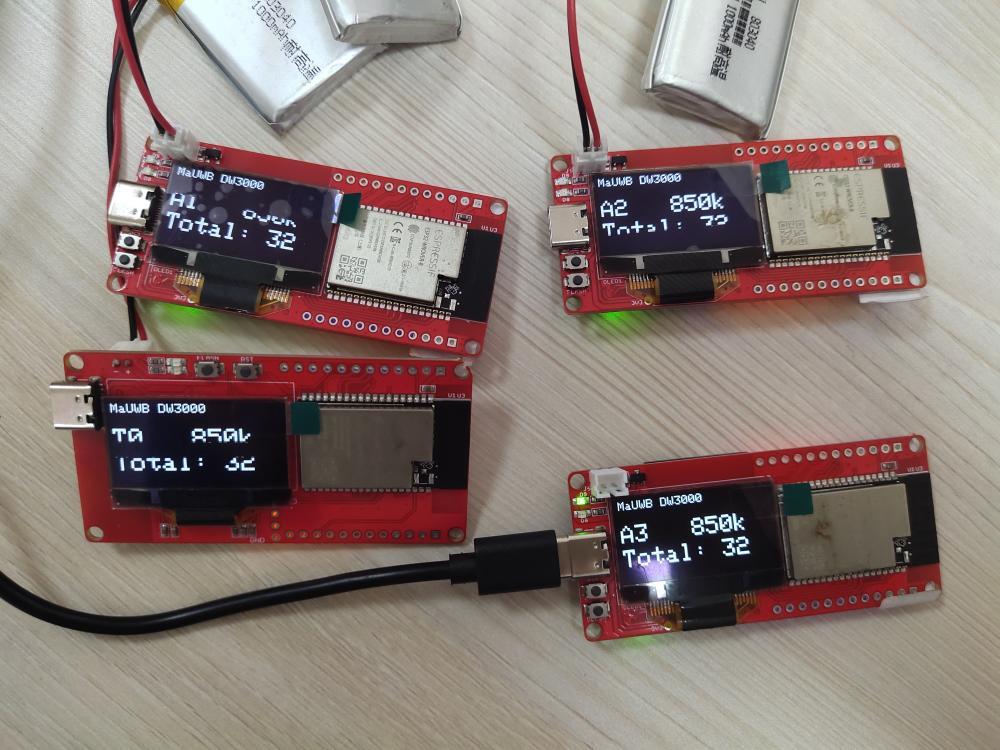
- Use Type-C USB cable to connect the A0 and PC.
- Power other devices with 3.7V lithium batteries,and adjust the positions of A1, A2 and A3 so that they form a square of 10 metres with A0.
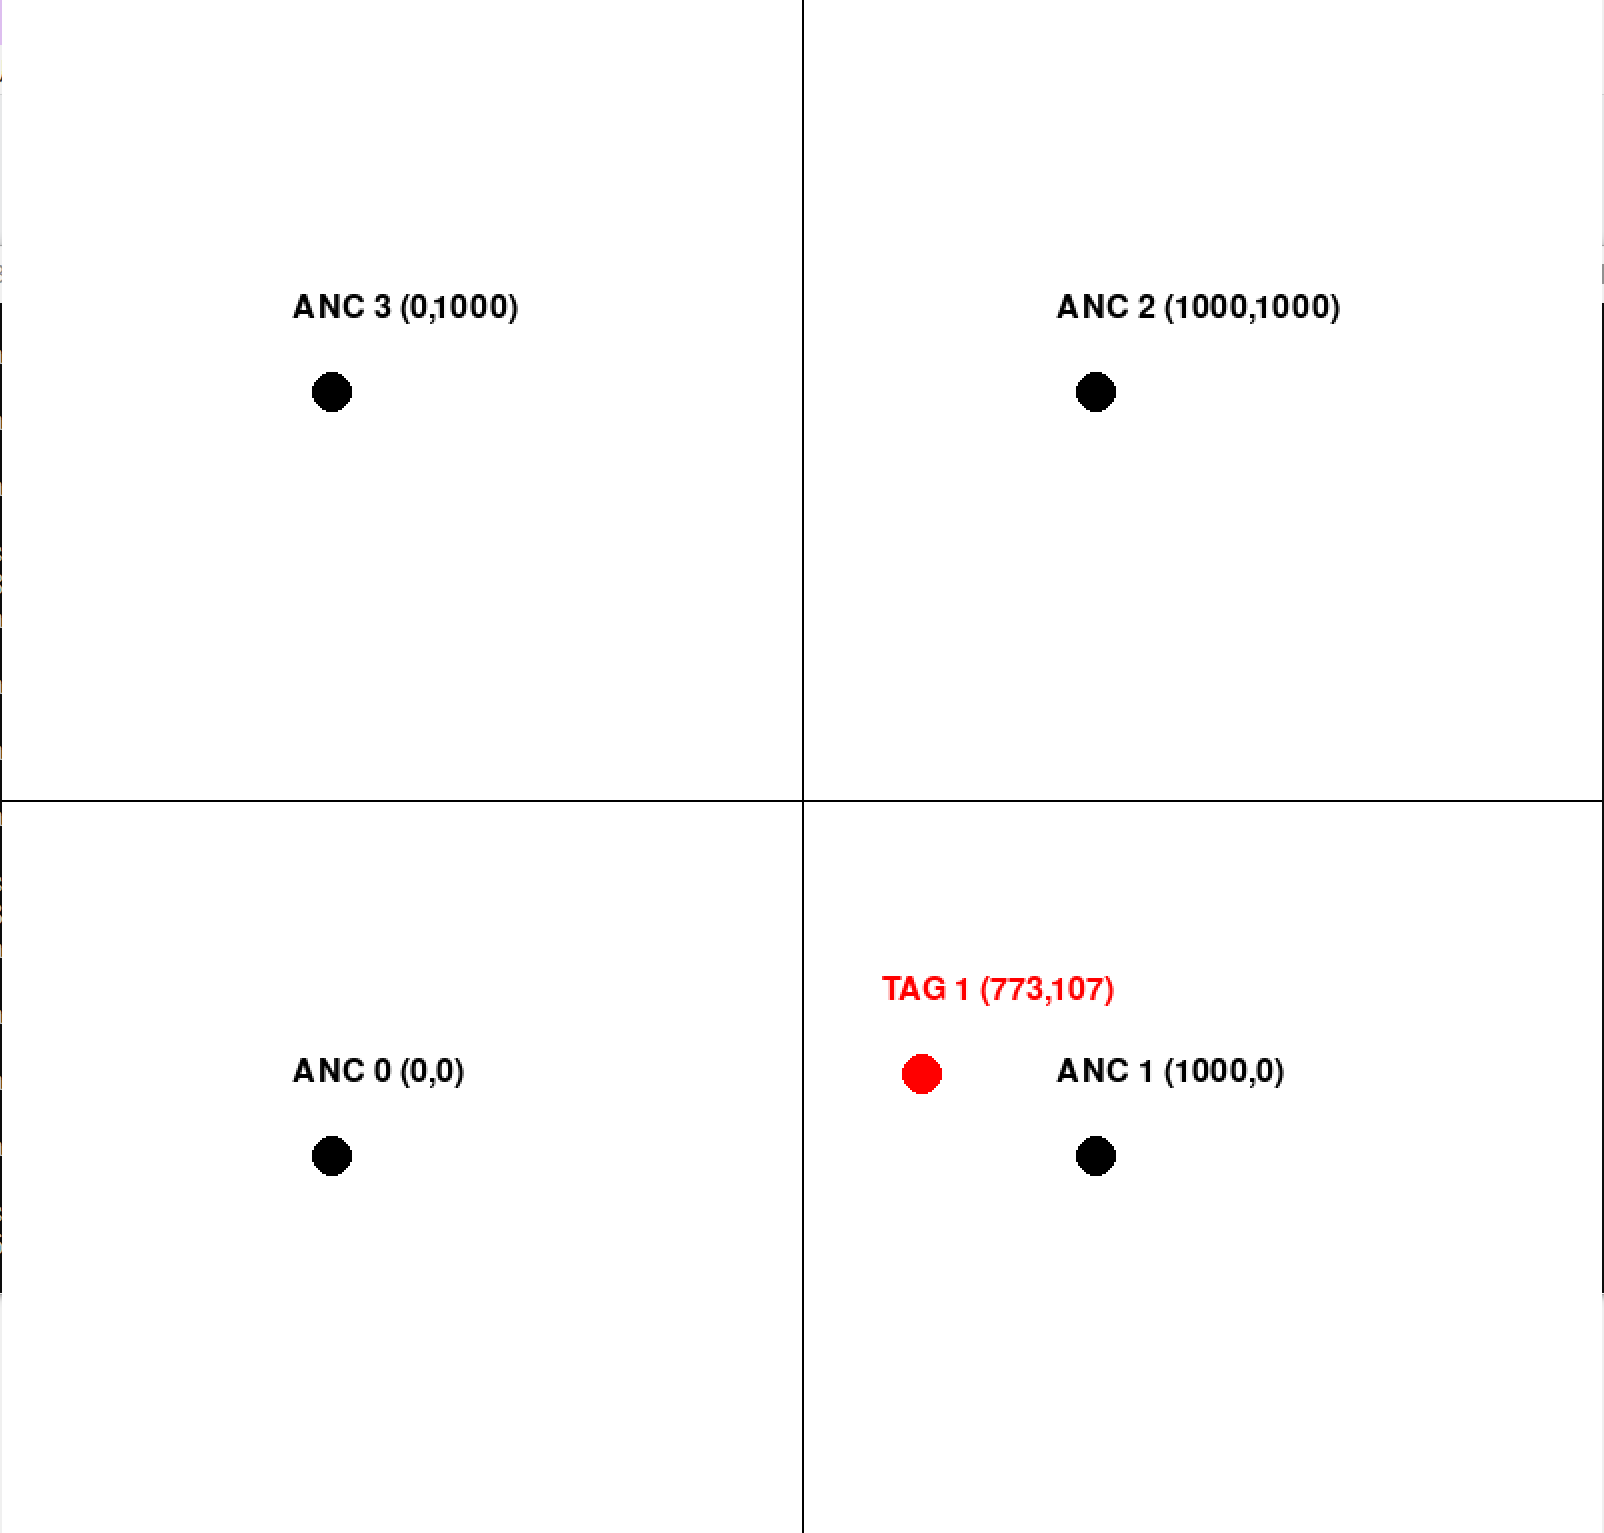
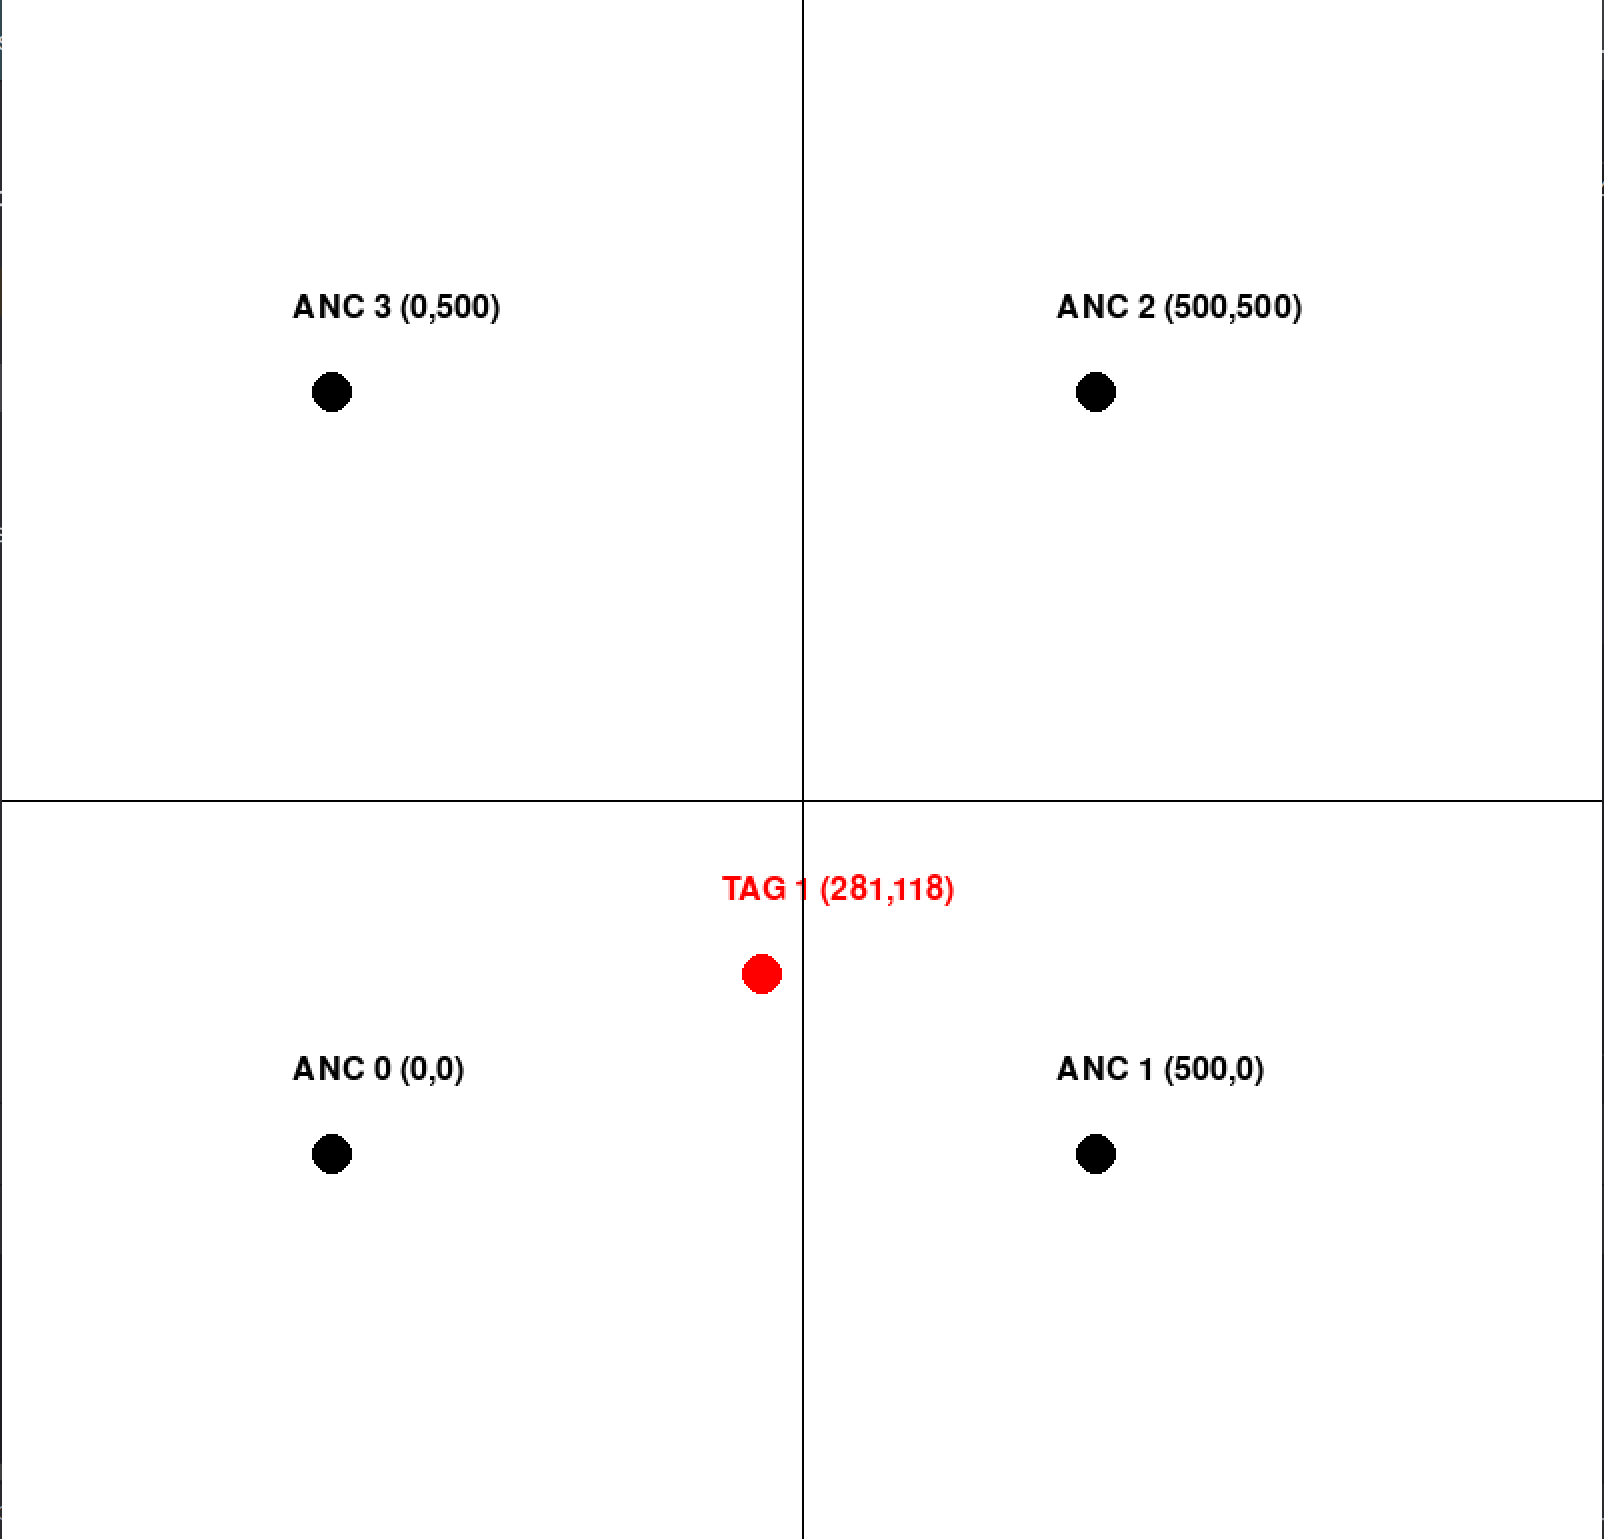
- Open position.exe, and you can see the red dots on the canvas move according to your position.
2.Python environment required
- Open position.py, and you can change the positioning range by modifying the A0, A1, A2, A3 pixel coordinates(unit cm).
A0X, A0Y = 0, 0
A1X, A1Y = 1000, 0
A2X, A2Y = 1000, 1000
A3X, A3Y = 0, 1000
- Use Type-C USB cable to connect the A0 and PC. Power other devices with 3.7V lithium batteries, and adjust the positions of A1, A2 and A3 so that they can adapt to pixel coordinates.
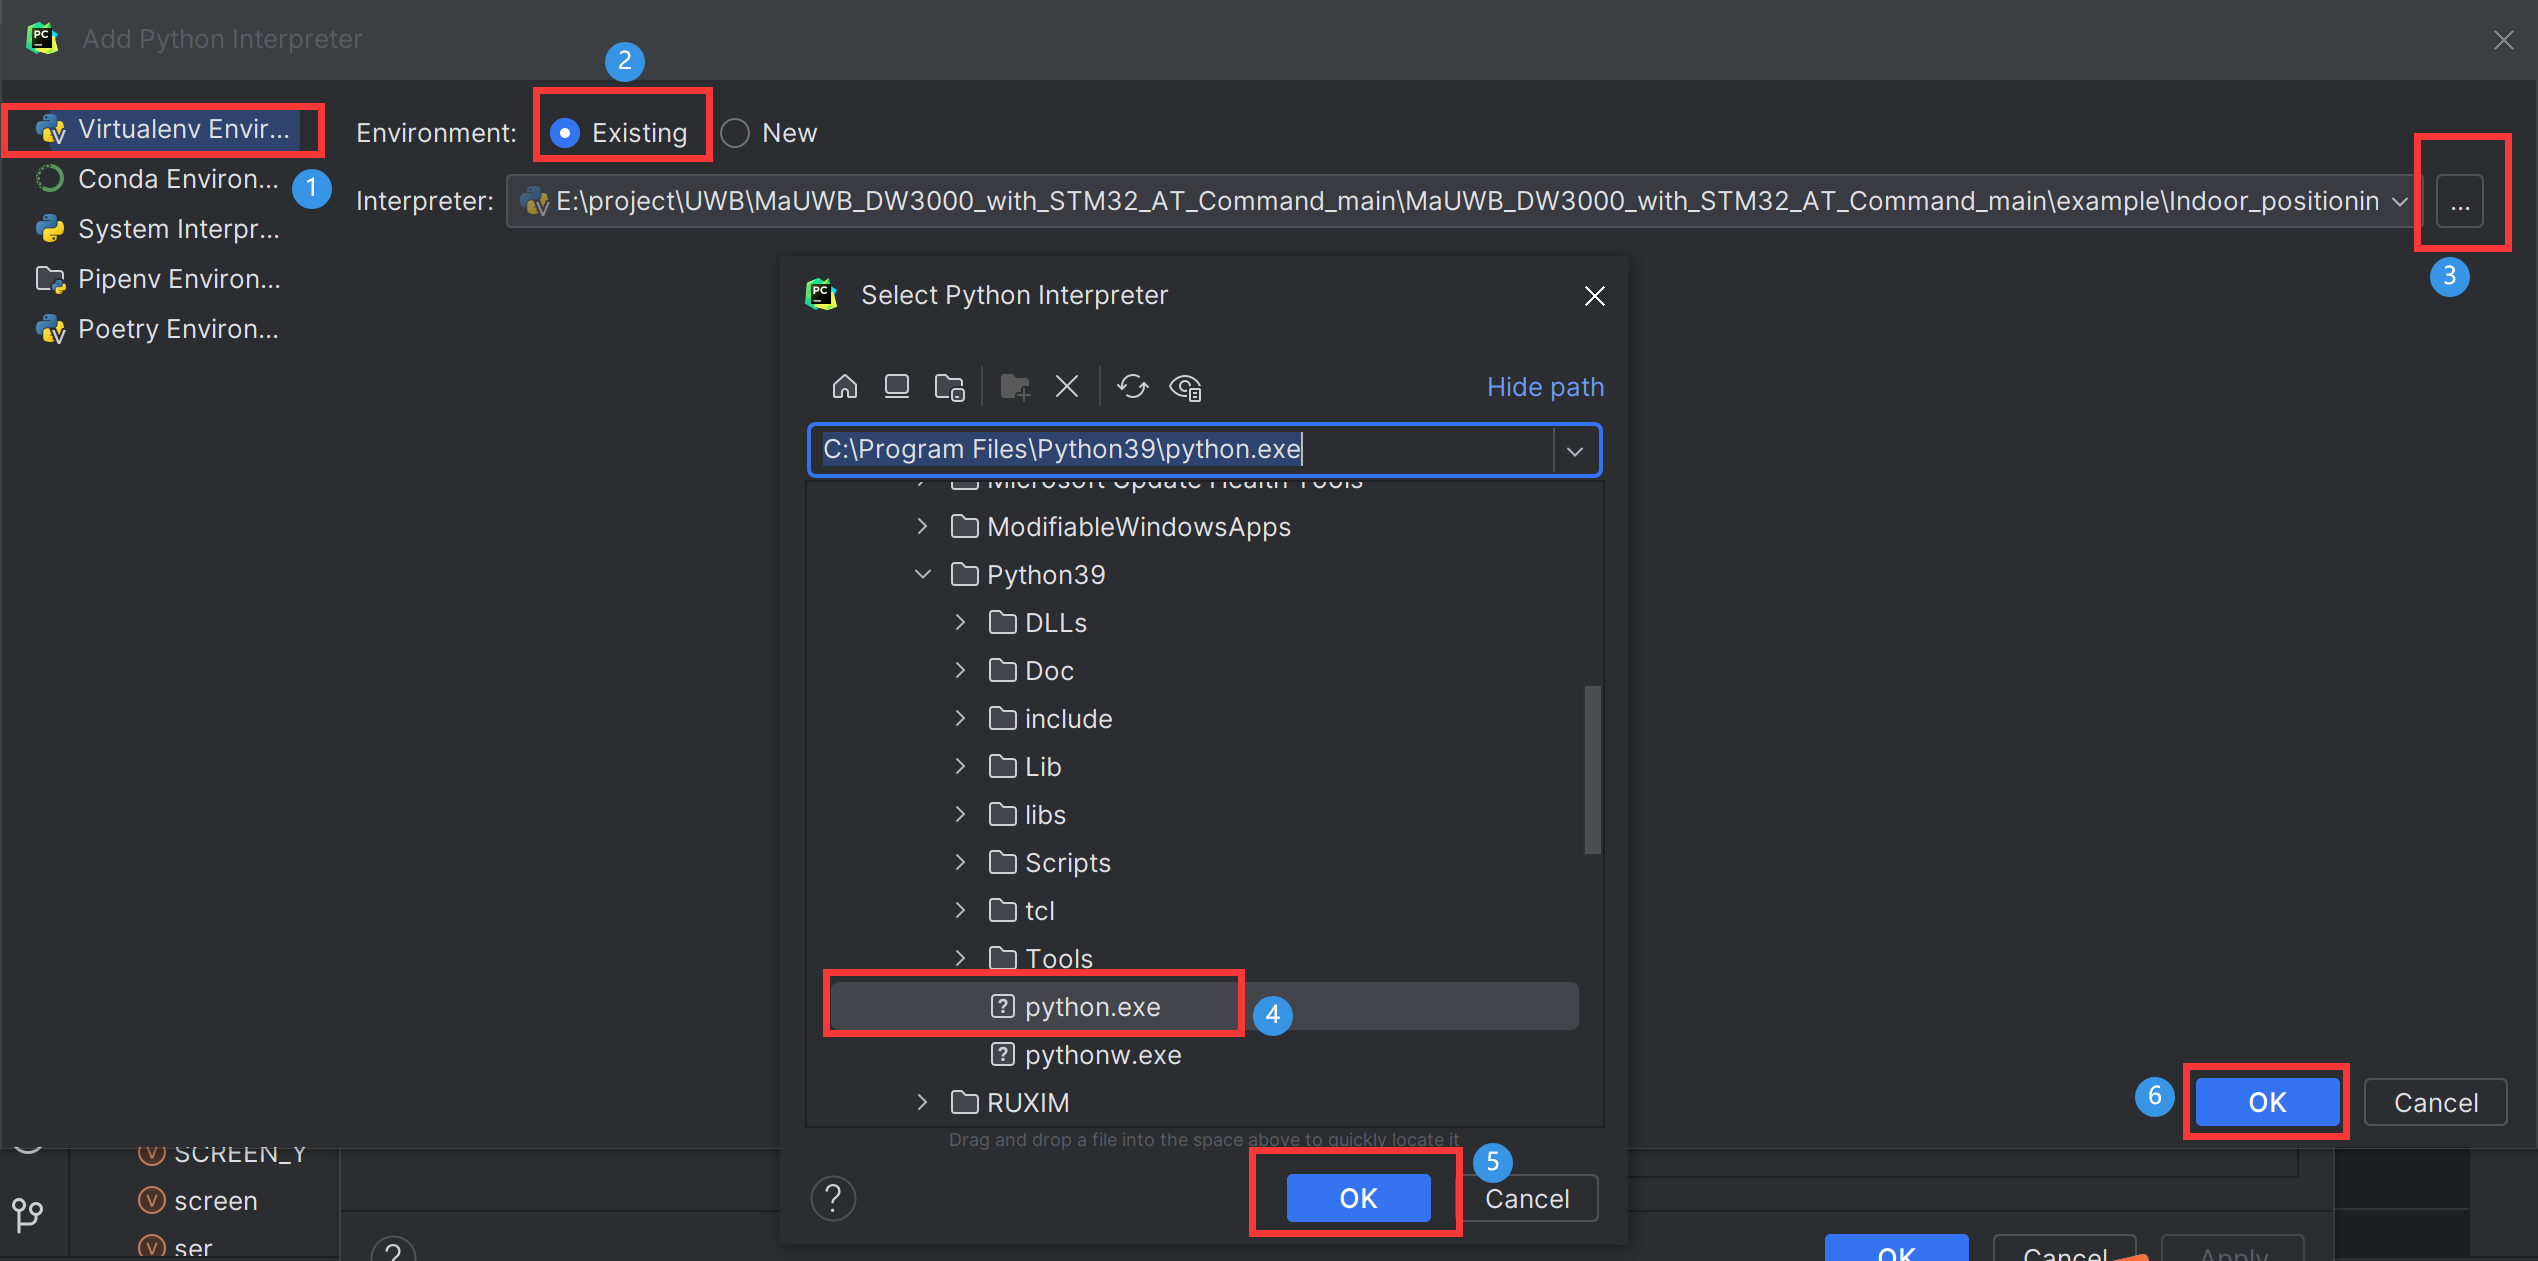
- Choose the python interpreter, enter the address of your python software.
- Run the project, and you can see the red dots on the canvas move according to your position.
And more detailed information such as how to prepare python and pycharm you can check here.
Result
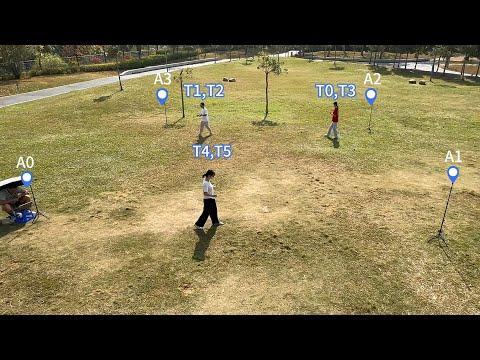
We also did an outdoor test and the results responded that the module worked well.