How to Make a Mug With Cricut Explore
by homestead how in Design > Art
2671 Views, 4 Favorites, 0 Comments
How to Make a Mug With Cricut Explore
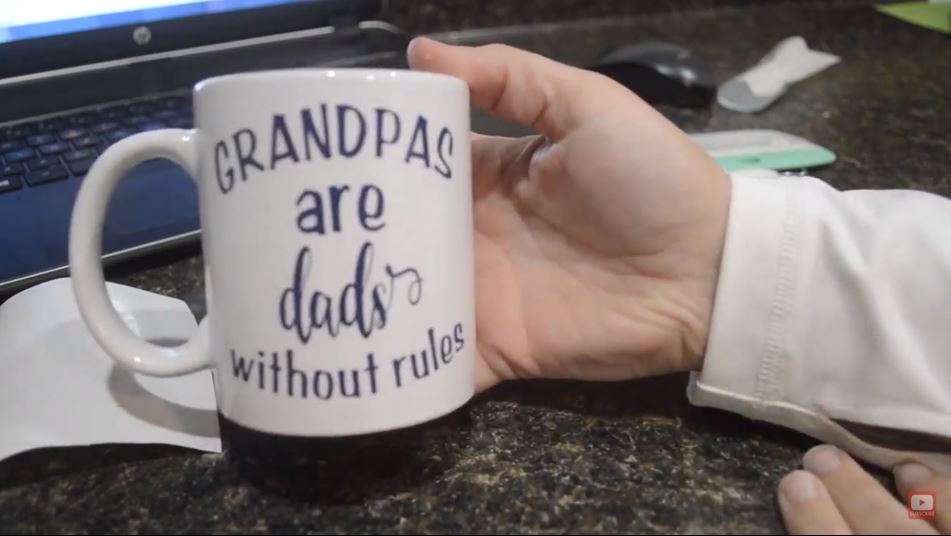
In this project, we are going to show you how to take a simple mug and get your design on it, using Cricut Explore. This is a step-by-step demonstration of the process. You could also watch the YouTube video of the same project.
Items needed:
1. A mug of your choice- preferably of a solid color.
5. Measuring tape- for measuring the dimensions.
6. Transfer tape
Login to Cricut Design Space
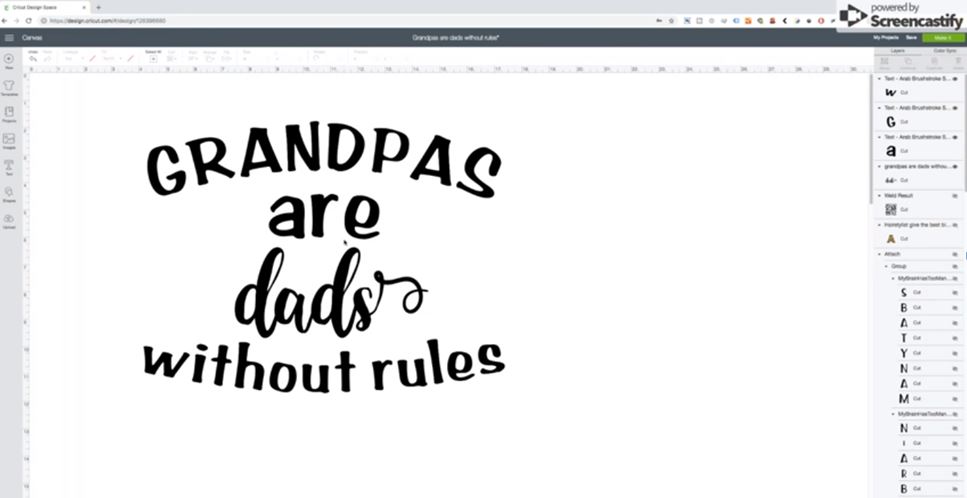
Upload Your Design.
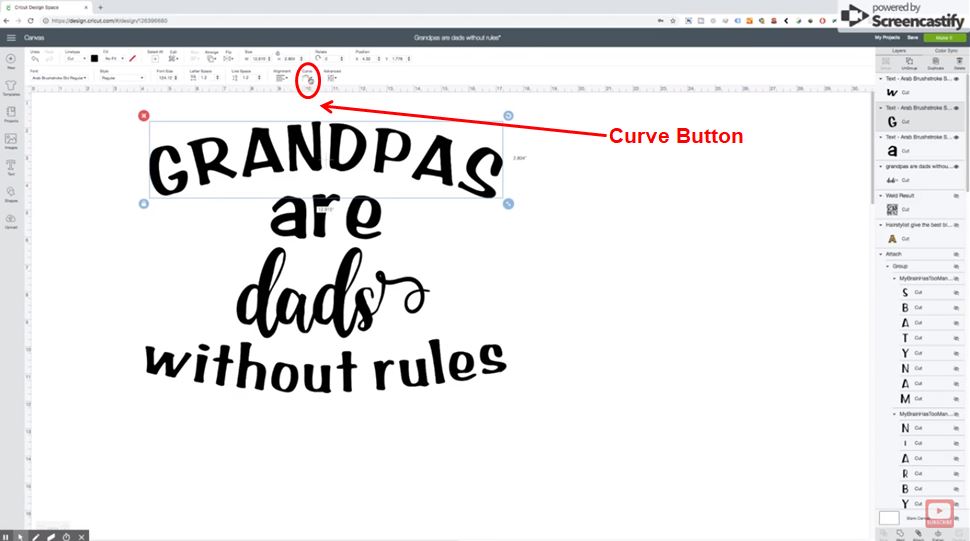
You can either purchase a design online or create one yourself. As for this one, I saw it on Pinterest, but did not want to shell out $3 for something I could create myself. So, I created it, using the curve button on Cricut. I can create you a personalized SVG, send me a message of what you want and I can create it.
Attach the Letters and Design.
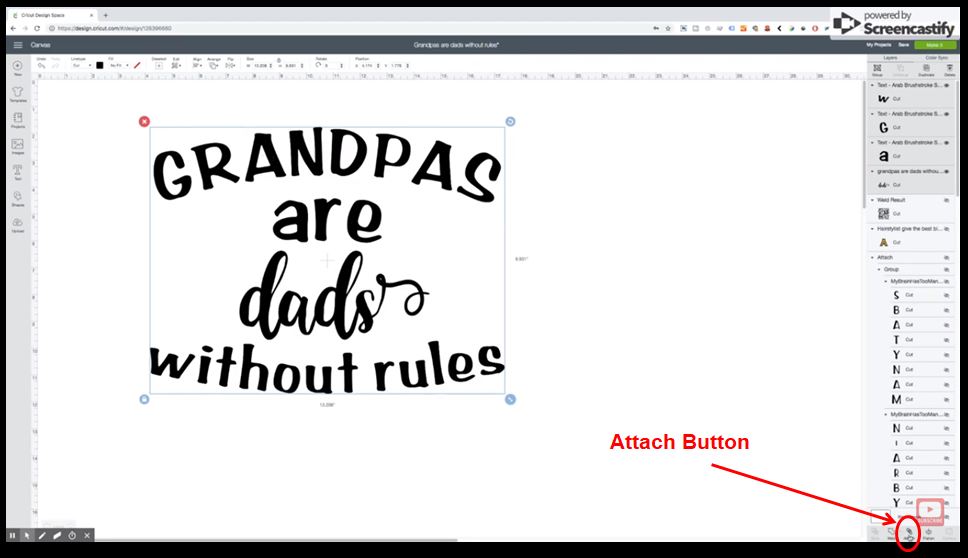
Once you have created your design, make sure that you select all the words and images. Then go to the bottom right and press attach. If you don’t press attach, all these letters are going to come out individually and you are going to have a heck of a time putting them on your mug. When you attach it, it is going to cut the way you see it unless there are different colors.
Unclick the Attached Letters
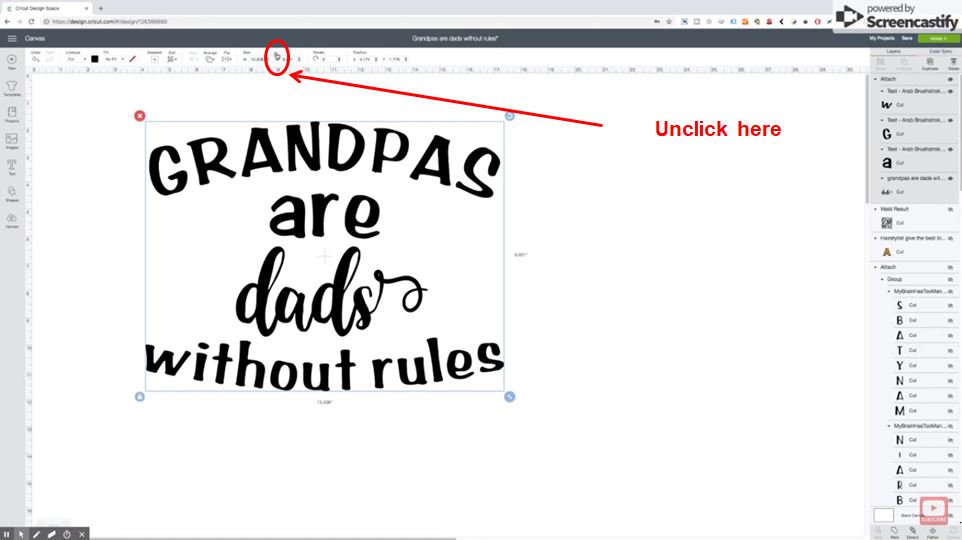
Next, go up here and click on the unlock button
Adjust the Size.
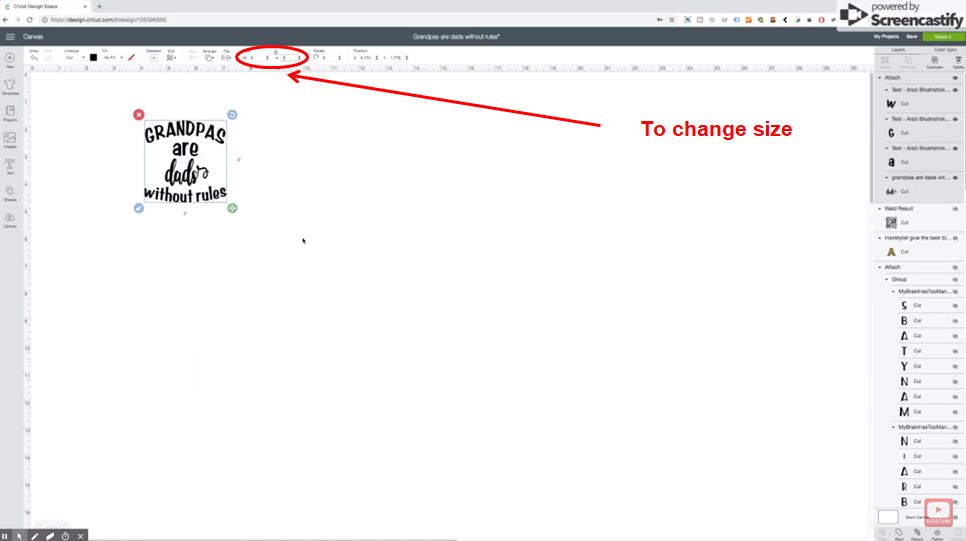
Once opened, you can change the size. My particular mug is an 11 ounce mug so I am going use a 3 by 3 design.
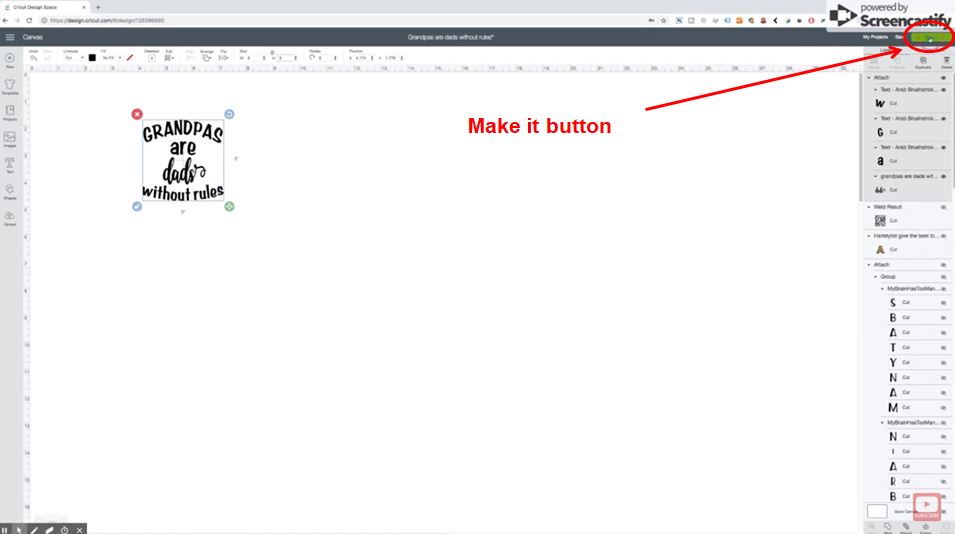
Click on the Make It Button.
Cut and Weed Out the Design.
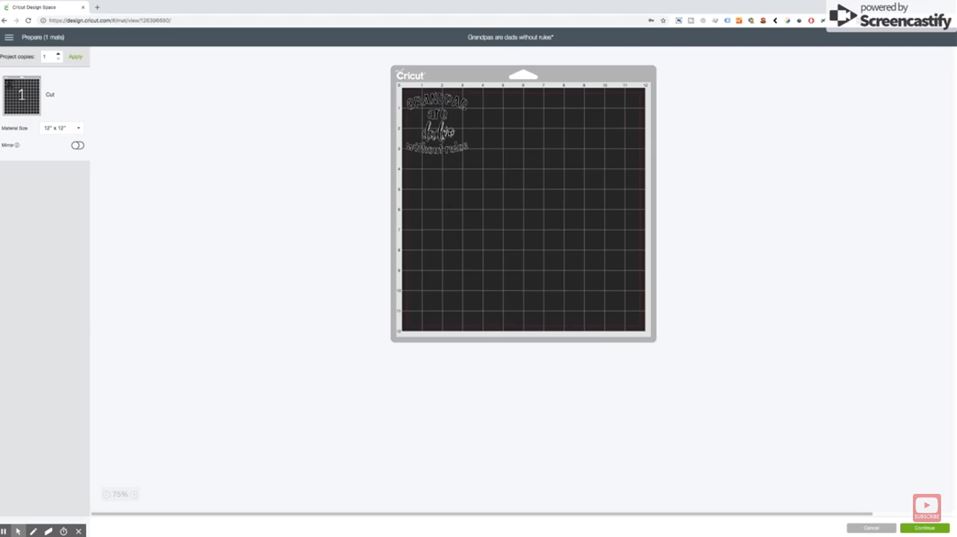
If you don’t need to move it anywhere, cut it out and weed it carefully. Weeding means removing the extra unnecessary vinyl.
Next, Take the Transfer Tape and Cut It to Size
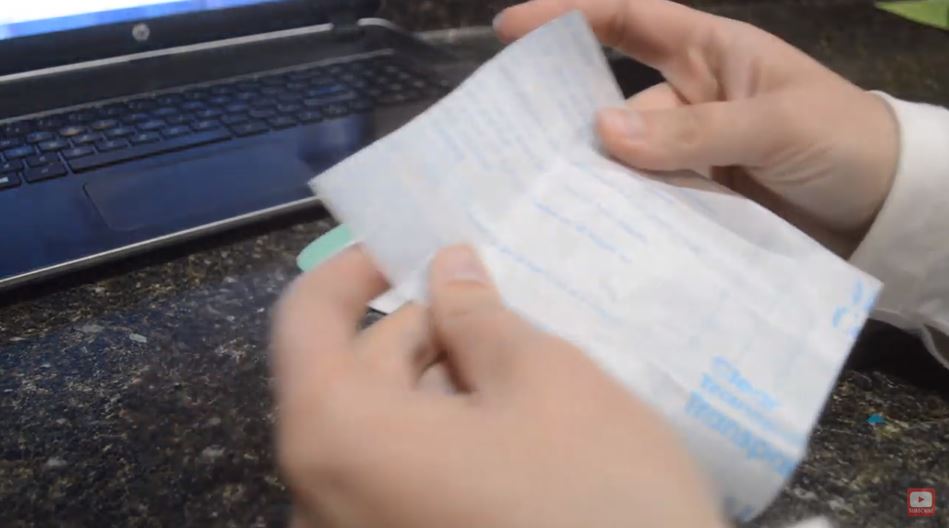
Peel the Backing of the Transfer Tape Off and Stick It to the Vinyl.
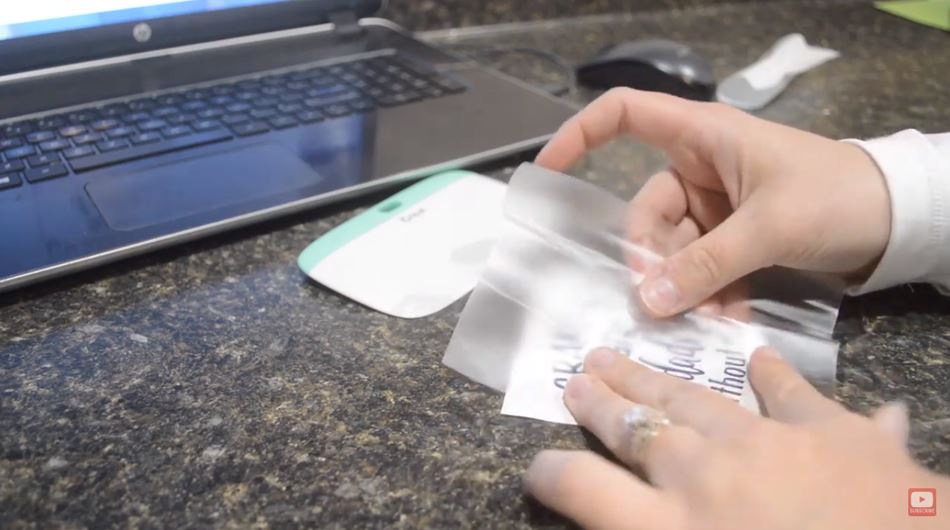
Remove Air Bubbles
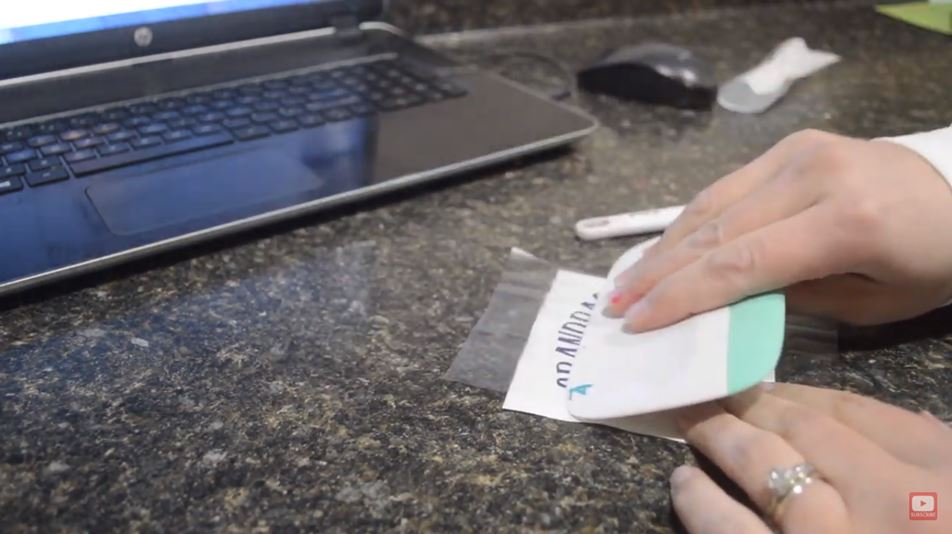
Push it with your fingers so that you don't have any air bubbles left. Use the tool to scrape it.
Shift the Design Onto the Transfer Tape
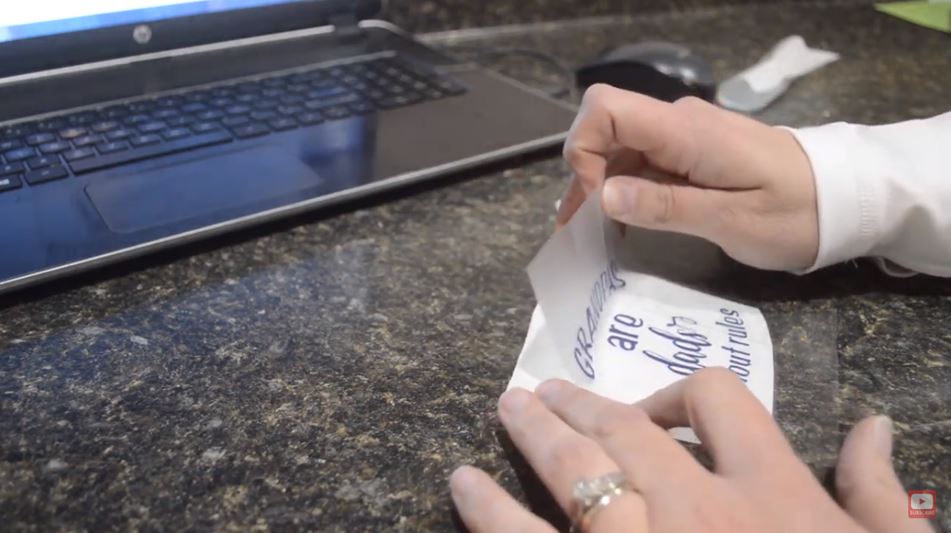
Peel the transfer tape off the vinyl. You will have the design on the transfer tape now.
Get the Design Onto the Mug
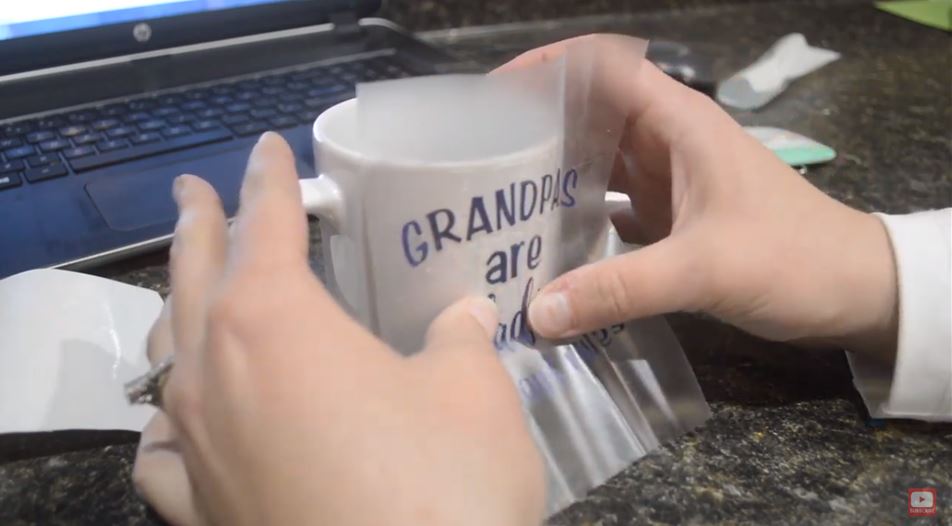
Align the design on the mug and push with your fingers and allow it to grab onto the cup without getting any air bubbles.
Remove the Transfer Tape
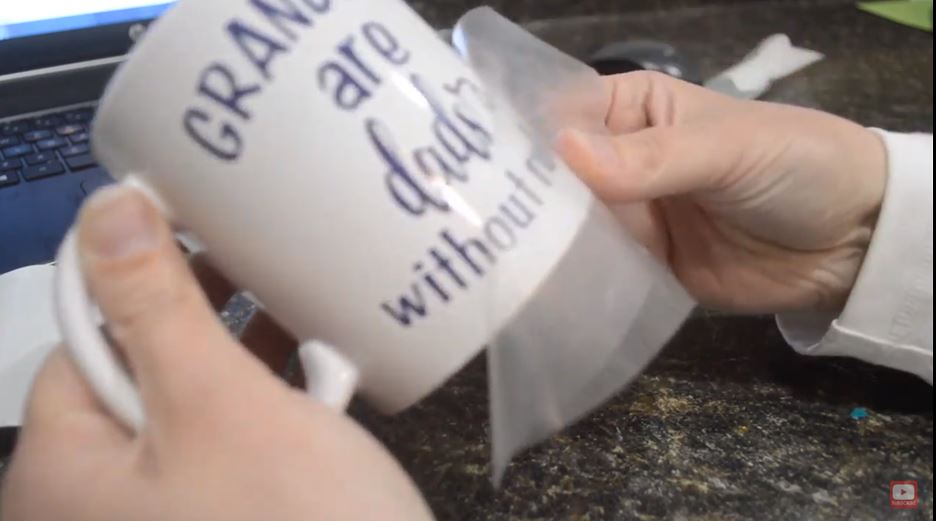
Carefully peel back the transfer tape. You can save the transfer tape for reuse it for another project, if you choose.
This Is What It Finally Looks Like
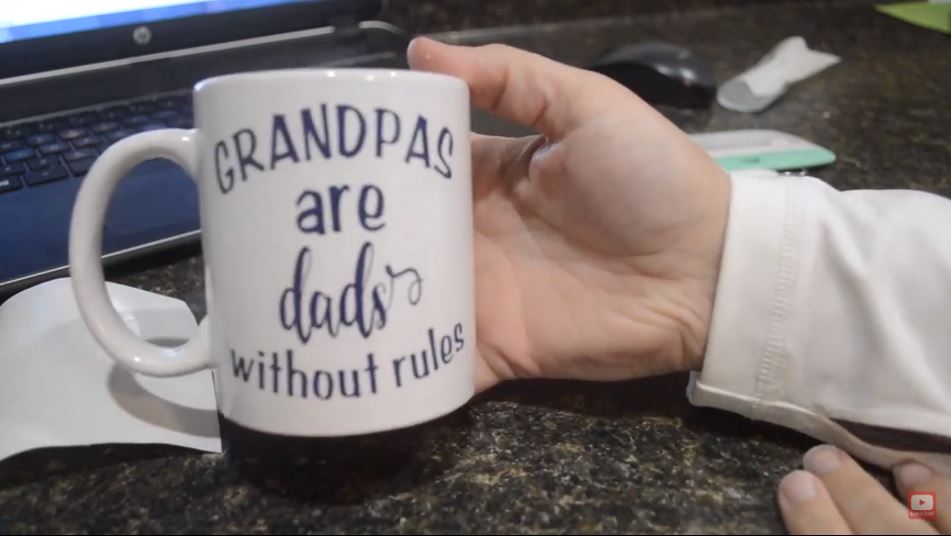
My daughter and I are regulars at selling stuff at craft fairs and flea markets in the summertime. We plan to sell this mug along with others at a local craft store. It is a fun way of making some extra money and getting your name out there.