How to Make a Mrs. Potatohead Inspired Flower Pot Using TinkerCAD
by daisydlopez in Design > Digital Graphics
733 Views, 1 Favorites, 0 Comments
How to Make a Mrs. Potatohead Inspired Flower Pot Using TinkerCAD
Hello, friends! I will teach you how to make a fairly easy and simple flower pot. It's inspired by Mrs. Potatohead (Toy Story).
You can see the full project by clicking this LINK.
Supplies
Create an account in TinkerCAD
If it's your first time using it, I highly suggest that you learn the basic tutorial on how to use it. No worries... TinkerCAD offers a tutorial once you create your account.
In this project, I will be assuming that you are somewhat comfortable with the basics. (i.e Duplicating, using the control handles of the objects, rotating, mirroring, etc.)
Making the Vase
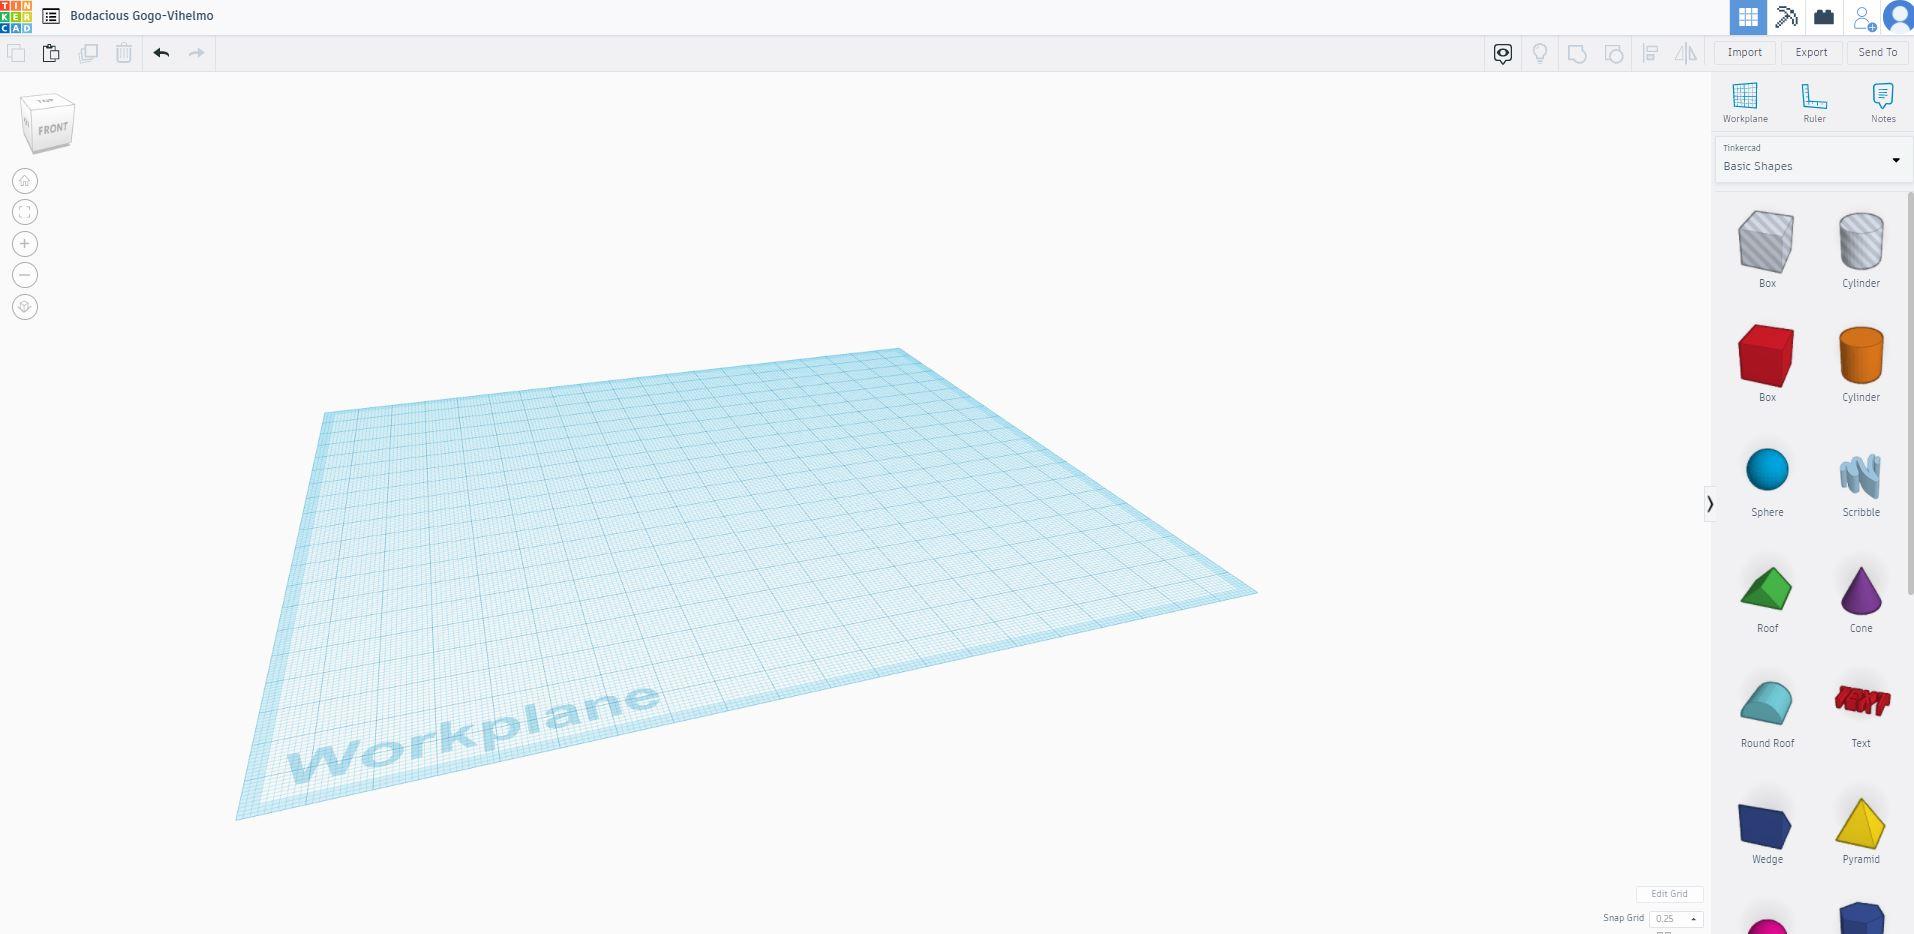


Create a new workplace.
Select "Scribble" under the Basic Shapes panel found at the right side of the screen.
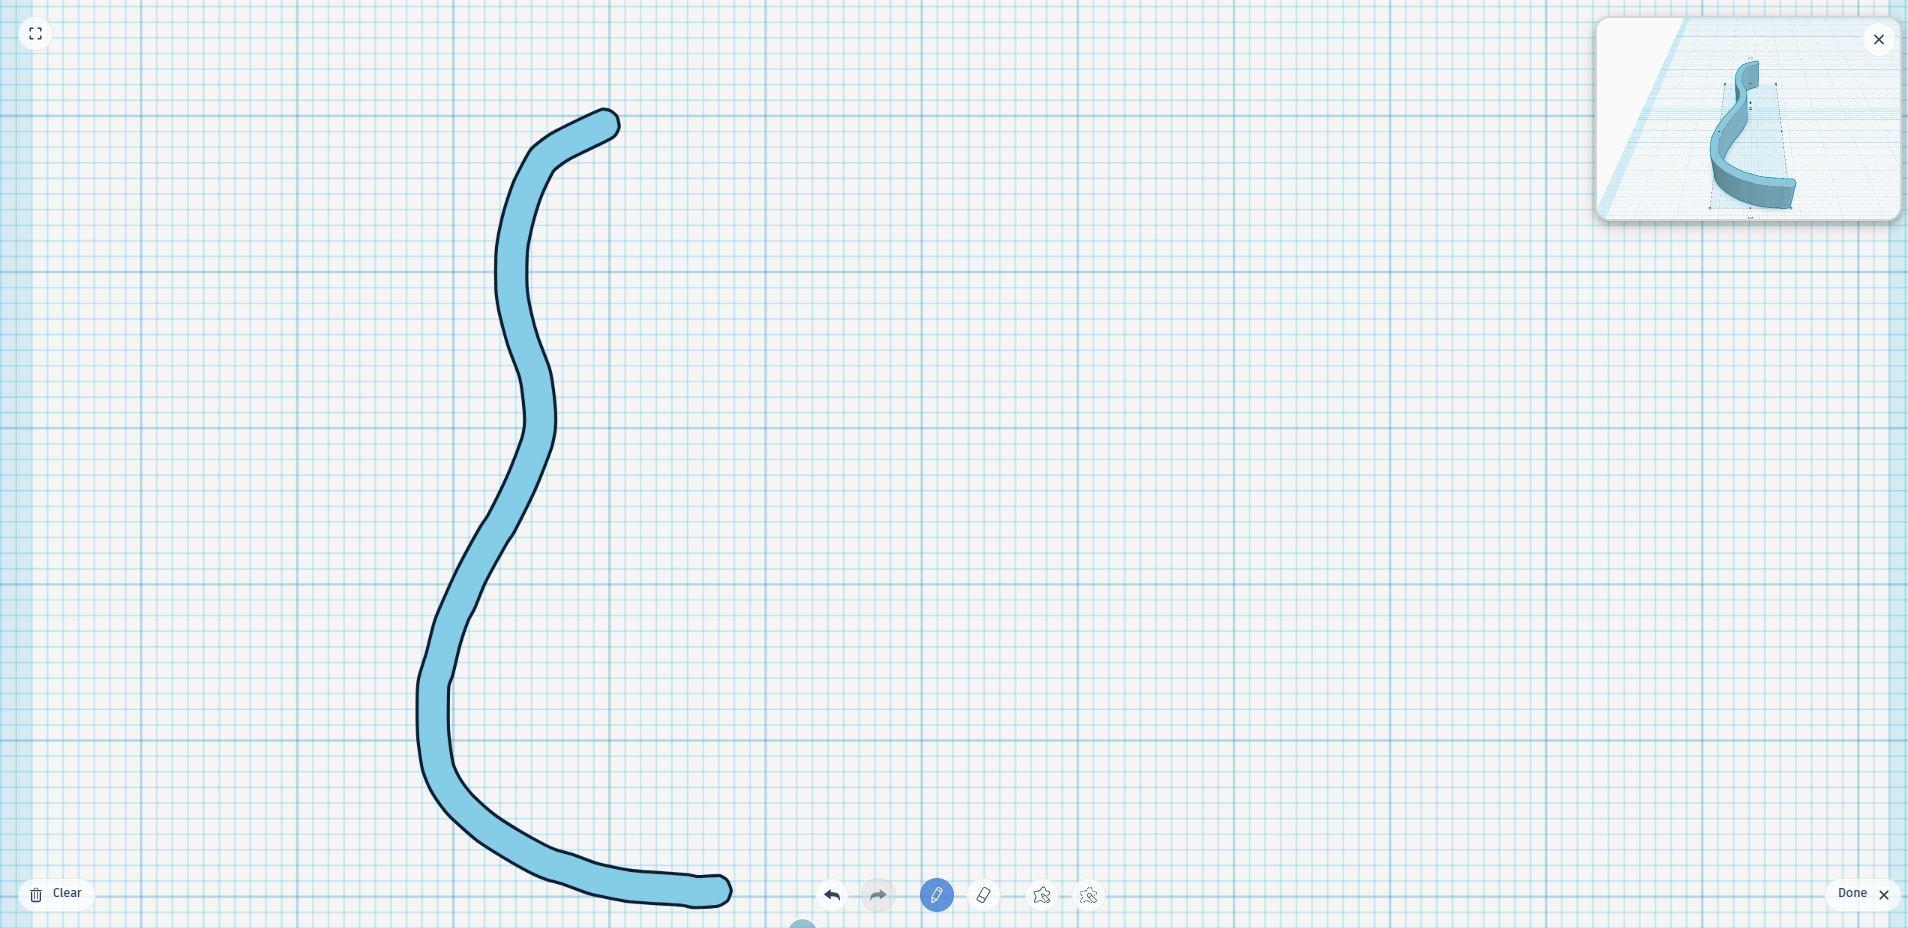
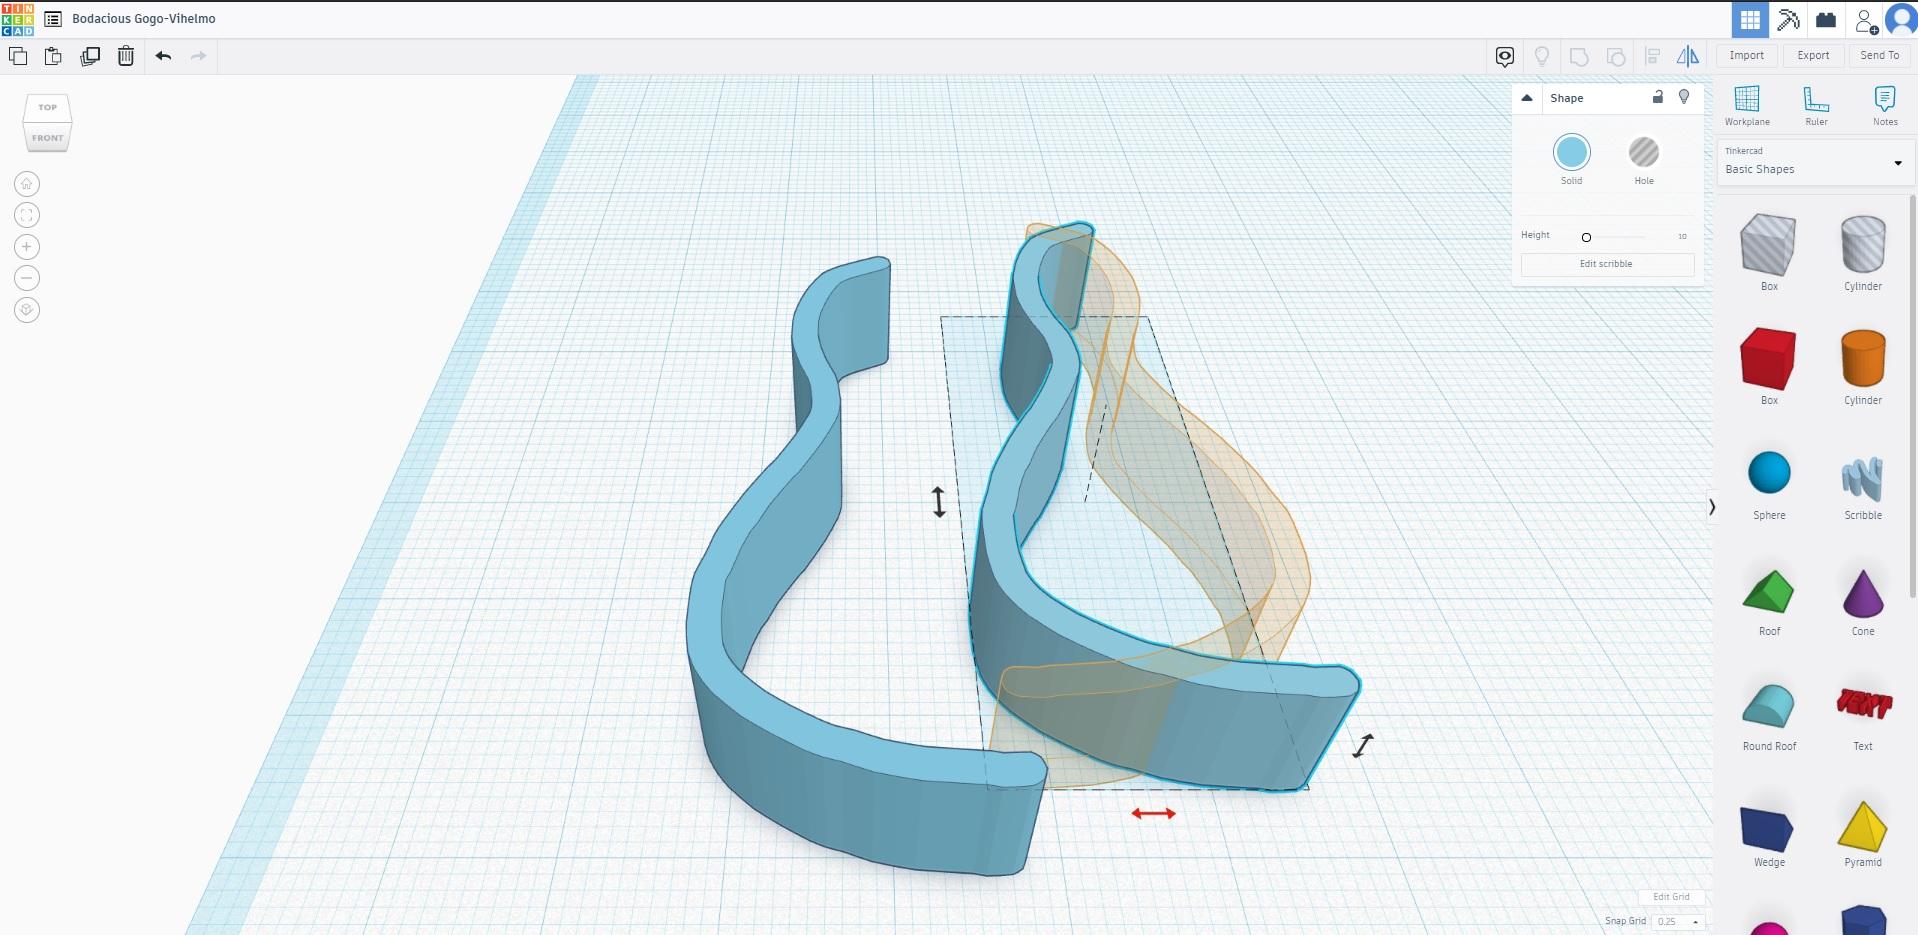
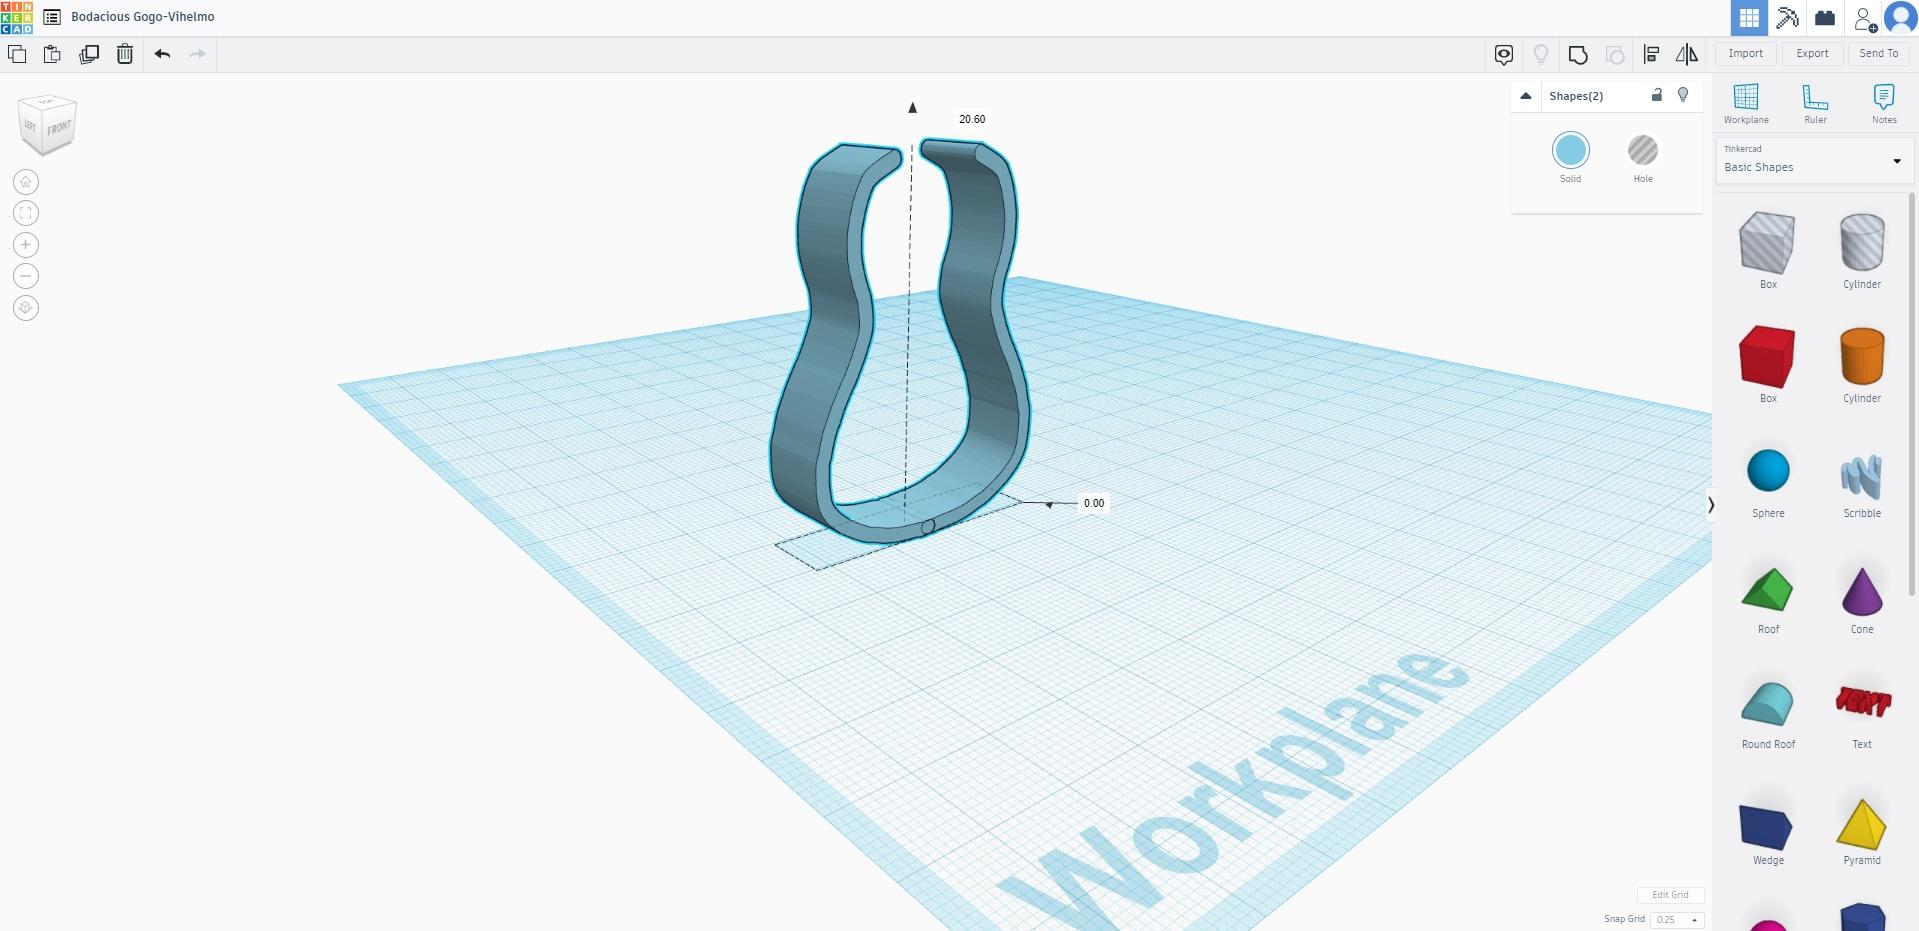
Click once on the workplace and you will be on "drawing" mode. As seen on the 2nd picture, draw an outline of the vase. Just the half of it. Click "Done" button at the lower-bottom of the screen.
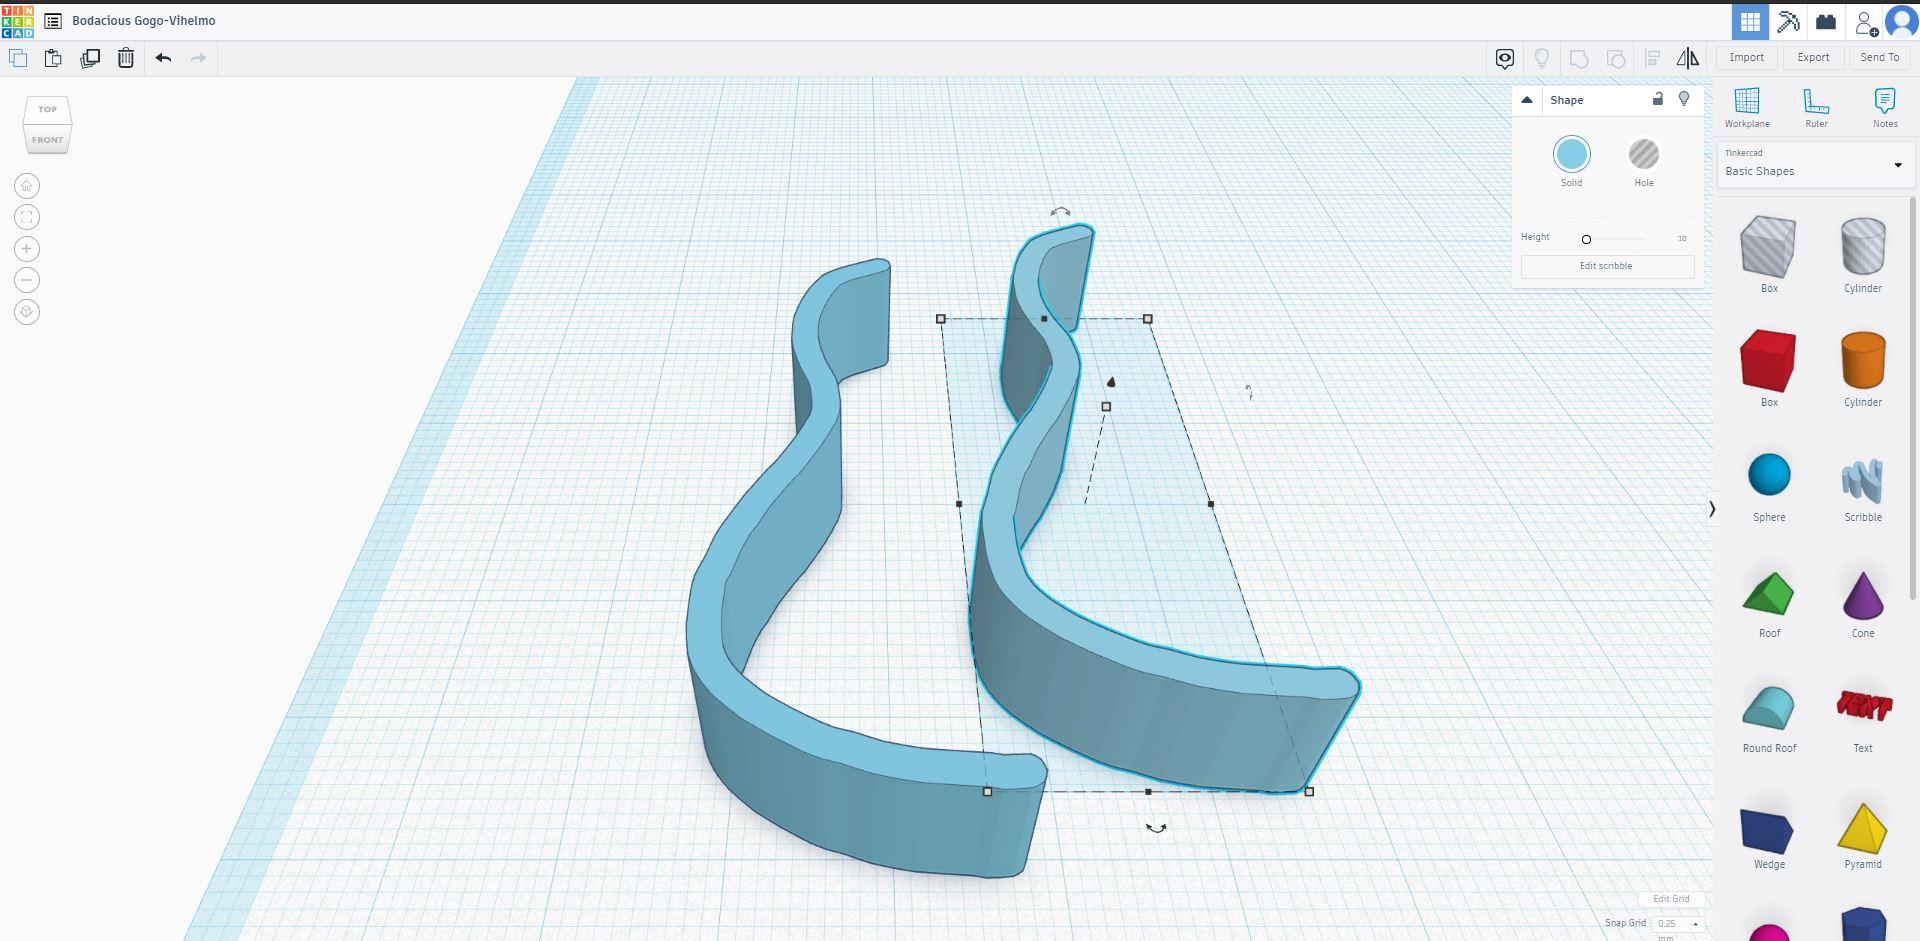
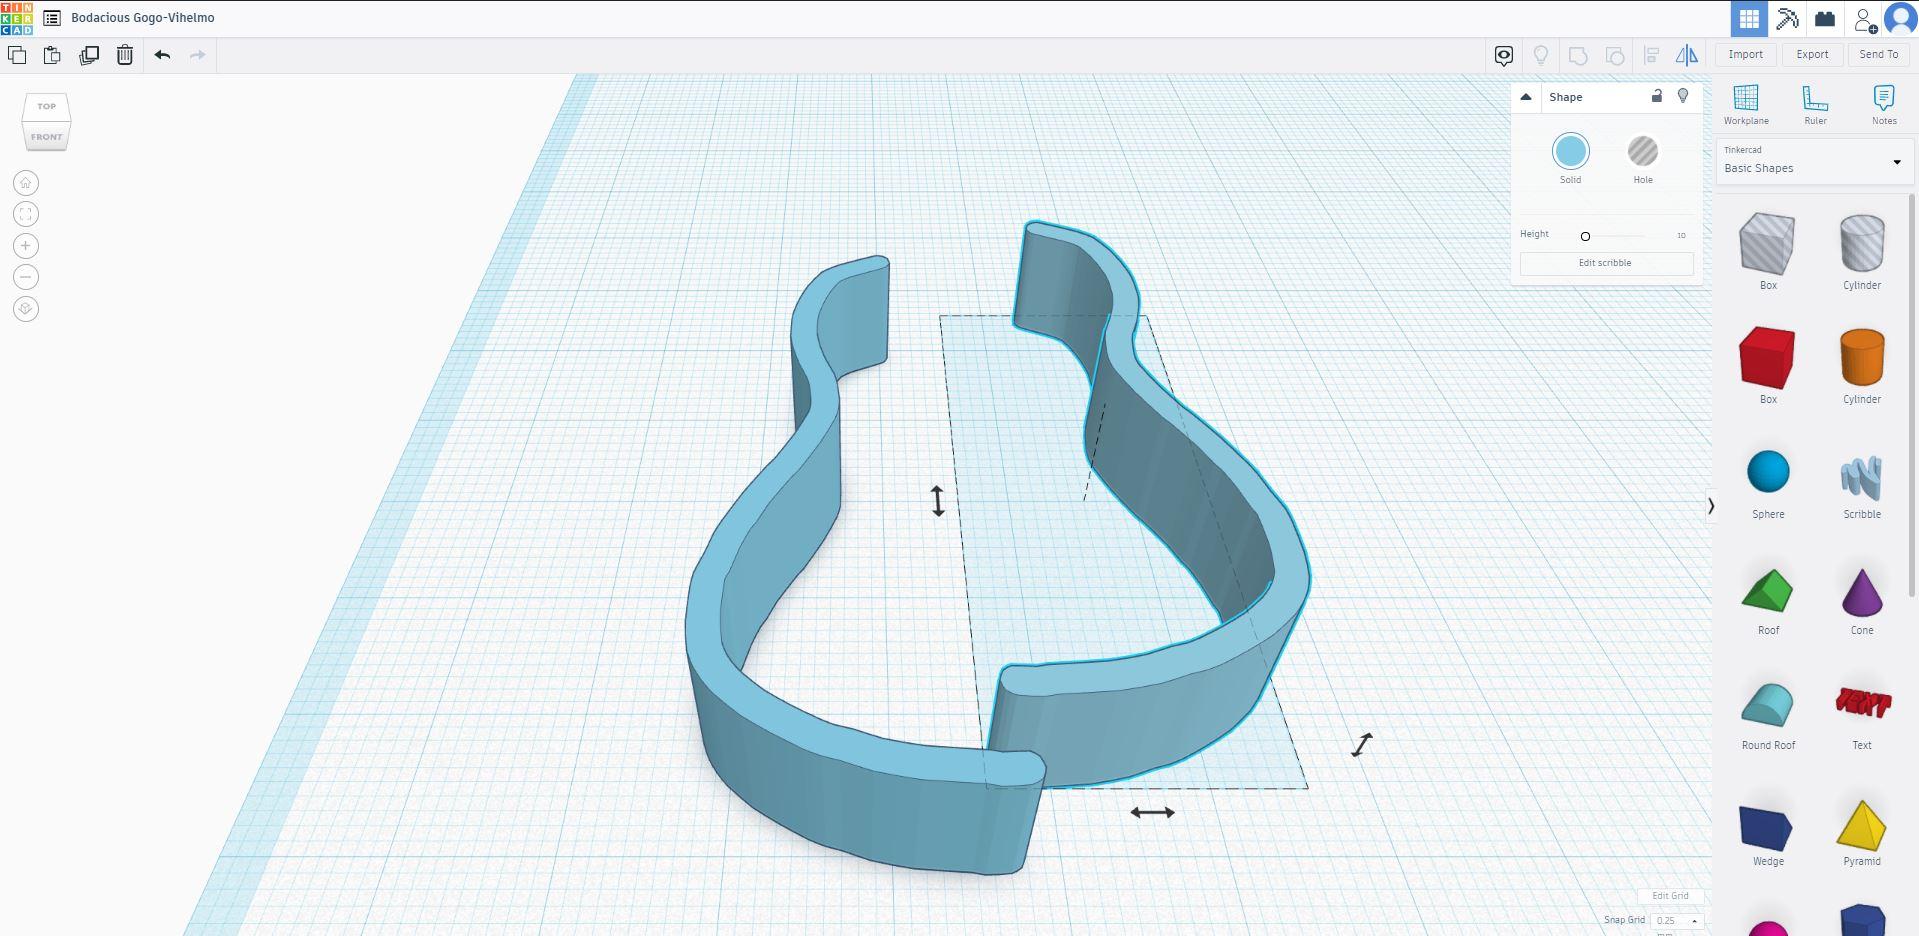
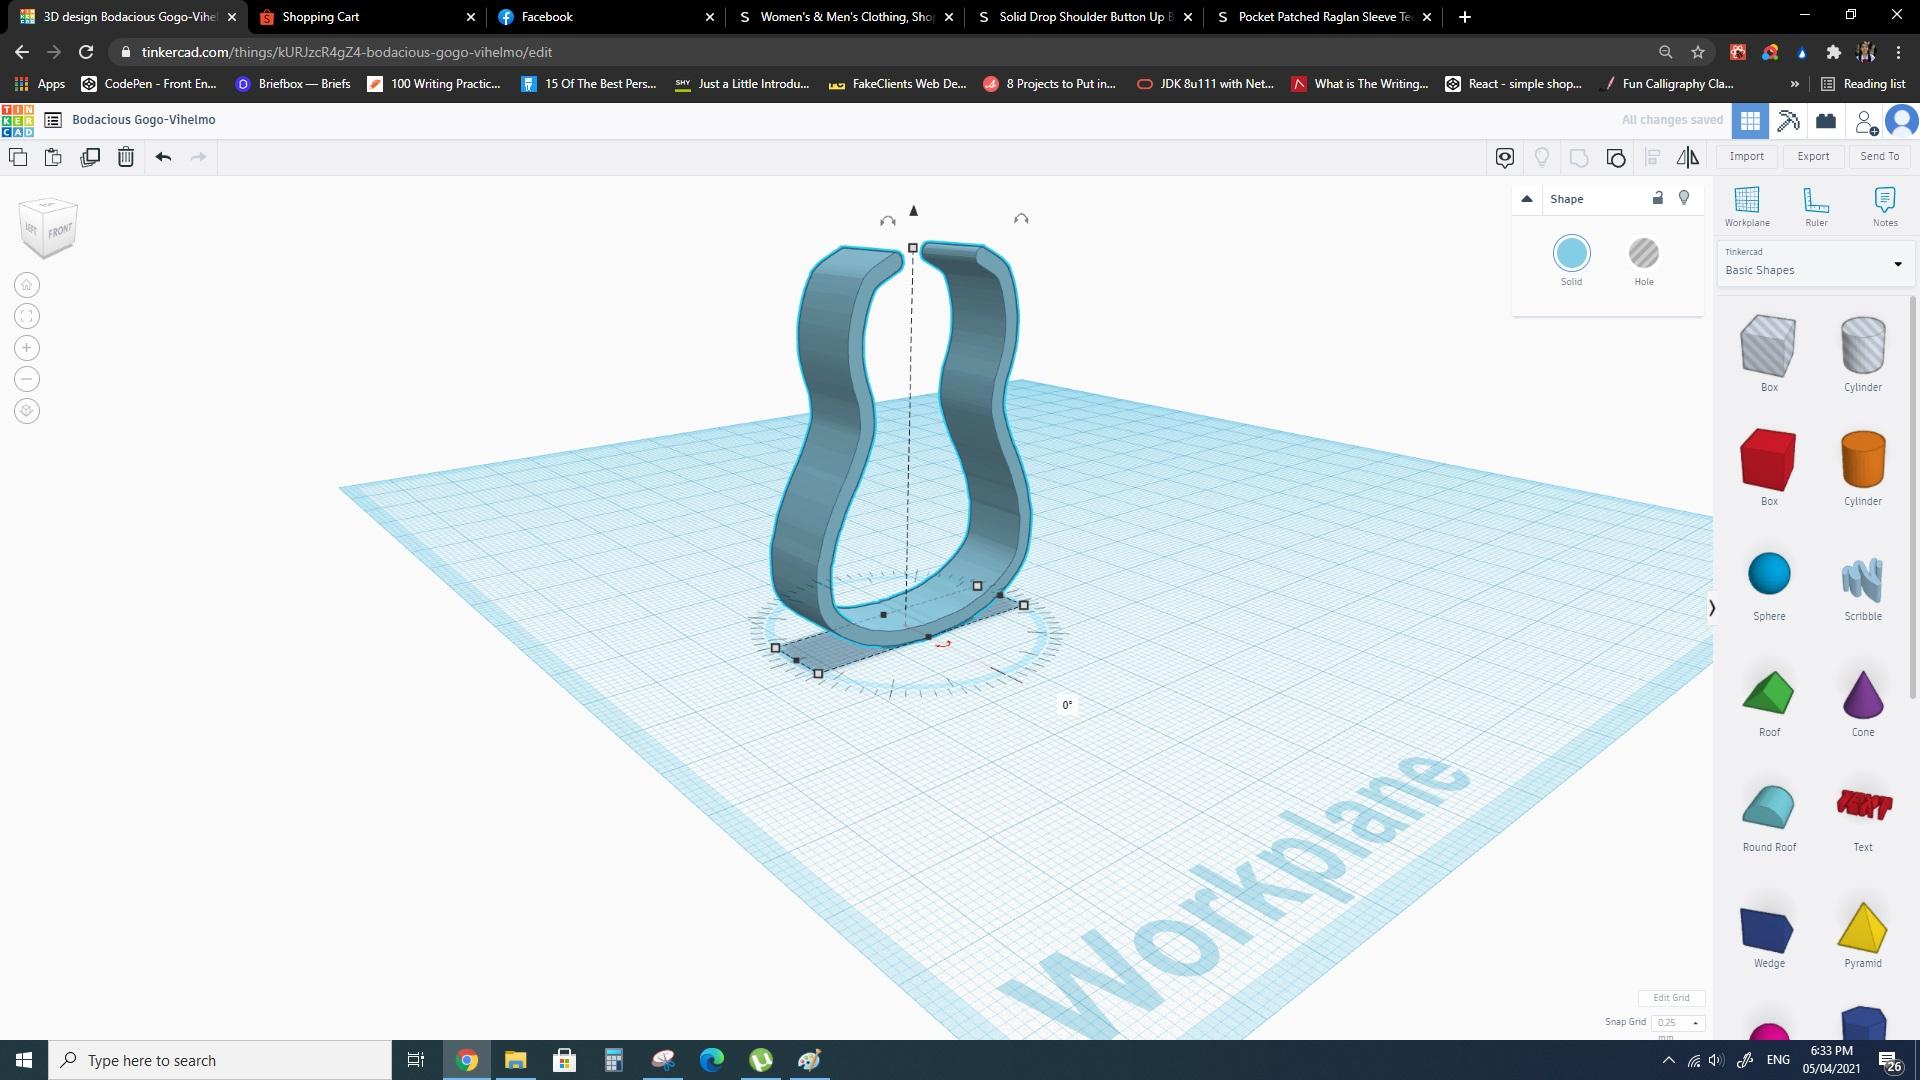
Duplicate (Ctrl + D) the object that you've scribbled. Selecting the duplicate, use "Mirror" on it to make it look opposite the original. Attach and "Group" them together, as seen on the 6th picture.
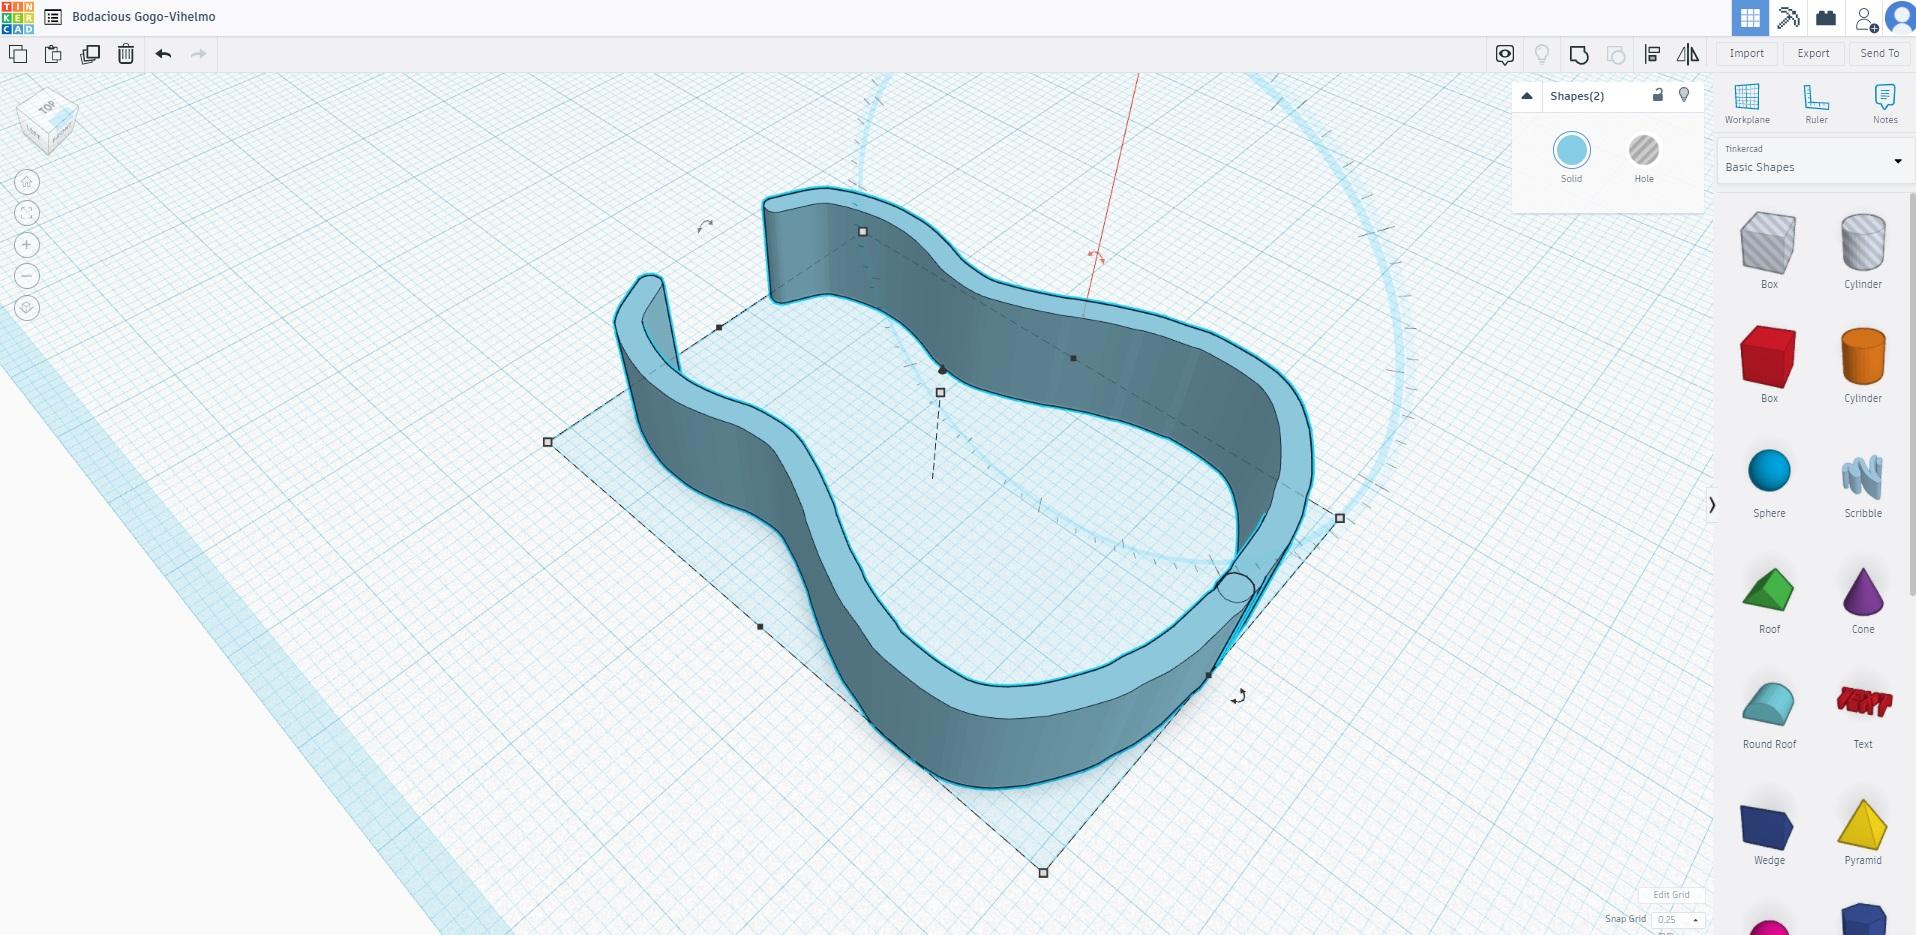
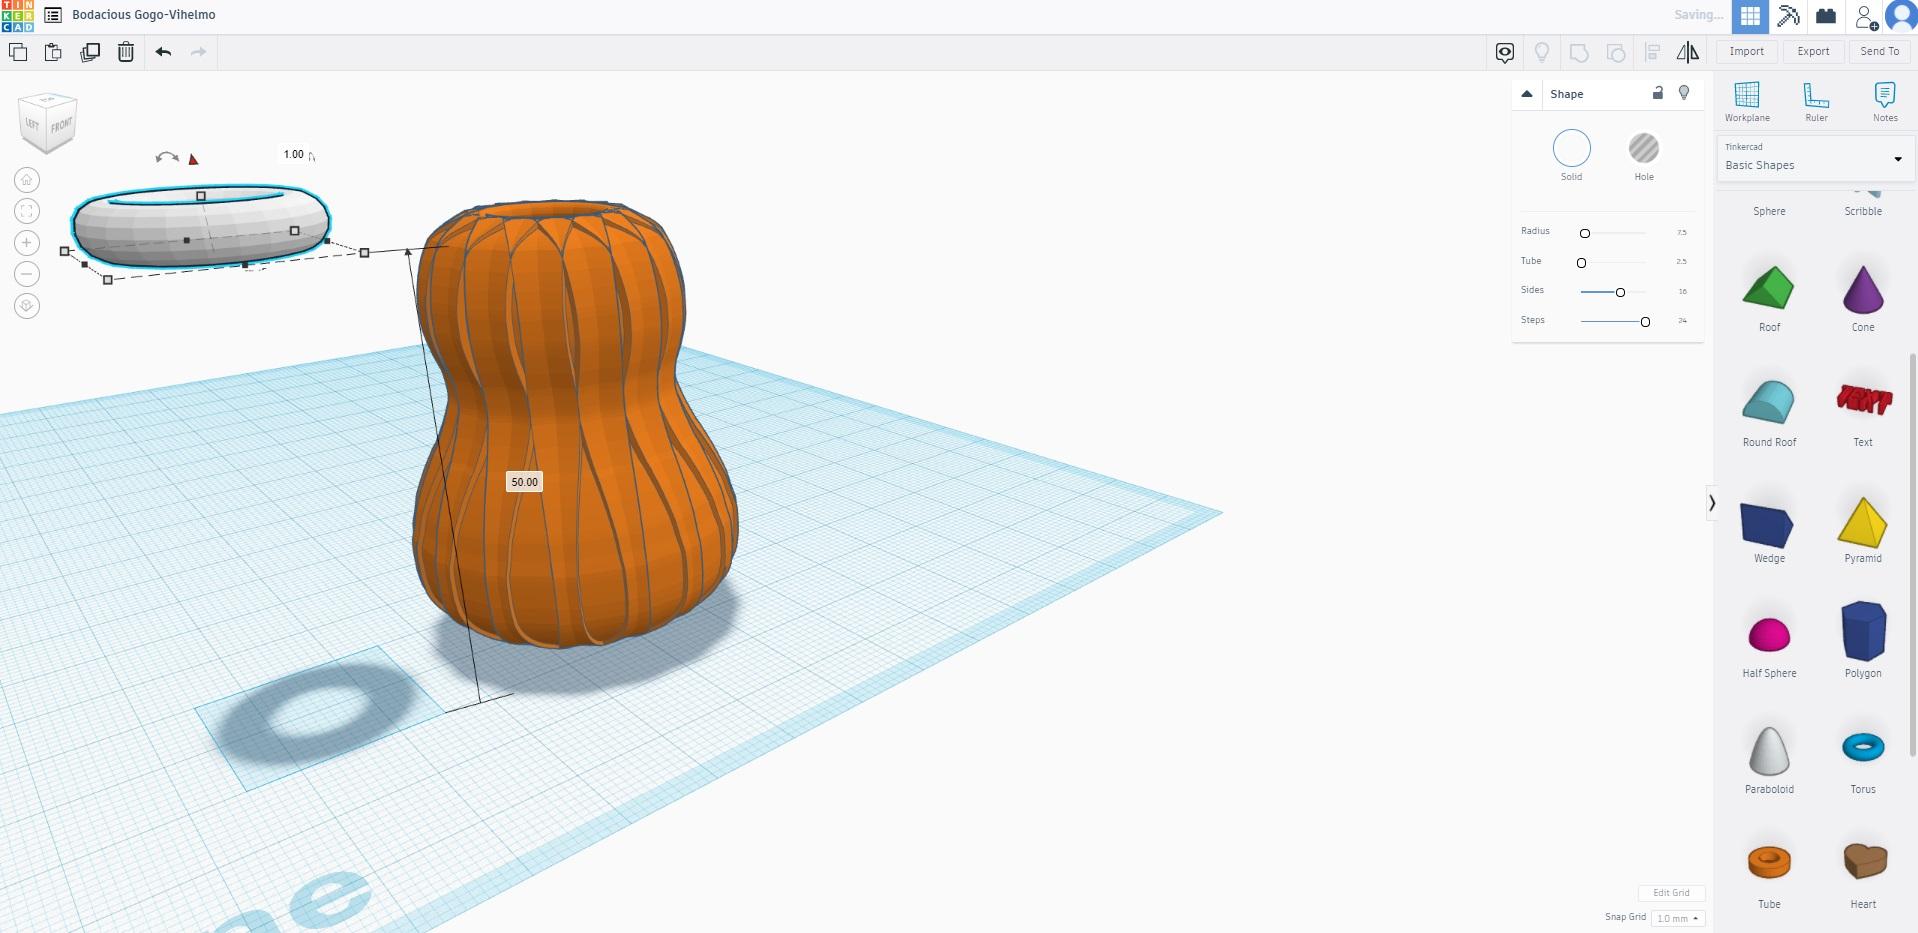
Select the object, and rotate it 90 degrees upright.
Drag it upward so that the object's bottom would touch the top of the workplace (see 9th picture)
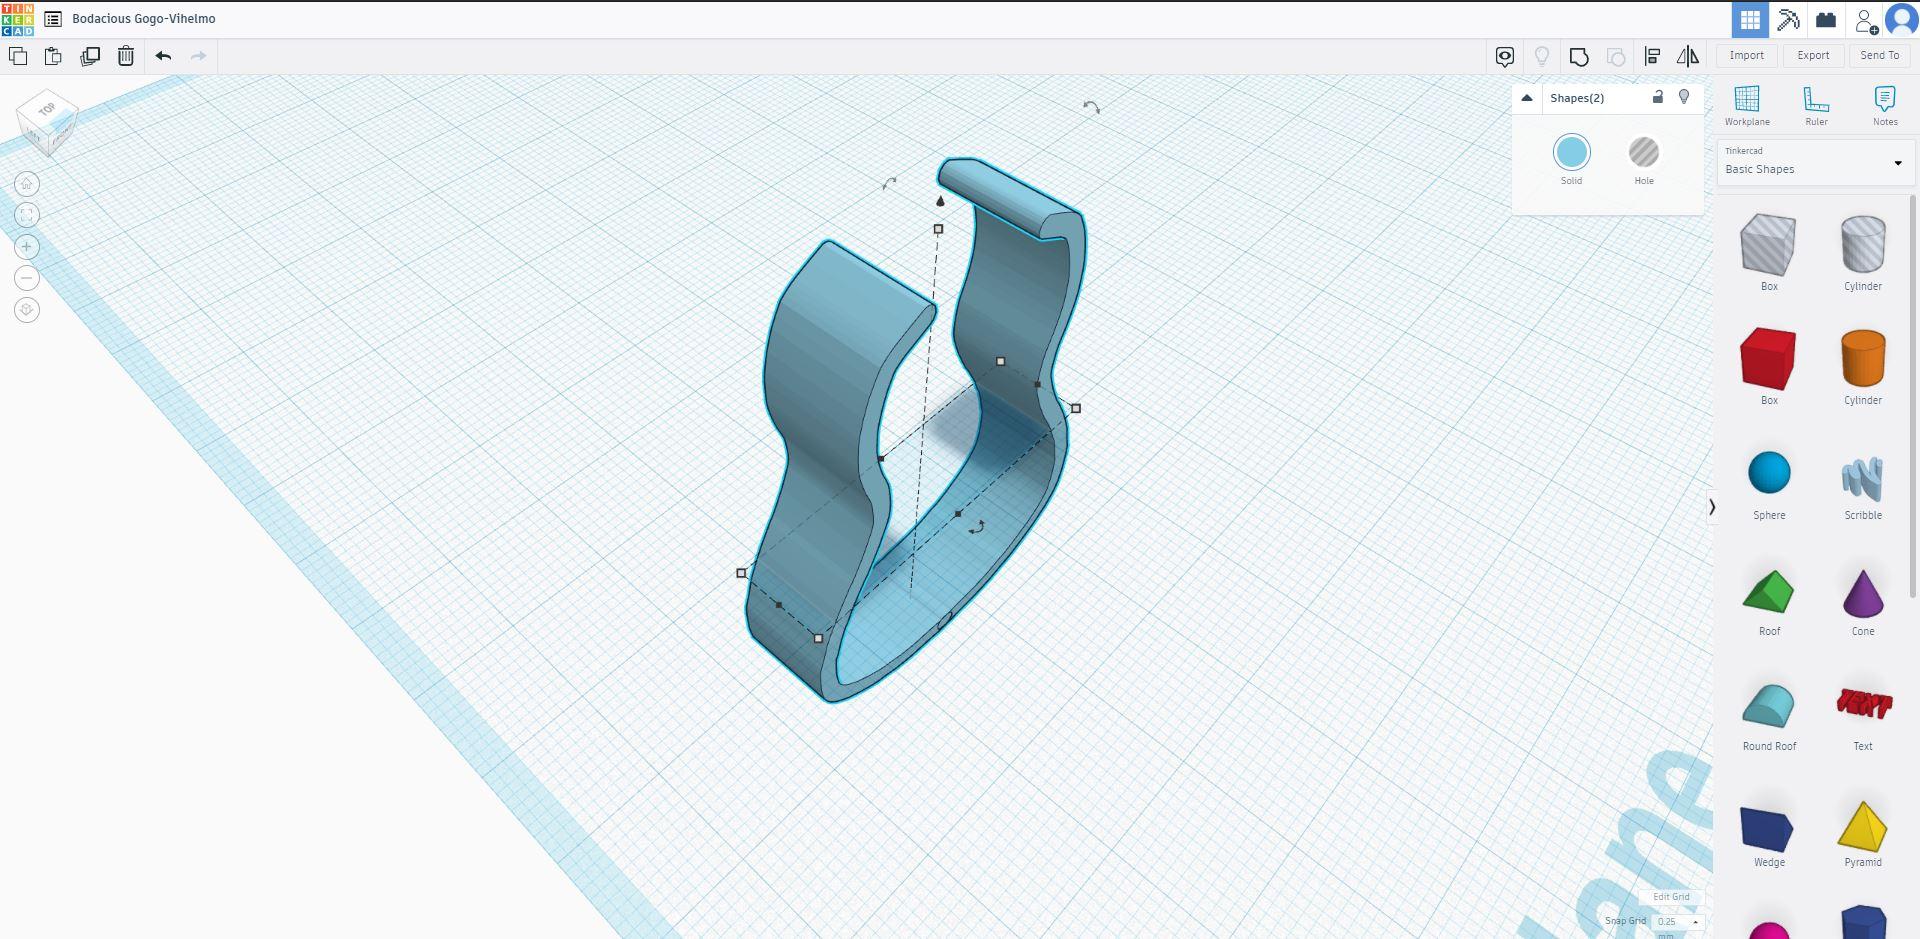
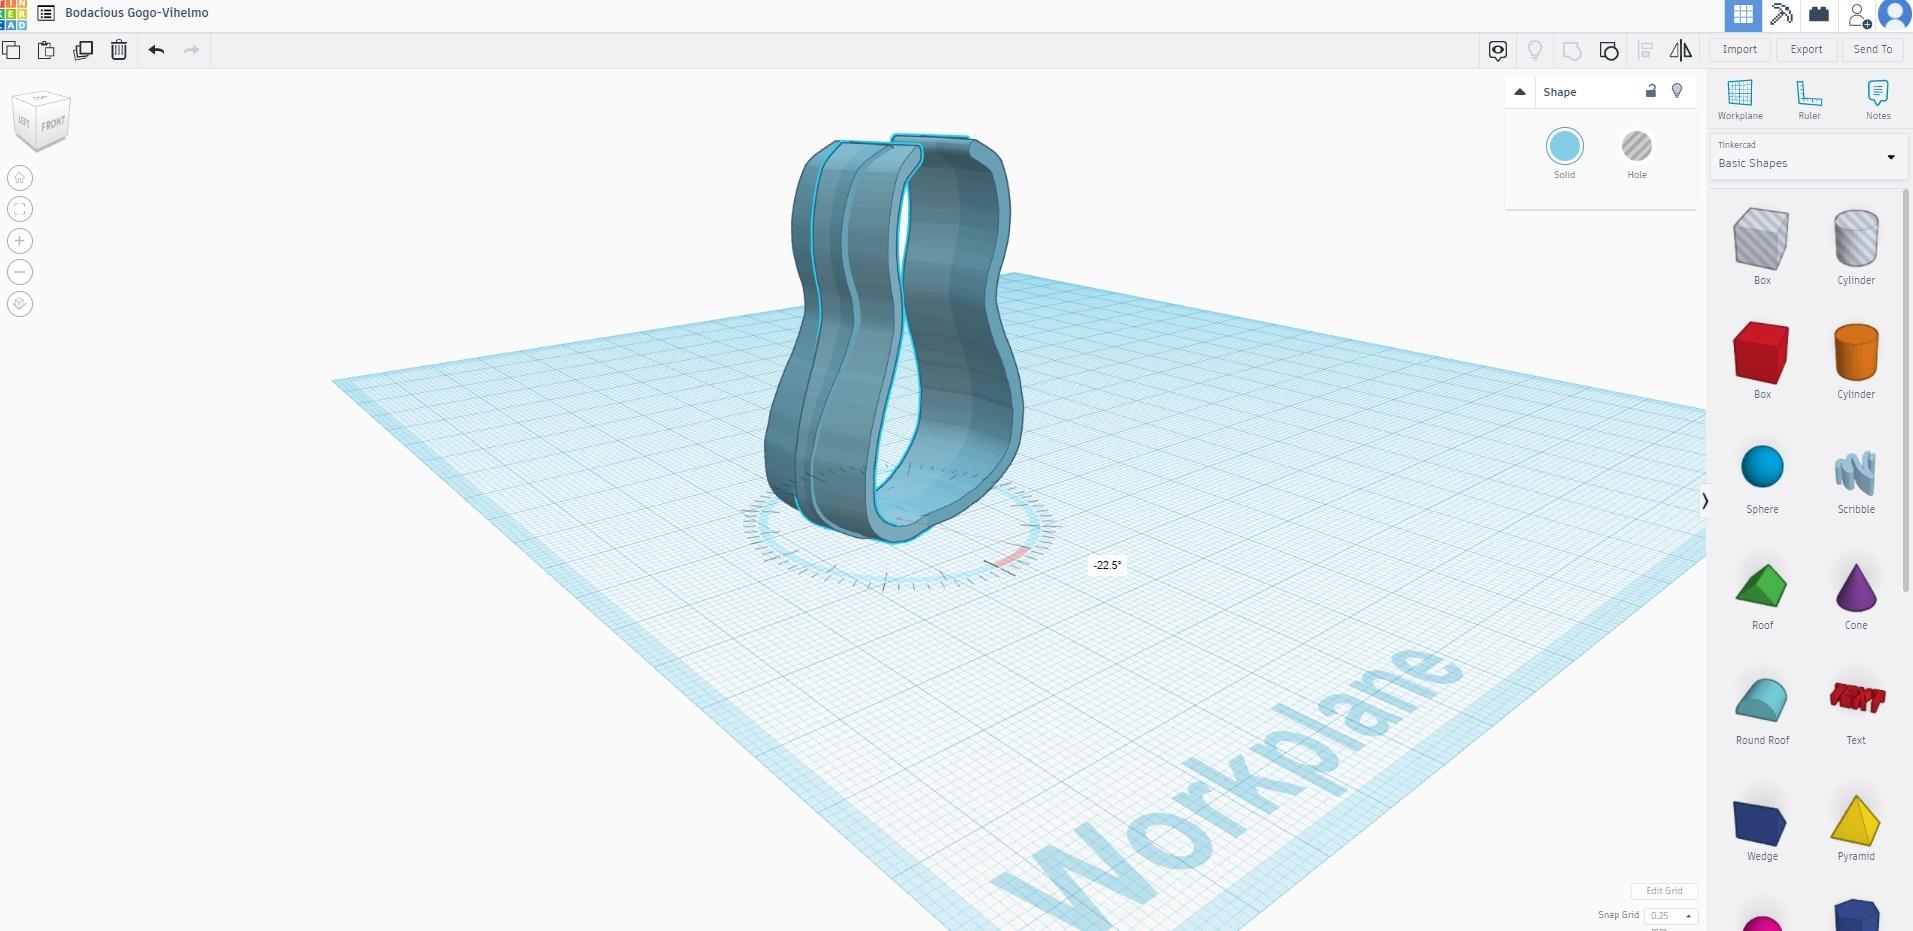
Duplicate the "uprighted" object. Rotate the duplicate just a bit, as seen in the 11th picture. You want both objects to overlap. As long as you don't see any holes between them.
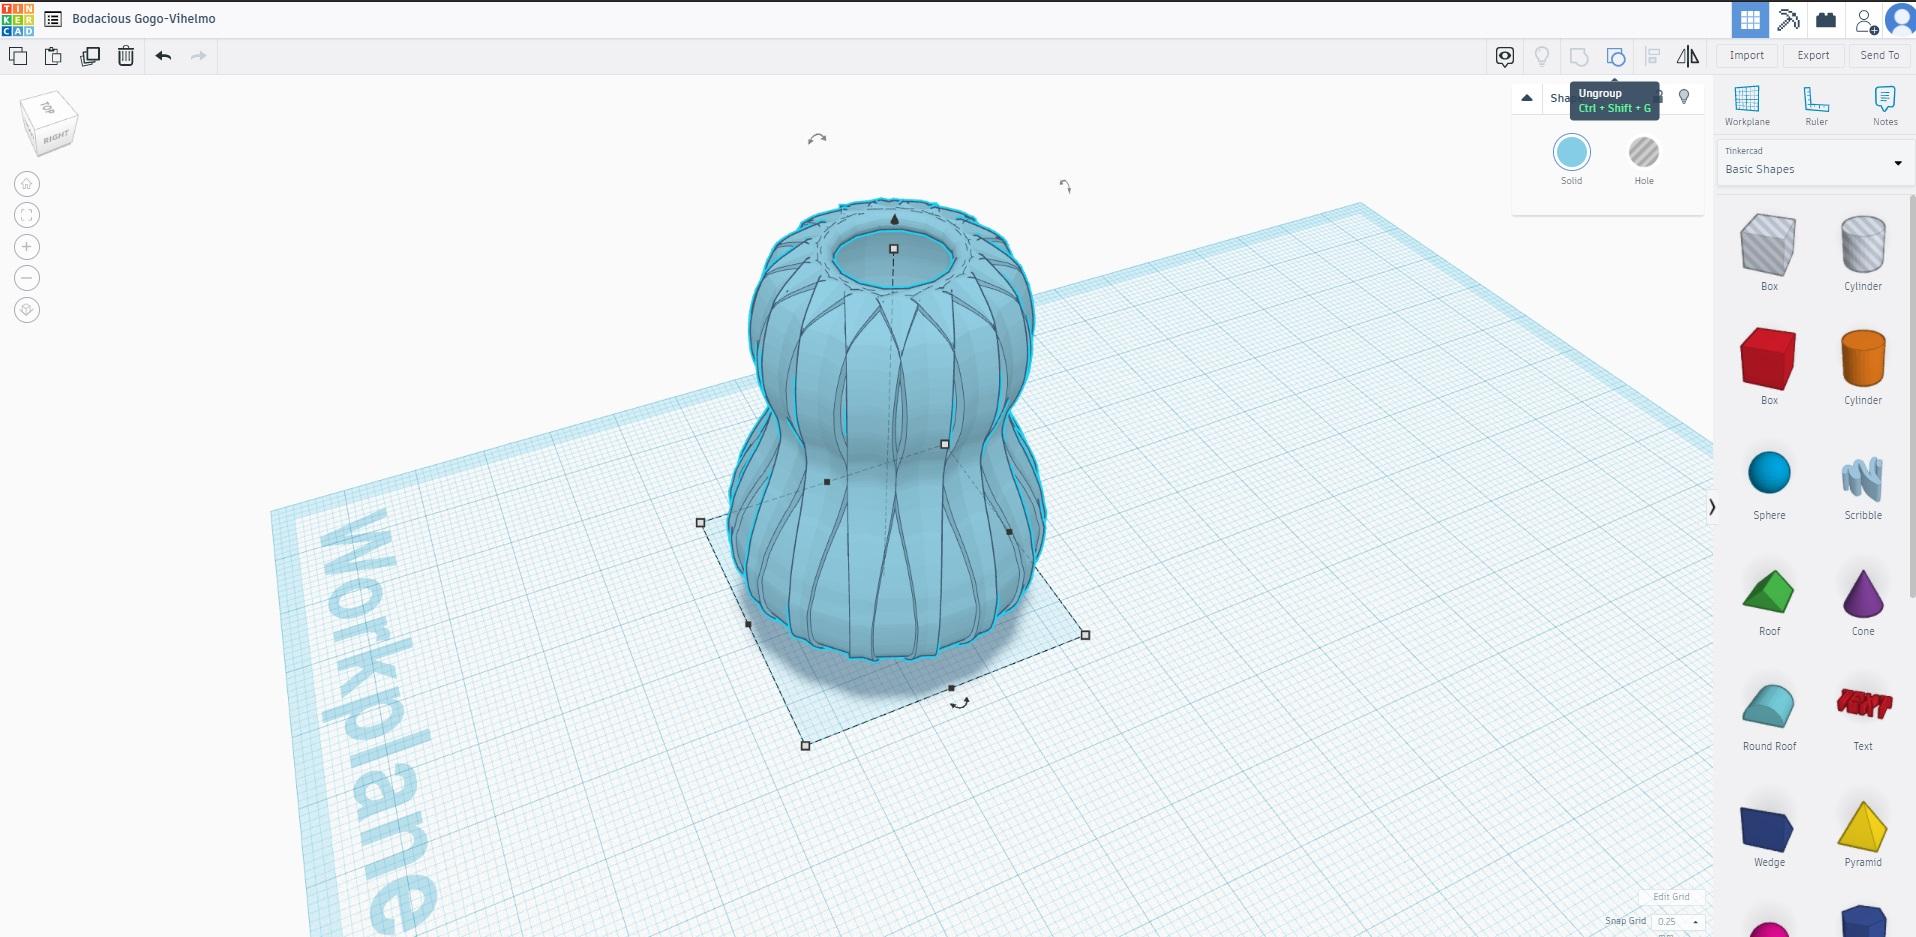
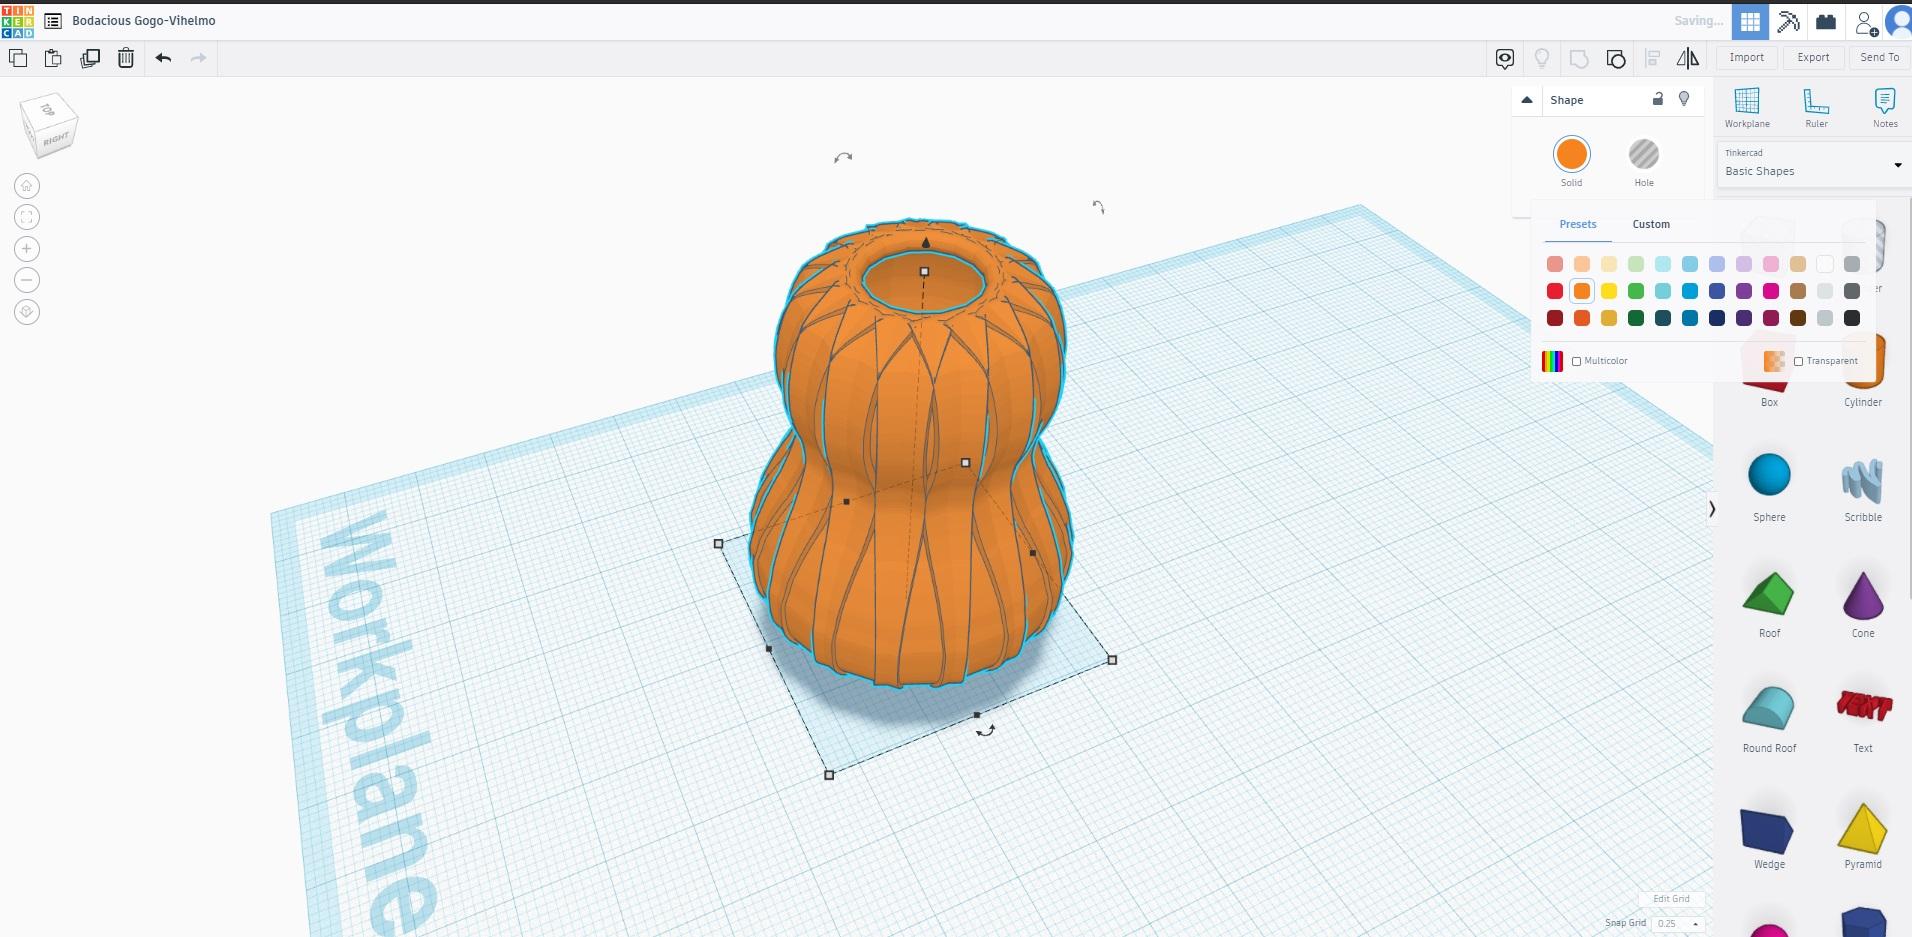
Now here's the fun part. Select the duplicated object and use "Ctrl + D" (Duplicate) a few more times. In my case, 6 times. As you duplicate each time, each object will be auto-rotated. Somehow, it mimics the last rotation you did. The flower pot will look like the 12th picture.
Select all objects and "Group" them together.
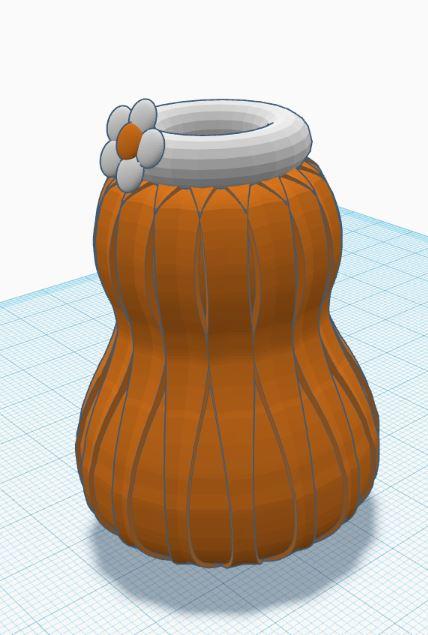
Change the color to "Orange" And there you have it!
Attaching the Ring
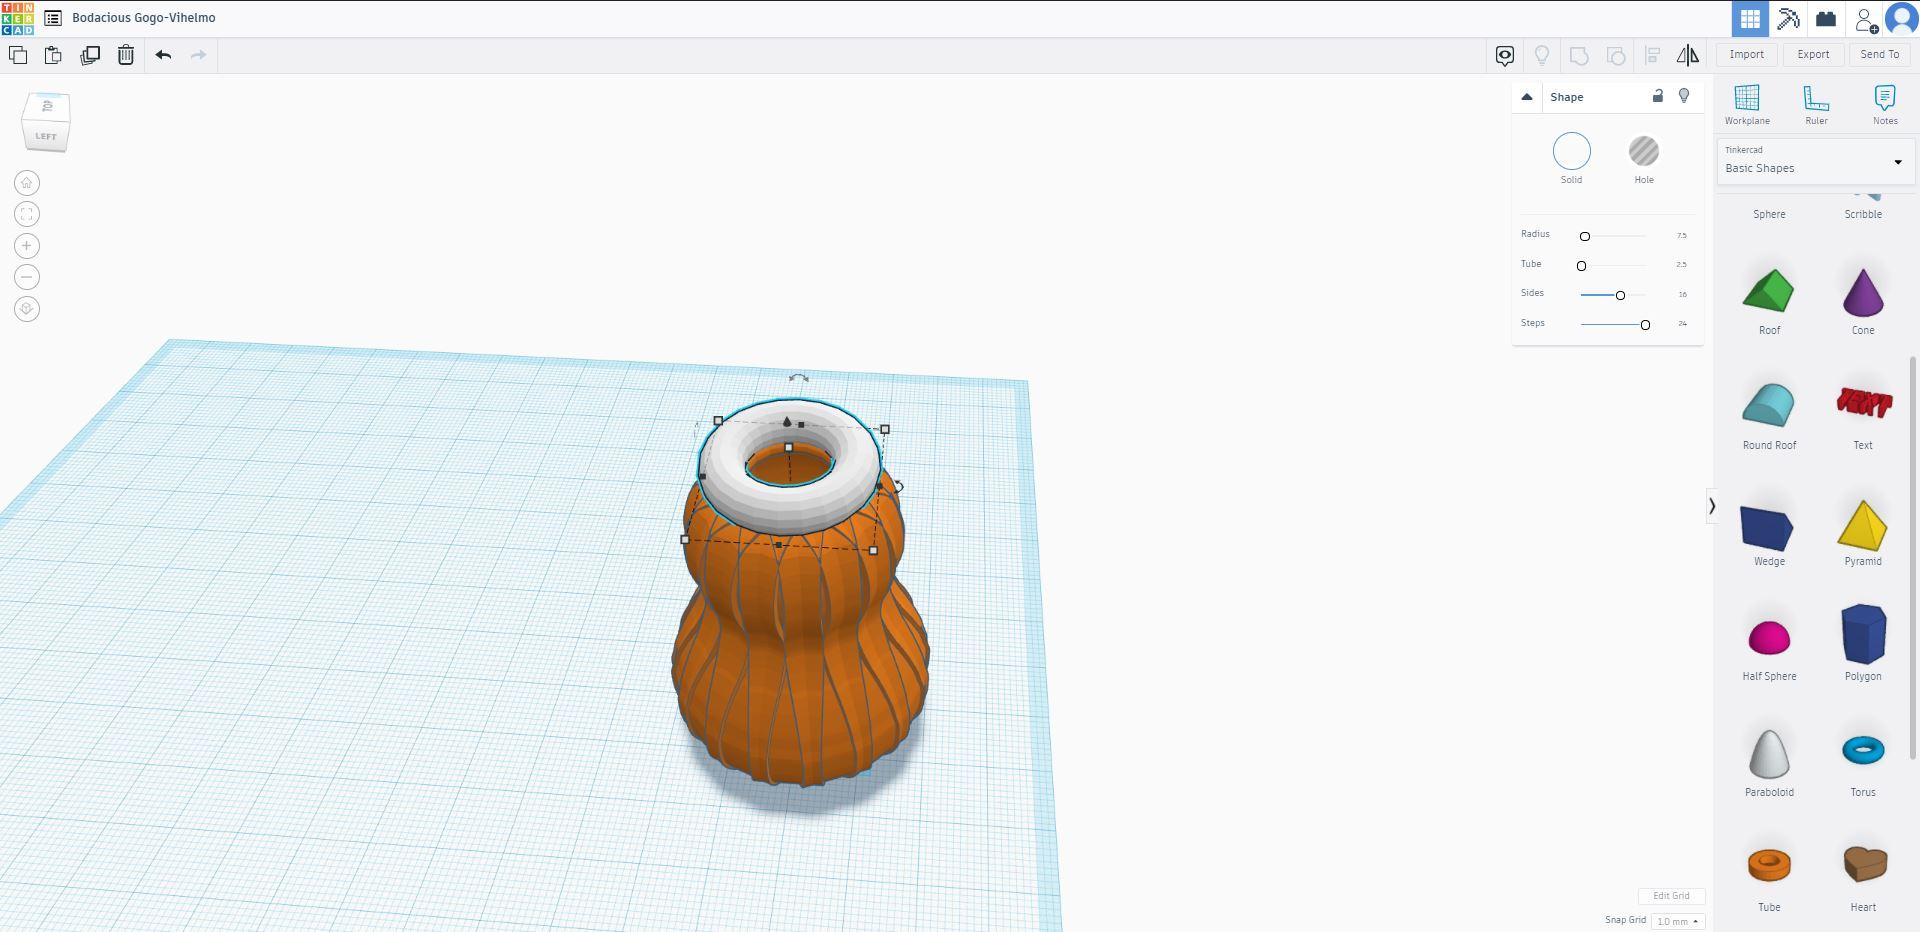
At the "Basic Shapes" panel, select "Torus". It looks like a spherical ring.
Drop it in the workplace. Change the color to white.
Your pot size isn't exactly the same as mine. So, resize the "Torus" and try to fit it on top of the pot.
Making the Flower
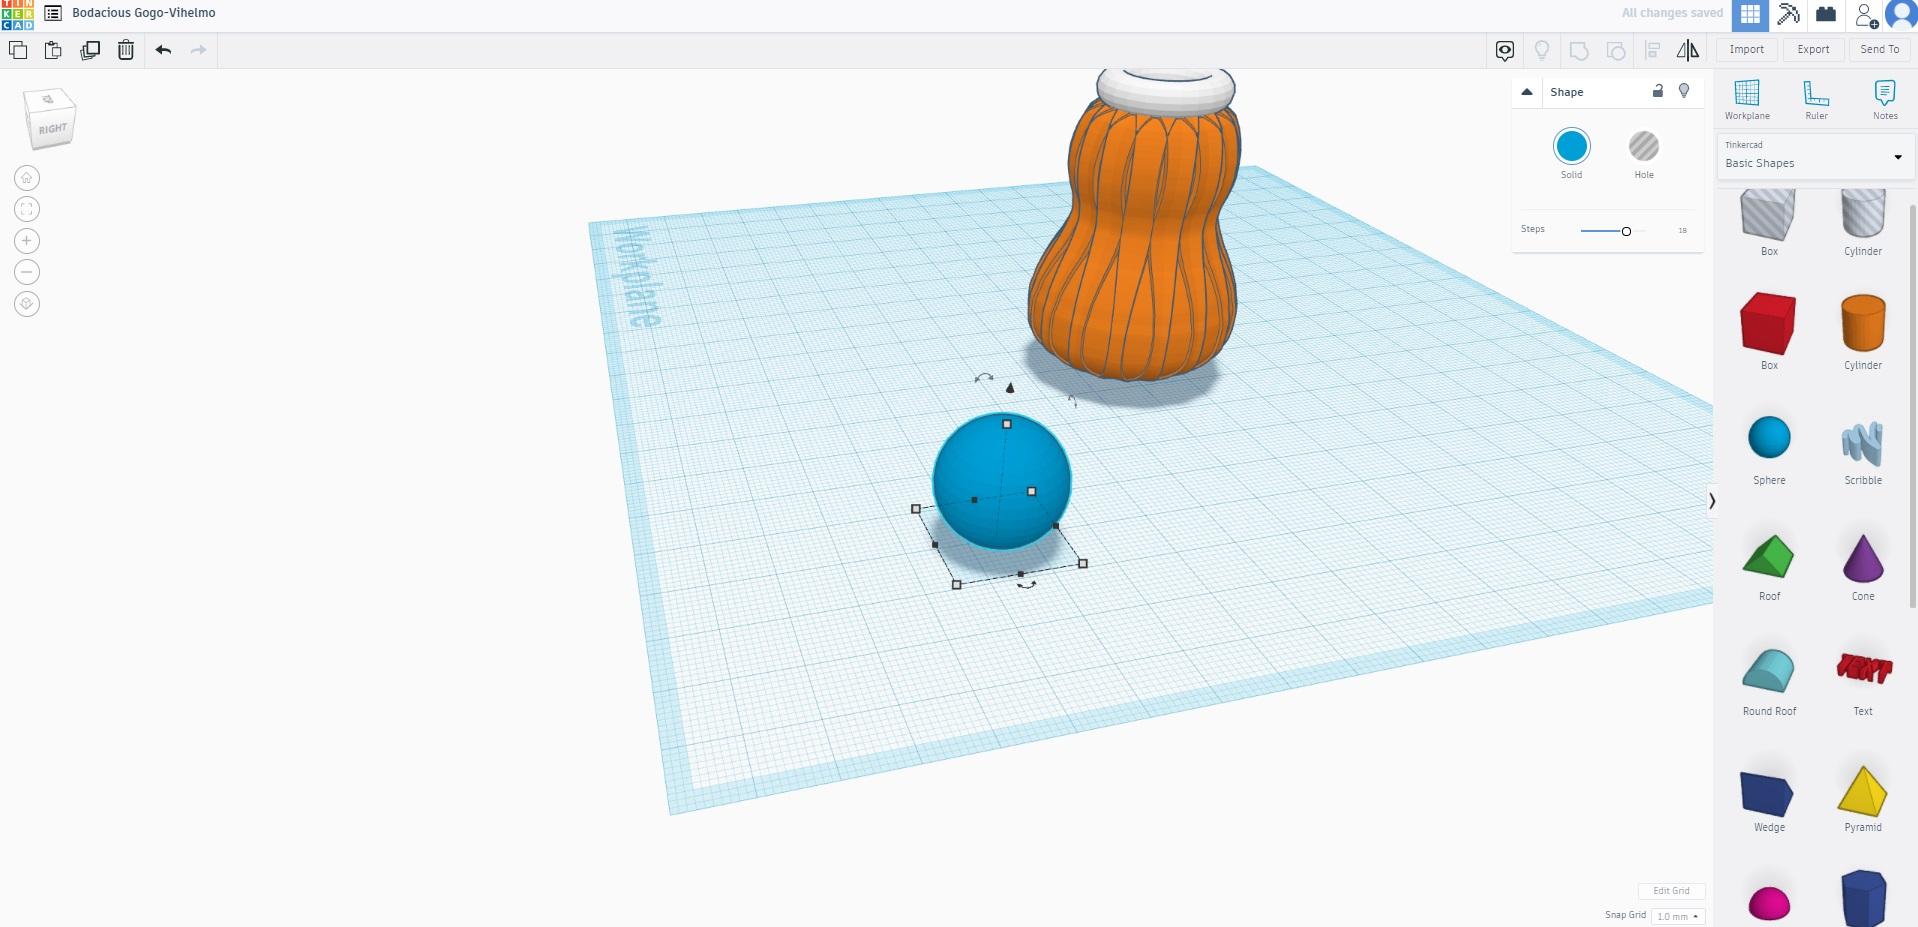
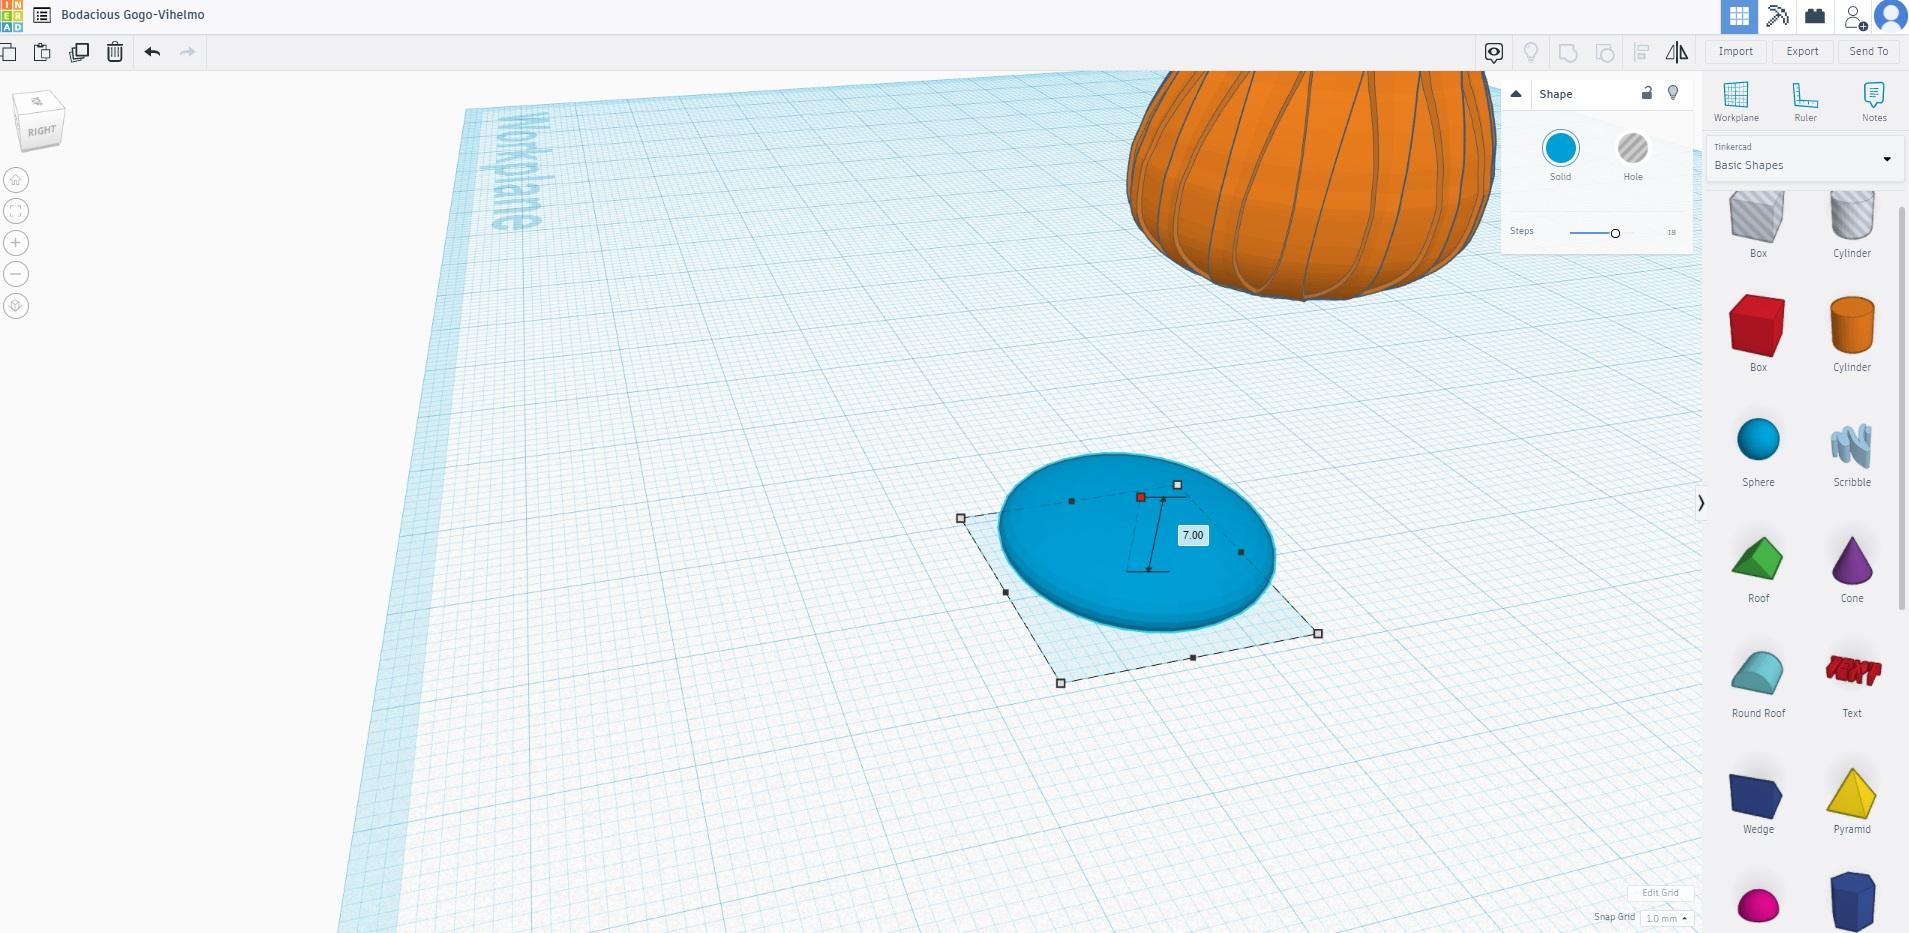
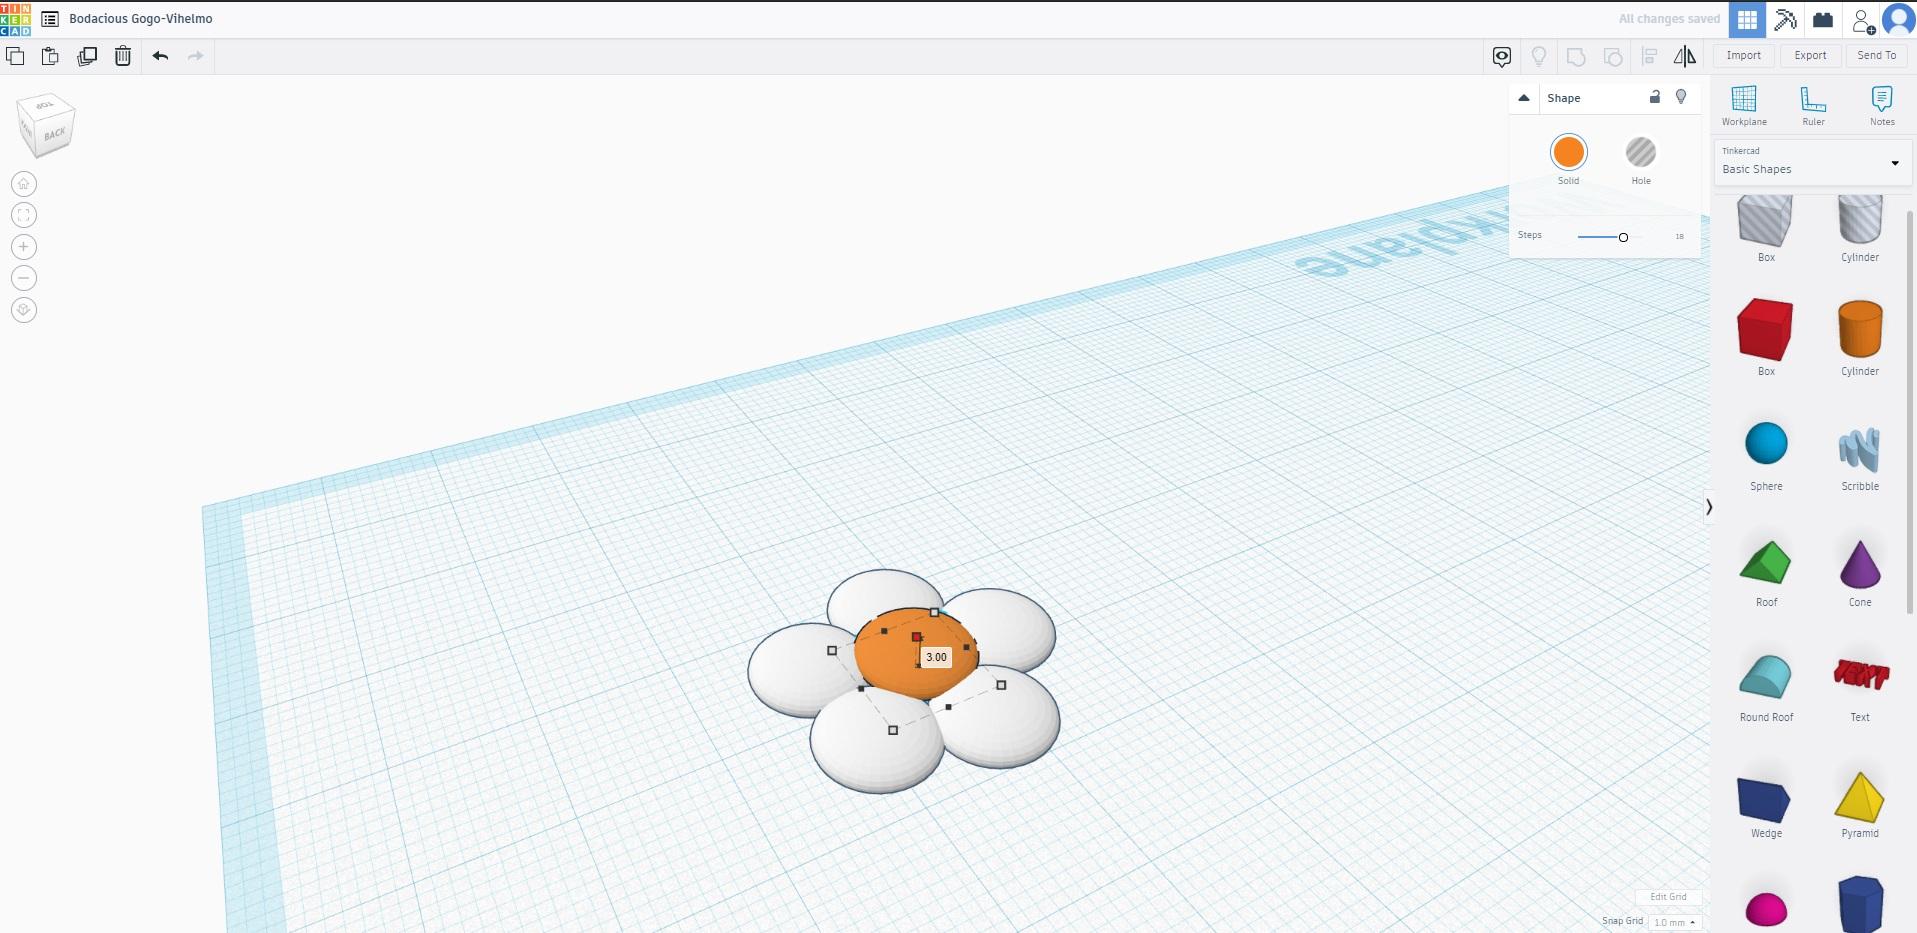
Drop a "Sphere" from the "Basic Shapes" panel to the workplace.
Flatten it by dragging down the top resizing handles. The height should be 7.
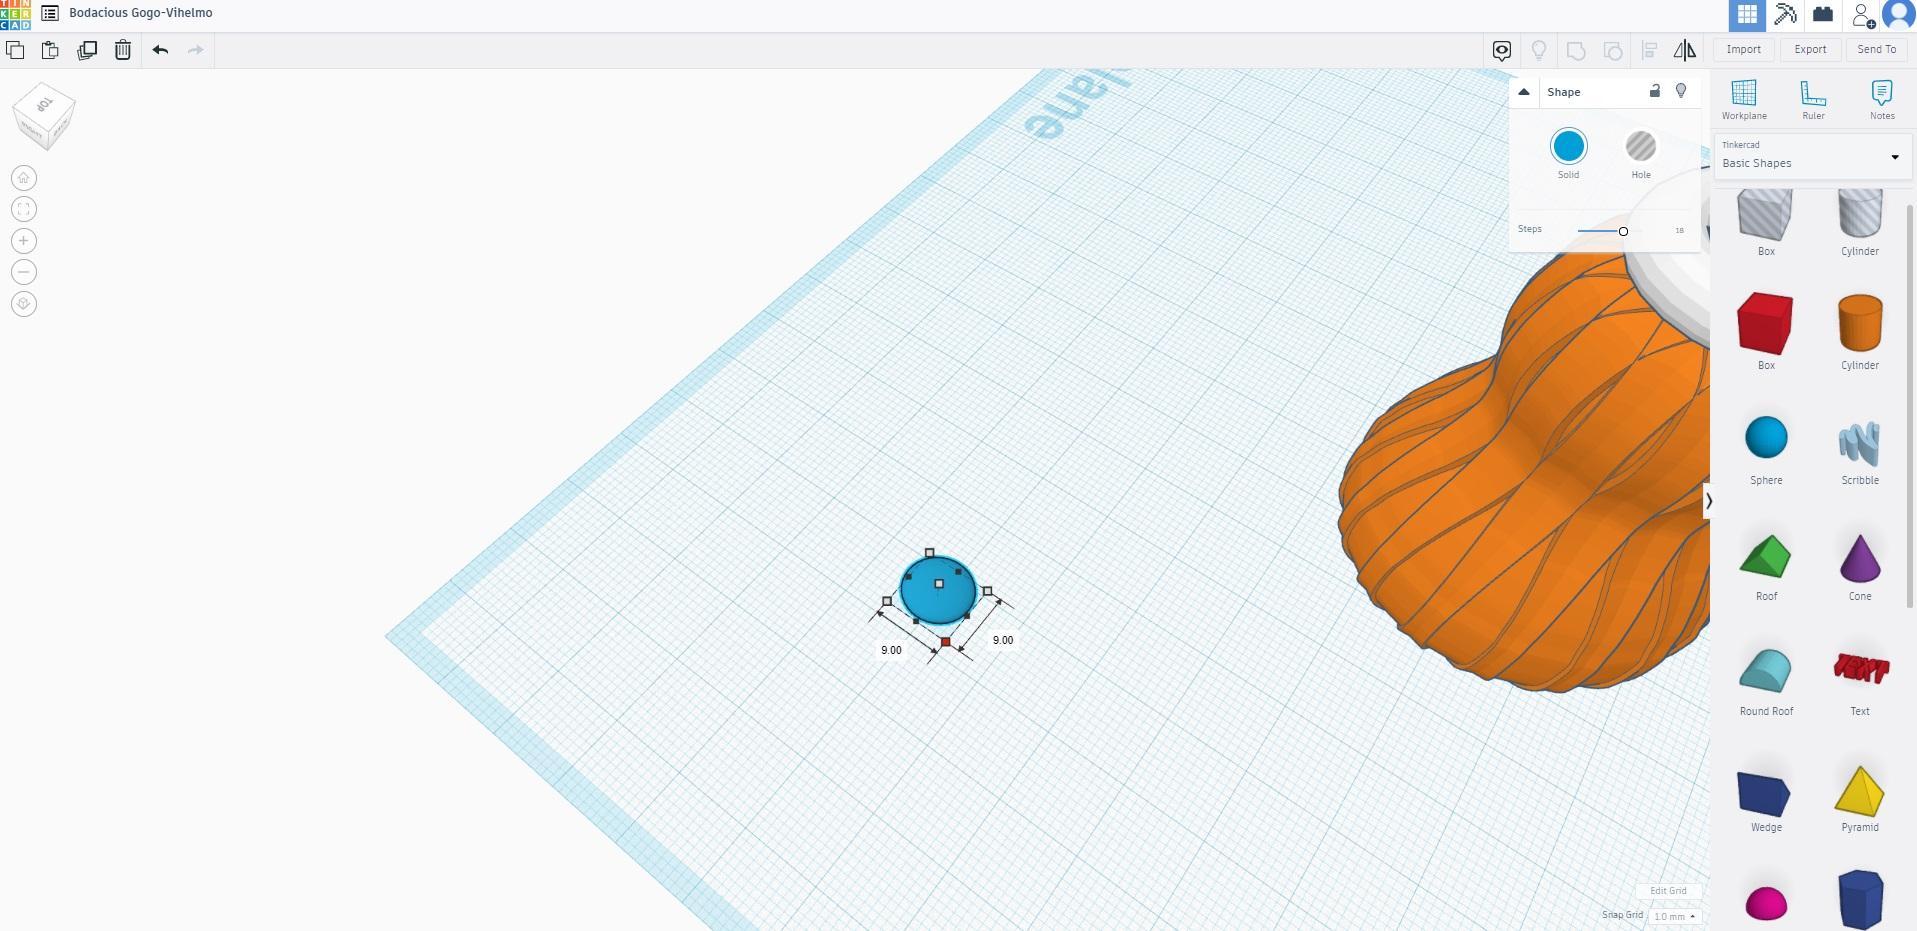
With a view from the top, resize it 9 by 9.
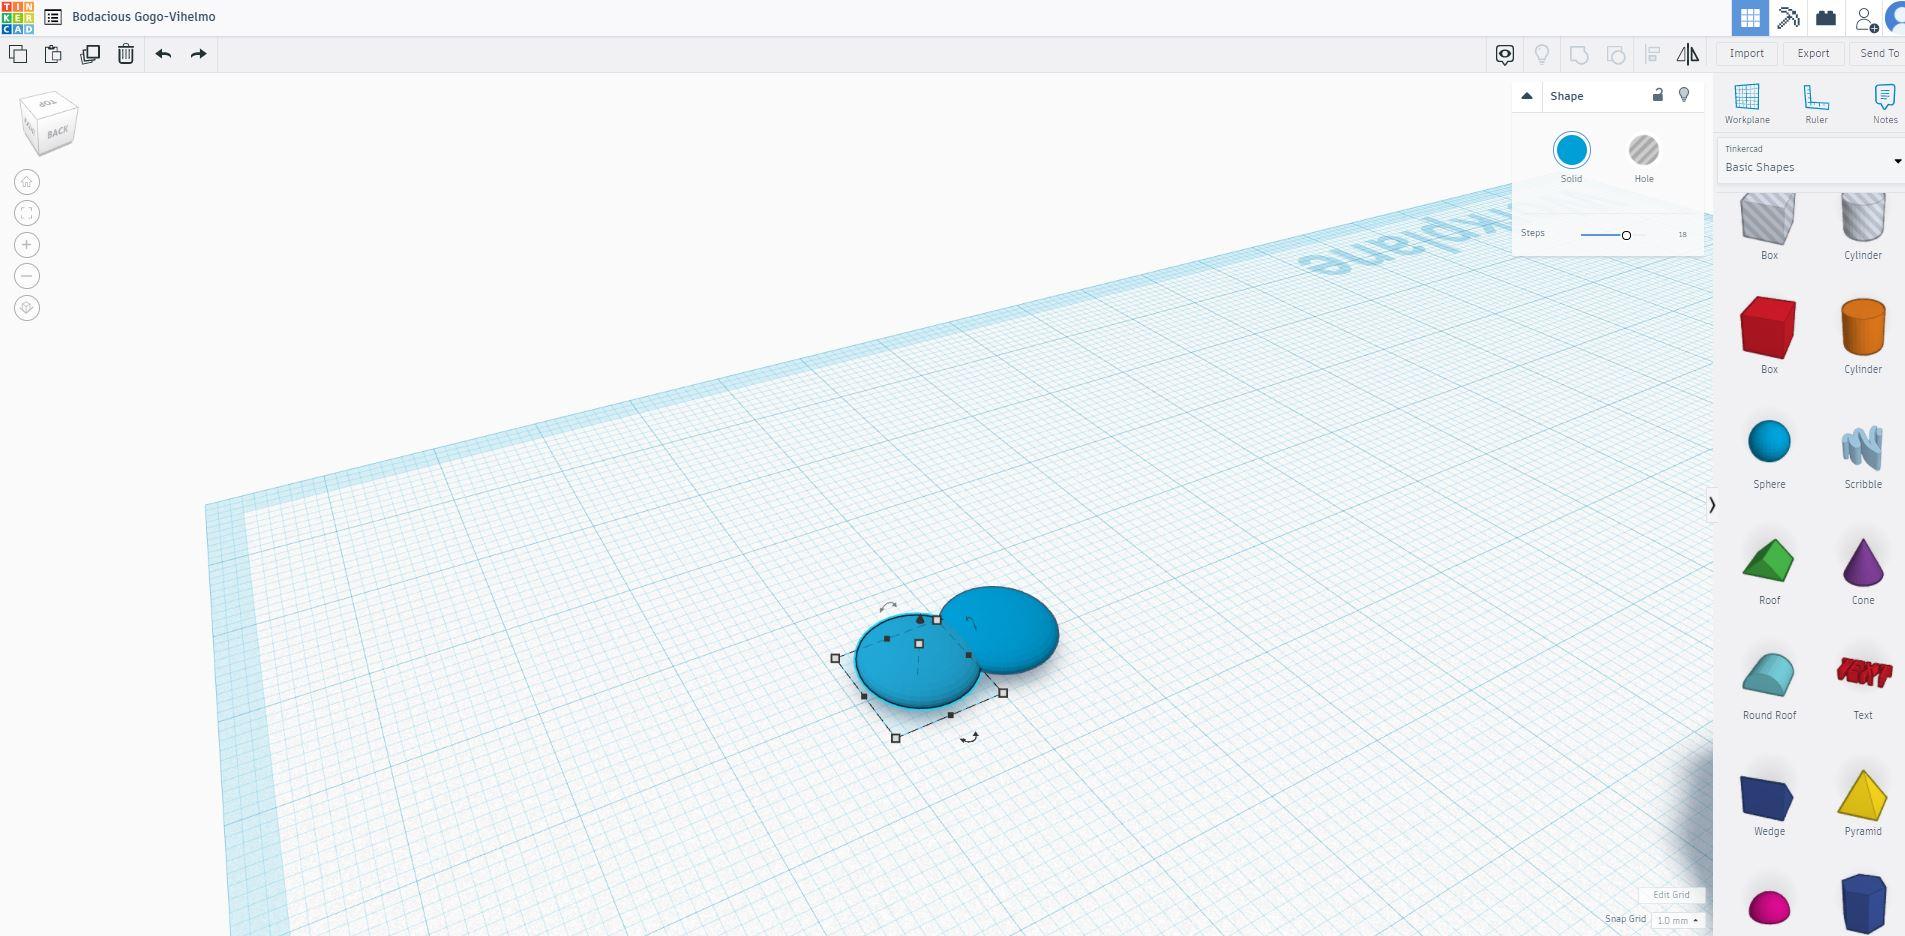
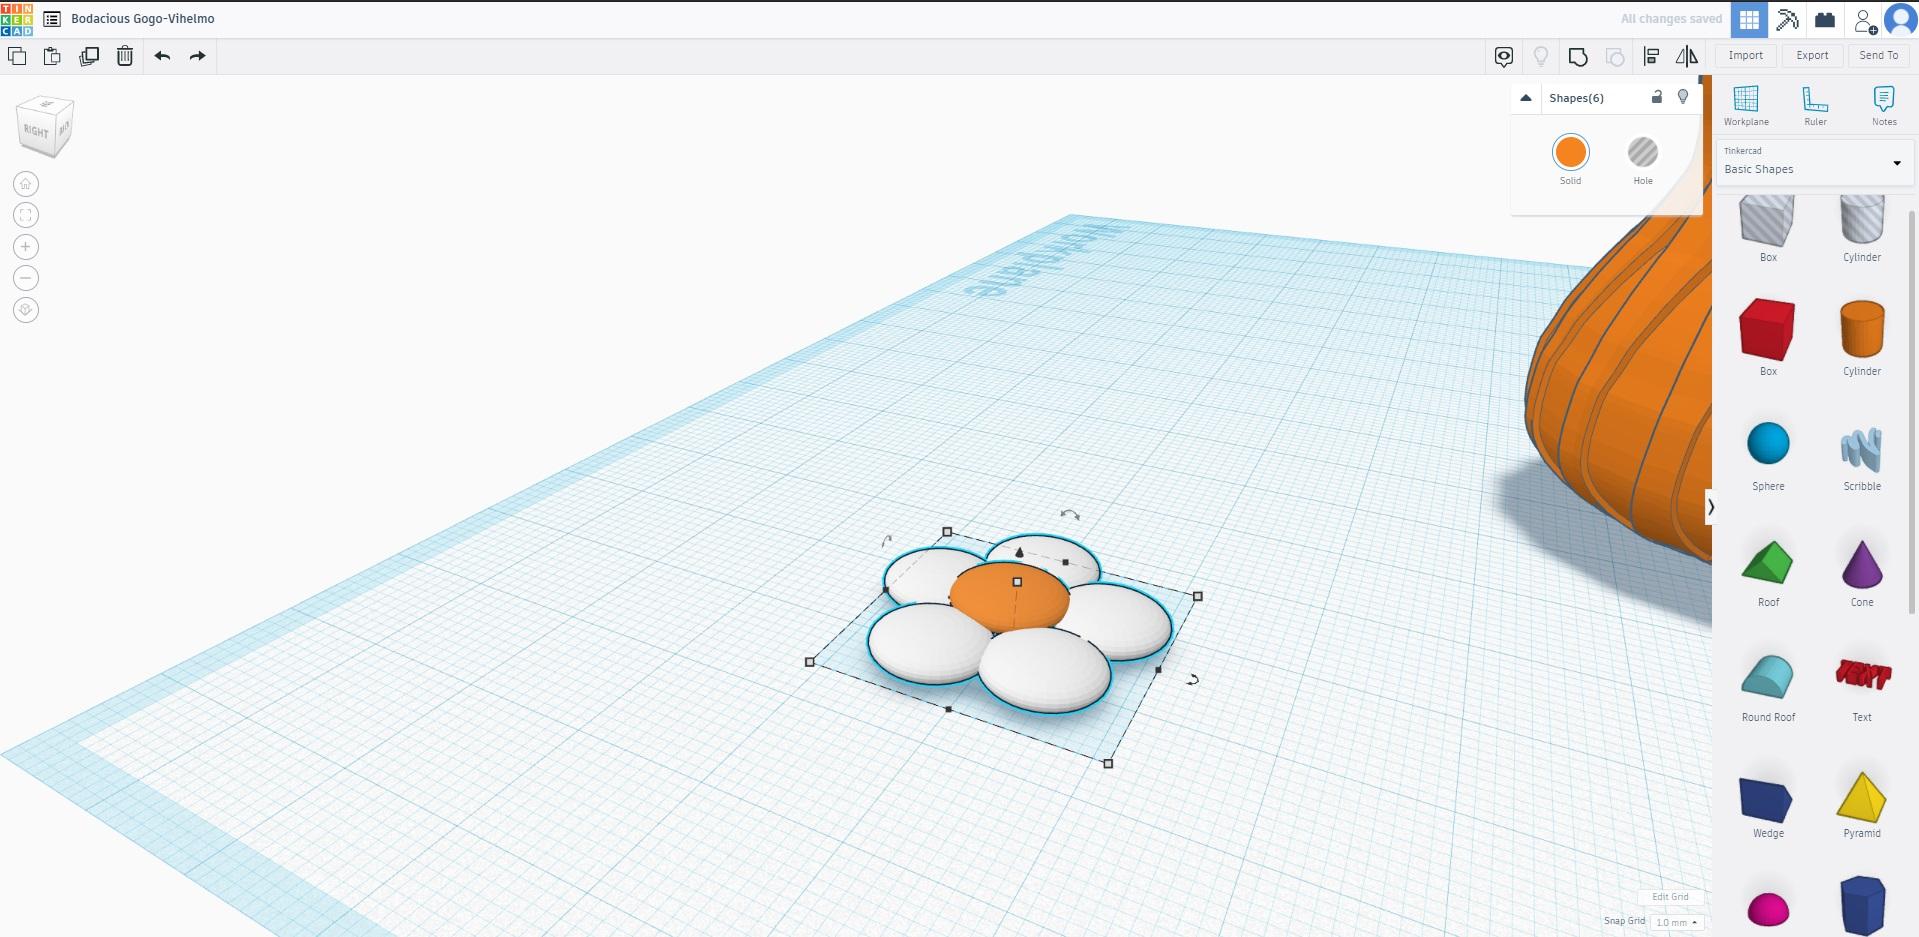
Duplicate the flattened sphere 5 times.
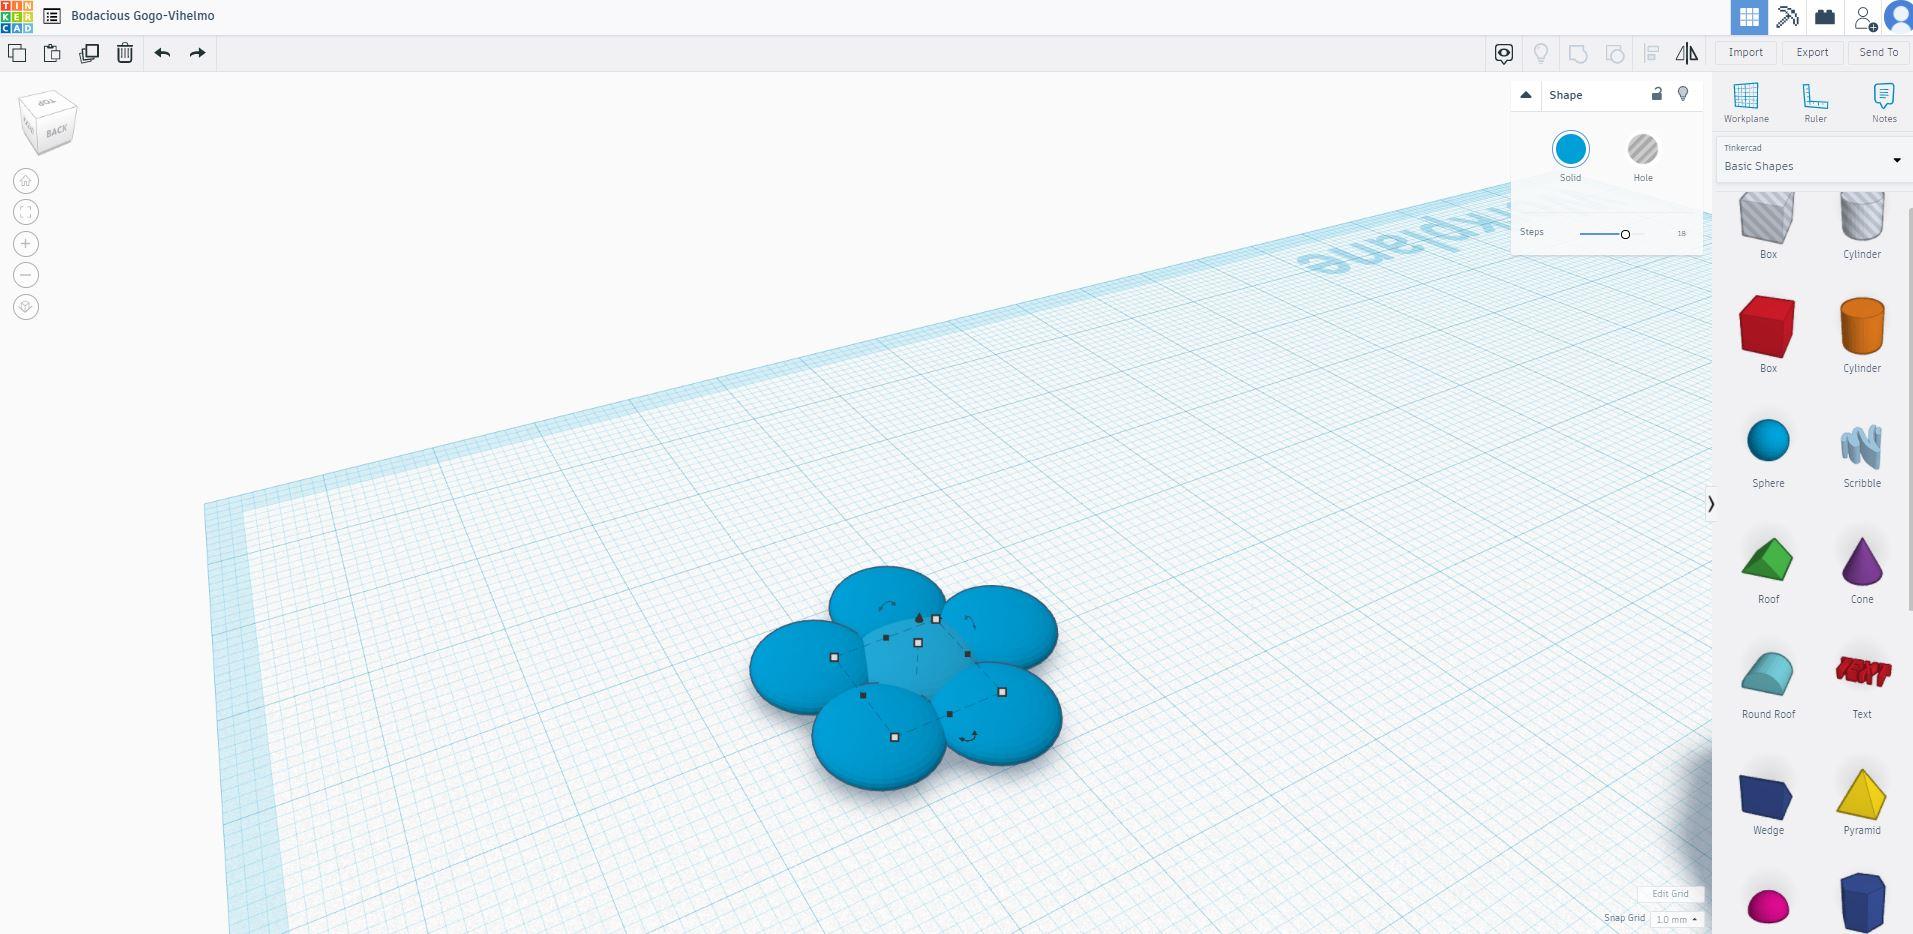
Arrange and shape them into a flower.
Color the 5 petals with white and the bud yellow.
Drag the bud upward using the "black" handle. It should be 3mm high. You want the bud to "Pop" out.
Select all the "flower" objects. Do not "Group" them. Grouping them will make all of the objects into one color.
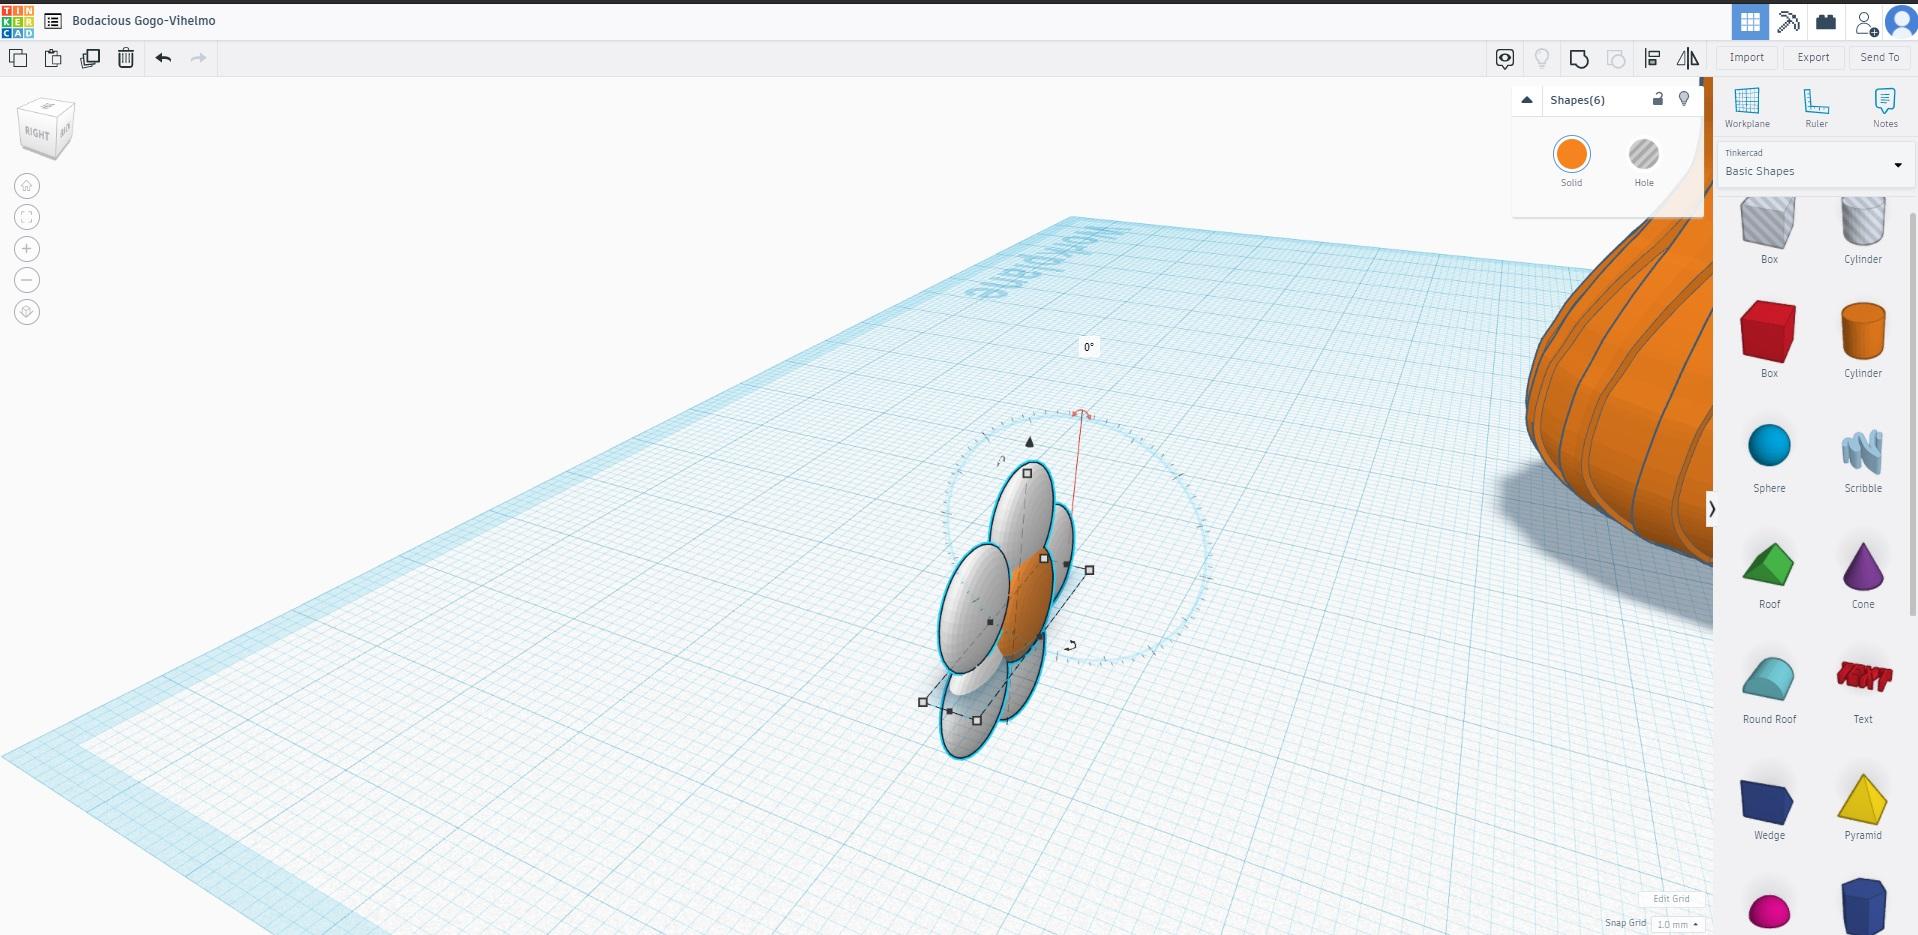
Rotate the flower upright.
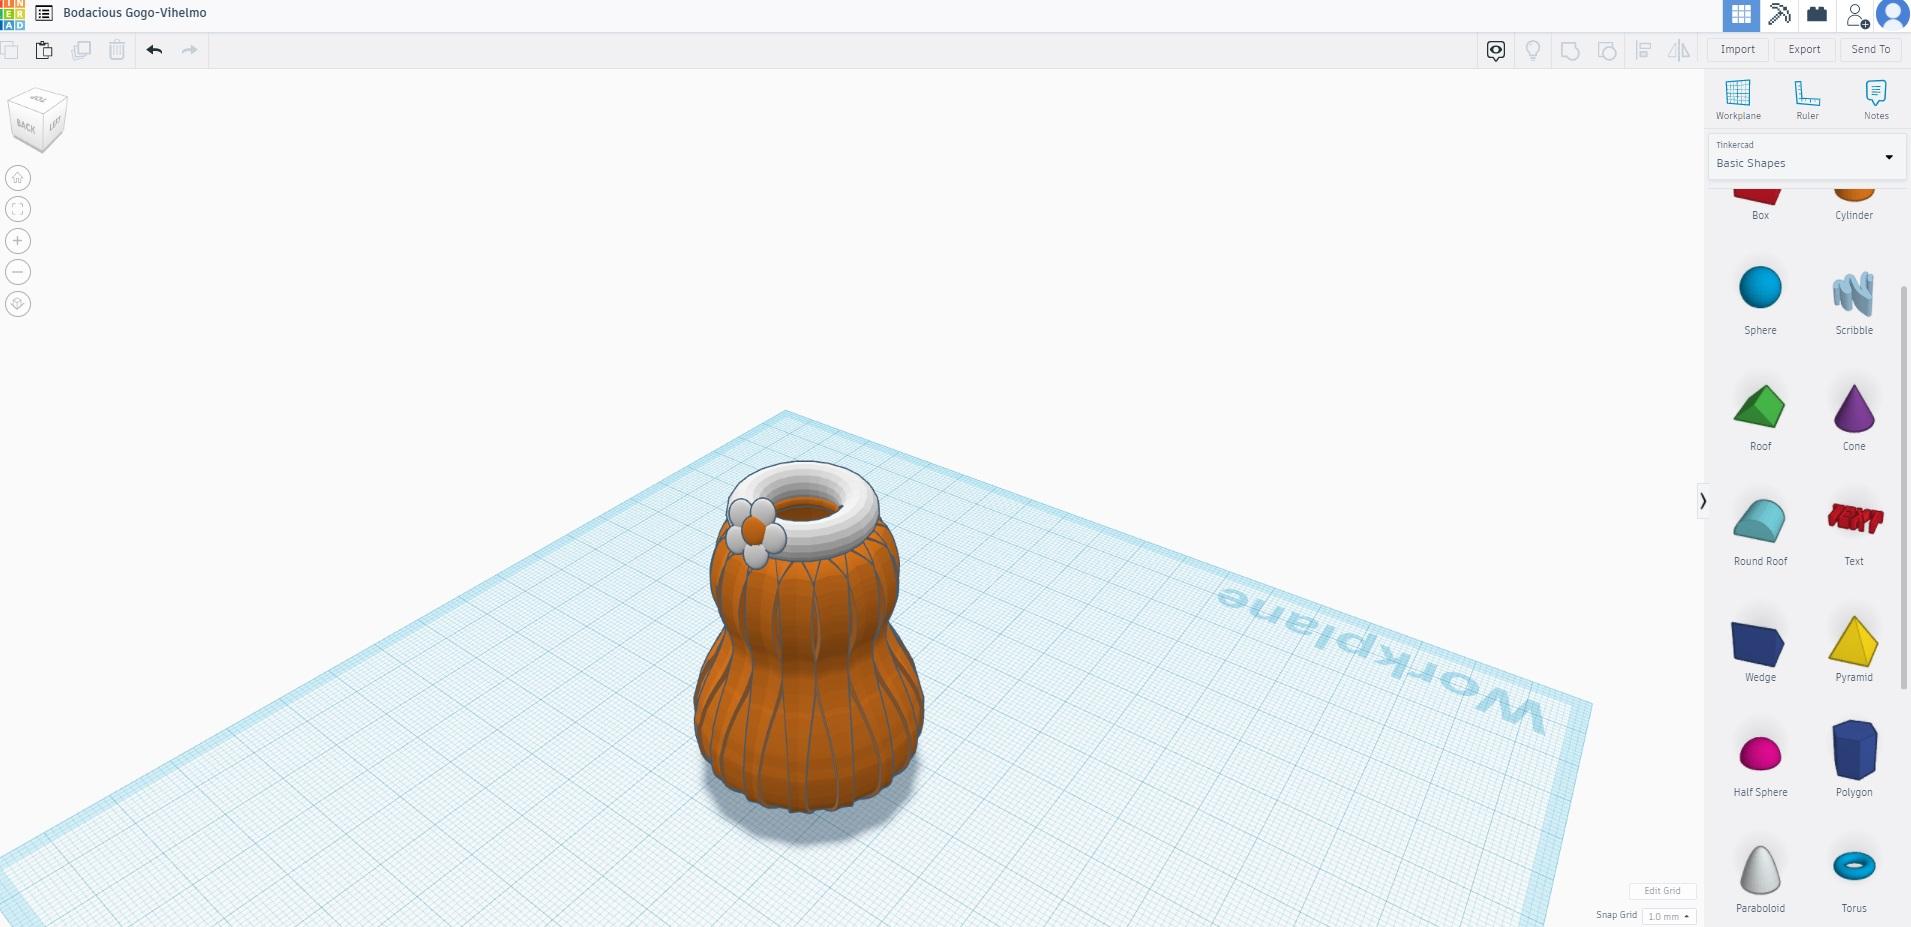
Attach the flower on top of the white "Torus" or ring of the pot.
And there you have it! A cute flower pot!