How to Make a Minimalist Wallet With a Pattern
by JrPenguin in Craft > Leather
921 Views, 5 Favorites, 0 Comments
How to Make a Minimalist Wallet With a Pattern


I have an Instagram page and small buisness called B0QF Leatherworks and you can find me at @b0qf_leatherworks on Instagram, and yes that is a zero! I consider myself an amateur hobbyist, so I think I can provide a step up from some makers that get you into the craft, but I am not so professional my process is too complicated and technical. After making leather goods for about 2 years, I developed a design I can call my own, and I have decided to share the design and my process with the world!
There are some kind of advanced techniques in this Instructable but most if not all are optional, and I'll do my best to explain how I do it.
Supplies
- Pattern
- Maul/Hammer (I would not recommend a metal one, using metal hammers on metal tools is not good for your tools)
- Scratch Awl
- Cork Backed Ruler
- Sharp Knife (I use a box cutter with break away blades and exacto blades. Thin, small, and SHARP blades work best)
- Hole punch (I used a 1/8th in hole punch)
- Wing Dividers
- Stitching Chisels (I use 4mm punches, and you will need a 2 prong, and I use a 6 prong for straight lengths)
- Thicker needles (I would recommend ones made for leatherworking, regular sewing needles will break and not fit the thread)
- Leatherworking thread (Like the needles, the thin stuff will will just break)
You can stop there but...
If you want to add a stamp:
- Stamp (I 3D print custom ones)
- Clamp or something to press with (I would recommend padding the clamp with scrap leather)
If you want to finish the edges
- Edge beveller
- Gum Tragacanth (Veg-Tan leather can be finished with just water, but I use mostly Oil and Chrome Tan leathers)
- Edge slicker (Mine is a dowel with groves in it)
- Scrap Canvas
Trace Out the Pattern


Start by printing and cutting out your patter on Cardstock, the heavier the paper the better and make sure the square in the corner is 20mm on each side.
- Place the pattern near the edge, you dont want too much scrap.
- Place your hammer on the pattern to help hold it down.
- Trace around the edge with your Awl.
- Use your hole punch to find your circles, you dont have to punch all the way through now.
You will need two of these but only one needs the holes for the card slot, and only one needs the lines in the center which will split in half on either side of the center line.
The free PDF pattern is linked below!
Downloads
Cut Out the Pattern


Cut out the 3 pieces based on your scratch lines, using the ruler to make sure your cut lines are straight even if your scratch lines are not. For the curves, take your time to follow the line best you can, the edge finishing process can help "hide your crimes" if you dont get it perfect.
Finish punching your holes and connect them, center to center, with your ruler and make a cut line between them.
Punch Your Holes
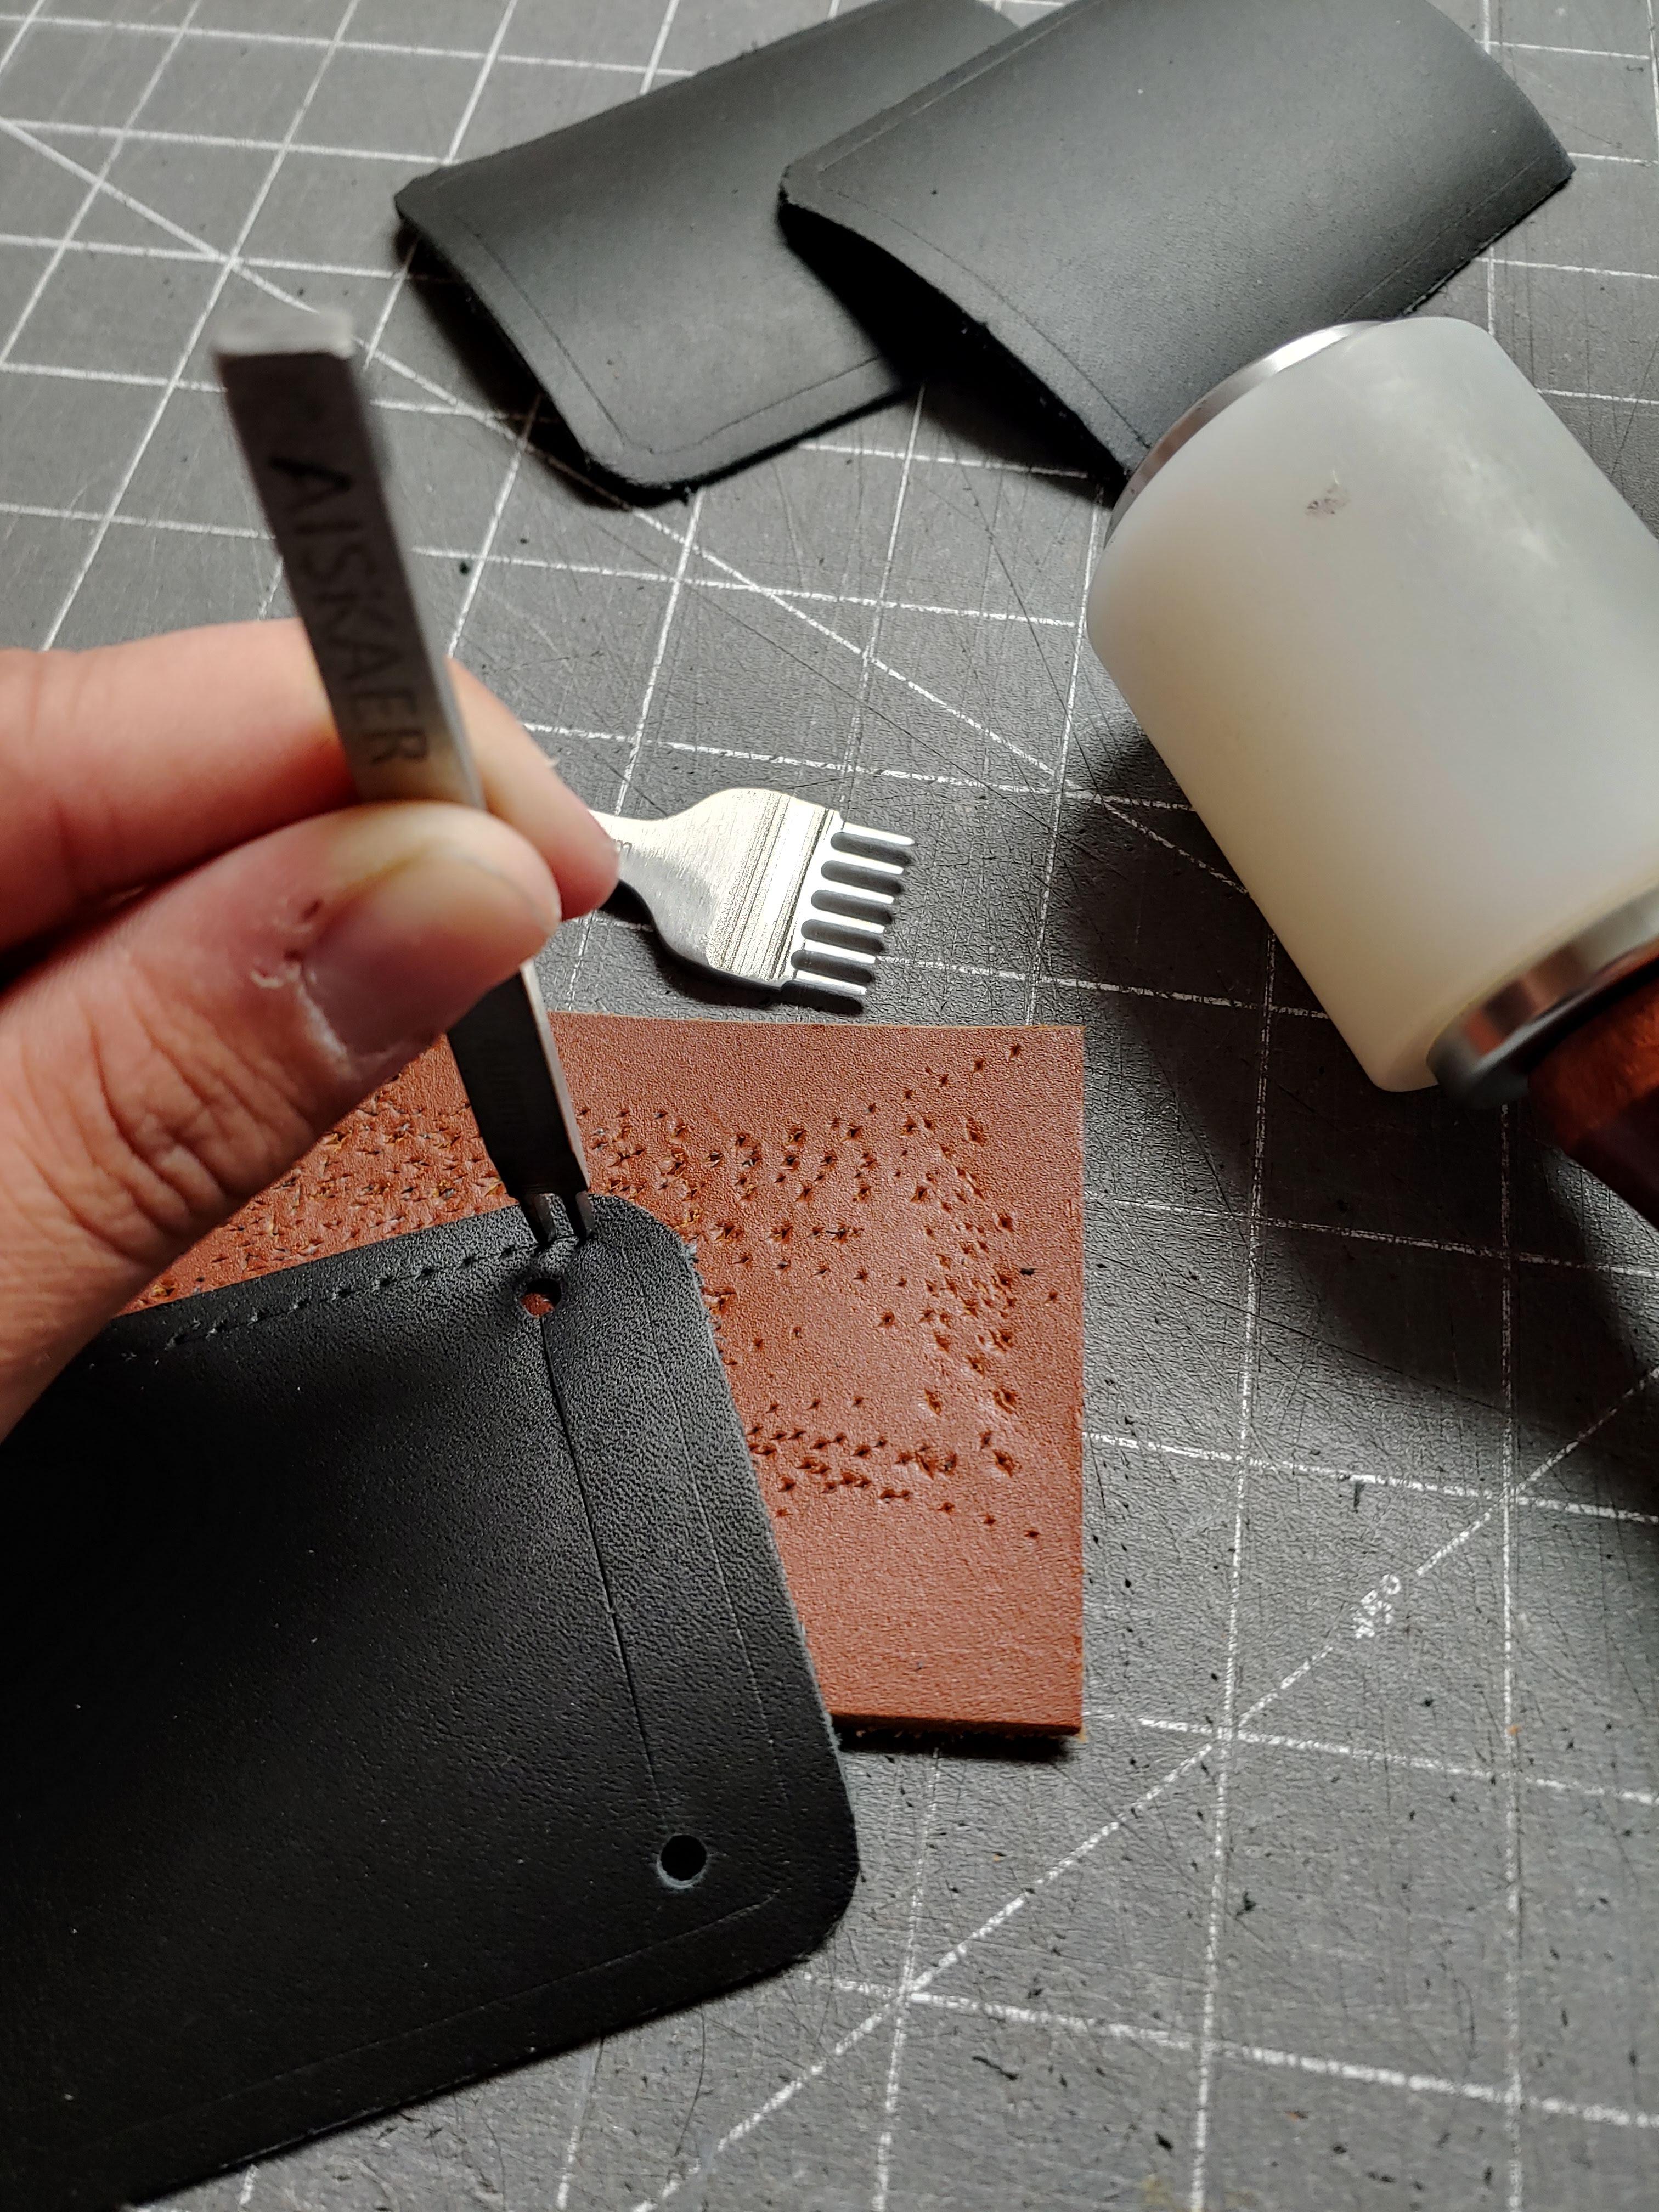
- Set your dividers to your spacing, I like 4mm which about an eighth of an inch.
- Drag them along the edge of your leather pieces, using one side to scratch your stitch line, and the other to run along the outside edge to set your distance from the edge.
- Using the example holes on the pattern poke a small hole through the pattern and into your leather to show where to start the stitching holes.
- Punch your holes with your chisels, overlapping one hole so you keep a consistent spacing, using your 2 prong chisel to round the corners.
OPTIONAL: Press in a Stamp

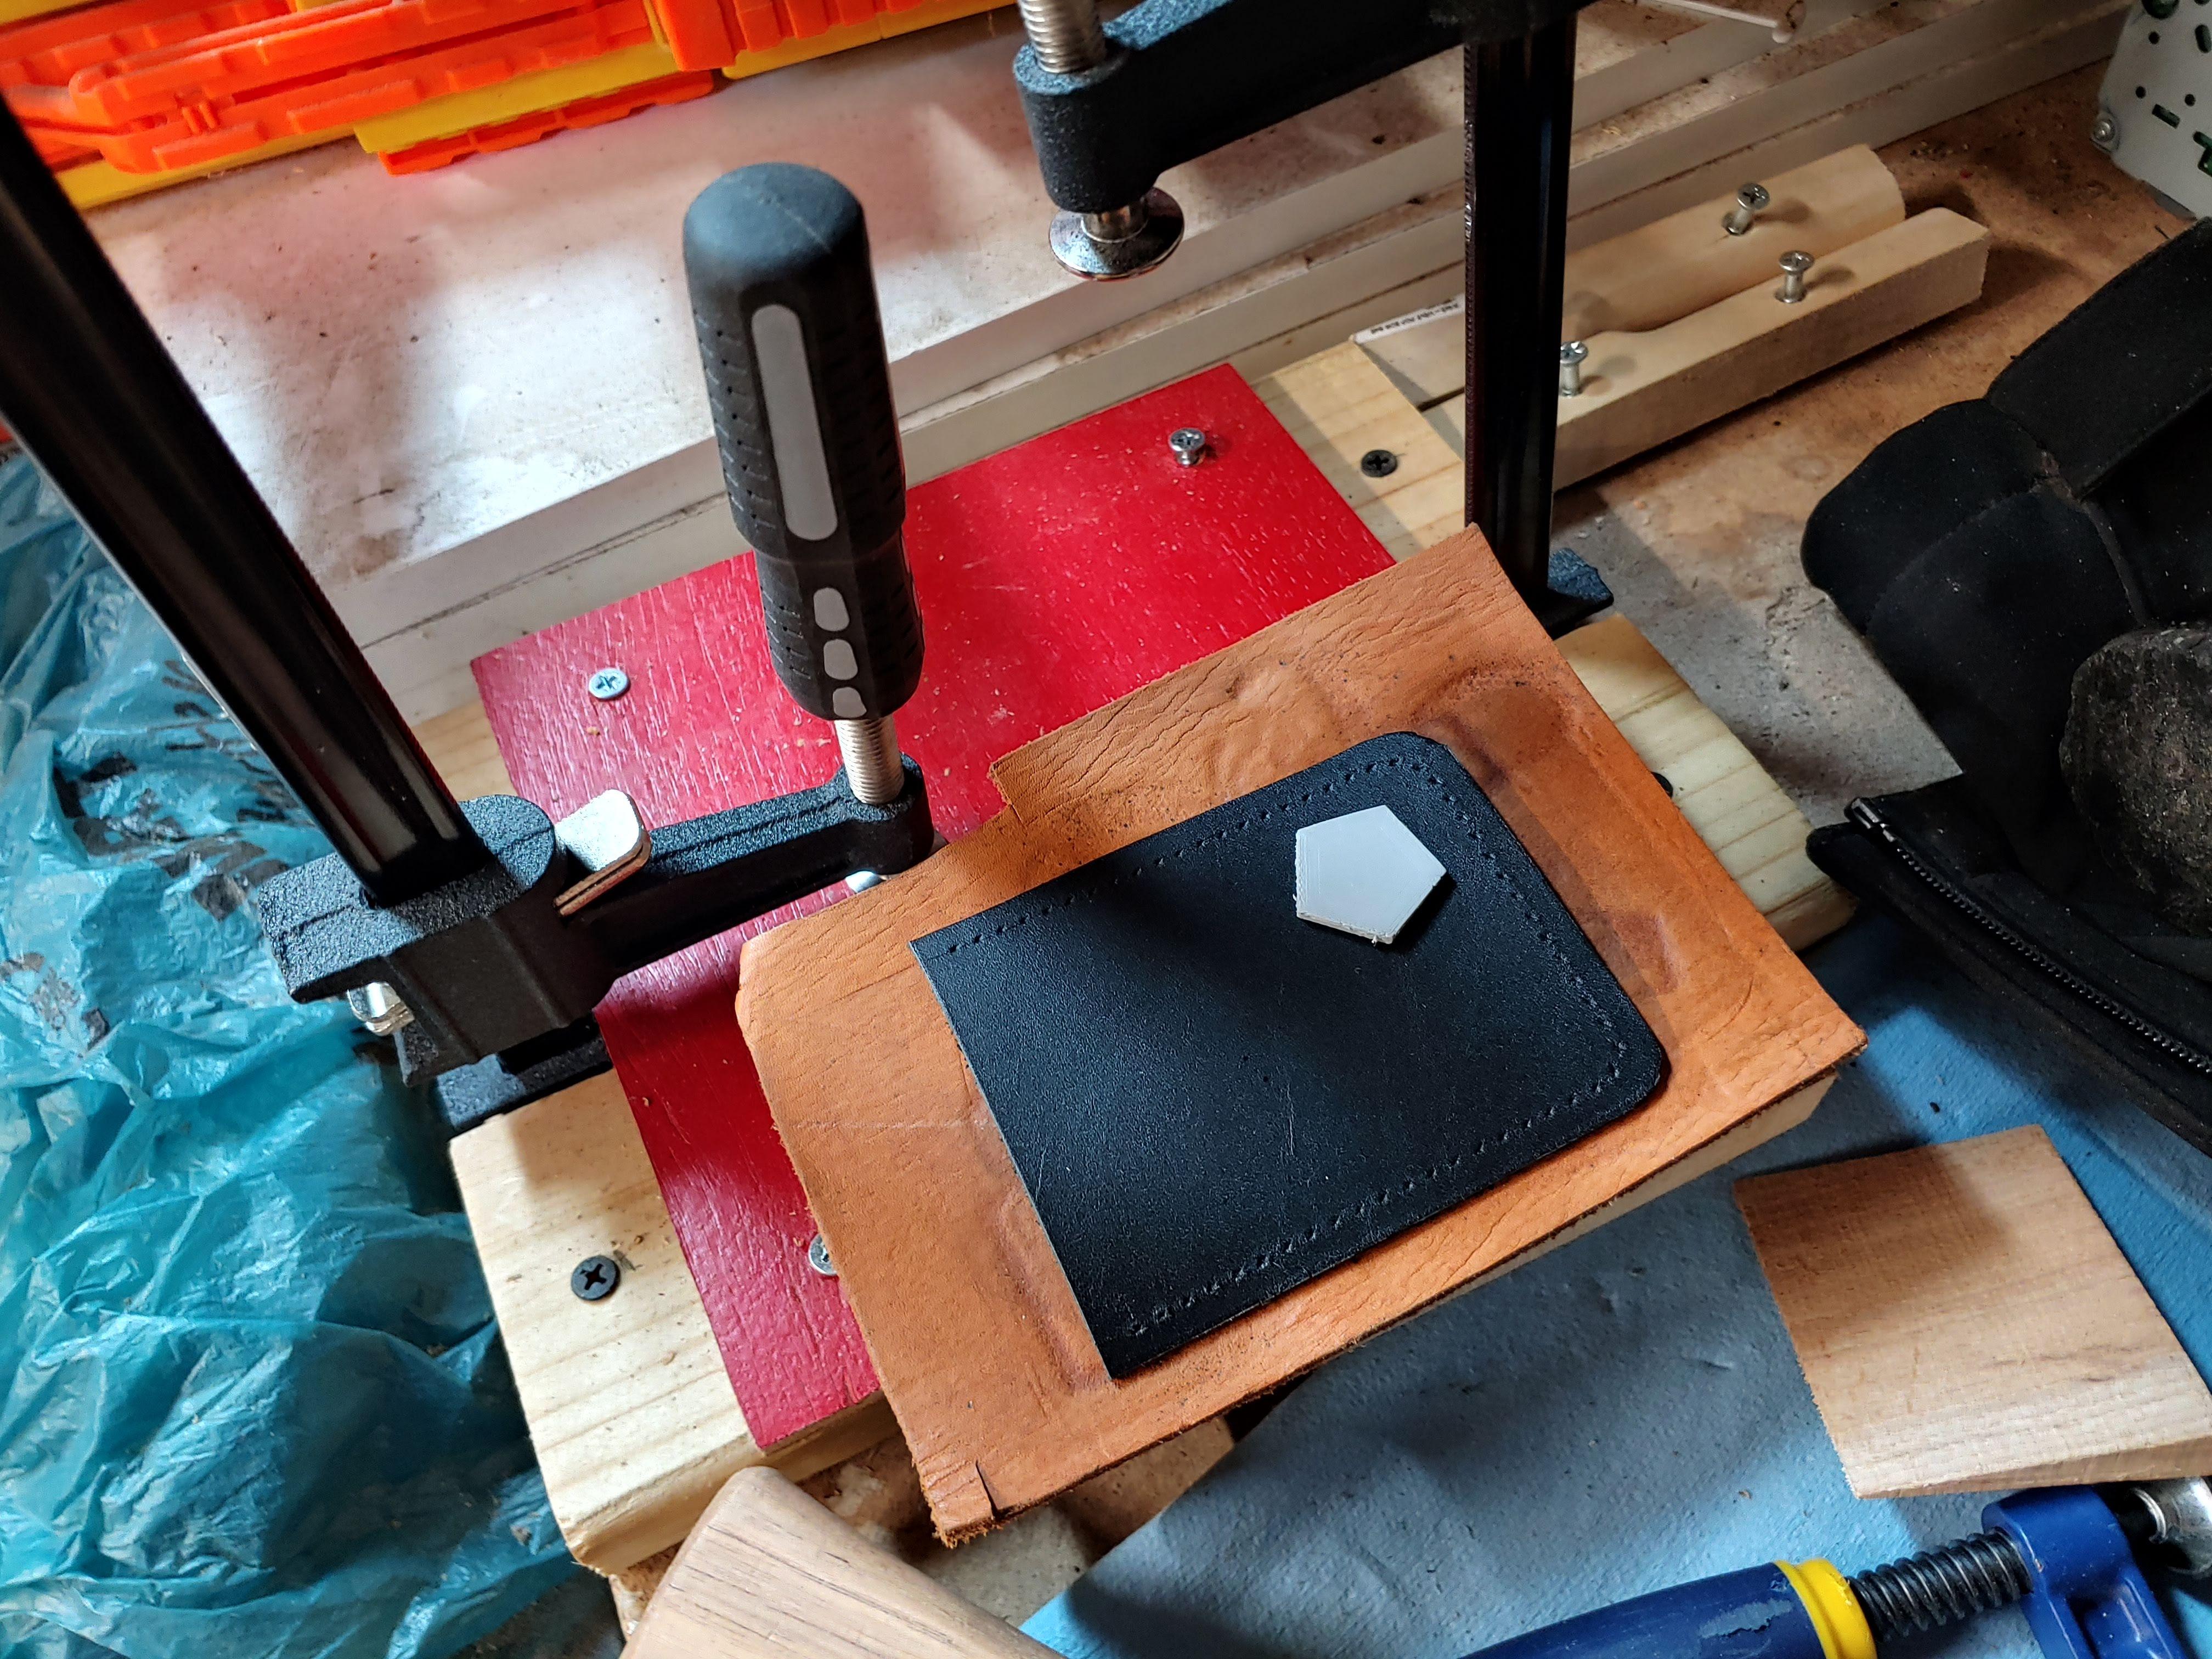

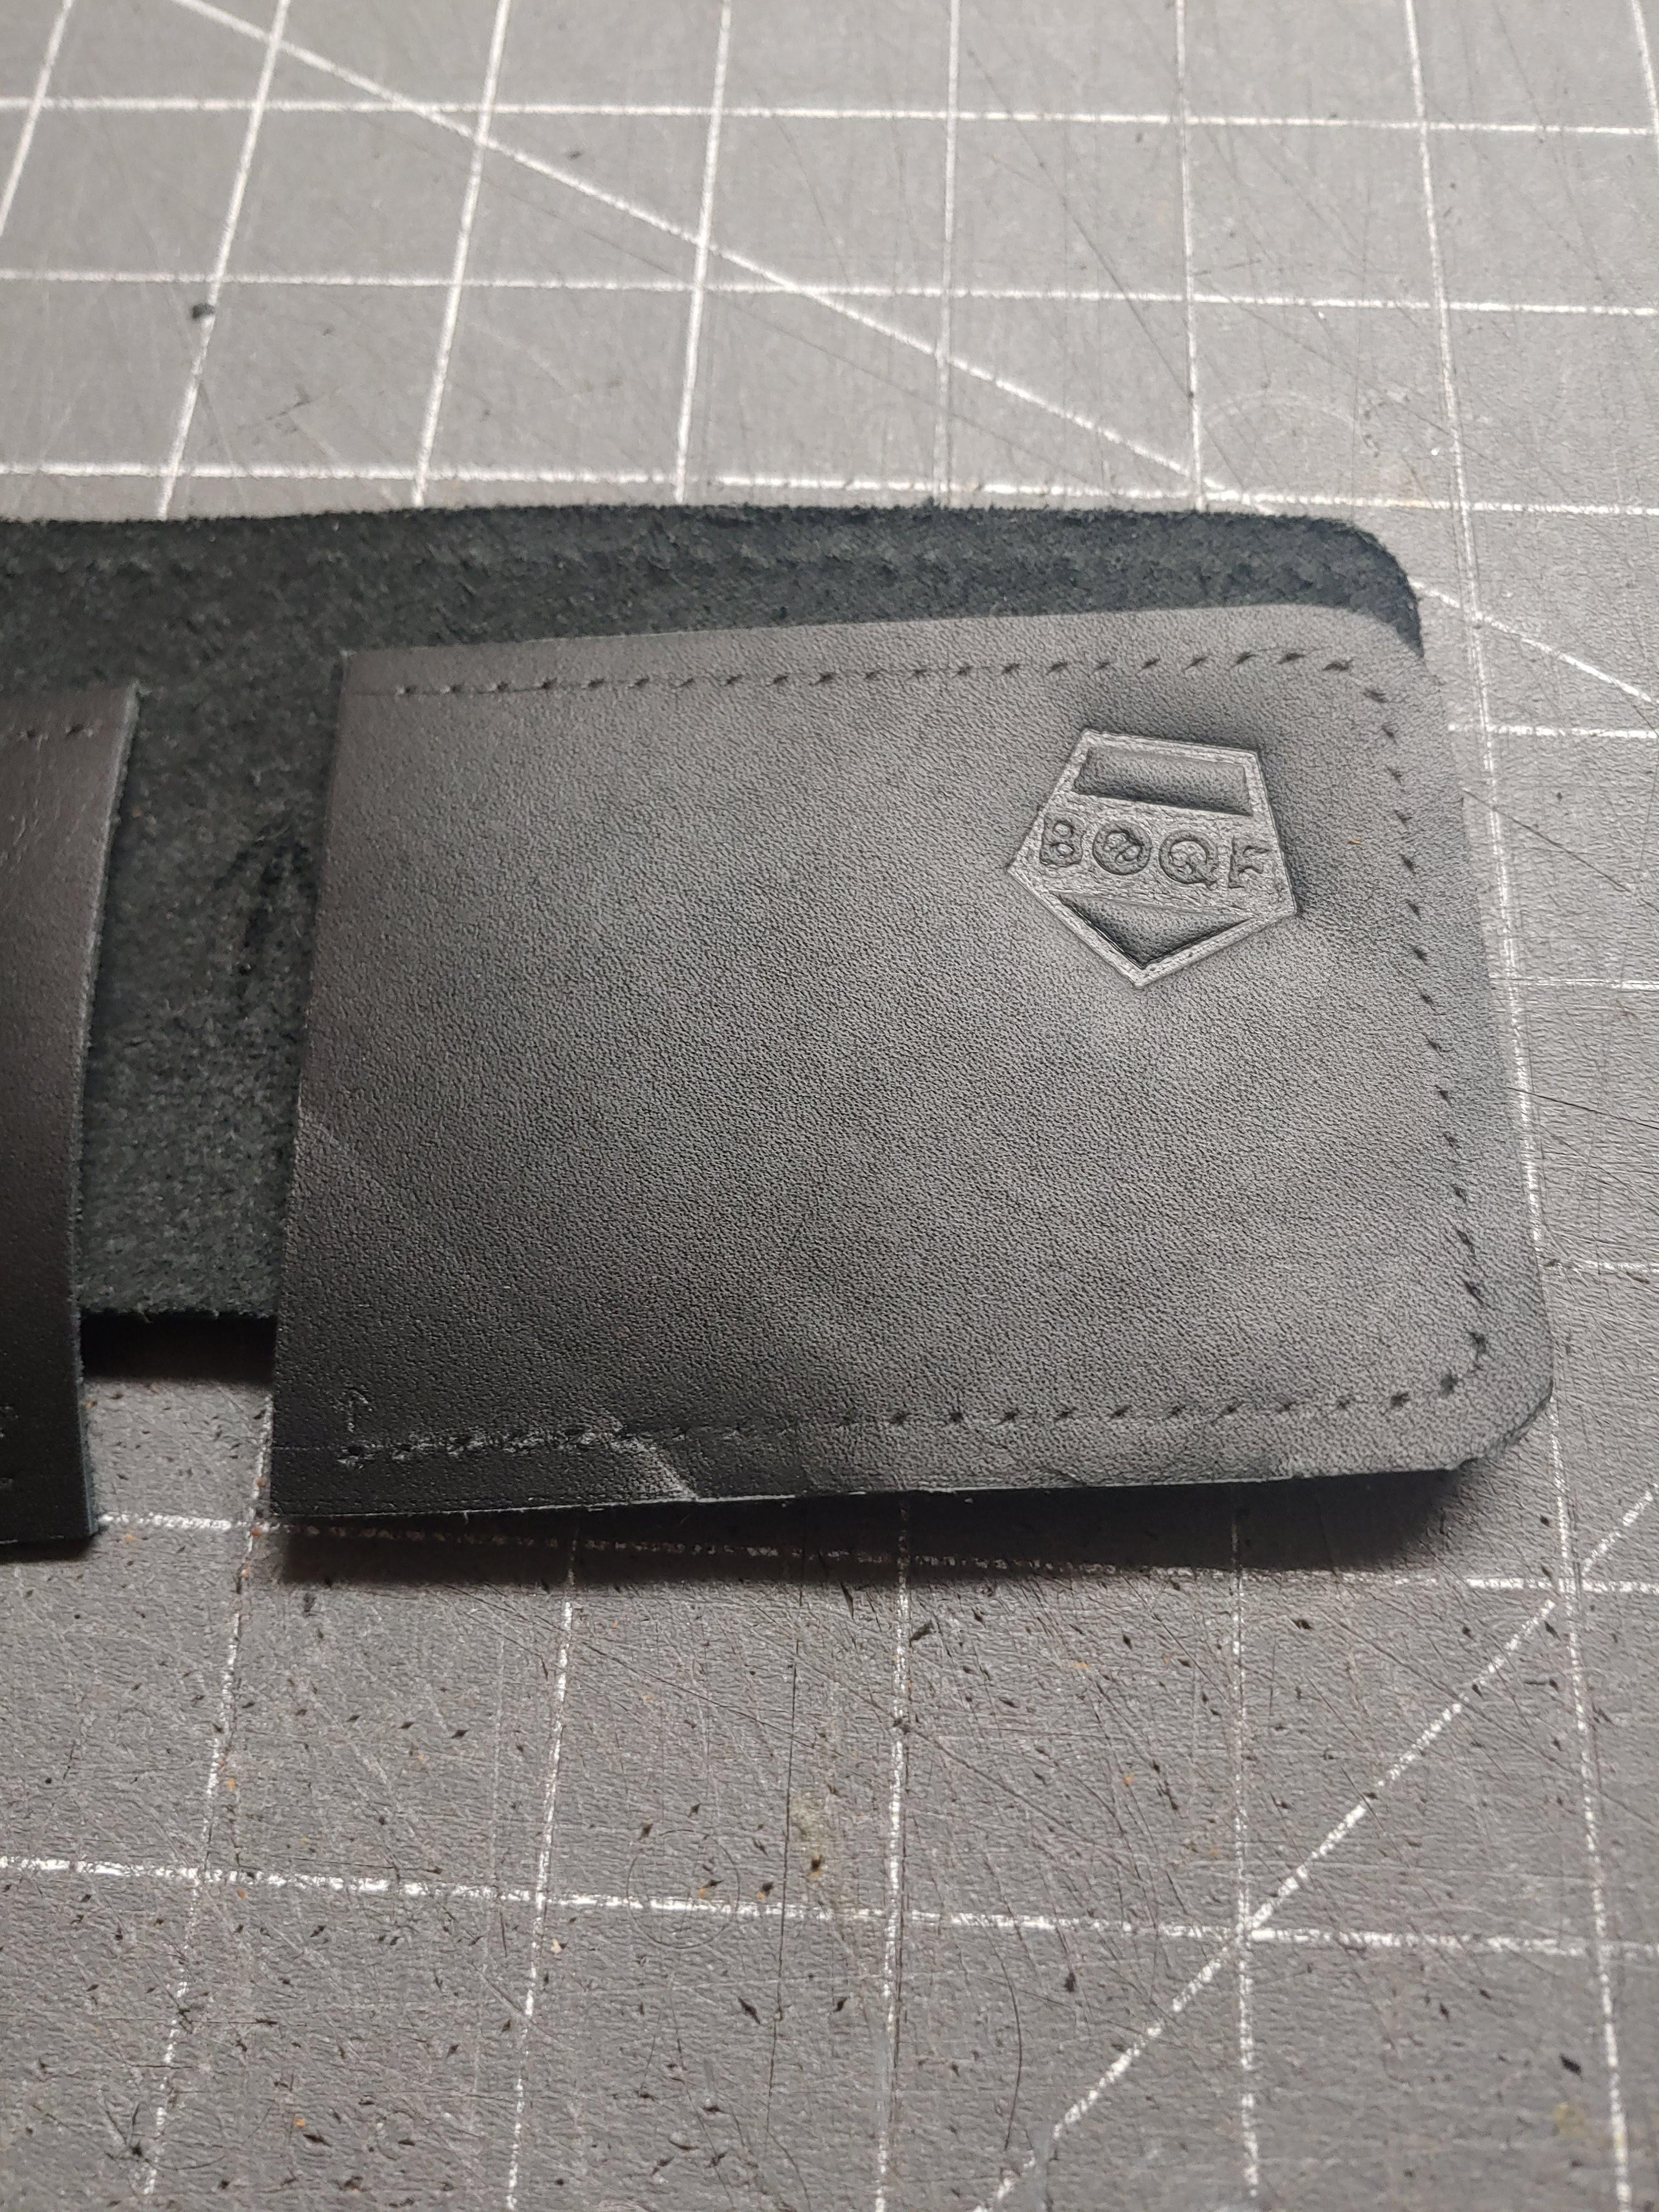
This is optional of course, but I like to use my logo to show off my products.
I used Fusion 360, and a 3D printer to make my stamp, but there are of course fancier like brass stamps. If you are using a 3D printed stamp, you'll need to wet stamp it like I did.
- Soak the leather in water. It doesn't have to be dripping wet, just soak for a couple minutes.
- Place your stamp on your piece of leather and use your clamp or press to clamp down your stamp into the leather, it will take a good bit of force. (Make sure to pad your clamp or press with a layer or two of scrap leather so you dont squish your leather too much.)
- Leave it in the clamp for several hours to let the leather dry and form around the stamp. I usually leave mine 4-6 hours if not over night.
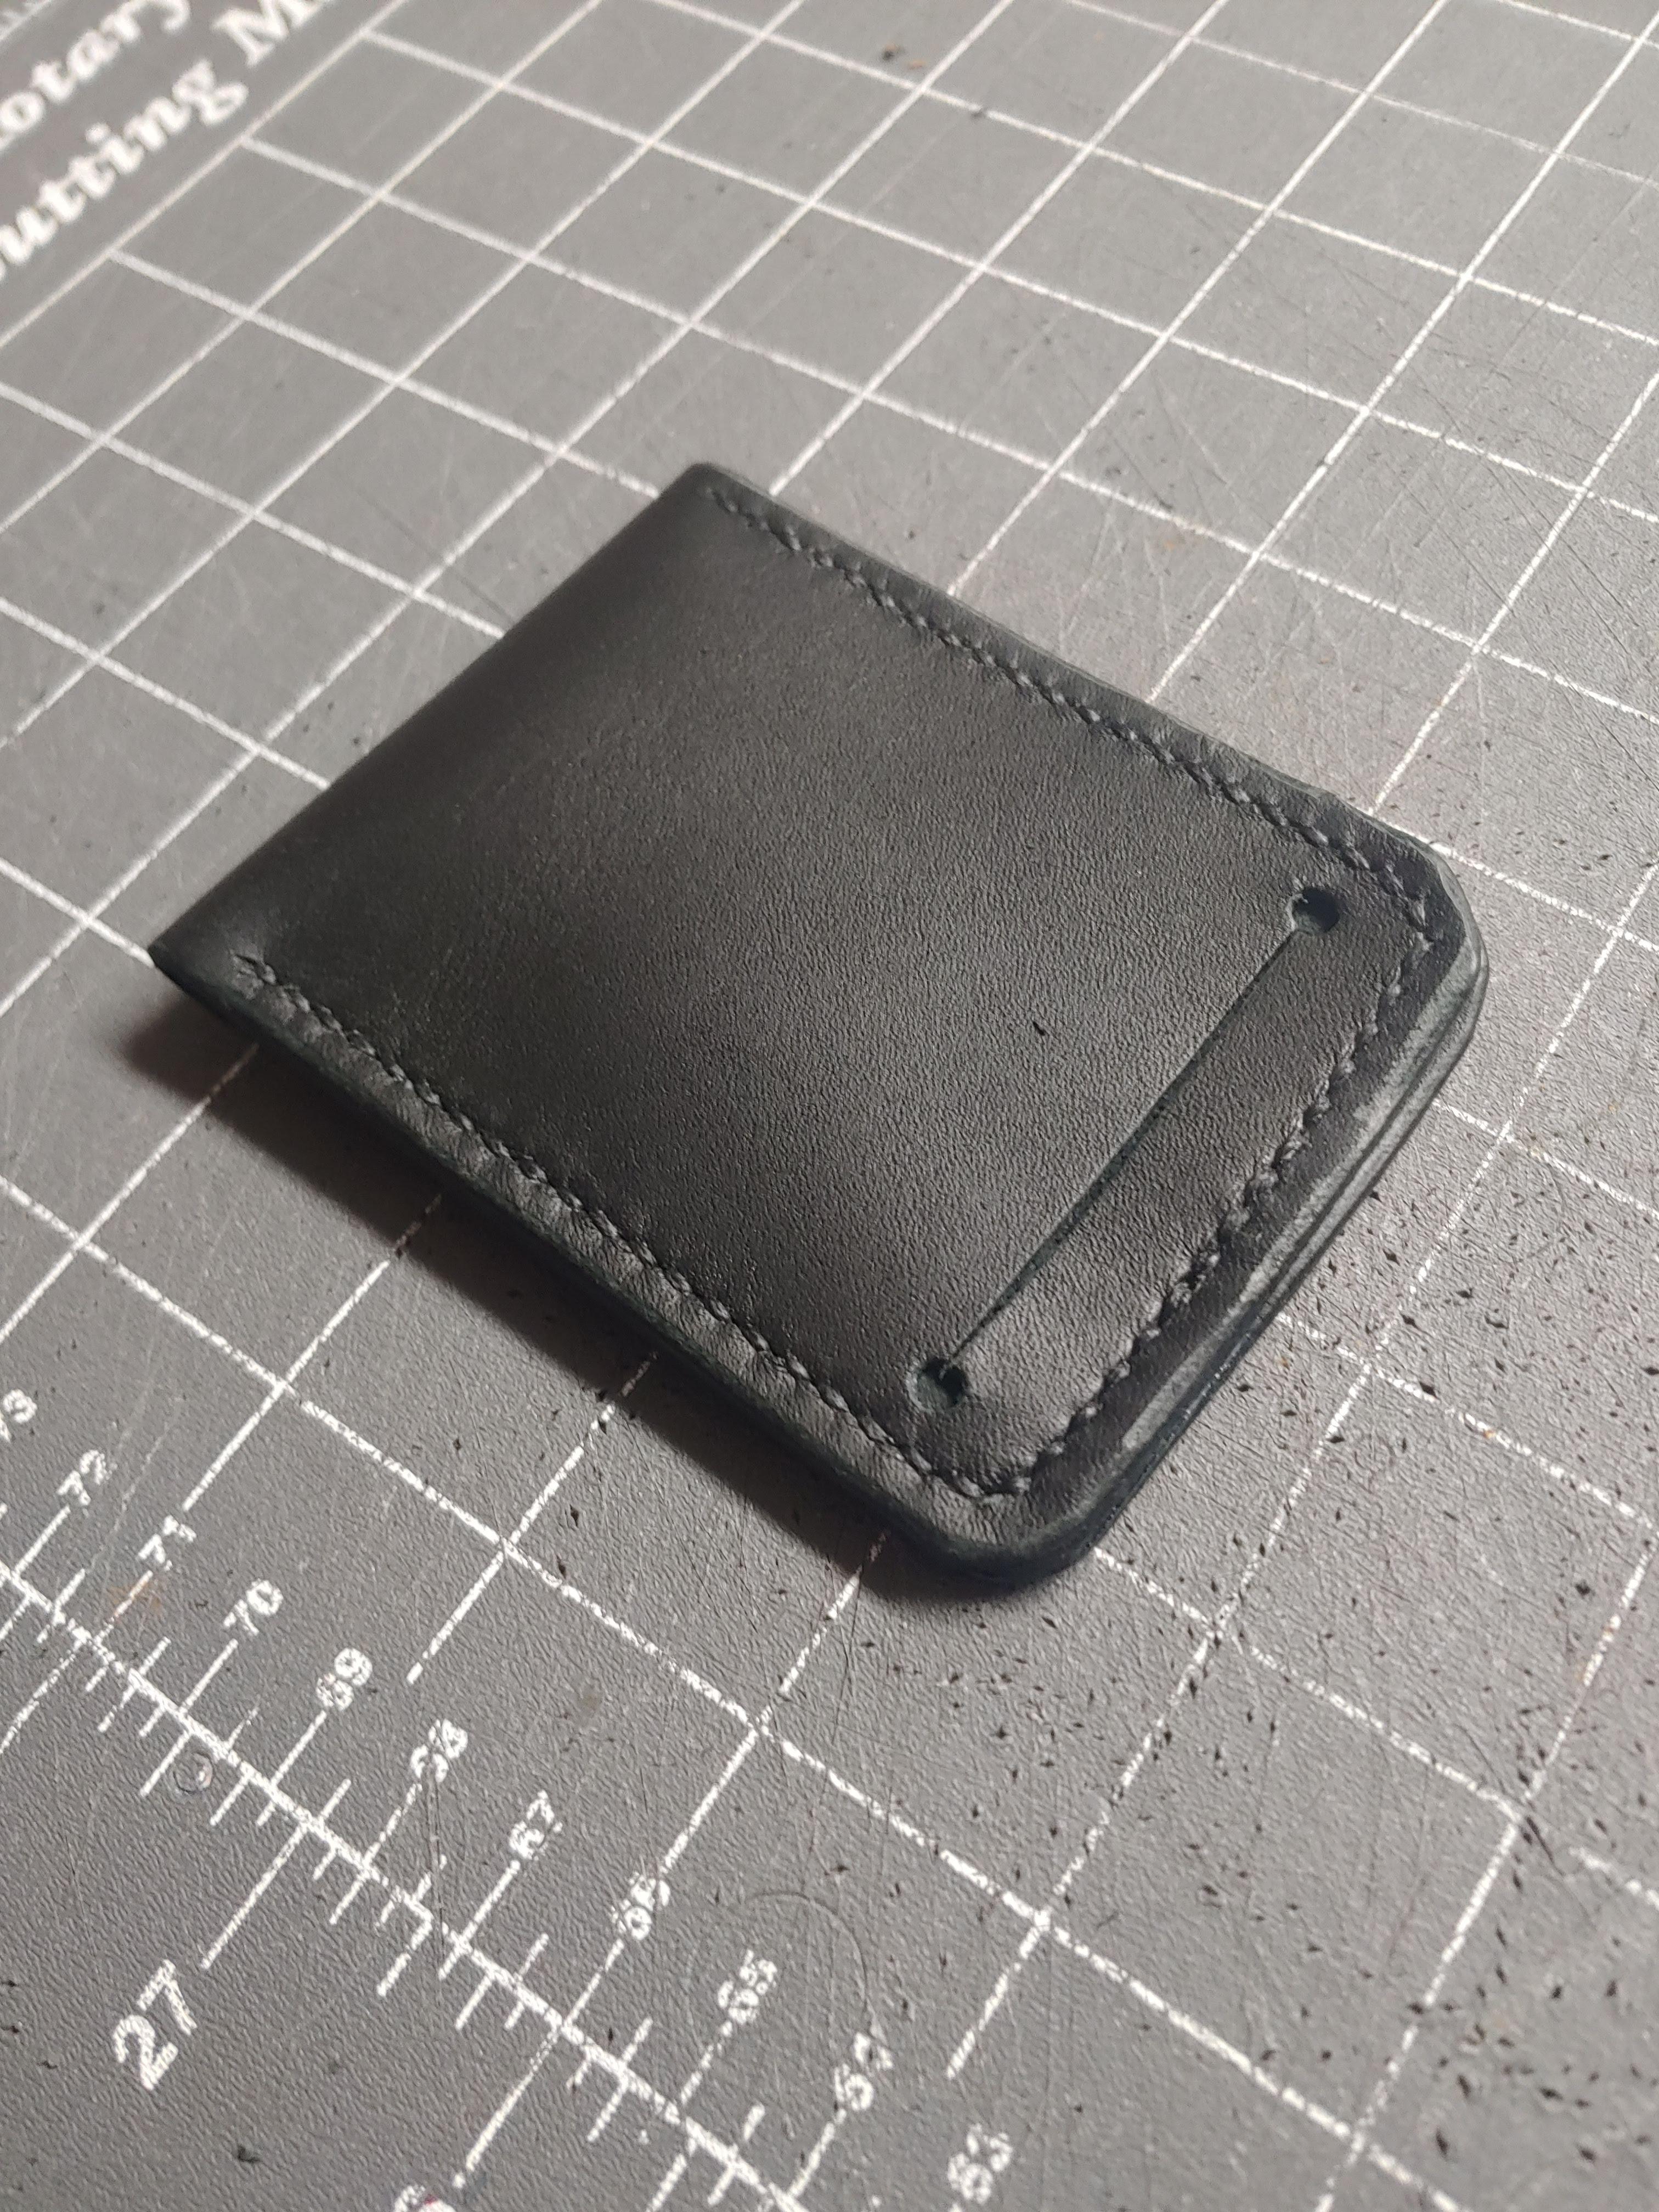
Stitch Your Inside Pieces

Using your preferred stitching method stitch the inside pieces to the outside going from top to the middle of the side.
If you don't know how to stitch leather, it is a bit different from fabric. Corter Leather on YouTube has a great tutorial for how to Saddle Stitch without a Stitching Pony.
https://www.youtube.com/watch?v=EIGT_RXi8ZM
OPTIONAL: Finish Your Edges Part 1

Also optional, but it makes your goods look much better.
Use your beveller at a 45 degree angle to take off just the edge of the leather. Like the stitching, you only need to go about half way down, we'll do the rest in a bit.
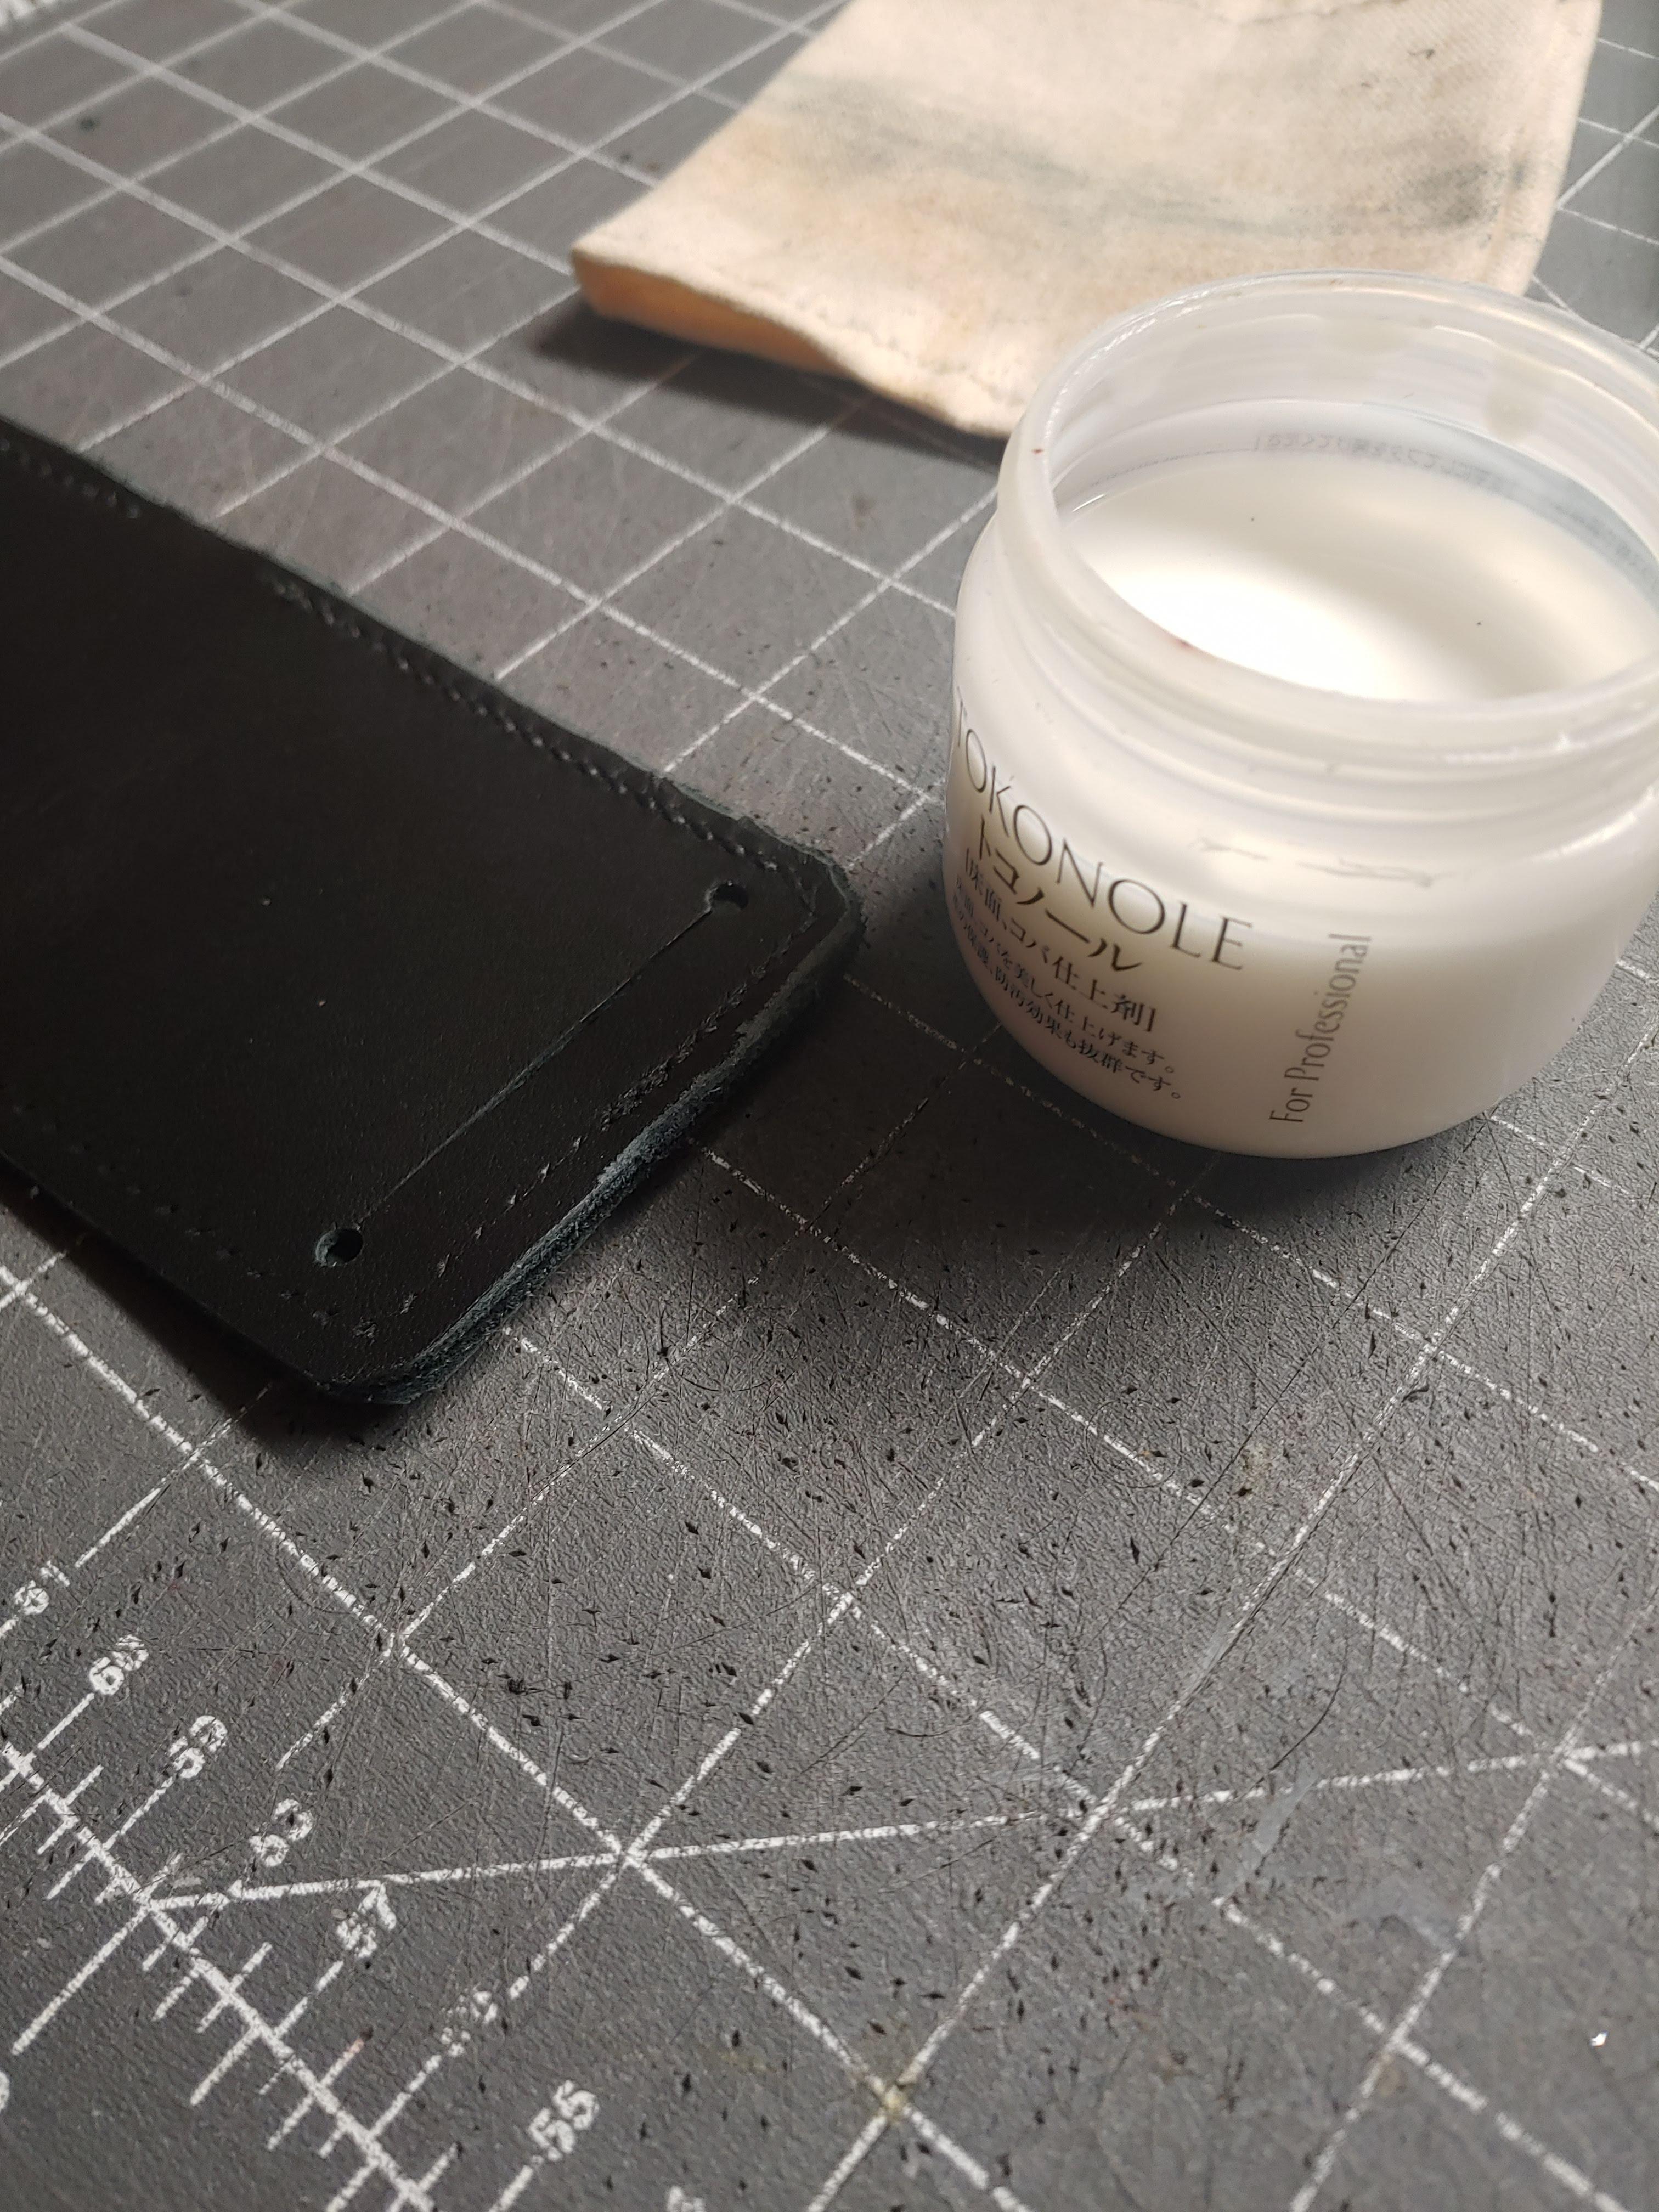
Once you have your edges beveled, its time to finish them. I use Tokonole gum tragacanth which makes the edges really smooth and shiny. If you use Veg-Tan Leather, you can just use water to get a very similar result.
- Get some Tokonole (or water) on your finger and spread a thin layer on the edge of the leather
- Buff it out some with your finger
- Wait a minute or two and apply another layer
- Buff it out again, but now you can get a bit more aggressive and use friction with your edge slicker to make it shiny.
- Use your scrap canvas to buff a little more, you can alternatively use your jeans and get the same outcome.
Stitching Again and Finishing It Up!

Stitch the other half as well, this time stitch the two sides together. The leather will be much thicker at 4 layers so it will be more difficult but you can widen the holes with your awl or use plyers to pull the needle through.
Finish the other half of the wallet the same way you did earlier, beveling, Tokonole or water, and buffing.
Congrats you are done! The more you use your wallet, the more it will buff it's self, create a patina, and build character. I would love to see your wallet if you want to send a picture to me on Instagram @b0qf_leatherworks