How to Make a Mancala Board Game
About the Creator:
Hi, my name is Andrew and I am a 12th grader at Illiana Christian High School in Dyer, Indiana.
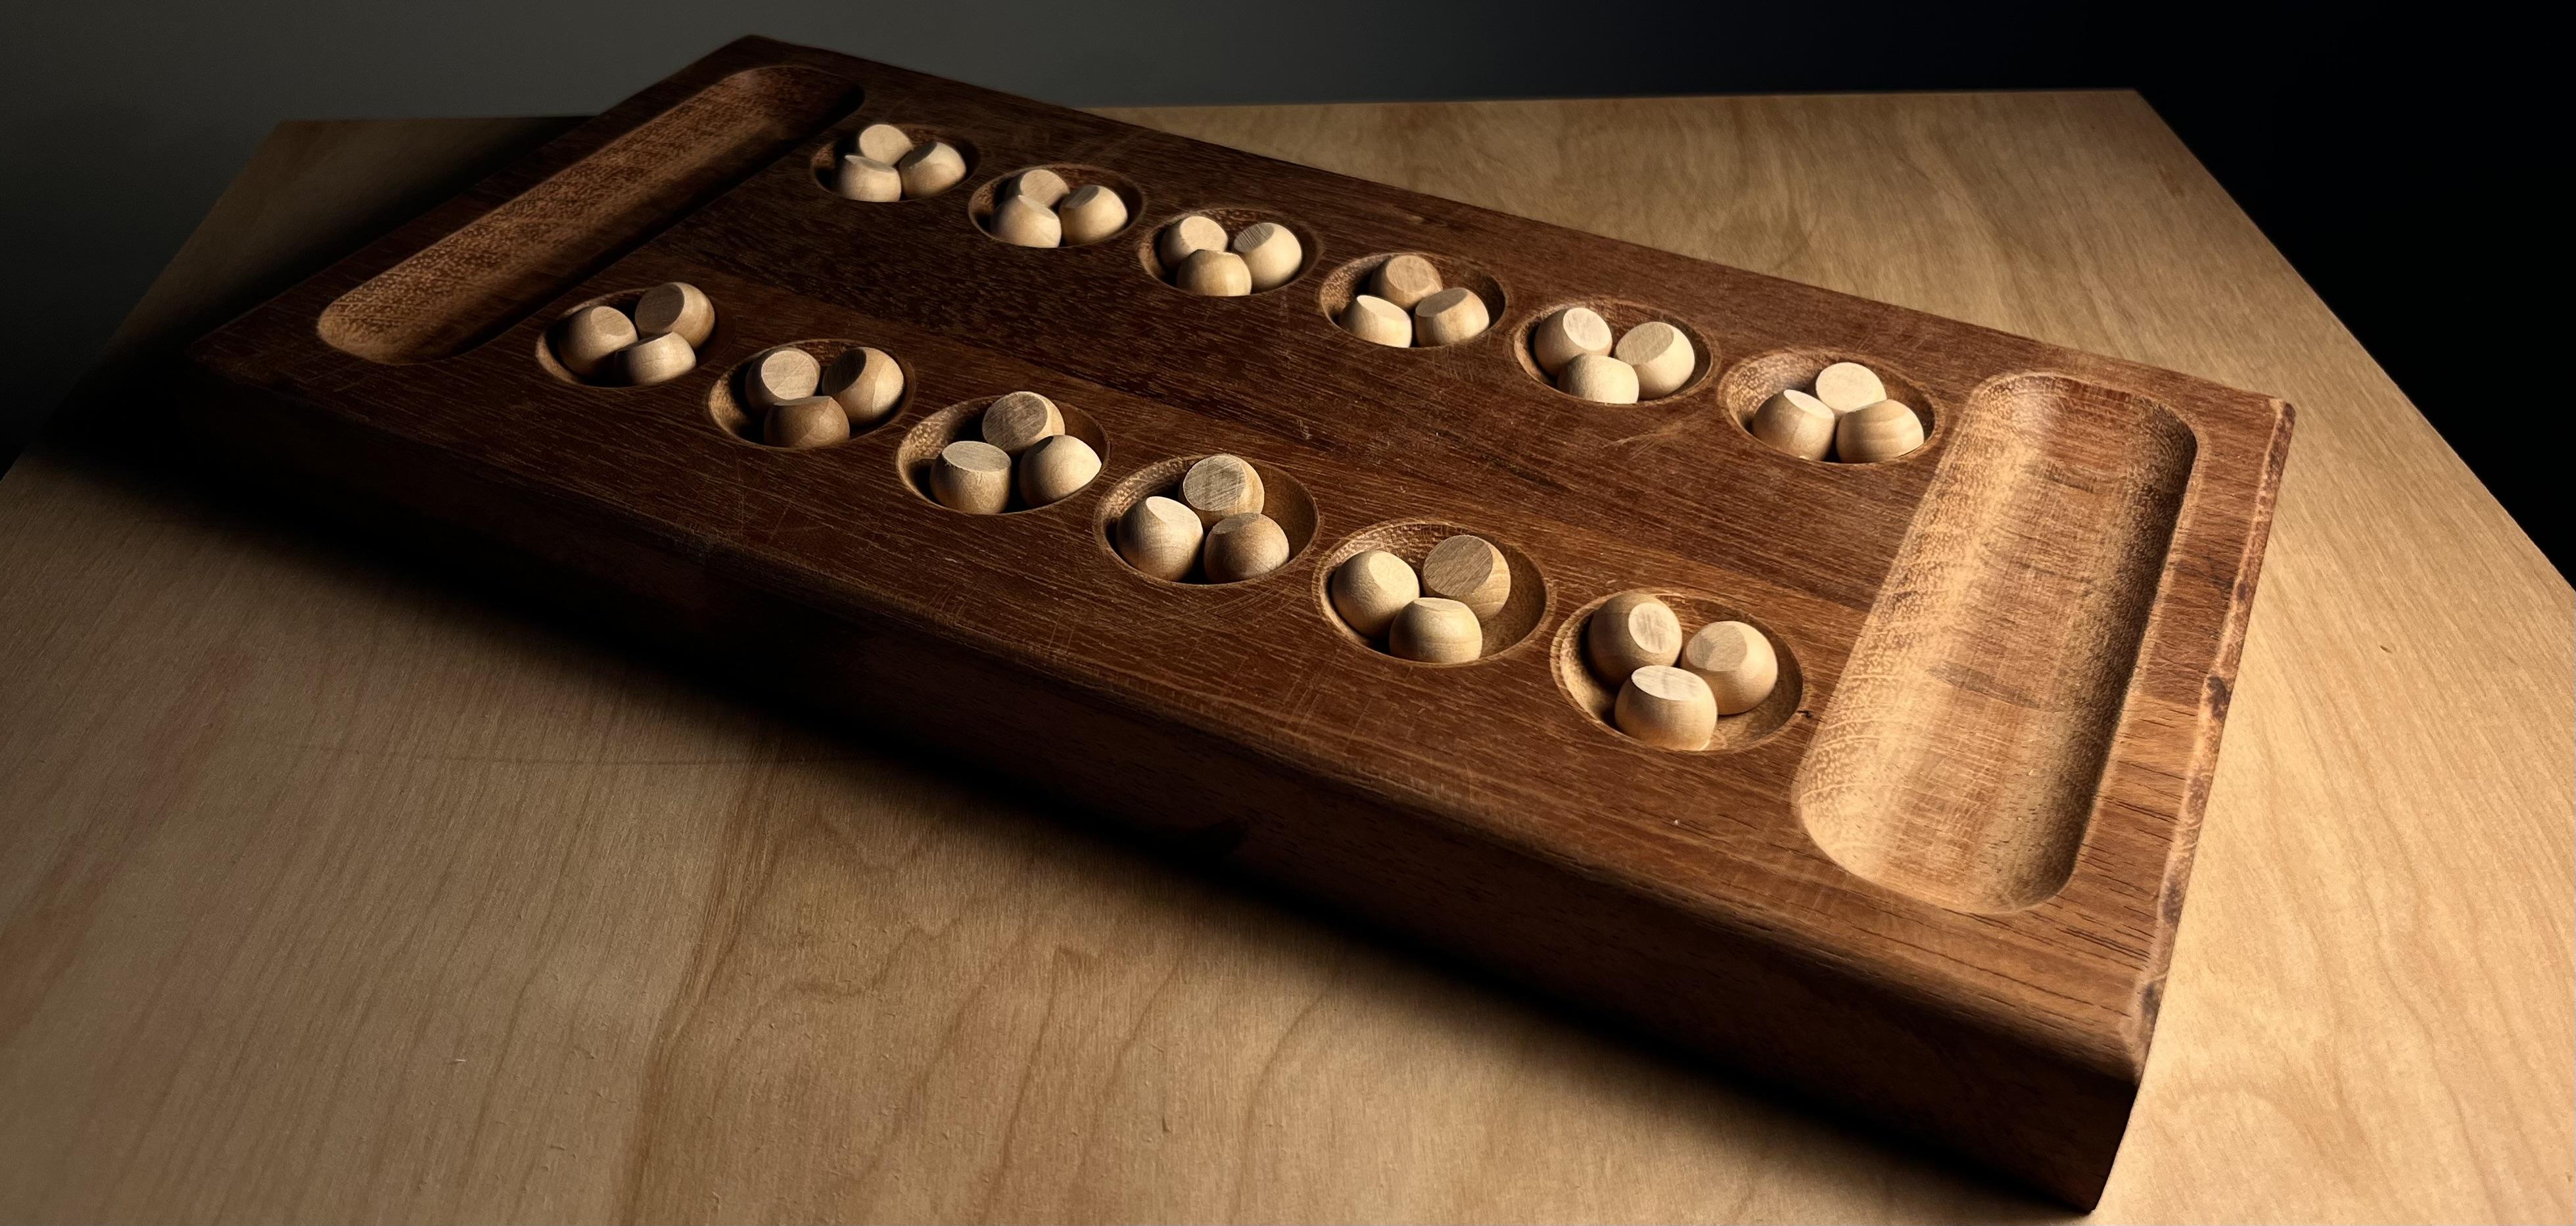
In this step-by-step procedure, you will be able to make a smooth and efficient Mancala board game that you can play with friends and family!
How is Mancala Played you might ask? Well, the first player will choose a circle (or pocket) on their own side, they would then pick up the stones in that space, and starting with the next space they will drop one stone in each space going counterclockwise (including in the goal) until all of the stones are played out.
How does the game end? The game will end when either player has no more stones in their six circles. After that, the winner is decided with who has the most pieces
Supplies
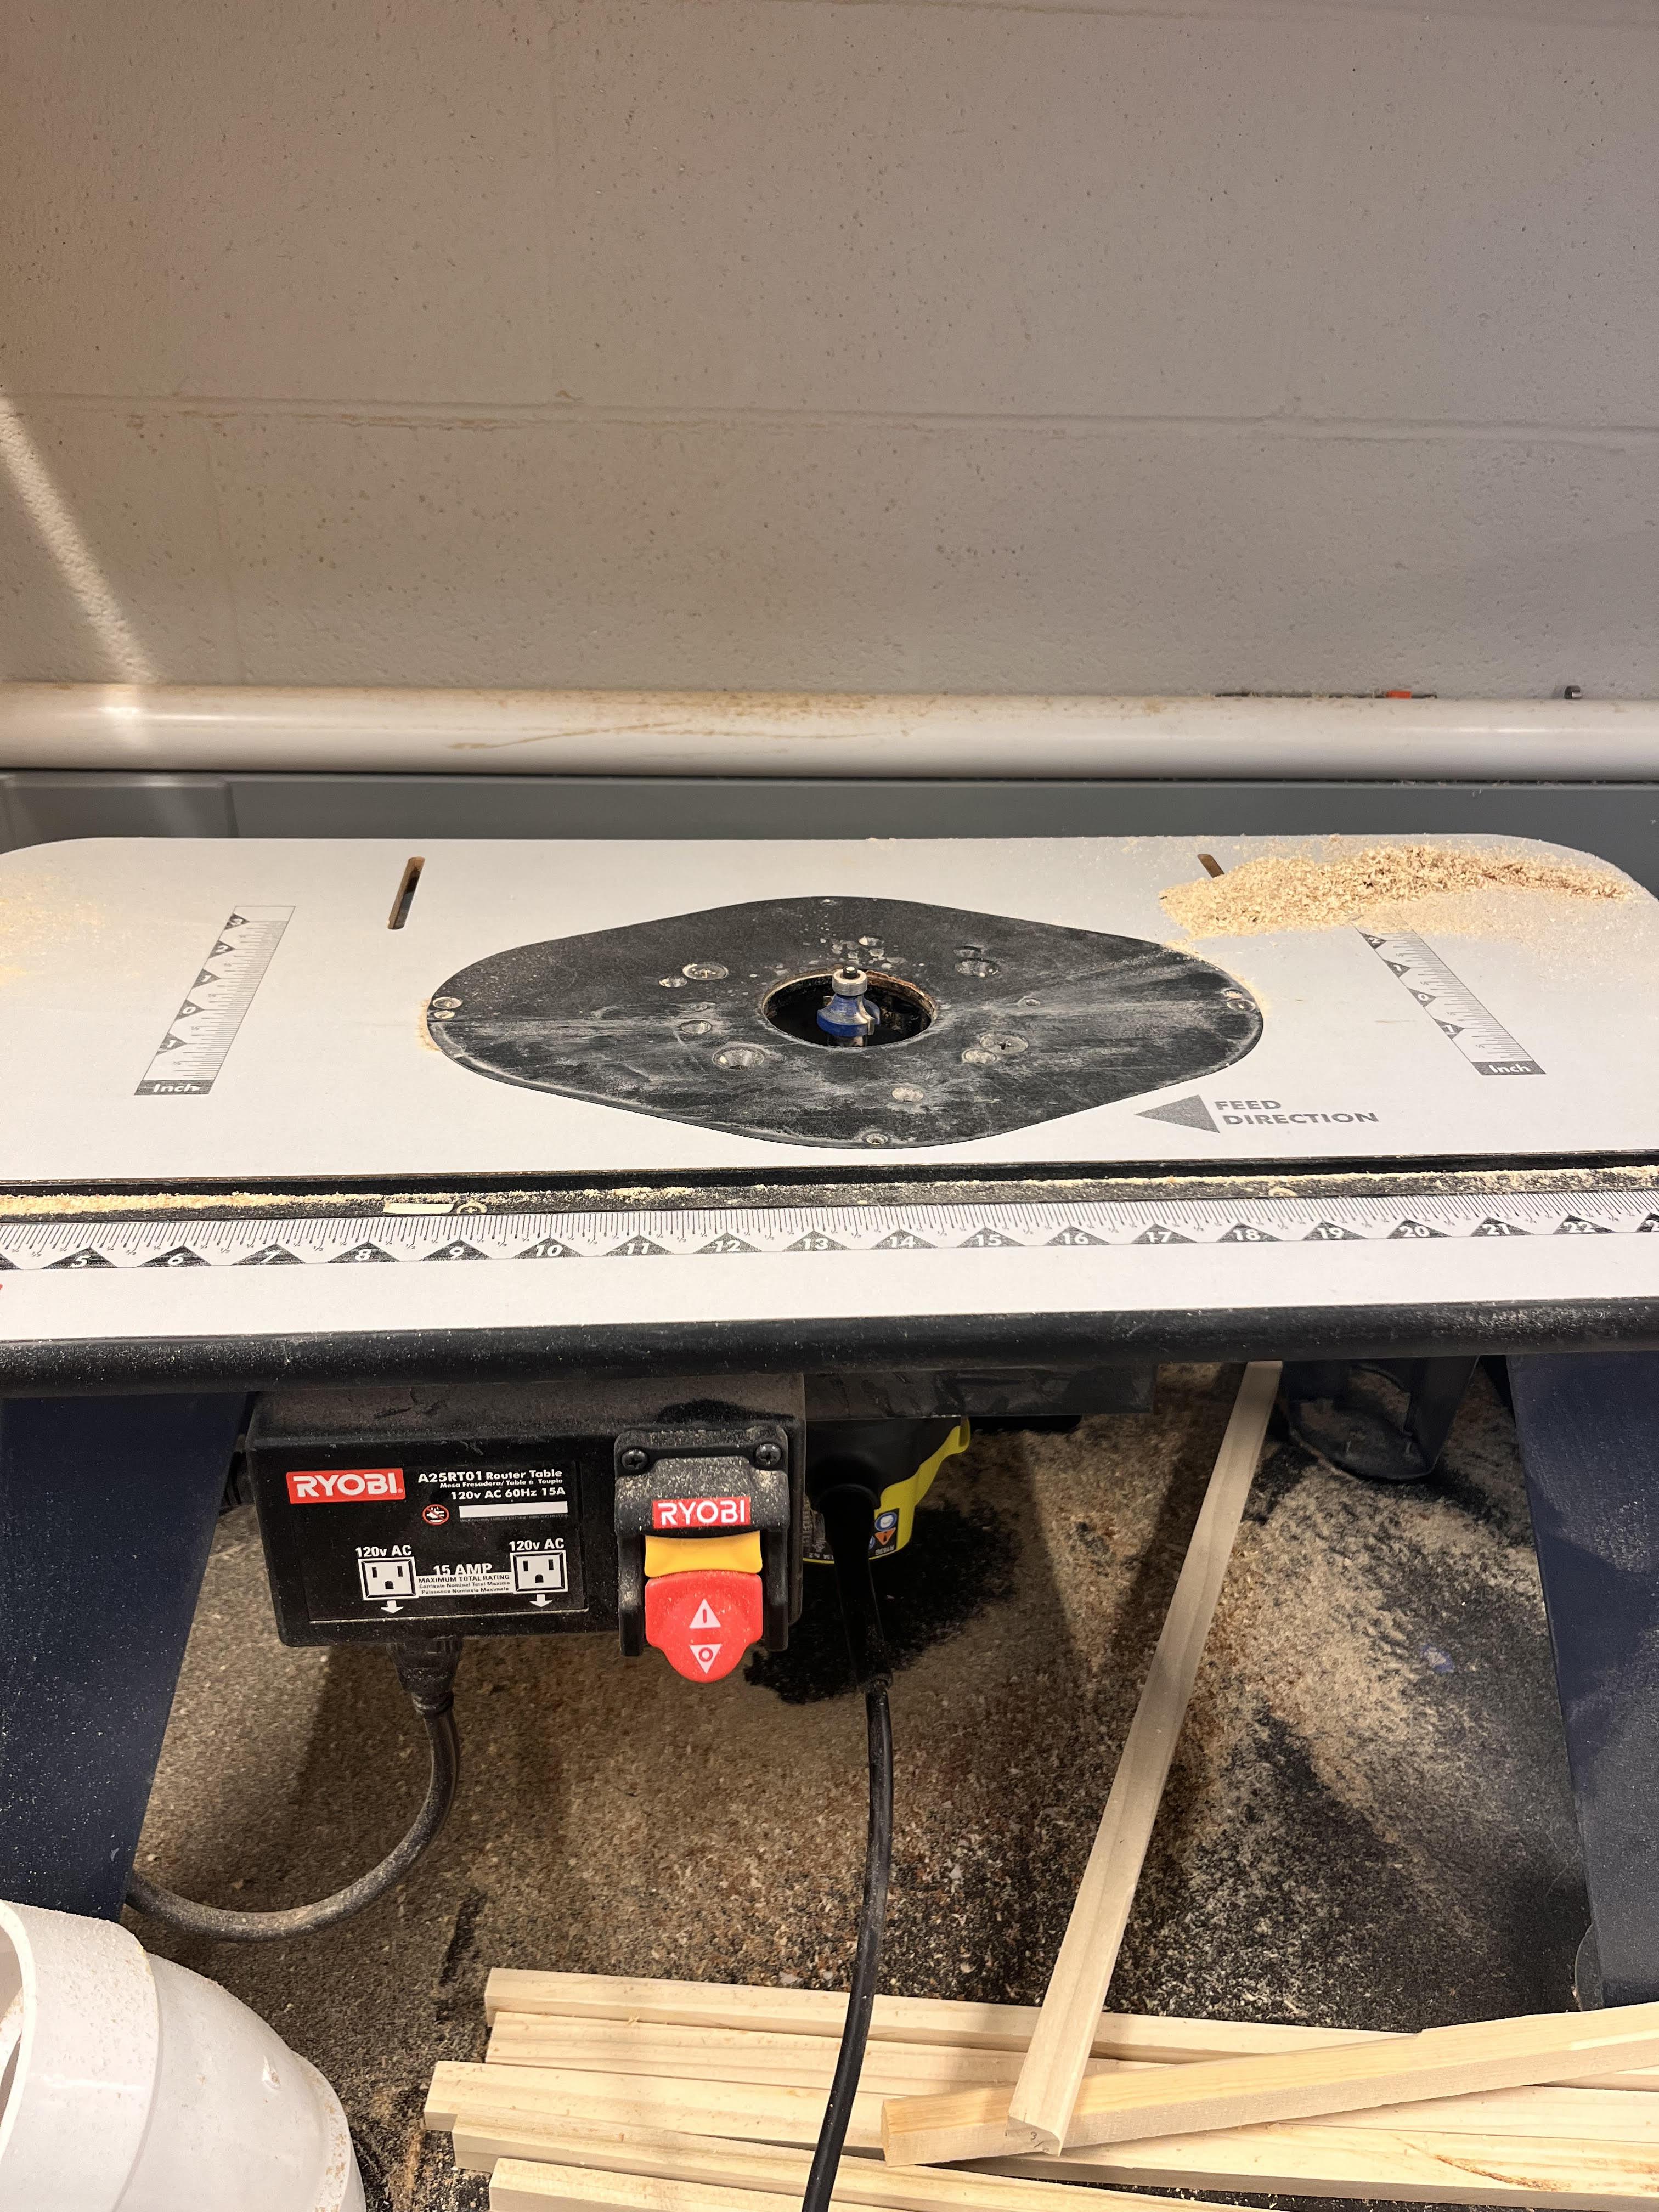
Main supplies:
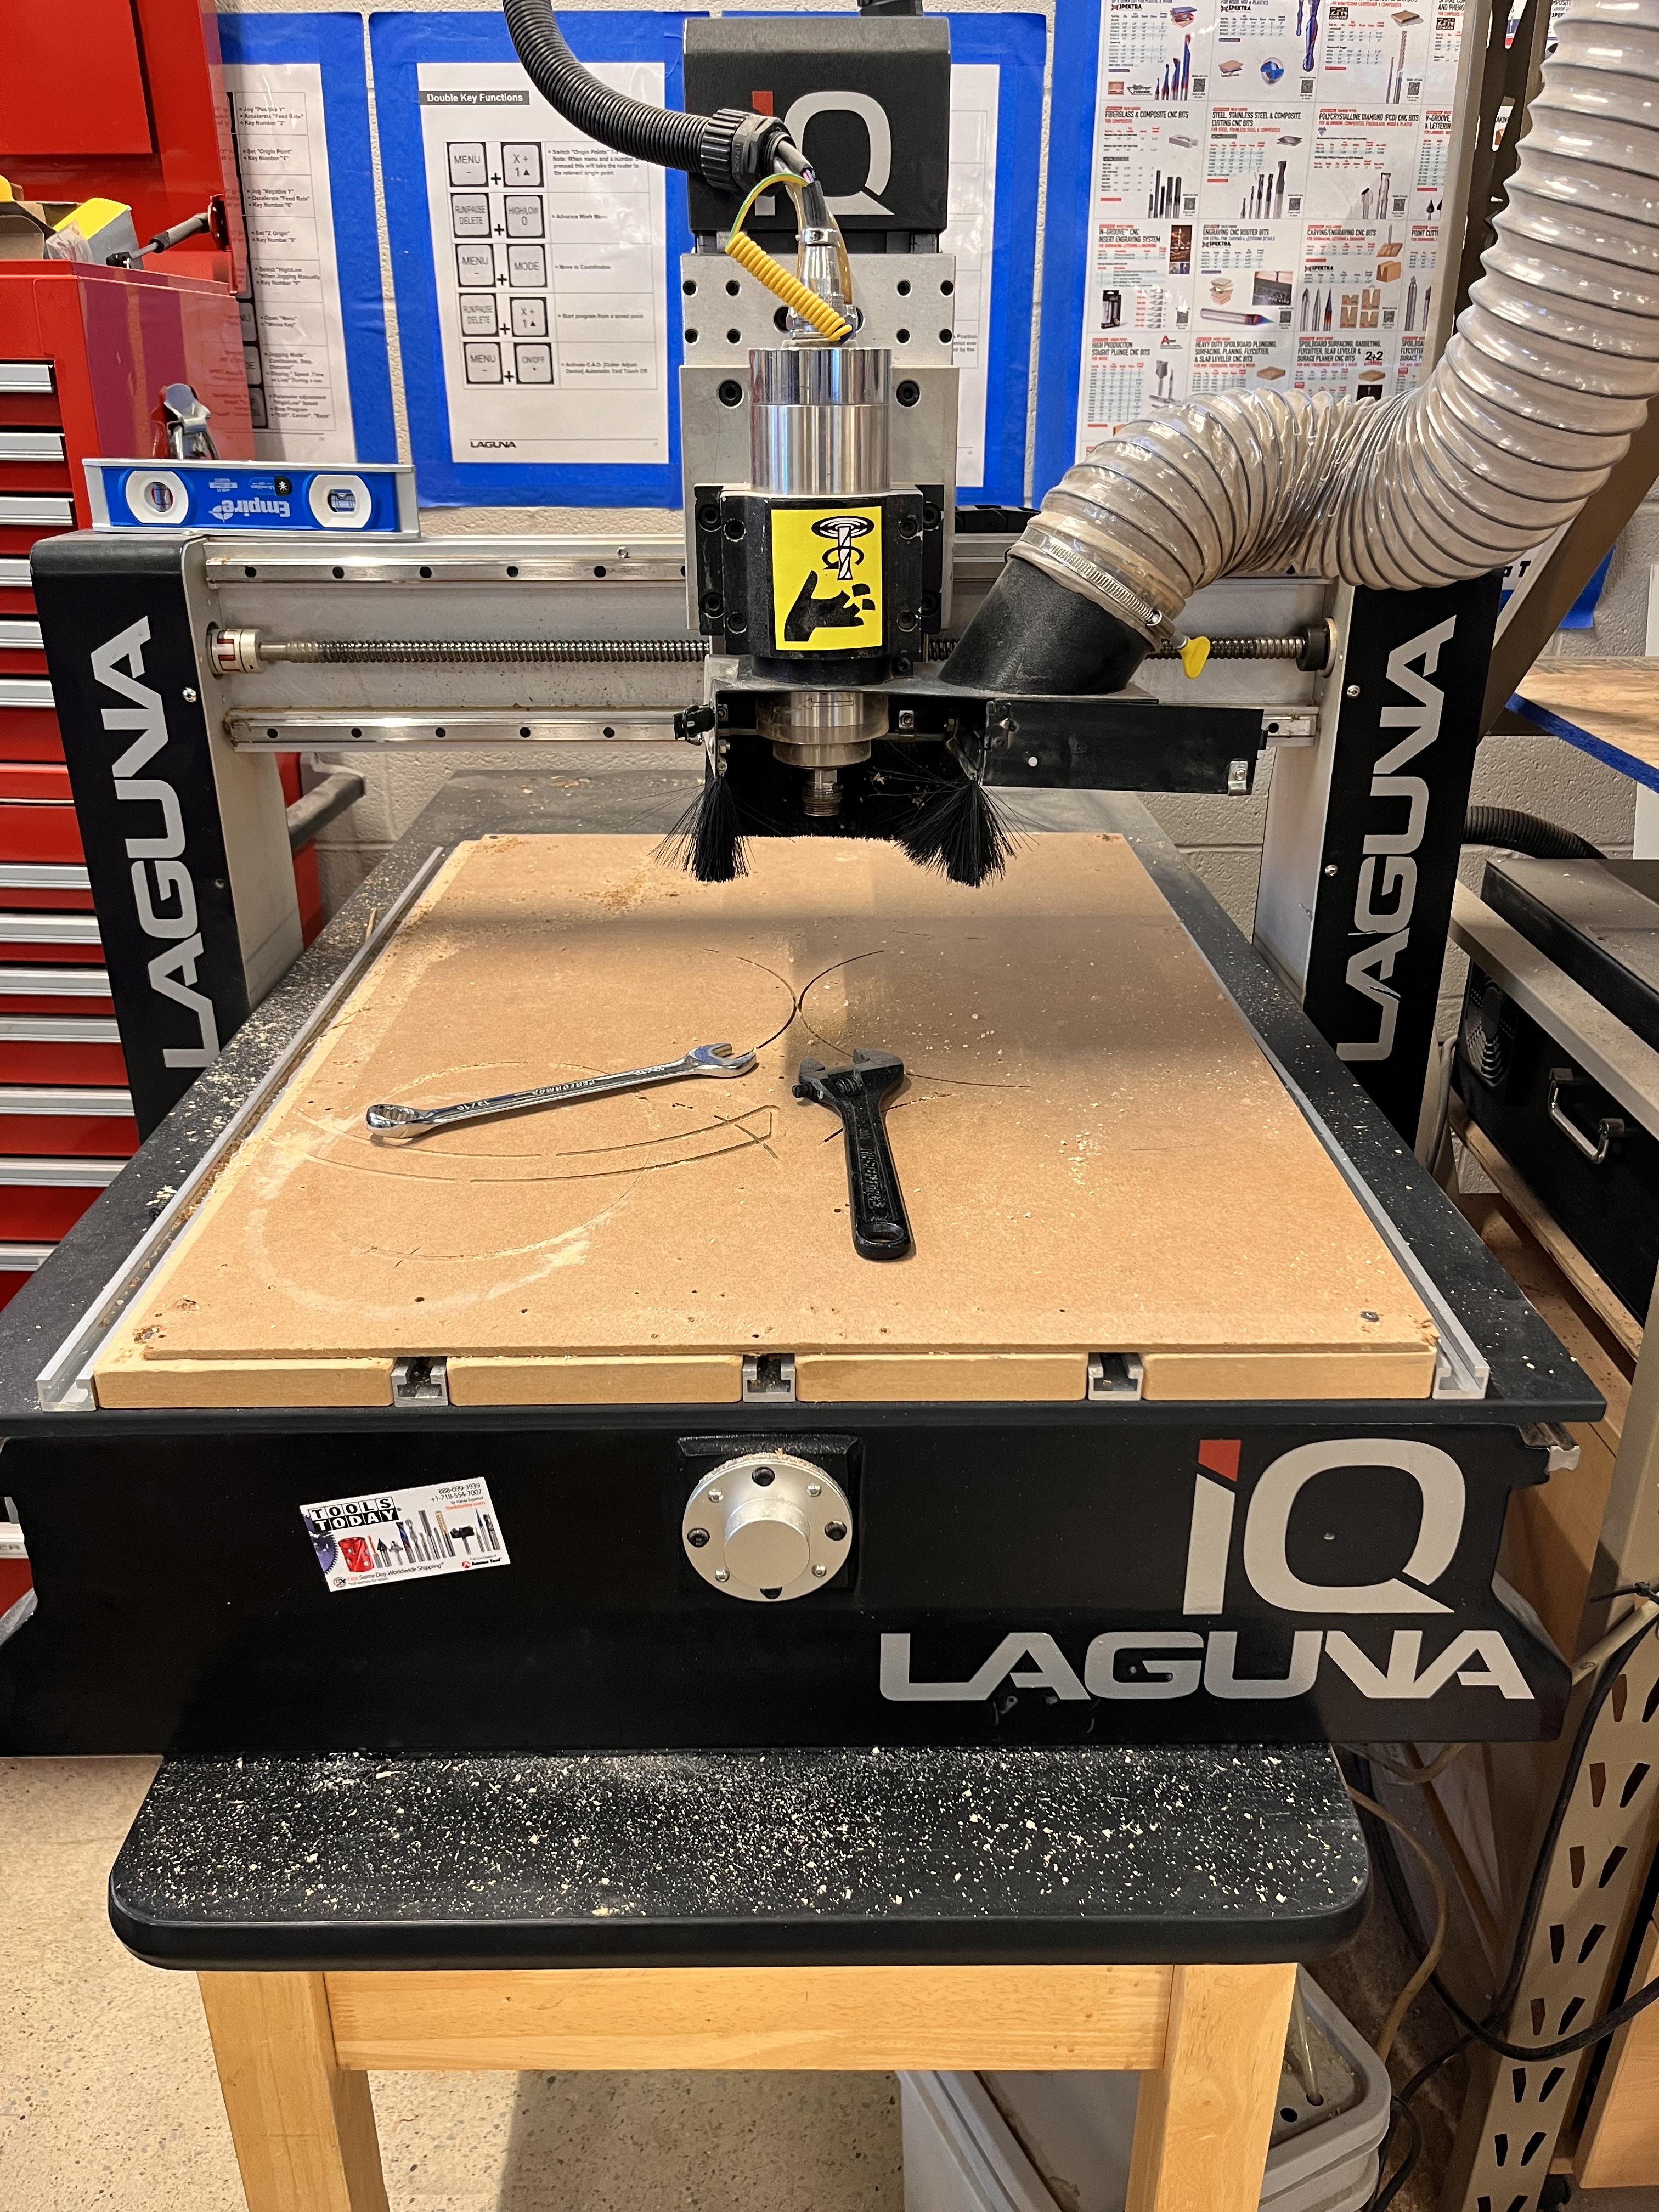
- Laguna CNC Machine
- 1/2 Inch Ball End Mill
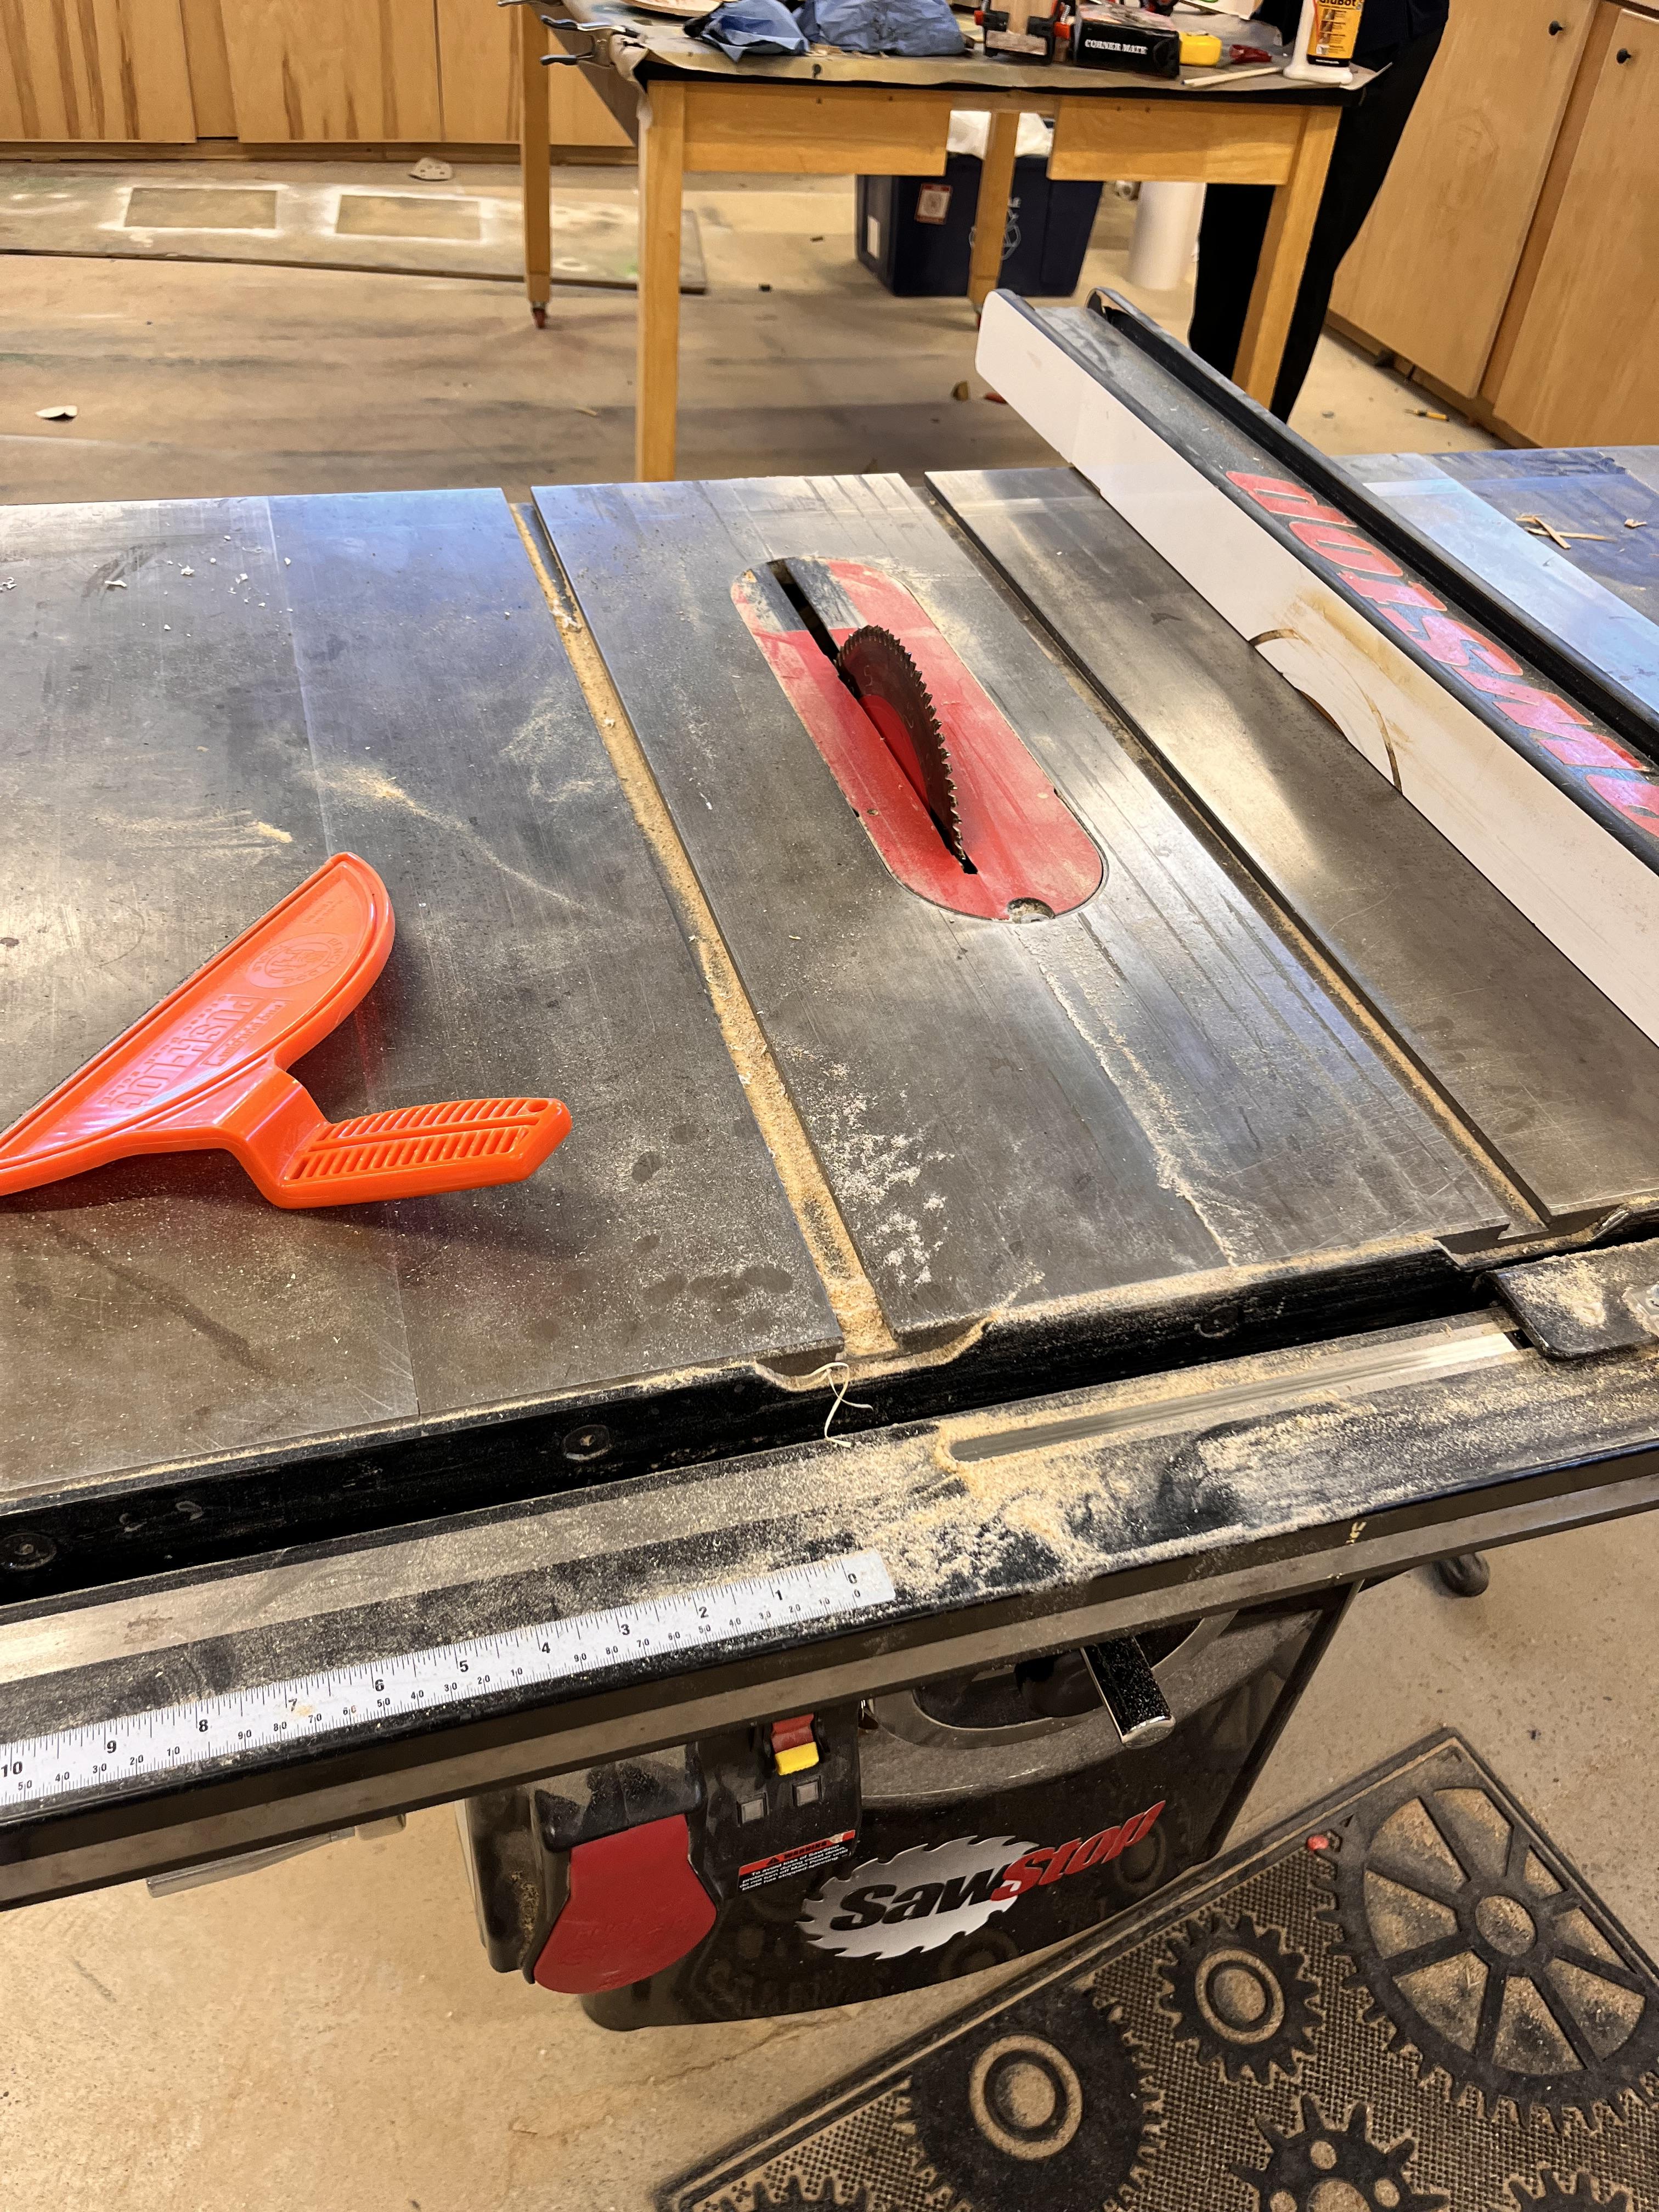
- Table Saw
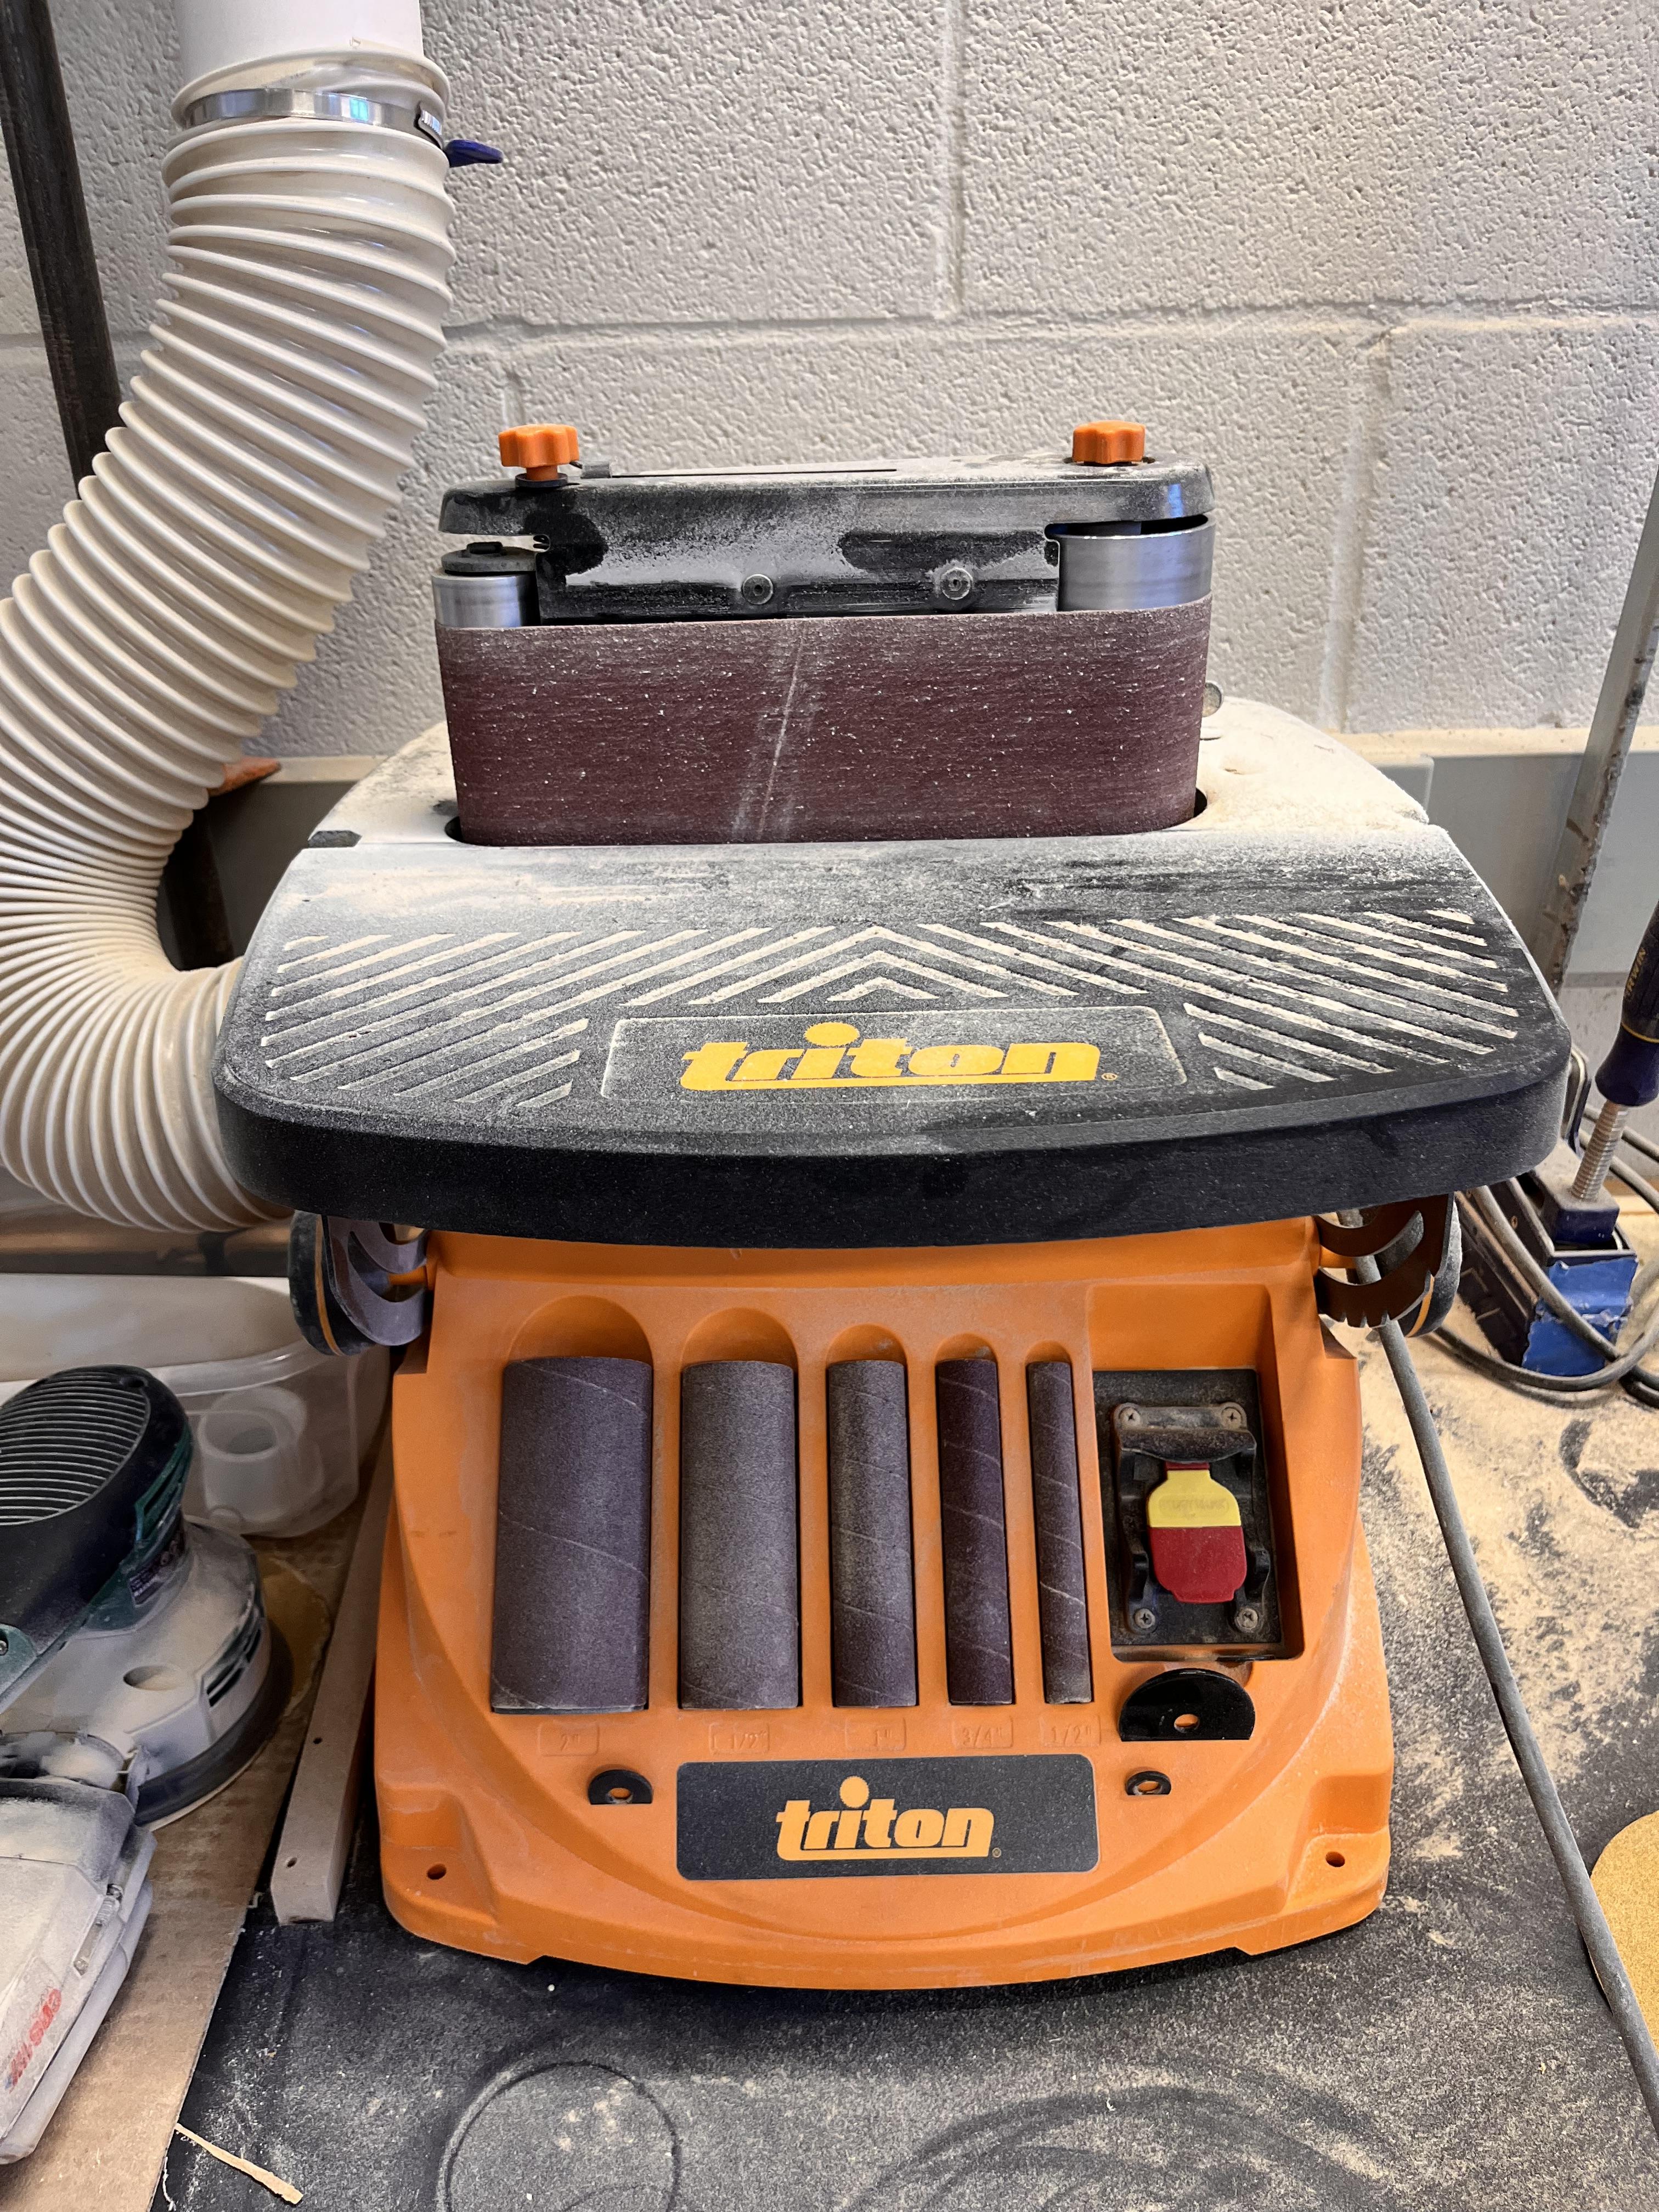
- Oscillating Sander
- Router Wood Cutter
- Clamps
- 40 round wooden balls: 1/2inch
- A piece of Walnut Wood
- Sand Paper
Brainstorming Ideas
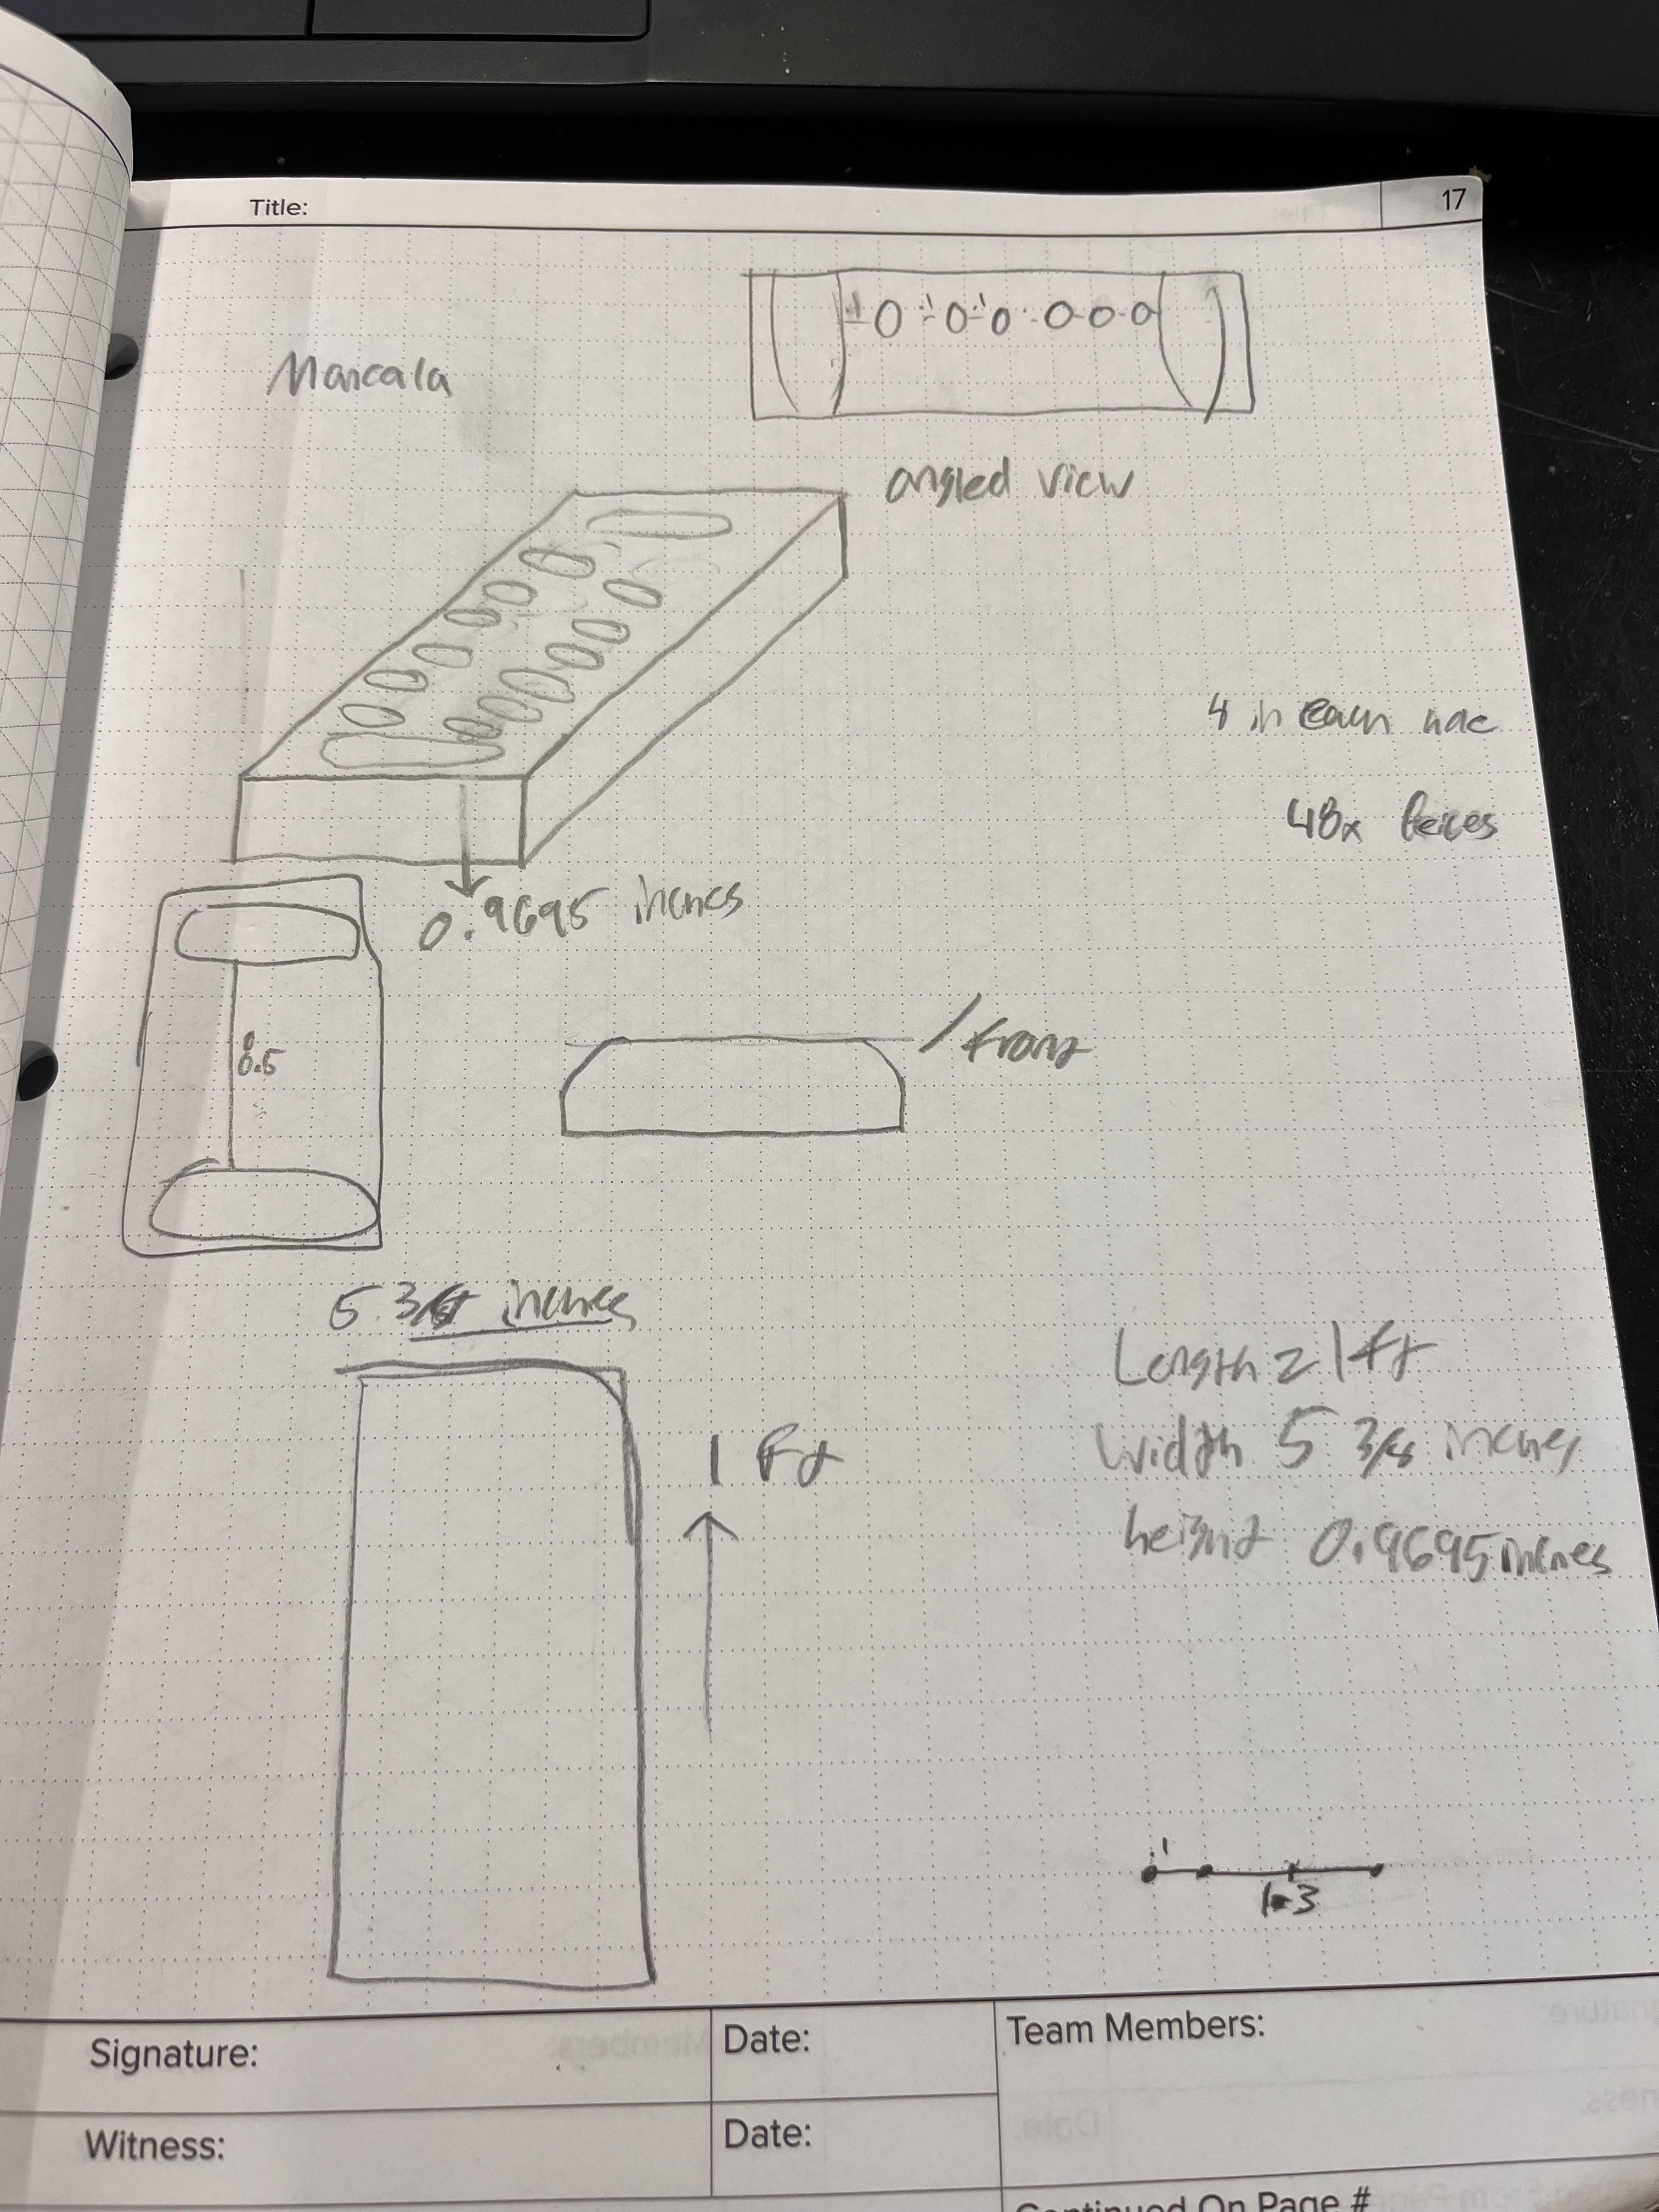
I have always thought of creating my own mancala board because it was a game I would love to play in my childhood. In order to make it correctly I would need to be able to fit 12 holes (6 on each side) and the goals at the end. I then would have to figure out what my pieces would be. I was thinking at first about marbles but then I had another idea about using small wooden balls.
Cut the Piece of Wood Into the Size You Prefer
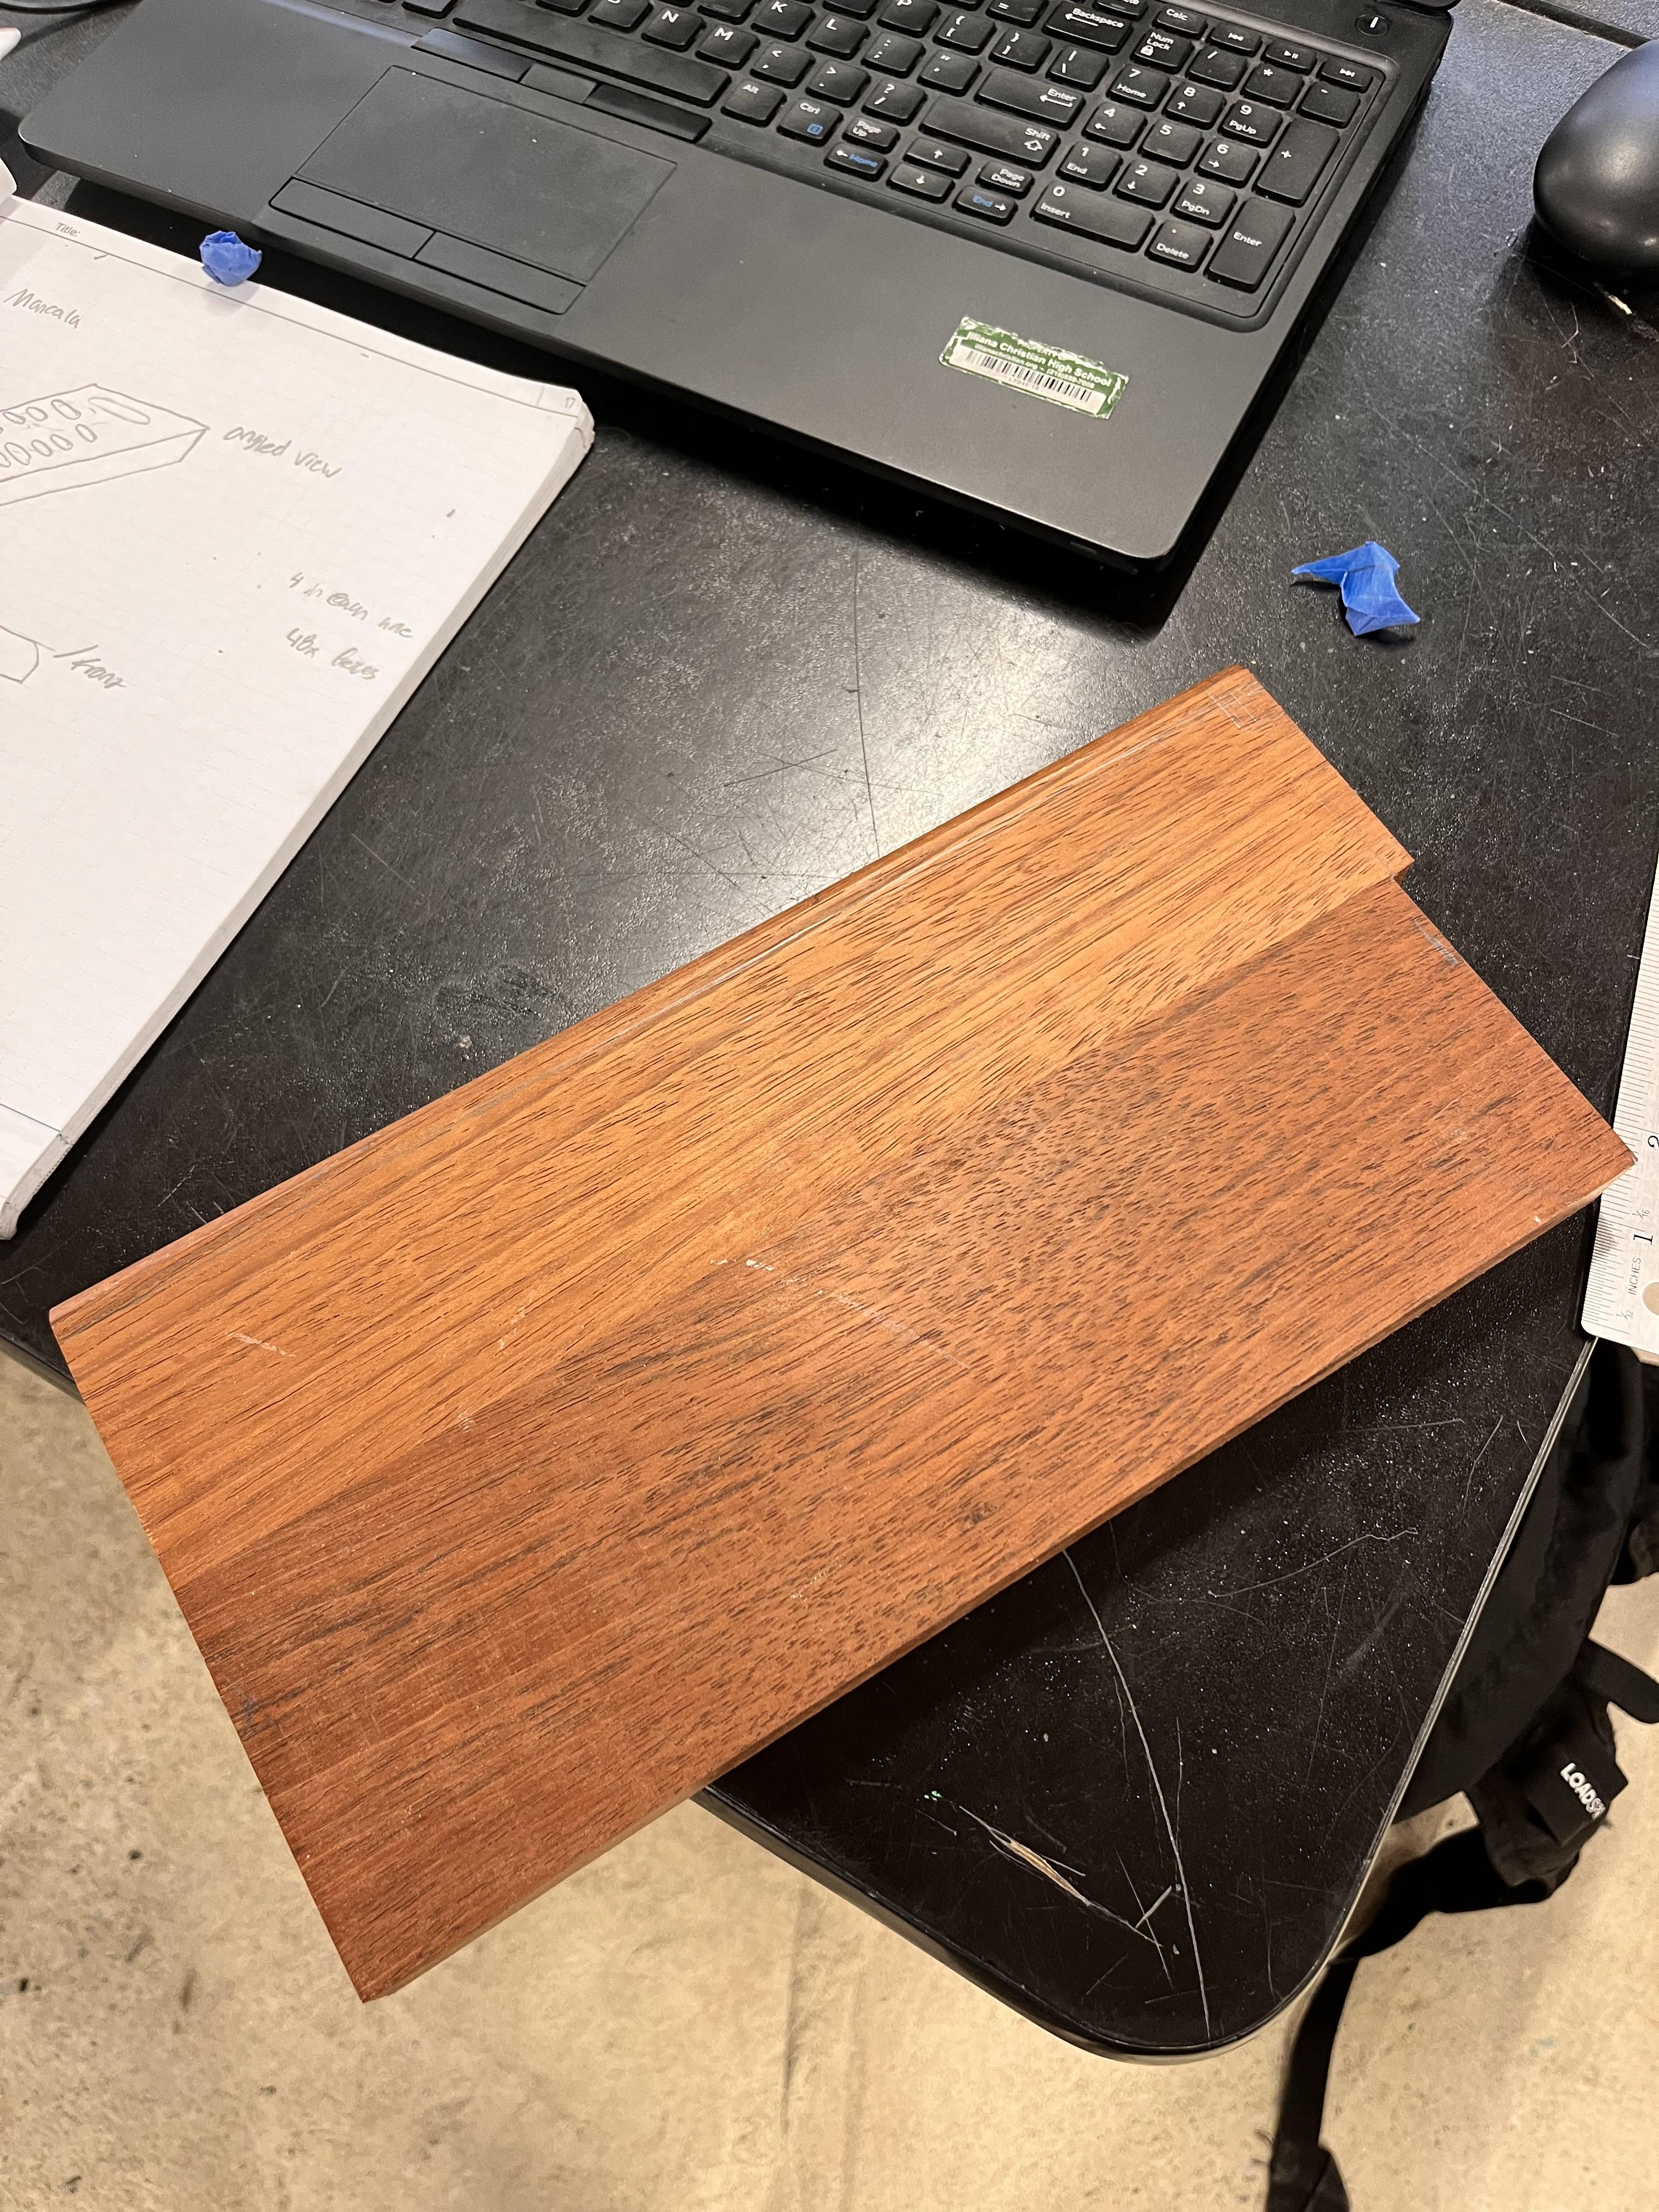
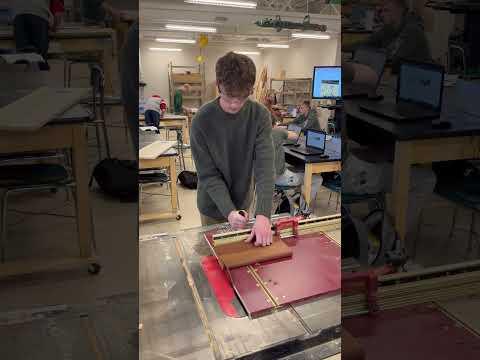
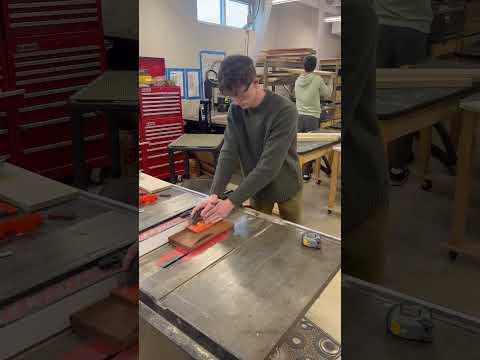
I found a leftover piece of Walnut wood and I knew I would be able to create a mancala game out of it. I cut the Walnut and shaped it into a smoothly cut rectangle.
I ended up going with these measurements:
- Length: 1 ft
- Width: 5 3/4 in
- Thickness: 0.9695 in
Create the Object on Fusion 360
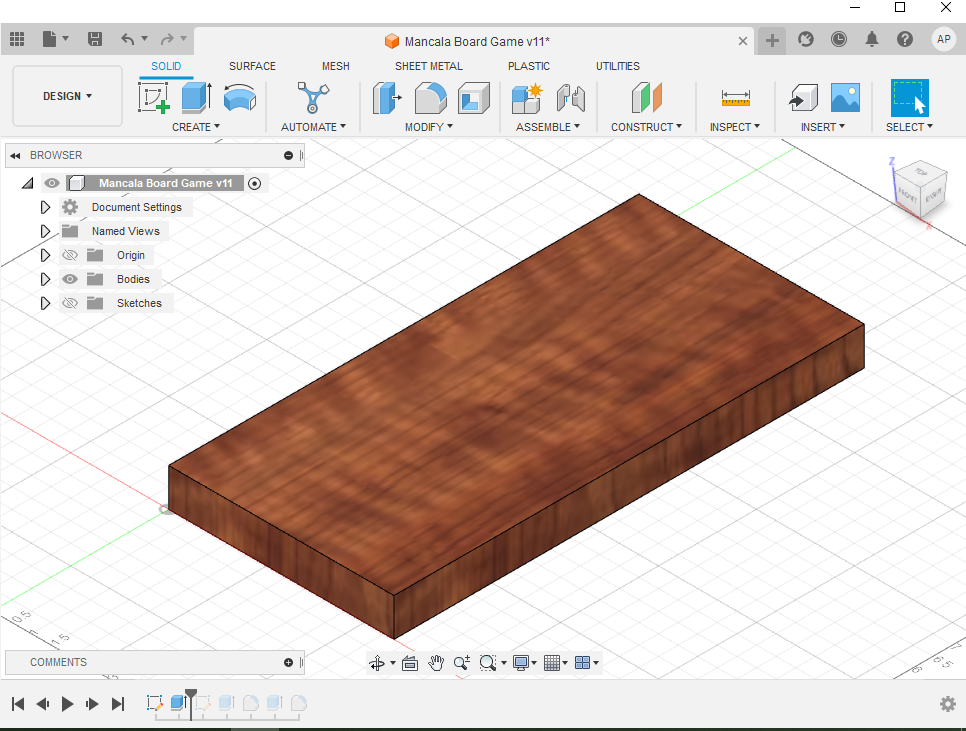
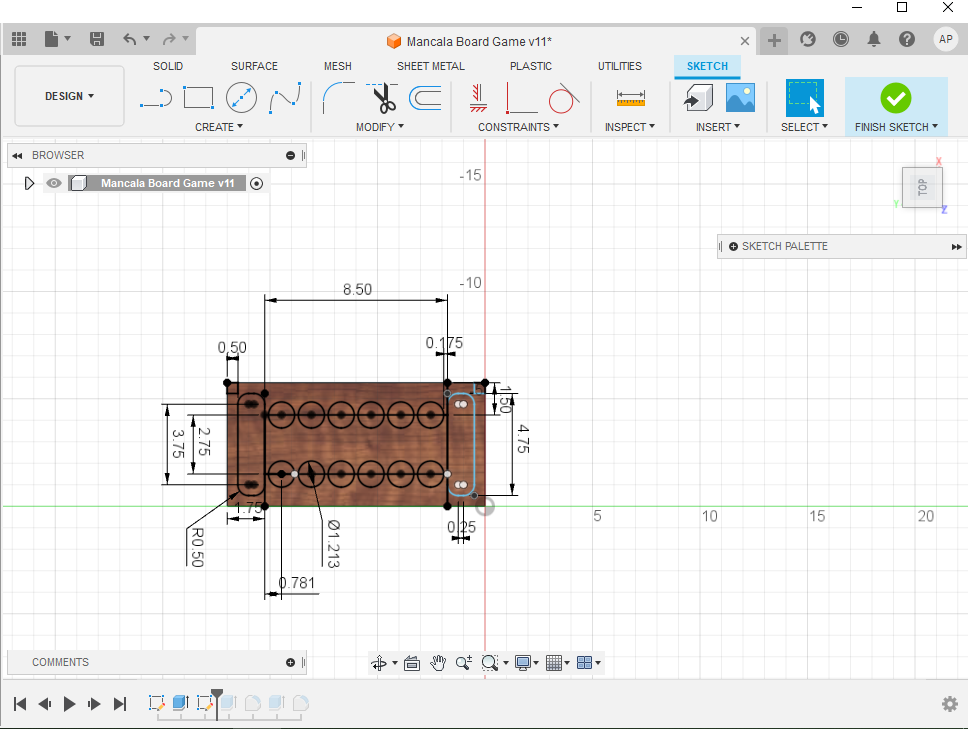
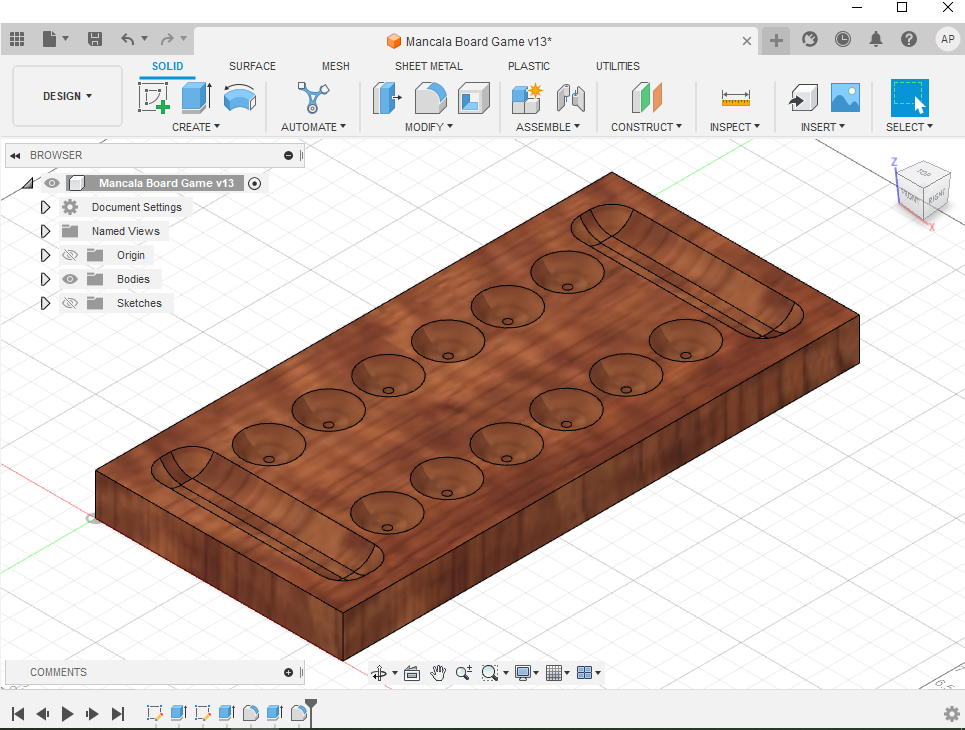
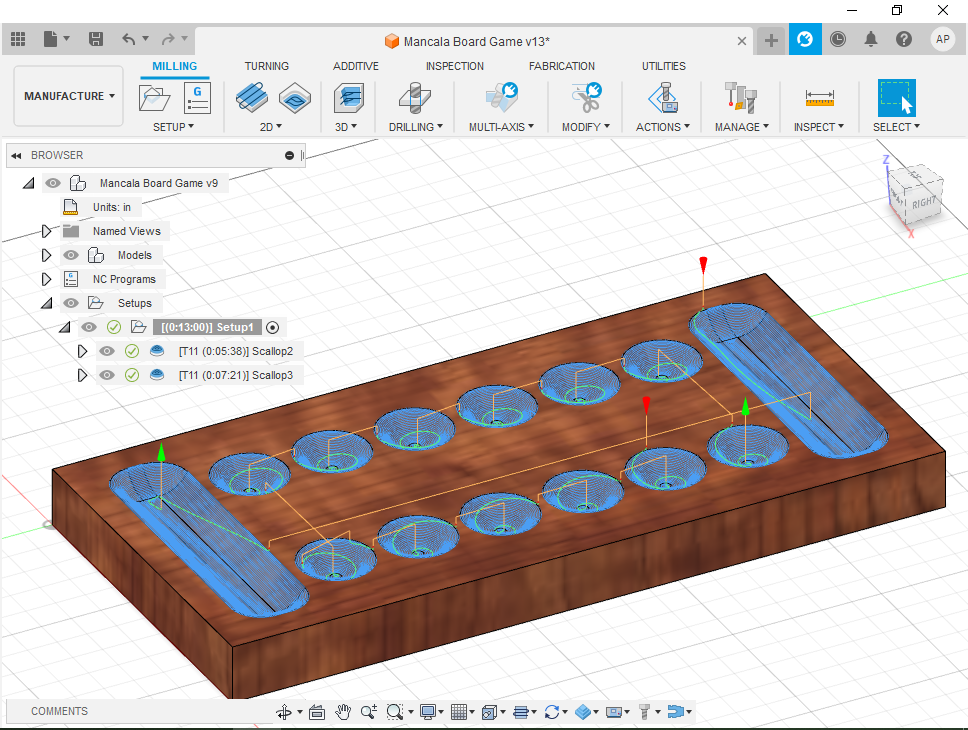
Firstly I recreated the piece of Walnut wood on Fusion 360 (with the same dimensions) by using the Sketch Tool and Extrusion Tool. Then you have to make a sketch on top of the board and use the dimension I have provided above. After you have created the sketch you would first use the Extrusion Tool and then the Fillet Tool.
Extrusion Tool:
- The Pockets and the Goals are both going to be extruded down 0.3 inches.
After you use the Extrusion Tool then you use the Fillet Tool
Fillet Tool:
- Goals: 0.55 Inches
- Pockets: 0.6 Inches
Once you have finally created the Mancala Board the way you prefer then in the top right you click the design button and then click Manufacture. Fusion 306 has a Manufacturing section where you can create tool paths with a drill bit to cut out the areas that are needed to make the part. I used the Scalloping Tool which gave me toolpaths to cut out the goals and pockets. In the scalloping tool, you can pick the bit you are going to use on the CNC machine (I went with a 1/2 Inch Ball End Mill. There is a simulation mode where you can see the paths of where the drill goes and it can also show you how long it is going to take.
CNC Machine/Sanding
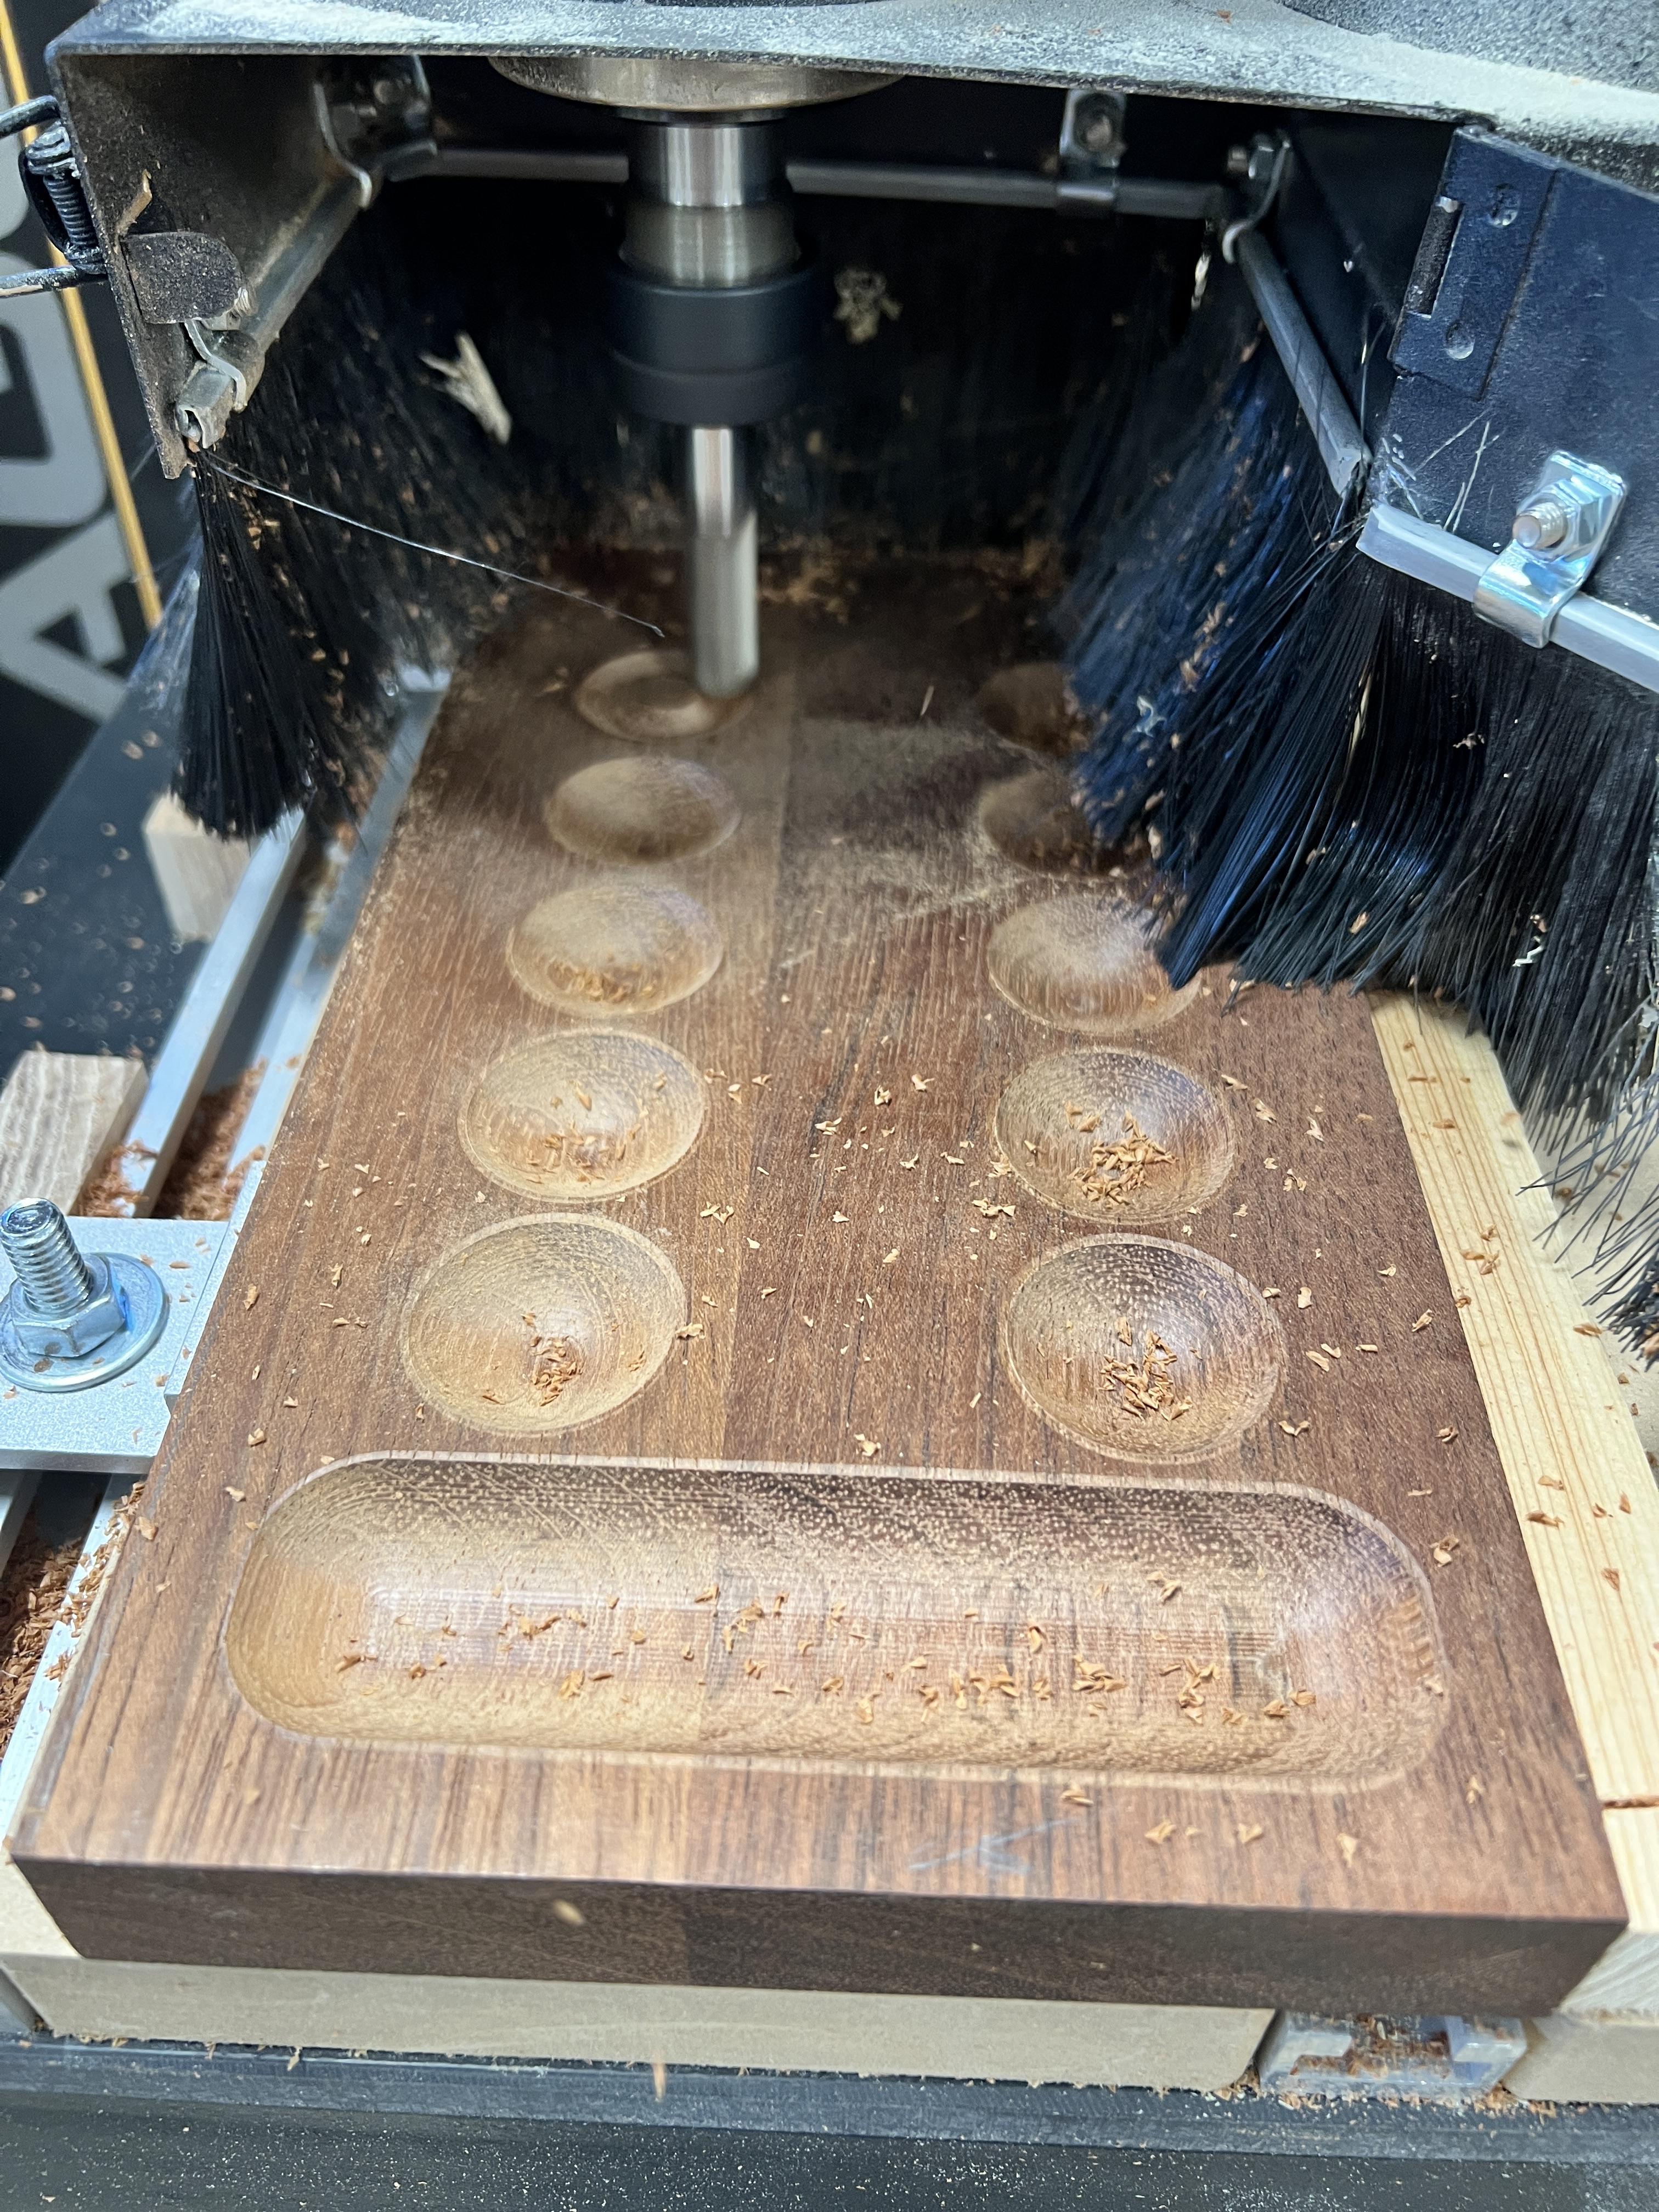
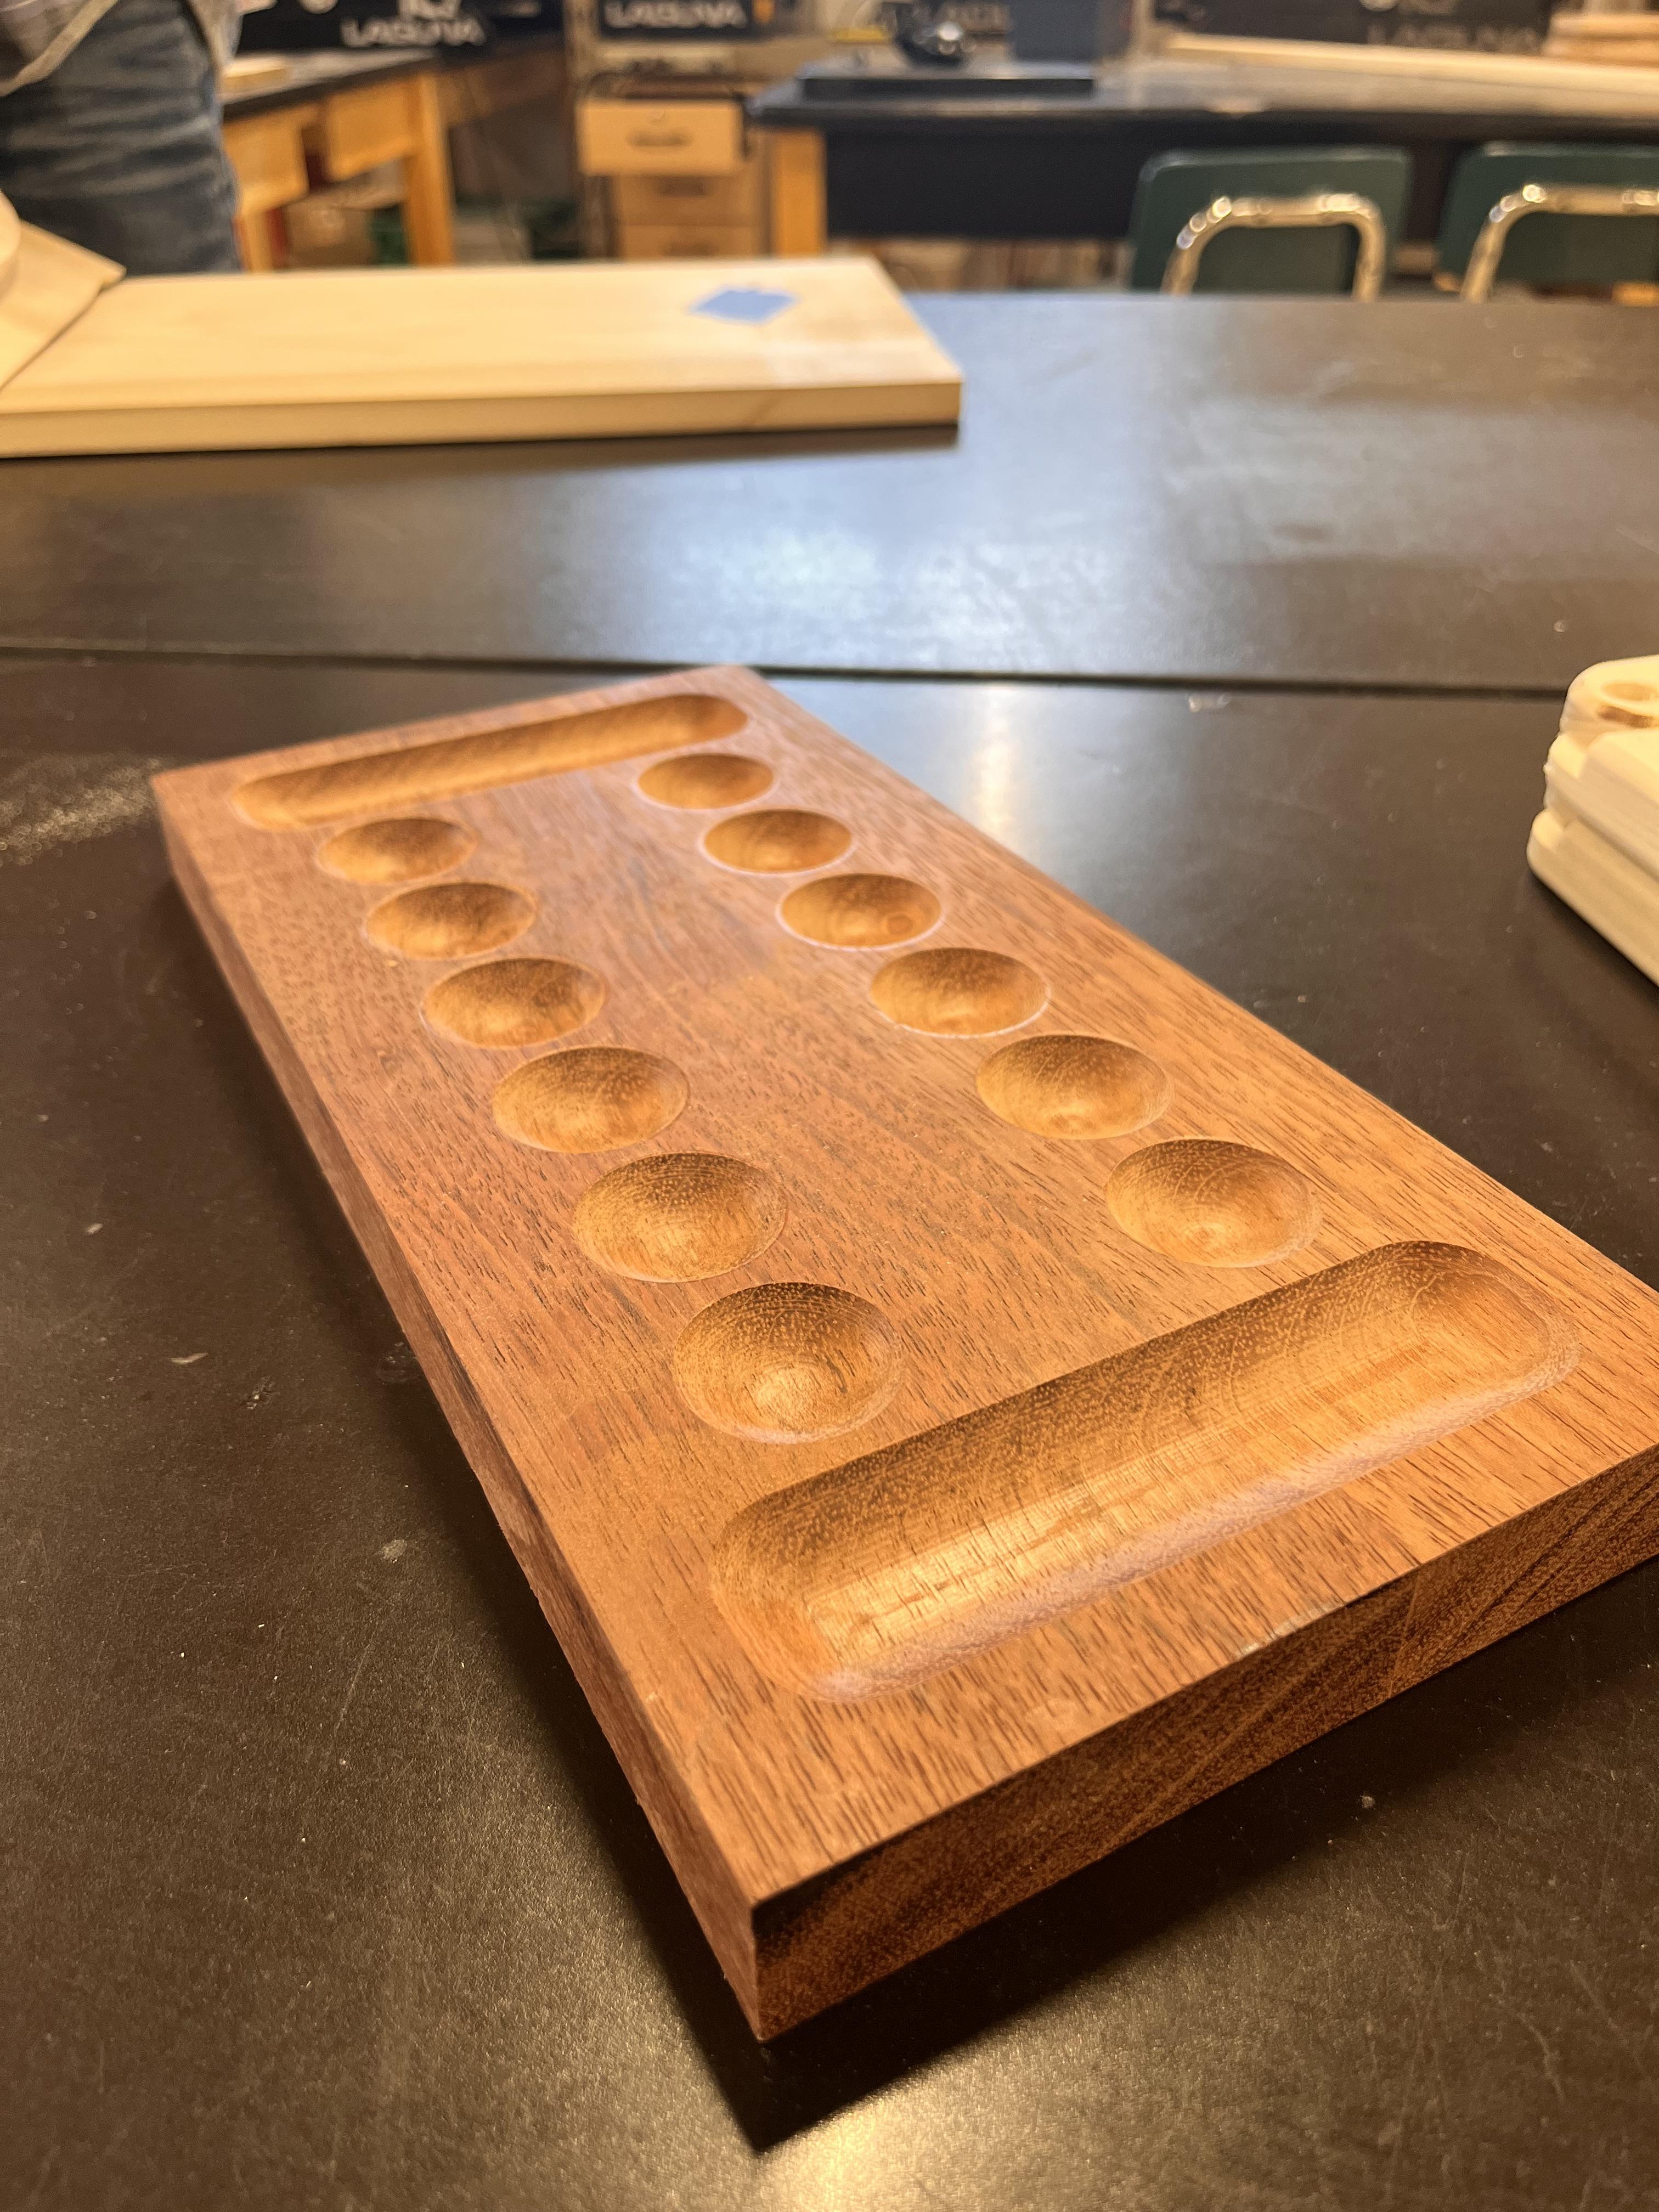
Once you have finished making the part in Fusion 360 you can use the code that you saved and the CNC machine will cut it out for you. When the CNC Machine is finished you will take a small piece of sandpaper and thoroughly smooth out the rough areas in the end goals and the pockets.
Router Wood Cutter
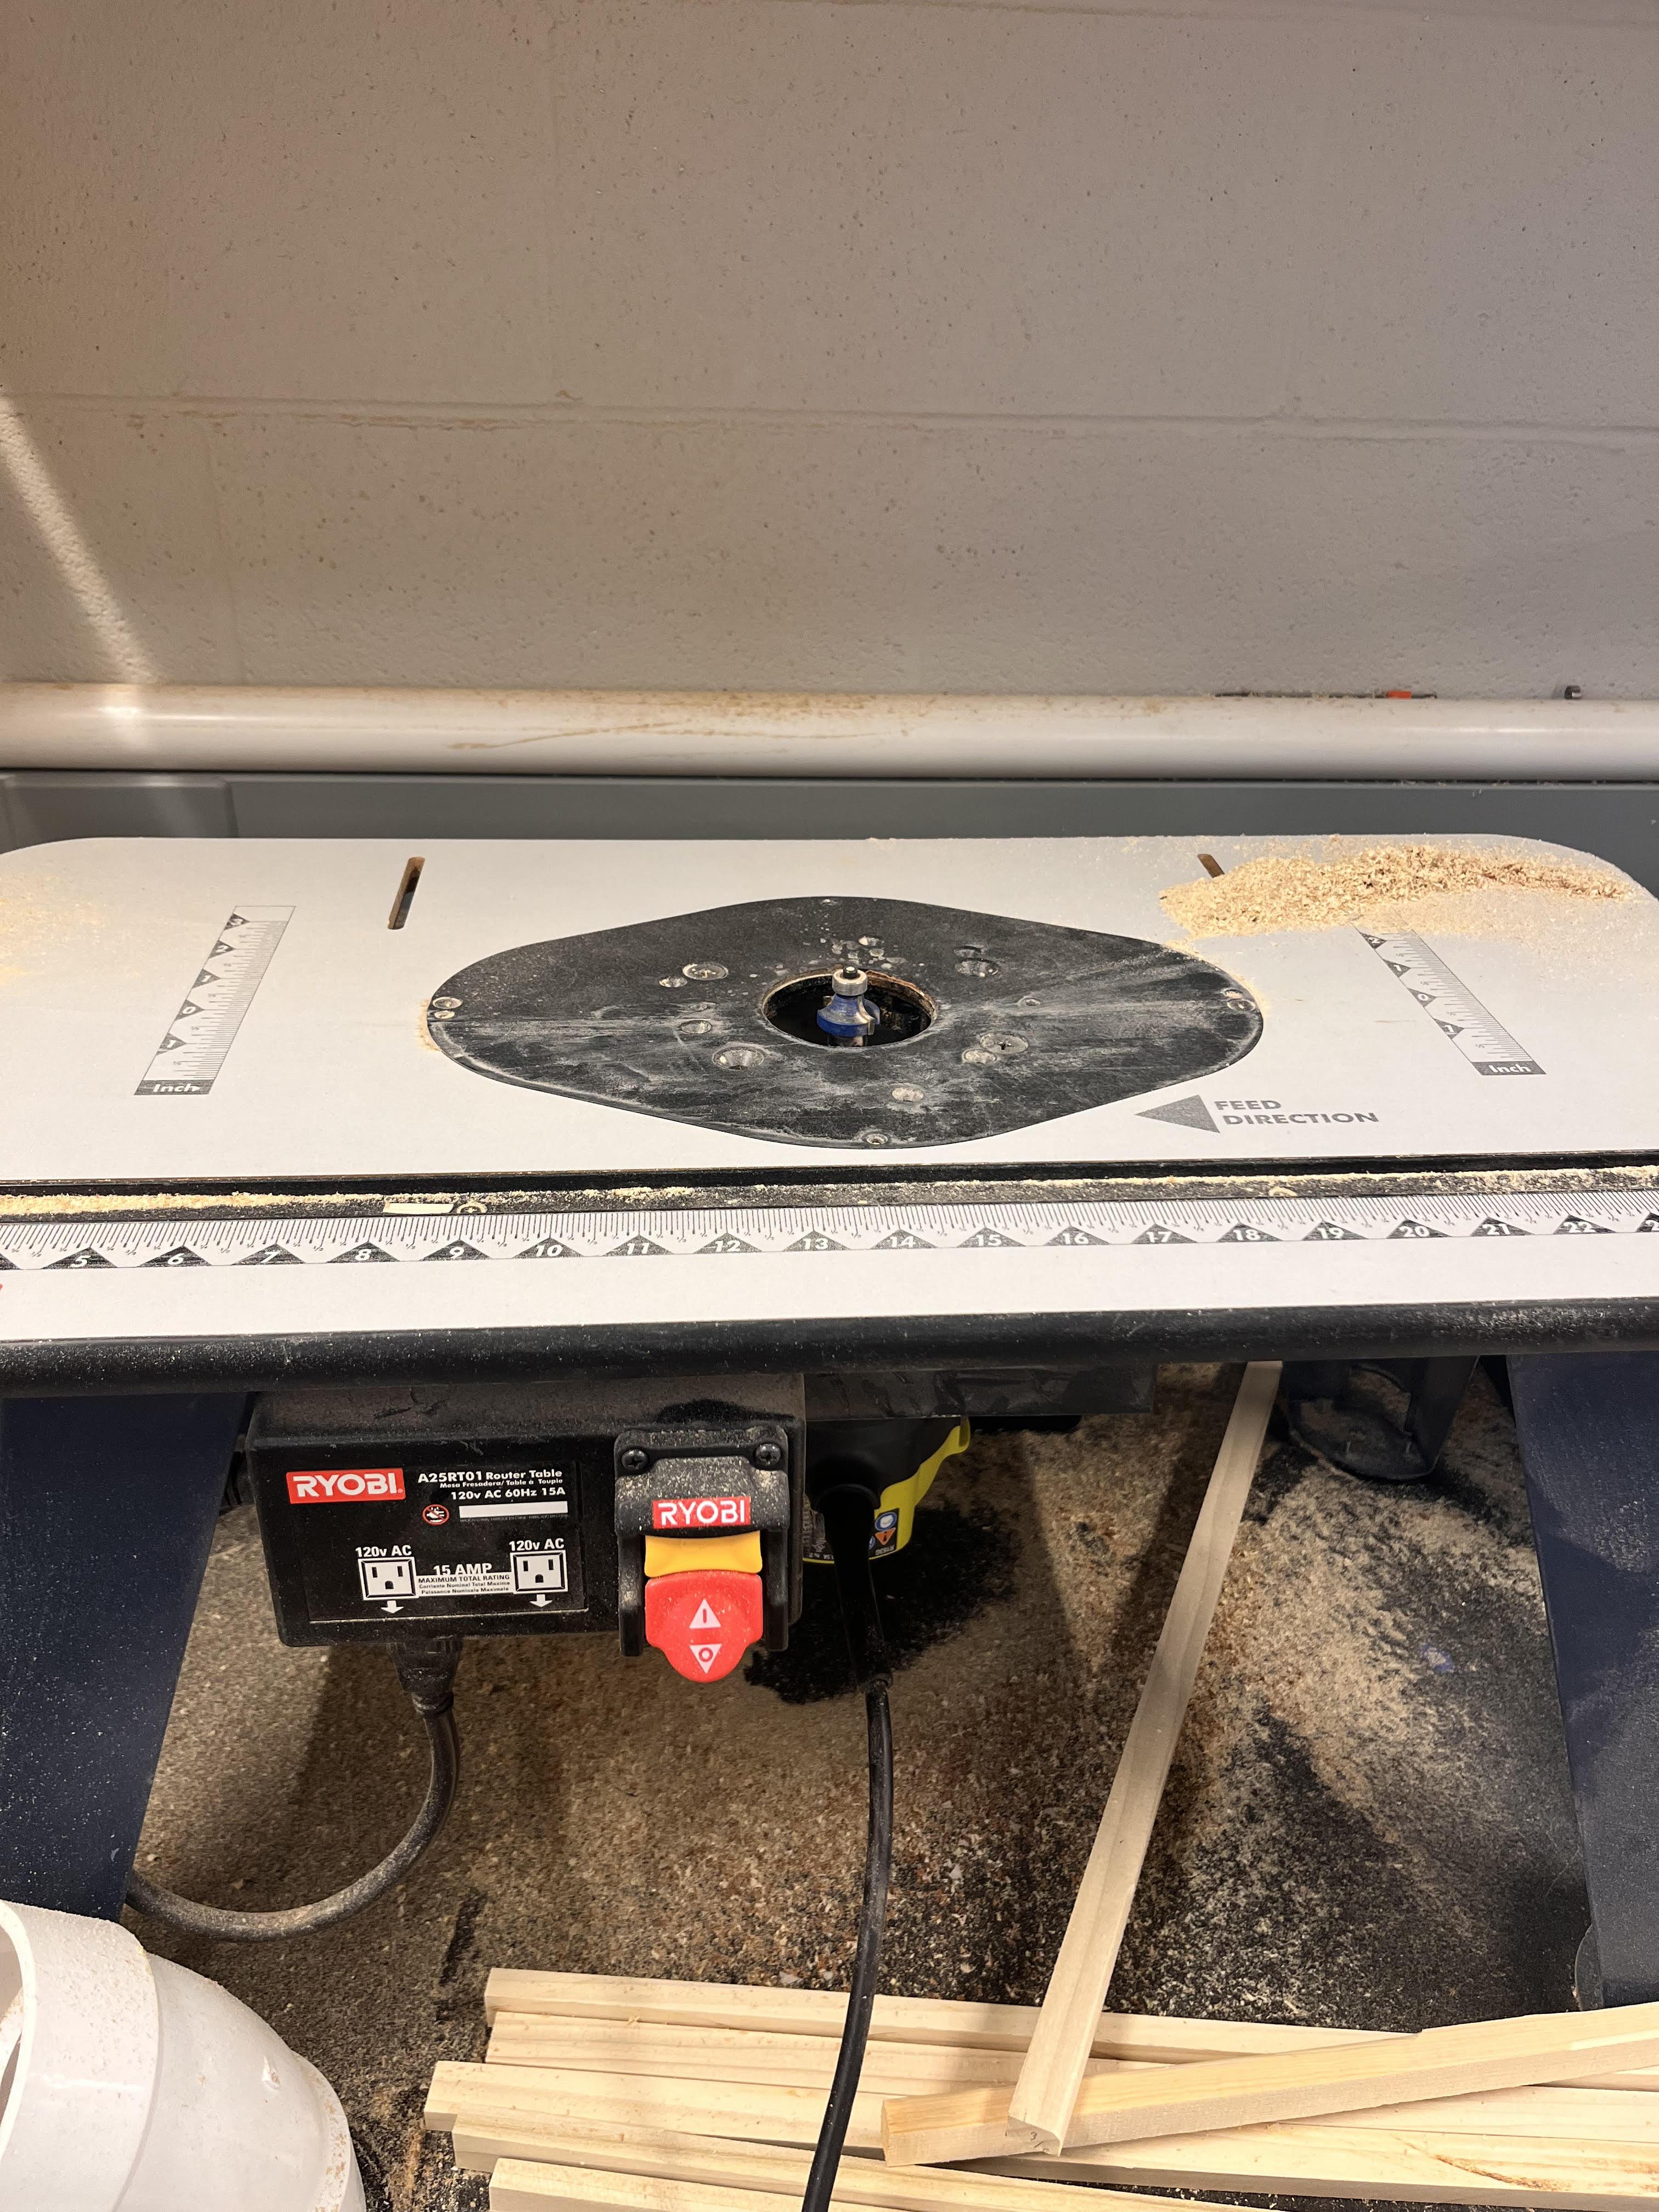
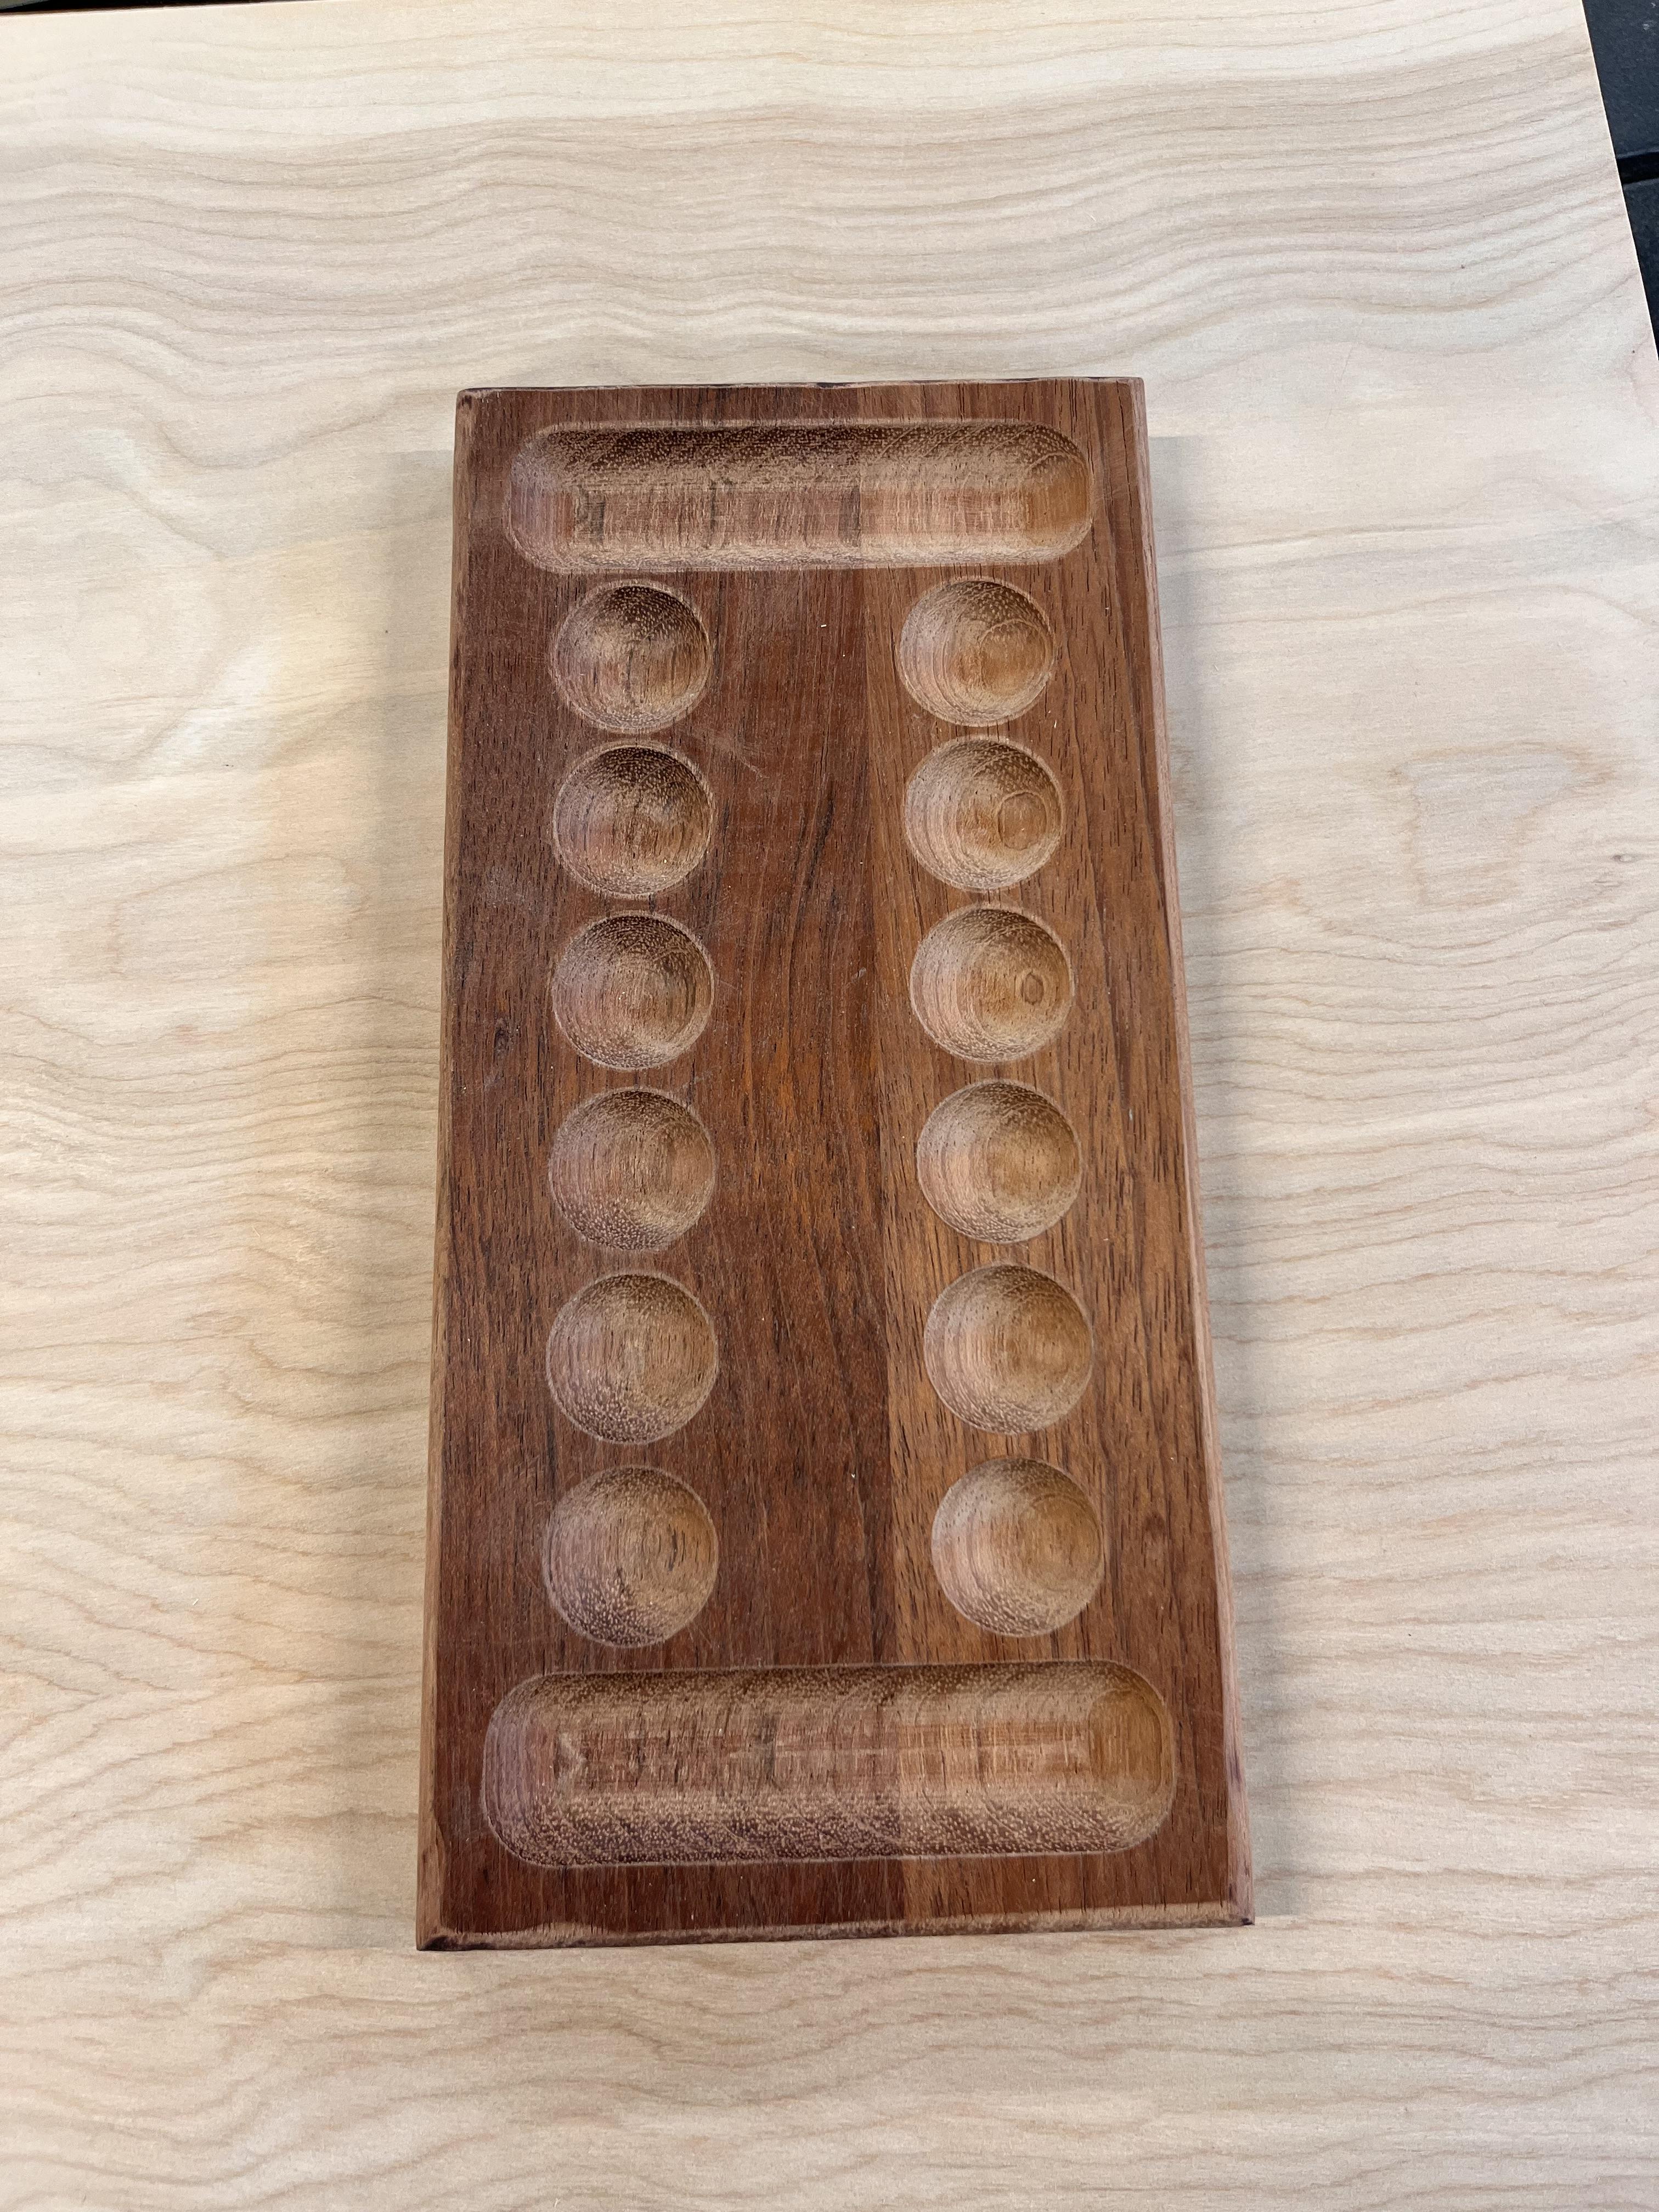
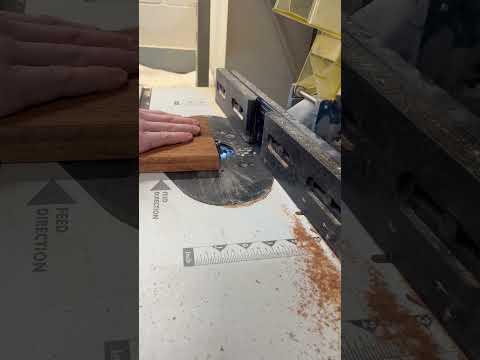
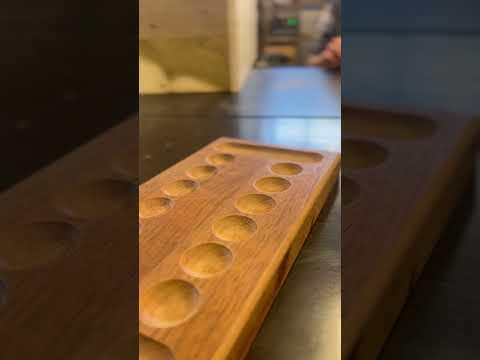
This machine will give you nice smooth edges for the top of the mancala board. After you get all of the edges round then sand over the curved edges with a small piece of sandpaper.
Using the Oscillating Sander for the Pieces
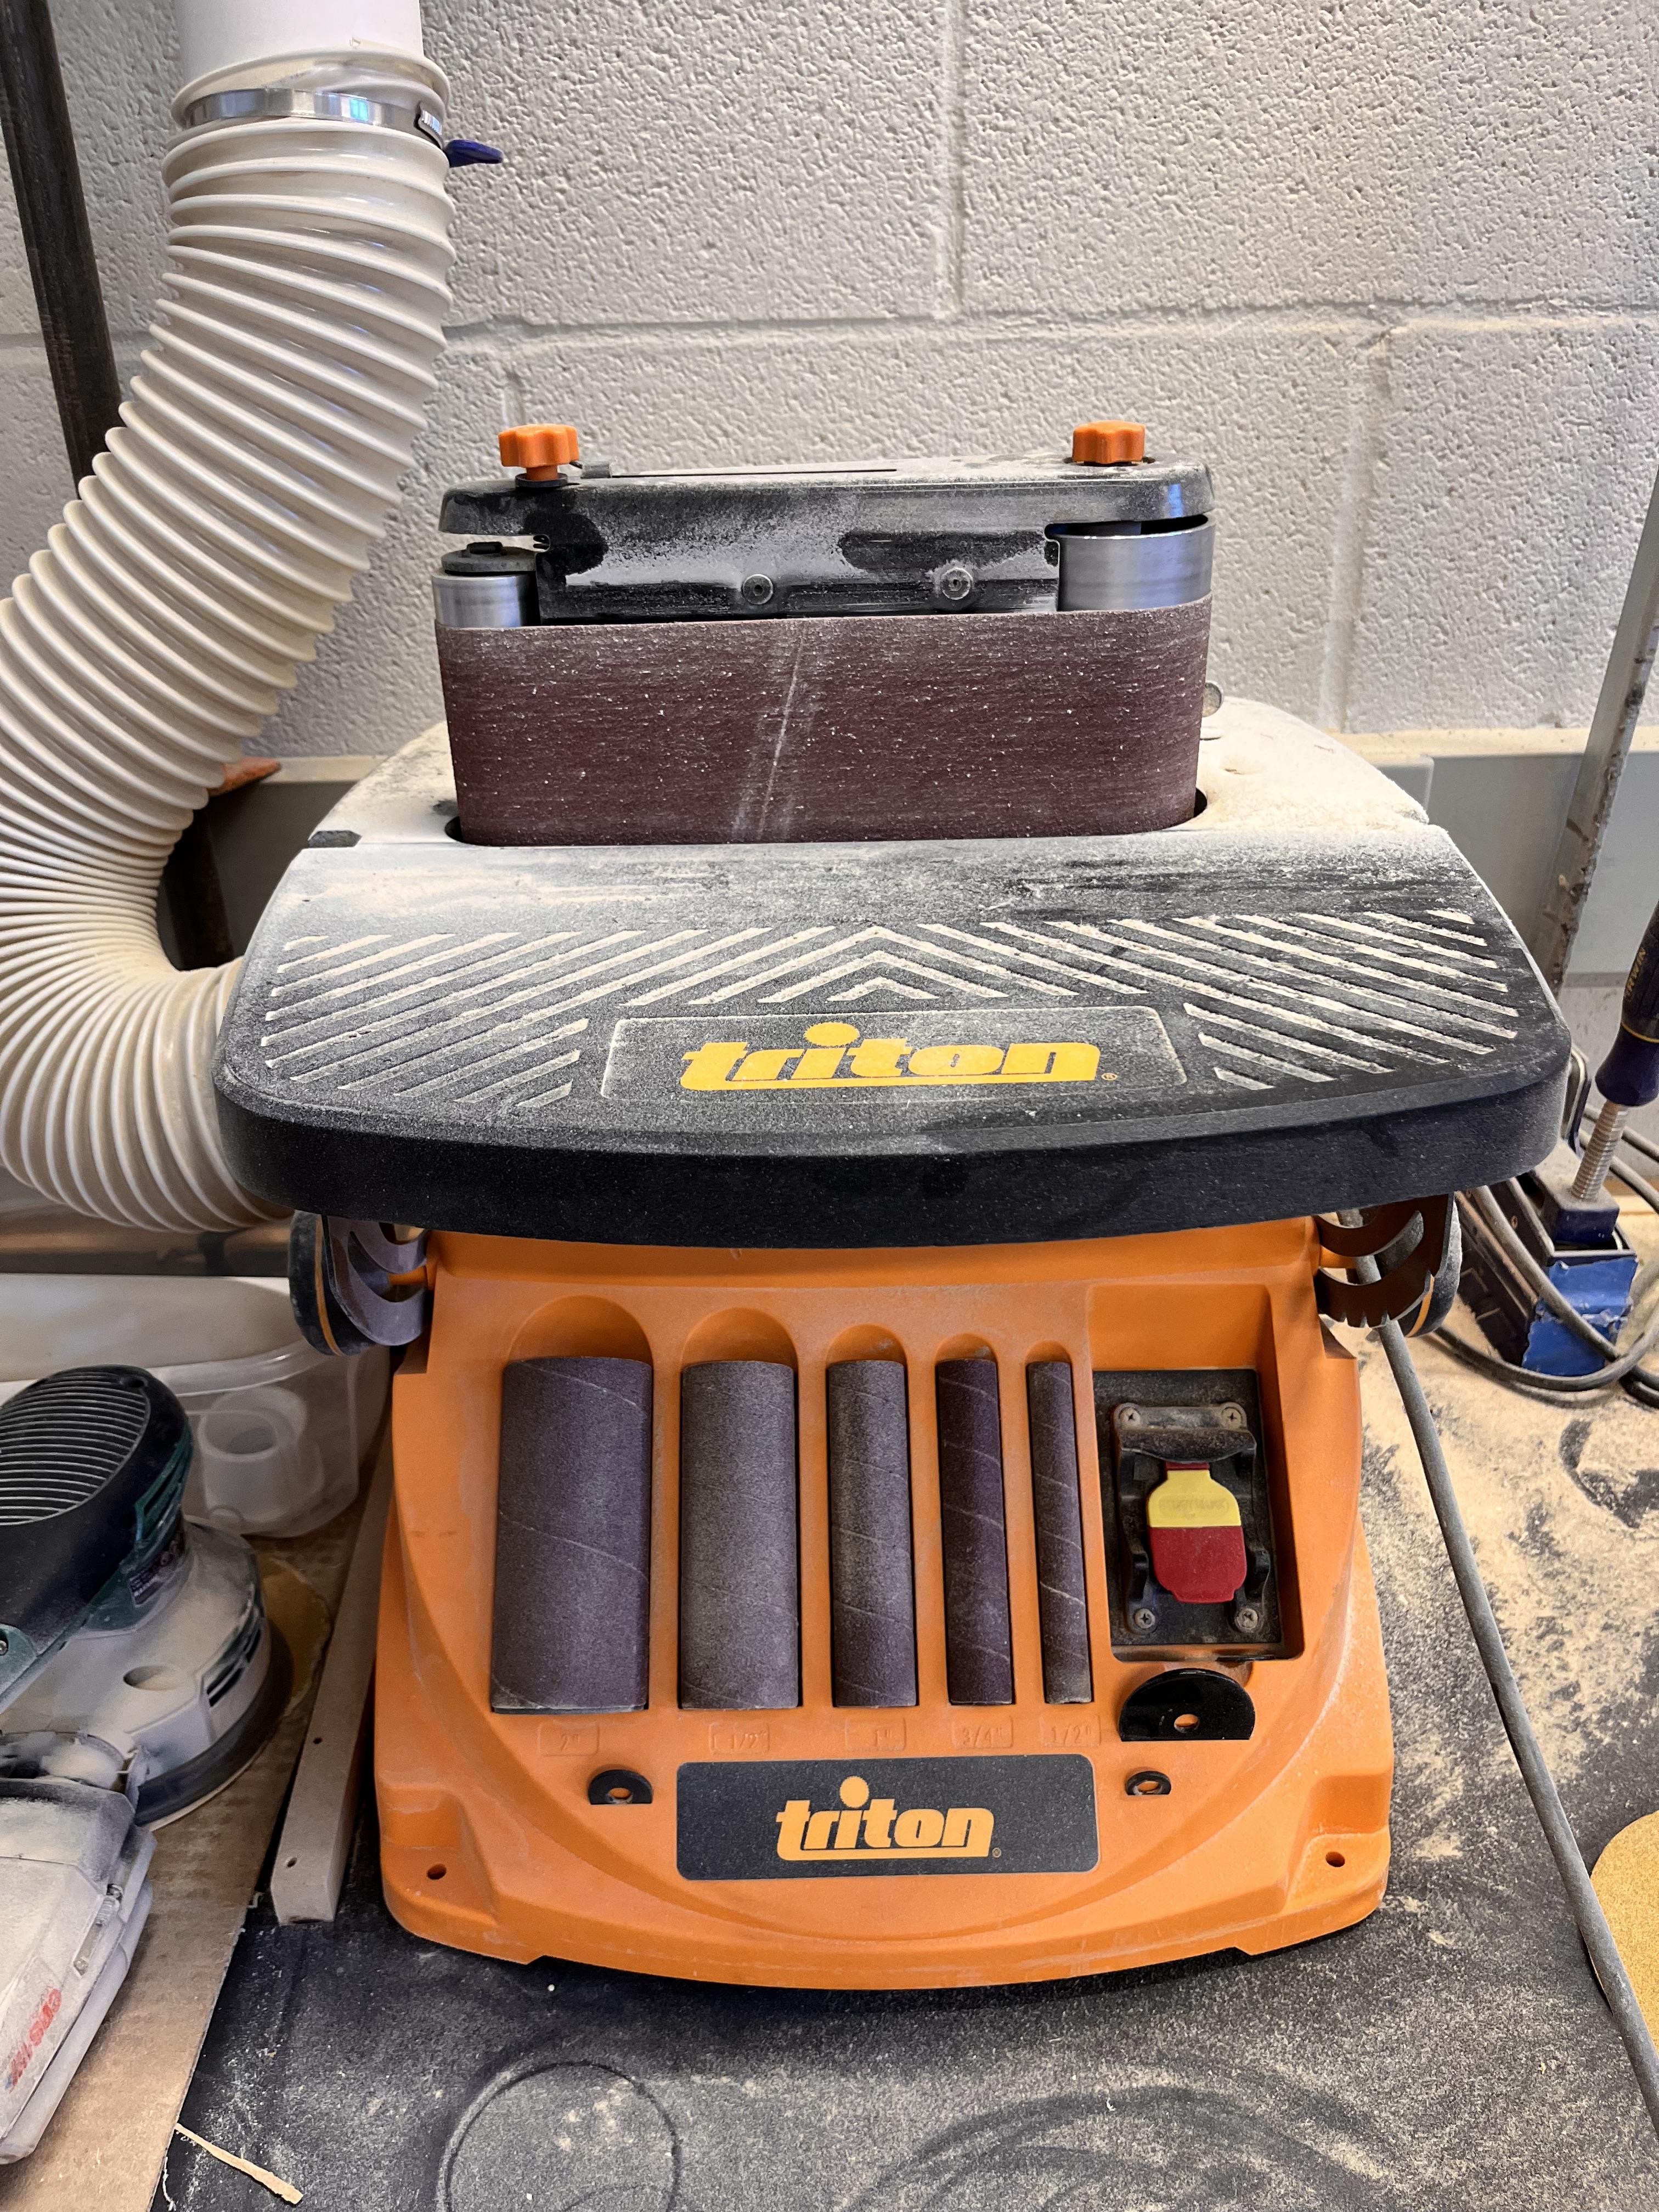
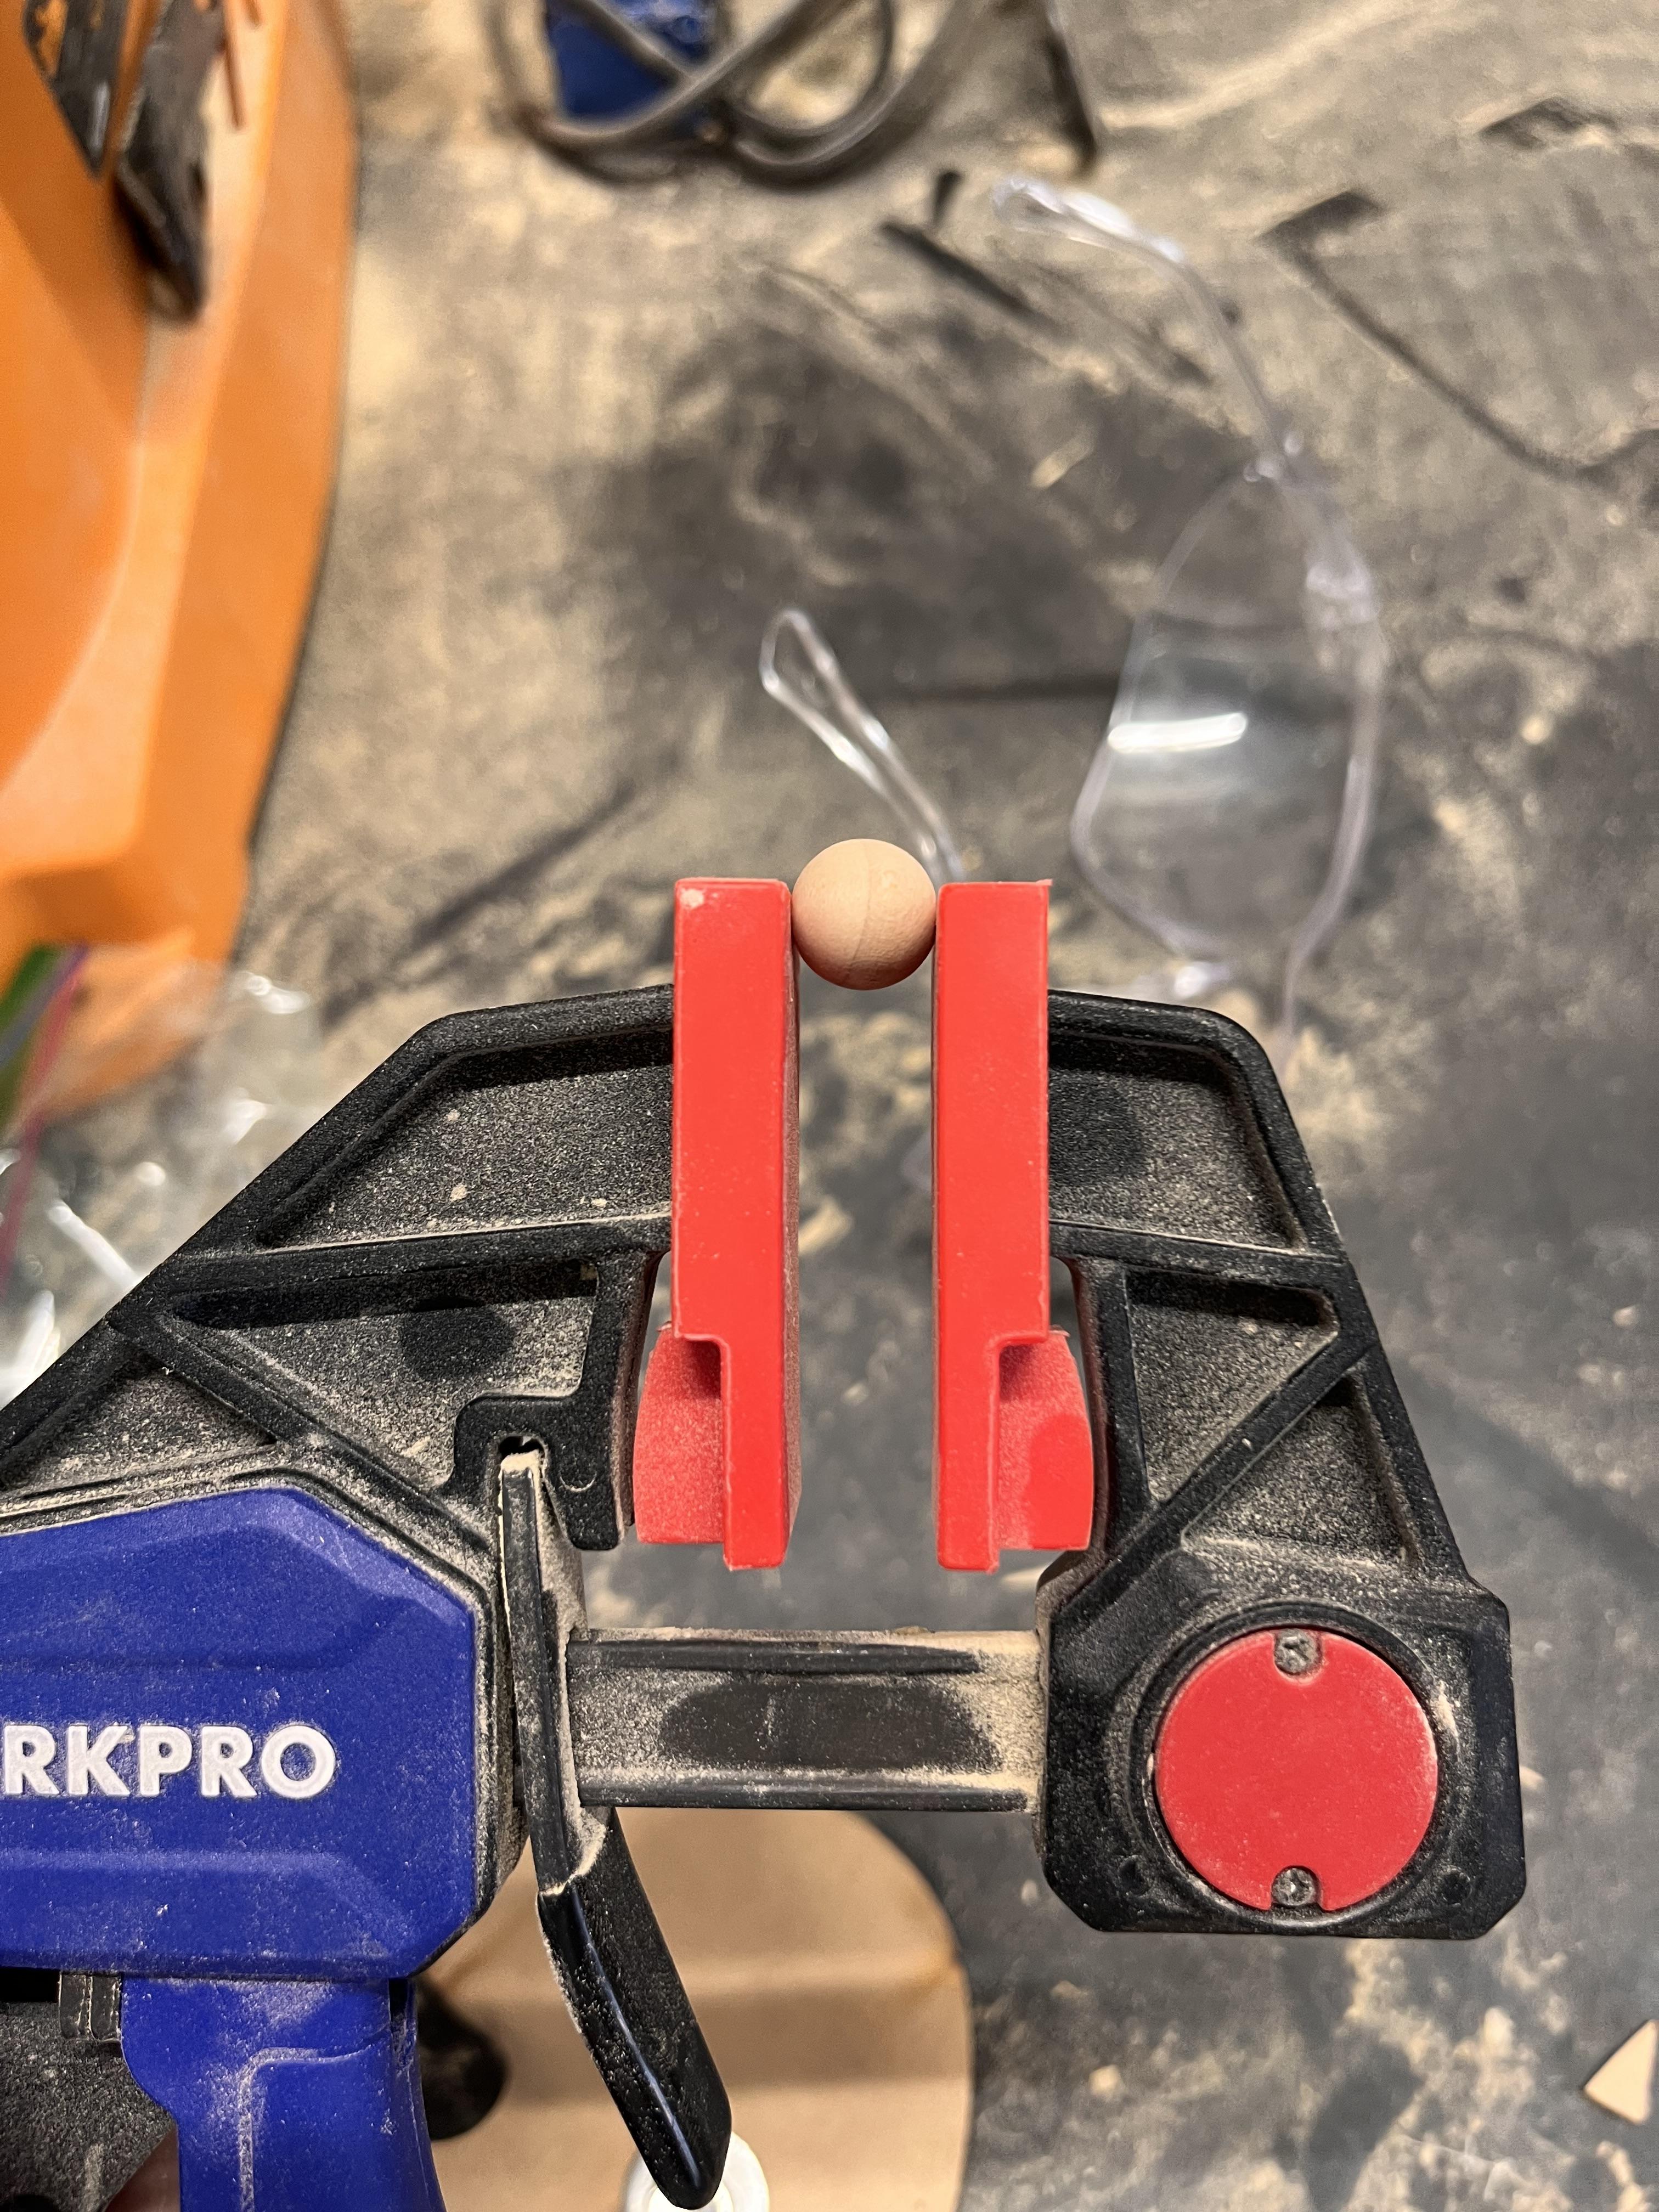
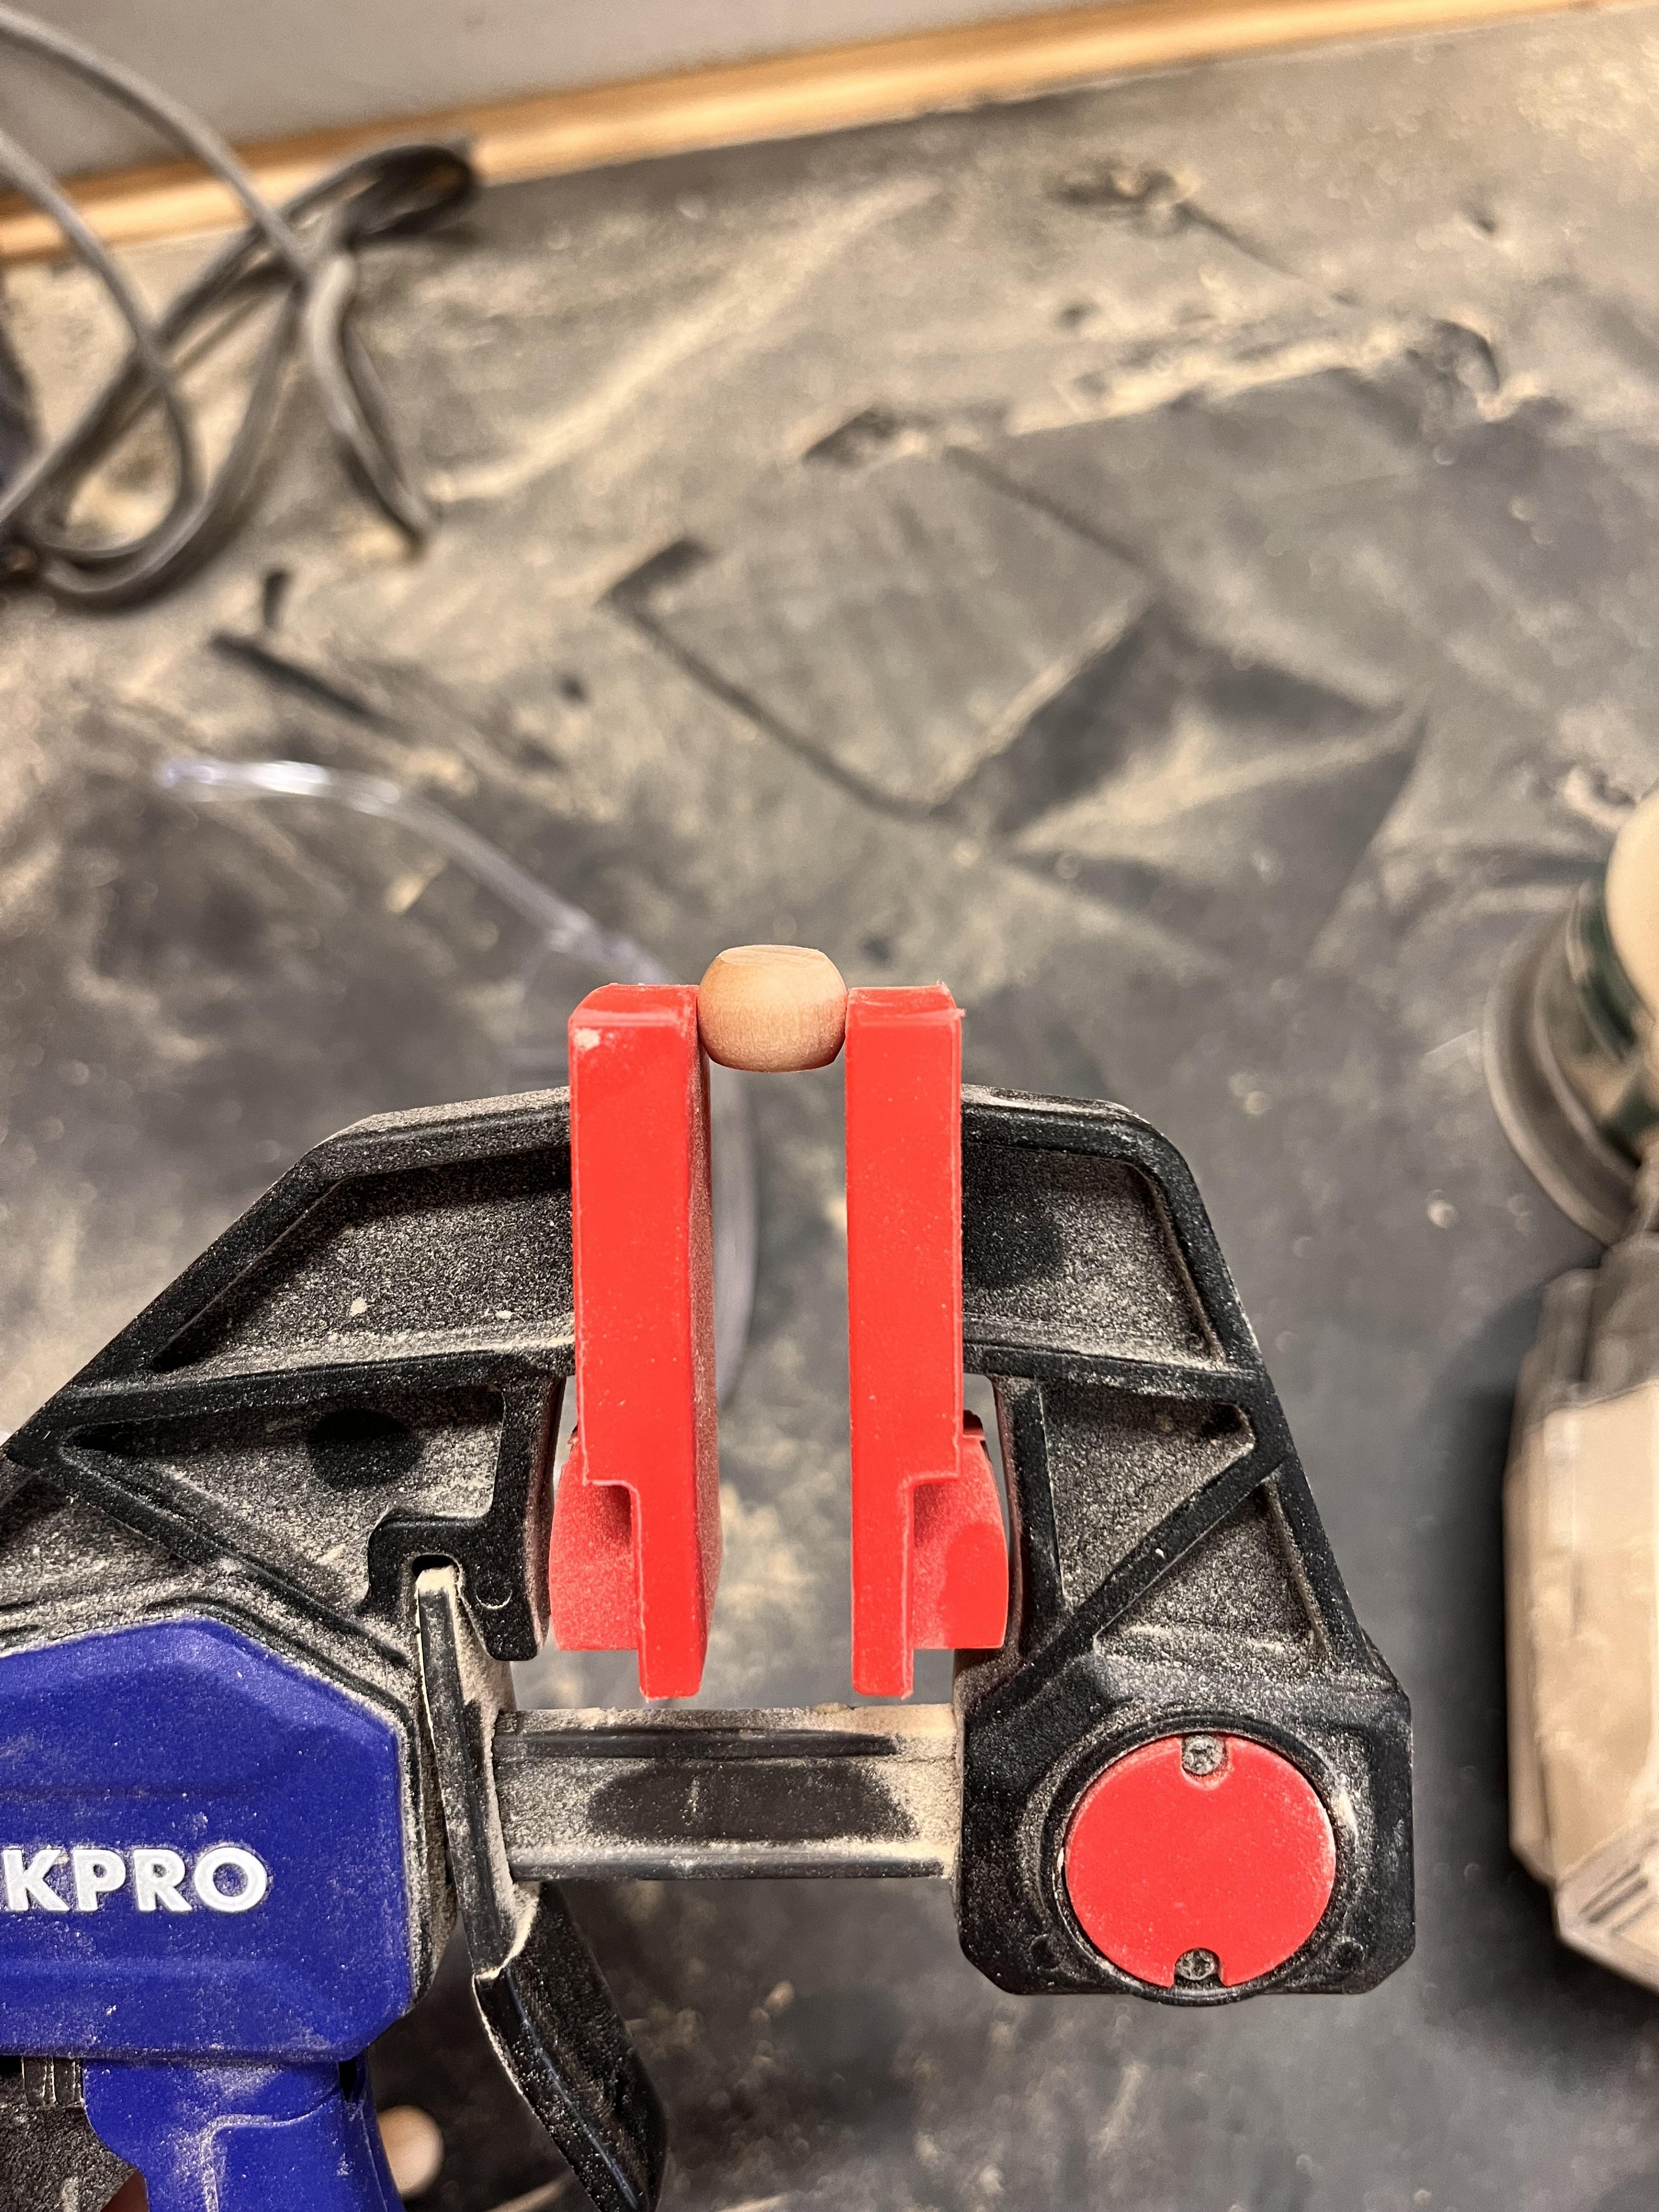
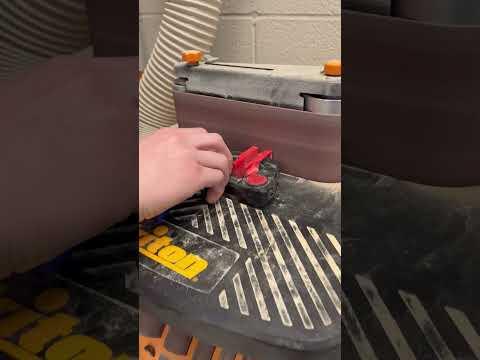
40 wooden balls are needed even though we only need 36 for the game; I just made more just in case any of the pieces get lost. To make the pieces the needed size we sand one side almost halfway on the wooden ball and then sand a little bit on the top. In order to sand the wooden ball safely you would need to use the clamps like in the picture above.
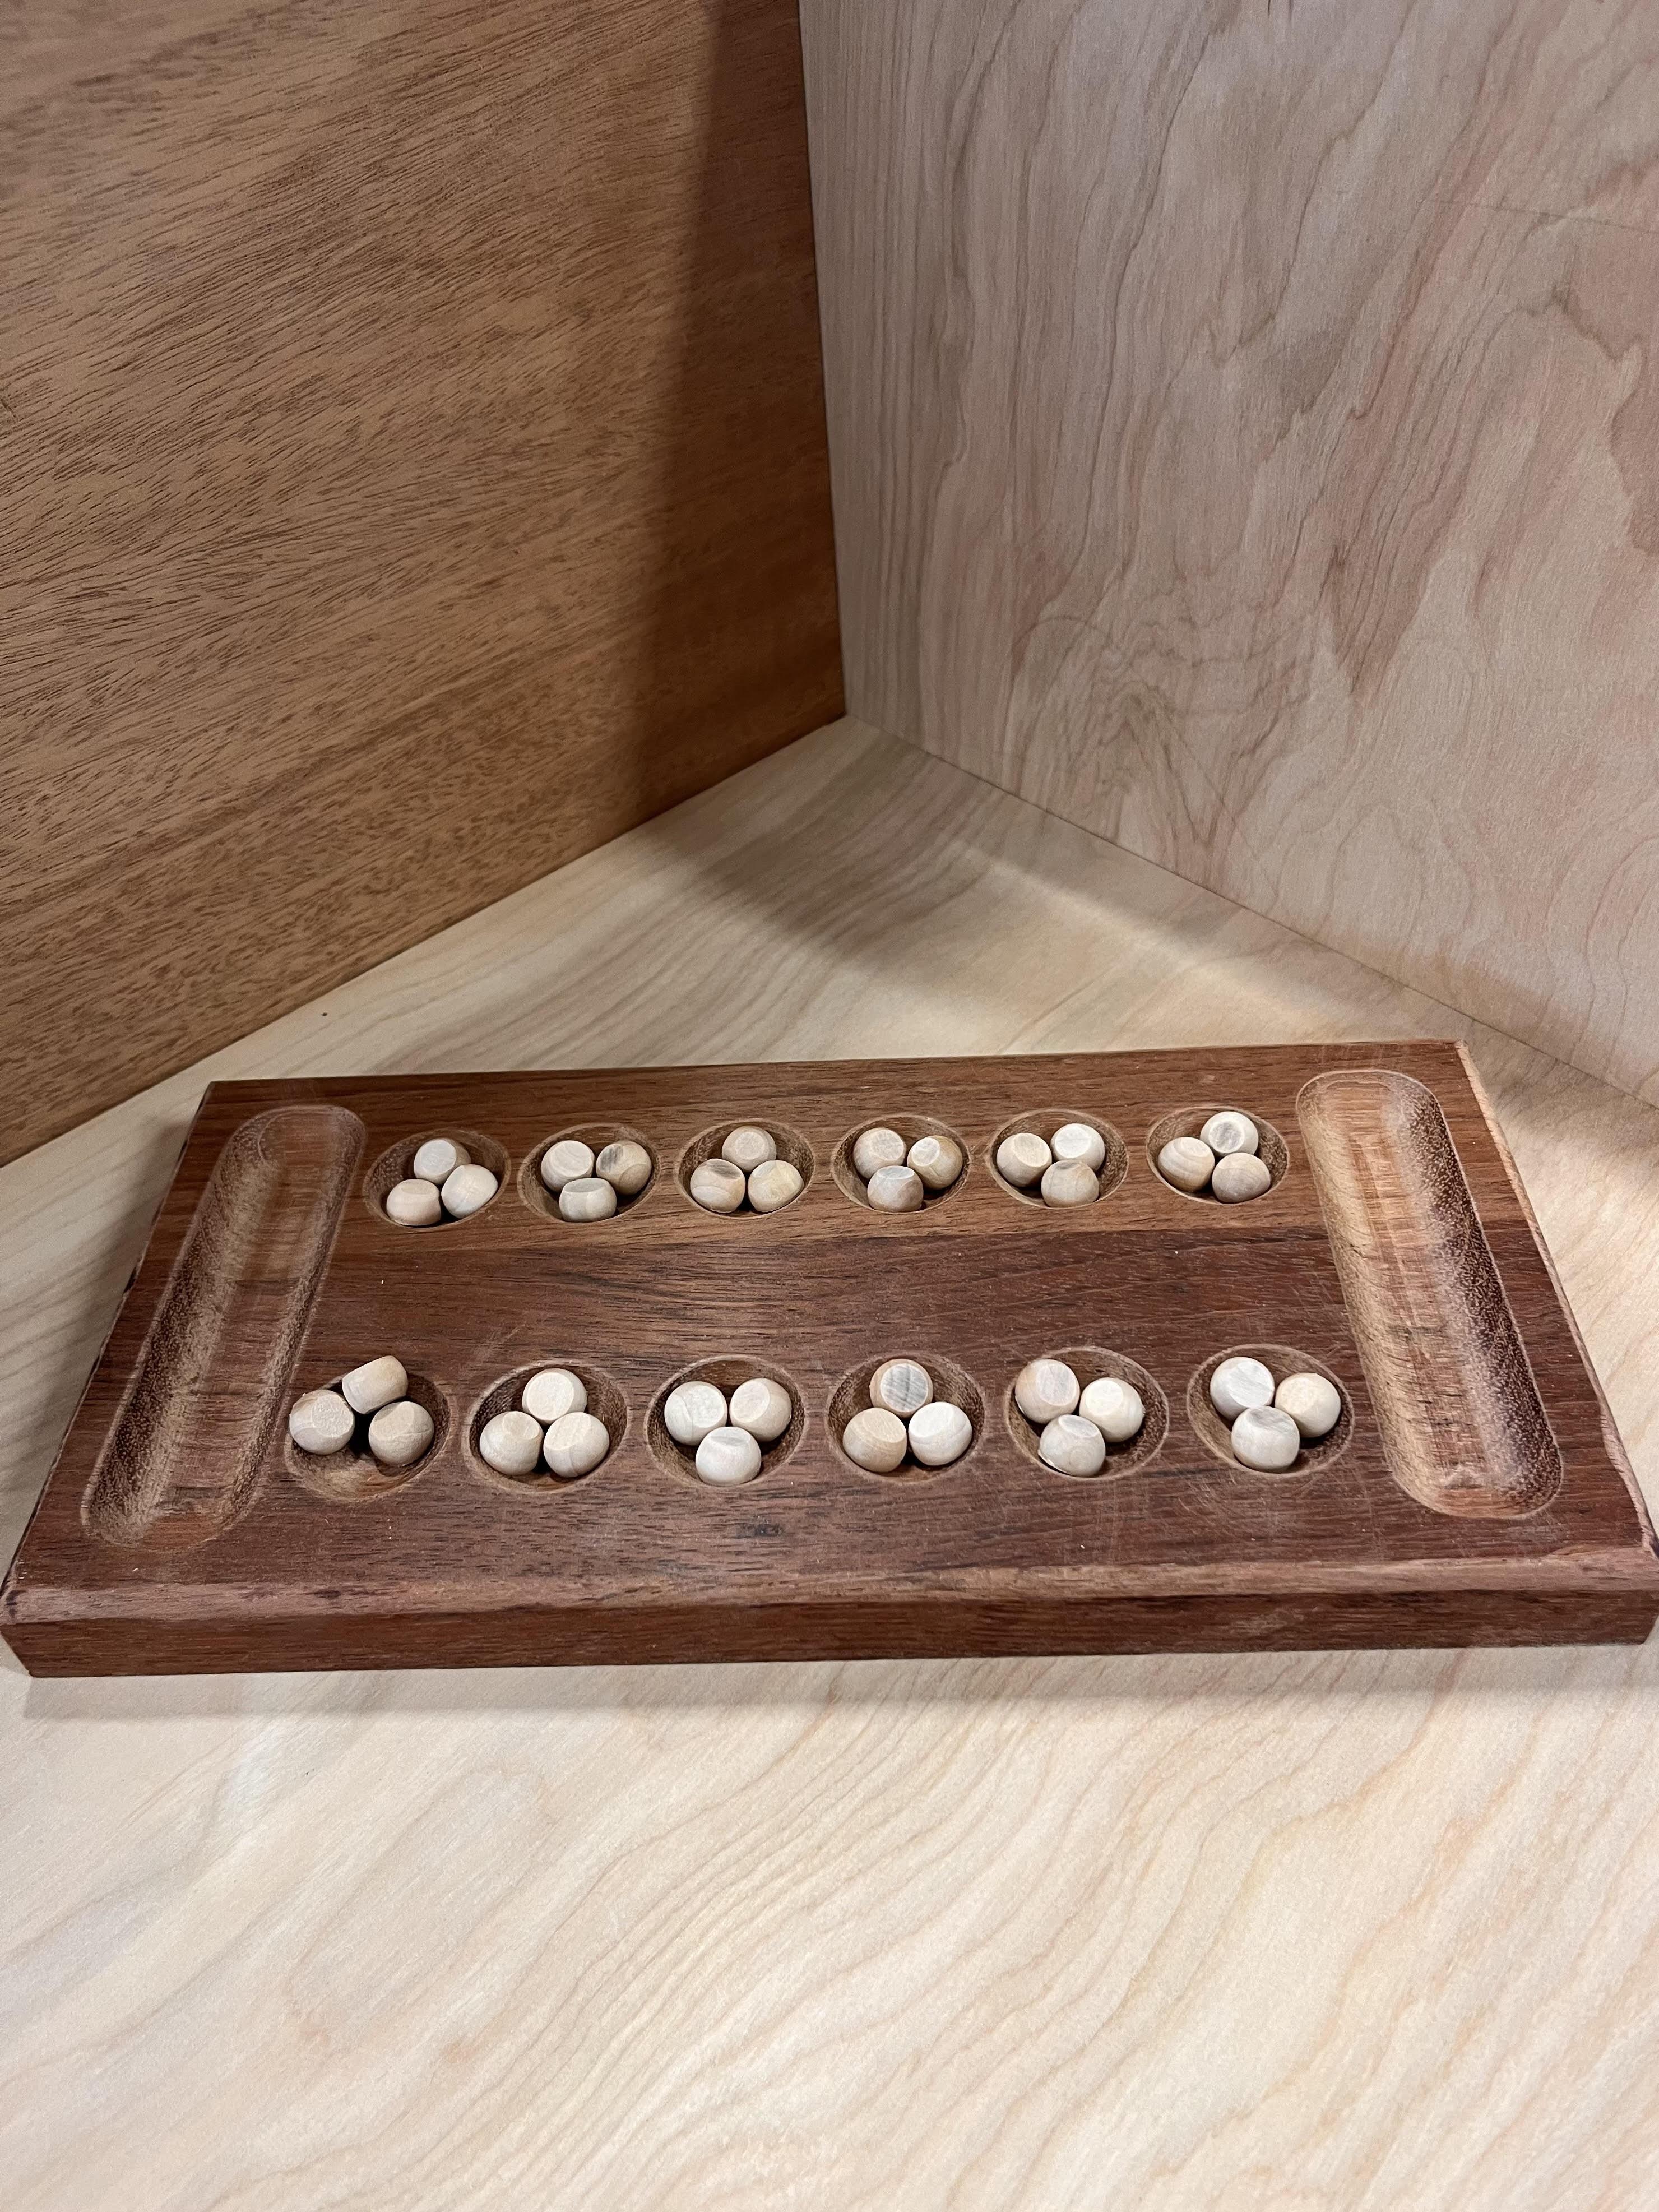
Finished Project
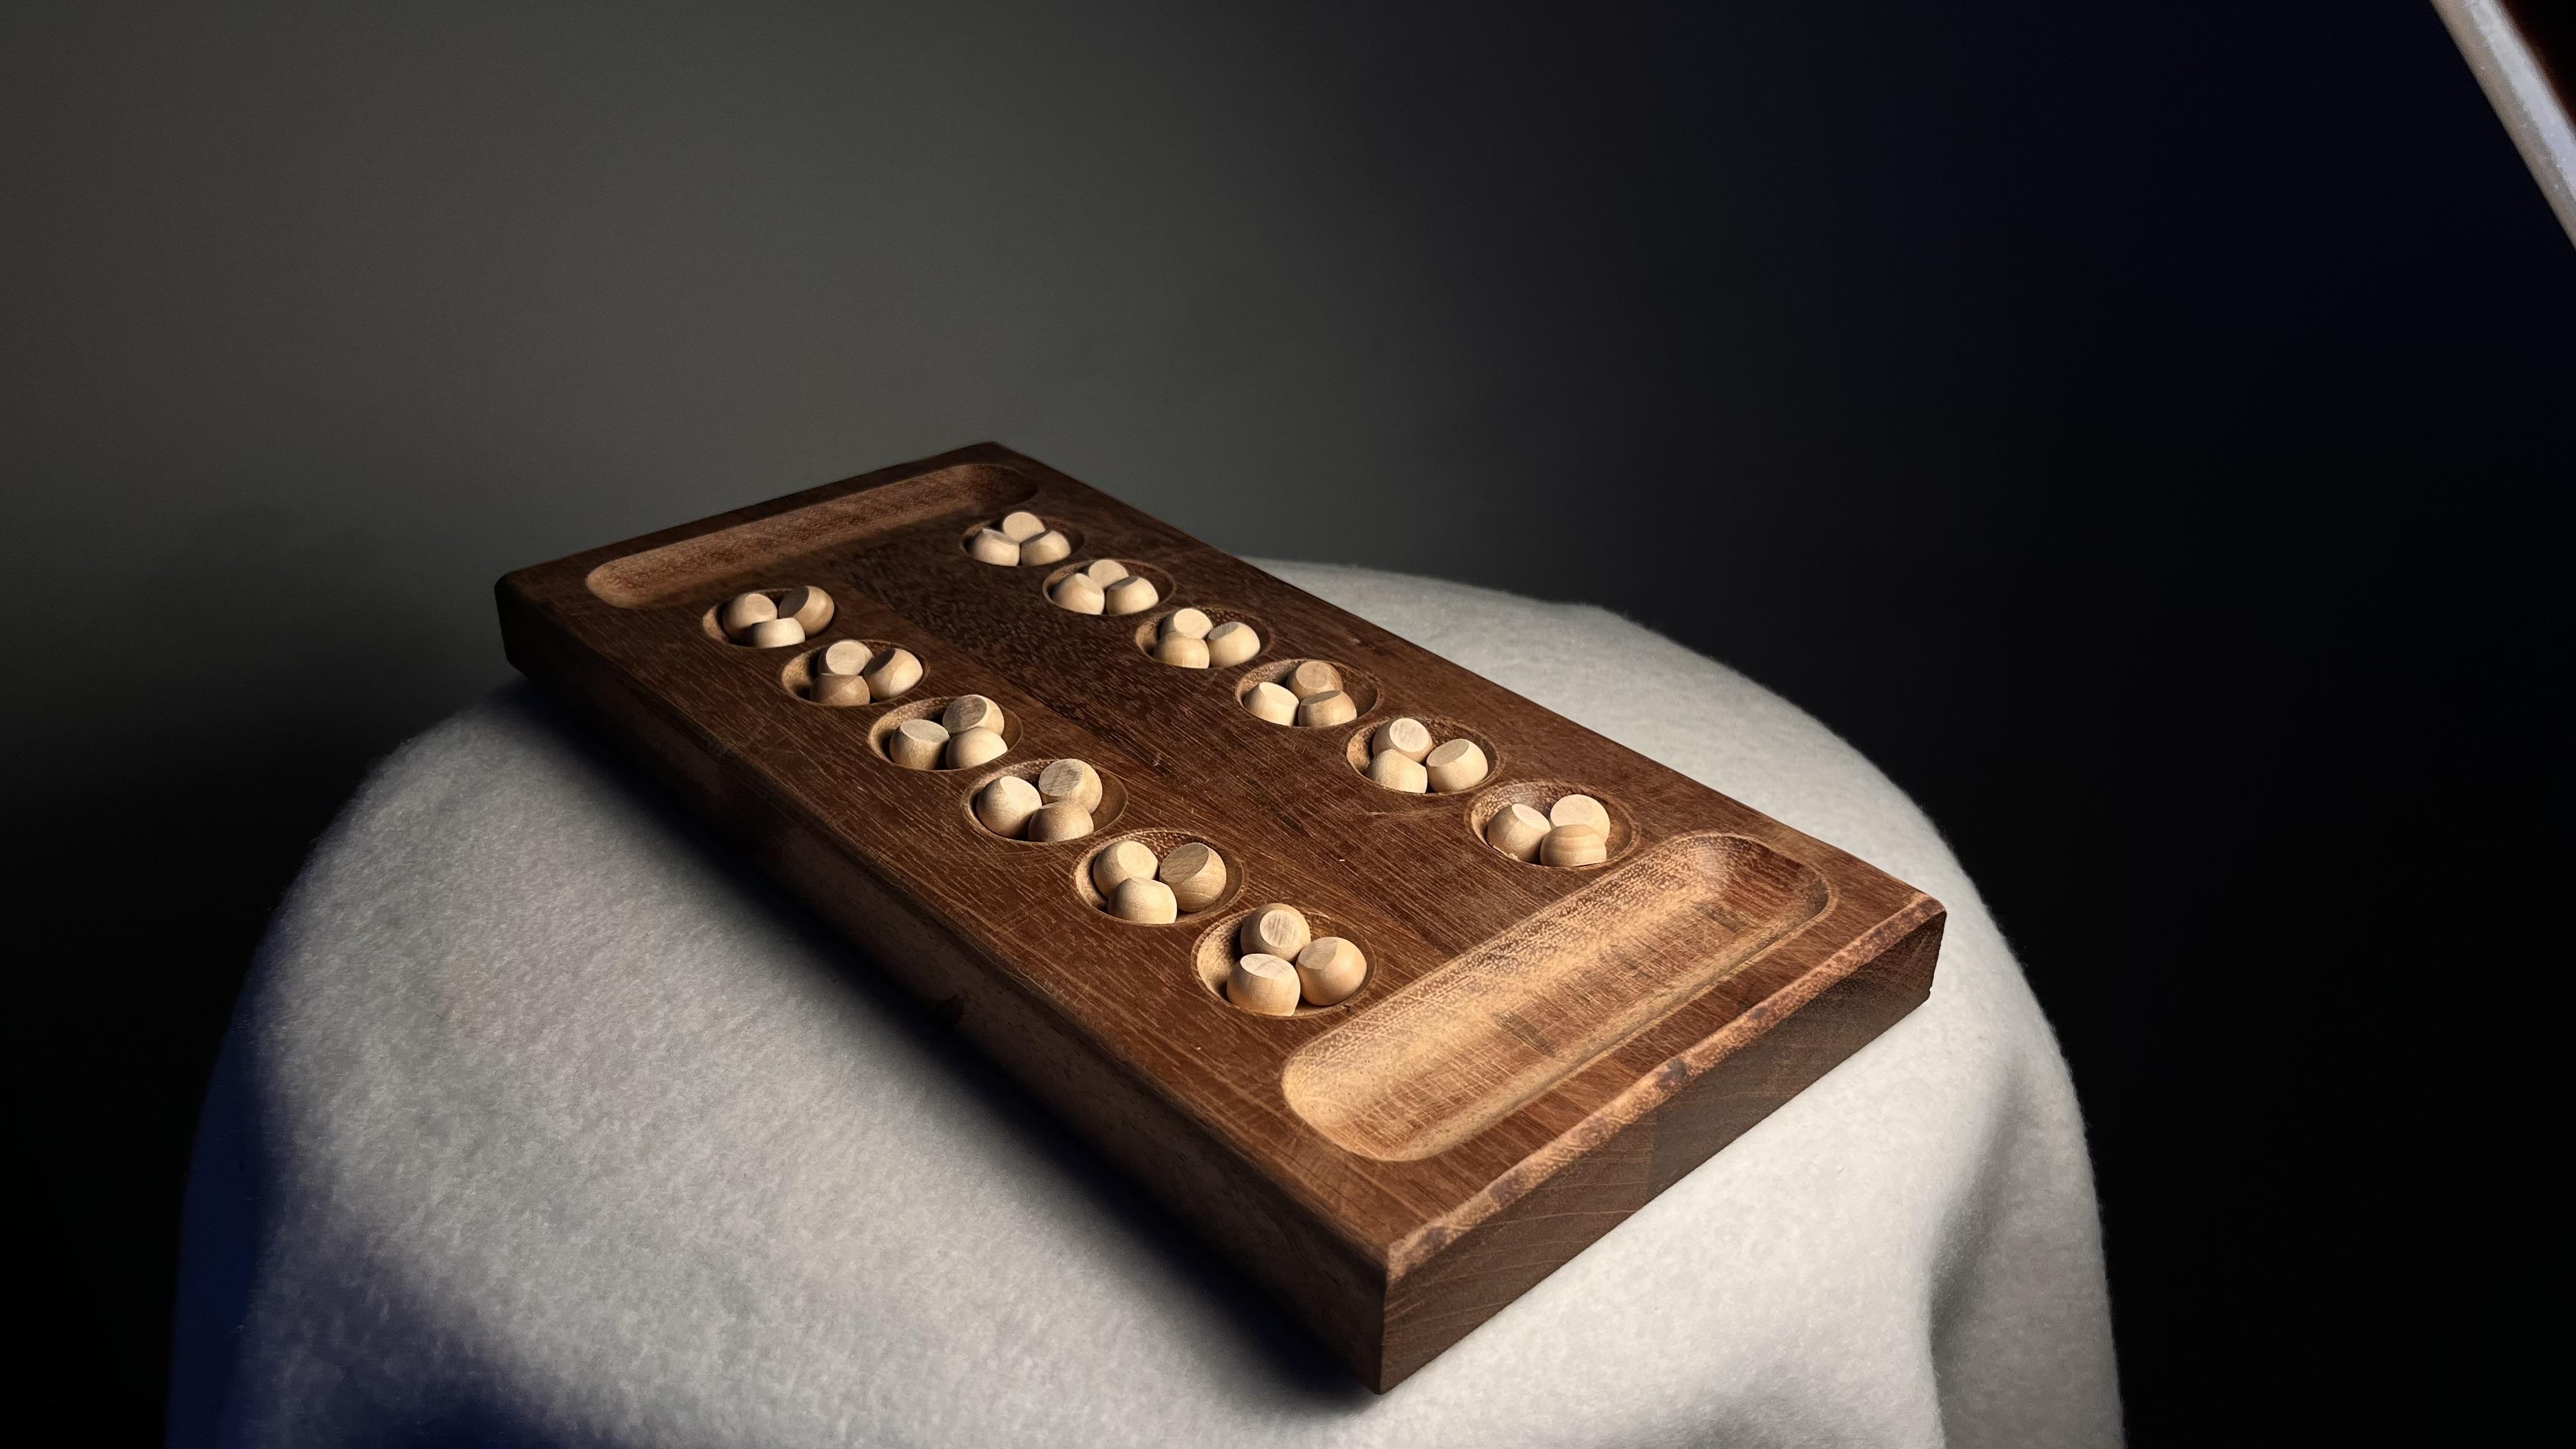
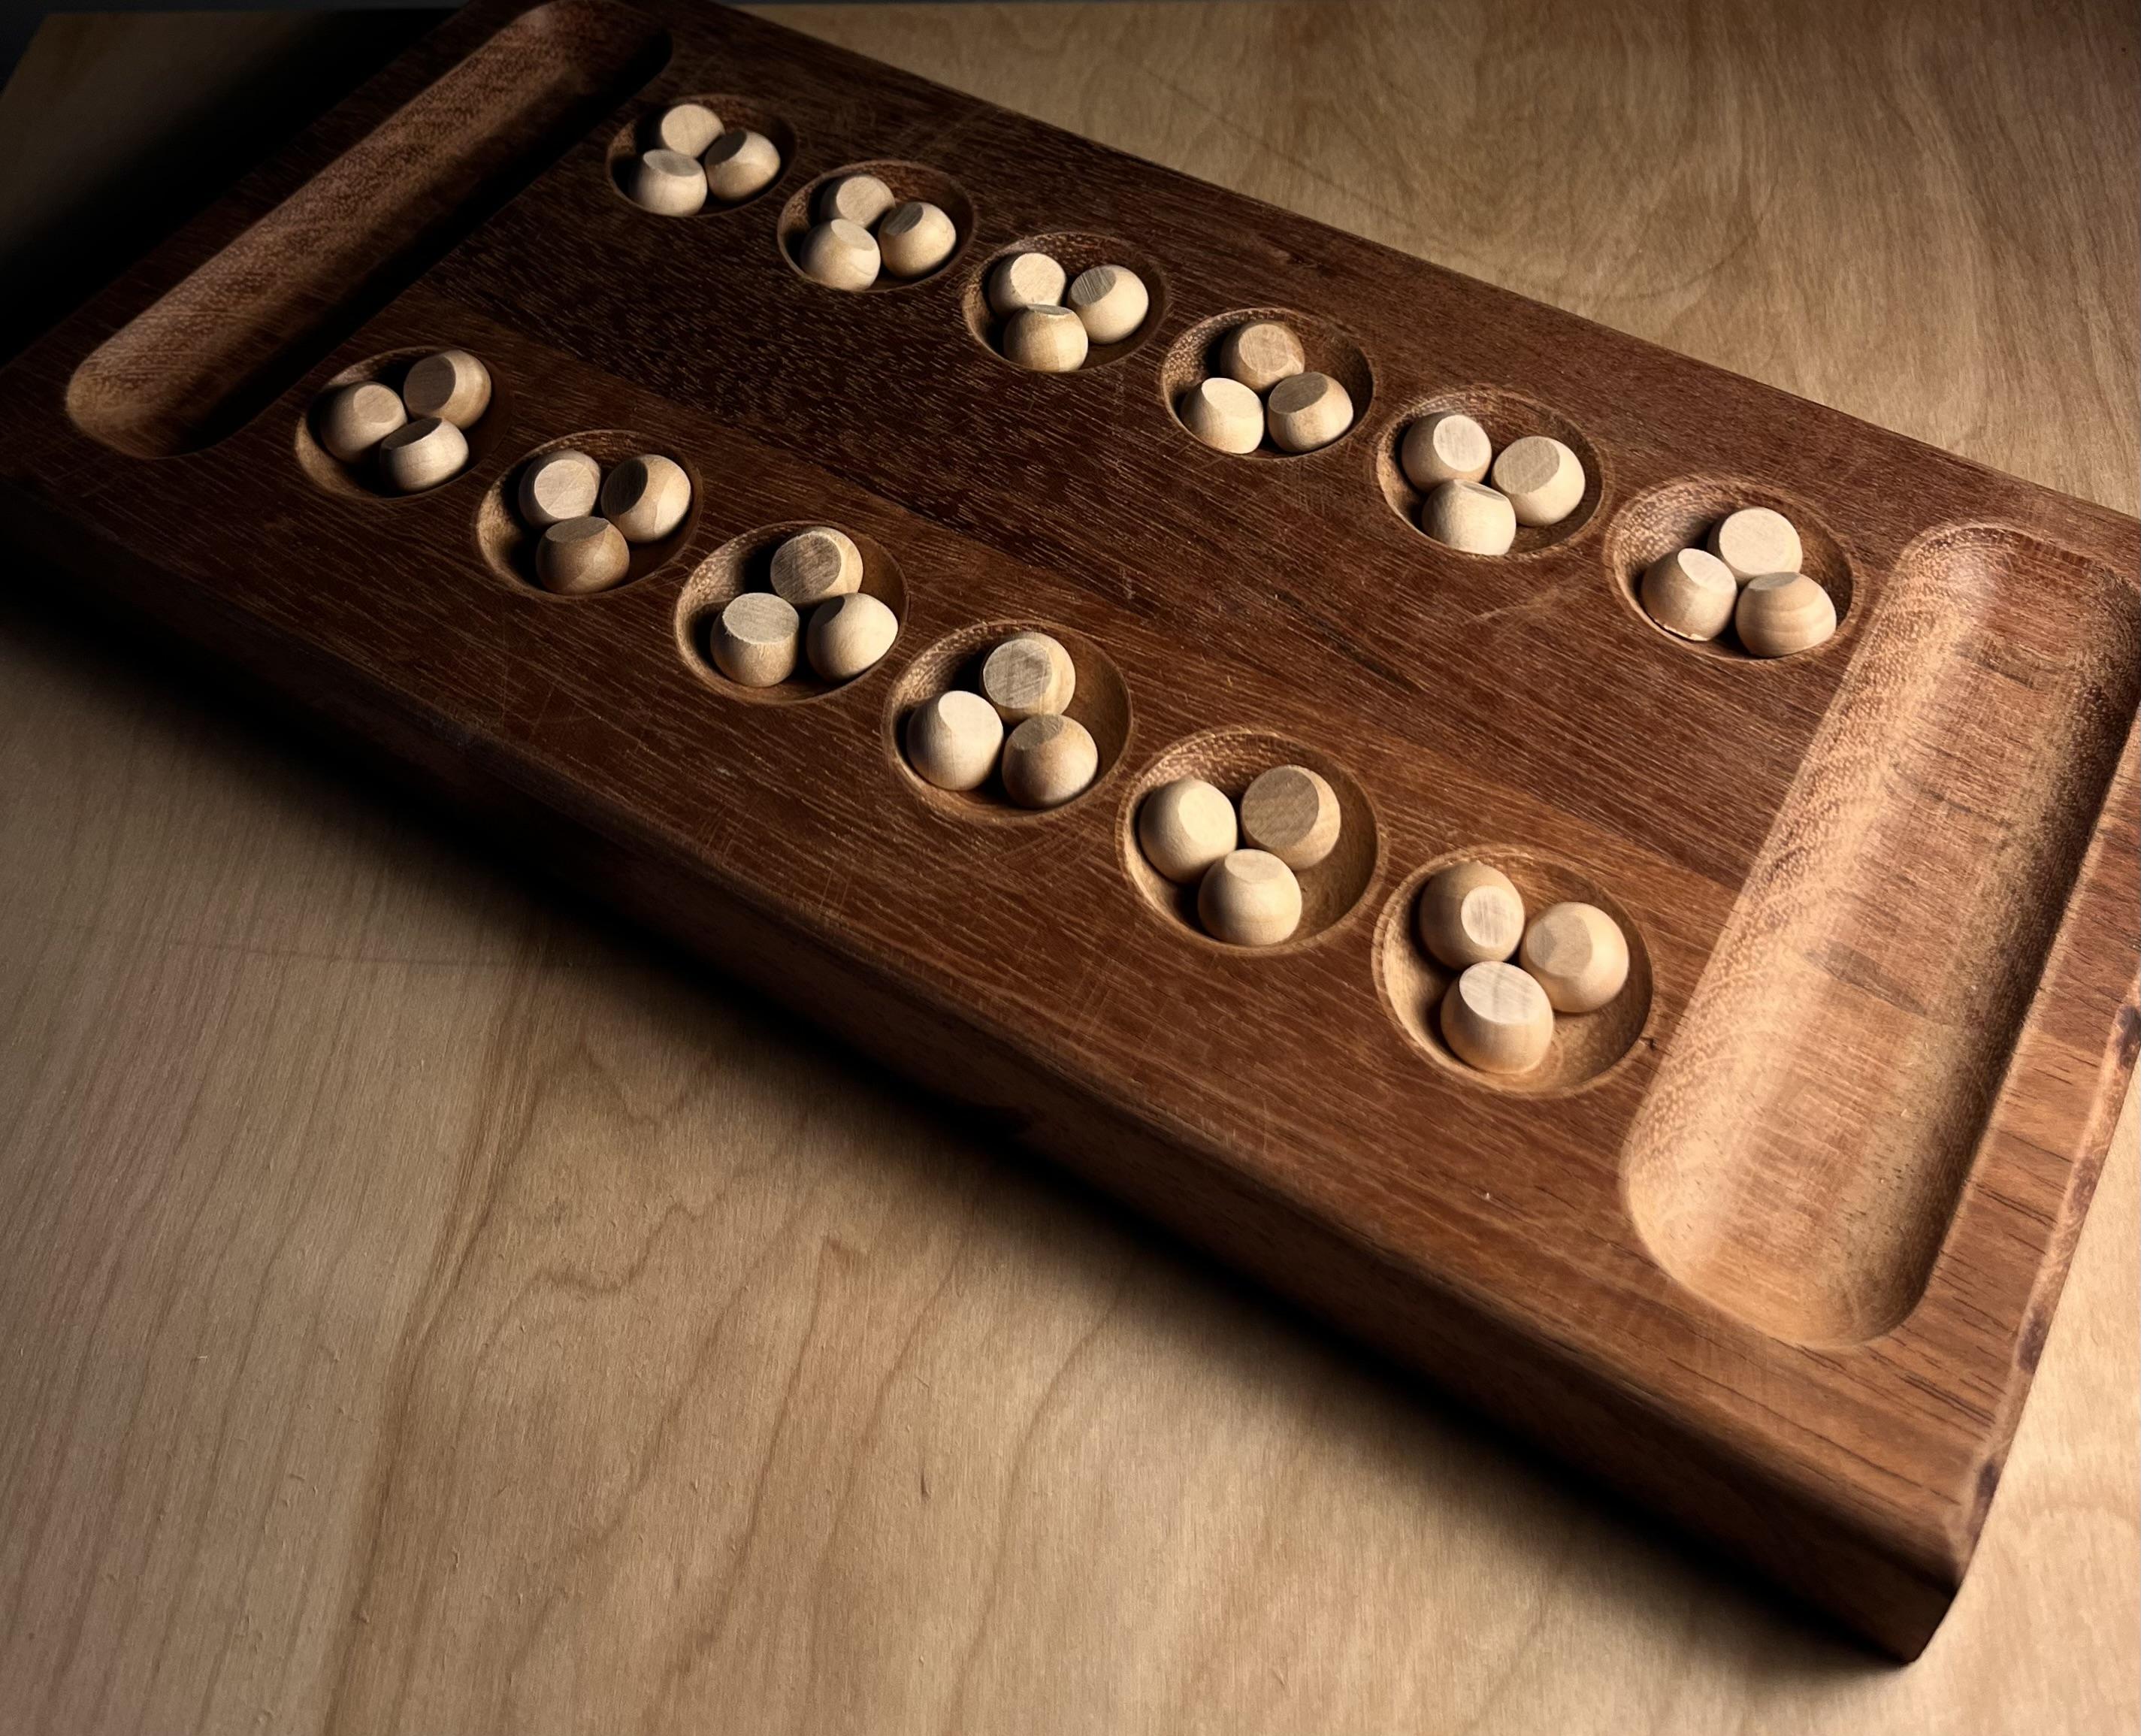
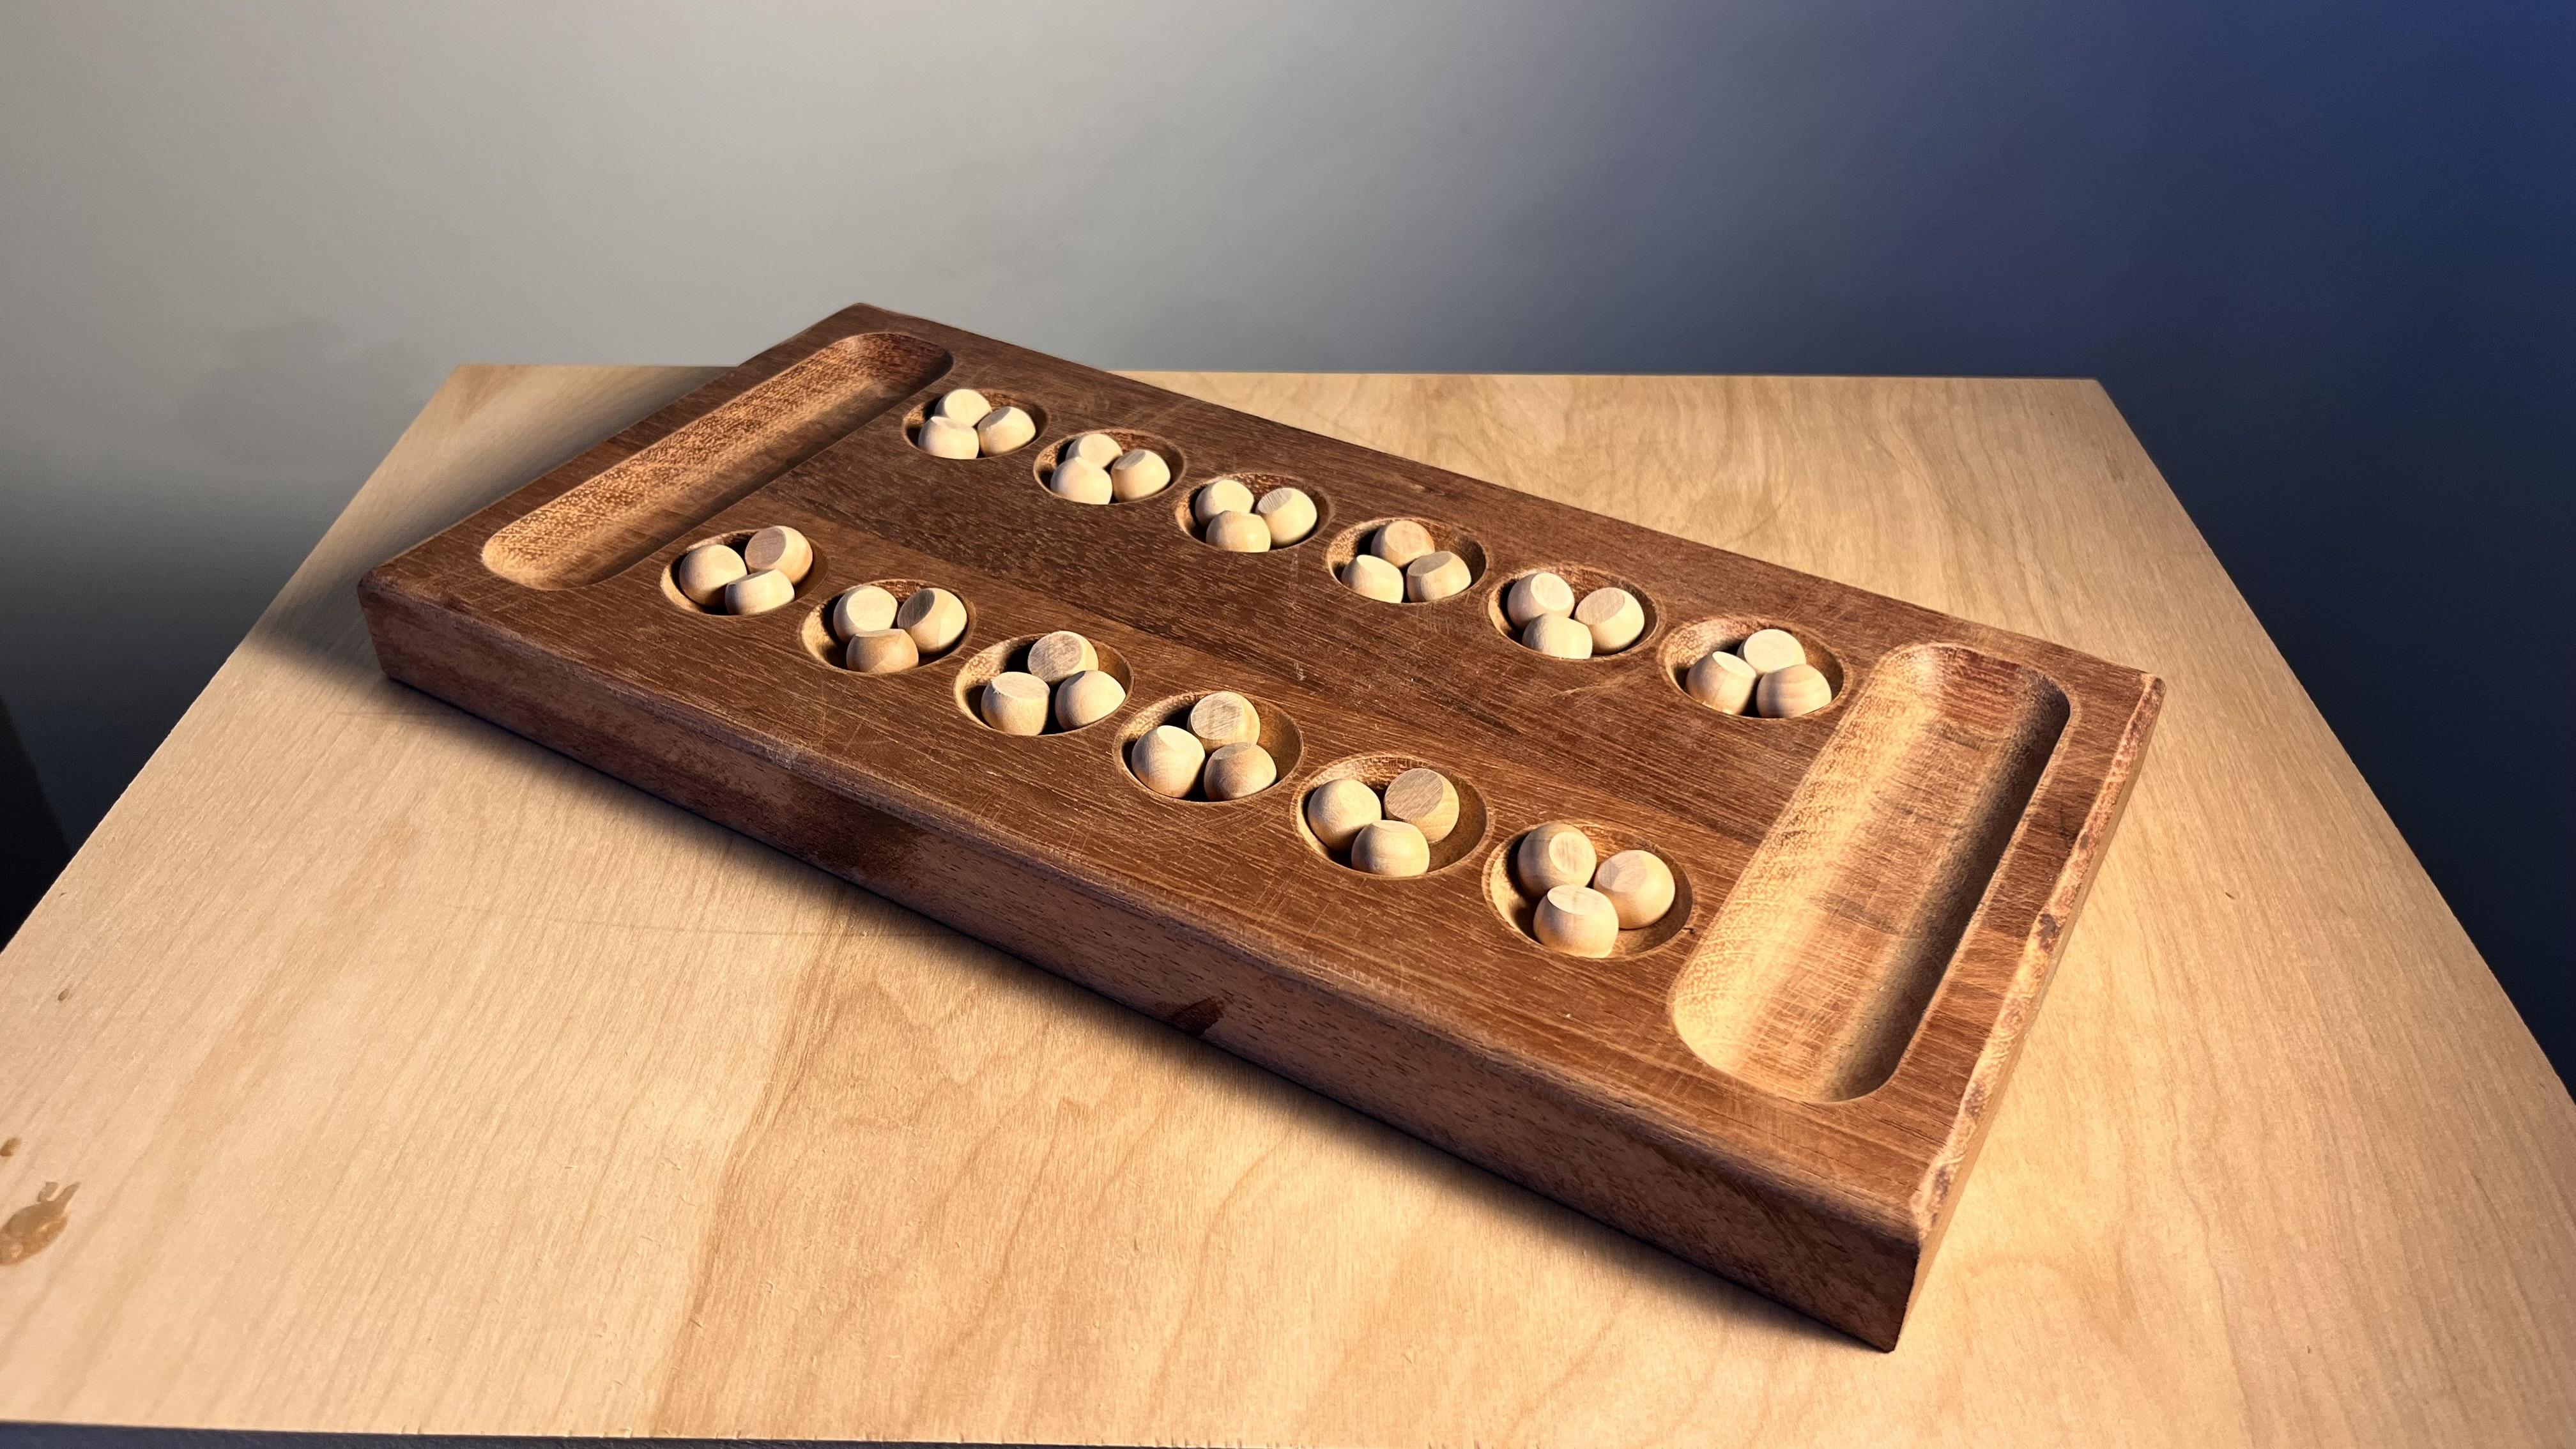
You have now successfully created a smooth and efficient Mancala Board!