How to Make a Lasercut Adjustable Drawing Board
by kitronik in Workshop > Laser Cutting
8717 Views, 109 Favorites, 0 Comments
How to Make a Lasercut Adjustable Drawing Board

A quick guide on how to make an adjustable laser cut drawing board. We chose to use American Black Walnut Veneered MDF for ours but you can use any other type. The list below offers a good selection of choices, each providing a wonderful finish:
You will need:
You may also need:
- Sandpaper
- Flat file
- PVA Glue
- G Clamps
It Started With a Sketch
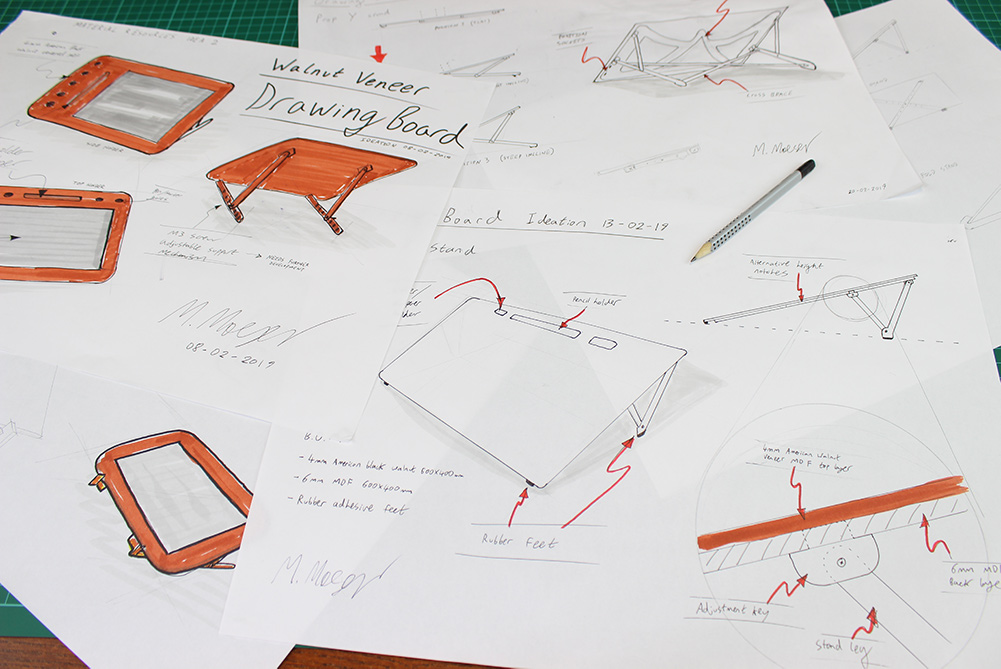
One of my favourite things to do (when I’m not making these fun resources for Kitronik) is sketching! Whether you’re a pro or just picking up the basics it’s very therapeutic. Try not to worry about being perfect while you’re learning and just see what comes out.
In this case, I had the ironic situation of having to sketch out ideas for the drawing board before I could actually draw on it!
Gather Your Materials & Parts
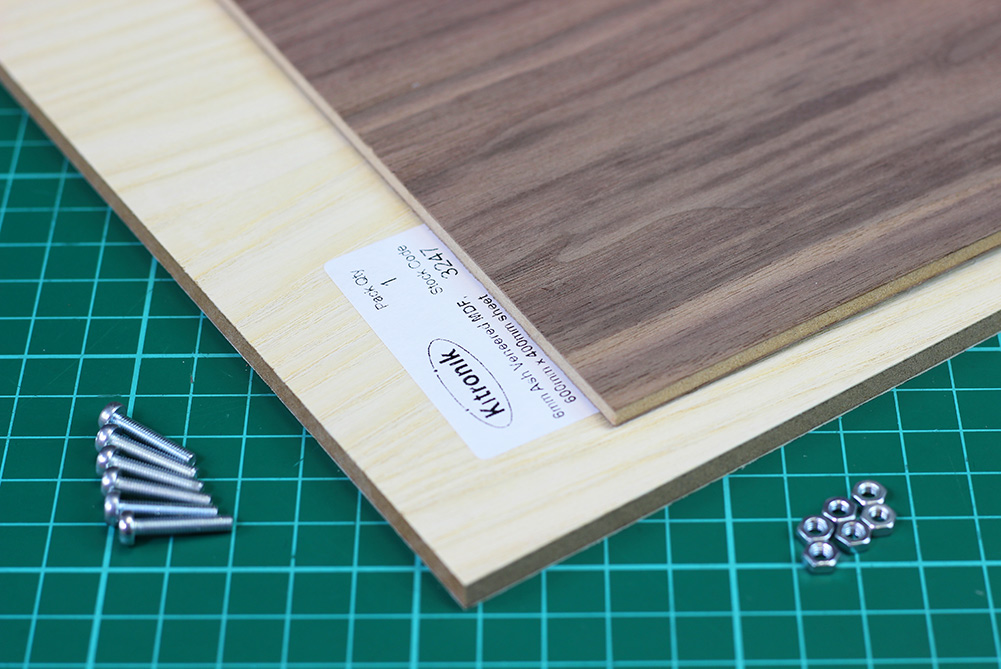
Start by gathering your materials. For this build we chose an American Black Walnut veneered board with an Ash veneer tilt mechanism.
Carefully inspect which side of the sheet you would like to use as your drawing surface. Veneers are thin layers cut from real hardwood logs so each one is unique!
Cut Out Your Parts Using Our Design Files
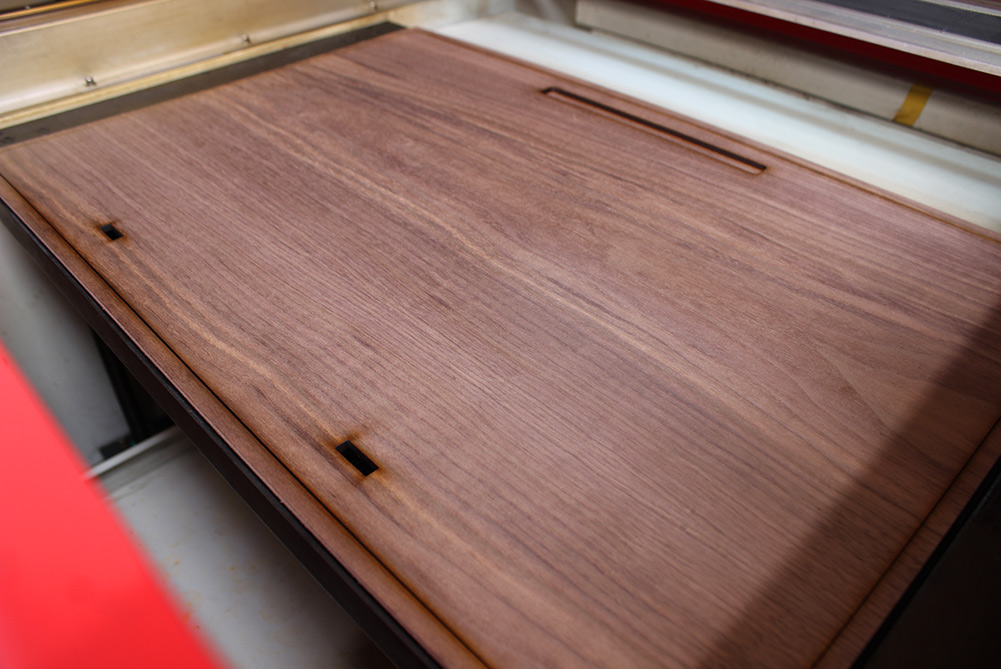
Download our DXF files for the two wood types. The tilting mechanism is cut from 6mm MDF while the board itself is 4mm thick. Remember to adjust the cut speed when changing thicknesses.
Downloads
Tidy Up the Edges
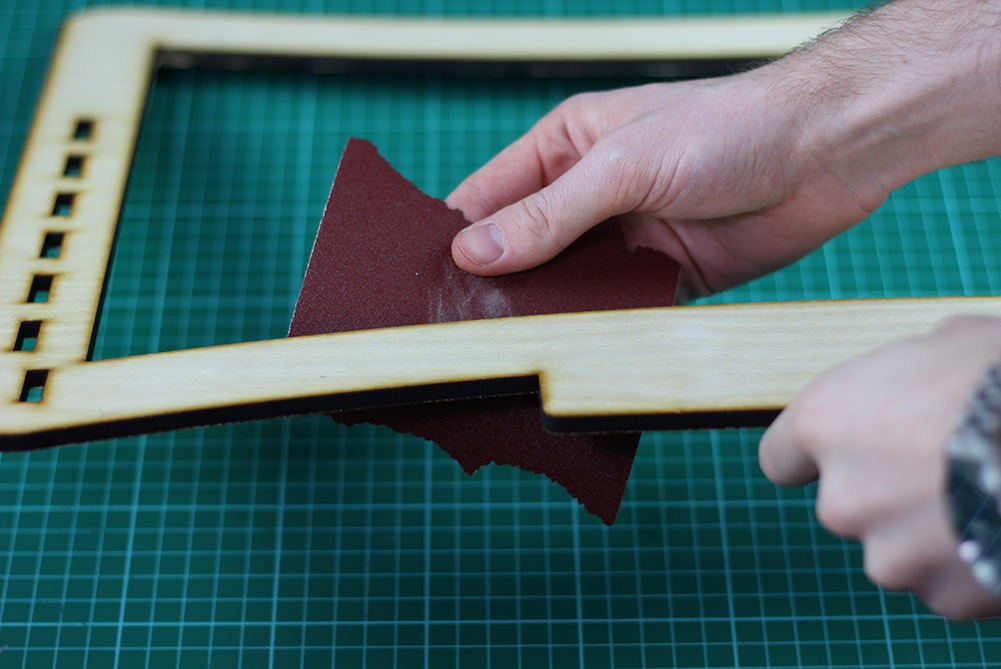
After removing the parts from the laser, check for rough edges. You may need to sand down these slightly. We used 120 grit sandpaper to give all the parts a nice smooth feel.
At this stage, you will want to lightly mark guidelines on the back of the drawing facepiece. These are to align the frame later and should be 15mm from the sides, and 10mm from the top and bottom.
Assembly - Adding the Pivots
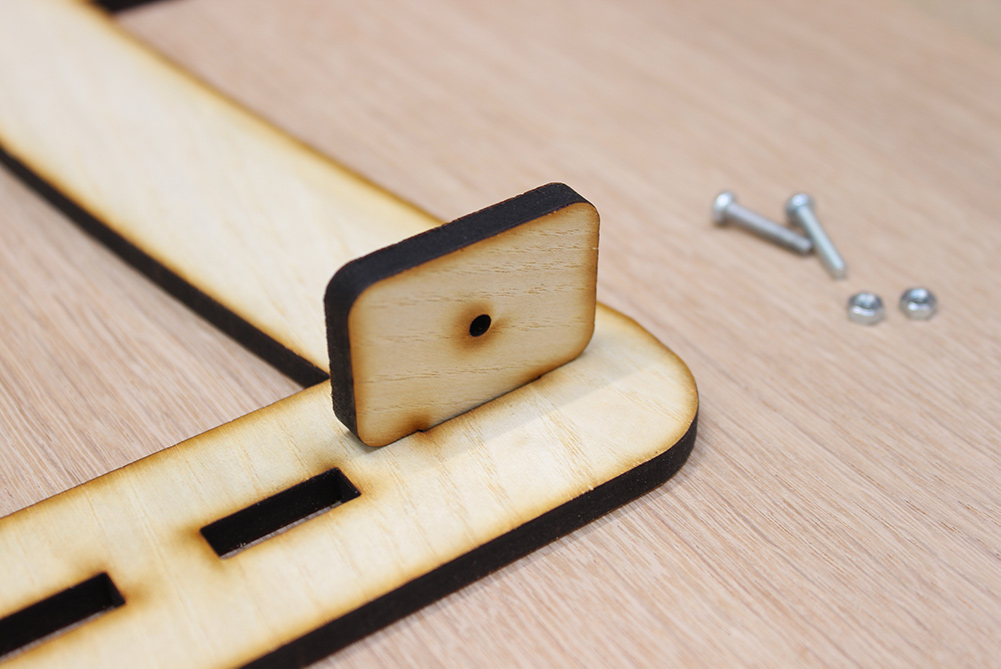
Take two of the pivots and push them into the offset slots at the top of the frame. These top pivots should be a tight fit and stay in place. Later when the glue is applied, you can apply a little to this joint to make it extra secure.
Assembly - Add the Supports
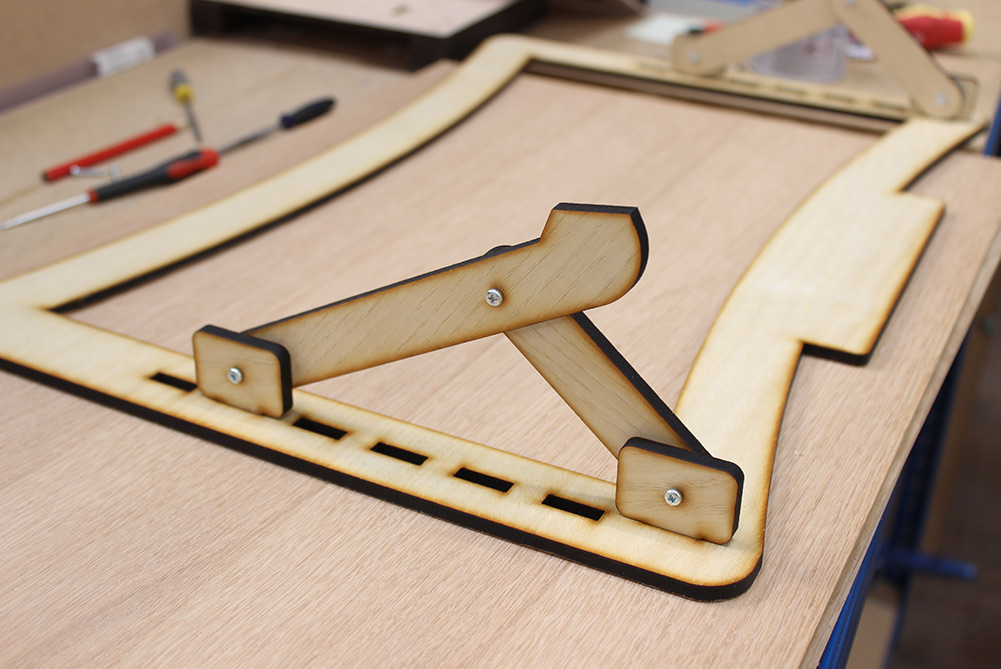
You will need to file down the front pivots slightly so that they push fit in and out of the slots. Once you are happy with these, assemble the rest of the support using the M3 screws as shown. You can now test the tilt mechanism before we move to the next step.
Assembly - Glue the Frame
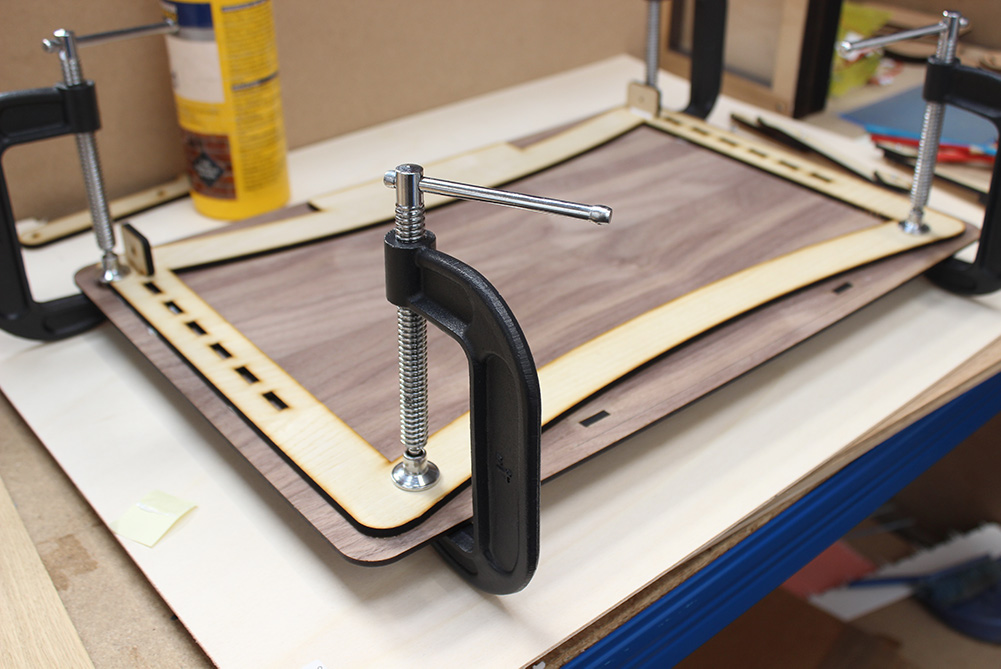
Remove the supports, leaving the back pivots in place in the frame. Apply wood glue to the back of the frame then align it with the lines you marked earlier. We used G clamps to secure the frame in place, however, a set of books or heavy tools can work too. Leave this for at least an hour to set.
Assembly - Adding Paper Holder
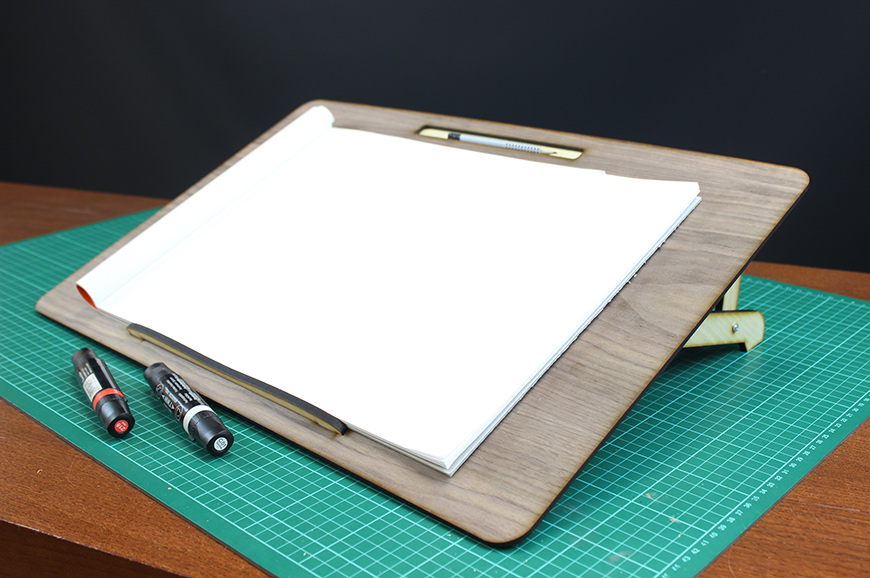
After reattaching the supports, the last step should be inserting the curved paper holder at the bottom of the drawing face. There you have it, your own adjustable drawing board! Now get designing your crazy contraptions.
Bonus Tip: If you're completely new to 3D sketching, a drawing aid like this IsoSketch tool can speed up your progress significantly.