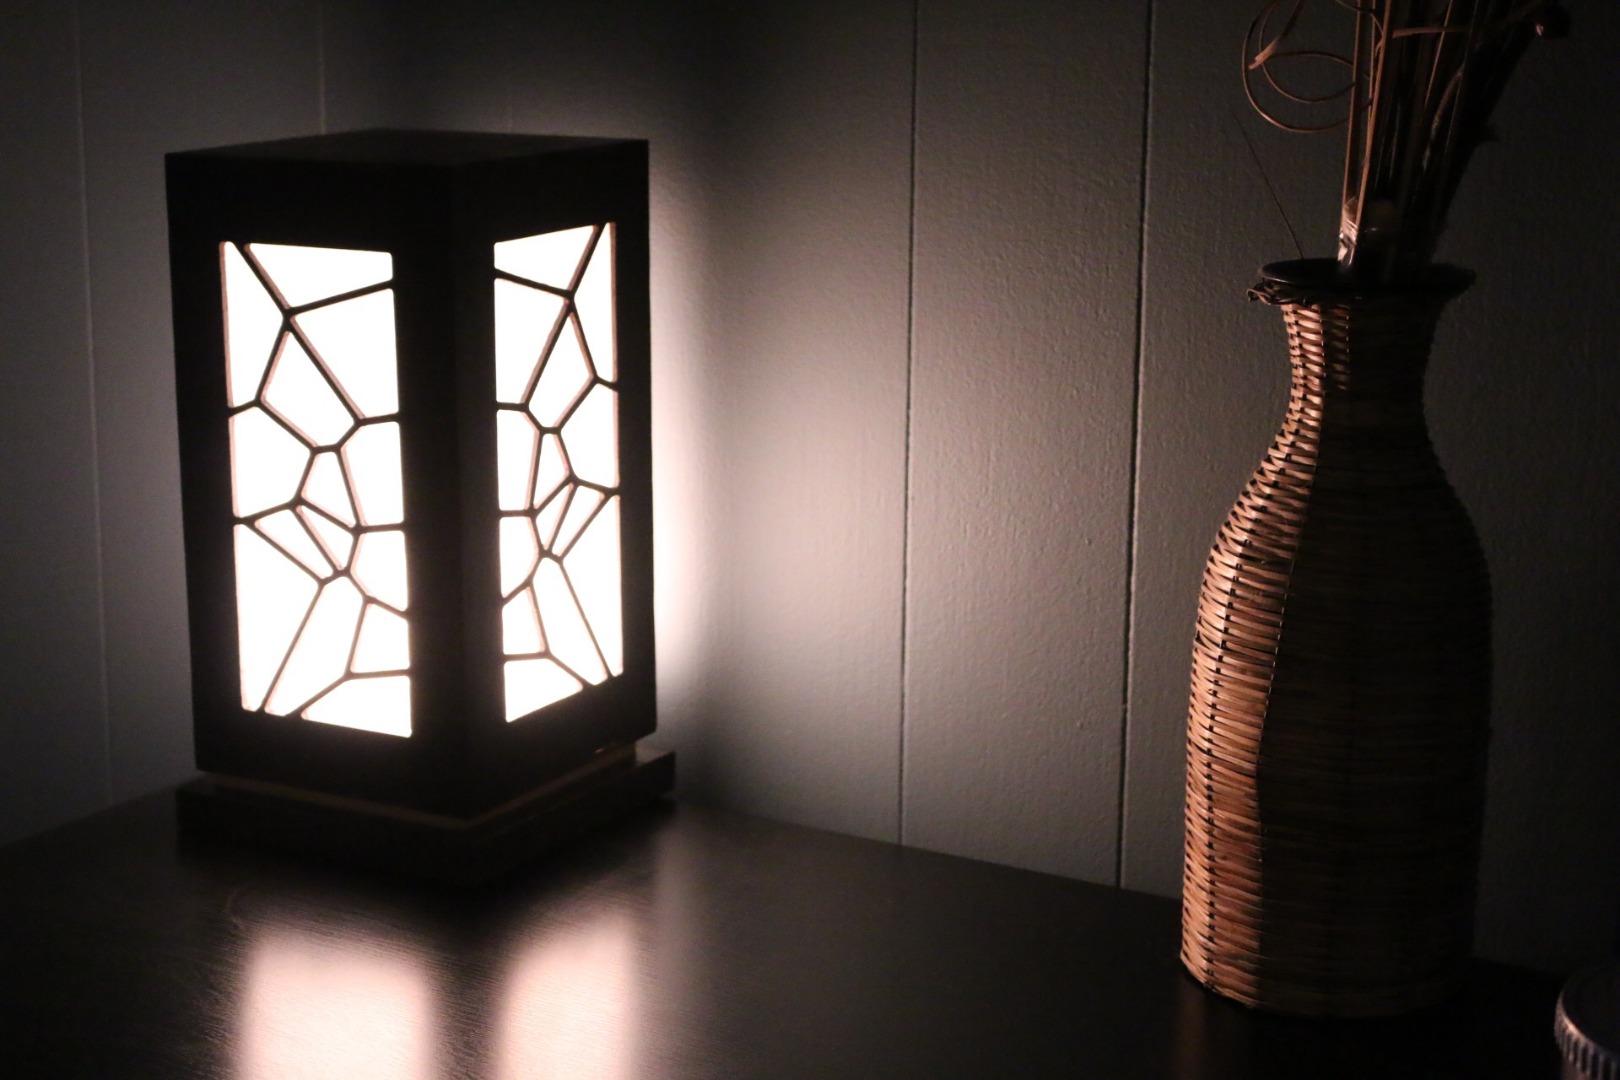
How to Make a Lamp

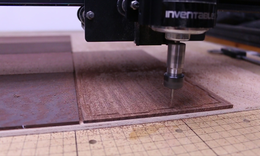
For this project I used the X-Carve CNC machine by Inventables. The software I used to program the CNC is called Easel which is also by Inventables. So all my steps for this project are based on using a CNC machine. You don't need a CNC machine to do this project, you can use a scroll saw.
All of the .svg file can be found here: https://www.inventables.com/projects/lamp
For this project I used Wenge which was 1/8" thick. The base is made from 3/4" Wenge and 1/4" Maple reveal. The white film i used to diffuse the light is called "Light Diffuser Film".
Step 1 - Layout
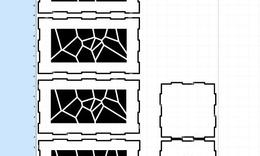
Laying out the Wenge pieces is a little tricky. The 1/8" Wenge pieces that come form Inventables are 6″×12″. So I stacked four pieces vertically on their long edge and the 5th piece to the left with the short side on the x-axis. See picture. In Easel you may need to move your lamp pieces around to make them fit in the 6″×12″ rectangles. I used double sided tape to hole my pieces down.
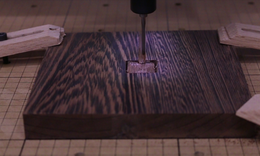
Step 2 - Carve #1
Load the Lamp file to cut out the lamp sides, top and bottom pieces. This file uses a 1/16" bit. Double check your material thickness. The pieces I received from Inventables were not consistent.
Step 3 - Carve #2
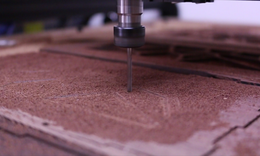
Without moving anything, load the Lamp Voro file to cut the Voronoi pattern in the sides, top and bottom pieces. This file uses a 1/8" bit.
Step 4 - Be Careful!!!
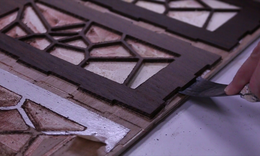
If you use double sided tape, be careful when prying the pieces off. Take your time. I used a putty knife and it worked out great.
Step 5 - Cut the Light Diffuser Film
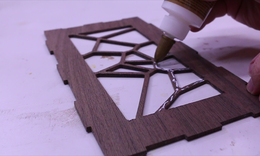
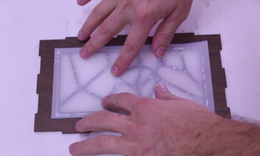
Cut the light diffuser file into rectangles. Make sure you over size it so that it goes past the voronoi patter. I used a craft tacky glue and it had a hard time sticking. I would recommend using something else.
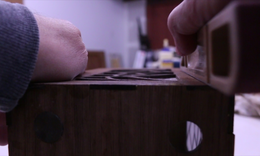
Step 6 - Glue Up
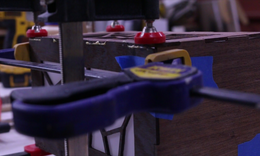
Now this is where it gets tricky. At first, I tried gluing everything together…that didn’t work. So I ended up gluing one pieces on at a time. Just take your time and make sure everything is tight so you don’t have any gaps were light can shine through.
Step 7 - Magnets
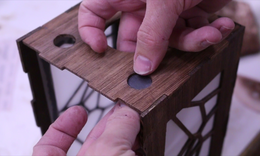
It will be easiest to glue in the magnets before you glue on your last side. I bought some 3/4" magnets at my local craft store. I only used 3 magnets.
Step 8 - Base
For the base of the Lamp, I used a 3/4" piece of Wenge cut into a 6″×6″ square. Load “Lamp Base” in Easel. This will cut the hole for the light fixture and a slot for the cord. You may need to adjust the cut outs if you use a different light fixture.
Step 9 - Glue in Light Fixture

I used epoxy to glue in the light fixture. I only glued in the metal pieces, not the cord.
Step 10 - Maple Reveal
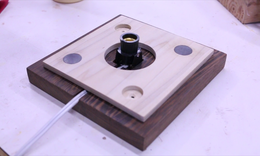
I used a pieces of maple to act as a reveal. I cut it into a 5″×5″ square. There is a 2" hole in the center, which is enough room for the light fixture. I also recessed the other magnets into this pieces. Again I used a 3/4" magnet, so you may need to adjust the holes in the file to fit your magnets. Load “Maple Base” and cut away.
Step 11 - Sand, Sand......Sand
Before sanding, check and see if you have any gaps in your joints. If you do, mix up a little epoxy and add some Wenge saw dust to it and fill and gaps with this mixture. I used a flat sanding block when sanding my lamp. I didn’t want to use a orbital sander as it was to risky and I didn’t want to break any of the voronoi pieces.
Step 12 - Finish!
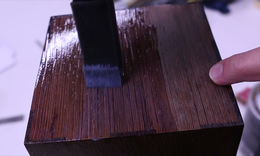
I used a polyurethane finish and applied one coat.
DONE!!!!
.JPG)
Put a light bulb in, attach the lamp to the base and plug it in. Enjoy!!
Video
I made a YouTube video about this Lamp, check it out.