How to Make a Header and Footer for a Master Page in InDesign
by Ryankingma in Circuits > Microsoft
39822 Views, 4 Favorites, 0 Comments
How to Make a Header and Footer for a Master Page in InDesign
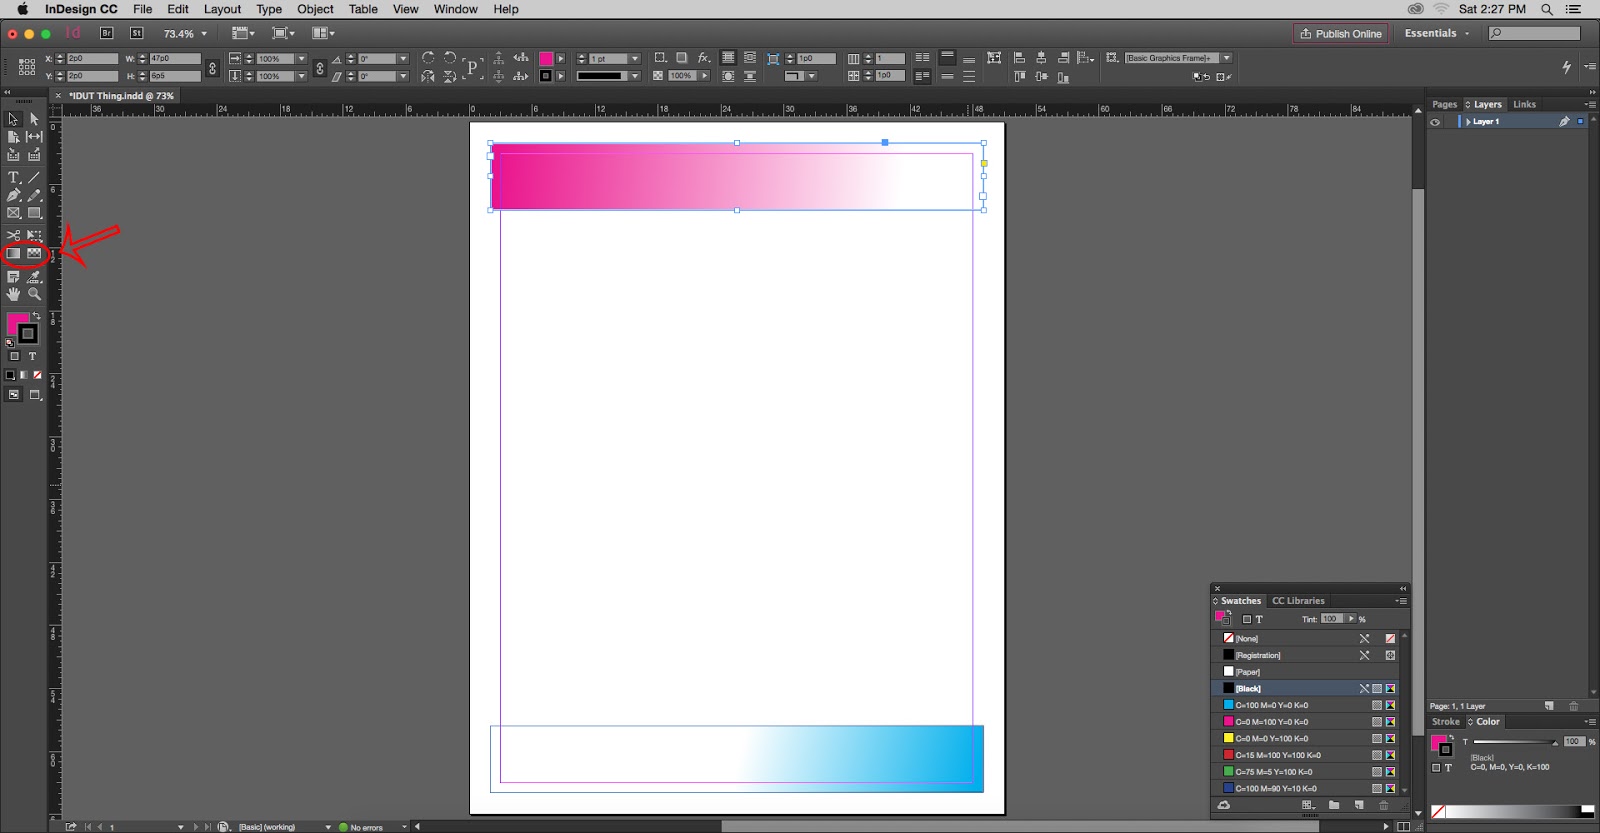

Headers and footers are design elements of a poster that organize content and allow easier readability. InDesign can be used to create headers and footers as part of a one page or multi-page document. InDesign is available on Microsoft and Apple computers. The format of the program may be slightly altered based on the type of program used. These instructions were made using the Microsoft format, and have notes for Apple computers. This is also for anyone who has beginner level Technical ability, and should only take 3-5 minutes, meaning you don't need to be an expert to make your presentations stand out!
How to access InDesign
1. Go to www.adobe.com/products.indesign and select the free trial option at the top right corner of the screen. Access is given to InDesign for seven days.
2. Create an Adobe ID if a new user.
3. Purchase monthly subscriptions to Indesign at www.adobe.com/products.indesign for $19.99 a month or access to all of Adobe’s apps for $49.99 a month.
A master is a like a background that can be applied to many pages. Changes made on a master will appear on any new pages created. Master items appear on document pages are surrounded by a dotted border. A header and footer made on a master page remains consistent for all following pages.
Open the Indesign Program
.png)
Wherever you have it saved on your computer, open InDesign.
Choose a Document/Page Size
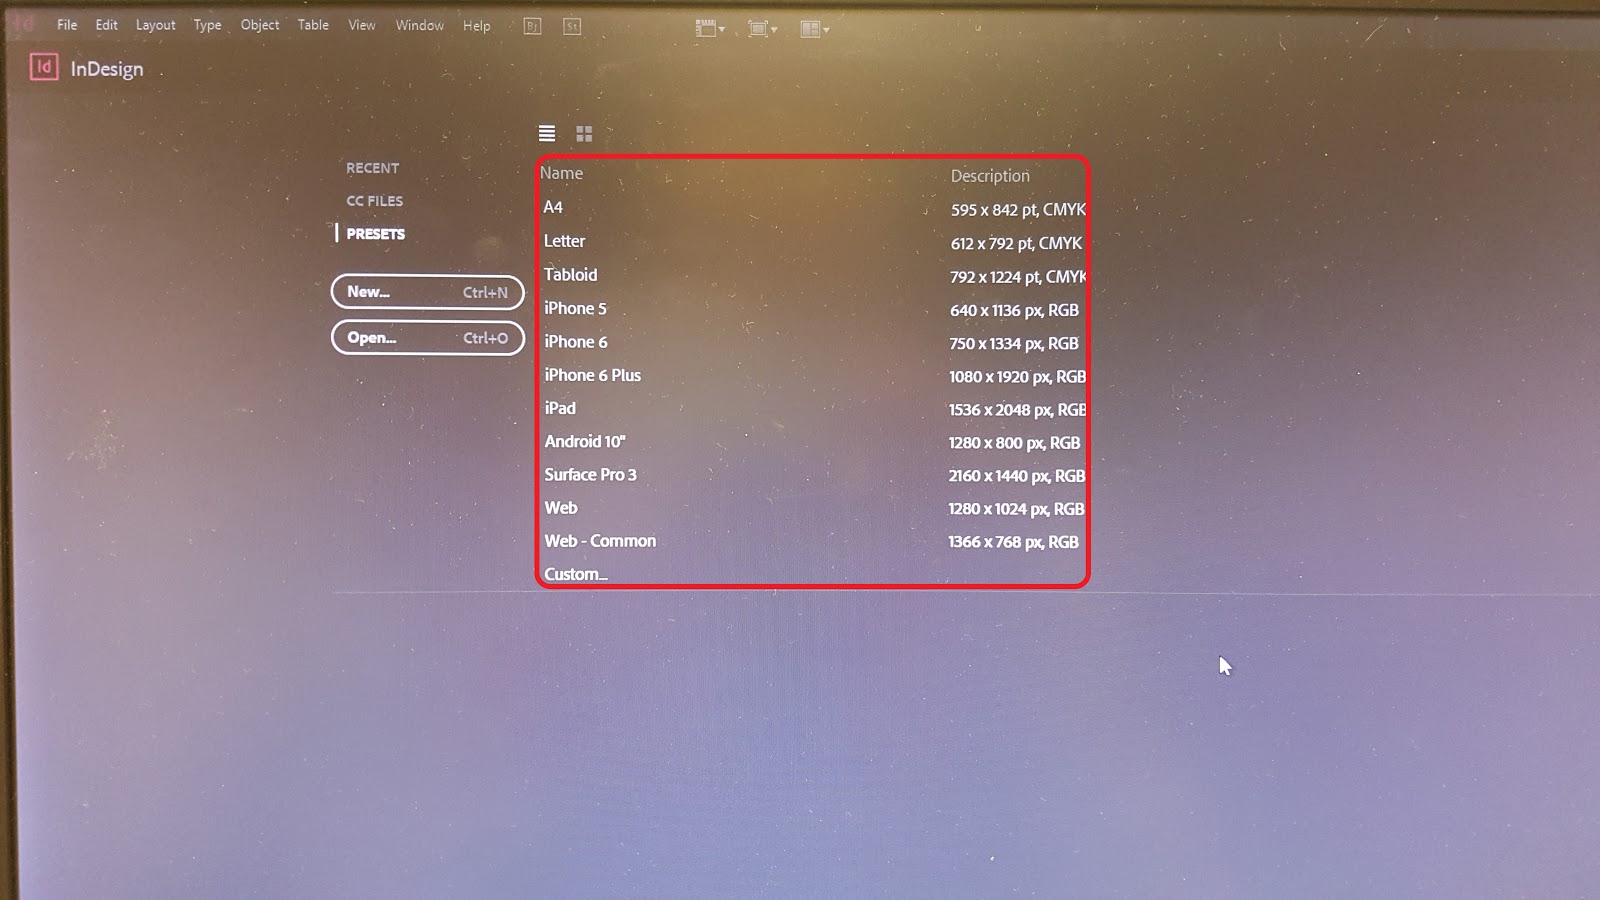
Choose your Document's size from the list of preset options on the opening page under Name. If a new user, choose the second option of Letter.
Open the Window Pulldown Menu and Select Pages
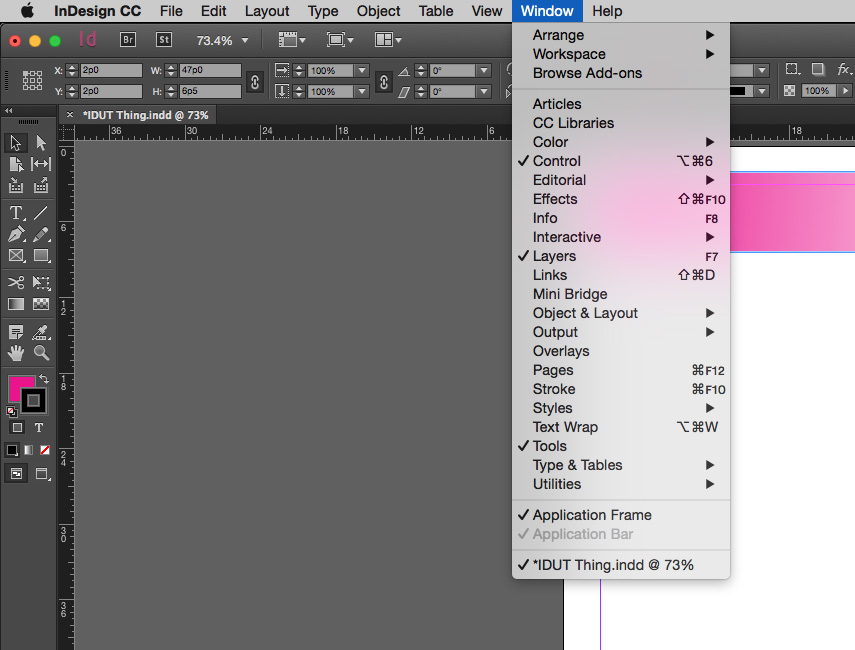
Open the Window Pulldown Menu, and select Pages. You can also use F12 as a shortcut.
In the Pages Box, Highlight the White Rectangle Next to [None].
In the top right corner, click the pages box, and highlight the white rectangle next to [None]. The white rectangle will turn gray. The document you are now working on is the master for the title page.
Note: To work on the master of all subsequent left pages, select the left page next to A-Master. To work on the master of all subsequent right pages, select the right page next to A-master.
Choose the Rectangle Frame Tool
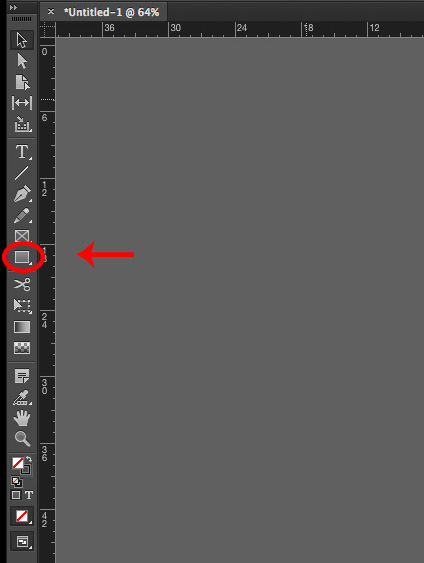
On the left side of the screen in the toolbar section, left click on the Rectangle Frame Tool.
Drag the Cursor Across the InDesign Document Starting in the Top Left Corner
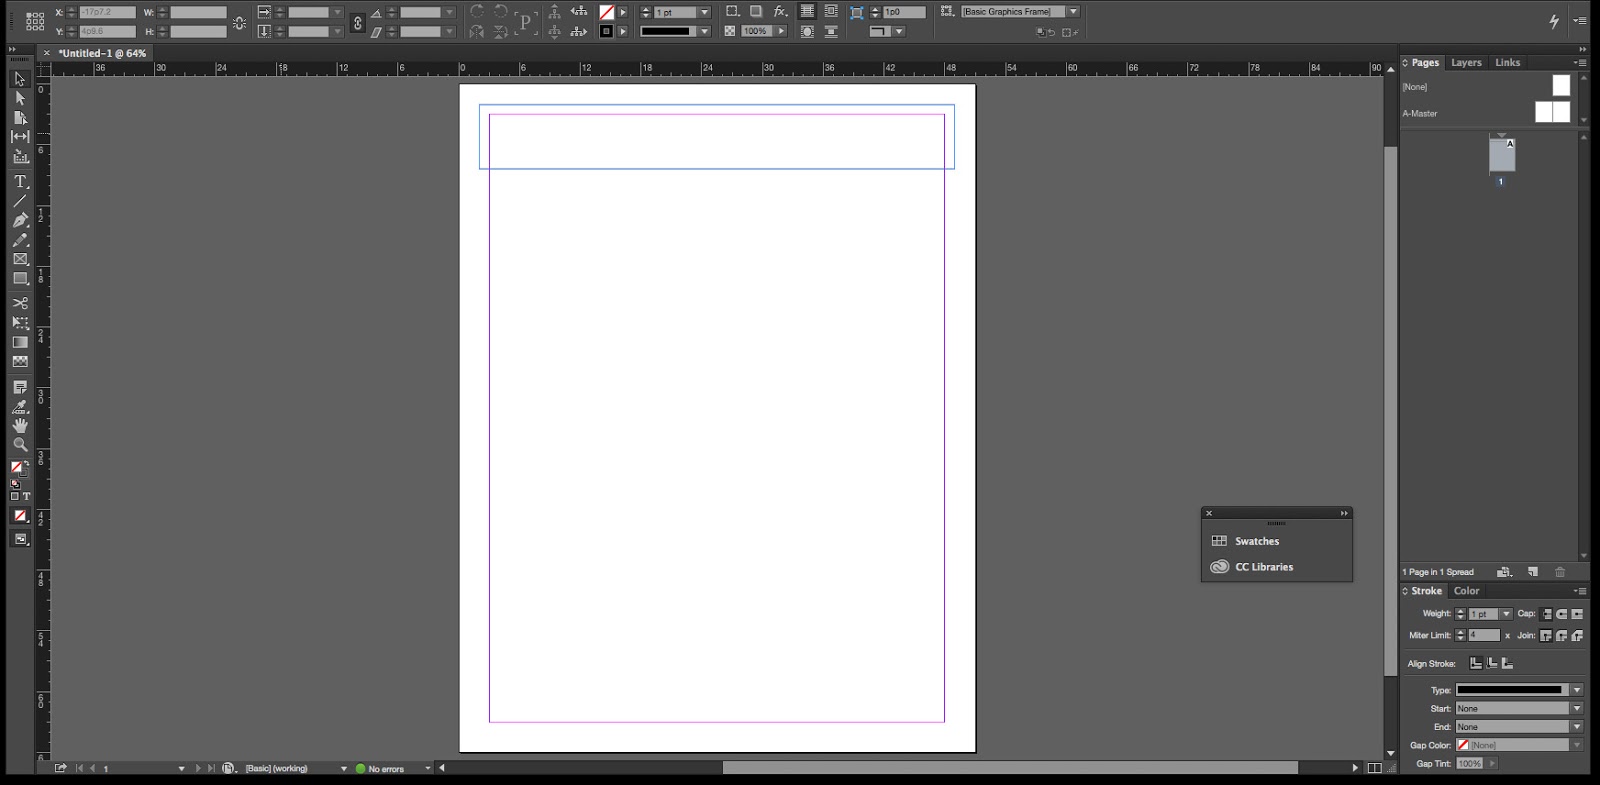
This will give you a header box that you can manipulate on each new page created.
Manage the Size of Your Box
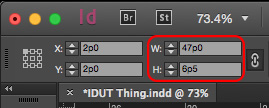
Using the X, Y, W, and H boxes in the upper left hand corner of the screen, you can adjust the size of your header to how you see fit..
Color the Box
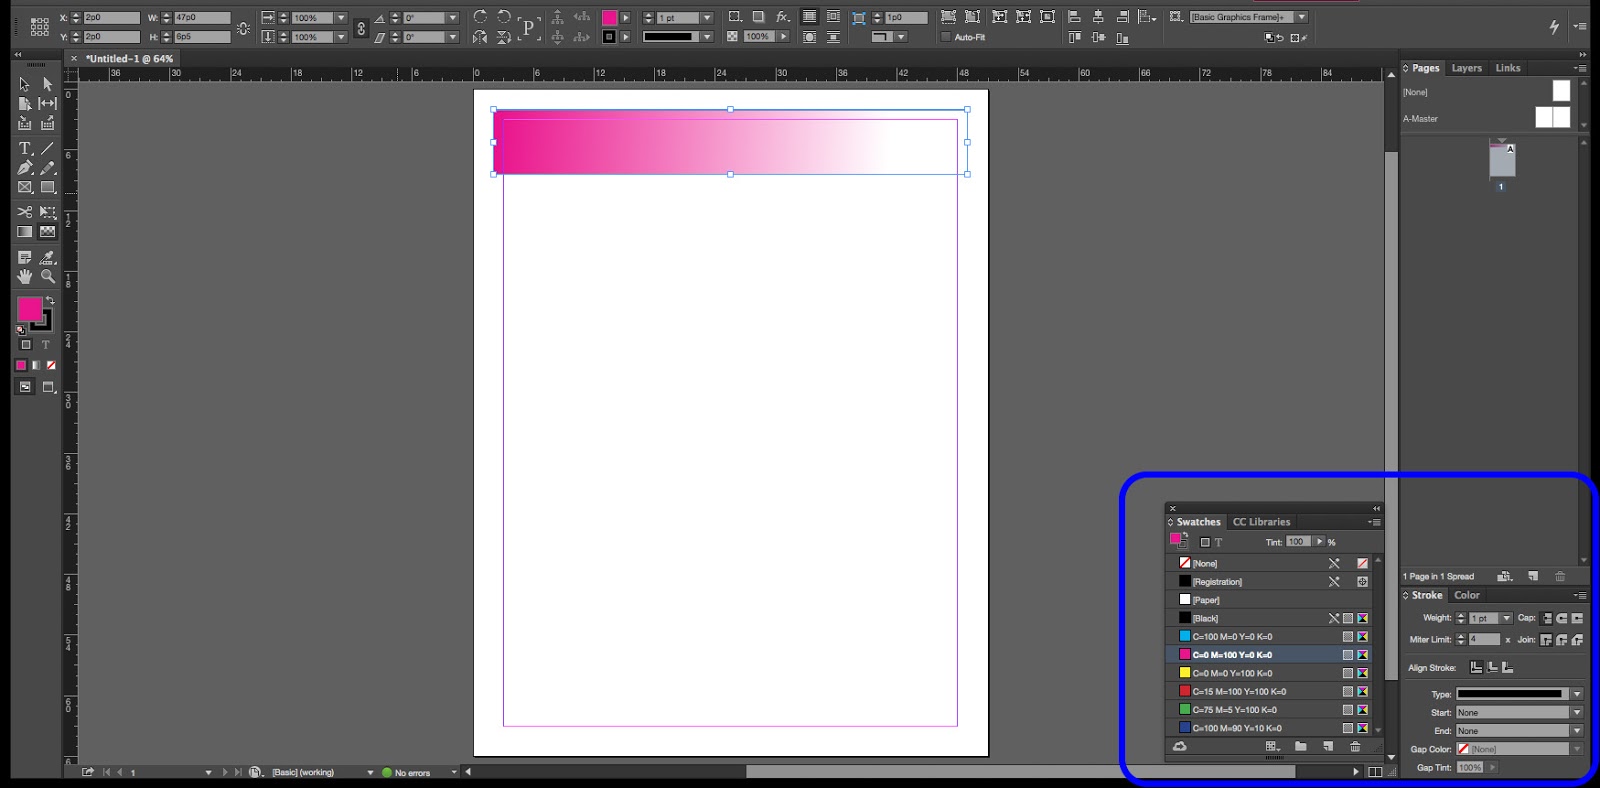
using the Swatches panel or pick your own from the Color/Stroke panel, you can adjust the Color of your box.
Add a Gradient to Your Box
.jpg)
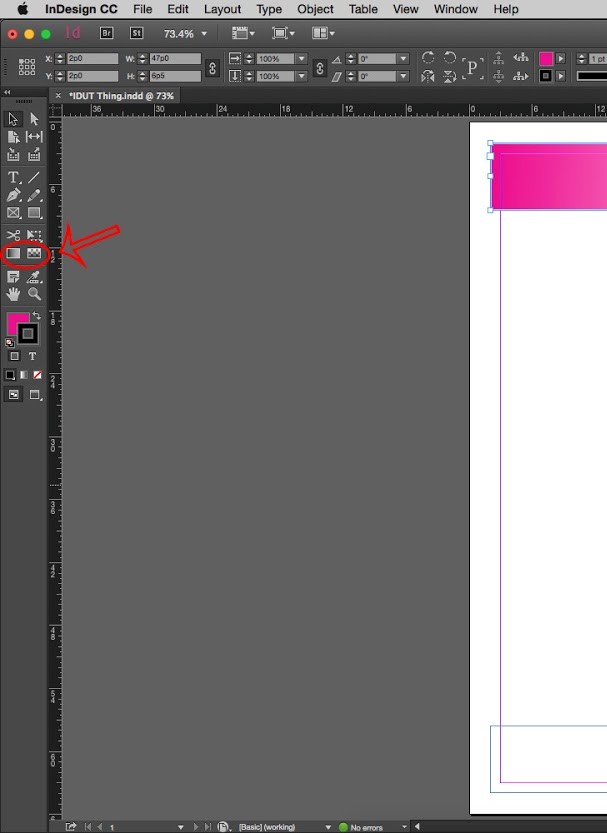
For a gradient, click on the Gradient Feather Tool and then click on the header.
Add Text to Your Header
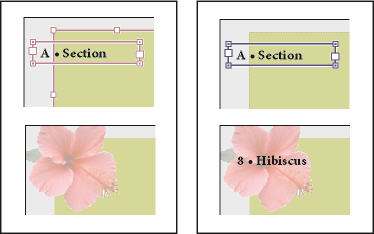
To add text, click on the Typing Tool (T) on the tool side bar.
You have just completed your Header in InDesign!
Repeat the Process to Create Your Footer
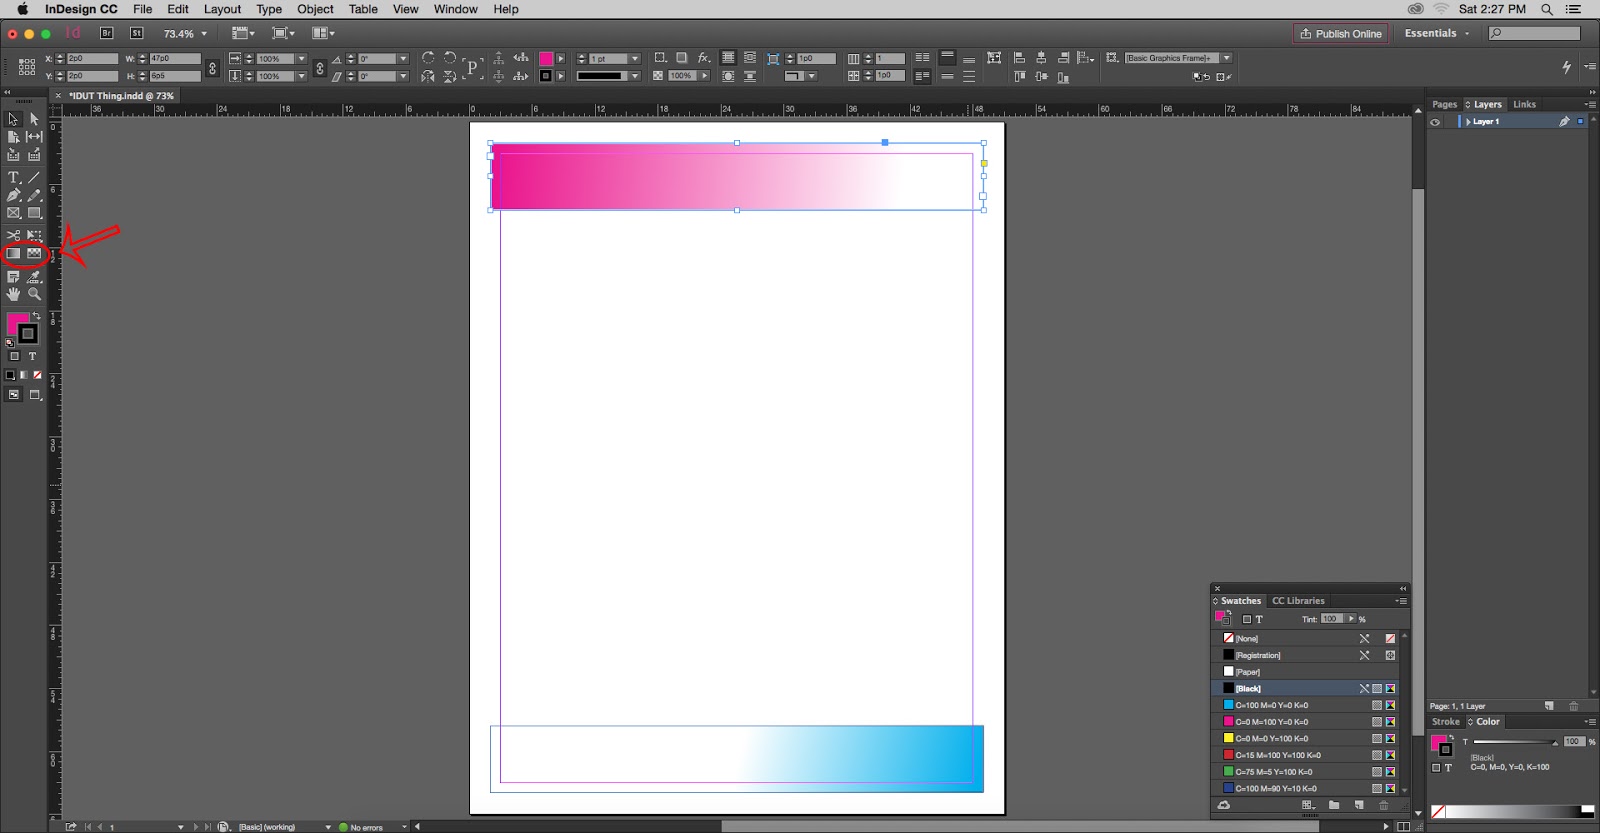
Repeat steps 5-10 to create a footer, positioning the footer at the bottom of the page.
Congratulations! You have just created a Header and Footer in InDesign, which can increase the visual appeal of all of your future presentations.