How to Make a Habitat Ecosystem Diorama for Your Classroom
by VCreations in Teachers > Resources
1123 Views, 1 Favorites, 0 Comments
How to Make a Habitat Ecosystem Diorama for Your Classroom
Hello everyone
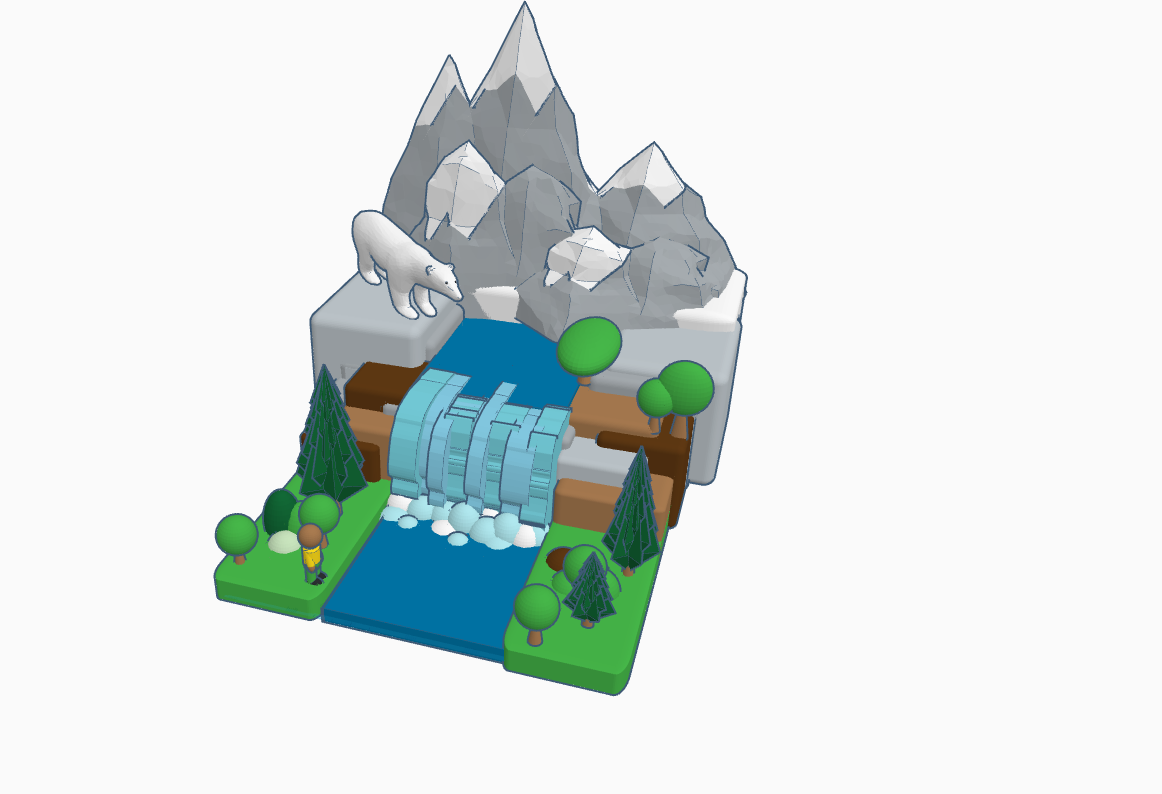
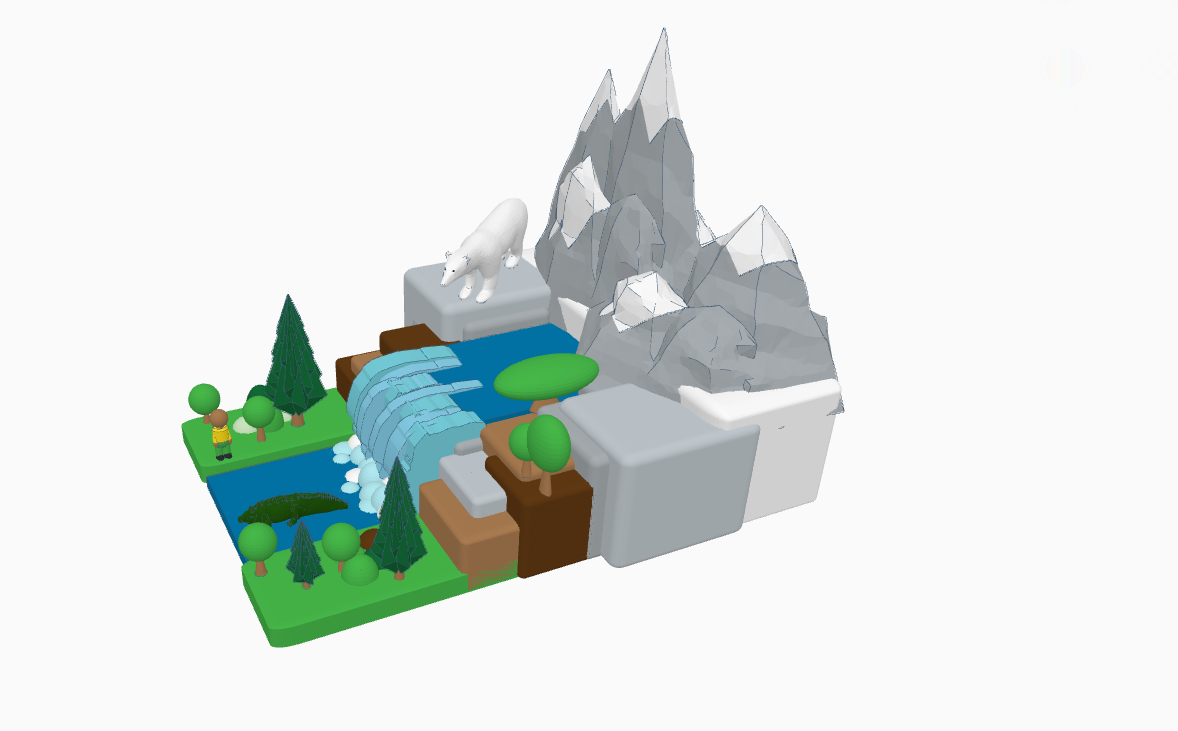
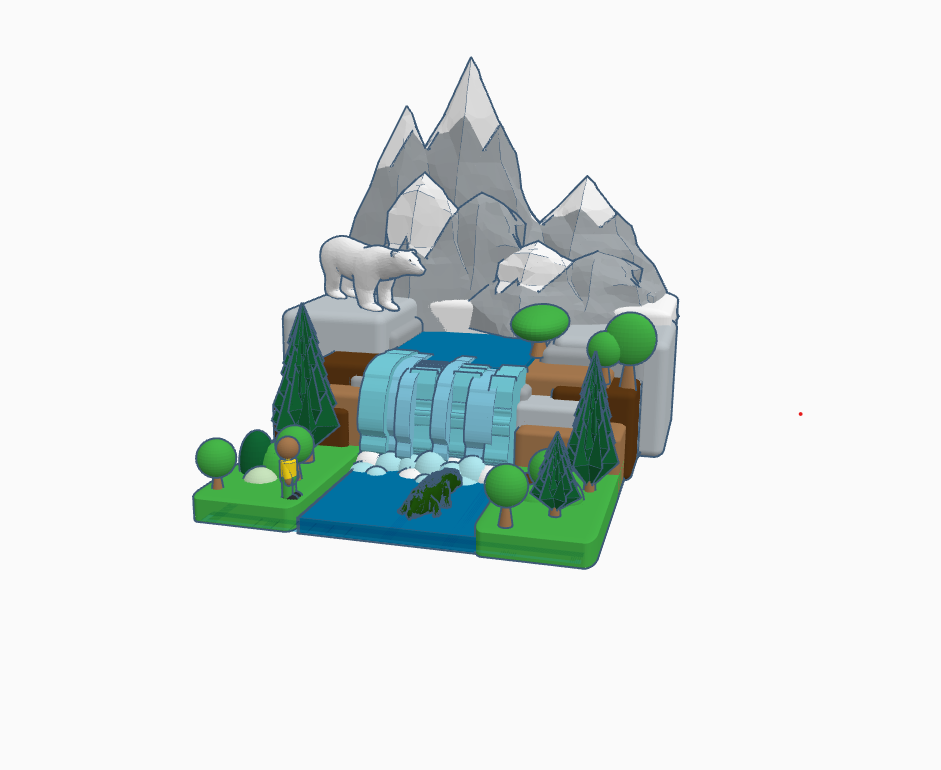
.In this instructable we will be learning about an ecosystem consists of a community of organism's together with their physical environment via Tinkercad. Ecosystem can be of different sizes and can be marine ,aquatic ,or, terrestrial. with this ecosystem diorama we can learn about arctic animals like polar bear, reptiles like crocodiles, and other flora and fauna.
it's perfect for your classroom and perfect for the students who are interested in it.
My main aim was to give a message that we must conserve our ecosystem and natural resources which are depleting day by day.
Downloads
You Will Be Required the Following -:

.jpg)
- Tinkercad software
- 3D printer
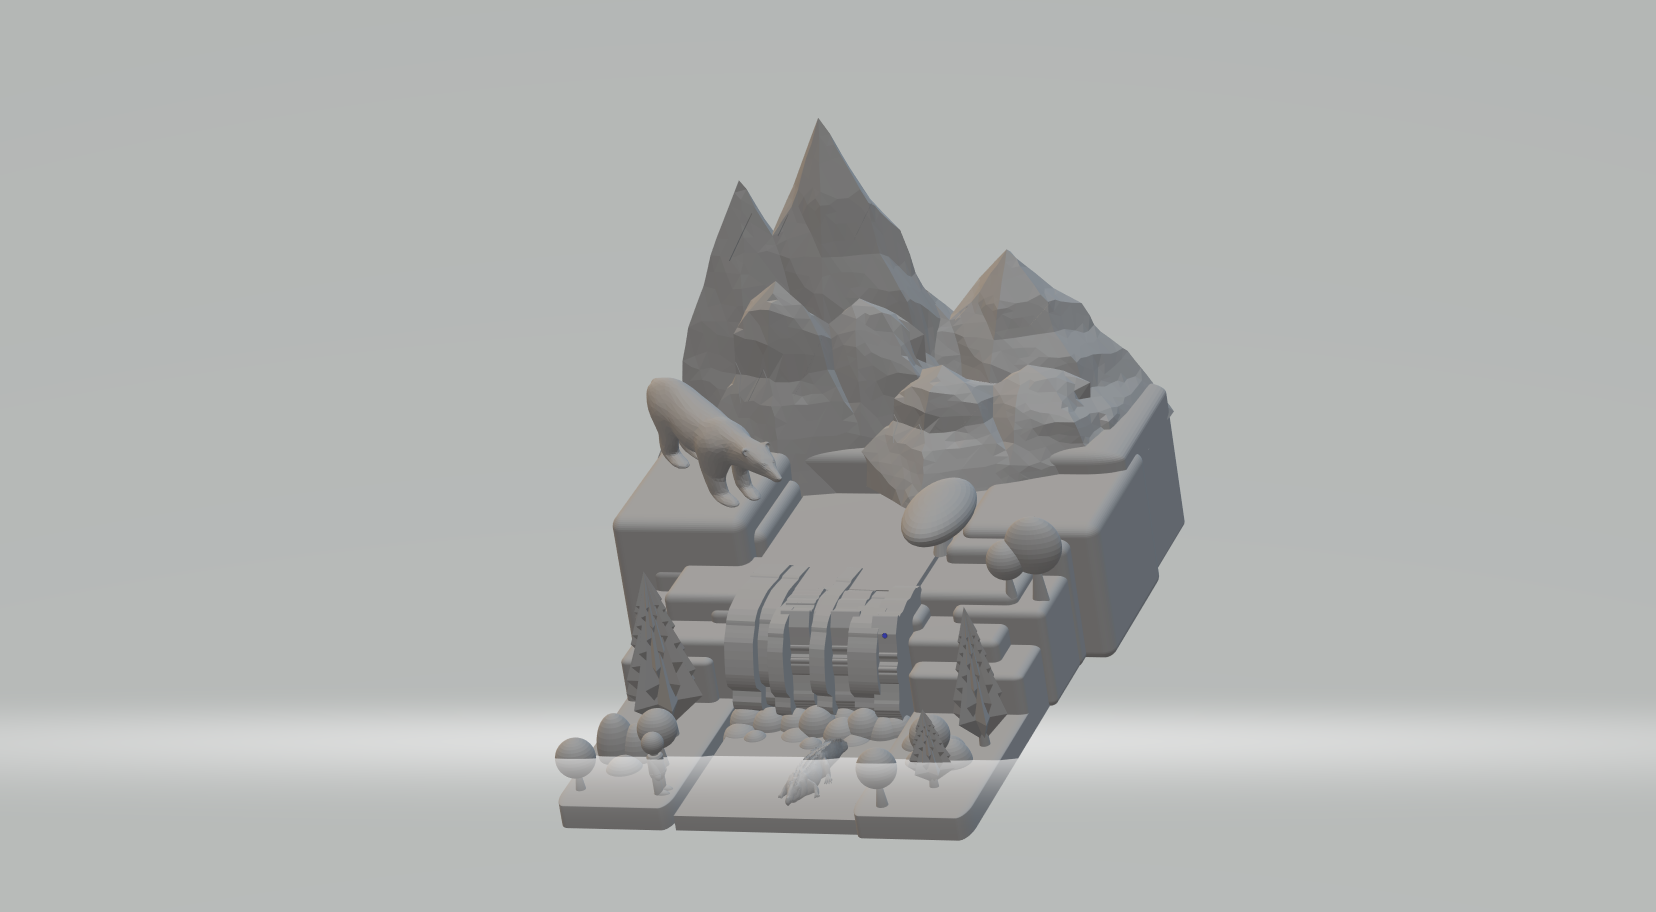
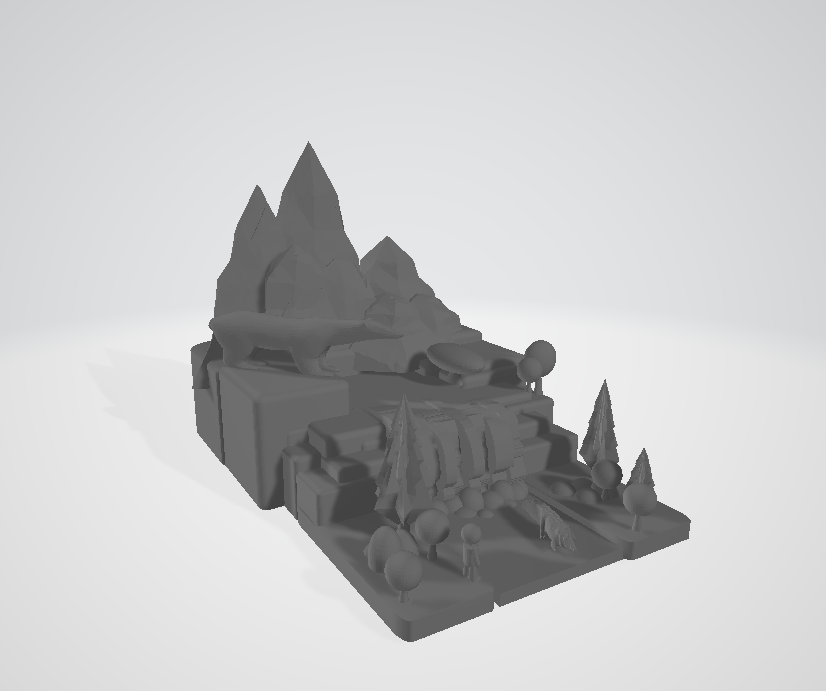
Making the Base
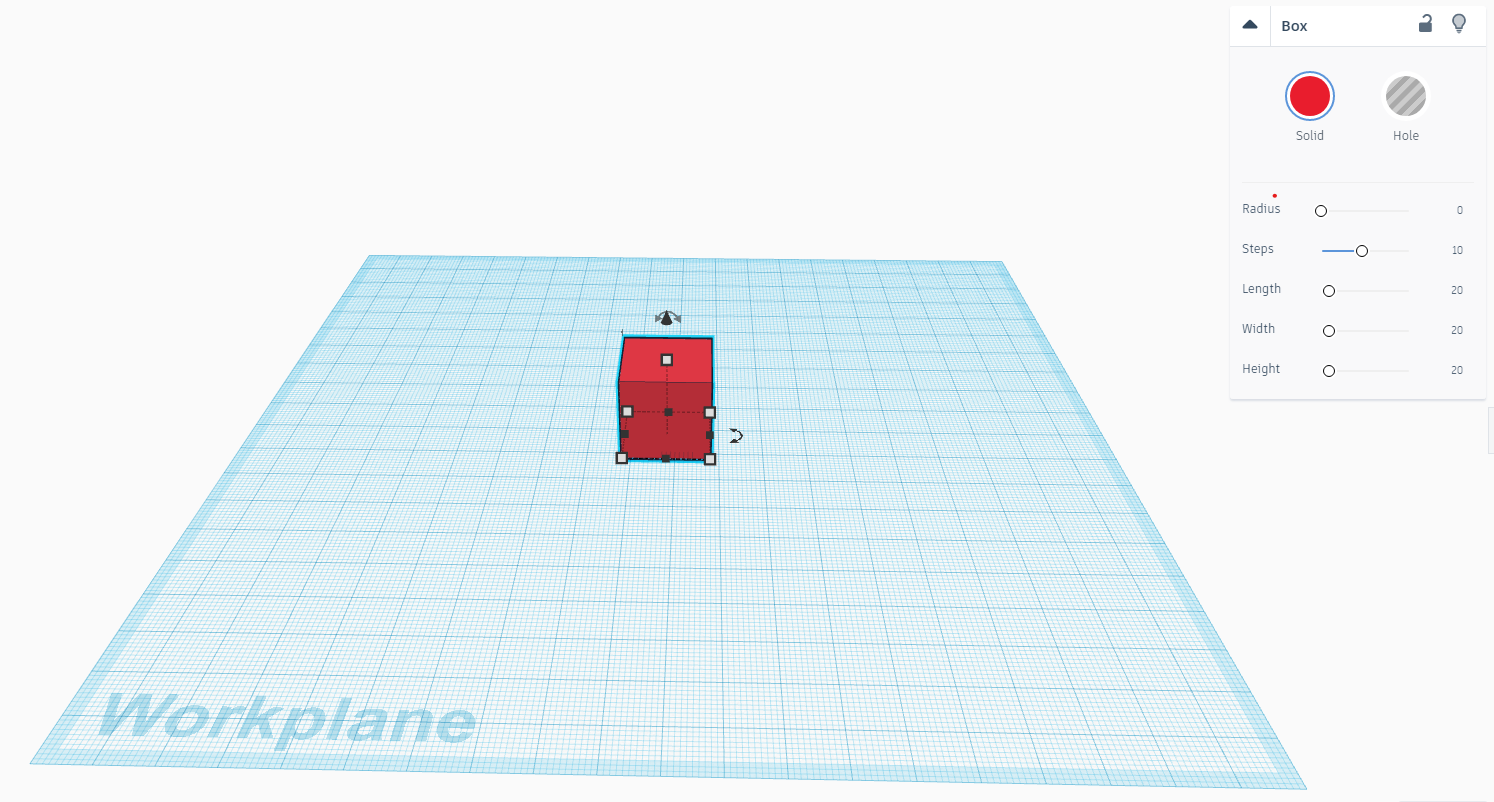
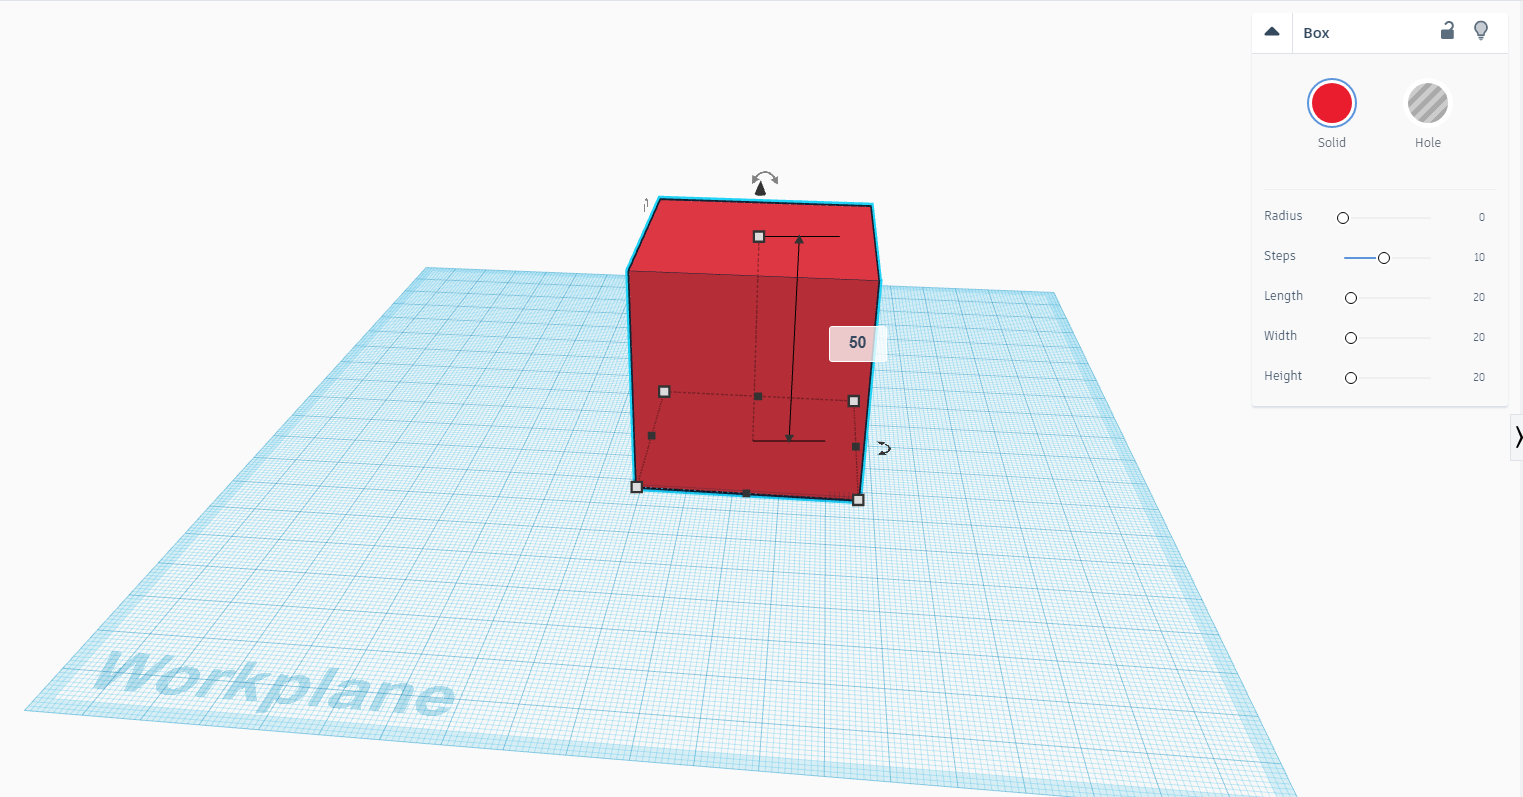
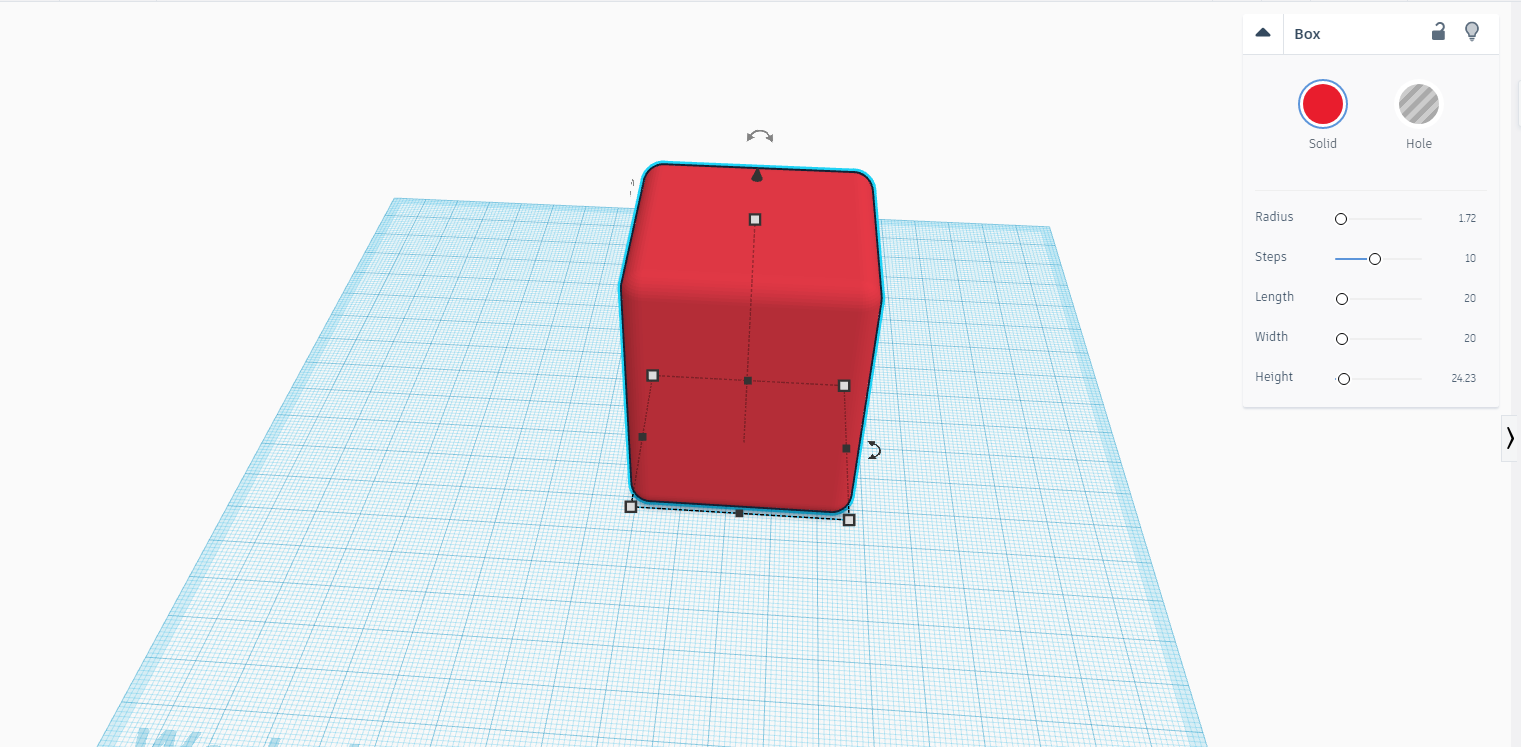
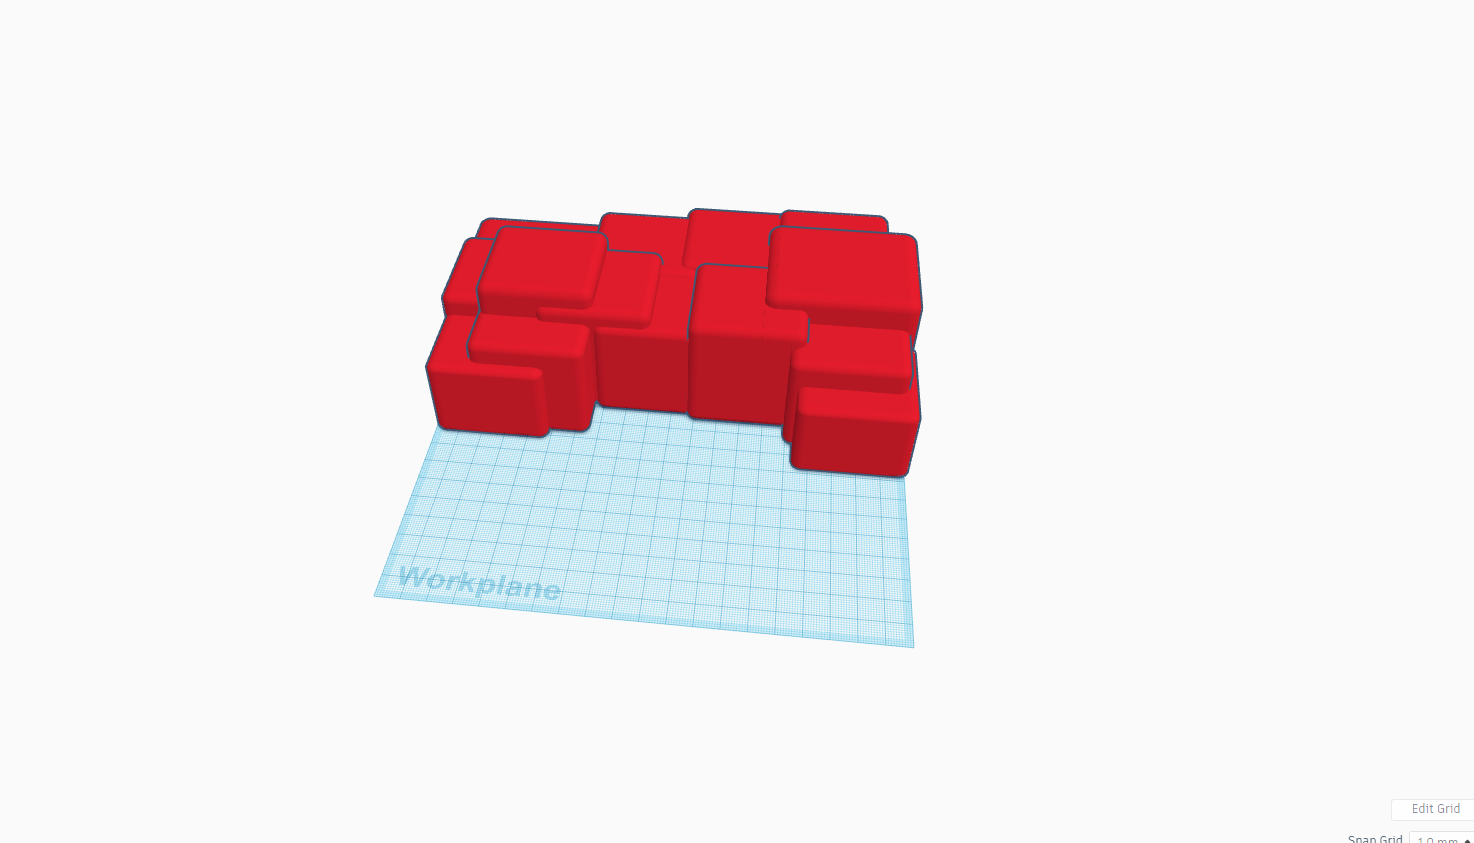
- Start by taking a square and adjust the size as shown above in the image.
- Once done, adjust the radius so that its edges becomes smooth as shown in the above image.
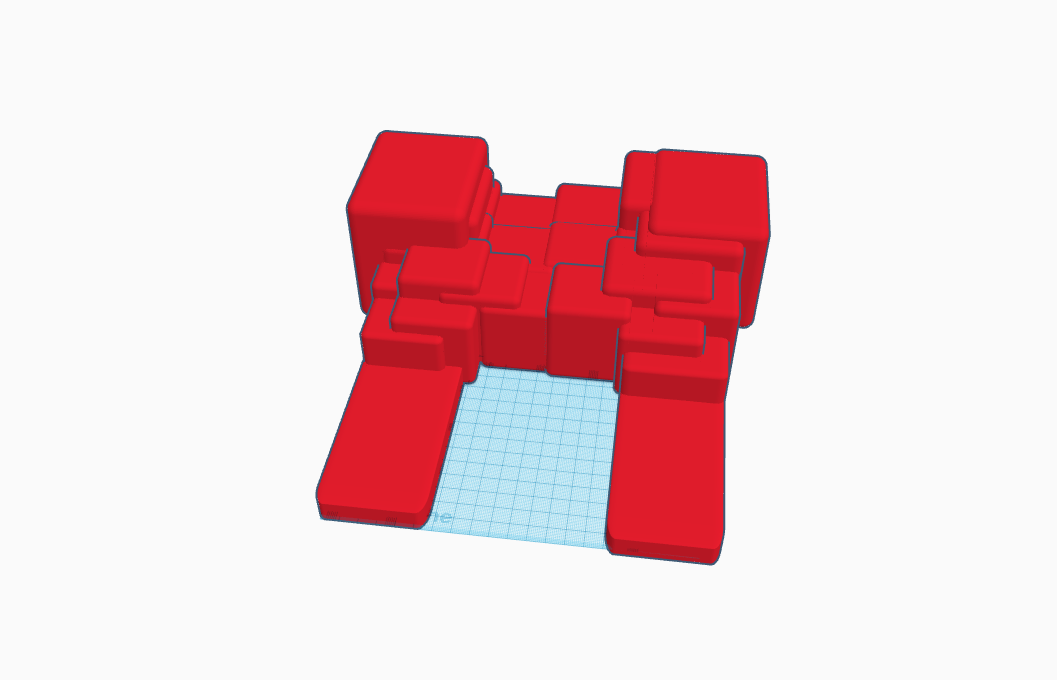
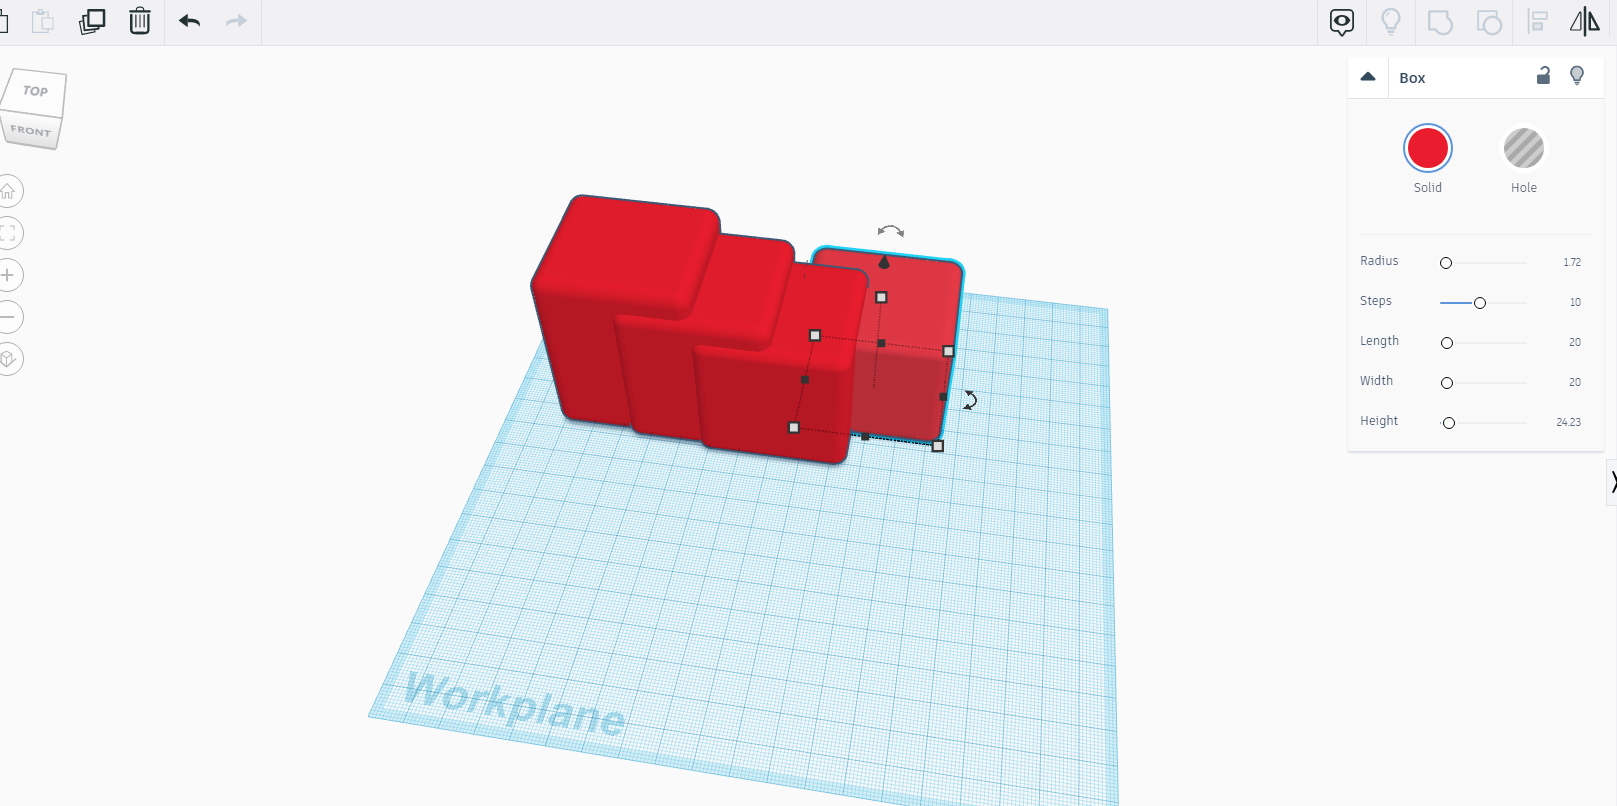
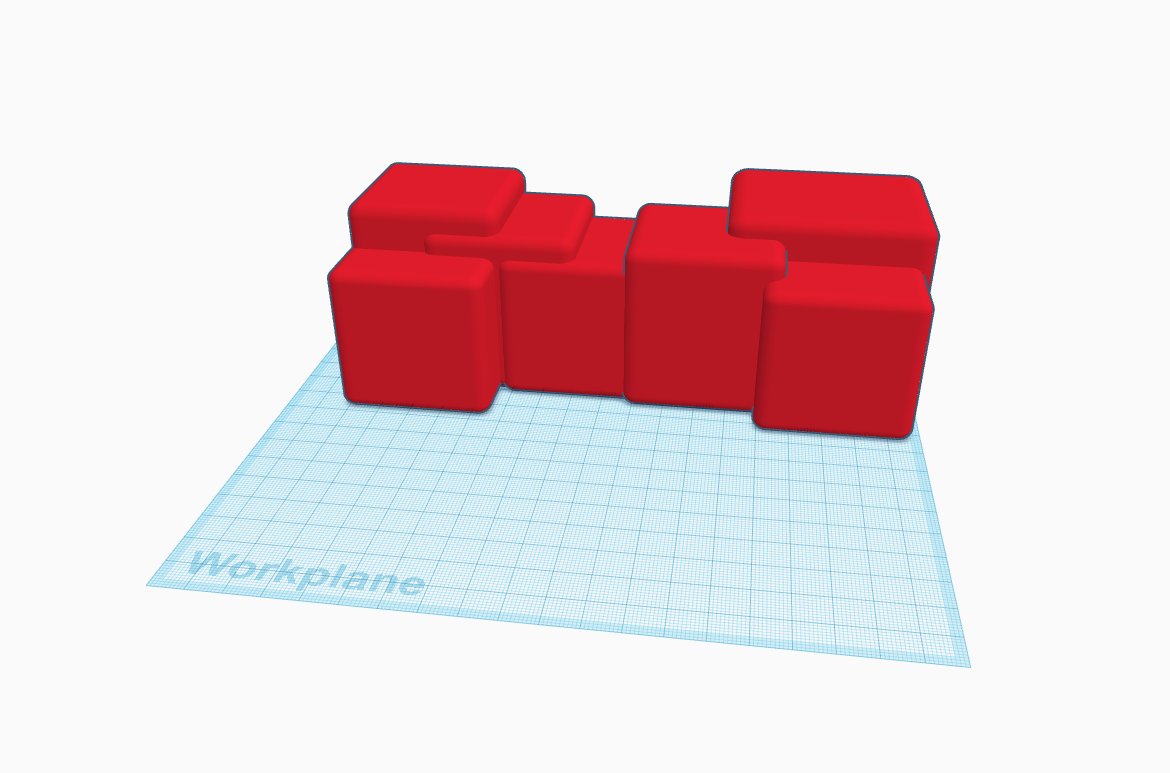
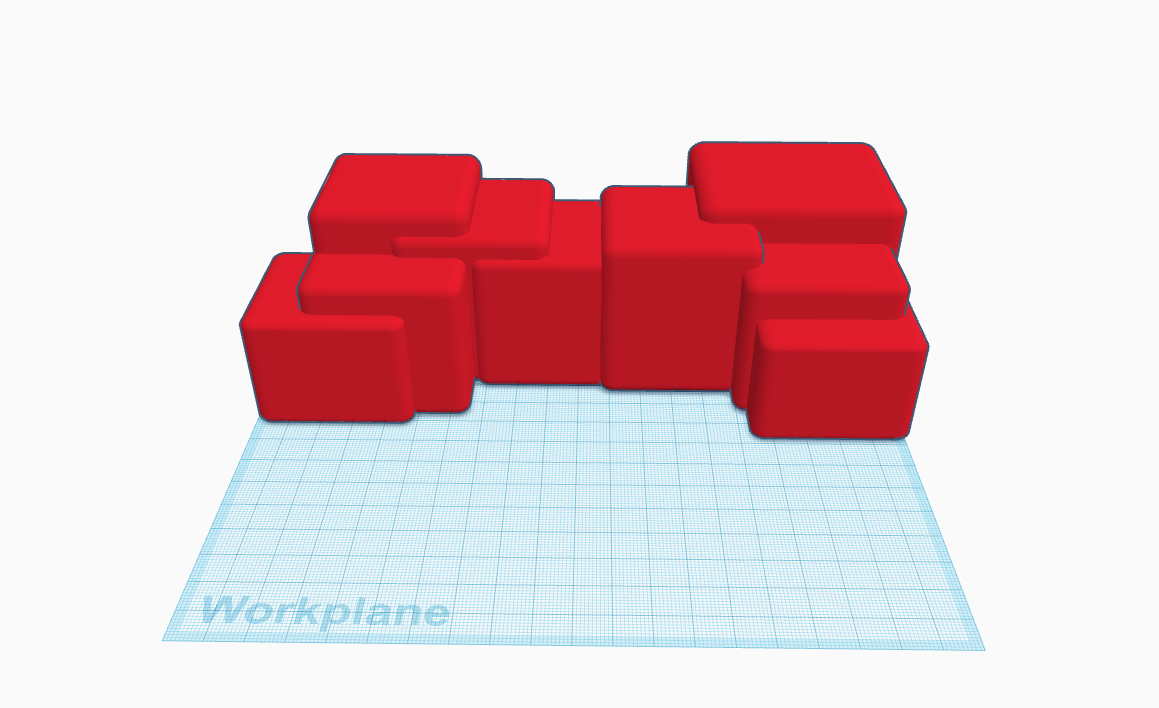
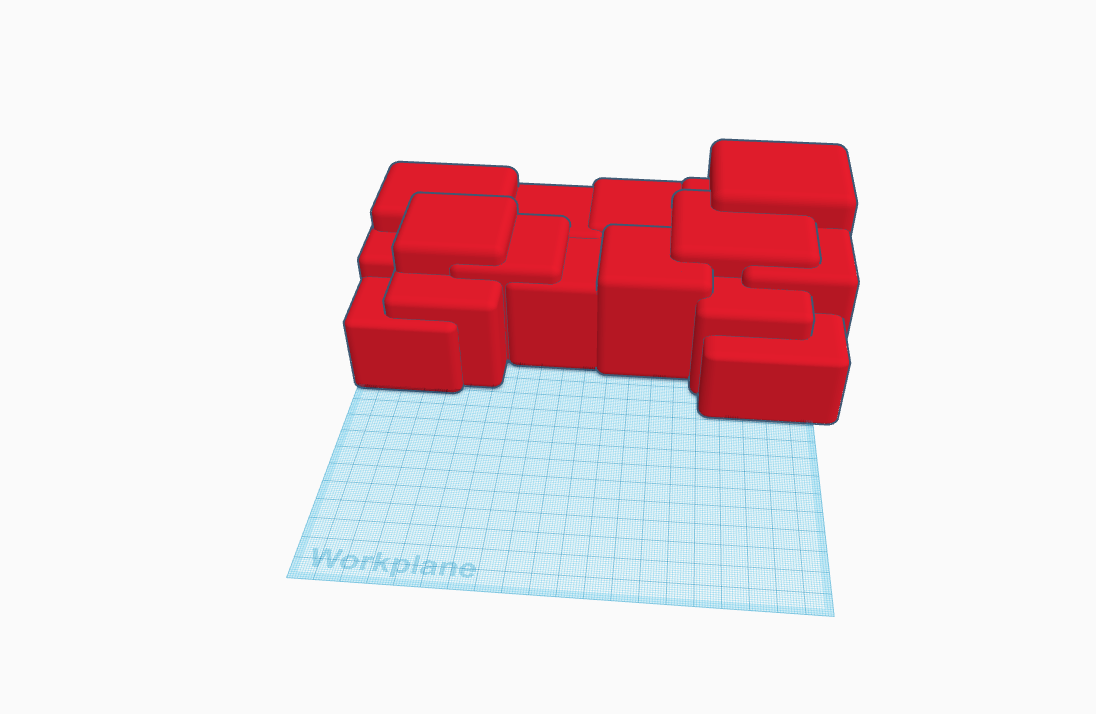
- Now simultaneously make the duplicates of the original and join them as shown in the images. the shape will come out to be inverted U.
PART -1 Making the Waterfall
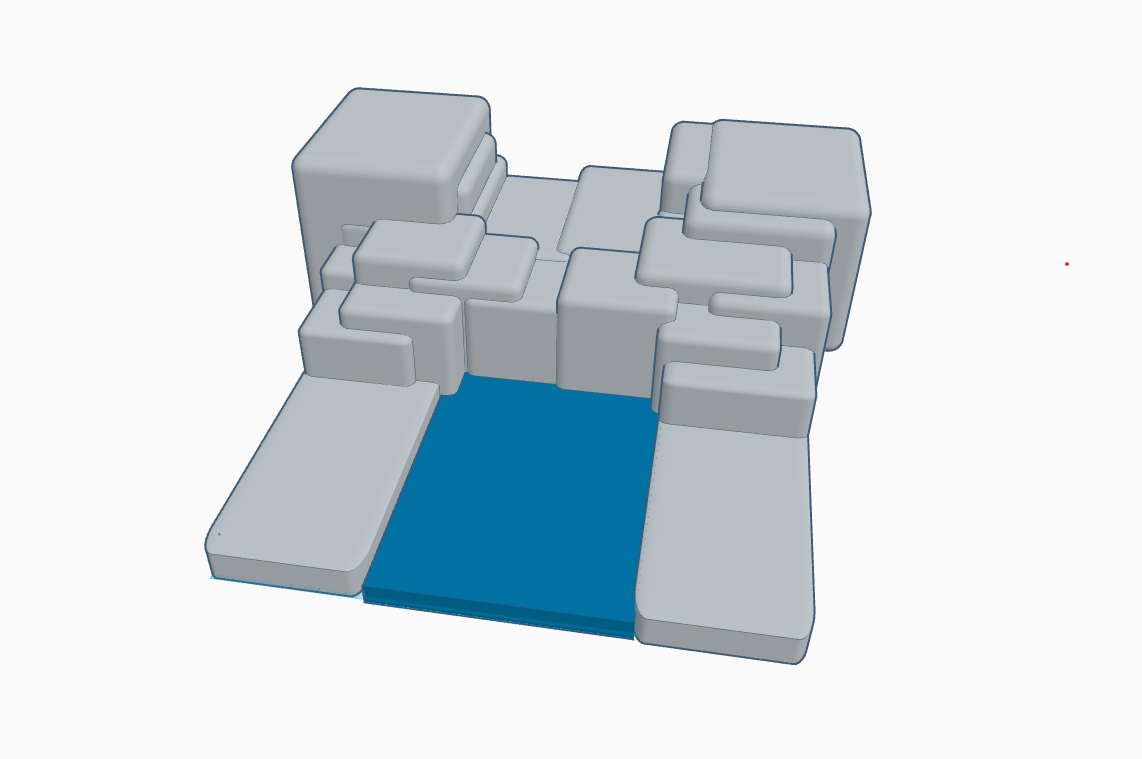
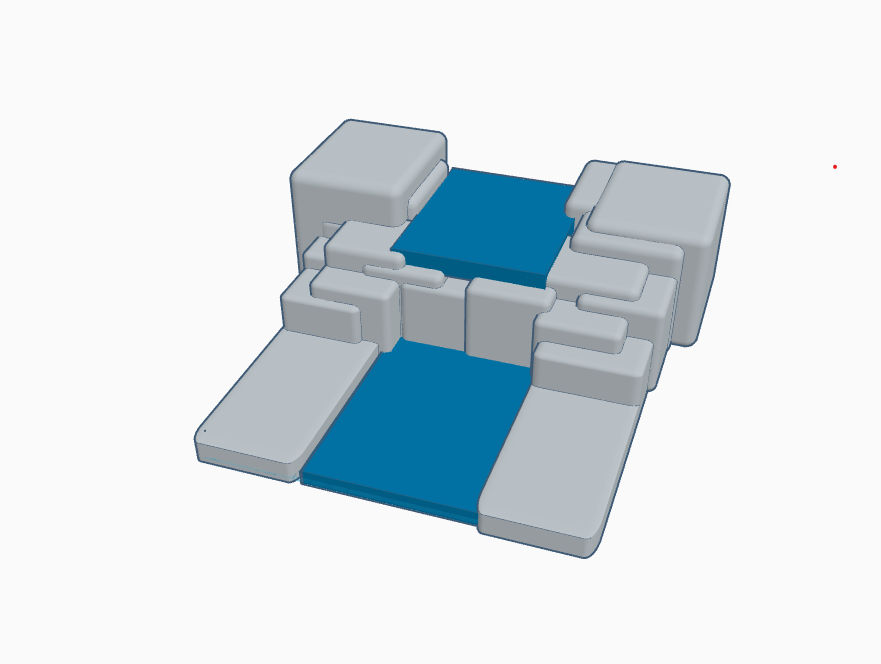
- Now take another square and place it in the empty space and adjust its length from above point to 8 and stretch it over to cover the empty space as shown above.
- Do the same with the upper part as well.
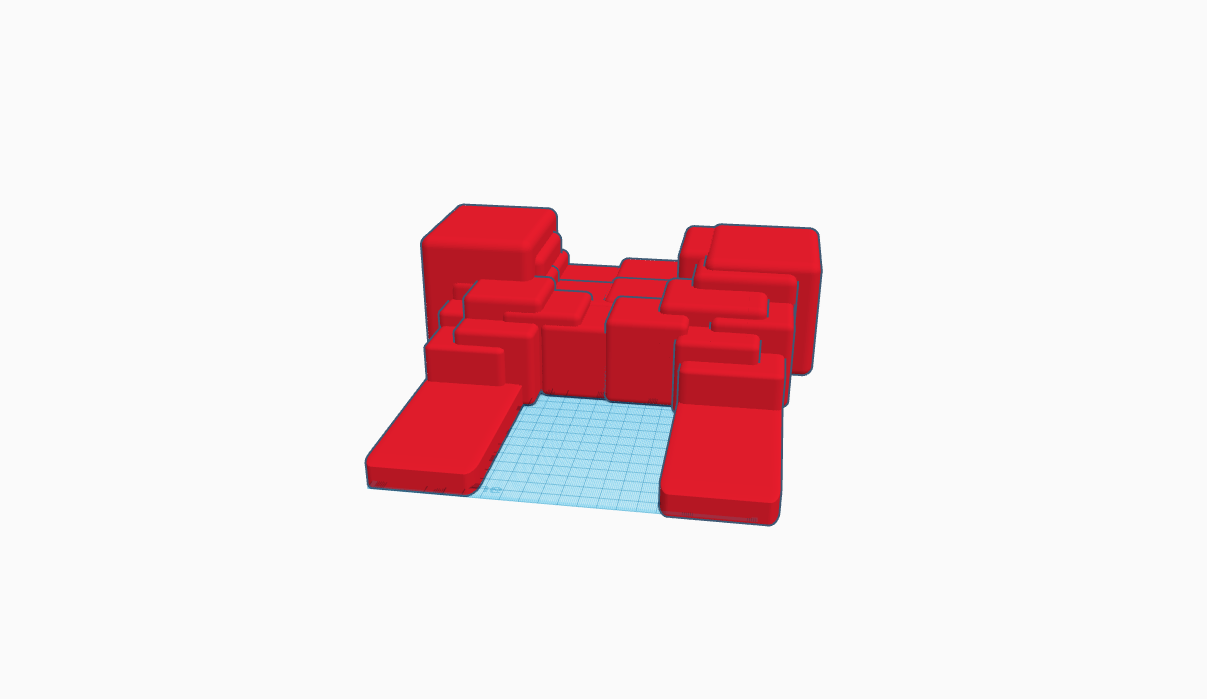
- It should look as image 3.
PART -2 Making the Fall
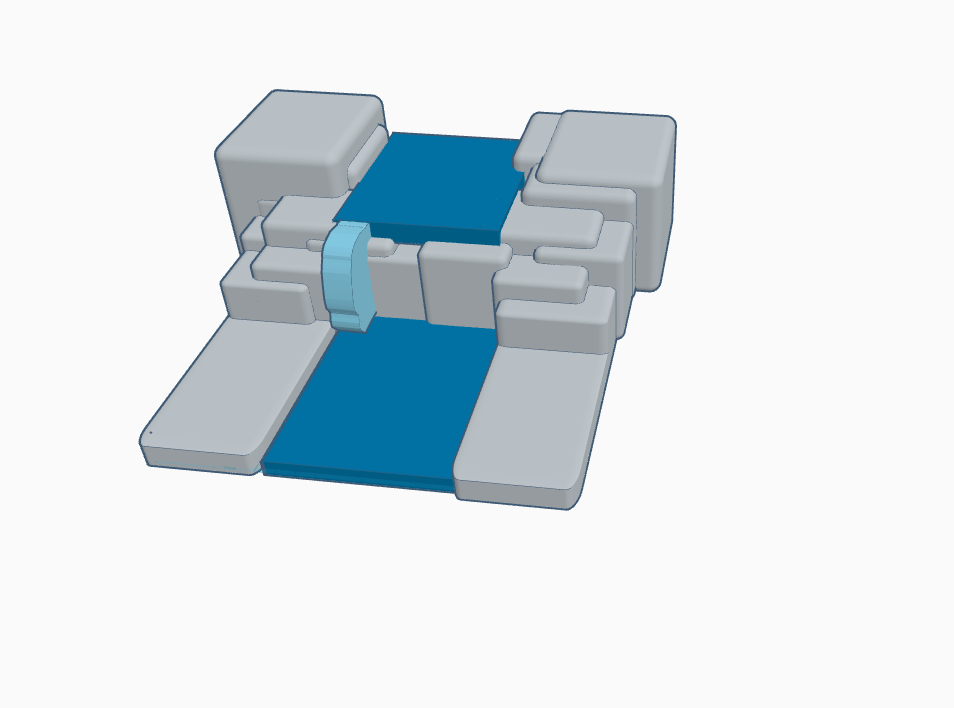
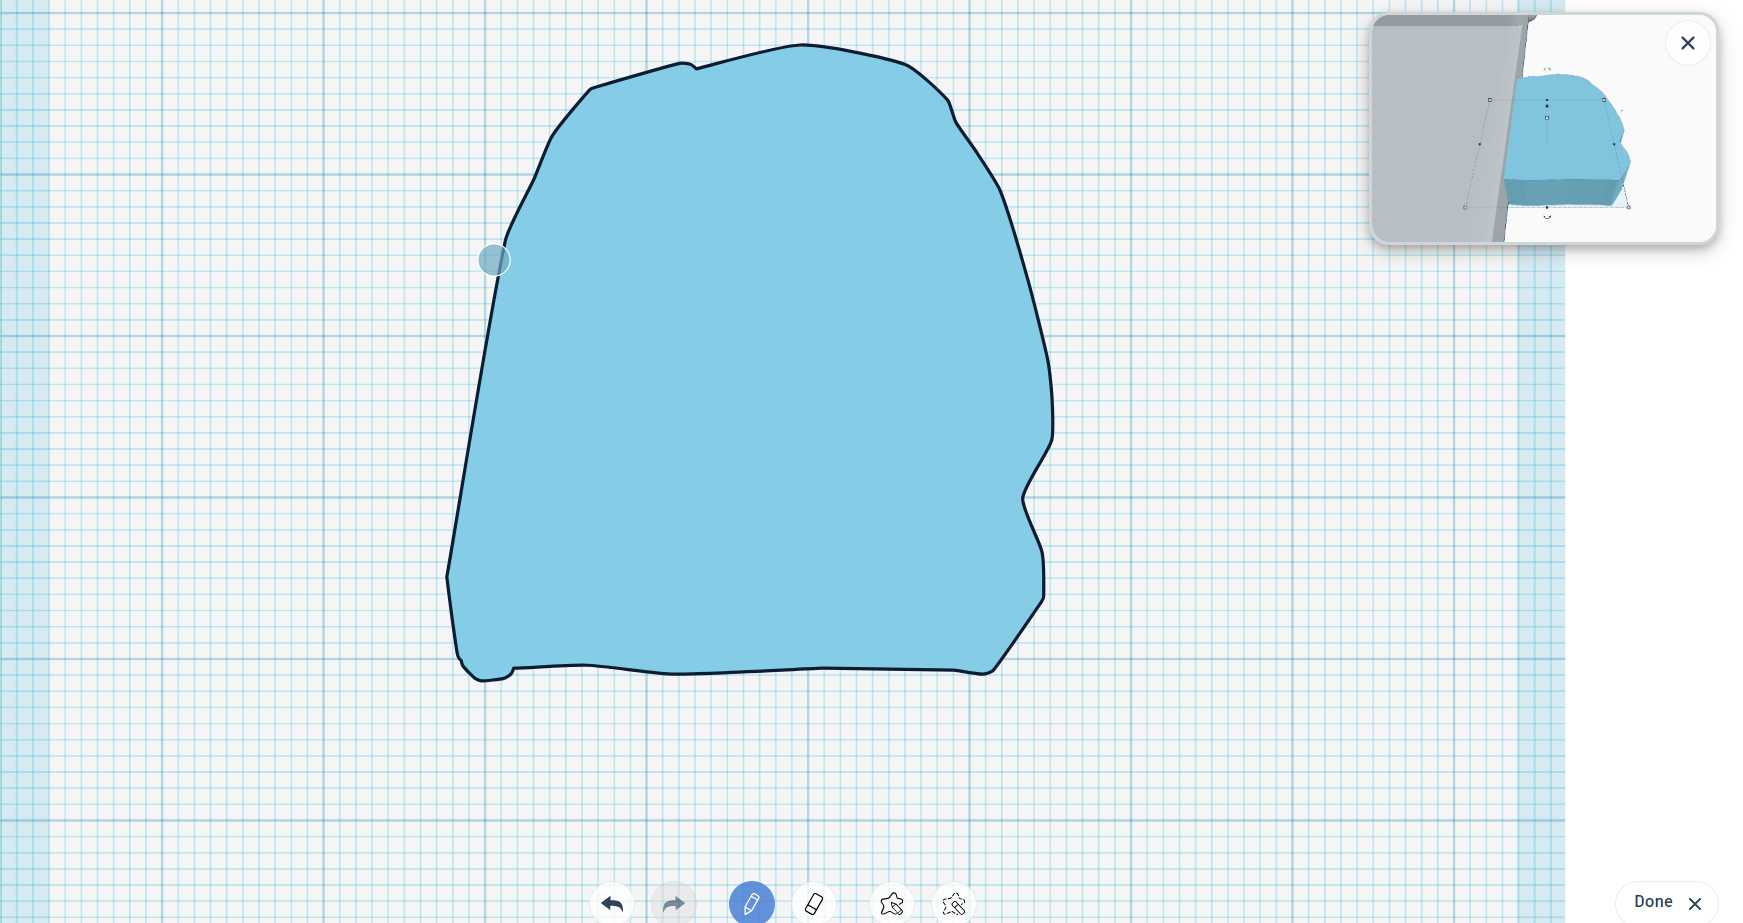

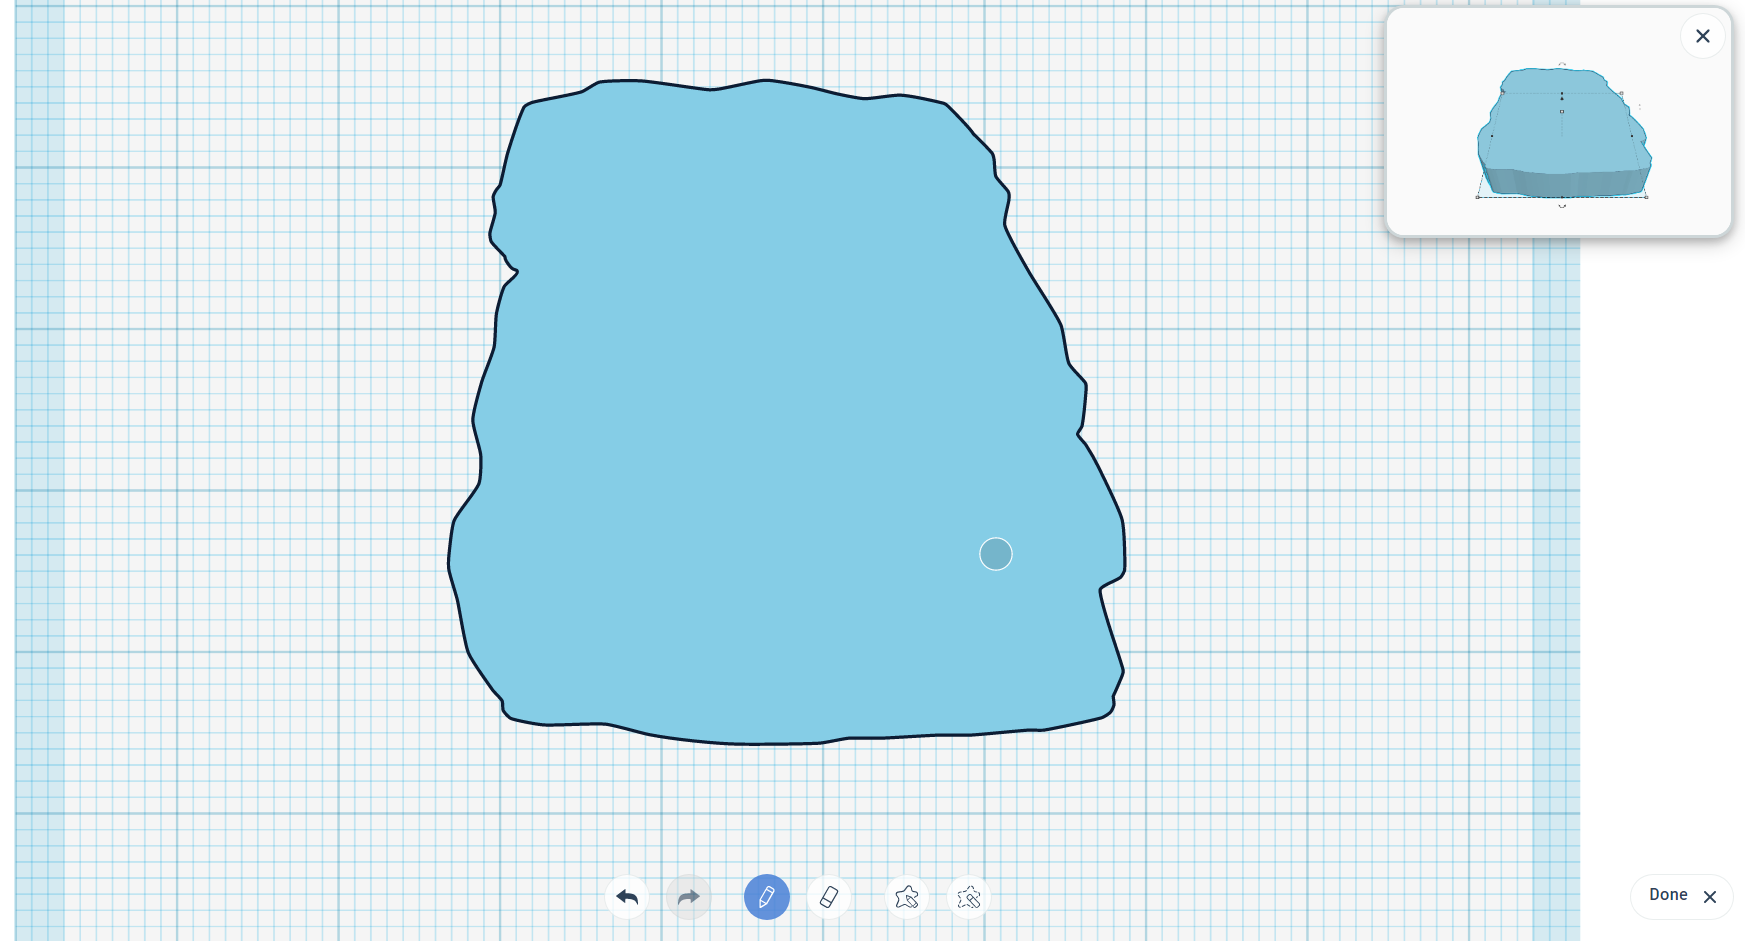
- Now take scribble and draw the pattern as shown above.
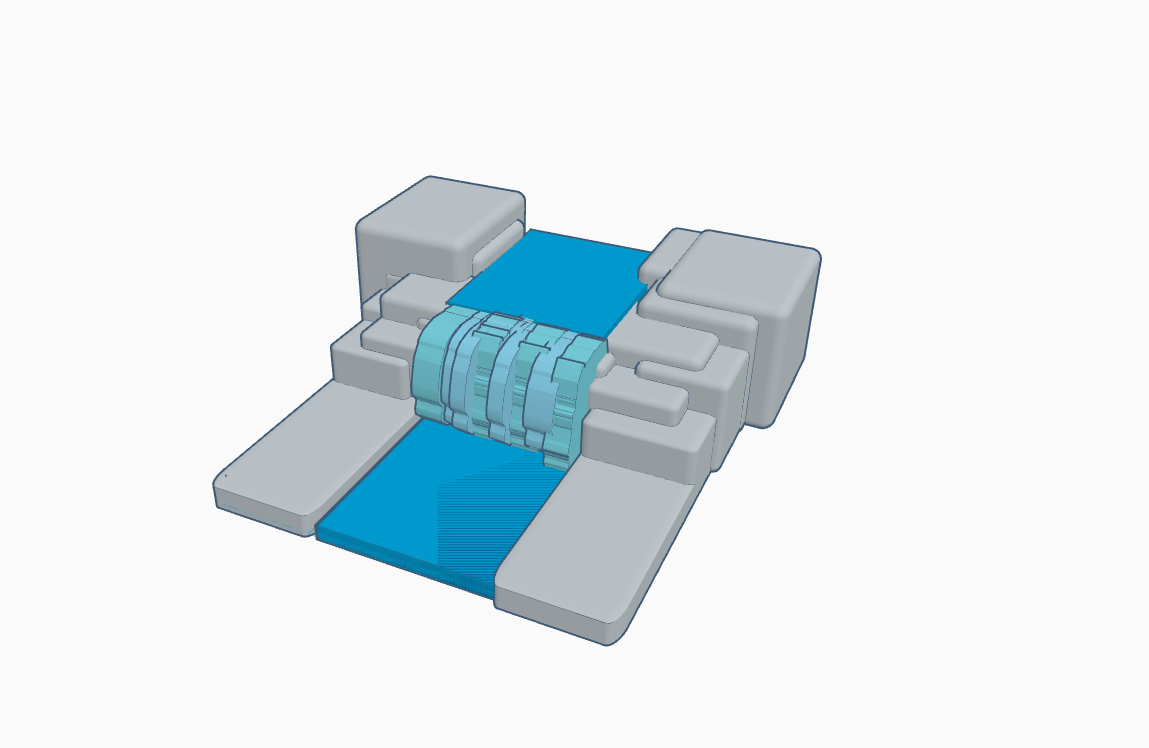
- Now place the part of fall as shown above in the images.
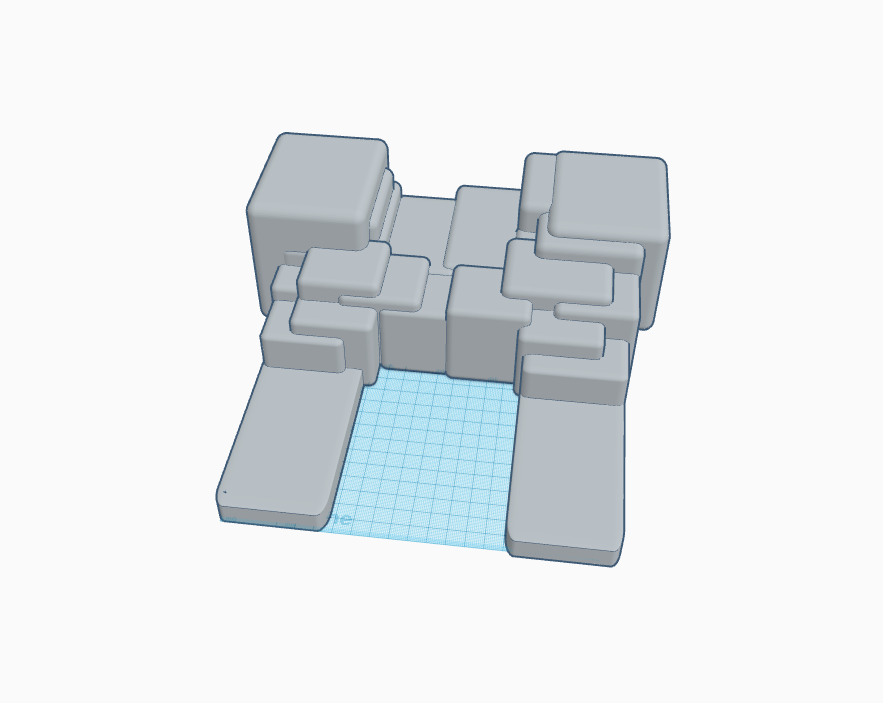
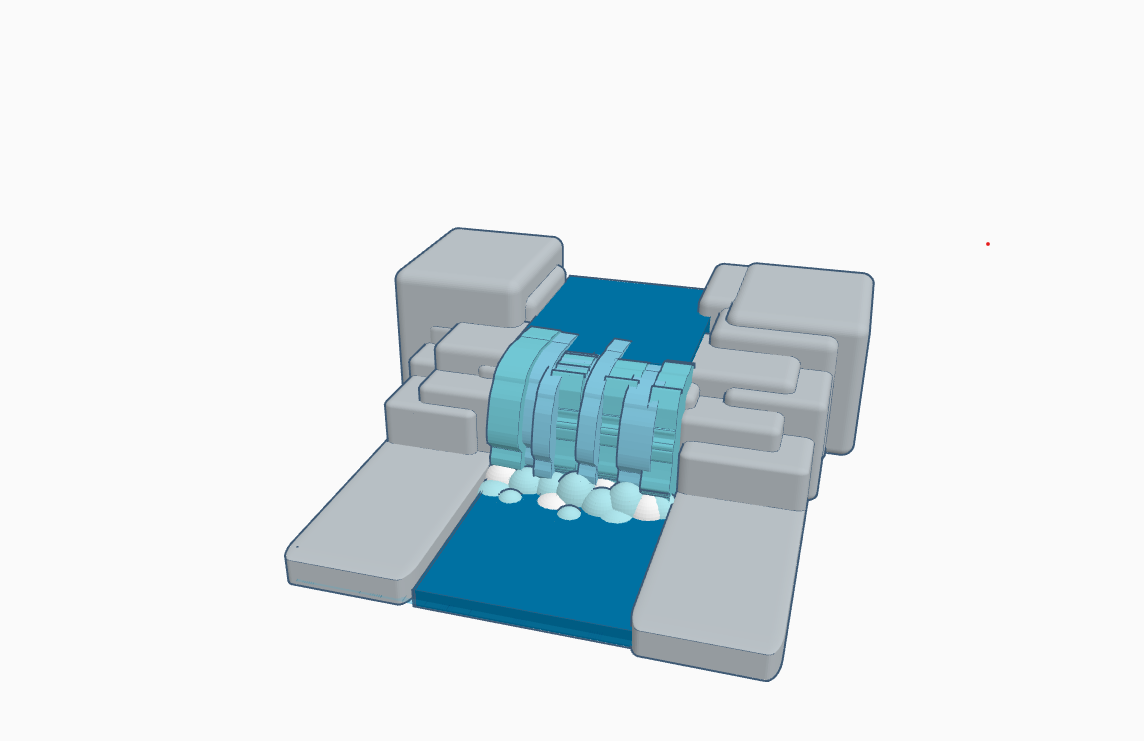
- Make copies of the original by slight adjustments and place them as shown in the above images. it should looks as image 3 or 5.
- Once done, add bubbles by taking spheres as shown in image 6.
Adding Flora and Fauna
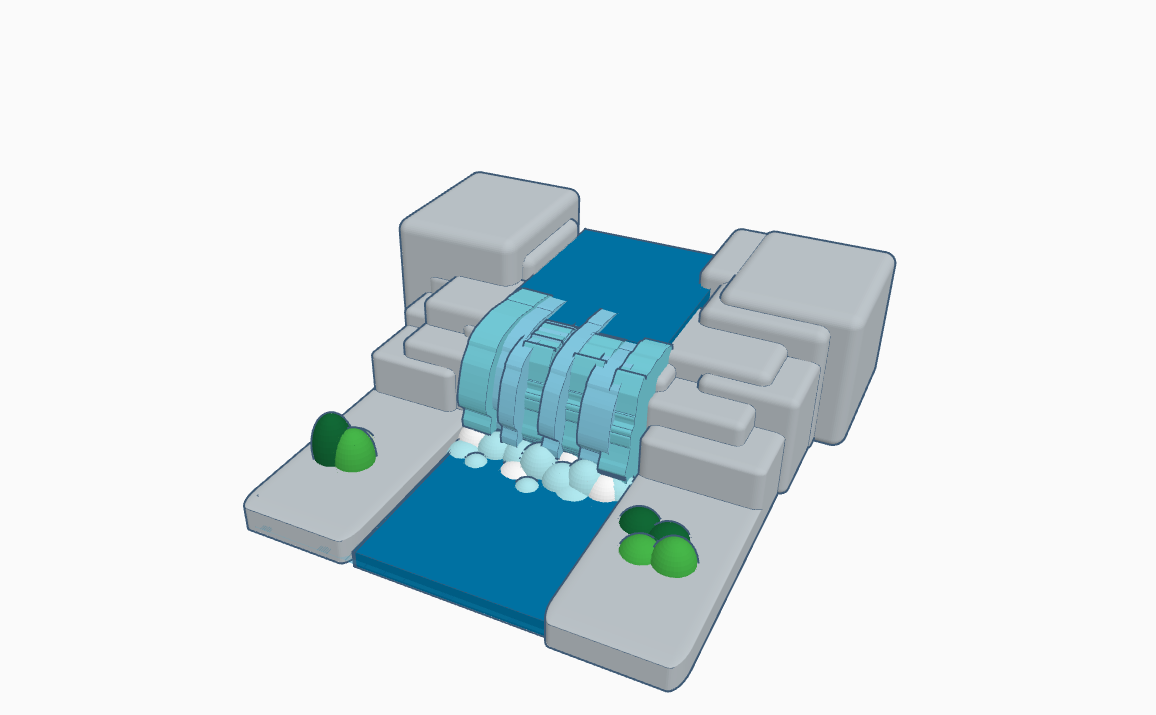
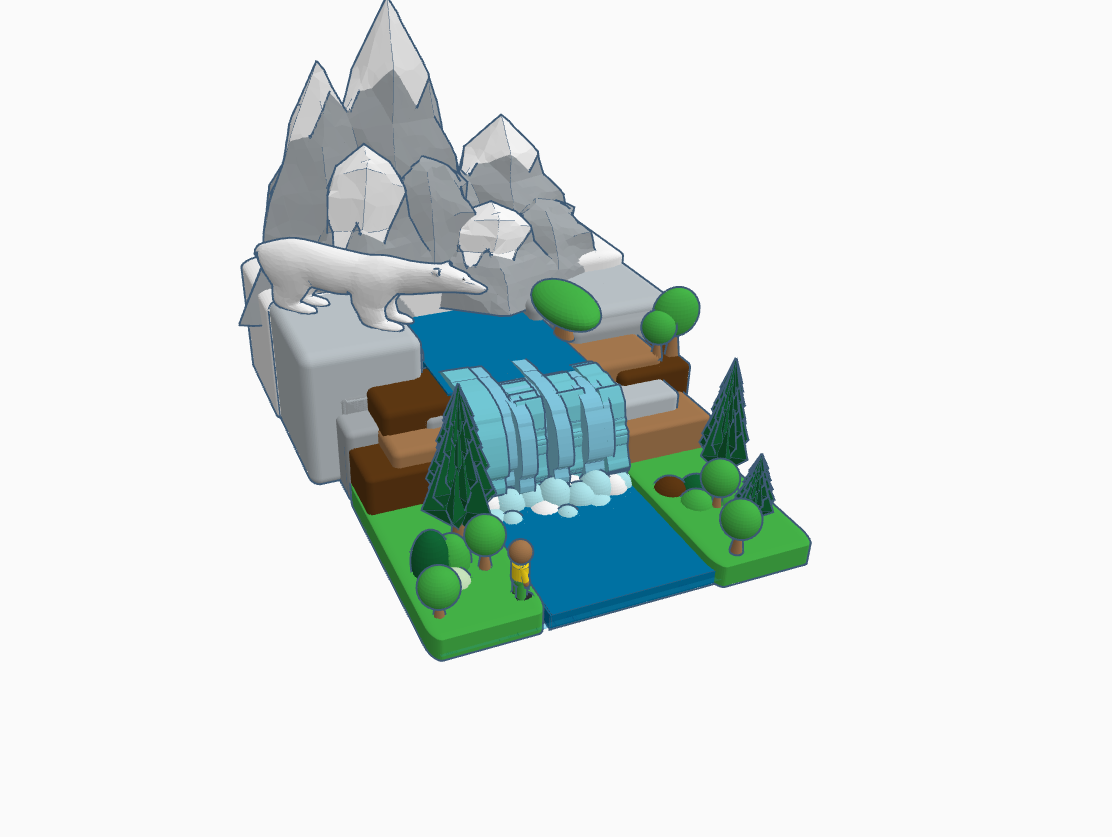
- Now there are lots of option of flora and fauna in Tinkercad as there are many default creations of animals and plants so you can choose and place them in your ecosystem like I did.
- I took mountain ranges, trees, and animals. You can add many other things to your ecosystem as you wish and can enjoy the process of learning in a fun way.
Ending Words
I hope you enjoyed and learned many things about the topic. : D
Happy making : D