How to Make a ‘Field of Dreams’-Inspired Party Sign for Your Home
by jwbelbot in Workshop > Laser Cutting
25 Views, 0 Favorites, 0 Comments
How to Make a ‘Field of Dreams’-Inspired Party Sign for Your Home

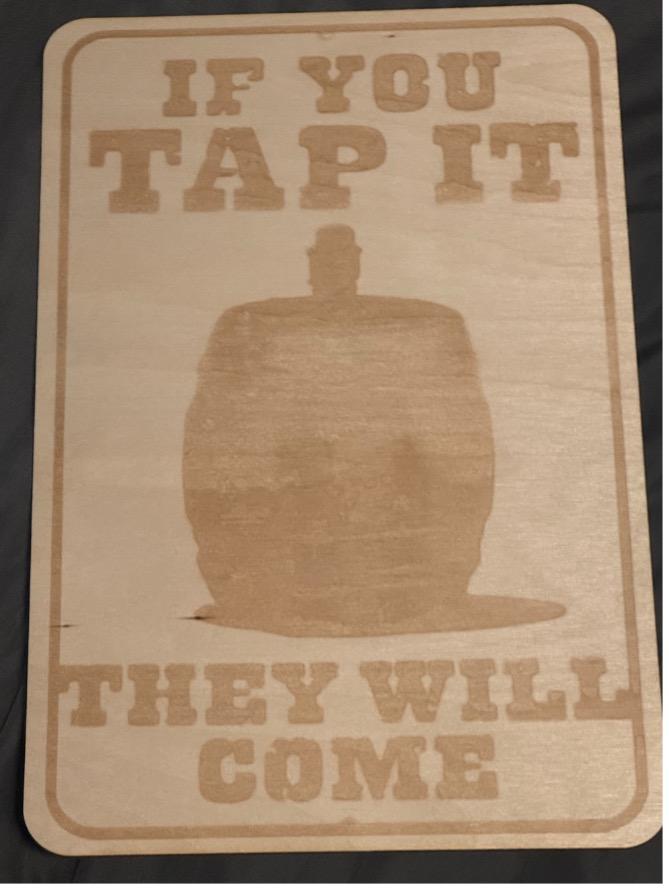
I wanted to make a custom sign for my home to hang in our main room—a space where we gather for parties, game nights, and just hanging out. Since many of us are baseball players (or big fans of the sport), I knew it had to have a baseball reference. After some brainstorming, I landed on a Field of Dreams theme—it’s a classic movie and the perfect nod to our love for the game.
In this guide, I’ll walk you through how to design and create this sign using a Trotec laser cutter. From preparing the design to cutting and finishing the sign, you’ll learn everything you need to make your own personalized masterpiece. Let’s get started!
Supplies
- Canvas – To create a layered effect or for mounting the final design.
- Plywood – For the base material of the sign; choose a size and thickness that suits your project.
- Computer – To design the artwork and prepare the file for laser cutting.
- Adobe Illustrator (or similar software) – For creating and editing the design file (vector format).
- Trotec Laser Cutter – To precisely cut and engrave the design onto the plywood.
Canva Design
- Once logged in, select an existing design.
- Click on the Uploads tab in the left sidebar, then click Upload media.
- Select the image you want to upload from your computer, Google Drive, or other sources. The image will appear in the Uploads section on the left.
- Click on the uploaded image, and it will automatically appear on your design canvas.
- To crop the image, click on the image to select it.
- In the top toolbar, click the Crop button.
- A crop box will appear around the image. Adjust the edges and corners to resize the area you want to keep.
- Move the crop box to focus on the part of the image you want to keep.
- Once satisfied with the crop, click Done in the top right corner to apply it.
- When you're happy with the cropped image, click the Download button in the top right corner.
Transfer to Adobe Illustrator
I needed to transfer the design from Canva to Adobe Illustrator because Canva doesn’t fully support vector editing, and it converts vector elements into raster files when exporting. Illustrator allows me to convert the design back to a true vector format for full scalability and further editing.
- Download the Design from Canva
- Click on the Download button in the top-right corner of Canva.
- Choose the file format you want to download.
- Open Adobe Illustrator
- Once your file is downloaded, open Adobe Illustrator on your computer.
- Import the Canva File into Illustrator
- In Illustrator, go to File > Open.
- Navigate to the location where you saved the Canva file and select it to open.
- If you downloaded the design as a PDF Print file, Illustrator will open it and you can begin editing the vector elements. If it's a PNG or JPG, Illustrator will treat it as a raster image, and you won’t be able to edit individual elements.
- Edit the Design in Illustrator
- If you opened a PDF file, you can select and modify the vector elements, such as shapes, text, or paths, just like any other Illustrator file.
- If you imported a PNG or JPG, you can’t edit individual elements, but you can resize, crop, or trace the image to create editable paths using Illustrator’s tools.
- Save Your File in Illustrator
- After making any changes in Illustrator, save your work by going to File > Save As.
- Choose the format you want to save it in, depending on how you plan to use the file.
Turning on the Laser
To power up the laser cutter, turn the key located at the top of the control panel clockwise. The machine will begin its startup sequence, which involves lowering the material bed to its lowest position and calibrating the laser head’s home position.
Important: Do not open the machine’s door during this procedure as it will cause an error, and you’ll need to restart the machine. The system will emit a beep once the startup process is complete.
In rare instances, the machine may show a “blue screen” during startup. If this occurs, power off the machine, unplug it from the back-left corner, plug it back in, and restart it. If the issue continues, please notify an IQ Center staff member for assistance.
Loading the Material
After turning on the laser cutter, load your material onto the cutting bed by opening the door.
Once the material is in place, you must adjust the bed height to ensure the laser is focused properly. If the material is opaque, you can use the laser’s built-in focusing tool to set the bed height.
- Use the directional pad to move the laser head directly over the material.
- Press the two vertical arrows at the bottom-left of the interface to initiate the focus process.
For transparent or clear materials, manual focusing is required. The focusing tool is located above the fume extractor, to the right of the cutter. To manually adjust:
- Place the small brass block on the side of the focusing tool on the red rail, which is positioned to the right of the laser head.
- Adjust the bed height using the up and down arrows until the bottom of the focusing tool touches the surface of your material.
Accessing Trotec Ruby
To send files to the Trotec laser cutter, you’ll need to use the Trotec Ruby web interface.
Once logged into Trotec Ruby, click the second icon from the top-middle of the screen to navigate to the Design tab.
In the Design tab, click the second icon in the toolbar to import your design file. Once imported, your file will appear in the list on the left. Double-click on the design to bring it into the canvas, where you can resize or modify it if needed. To fit your design to the canvas, use the “fit to design” tool.
When your design is ready, click the Create Job button in the top-right corner to move to the next step.
Next, go to the Prepare tab (highlighted in red below) to position your design on the material and choose the appropriate material settings for the job. To assist with positioning, you can enable the table’s camera by clicking the camera icon. Please note that the camera may take a moment to update.
Positioning the Design and Finalizing the Job

With the camera enabled, click and drag your design to the correct location on your material. Keep in mind that the camera uses a fisheye lens, which may distort the image towards the edges of the work area.
After positioning, select the correct material from the Material dropdown on the right side of the Prepare panel. You can search for the material or request help if you need to set up a custom material. Once you’ve selected the material, click the Queue button in the top-right corner to send the job to the laser cutter.
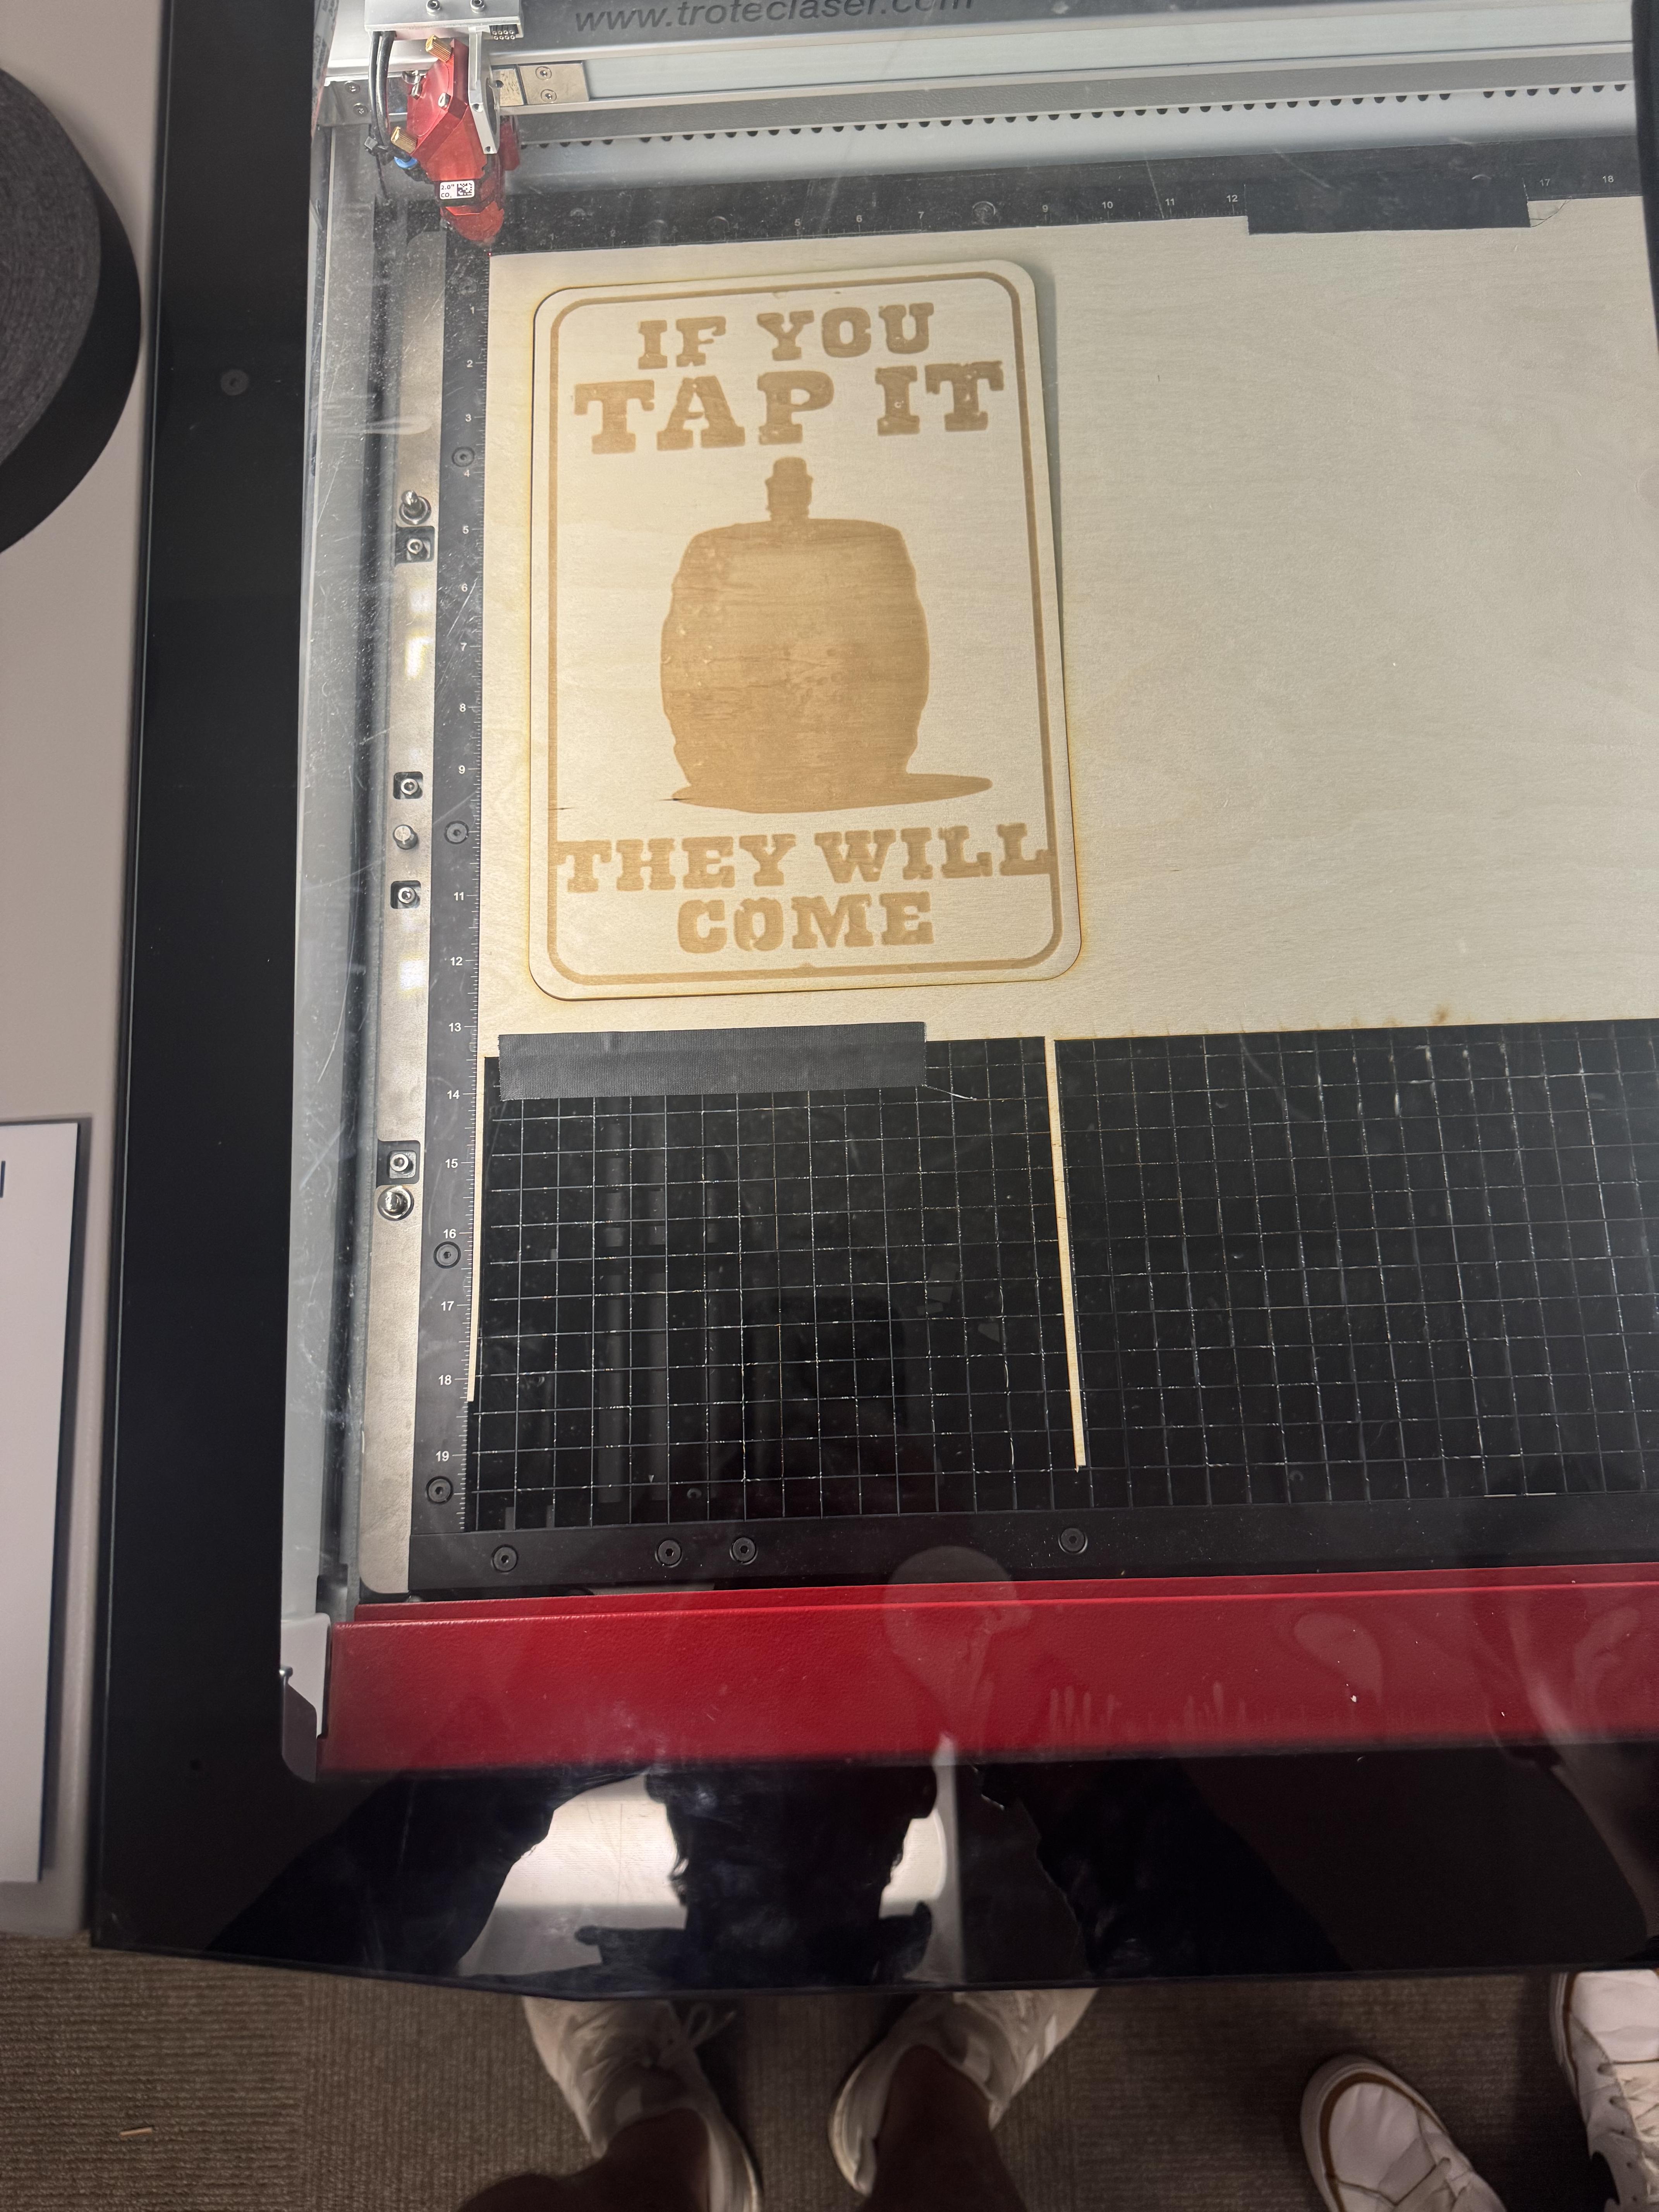
Finally, if everything looks good, click the flashing green Play button to start the job. The machine will beep once the job is complete, indicating it is safe to open the door and retrieve your cut items.