How to Make a Easy 3d Printable Tackle Box With Removable Handle to Spool Line
by dtrip9 in Outside > Fishing
627 Views, 1 Favorites, 0 Comments
How to Make a Easy 3d Printable Tackle Box With Removable Handle to Spool Line
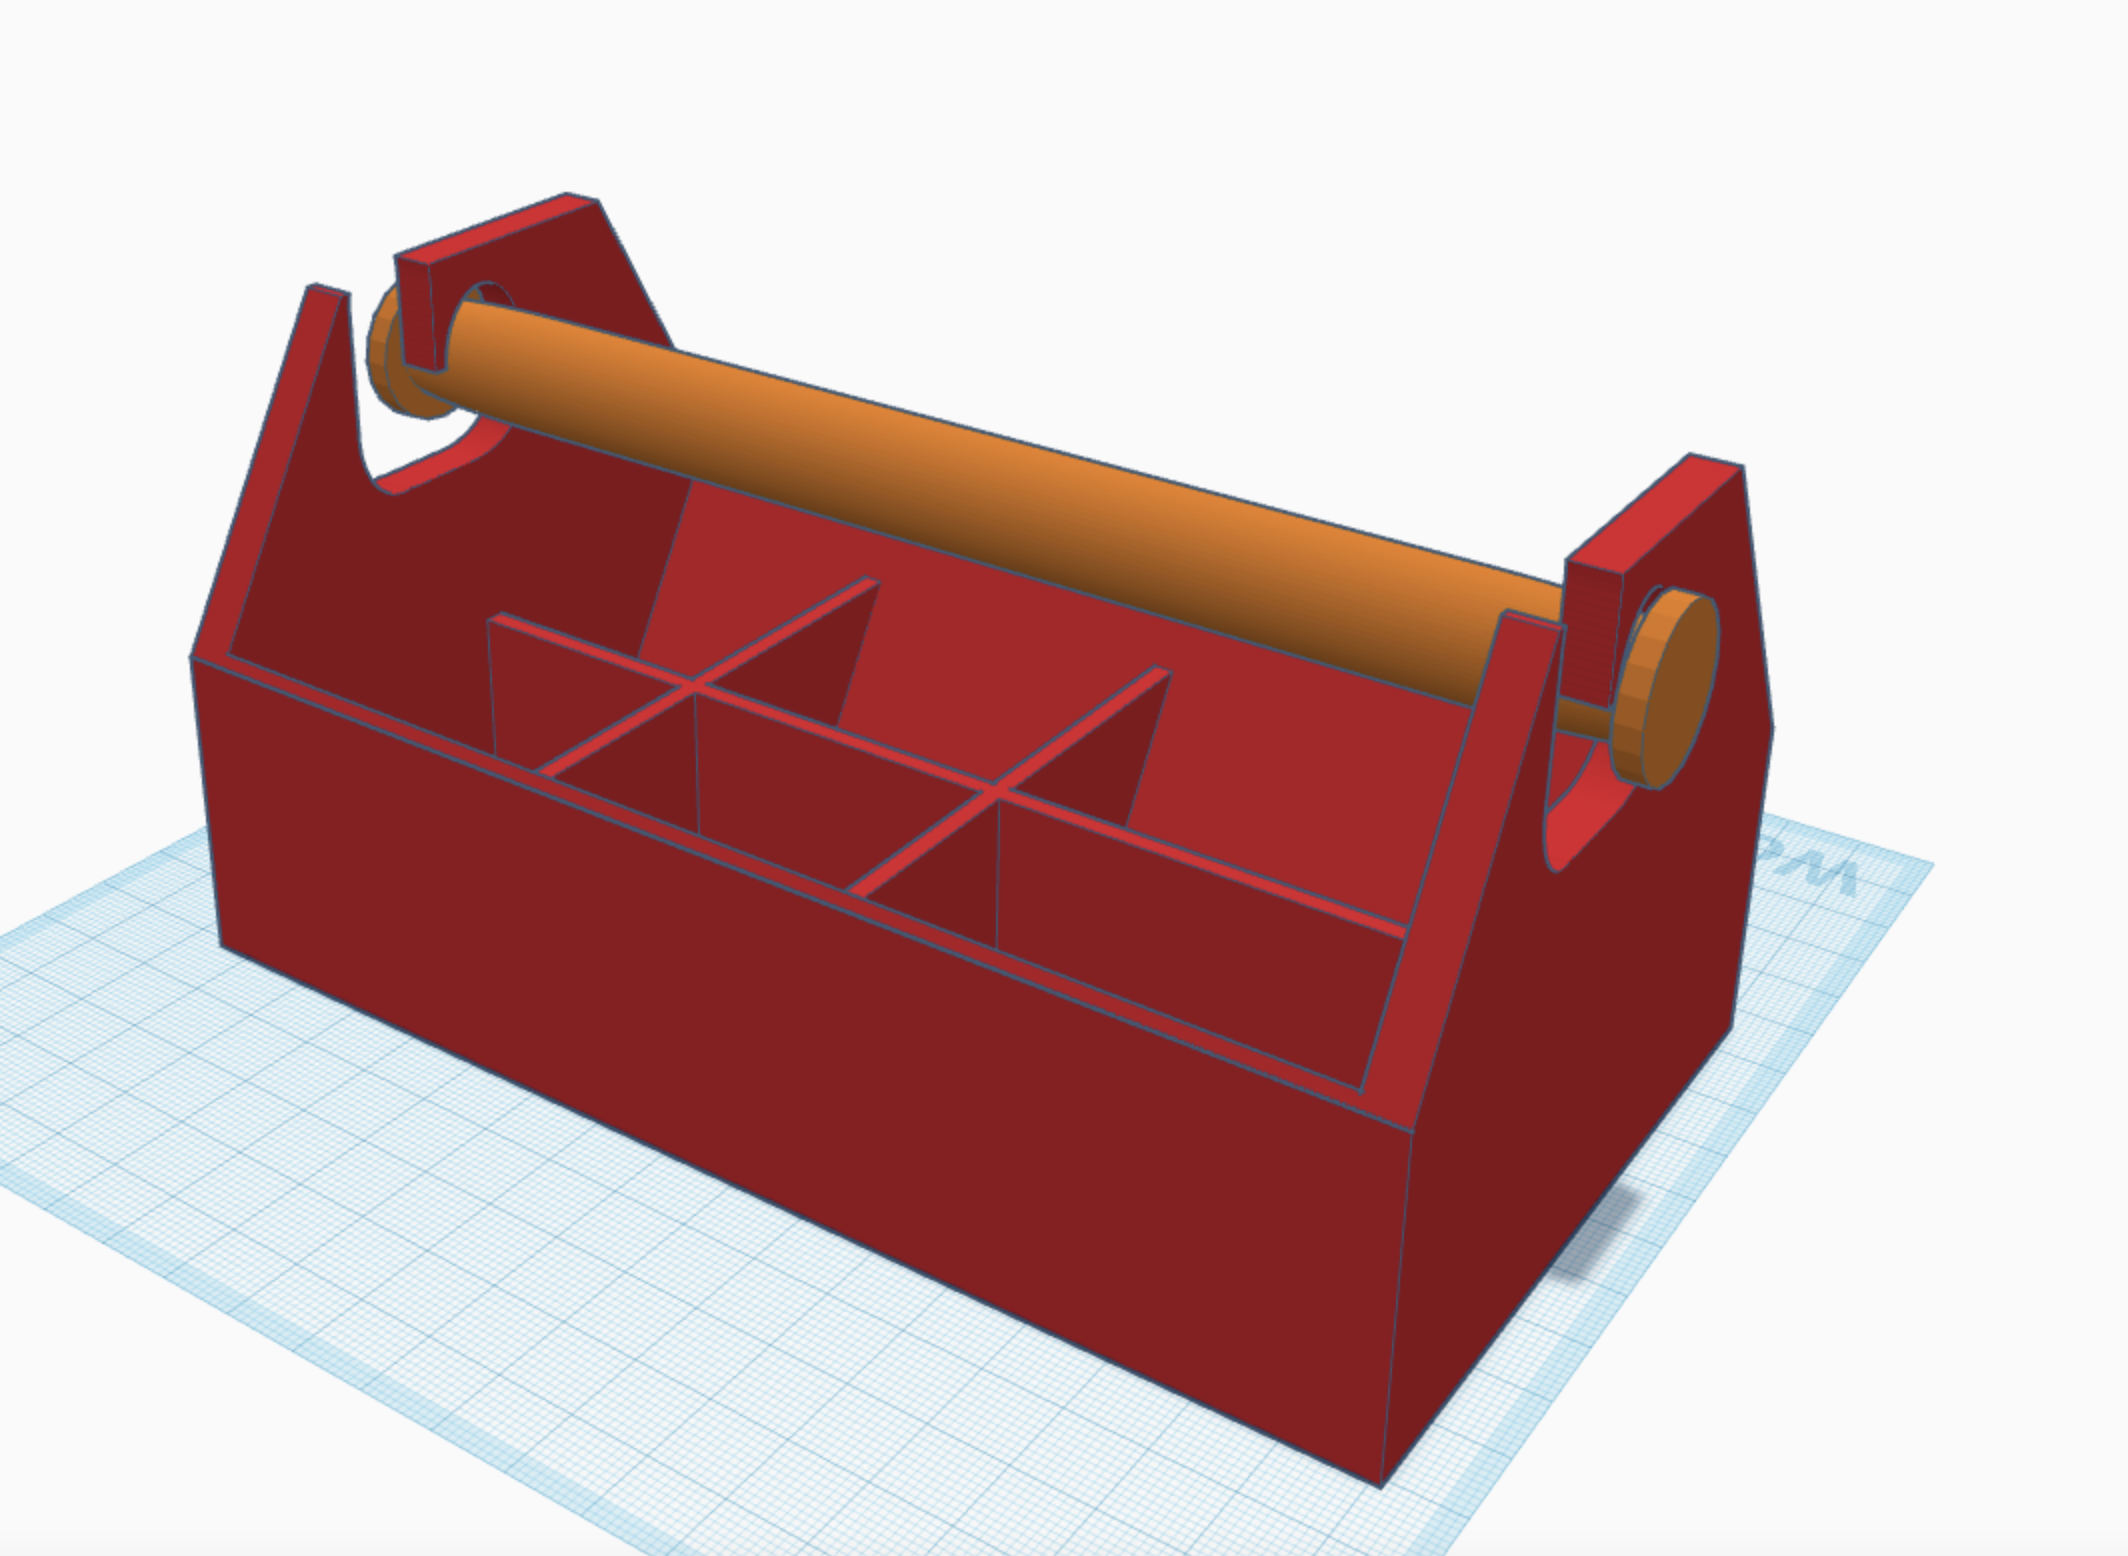
this is a way to make something that makes what can be the most annoying thing to do without help easy. this is a small tackle box shaped object that will double as a line spooler with the handle popping off and on easily to allow comfortable transport while also always being able to move on a moments notice.
Making the Model Pt1
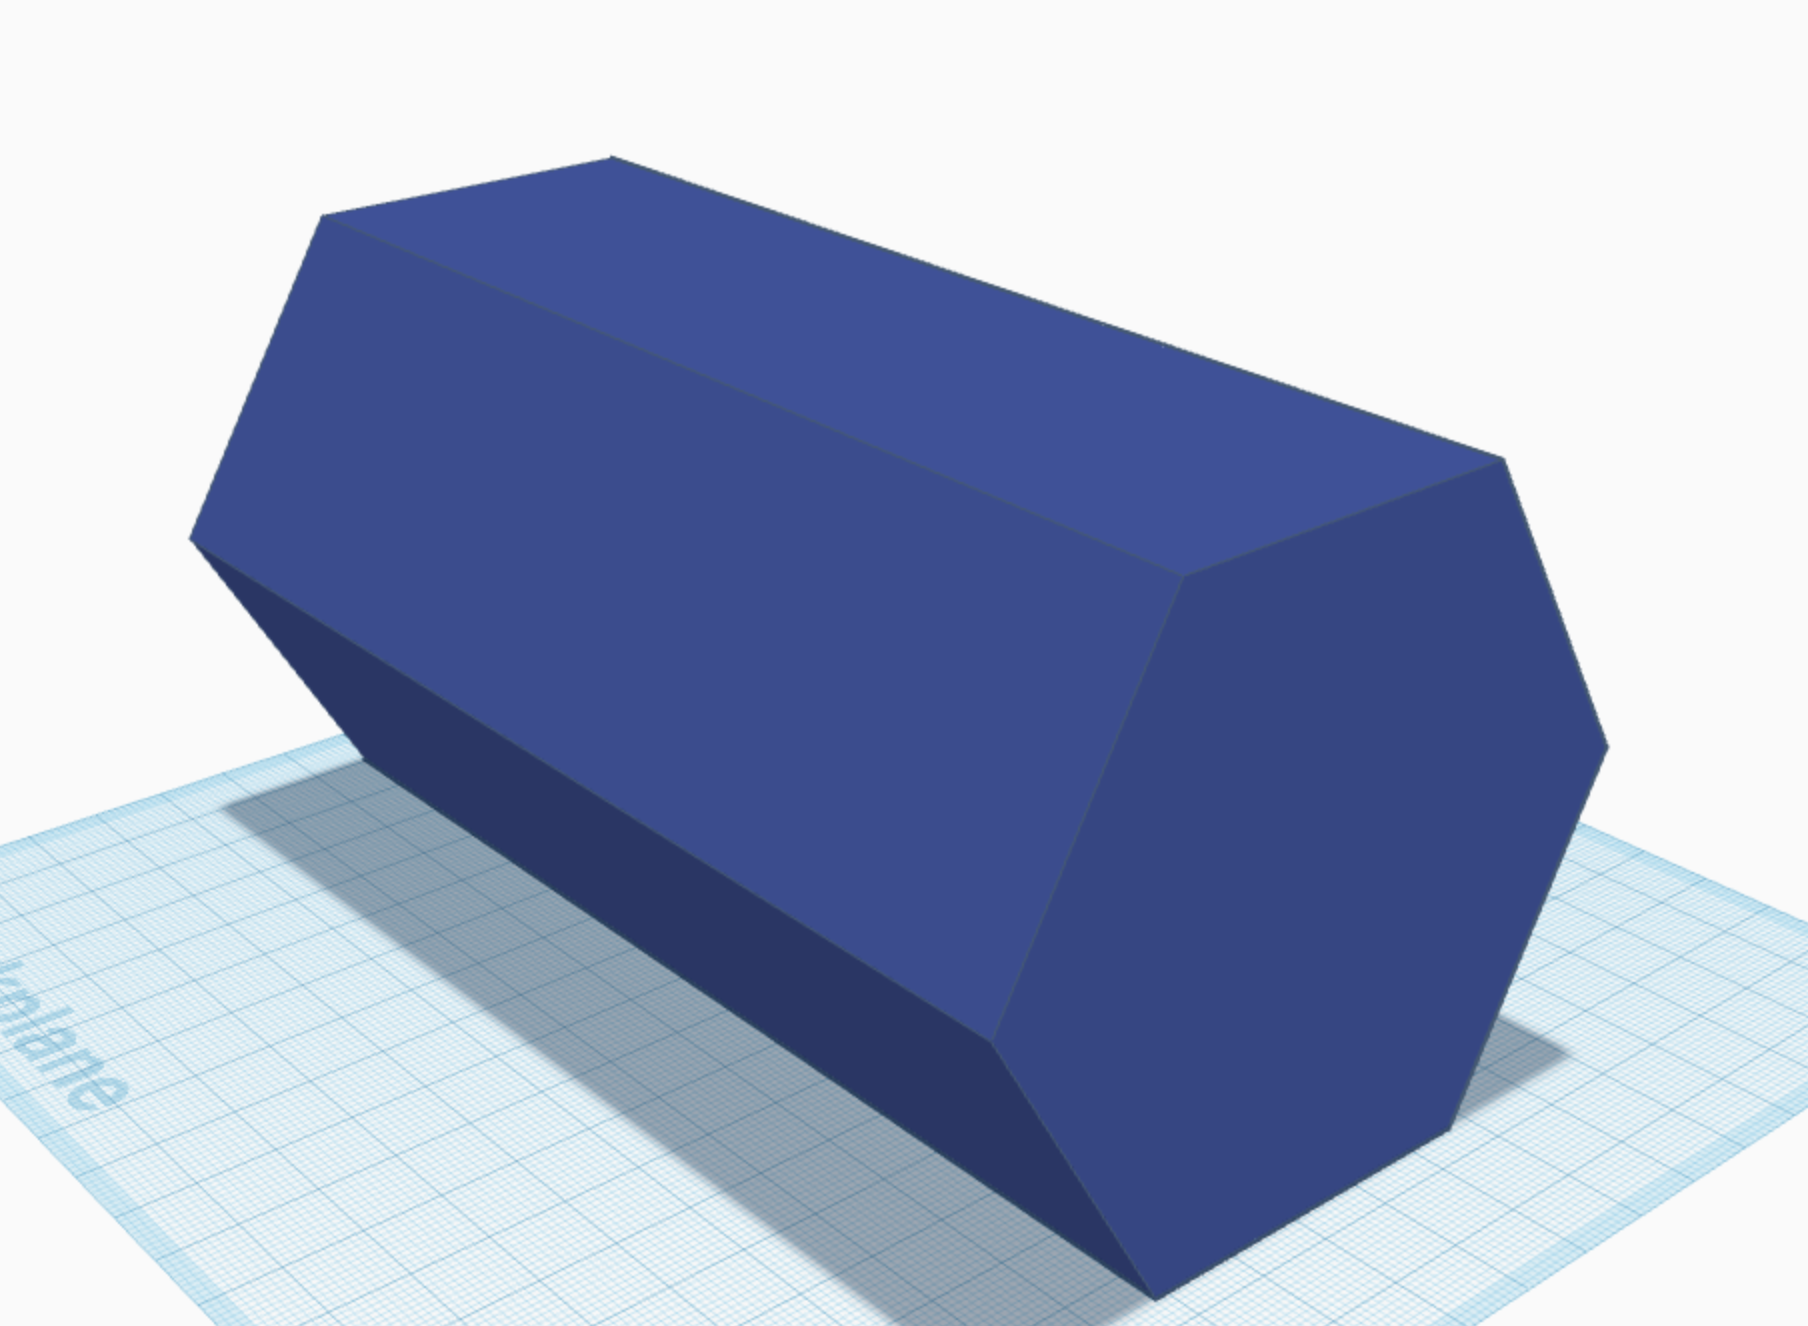
open up tinkercad and drop a polygon onto the workplace and turn it onto its side and proceed to size the model to 110L, 64W, 55.43H
Making the Model Pt2
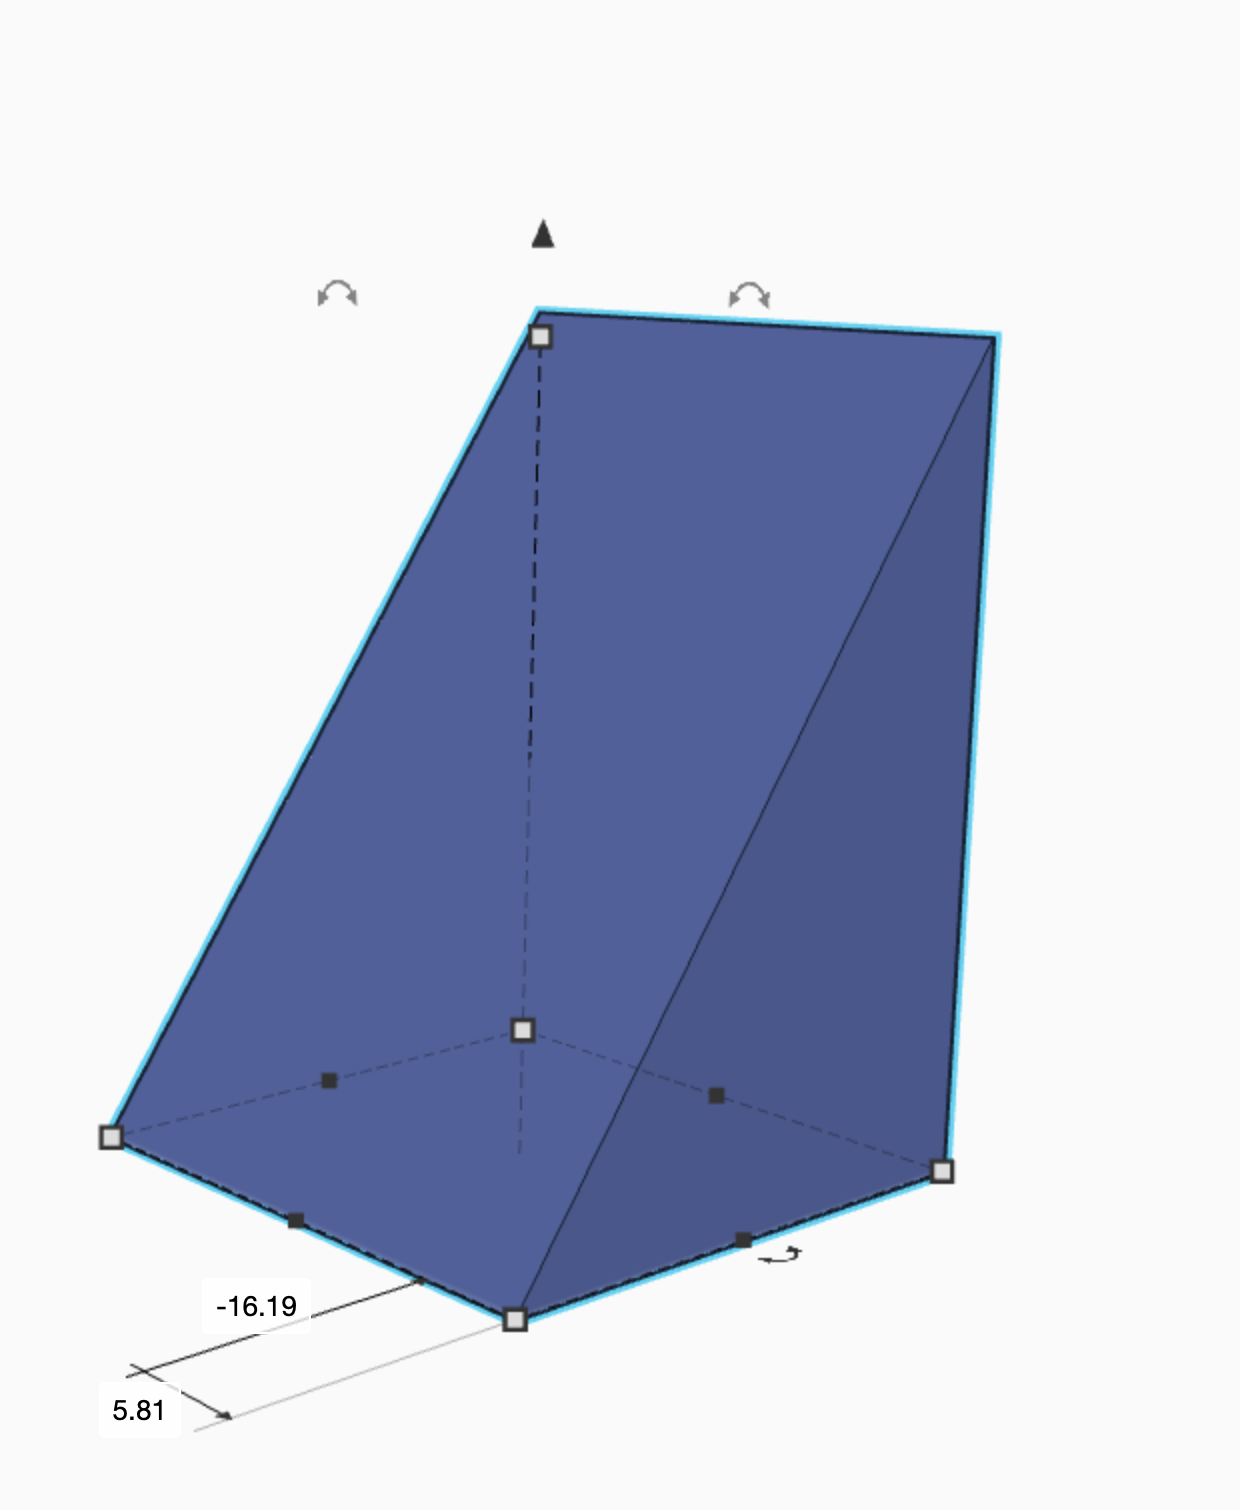
then drag a wedge onto the workplane set the dimensions of the wedge to 27.70H, 20W, 20L and do your best to line it up on the side of the polygon changing the snap grid to .1 can make this a bit easier
Making the Model Pt3
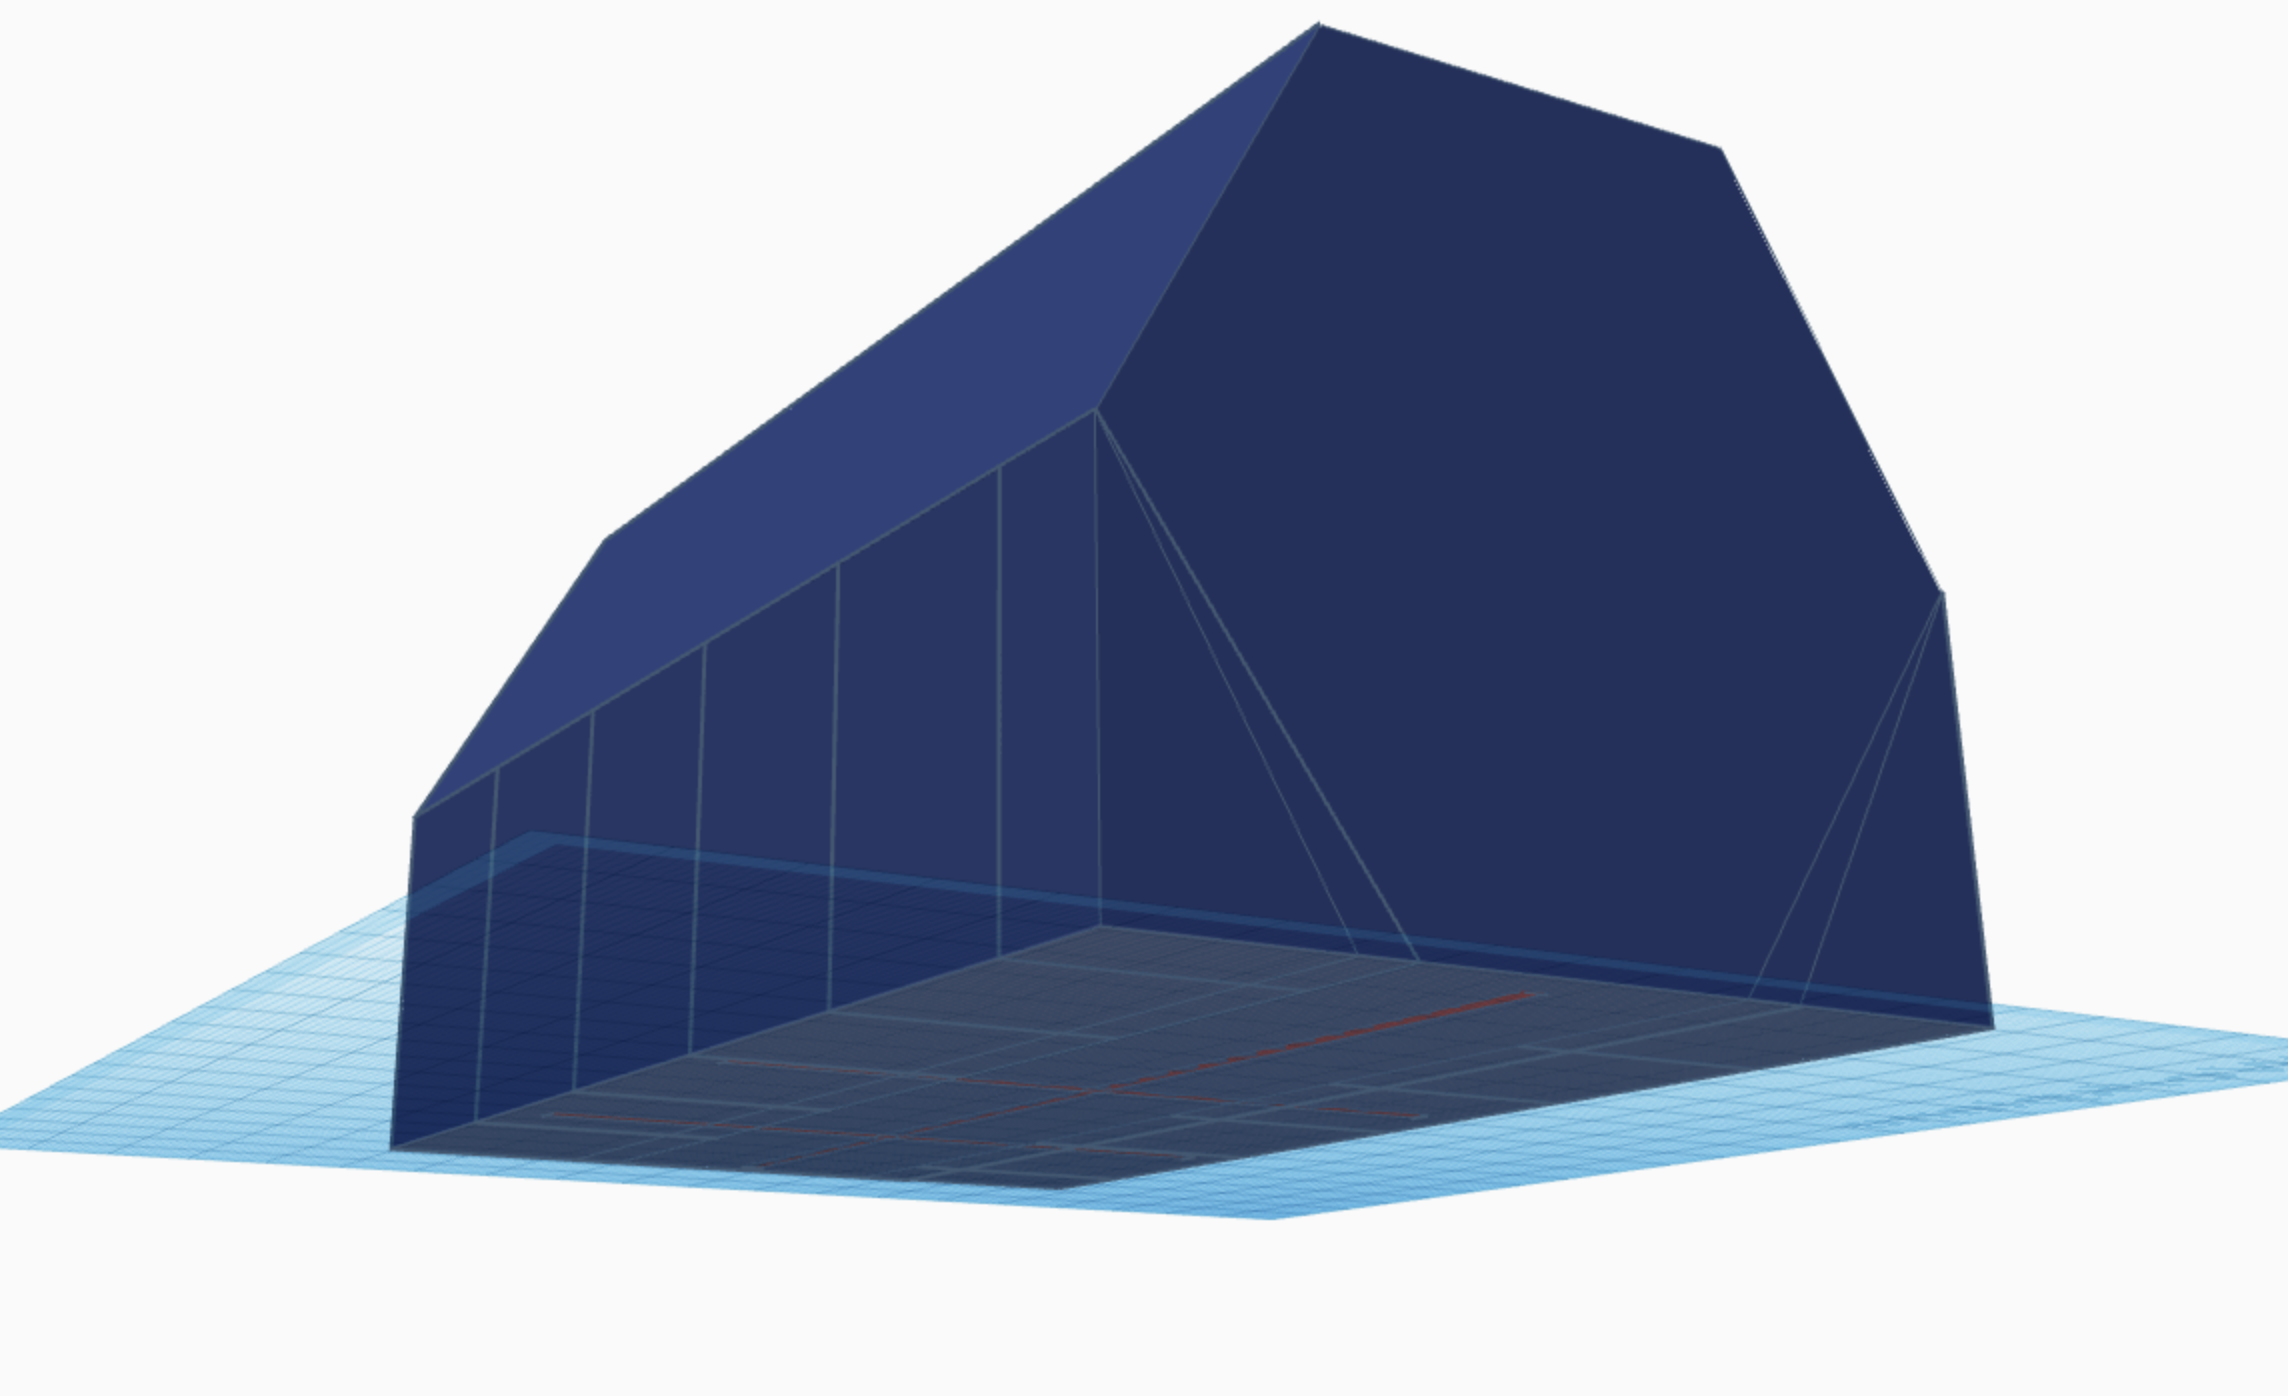
proceed to duplicate the wedge and move it directly next to the original along the polygon and keep clicking duplicate until it reaches the end, then just line up the last one. proceed to copy all of the wedges and paste them again. turn them around and drag them to the opposite side of the workplane and line them up with the other side of the polygon. then you can select all of the and group them.
Making the Model Pt4
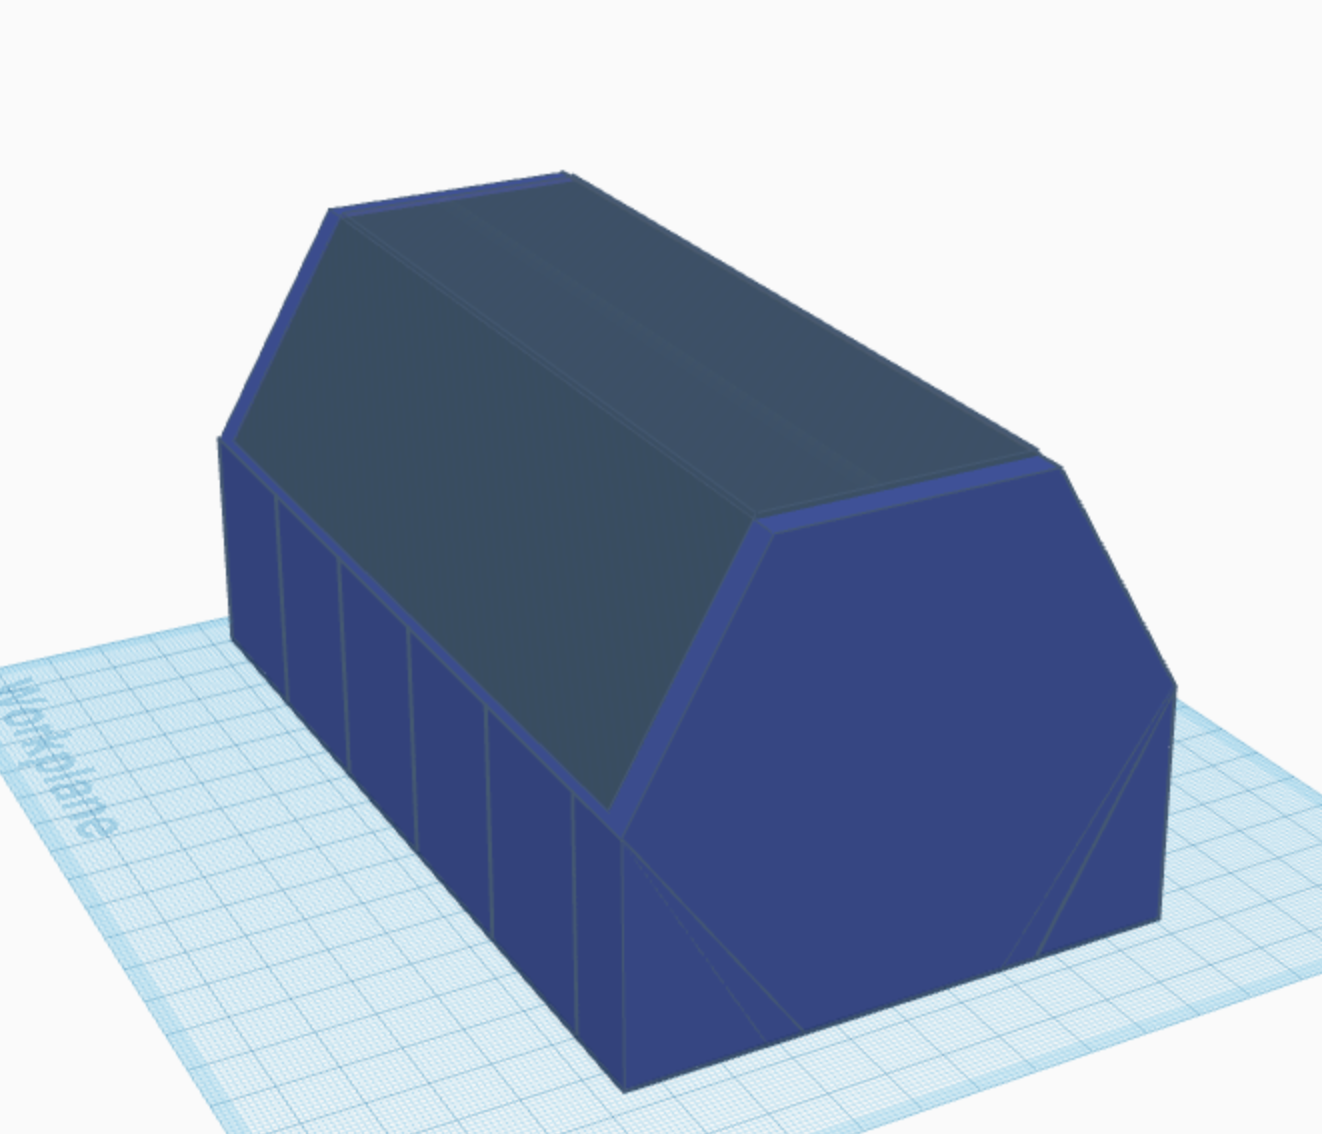
then drag another polygon onto the field and turn it on its sideband make it a hole. set the dimensions to 54.40, 102.60L, 62.96W. the select everything and alighn the models and raise the hole slightly until its just peeking over the original polygon and then group them. now you have your main body.
Making the Model Pt5
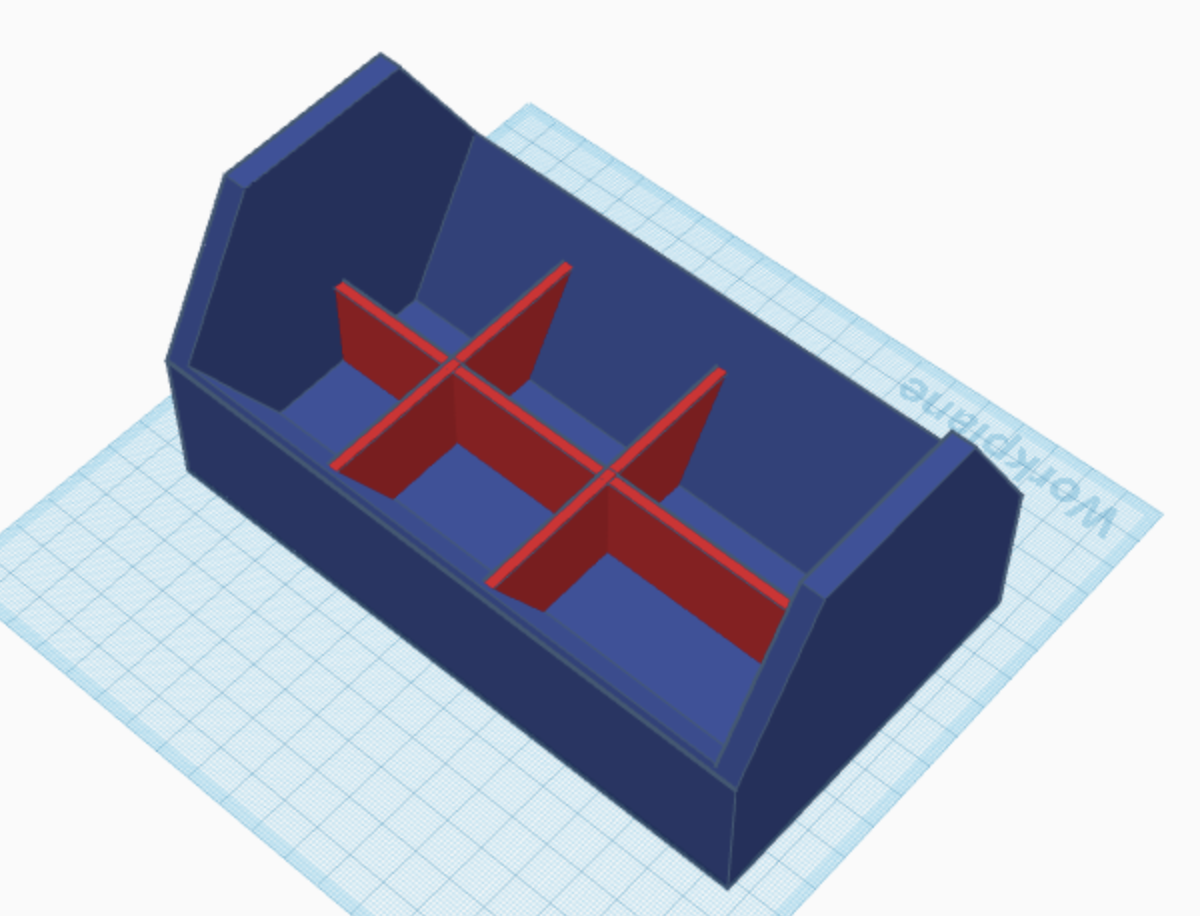
this next step is not necessary but if you wish to add some small storage spaces at the bottom continue if not skip to step 6. this step is quite simple take a square and make it 1.60W, 7.20L, 20H this dimension allows a comfortable fit but you can arrange them however you like for your own needs.
Making the Model Pt 6
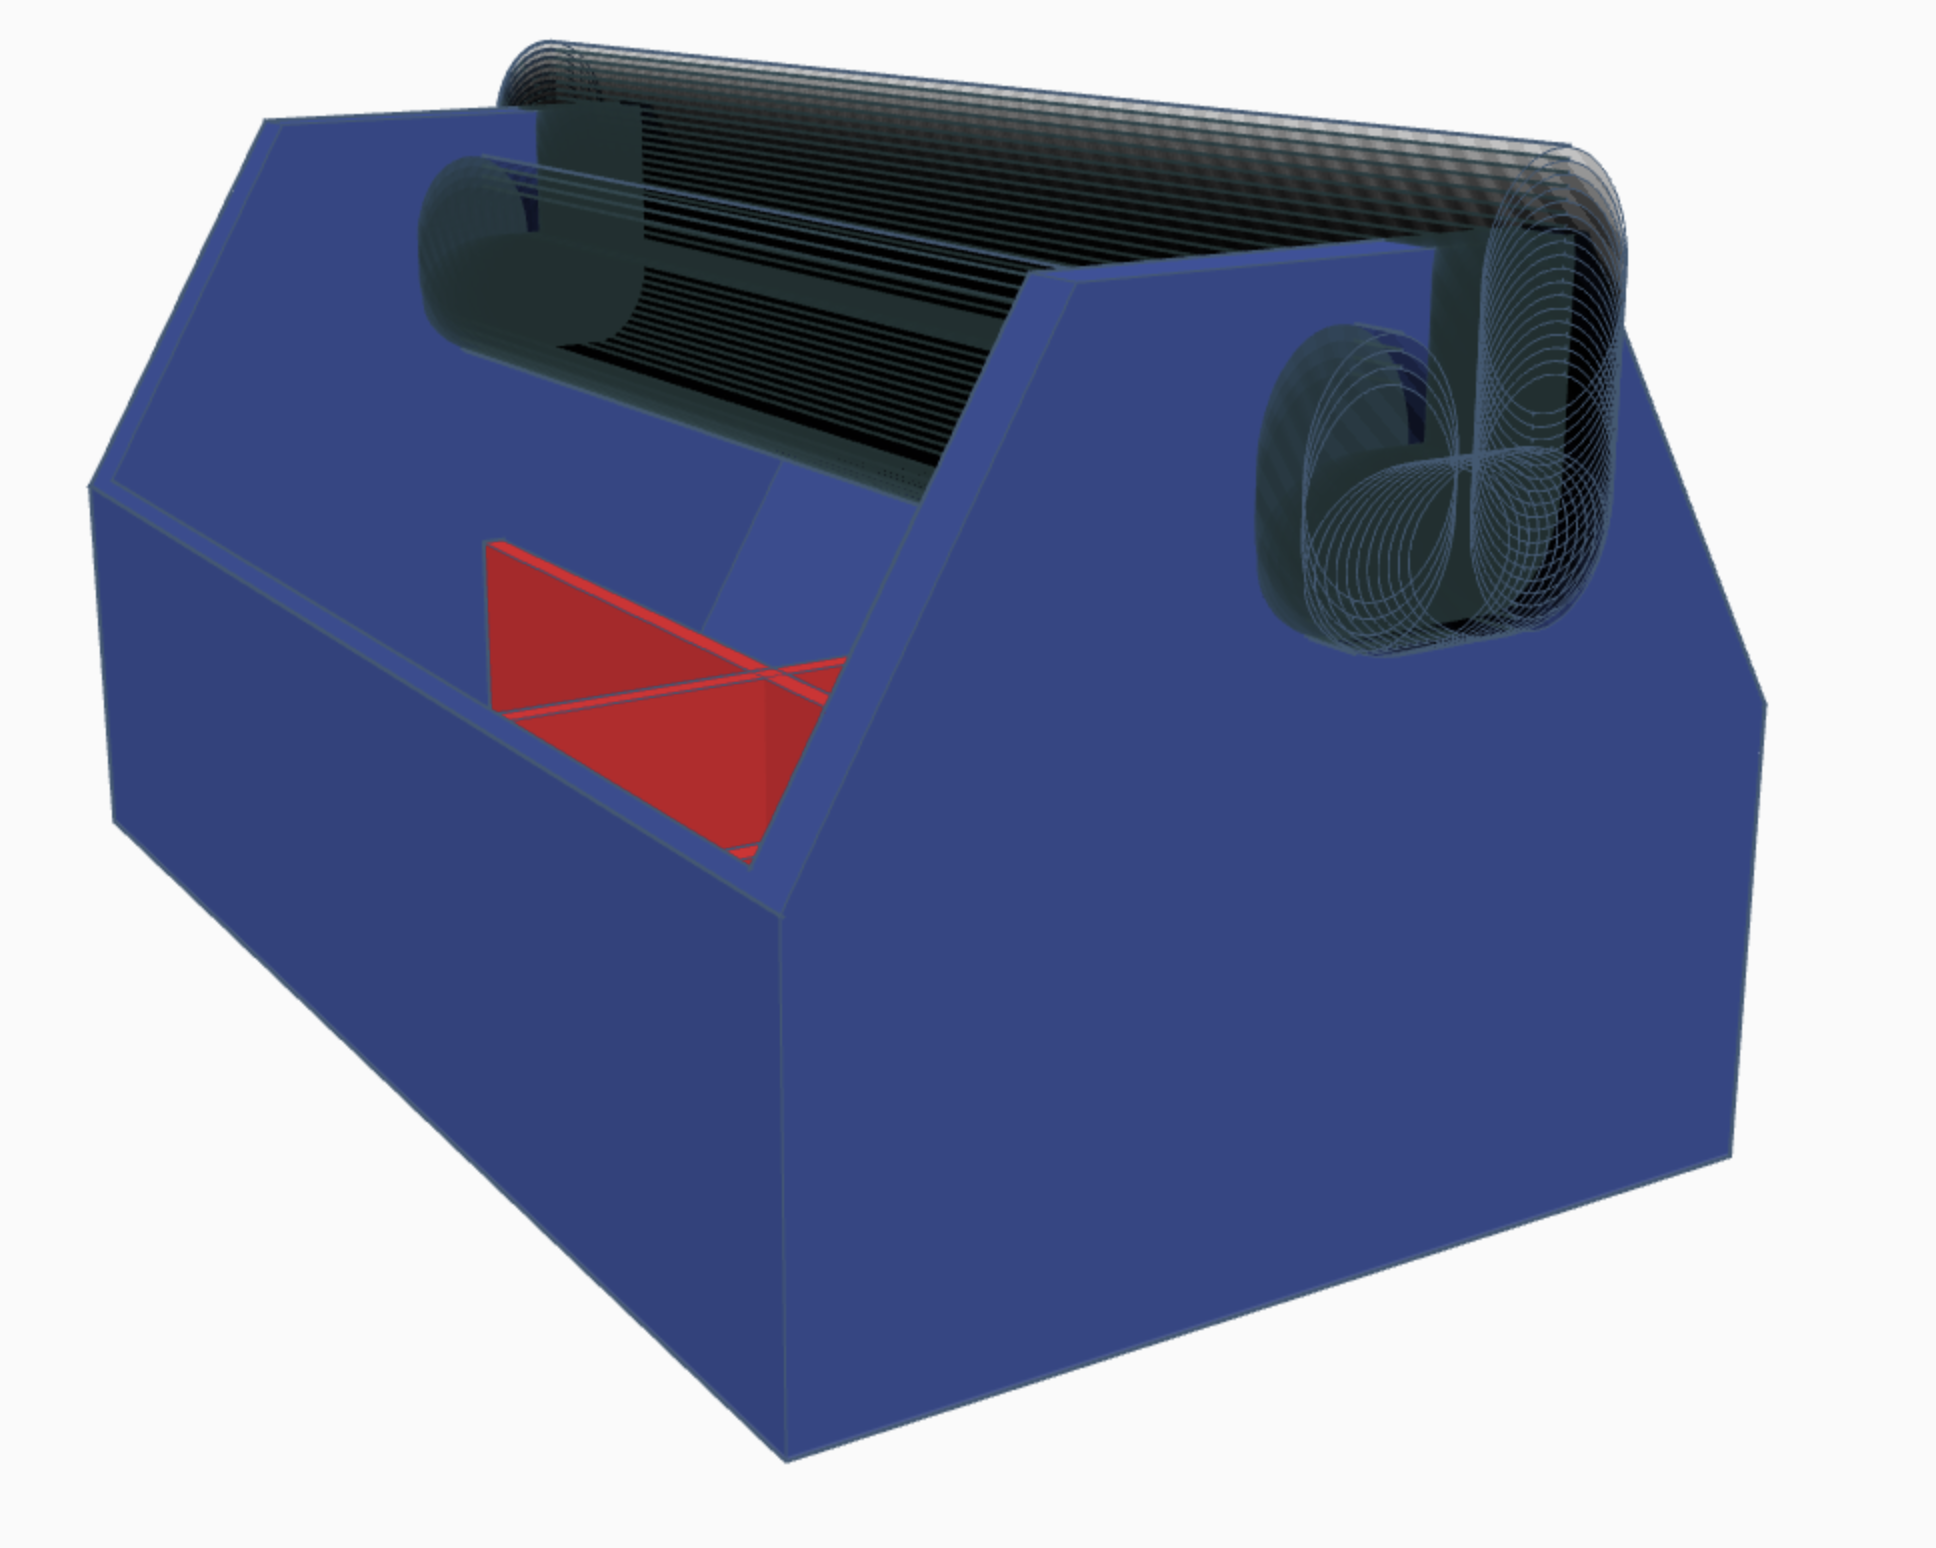
now we will add the cutout for the handle to go in and out of on the tackle box. take out an cylinder make it a hole and give it these dimensions, 20H 14.7W 176.75L. take this shape and place is about halfway down into your tackled next to your handle, make sure it is not over your handle just right next to it. use the duplication tool and just move it don a little bit the smaller the amount the smoother the cutout, after that hit duplicate until the next one you put is lines up halfway with the bottom of the handle. then copy the shape and turn it onto its side and line it up with the last oval you made, proceed duplicate it a few times until the end of an oval reaches the side of the handle. copy and paste again and turn it back upright and line up the bottom with your last horizontal shape then duplicate and move several timer leaving a decent amount of space from the top of the box. then cut the hole out of your box and you should have a hook shape cut into it that will hold your handle.
Making the Model Step 7
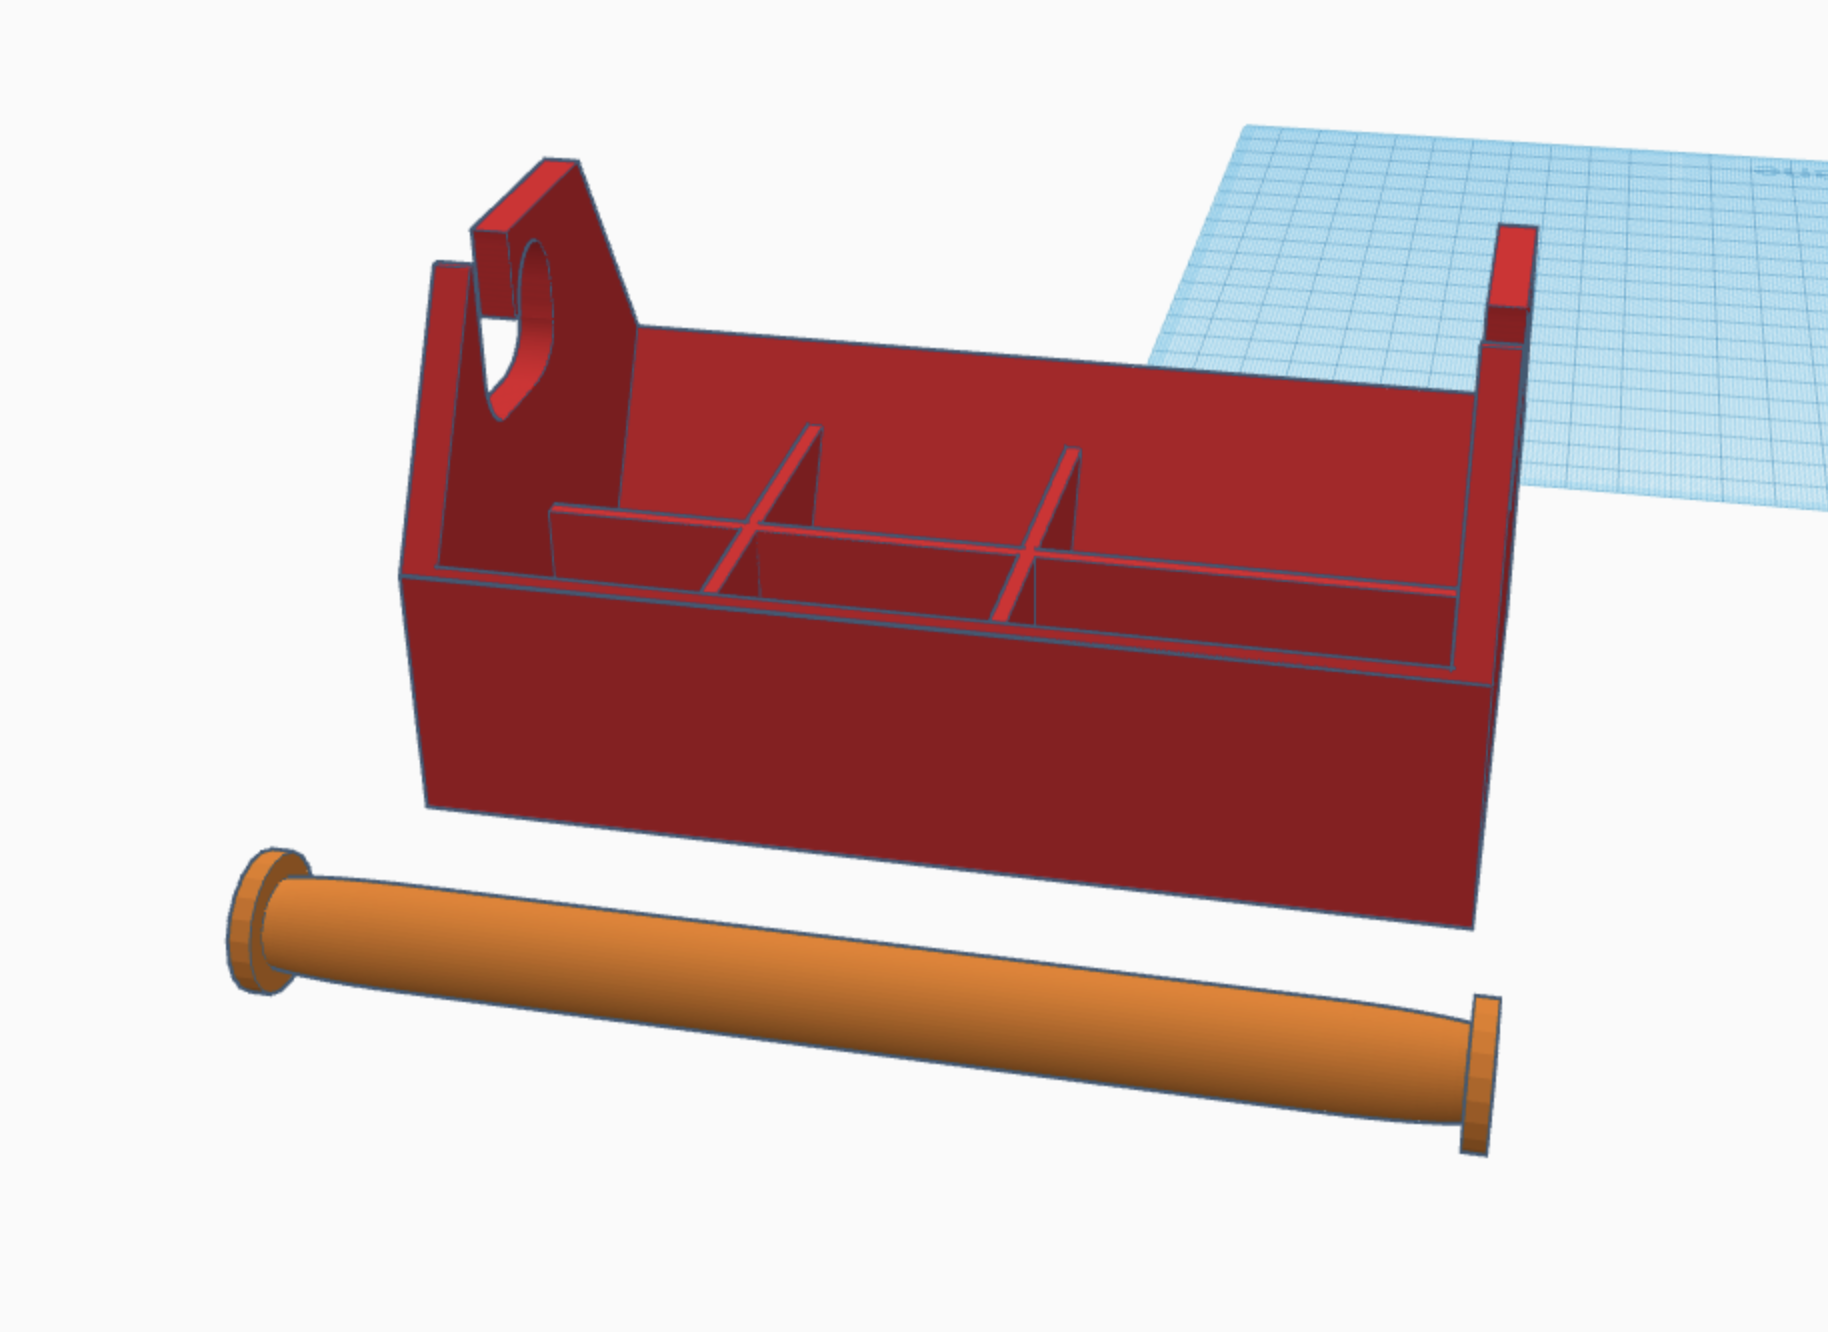
now our next and last step for the model is adding a handle. Drag out a cylinder onto the workspace and put it on its side set the dimensions to 15.50H 14.50W 175L. then click the shape again and set the sides to 64, the b-level to 2.5, and segments to 10. then drag out another cylinder, set it on its side and set the dimensions to 20H 3L 20W put it on the end of your handle and use the alignment tool to make it centered copy and paste this on the other side and you shouldn't have any problems with it sliding off.
Printing
I am going to give a quick rundown on how to slice and print the model in Prusa slicer but you can find many good YouTube tutorials showing you how to do this as well. Its pretty simple actually all you need to do is go to the top right and hit export(make sure either nothing is selected or everything is, if one thing is selected It will only export that) and export it as an STL file. once that file is downloaded open up purse slicer and drag the file onto the work-plane and it should load your model. personally I want this tackle box to be pretty sturdy so I'm going to print this on 60% infill which can take quite a while and you are not required to do so its up to your personal preference, I also set it to super-detail which again is just preference and will cause the print to take quite a while. you will need to set supports to everywhere since the hook on the box is not supported by anything below while it prints. after choosing your desired infill and quality just make sure the slicer is set to your printer I am using an ender 3 but you may have a Prusa or some other type which will need to be specifically selected. after that hit slice and export to your SD card or usb drive and print.