How to Make Easy Double-exposure Photos in Photoshop
by advaym in Design > Photography
35594 Views, 118 Favorites, 0 Comments
How to Make Easy Double-exposure Photos in Photoshop
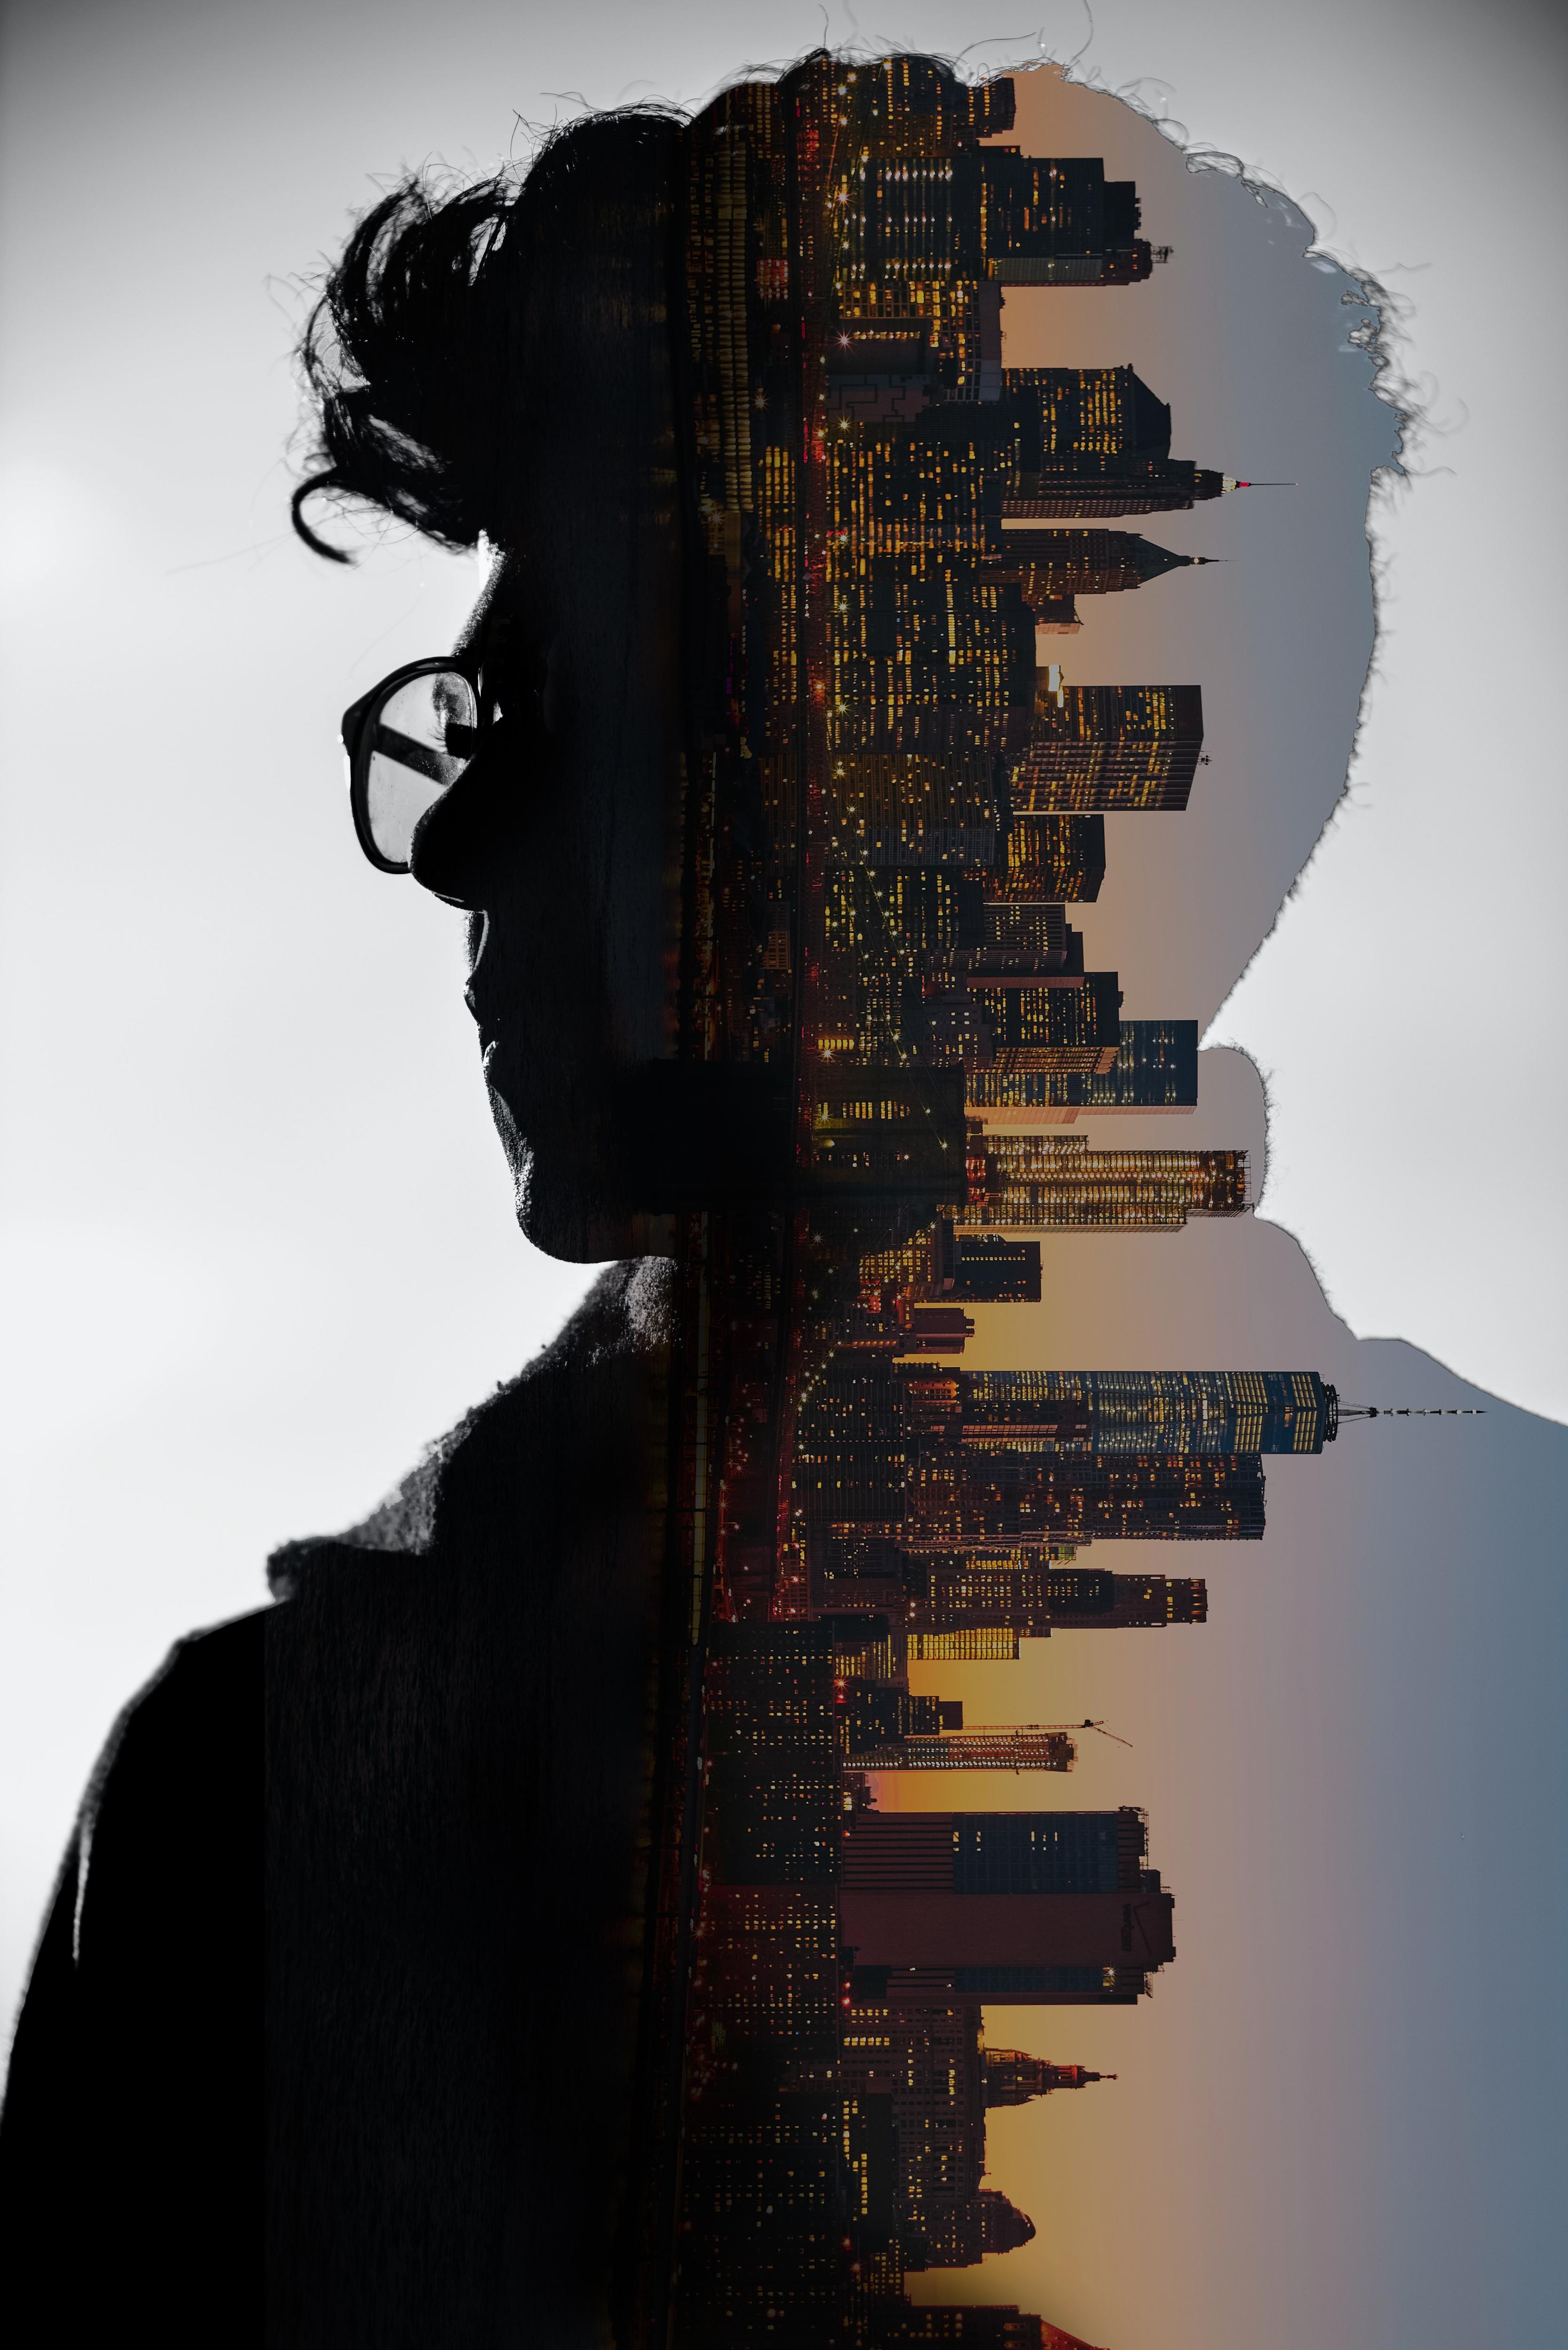
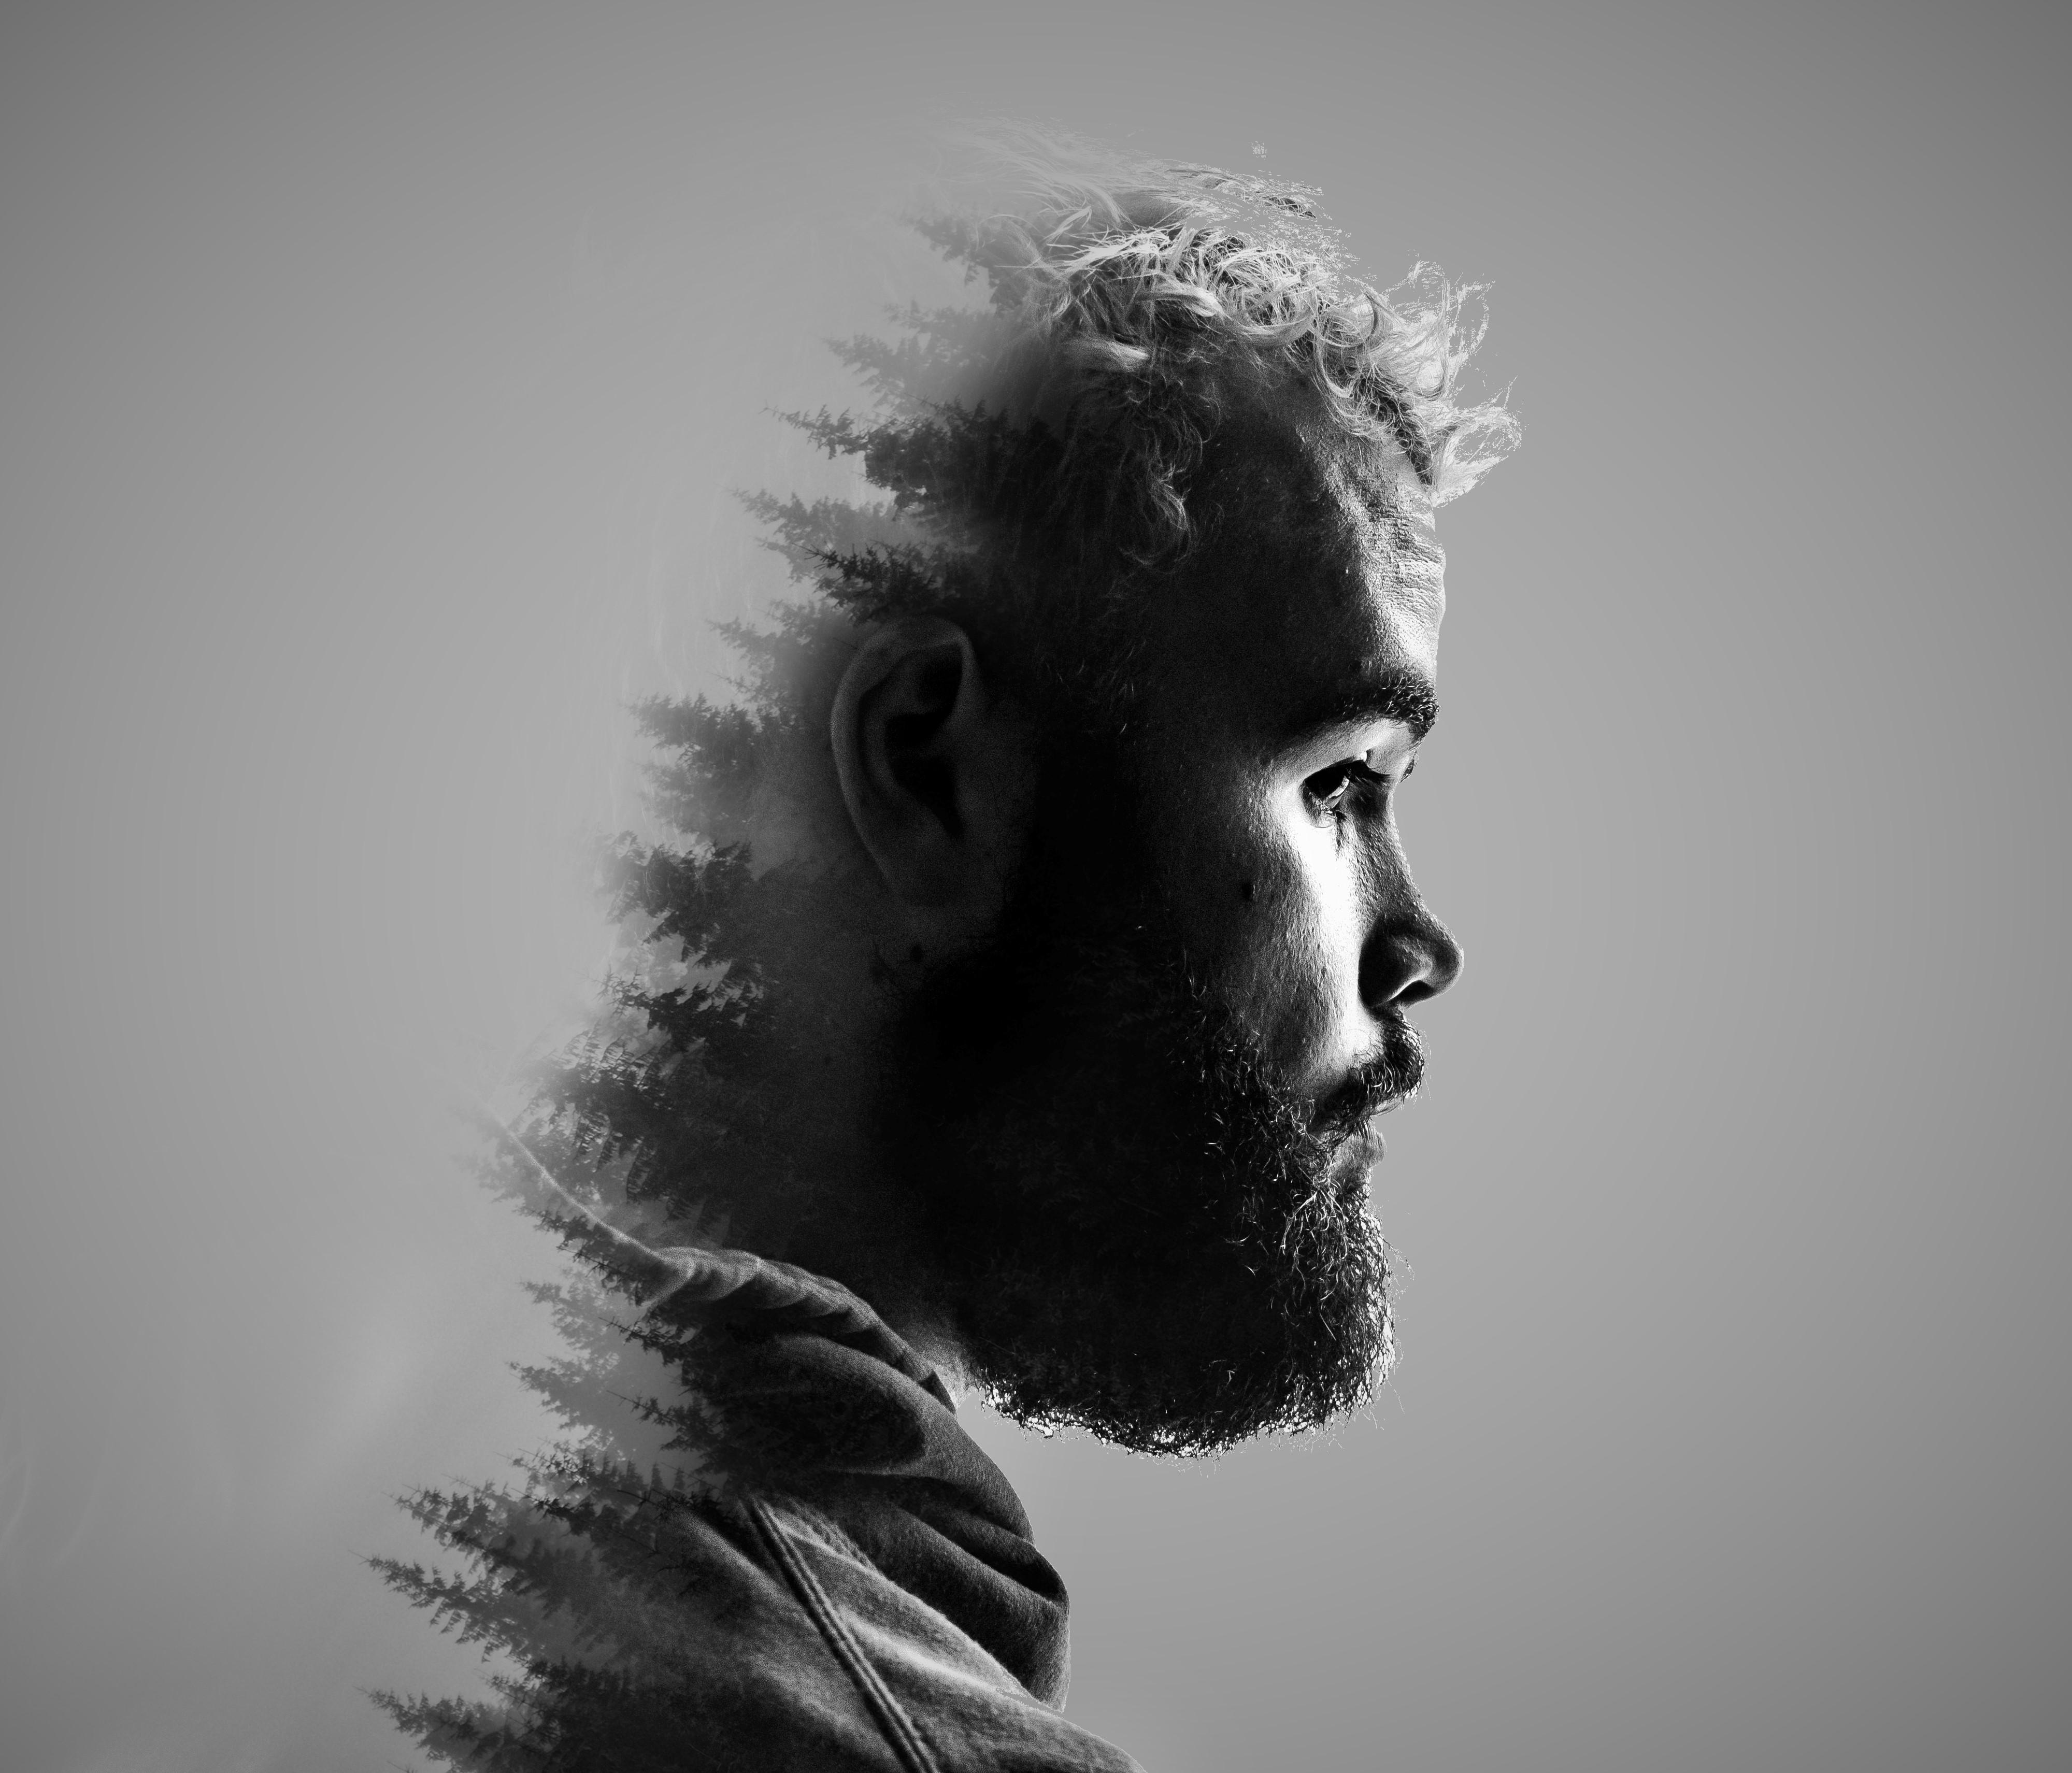
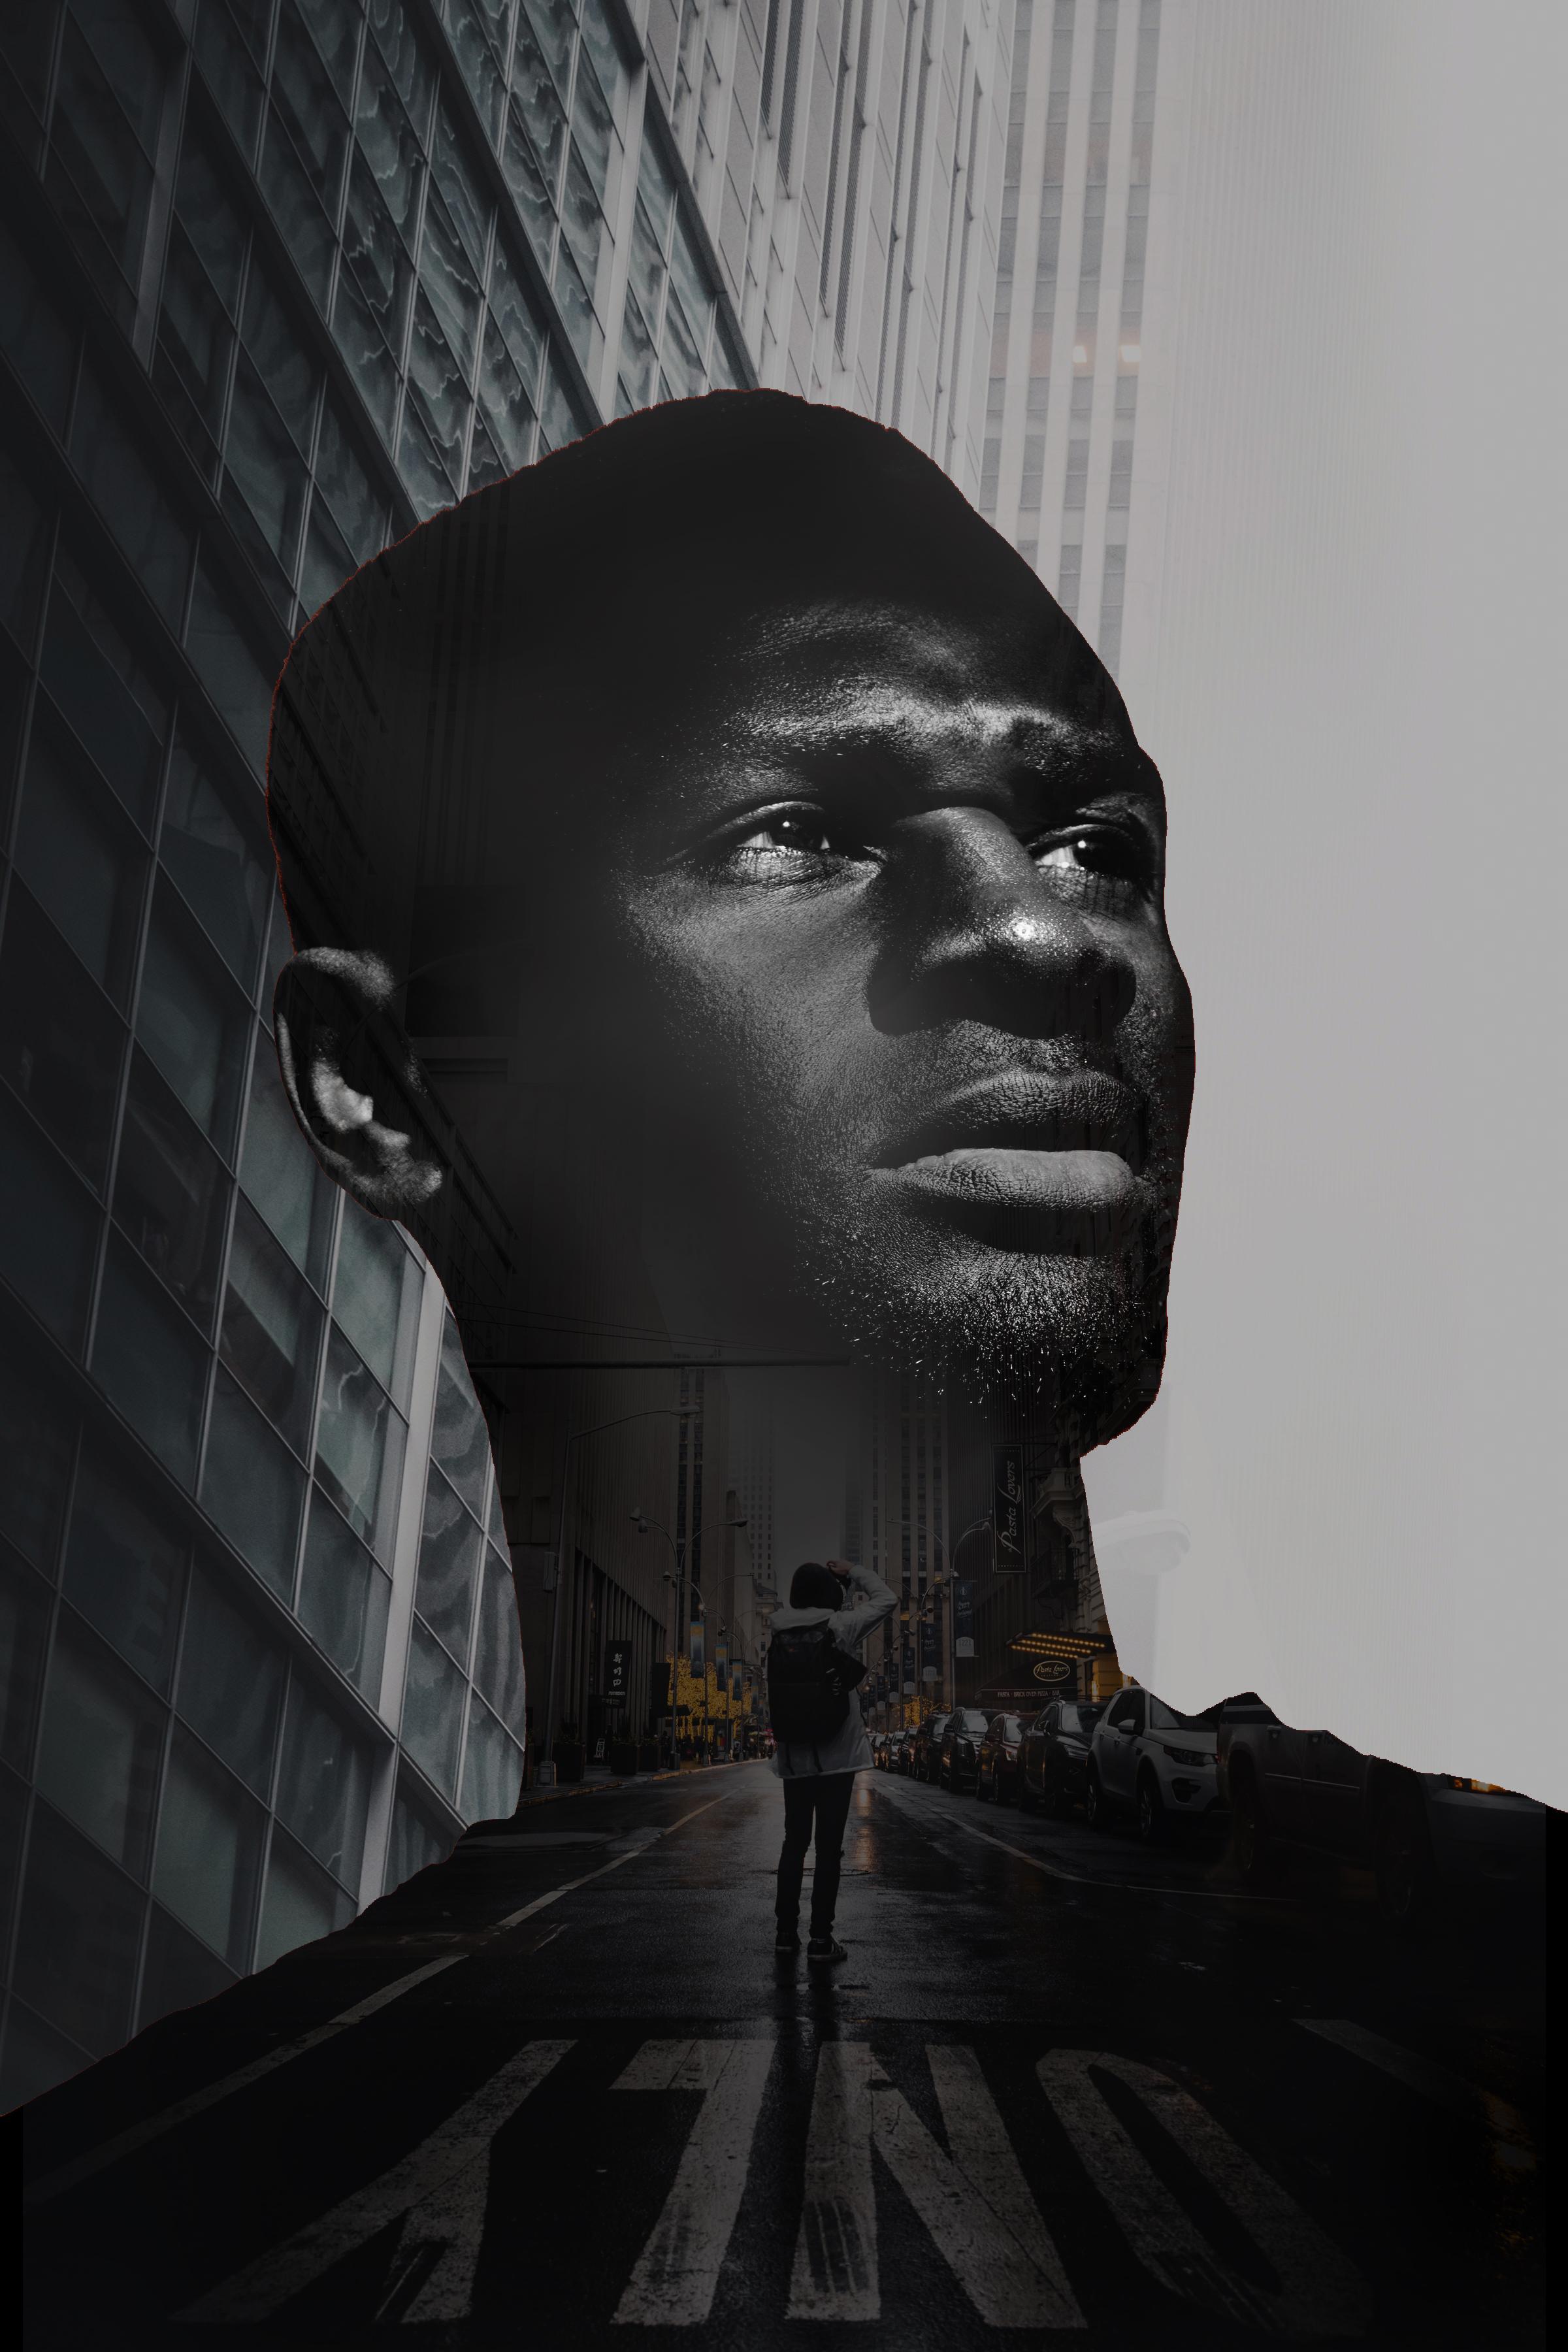
Double exposure photography involves combining two photos into one. In older film cameras, the effect was created by opening the shutter twice to expose the same film and form double-exposure images. This was a process that required skill, imagination and luck with film. Today, this can be done both in-camera (with DSLRs) as well as with a photo editor.
Thanks to the pandemic, it's not always possible to go out and shoot photos. So, combining two photos digitally in an editor is a quicker, creative and more exciting way to create double exposure photographs with endless possibilities.
Not surprisingly, even a lot of movie posters are also made using this exact technique!
Supplies
The only tool you need here is a good photo editor. I used an older version of Adobe Photoshop CS6. You can also use a free photo editor such as Gimp or Pixlr.
I also downloaded some free royalty-free stock photos from Pexels and Unsplash to use in this instructable.
If you want to follow along with this instructable, you can download the below files.
I've made this tutorial for beginners, it's as simple as possible, hence we're using easy images to work with. Once you get the hang of it, then the only thing limiting you will be your imagination!
Selecting the Photos
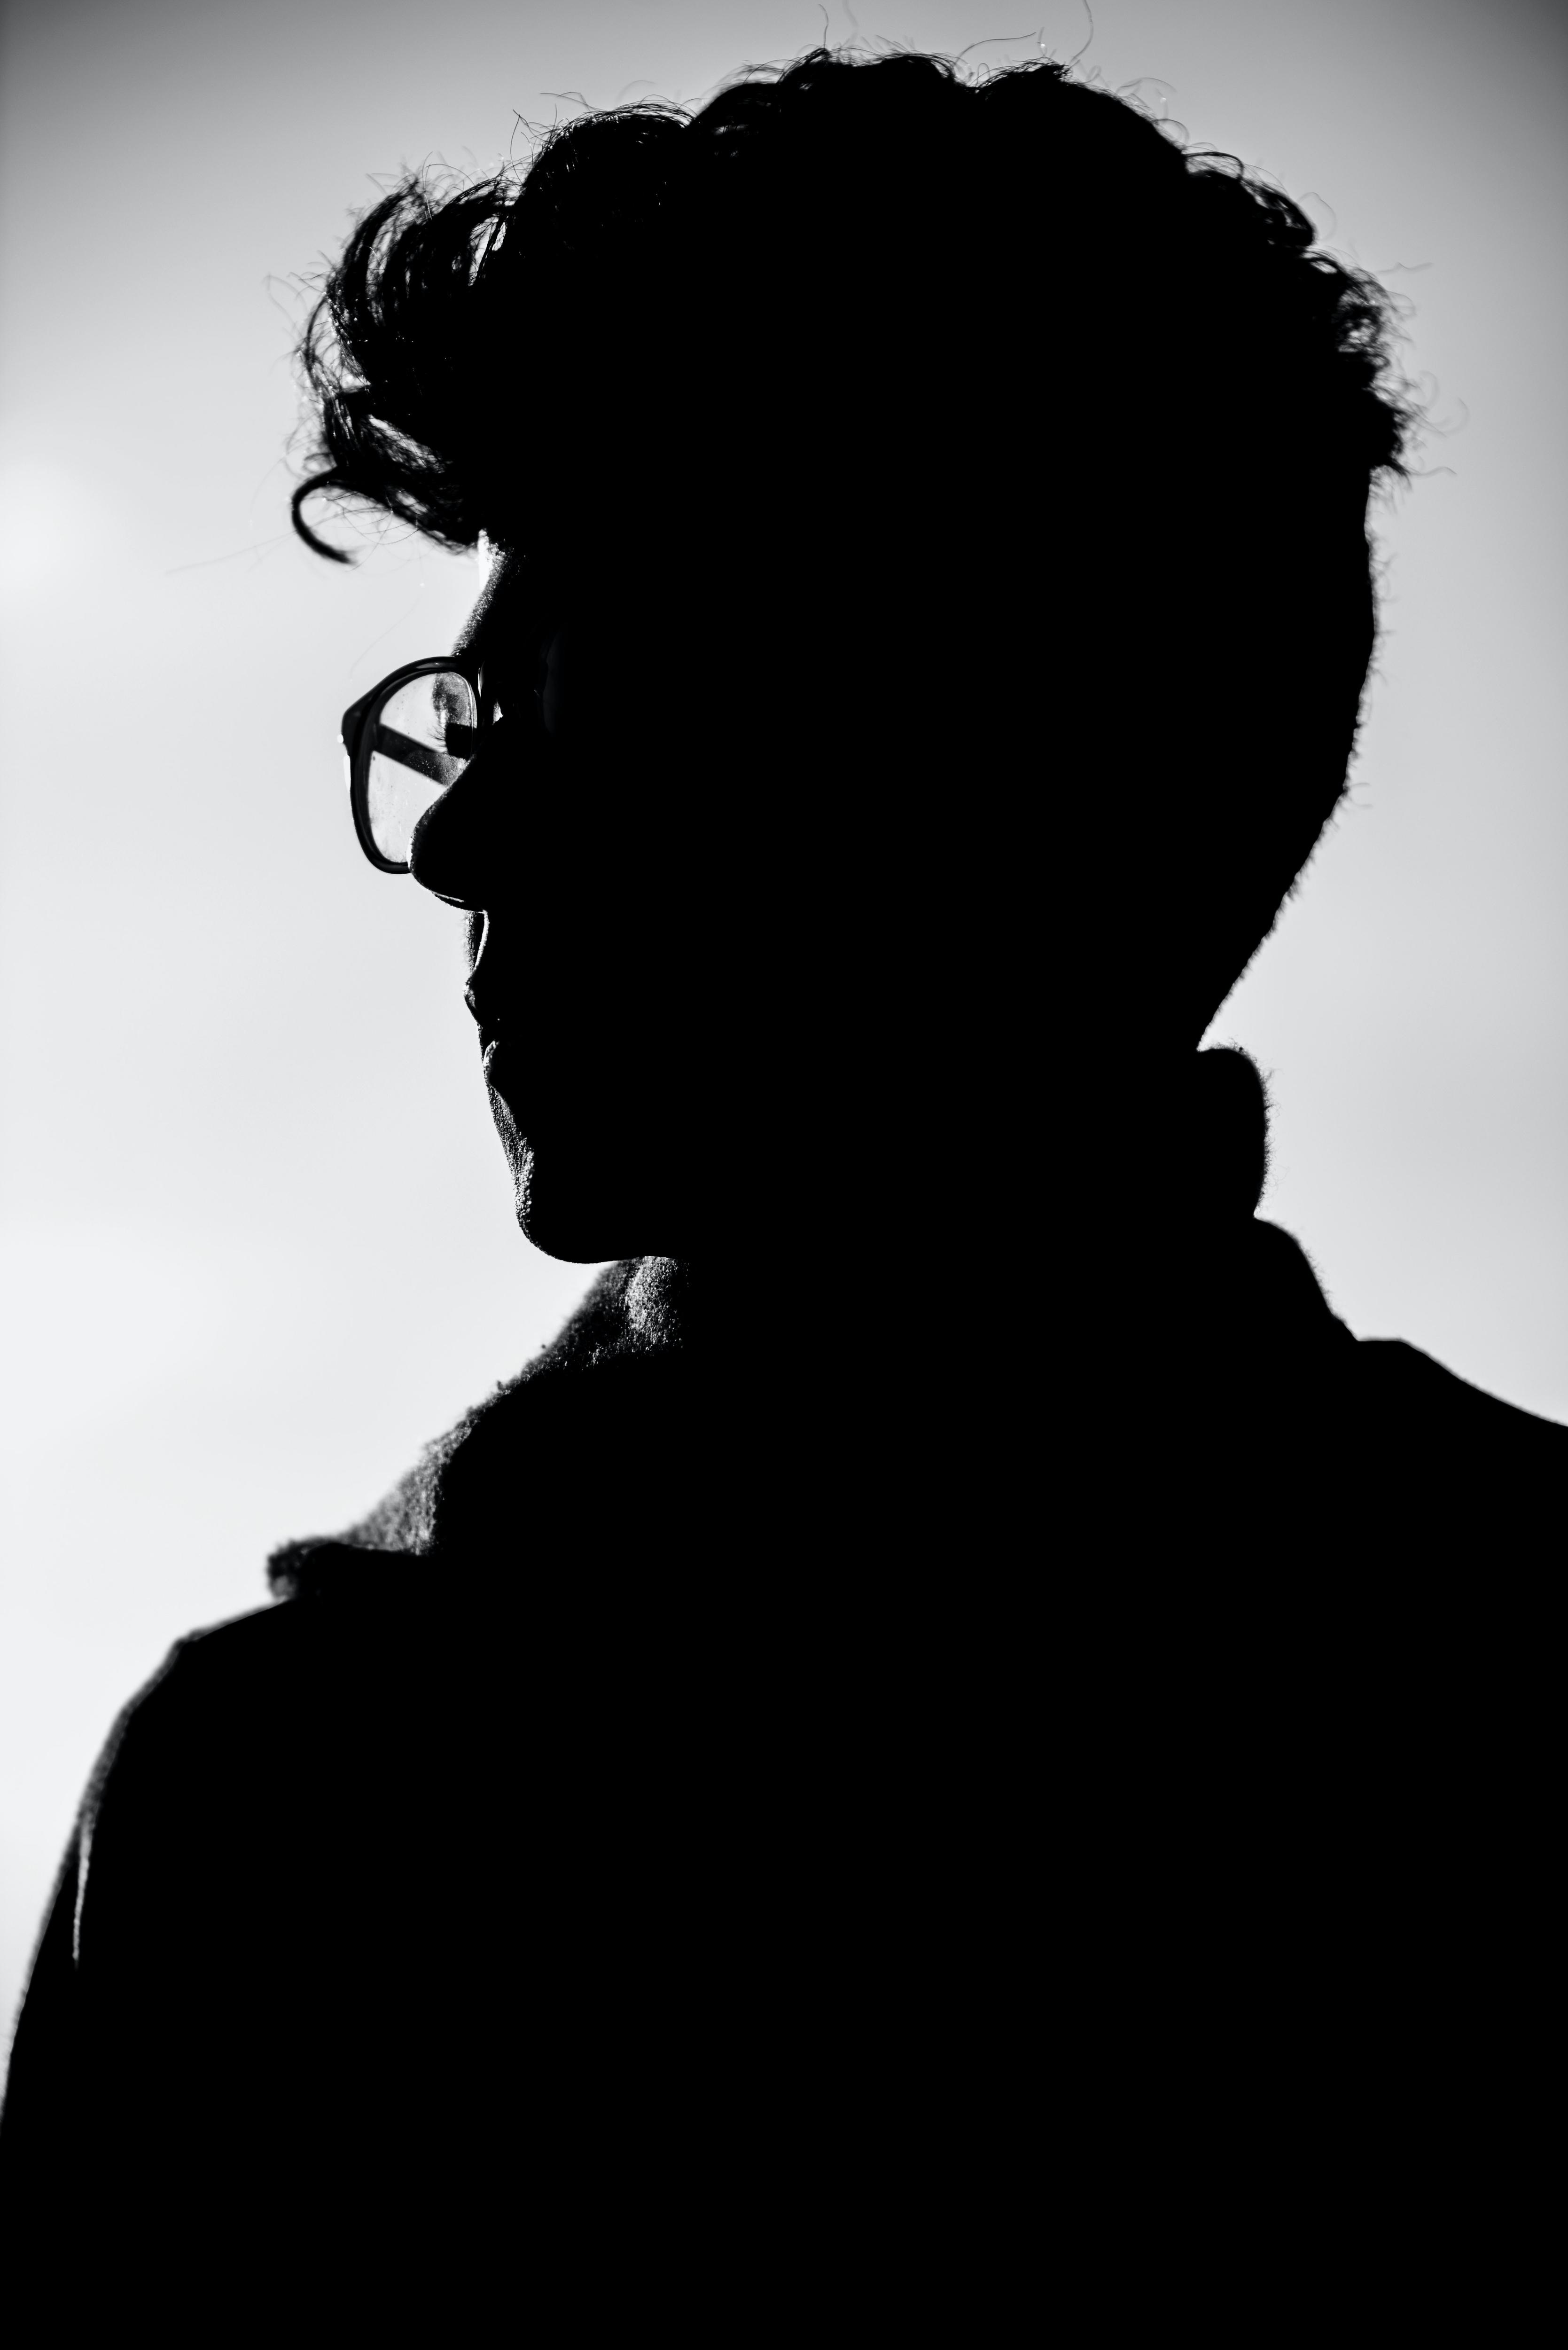
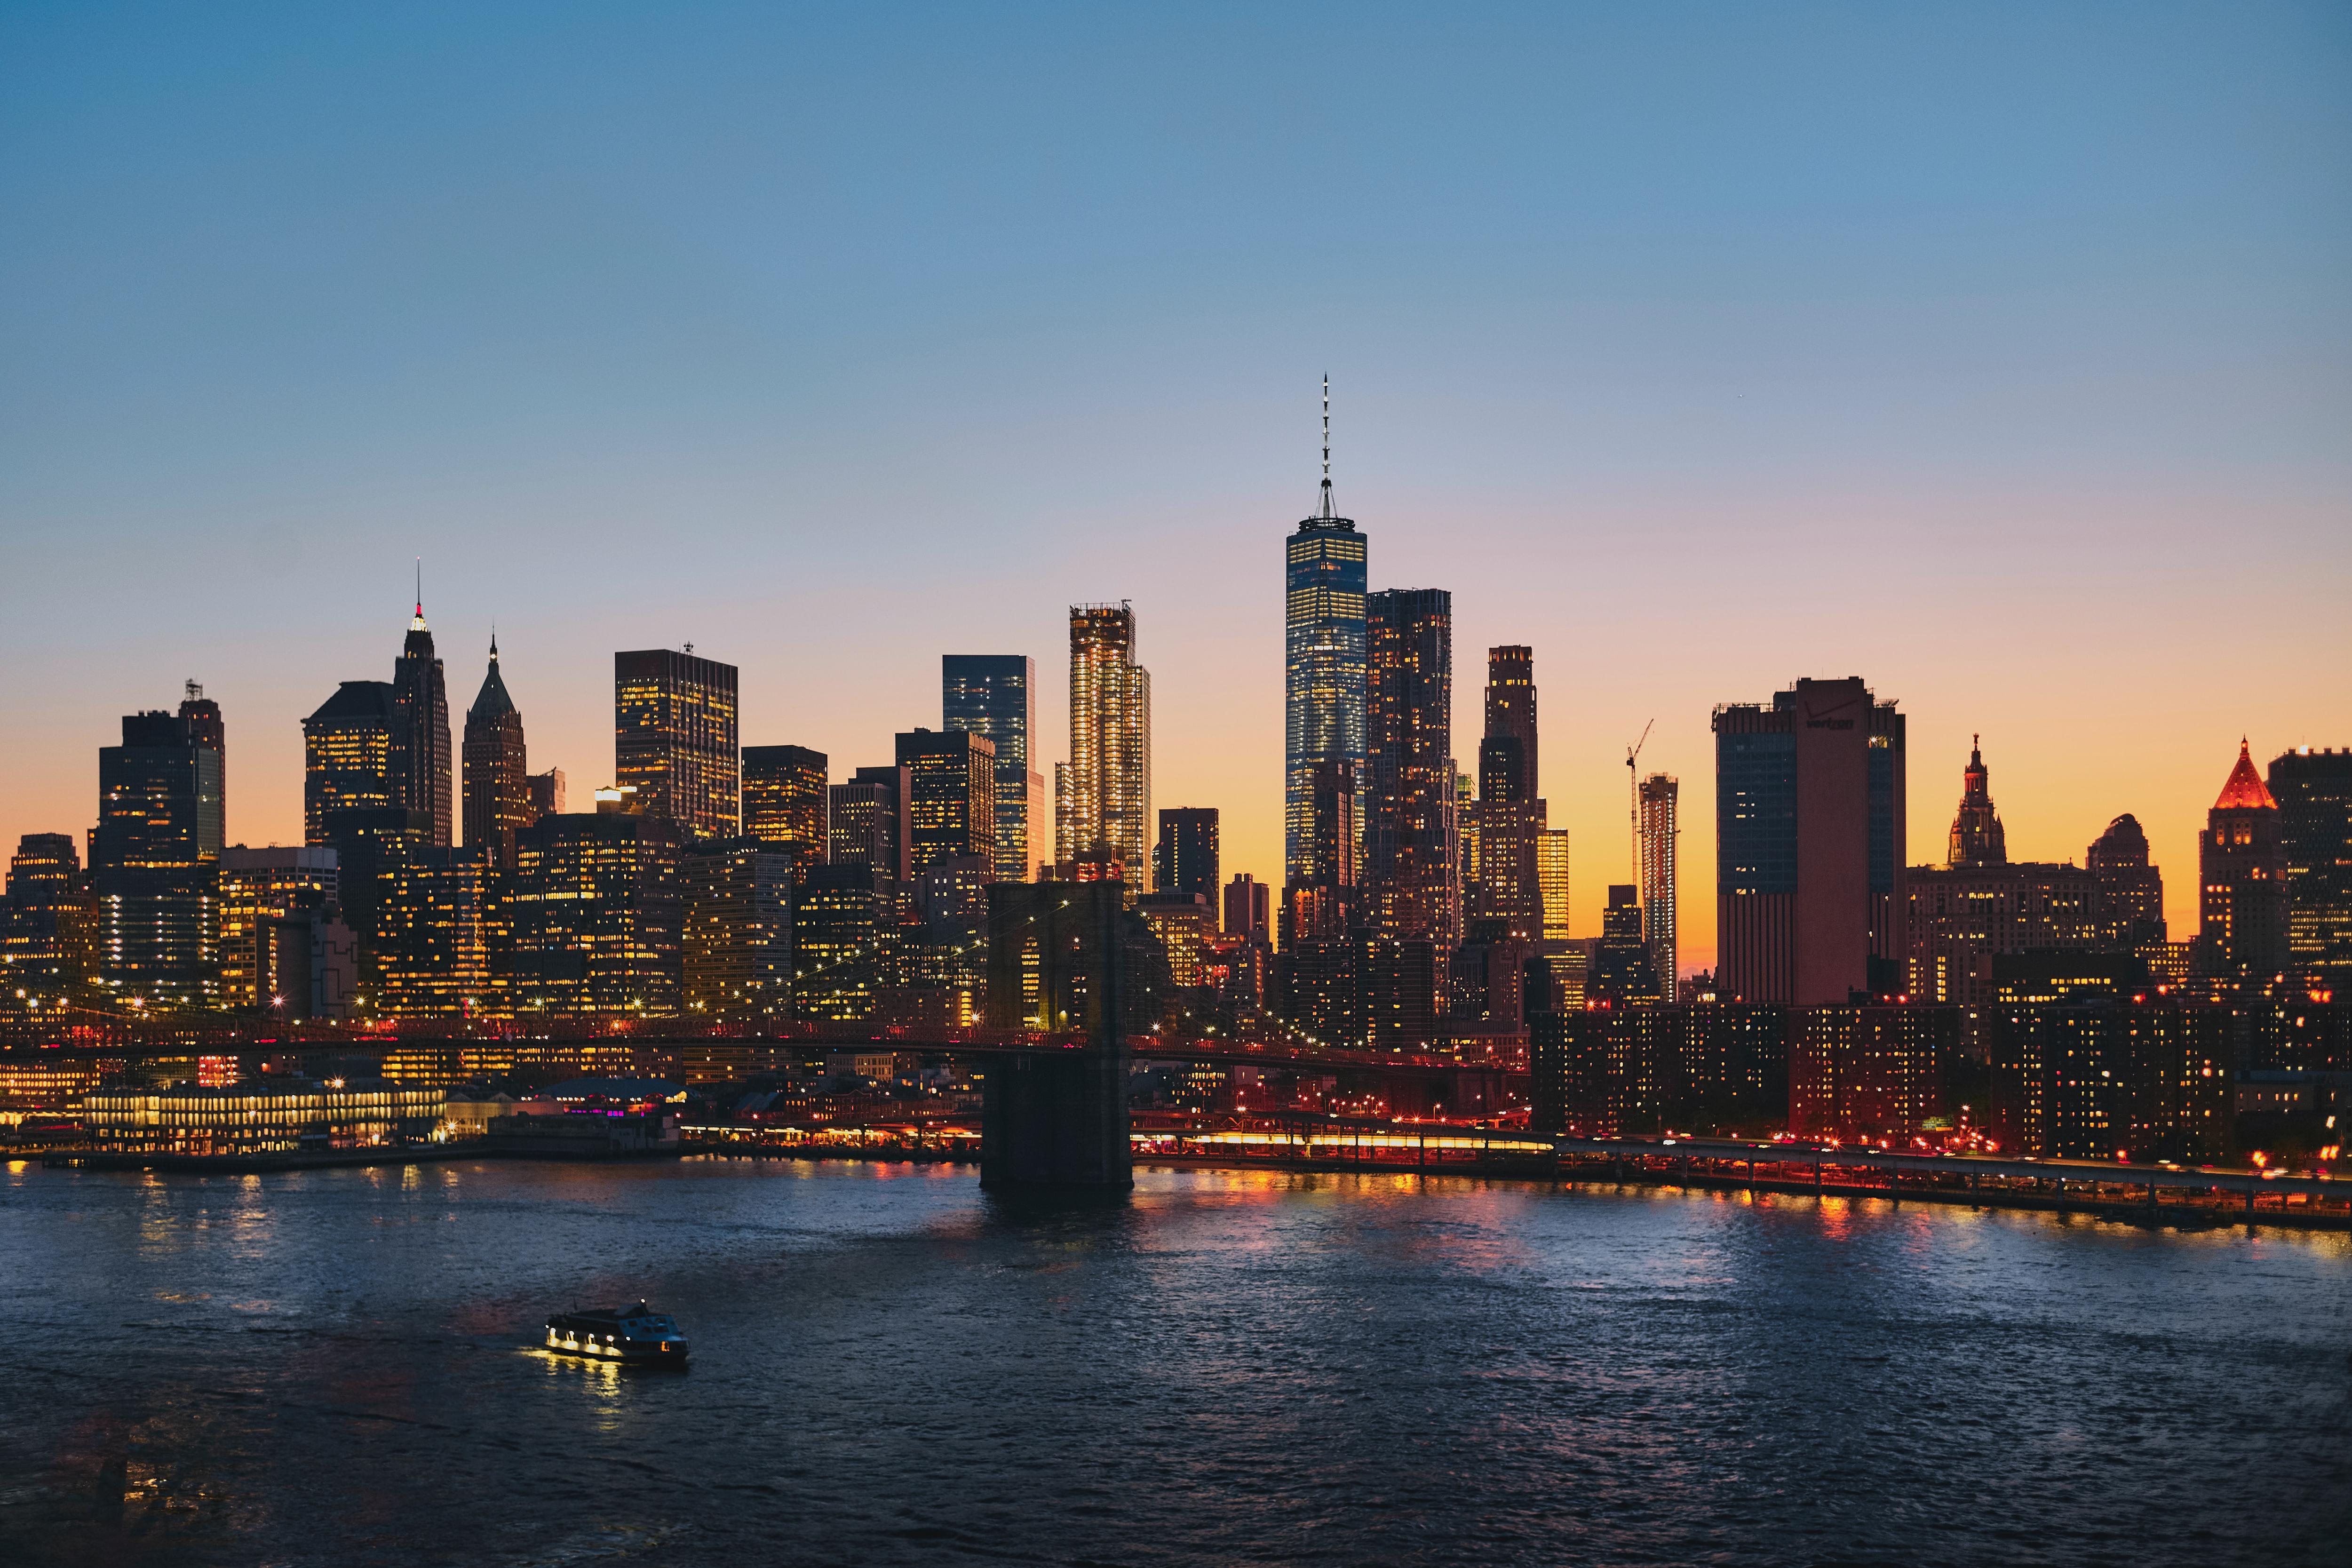
Background-
Select a Background portrait photo such it's a single clean colour with a neutral tone, without many distractions such as buildings, trees, cars, lights etc. It should have high contrast and clean edges. This will make it easy to make a selection for a layer mask and overlay a photo.
Foreground-
The foreground can be anything you wish to overlay. The most common themes are buildings, forests (especially pine forests), clouds and mountains.
Open Background Image in Photoshop
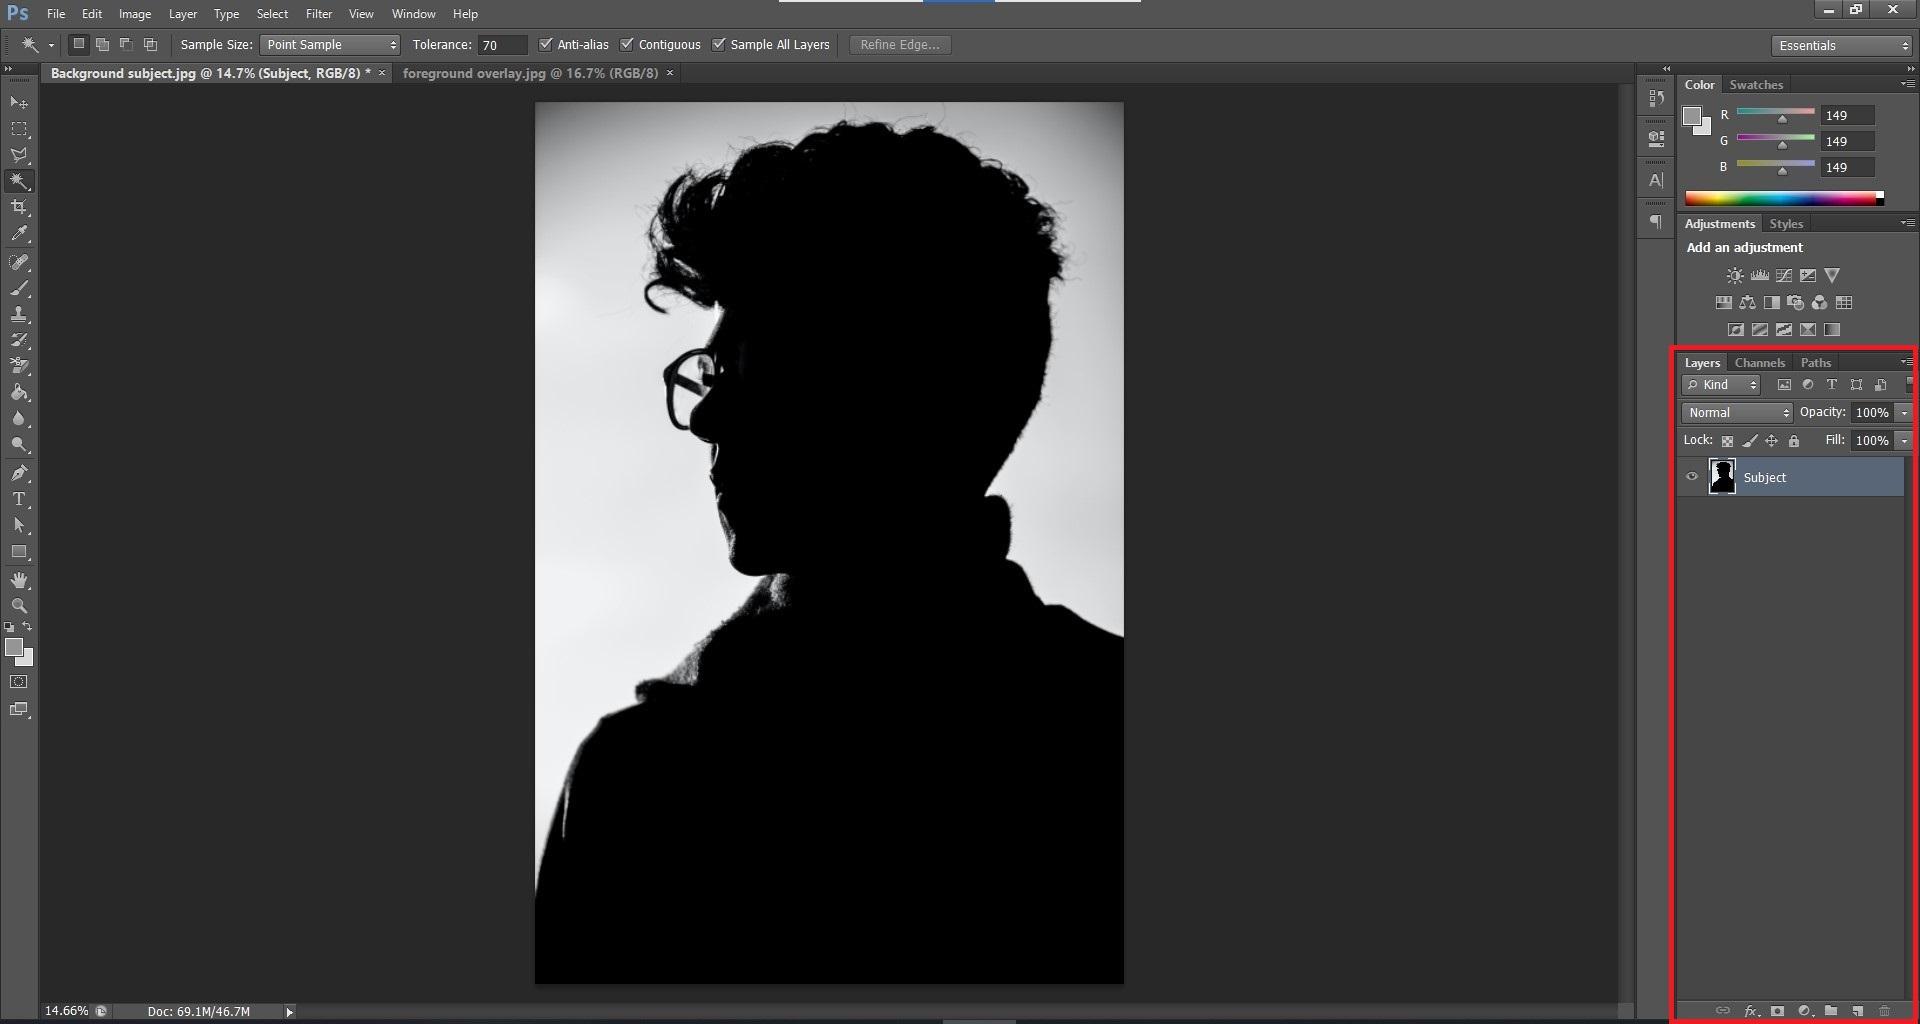
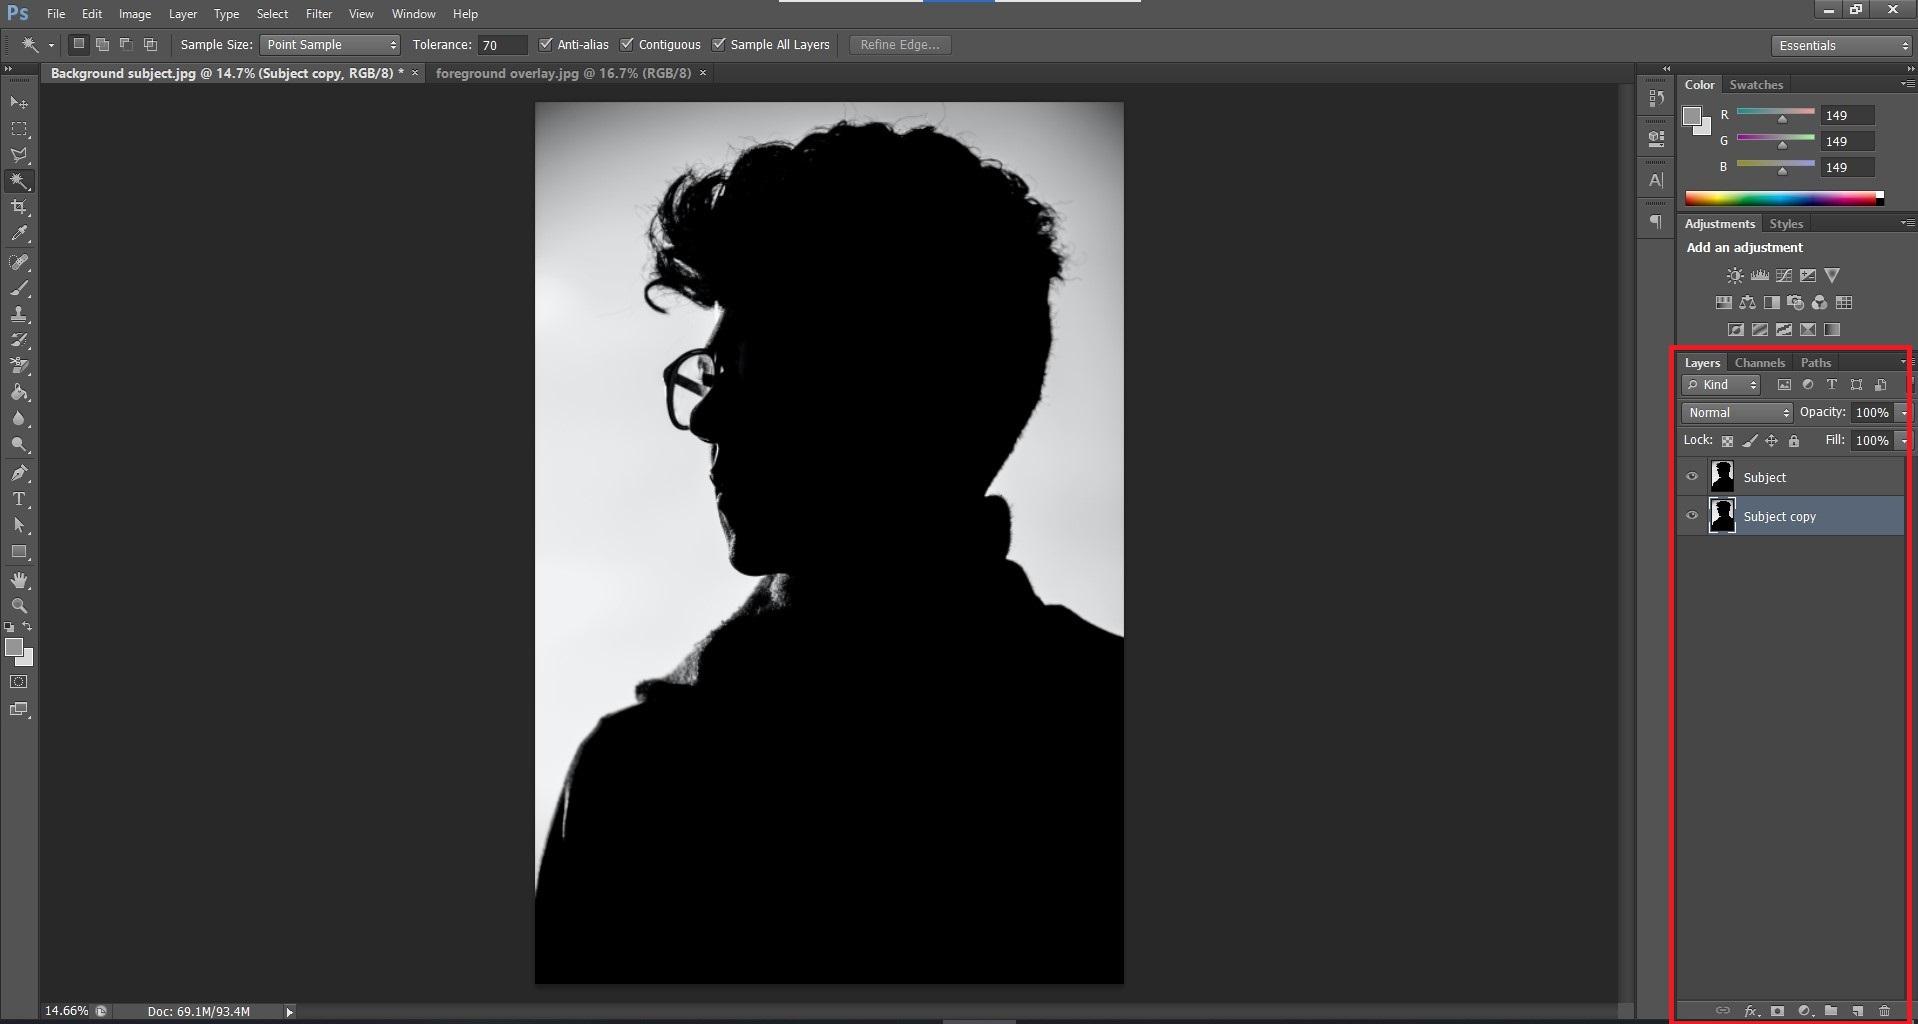
Open your background image in photoshop. If needed, you can make adjustments like increasing contrast, refining edges and desaturating the photo to make it easier to work with.
The image I’ve used is a simple silhouette of a man to make it easy for everyone to learn.
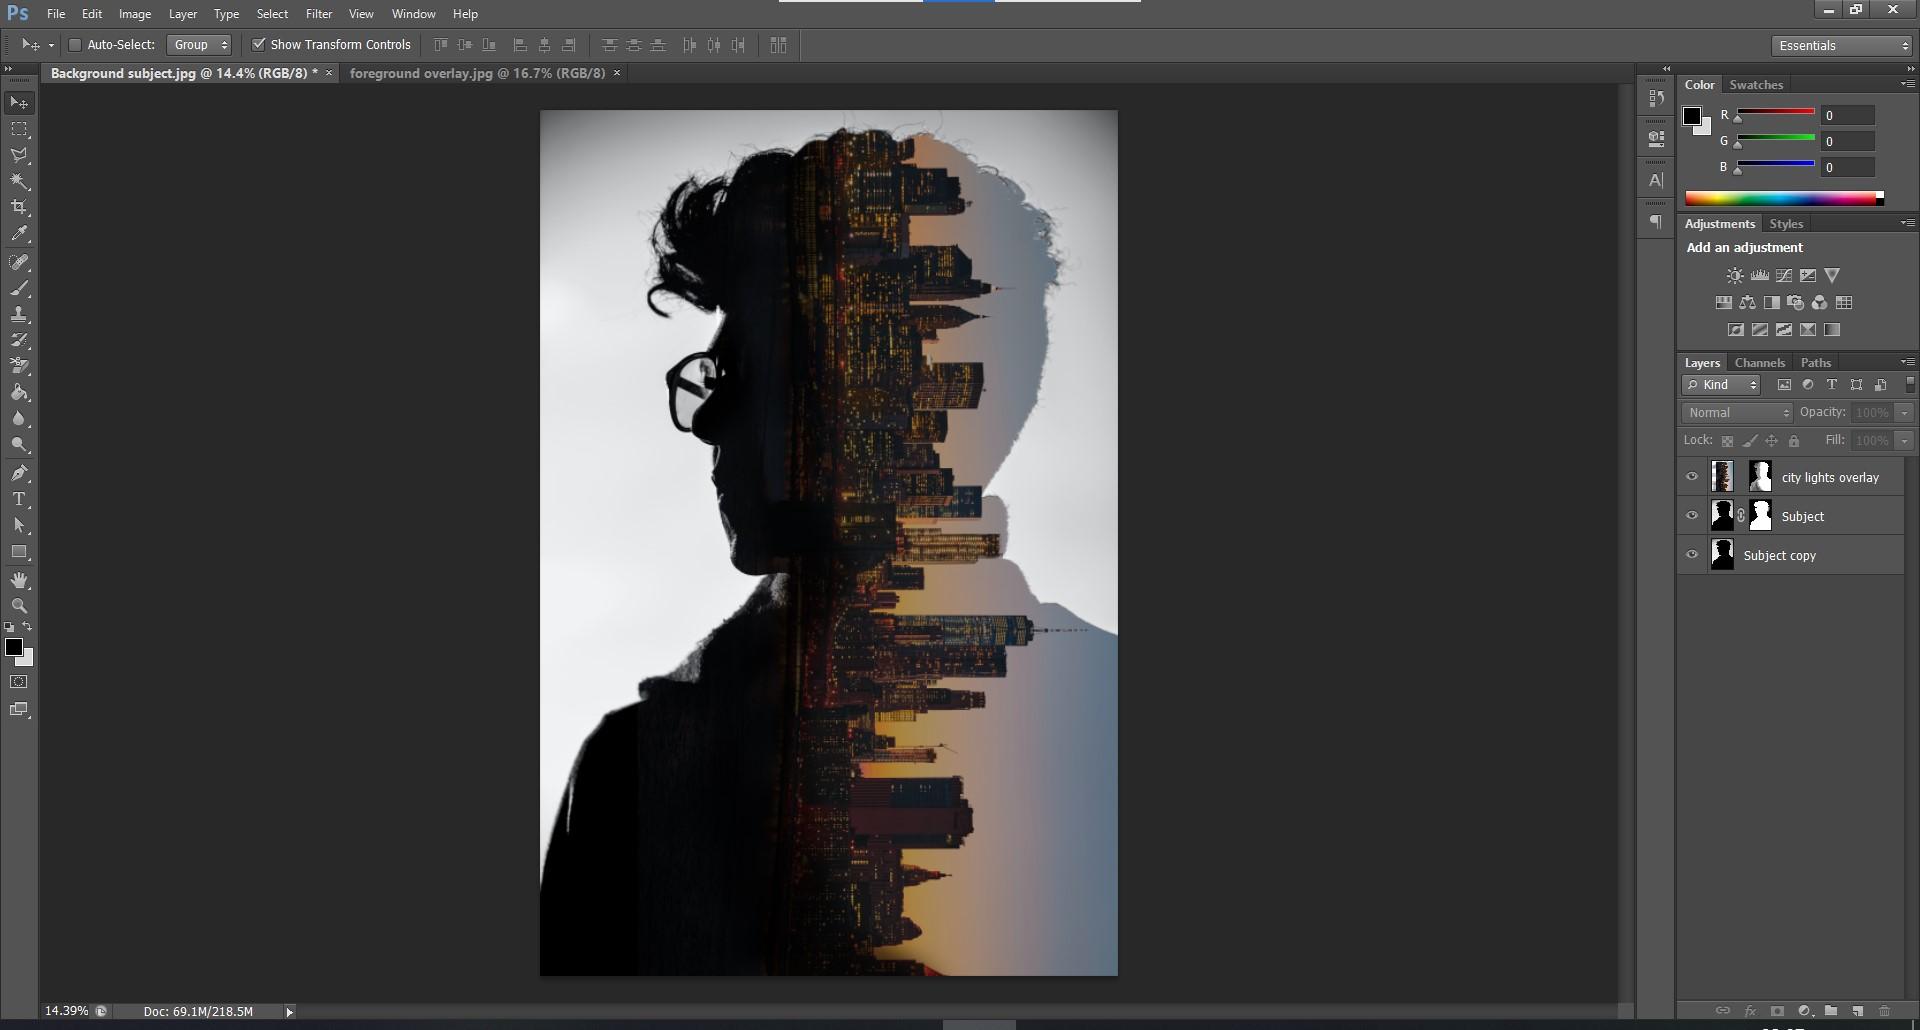
After opening the image, make a duplicate layer (Ctrl/Cmd + J) and hide this duplicate layer. We'll get back to this layer later.
Eliminating the Background and Creating a Layer Mask With the Subject
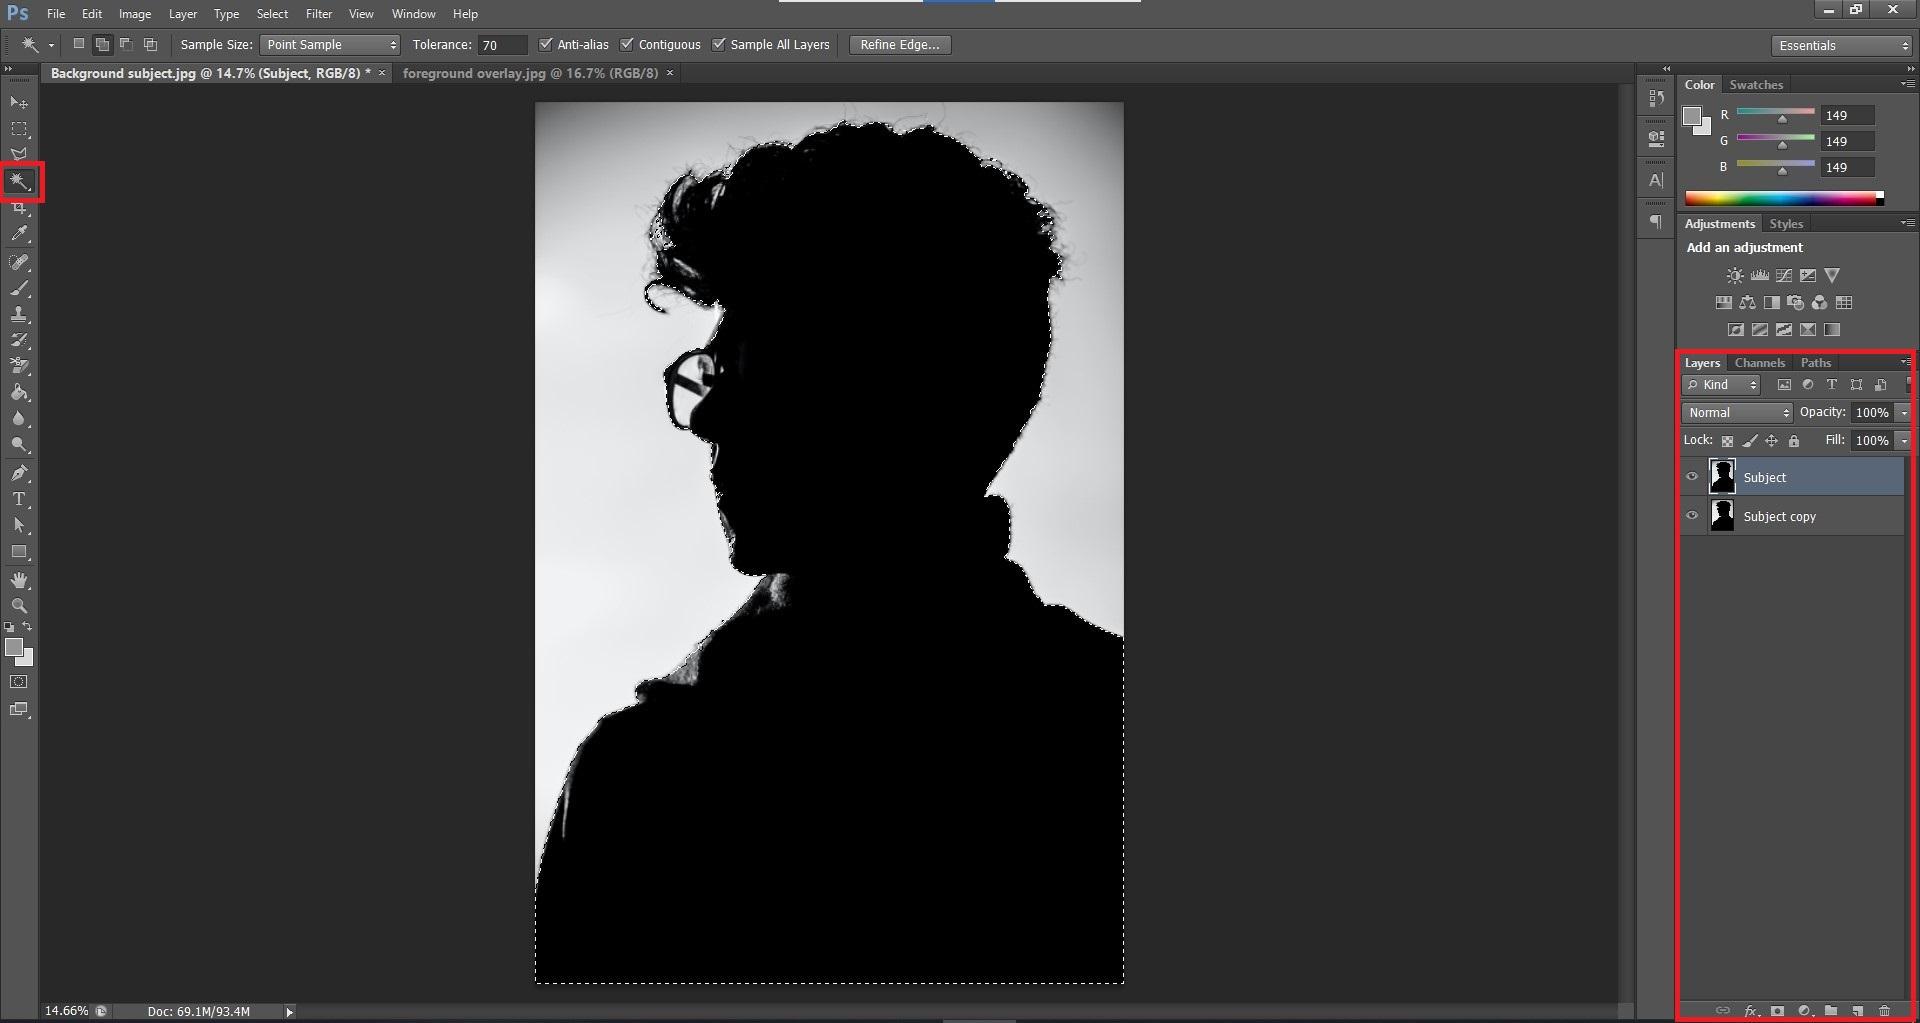
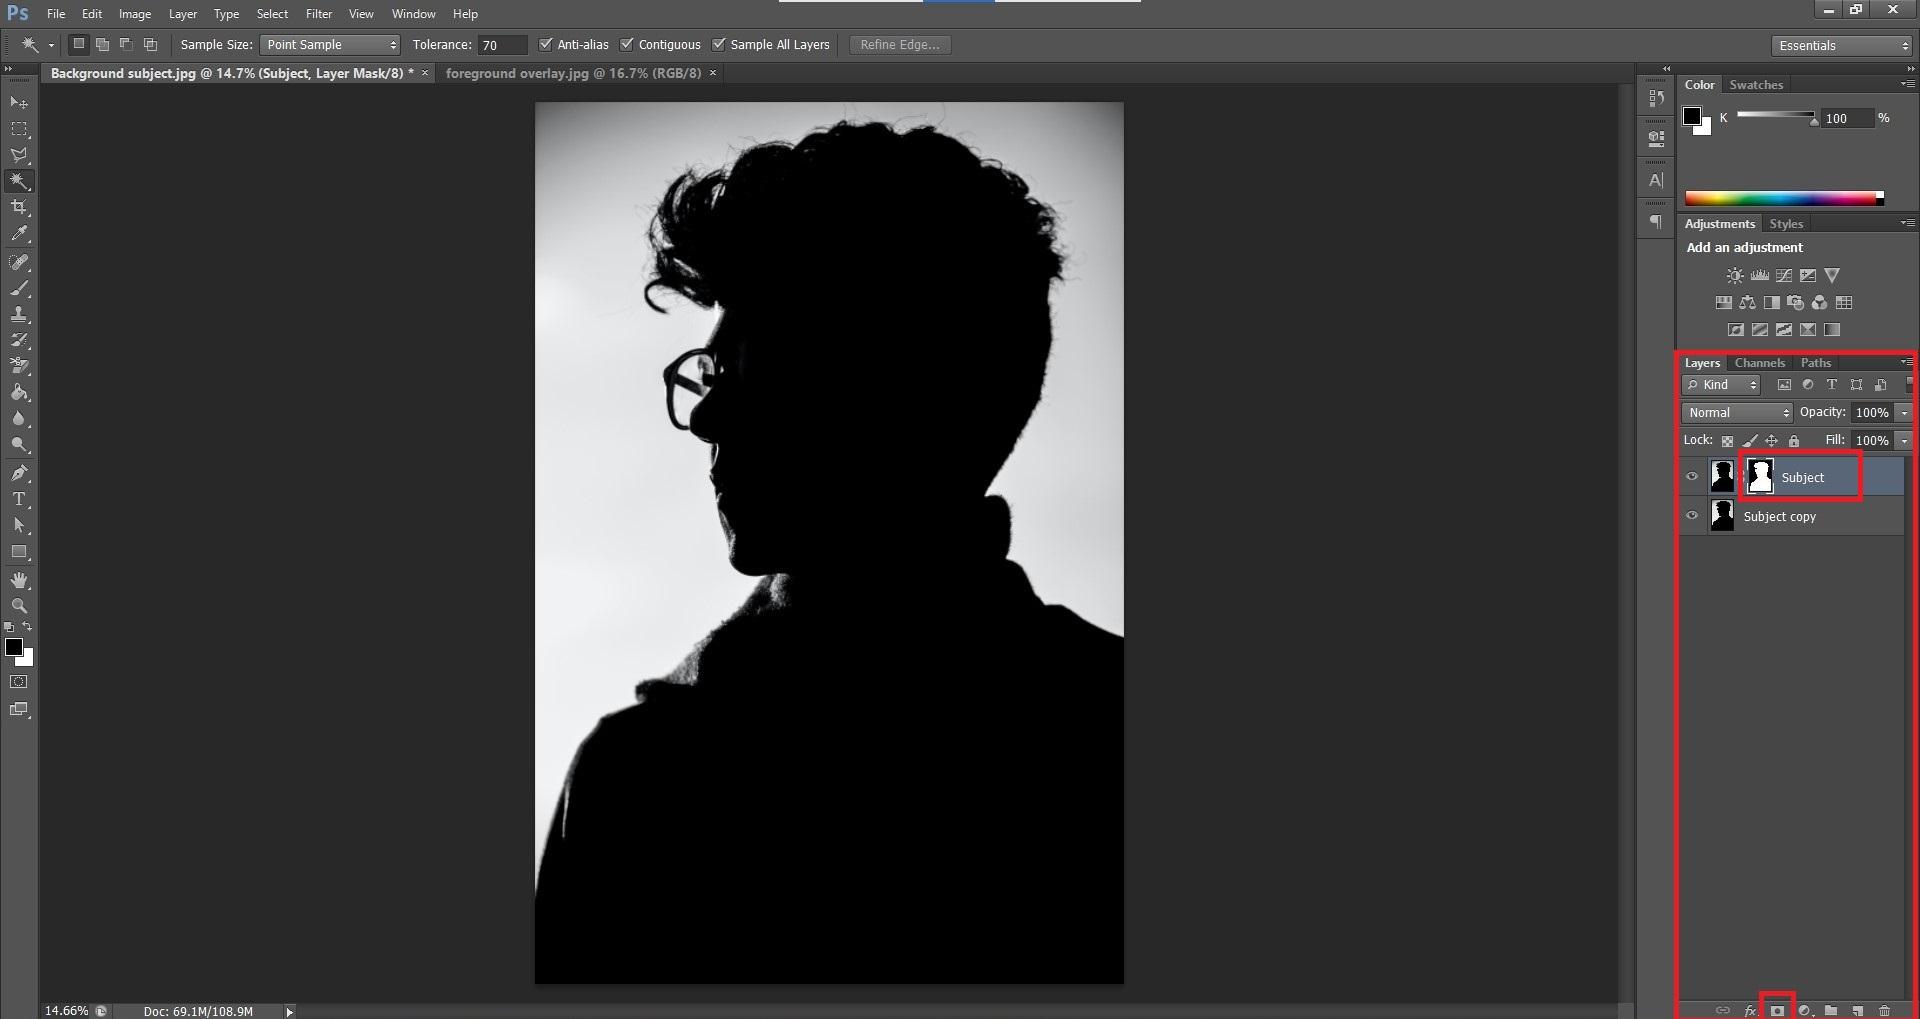
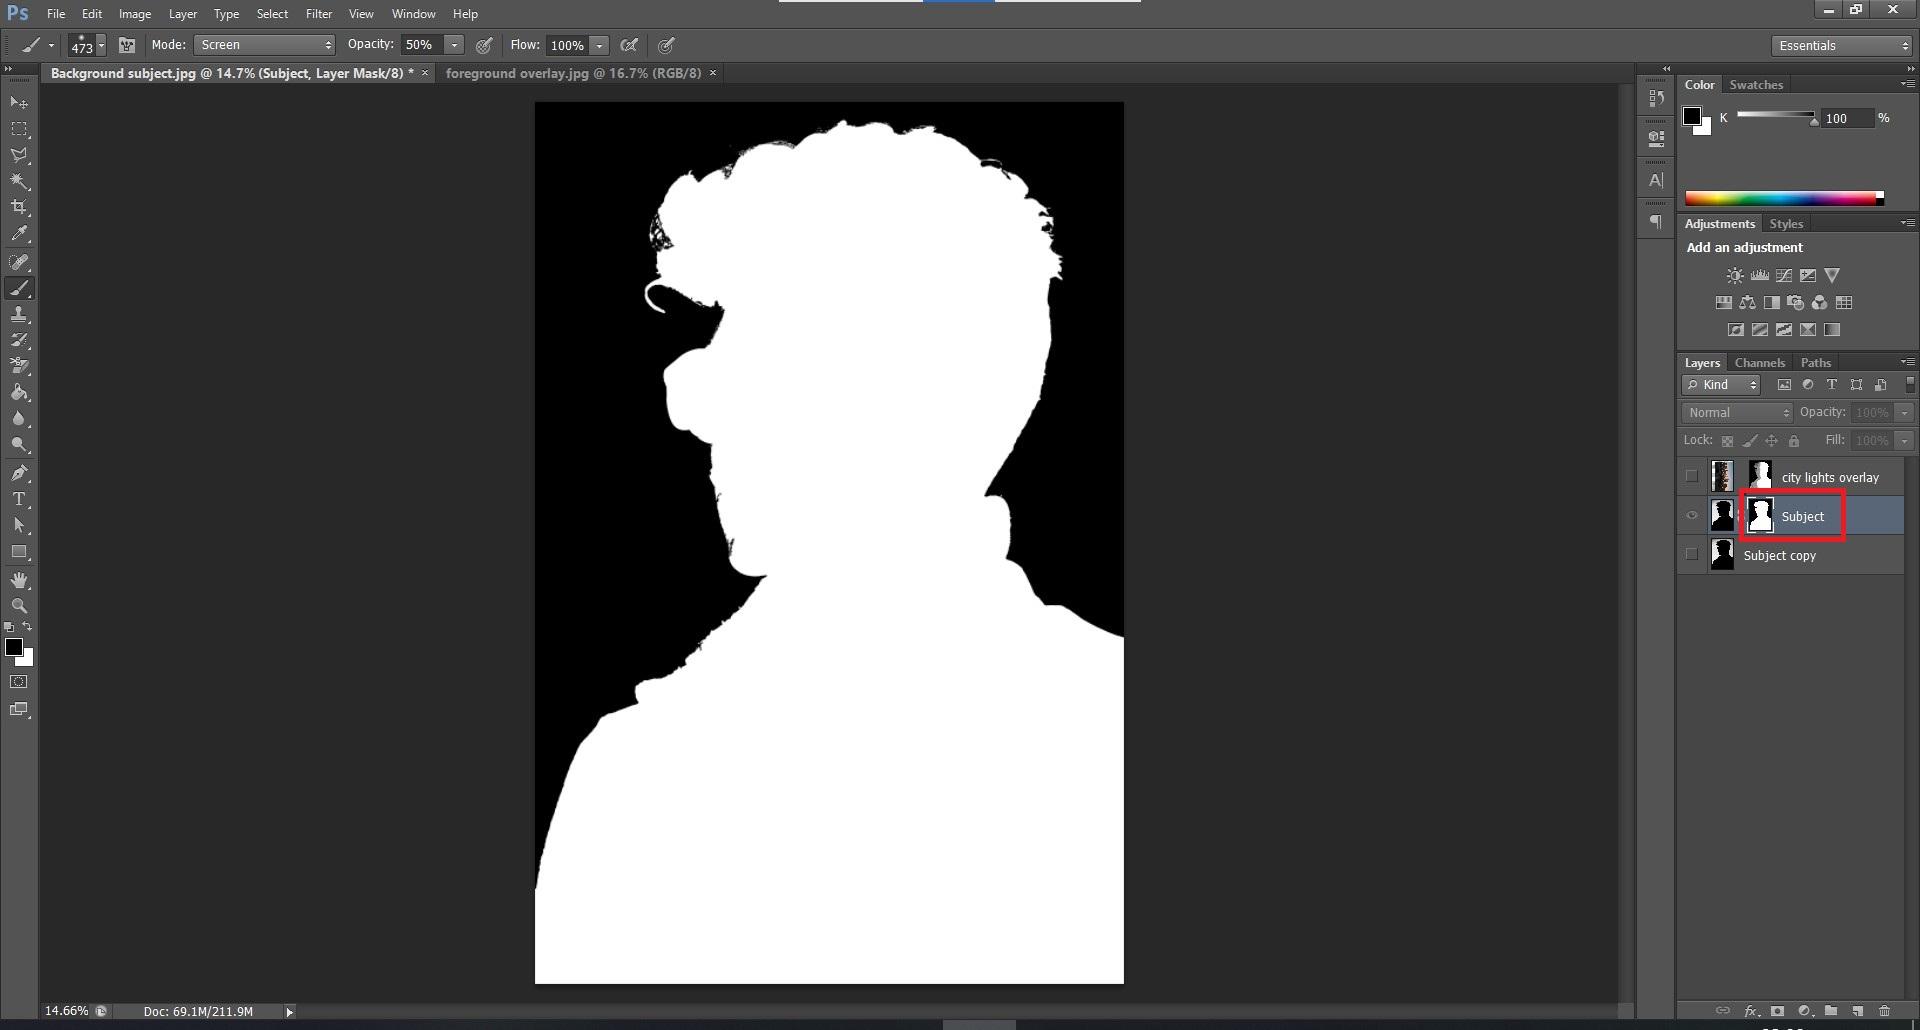
Now, we'll isolate the subject and create a layer mask.
- To do this, first select the subject. This can be done by using the Magic wand tool (W) and clicking on the black area. You should now see the selected area with a line of marching ants around the selection. I've been told that newer versions of Photoshop have a ready button to select the subject in an image.
- Next we'll create a layer mask. With the selected area, go to Layer > Layer Mask > Reveal Selection. Alternatively, you can also press the Add vector Layer mask shortcut button (small rectangular button with a circle cutout) which is at the bottom right corner.
- Now your layer mask is ready! If you press Alt + click on the layer mask, it should highlight the selected area in white (as shown in the third image)
Open the Second Image in Photoshop and Create the Overlay
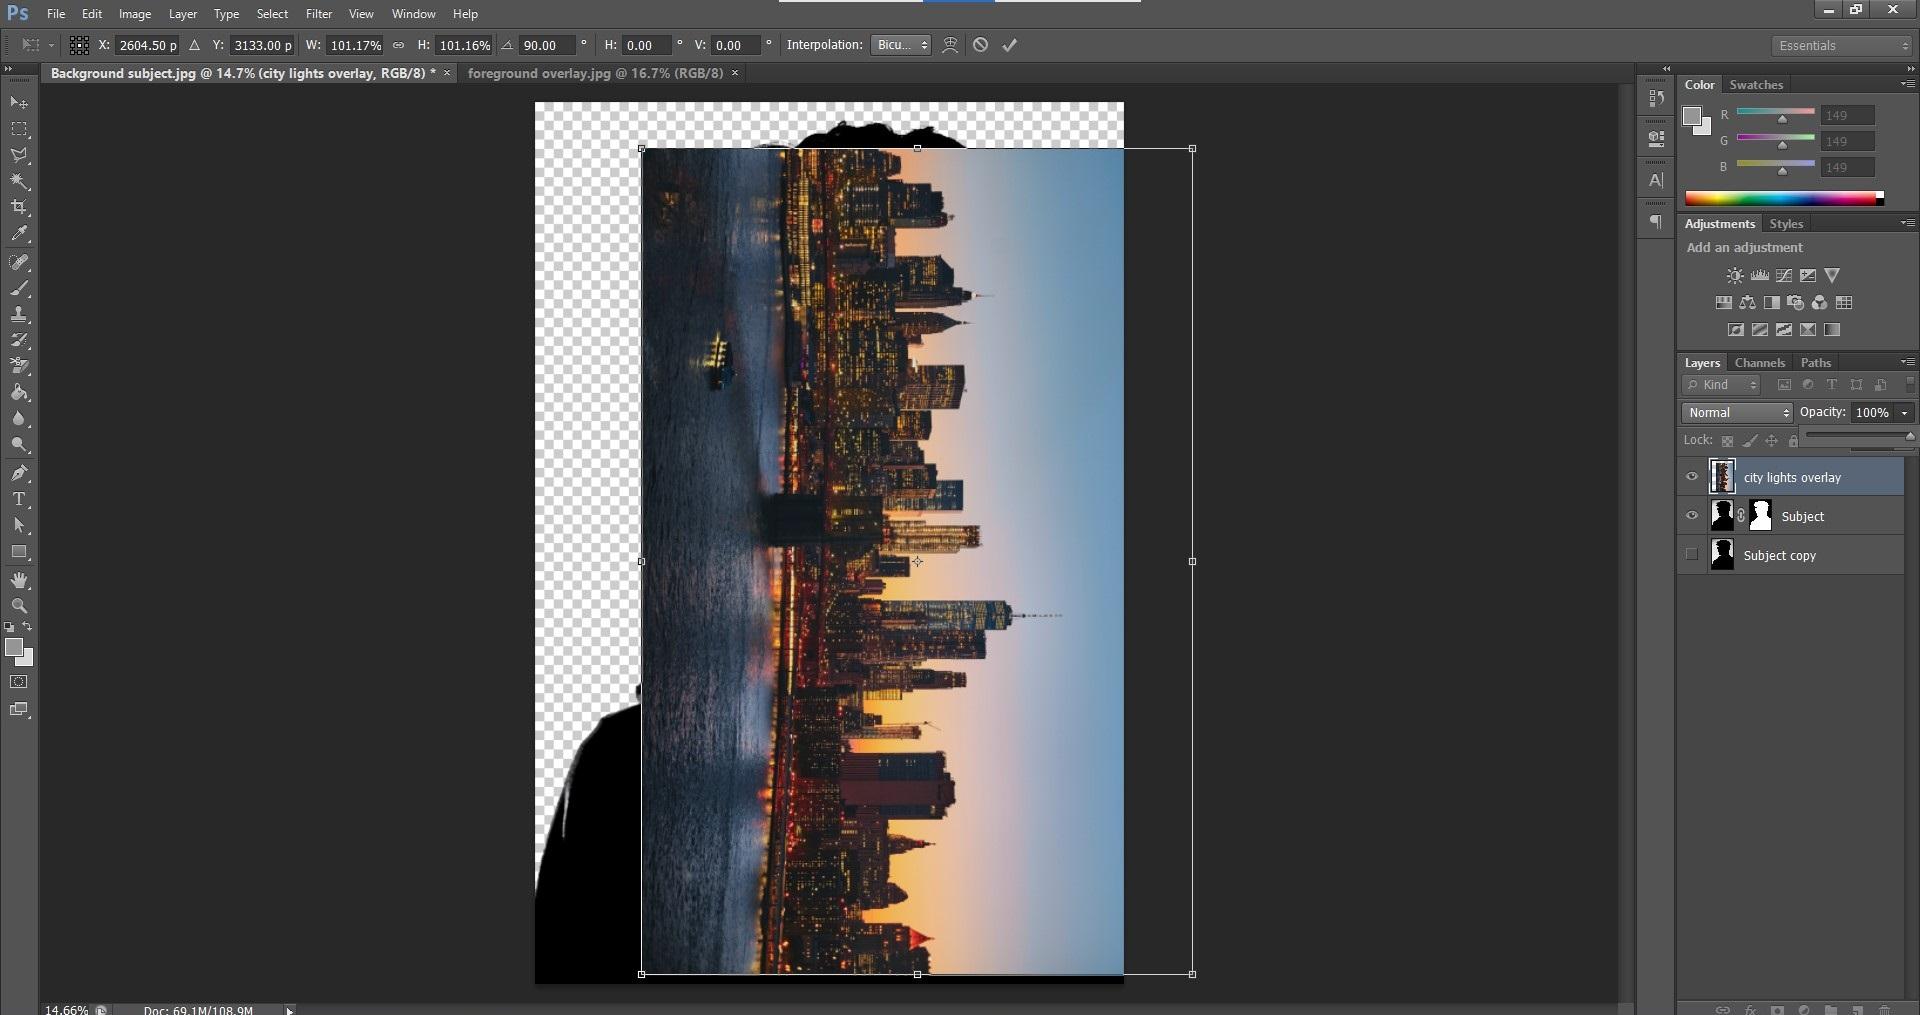
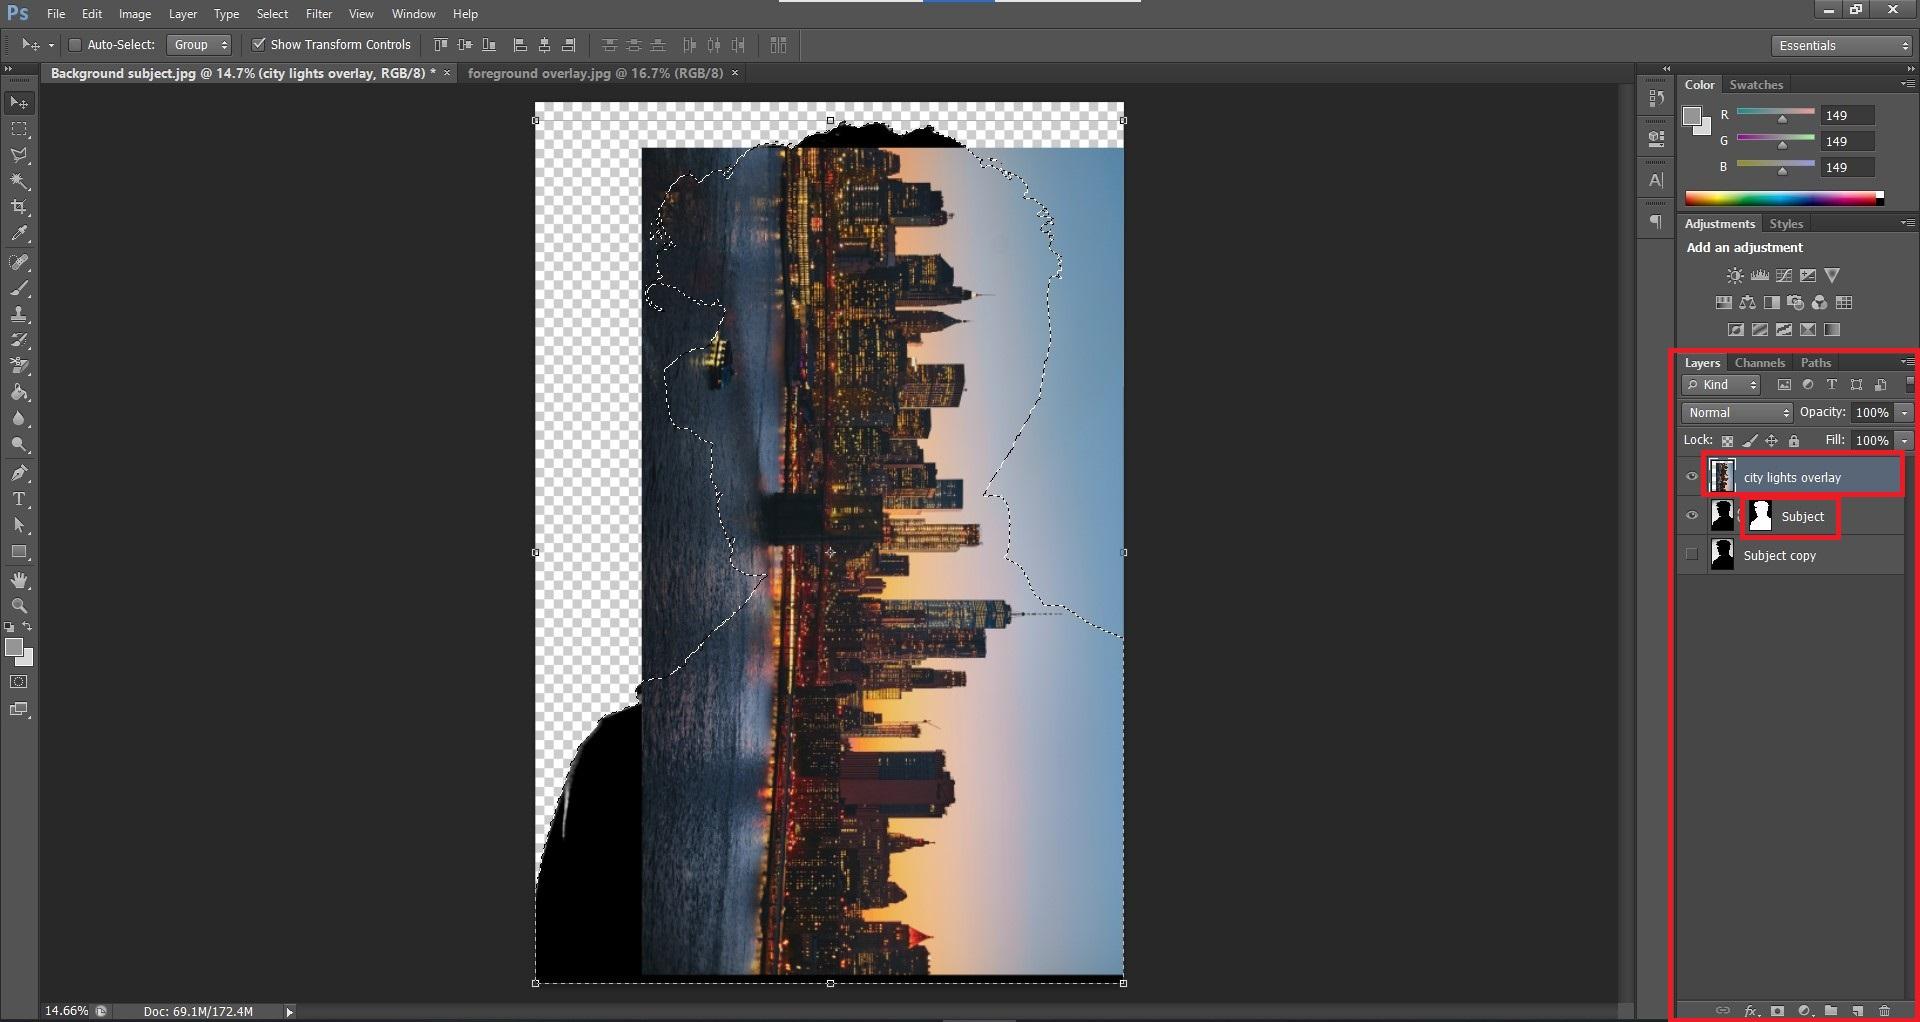
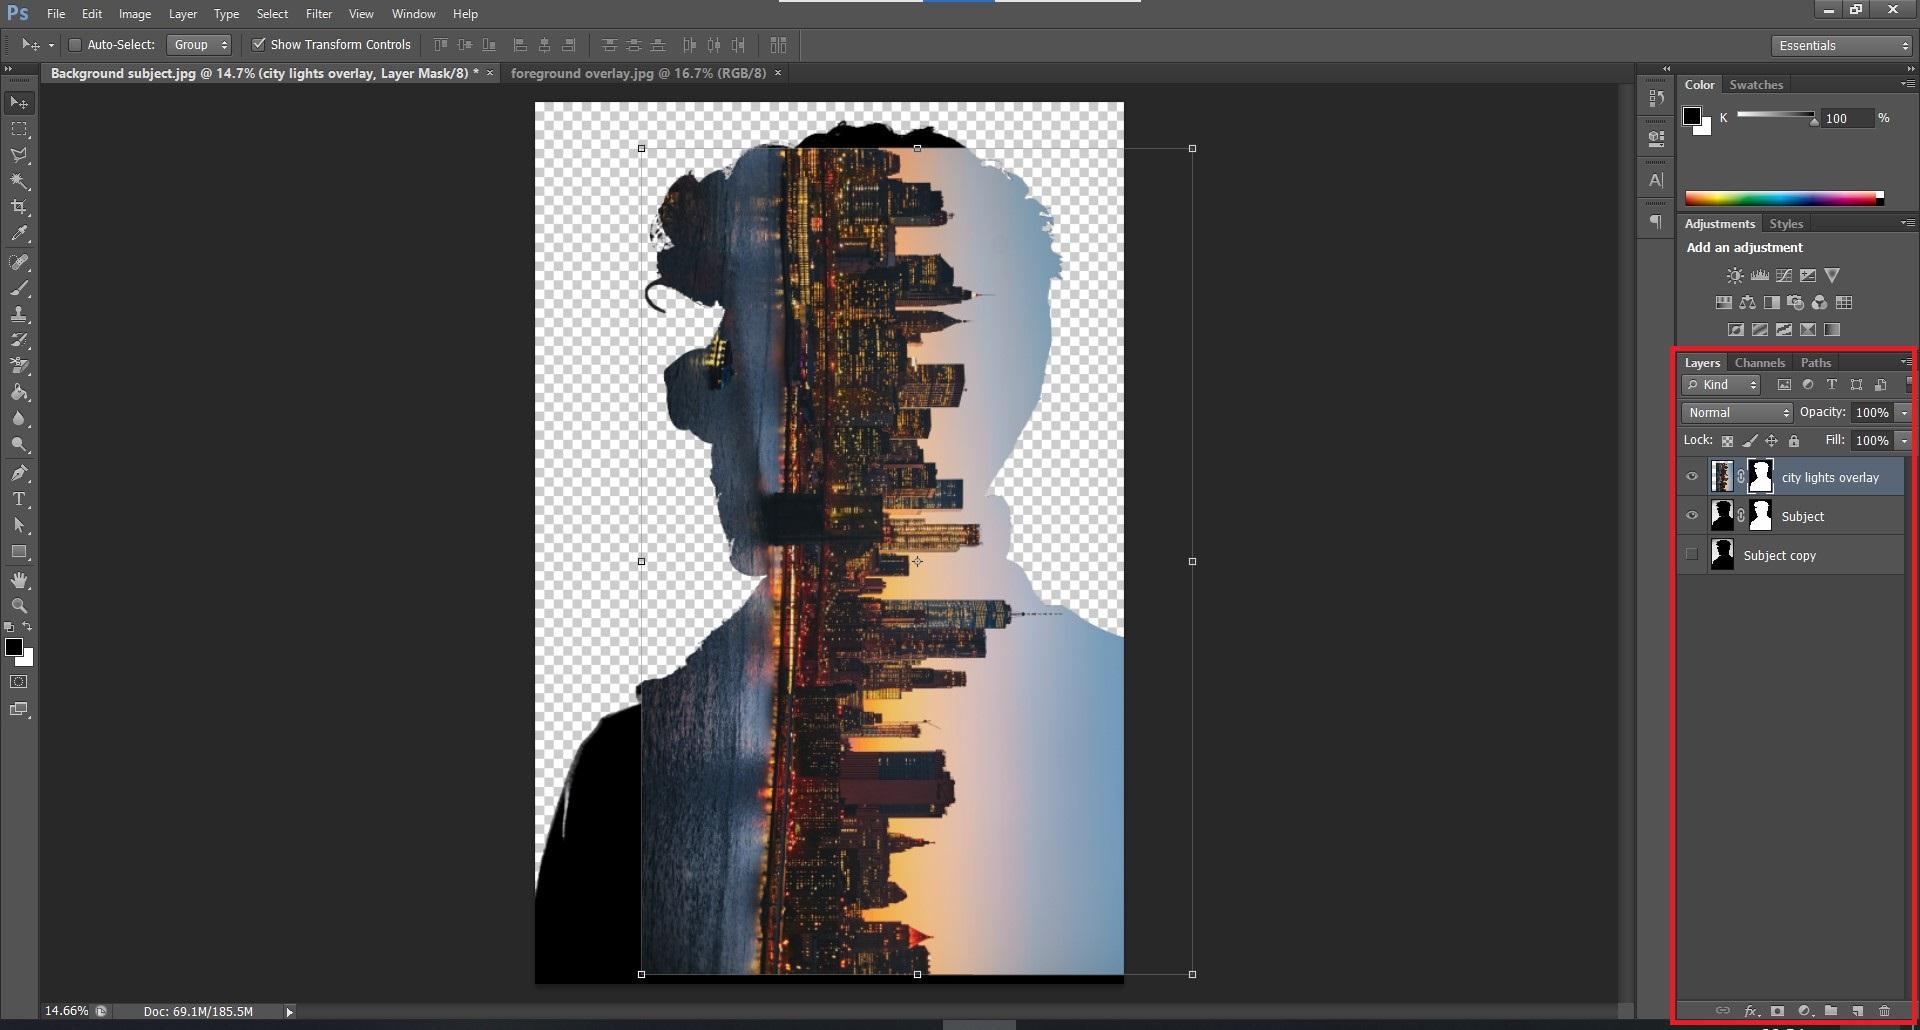
To open the second image, go to File > Place and select the image. Now place the image according to your liking.
To Create the Overlay Layer Mask-
- Select the overlay image, press Ctrl/Cmd and click on the layer mask of the background subject (that we created in the previous step).
- You should now see a line of marching ants over your layer mask.
- Now click on the create layer mask button at the bottom.
- The unnecessary areas will now get hidden and a second layer mask will now be created which shows the final selection!
Editing the Overlay
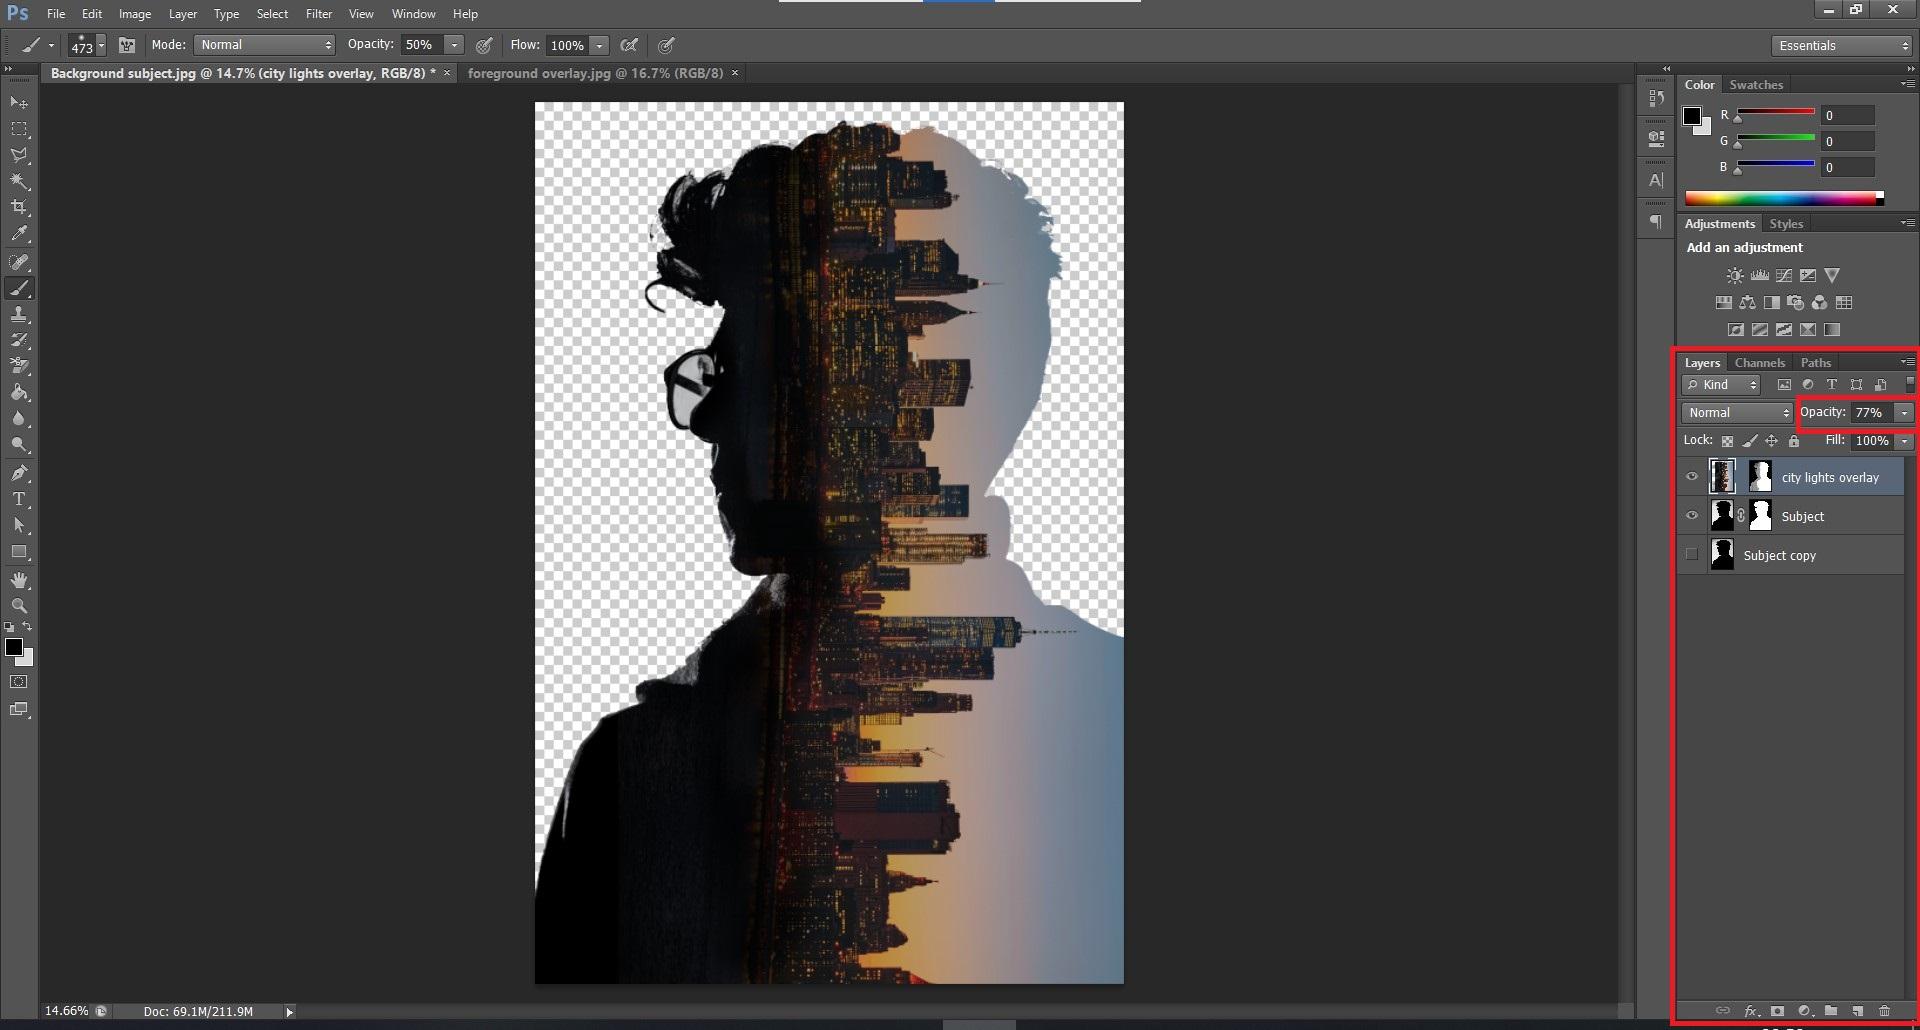
Lets make the image more creative.
- I reduced the opacity of the overlay layer to 77%.
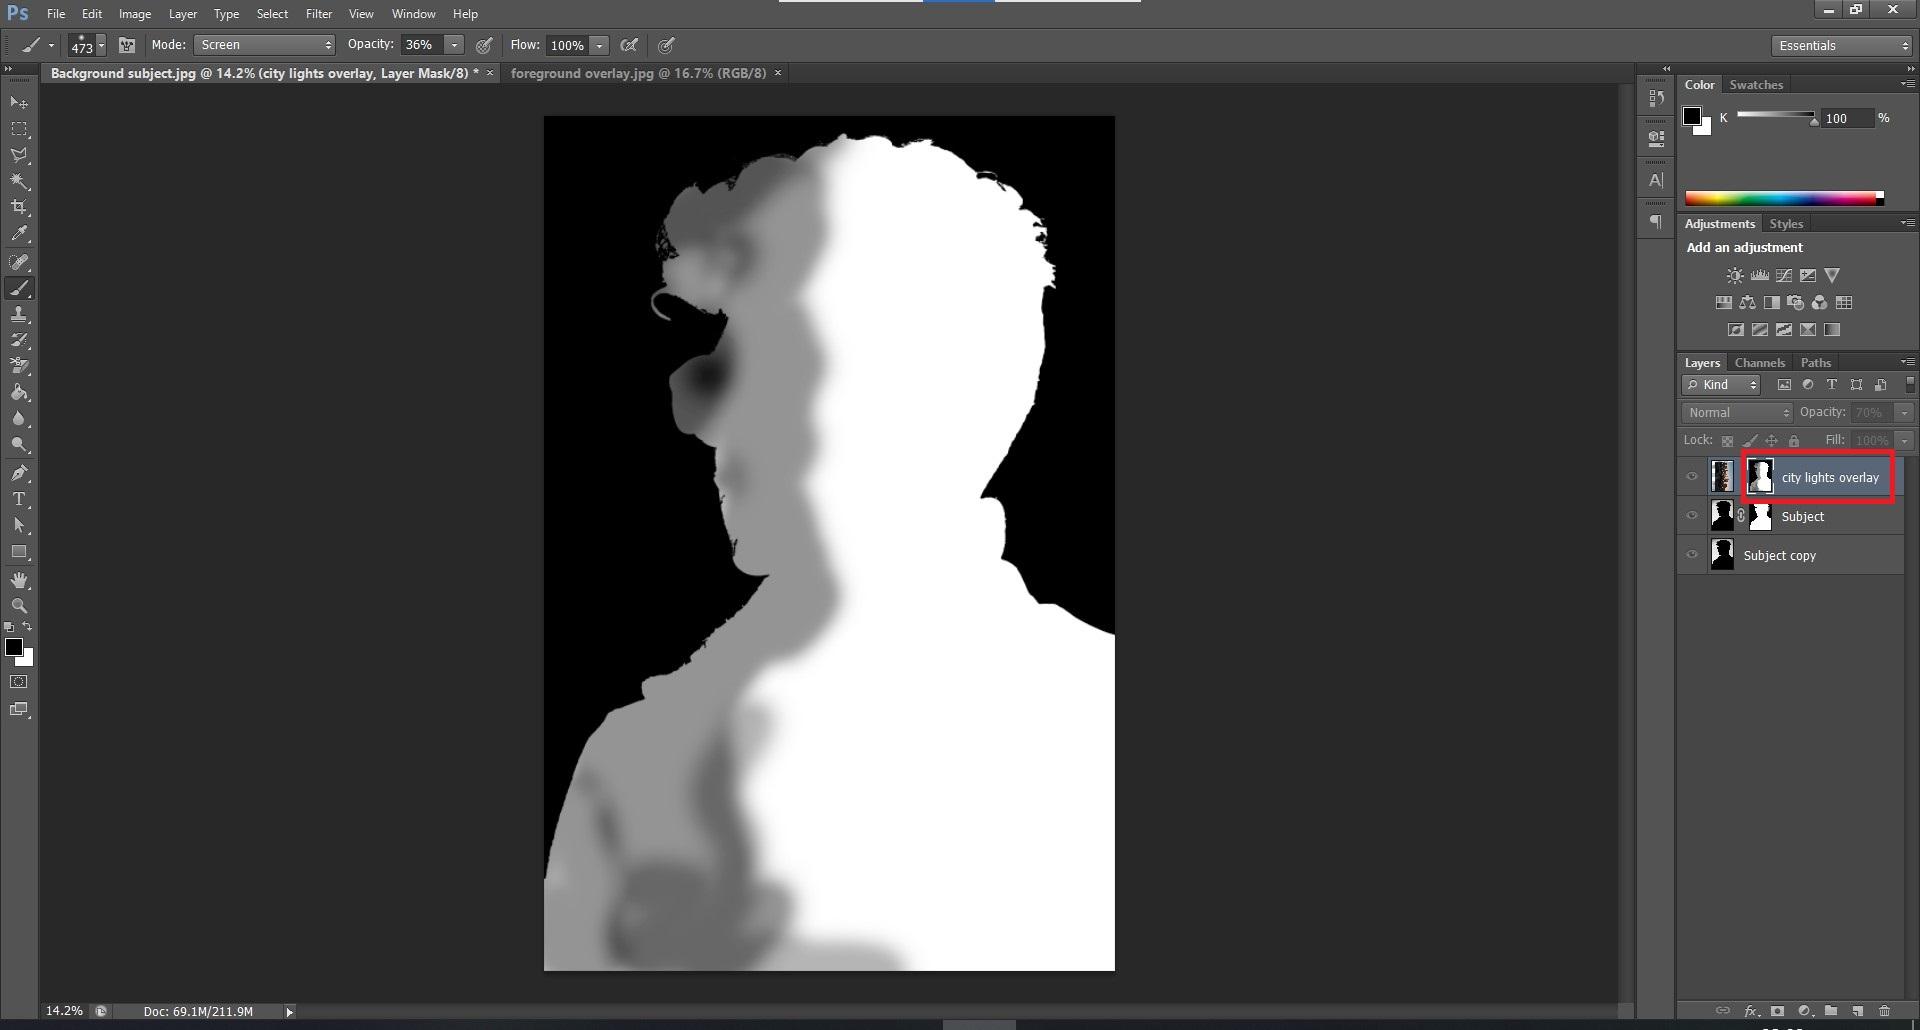
- Then using a brush tool (B) with black foreground colour and the foreground layer mask selected, I brushed over certain areas of the selection to darken them. (As is shown in the second image above).
- Painting with a white brush reveals areas of the mask and black brush hides areas from masked selection.
- The last step is to unhide the duplicate layer we created in the beginning, and this will show us the background again.
Your Final Image Is Now Done!
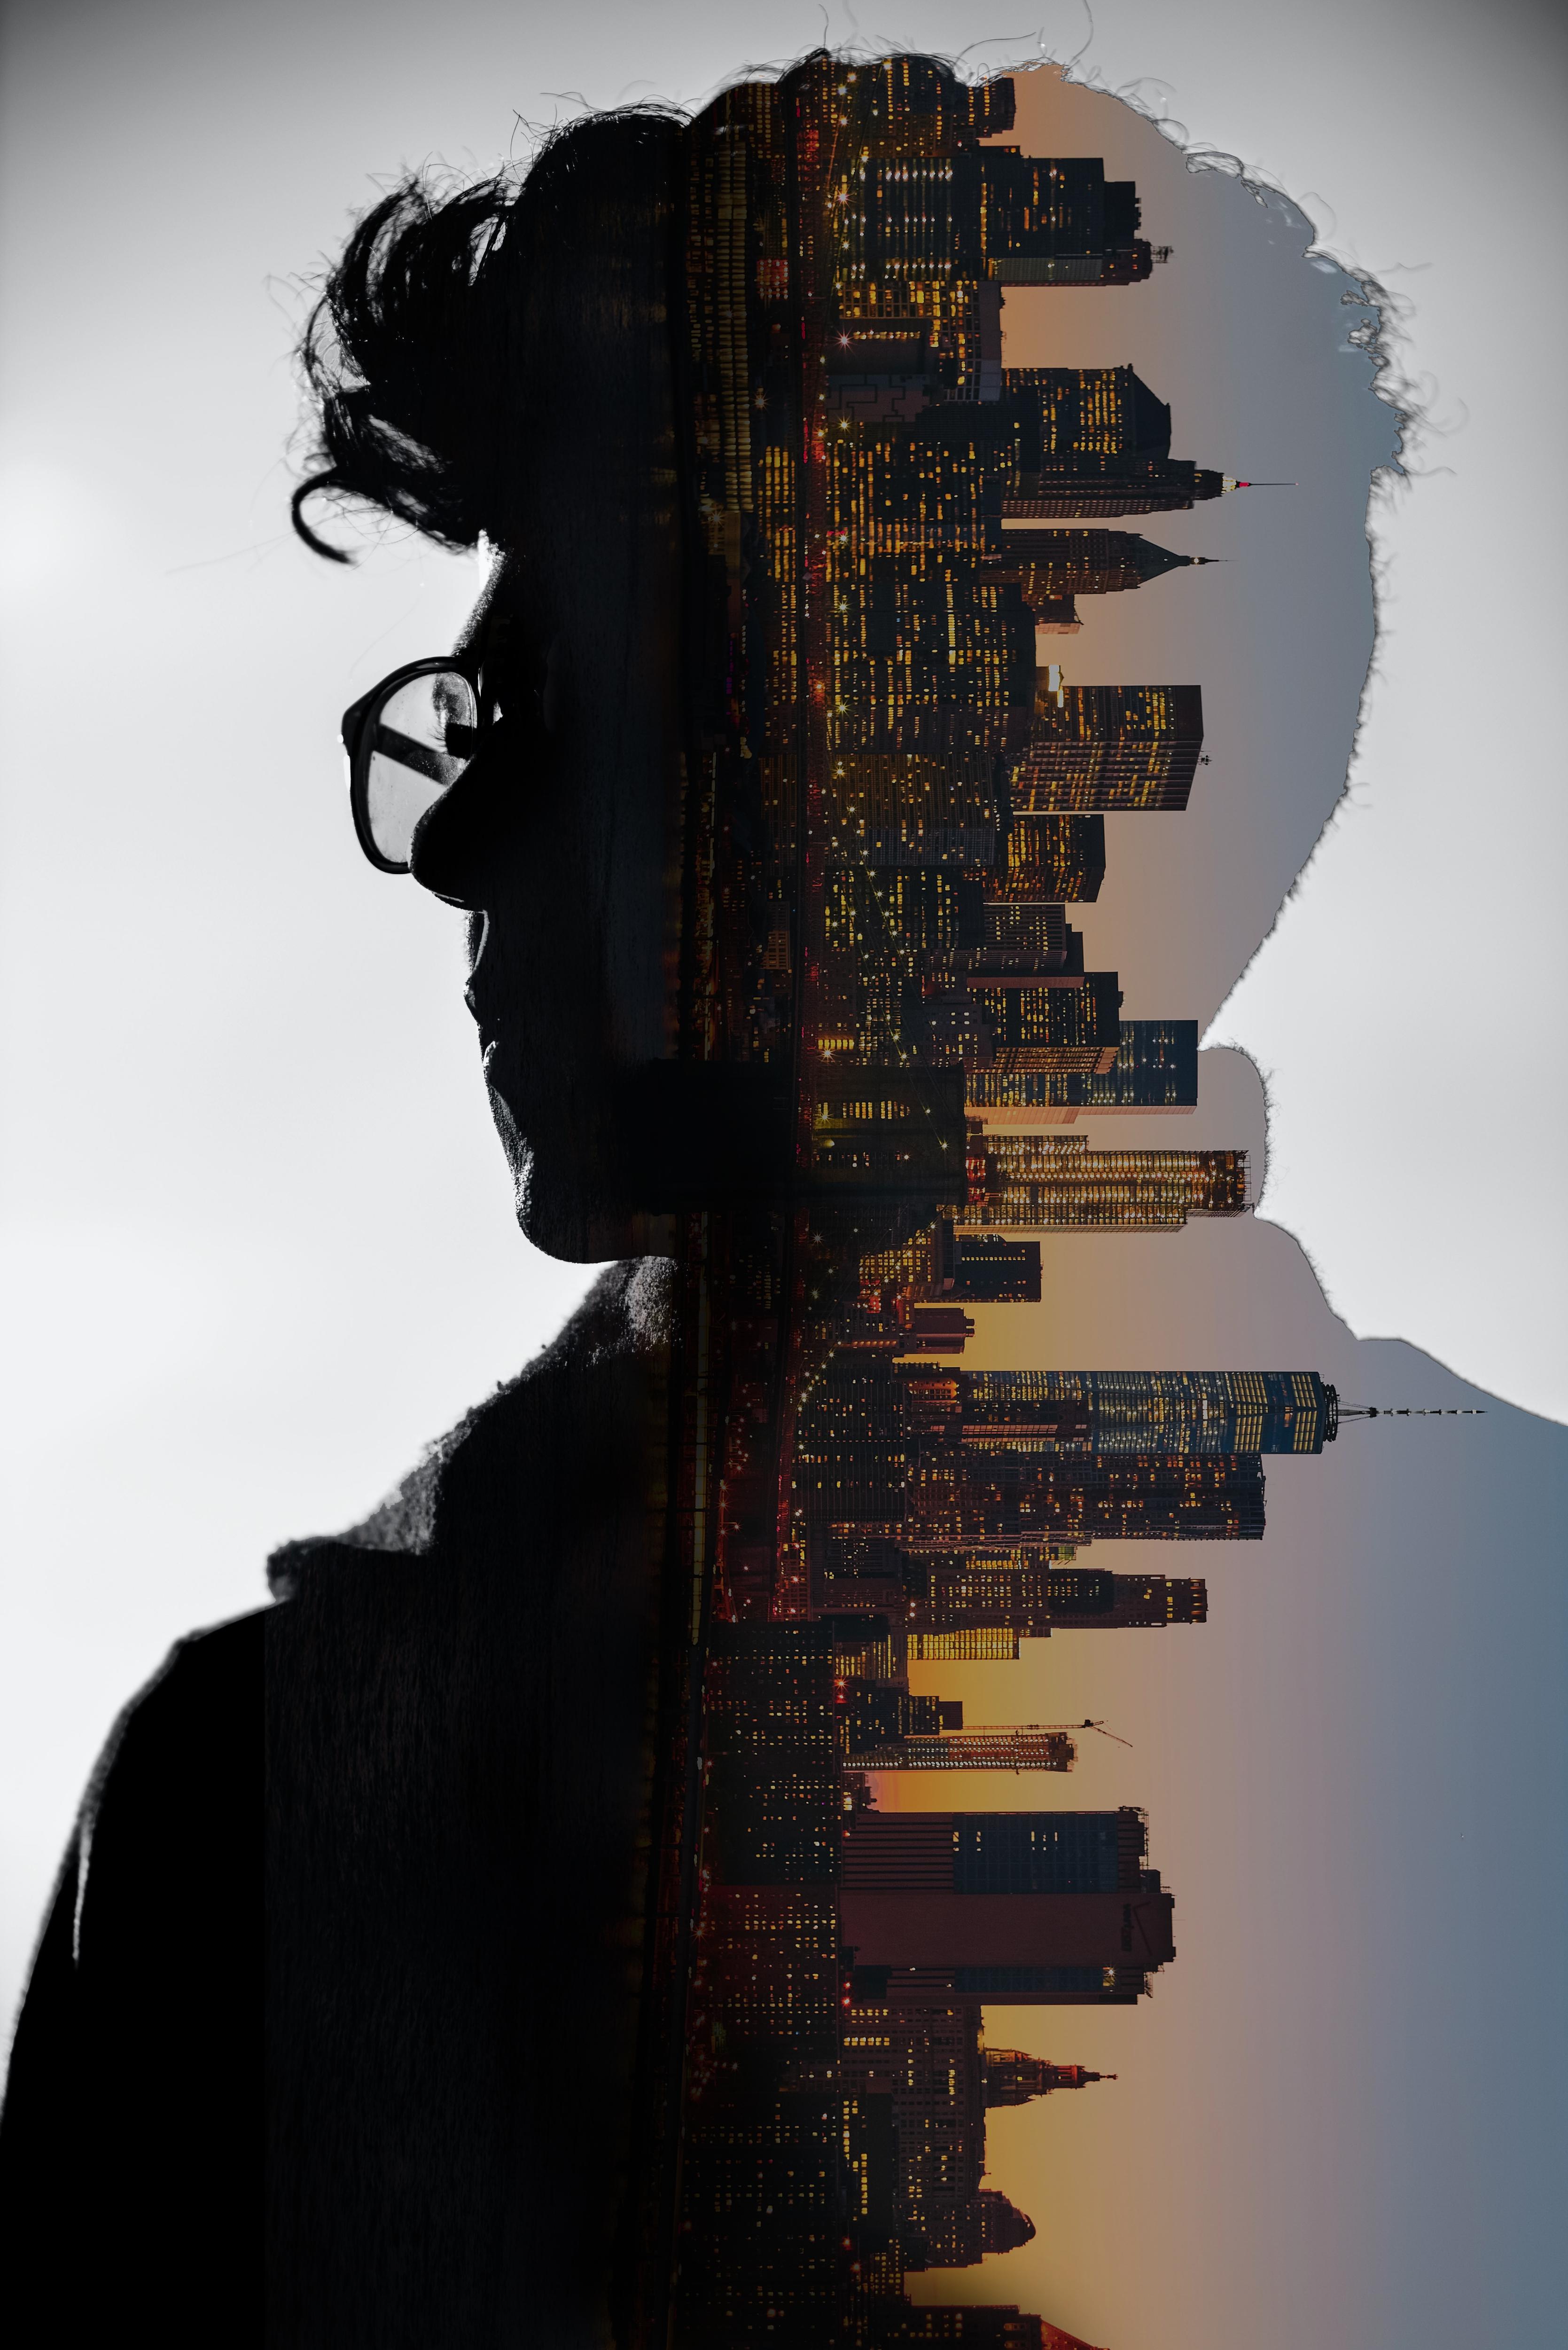
Our Double-Exposure image is now done!
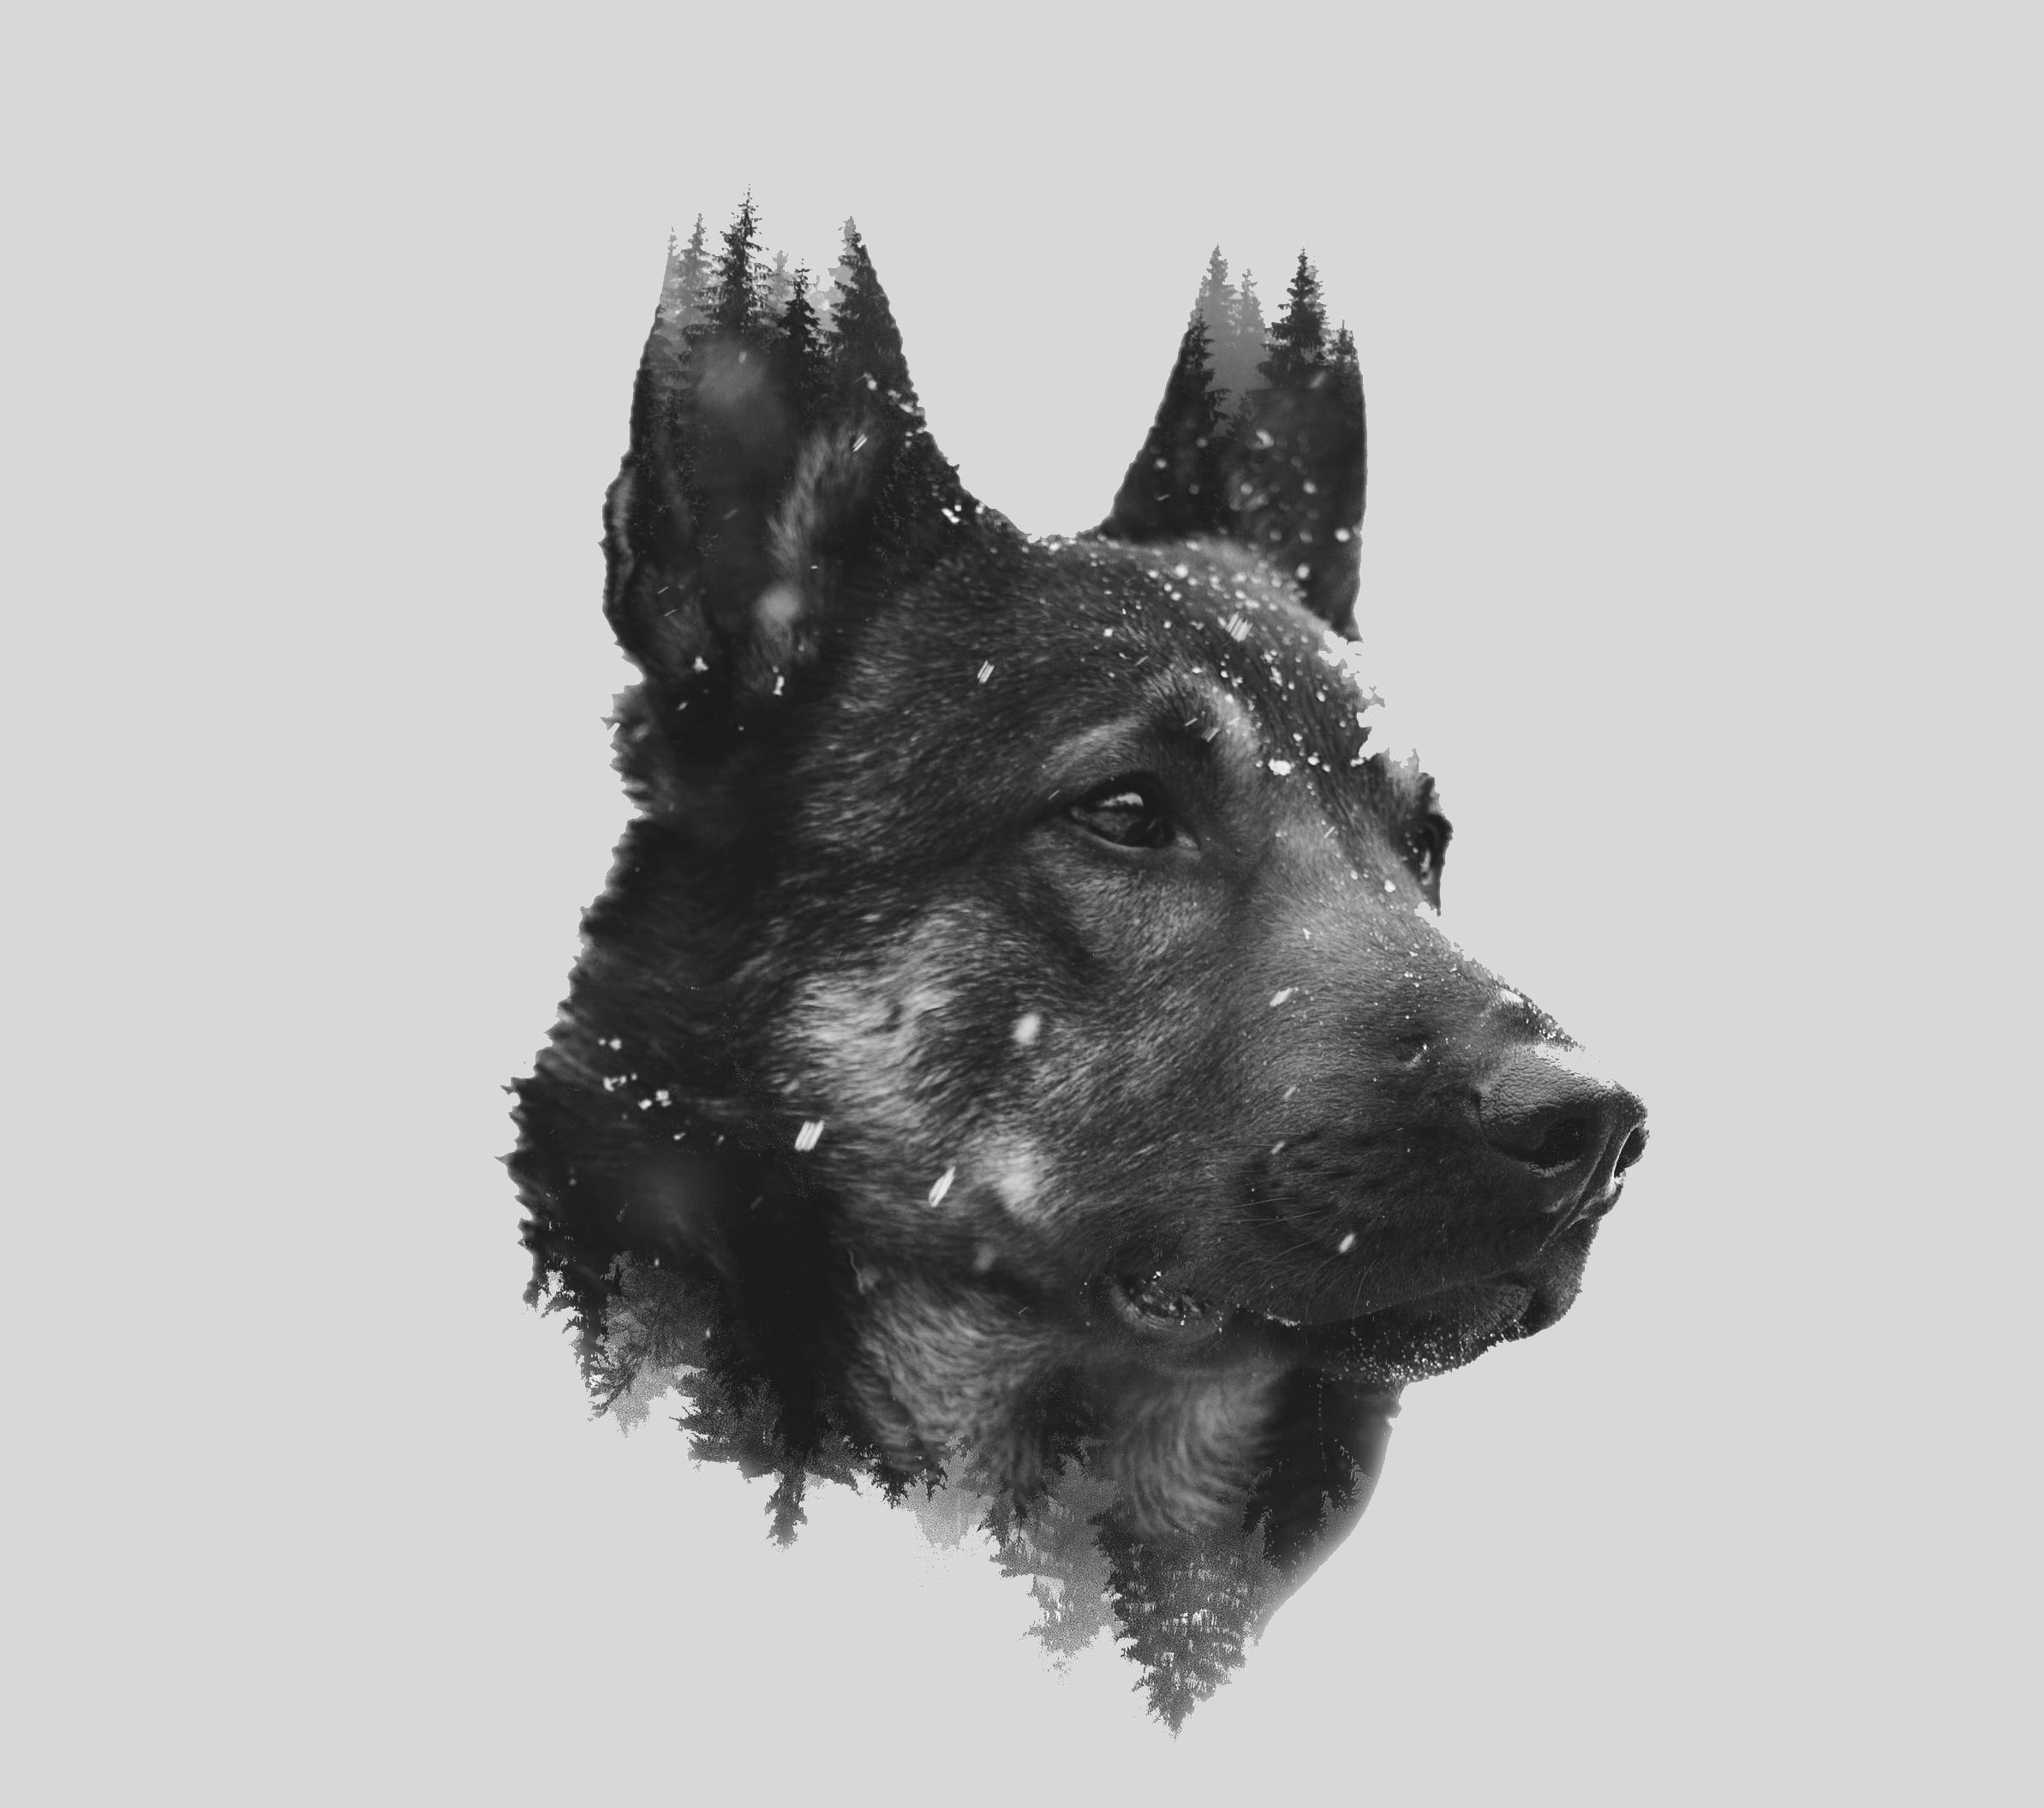
Animals
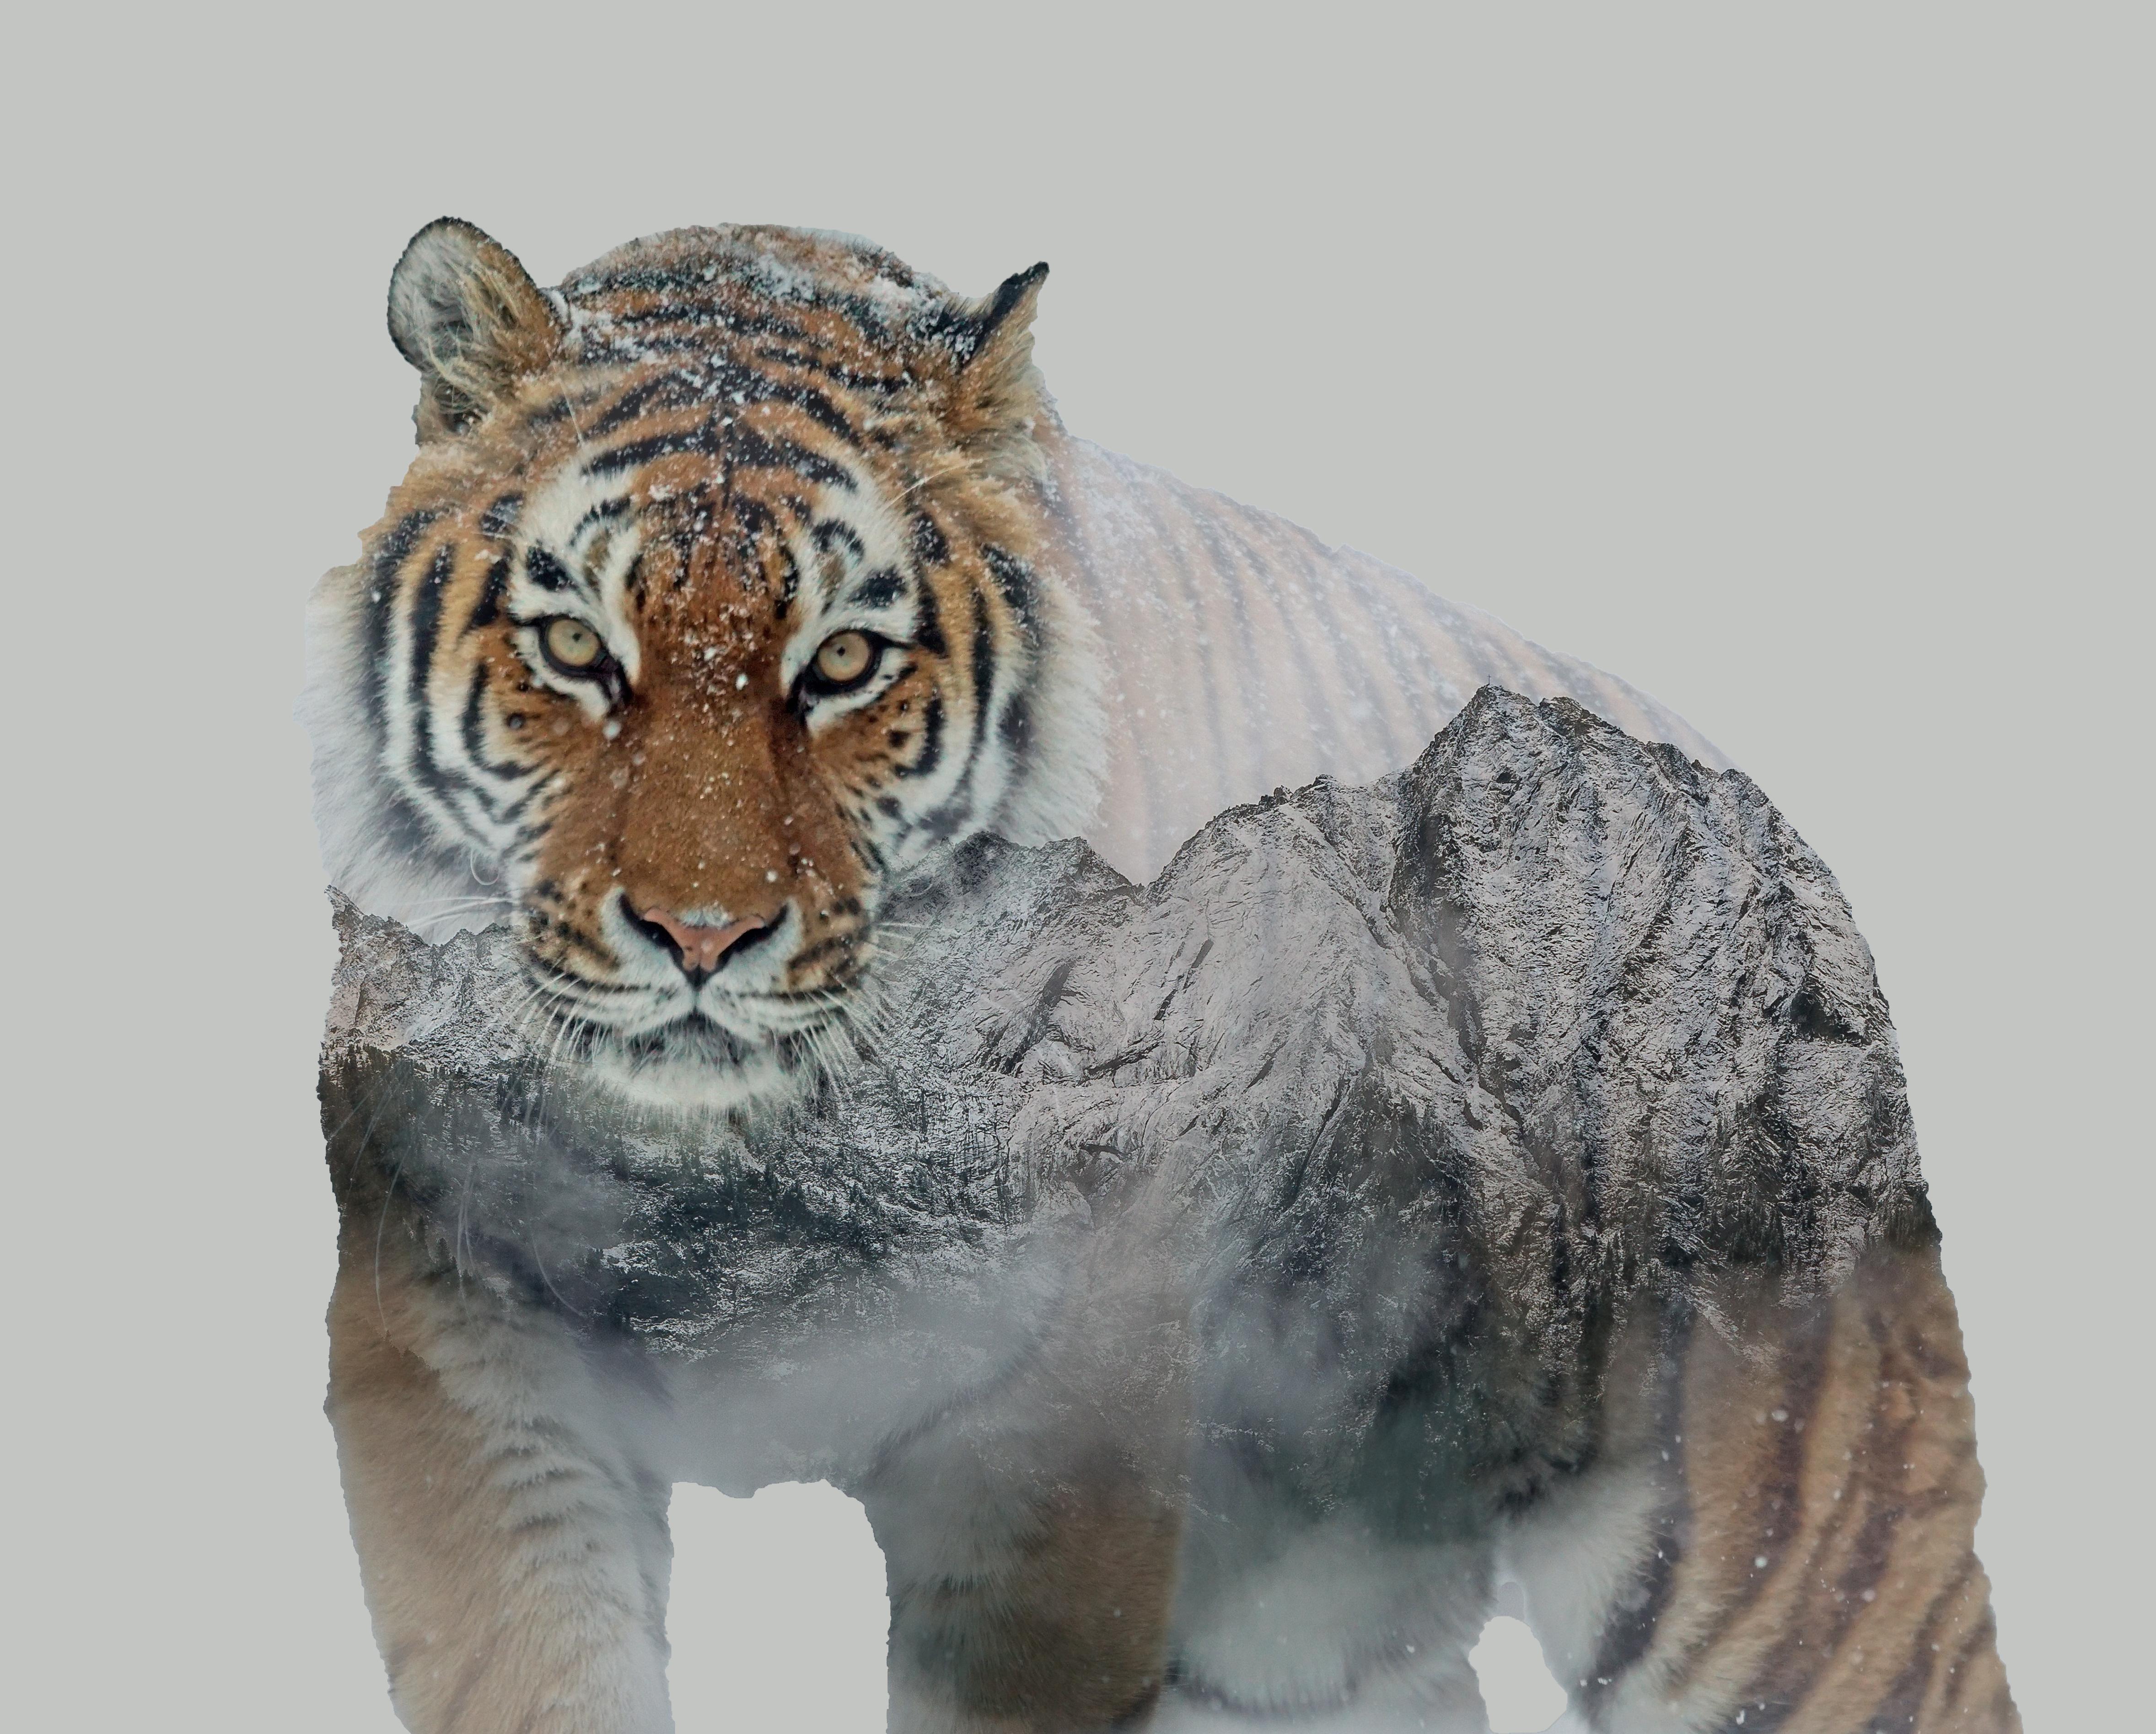
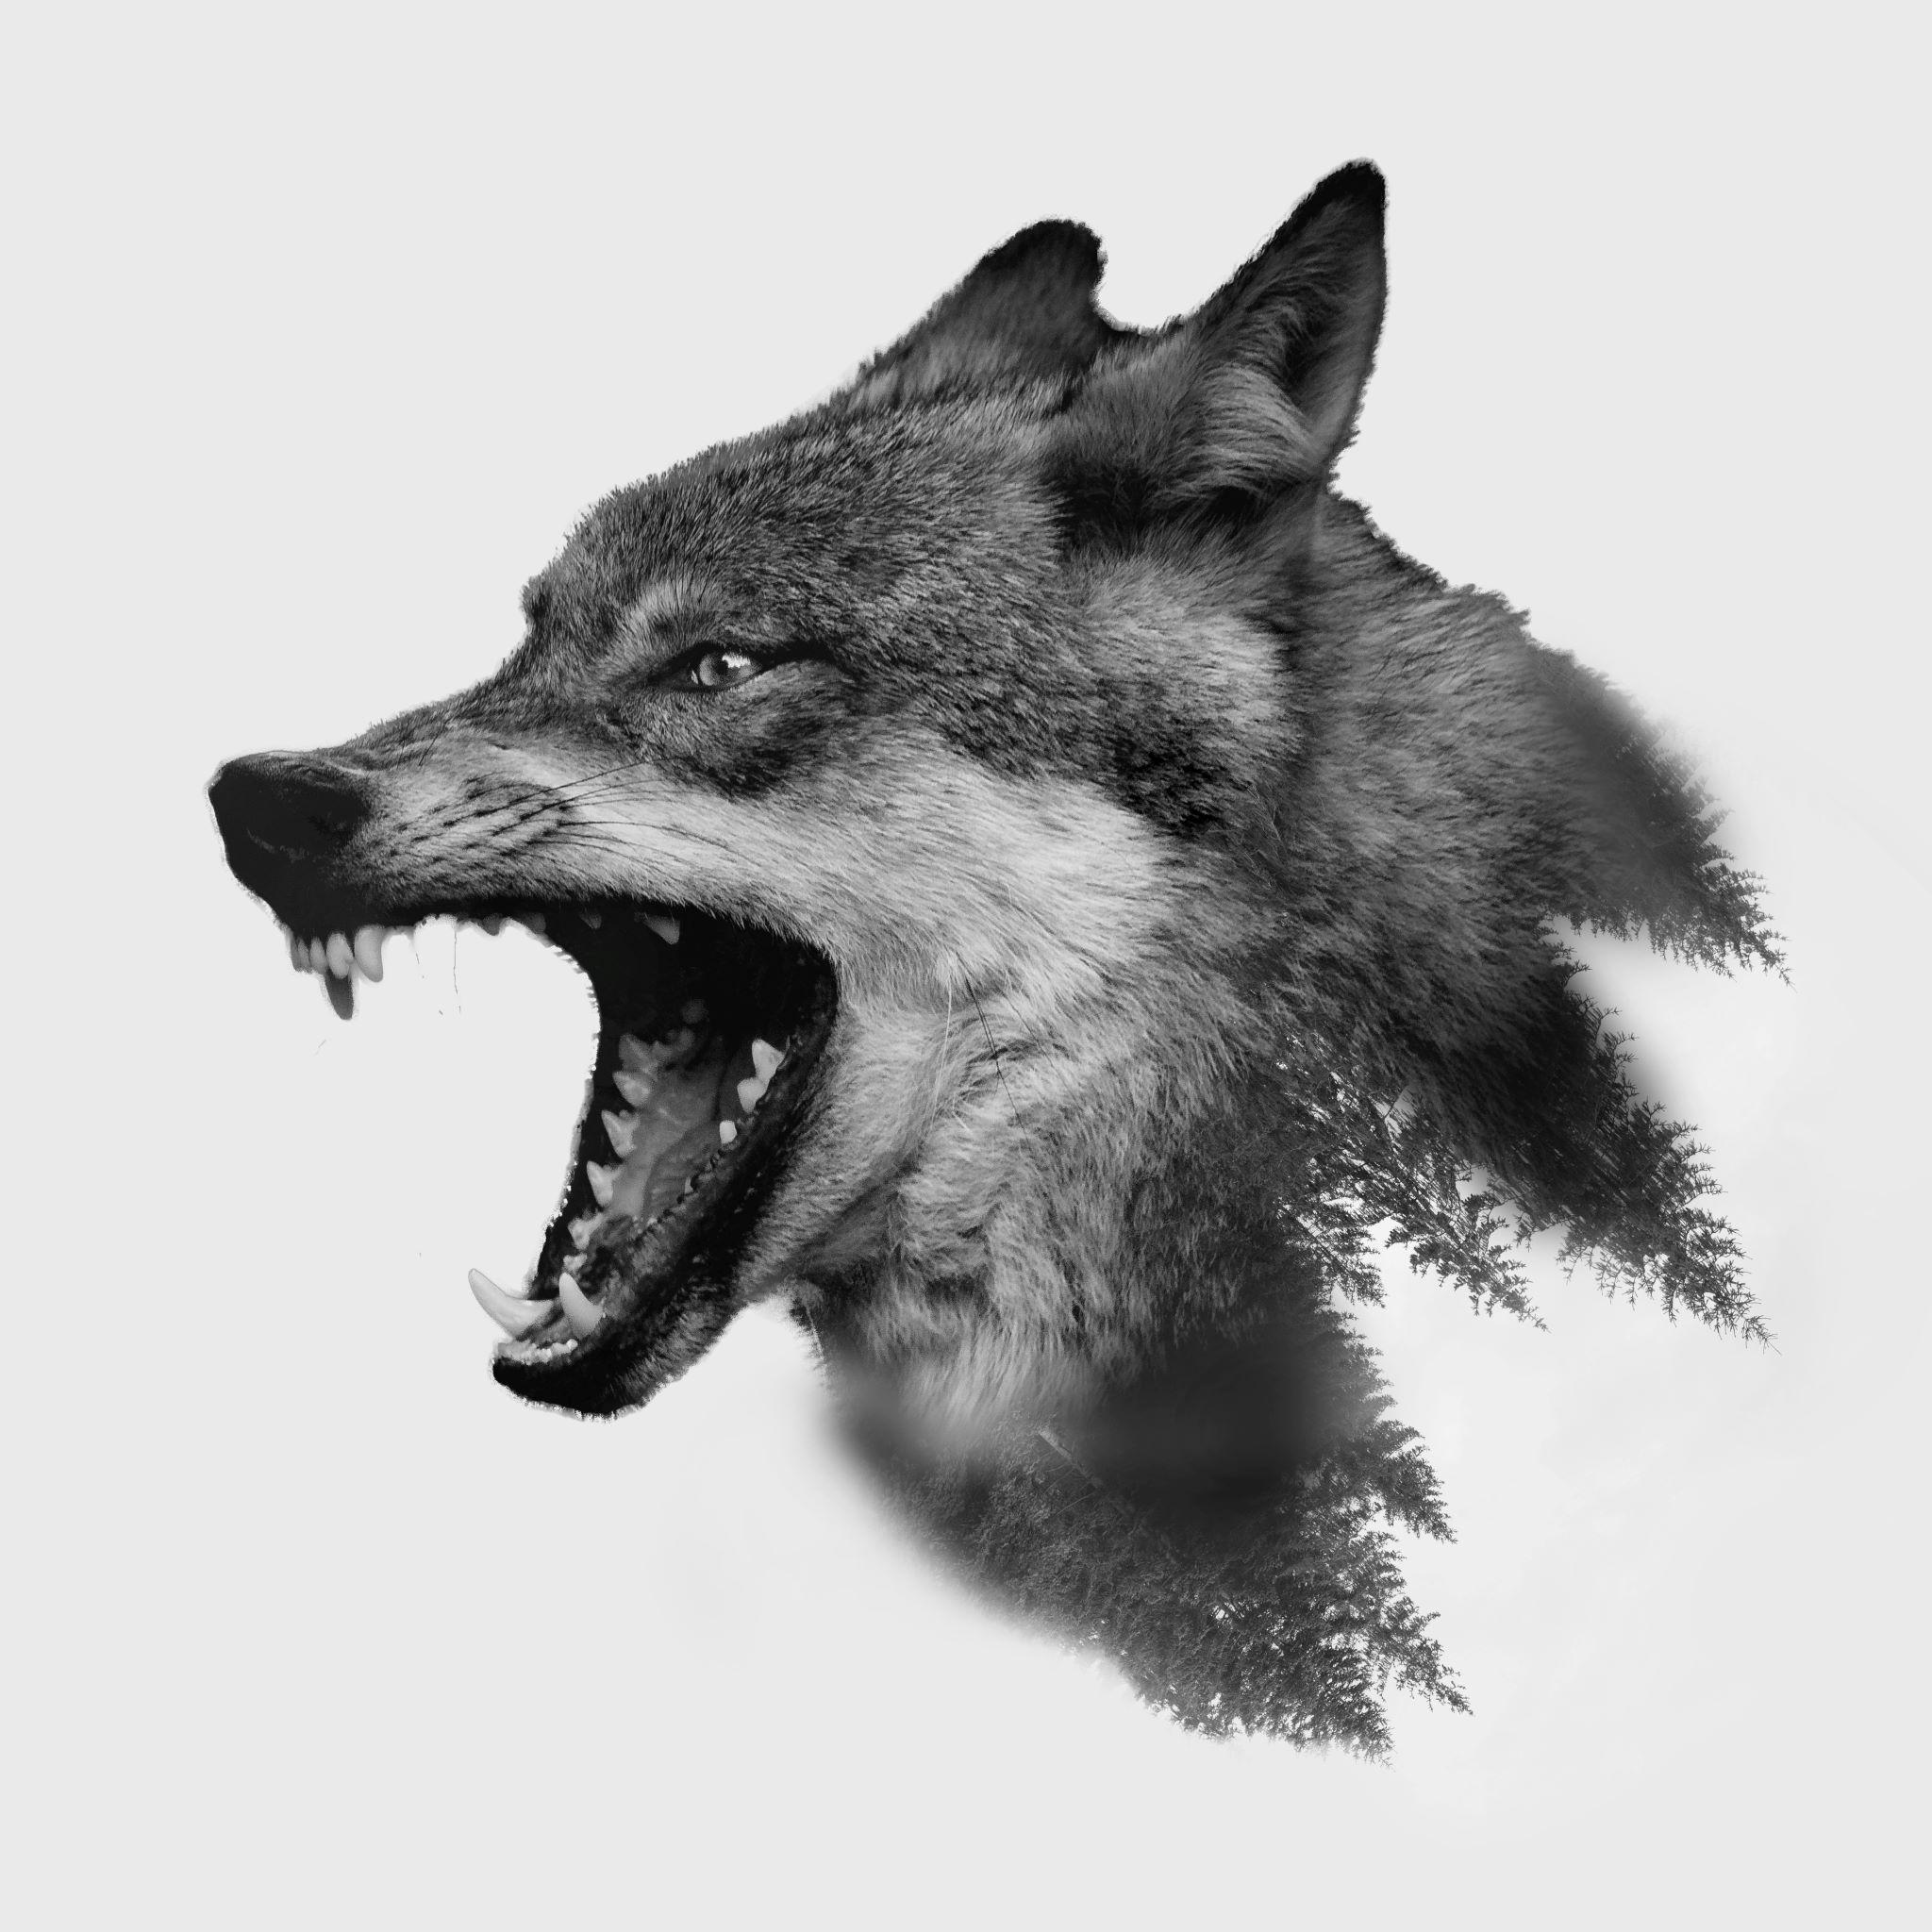
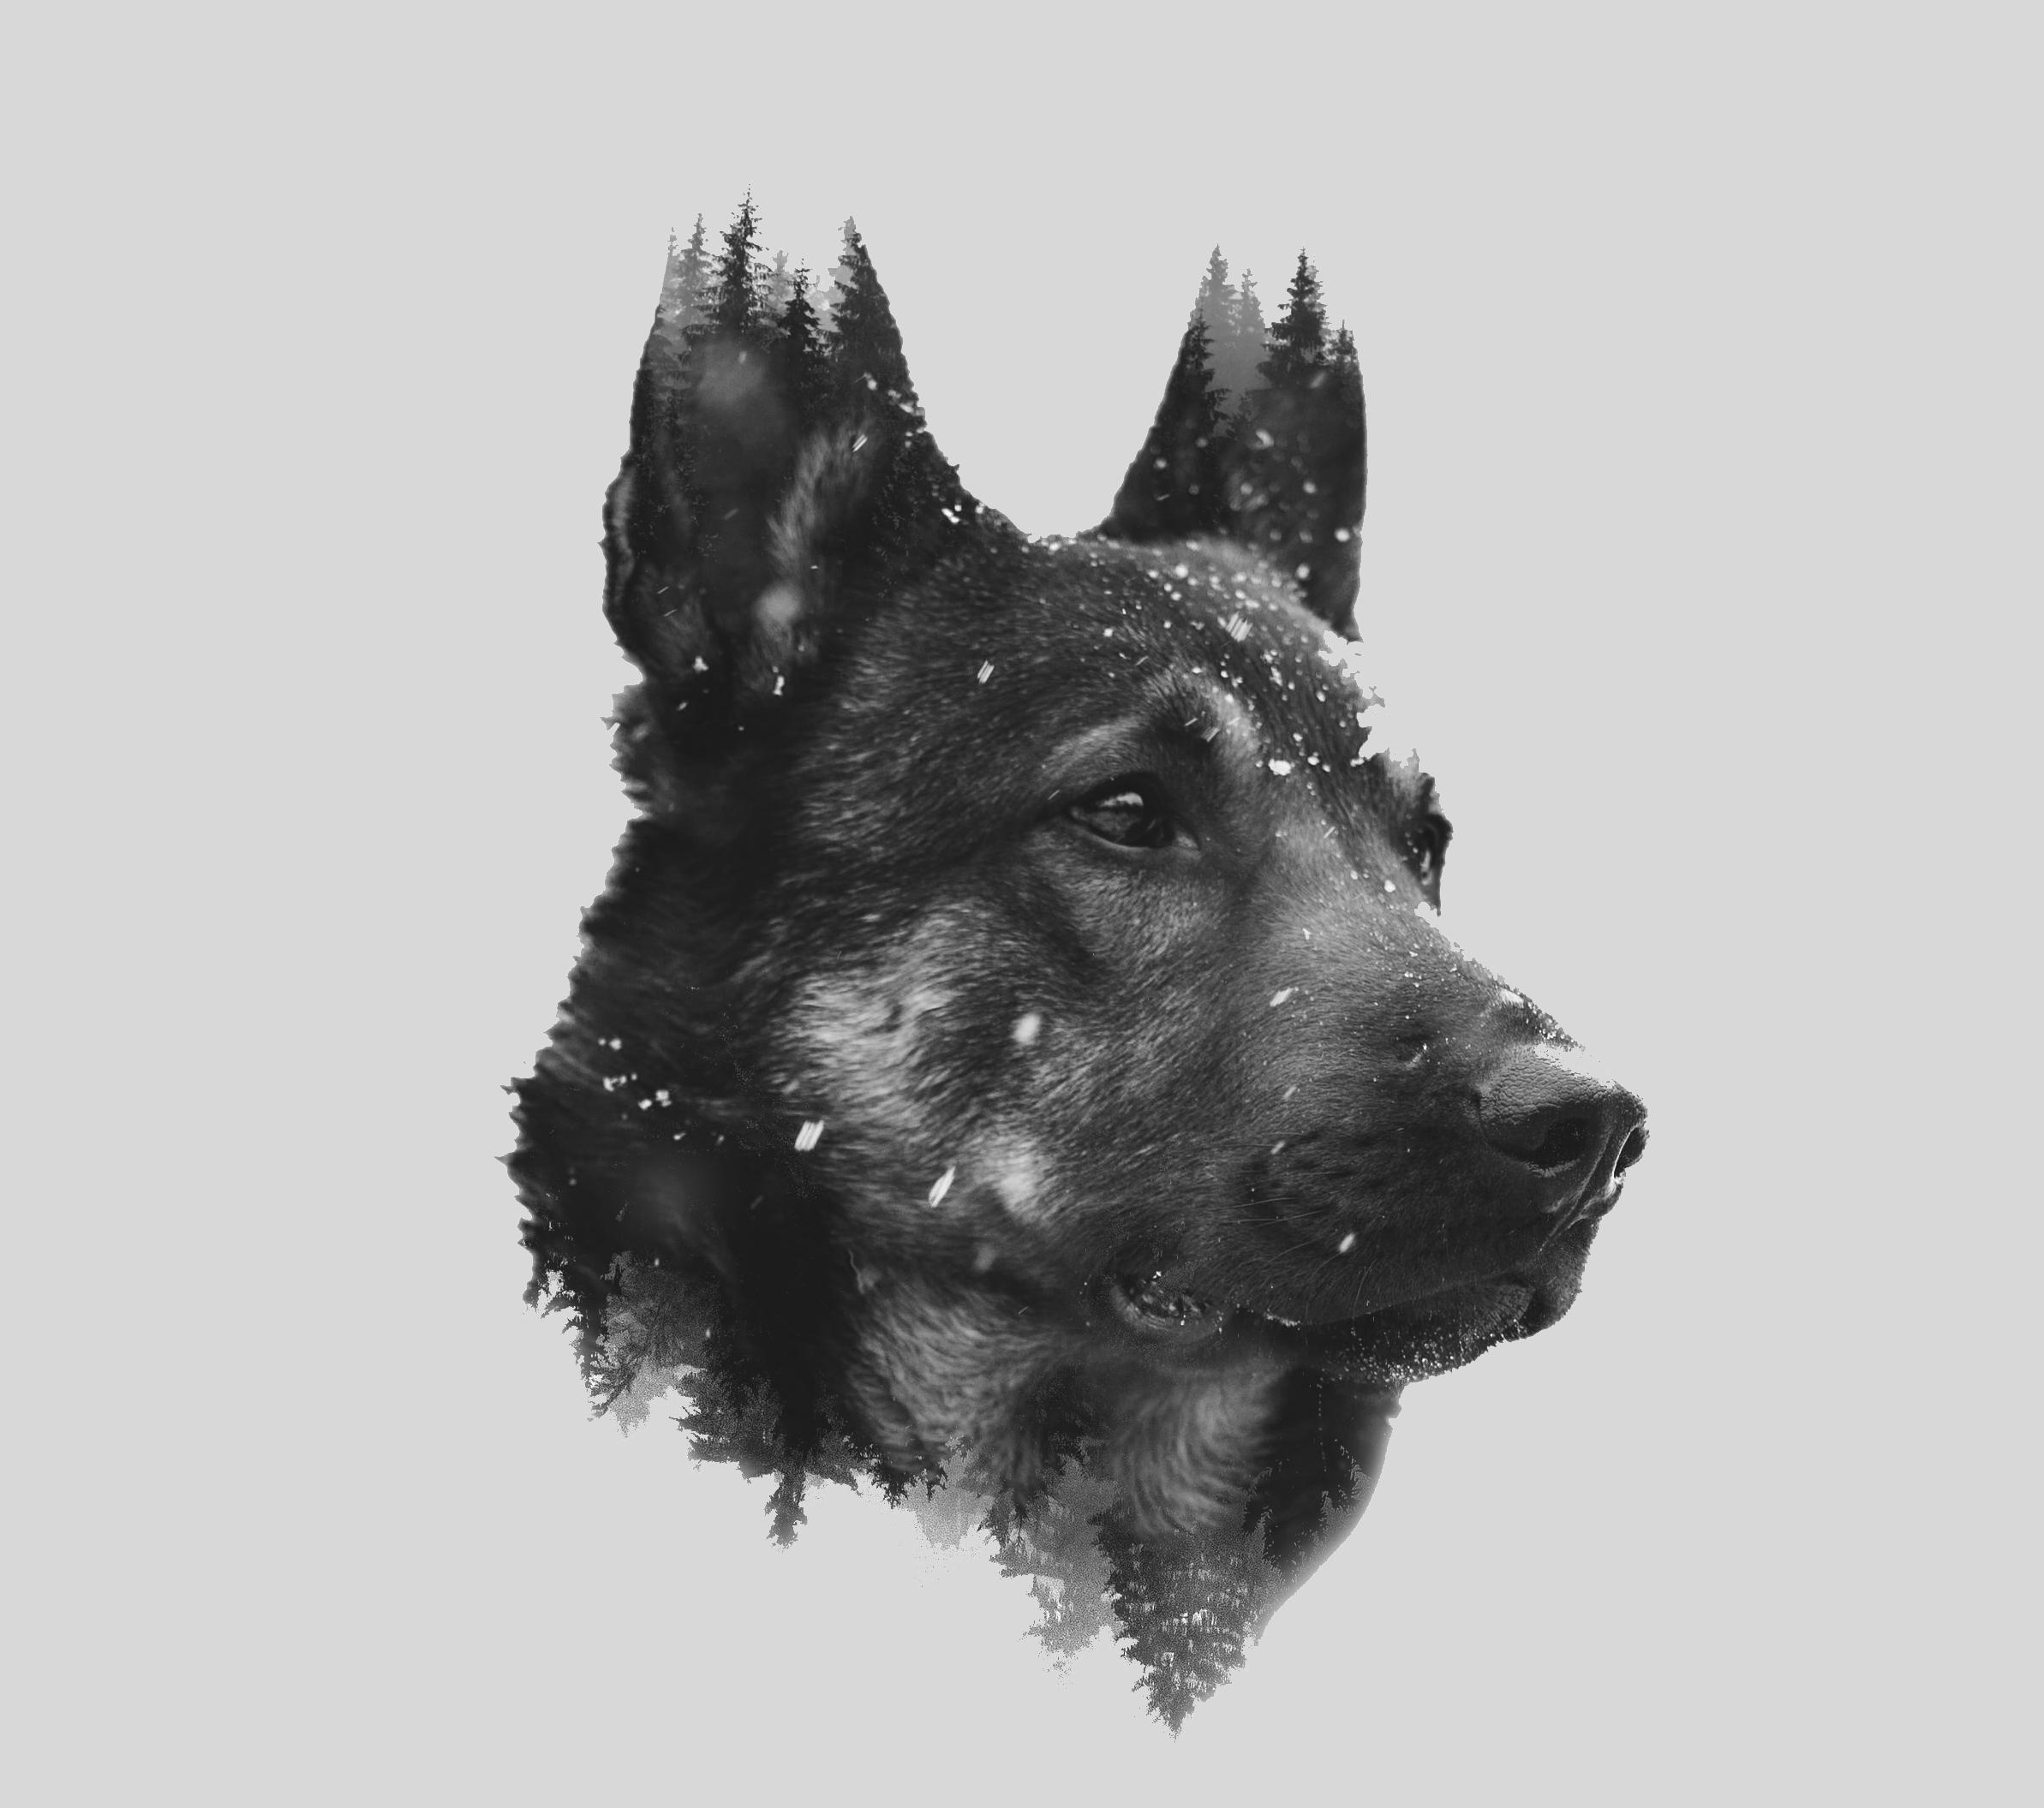
This same technique can be used with animals as your subject too.
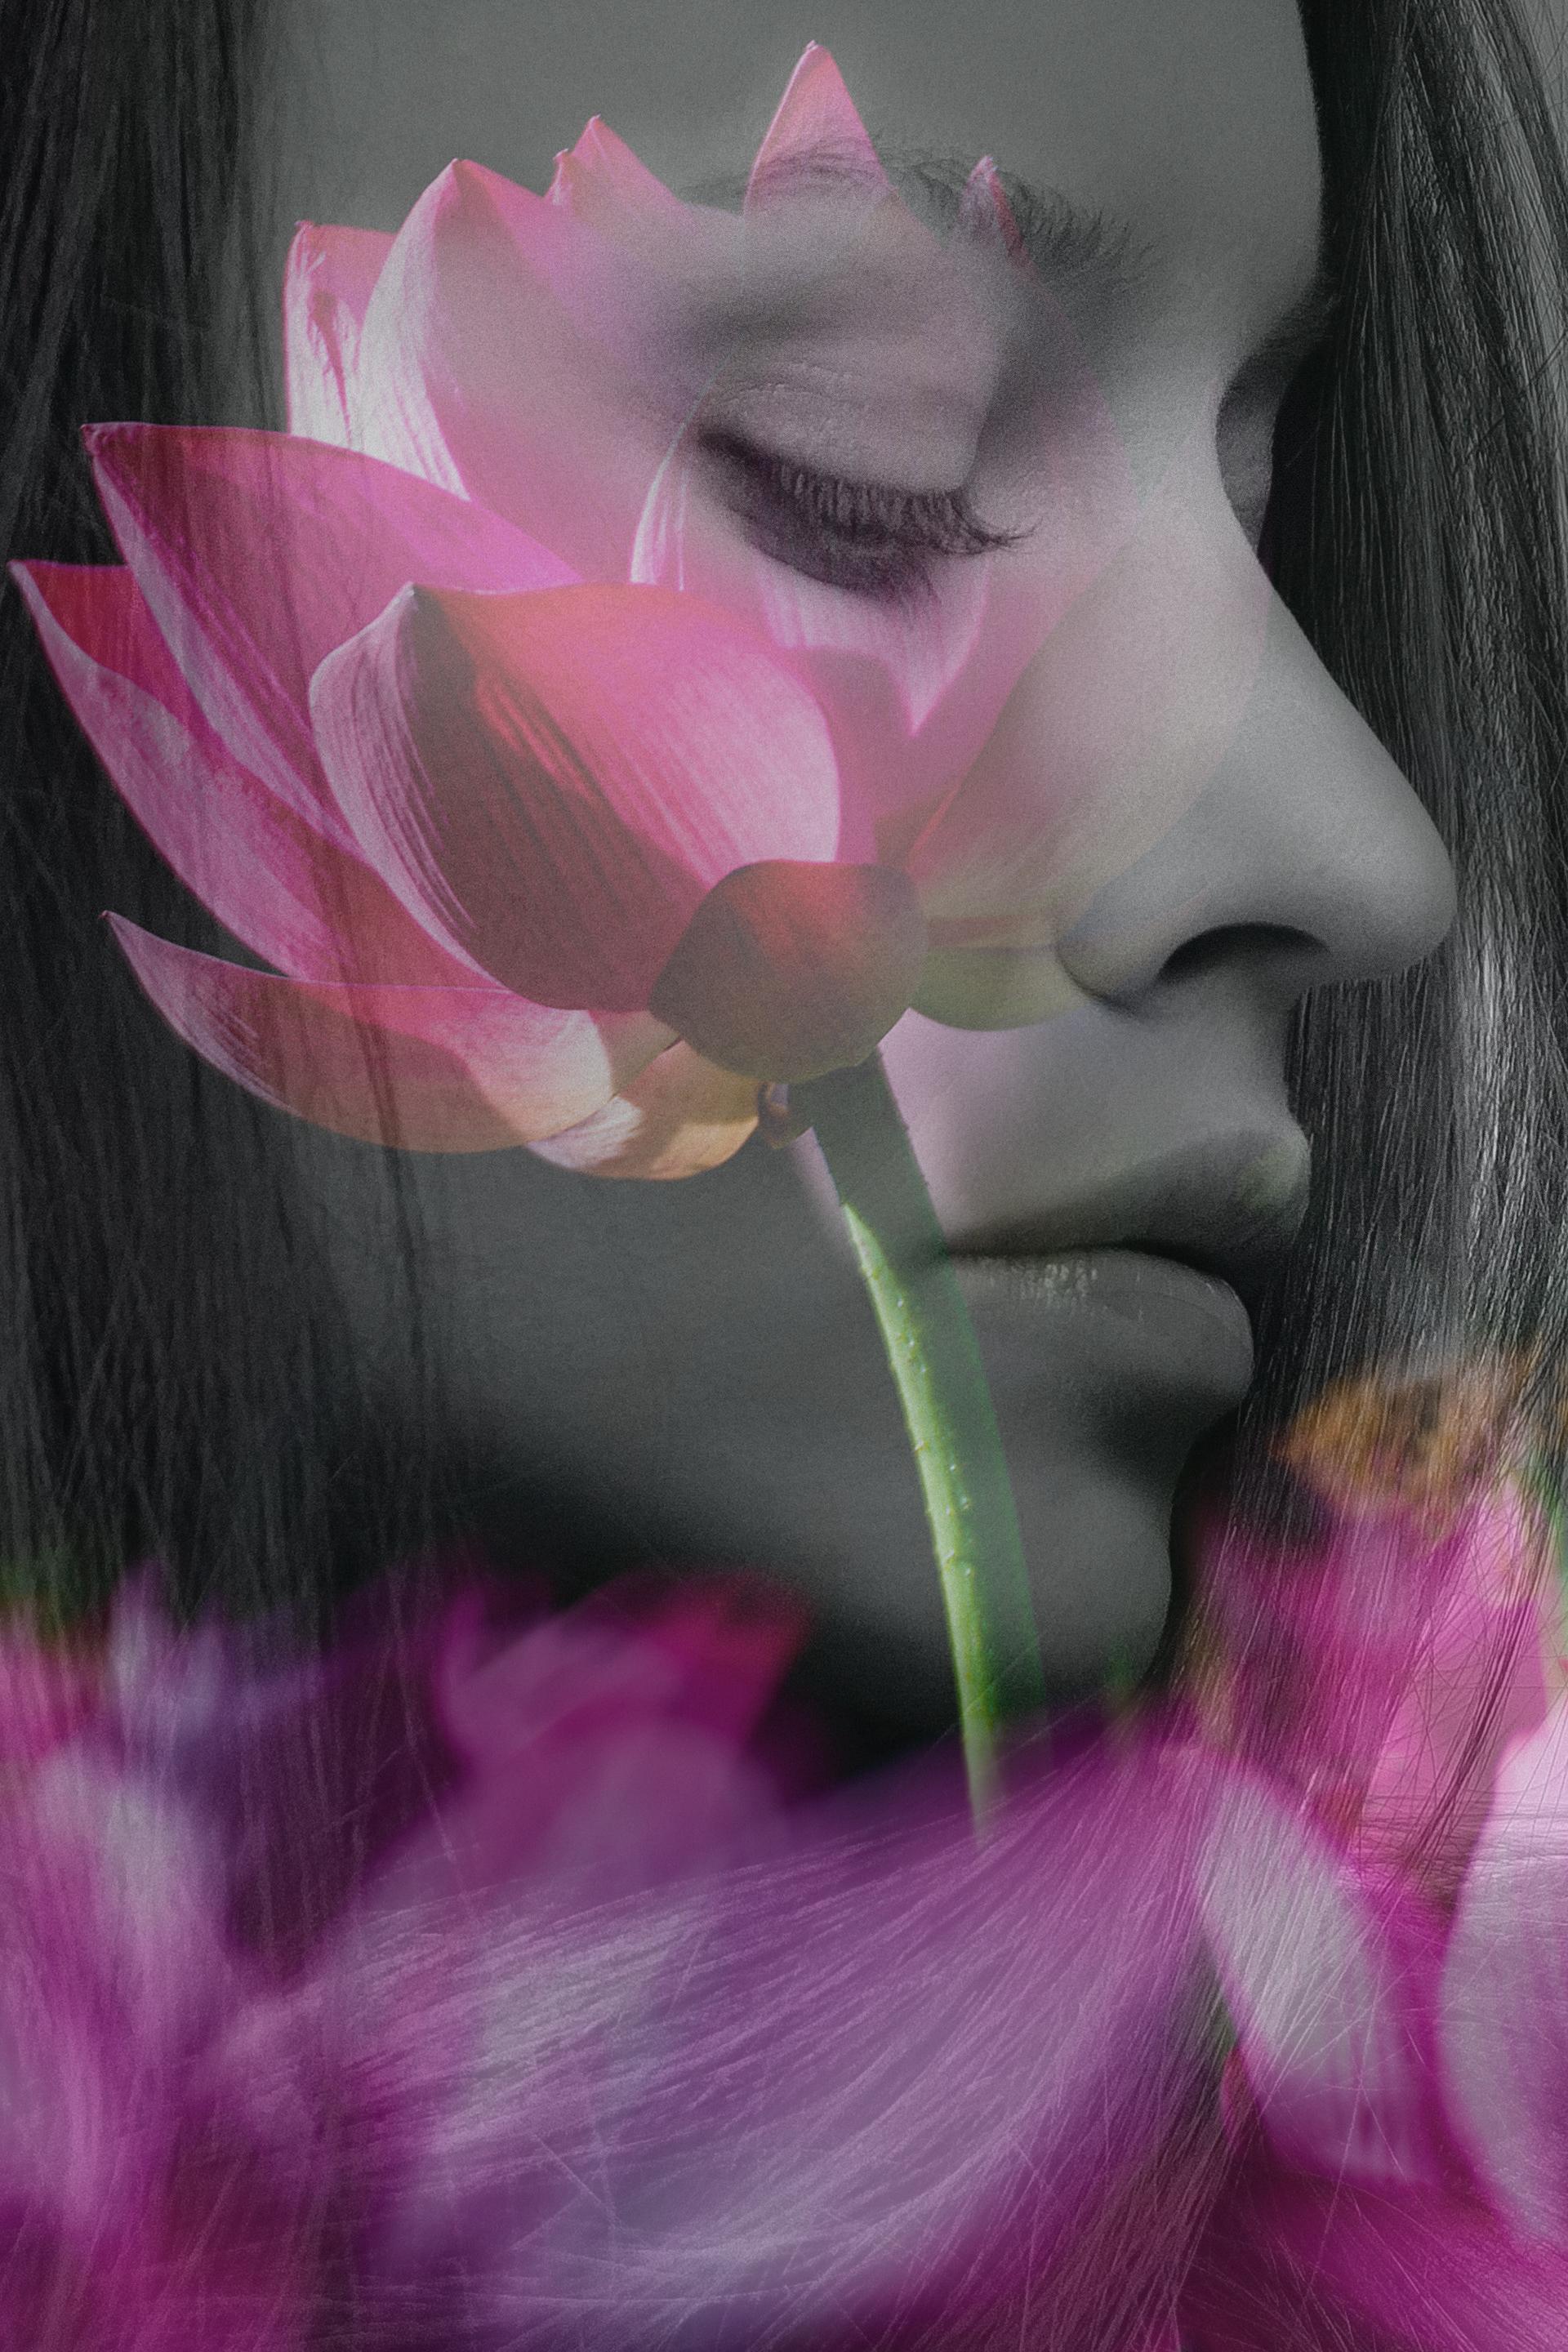
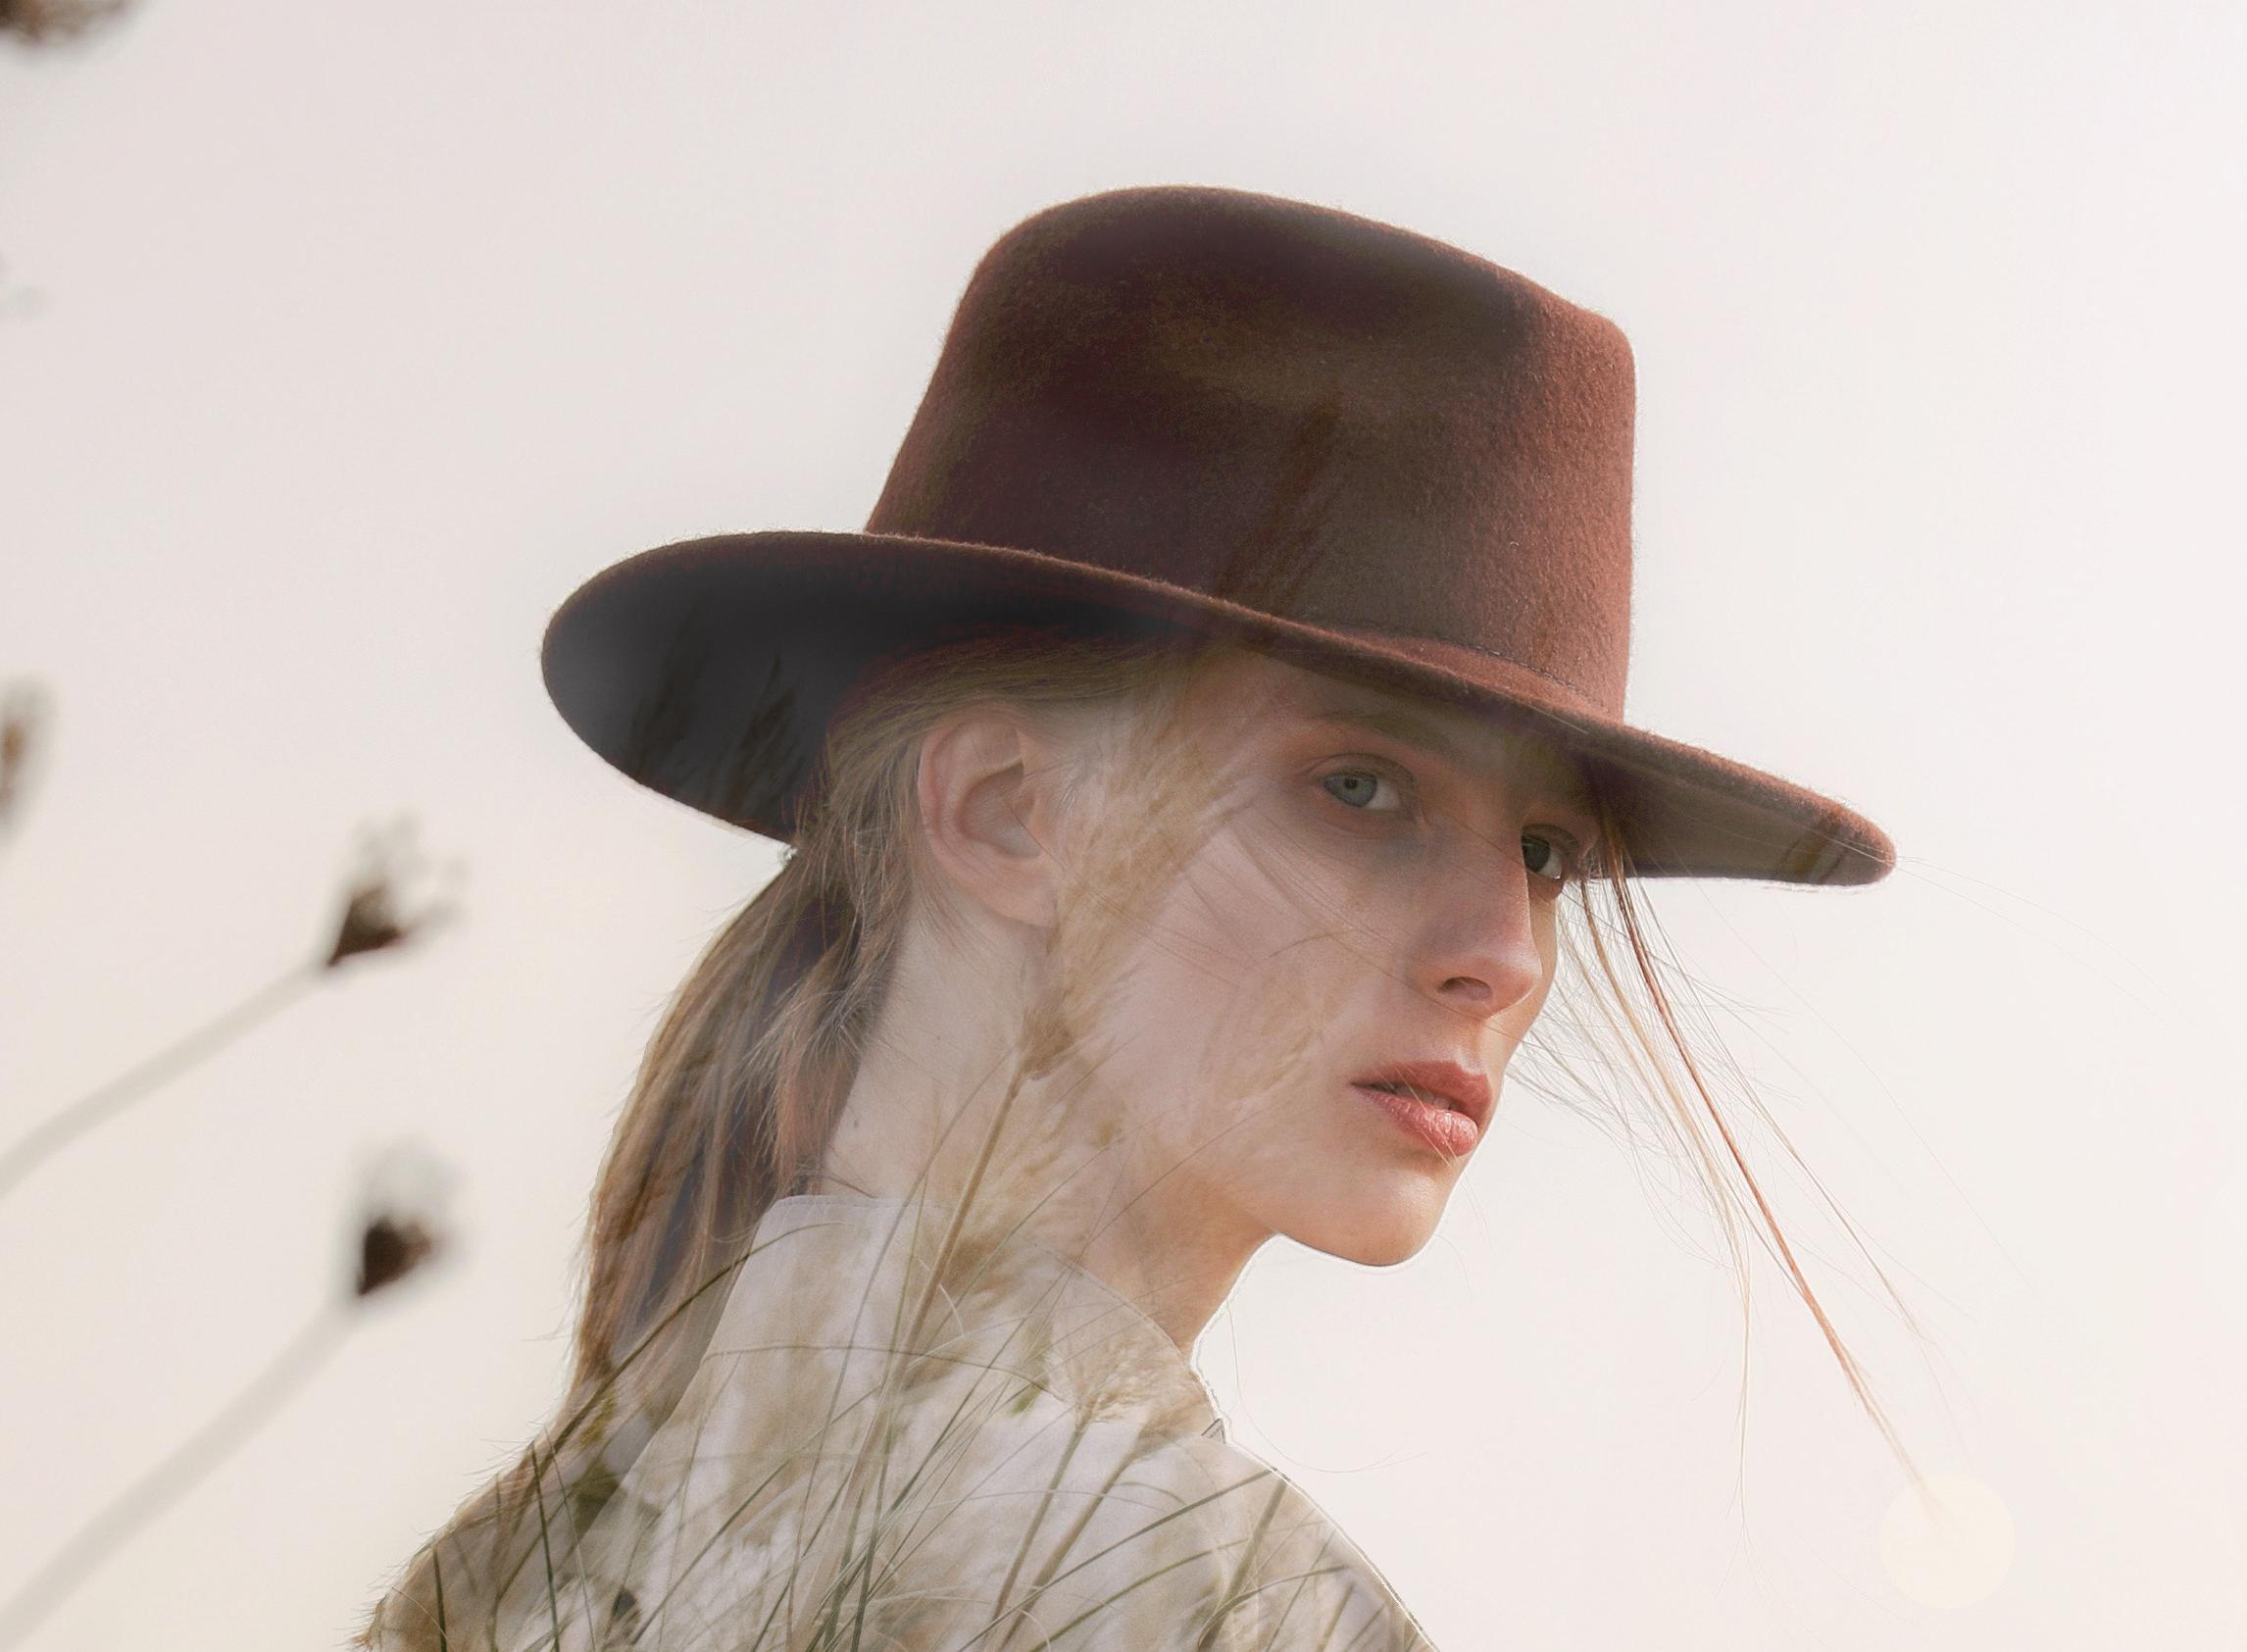
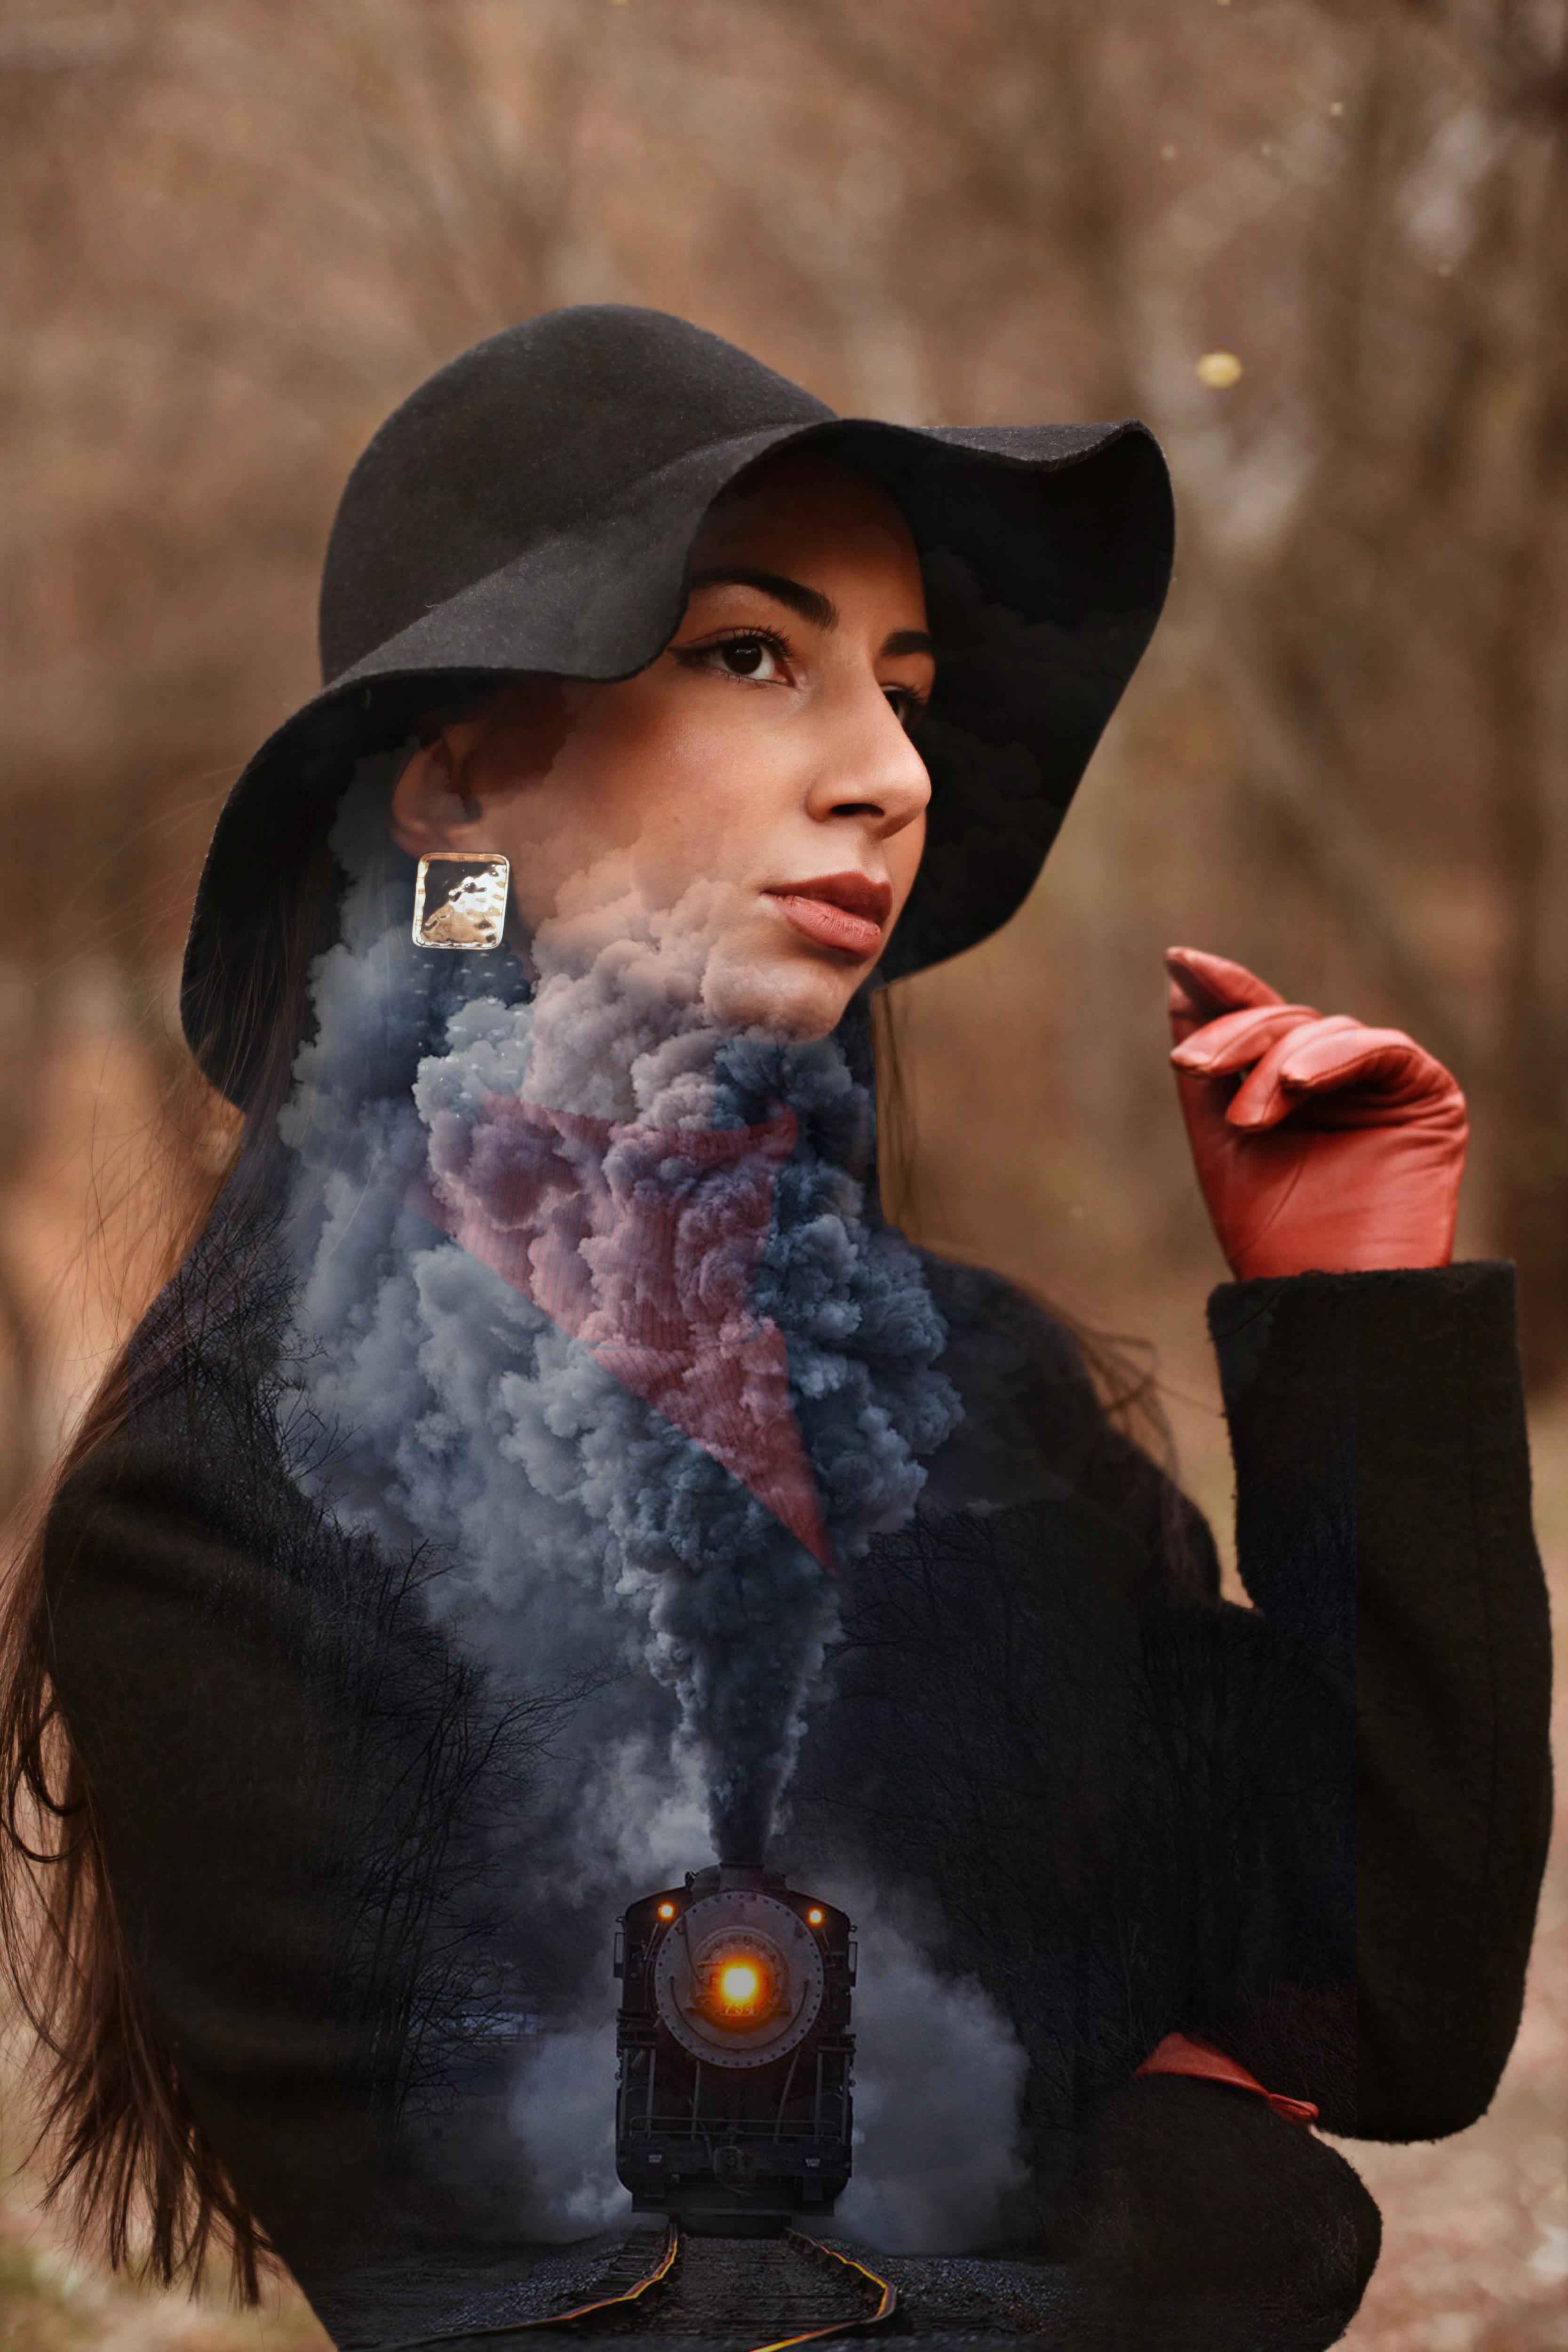
More Double Exposure Inspiration
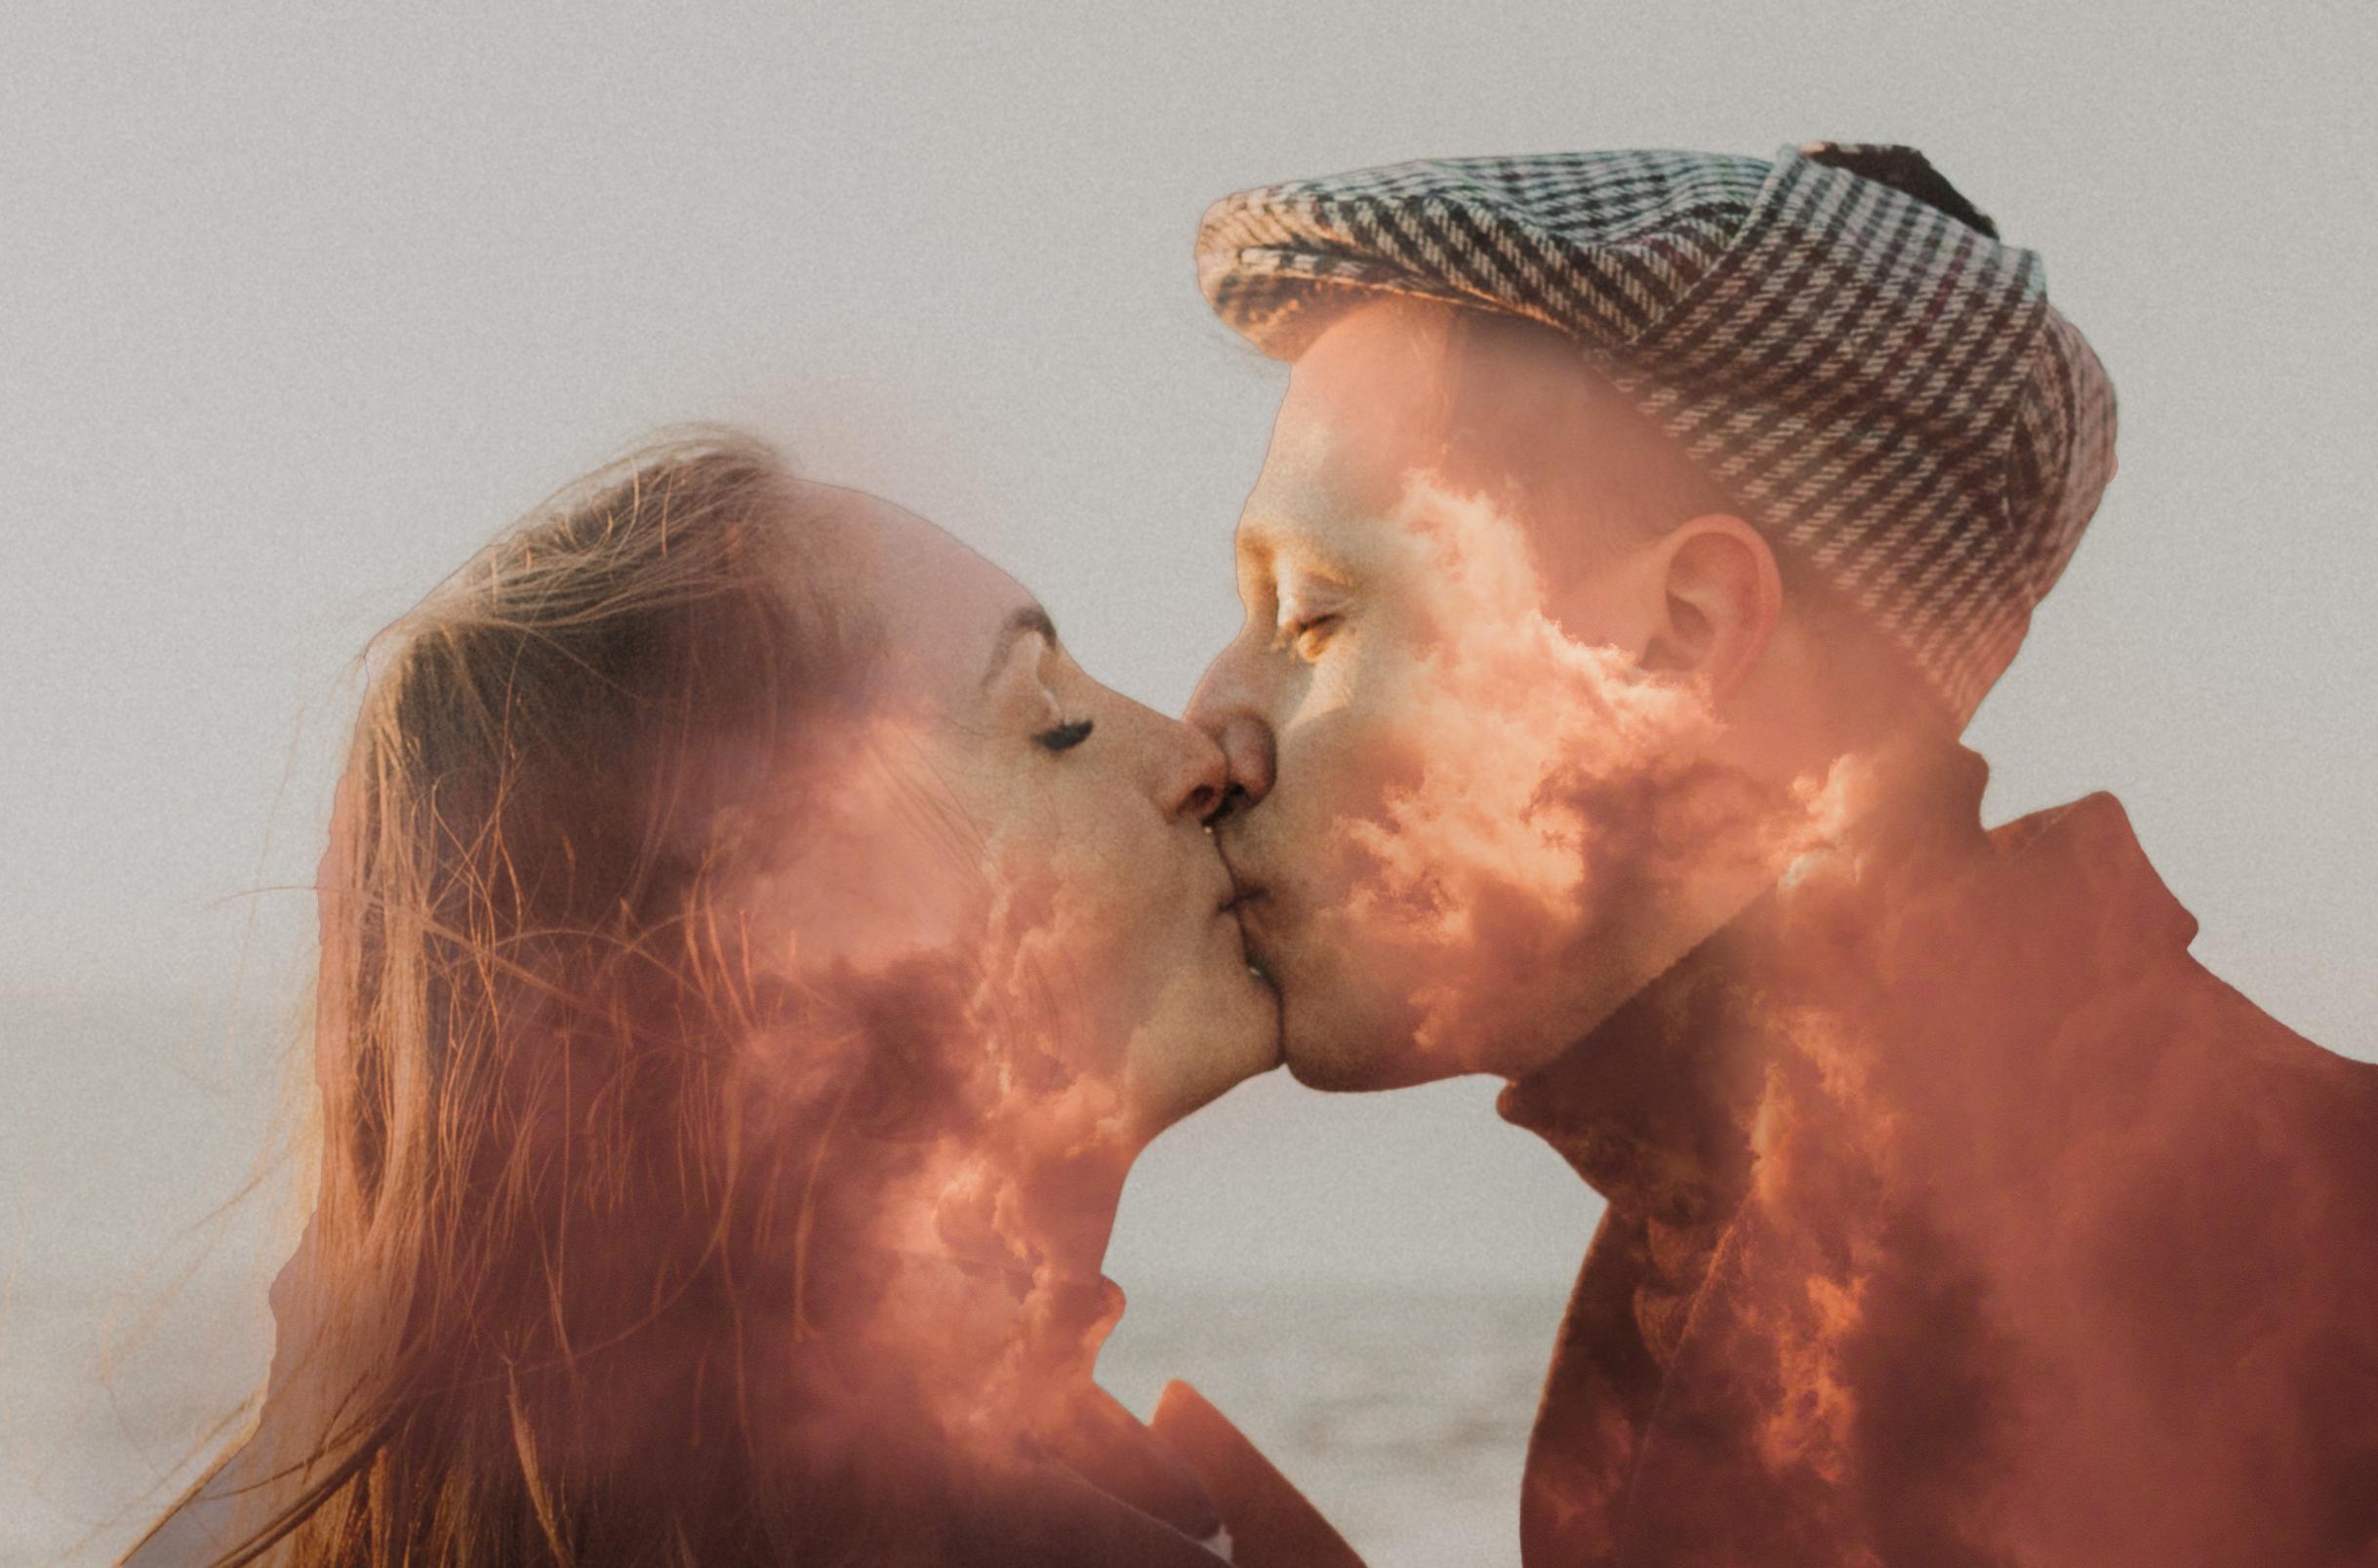
Upside Down Horizon
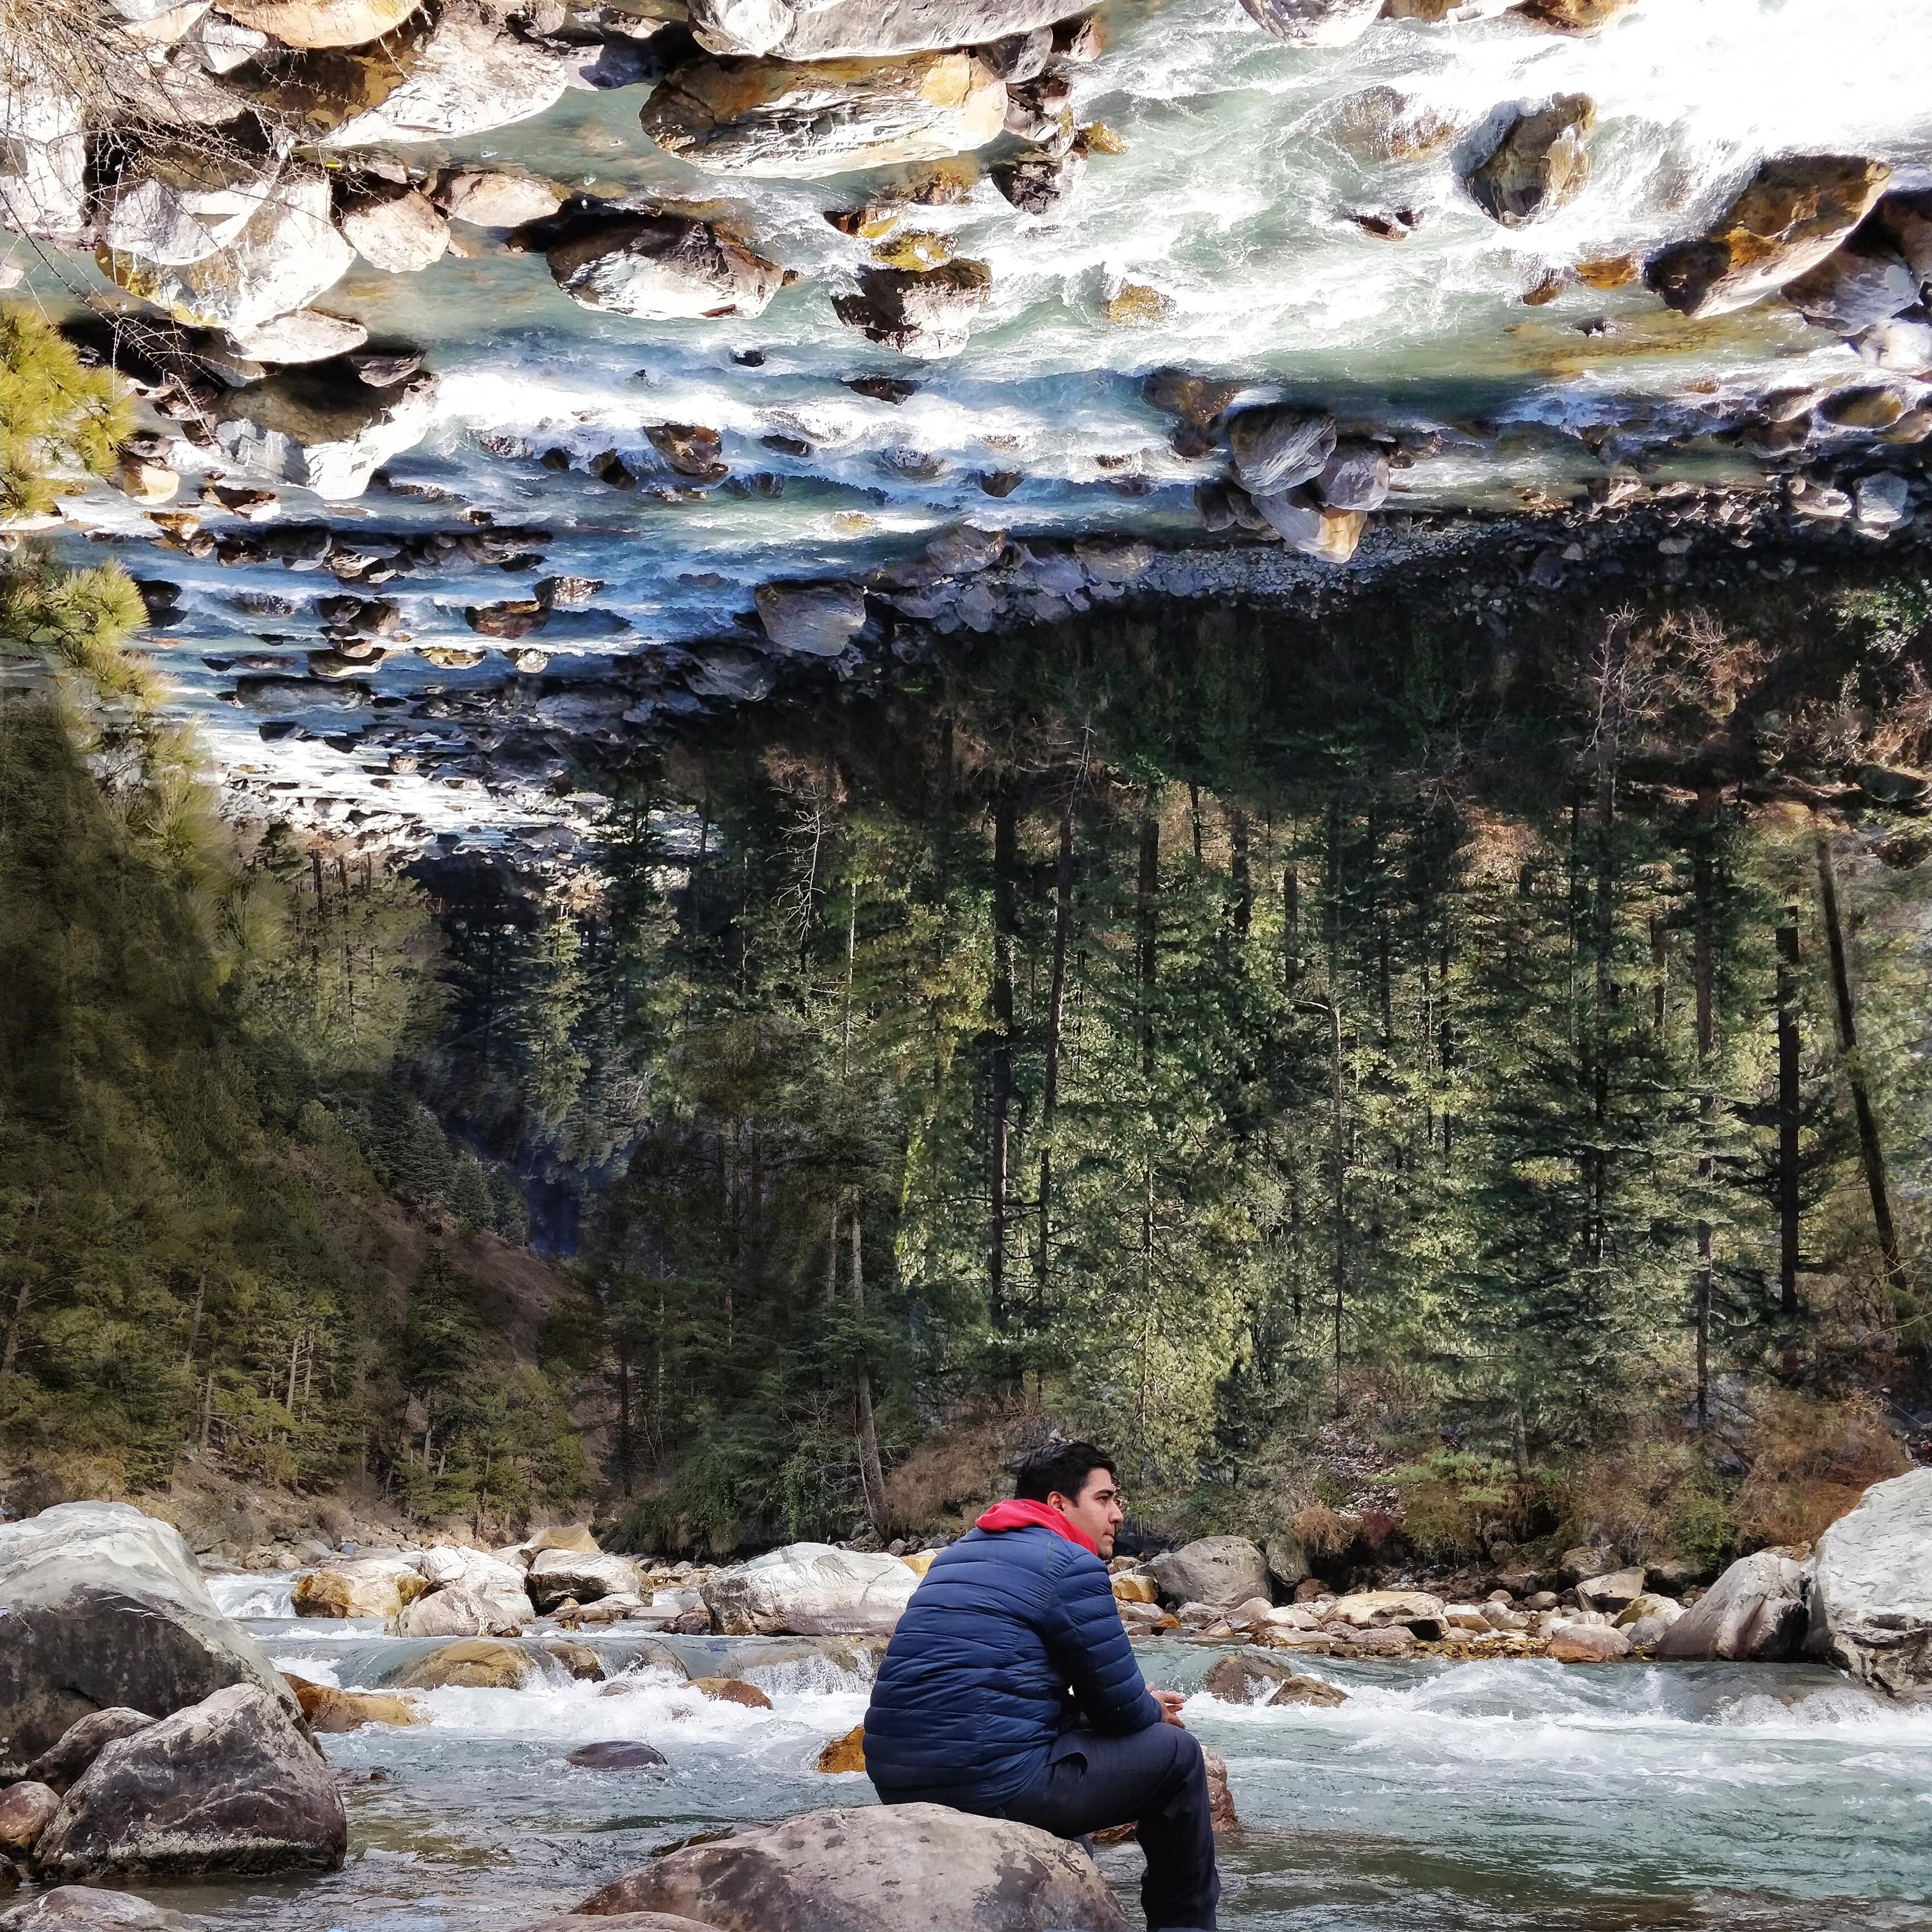
Another Interesting idea I had was to completely eliminate the idea of a horizon.
I used a normal picture of myself sitting by the river. Then, I took another another image of the river, inverted it and created a layer mask in place of the sky. With some more editing, the above image was the final result!
If you have any doubts or queries, please feel free to ask. I'd love to help out as much as I can. I hope you liked this tutorial and I'd love to see your versions of double exposure photos!