How to Make a Custom Vinyl Decal for Your Tool Case
by CGT Design in Workshop > Tools
1275 Views, 14 Favorites, 0 Comments
How to Make a Custom Vinyl Decal for Your Tool Case

I recently acquired a new Makita drill and wanted to mark the case with my name in a unique way. So in this instructable I will show you how to make a decal of your name in the font of the tool company of your choosing.
The tools needed are
- Laptop
- Any vinyl cutter (I am using the Silhouette Cameo 3) https://amzn.to/2QP1ccd
- Weeding tools https://amzn.to/2rurjqq
- Squeegee
- Scissors
The materials you need are
- Vinyl to match the logo color of your tool company https://amzn.to/2UoDNNs
- Transfer paper https://amzn.to/2EewtP5
Pick Your Font!
.png)
.png)
.png)
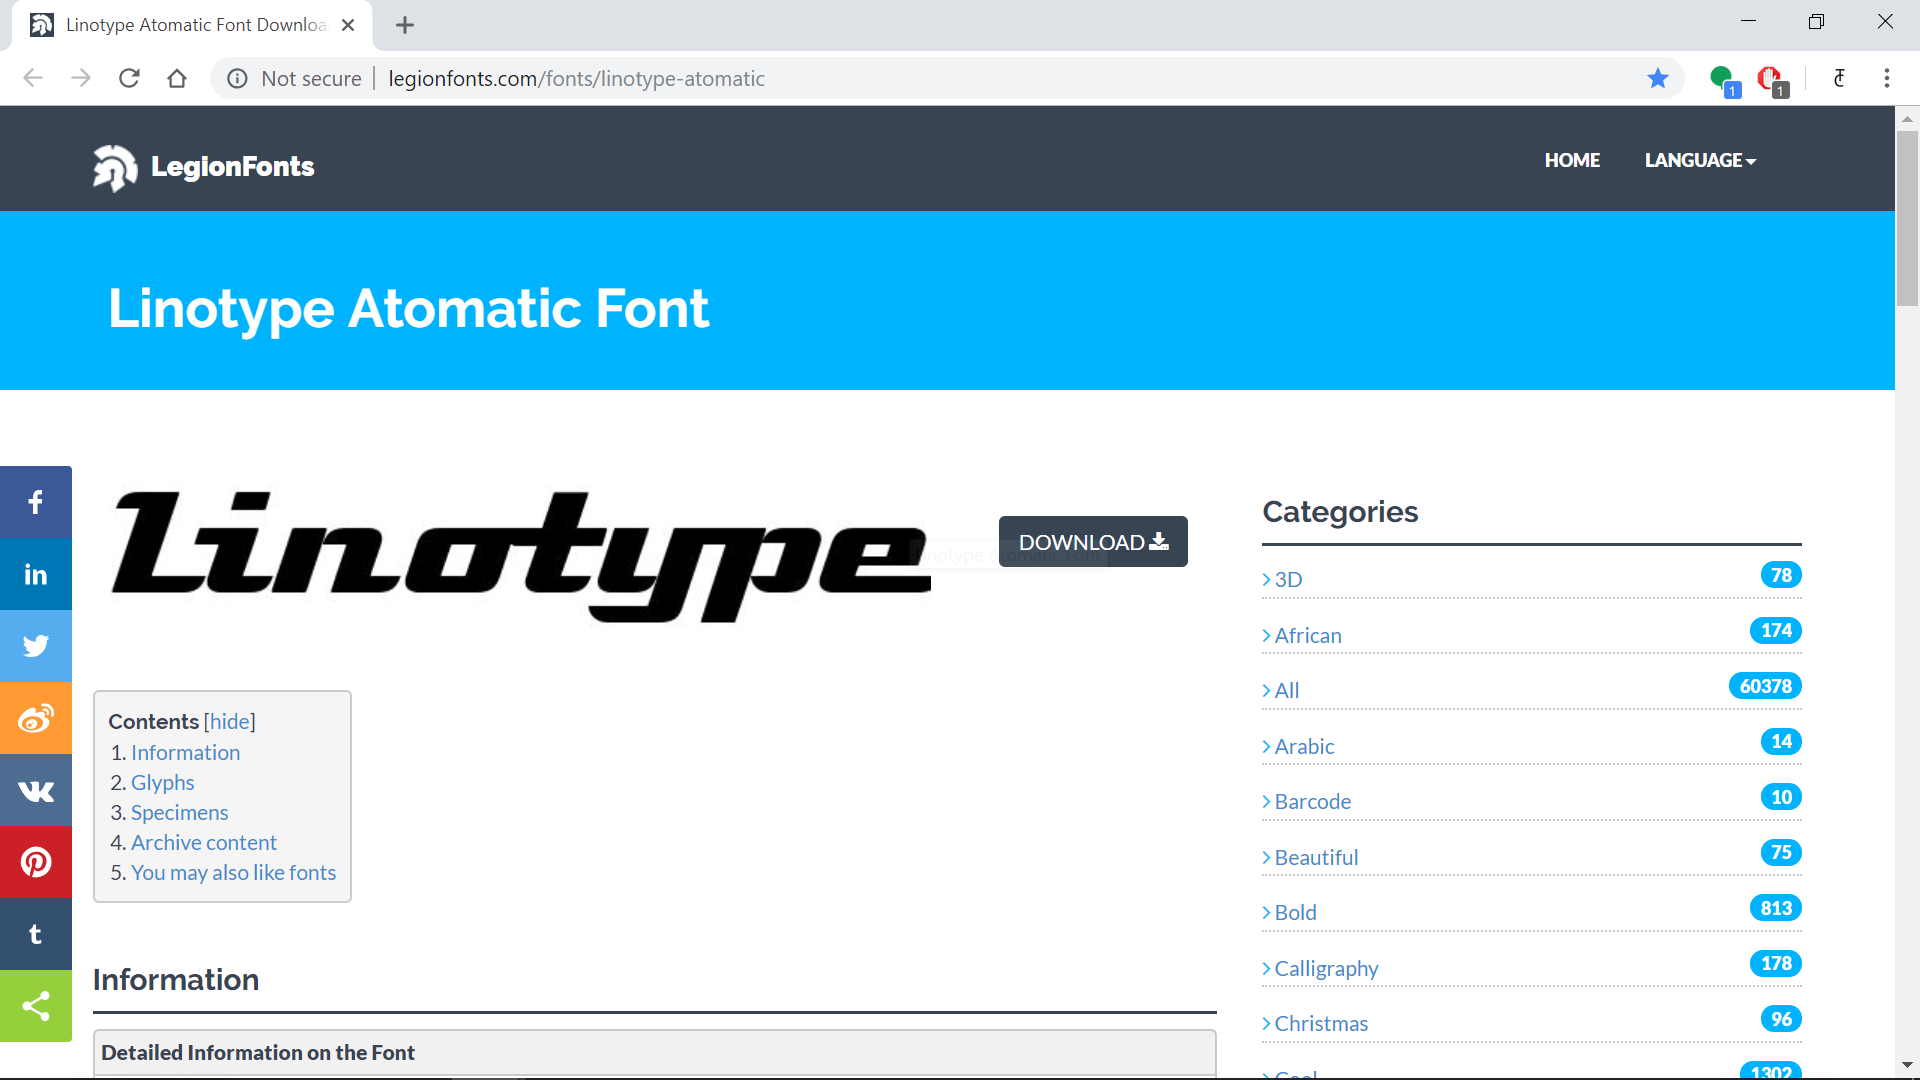
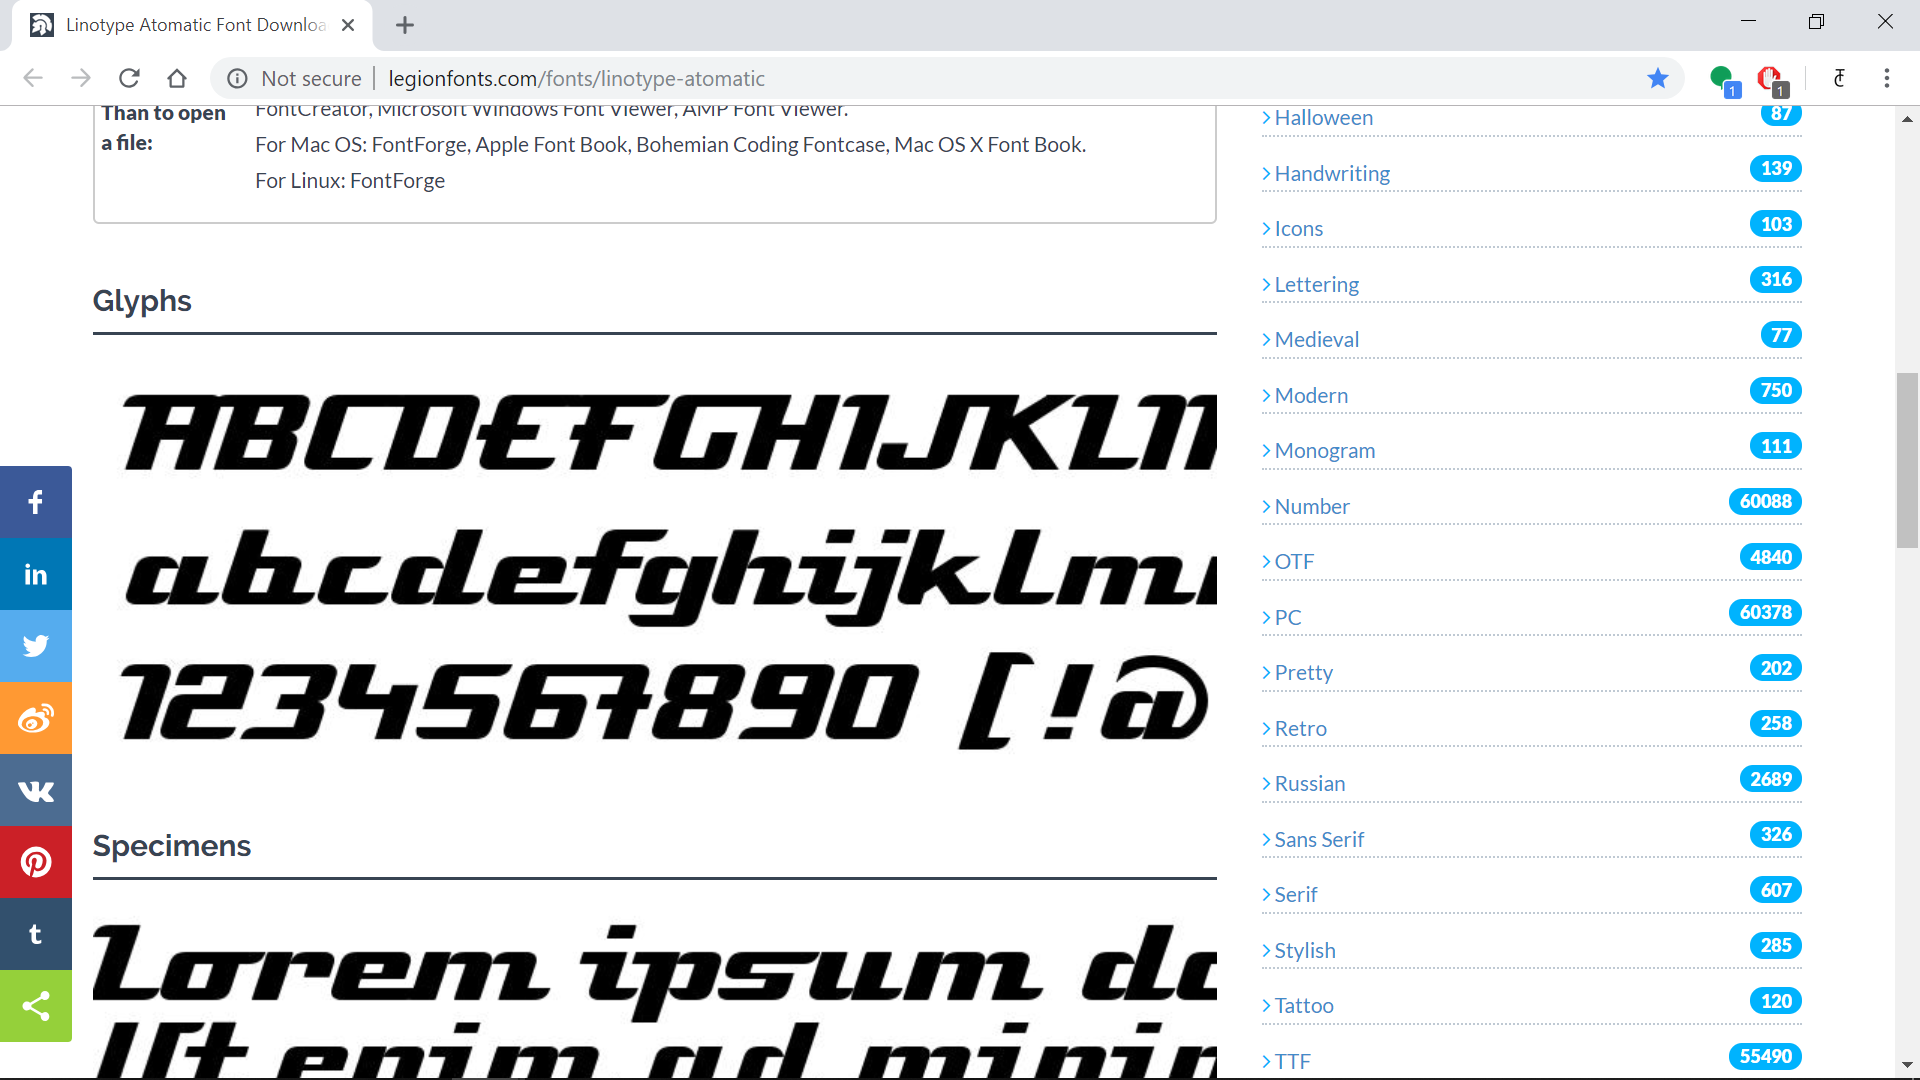
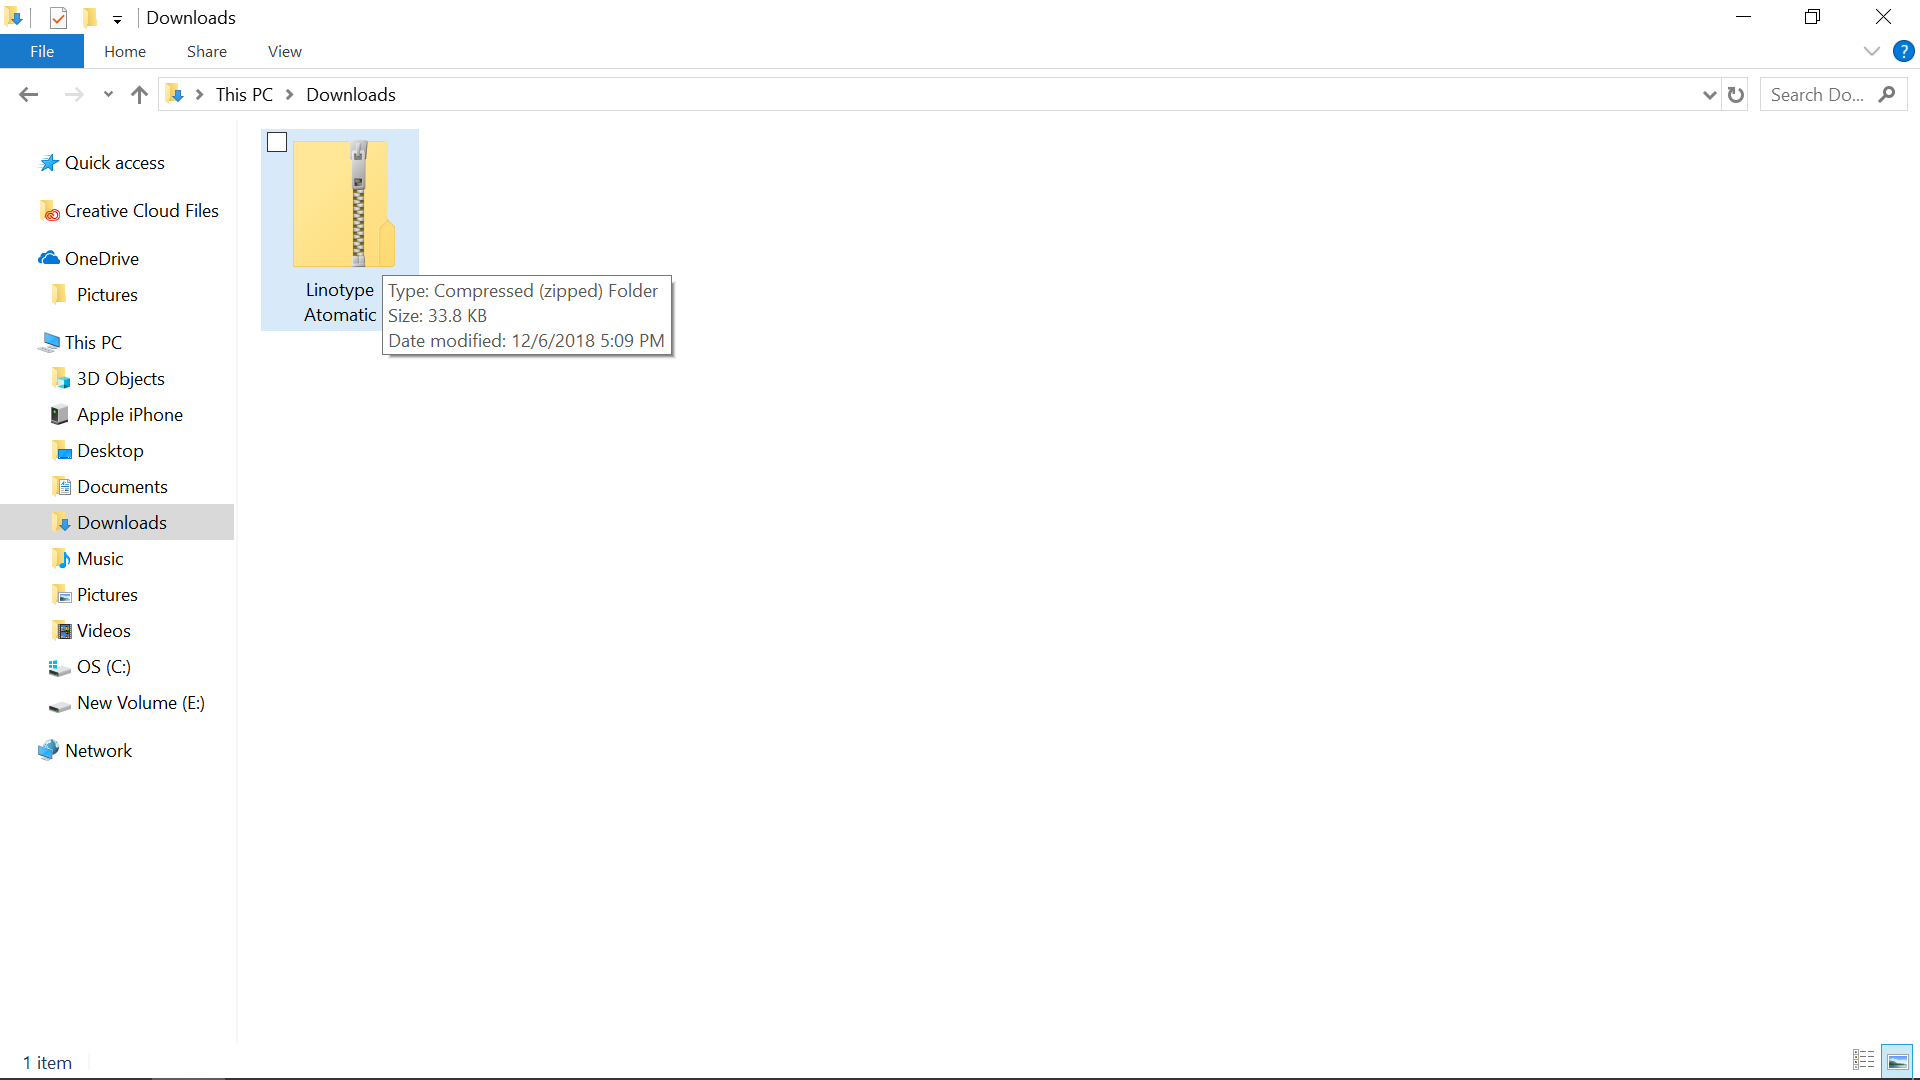
If you already have a font chosen and downloaded then skip this step. That being said, the first thing you need to do is to decide what font you want. I am going to use a font called Linotype Atomatic because it looks similar to the Makita font. Once you choose your font, you have to download the font like shown in the first image. Once it has finished downloading you should see it in your downloads folder as a ZIP file.
Convert the File!
.png)
.png)
.png)
.png)
.png)
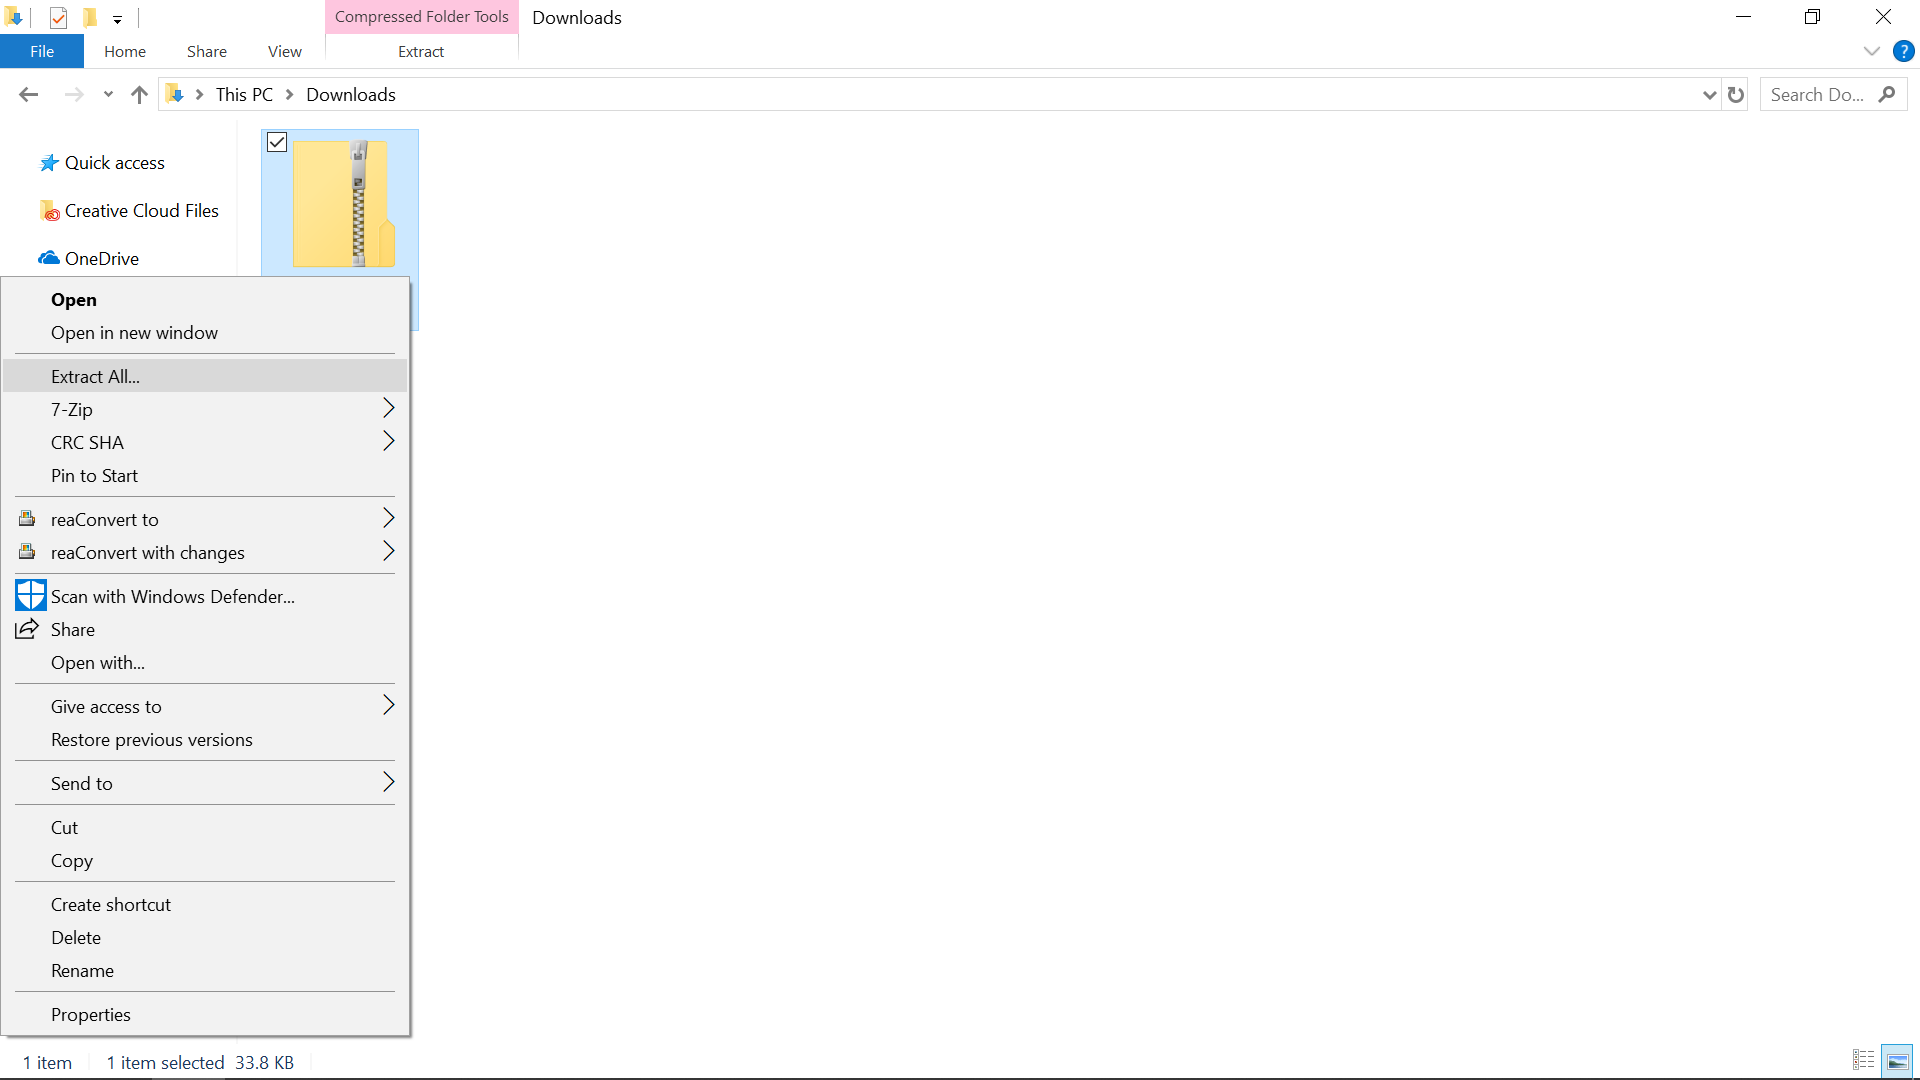
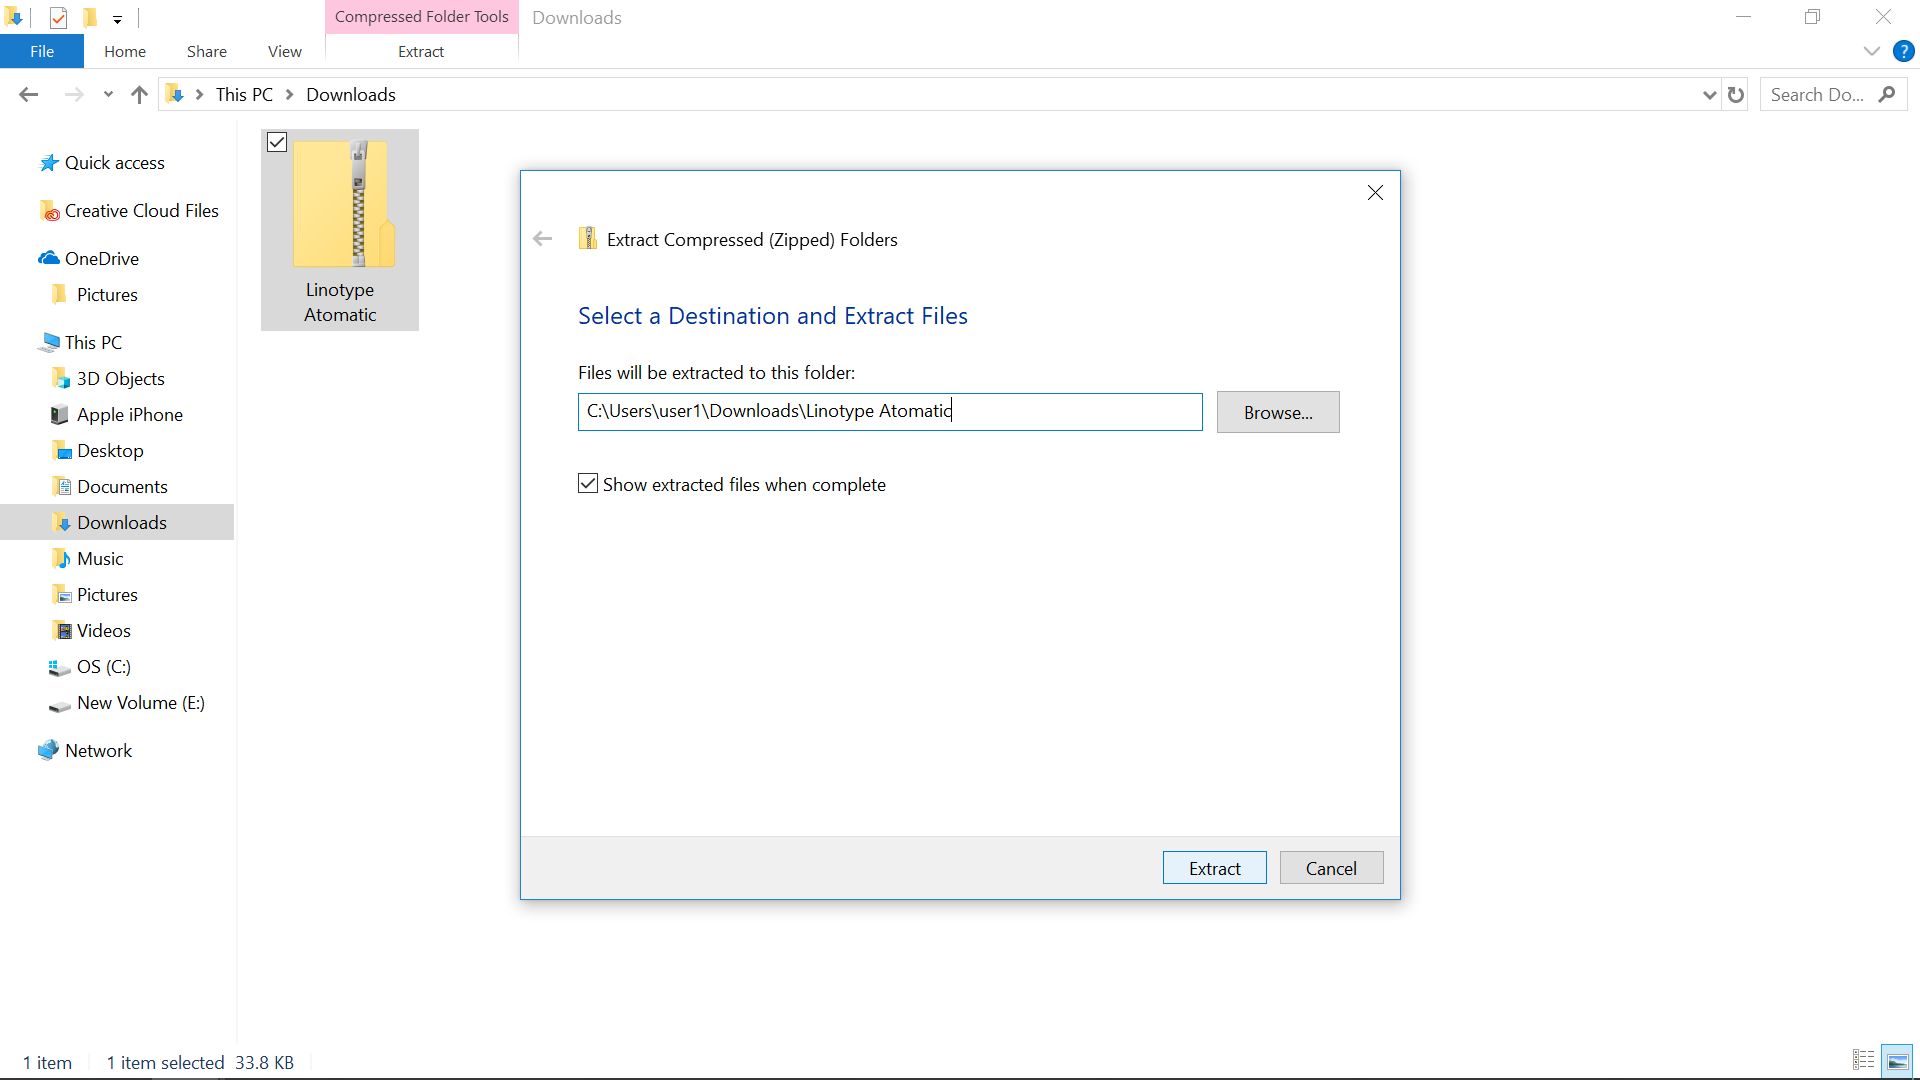
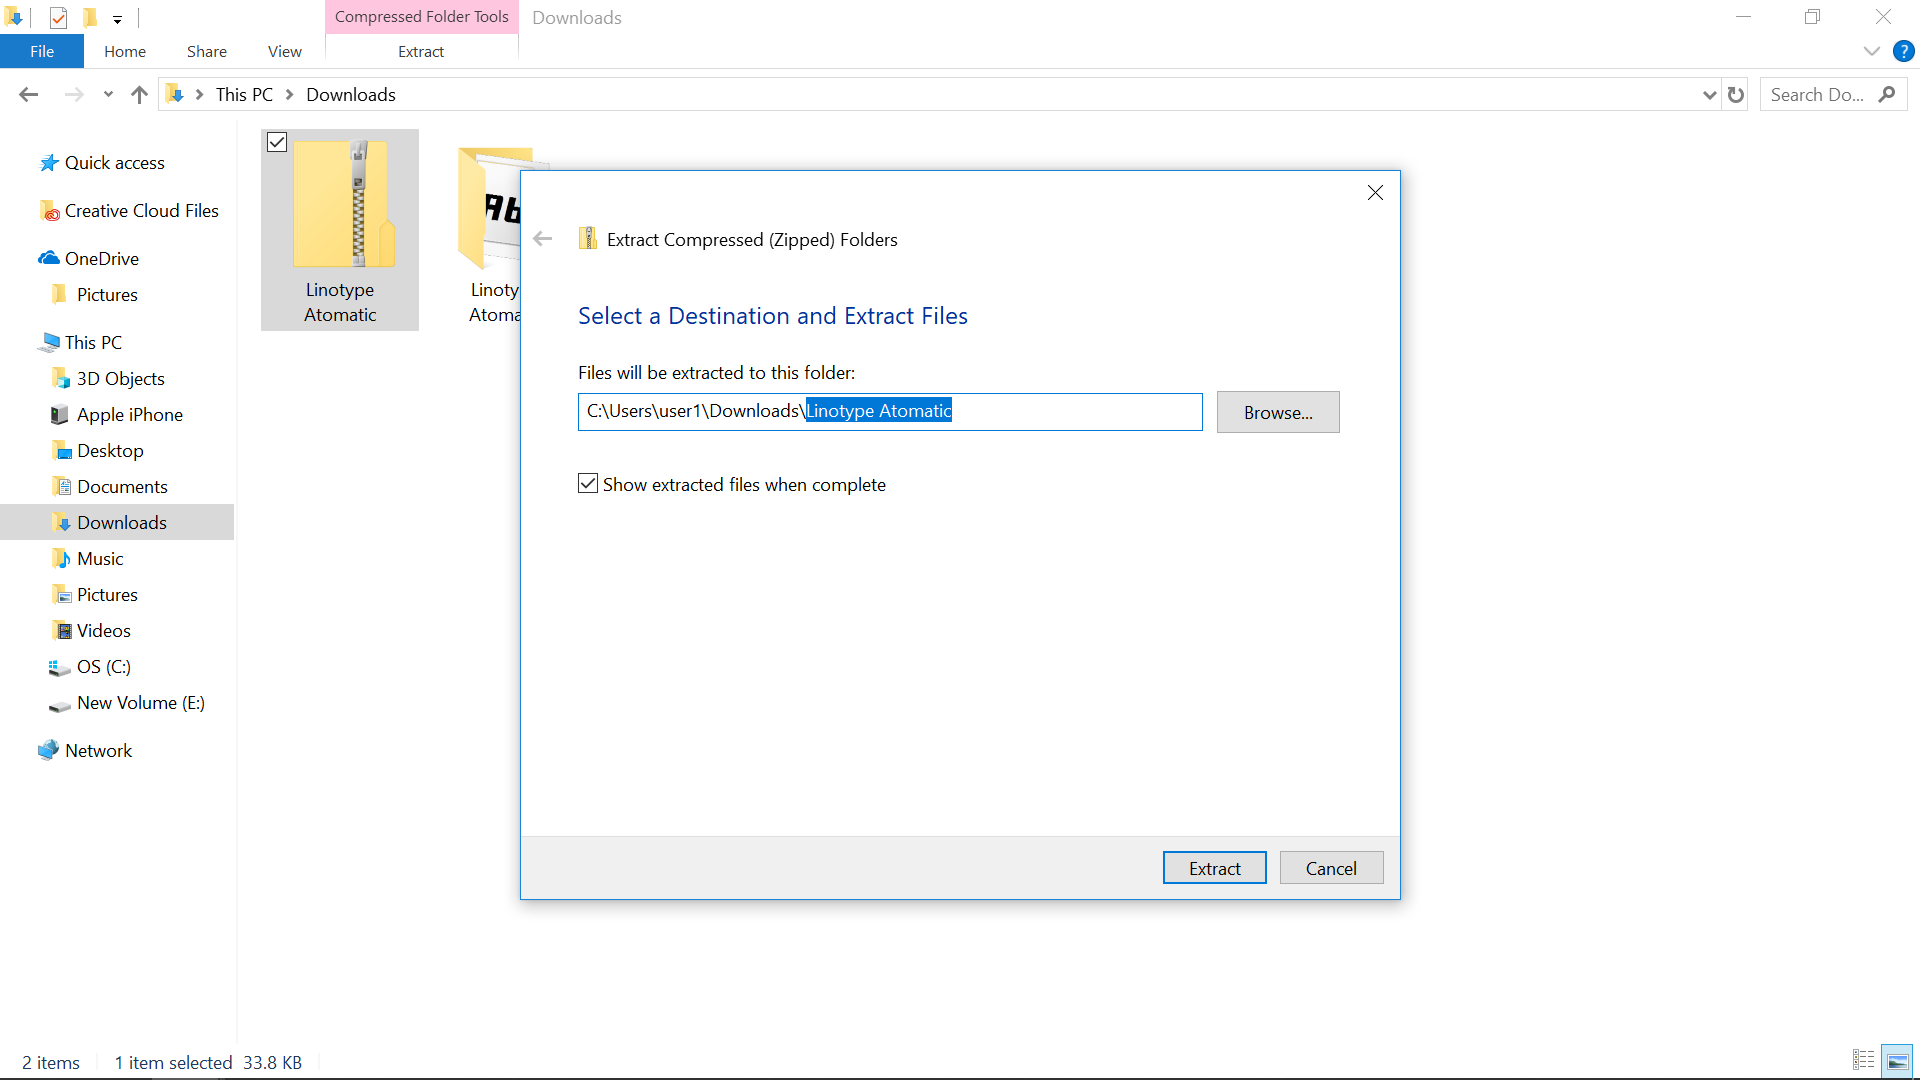
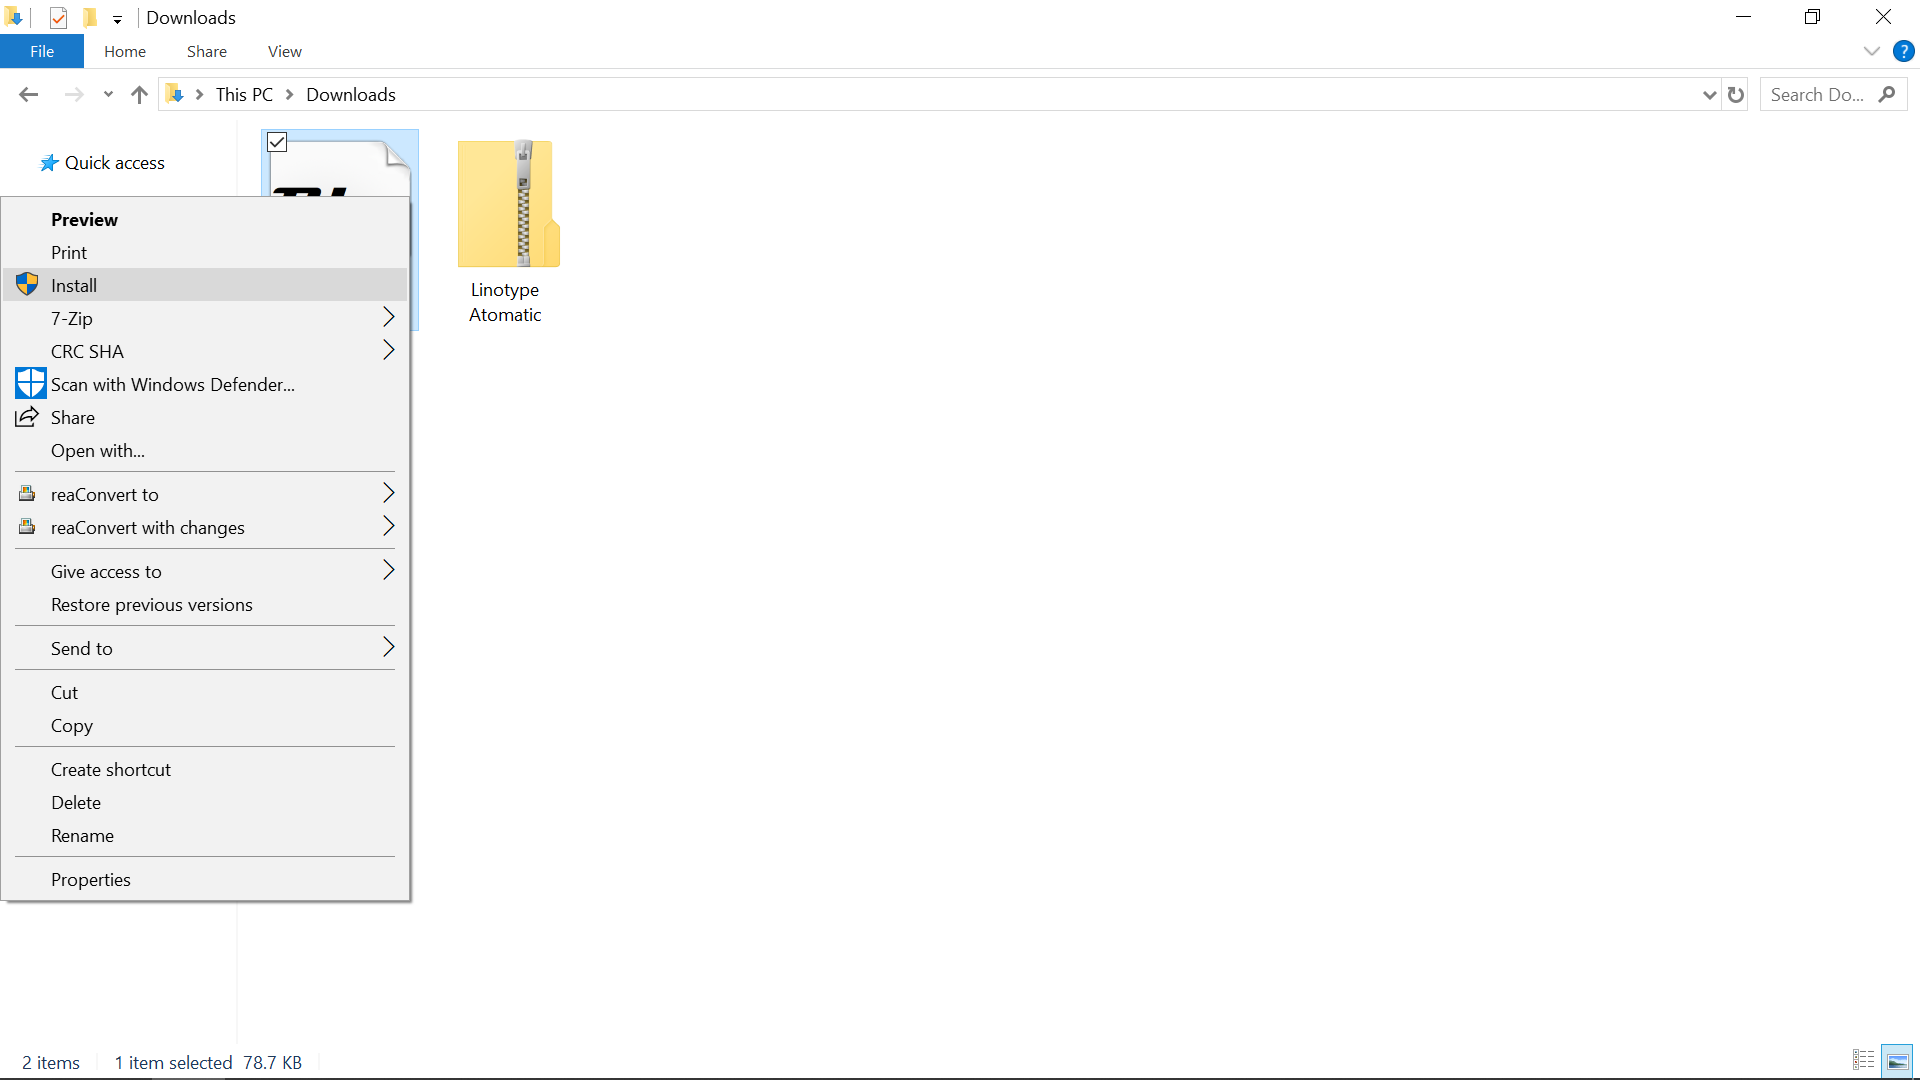
Because you now have your font folder you must turn that into a usable font. You do that by right clicking on the ZIP file and clicking 'Extract All'. Once you click the button you will be presented will a pop-up that shows the location of the file. To send it to your downloads folder you must delete the text that says the name of the file like in the third image shown. The last step you must do here is right click on the font file (not the ZIP) and click install, this will make it a font that windows can use.
Cut the Decal
.png)
.png)
.JPG)
.JPG)
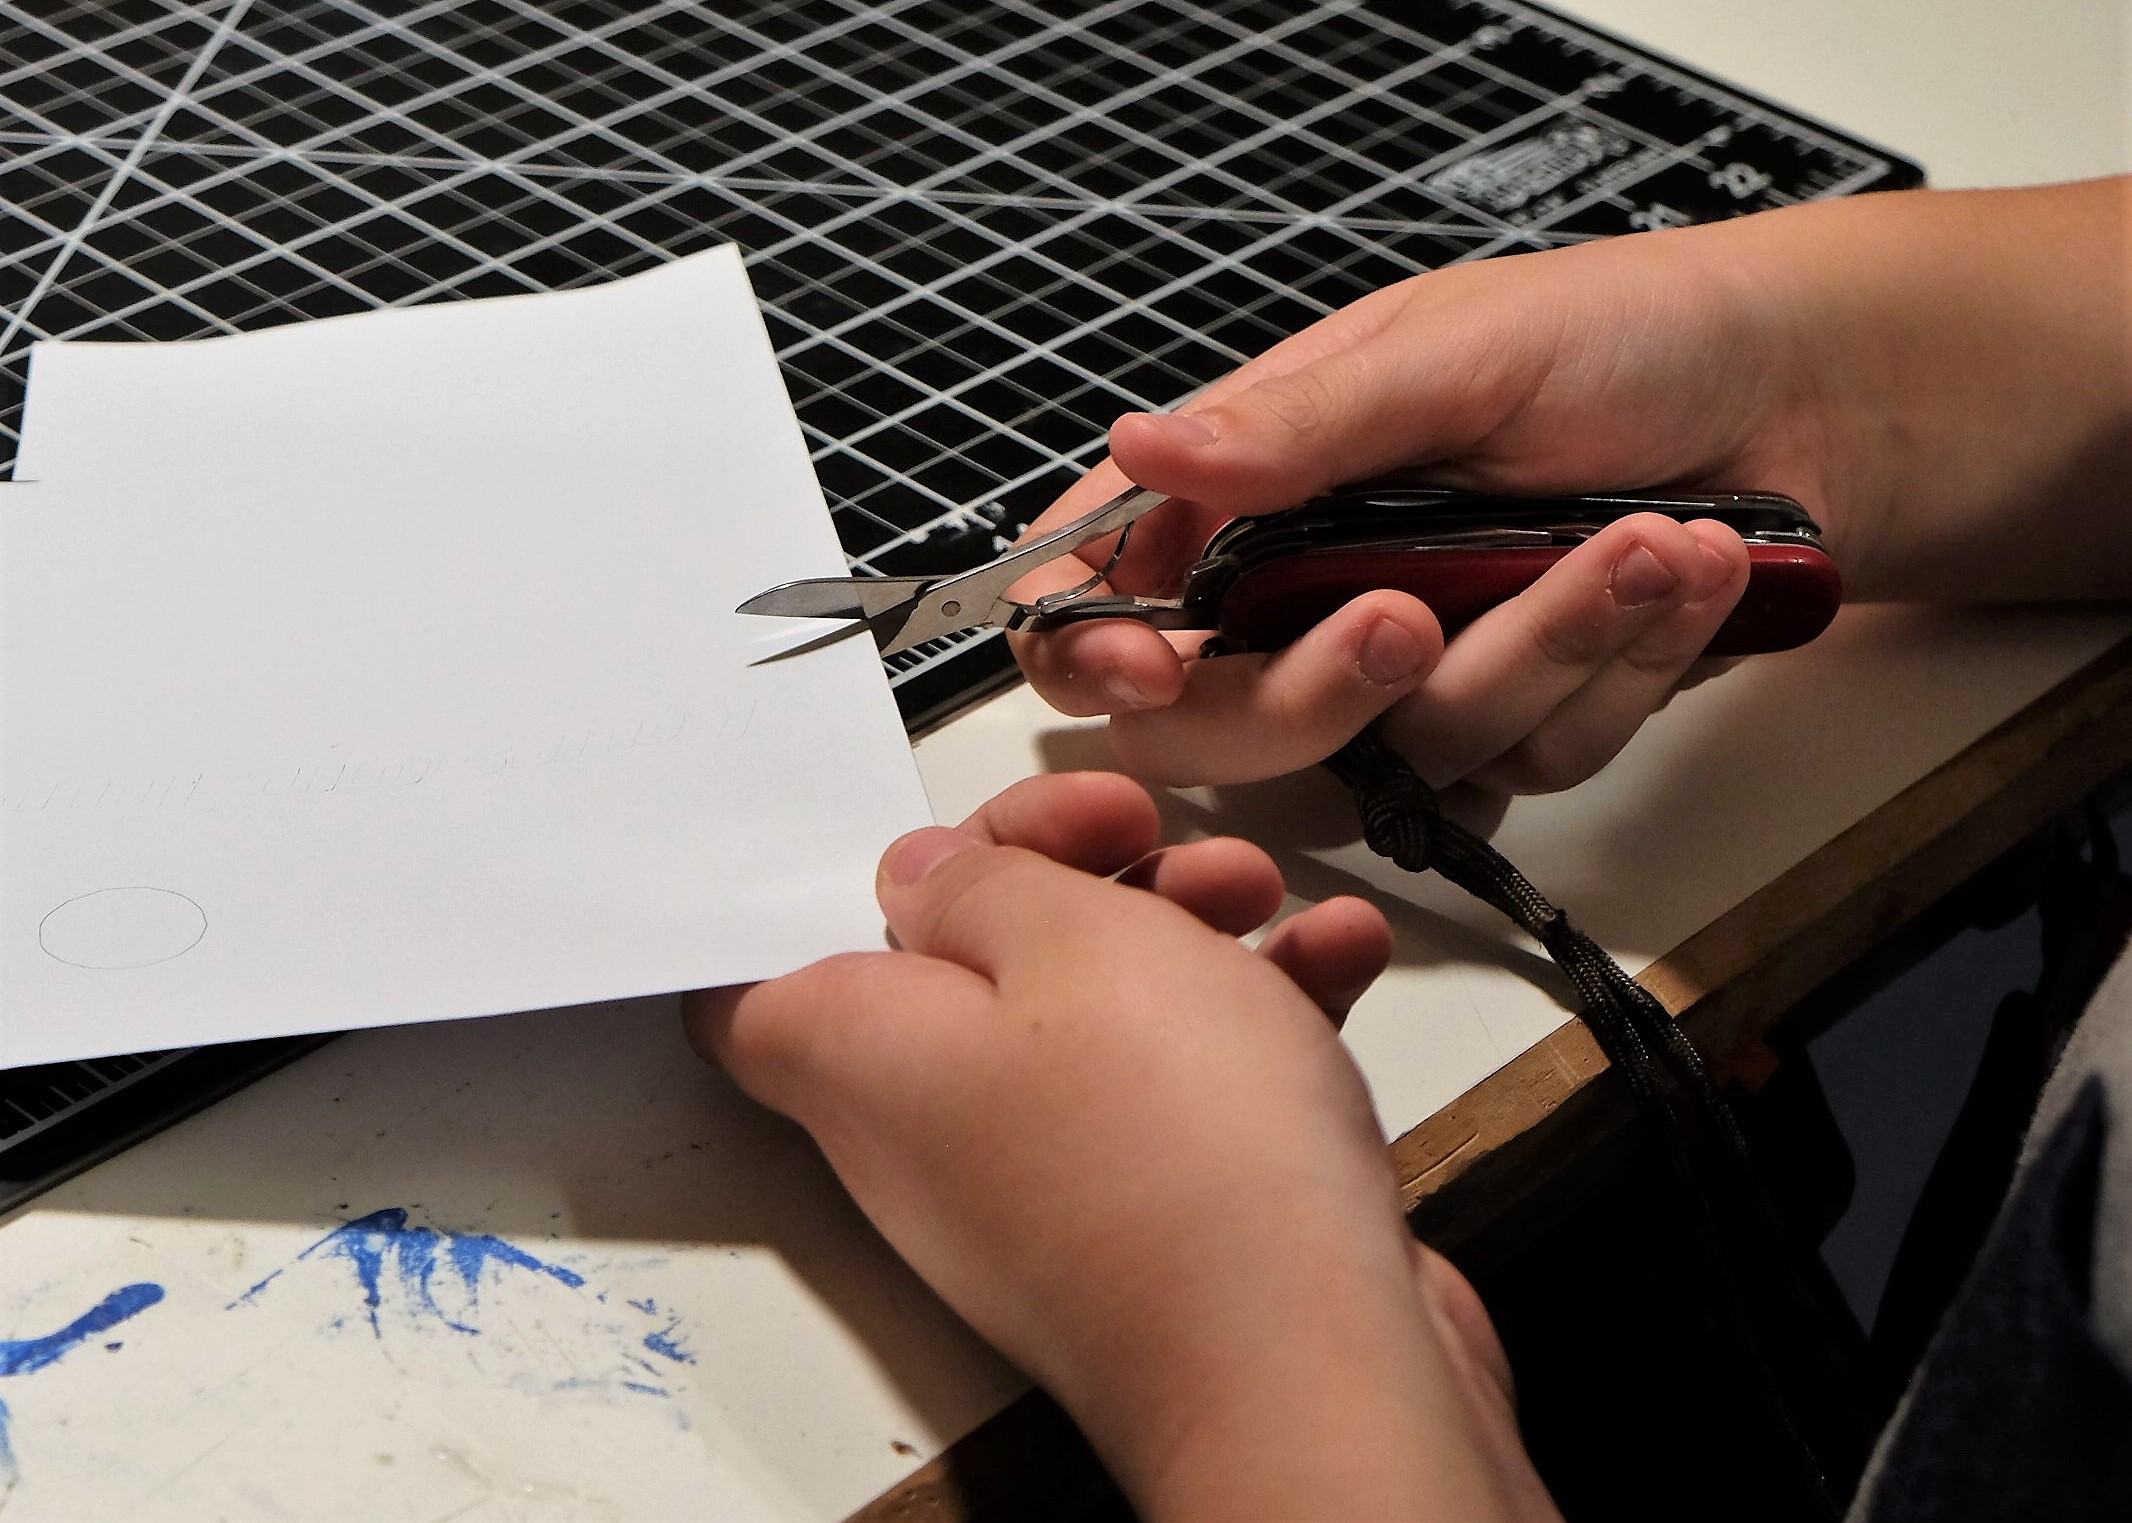
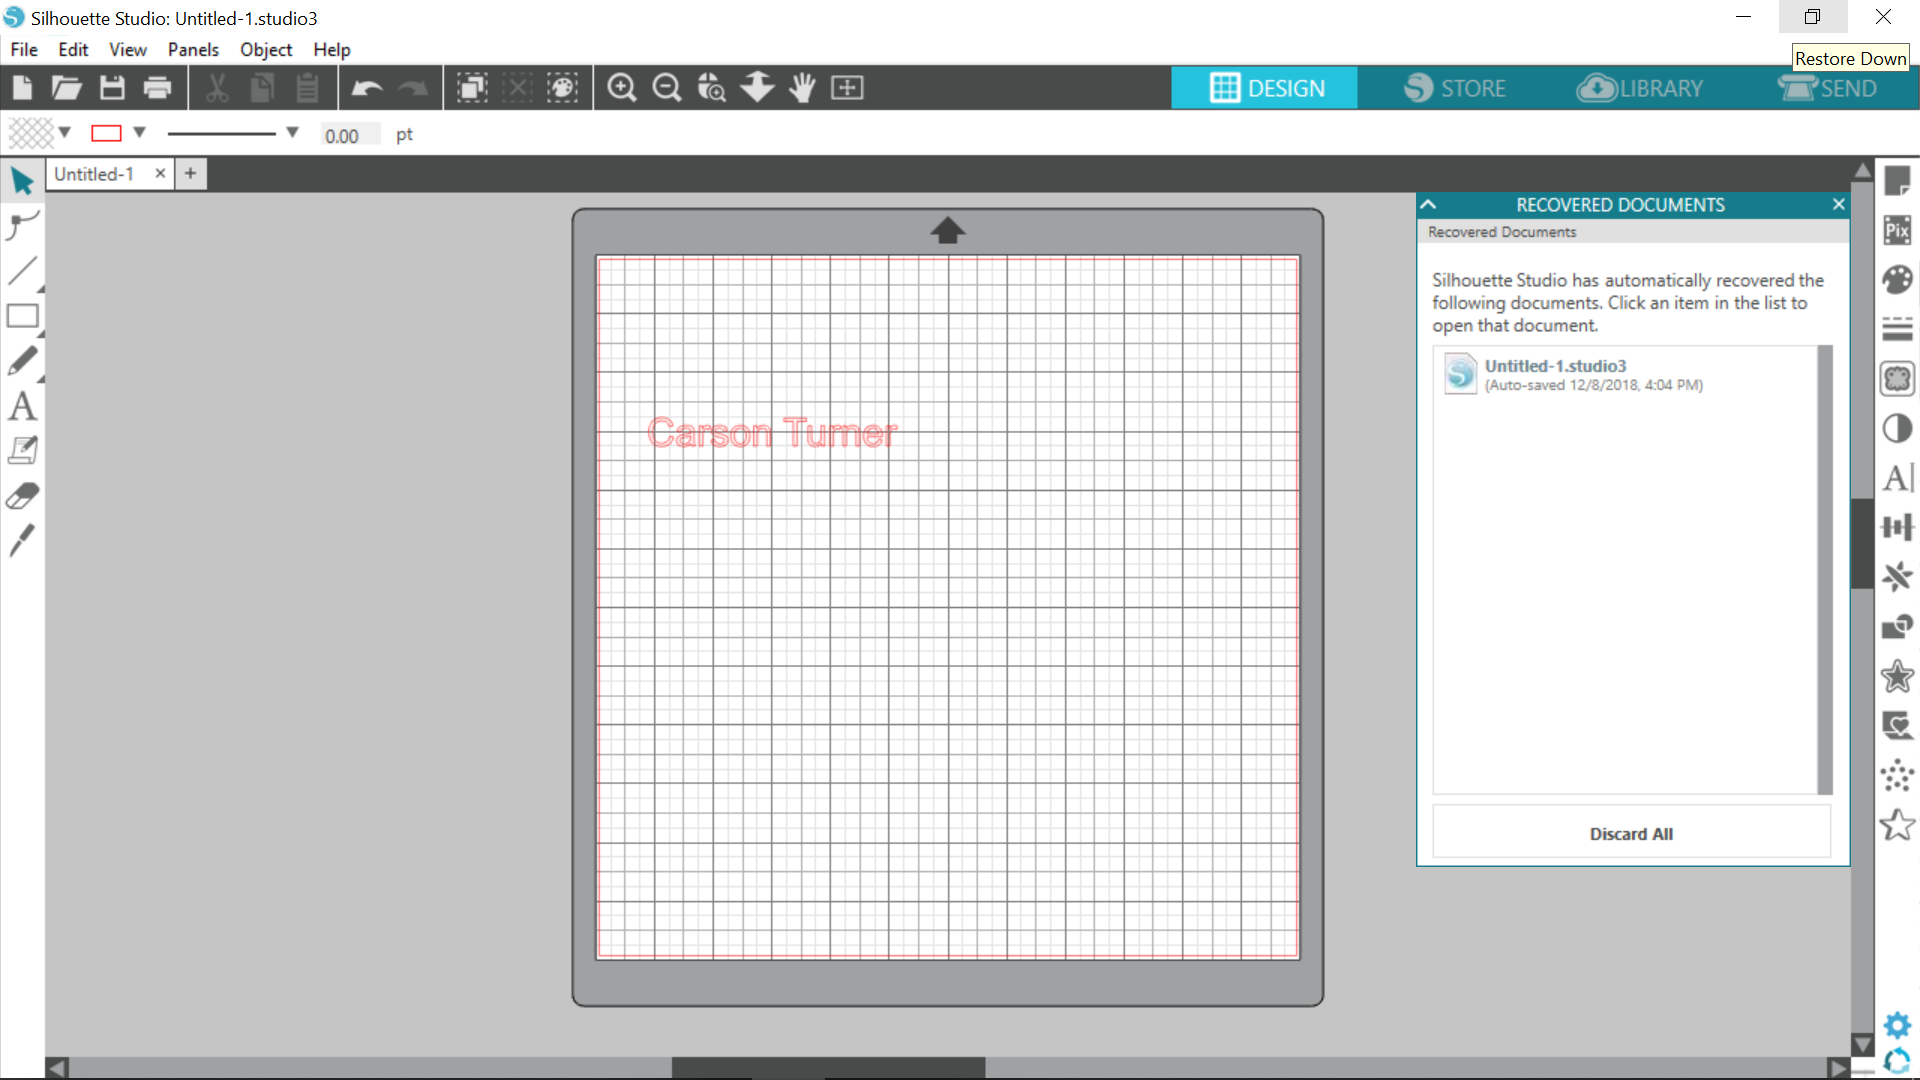
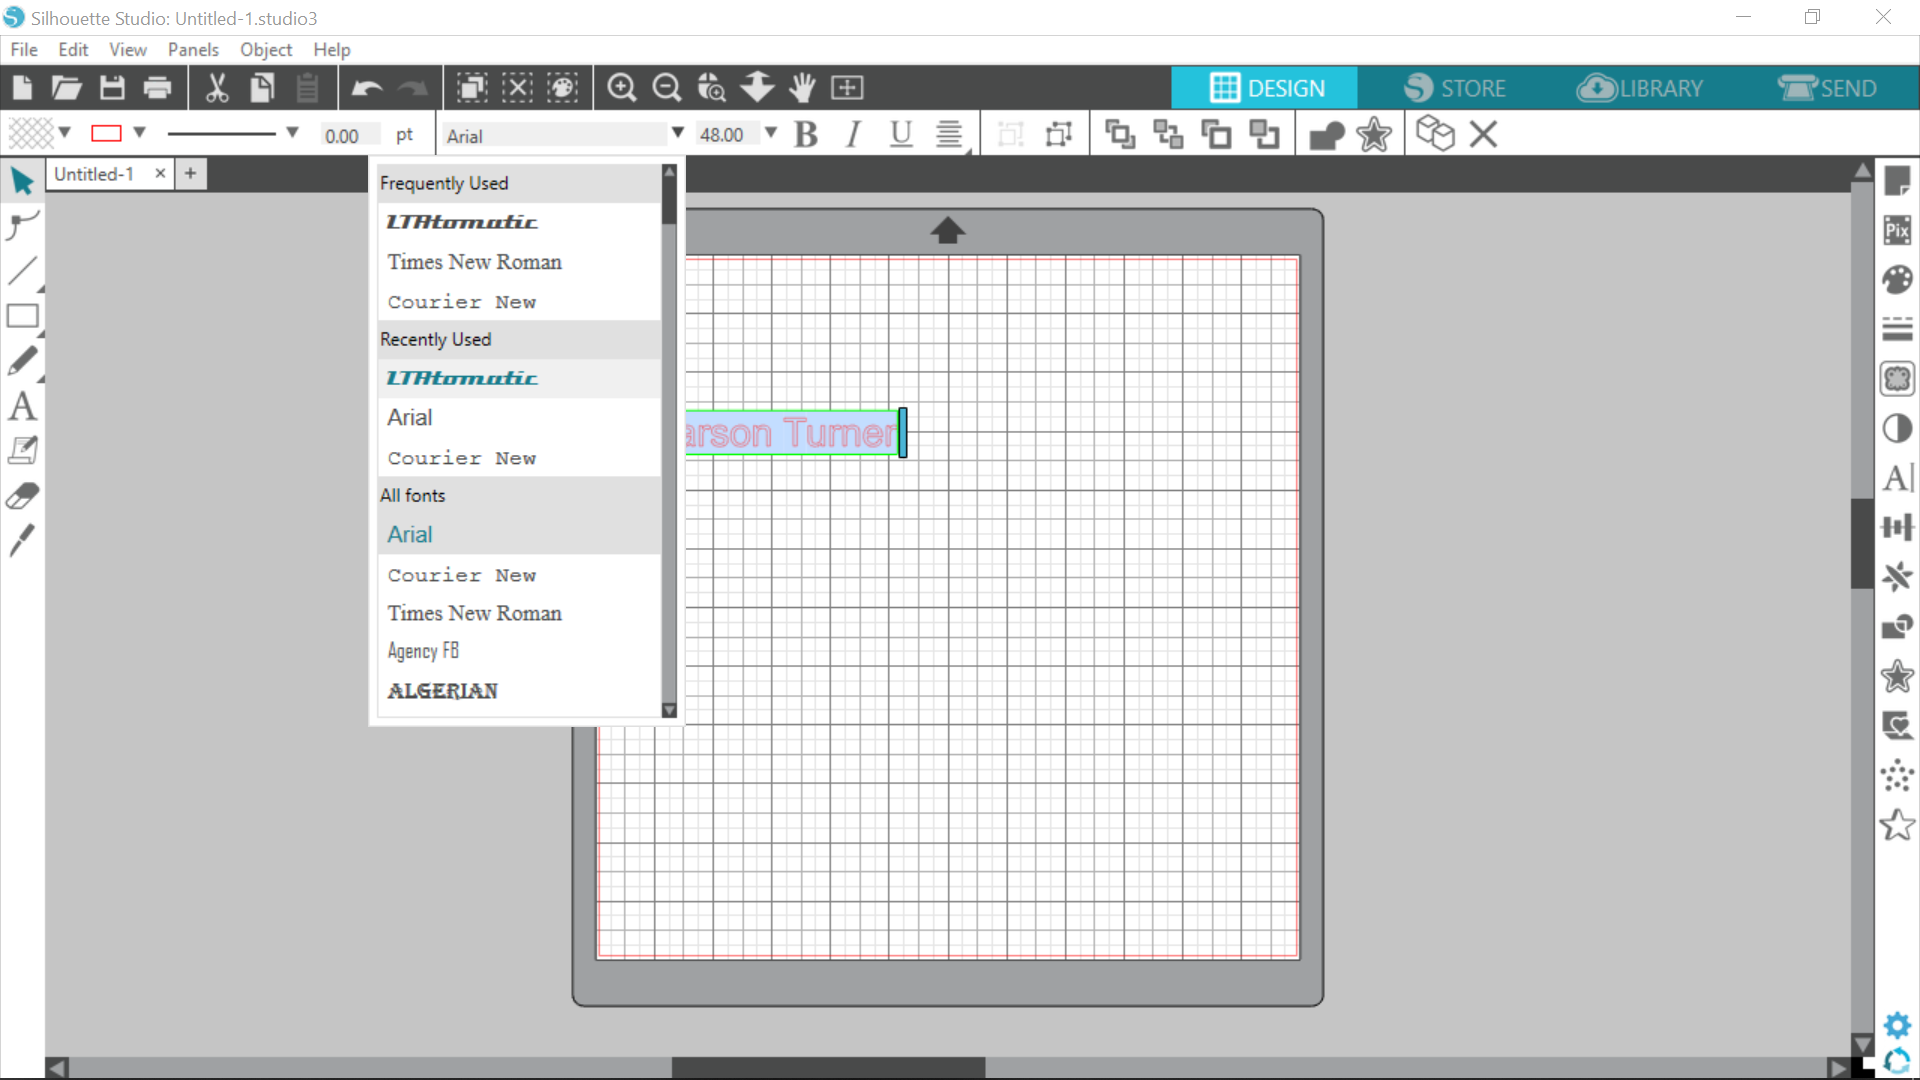
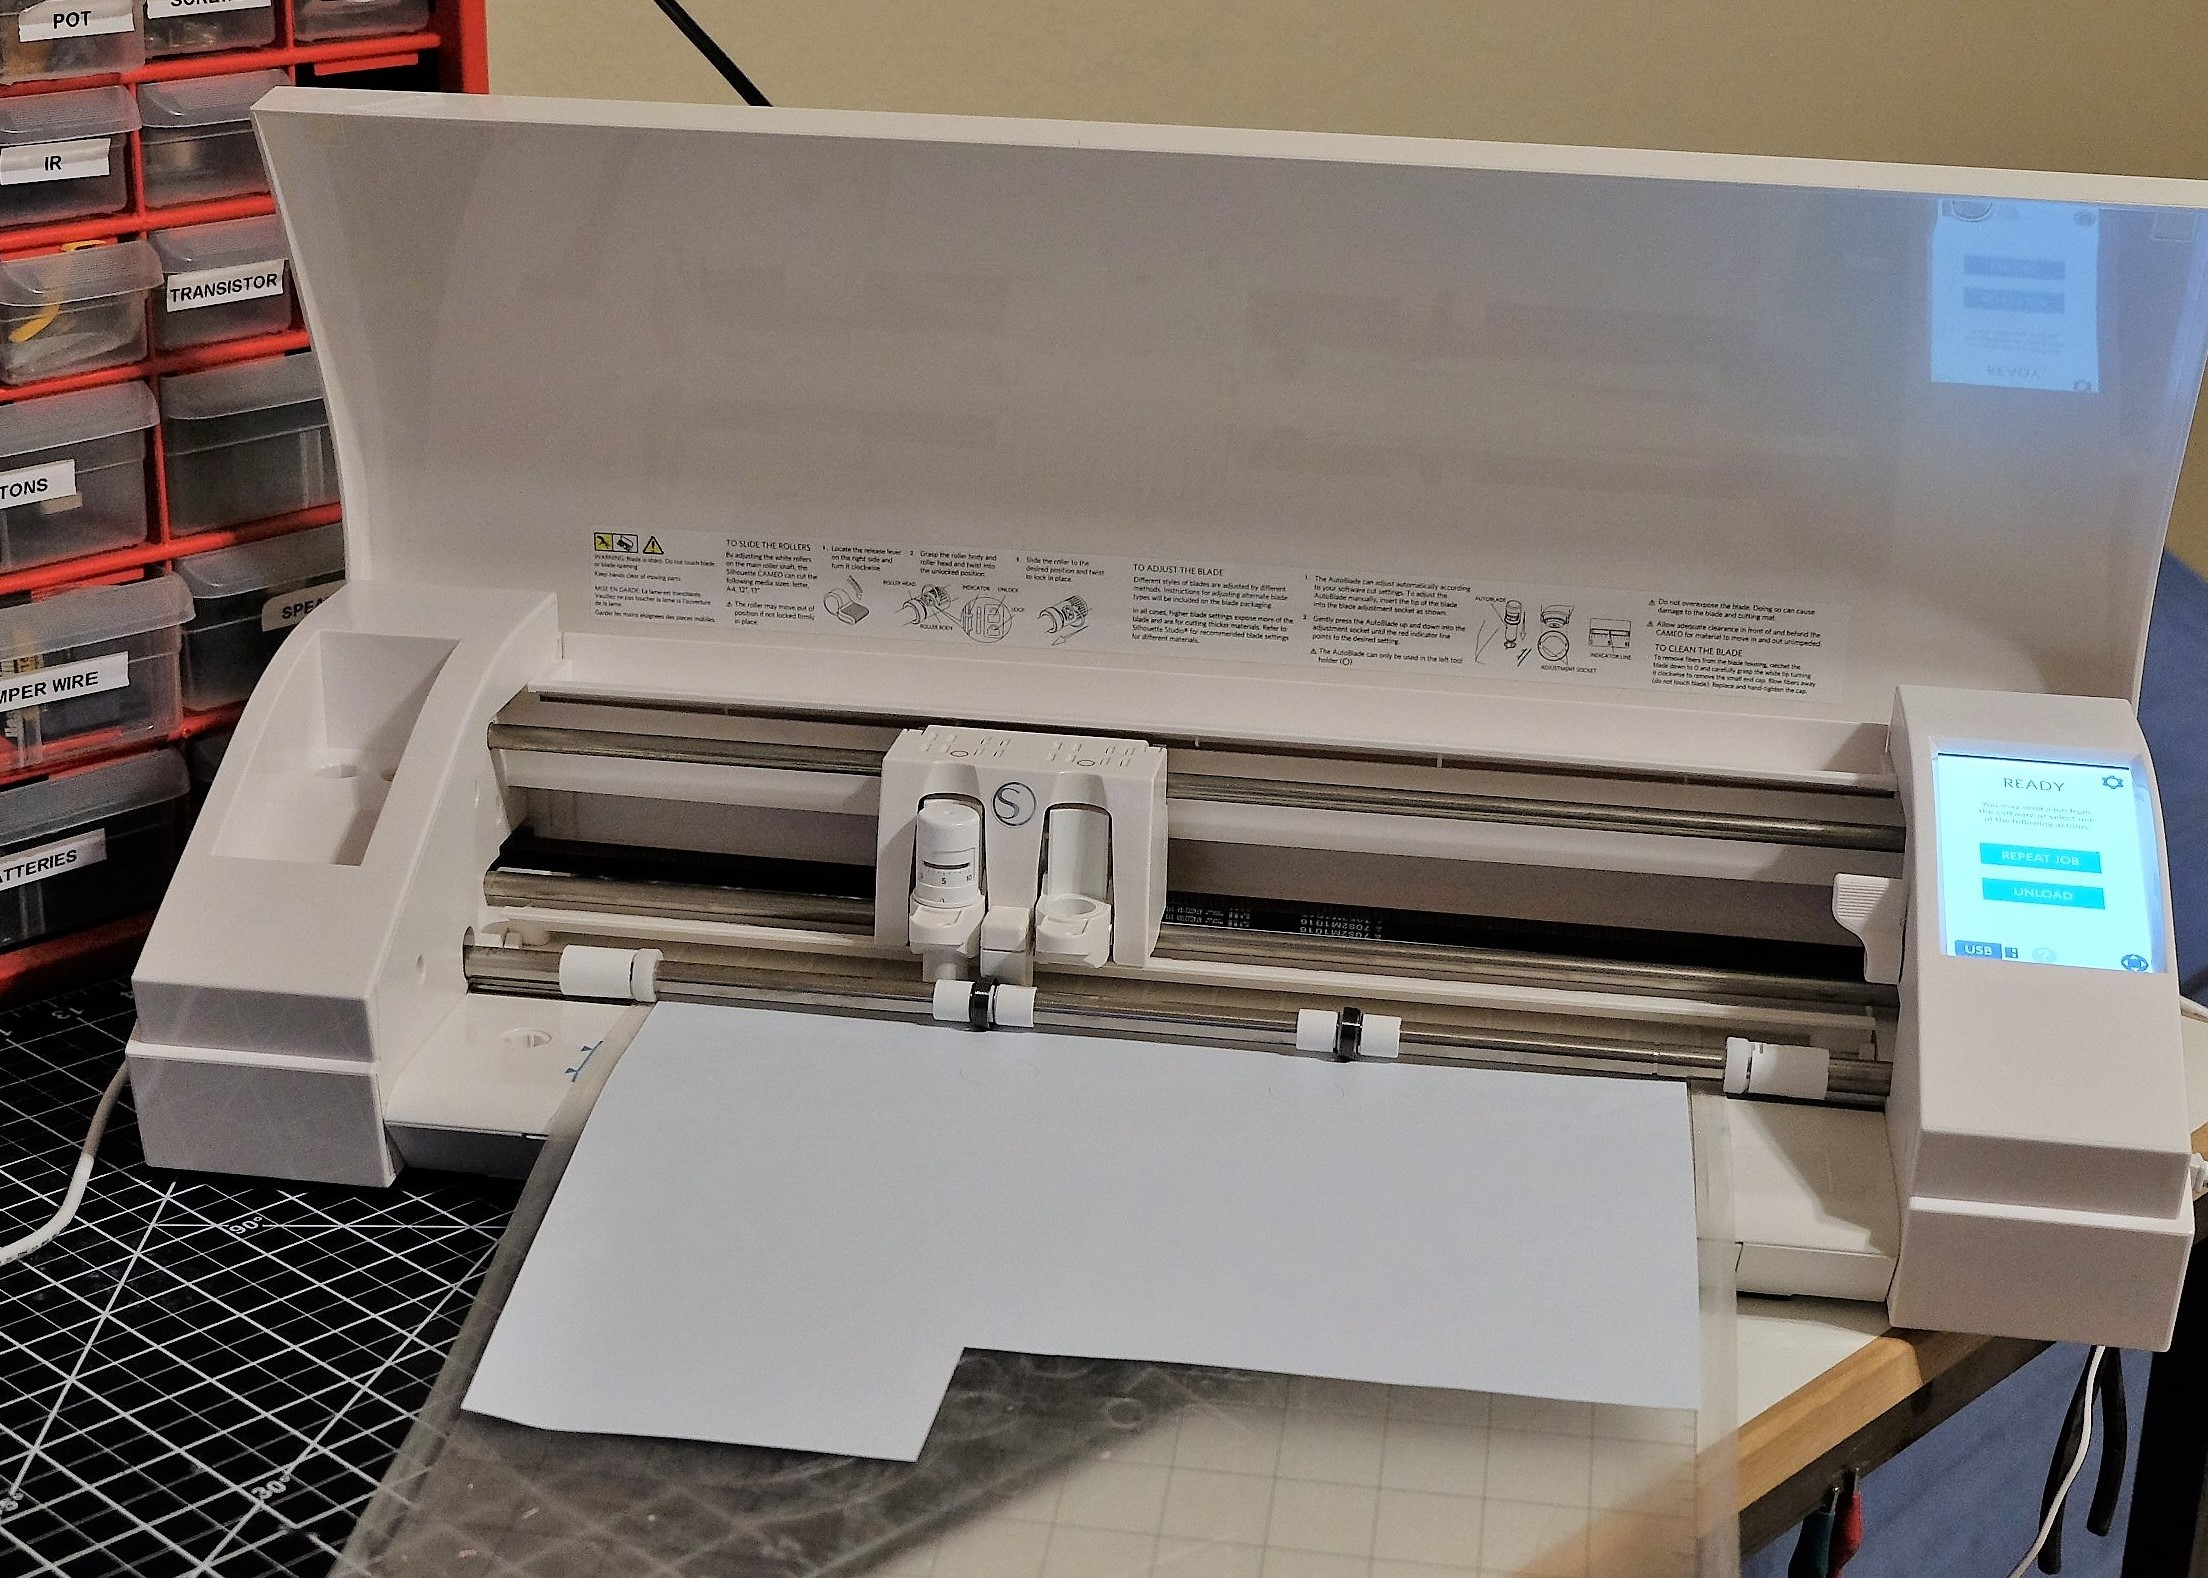
To do this step, I am going to assume you already know how to use and operate your vinyl cutter. To start cutting your decal you need to first design it. So to do that you must open up your cutting software and create a text box with your custom text in it like in the first image. Then highlight the text and look at the font area and click on the one that says the name of your font. At that point you will have a text box with text in your new font. If the font doesn't show up at all, then you might have done the previous step wrong. That being said, once you have the text the way you want it, cut it out as shown in the pictures 3-6.
Transfer the Decal
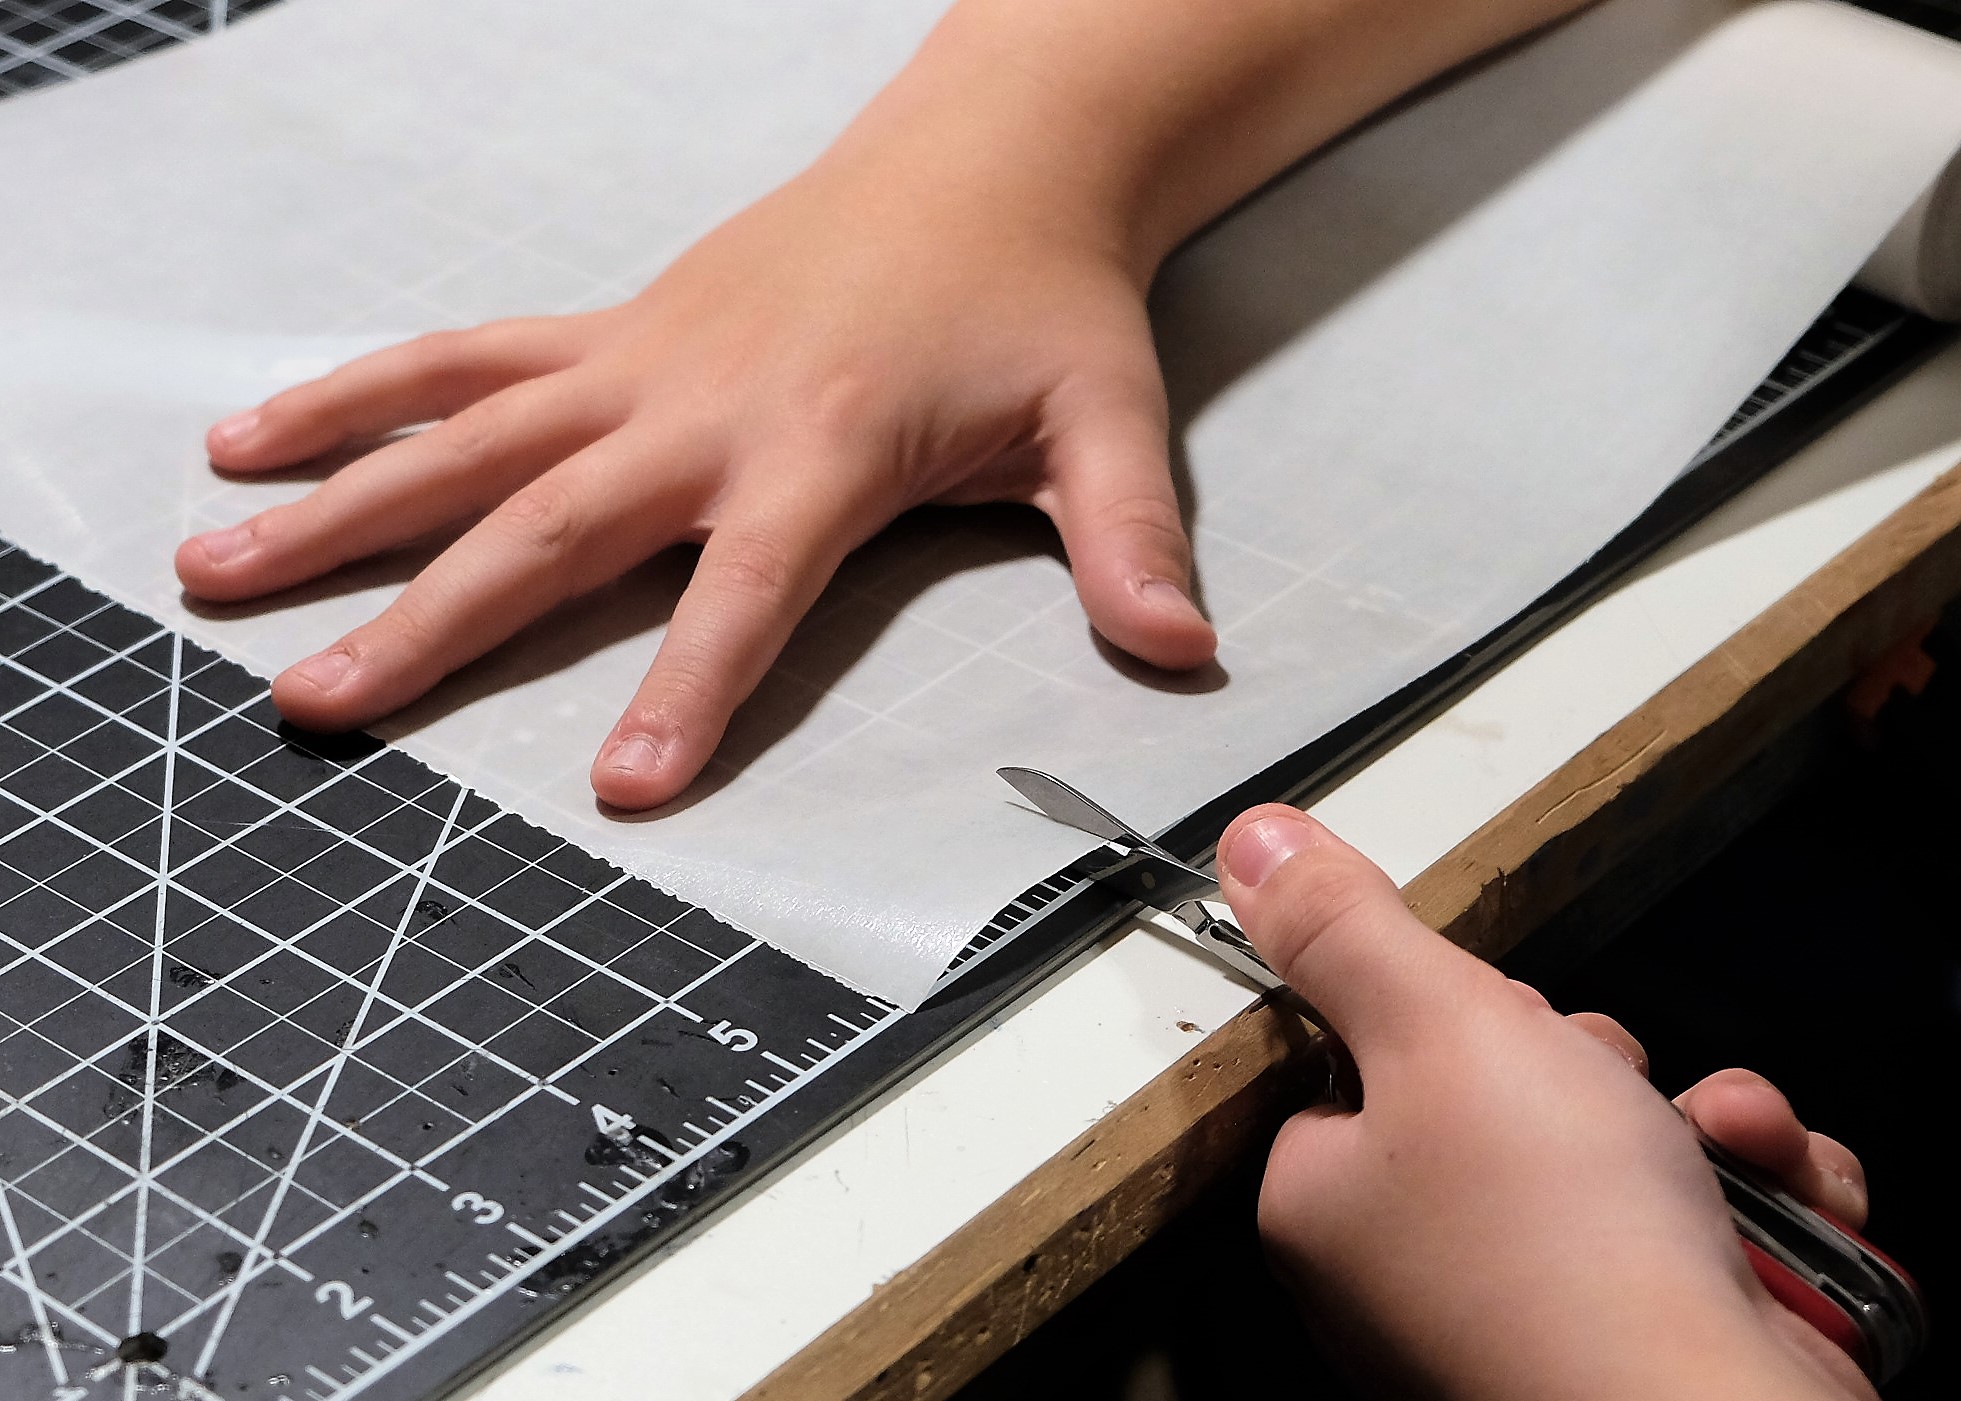
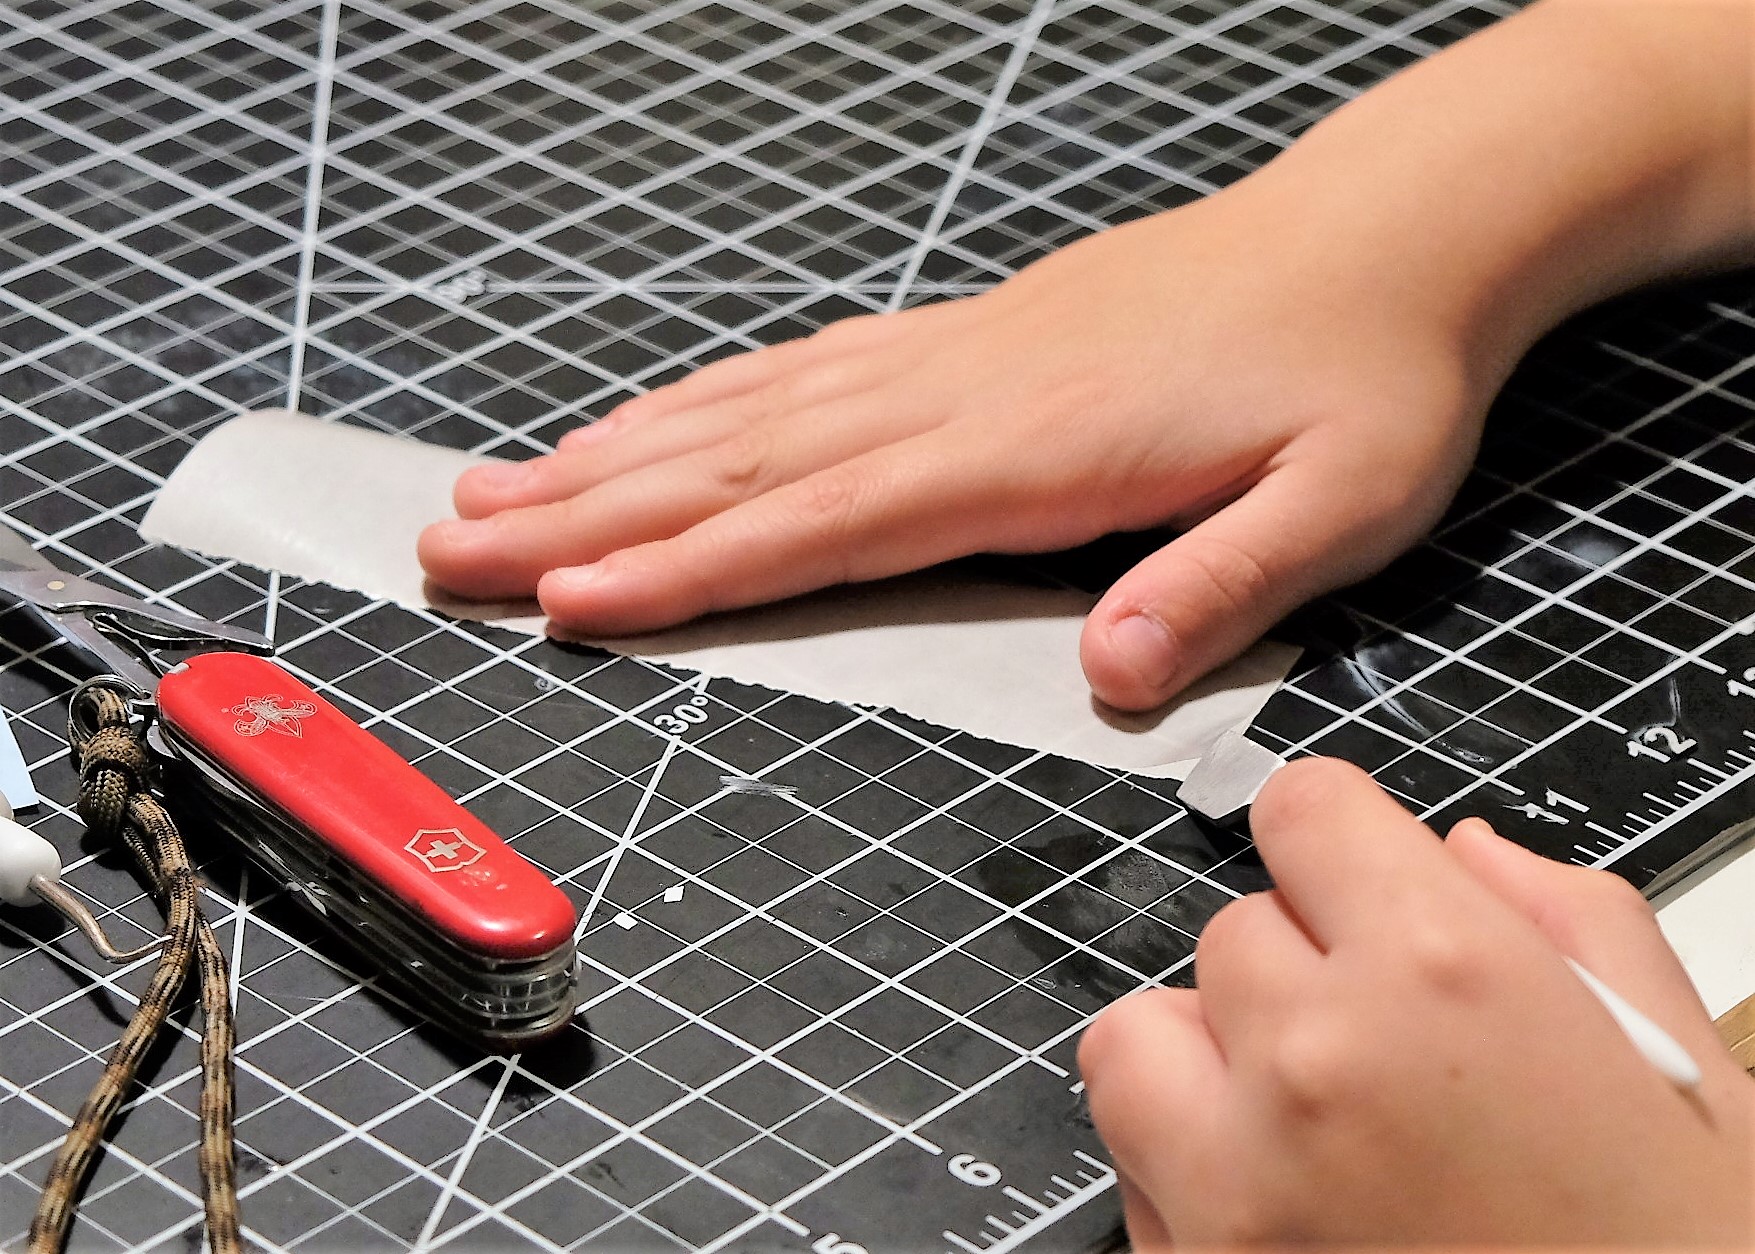
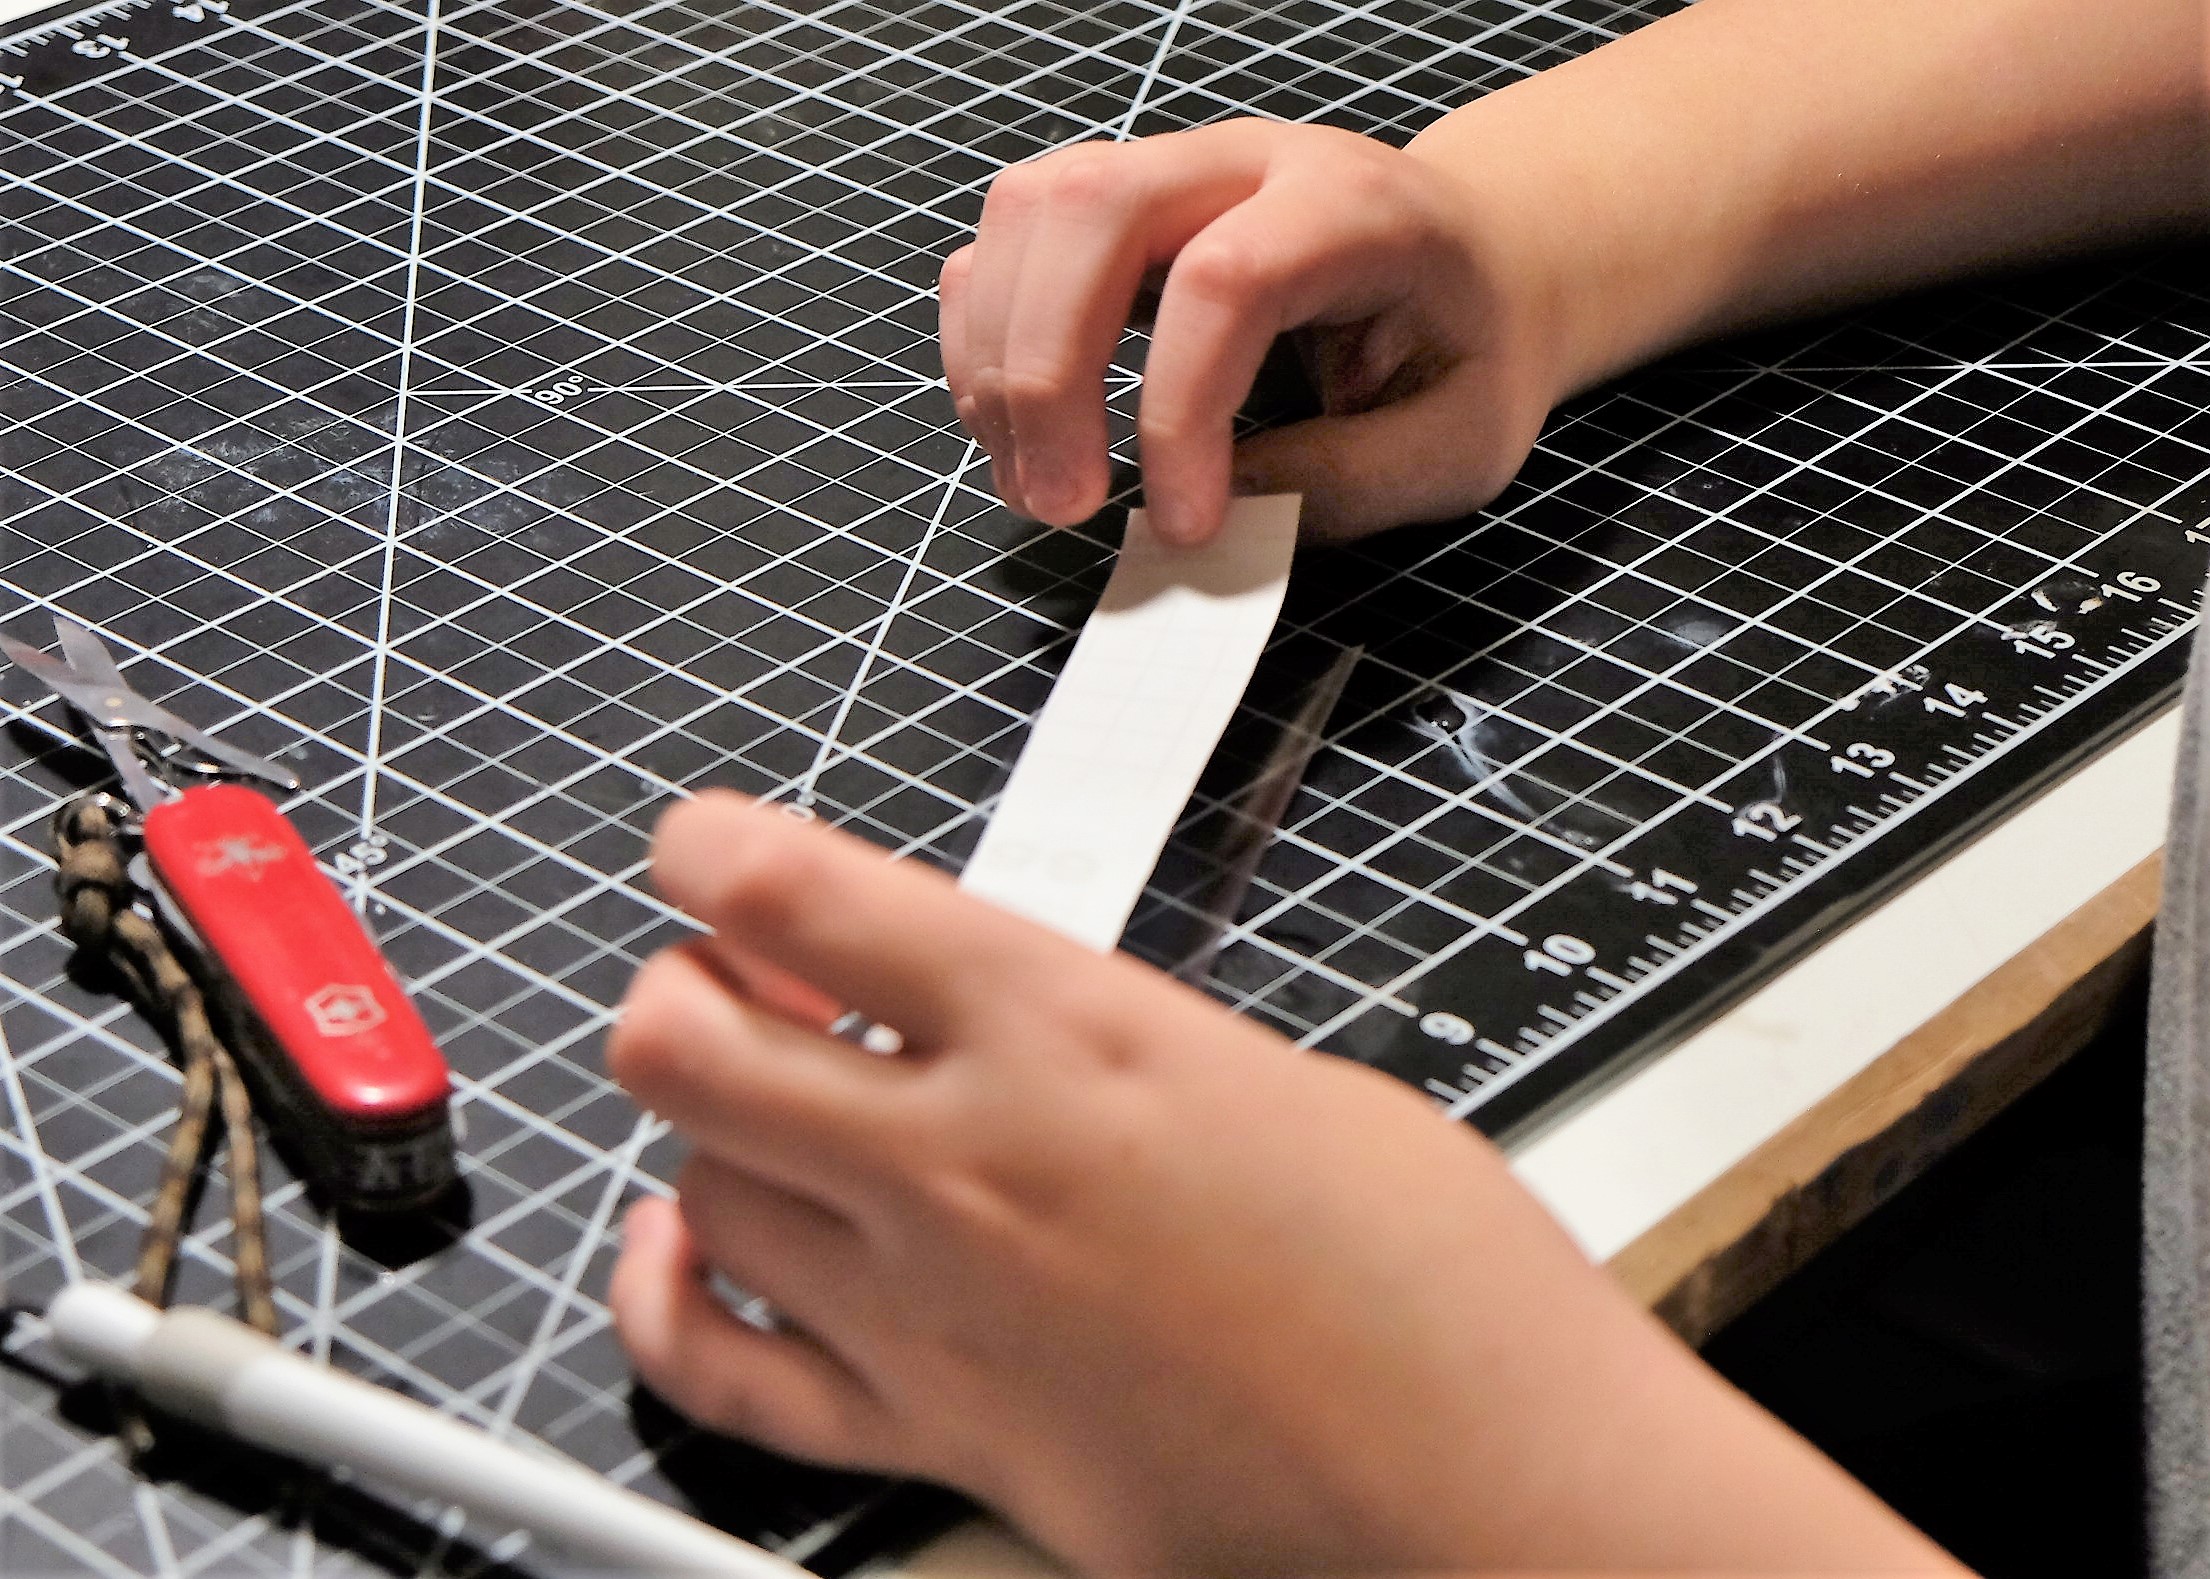
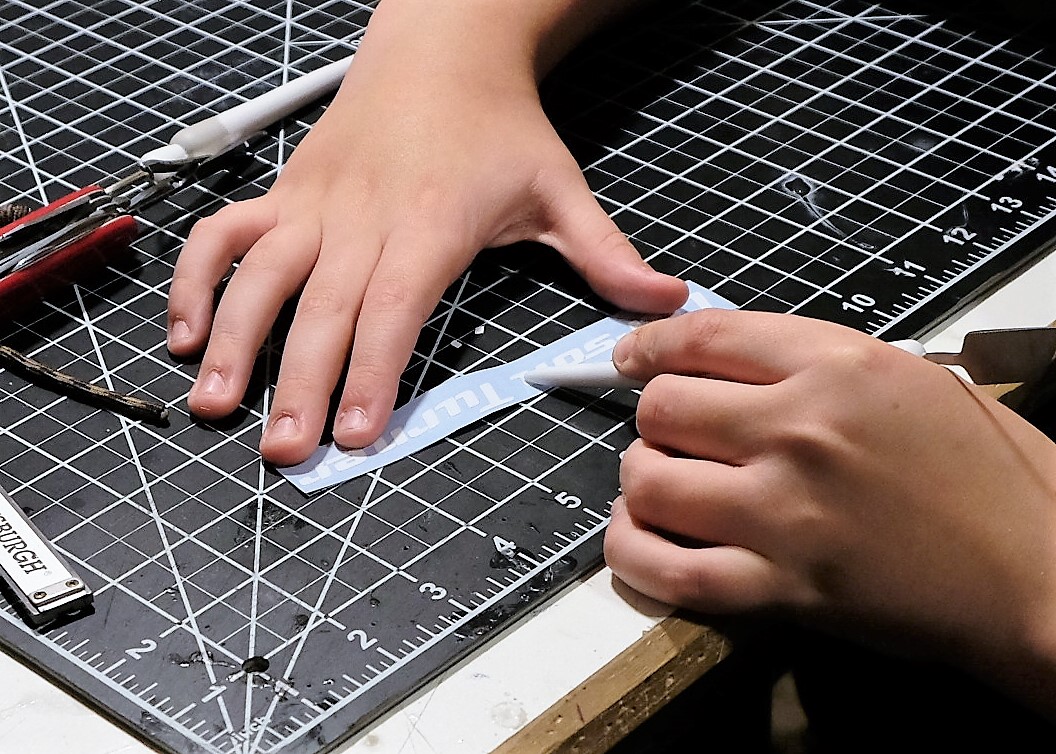
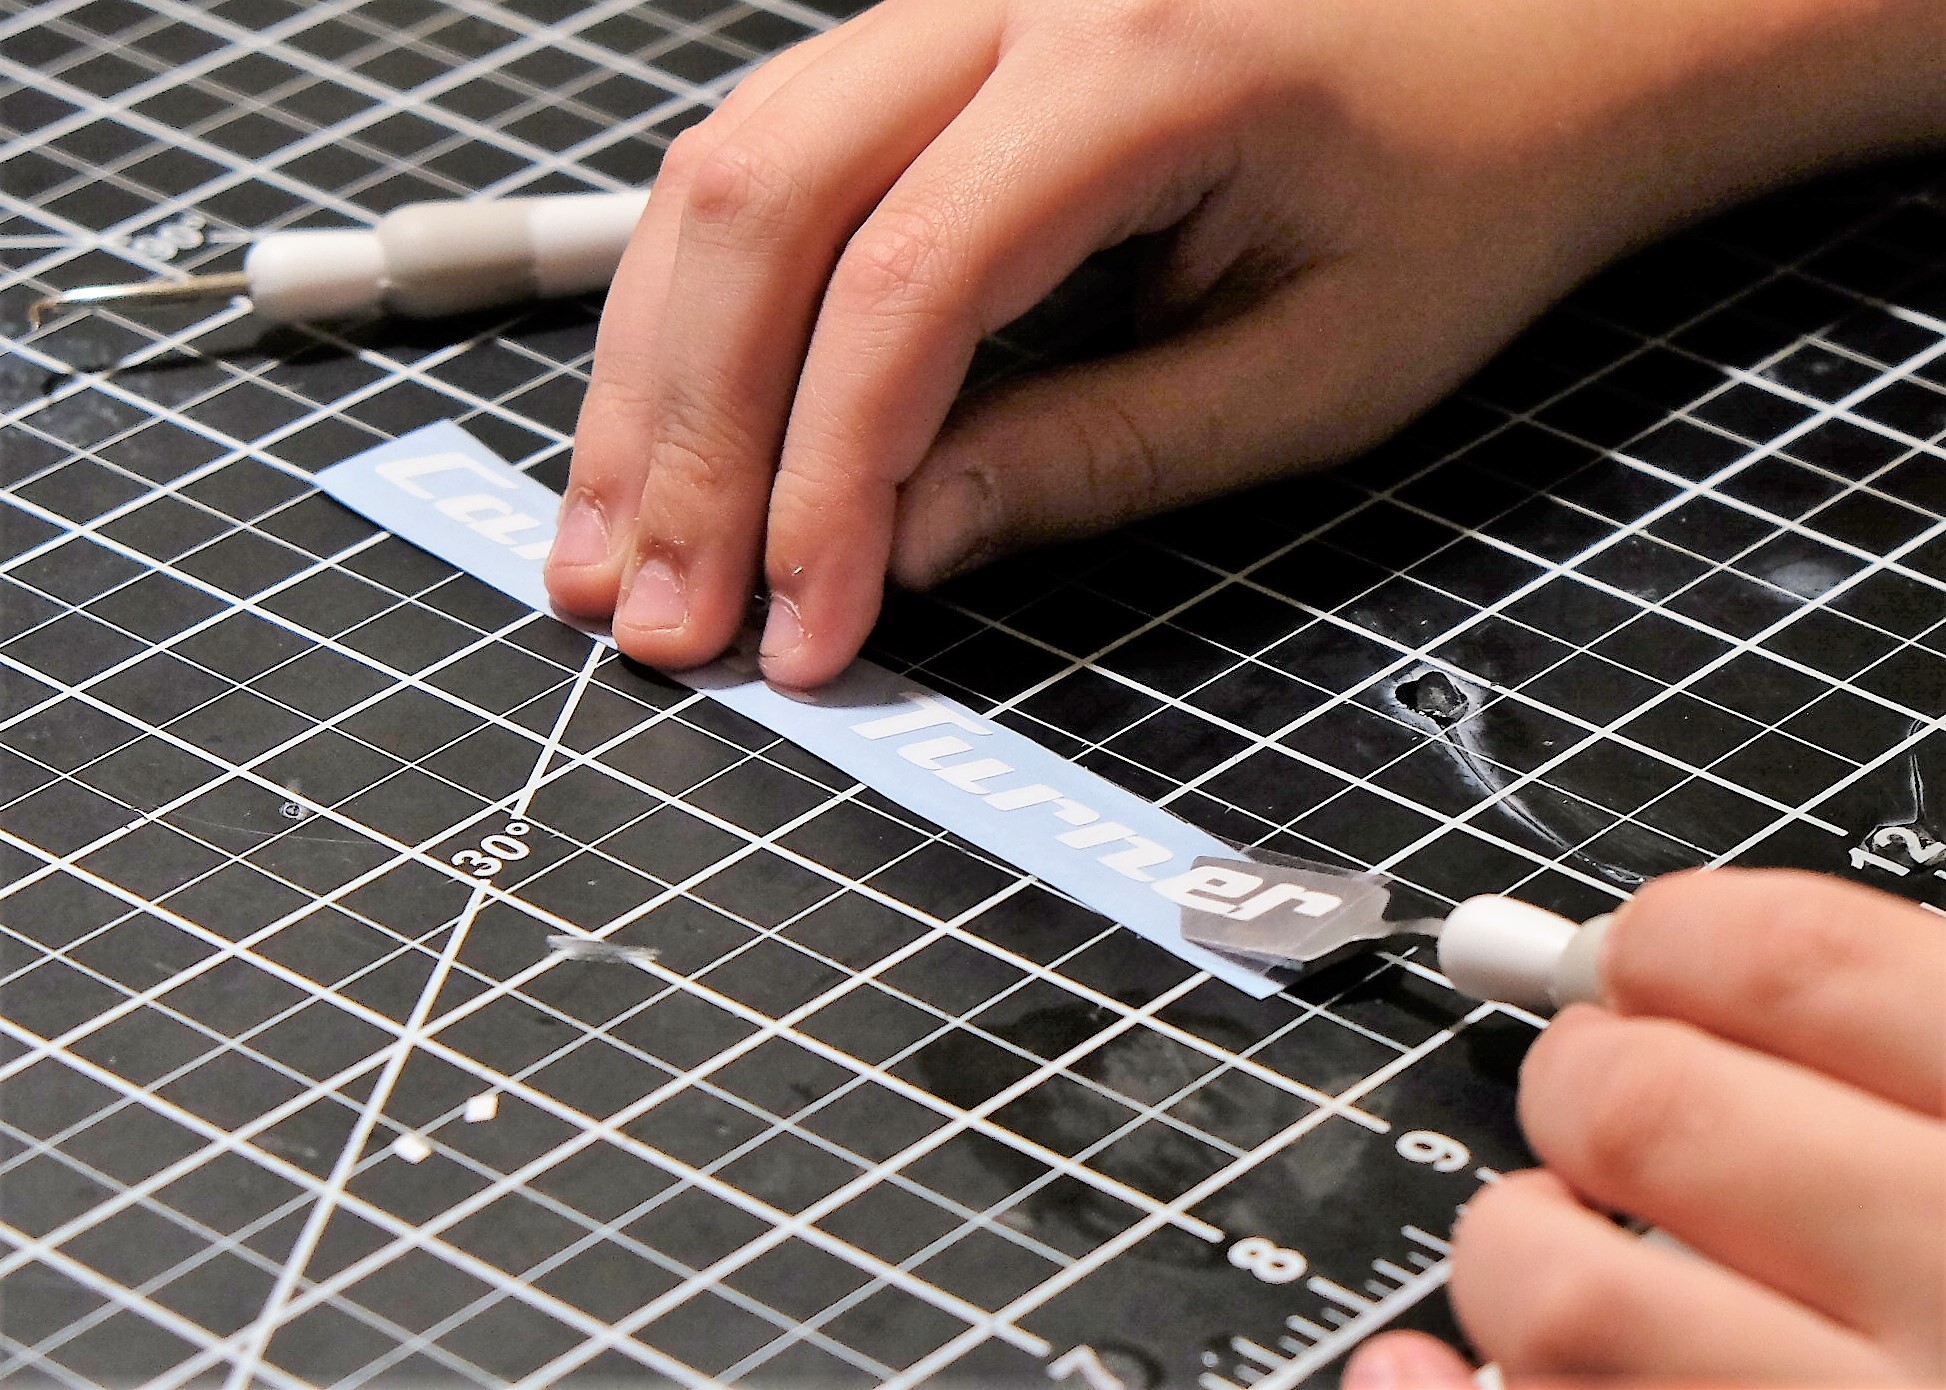
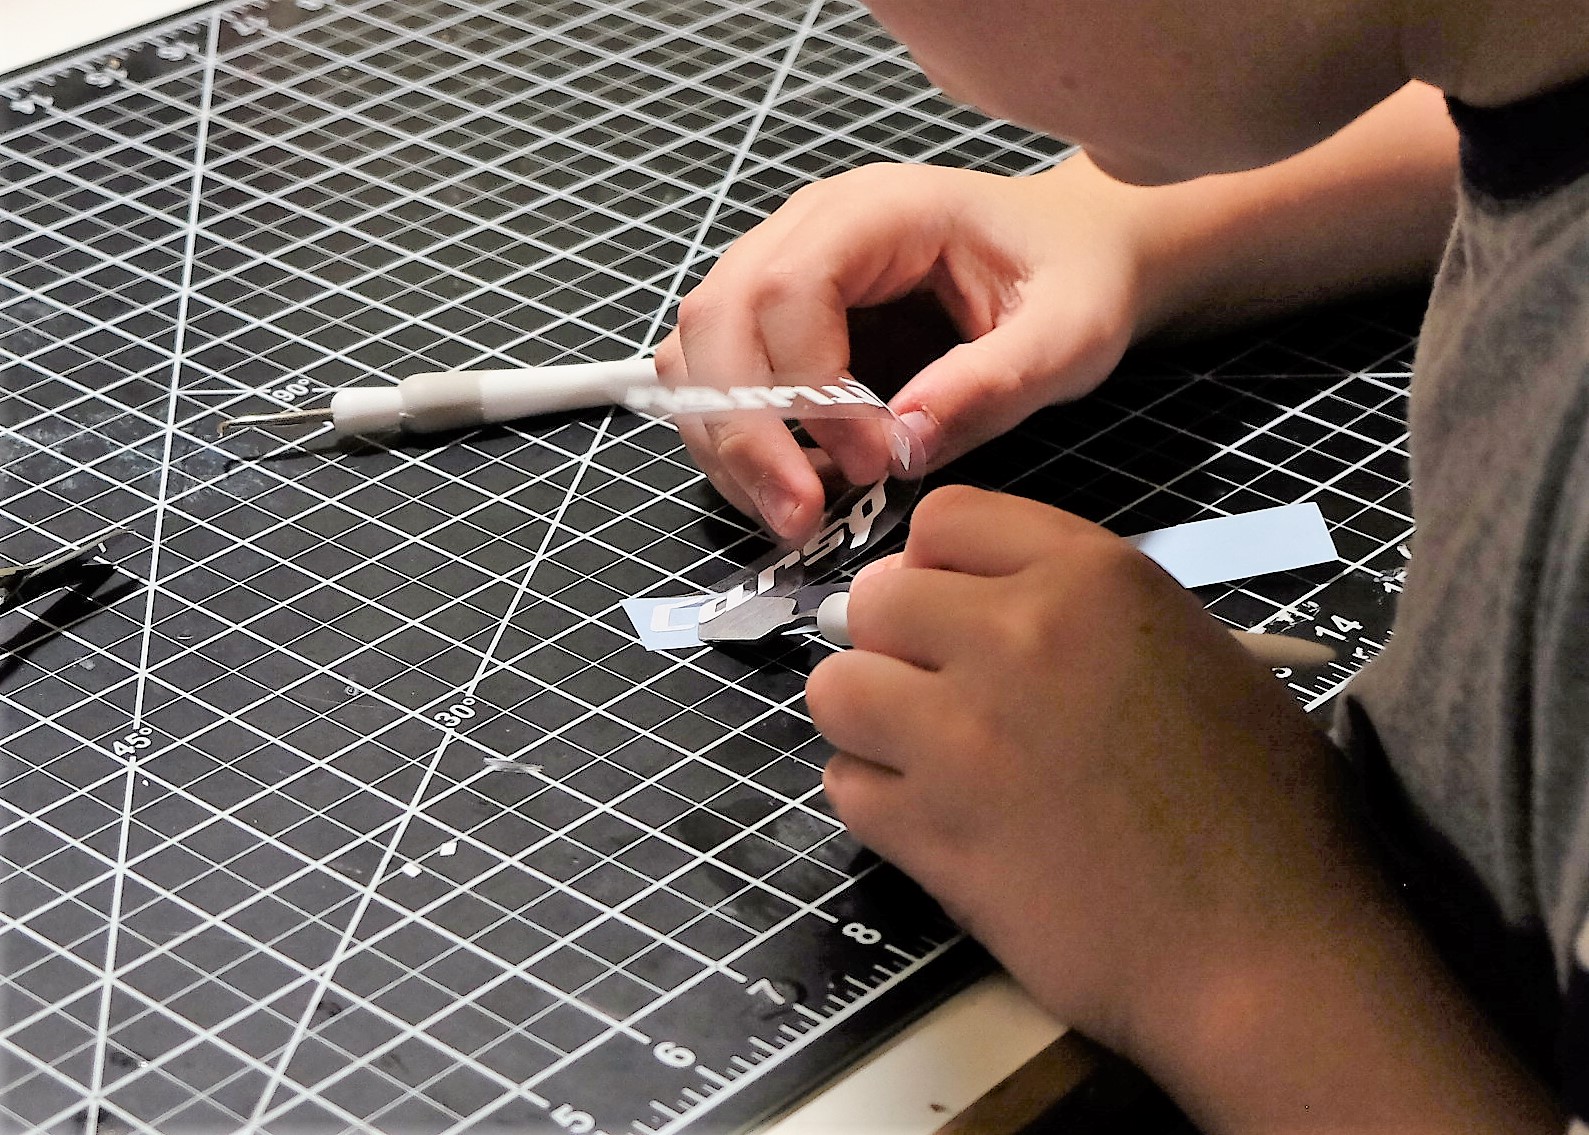
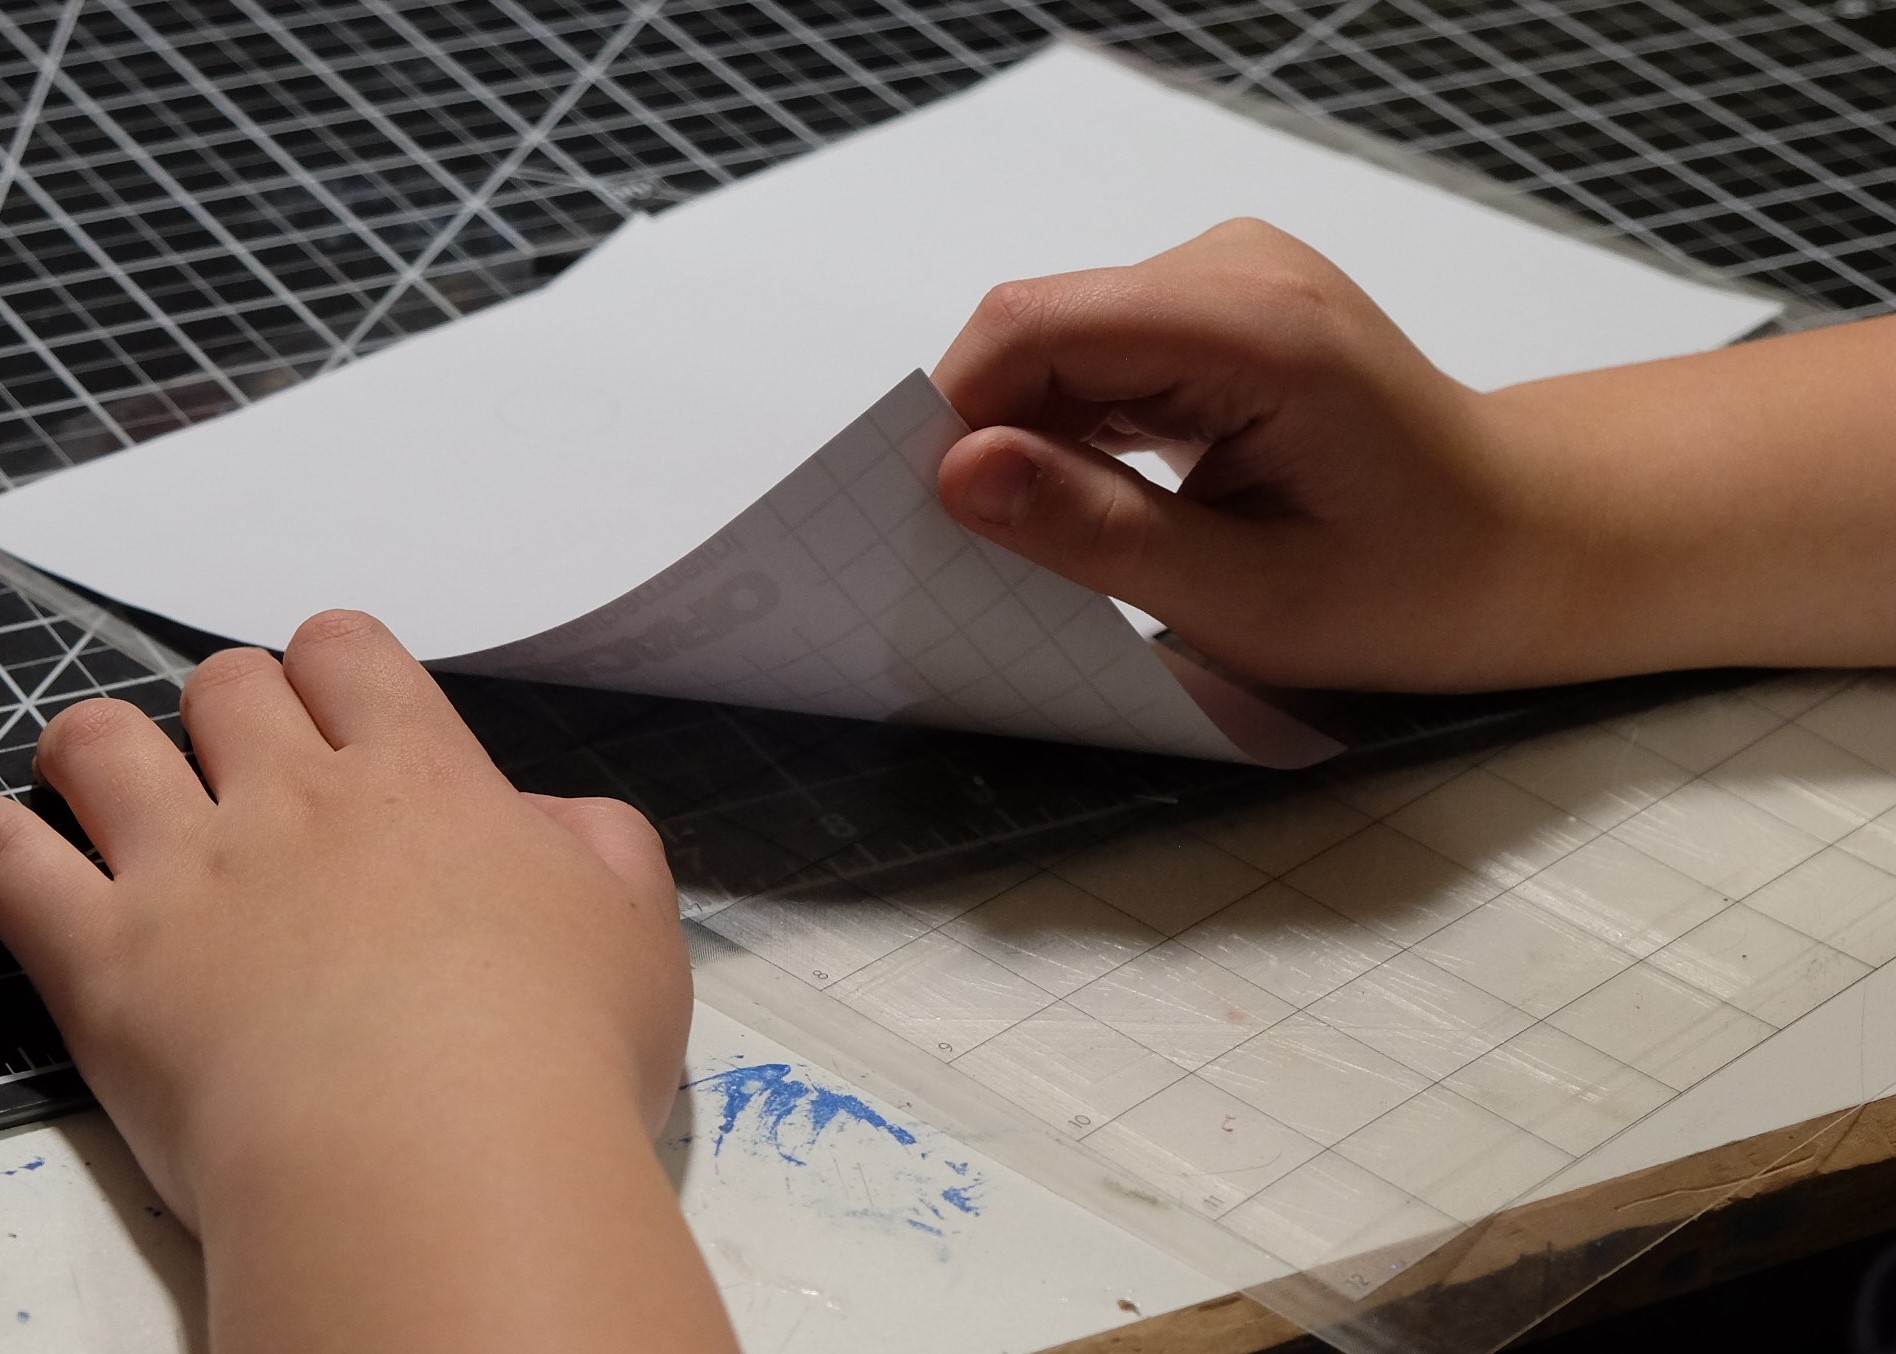
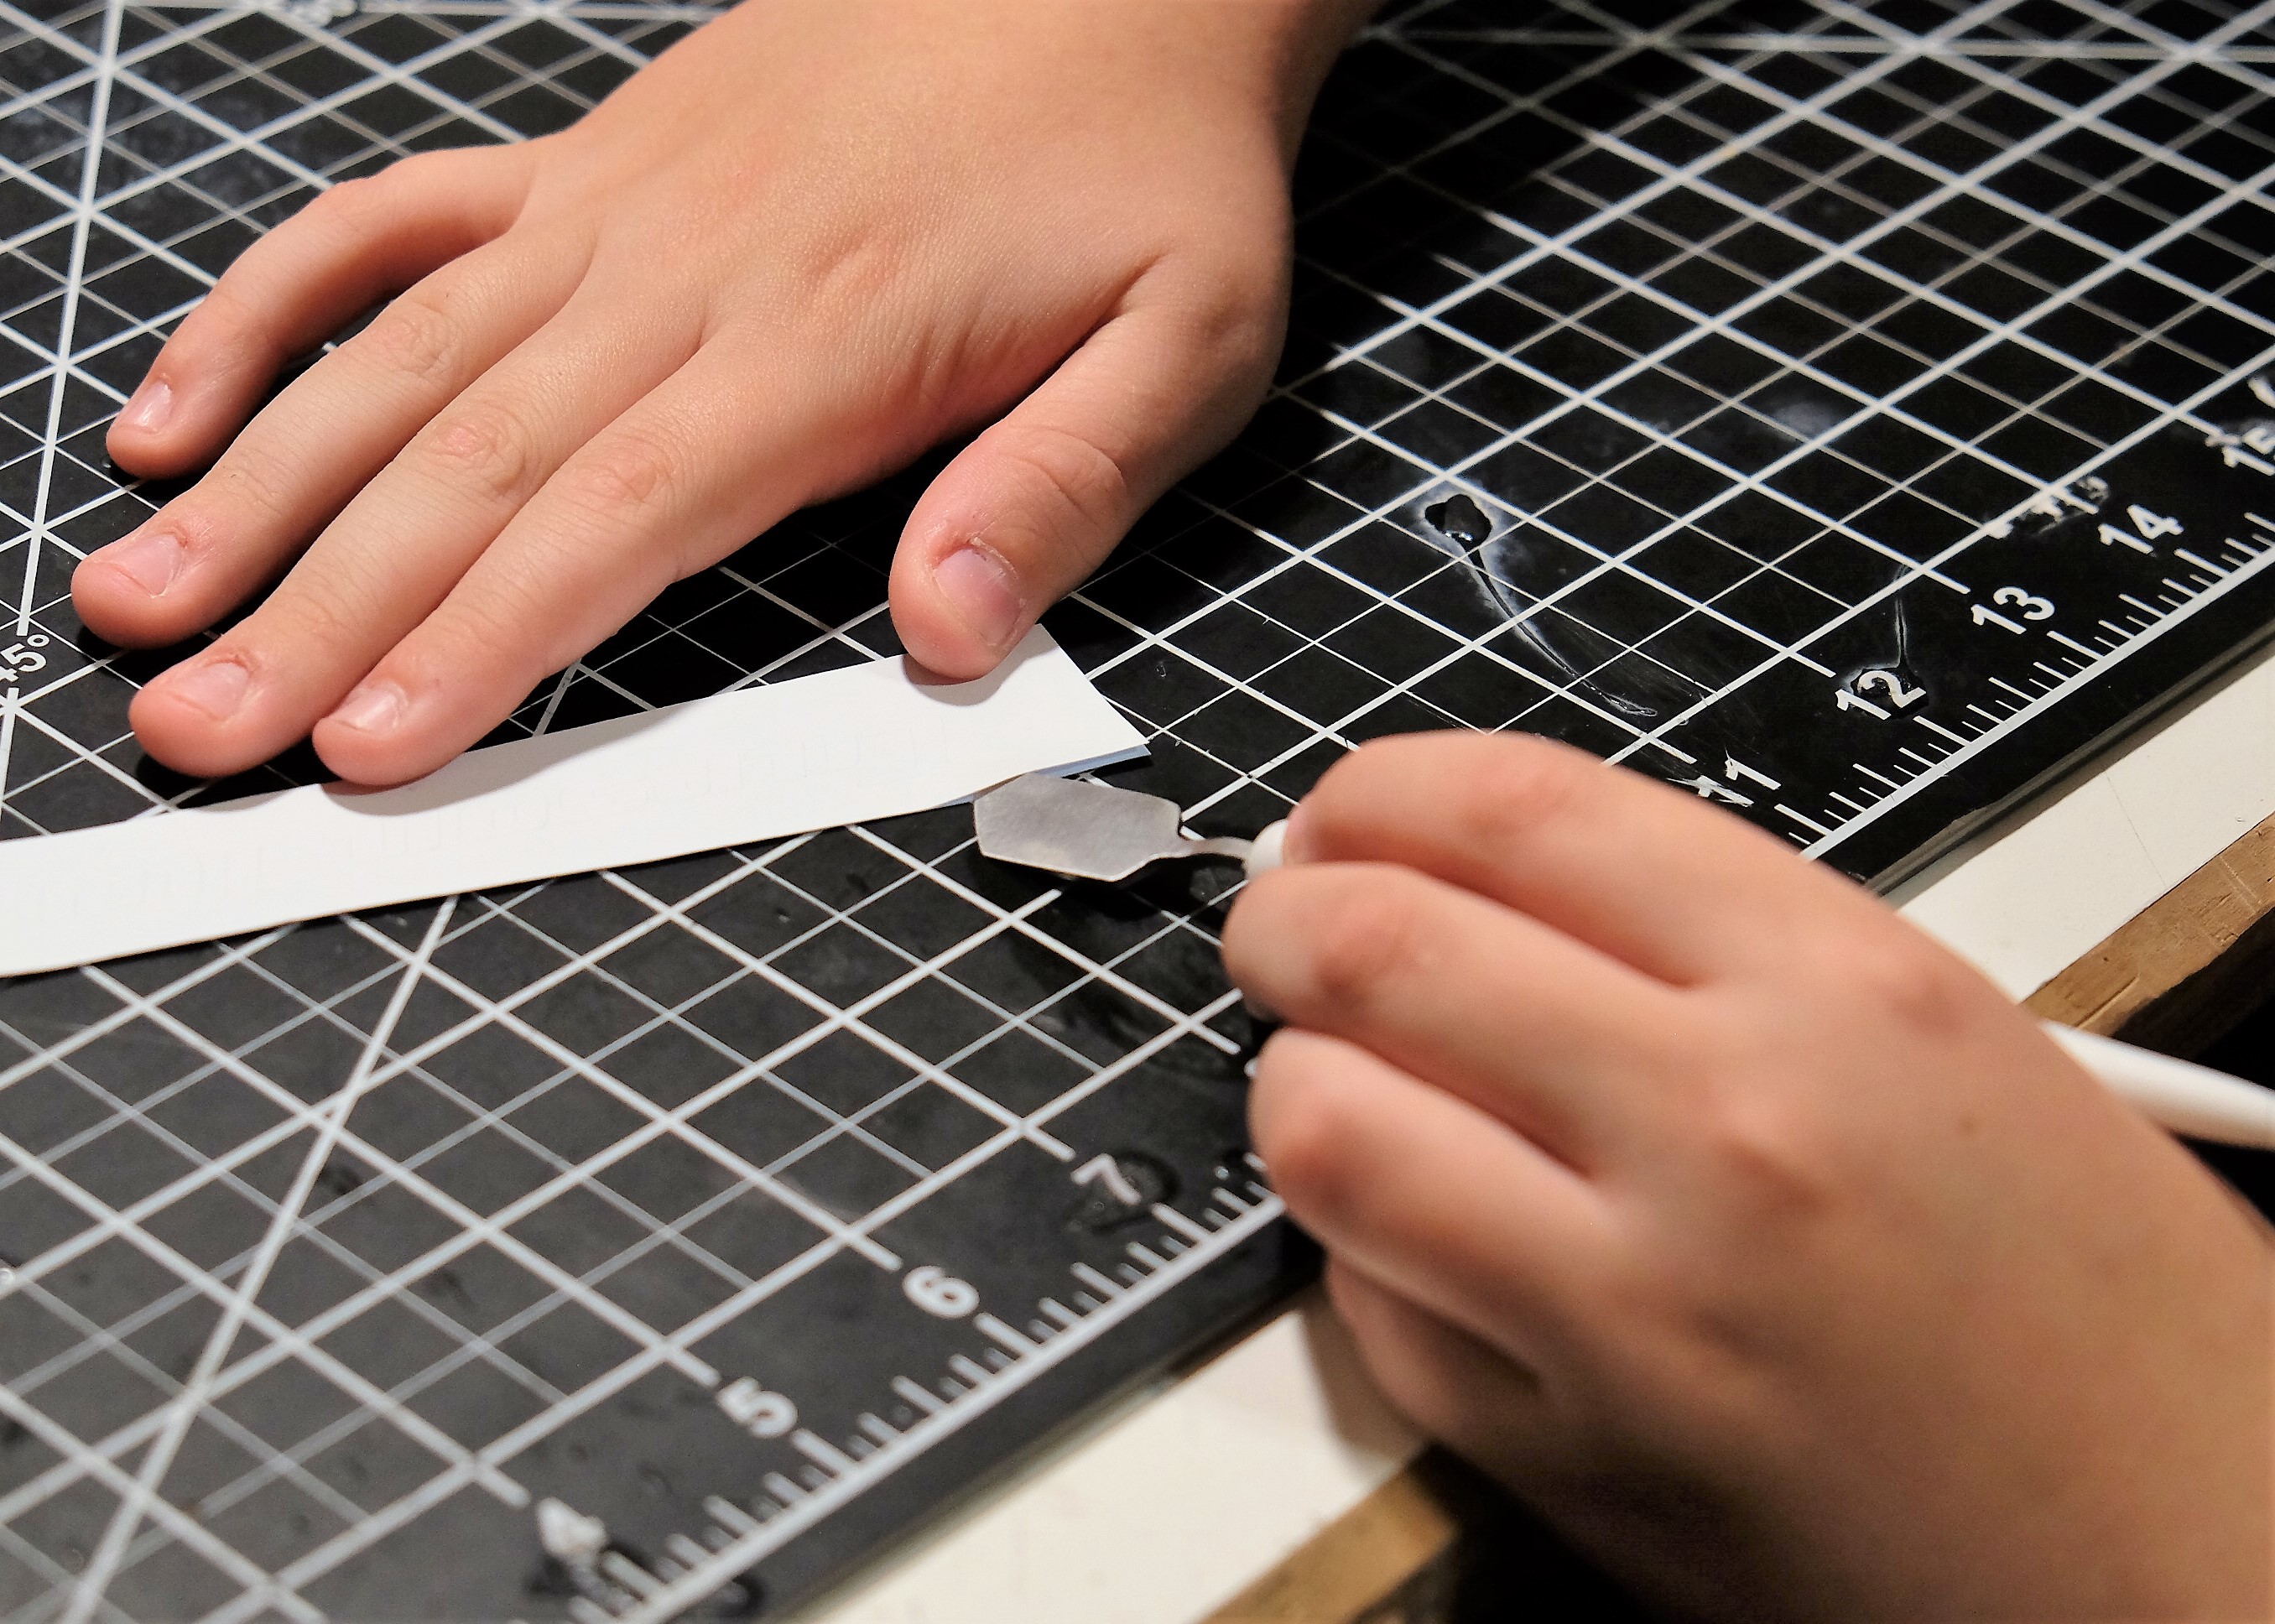
To transfer the vinyl part of the decal you must cut out a segment of transfer tape that is a little bigger than the decal itself. Next, peel off the protective backing and apply the sticky side to the decal like shown in image 3. After the two pieces are connected, you need to apply pressure to join them strongly together (I just use the back end of my weeding tools as a squeegee). Once you apply the decal to the transfer tape you have to remove the waxy backing behind the vinyl. You can use a spatula tool to wedge the two pieces apart, leaving you with the positive decal on clear transfer tape.
Apply the Decal!
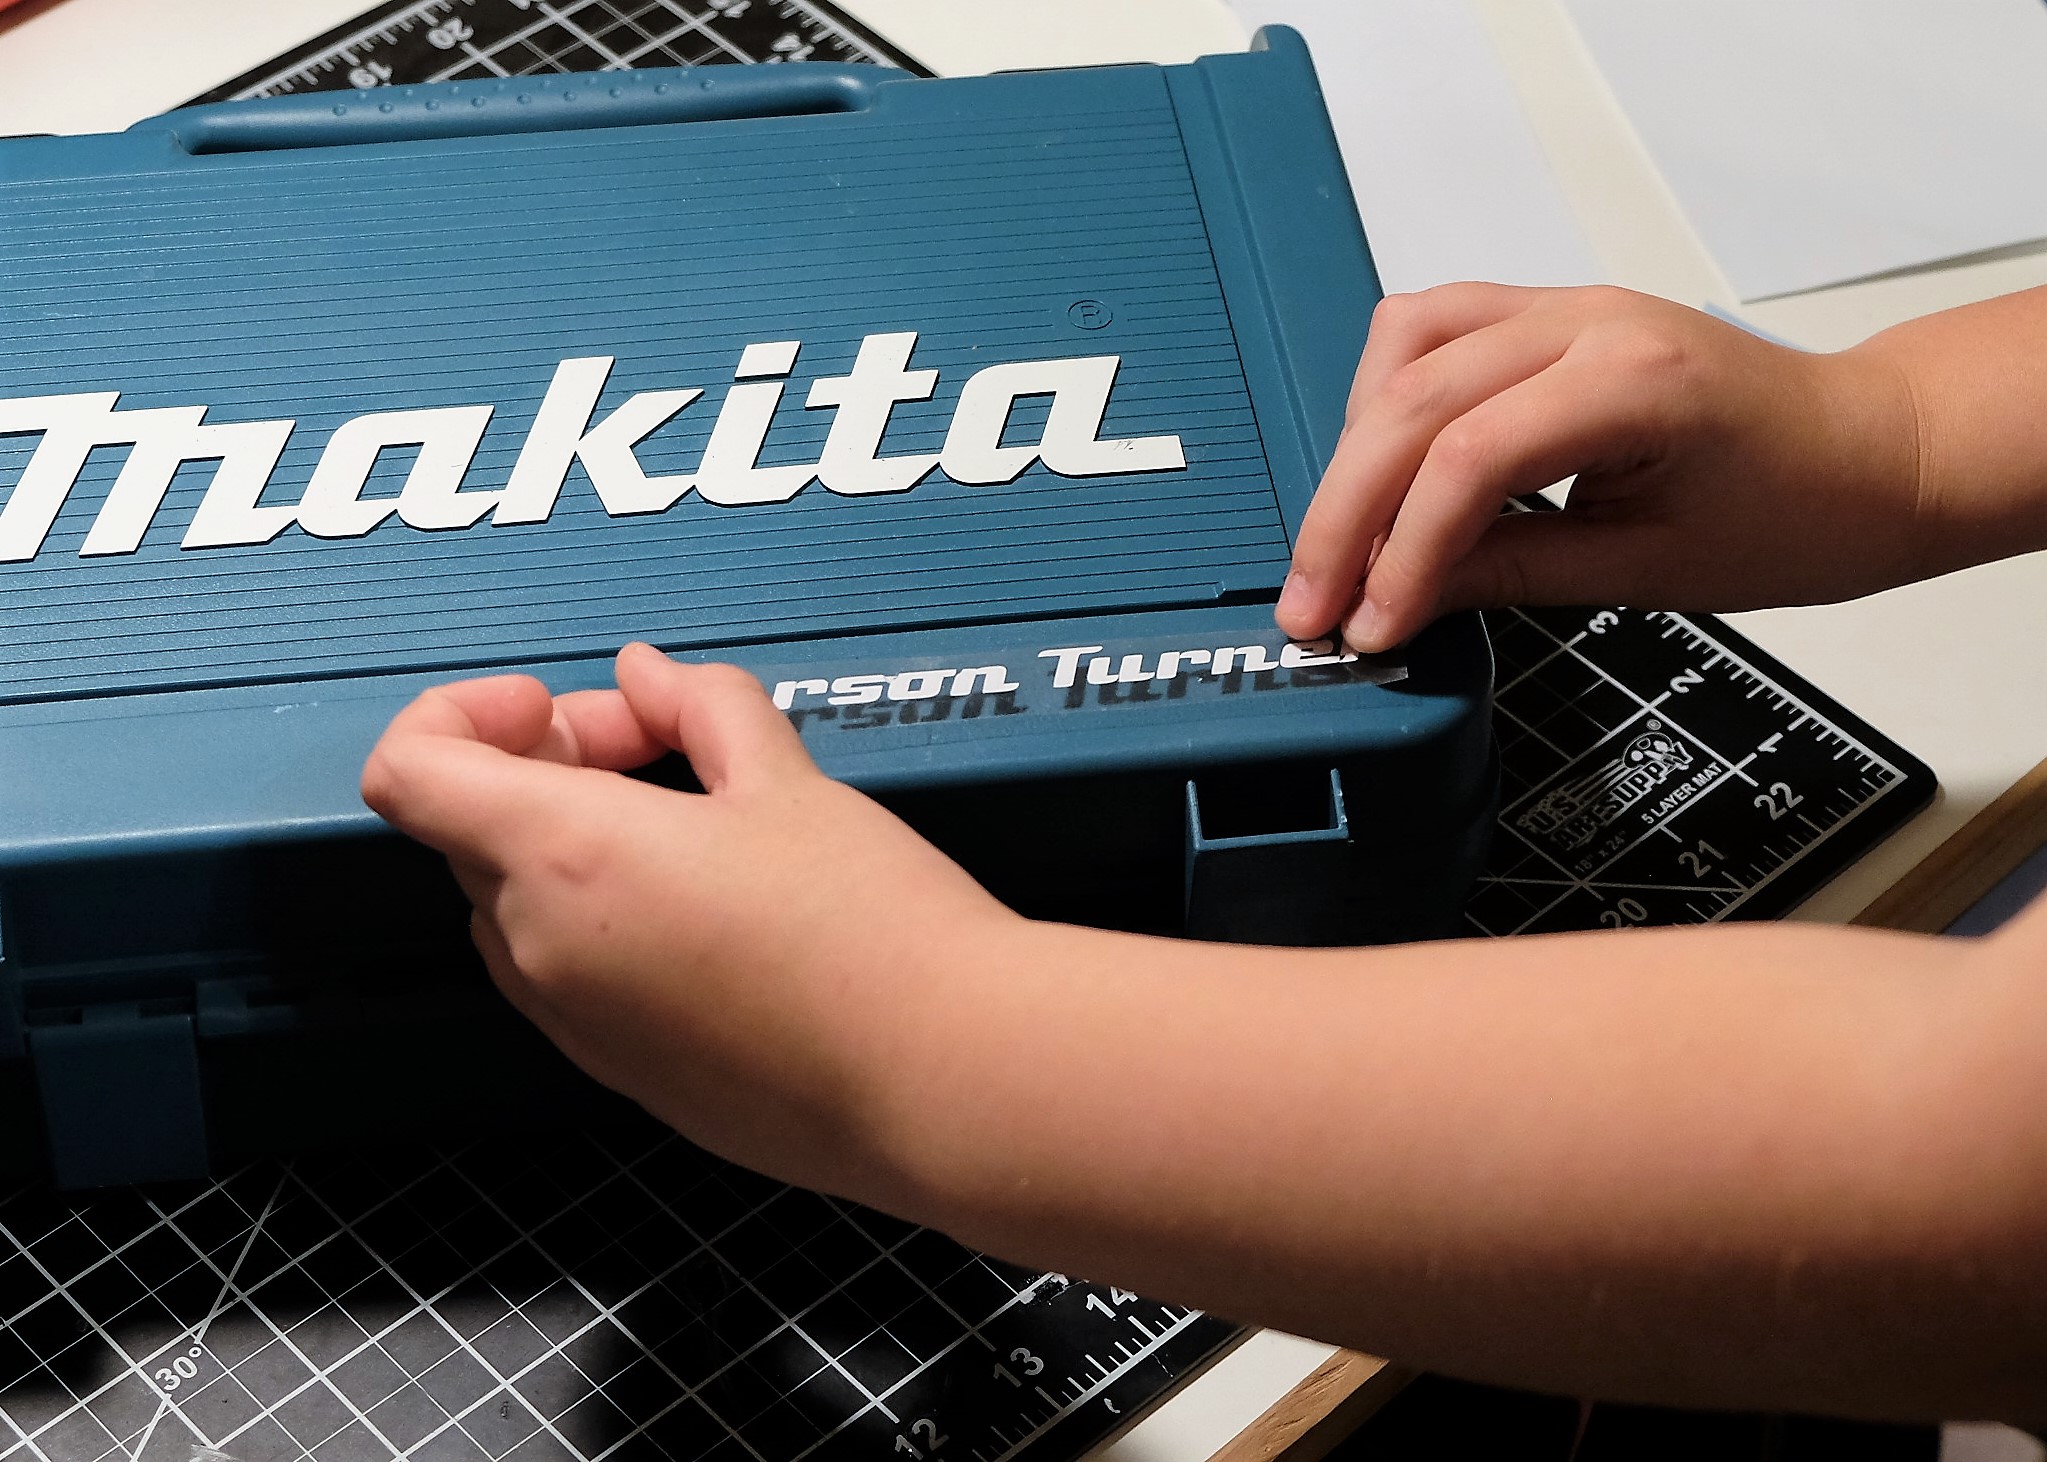
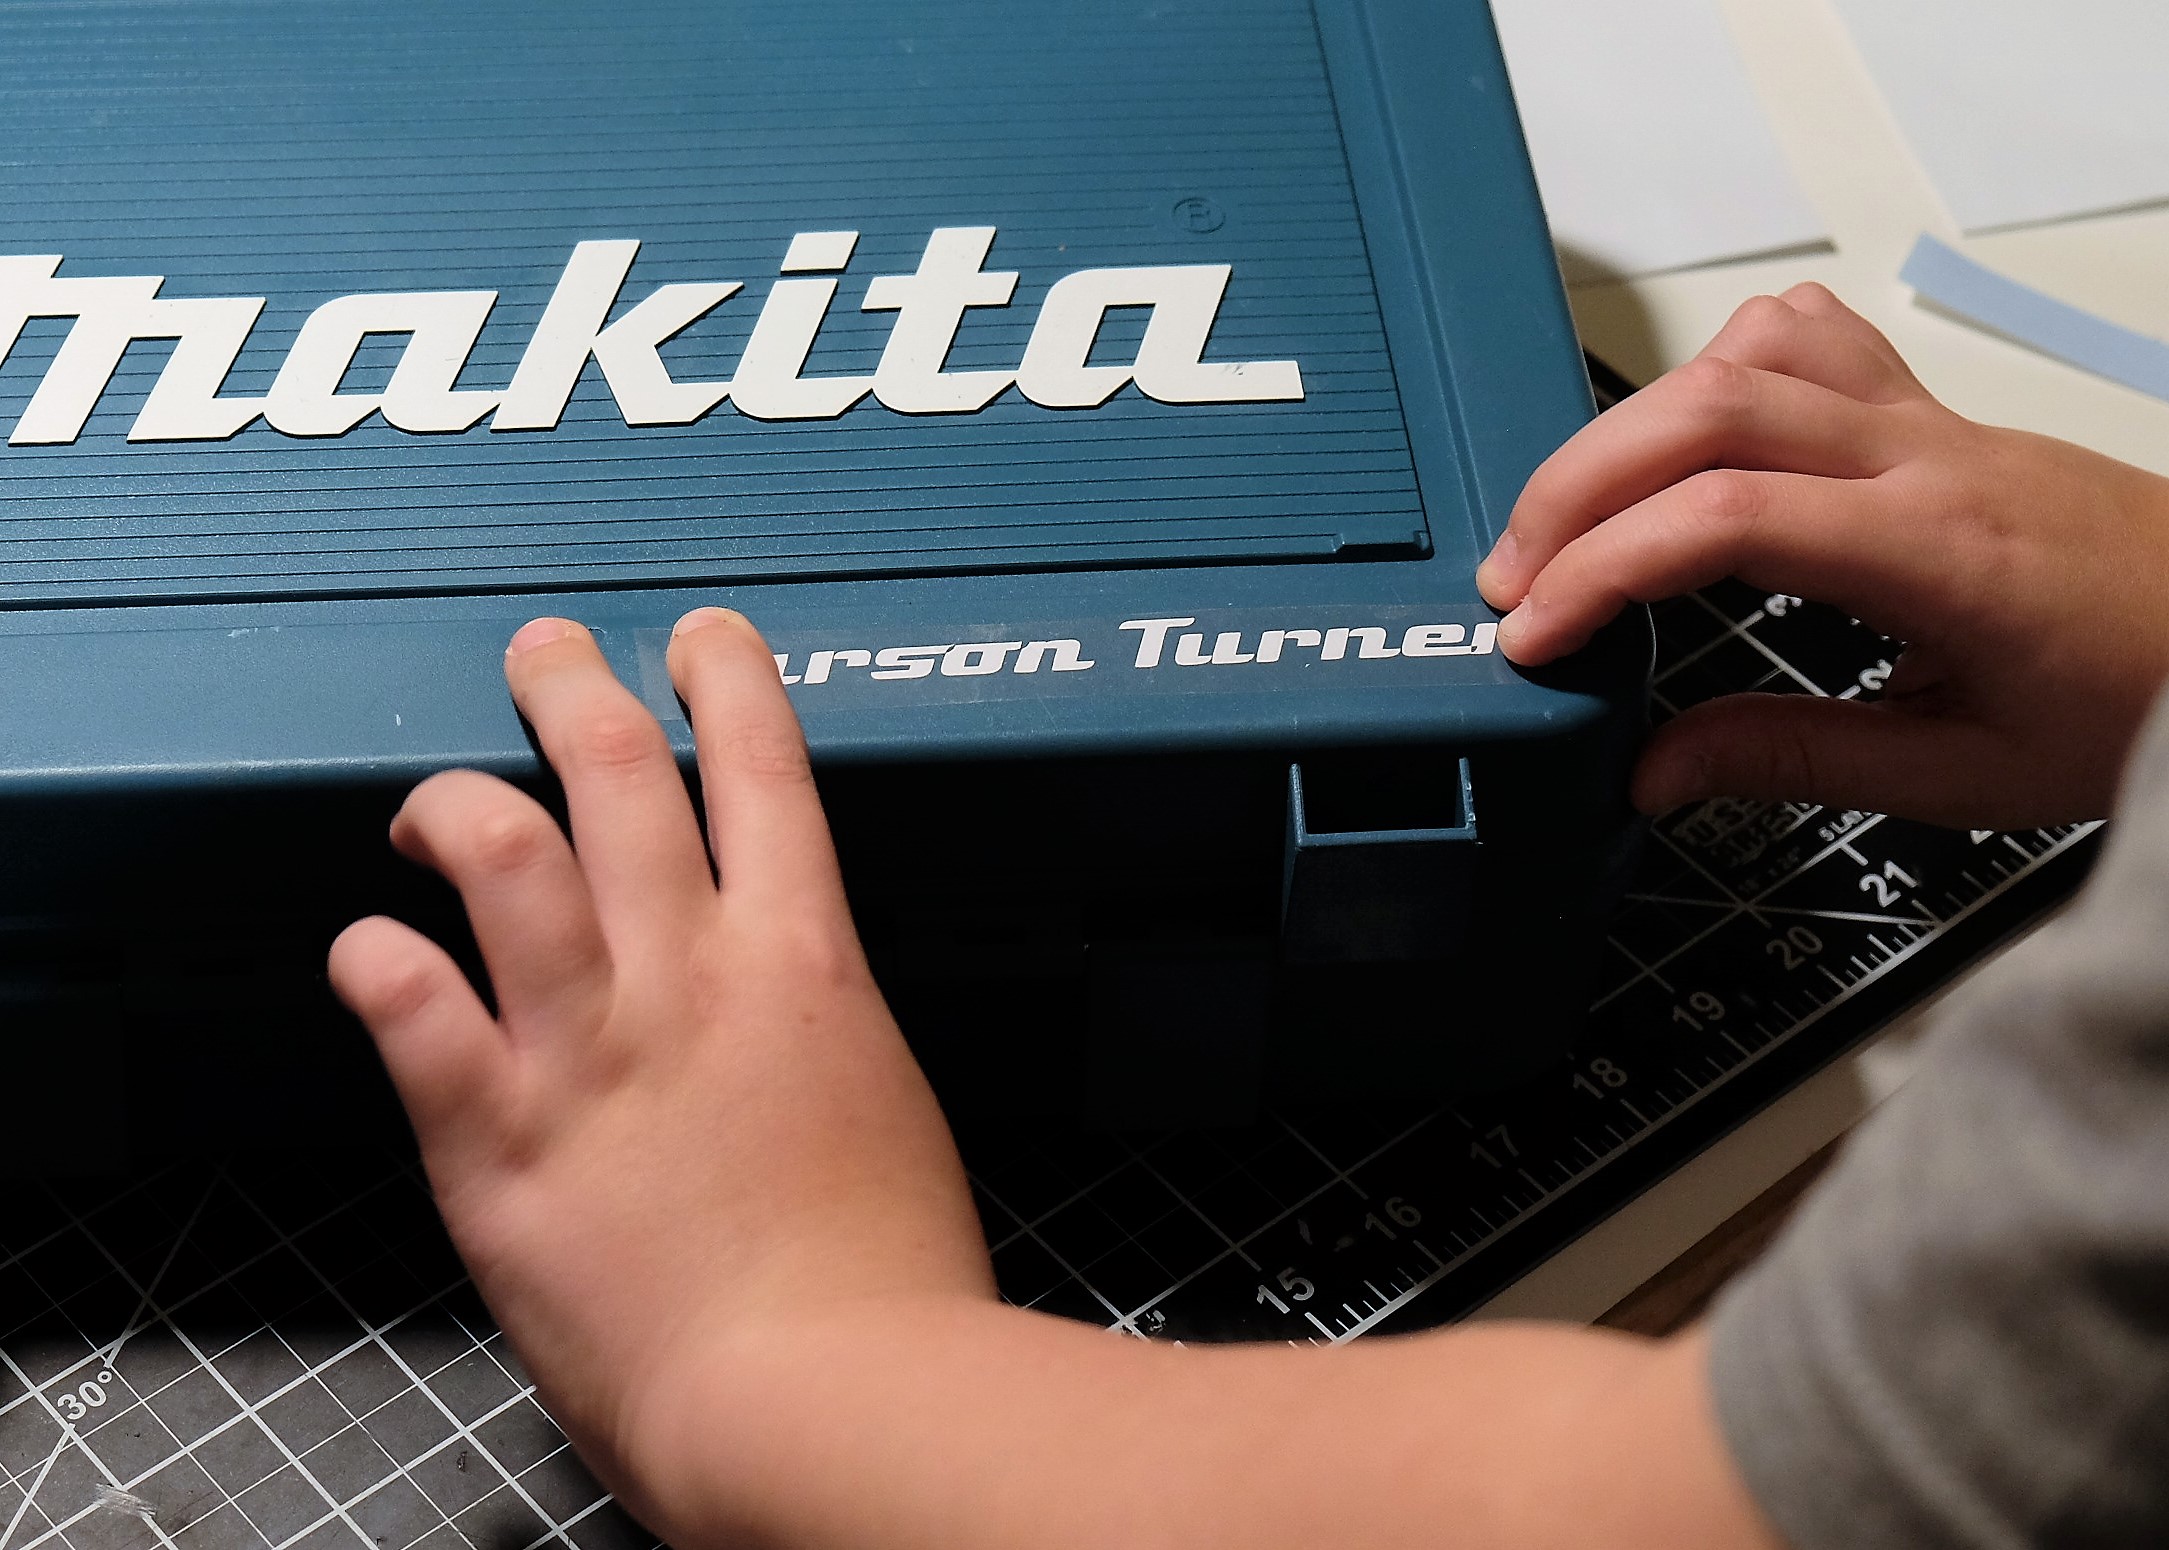
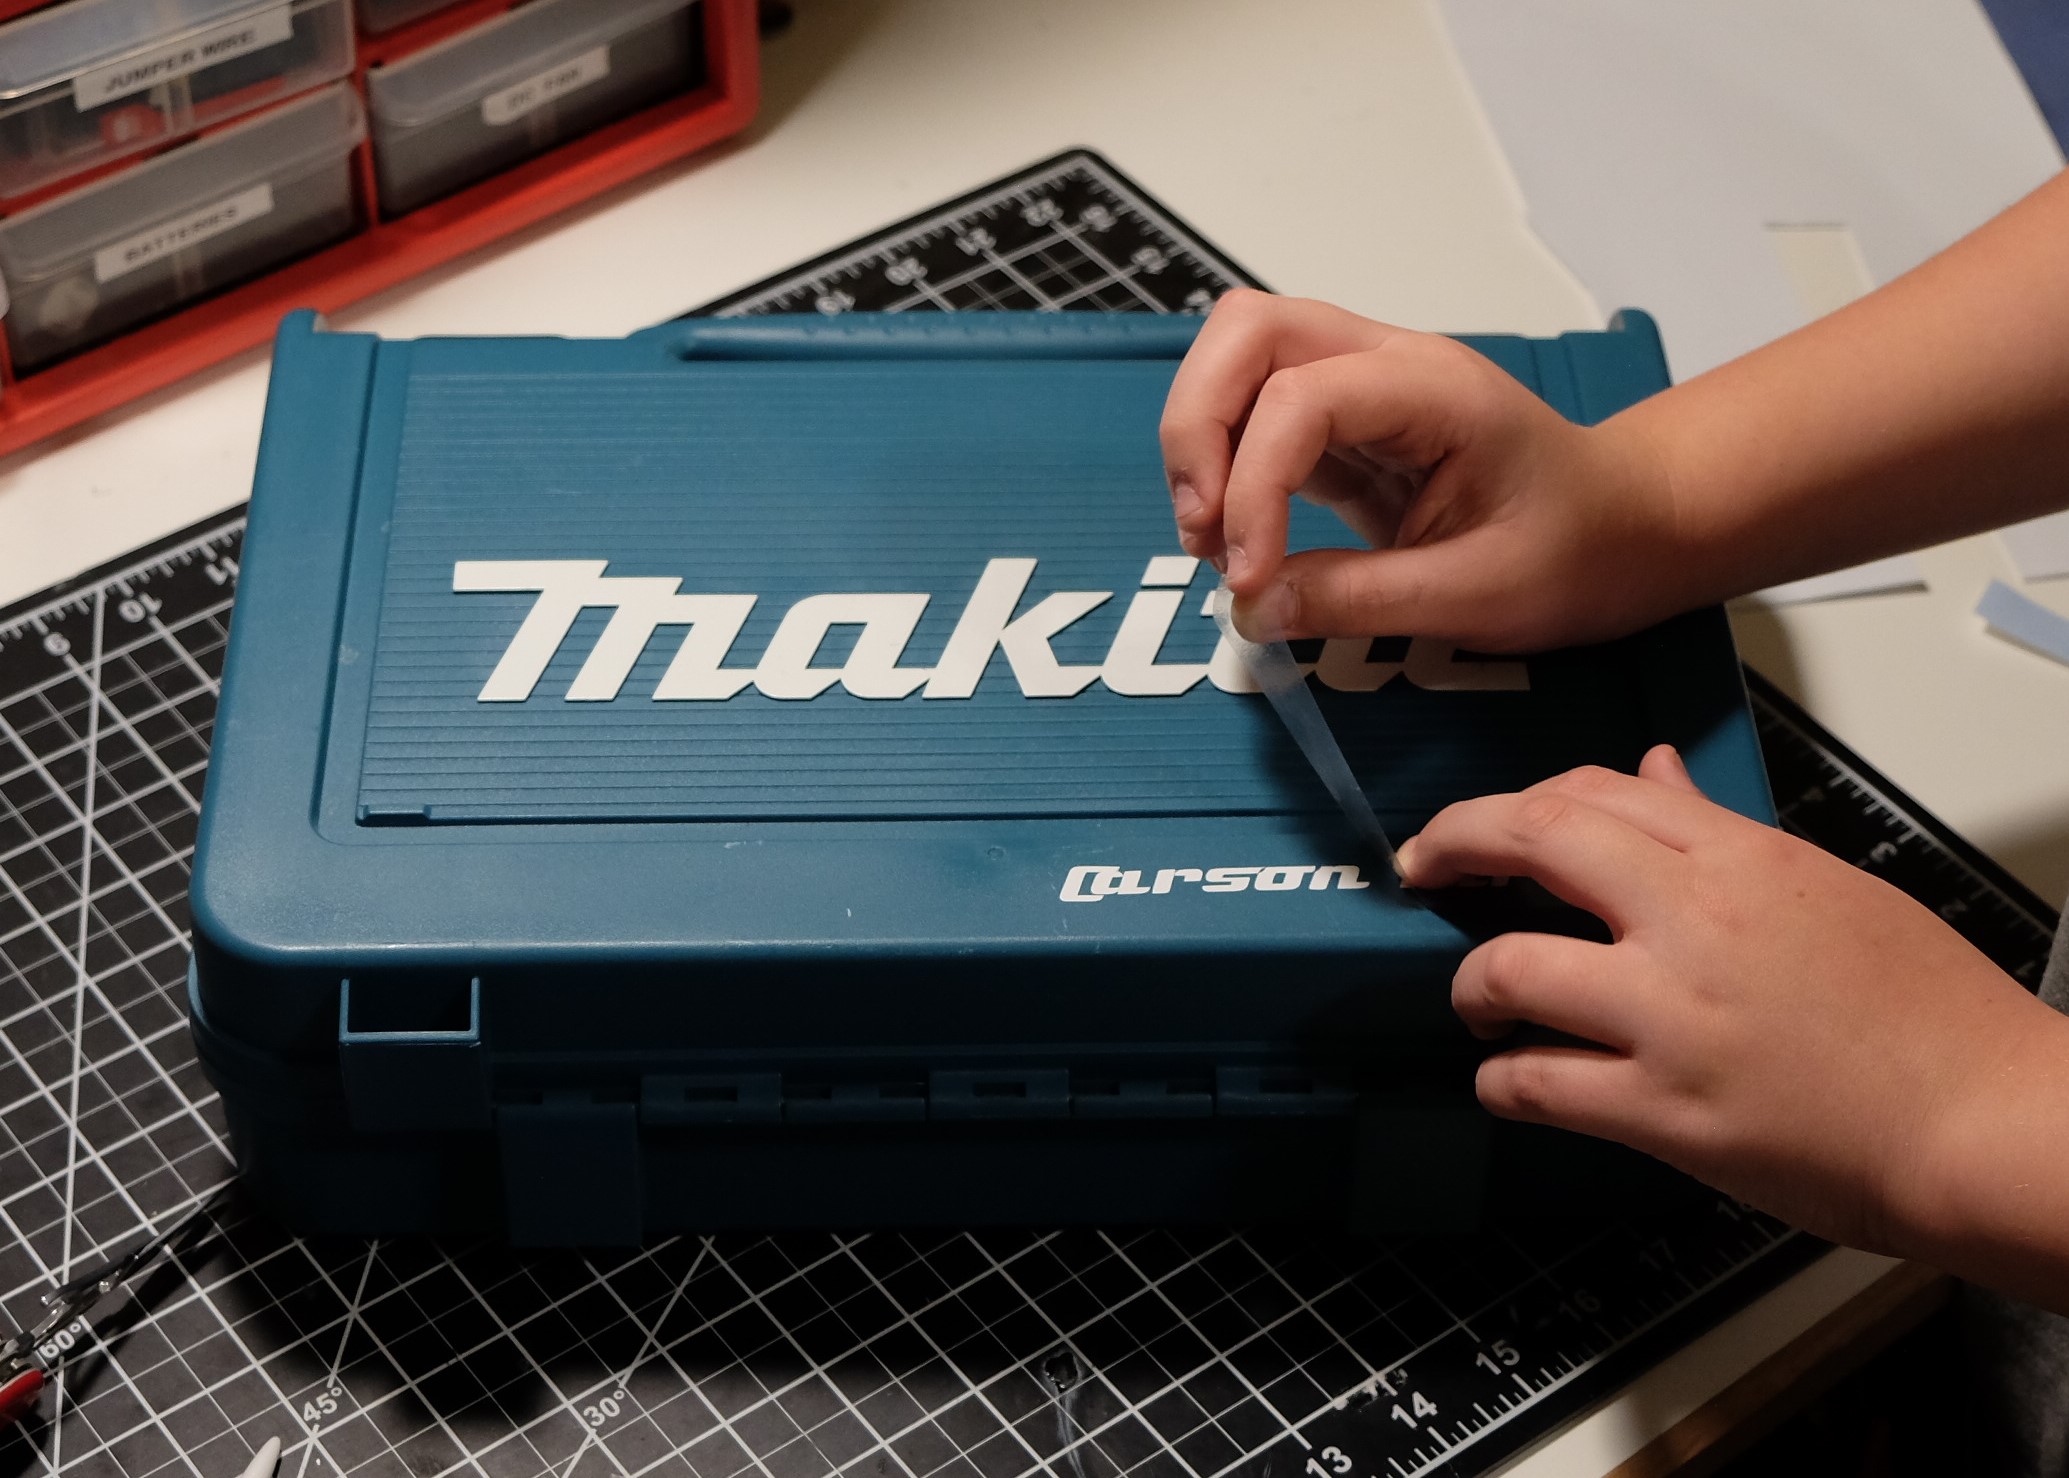
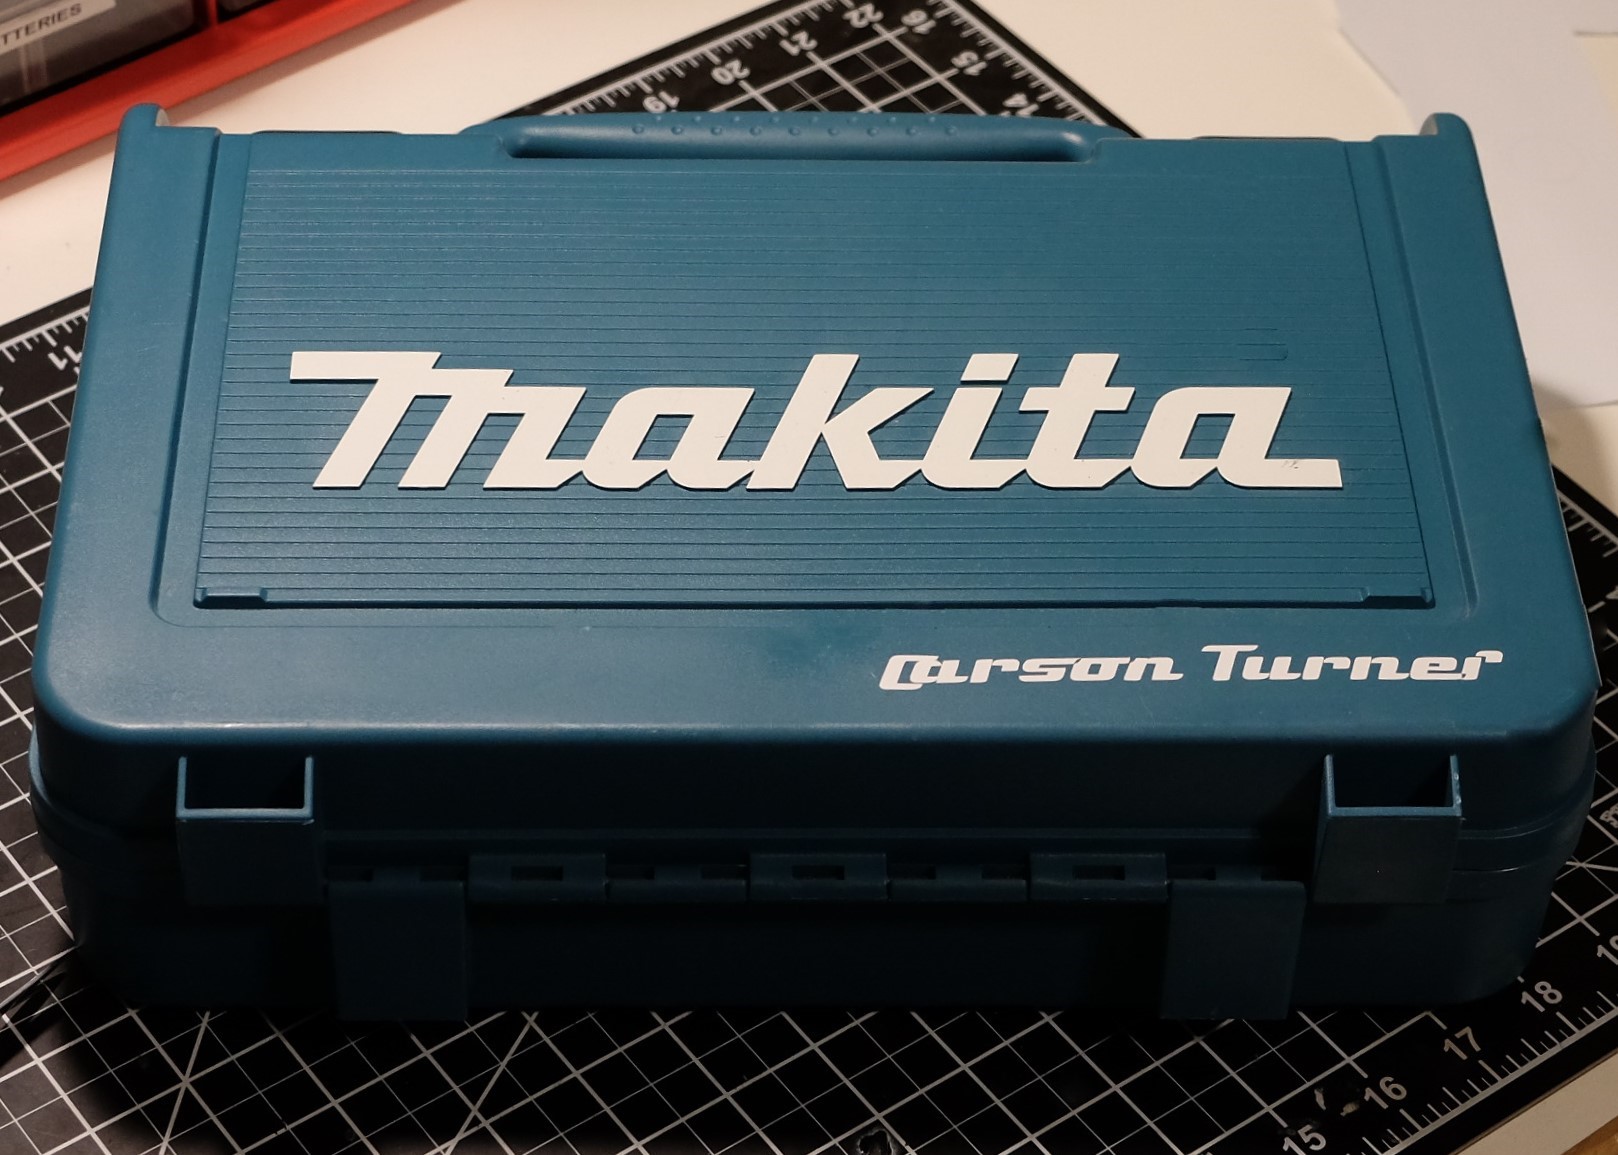
This step might seem easy but you actually have to do it a certain way. First, line up the decal in the position you want it to be. Then stick the decal down on the surface and use a squeegee to make the joint strong. Once that is done you need to remove the transfer tape slowly and at a low angle so that way the vinyl does not come off.