How to Make a Corner Bookmark
by HannahPittman101550 in Craft > Paper
959 Views, 1 Favorites, 0 Comments
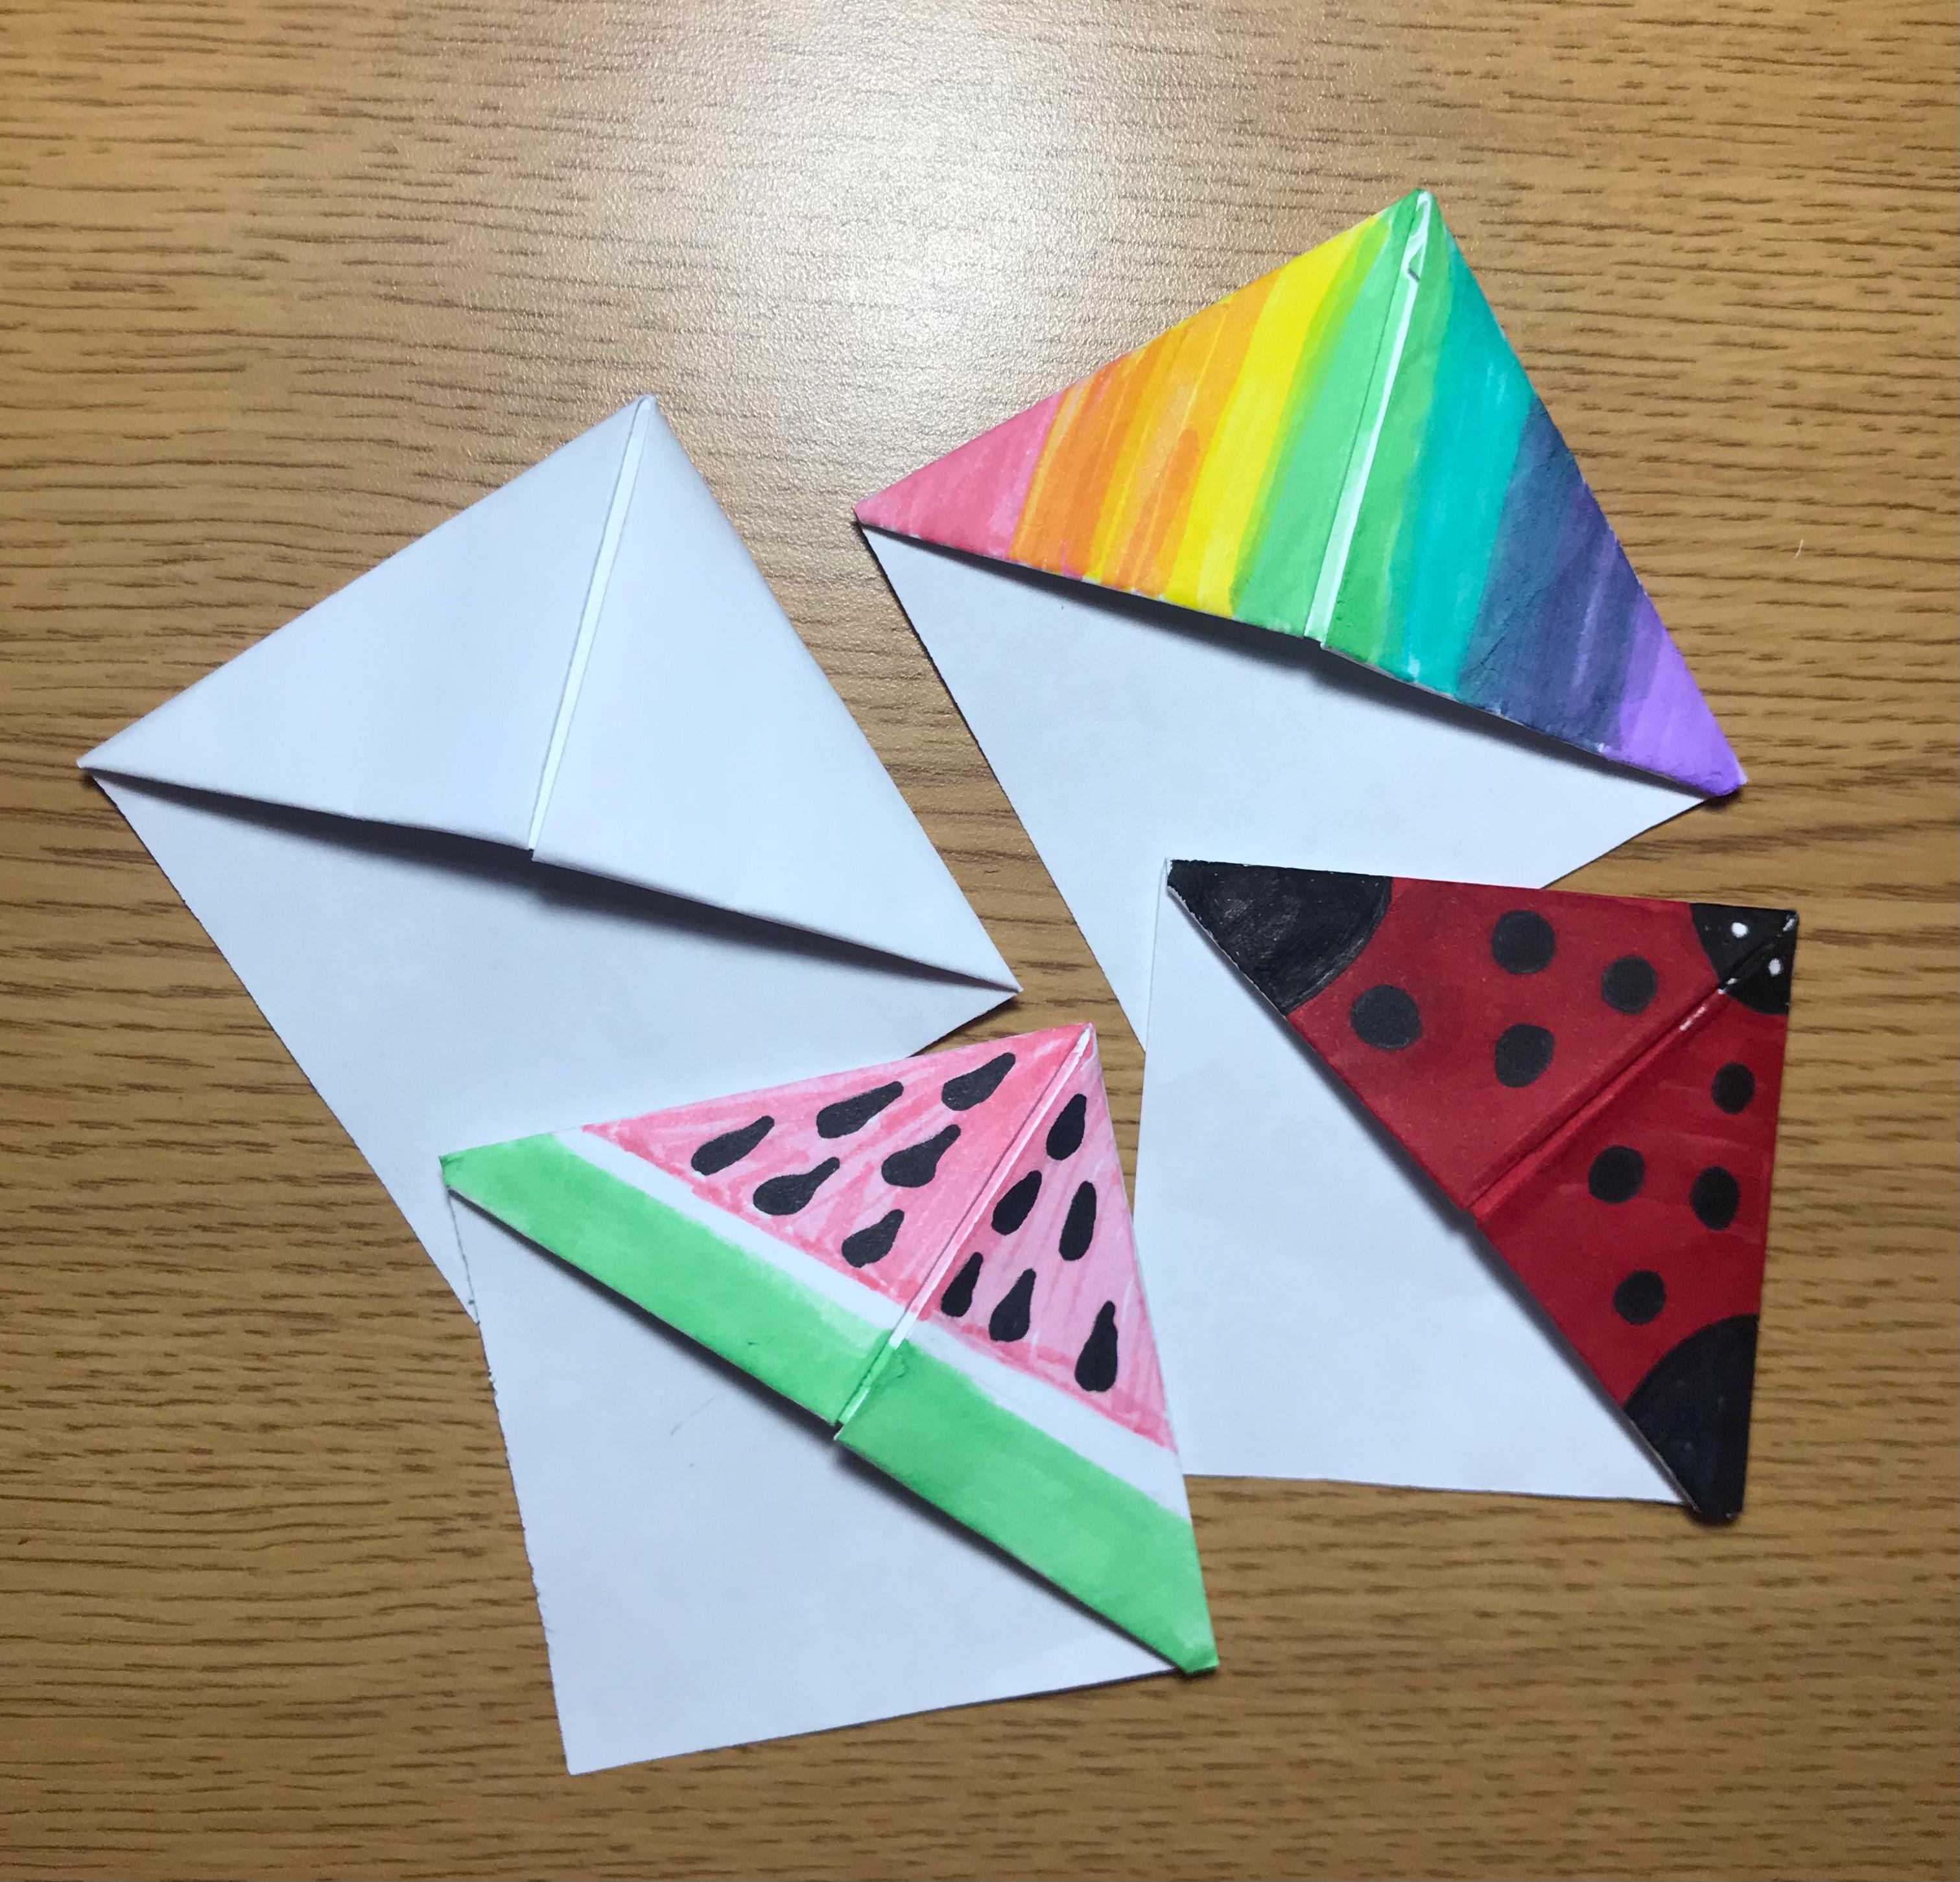
How to Make a Corner Bookmark
.jpeg)
This Instructable teaches you how to make a simple corner bookmark. They are highly customizable and it only takes ten to fifteen minutes to make.
If you don't have all of the required materials you can find them at Dollar General or Dollar Tree for a low price. Supplies can also be bought online
Supplies
- Paper:
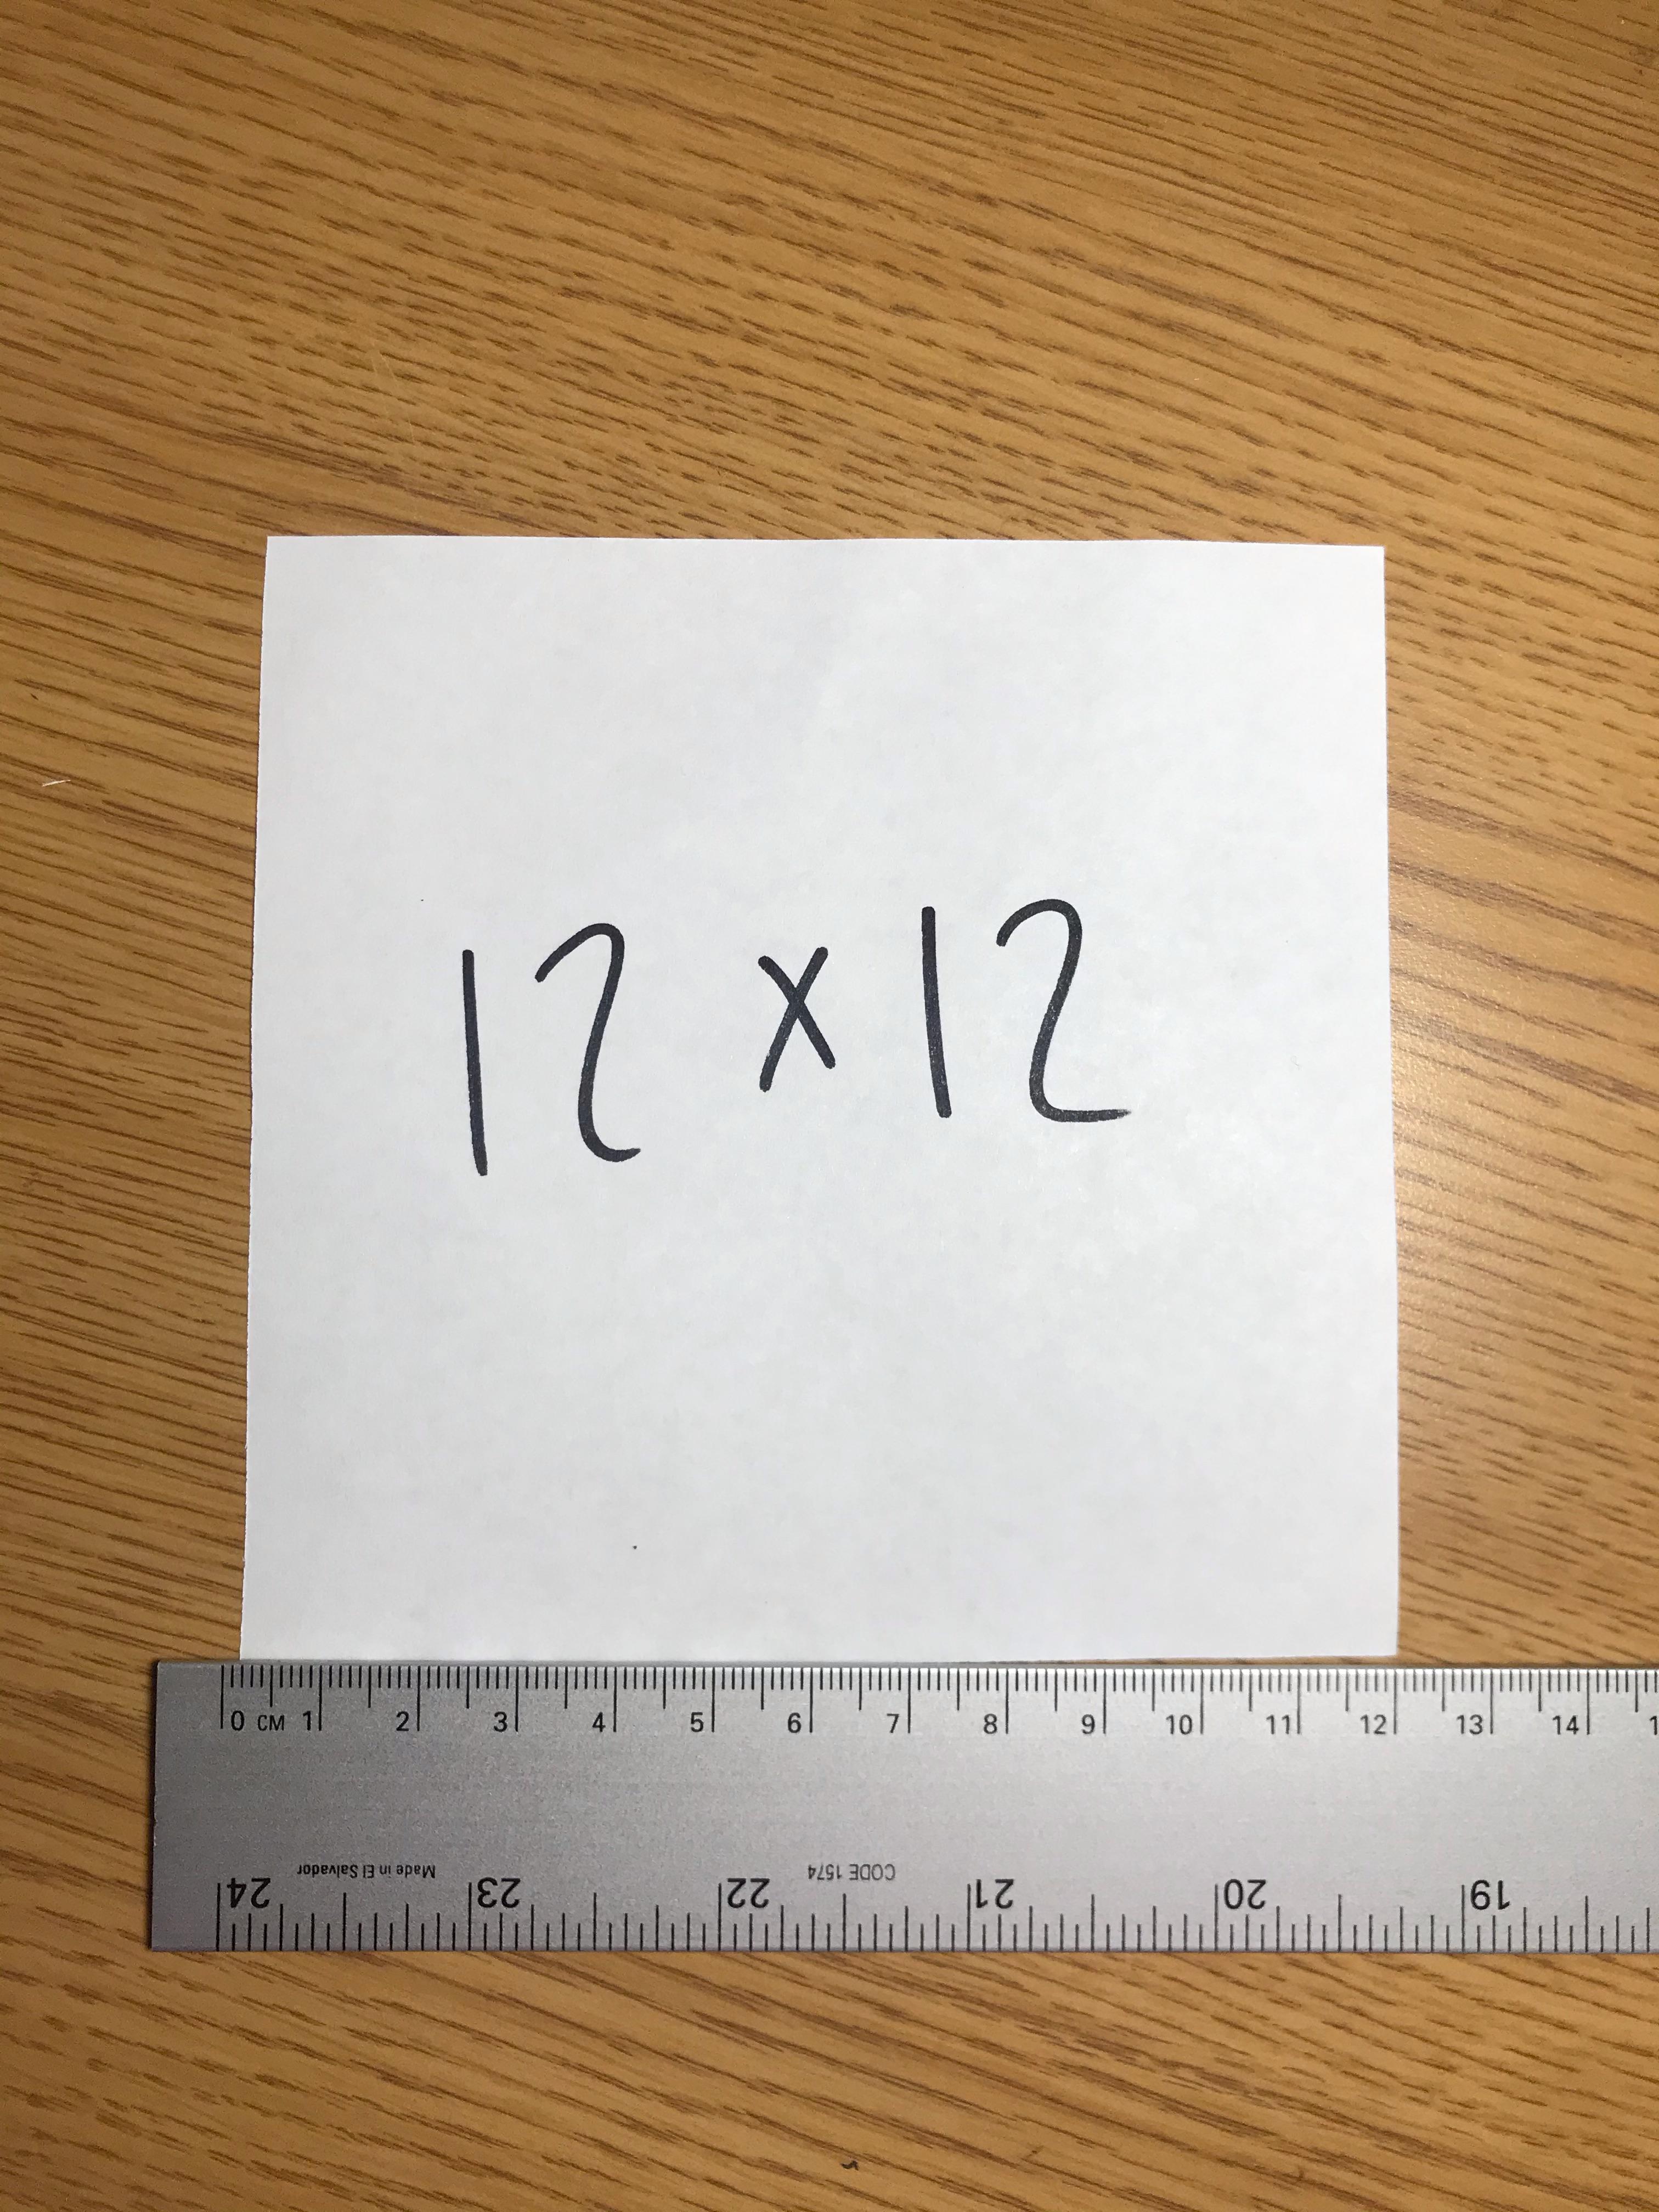
- It needs to be easily foldable. I used 8.5 x 11-inch printer paper and cut out a 12 x12 cm square.
- A ruler:
- Any ruler as long as you can measure 12 centimeters (or your preferred size).
- It just needs to be a perfect square in order to work.
- Scissors:
- Any type of straight edge scissors that will cut the paper you are using
- Pencil:
- This is for cutting your paper to the proper size and sketching your design out.
- Coloring Utensils (optional)
- These are for coloring and creating designs for your personalized bookmark.
- These can include pens, markers, highlighters, etc.
Sizing Your Paper
.jpeg)
First, makes sure the paper you are using is the correct size and that it's a square. I decided to use a 12 x 12 cm square because I prefer that size.
How to cut your paper:
- Measure out the dimensions that you want for your square.
- Mark these dimensions.
- Join the marks by using your ruler and pencil to trace the square.
- Cut out your square.
First Fold
)
Do this:
- Turn the square so that only one corner is at the top and another at the bottom (as seen in the video).
- Fold the top corner down to the bottom corner.
You should be left with an upside-down triangle.
Second Fold
)
Do this:
- Turn your triangle right side up so that the "peak" of the triangle is at the top.
- Take the first layer and fold it down.
- Only fold it far enough to meet the edge of the "bottom" part of your triangle.
Third Fold
)
Do this:
- Take the two outer sides of the triangle (the acute angles) and fold them up to meet the top corner or "peak" of the triangle.
- There may be a gap between the two sides, but that's okay. You can fix it by refolding it tighter or leave it how it is.
- Flatten out the edges.
You should end up with a small square shape at the end.
Fourth Fold
)
This is a complicated step and the folding can be a bit difficult:
- Tuck the two flaps (that were the outer corners) into the little pocket. You created this pocket when you folded the first layer of the paper down.
If problems arise:
- Straighten the fold back out.
- Redo the folds making sure they are tight.
Working Out Any Problems
)
After the last fold, the paper can get messed up. To fix this there are multiple things you can do:
- Go over your folds with your thumbnail (even if you don't have long nails this should work).
- Open up the pocket and check to see that the paper is not folded in on itself (like it is in the video).
- If it is, tuck it back in and go over the fold with your thumbnail
Test it out:
- Place it in a book you are currently reading
- If it goes on smoothly you are done!
Sketching a Design (Optional)
.jpeg)
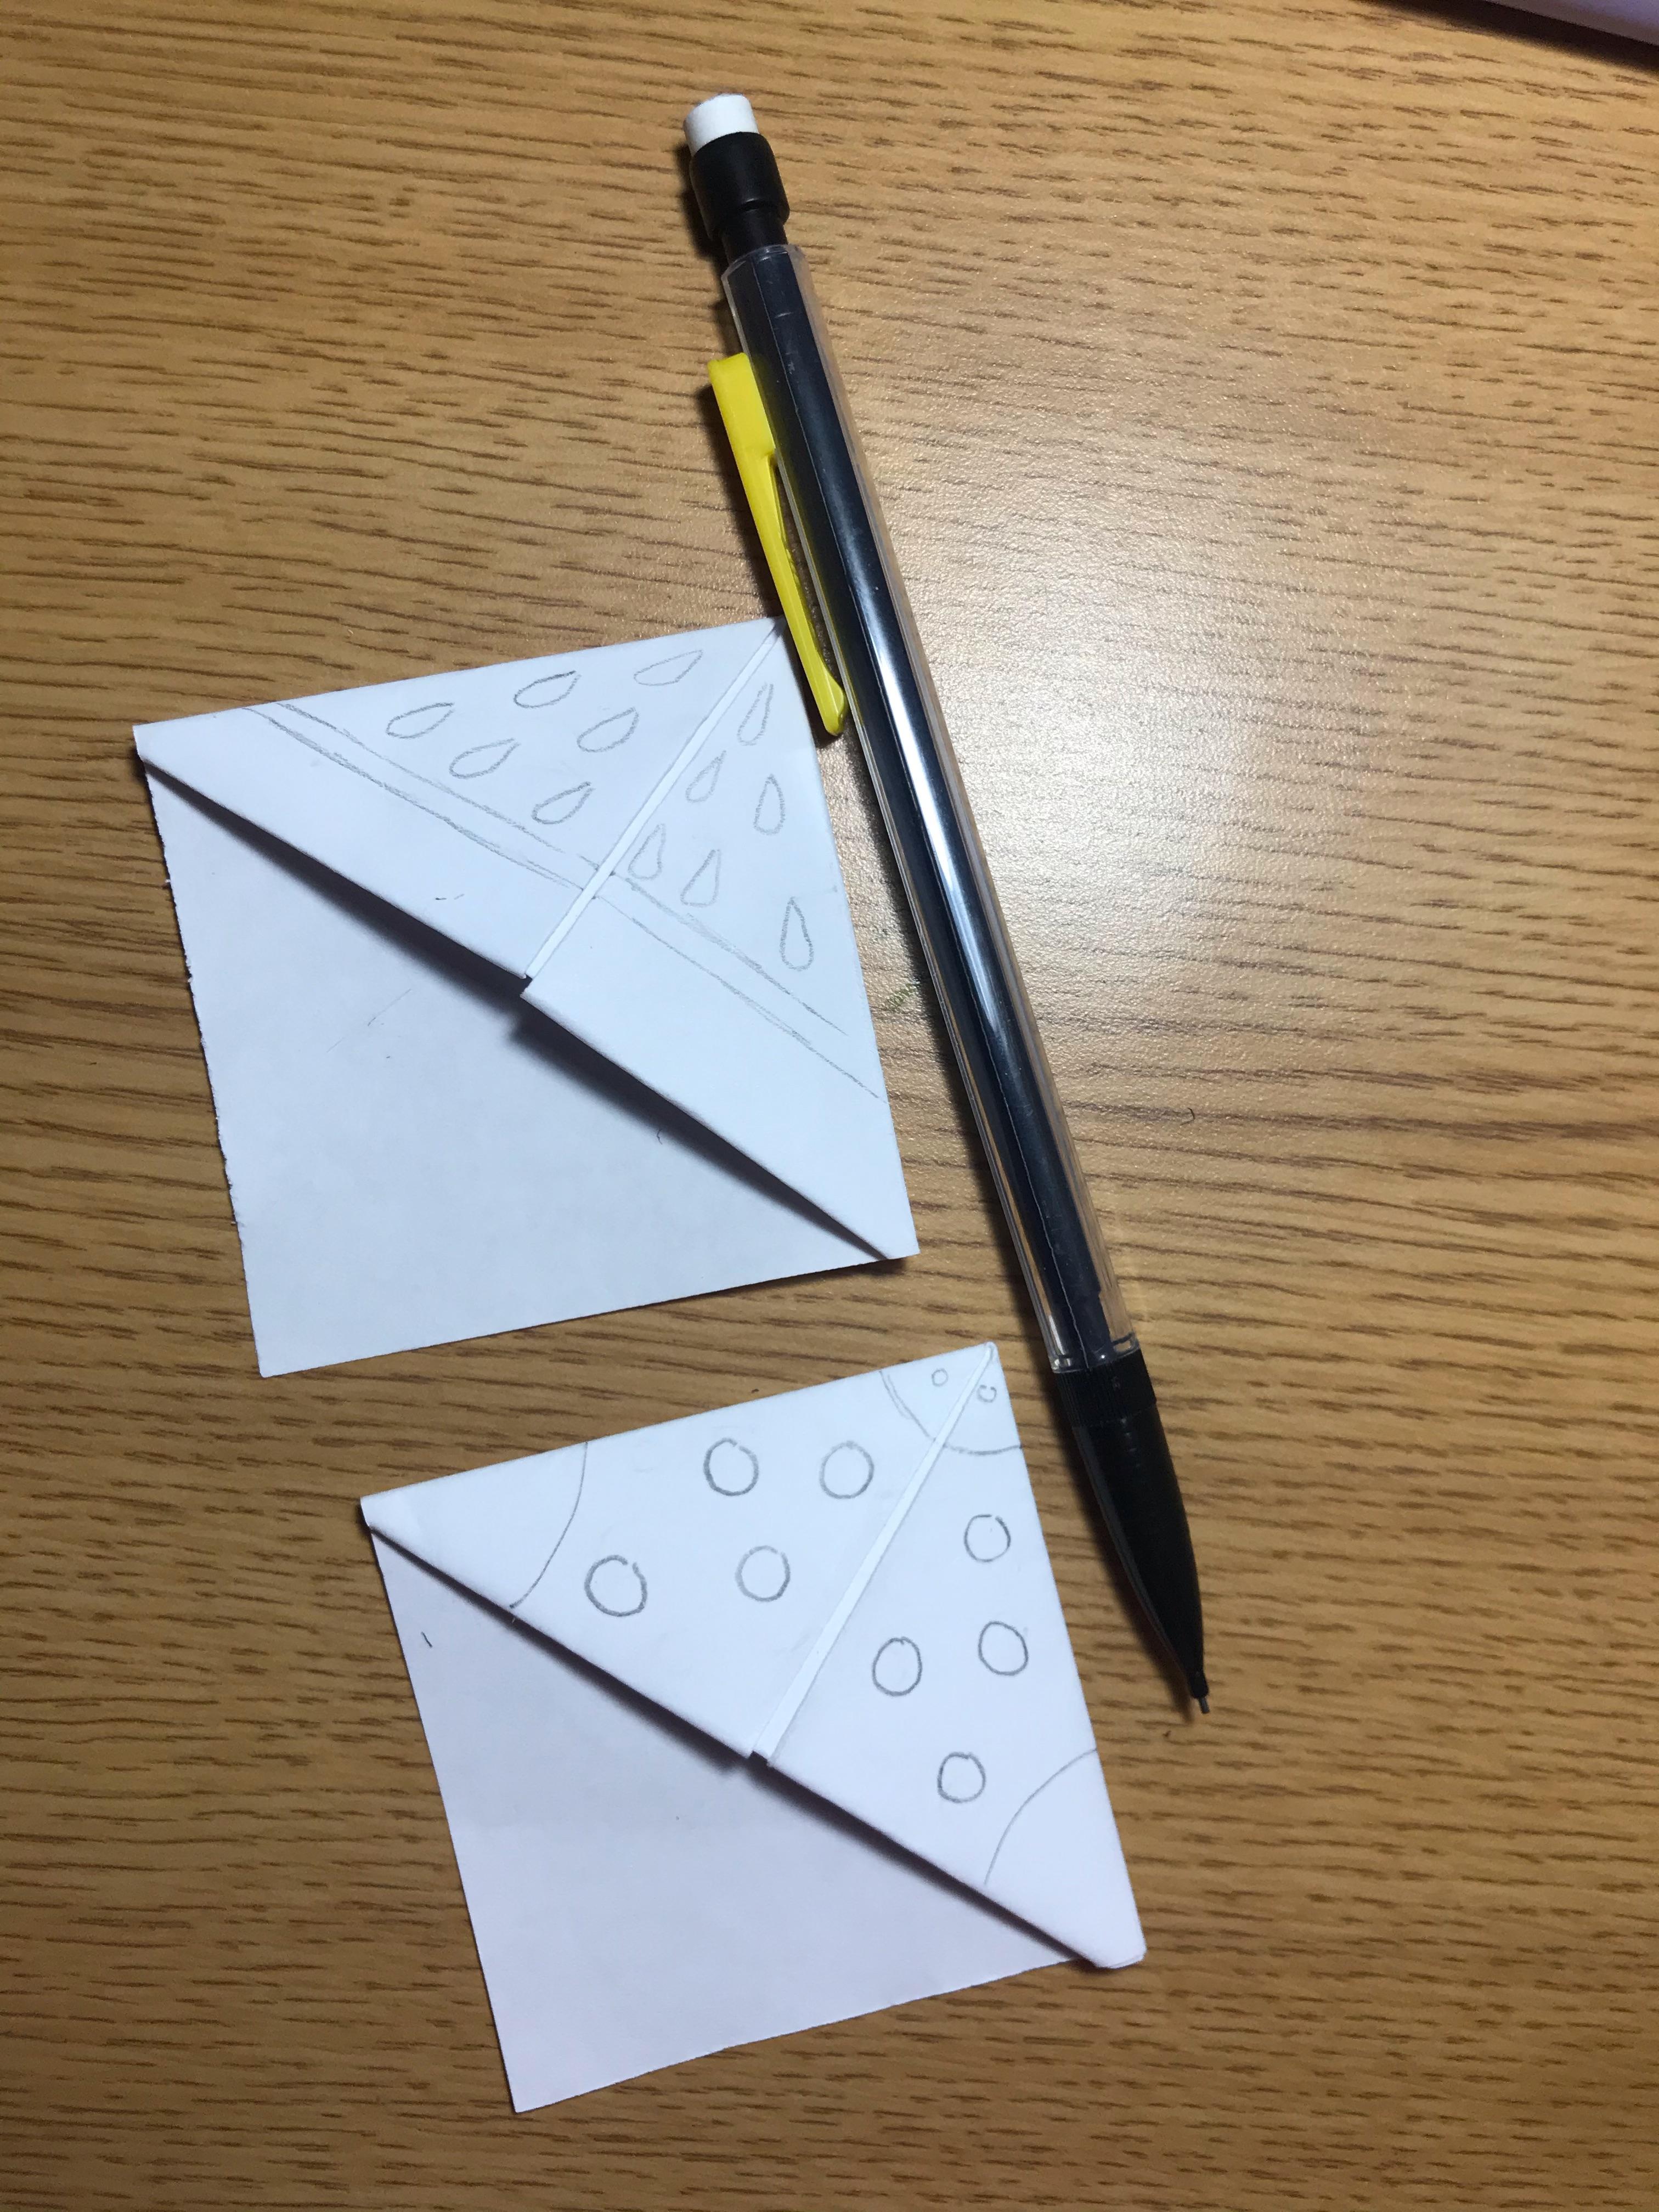
Creating a design on your bookmark can help personalize it. Here are some suggestions/ideas:
- Sketch a design in pencil first.
- Look online for ideas if you are having trouble.
- Above are some examples of designs that I sketched out.
Remember that you can draw and color anywhere on your bookmark.
Coloring
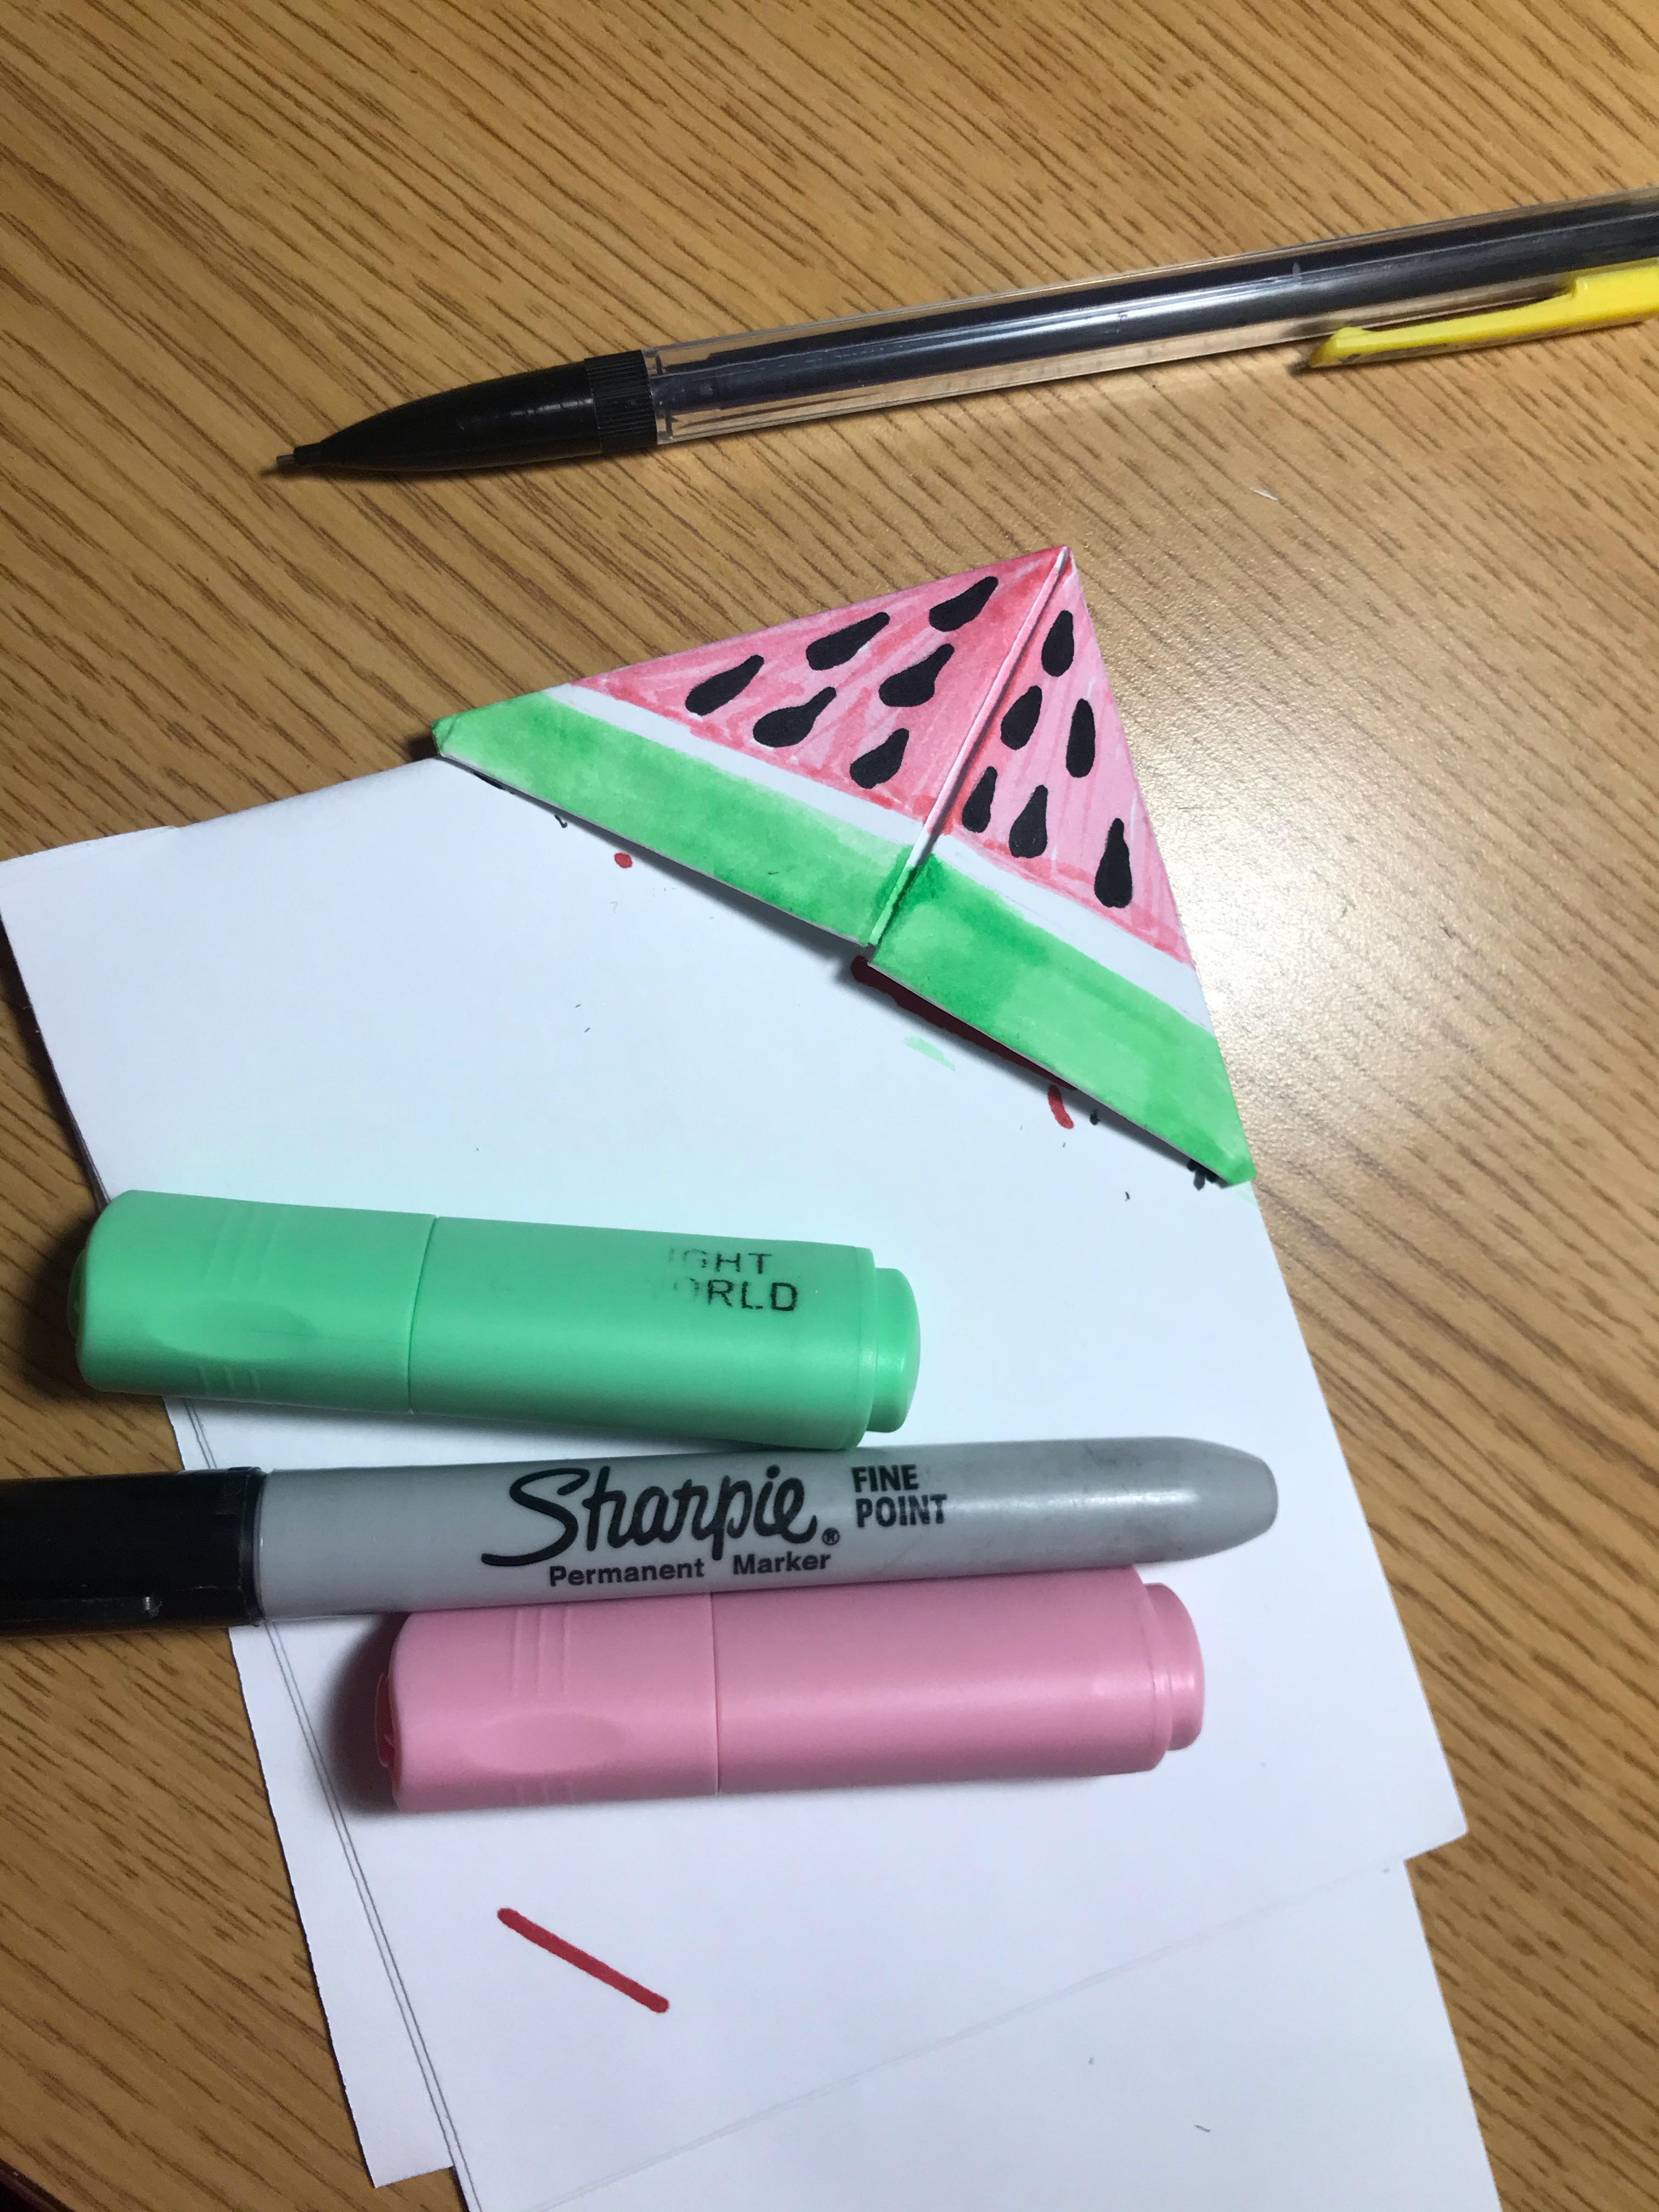
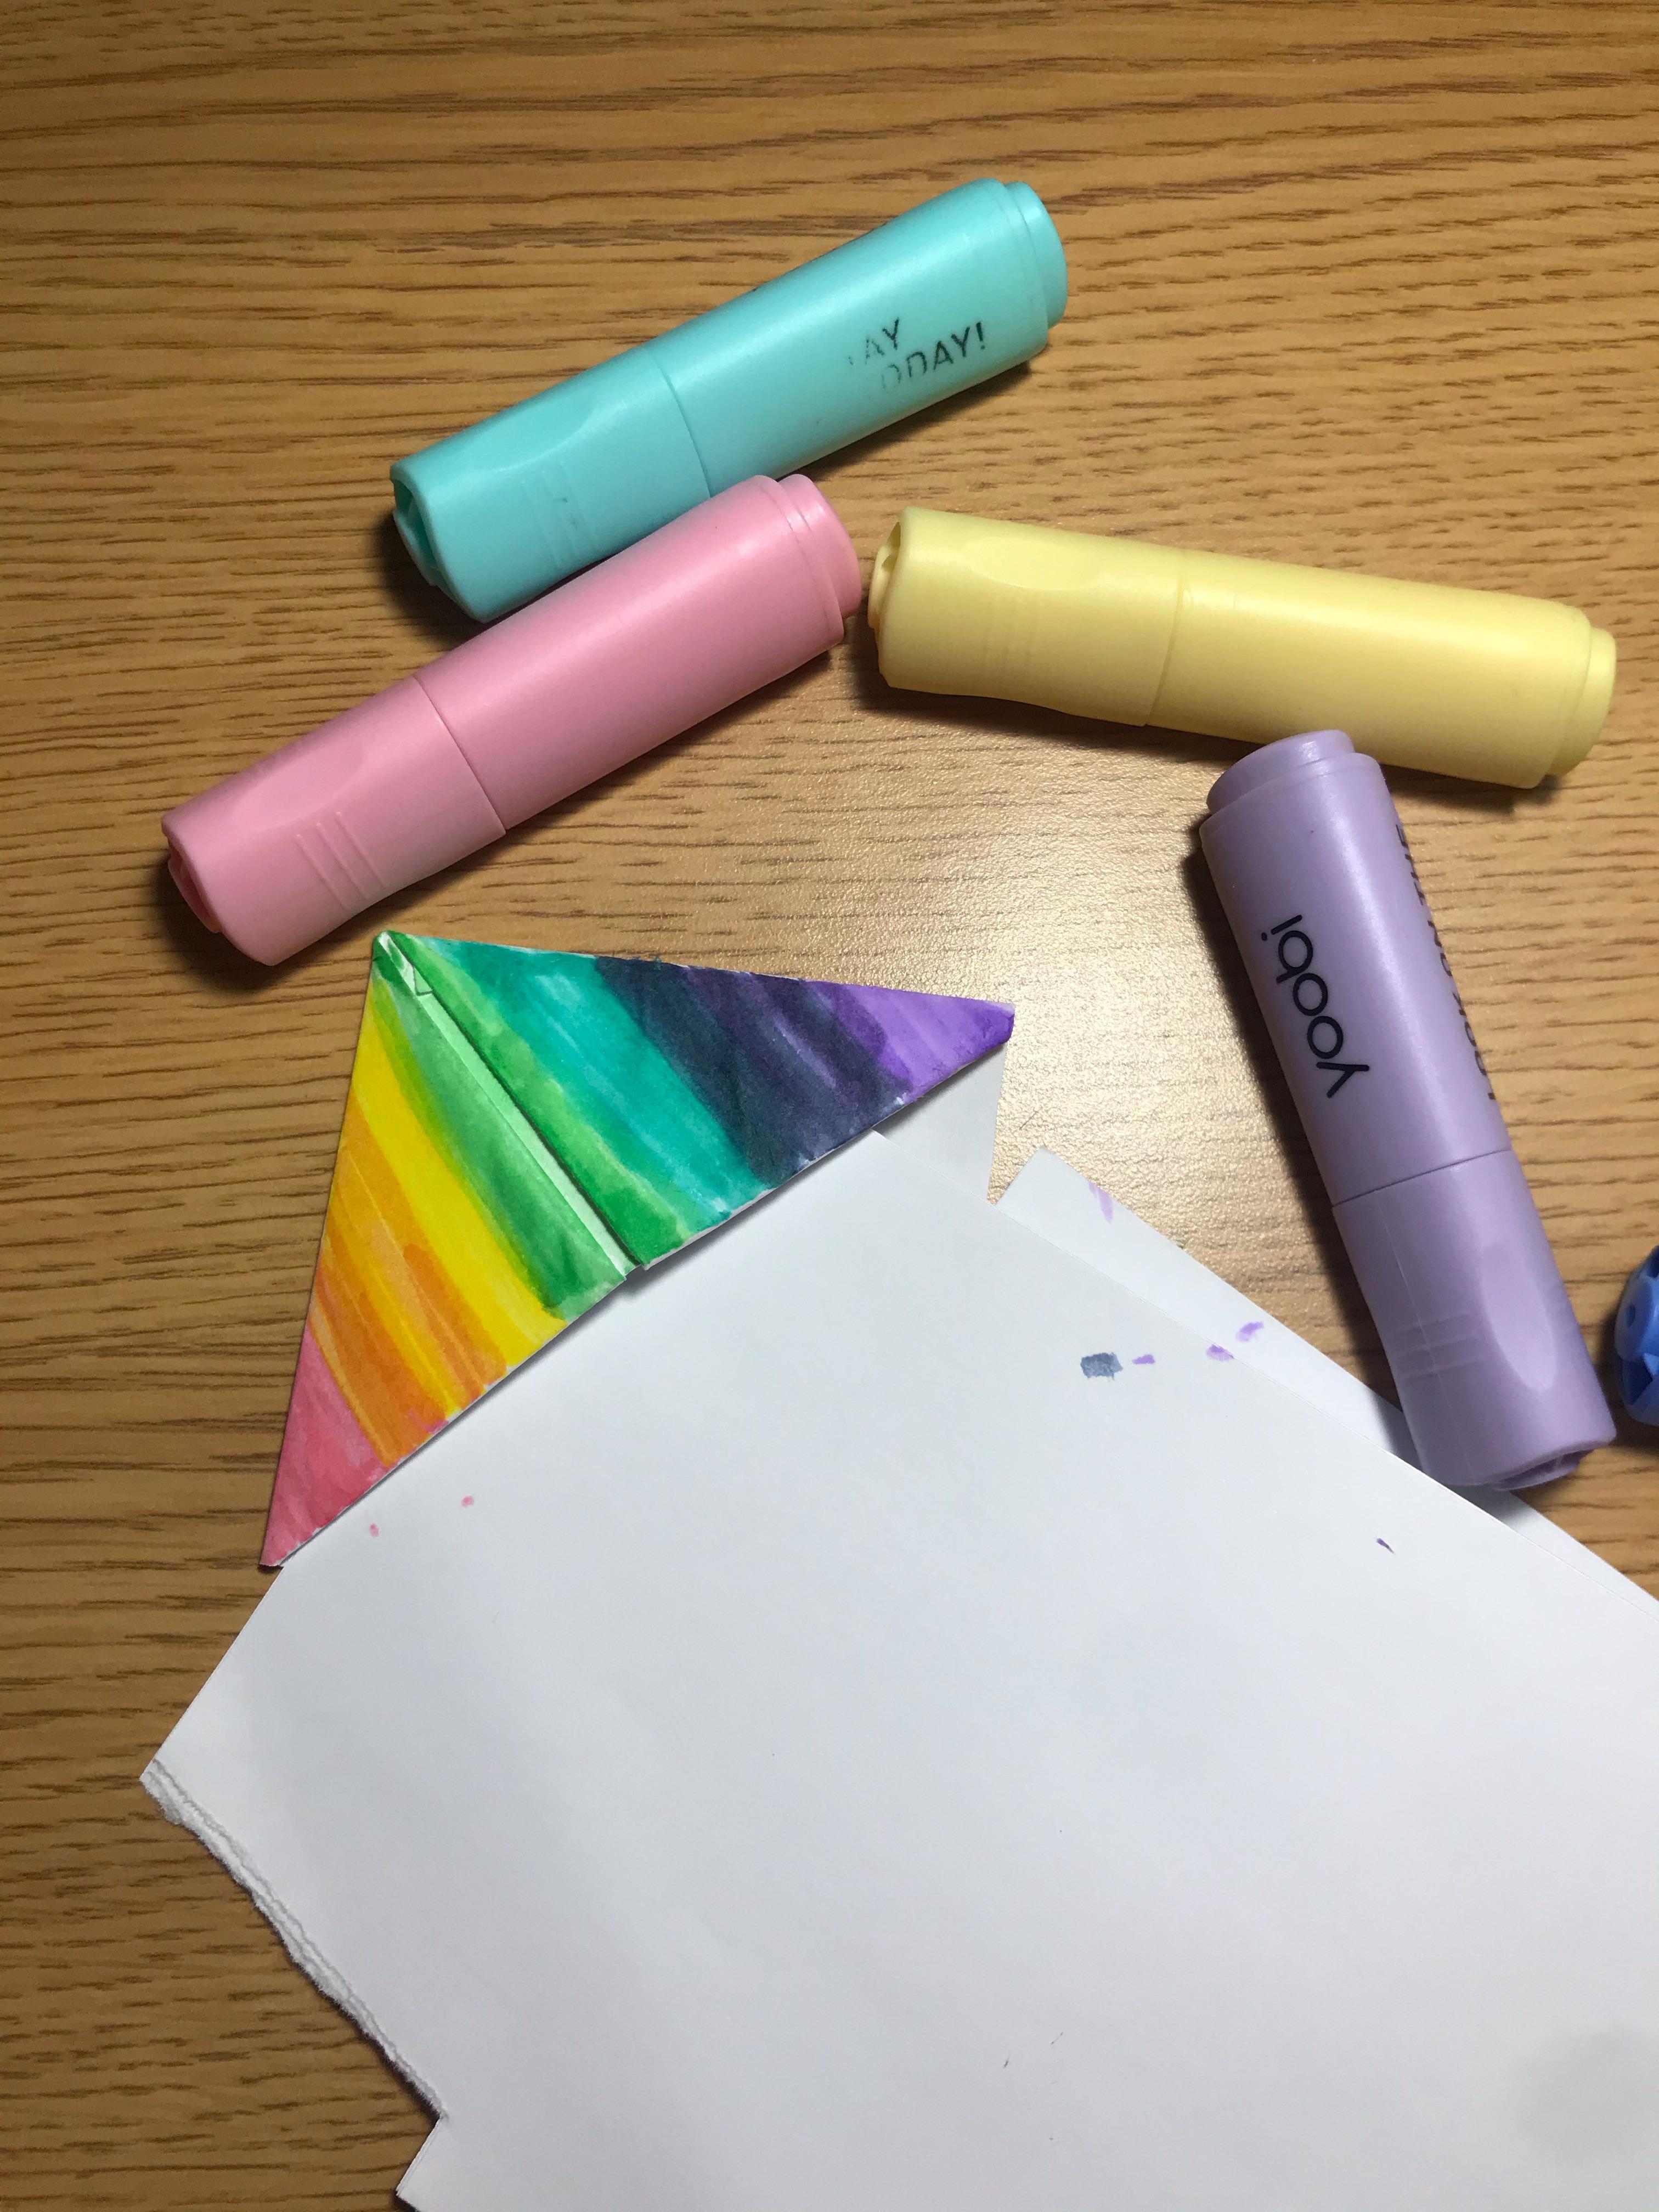
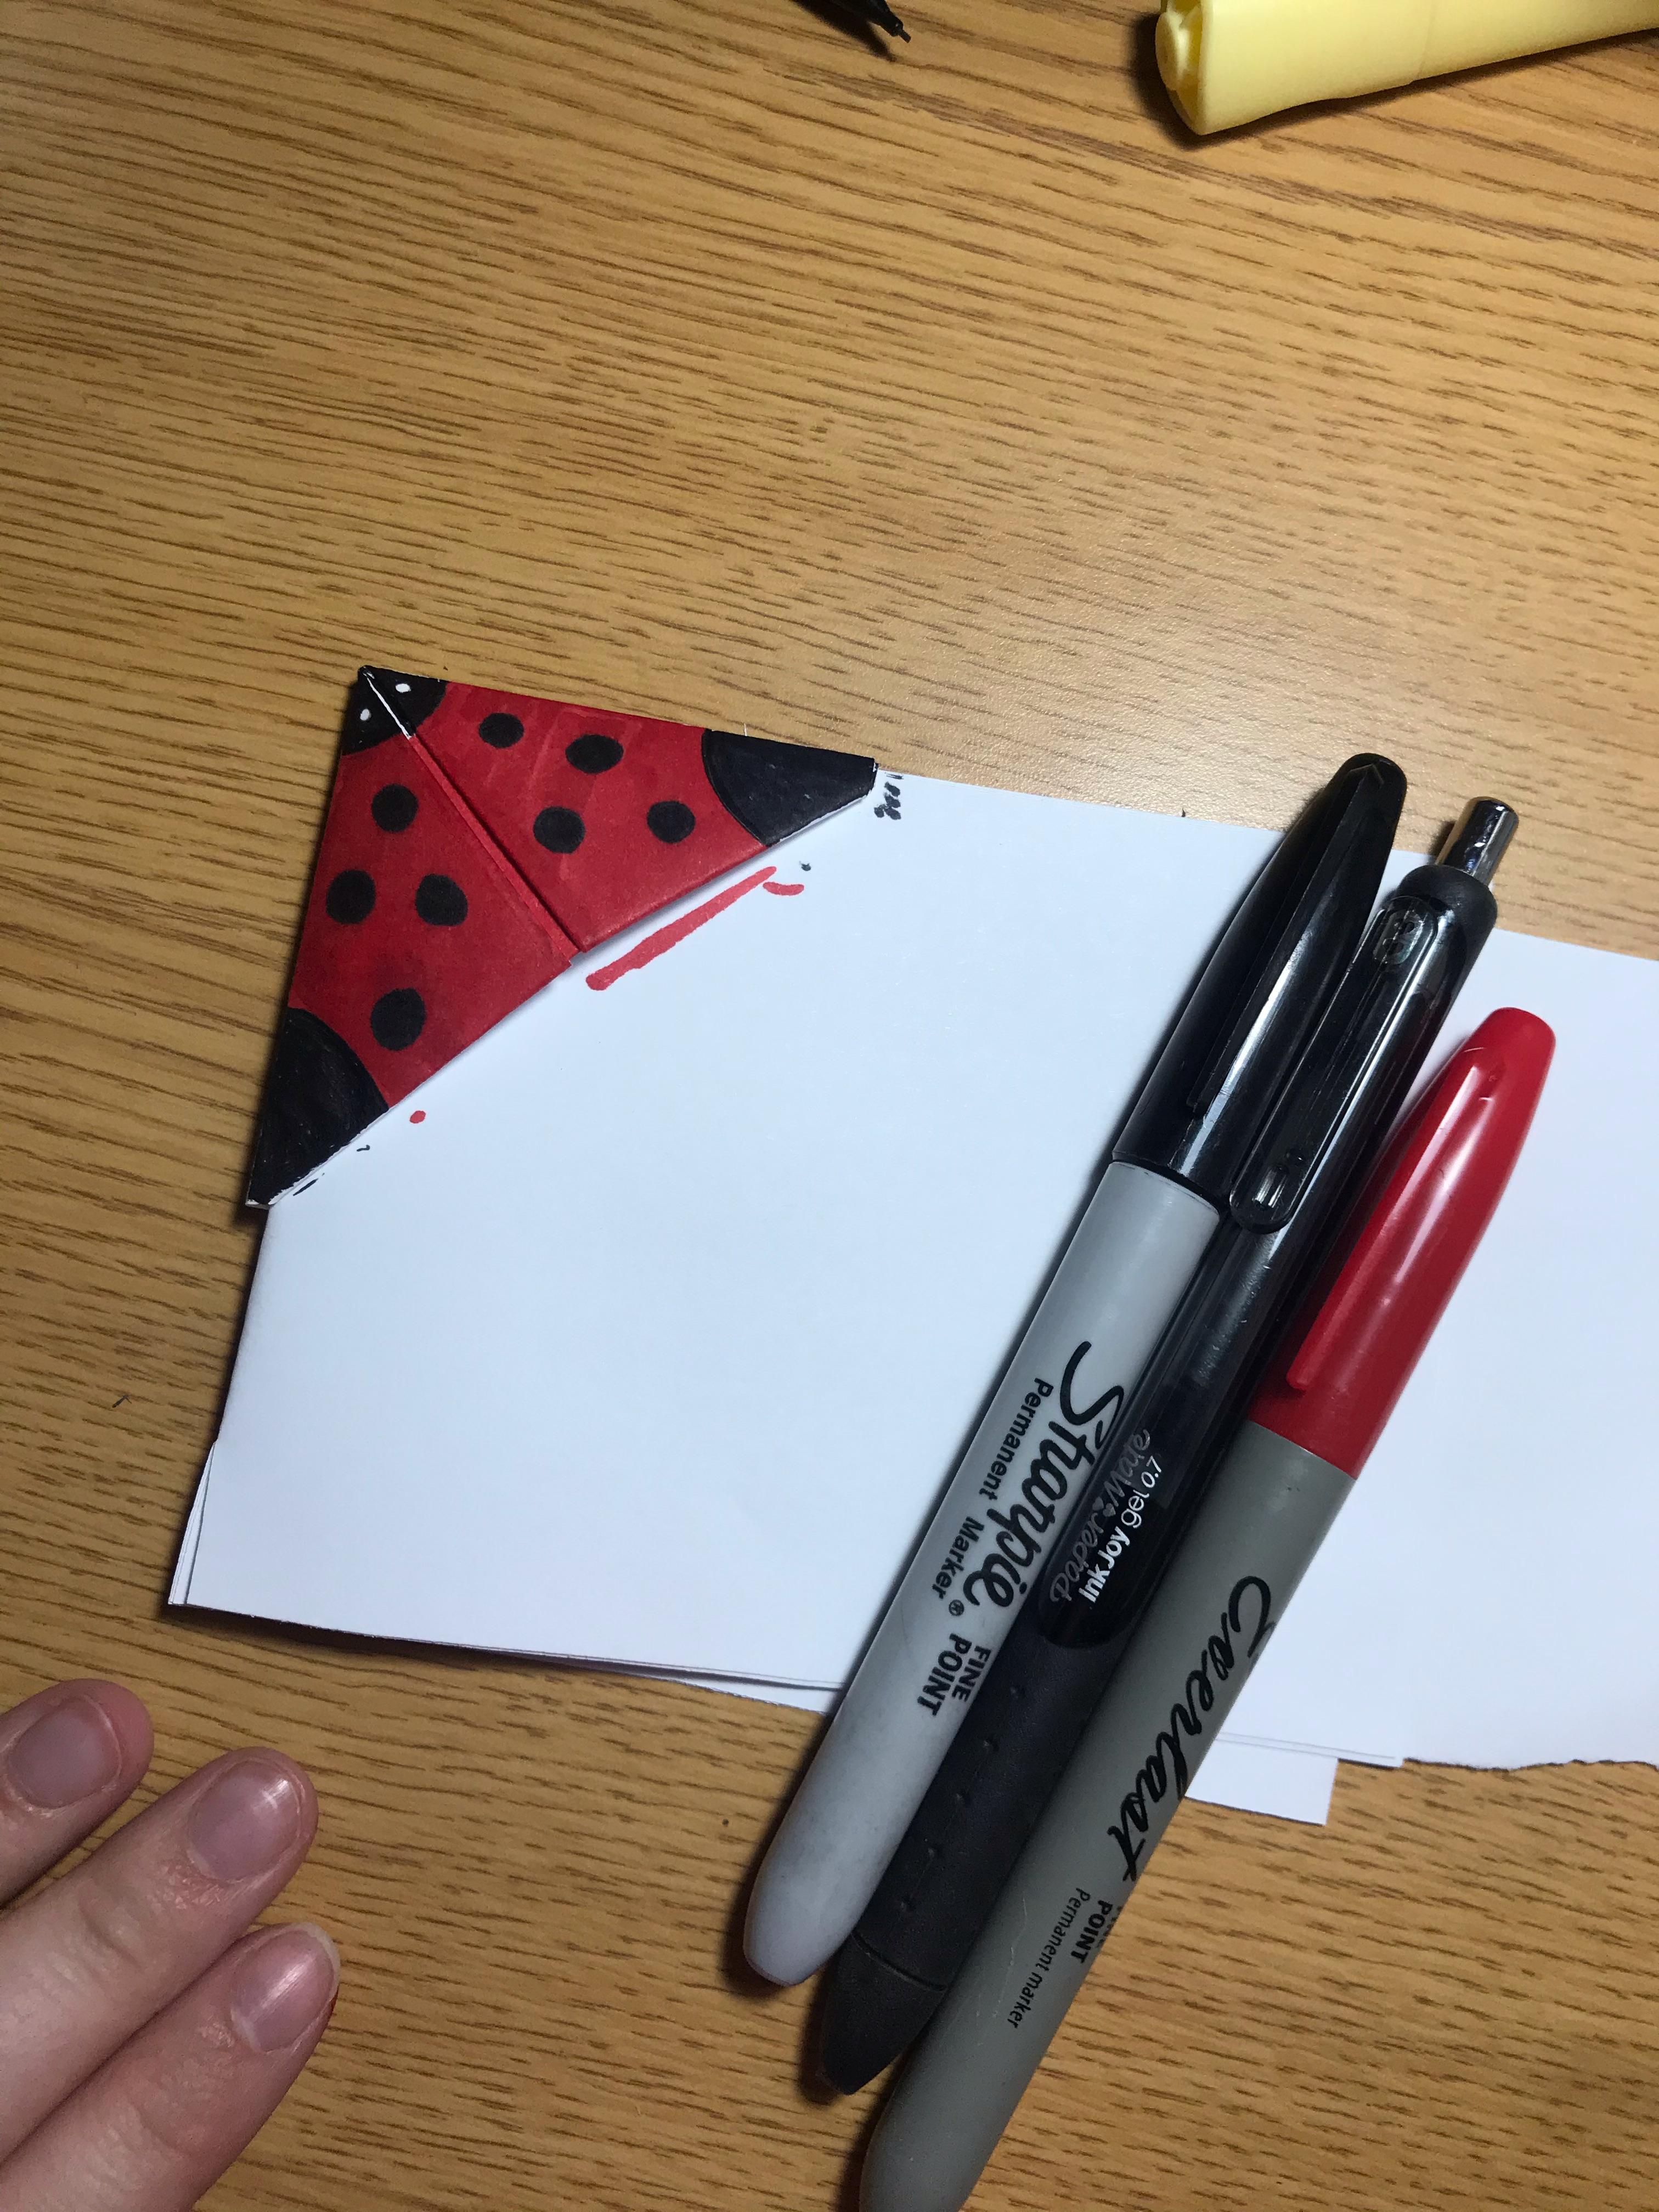
After you sketch a design, color it:
-
Place a piece of paper in your bookmark to avoid bleeding color.
-
Use your coloring utensils to color in your design.
In the photos above I included the utensils I used for each design as well as different design ideas.
You're Finished!
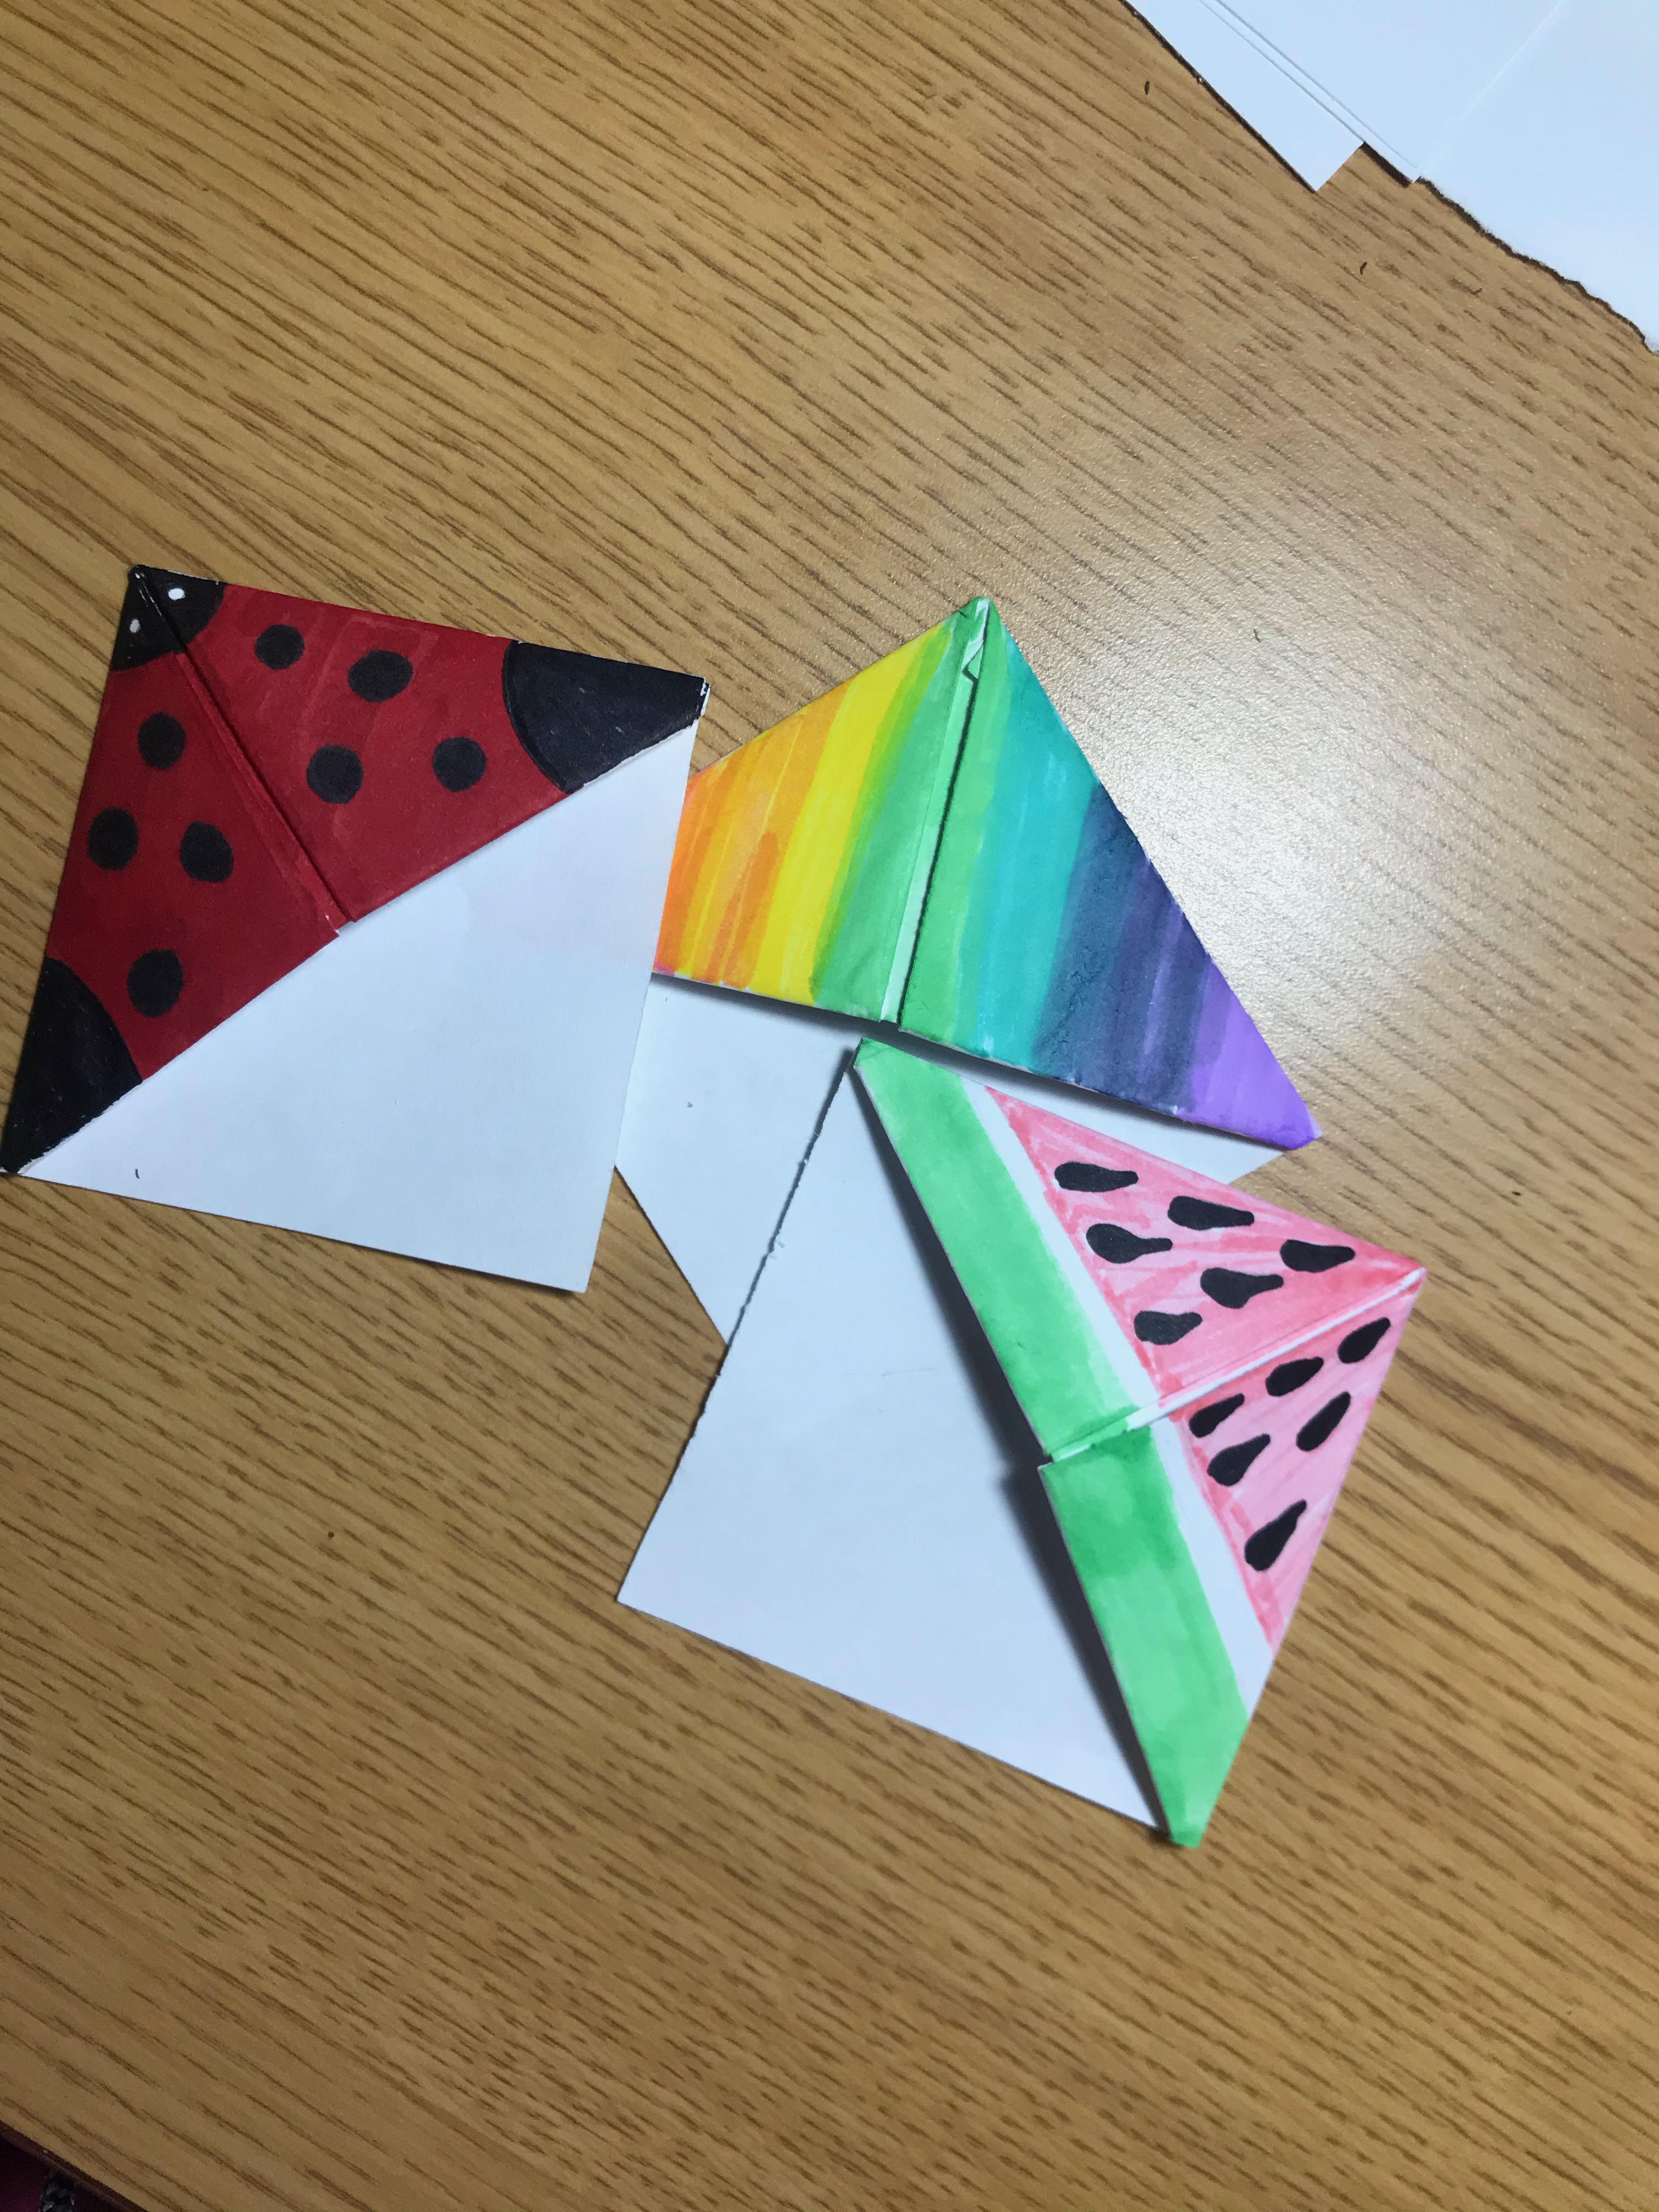
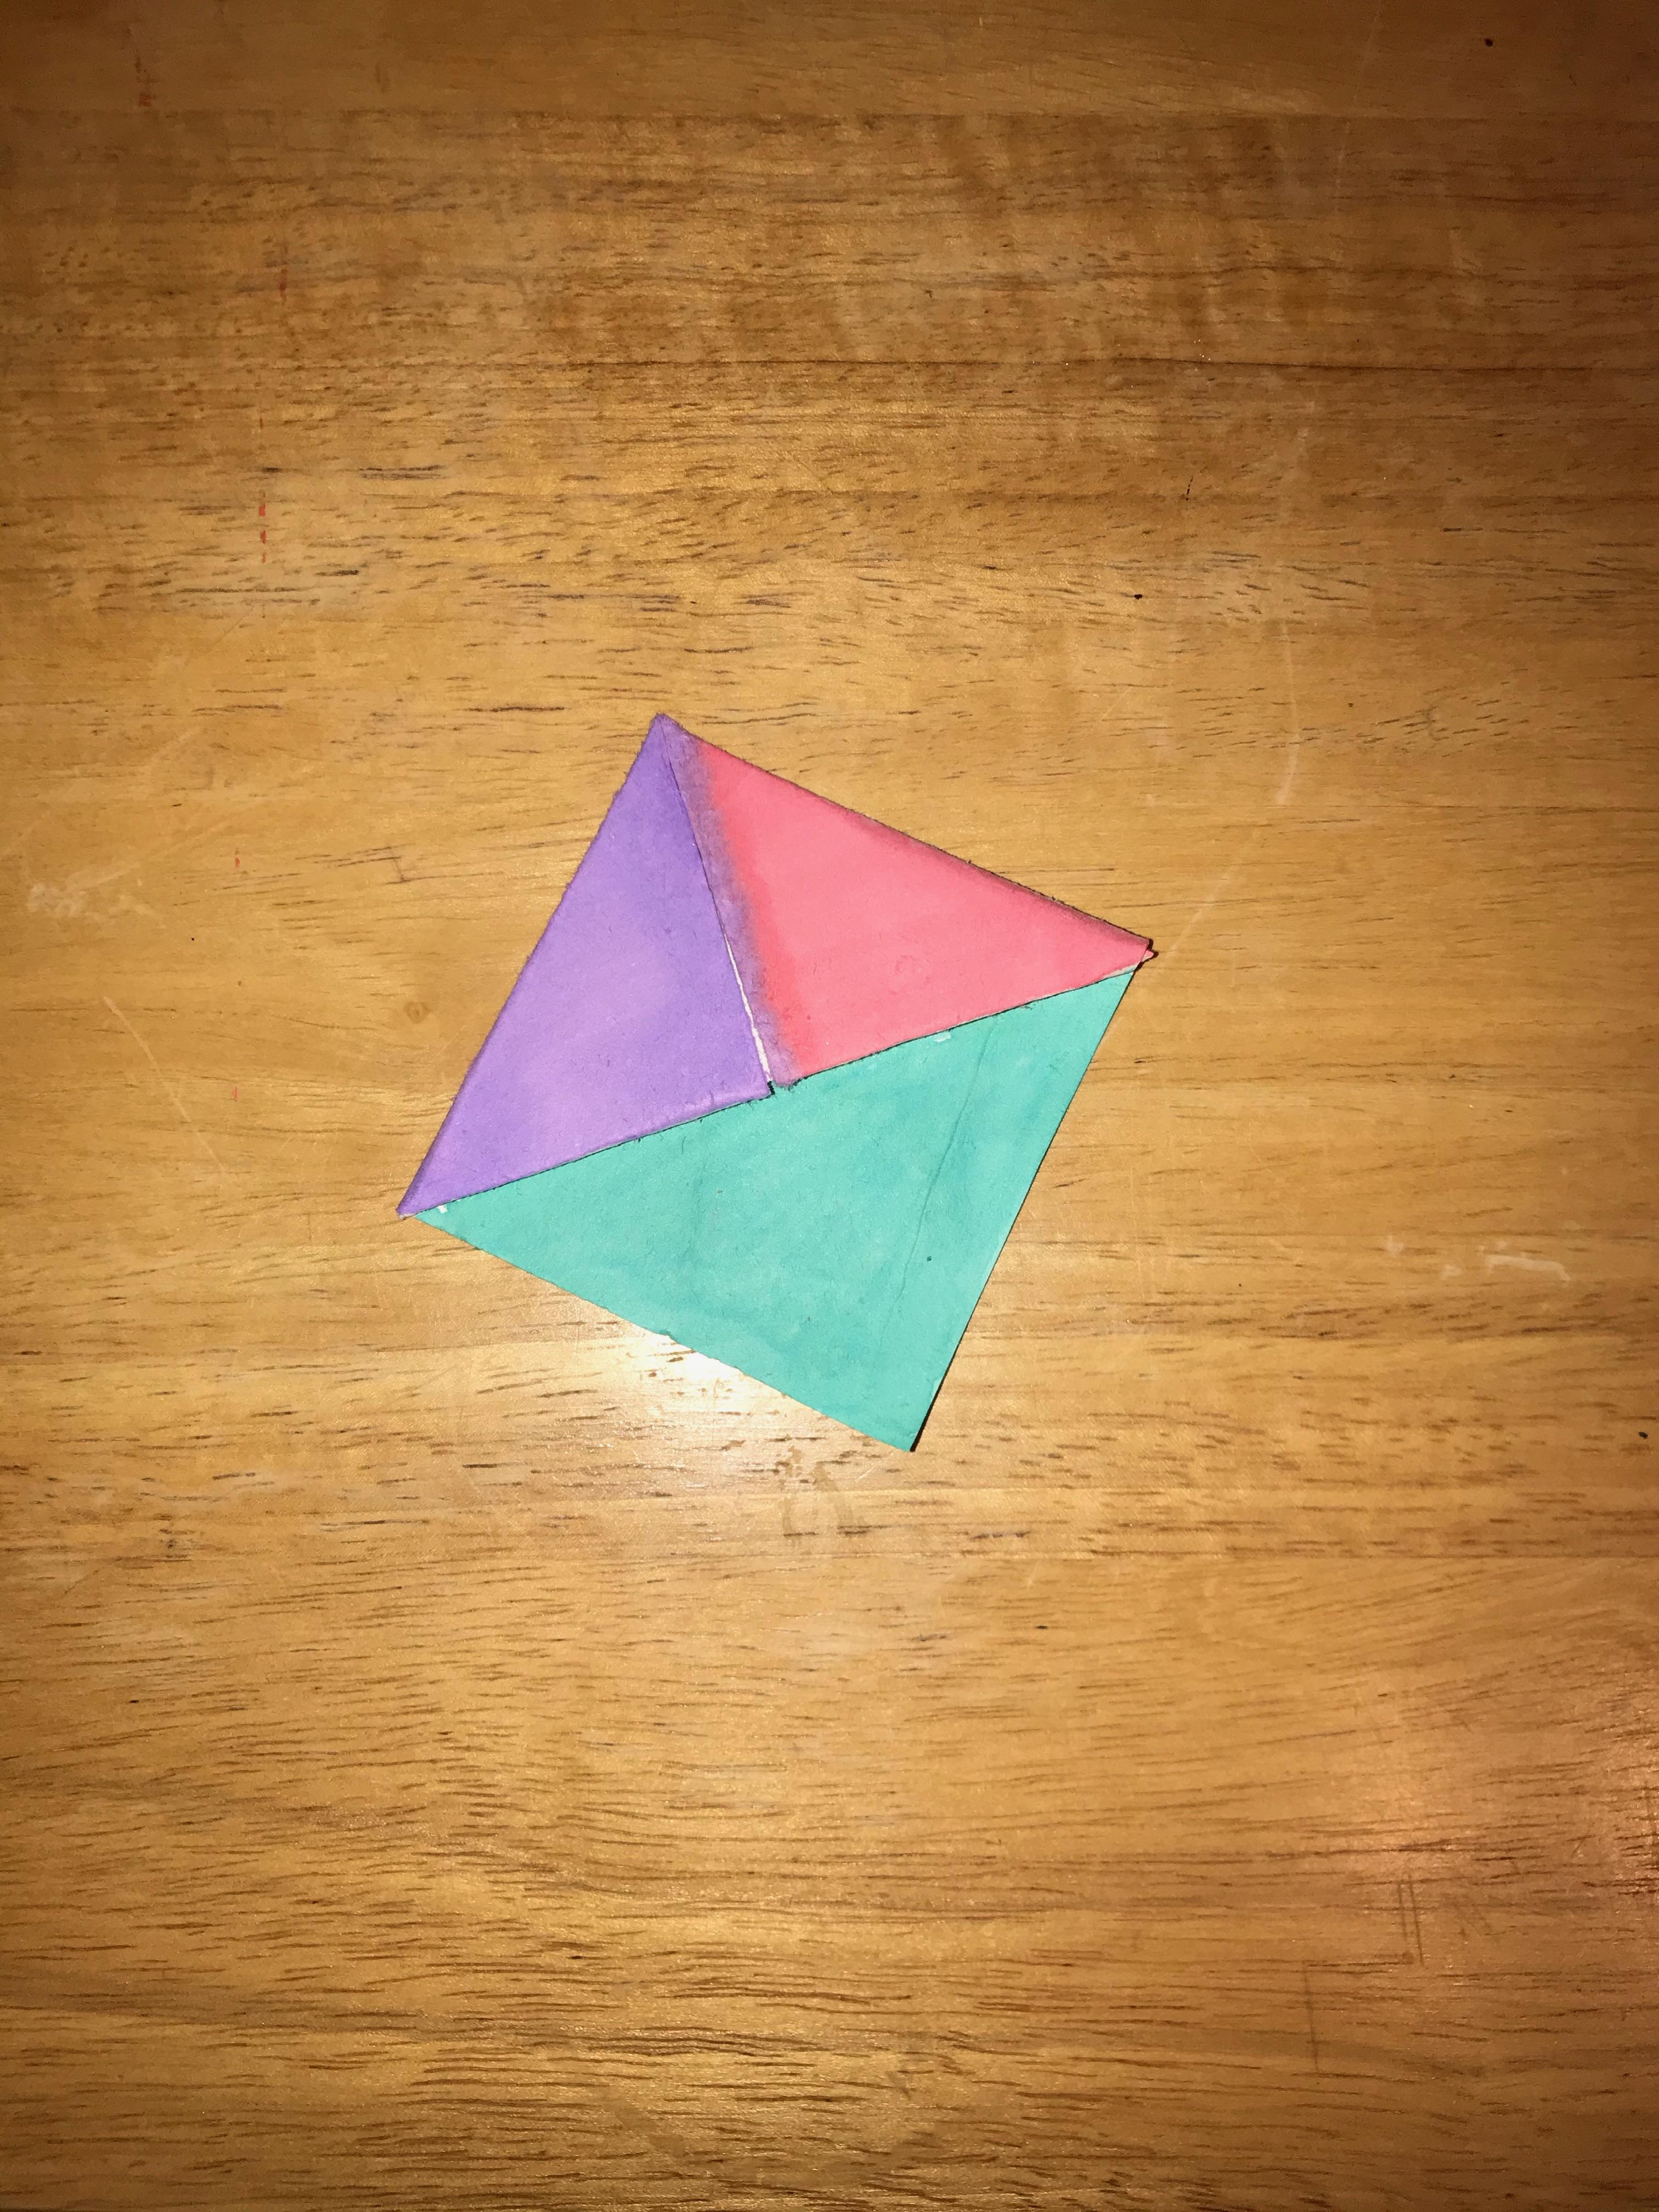.jpeg)
.jpeg)
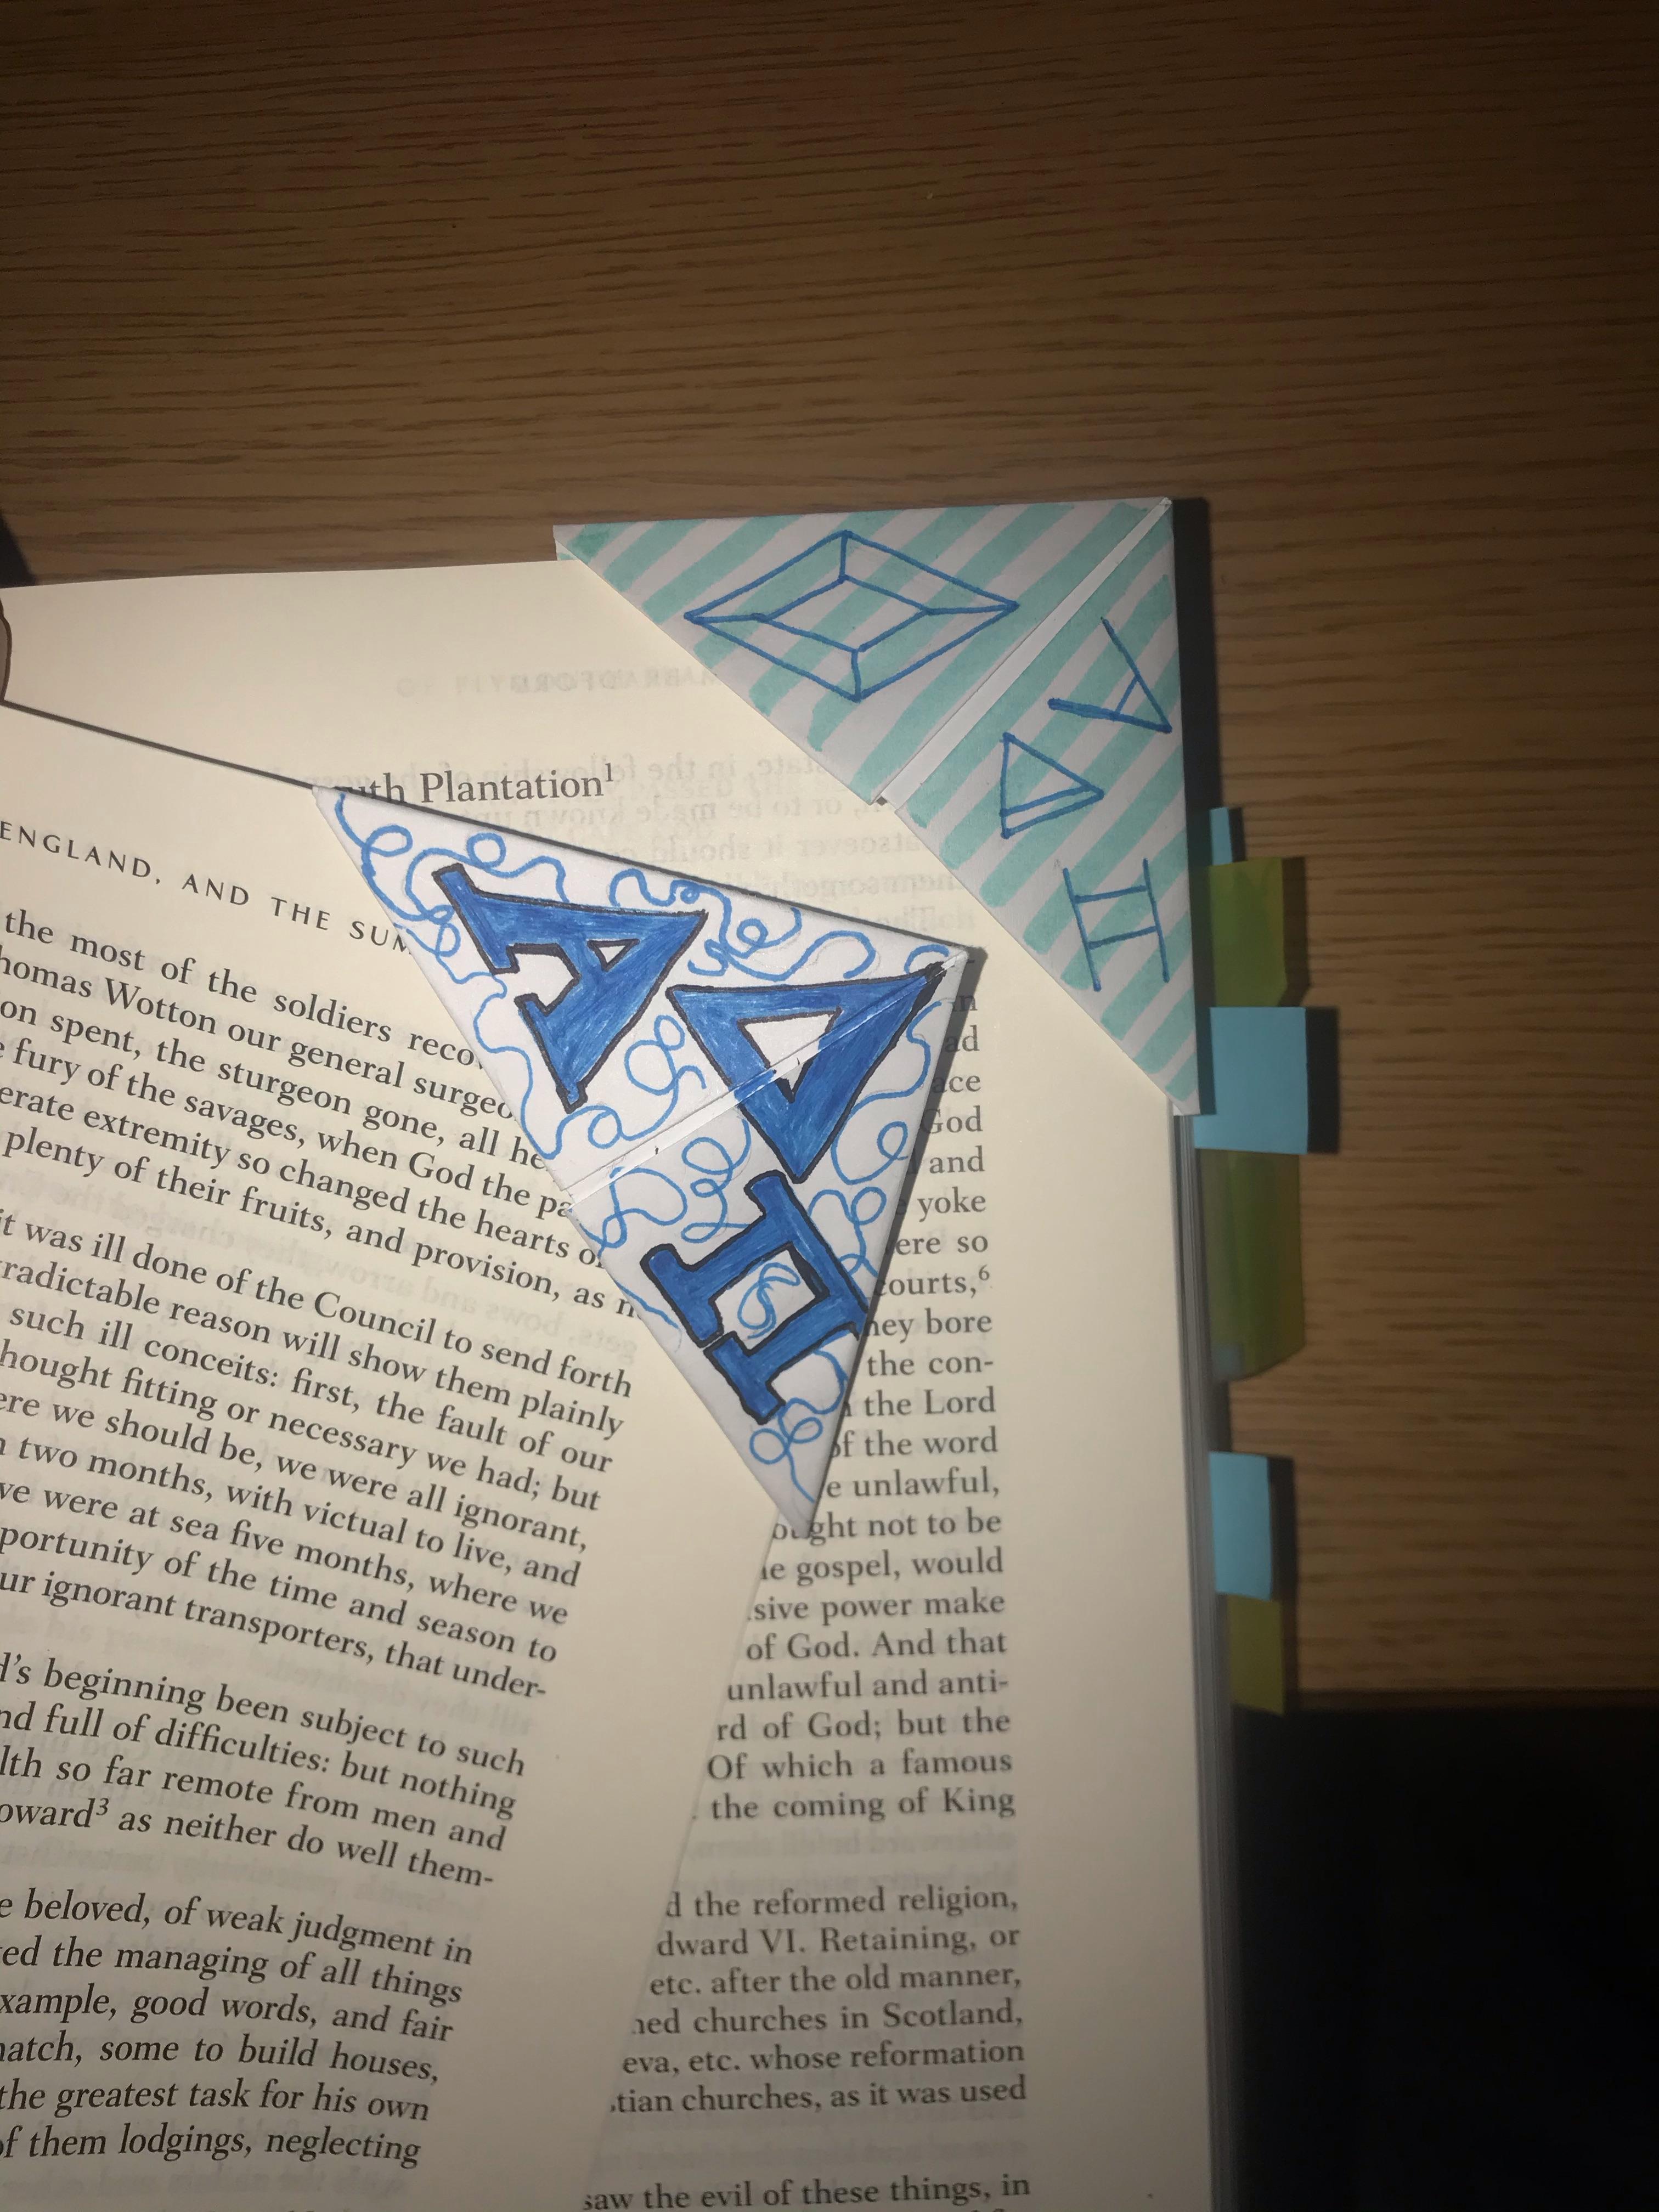
These are the final pictures of the bookmarks I have made so far. There is a ladybug, rainbow, watermelon, a tri-color, and two Alpha Delta Pi sorority-themed bookmarks.
Be as creative as you want when making your bookmark and remember to have fun!
Post your finished bookmark to share! I would love to see everyone's creations!