How to Make a Coloring Book
by PenfoldPlant in Craft > Digital Graphics
1073563 Views, 375 Favorites, 0 Comments
How to Make a Coloring Book
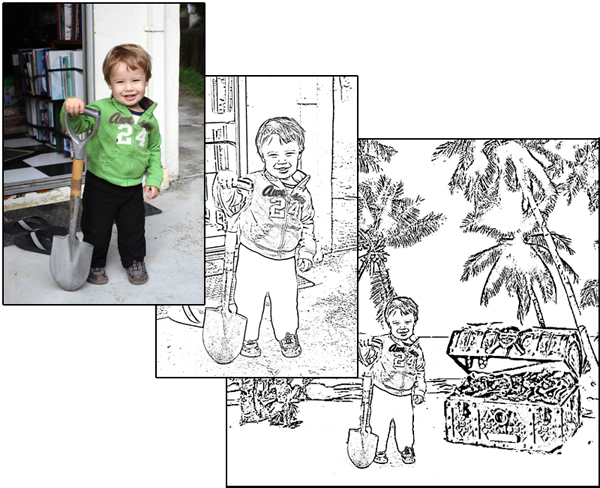
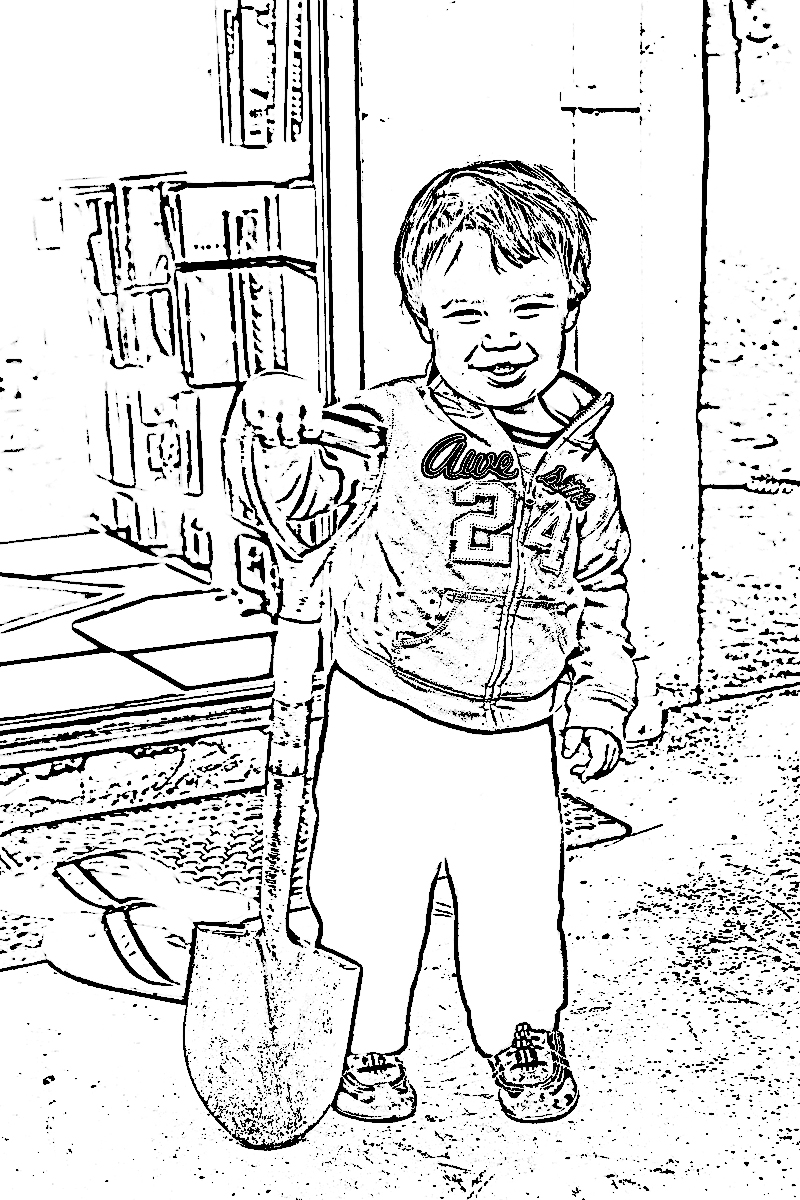
Turn your family photos into fun kids' coloring books for free! This simple tutorial will teach you how to turn any photograph into black and white outlines that you can print out at home. What better way to keep your kids entertained on a rainy day or a holiday weekend?
I used a free online image editing app called Pixlr to achieve this effect, but you can do much the same thing in other software, such as Photoshop or GIMP.
Of course, you don't need to use family photos. We'll even discuss how to insert your family members into exciting action scenes or far-flung landscapes. It's your coloring book, so you can choose the story! Even better, why not let the kids decide?
I'm going to talk through this process in a lot of detail, but that's only so that a complete beginner will feel comfortable. Don't be intimidated by the number of steps; you can actually complete the project in about 5 minutes!
Choose a Photo
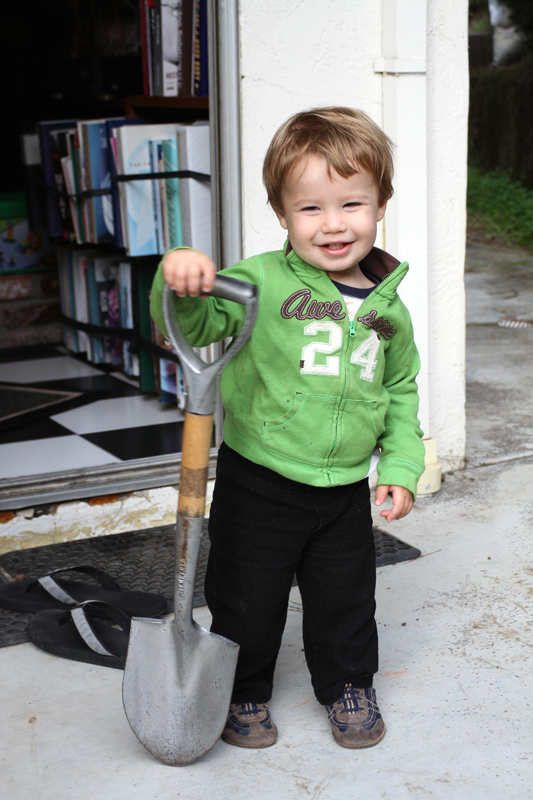
The first thing you need to do is pick a photograph that you want to turn into a page in your coloring book. The best photos for this are ones that are in focus and have plenty of contrast between the different objects in the scene.
If you're planning to edit any of the people in your photo onto another background, it helps if the original photo is taken against a fairly plain background. For example, you could start by photographing your kids fiercely brandishing toy swords in front of a blank wall, then edit them onto a pirate ship background later!
Save whichever photos you want to use to an easy-to-find file on your computer.
Open Pixlr

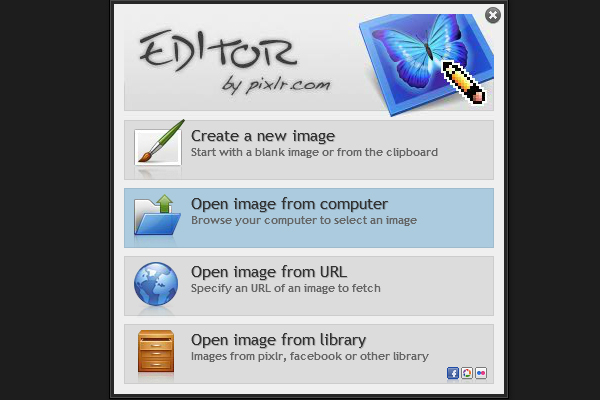
Now that you've taken your photo, the next step is to go to www.pixlr.com
Pixlr is a free online app that lets you edit photos without having to download any software or pay any fees. It's extremely easy to use, but also sophisticated enough to let you achieve some astonishing photo effects.
Click where it says "Open photo editor" then click on "Open image from computer" and select the photo you want to use.
A Quick Overview of Pixlr's Layout
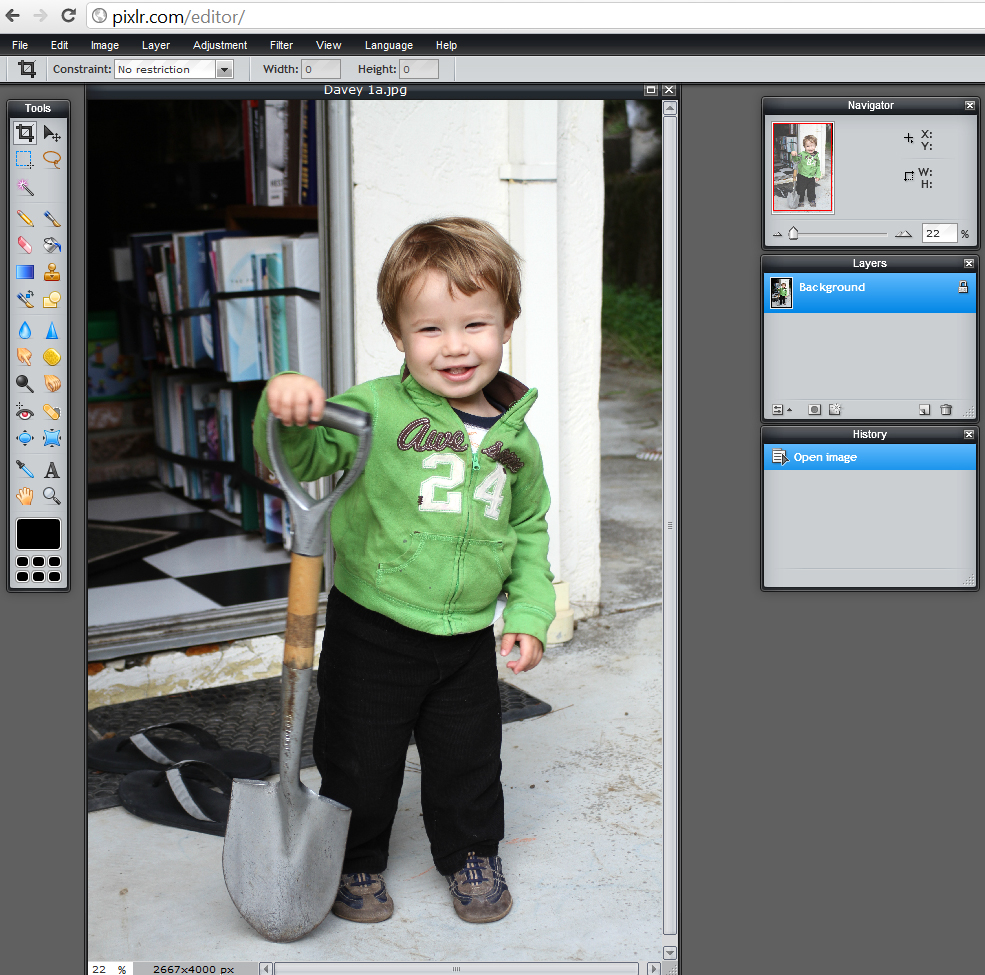
You should see something that looks like this, with your own photo visible. Let's quickly look at what we've got.
On the right, you'll see a box labelled Navigator. This lets you zoom in and out of the photo and move around when you're zoomed in.
Below that is Layers. This is one of Pixlr's cleverest features. Pixlr lets you stack multiple images on top of each other, then edit them all individually, a bit like making a collage. In this collage, however, you can choose to make the different layers change size, become transparent, or even act as complex filters for the layers below them. Don't worry, we'll come back to that.
Under that is History, which just shows a list of all the recent actions you've performed in Pixlr. If you've made a mistake, you can skip back in your History to before you made it. Think of it as having multiple Undo buttons.
OK, you're now a Pixlr pro! We're all set to get editing!
Make It Black and White
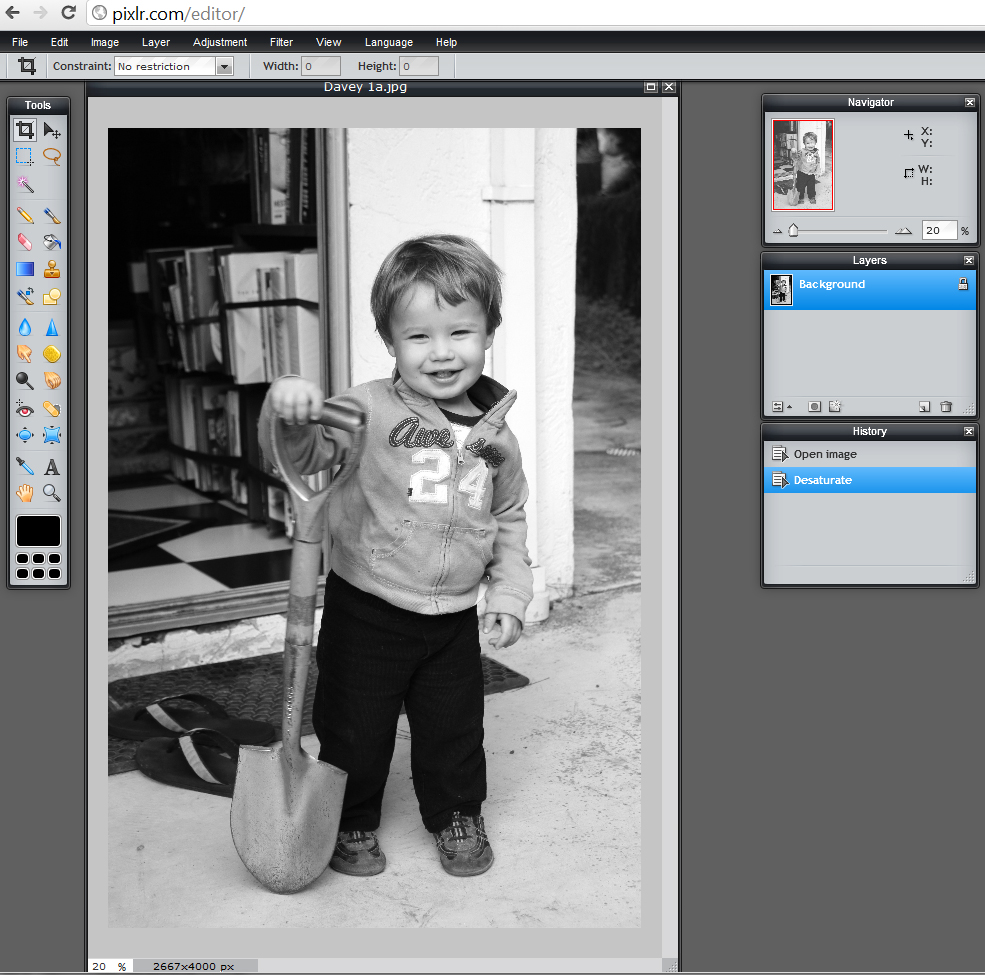
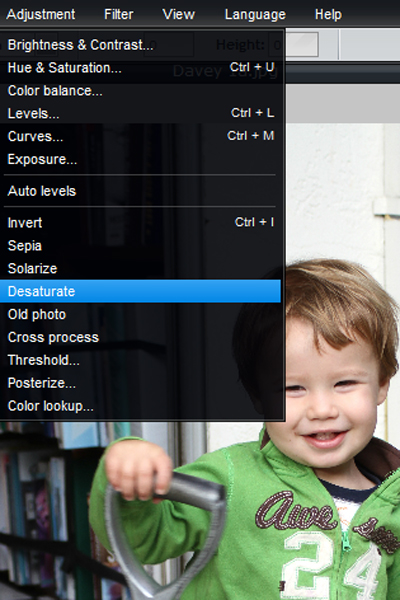
The first change we'll make to our photo is to turn it into a black and white image. Do this by selecting Adjustment --> Desaturate.
Duplicate the Layer
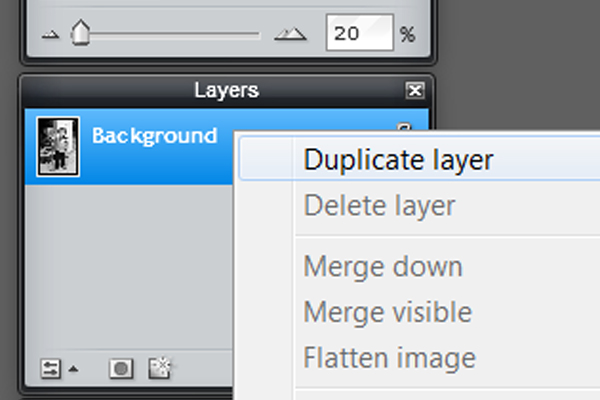
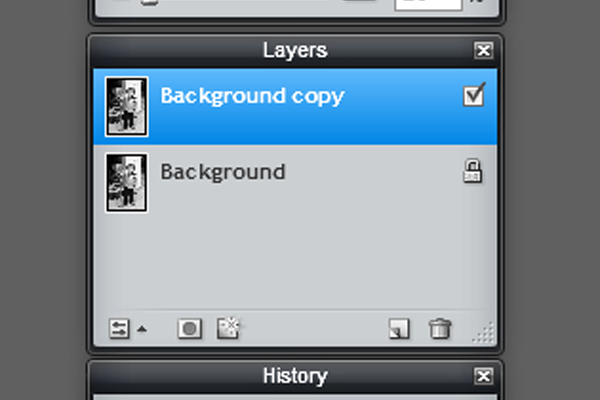
Now we're going to make a second layer which is an identical copy of our black and white image. Right-click on Background in the Layers palette and select Duplicate layer.
You should now see a new layer called Background copy.
You should now see a new layer called Background copy.
Invert the New Layer
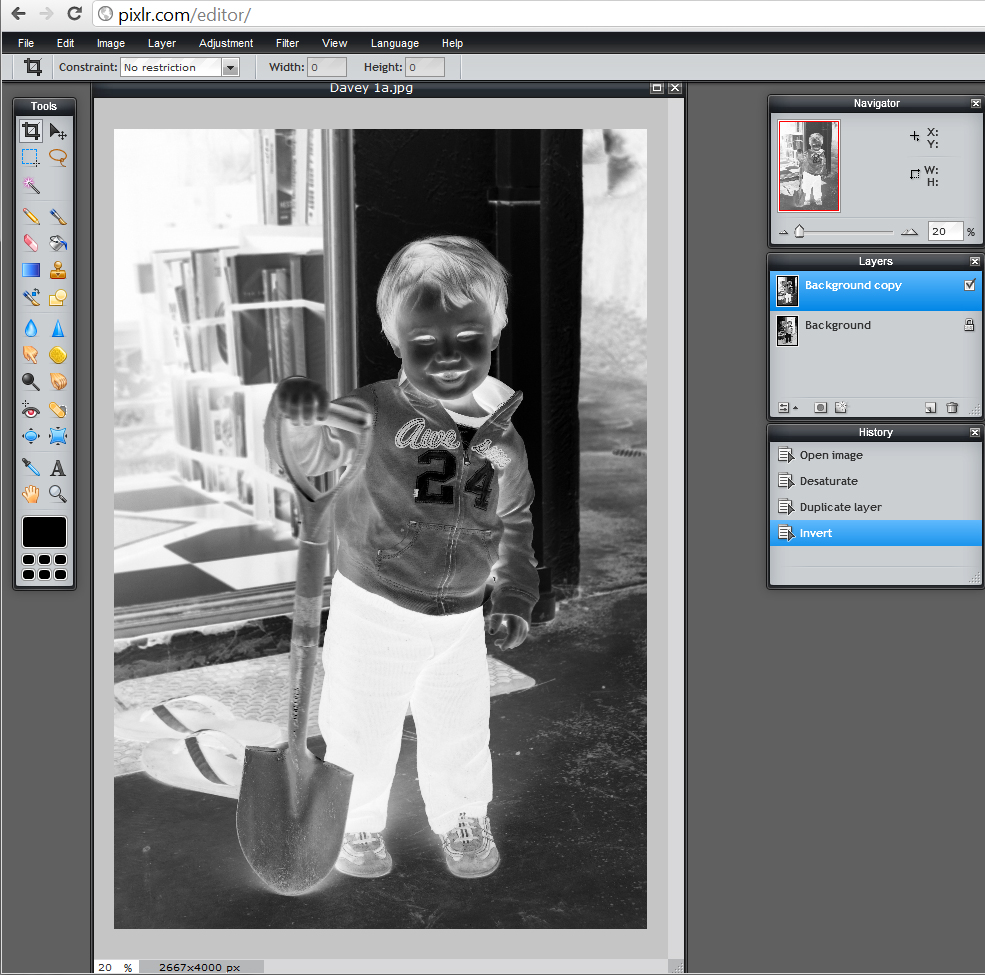
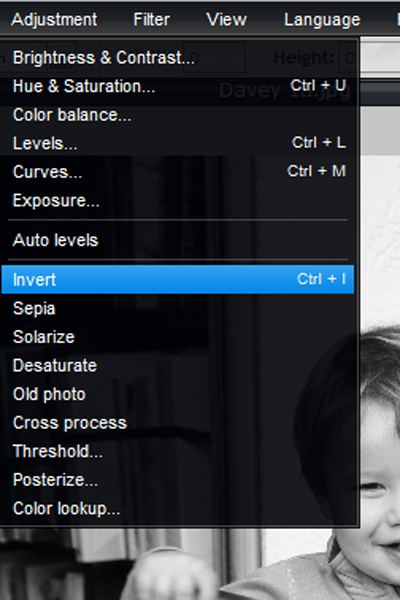
Now we're going to turn the new layer into a negative of the original image. You can do this by selecting Adjustment --> Invert.
Fancy Trickery
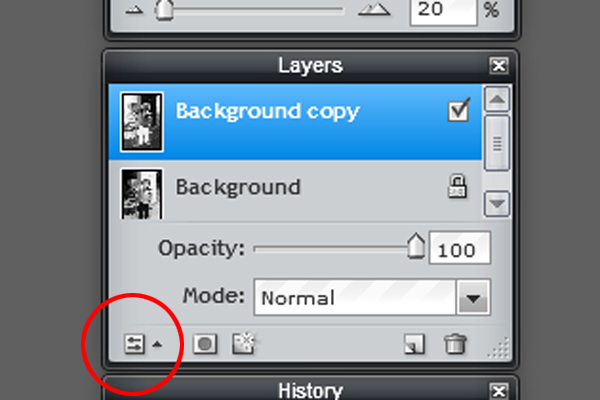
Now it's time for some cleverness with layers. Click on the little box with two arrows in the bottom left corner of the layers palette. This should make the advanced layer settings (Opacity and Mode) visible.
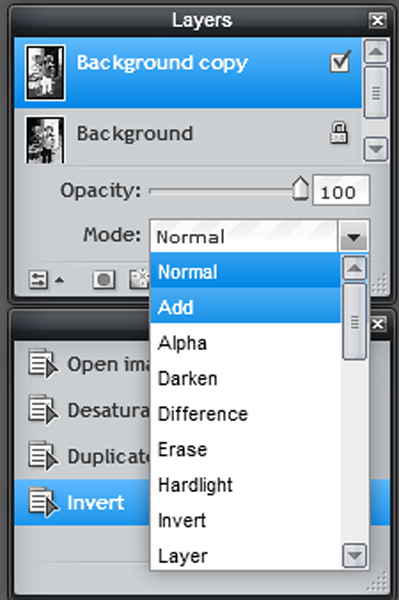
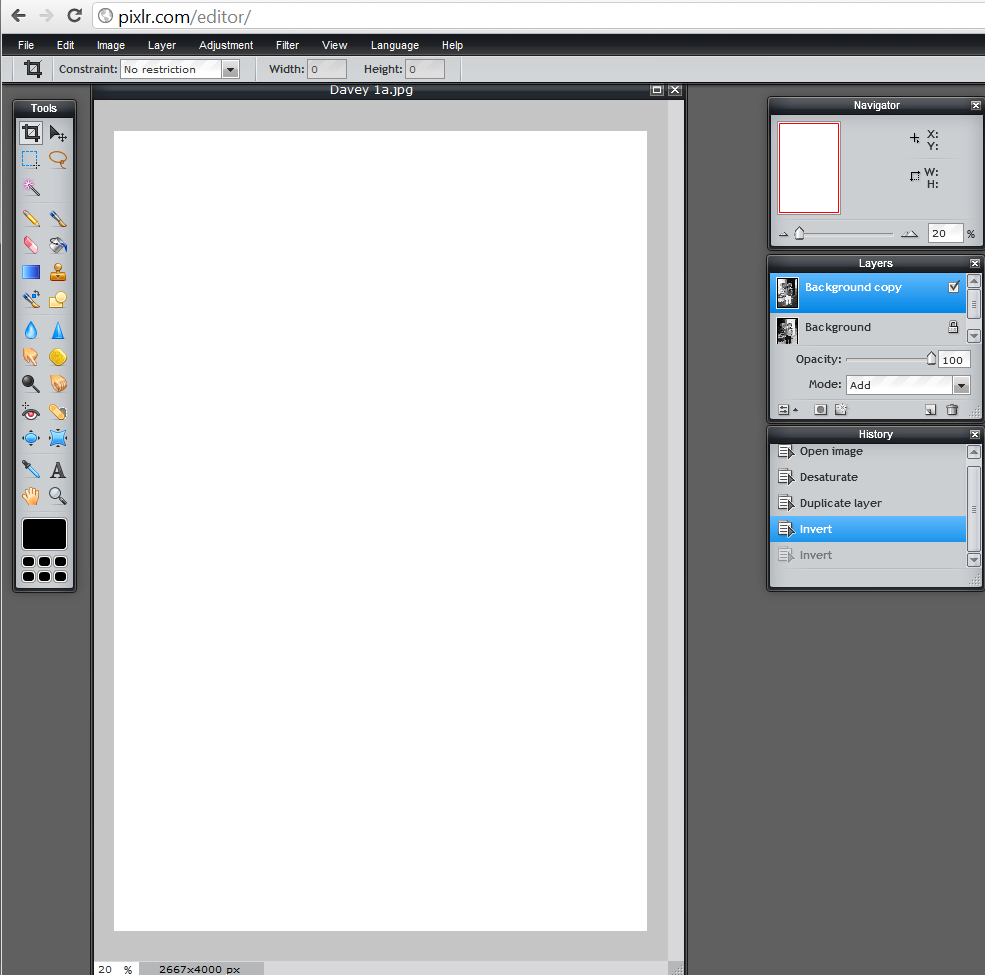
At the moment, the layer called Background copy should by in Normal mode. Use the drop-down menu to change it to Add mode. Everything in your image should turn white. Don't panic! That's what we wanted.
At the moment, the layer called Background copy should by in Normal mode. Use the drop-down menu to change it to Add mode. Everything in your image should turn white. Don't panic! That's what we wanted.
Blur the Top Layer
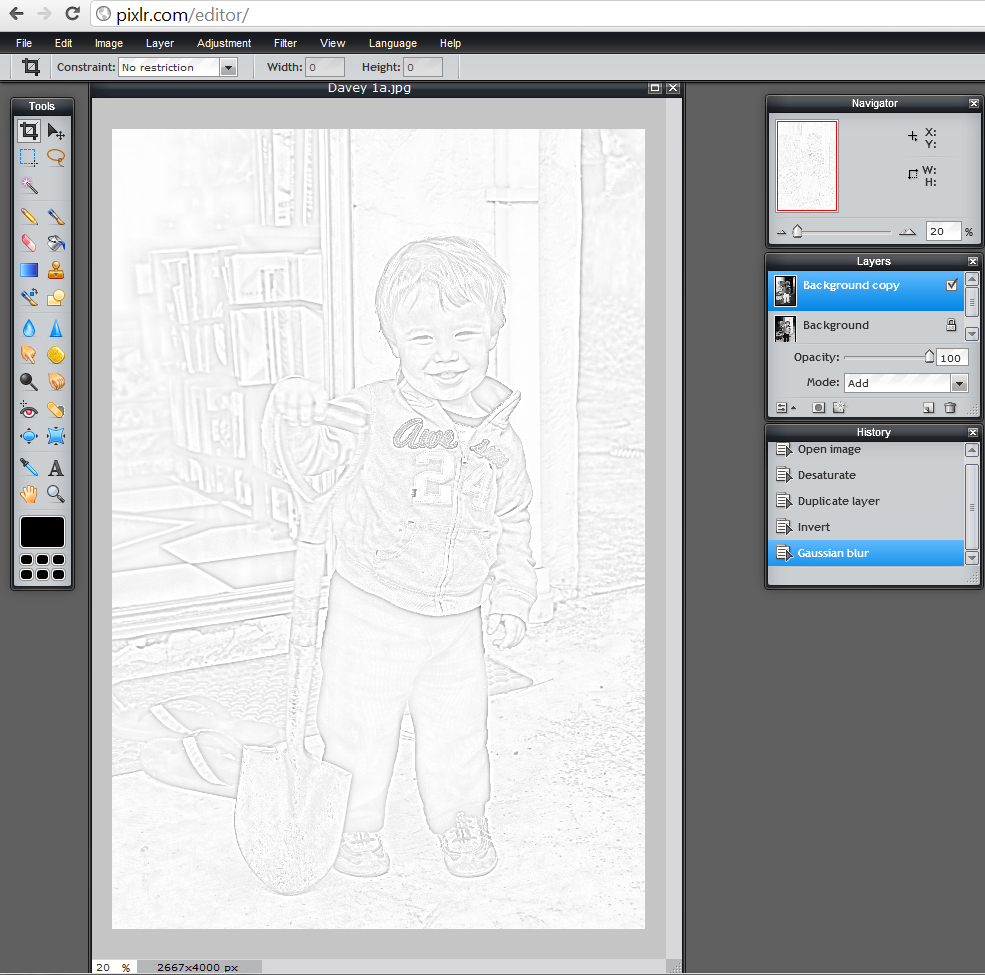
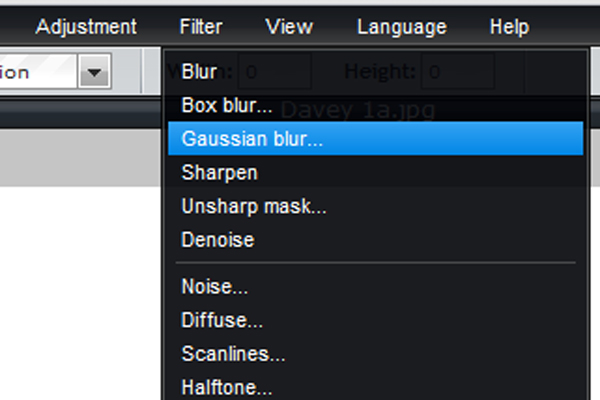
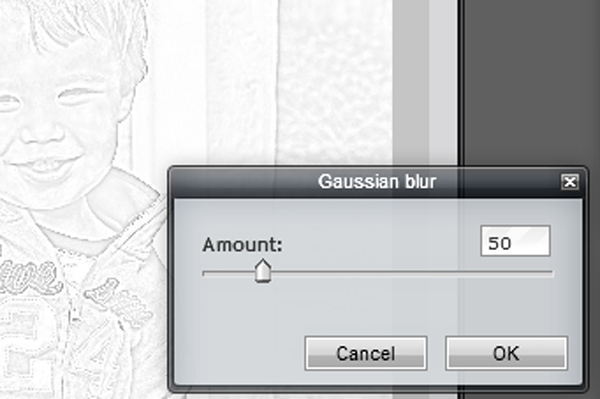
Select Filter --> Gaussian blur...
A slider called Amount should appear. Try dragging this back and forth to see what happens. The outline of your image should become visible, starting as a thin tracing when Amount is low and turning into softer, thicker strokes as you increase it.
Adjust the slider to a medium point at which you can clearly tell what the image is, but the lines appear neither pencil-thin nor extremely soft and blurry.
Flatten the Image
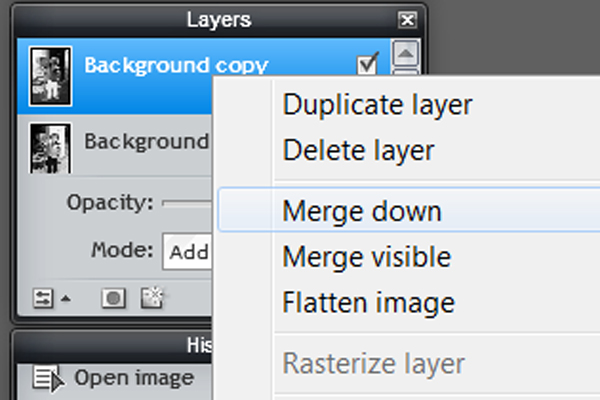
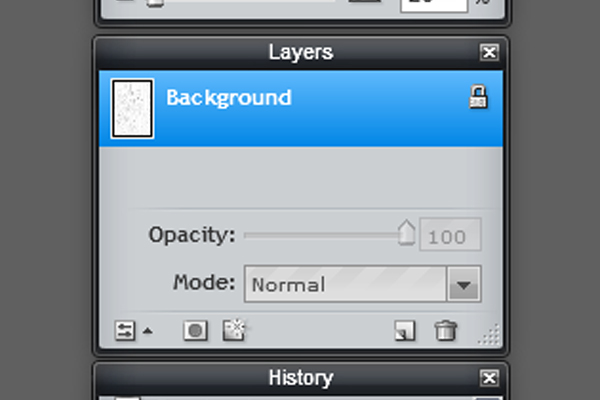
Now we're going to squash the image back down to a single layer. Right-click on the top layer (Background copy) and select Merge down. You should now see a single layer in the palette.
Use Levels to Adjust the Softness
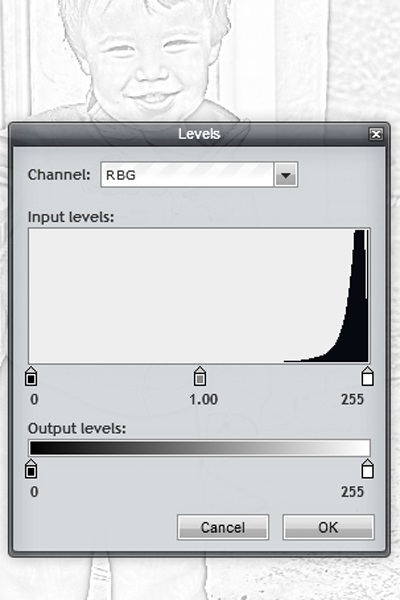
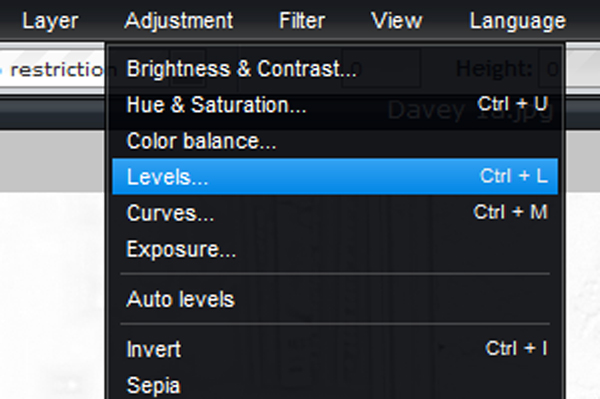
Your image probably still looks faint and a bit fuzzy, so we're going to turn all those shades of gray into crisp blacks and whites using the Levels tool.
Select Adjustment --> Levels. A graph like this should appear.
Select Adjustment --> Levels. A graph like this should appear.
Move the Black Slider
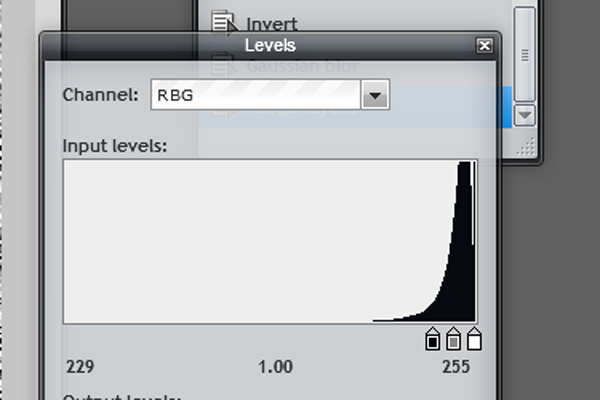
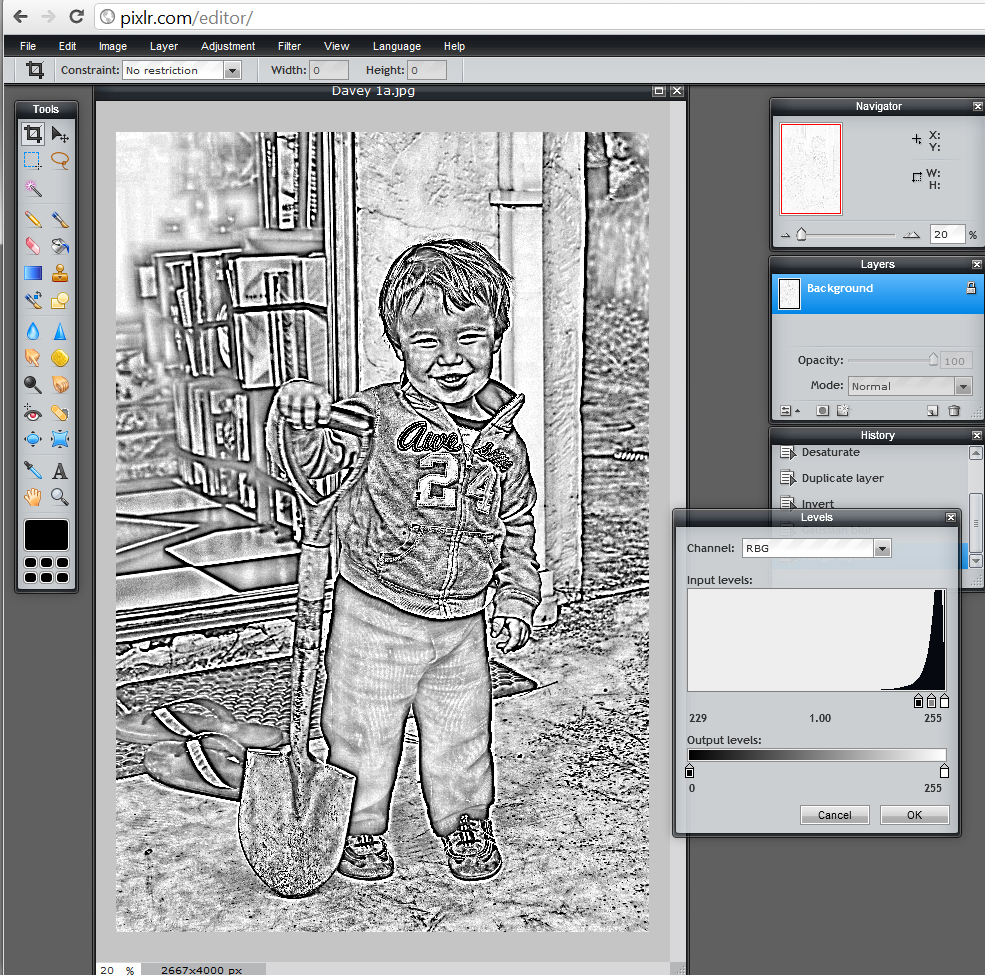
The graph should look like a steep hill with three sliders underneath it. Move the black slider most of the way to the right, so it sits just at the base of the hill, before it becomes very steep. You should see your image darken dramatically.
Move the Other Sliders
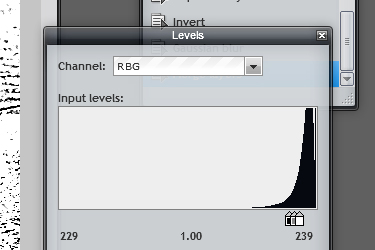
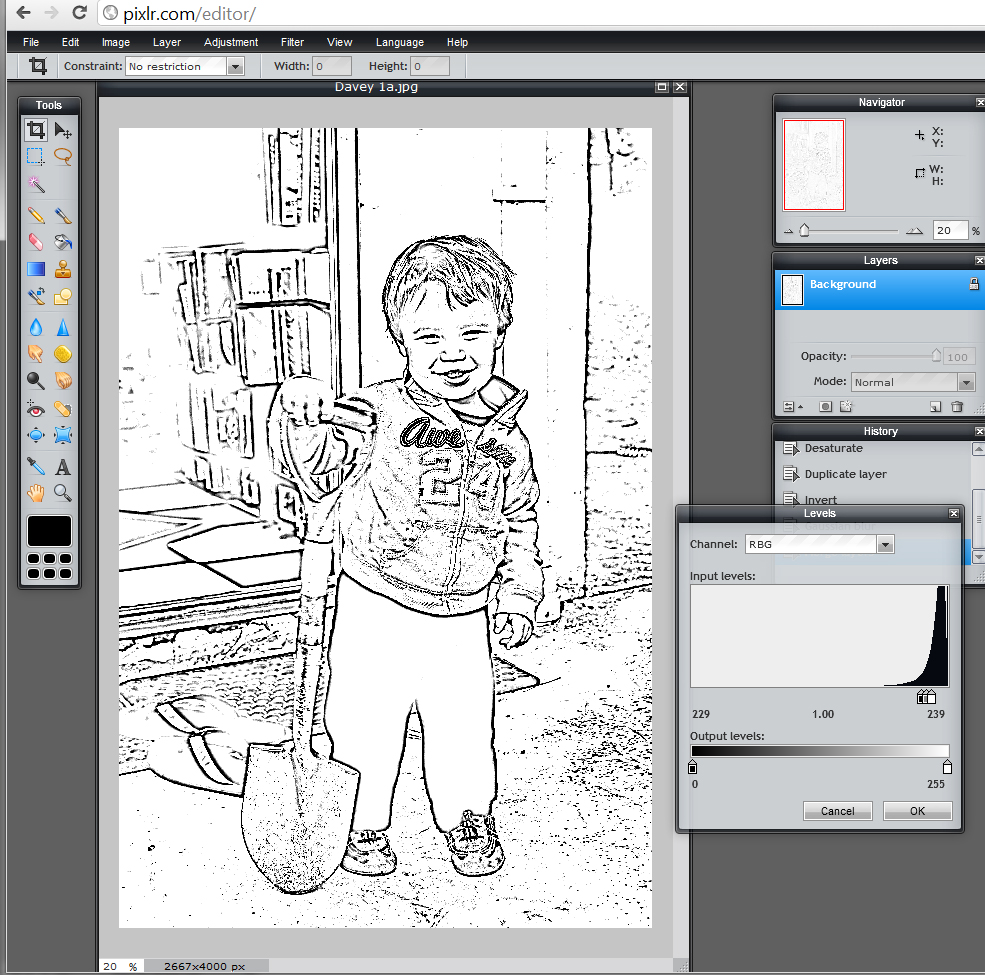
Now drag the gray and the white sliders as far to the left as possible without moving the black slider. All of the gray tones should turn white, leaving a very clear outline in black and white. Play around with the sliders until you're happy with the outcome.
Congratulations! You've made your coloring book image!
Congratulations! You've made your coloring book image!
Save and Print

Save your new image and print it out!
Tips on saving: Sometimes Pixlr will save an image without putting the .jpg extension at the end of it. When you save an image to your computer, quickly try opening it in another window. If you cannot open it, save it again but this time type .jpg at the end of the name.
Tips on saving: Sometimes Pixlr will save an image without putting the .jpg extension at the end of it. When you save an image to your computer, quickly try opening it in another window. If you cannot open it, save it again but this time type .jpg at the end of the name.
That Wasn't So Complicated!
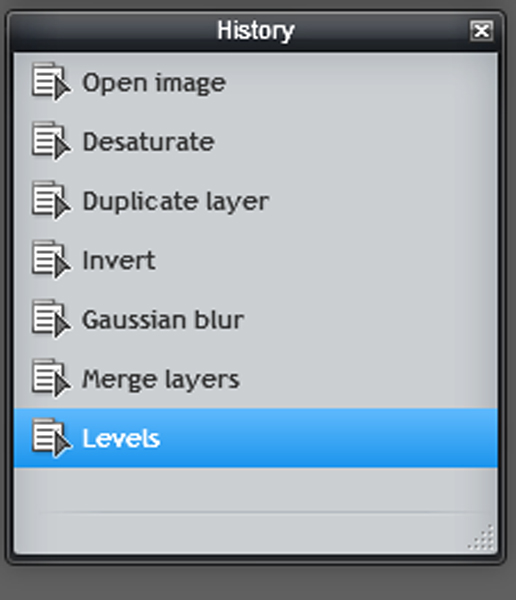
I know that was a lot of steps, but in fact all we've done is perform six very simple changes to our photo. If you look at the History box, you'll be able to see exactly what you've done.
Advanced Lessons
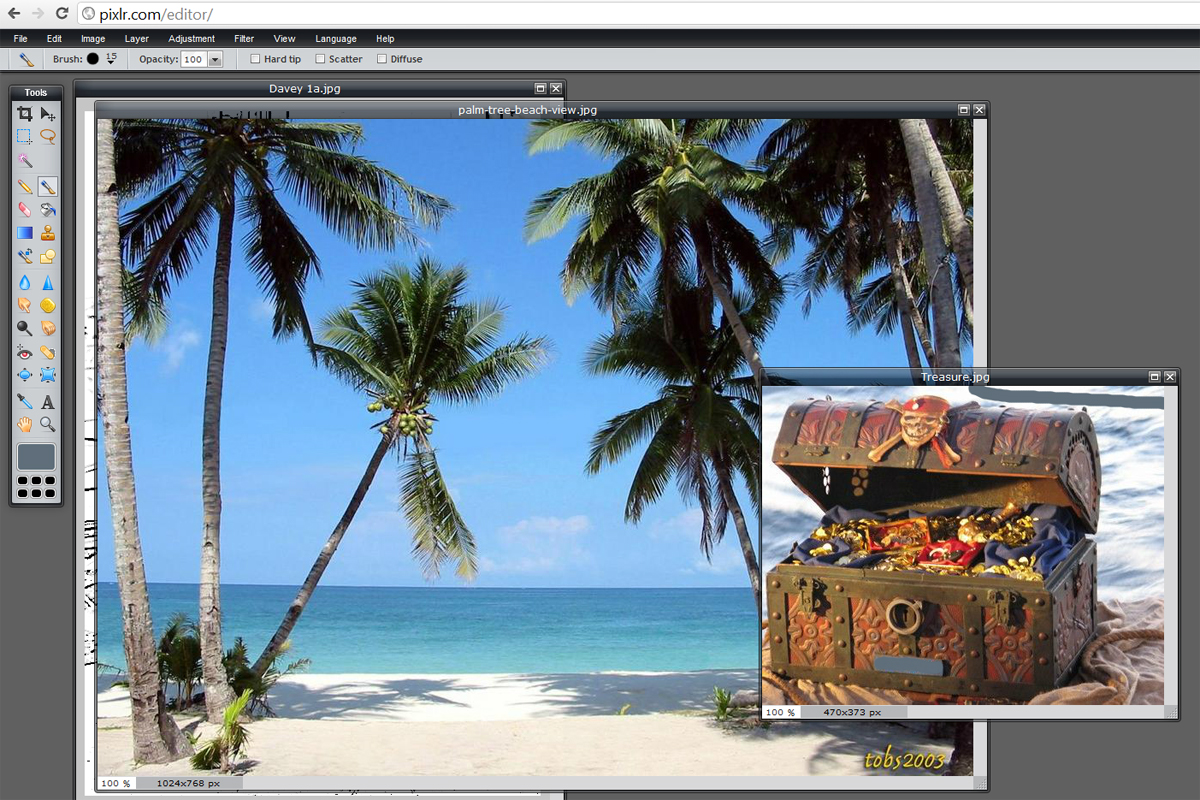
Now for some real fun! Once you're comfortable with creating coloring book images from your photos, you can start to mix and match different elements to make fantastic or ridiculous images from multiple photos. I'll talk you through an example of my own.
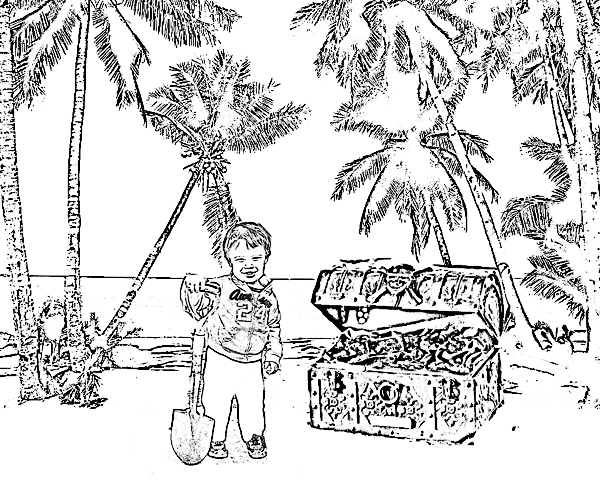
I thought our volunteer enjoy having a thrilling adventure story to color in, so I decided to put him on a desert island with a treasure chest. A quick Google search for beach and treasure chest revealed some useful images, which I saved and opened in Pixlr.
I thought our volunteer enjoy having a thrilling adventure story to color in, so I decided to put him on a desert island with a treasure chest. A quick Google search for beach and treasure chest revealed some useful images, which I saved and opened in Pixlr.
Turn Your Images Into Outlines
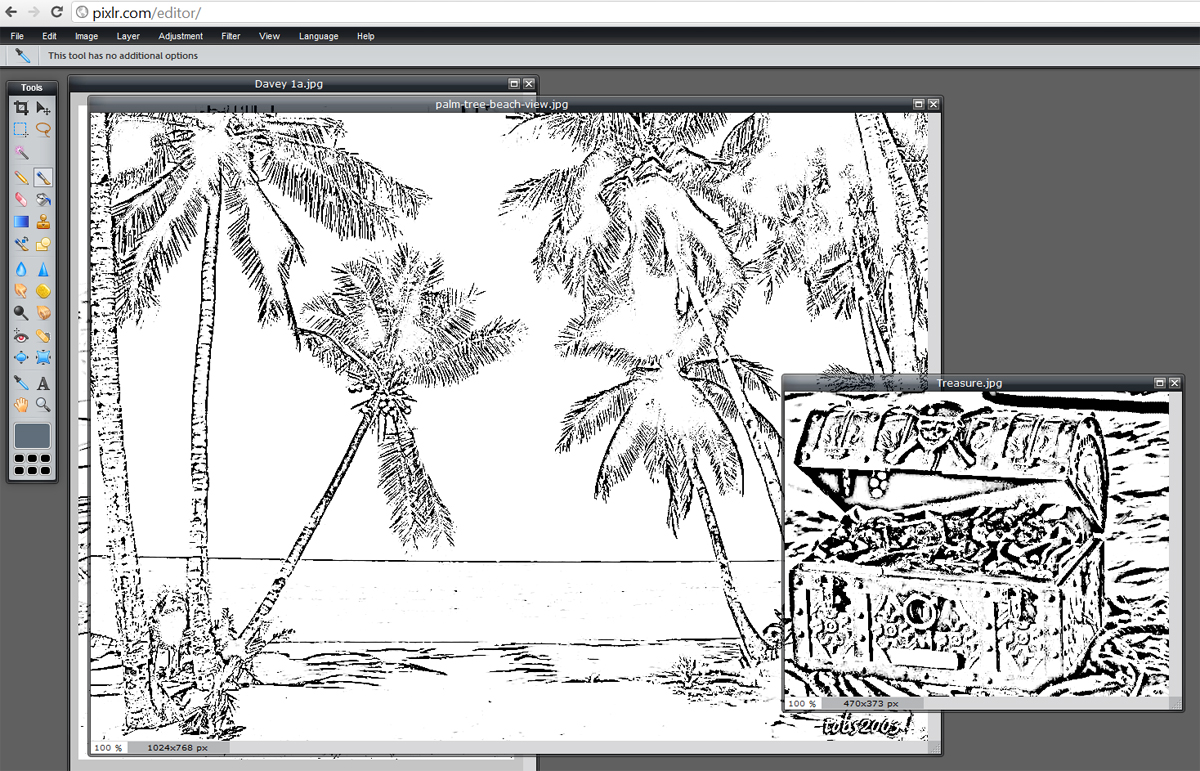
I performed exactly the same process as before to turn the new images into coloring book pages (see Step 14 for the list of what we did).
Put Everything Into One Image
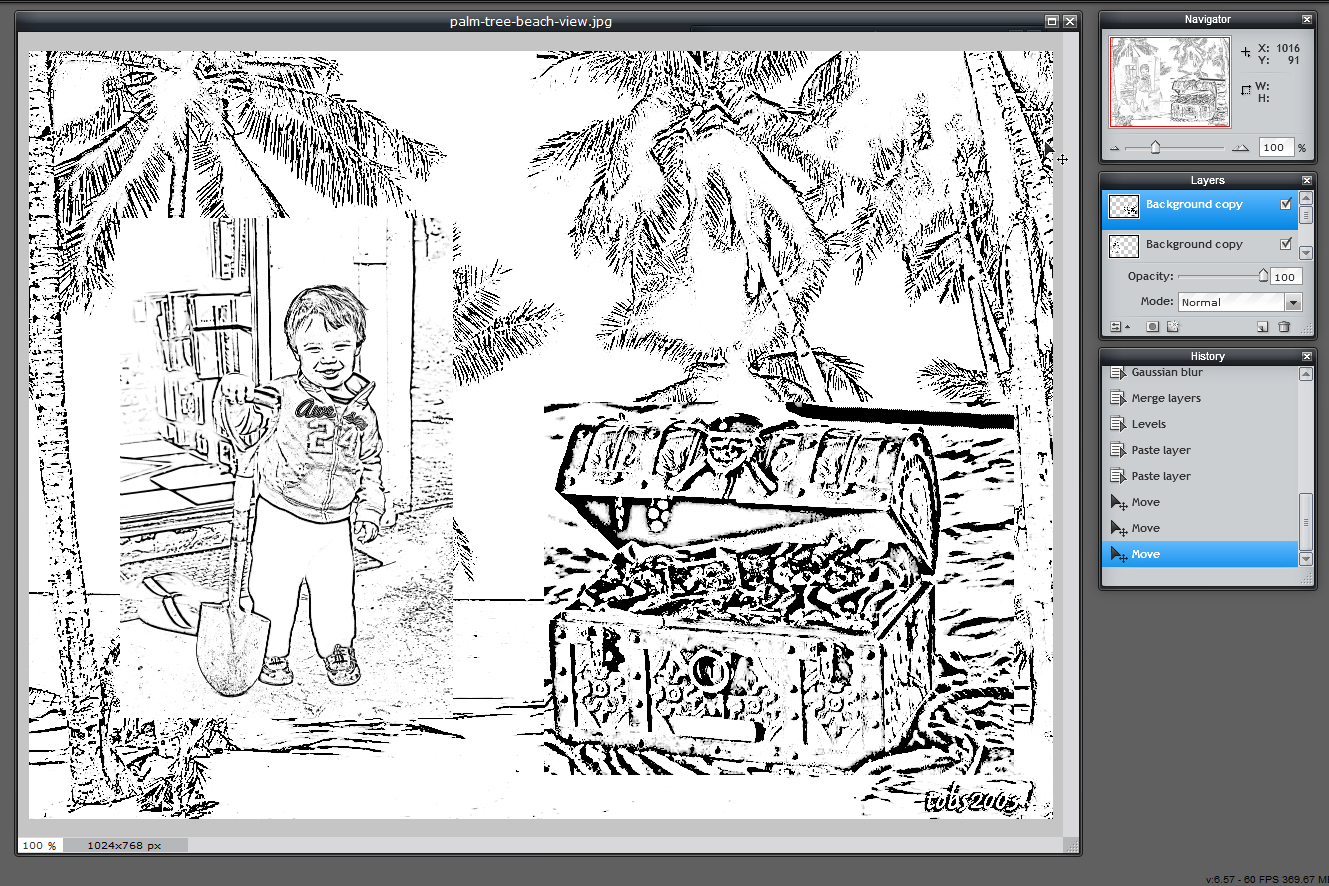
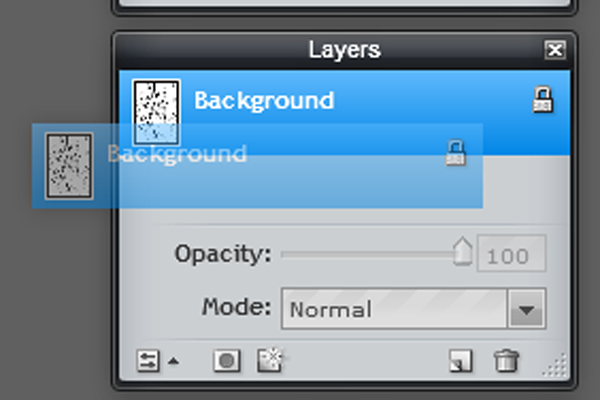
I assembled all of my images into a single composite image by simply clicking on the layers I wanted in the Layers palette and then dragging them into the window containing my background beach image. This left me with a single image containing three layers: beach, treasure chest and child.
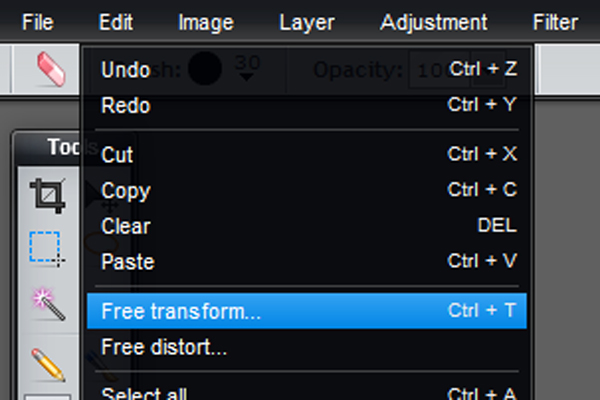
I then used Edit --> Free Transform to change the sizes and positions of each individual element.
I then used Edit --> Free Transform to change the sizes and positions of each individual element.
Trim the Images
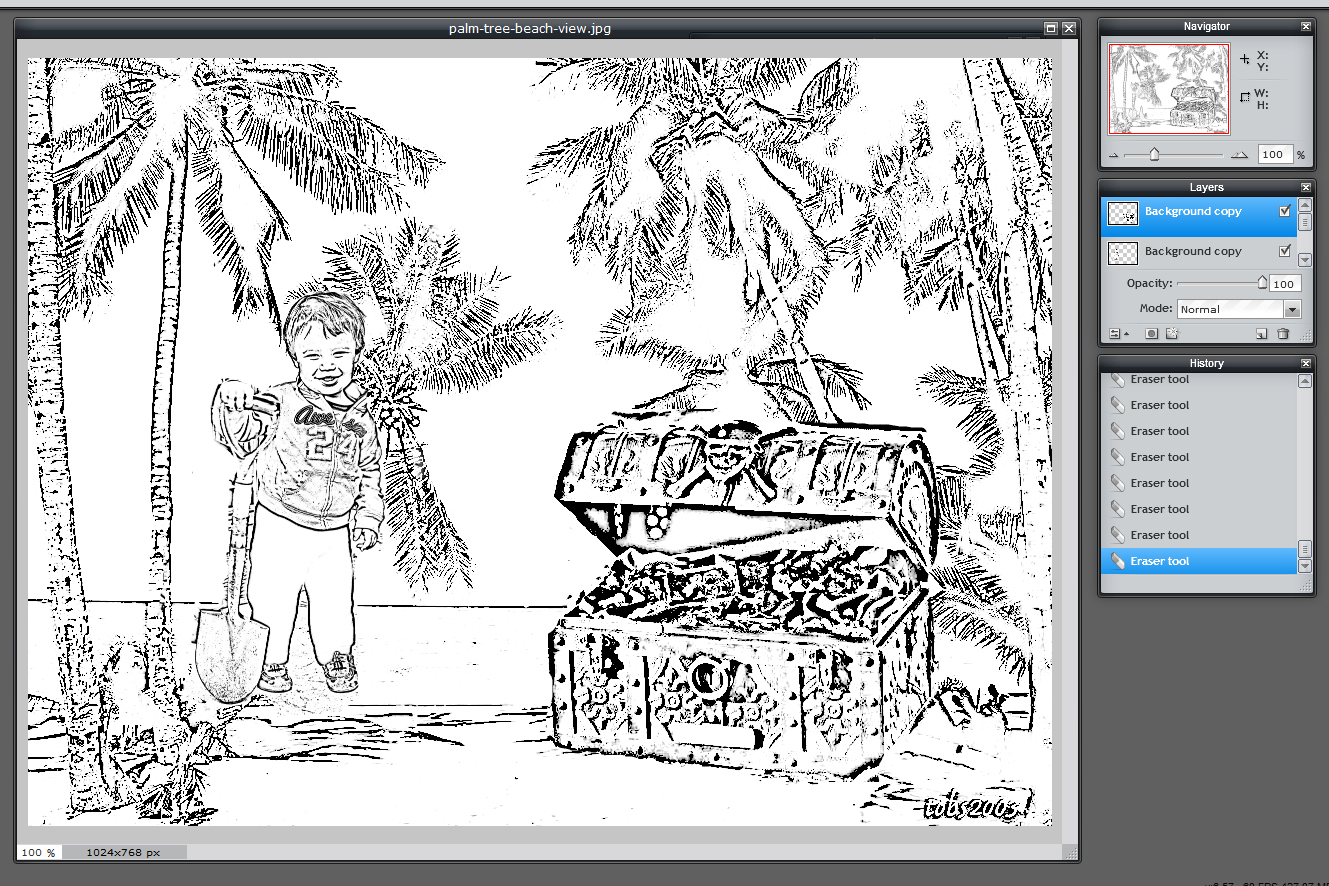
Next, I used the Eraser tool on each layer to trim away the unwanted rectangular borders and backgrounds from the treasure chest and the child. The Eraser will only act on whichever layer is currently selected, making it easy to alter one picture element at a time.
Choose the Final Positions
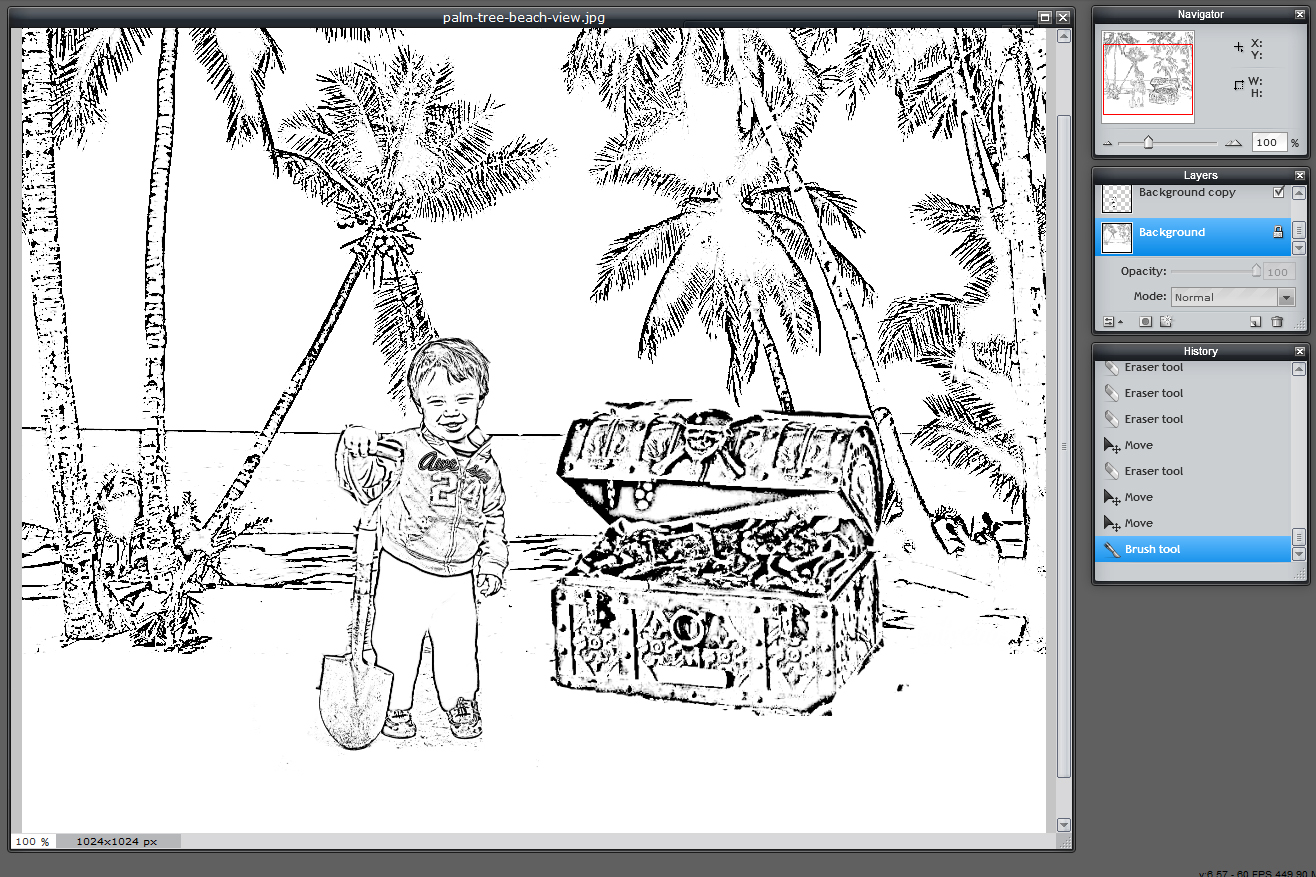
Last of all, I re-adjusted the positions of my adventurous model and the treasure chest before saving the image and printing it out.
Let Your Imagination Run Wild!

Voila! In about ten minutes, I'd made a personalized coloring page.
Try it out and let me know what your kids think!
Try it out and let me know what your kids think!