How to Make a Cardboard Model Dirt Bike
by the making faset in Craft > Cardboard
11149 Views, 53 Favorites, 0 Comments
How to Make a Cardboard Model Dirt Bike


So! I love motorcycles! as many people do. every day I watch biker videos. but, I don't have a bike myself... so what I do is to make the bike that I want. Today I was watching a YouTuber called Tommy Mx and he was riding a cool red dirt bike so I made myself one. And I will show you how to make yourself one, also but remember the principles apply to most motorcycles.
And if you are interested visit my Etsy shop
Supplies
- scissors
- X-acto knife (with #2 blade)
- Elmers school glue
- super glue (for small parts)
- utility knife
- ruler
- lead pencil
- cutting mat (optional)
- hot glue gun (with glue sticks)
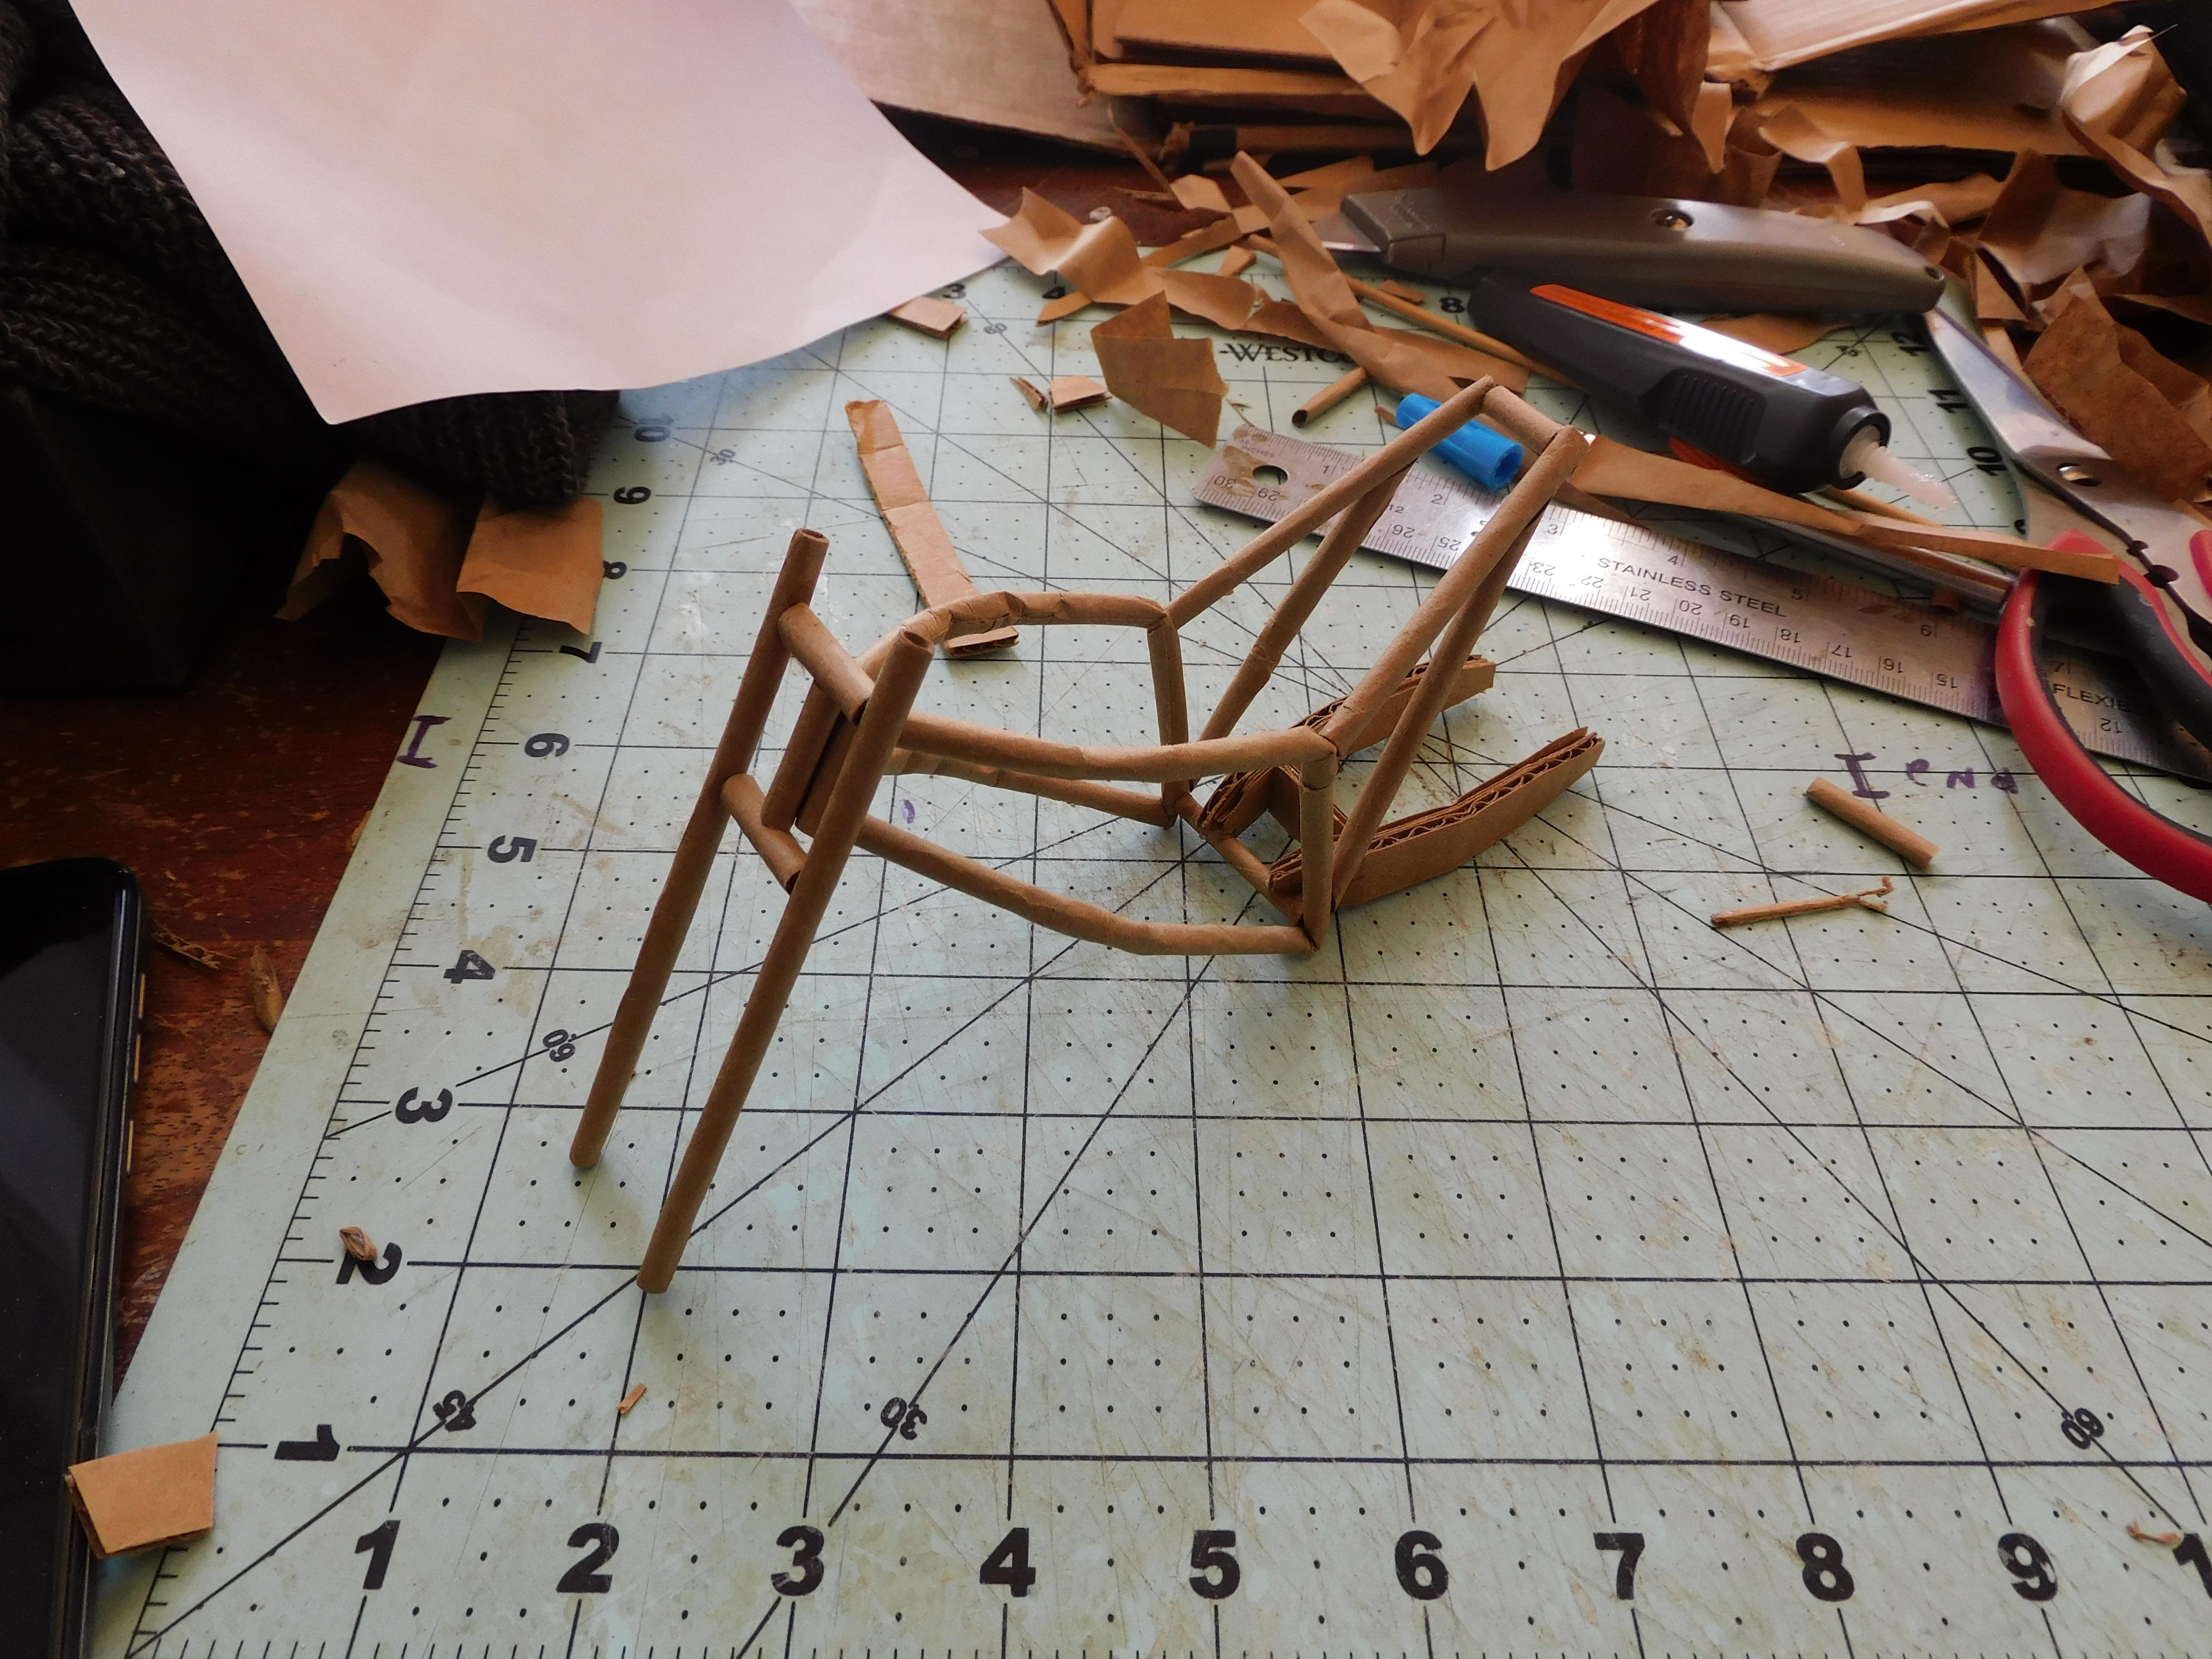
Chassis!


So the first part of all motorcycle builds is to assembly the chassis or frame. Start rolling brown paper around a barbeque skewer and build the frame according to a reference image. (I will provide a reference photo above).
Front Forks

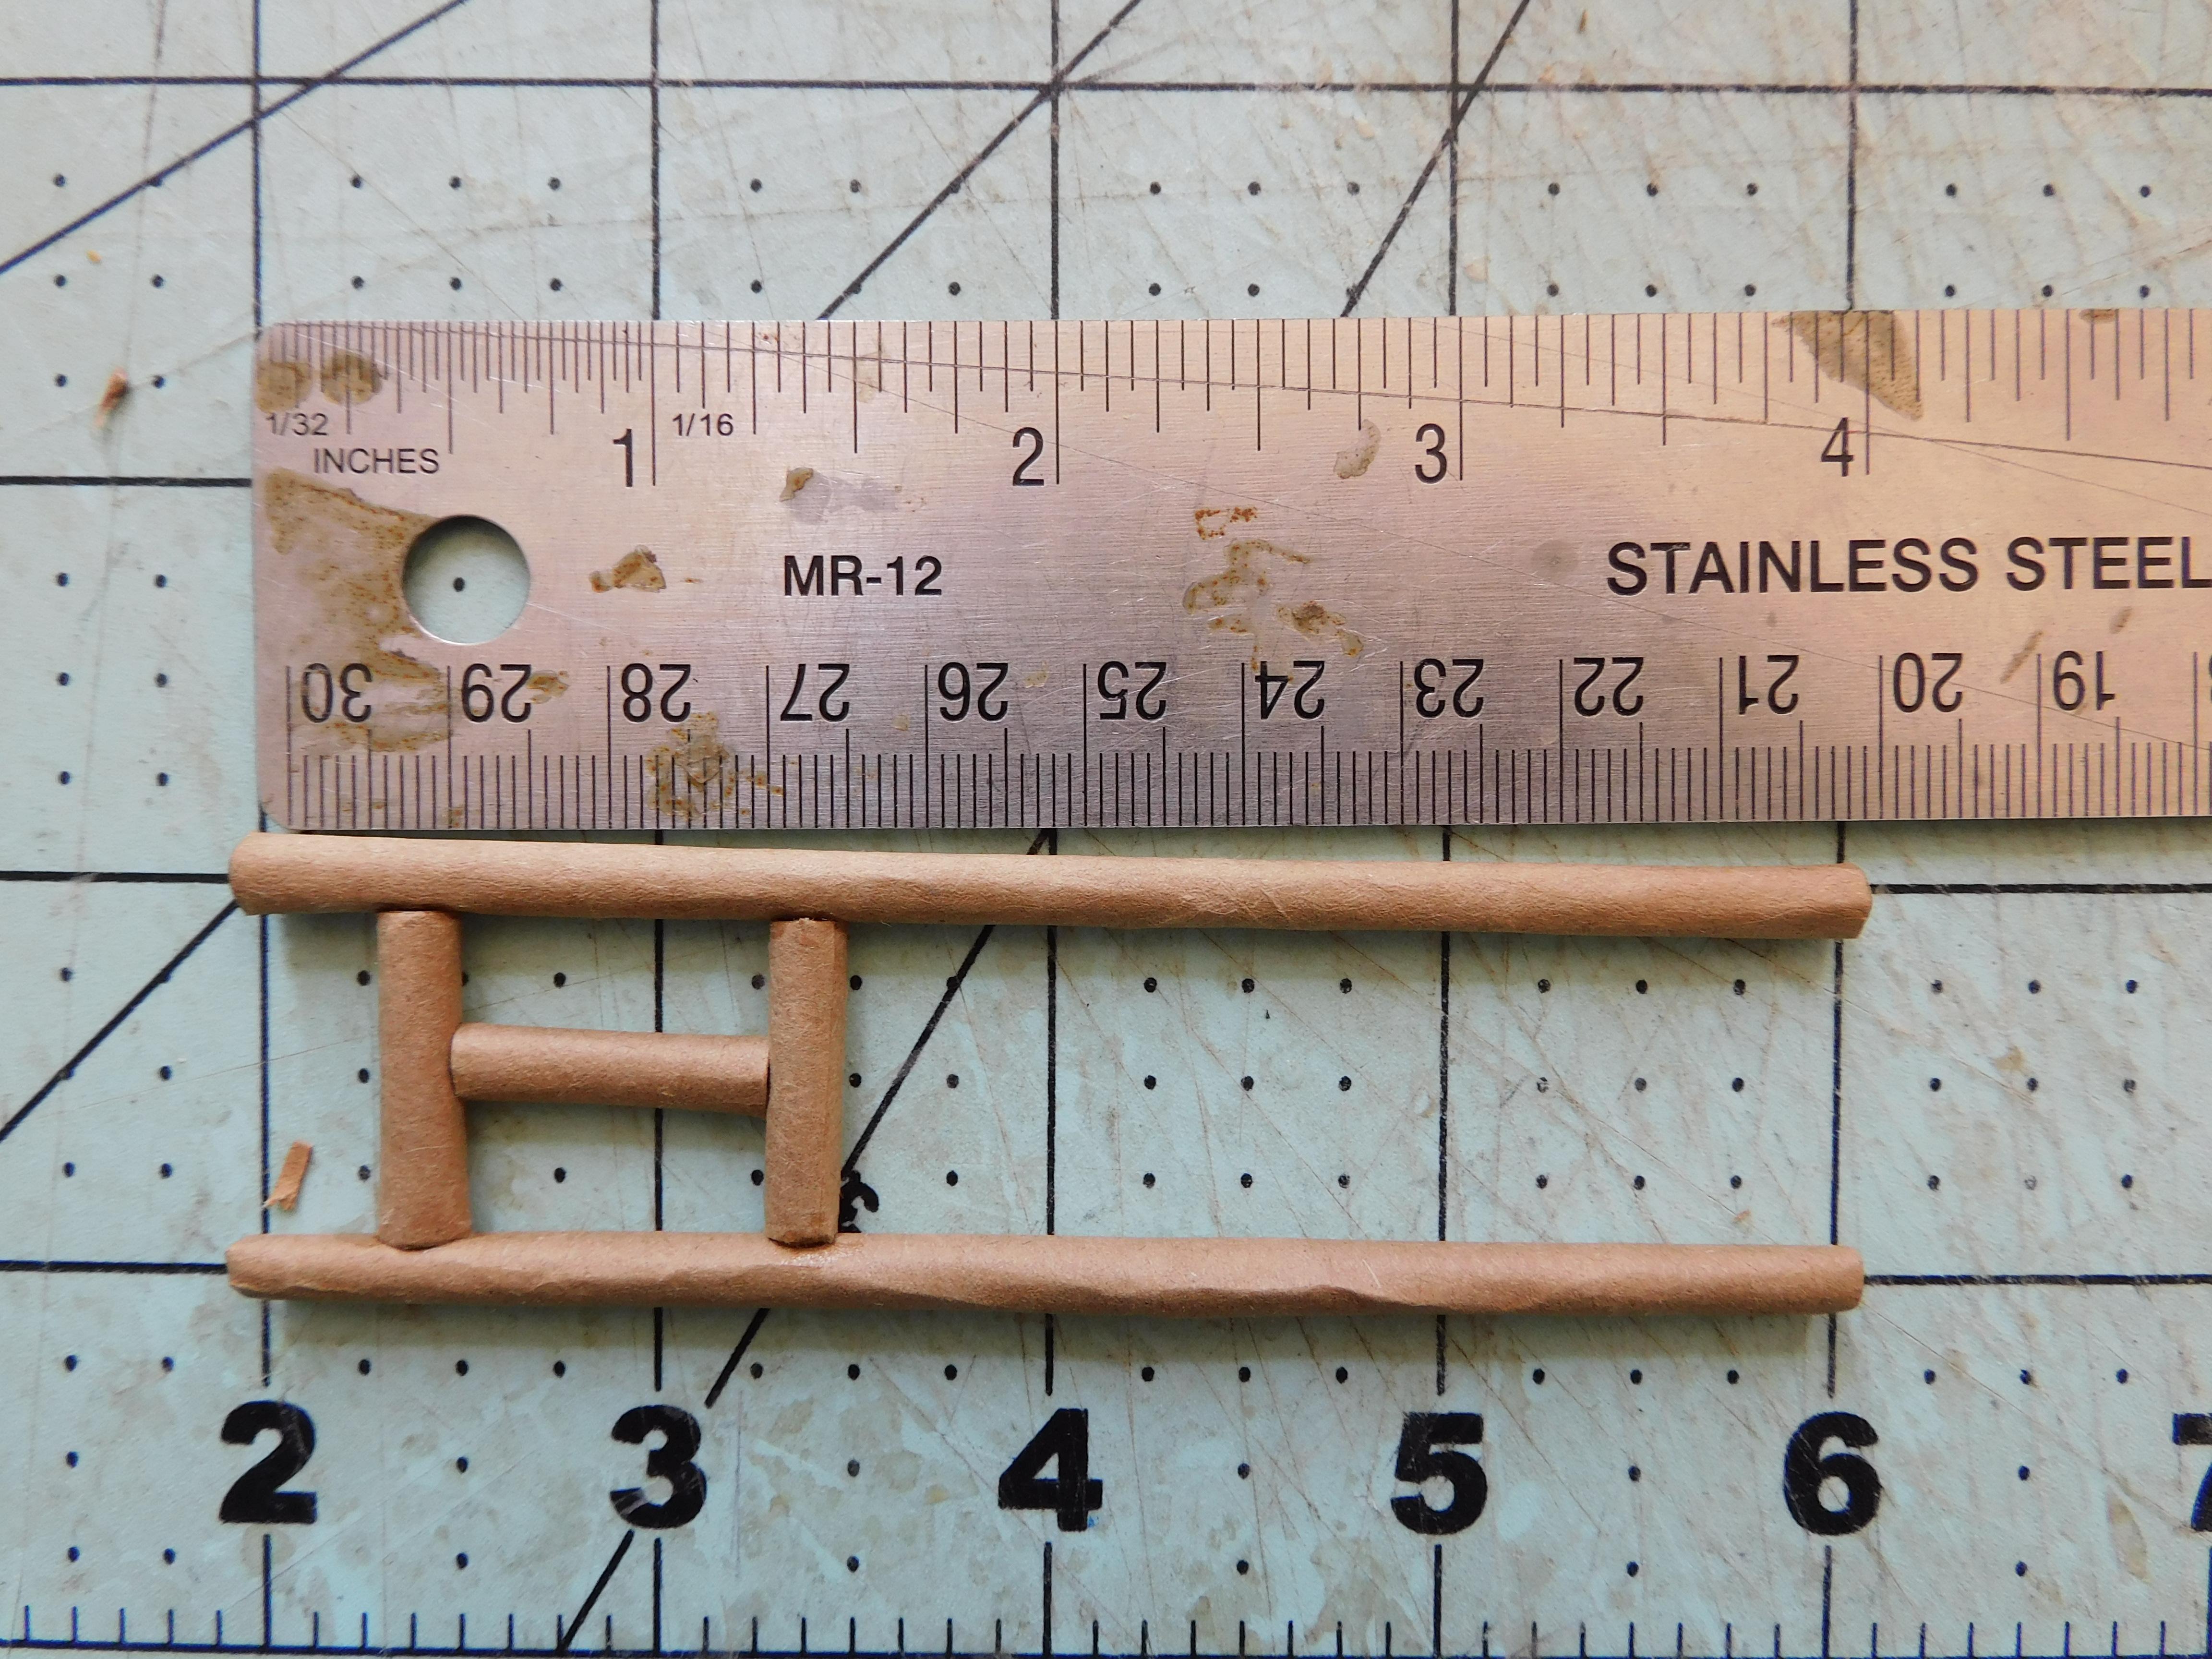

Start by making the front forks. To do that make two roles that are about 4 inches long, and assemble them as shown in the photo above. in the middle it should have a shape like an H. Try to make everything symmetrical, If needed use a straight edge. Once it is done glue it to the frame as shown. For this, I used super glue.
Rear Swingarm


The next part up is the rear swingarm. to make it cut to thin strips about 3 inches long, and bend them slightly, and put a small spar of cardboard for strength. Then glue it to the back of the bike as shown.
The Engine!


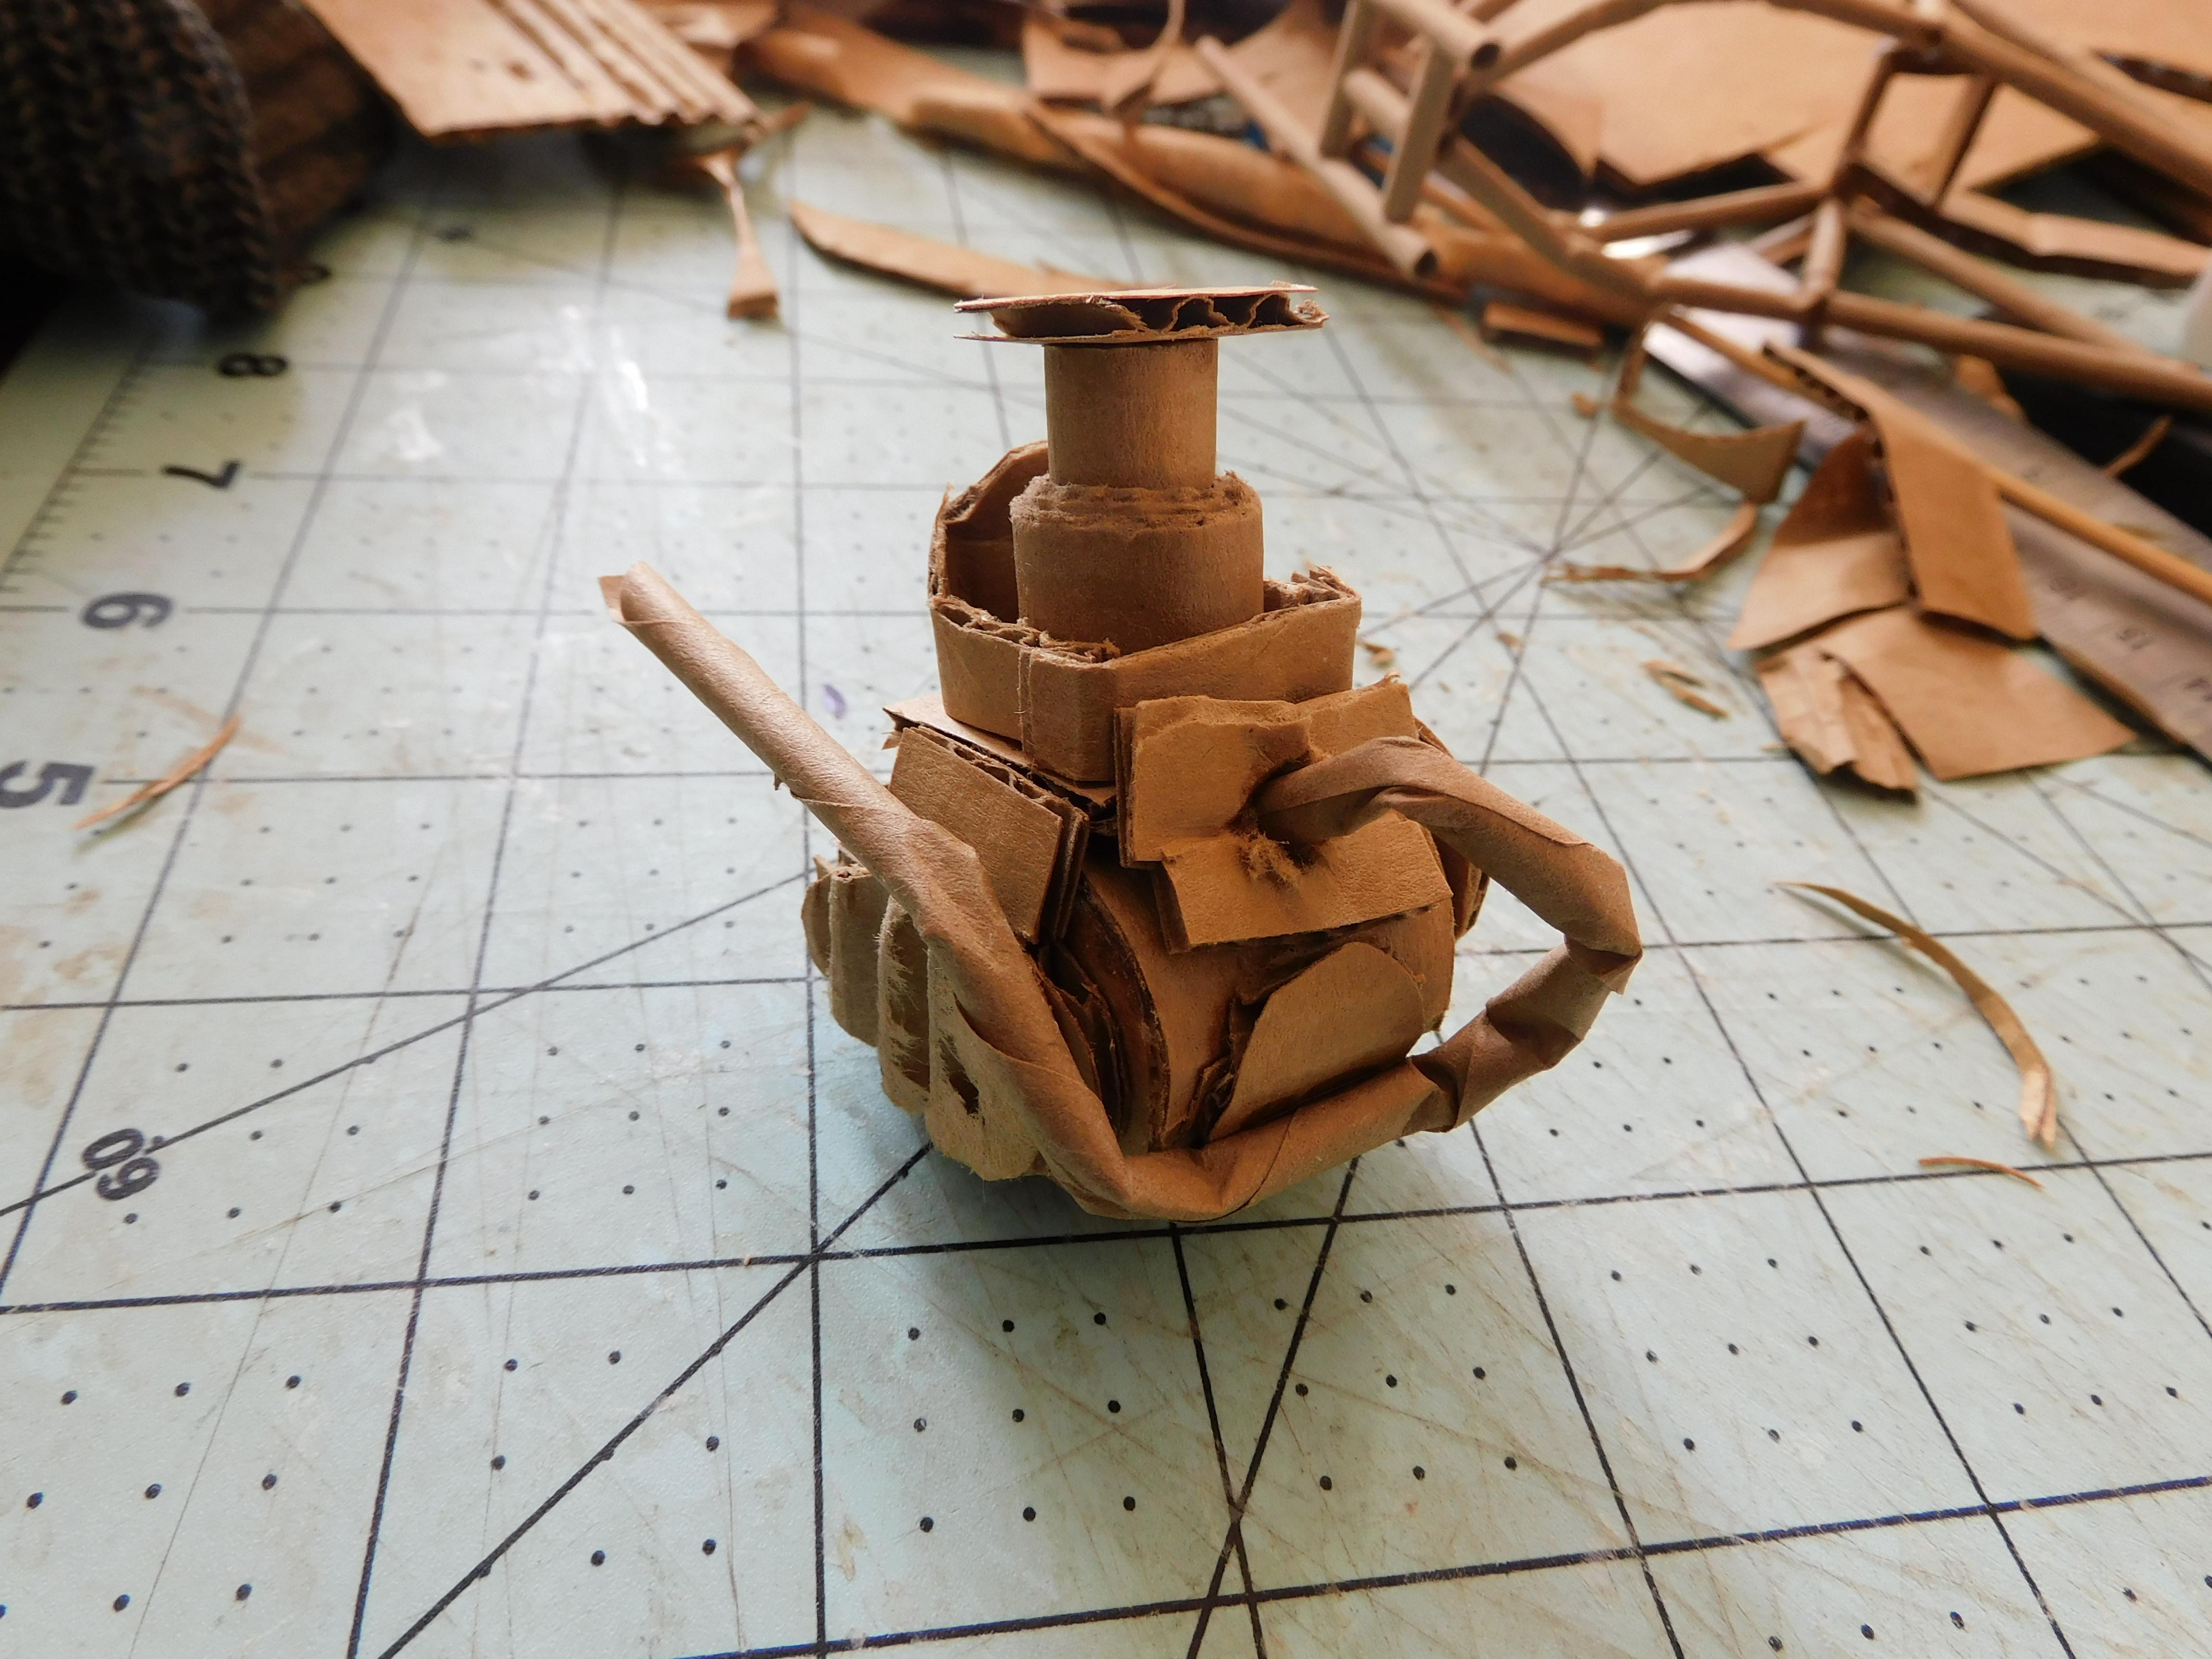


To make the engine cut out two ovals and wrap a thin band of cardboard around it. then glue a roll of cardboard on top of it. once you do that glue some circles on the side for detail. and lastly, glue a roll of cardboard for the exhaust pipe. glue the engine in the bike as shown. (and keep plenty of reference images on hand)
Suspension Spring


Wrap a thin piece of cardboard around a 2-inch long paper roll, and glue it in the back at an angle as shown.
Body Panels


Now make the side panels and the front fender. To cut out the right shapes for the body panels use a blueprint (which I have provided). But remember with cardboard you can never recreate the model exactly, but do your best.
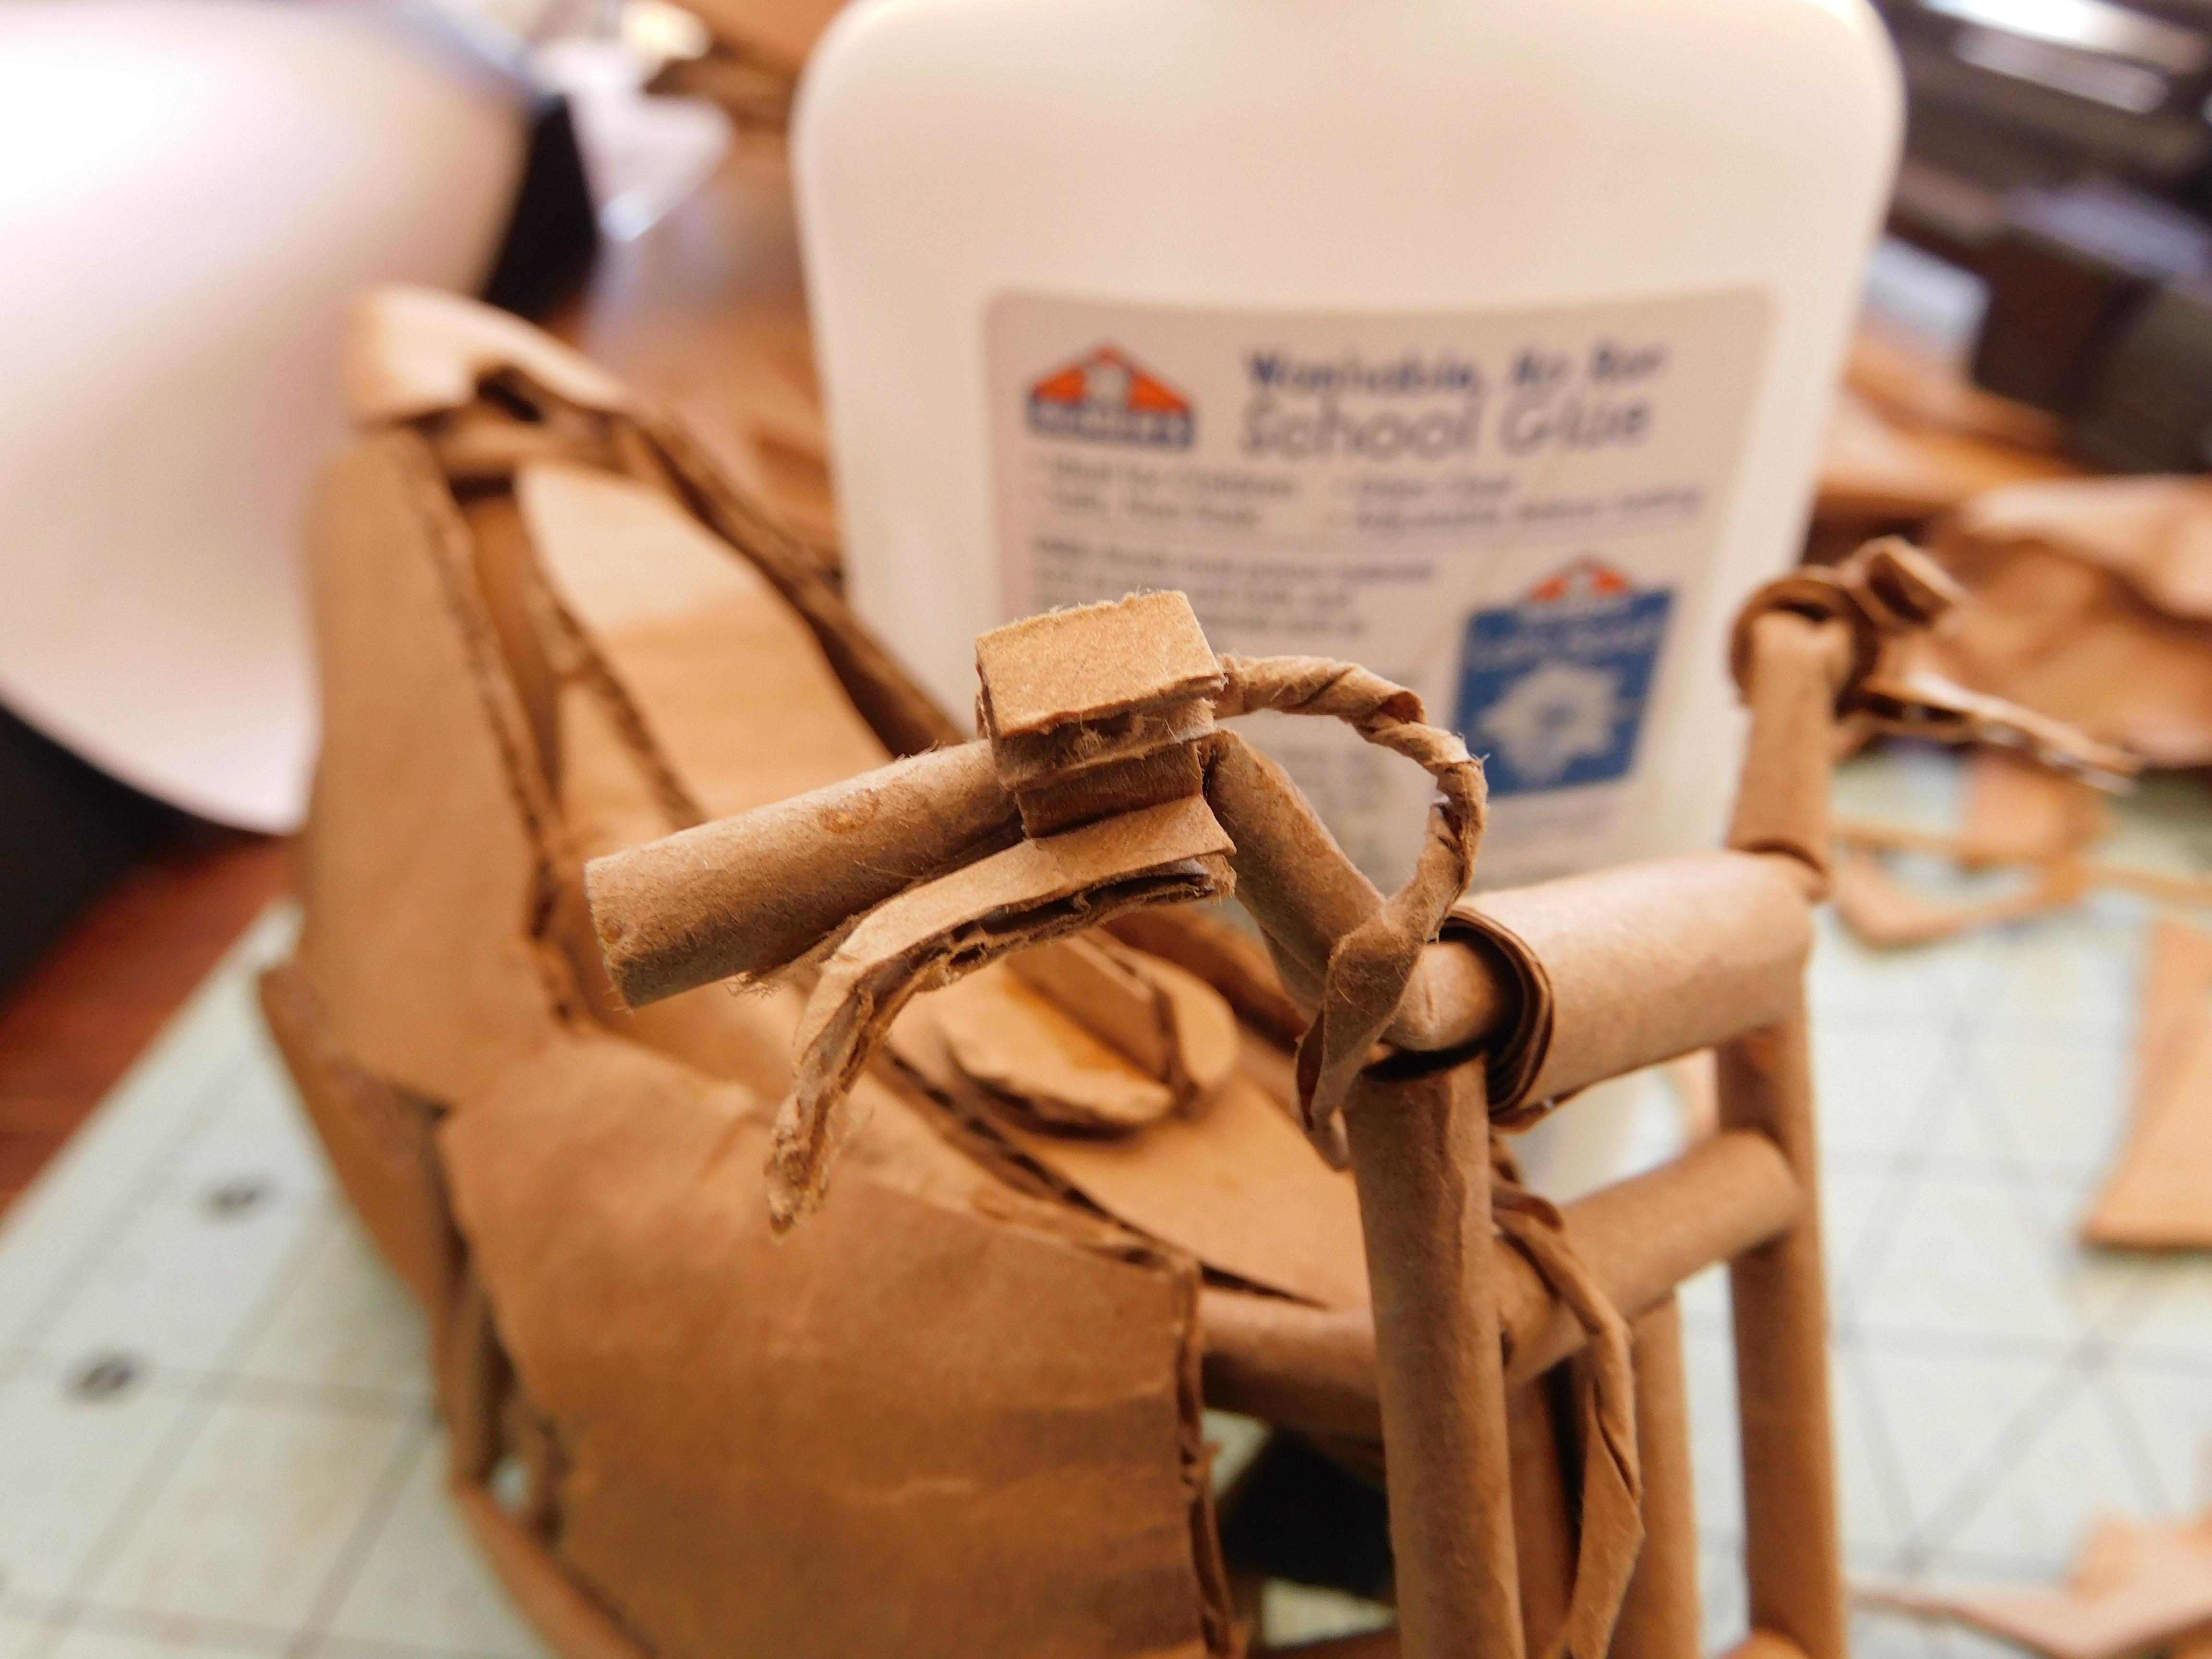
Handlebars


To make a typical tracker-styled handlebar bend a roll of brown paper and bend it to shape using reference images as a reference for the correct shape. once done glue them to the front forks. make sure they are symmetrical to the rest of the bike.
Muffler/Exhaust Pipe


To distinguish our creation as a dirt bike. we must add the muffler. To make this roll a piece of cardboard and glue it to the end of the tube that was on the engine. finish it by inserting a bent roll of cardboard at the tip.
The Seat


Cut out a rounded diamond shape and glue a long shape over it. I recommend using a hot glue gun for this step. once it looks like image number 3 glue it to the top of the bike as shown.
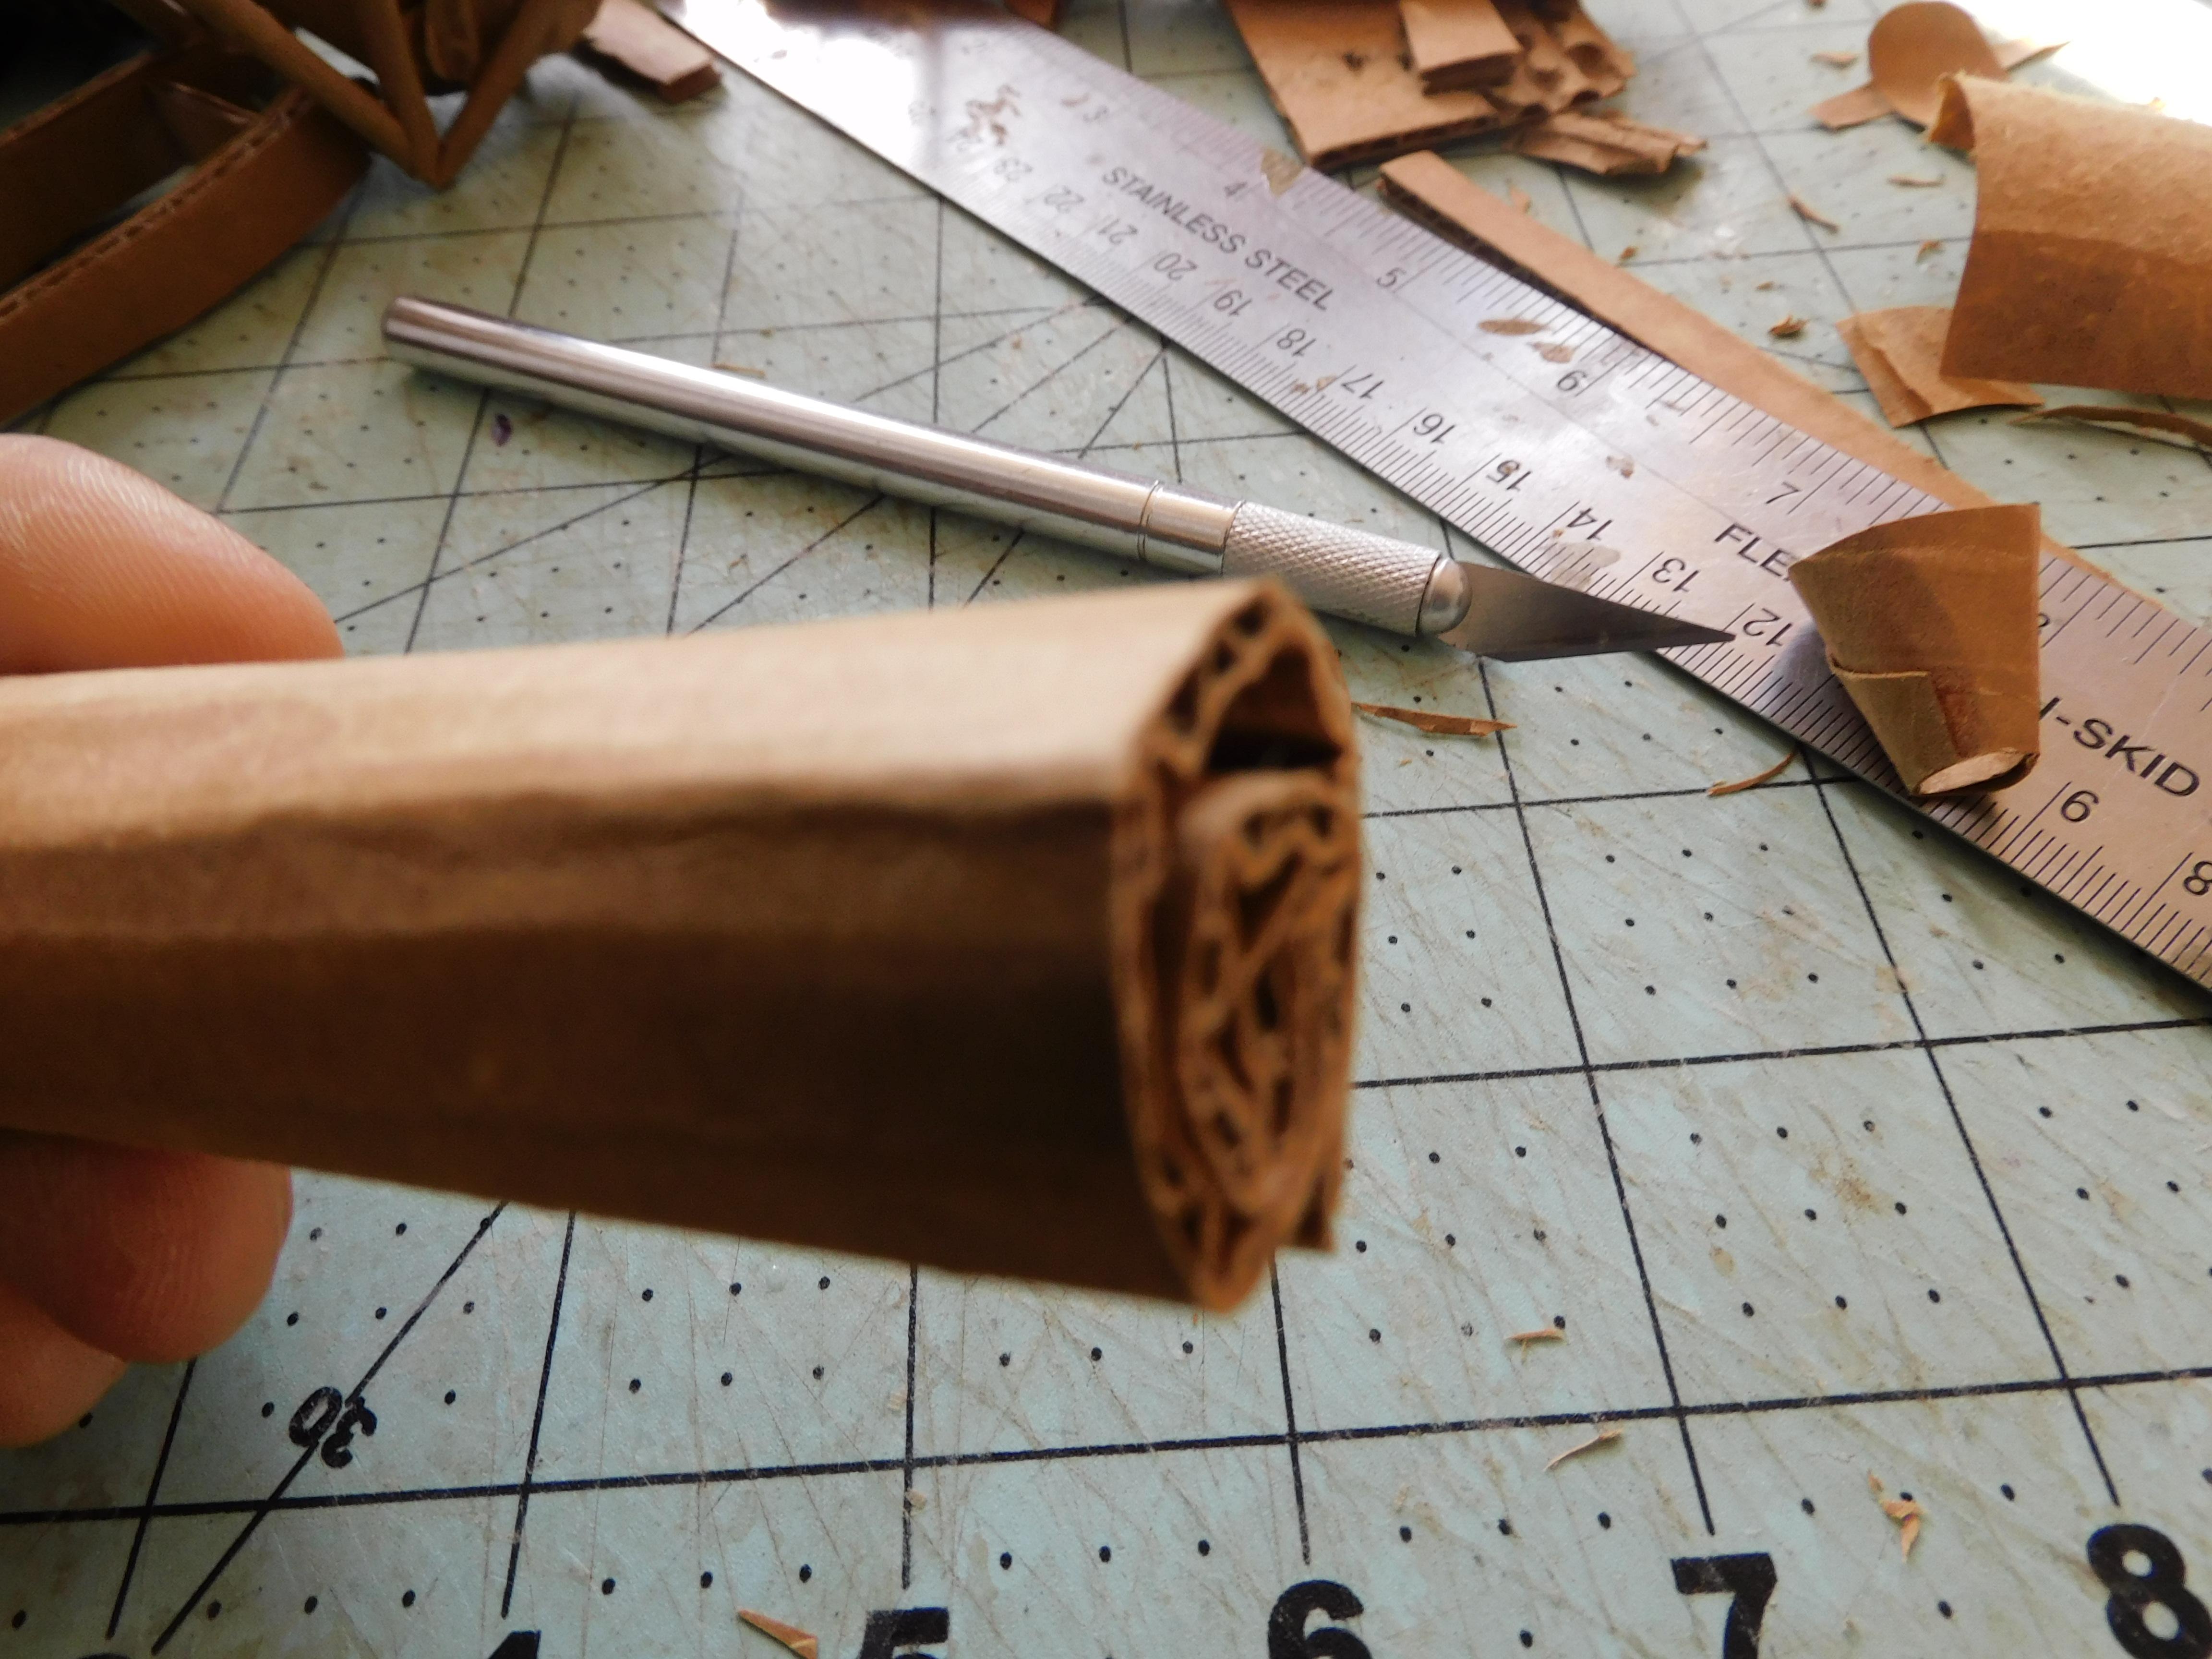
Tires/wheels


The tires are pretty easy and straightforward to put together. take a 1 cm thick strip of cardboard and roll it in a doughnut shape. Each tire should be about 8 cm in diameter.
The Challenging Part...spokes


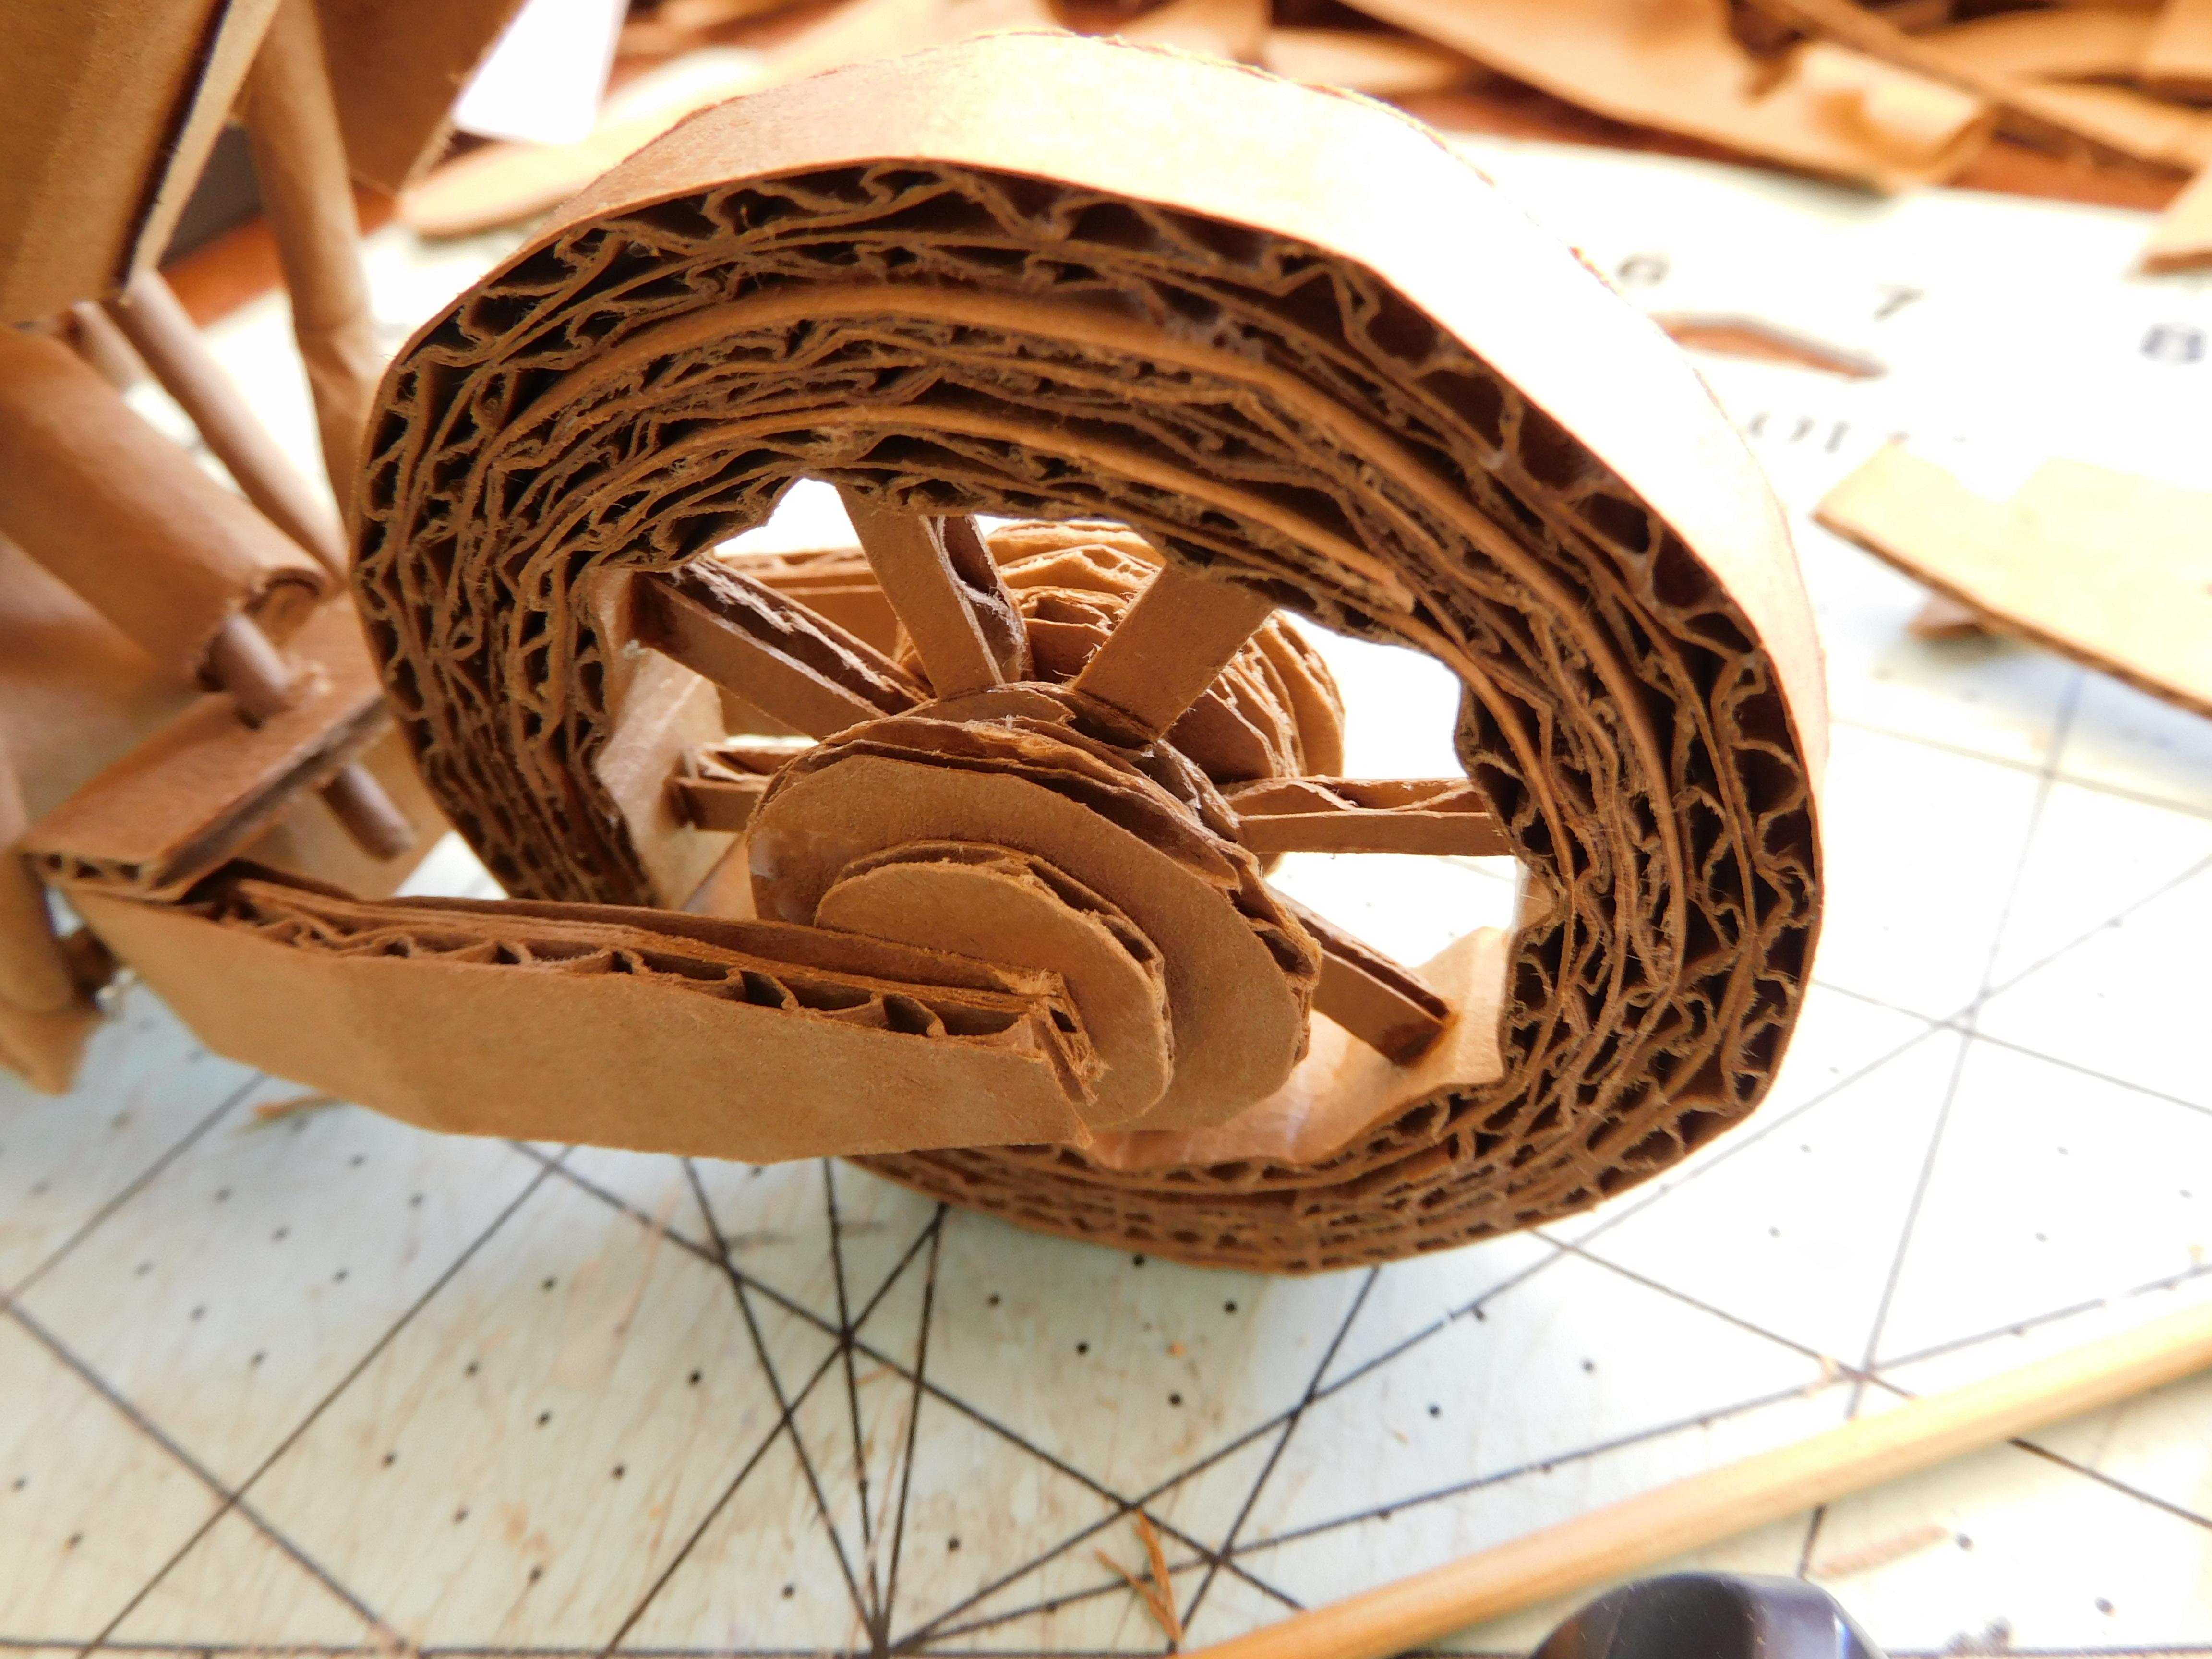

The time to make spokes has come. first, cut out a large 8 sided star and glue a few round disks to either side of it. Then cut it to a size where you can fit it into the middle of the tire. once the tire has dried glue it to the back in between the swingarms.
Detail the Handle Bars
Now you can detail the handlebars by cutting out handlebars and gluing on a few rectangles for model dials. Now you can also loop a chain around the rear tire to the engine.
Done!


your objective to complete a cardboard model dirt bike is now complete. you can now proceed to give it to a friend or keep it on your desk as a decoration piece.
But whatever the case... I wish you good luck and happy cardboarding!!!