How to Make a Can Grip Handle


Do you like drinking from a cool can, but your hands hate holding cold stuff?
Well, for my first instructable I tried to solve this issue by creating a device that could keep the can cold by avoiding the conduction between the warm surface and the cold surface and to keep your hands at your comfort temperature.
The idea popped up in my head when I was drinking a hot chocolate in a mug, at this point I said to myself “wait… if I can drink my hot chocolate with a handle to avoid burning my hands, I could do the same thing but for cold cans.”
This project aims to create a can handle that can be easily modified for different types of design.
Supplies
- A can
- A measuring tool
- A 3D printer
- A 3D modeling Software
Take the Measurements of the Can
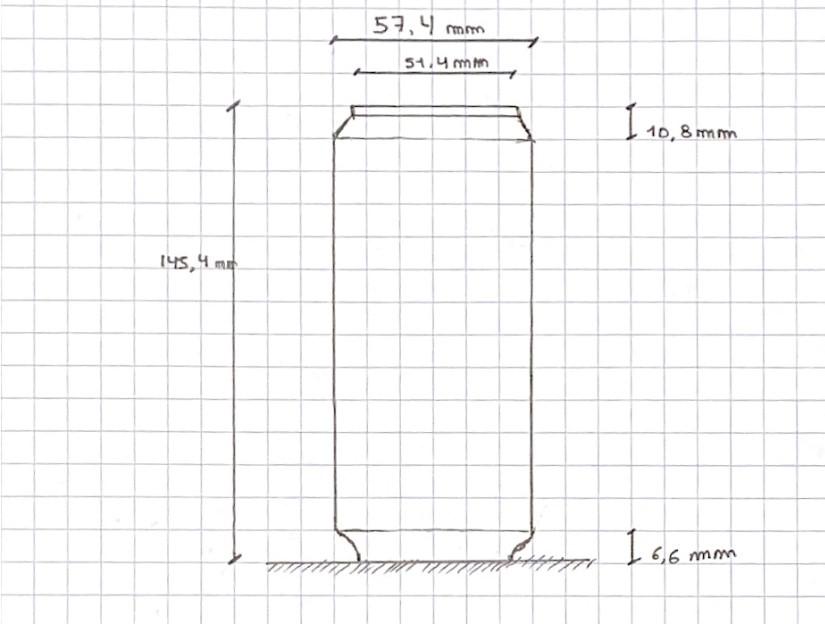
Nowadays, the size of a can may change depending on your location. For example, here in Europe more and more cans are becoming what we call sleek can. This type of can is narrower but taller than the standard can.
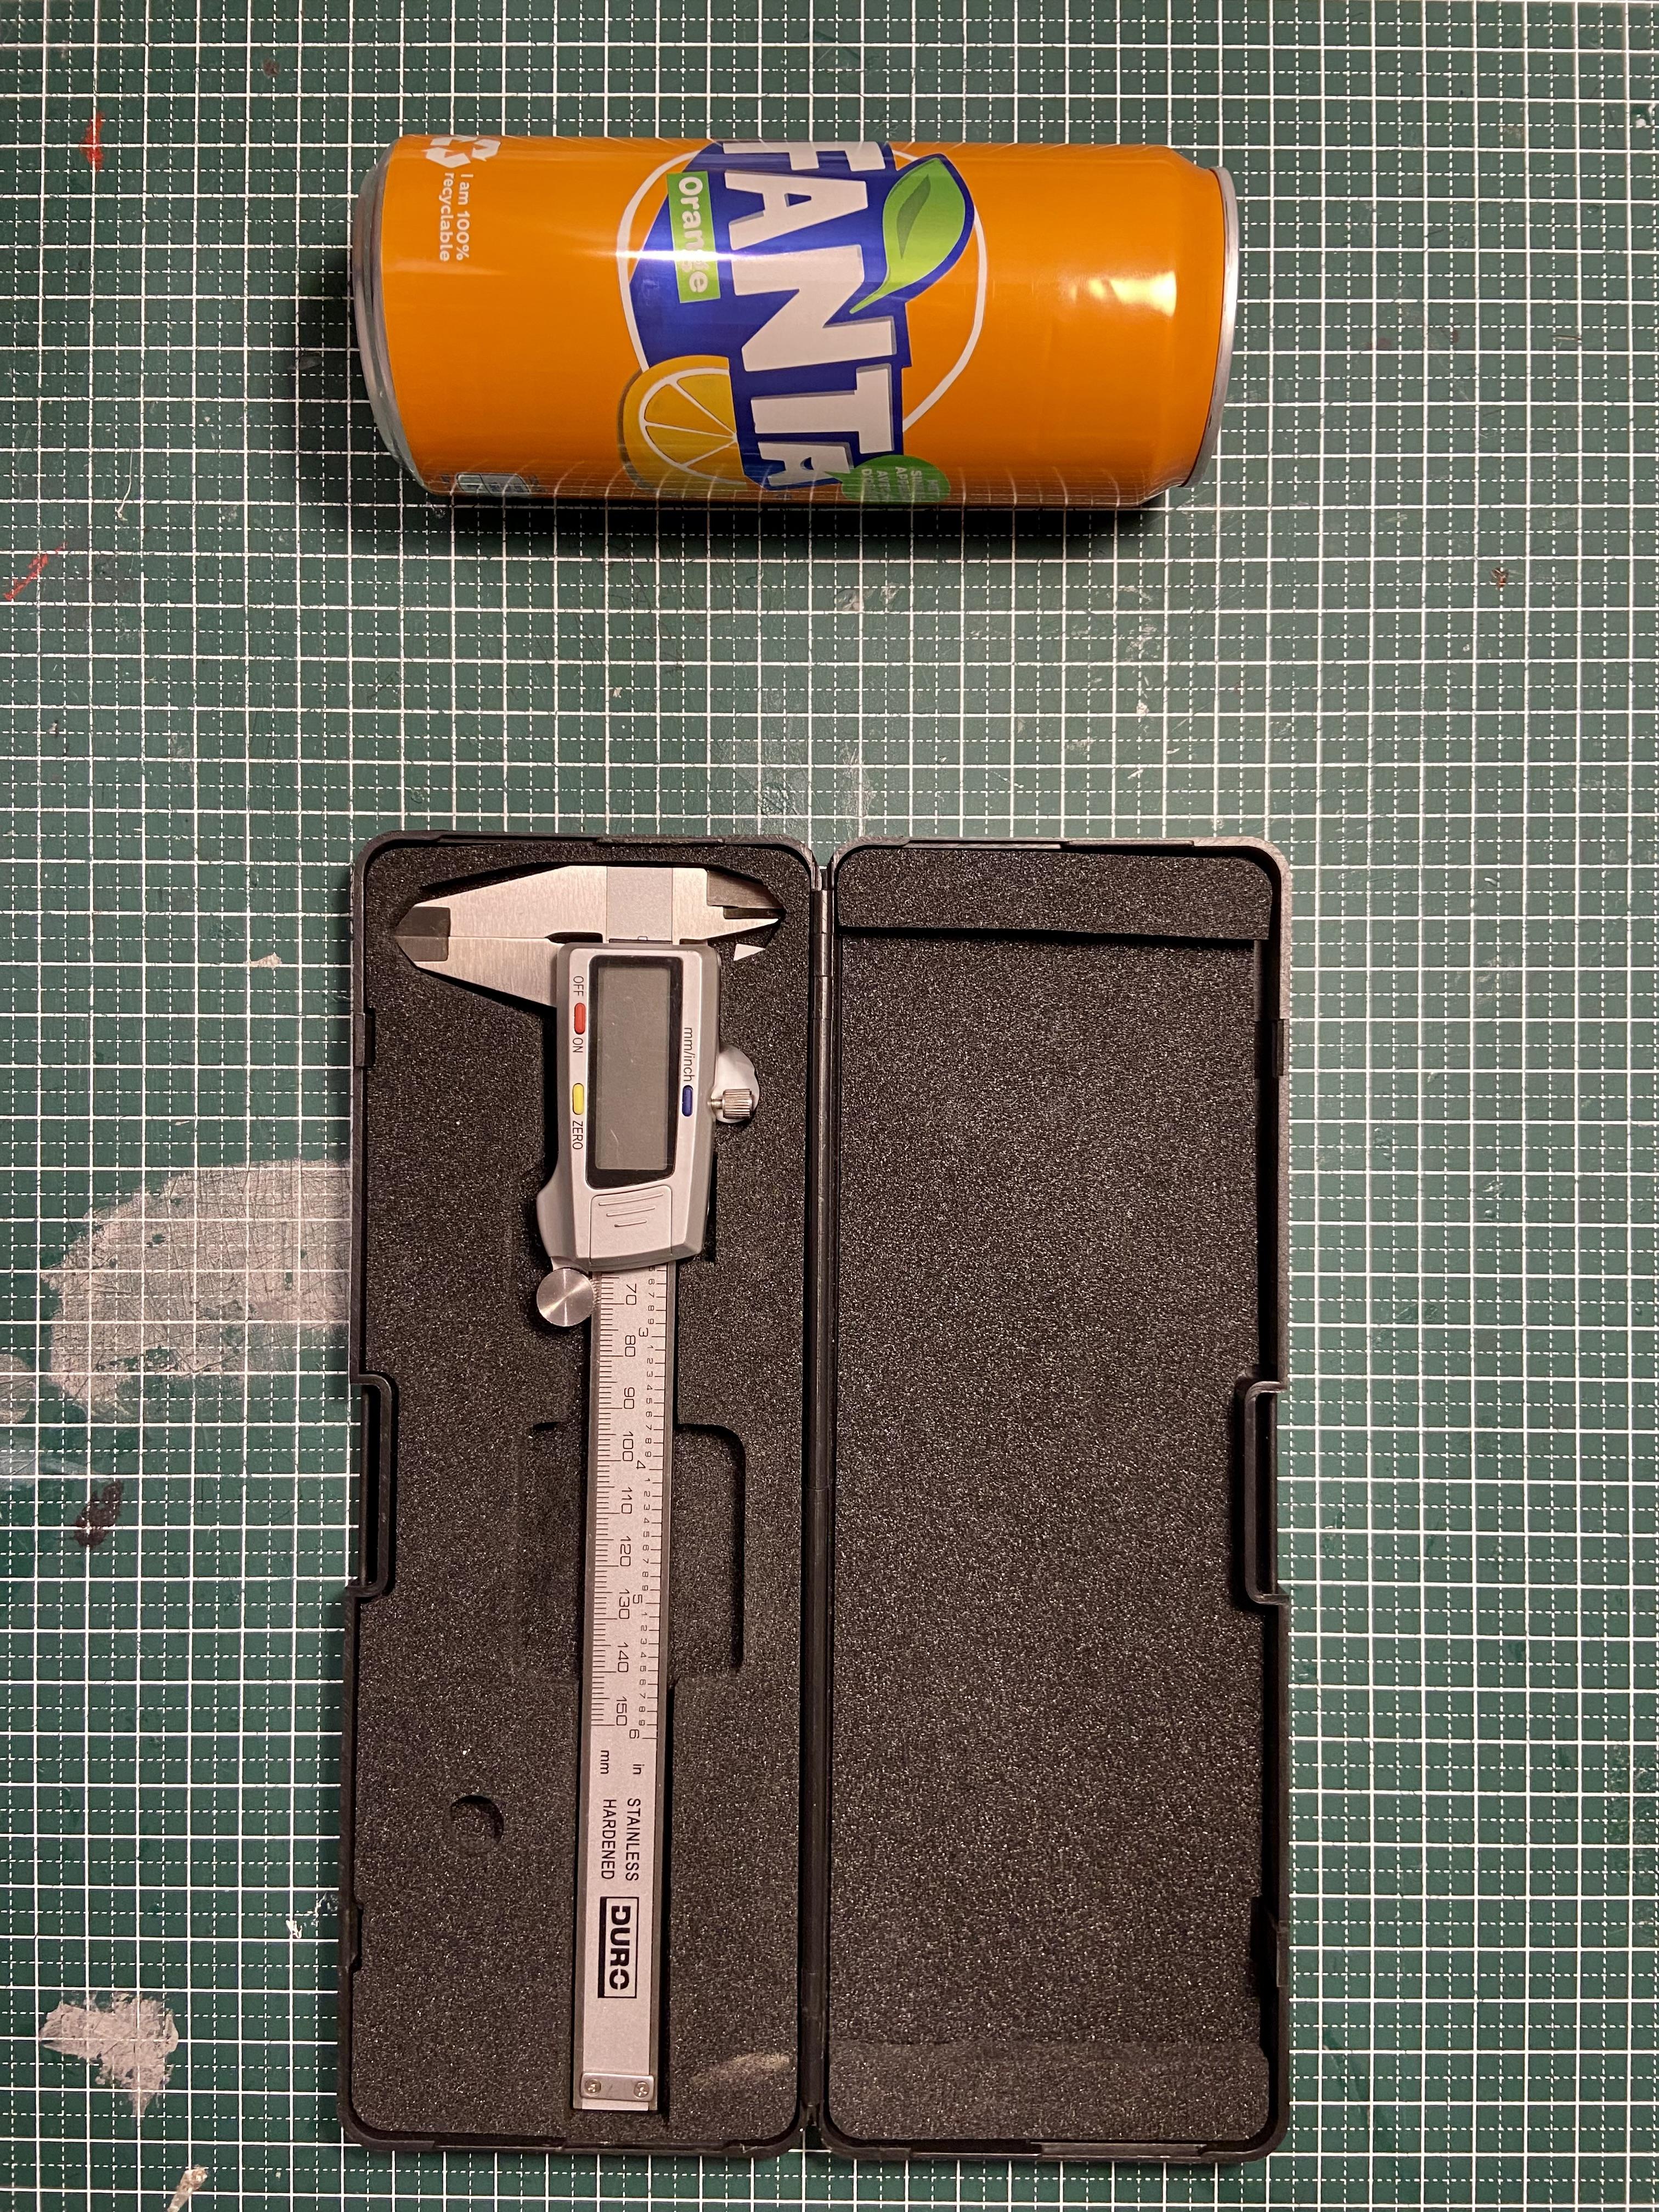
First step is to take the measurement of your can using a tool, in this case I used a digital caliper, and write them down somewhere.
Start Modeling-2D
Do not be afraid of this part. It is quite easy 😊 Use the software you are the most comfortable with. For example, if it you first time modeling, I suggest using the free web app Tinkercad or if you feel more confident Fusion 360 which the best modelling app with a lot of tutorials on internet.
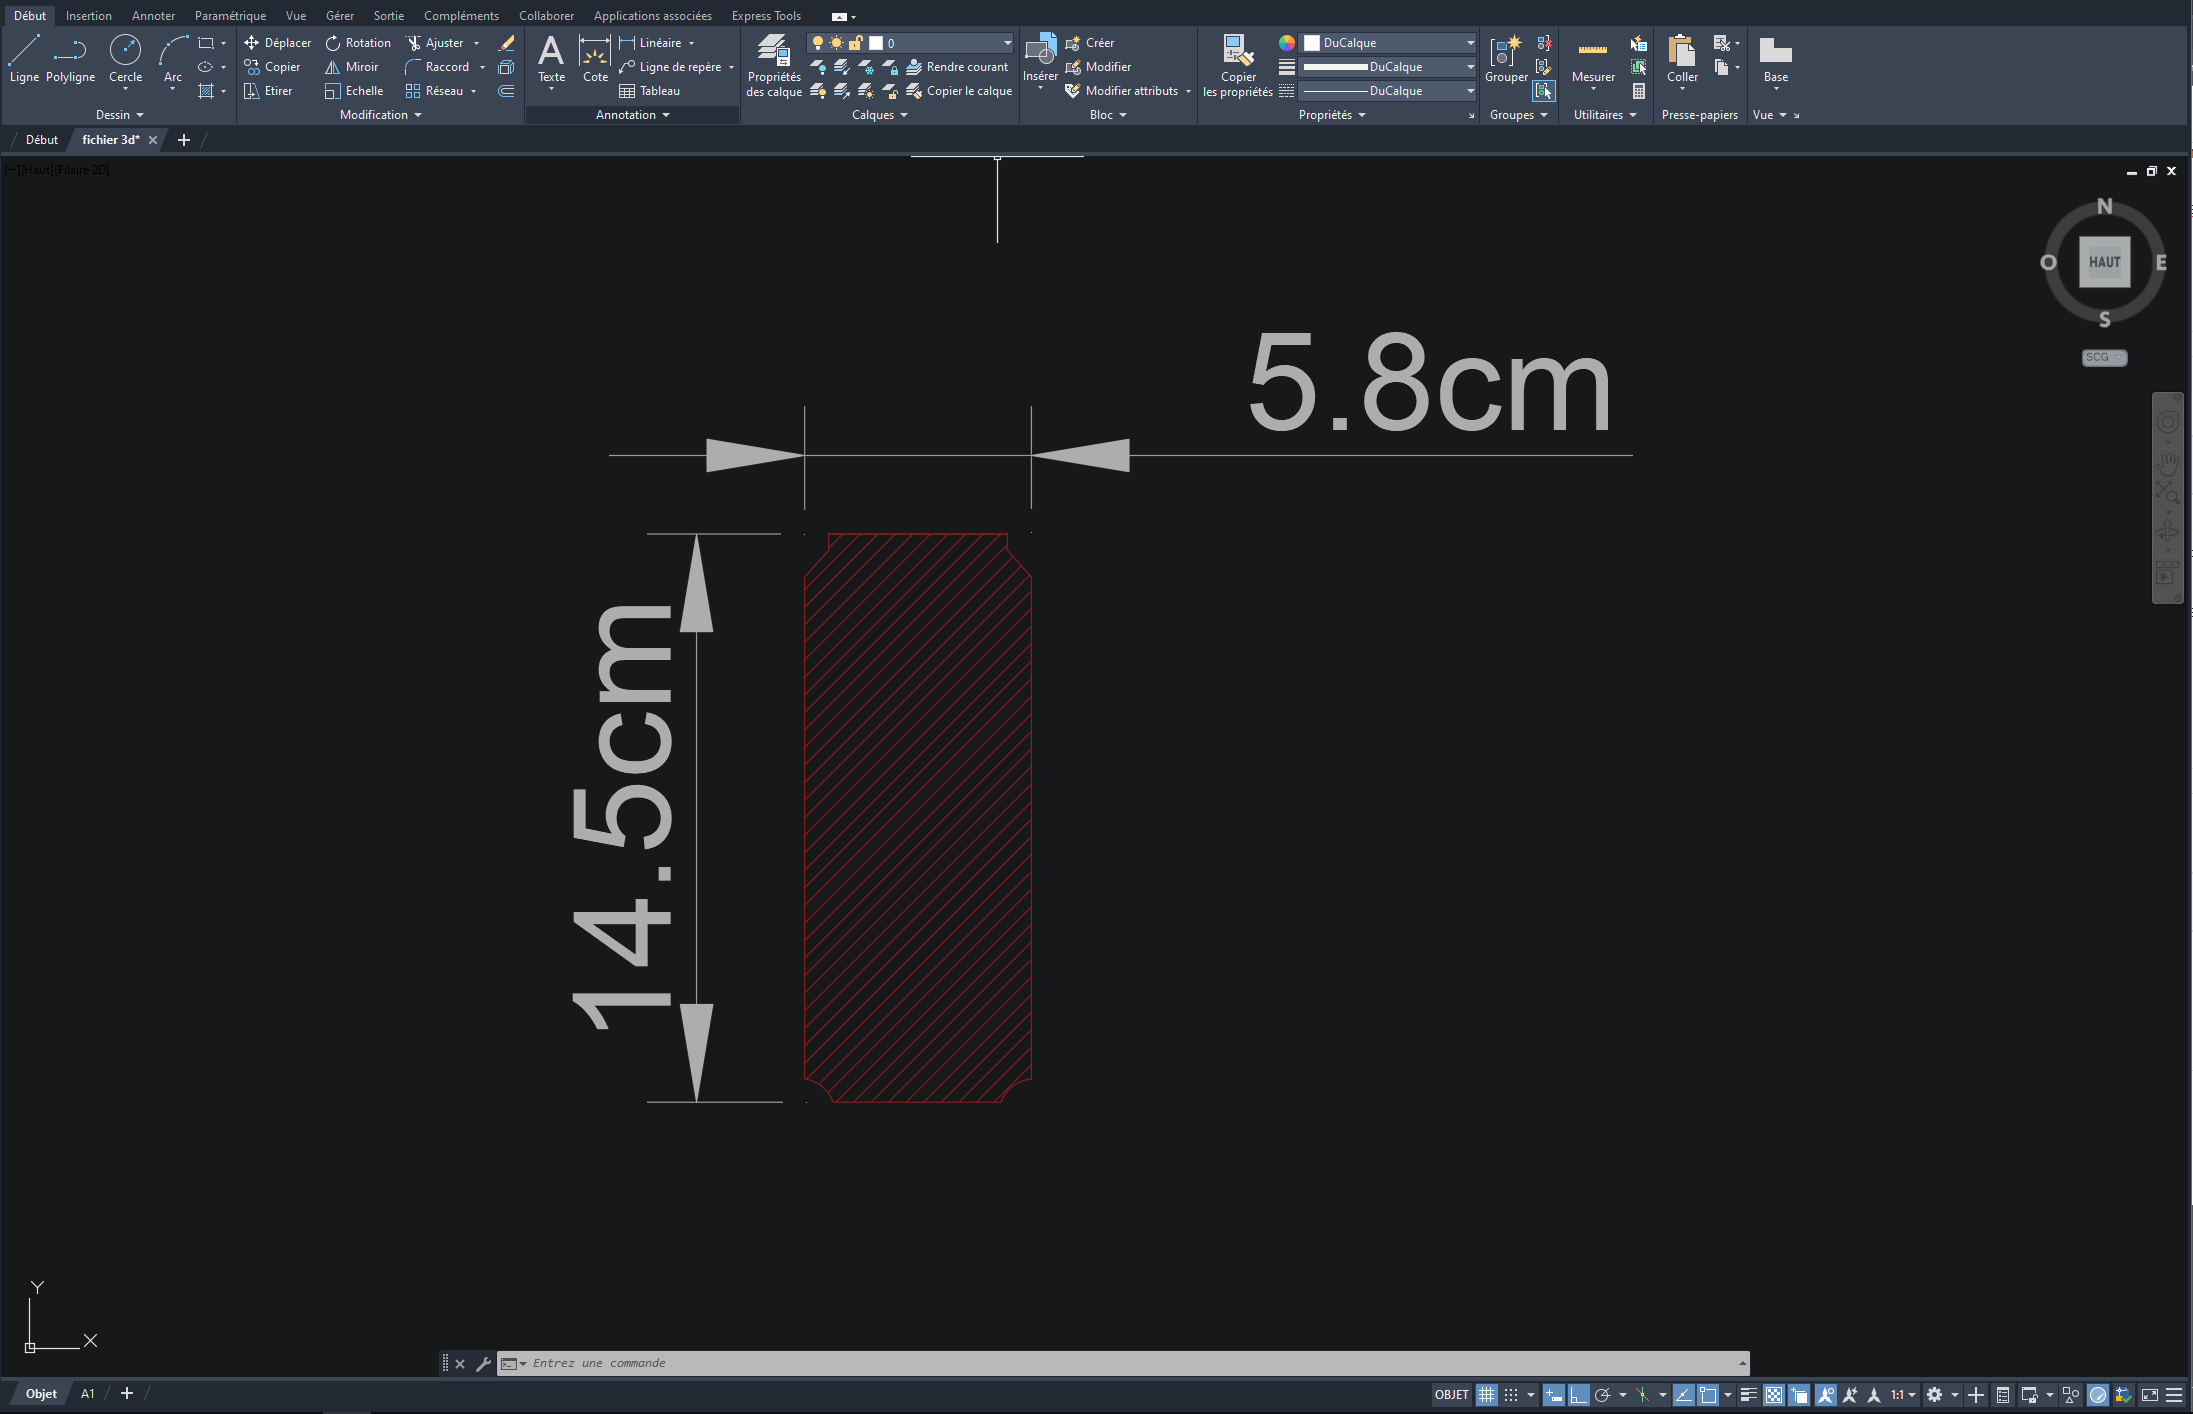
Due to my studies, I am using AutoCAD since a feel more confident using it but, remember to feel free using what you prefer.
- First, I created a simple 2d elevation of my can using the dimension I wrote down earlier.
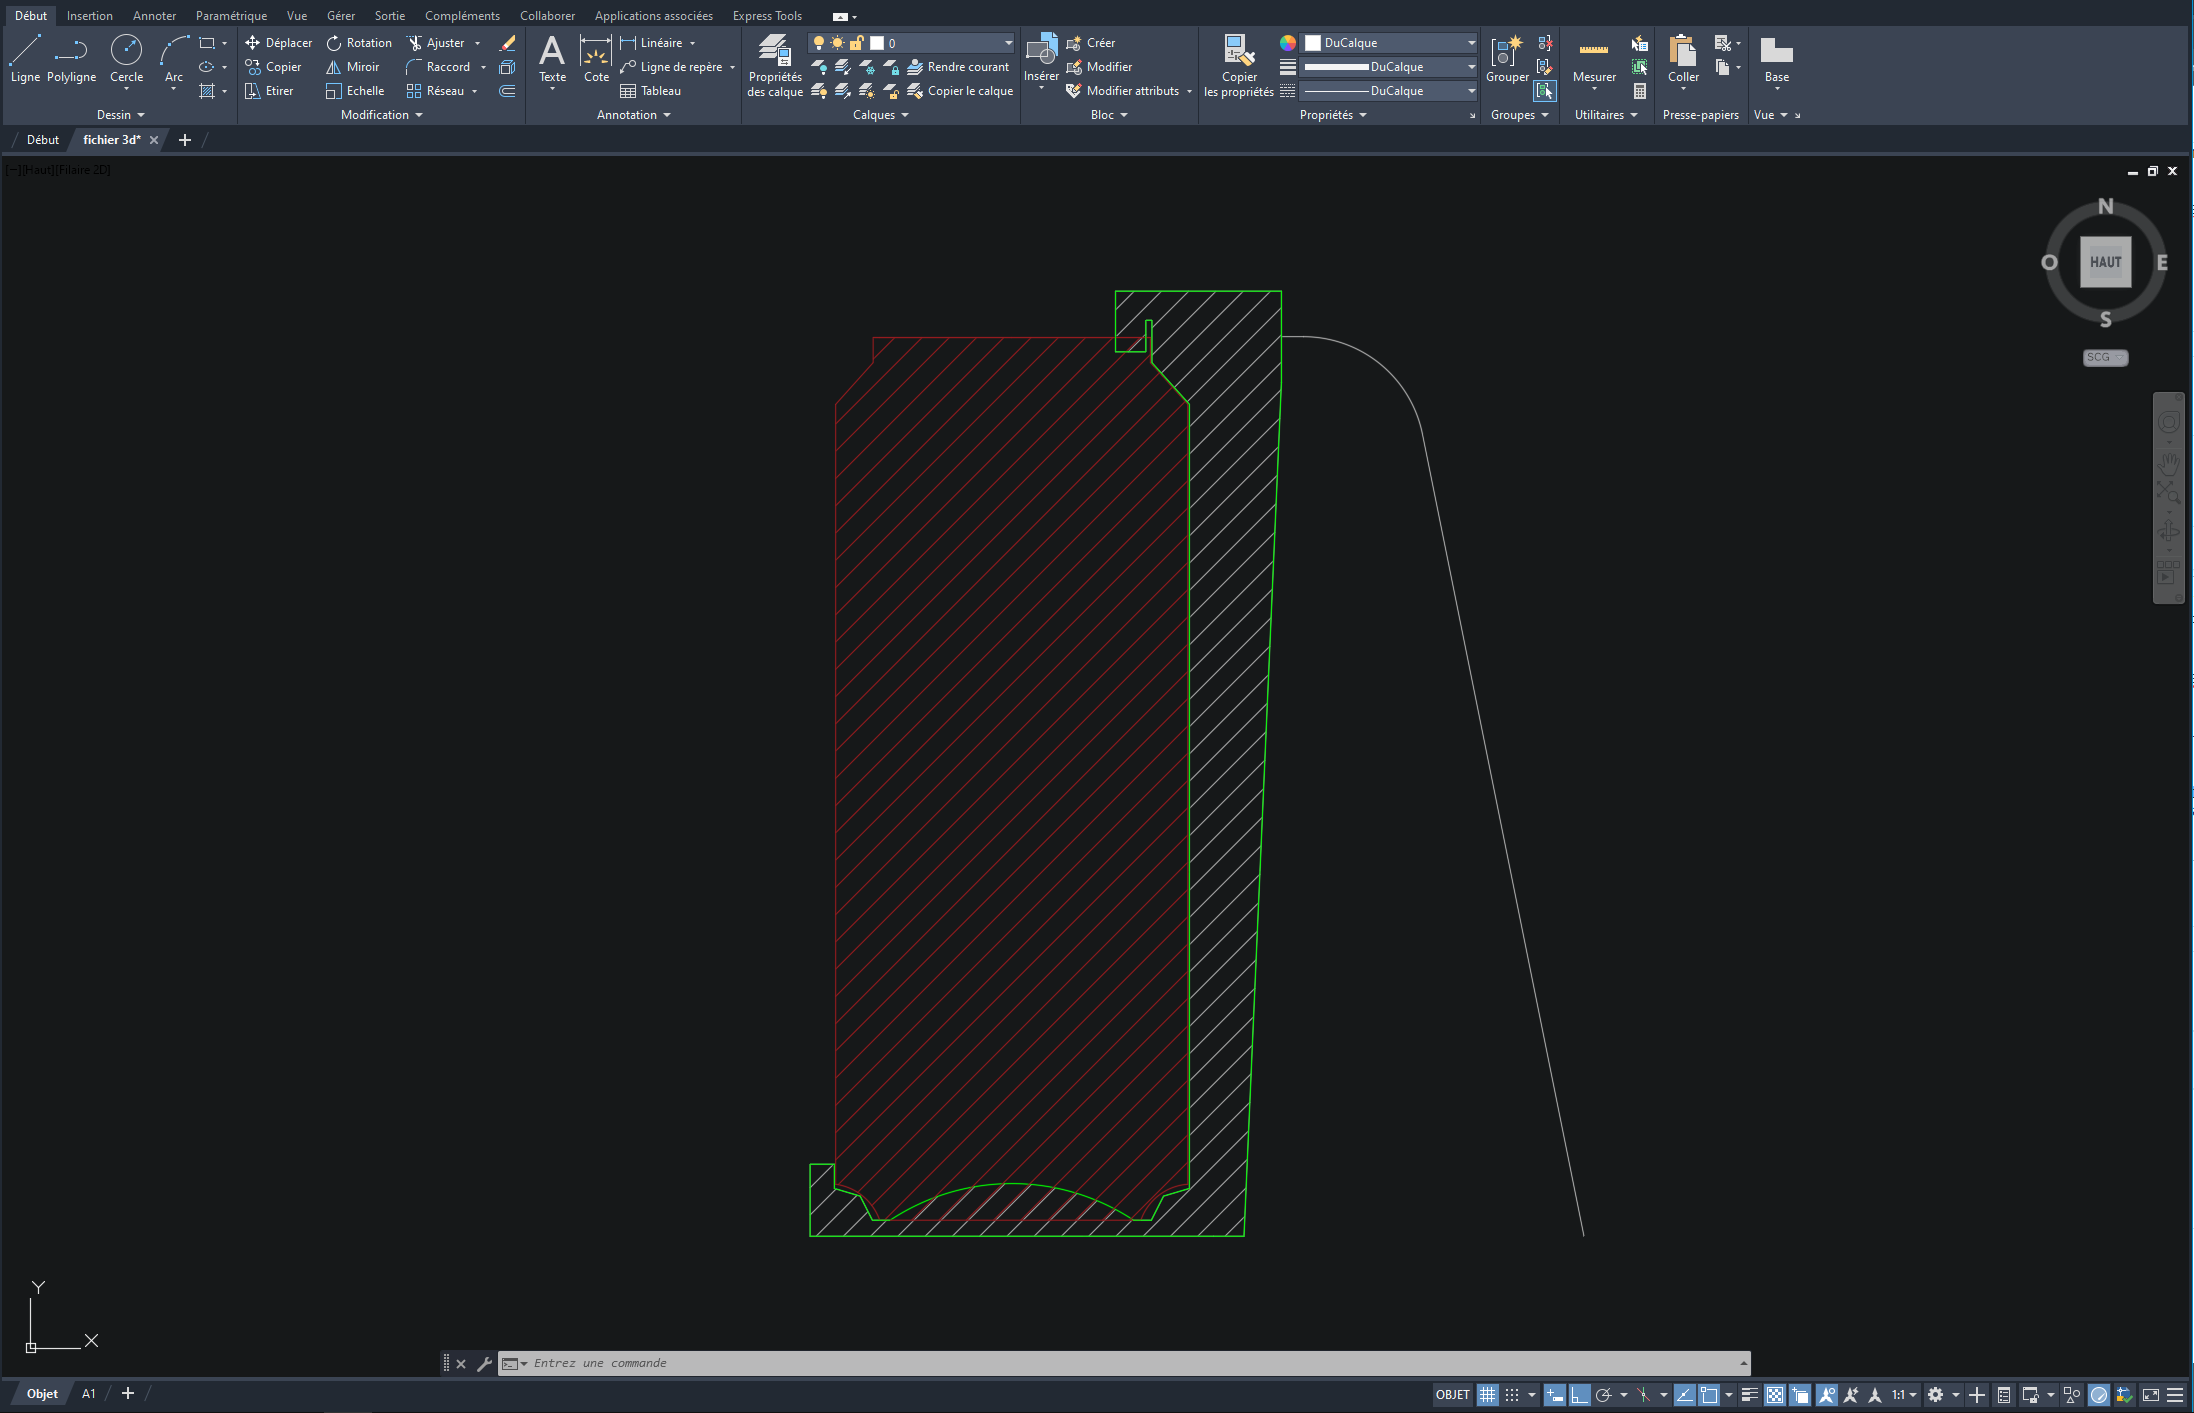
- Then, I drew a 2d elevation of my handle, following the curves and the height of my Fanta can. Once you have the part that grip to your beverage, you are free to do what handle you want for it. In this case, I was inspired by a picture I found on Google.
Start Modeling-3D
Now switch AutoCAD to 3d modelling view.
See the “can grip” and the “handle” as two separate things. Start with the can grip and then the handle.
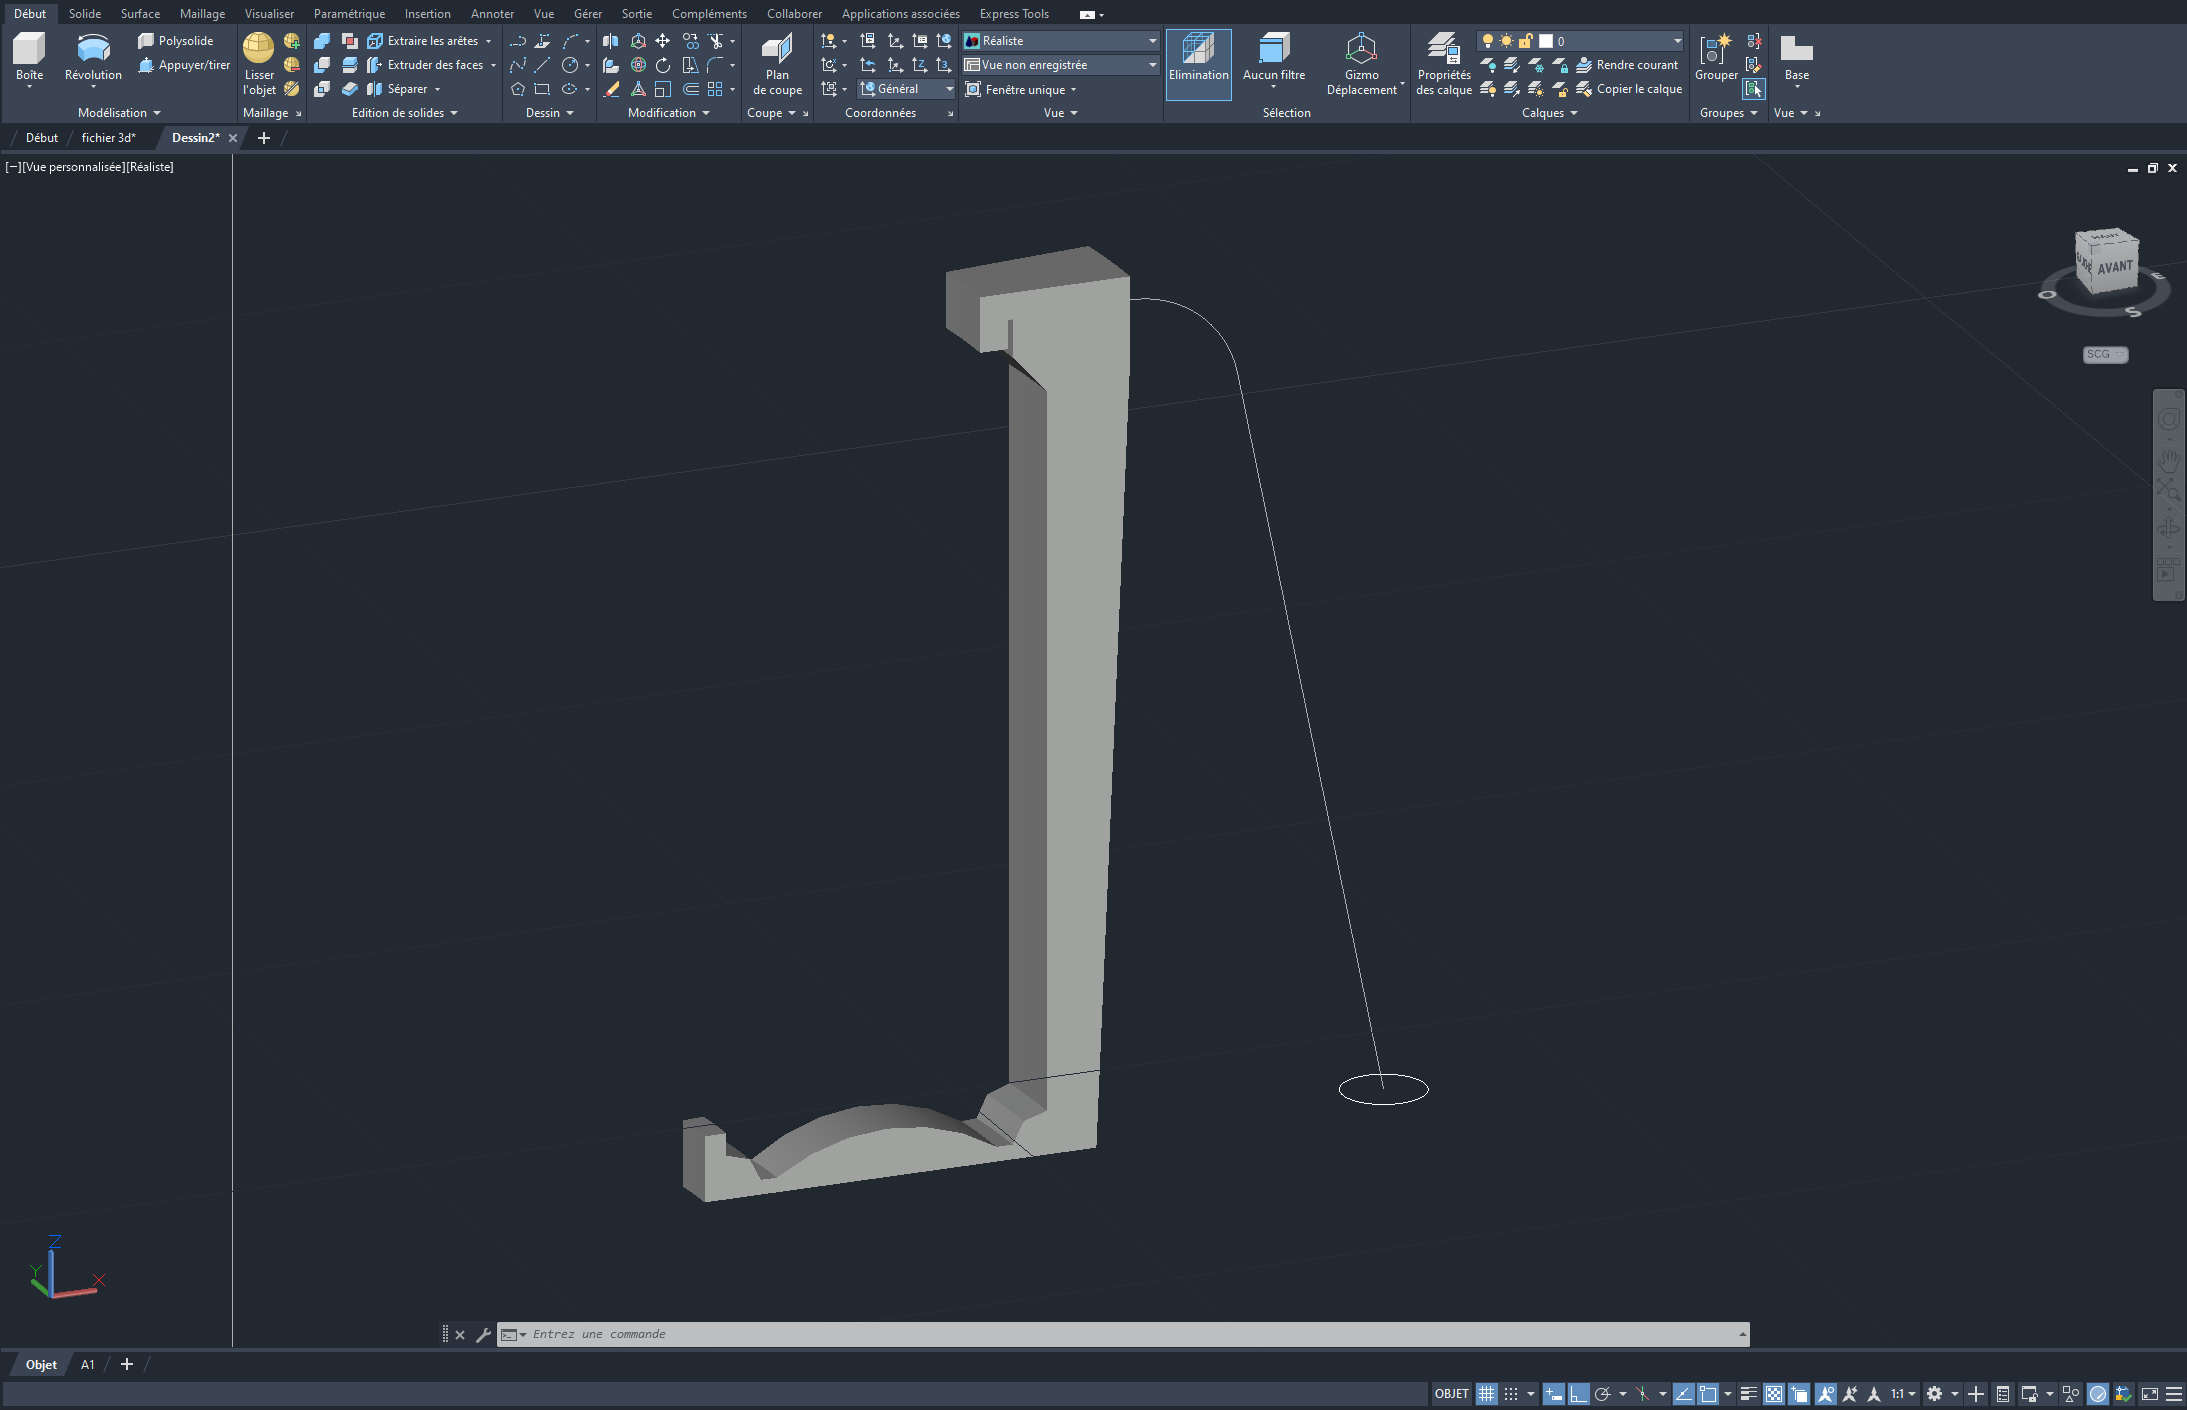
- At this point, you will want to extrude the 2d elevation of the can grip. Knowing that a can is circular, you cannot just extrude and follow a straight line. To do so, use the Revolve Extrusion command. This command is about extruding your 2d drawing around an axis, and in this case in a circular motion.
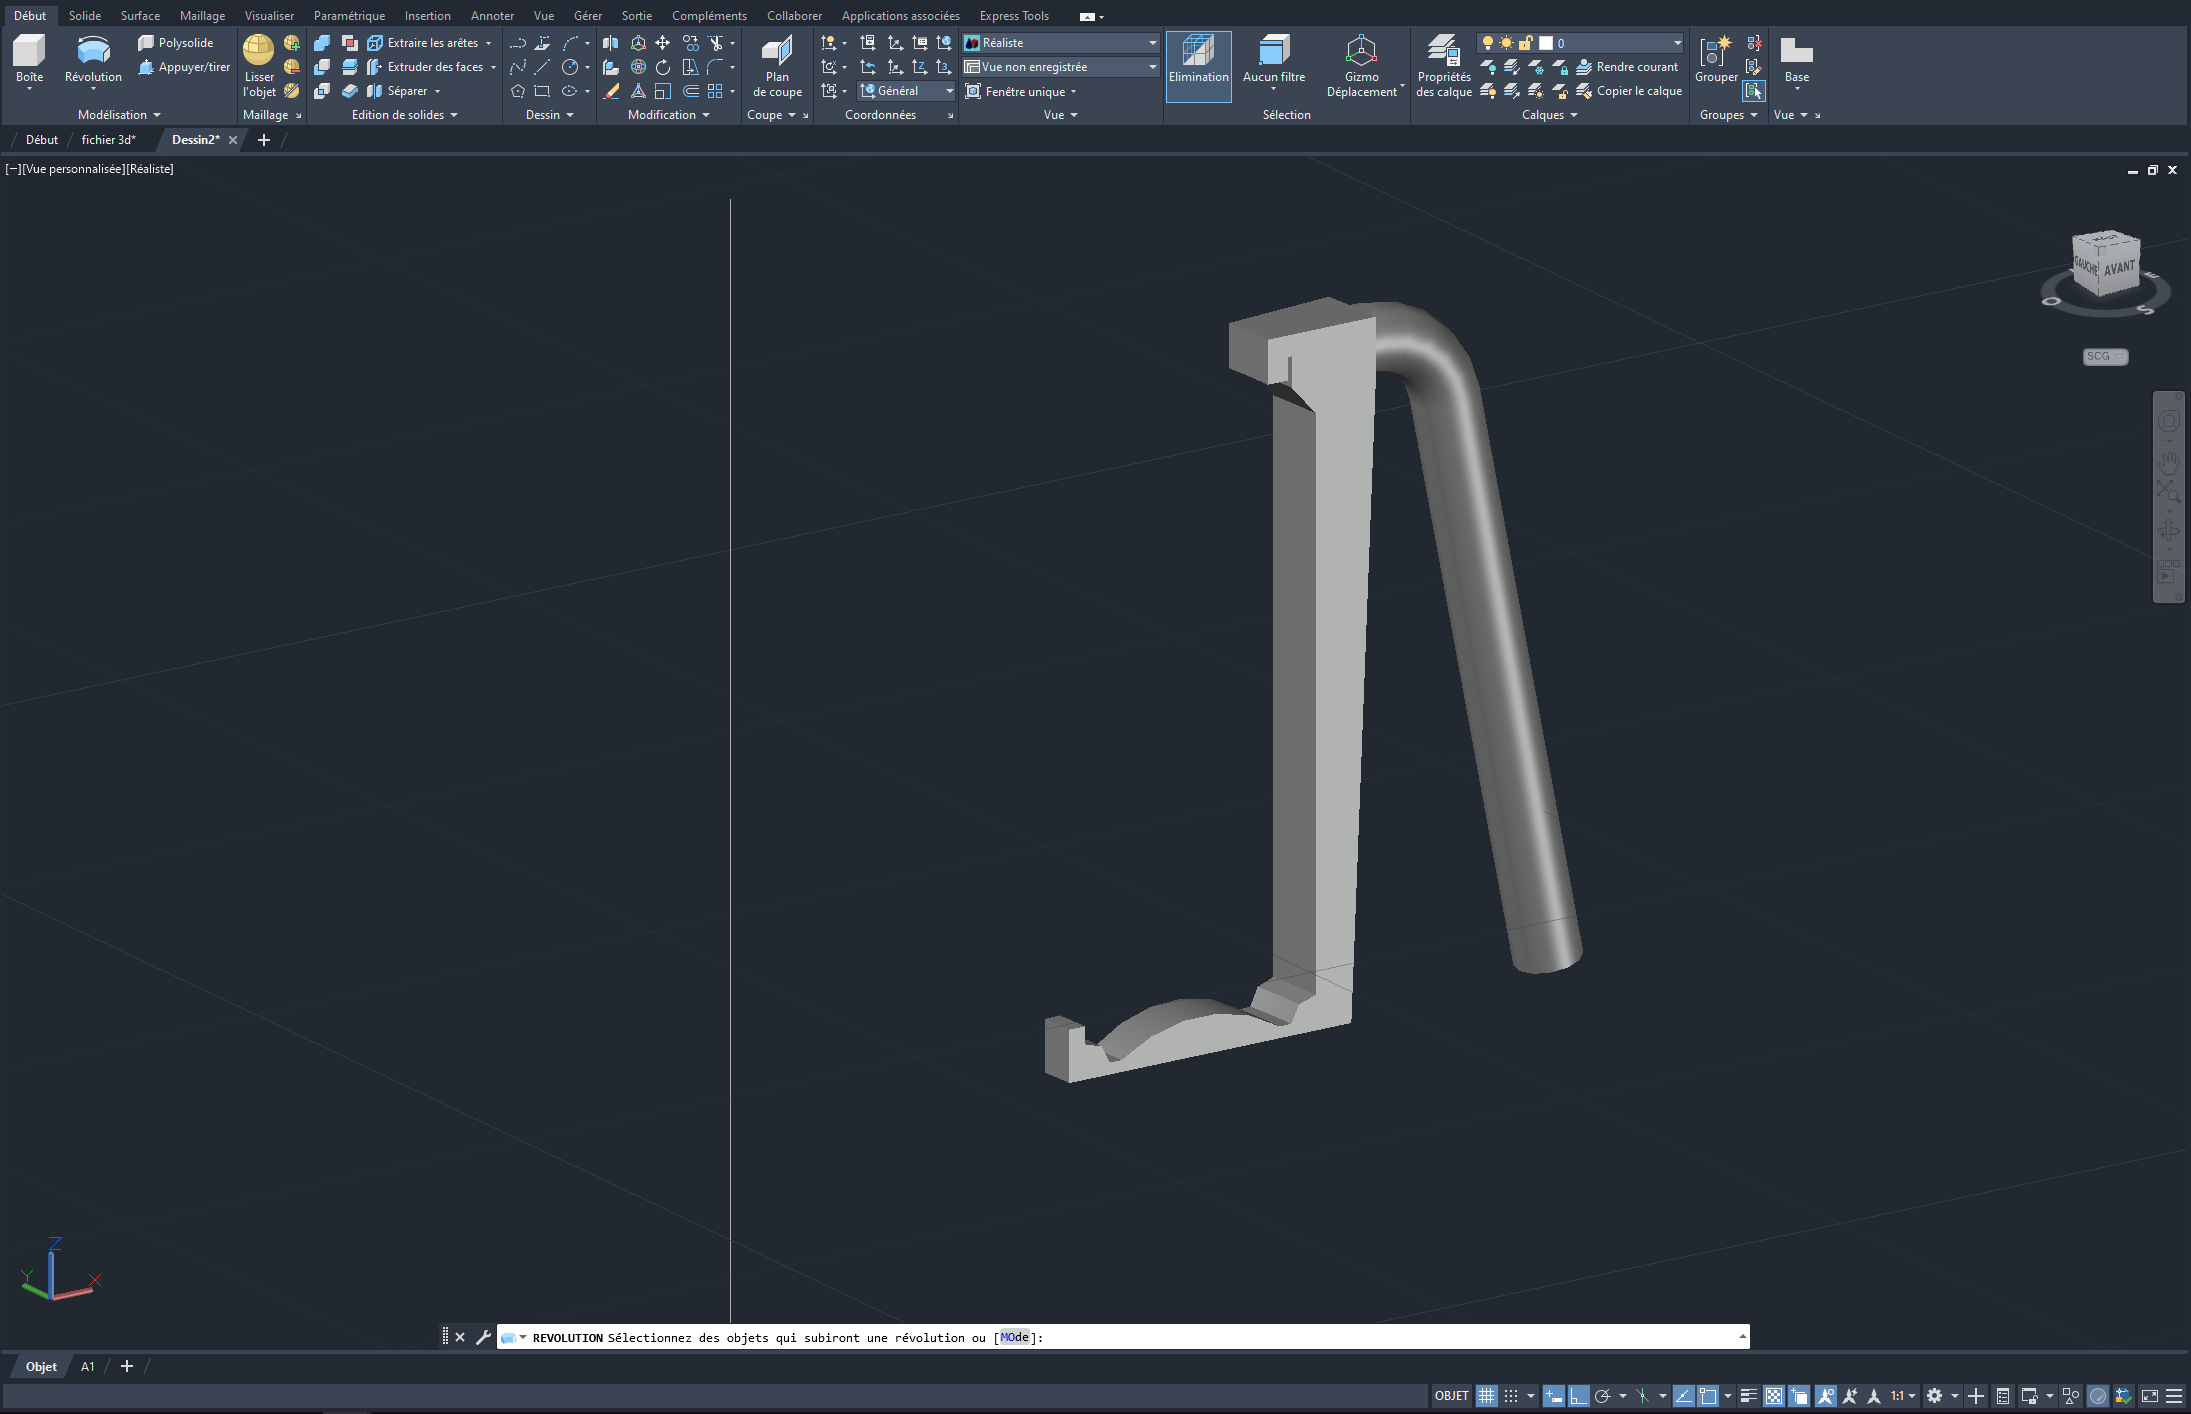
- Now, I trace a simple line to create the handle. In the 3d view, I also draw a shape (here it is a circle) at the base of the handle line. Using the Sweep command, you can extrude the section (circle) along a path which is the “line” I drew for the handle.
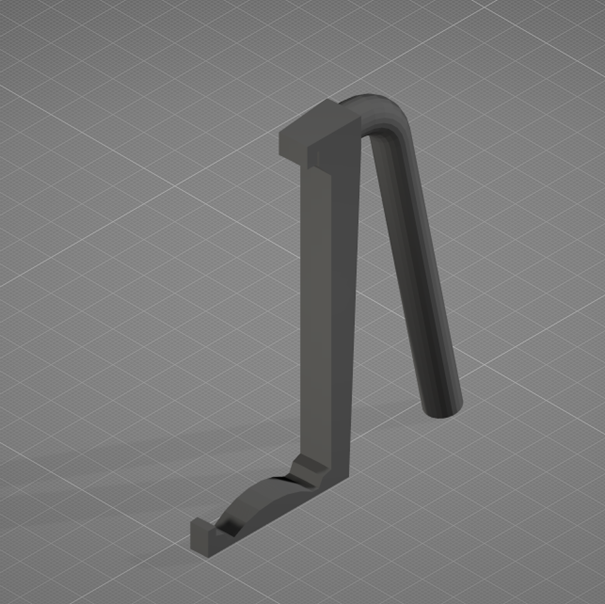
There you go, now you have a 3d model of your can handle. Again, remember that the handle can be anything you want.
3D Printing
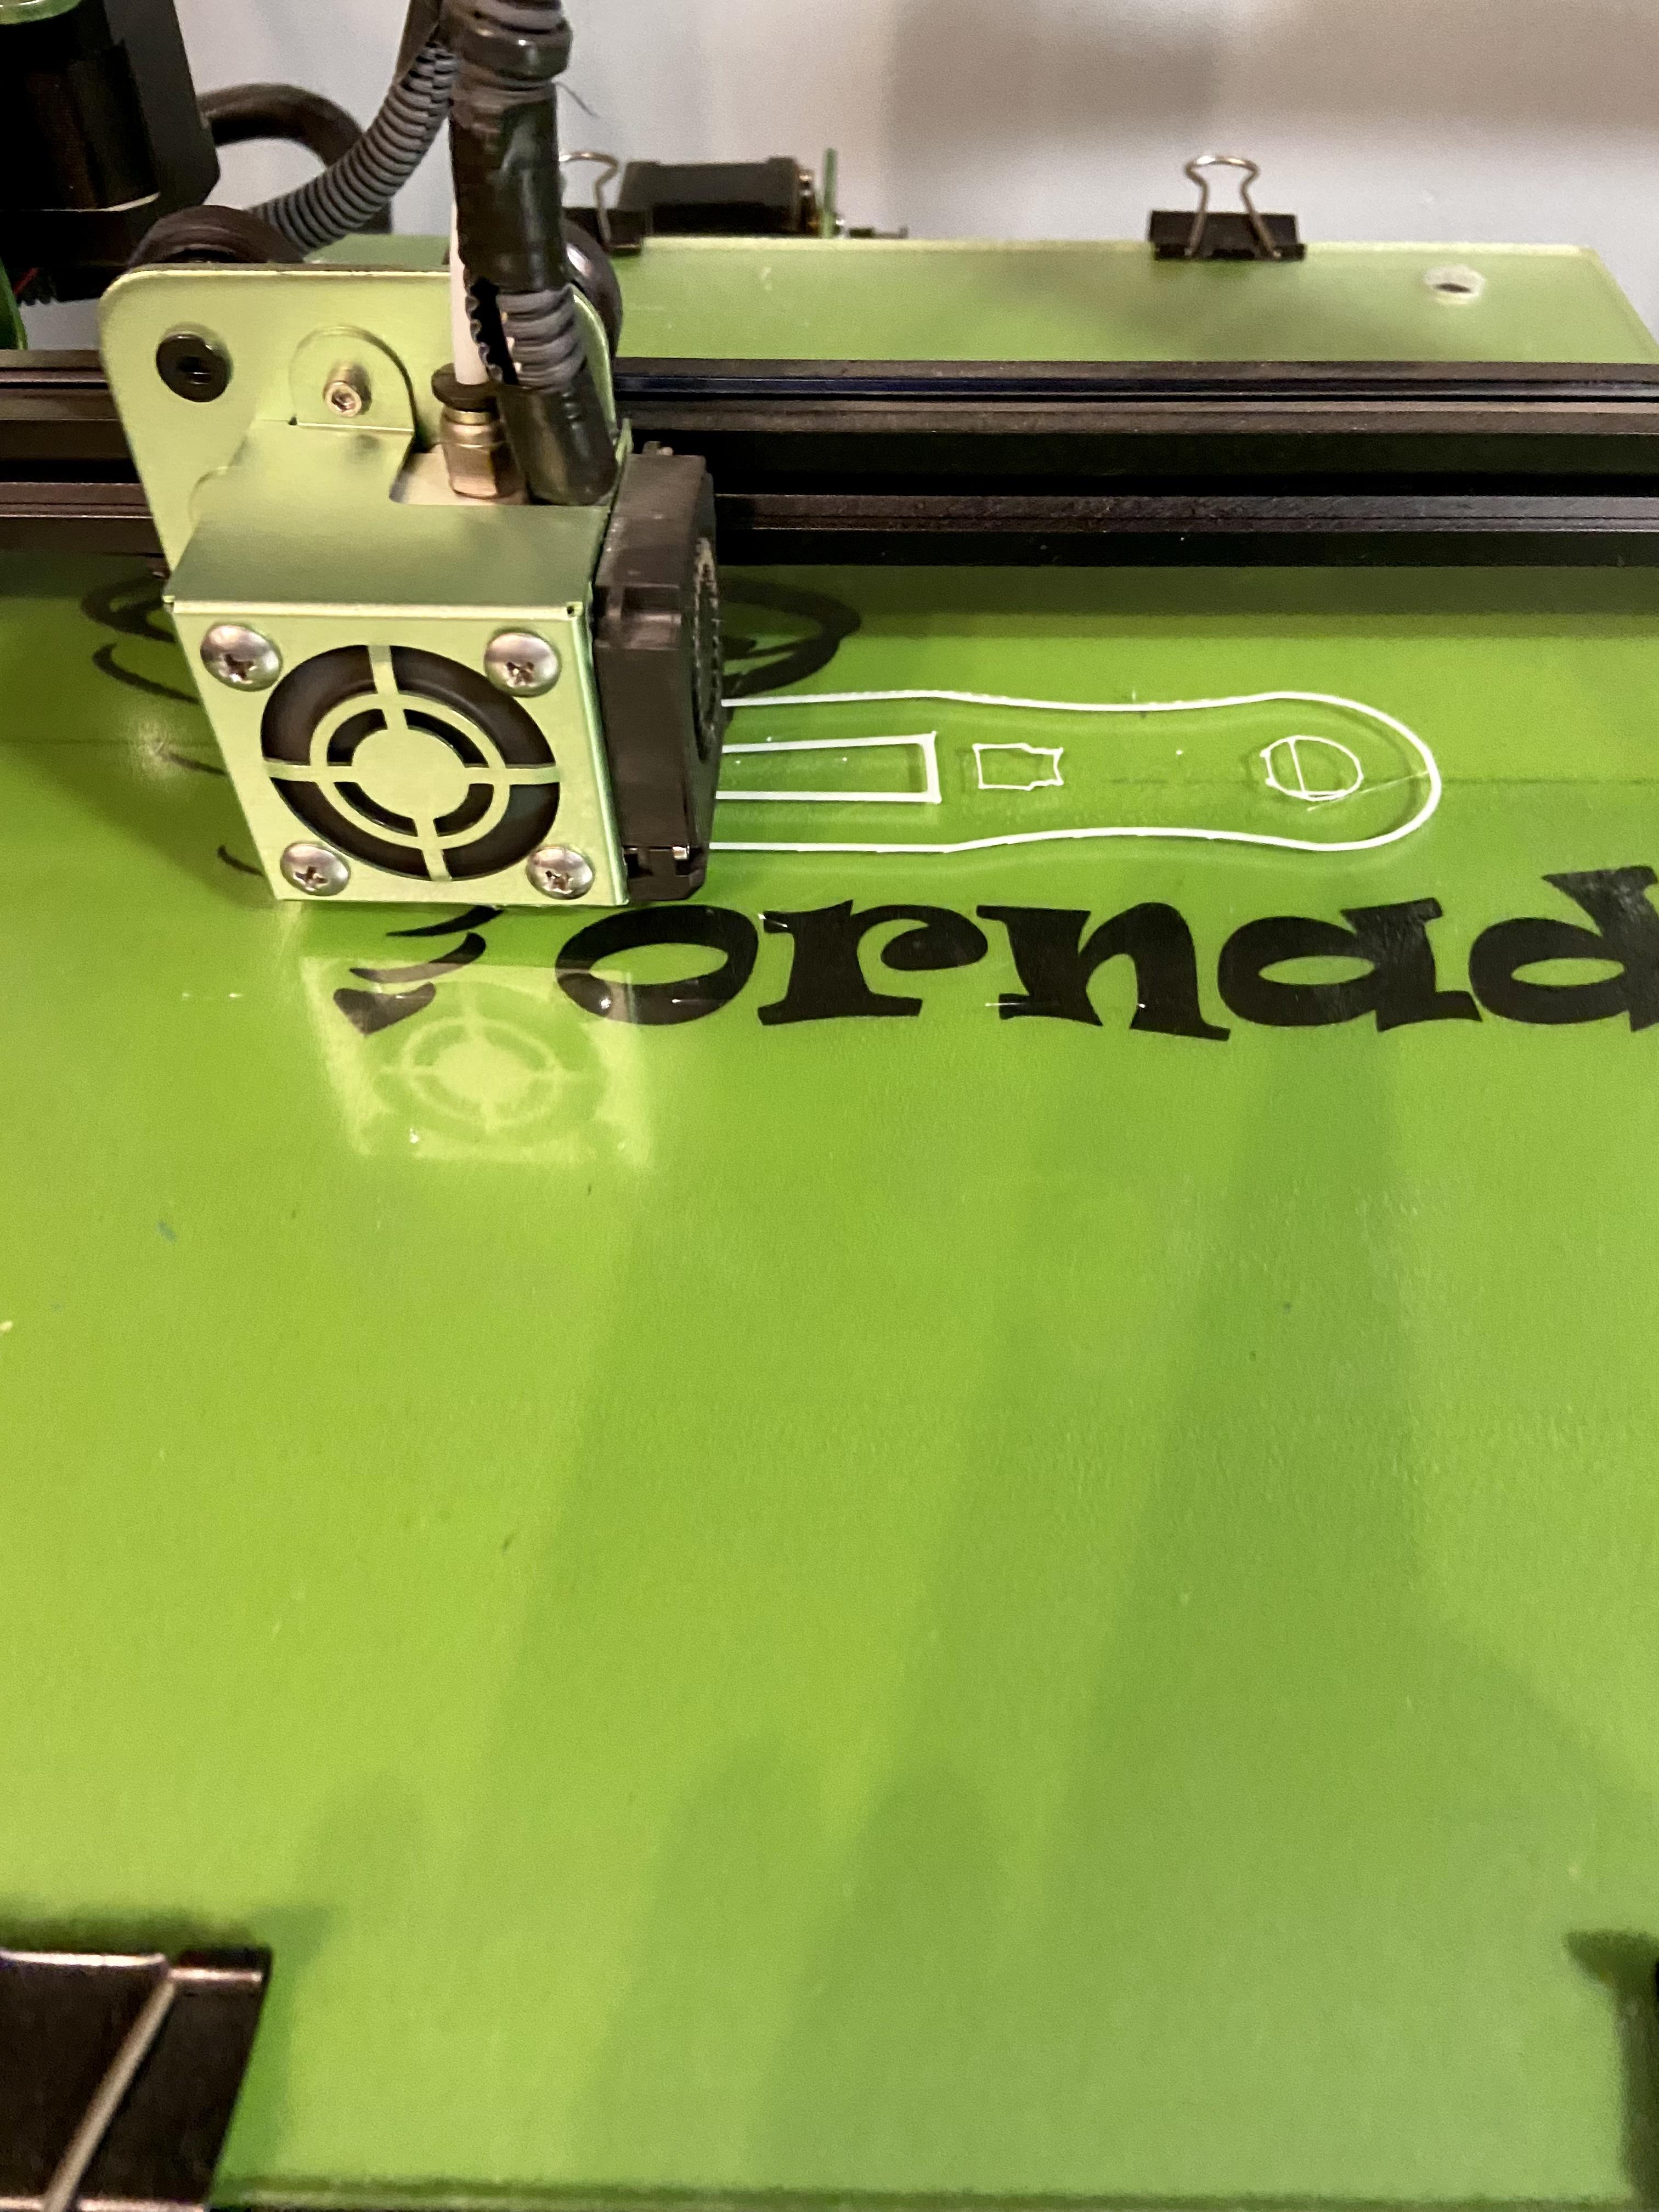
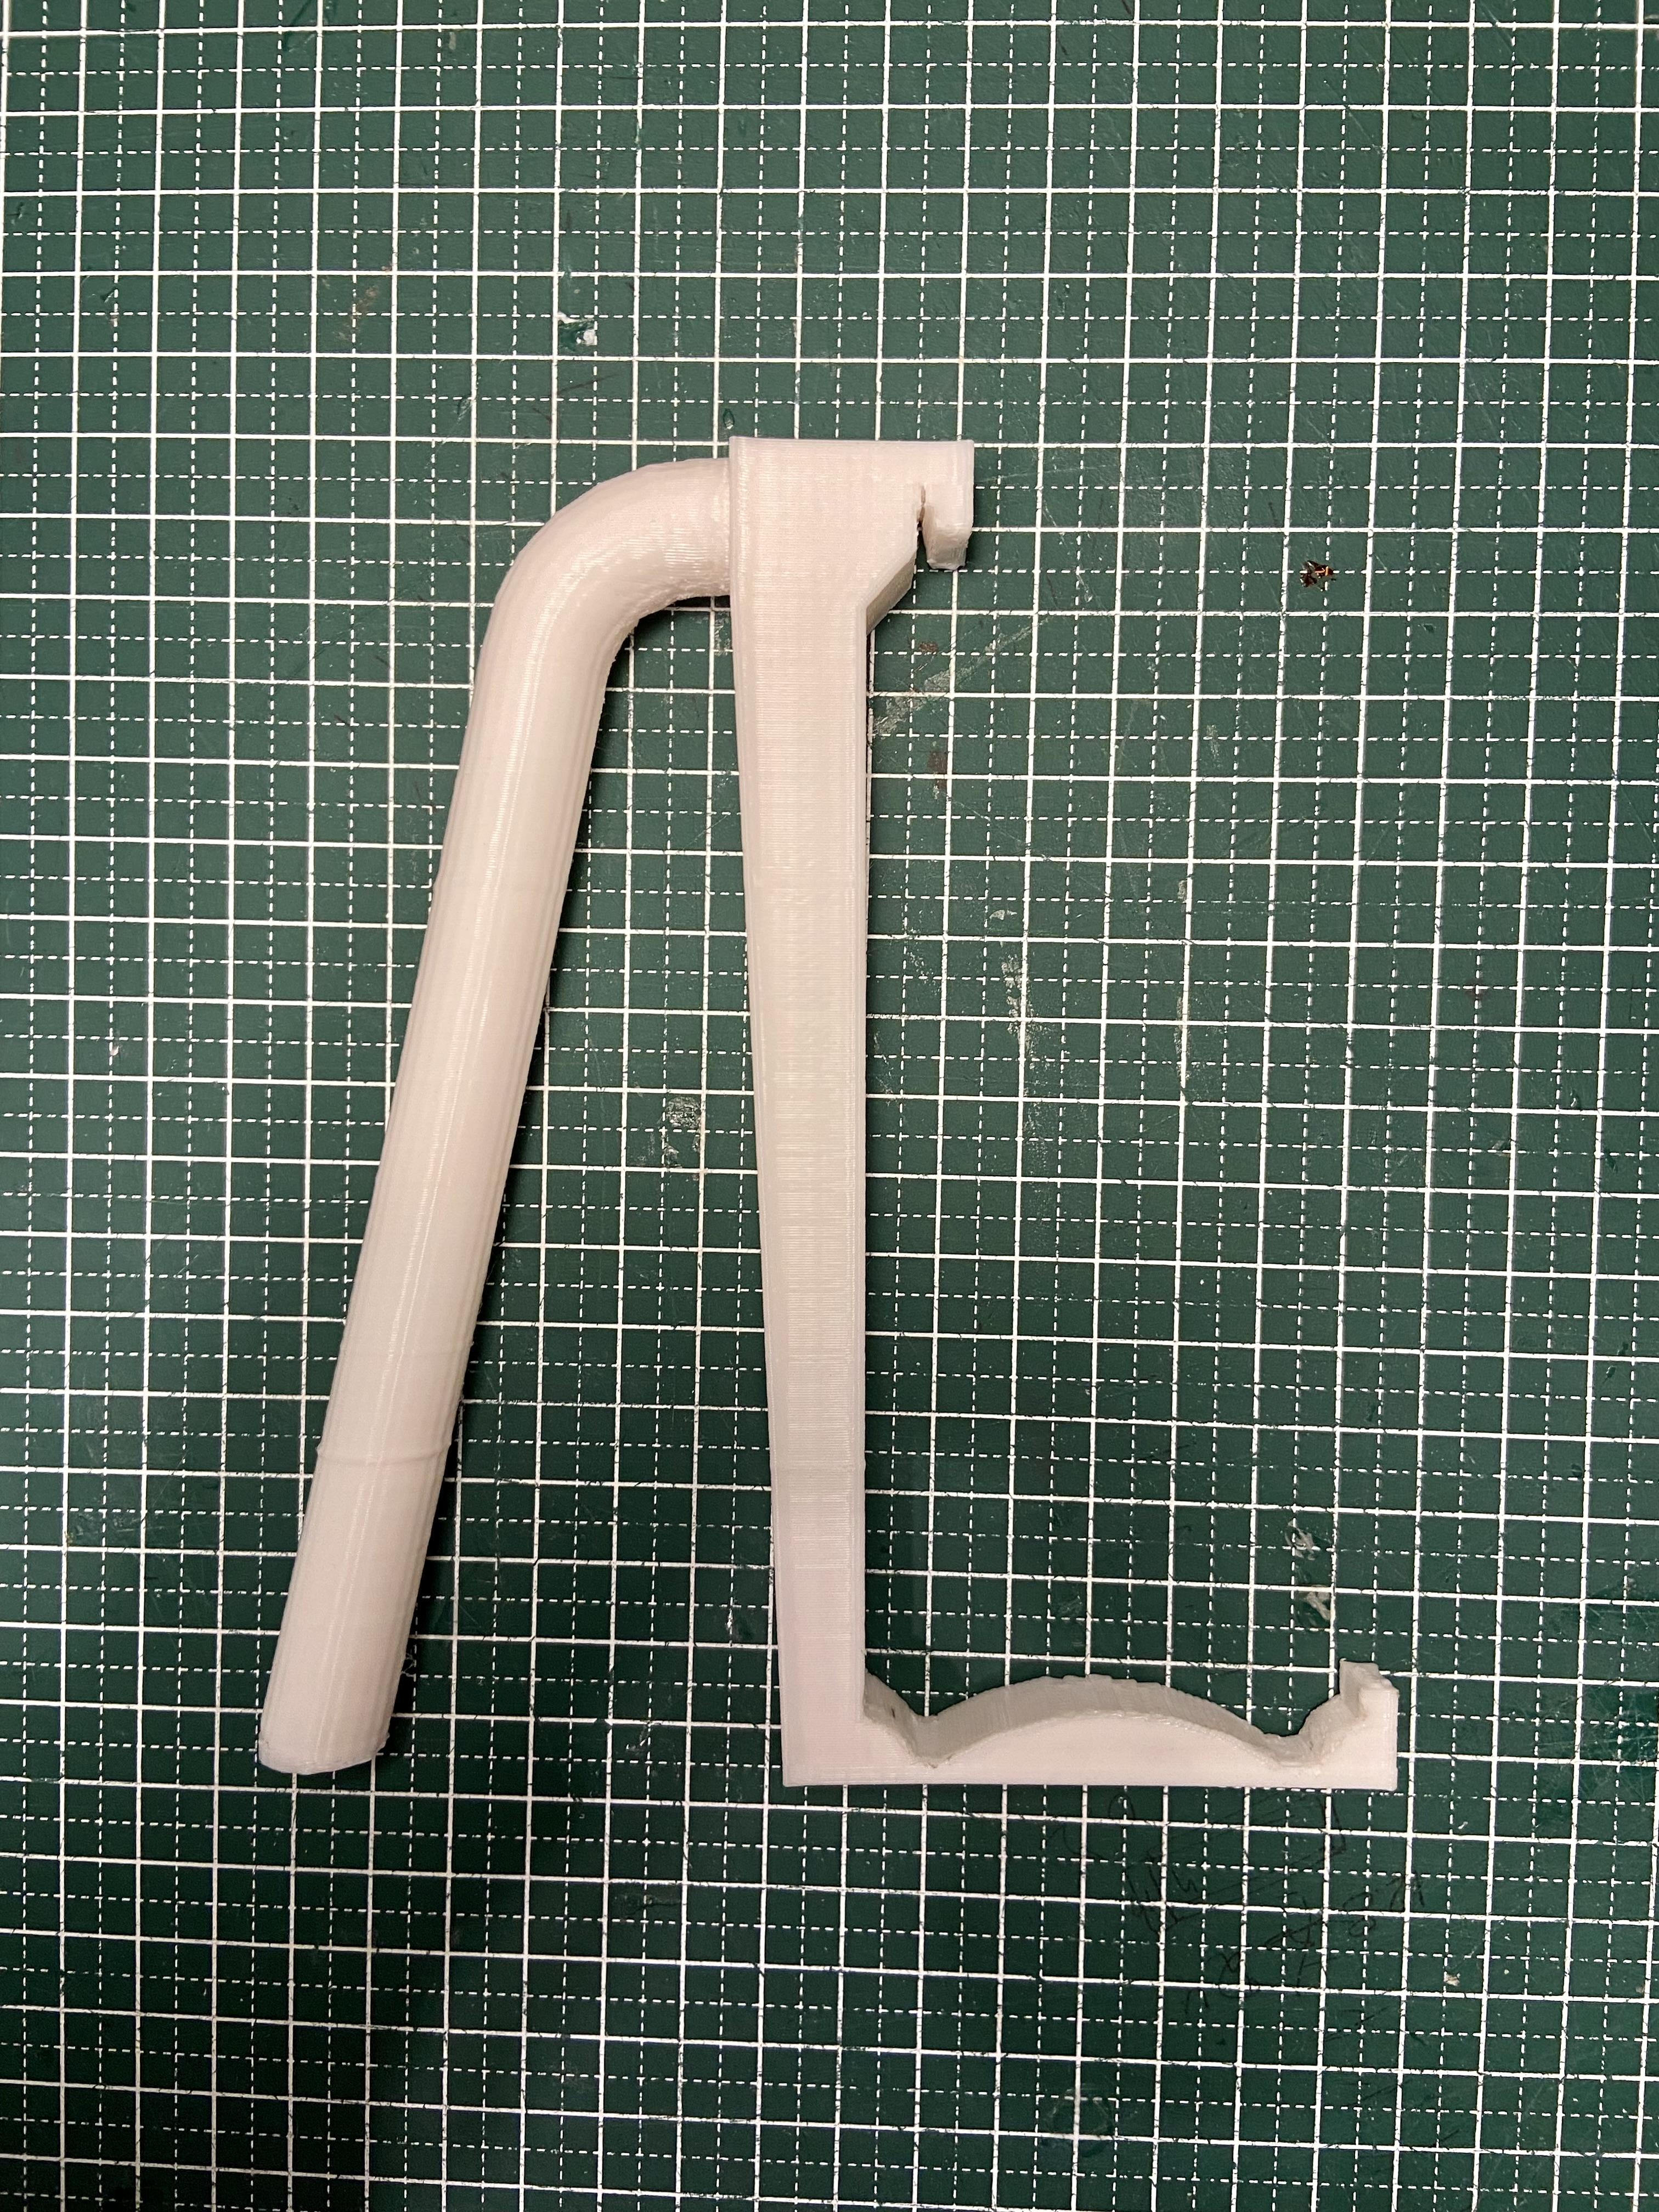
For this step, just slice the model in a 3d printer slicer and start printing.
( Note that if you don’t own a 3d printer, be reassured that you can print the 2d drawings on a piece of paper and use it as reference for cardboard or other materials. )
Try It


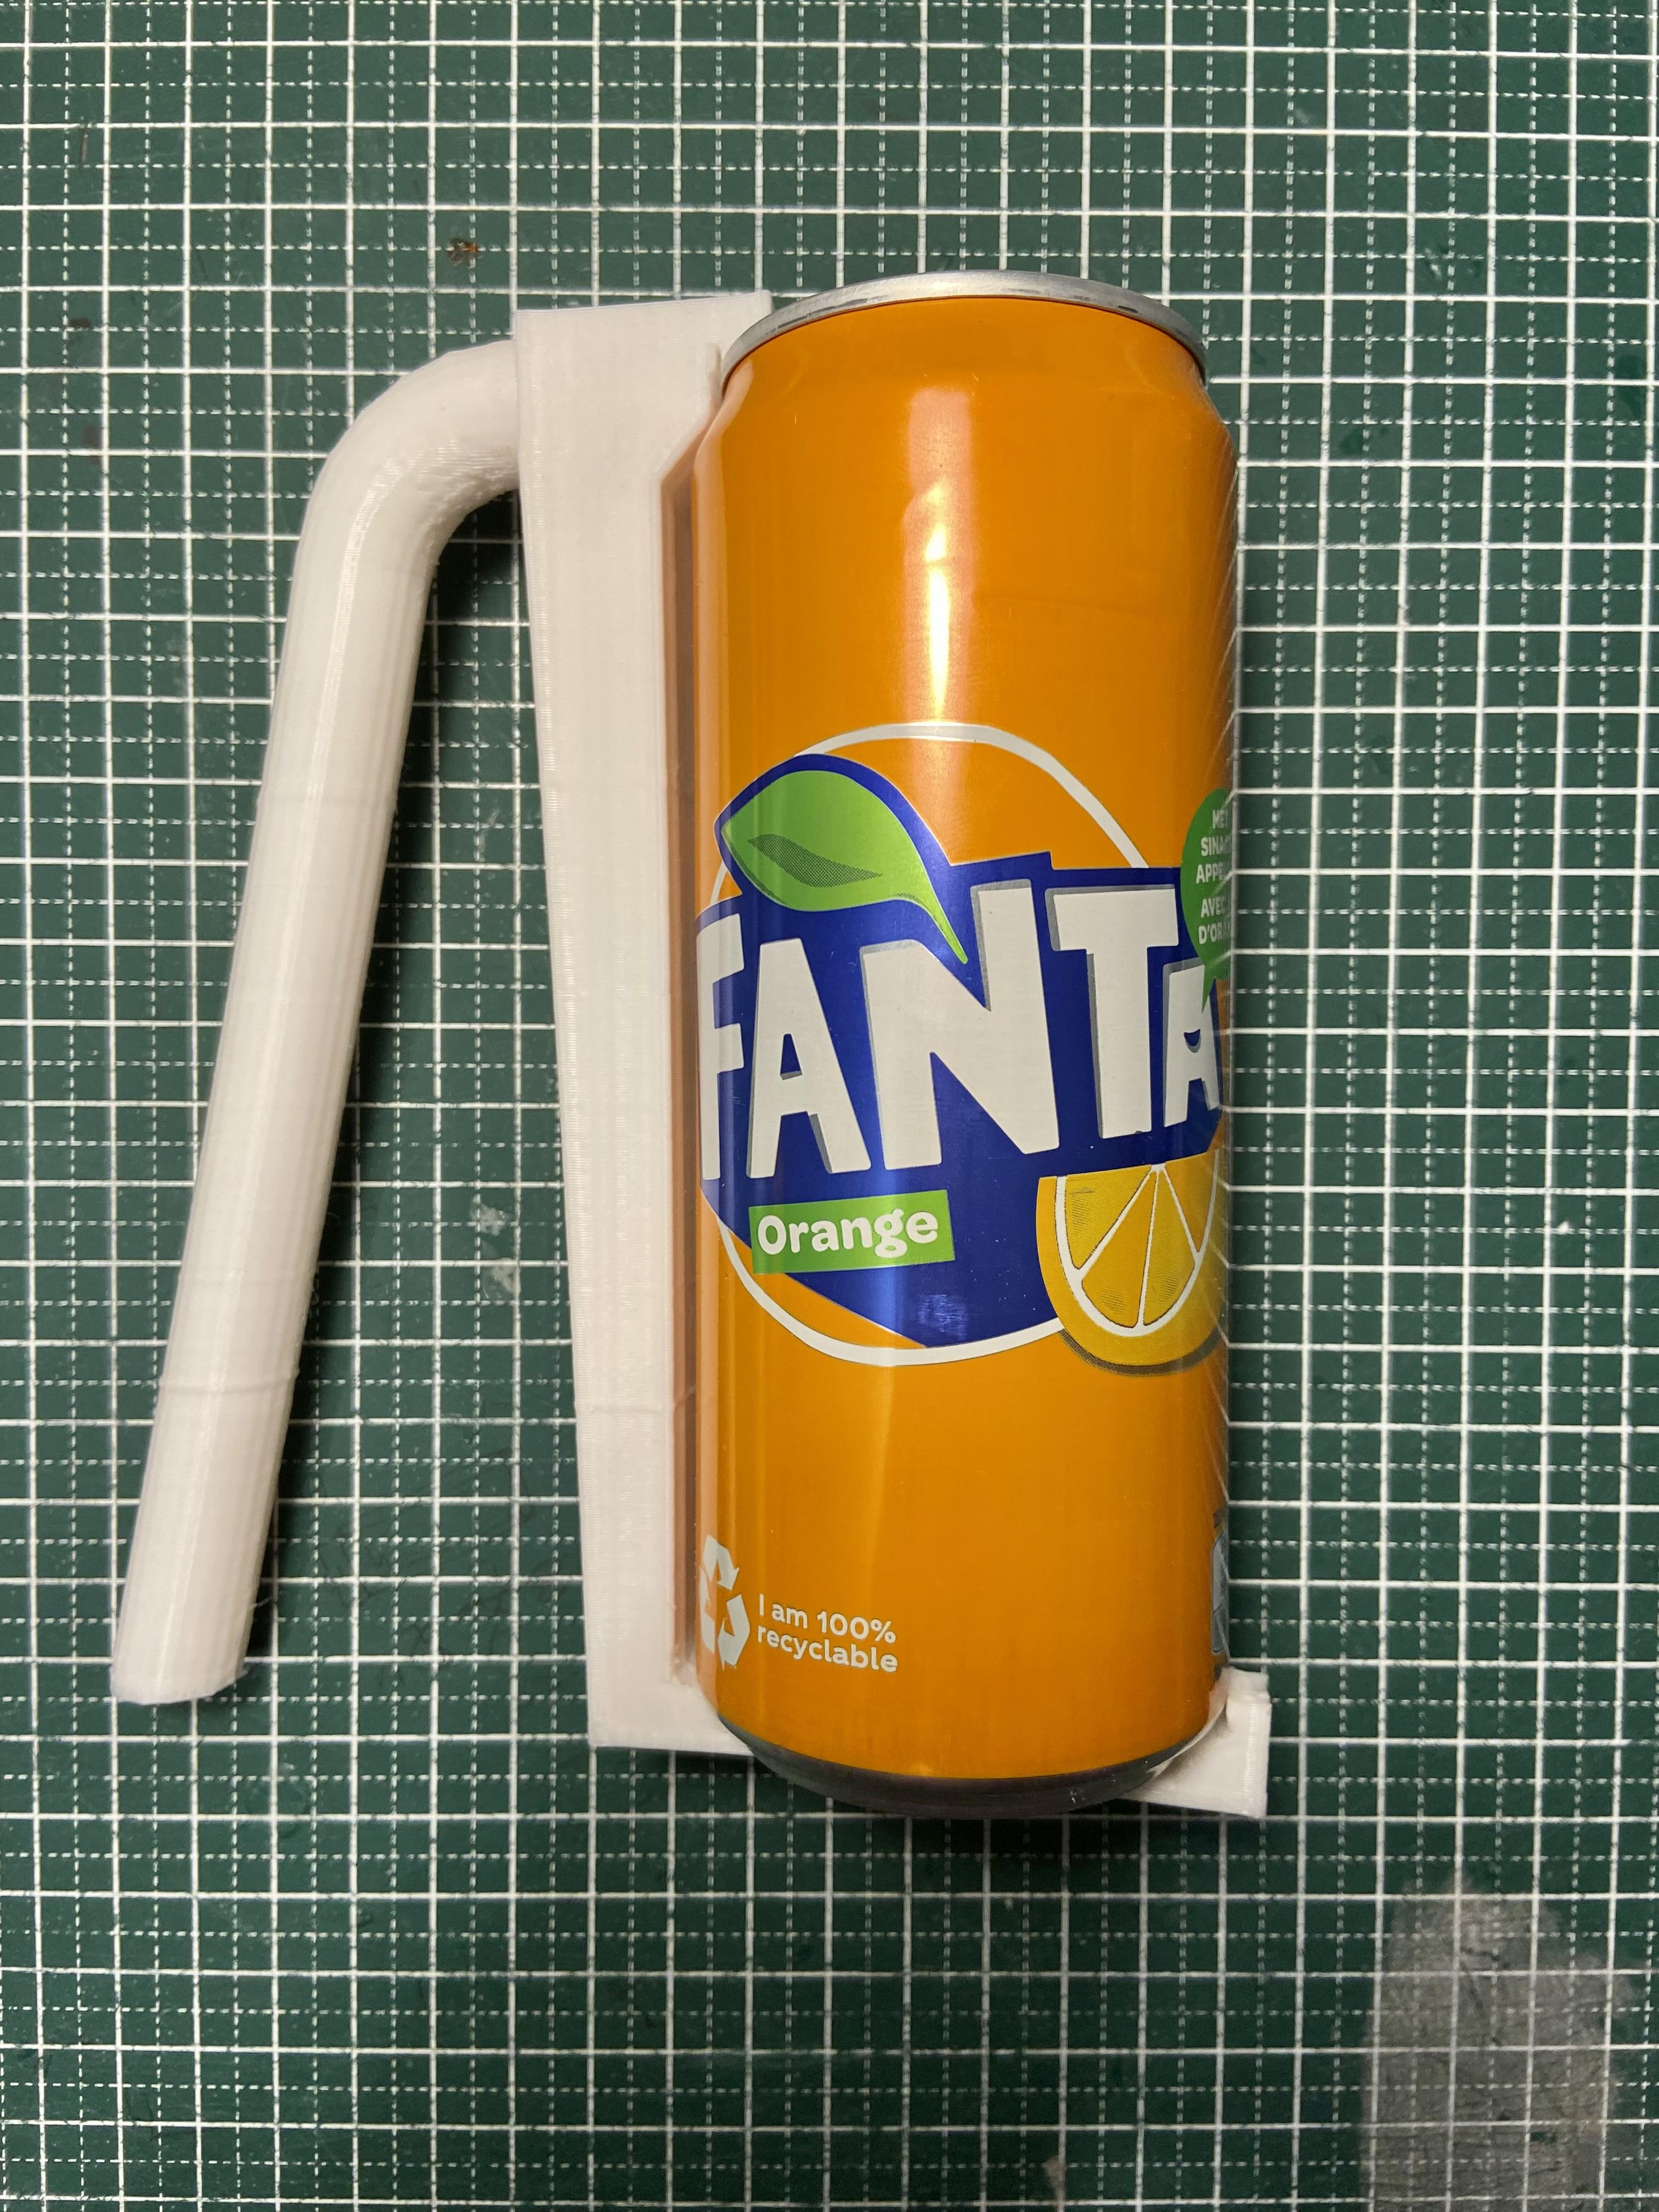
Start by inserting the top of the can grip and then with the flexibility of PLA just push the bottom part of the grip under the can.
(Note that if it does not fit correctly, just sand a bit of the piece)
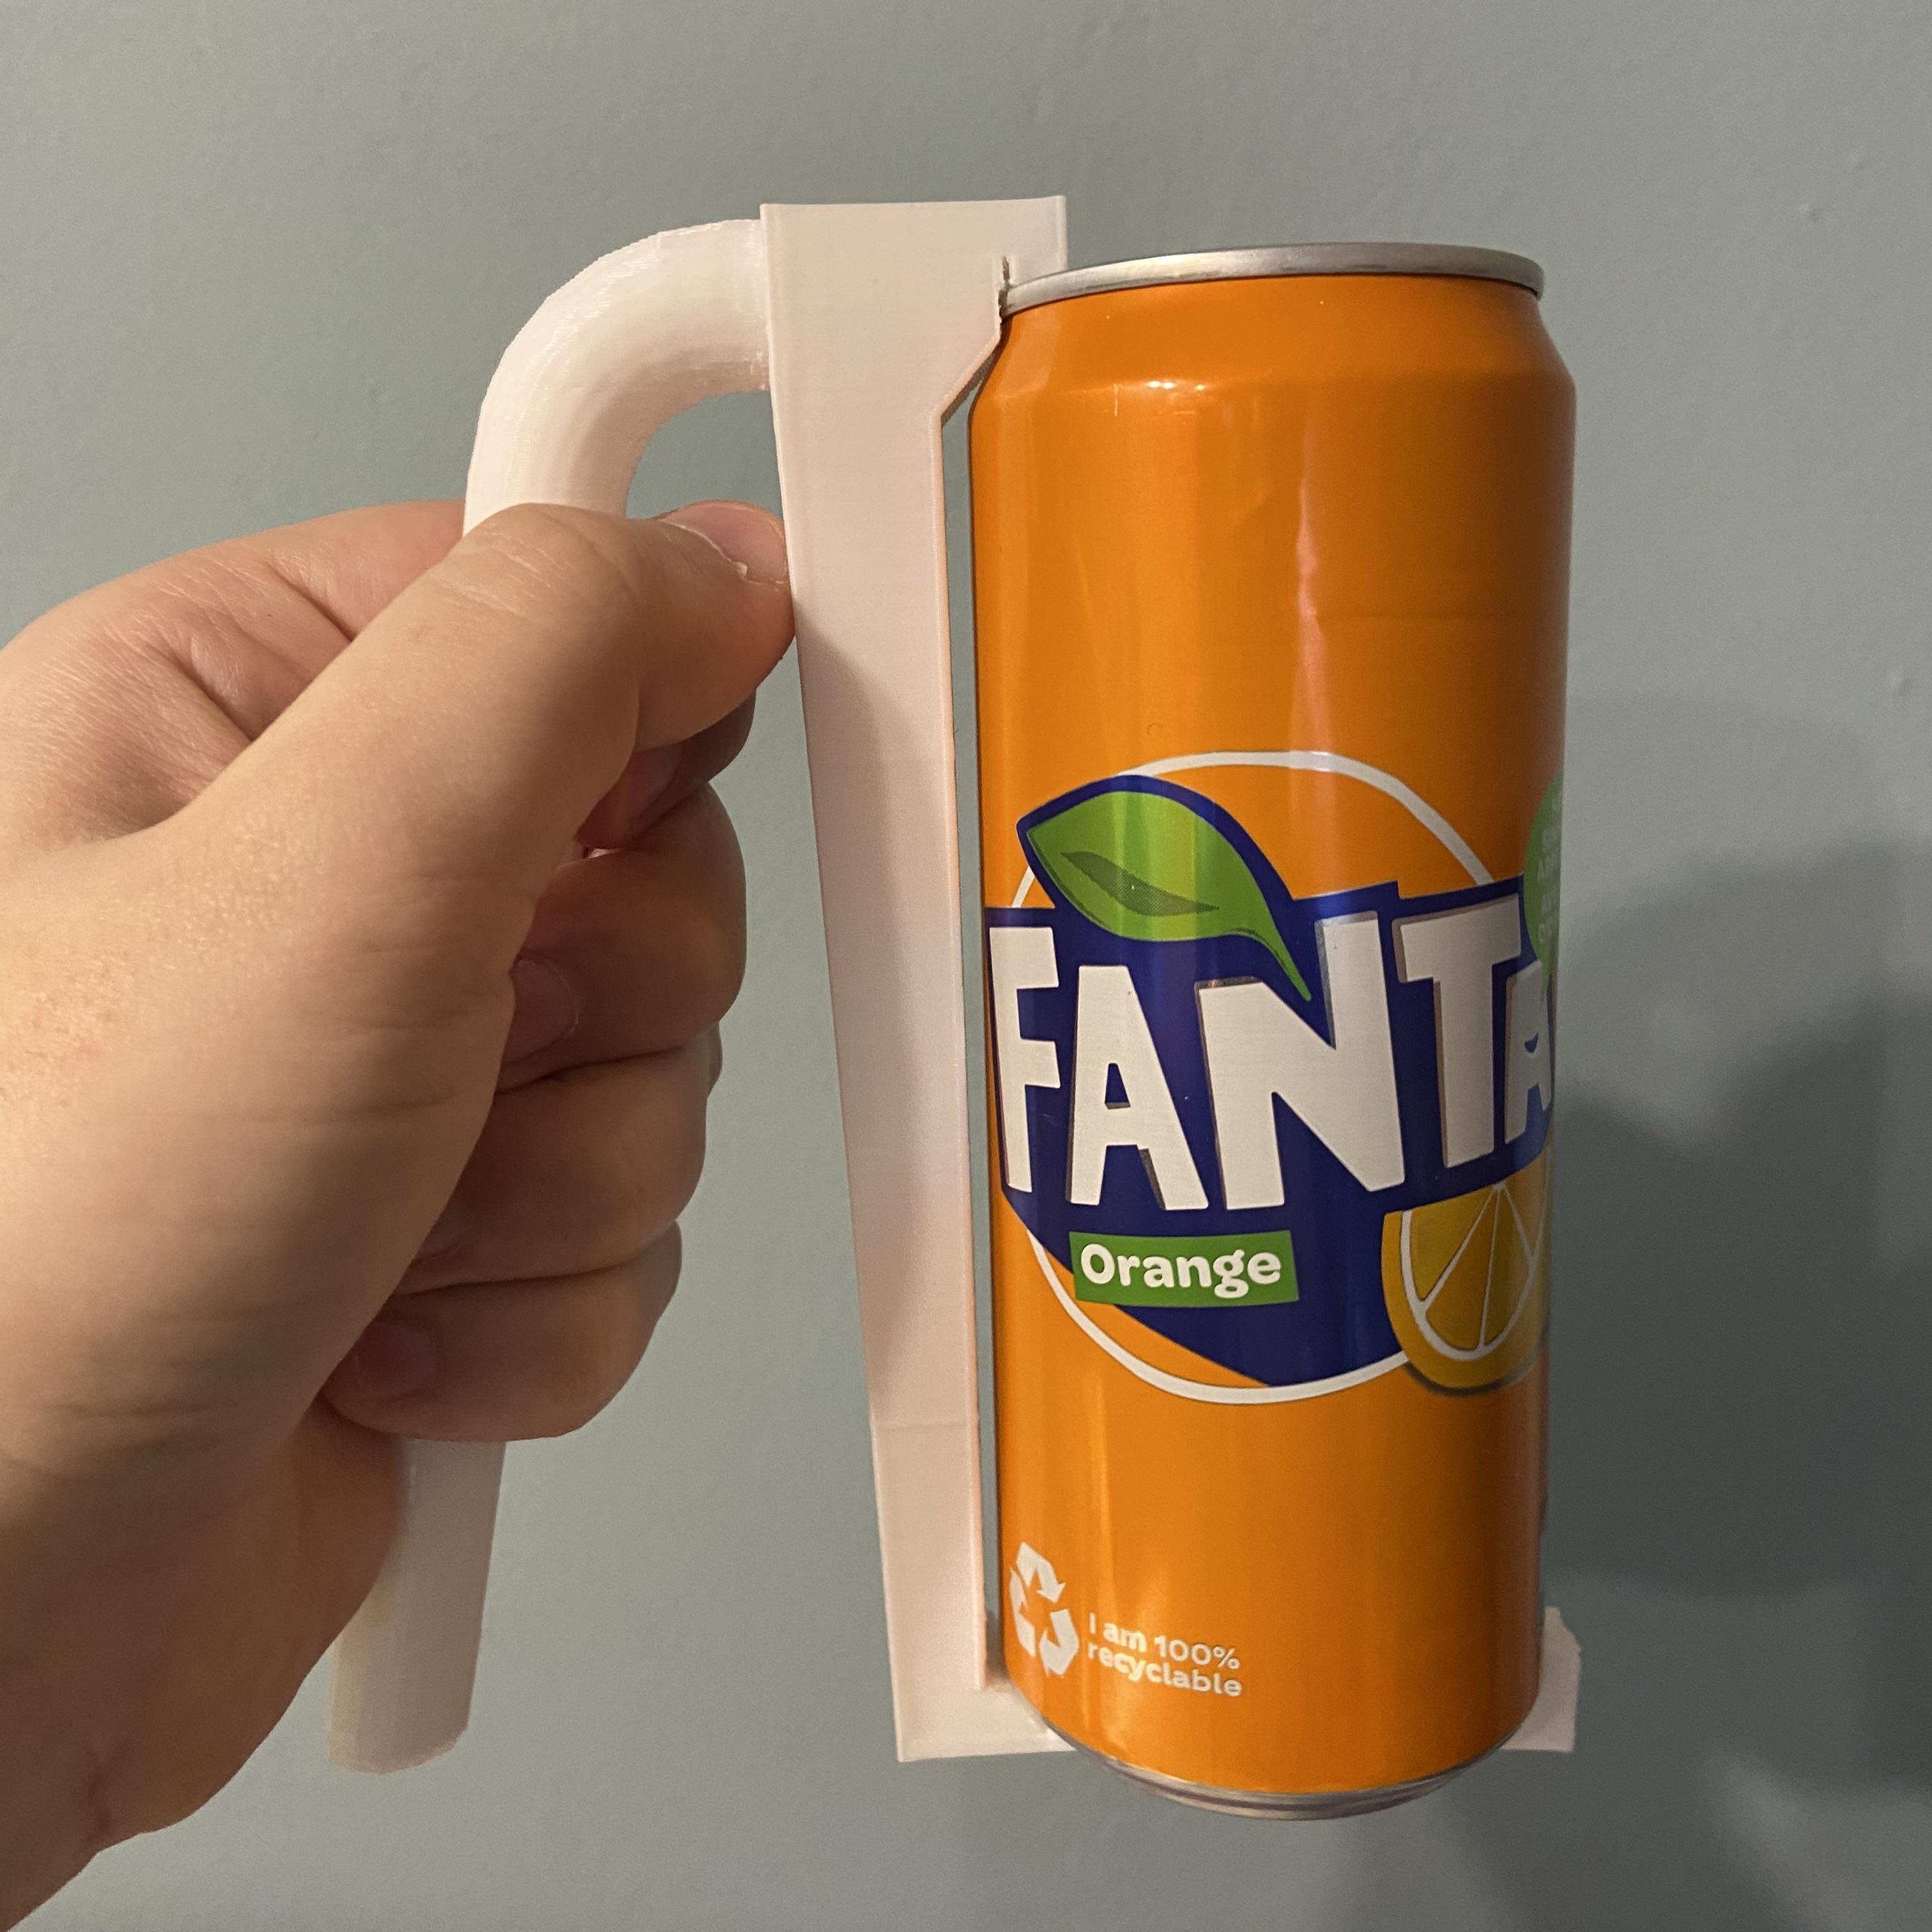
There you go!
You can now enjoy your cold drink without reheating it with your hand or even having to hold a cold can.
Many thanks for reading this article.