How to Make a Calendar in Photoshop
by Ashcraft11 in Circuits > Art
89454 Views, 15 Favorites, 0 Comments
How to Make a Calendar in Photoshop
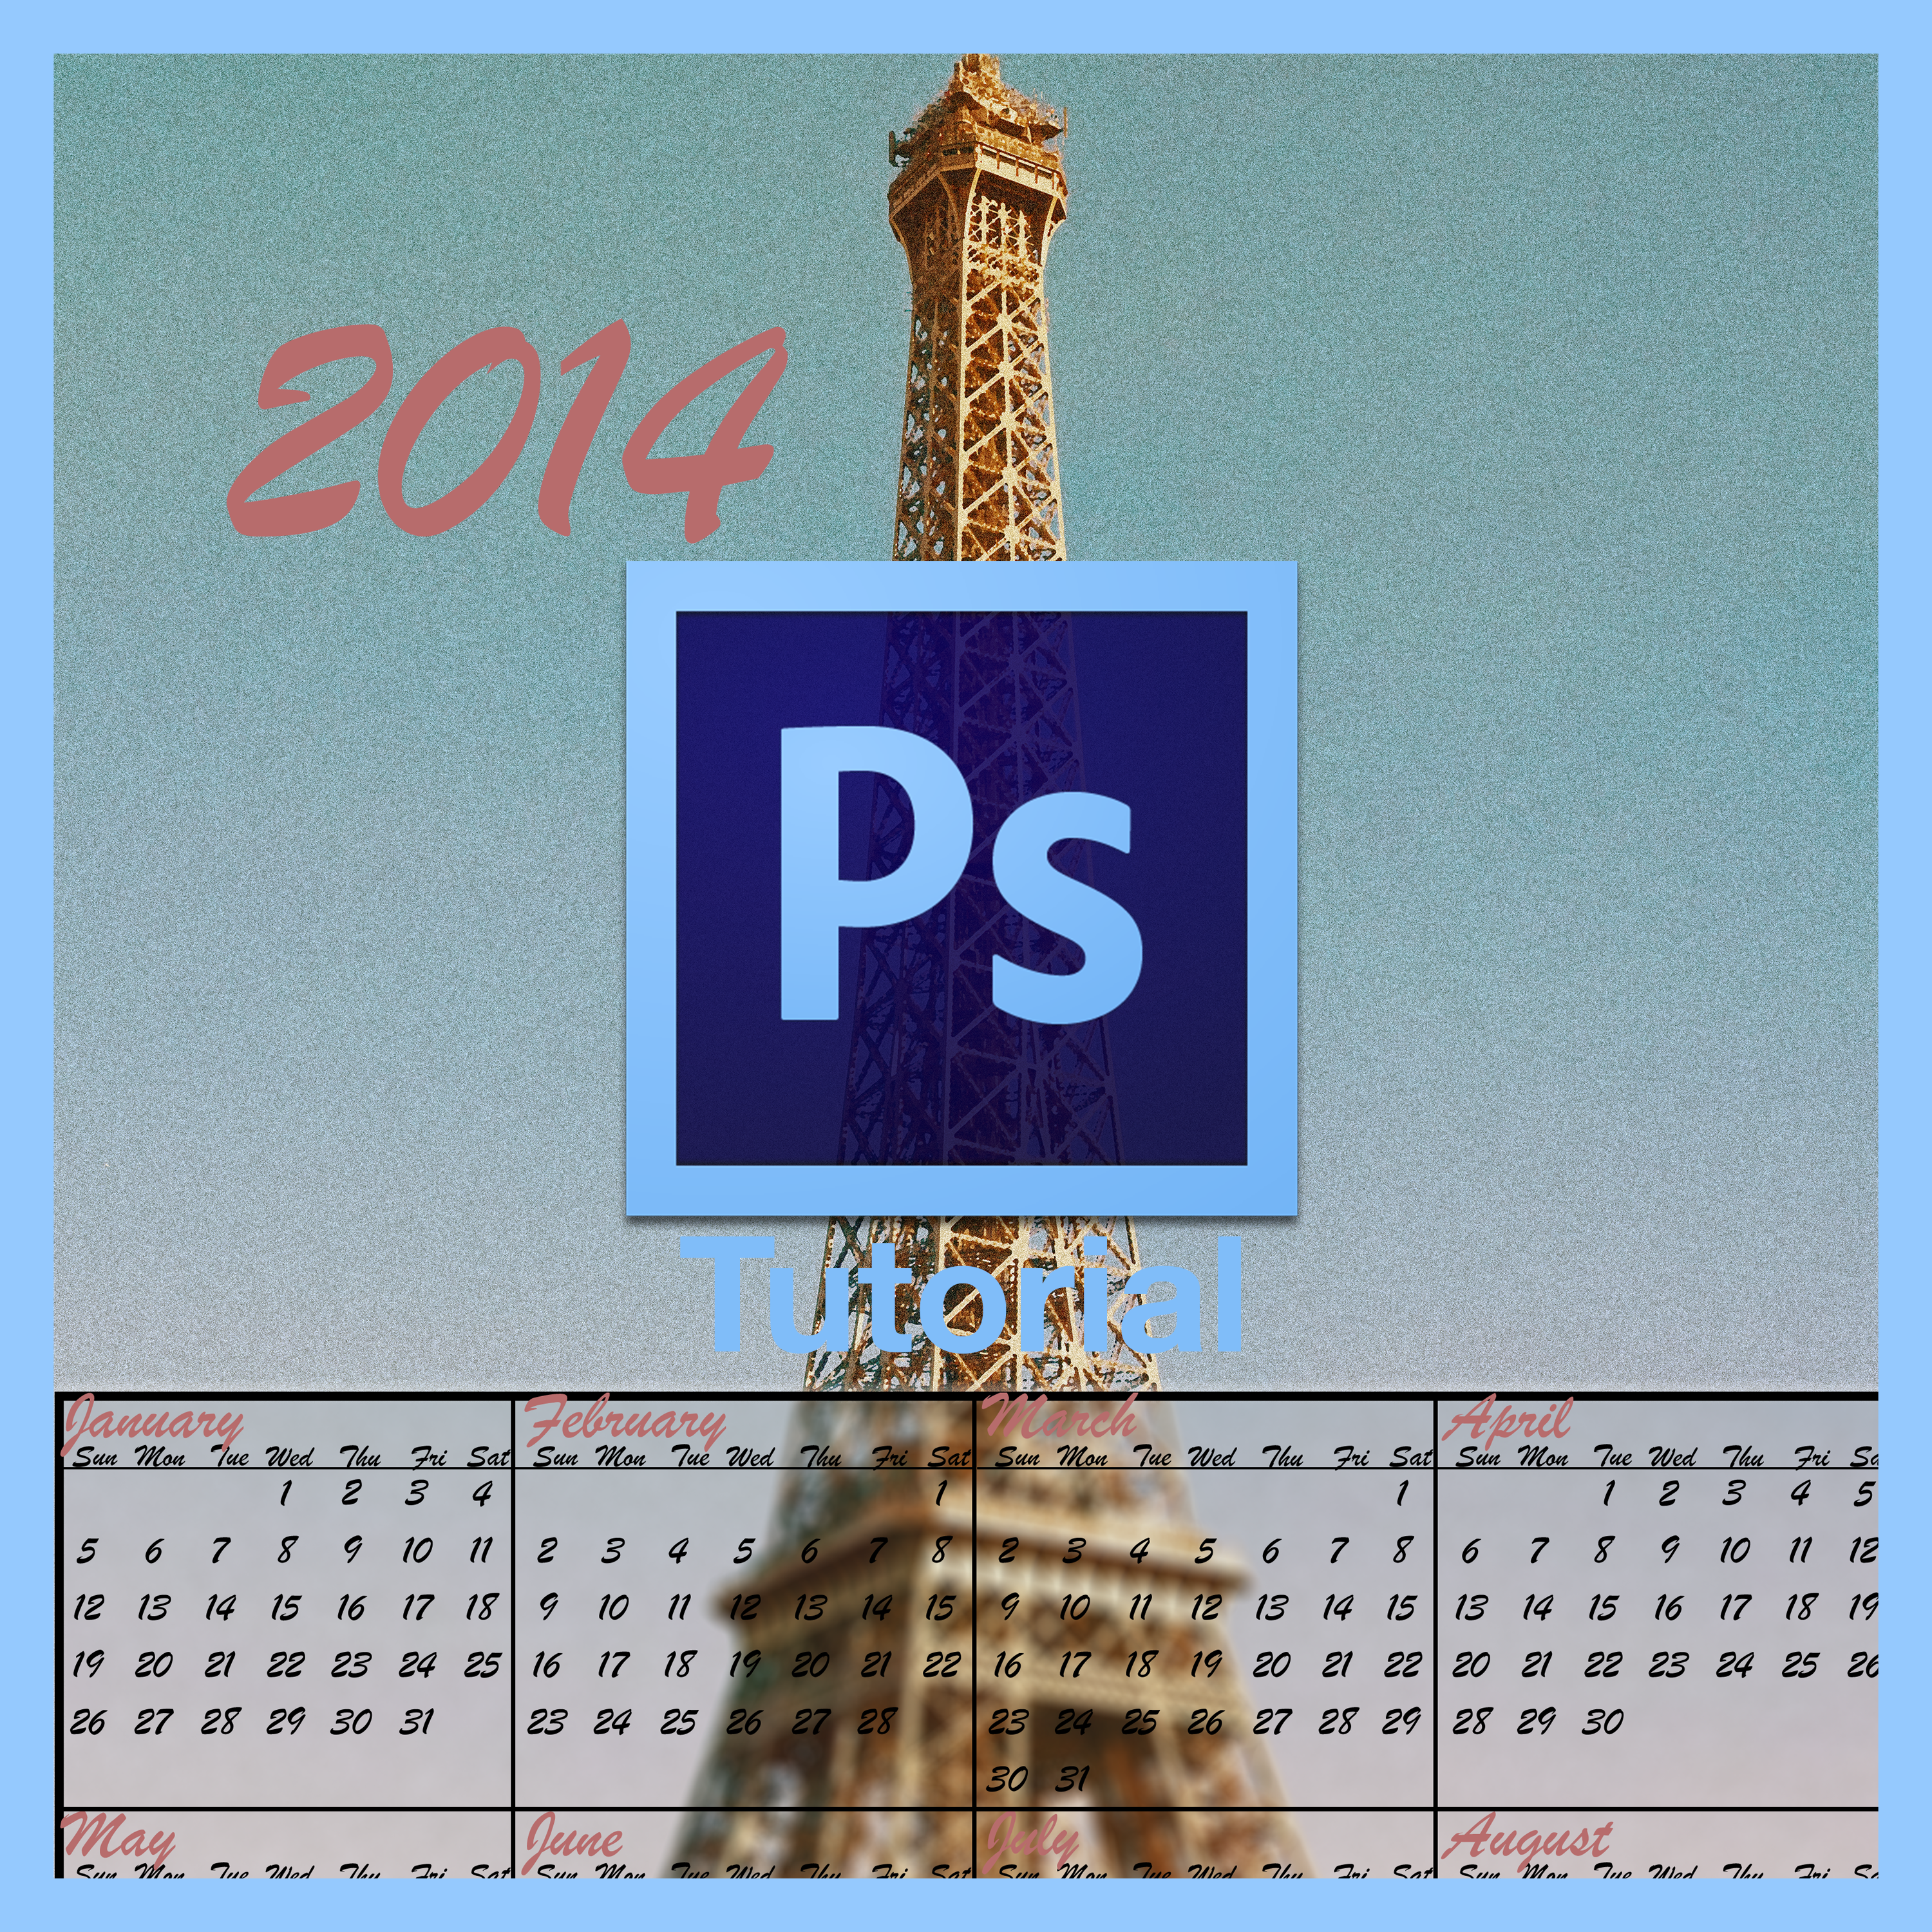
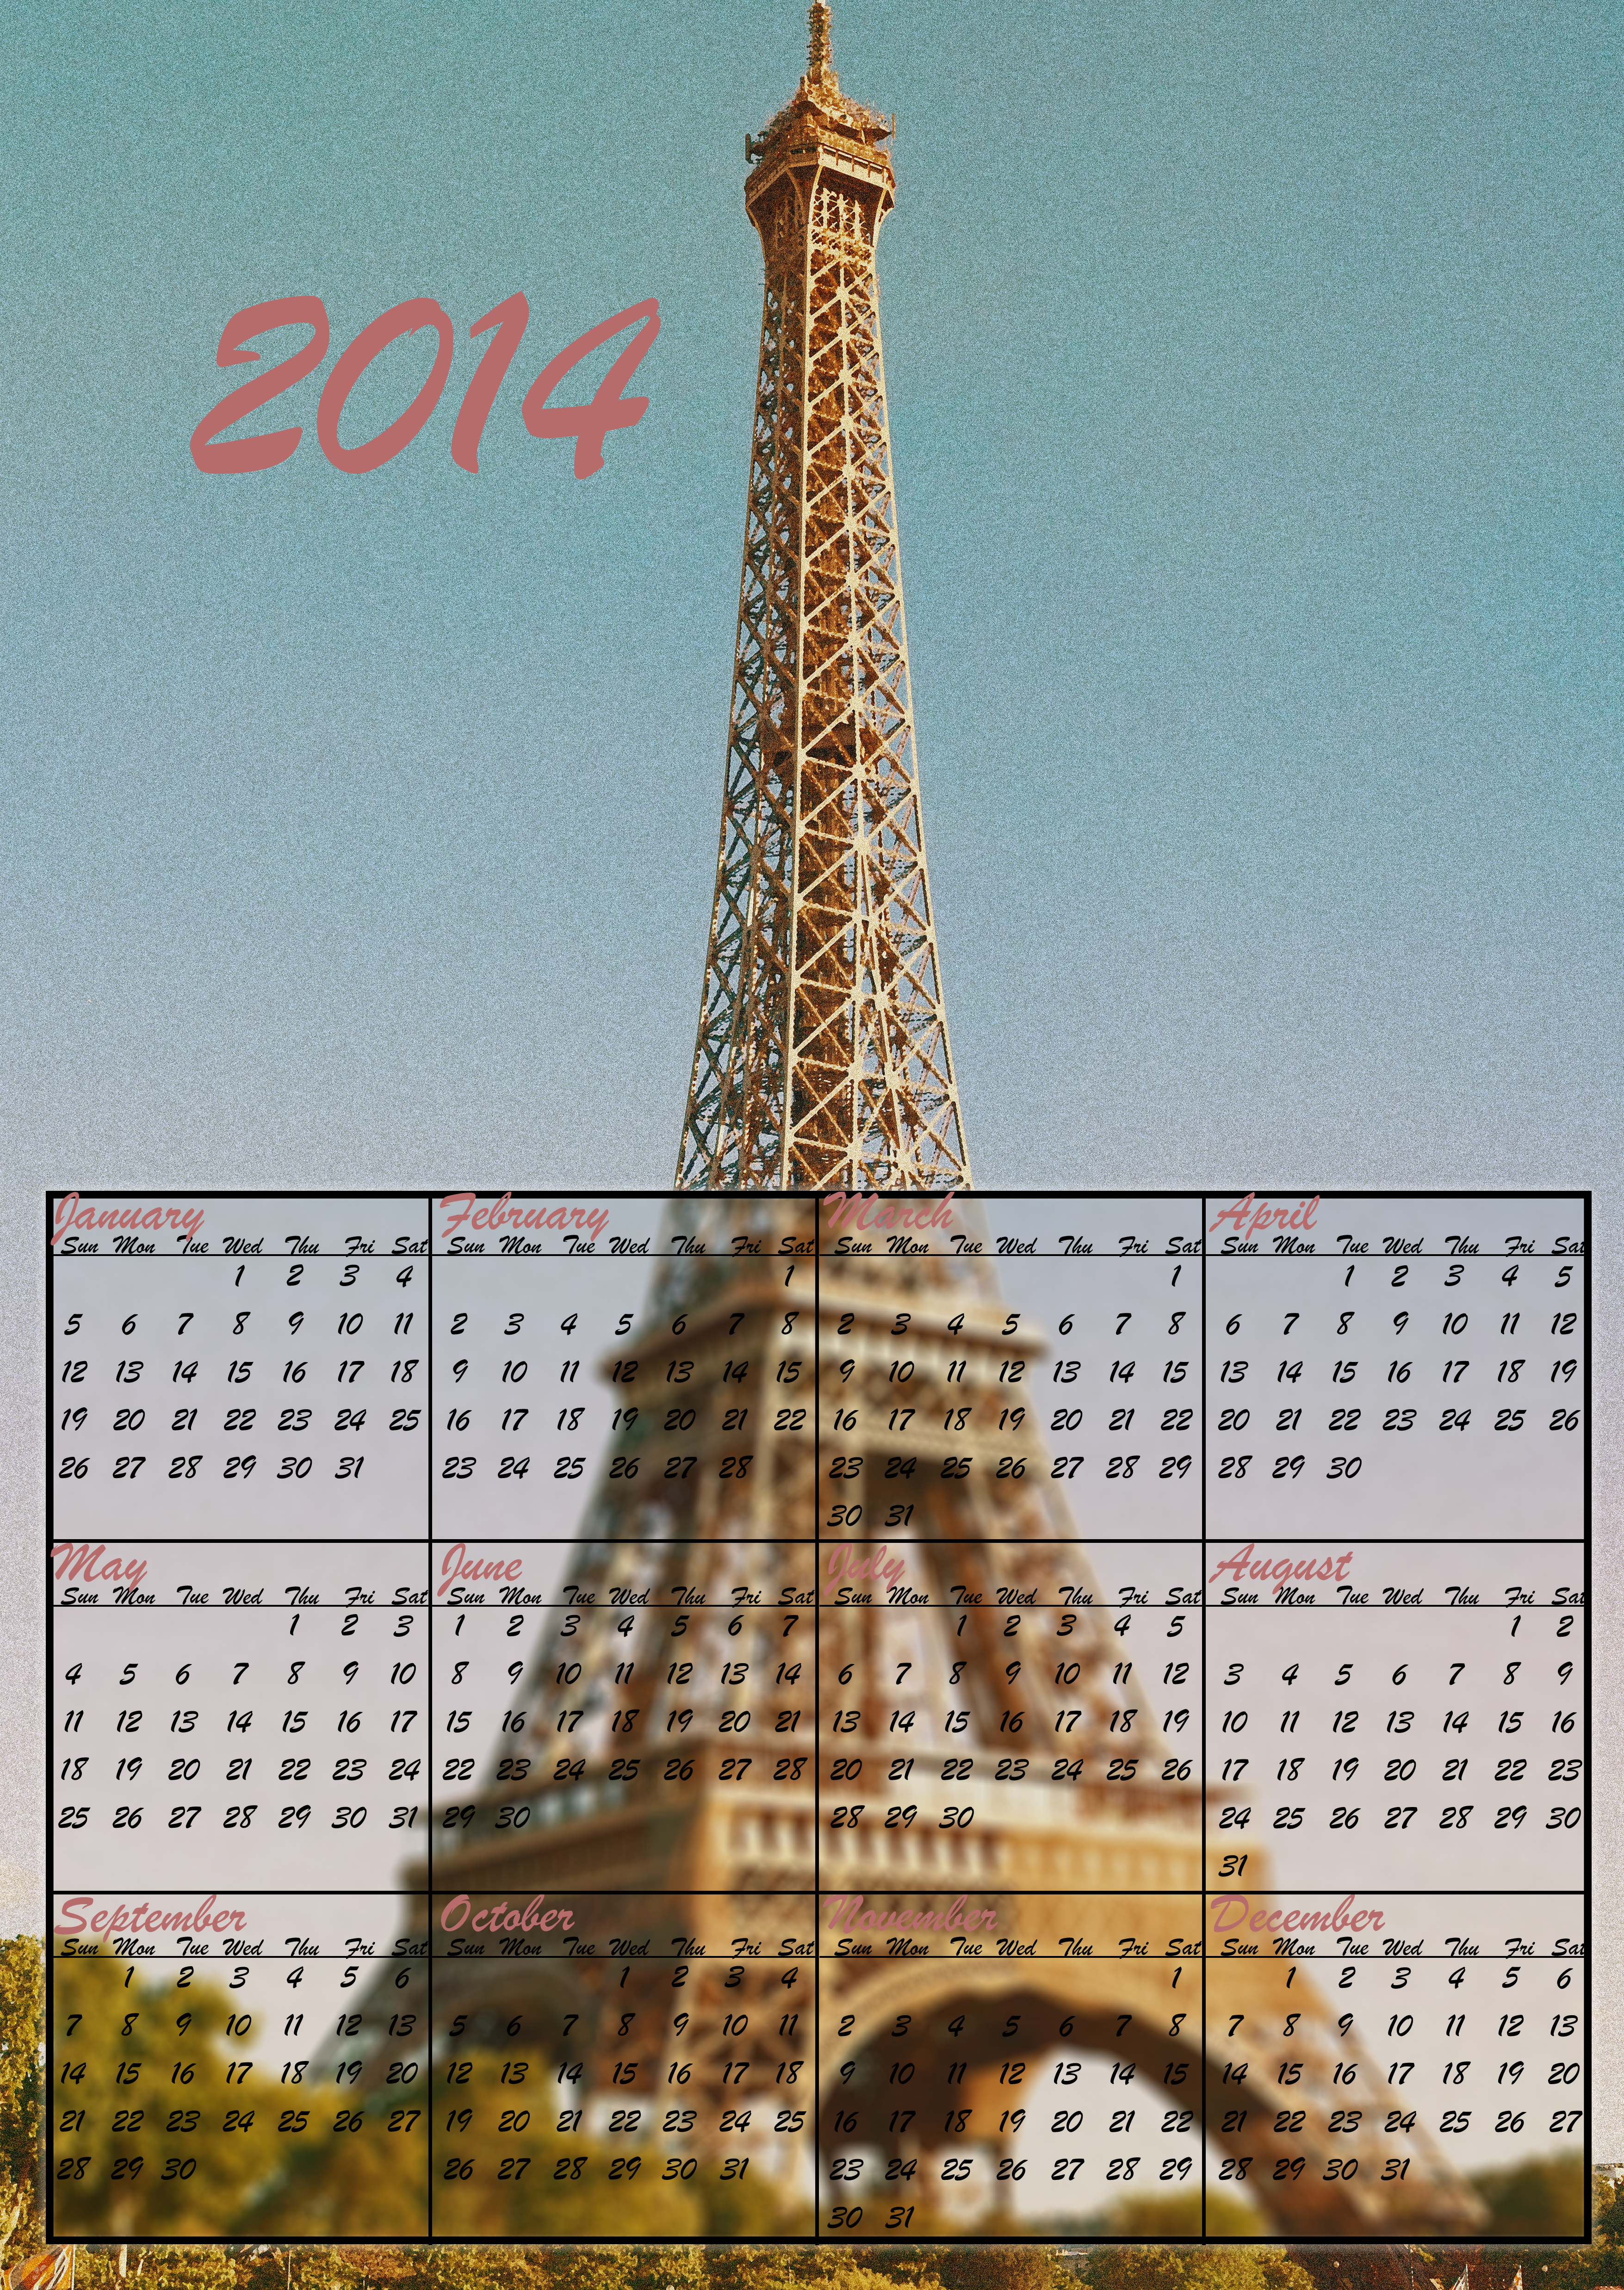
Hi. In this tutorial I will be showing you how to make a Calendar in Photoshop. This project might take some time but it will be worth it. I will be making a year Calendar which shows the entire year on one page.
Contents:
What you will need:
Note:Corresponding picture is names with the step number.
Contents:
- Creating Project and Setting up
- Creating Calendar Background
- Creating Calendar
- Putting it together
What you will need:
- Computer
- Photoshop (I will be using Photoshop CS6)
- Basic understanding of Photoshop.
- If you are new to Photoshop you should check out my 'Basics of Photoshop' Tutorial. I go over the basics of Photoshop and that will help you understand some of the stuff I am doing.
- A Picture for the background of the Calendar.
- Recommended size - Around 3000 Px x 4000 Px
Note:Corresponding picture is names with the step number.
Creating Project and Setting Up
1. Create a new Project. Make it 11.7 x 16.5 Inches @ 300 PPI. Name it what you want to.
2. You will need to make a few guides to make things easy:
3. You will need another project for the calendar. Make it 3341Px x 2277Px @ 300 PPI. Name it what you want to.
4. You will need to make guides to make things accurate:
2. You will need to make a few guides to make things easy:
- 0% - Horizontal & Vertical
- 25% - Horizontal
- 50% - Horizontal & Vertical
- 75% - Horizontal
- 100% - Horizontal & Vertical
3. You will need another project for the calendar. Make it 3341Px x 2277Px @ 300 PPI. Name it what you want to.
4. You will need to make guides to make things accurate:
- 0% - Horizontal
- 6% - Horizontal
- 33.333% - Horizontal
- 66.666% - Horizontal
- 100% - Horizontal
- 0% - Vertical
- 25% - Vertical
- 50% - Vertical
- 75% - Vertical
- 100% - Vertical
- 3.57% - Vertical
- 7.14% - Vertical
- 10.71% - Vertical
- 14.28% - Vertical
- 17.85% - Vertical
- 21.52% - Vertical
- 10.55% - Horizontal
- 15.1% - Horizontal
- 19.65% - Horizontal
- 24.2% Horizontal
- 28.75% - Horizontal
- 39.333% - Horizontal
- 72.666% - Horizontal
Creating Calendar Background
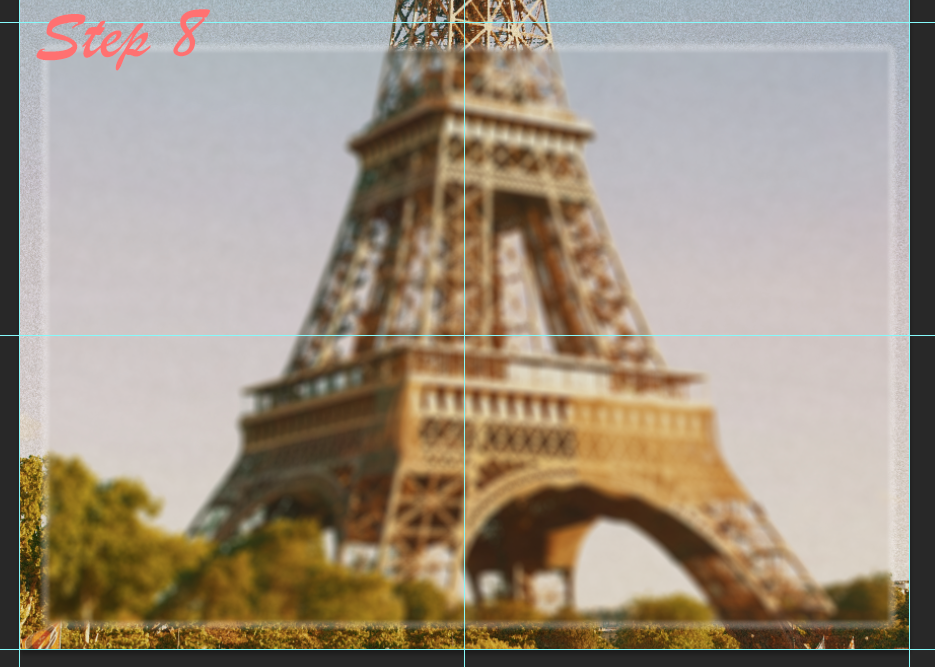
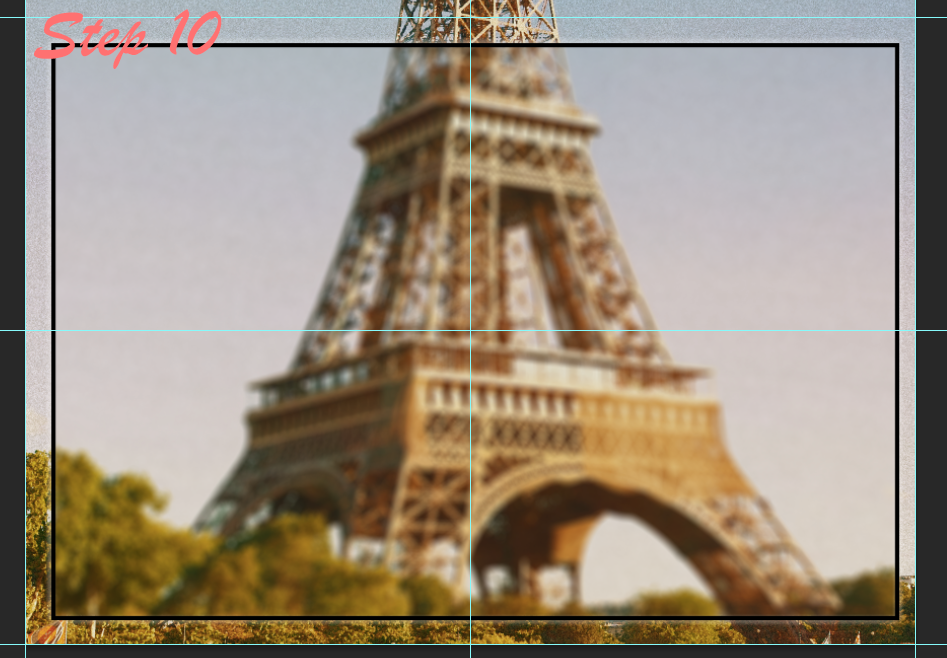
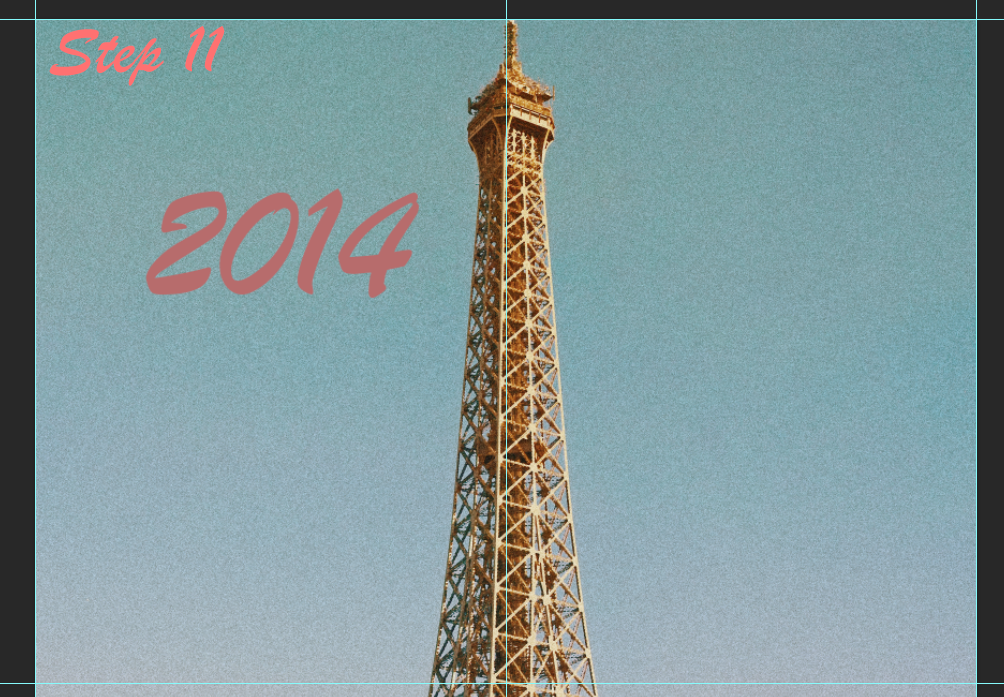
1. Open the first project you created.
2. Now open the picture you chose for the background.
3. Drag it into the project and resize and make it fit to your liking.
4. Zoom into the bottom half.
5. Create 4 new guides.
6. Use the 'Rectangular Marquee Tool' to make the selection of the box made by the new guides.
7. Copy the selection by pressing 'Ctrl/Cmd + C' and past it into a new layer by pressing 'Ctrl/Cmd + V'
8. Now select the layer and go into 'Filter > Blur > Field Blur' then adjust it to your liking, after that click 'Ok'
9. Now select the 'Rectangle Tool'. Make the fill nothing and the Stroke 'Black' @ 4pt.
10. Create a box on the new guides which will give you a border for the calendar to go into.
11. Create a 'Text Box' saying '2014'. Place it anywhere you want to on the top half.
2. Now open the picture you chose for the background.
3. Drag it into the project and resize and make it fit to your liking.
4. Zoom into the bottom half.
5. Create 4 new guides.
- 2% - Vertical
- 98% - Vertical
- 52% - Horizontal
- 98% Horizontal
6. Use the 'Rectangular Marquee Tool' to make the selection of the box made by the new guides.
7. Copy the selection by pressing 'Ctrl/Cmd + C' and past it into a new layer by pressing 'Ctrl/Cmd + V'
8. Now select the layer and go into 'Filter > Blur > Field Blur' then adjust it to your liking, after that click 'Ok'
9. Now select the 'Rectangle Tool'. Make the fill nothing and the Stroke 'Black' @ 4pt.
10. Create a box on the new guides which will give you a border for the calendar to go into.
11. Create a 'Text Box' saying '2014'. Place it anywhere you want to on the top half.
Creating Calendar
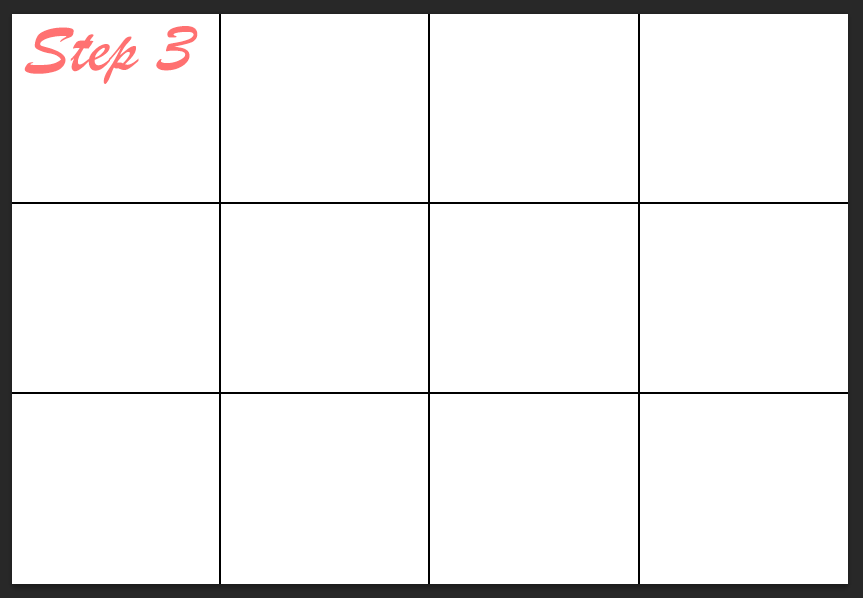
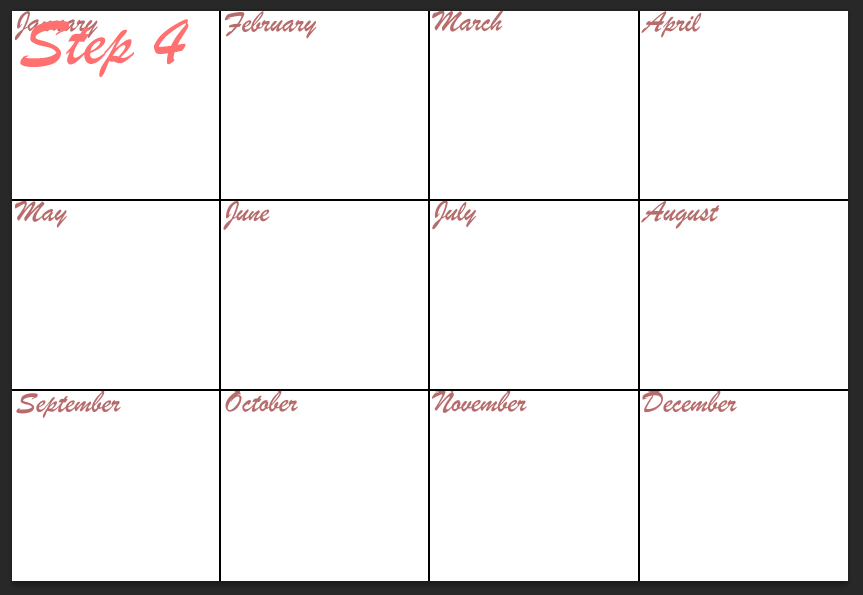
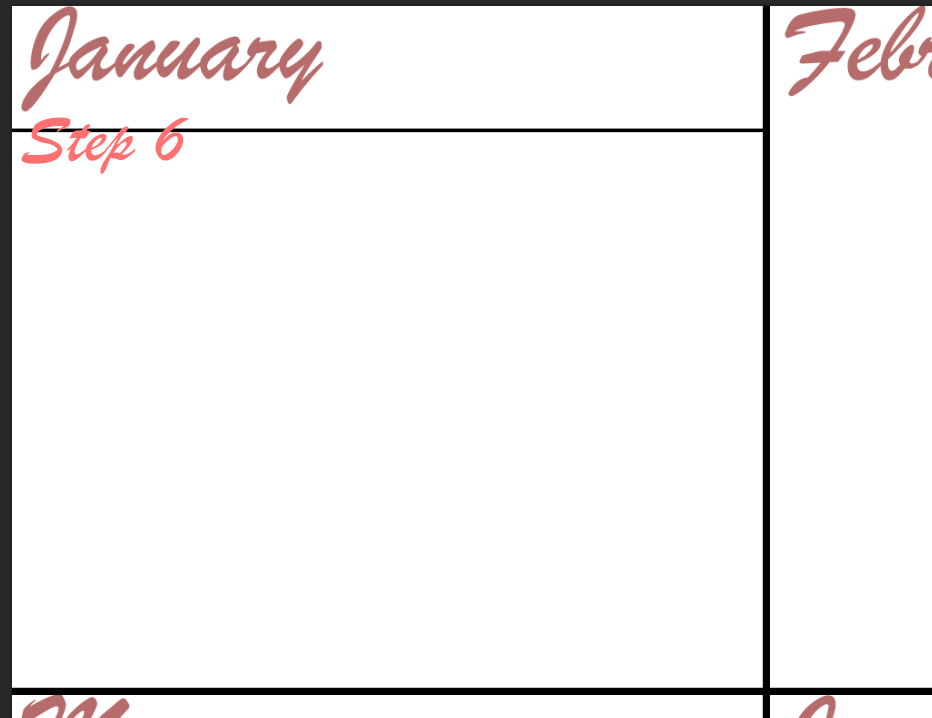
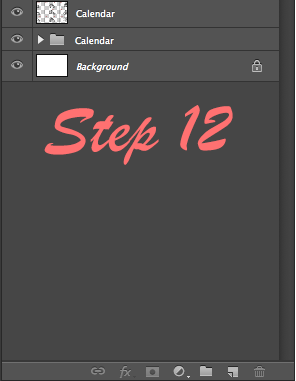
Note: Make sure you organise your layers with groups otherwise it will become a mess.
1. Open the second project you created.
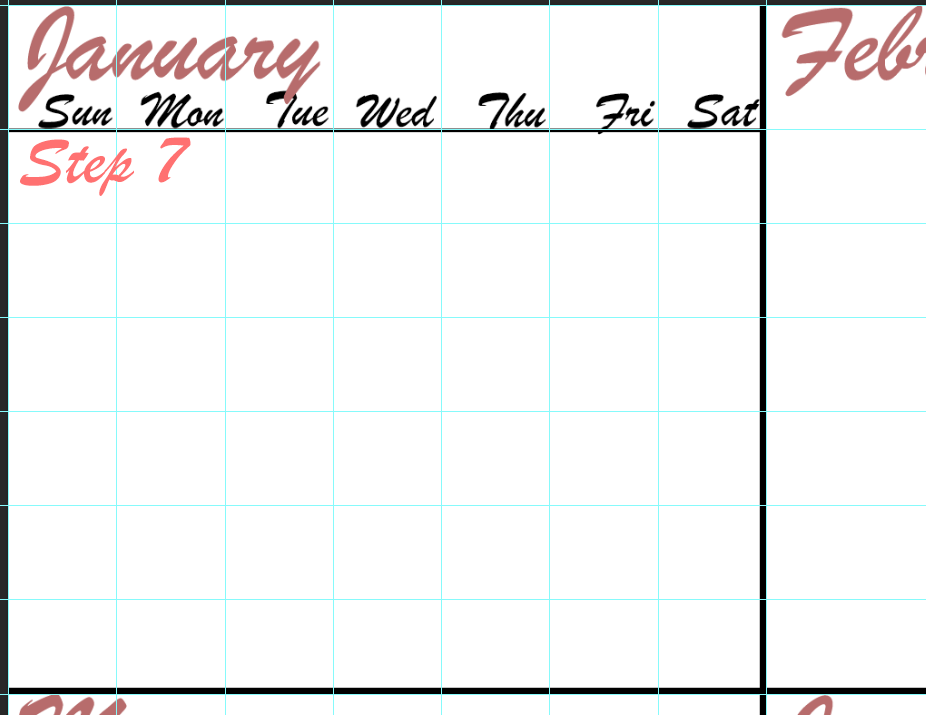
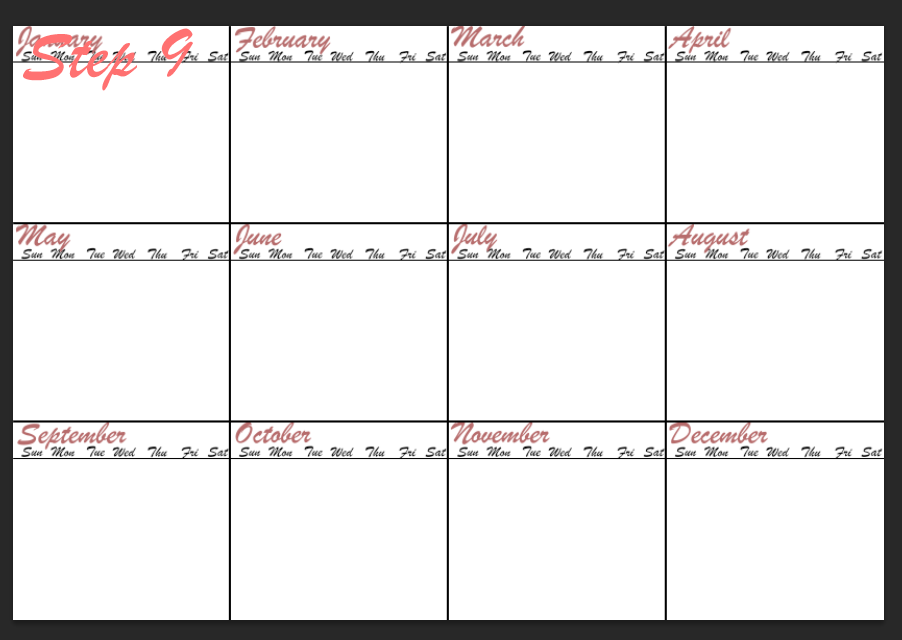
2. Once you have created to guides on the project you should see 12 boxes. Each one represents a month of the year. In the first box you will see smaller boxes, each one of them are the days of the months.
3. Now create lines to separate the months.
4. Now create 12 text boxes and make each one a month of the year. Then arrange them in order and place them at the top of each box. Ex. January, February, Etc...
5. Zoom into the first month.
6. Create a line on the first guide.
7. Now create 7 text boxes and make each one a day of the week. Ex. Mon, Tue, Wed, etc...
8. Place them in order from Sun to Sat. Ex. Sun, Mon..... Fri, Sat.
9. Copy and paste them into each other month.
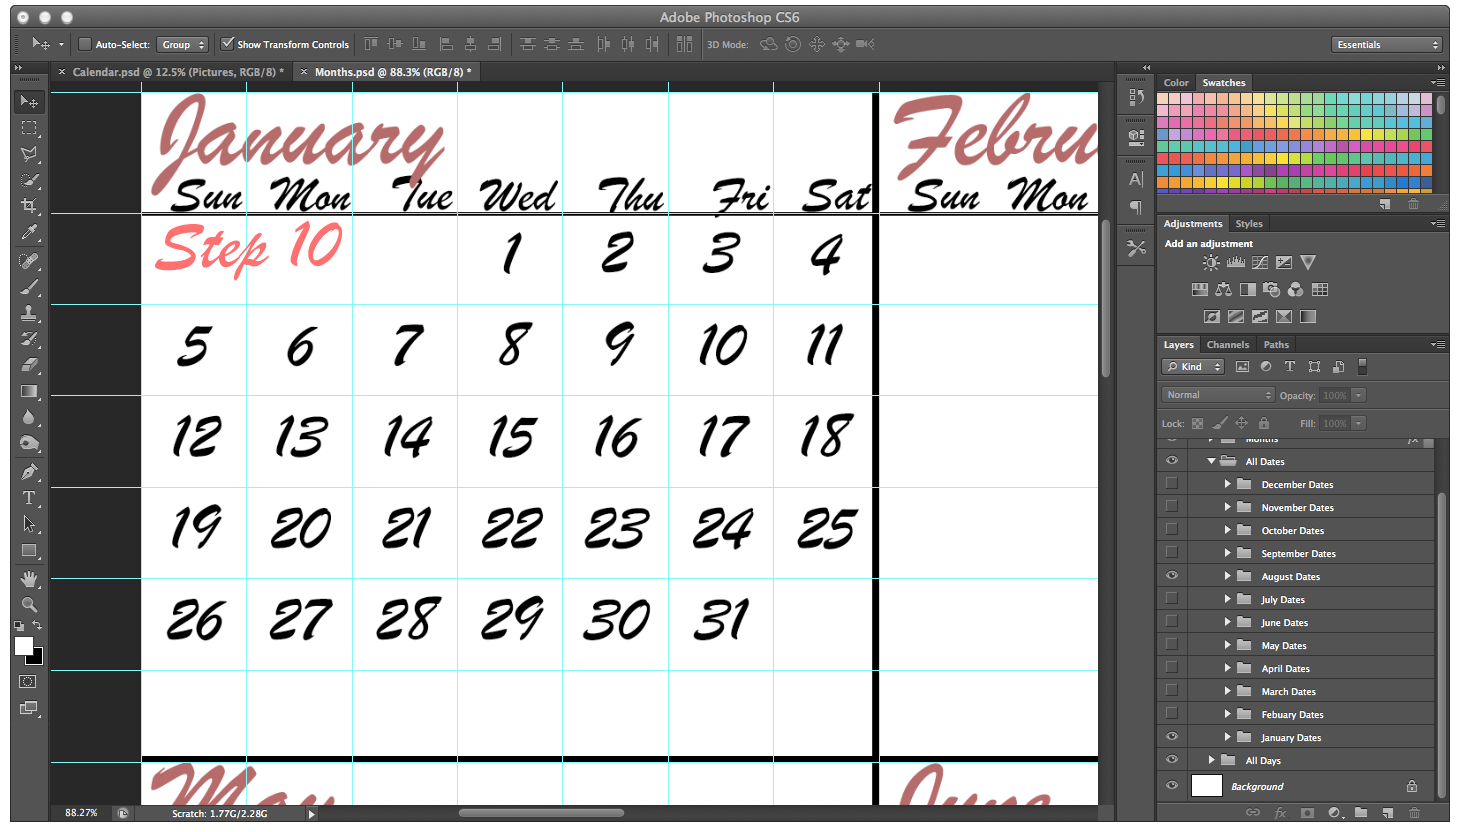
10. Each small box represents a day, so you have to look at a calendar and make text box in each small box and write the date.
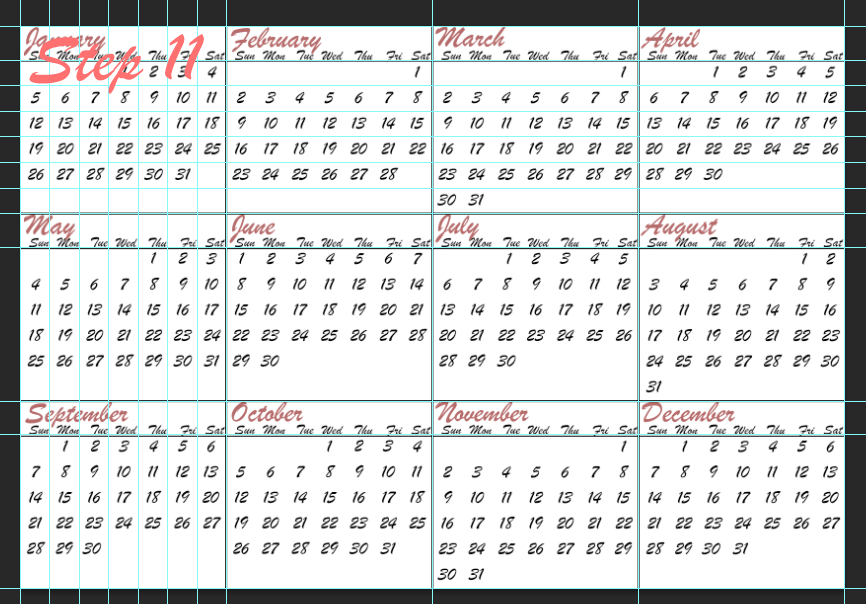
11. Now copy that and place them into each other month and change the dates to complete it.
12. Now duplicate all the files and press 'Ctrl/Cmd + E'. This will make all the layer into one. This will make it easier to move around.
Putting It Together
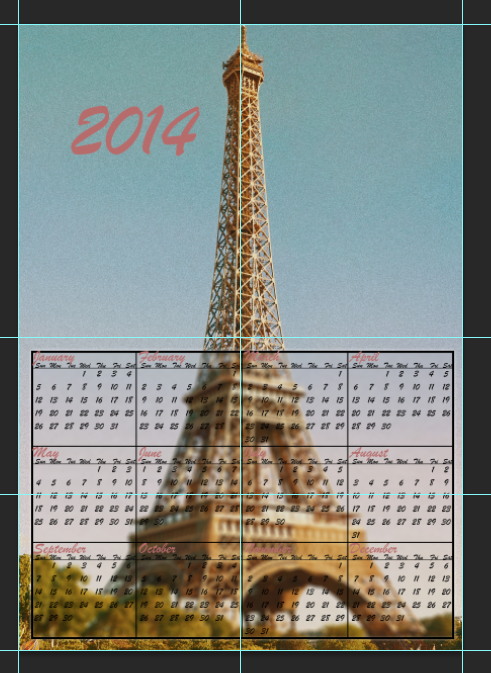
1. Open both projects.
2. Now drag and drop the 'Calendar' into the project with the background Picture.
3. Place it in the box that you created.
4. Centre it and make sure there aren't any lines sticking out of the box.
5. Now save one copy as a 'PSD' and another copy as 'PNG'
6. You can use the 'PNG' to print the calendar. If you want to can save a copy as a 'PDF' as well.
If you have any quesitons or anything to say just leave it in the comments.