How to Make a Butterfly Portable Mirror
by thunderlaser-nolan in Workshop > Laser Cutting
56 Views, 0 Favorites, 0 Comments
How to Make a Butterfly Portable Mirror

Let’s craft a laser cutting butterfly portable mirror!
This sweet and stylish design brings charm and functionality together, and it is perfect as a lovely gift for your best friend, a handy accessory for on-the-go touch-ups, or a delightful treat for yourself.
Keep reading and enjoy a creative laser cutting time filled with beauty and flair!
Supplies
Machine Used
Thunder Bolt 30W
Material Needed
3mm purple & mirror acrylic
Settings
Laser Cutting
- Speed:10mm/s
- Max Power:80%
- Min Power:30%
Laser Stroking
- Speed:80mm/s
- Max Power:15%
- Min Power:15%
Downloads
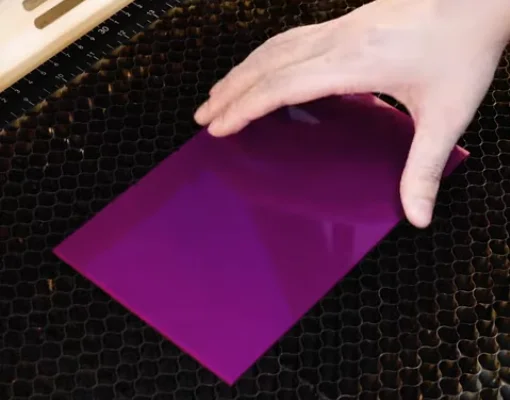
Place Your Acrylic for Laser Cutting
Pick an opaque colored acrylic to be the base and handle of your portable mirror. I went with purple, but feel free to choose whatever color you love! Next, grab a piece of mirrored acrylic, it will become the butterfly-shaped mirror at the center of your design.
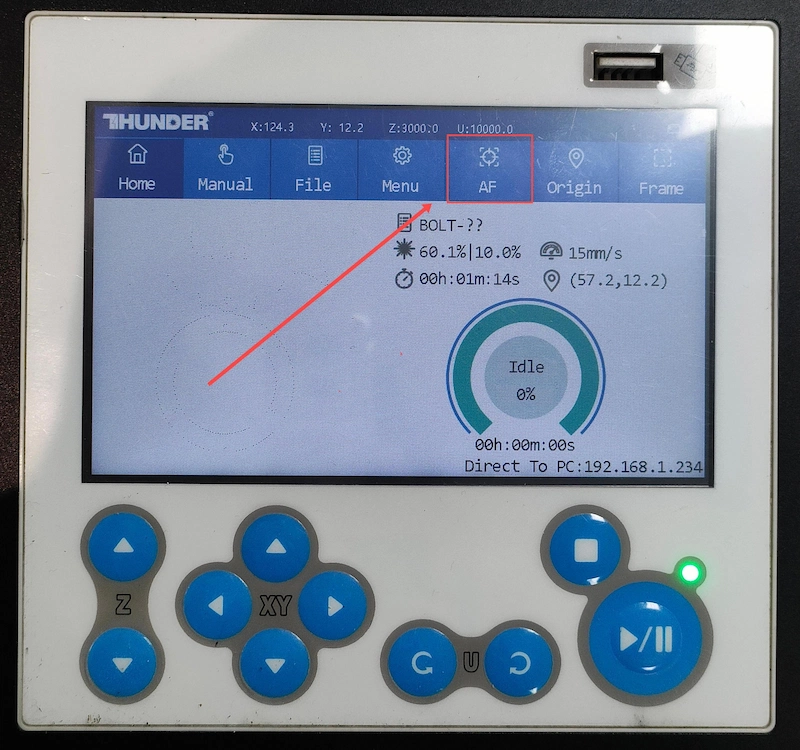
Open the Butterfly Mirror File and Check the Laser Cutting Settings
Import the butterfly mirror design in LightBurn and check if your acrylic size is large enough. To make sure the mirror sits perfectly at the center of the base, here’s a handy tip: add a butterfly outline to the center of the base layer. This way, you can easily align the mirror during assembly.
For laser cutting butterfly mirror with a lot of elements, ensure there are no misalignments or unnecessary overlaps in the file. Double-check everything, and decide if you want to add or subtract elements according to your preferences.
Ensure that the parameters are set correctly:
If the min power is too low, the cutting corners will not cut through; if the min power is too high, the laser cutting will be bad at the corners.

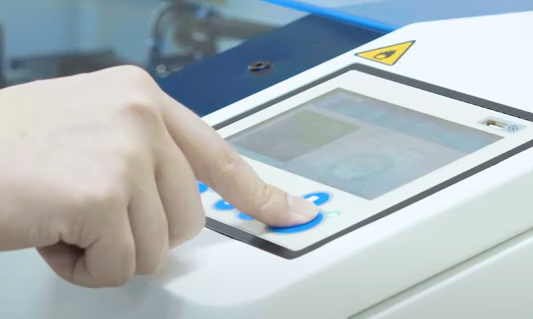
Focus on the Acrylic
When you click “Frame”, the red light will display the laser cutting area. This is a safe process, and the frame will align with the acrylic. Once aligned, simply press “Start” to begin the butterfly mirror laser cutting with the Thunder Bolt!
Frame the Design and Start and Cutting
When you click “Frame”, the red light will display the laser cutting area. This is a safe process, and the frame will align with the acrylic. Once aligned, simply press “Start” to begin the 3D heart laser cutting with the Thunder Bolt!
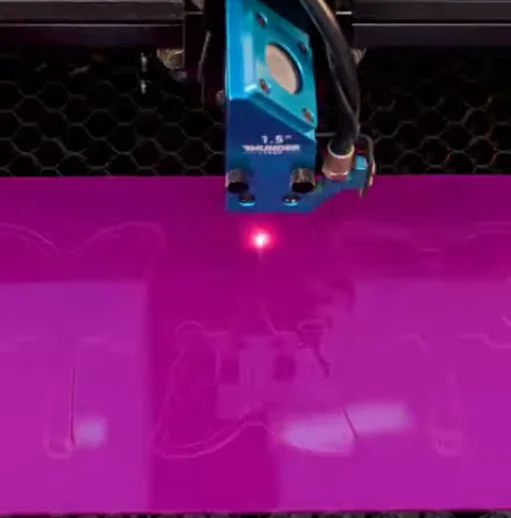
Monitor the Laser Cutting Process
To avoid any issues, carefully monitor the laser cutting, especially when unusual conditions like alarms arise.
Considering the laser cutting energy, for safety reasons, we advise against staring directly at the process, even with the laser door closed.
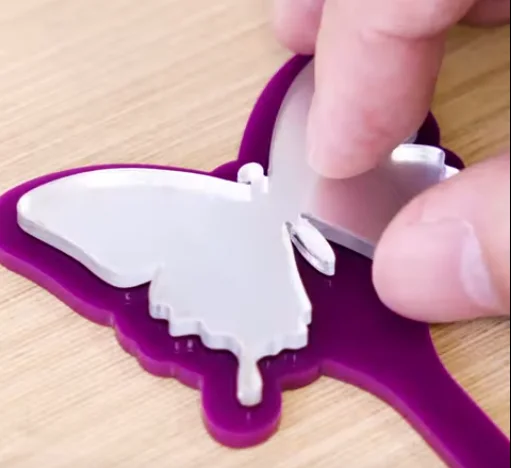
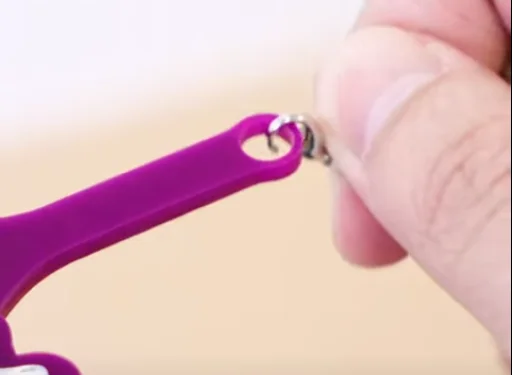
Assemble the Butterfly Portable Mirror
When the acrylic laser cutting is completed, it’s time to get the parts out. Then it’s just a fun assembly time to get the ideal butterfly mirror. Just glue the mirror acrylic onto the base, aligning it with the outline, and then attach a chain to the end of the handle. Now you’re done!
Come and Try!
Laser cutting on butterfly-shaped acrylic mirrors brings elegance, clarity, and a playful charm to every piece. Whether you’re crafting a thoughtful gift for a friend, a sweet surprise for a child, or a stylish accessory for daily touch-ups, these portable mirrors are a beautiful blend of function and personality.
Want to turn a simple mirror into something delightful and meaningful? Laser cutting makes it easy to add that extra touch of creativity and care that makes each one feel special.