How to Make a Bluetooth Speaker (3d Printable)
by shuang peng in Circuits > Audio
3268 Views, 16 Favorites, 0 Comments
How to Make a Bluetooth Speaker (3d Printable)
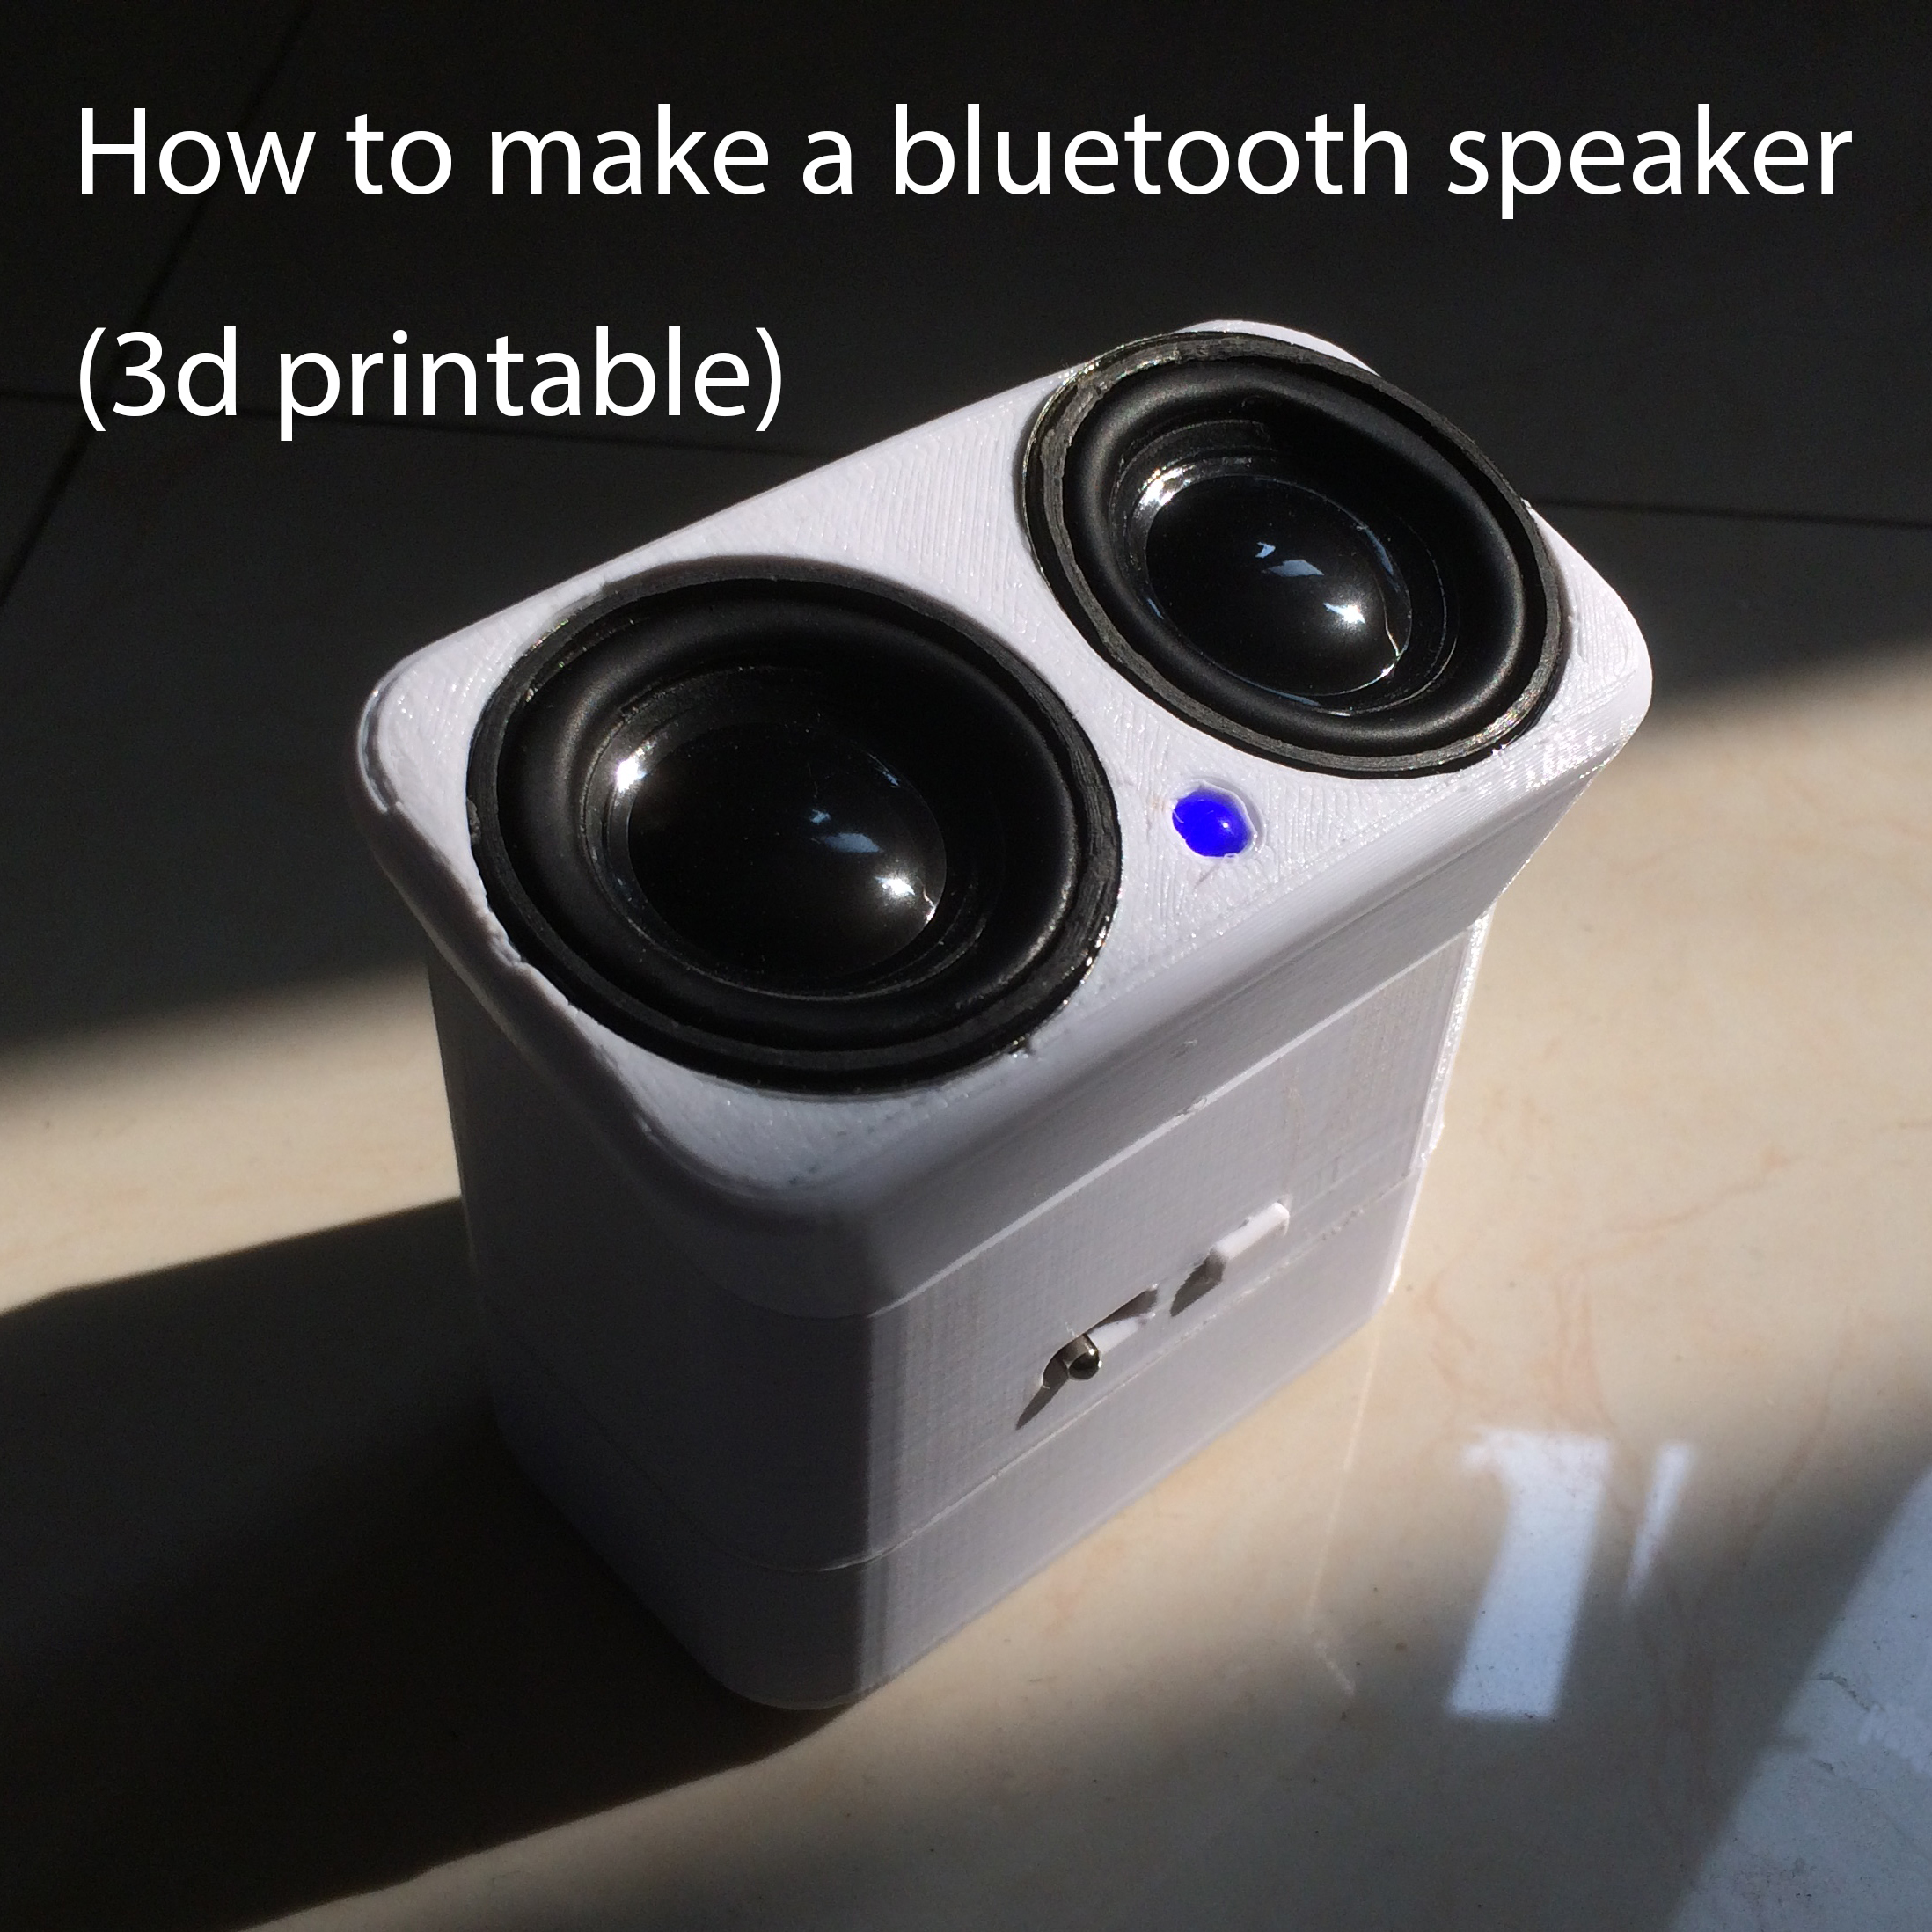
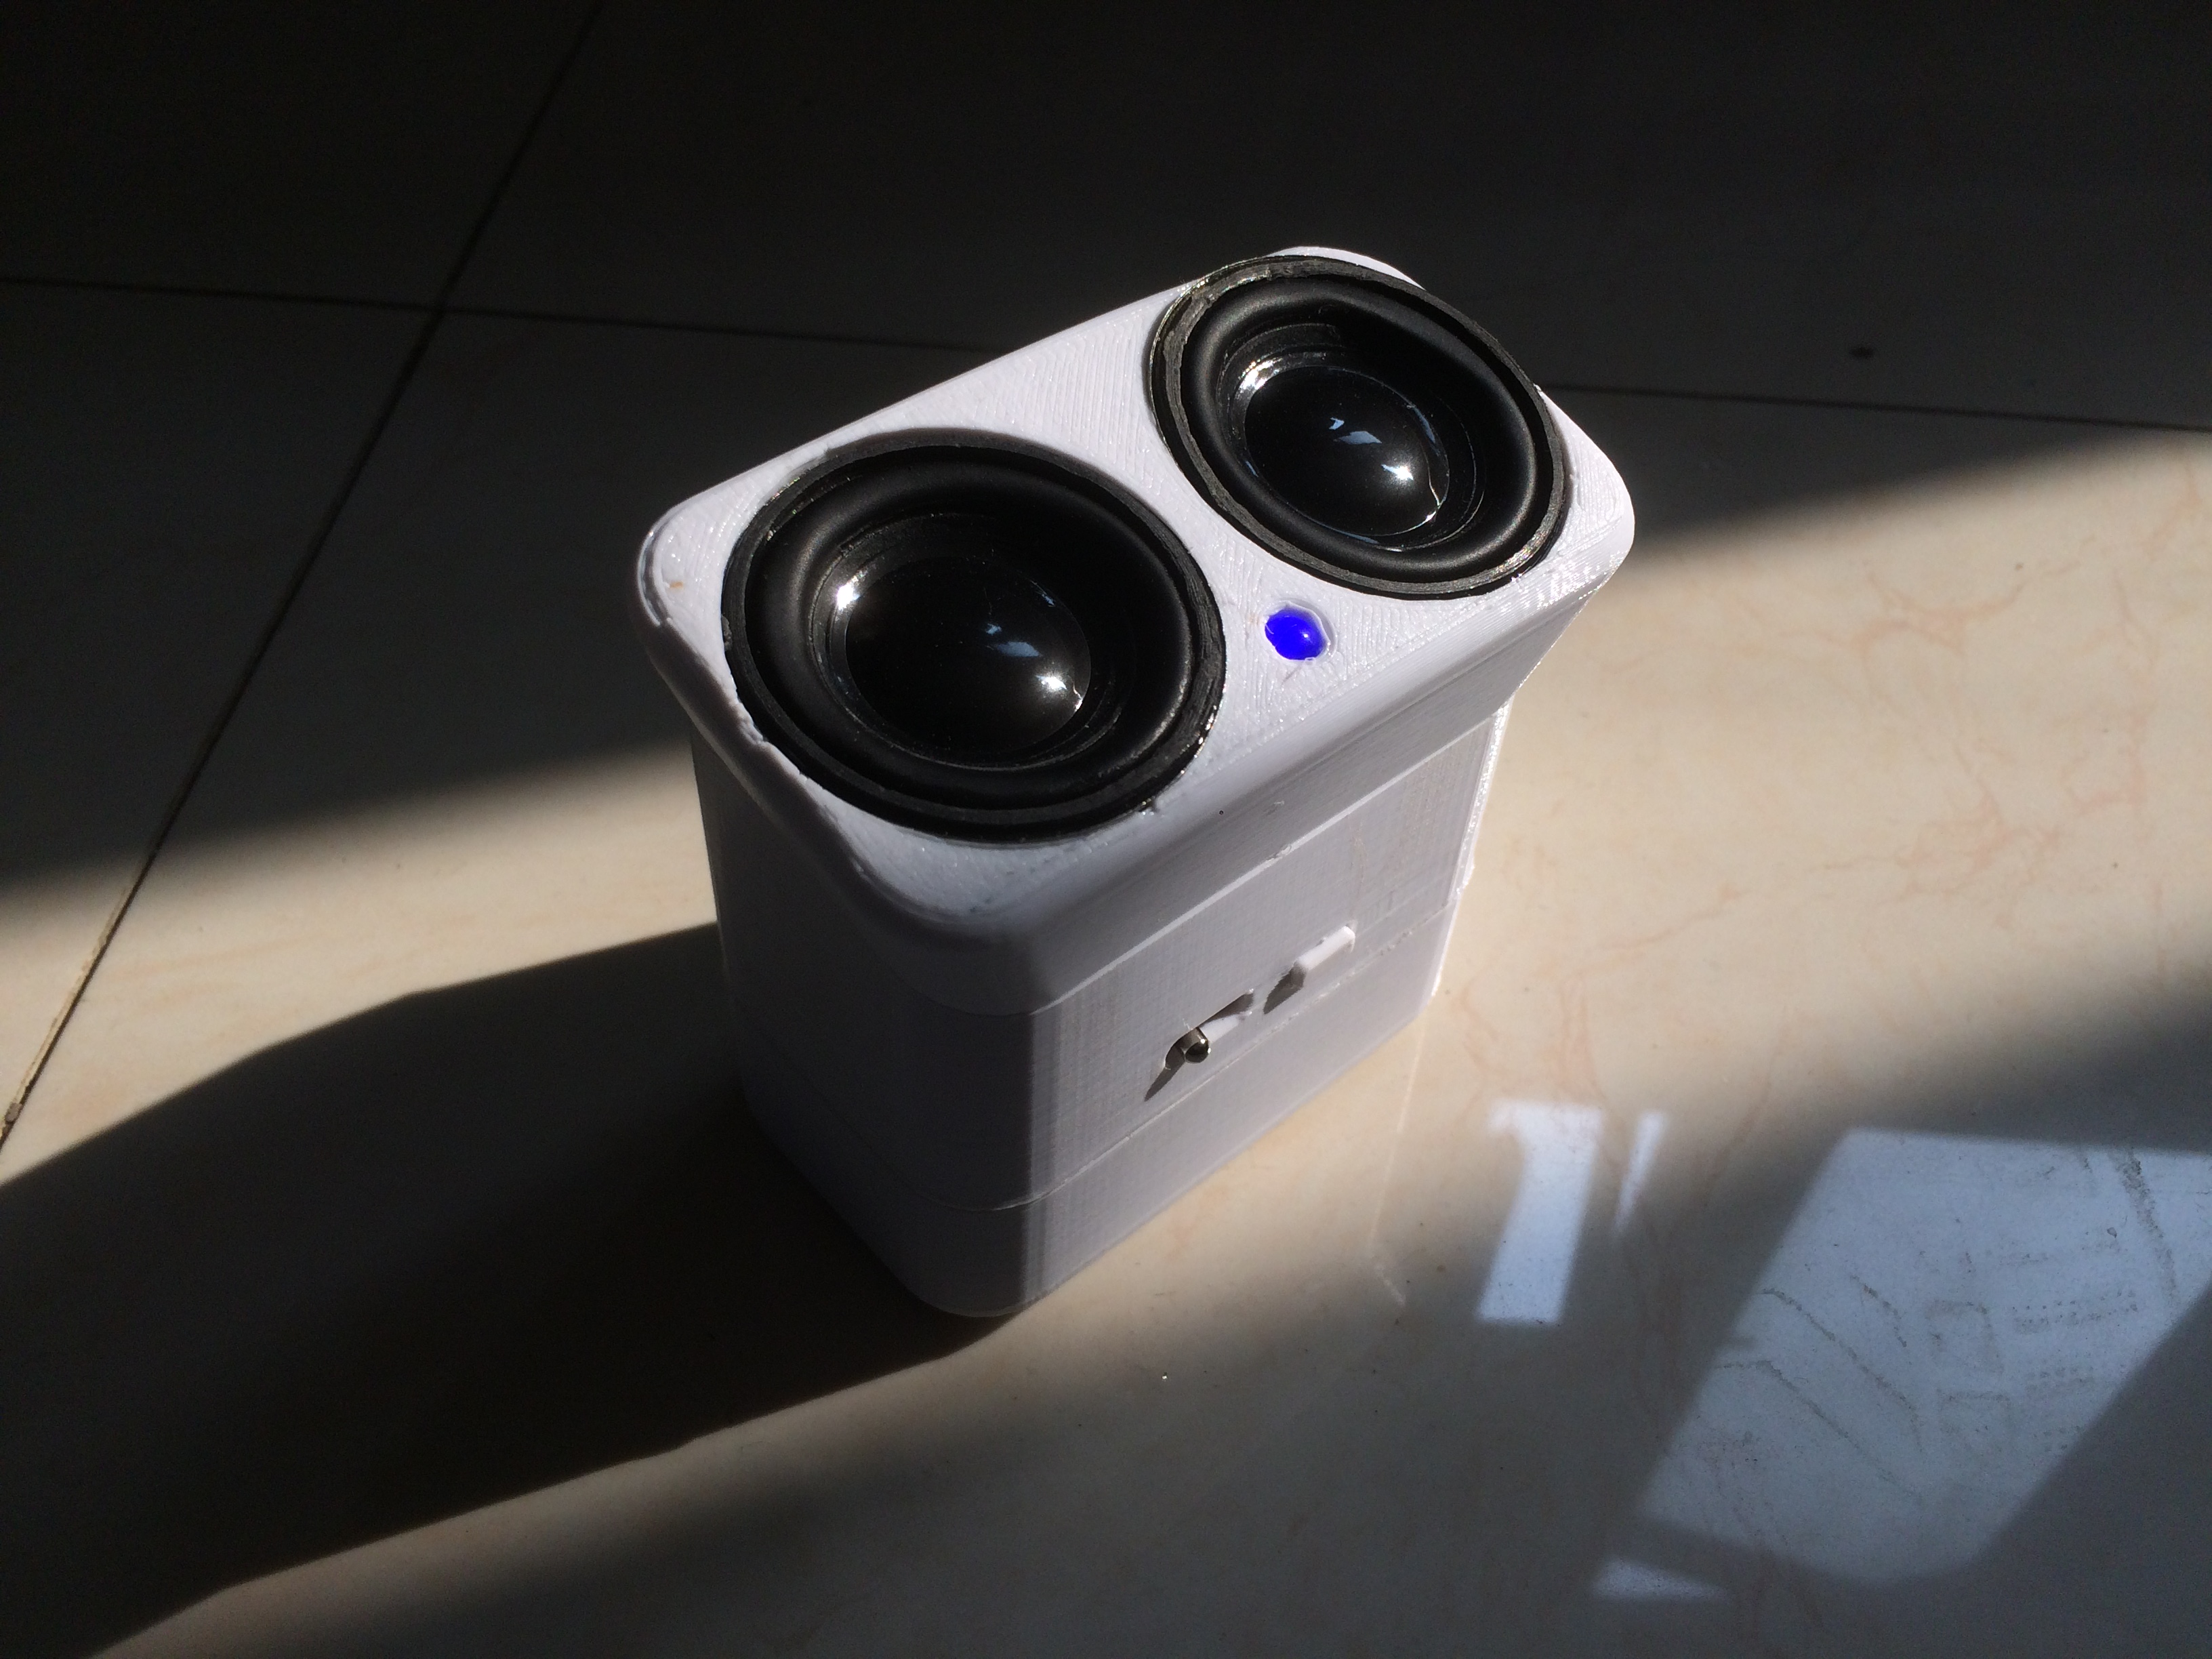
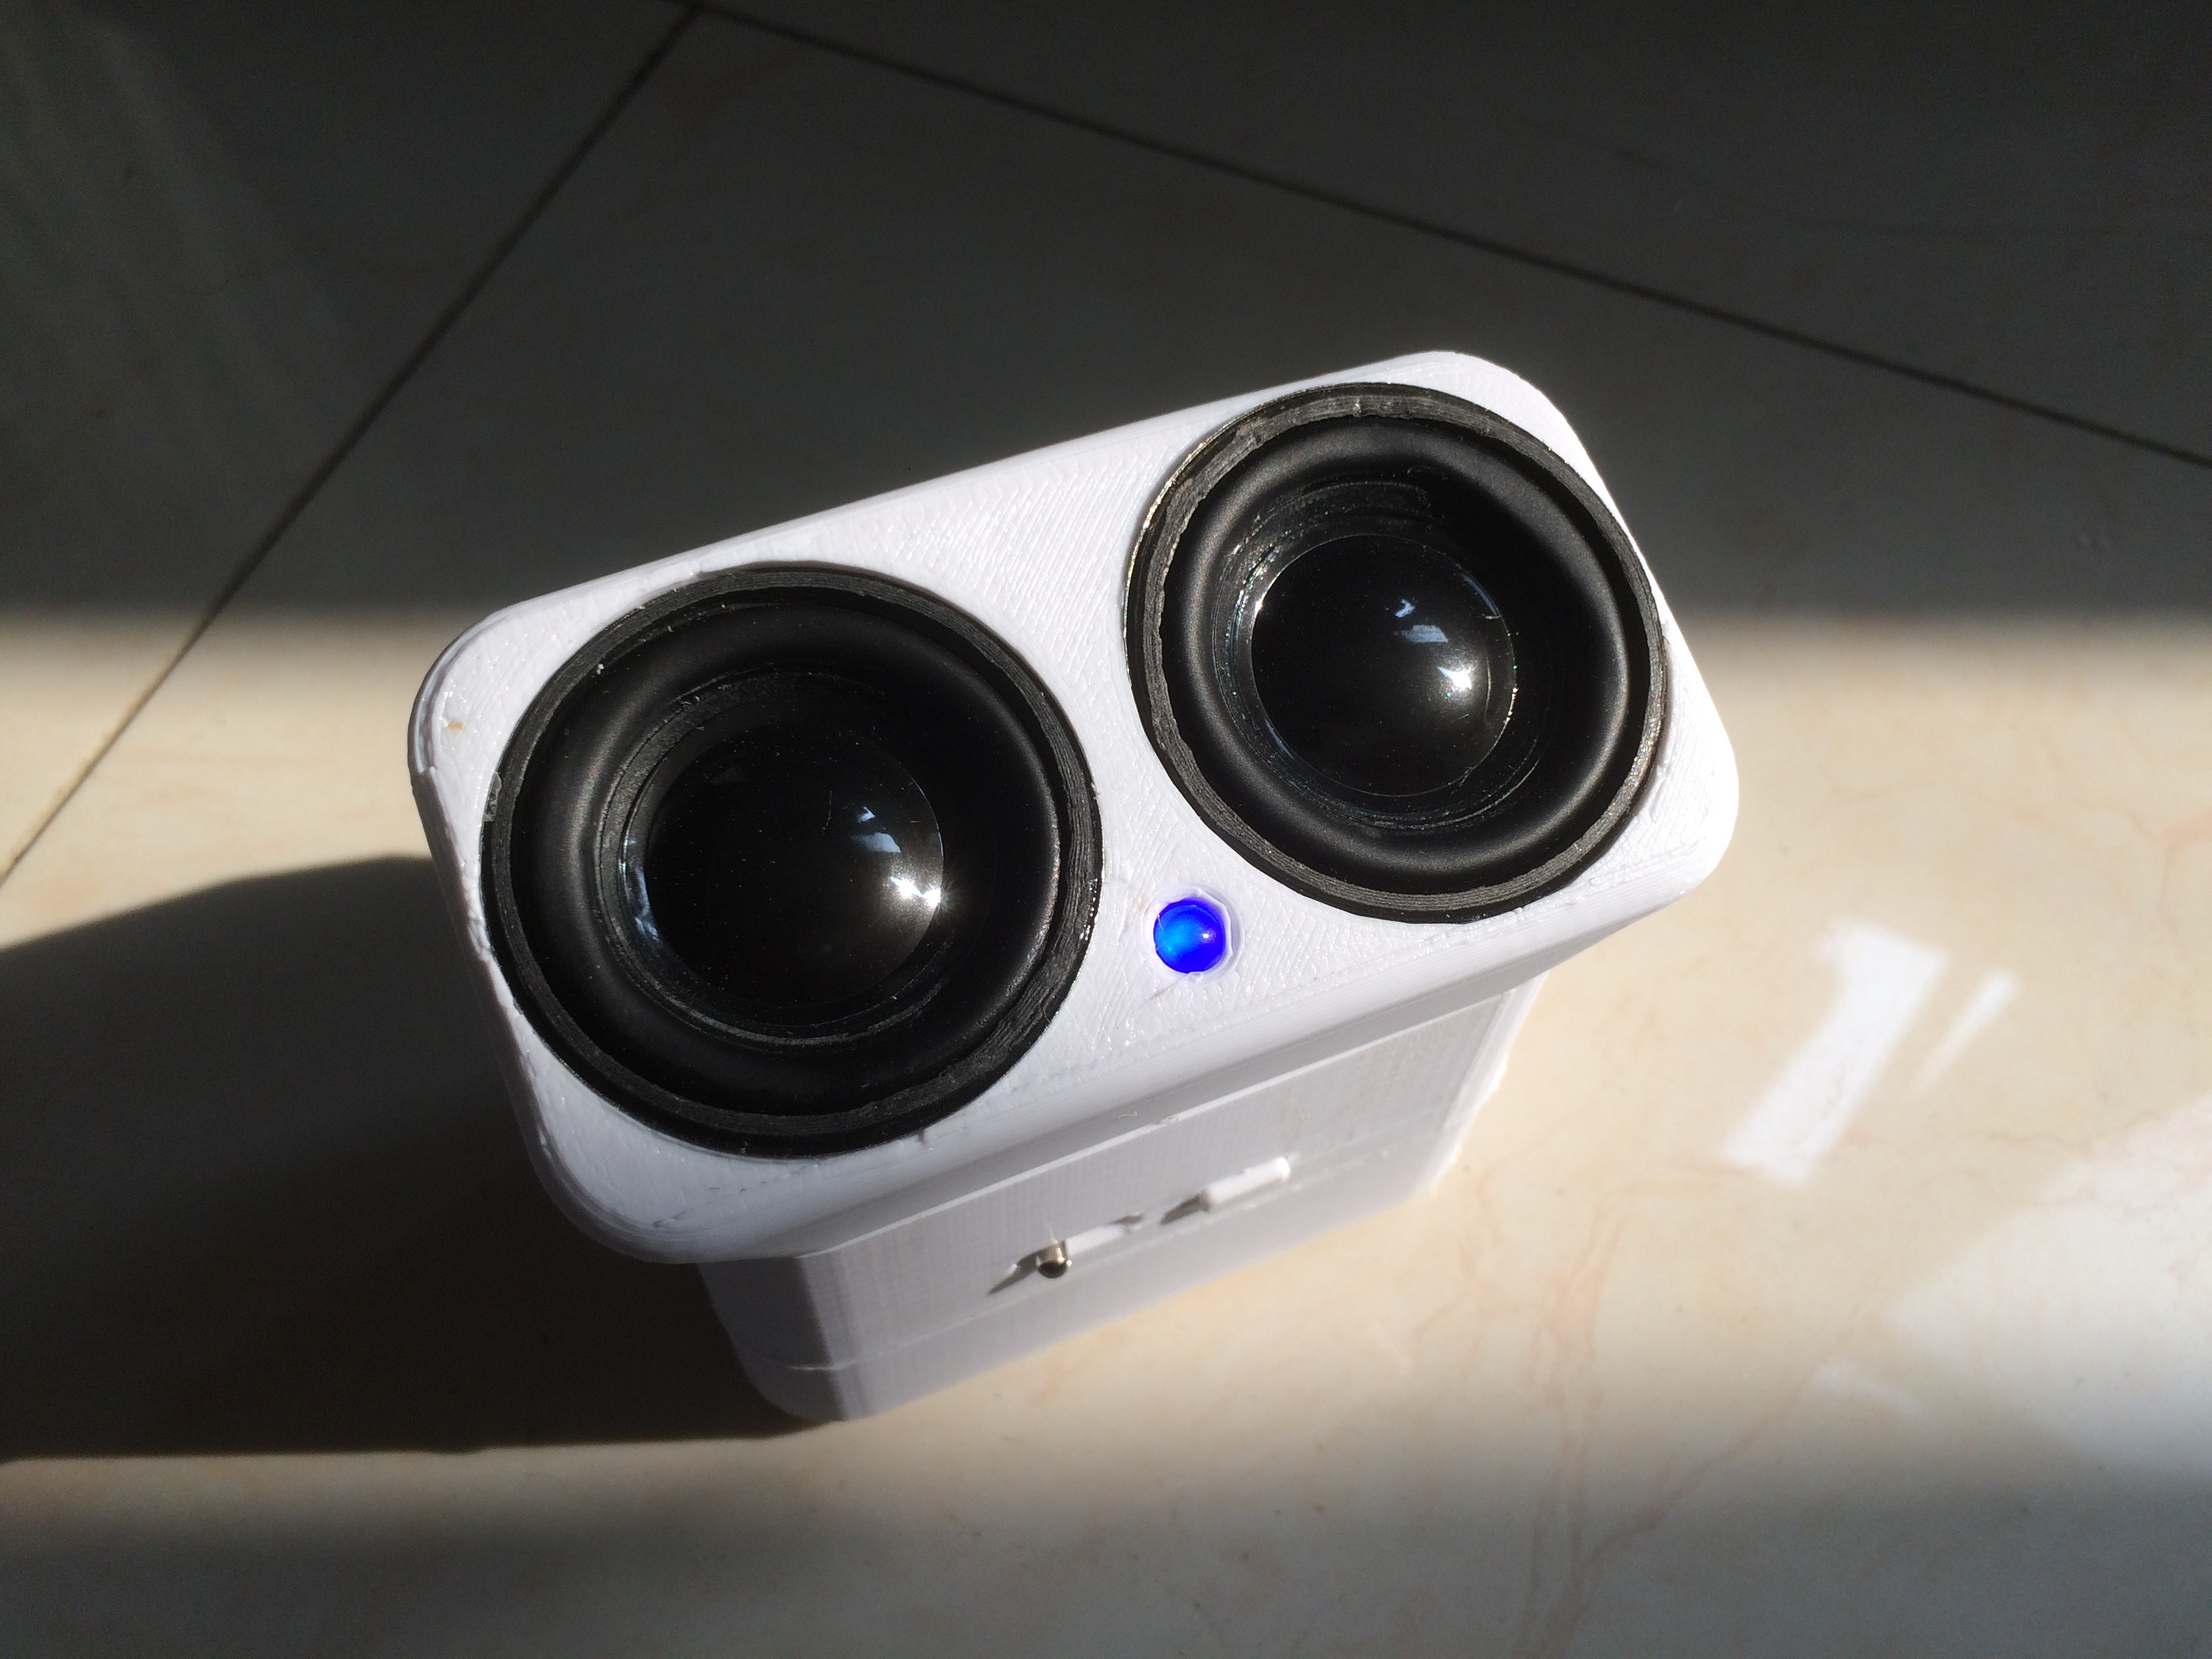
This tutorial will show you how to make a bluetooth speaker with bluetooth module or a broken bluetooth headset. It will take you about 4 hours to finish this project. So let's get started!
Things You'll Need
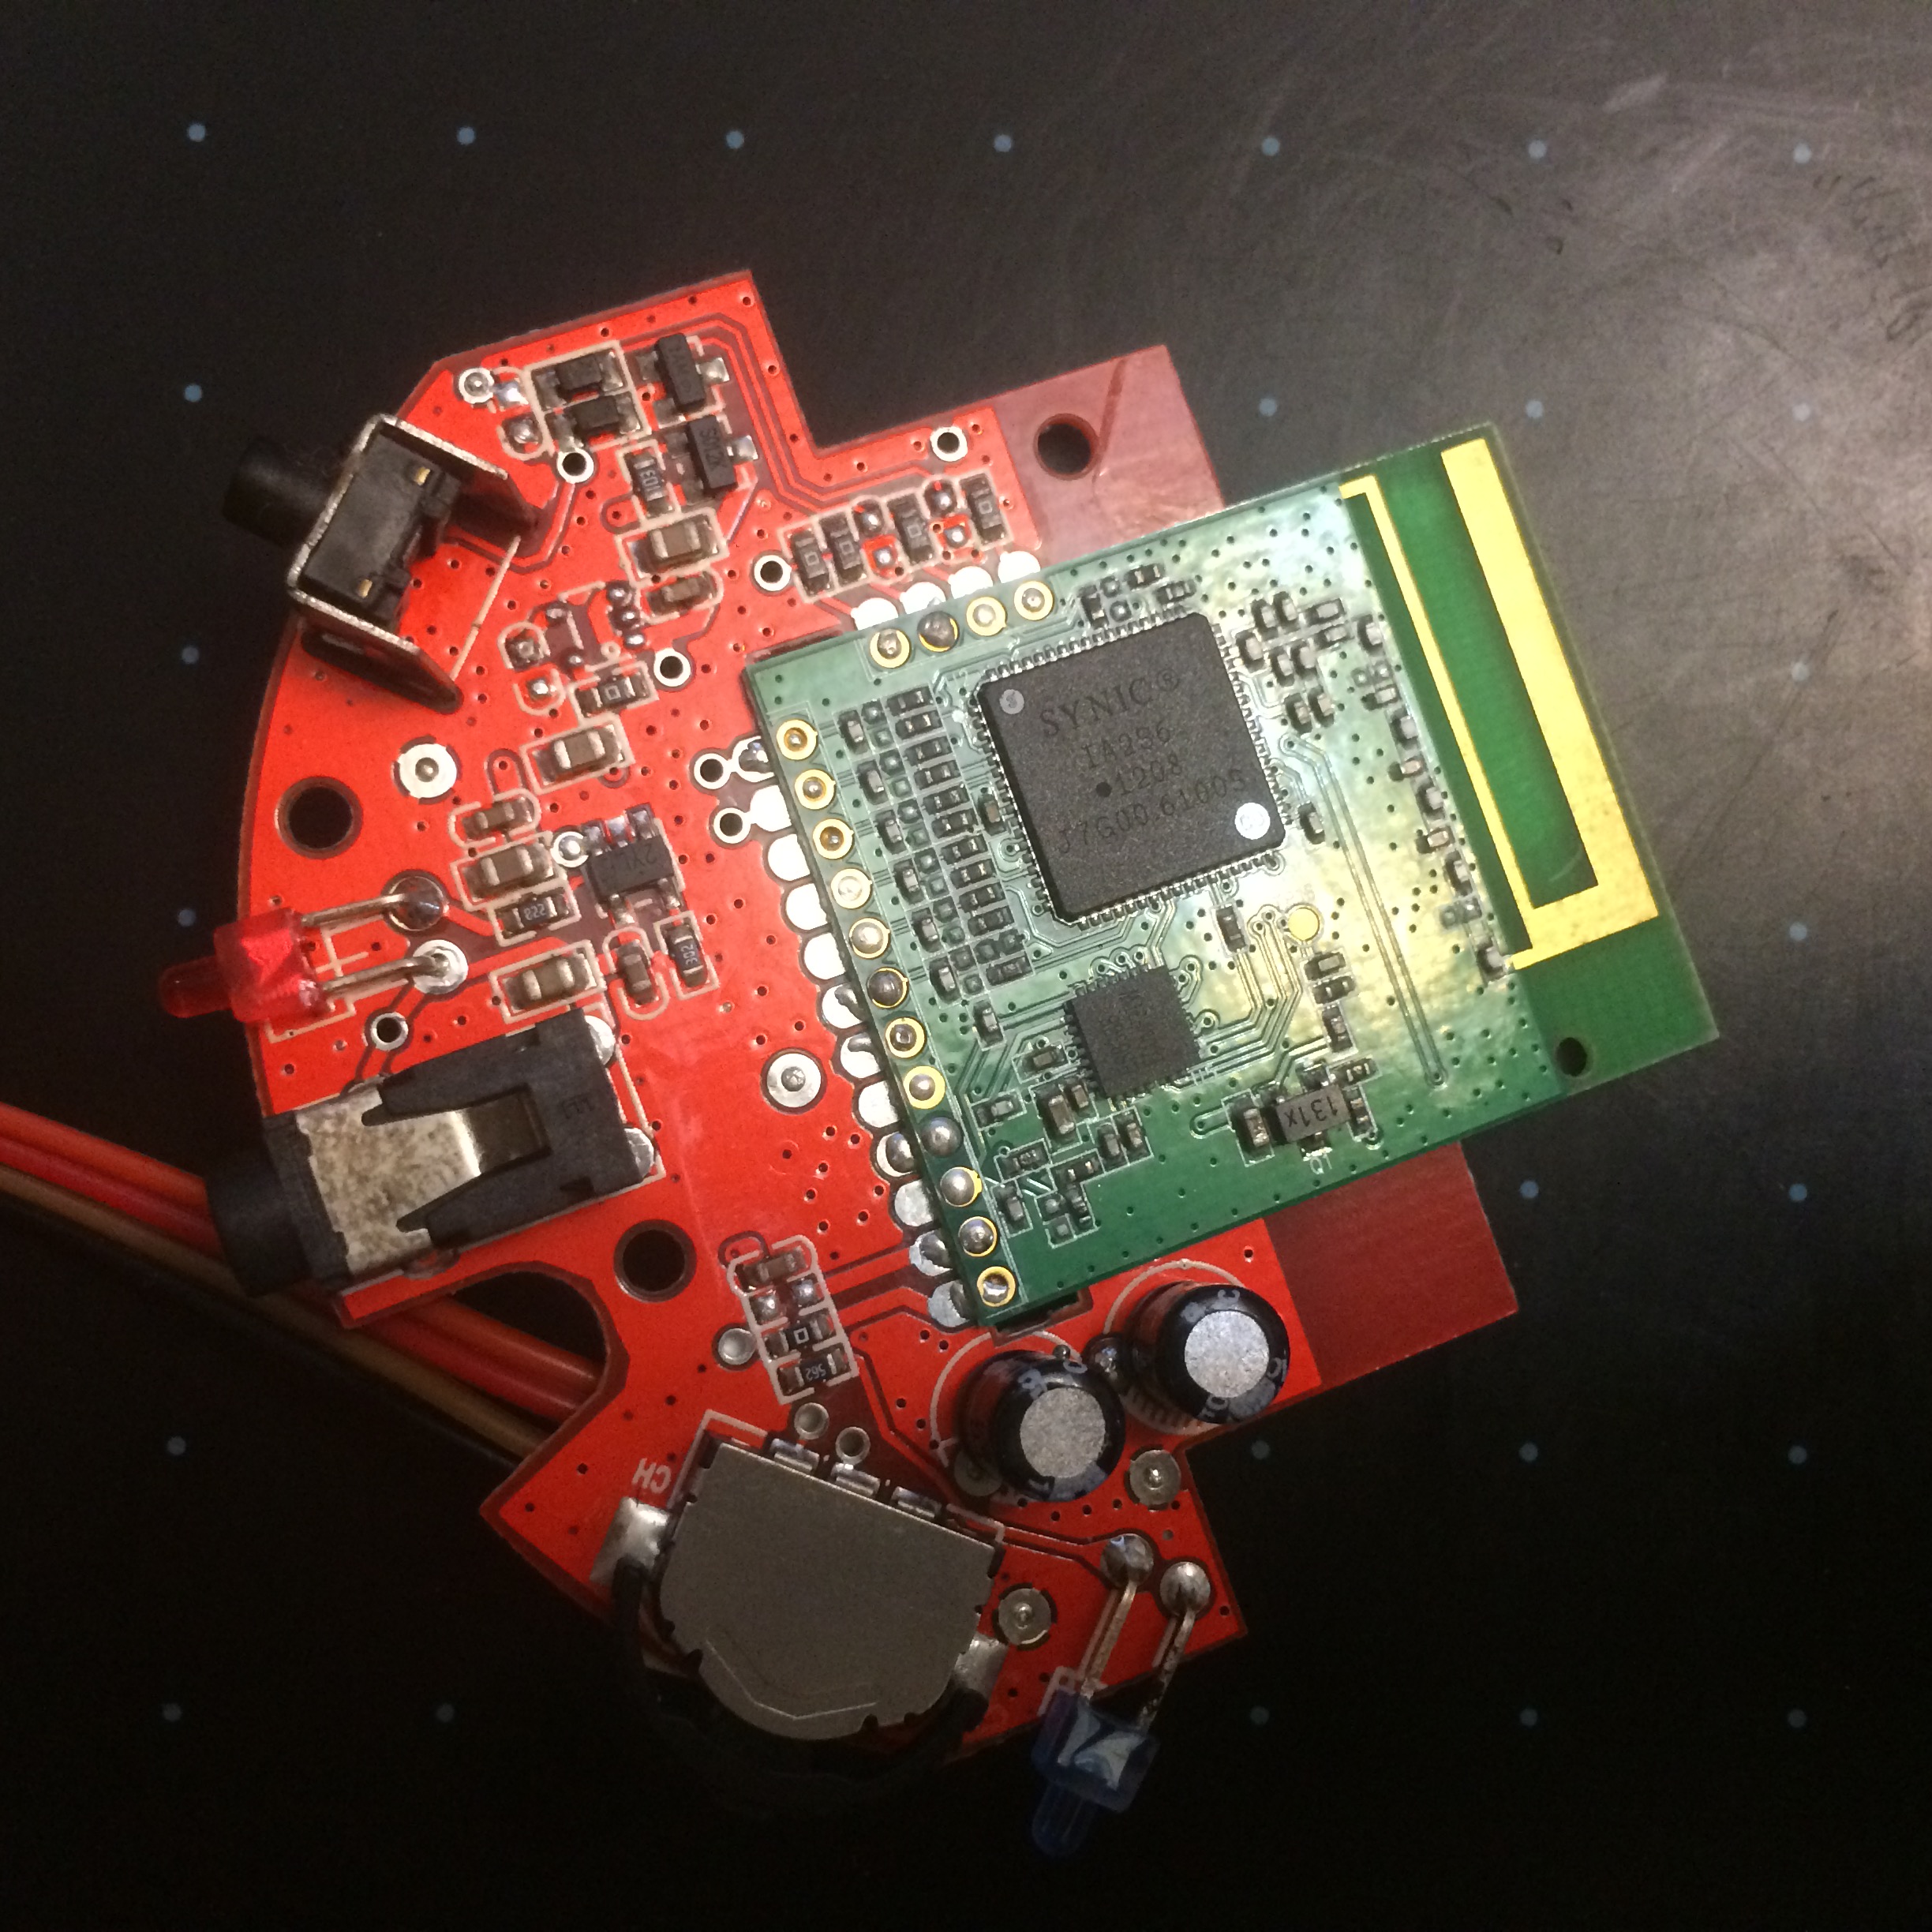
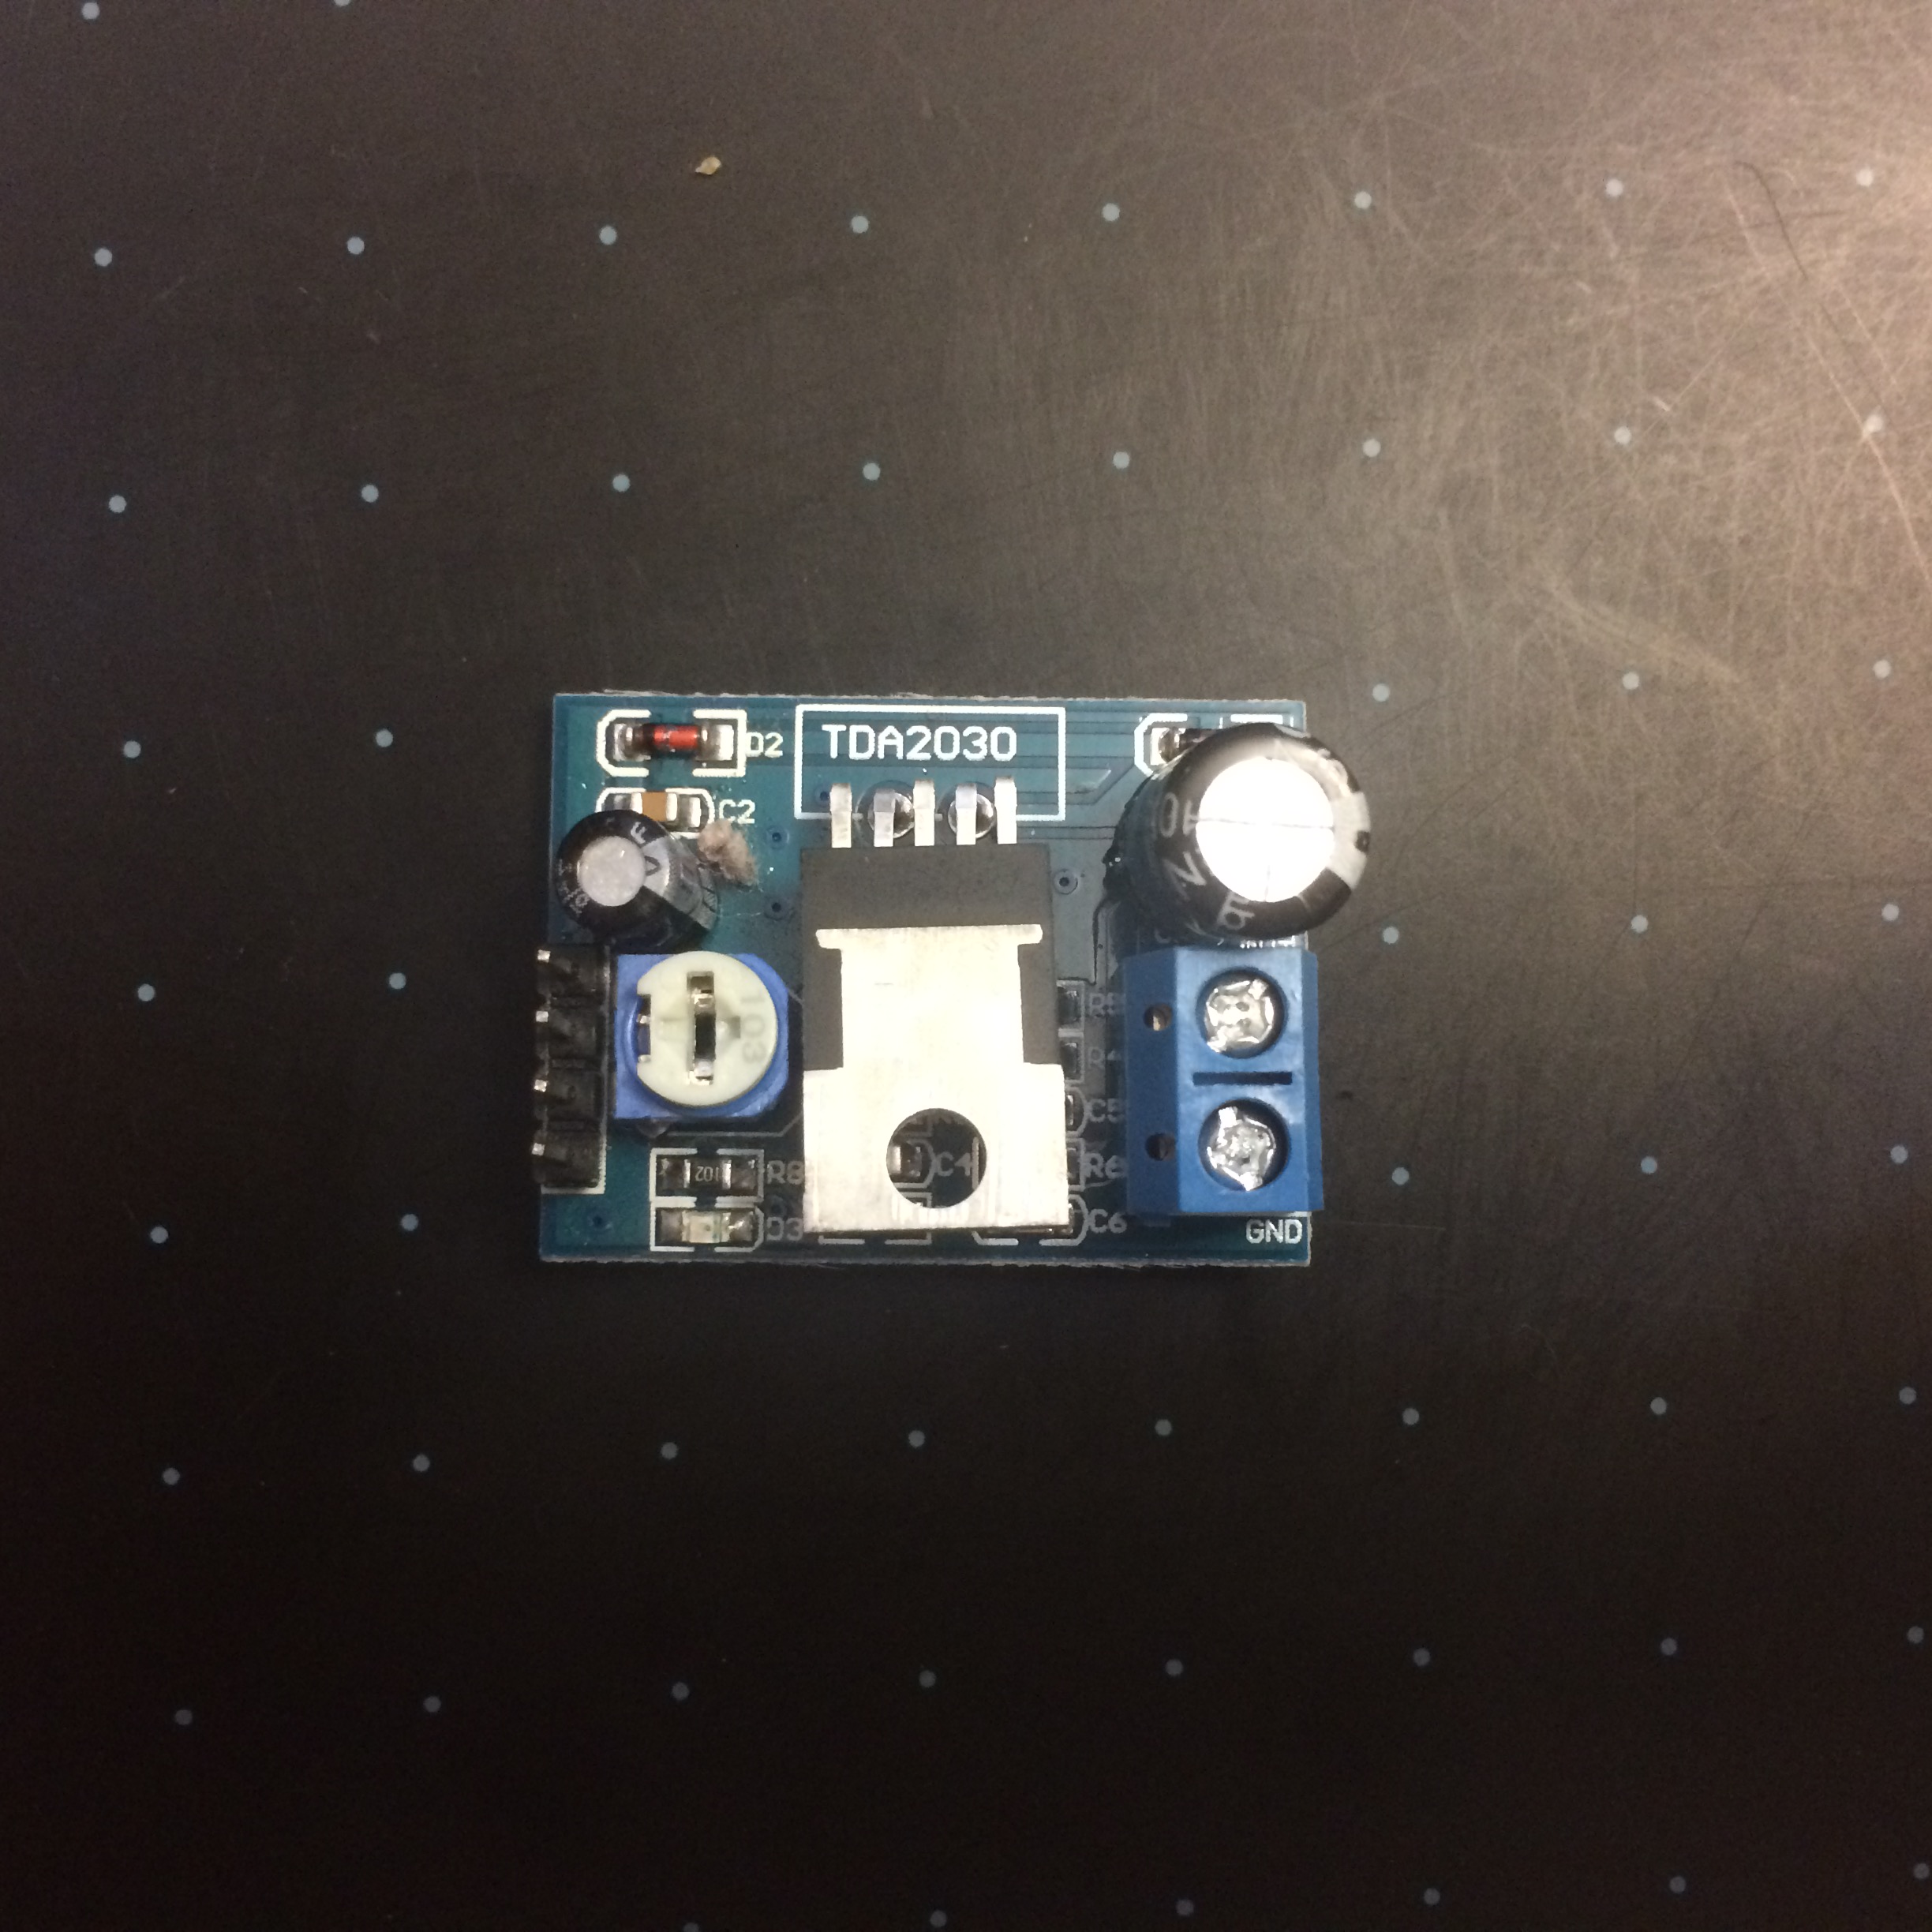
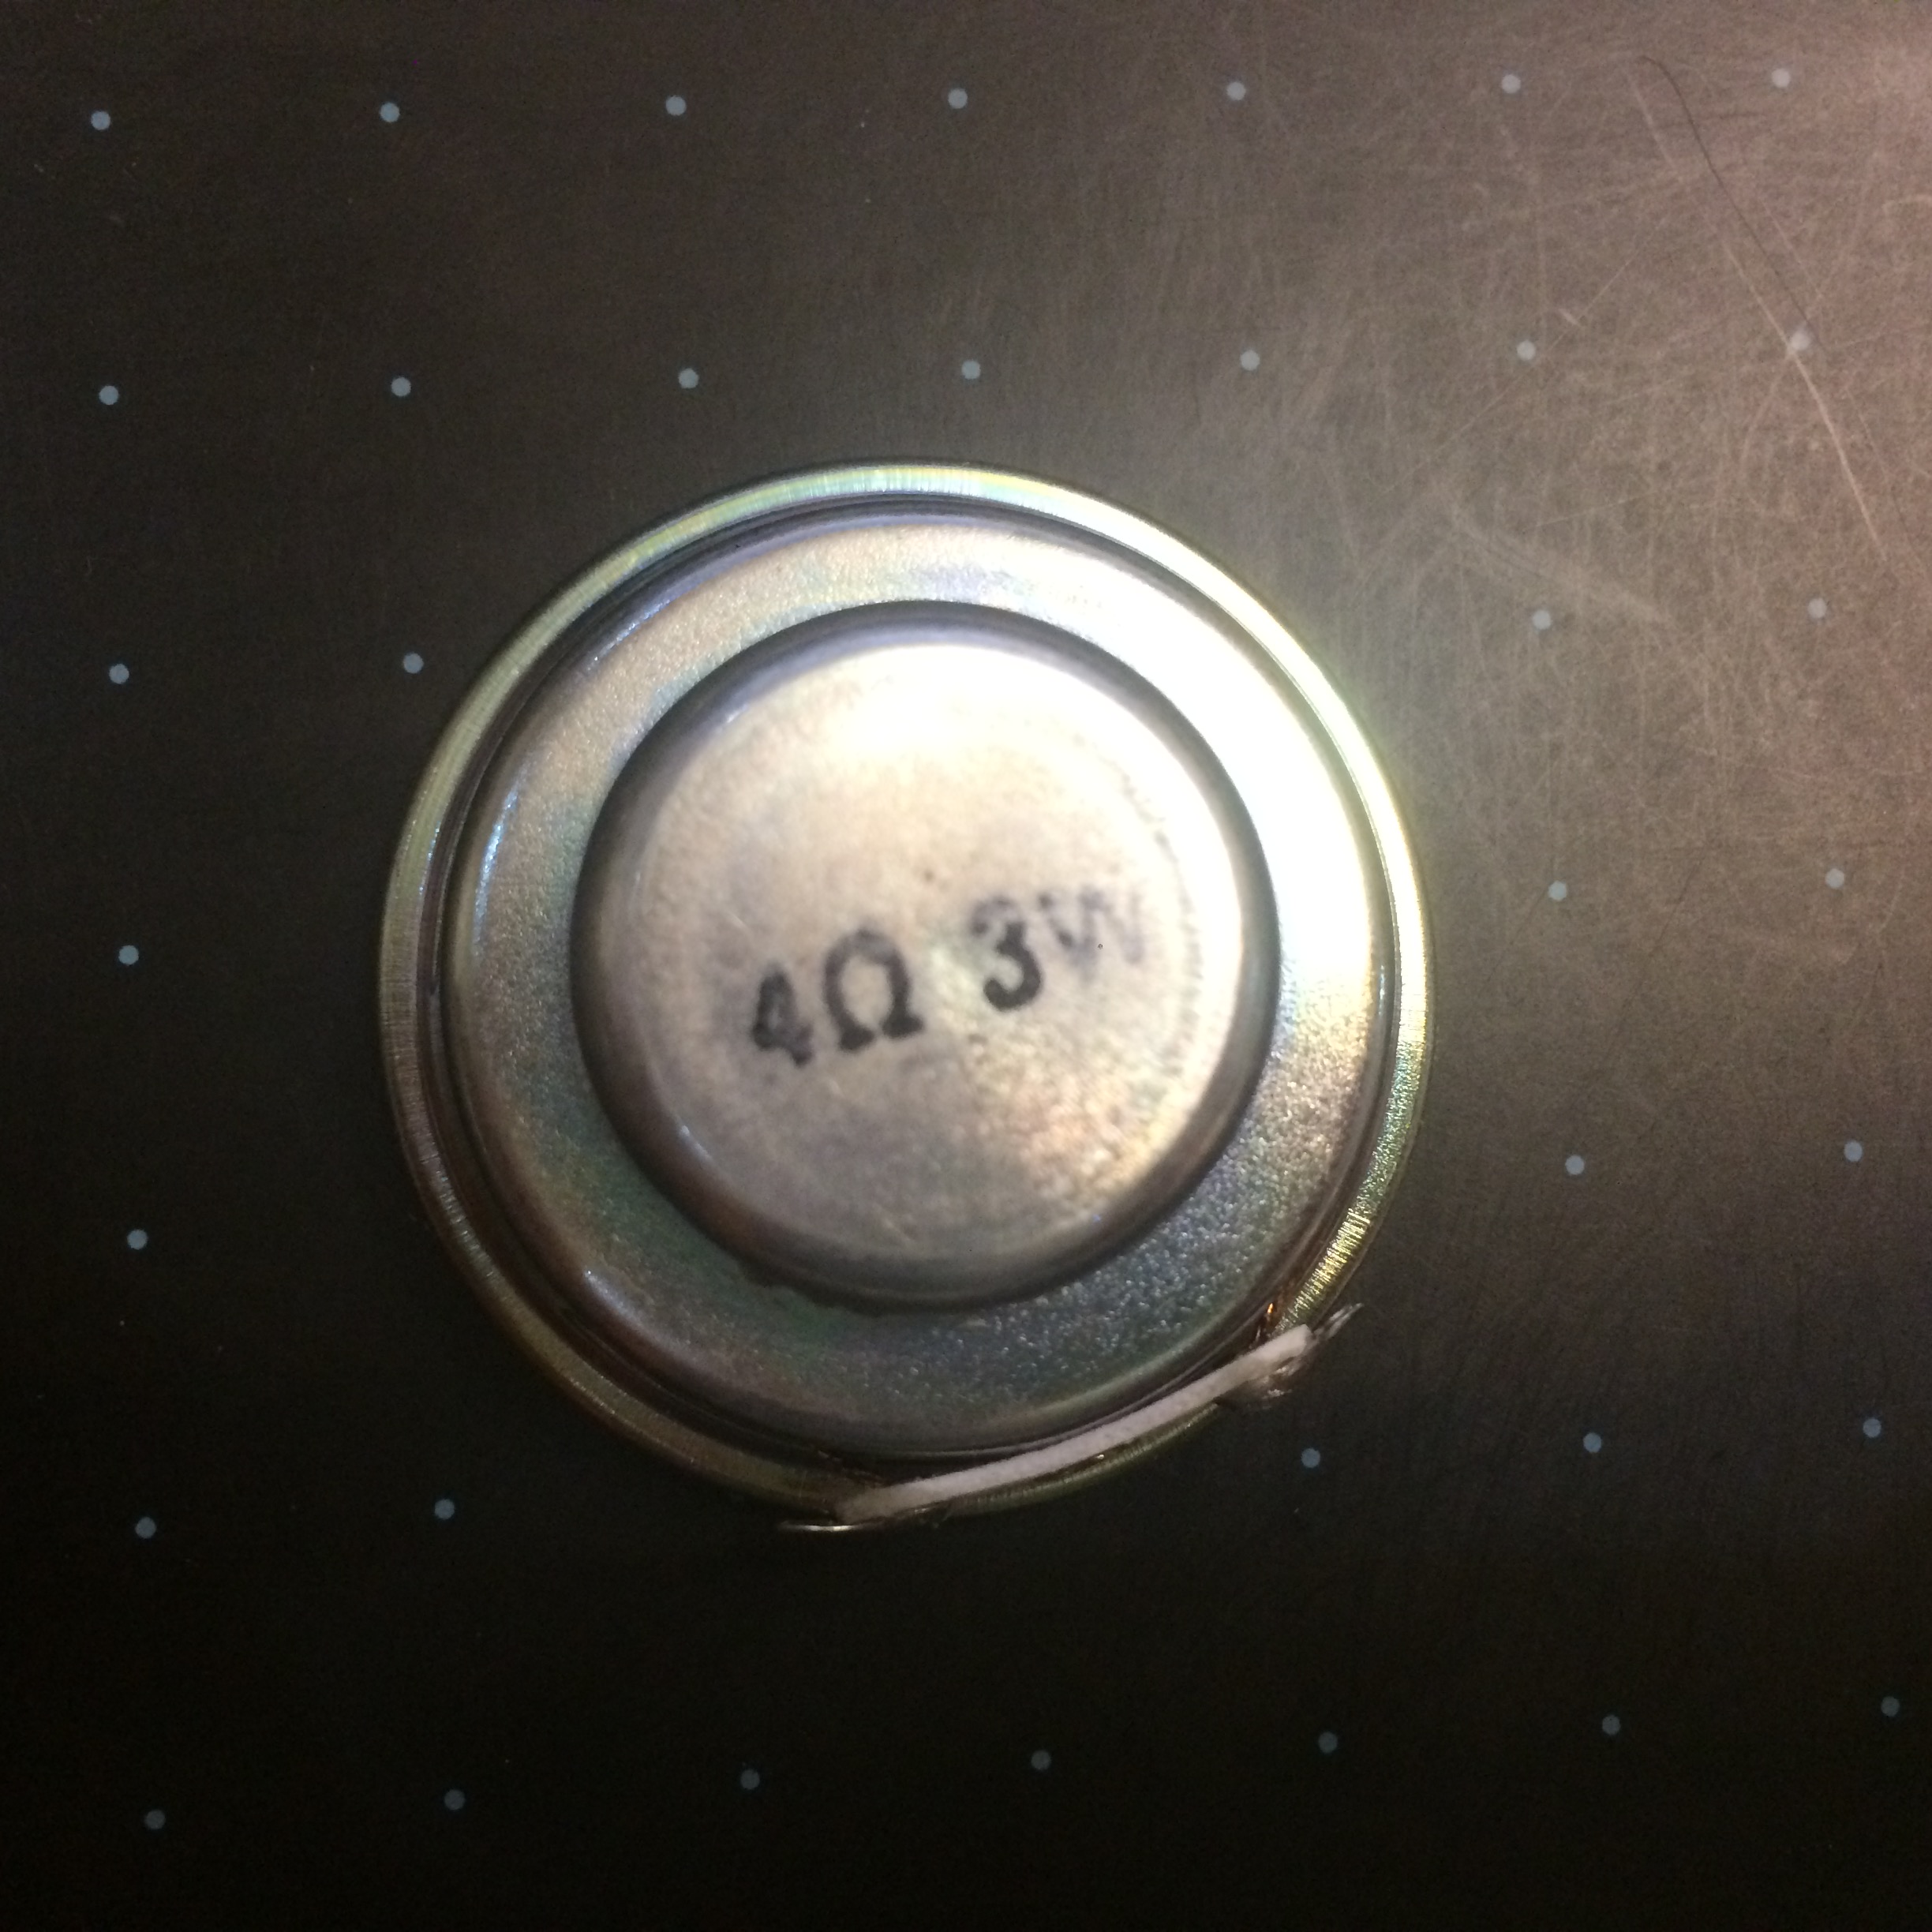
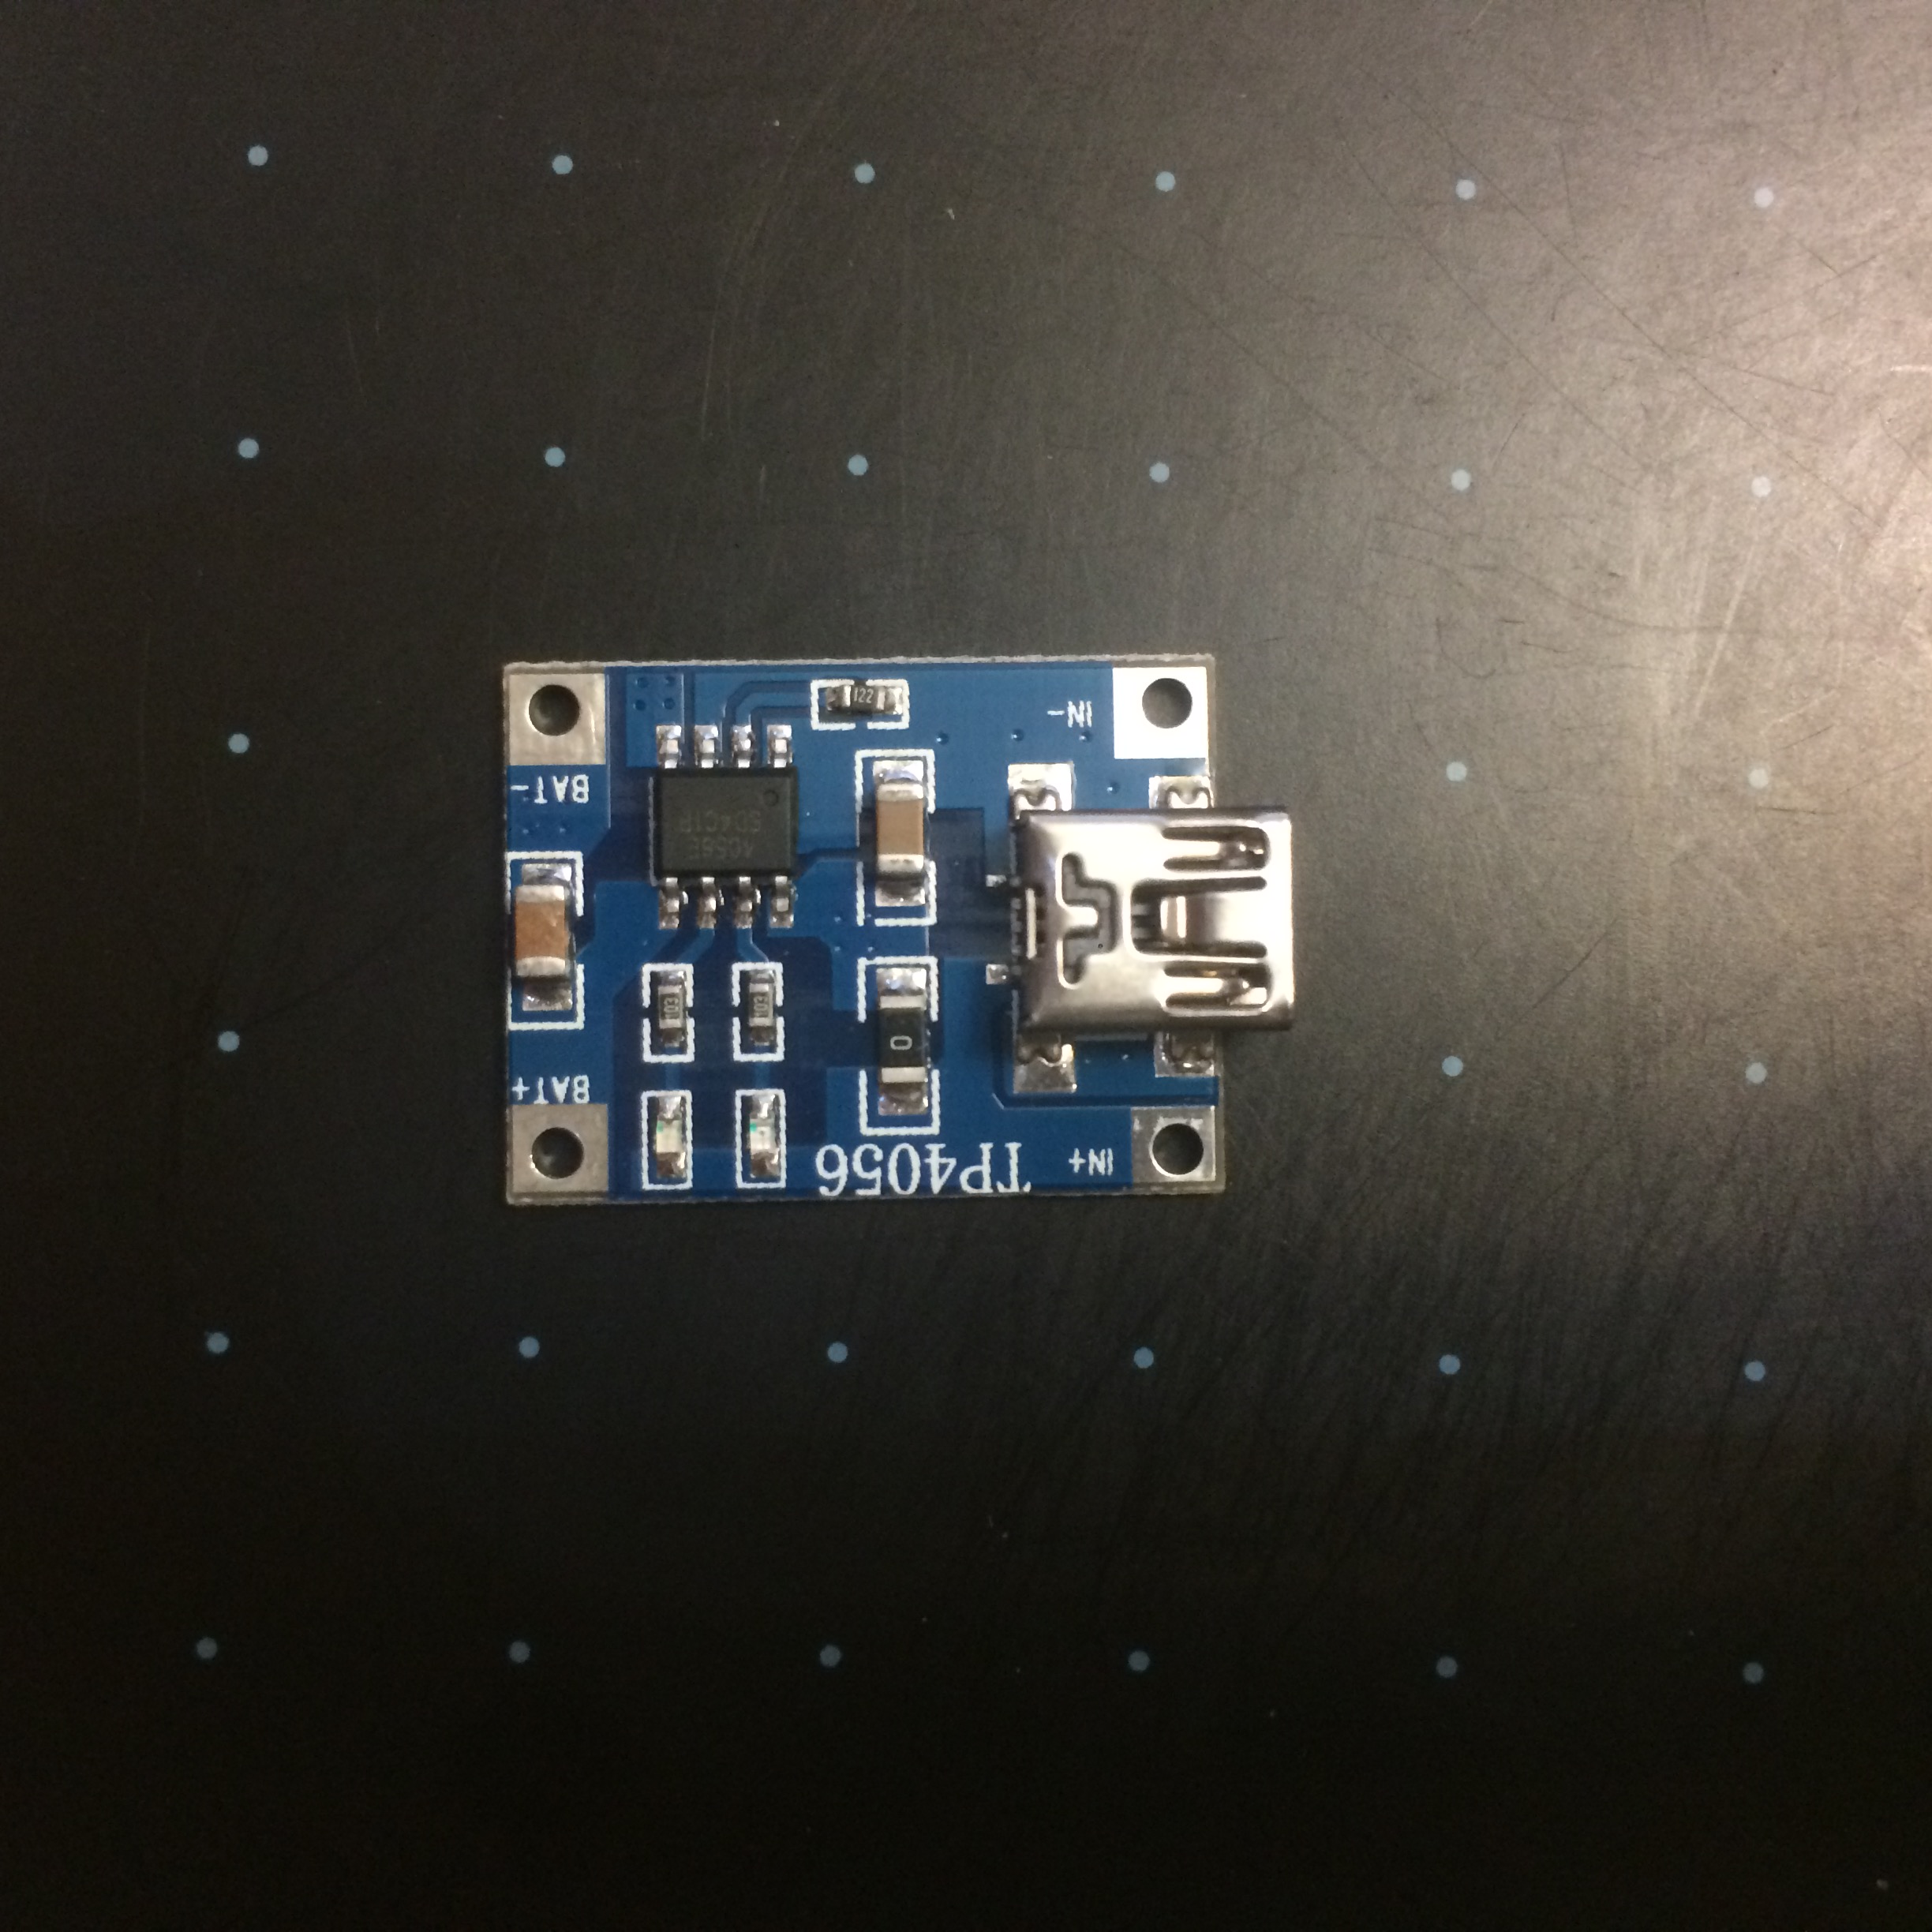
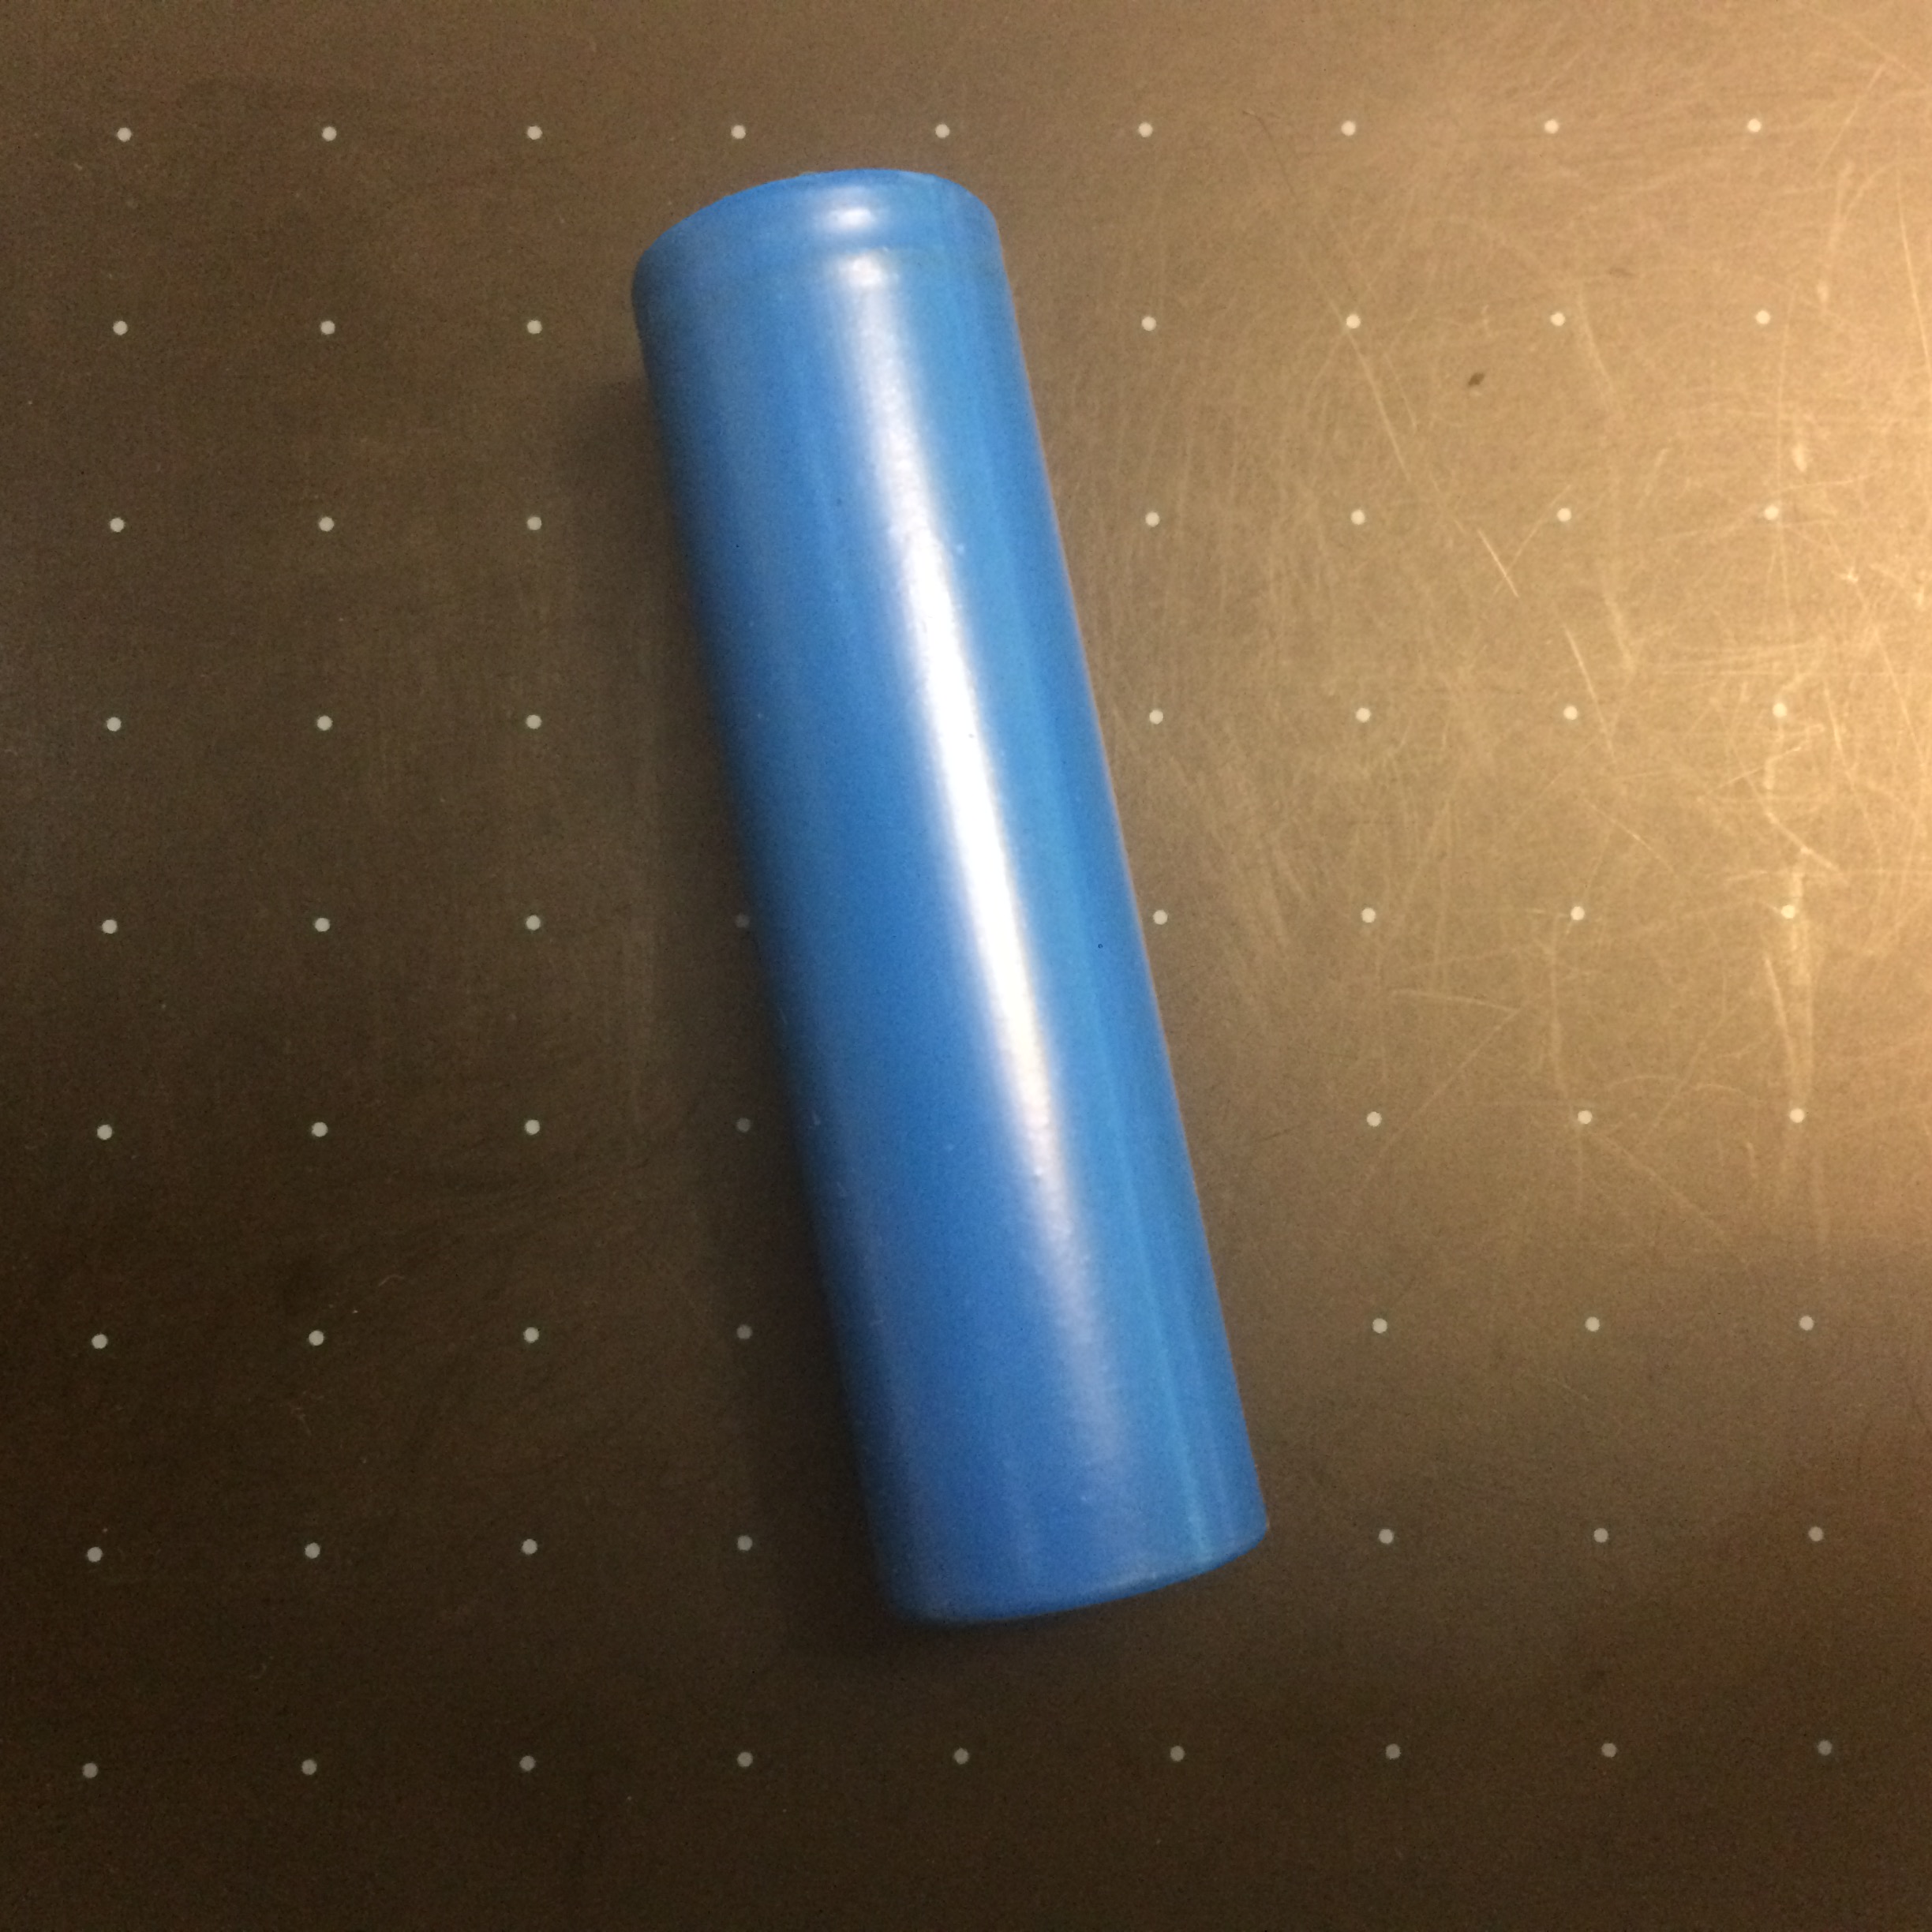
- 1*Bluetooth audio module ( you can either buy one or took one form old headset)
- 2*TDA2030 amplifier moudle
- 2*3W 4mm speaker
- 1*TP4056 lithium battery charge moudle
- 1*18650 lithium battery
- 1*Micro switch
- 1*Twist switch
- 10*2mm*5mm pins
- 1*5mm LED
- Some wires
Tools needed:
- A 3d printer (or 3d printing service)
- Electric iron
- Hot glue gun
Print the Case
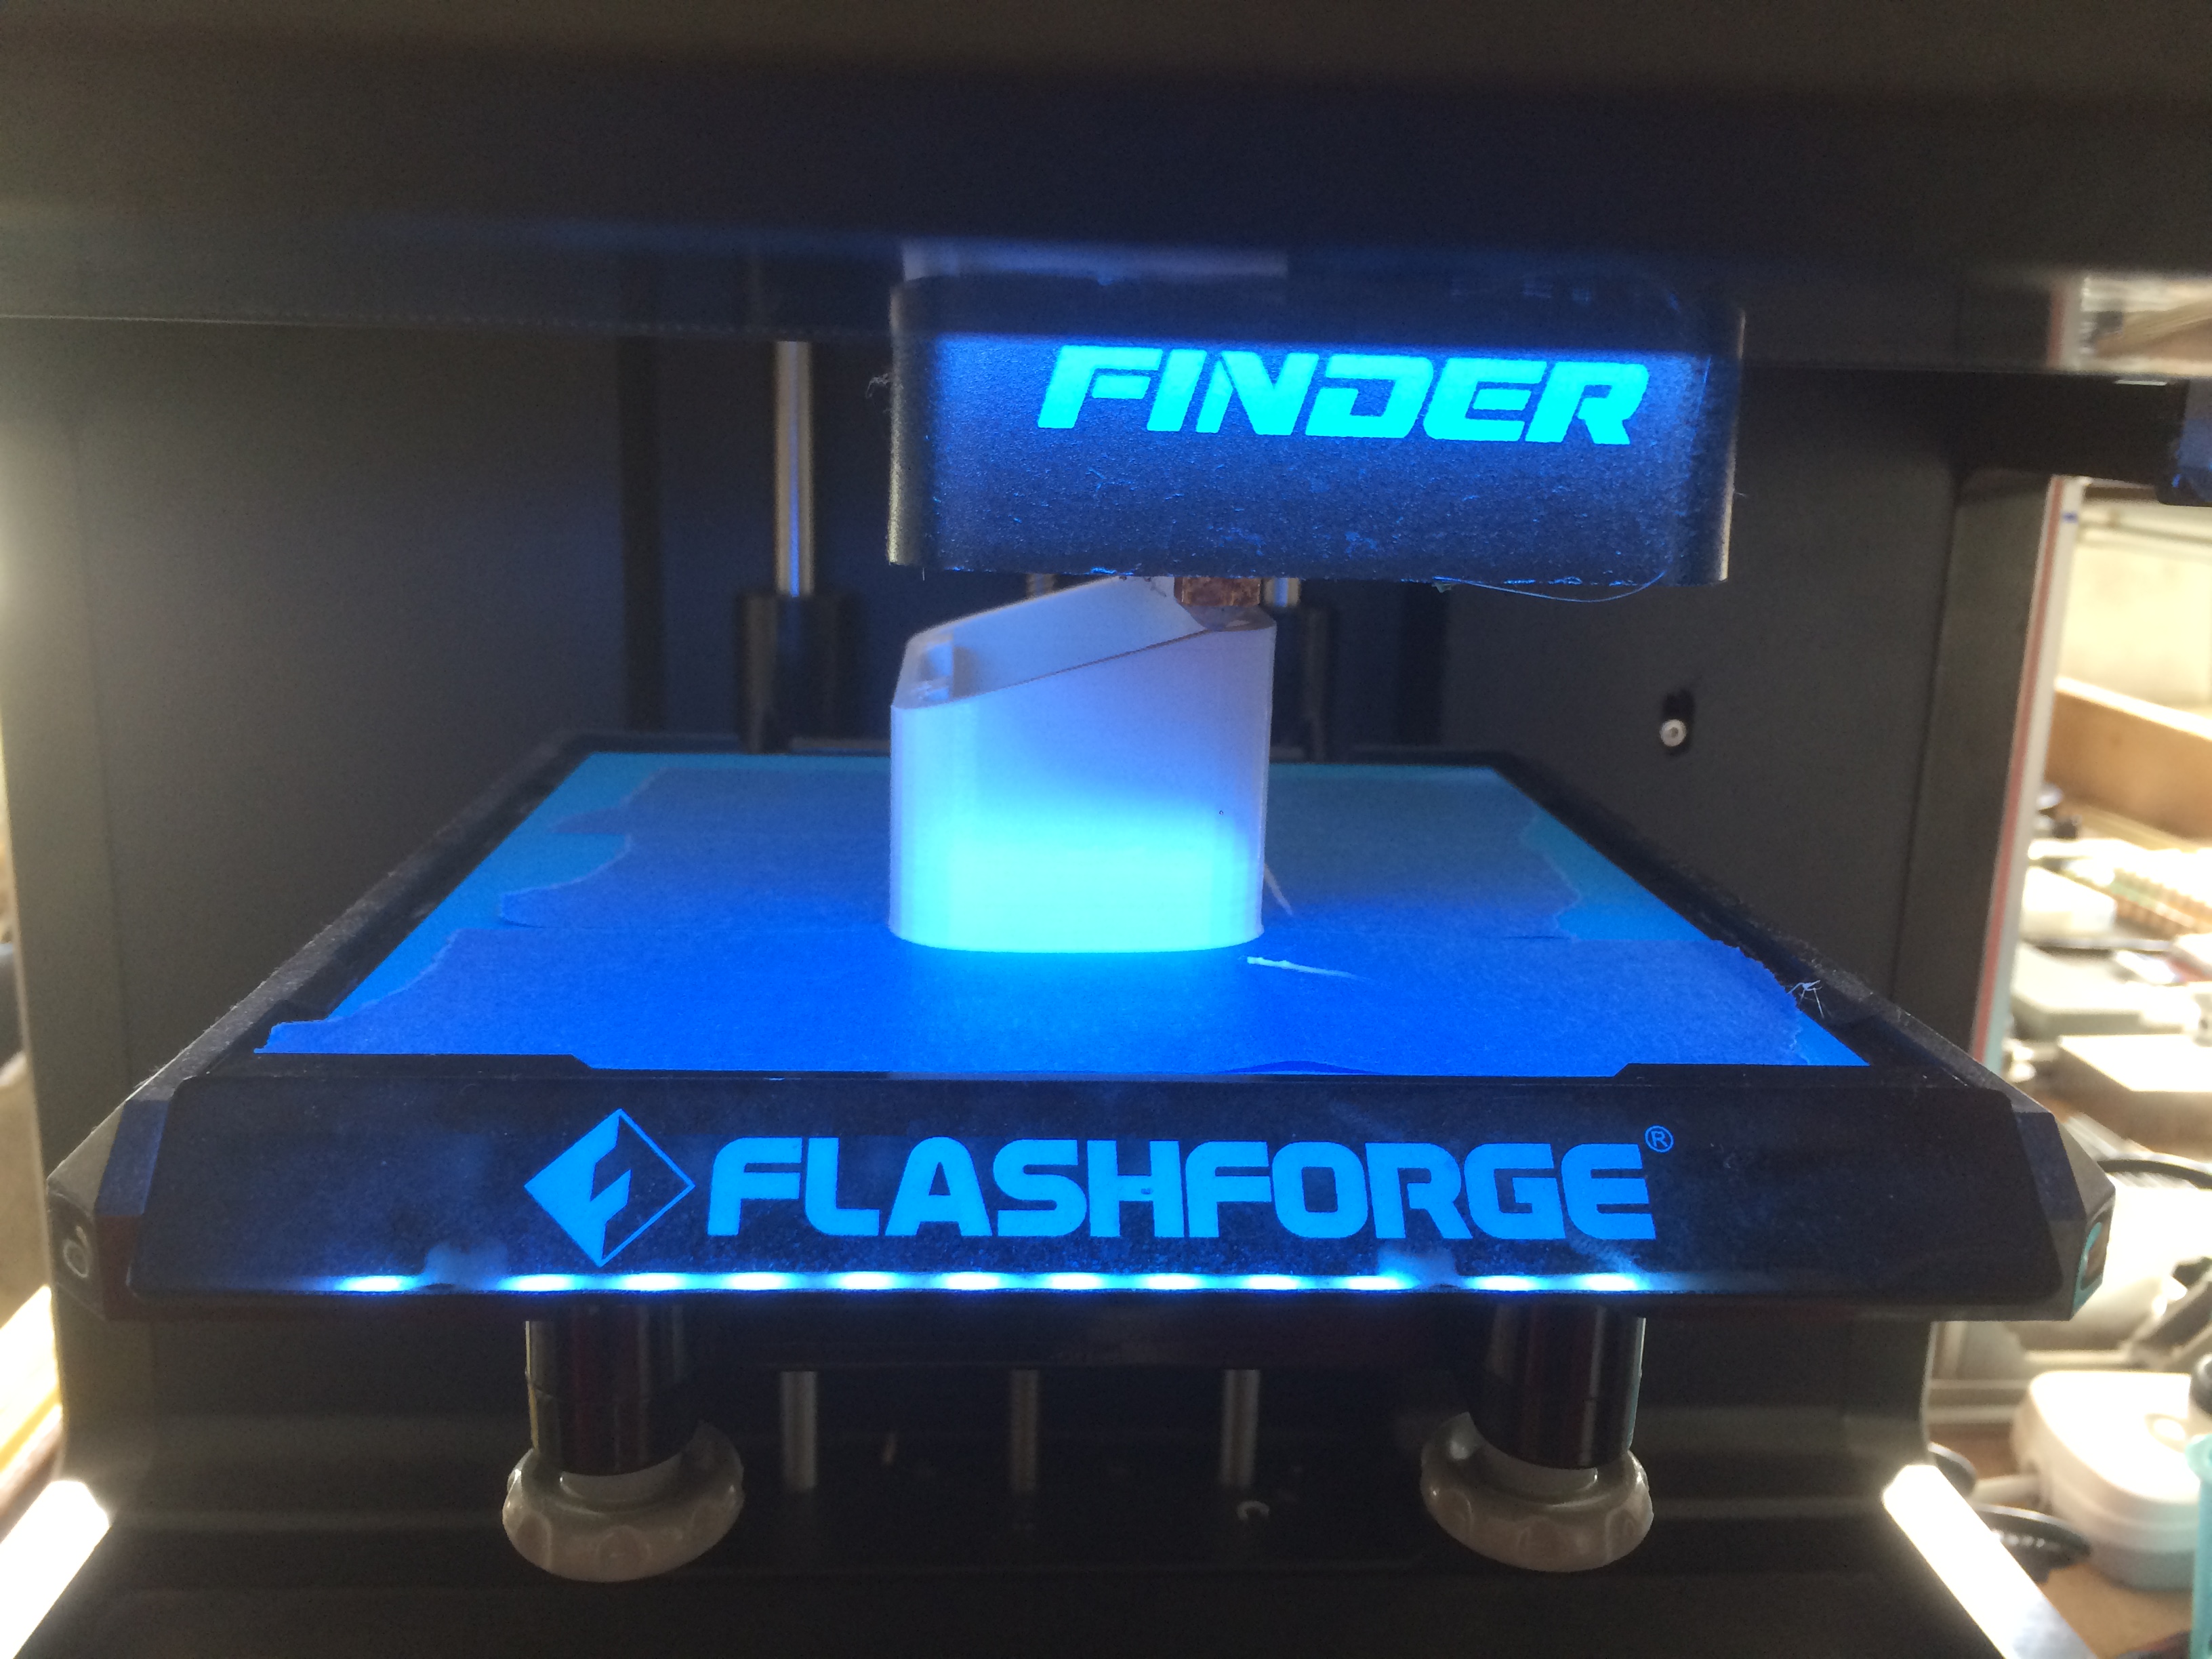
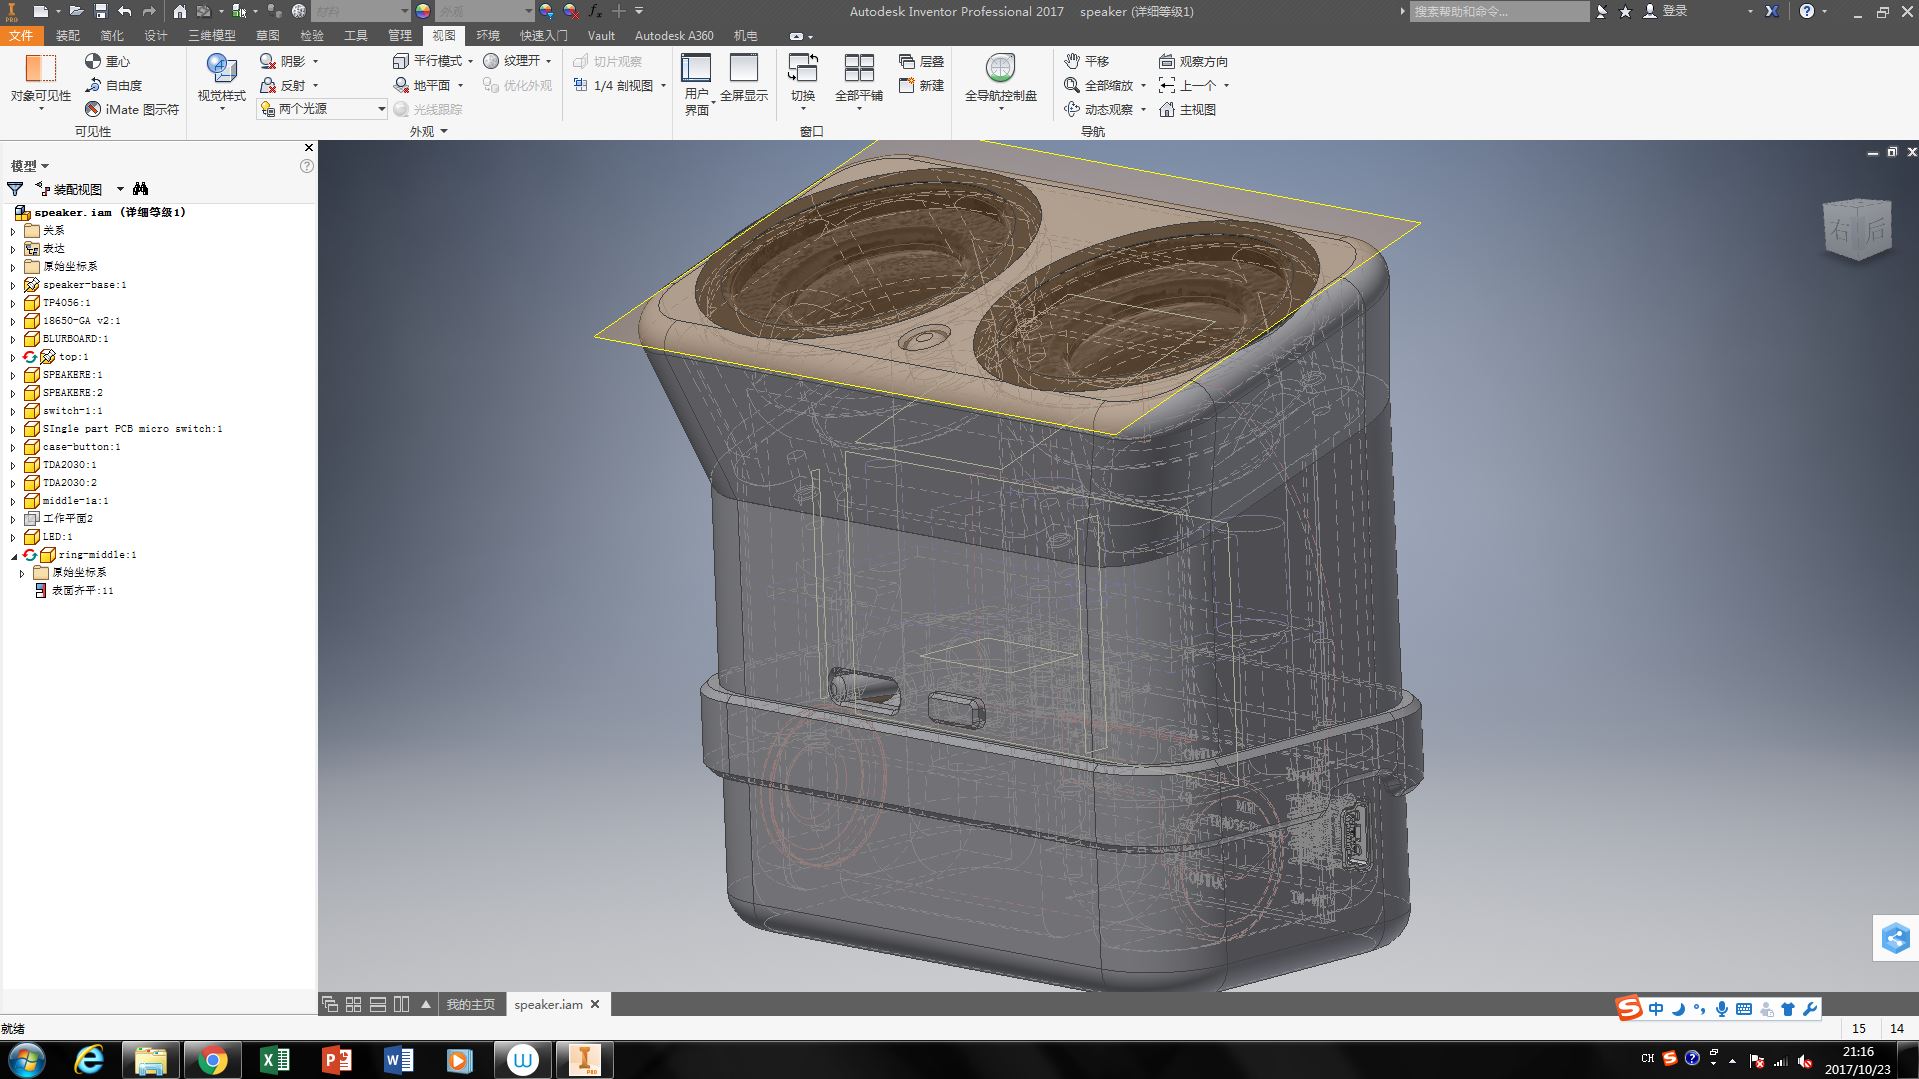
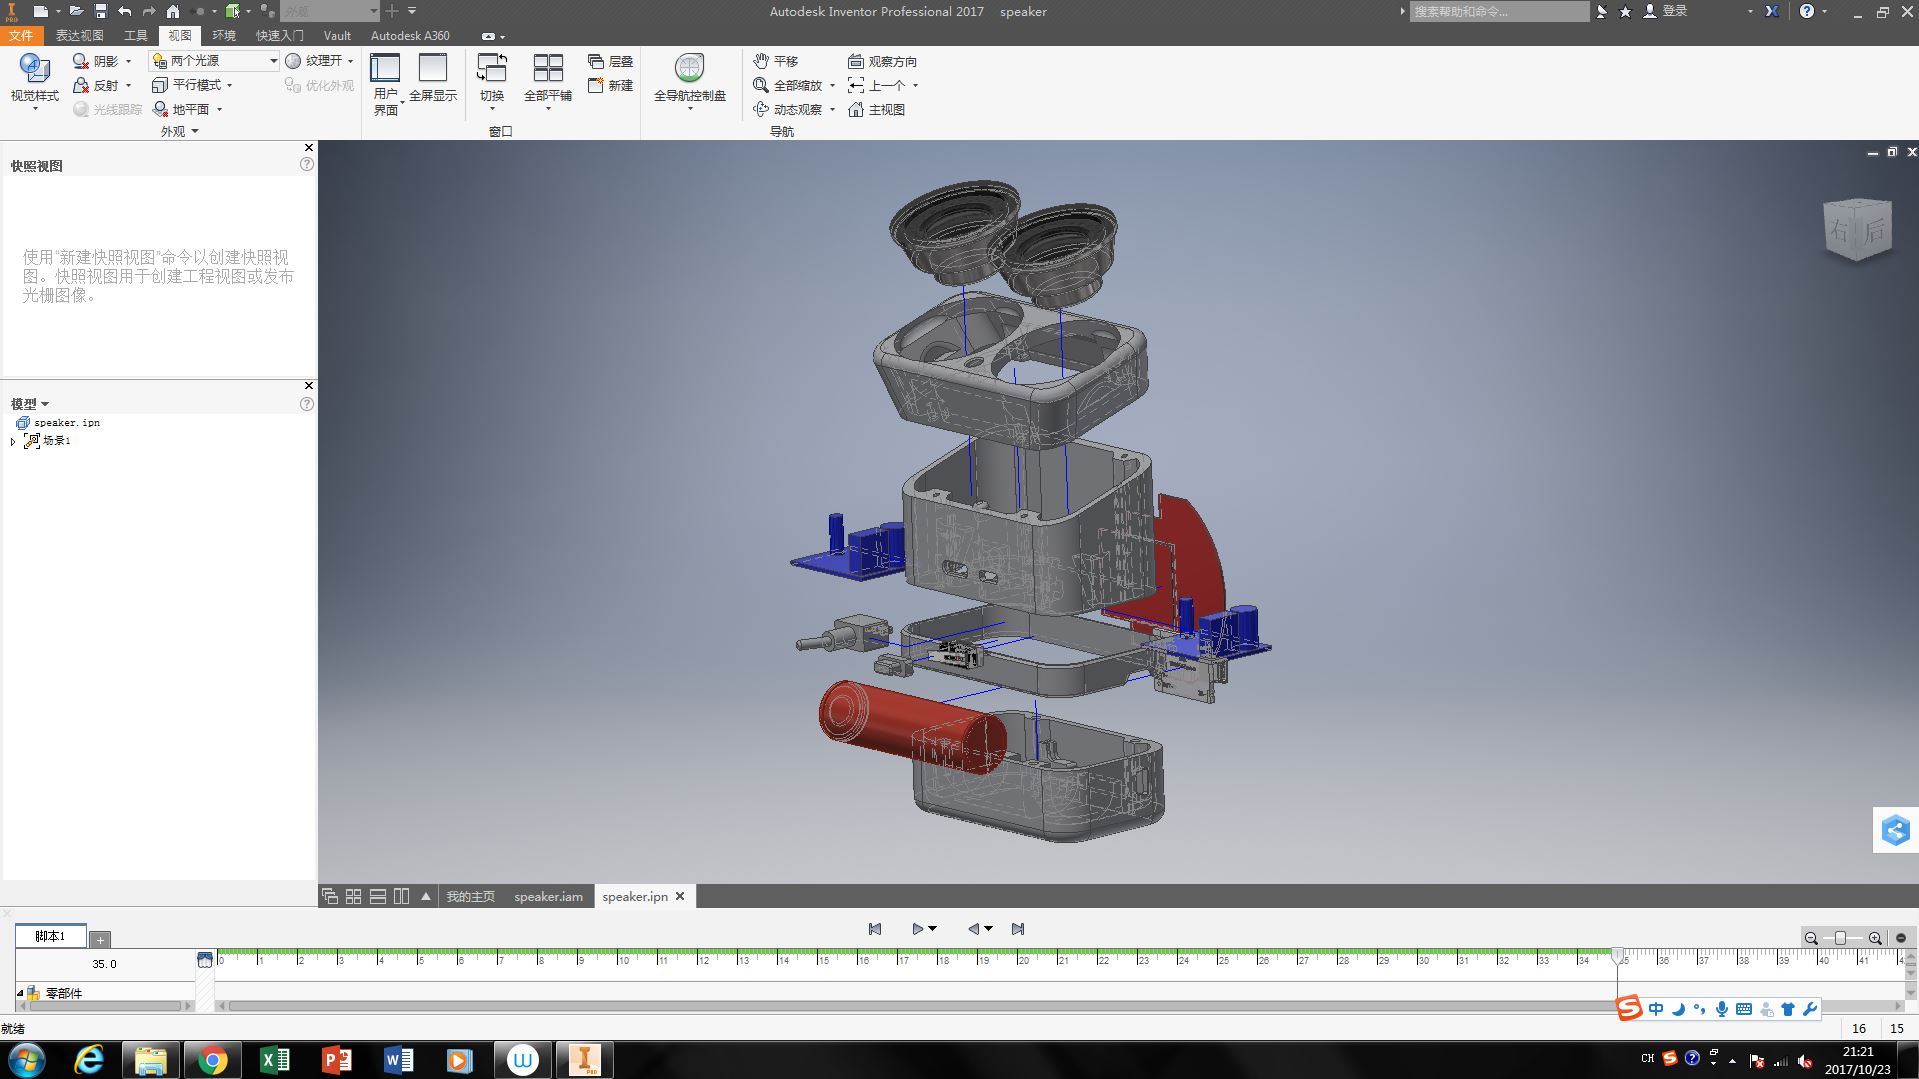
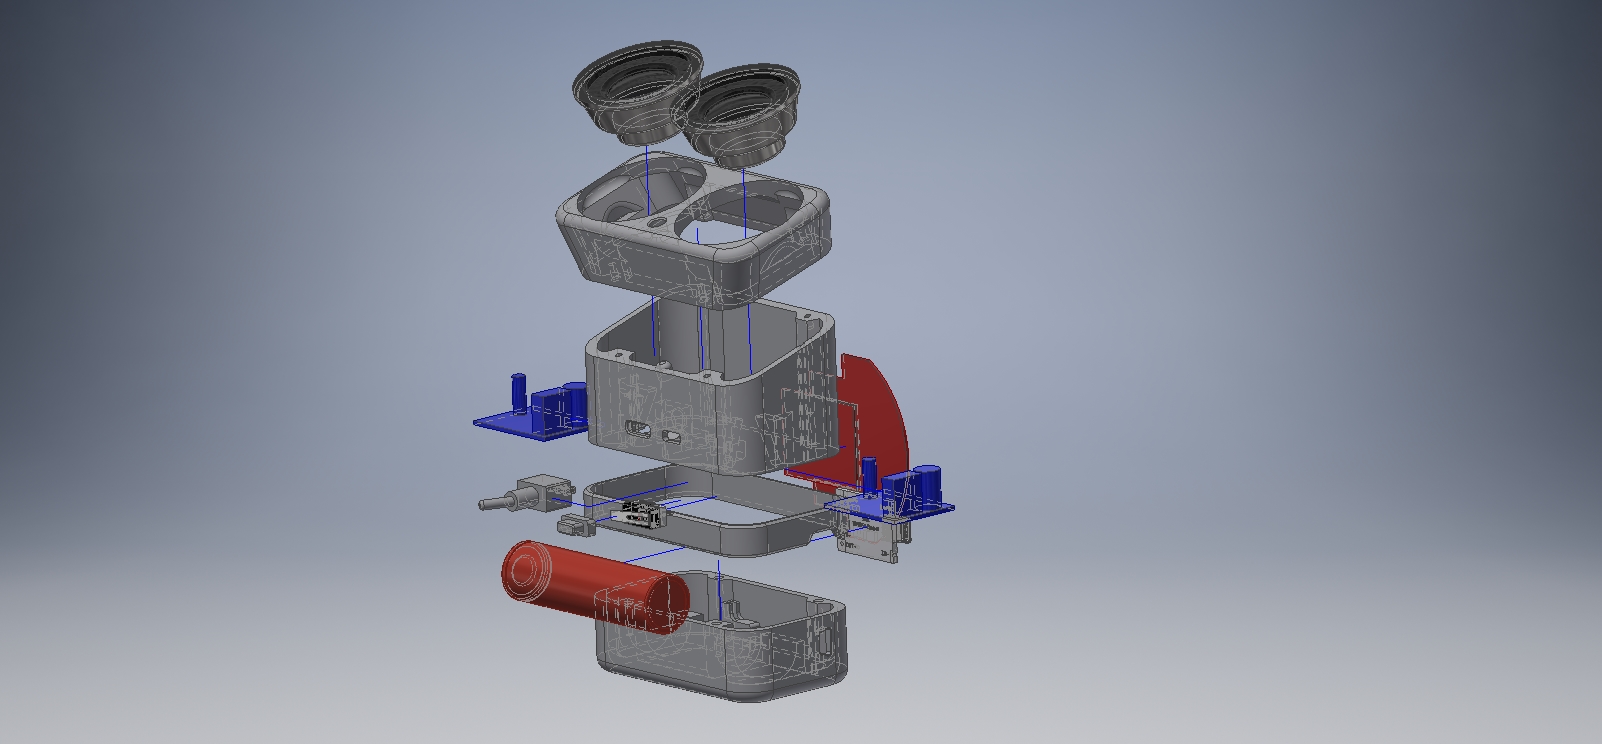
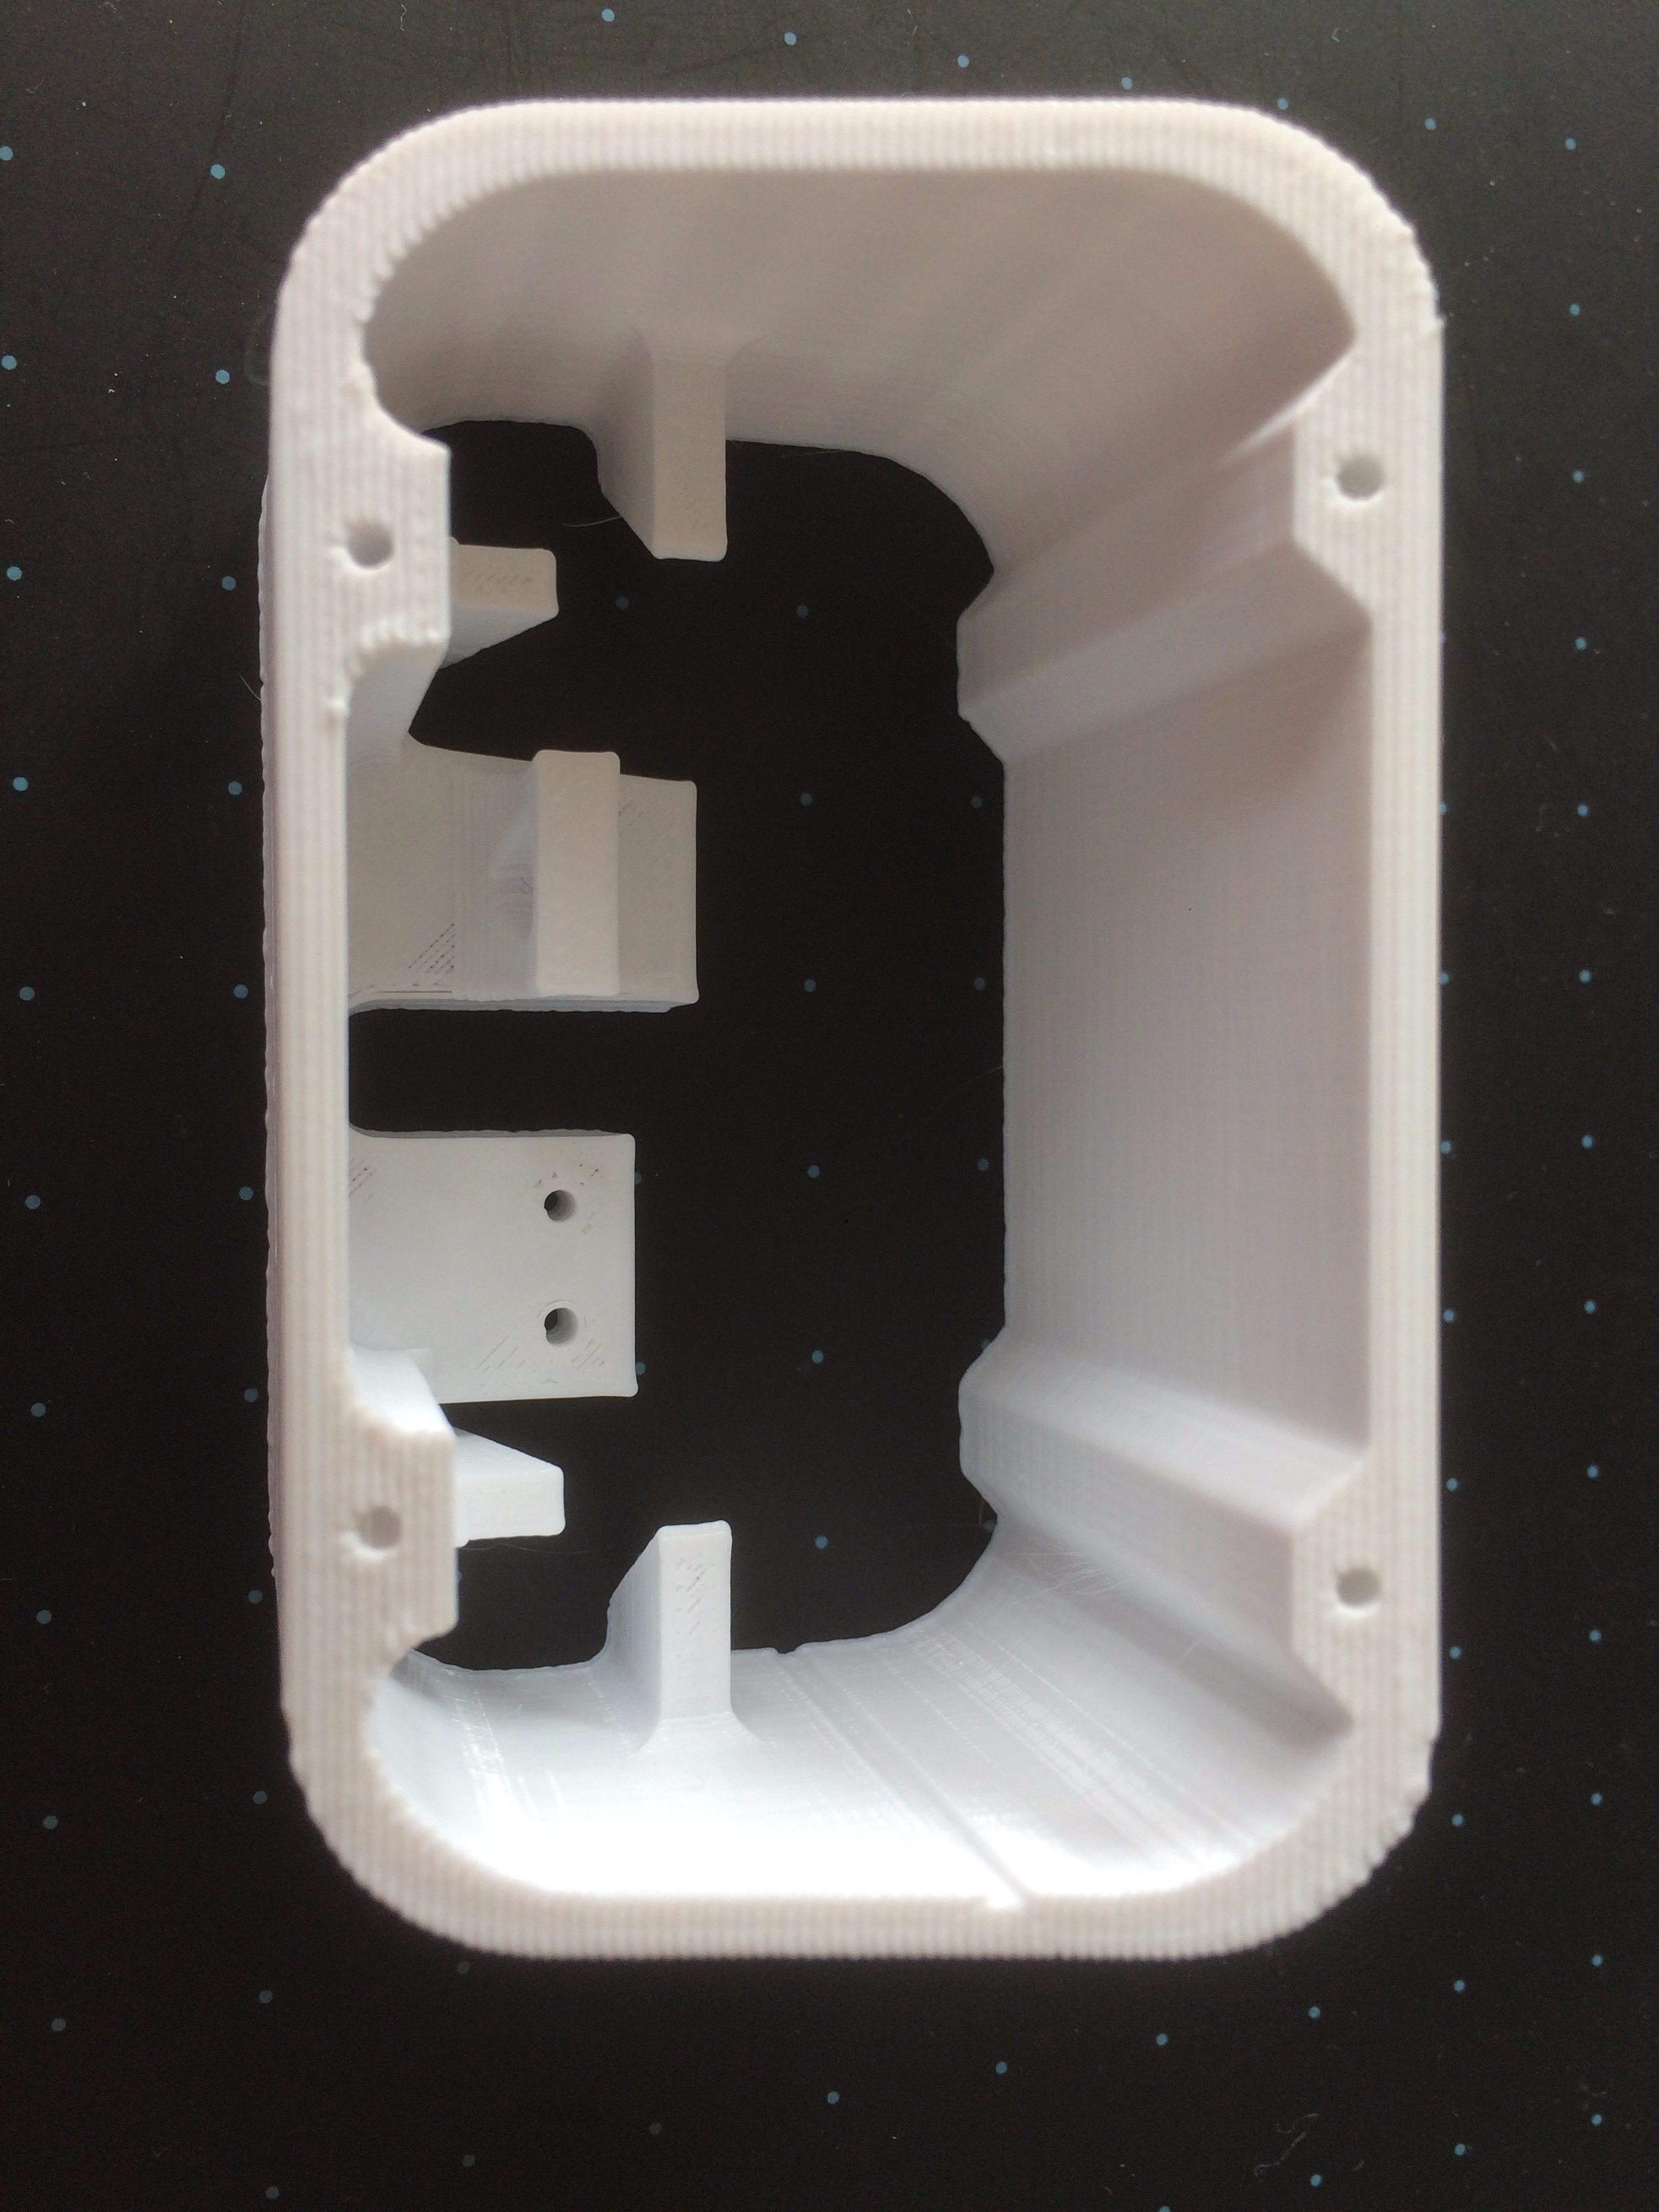
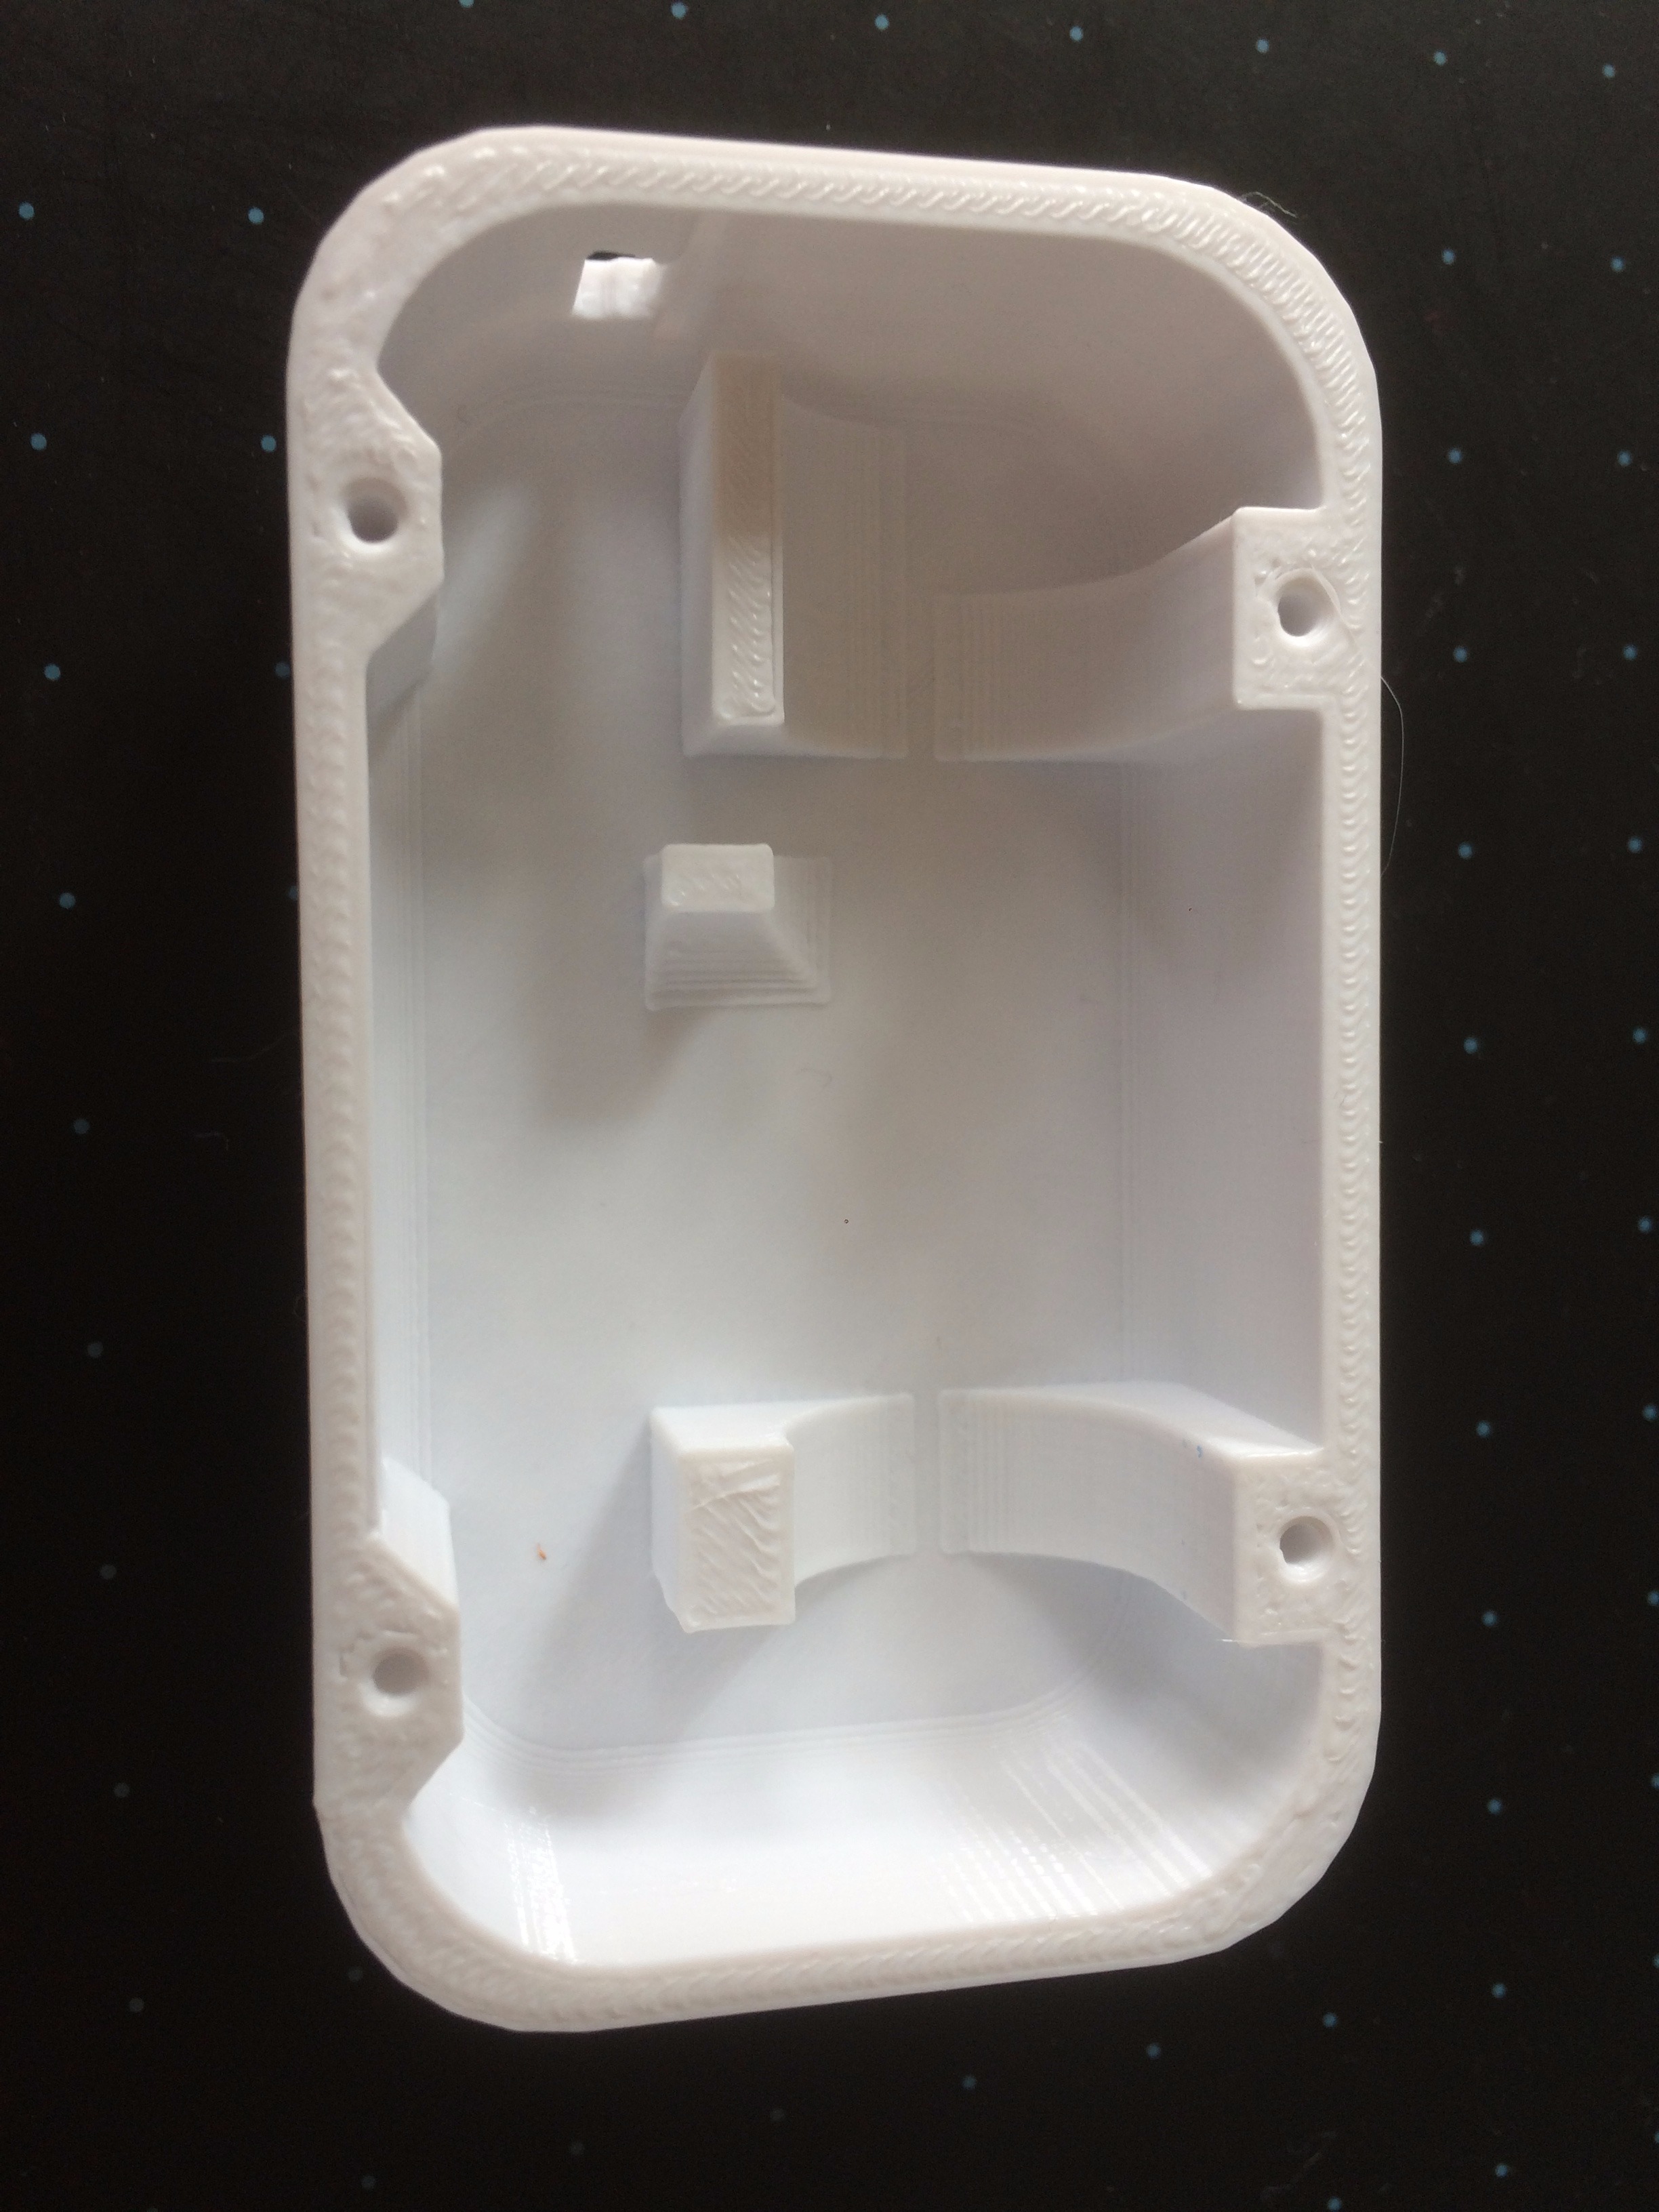
The speaker consist three parts. Print the part "base", "middle ring", "top" and "button". The CAD files are attached. Print the "base" part first so you can install eletronic parts while waiting the second part to be printed. It would take about 4 hours to print all parts.
Soldering the Battery
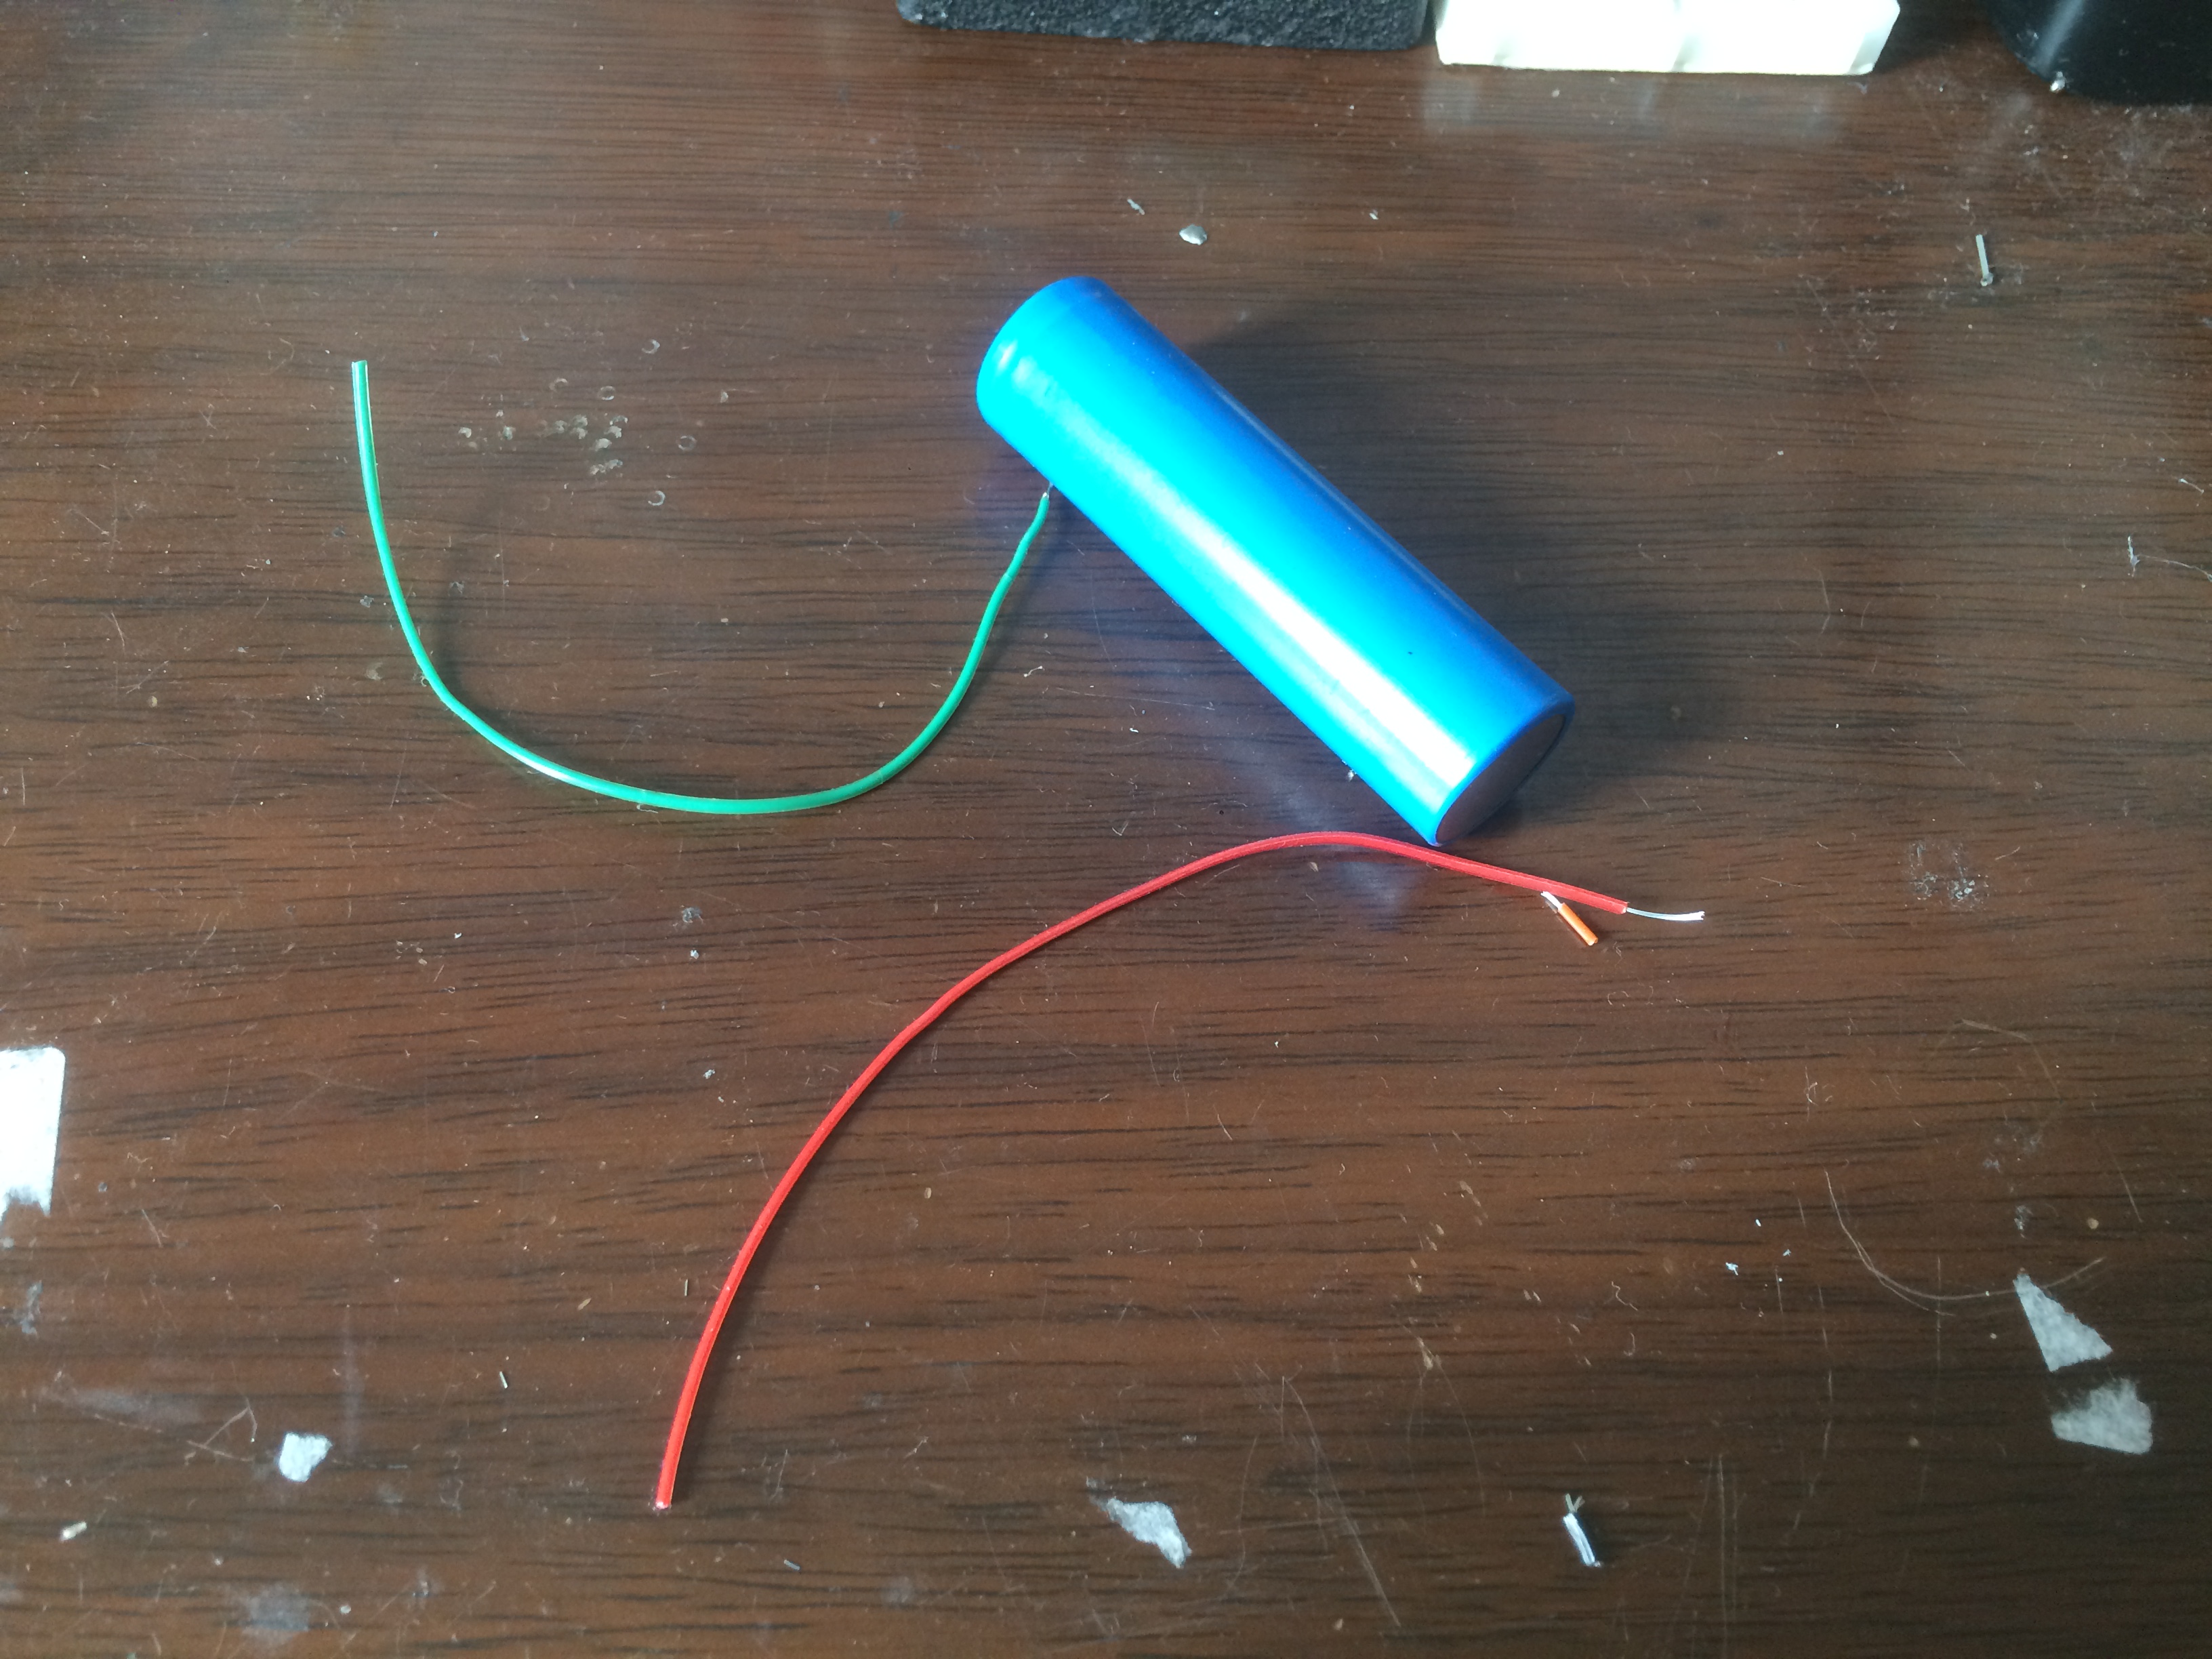
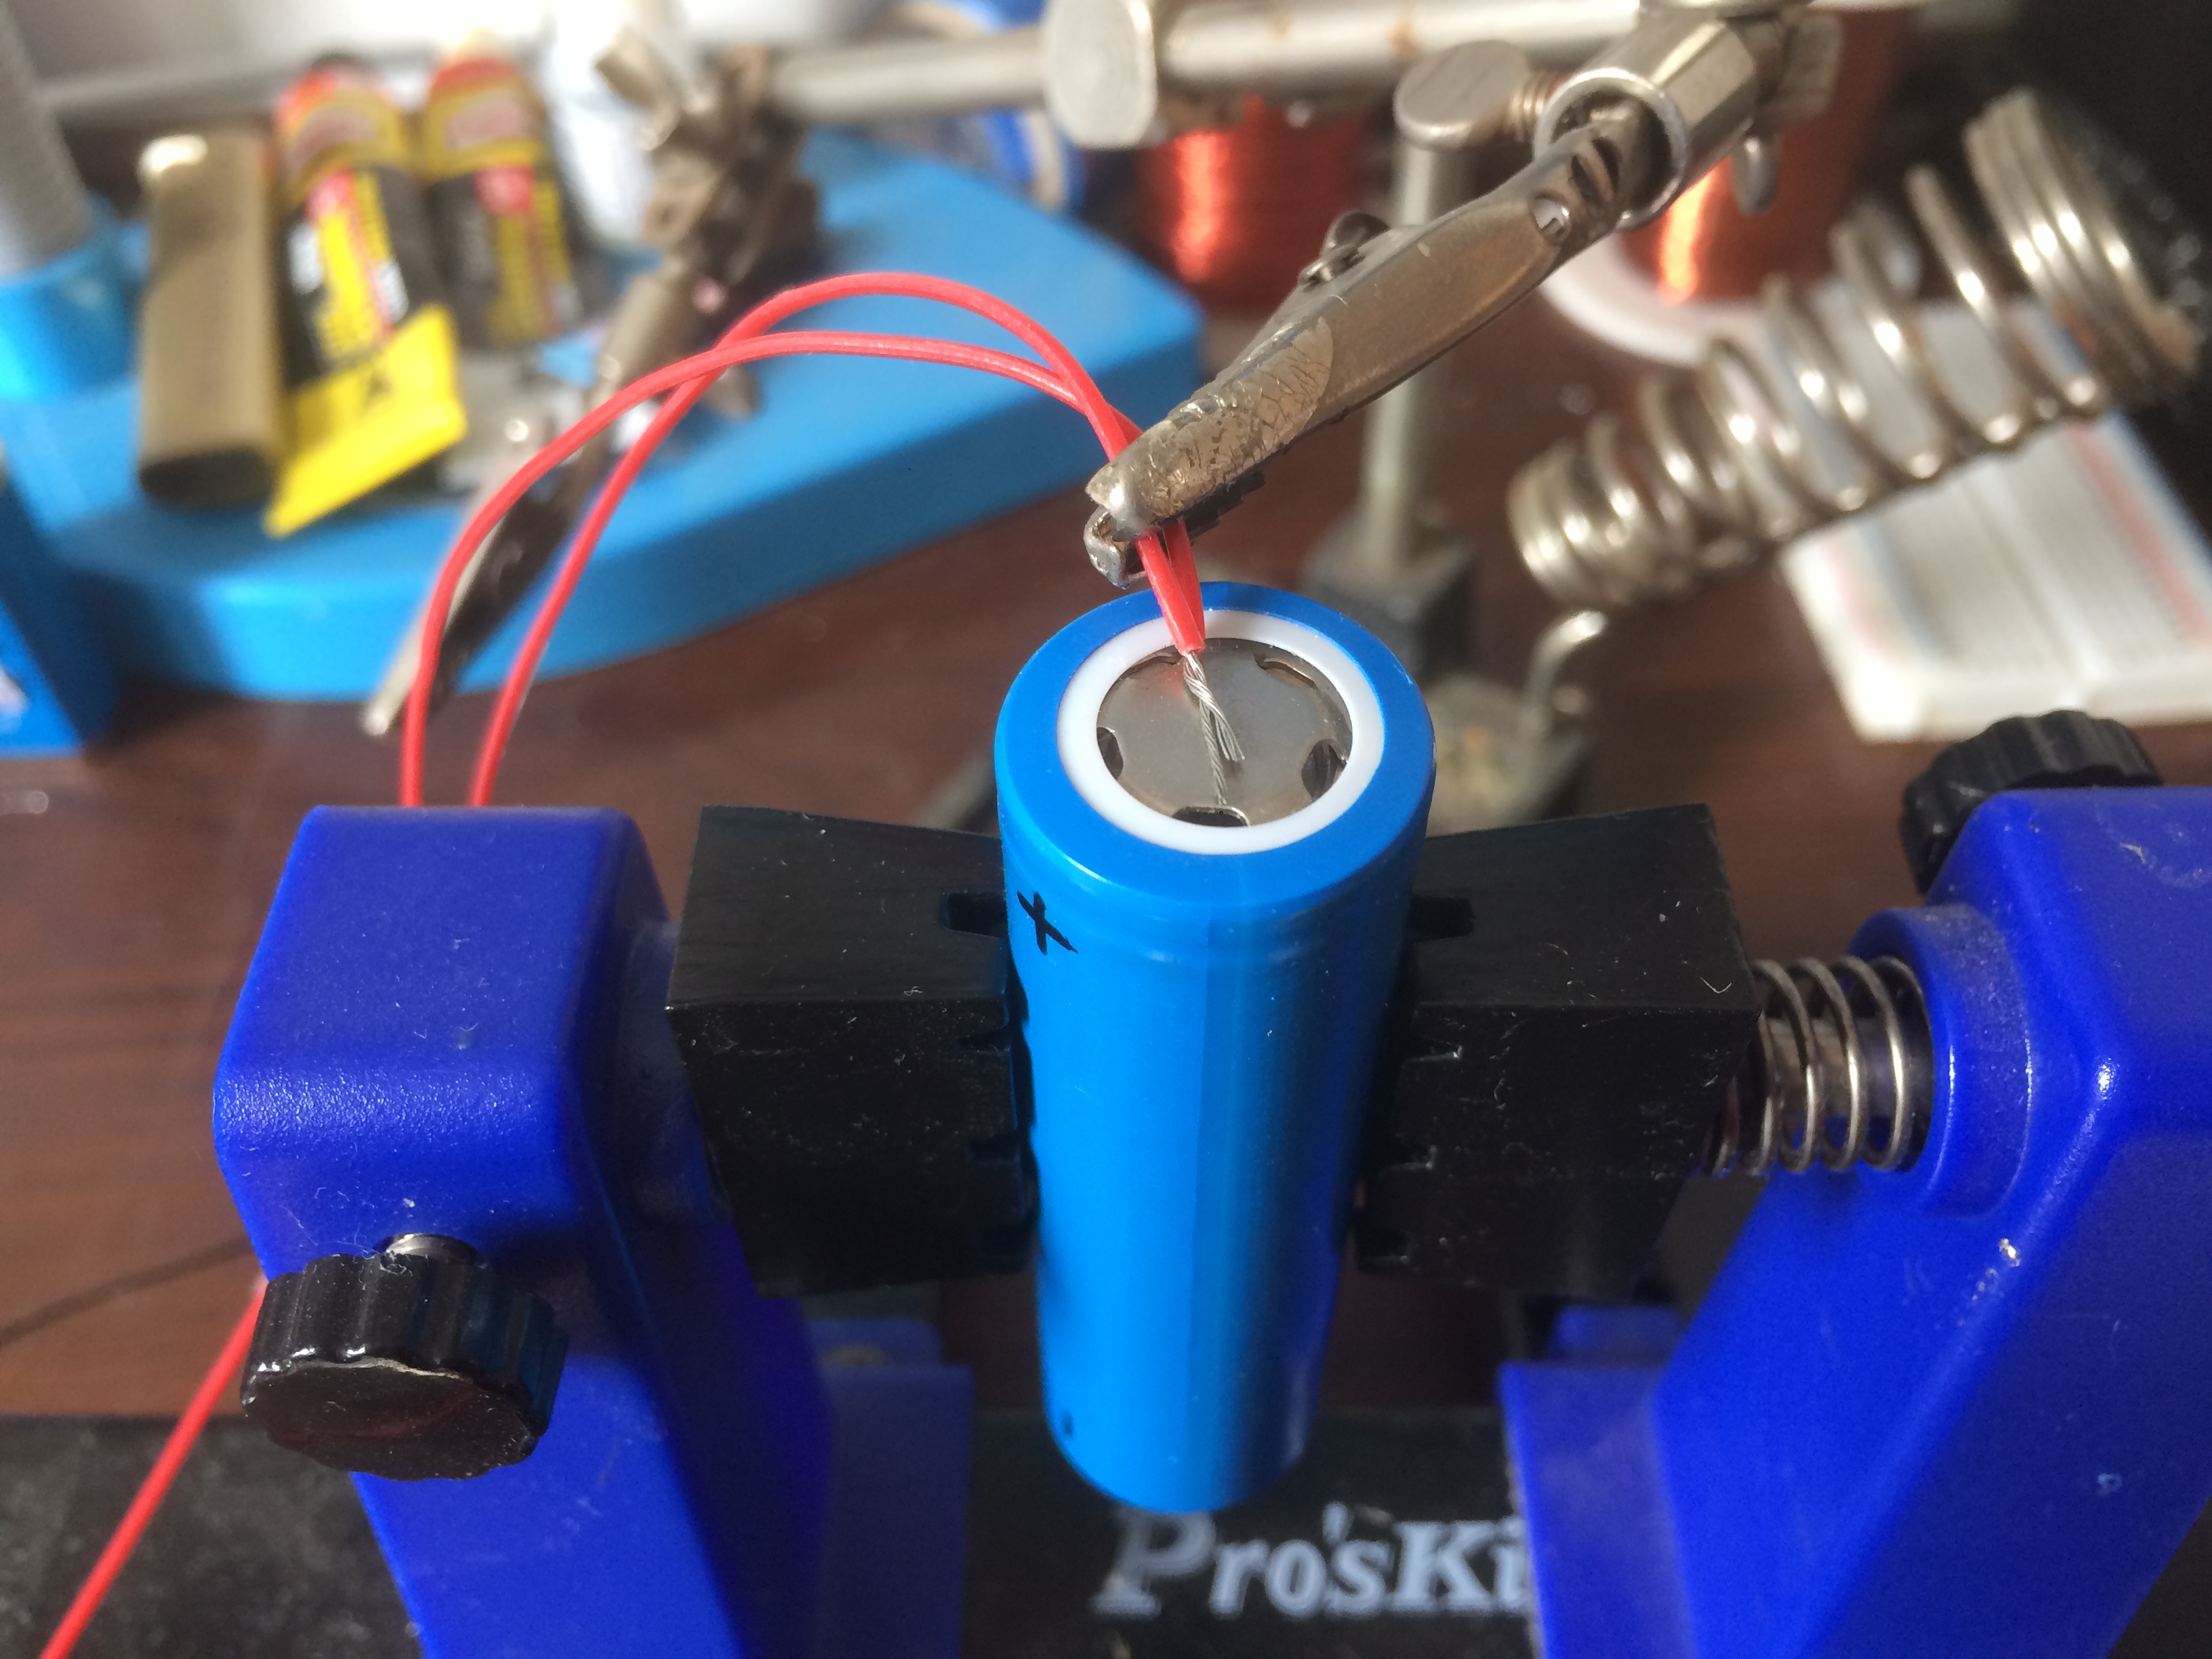
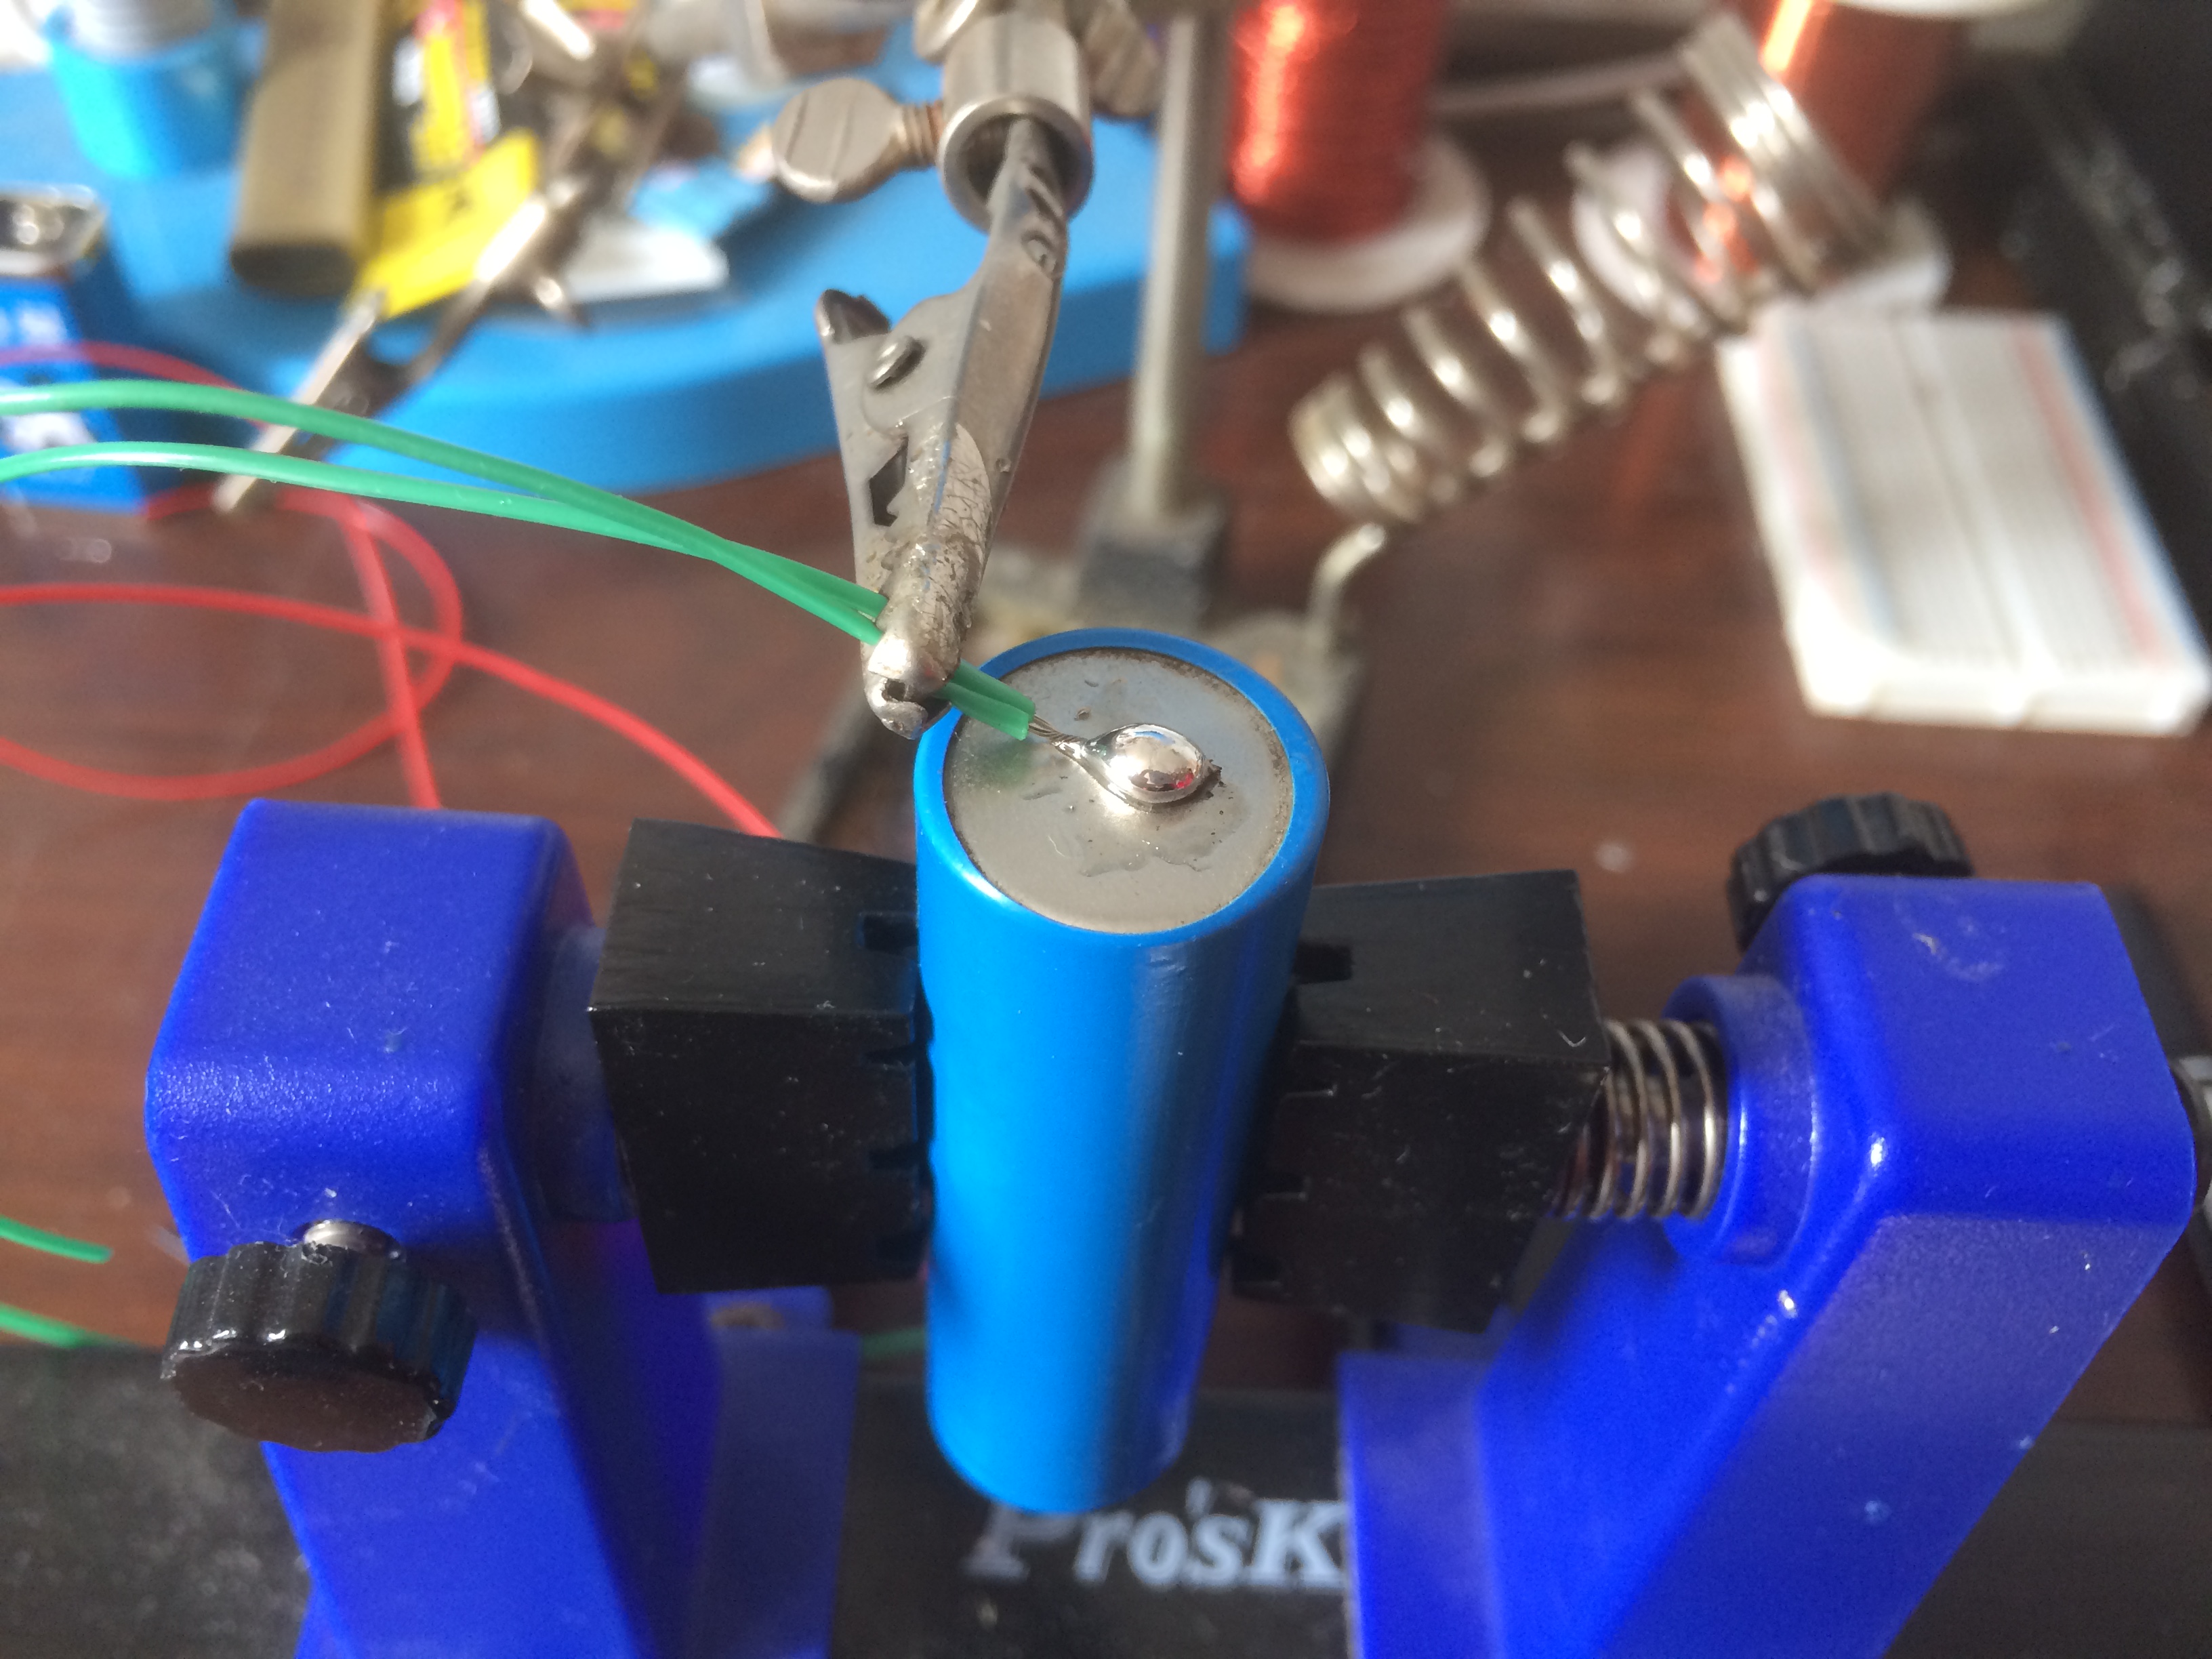
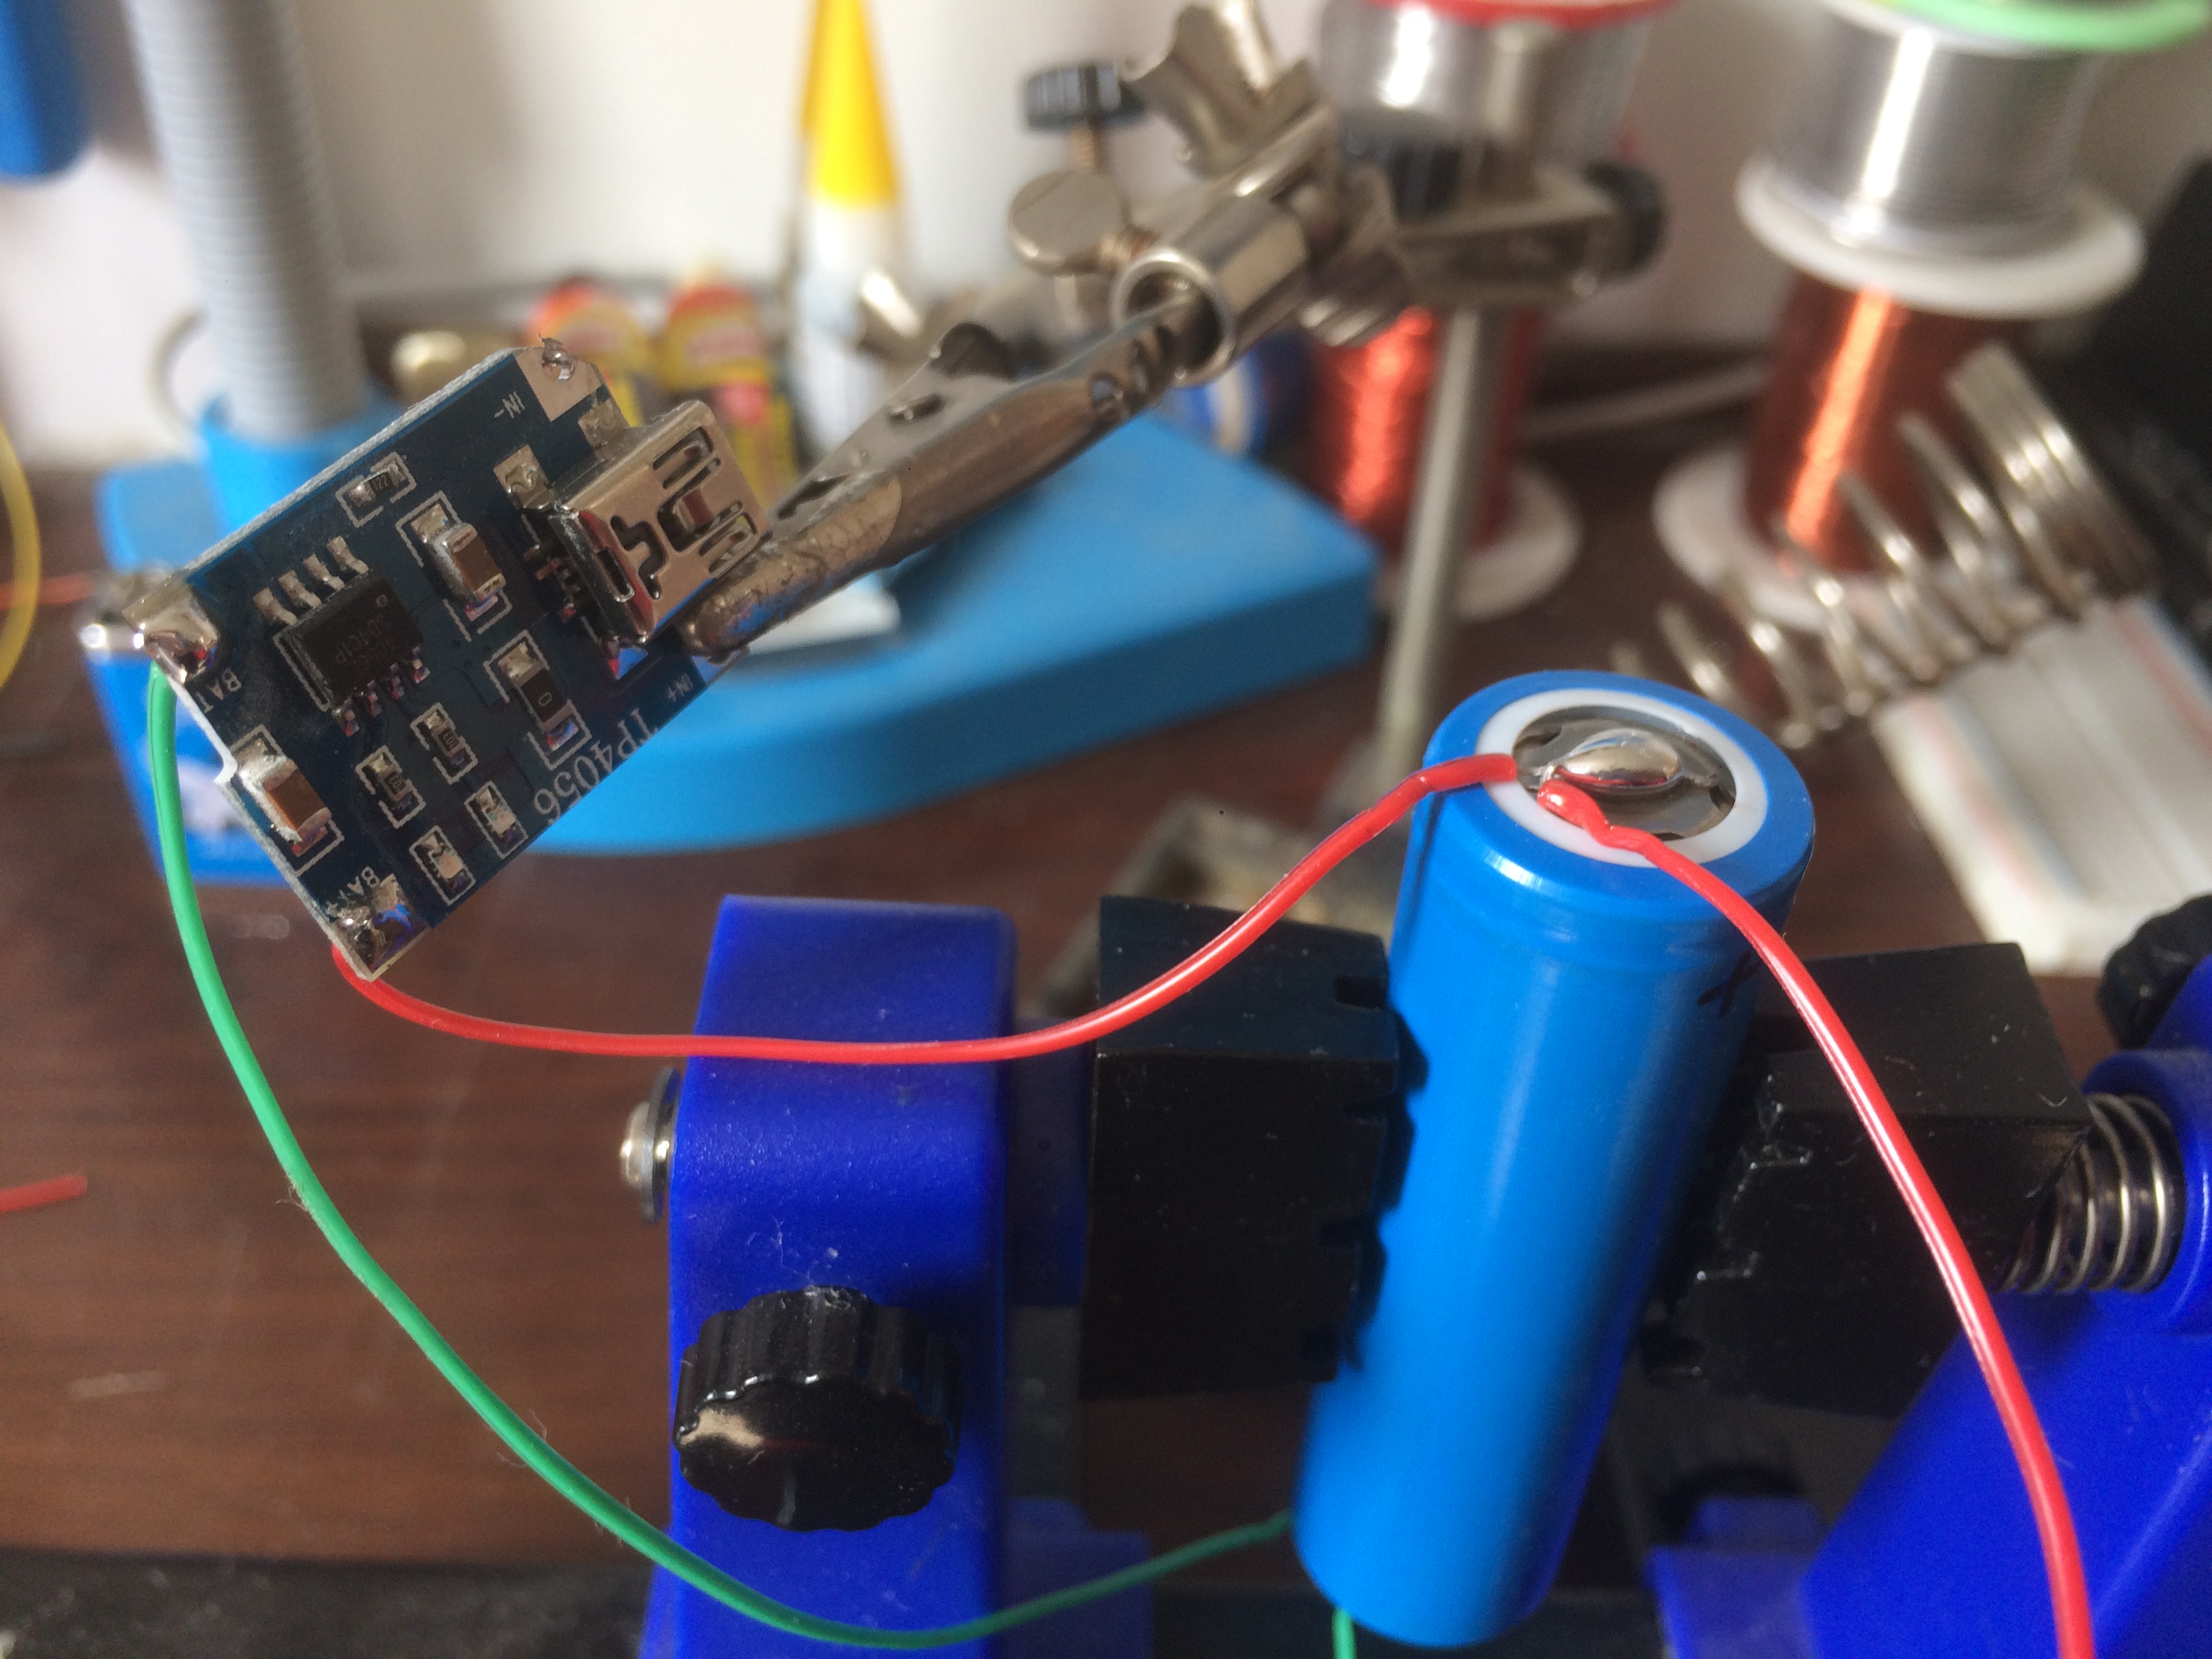
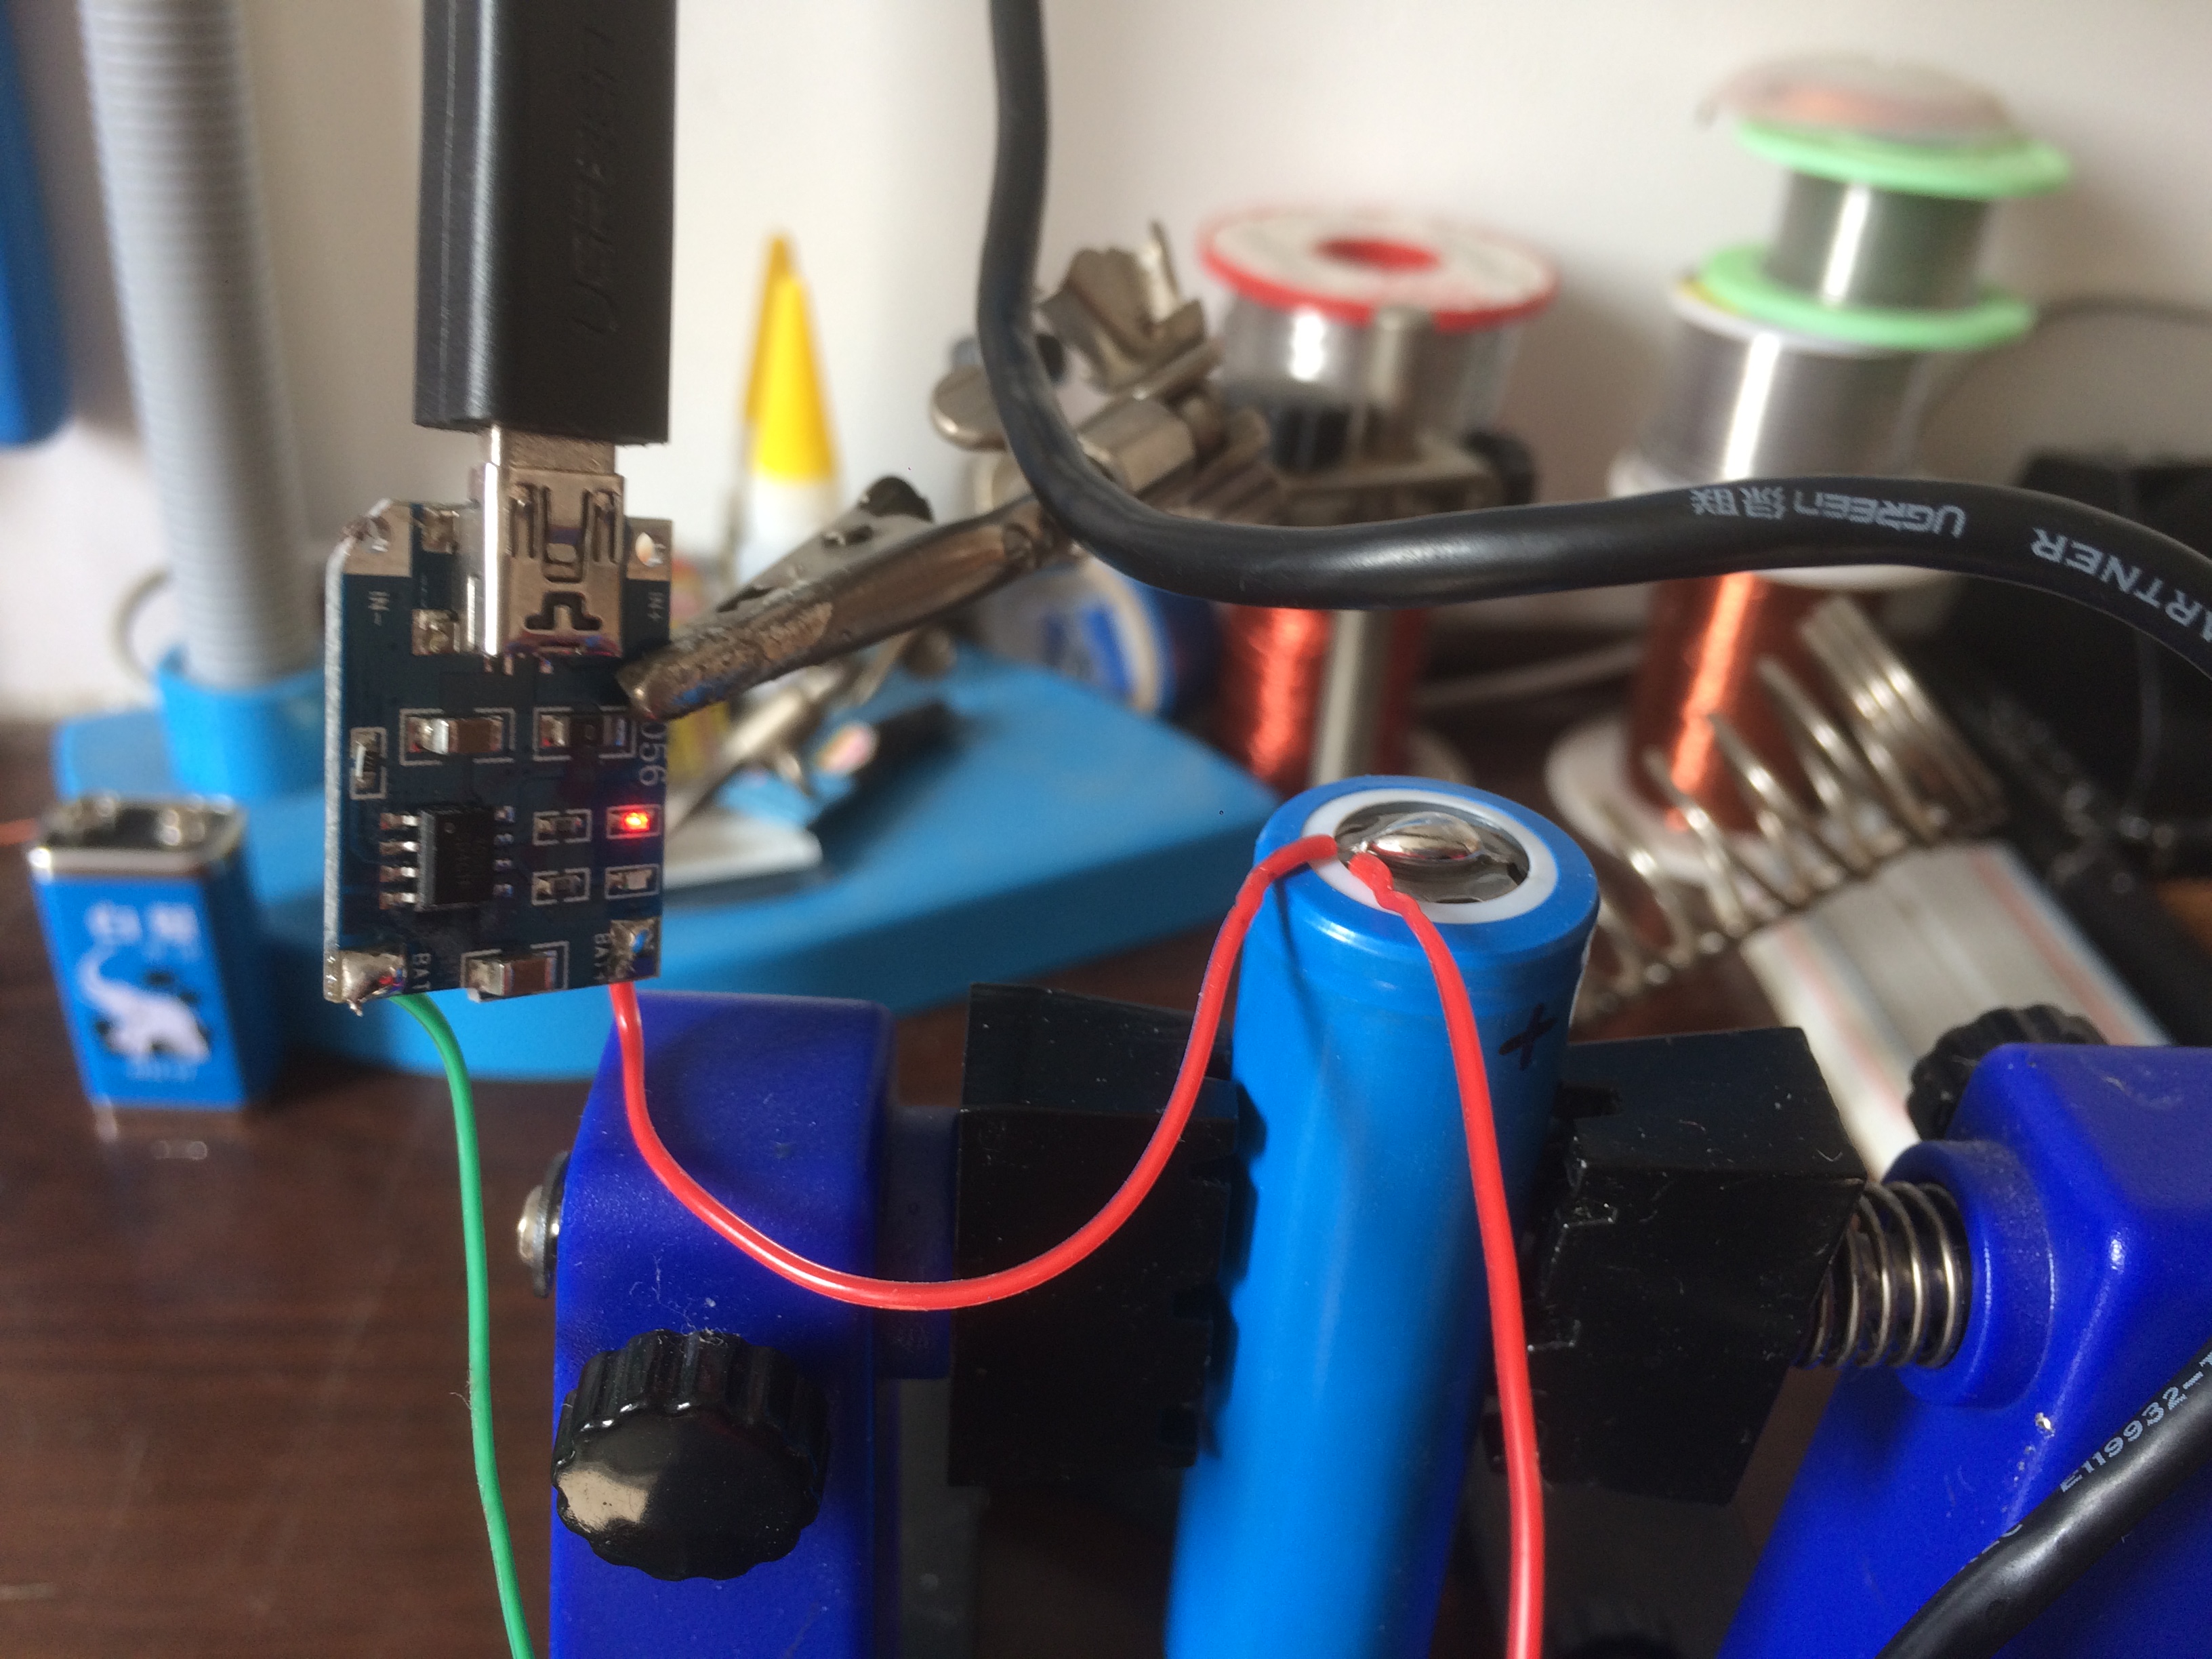
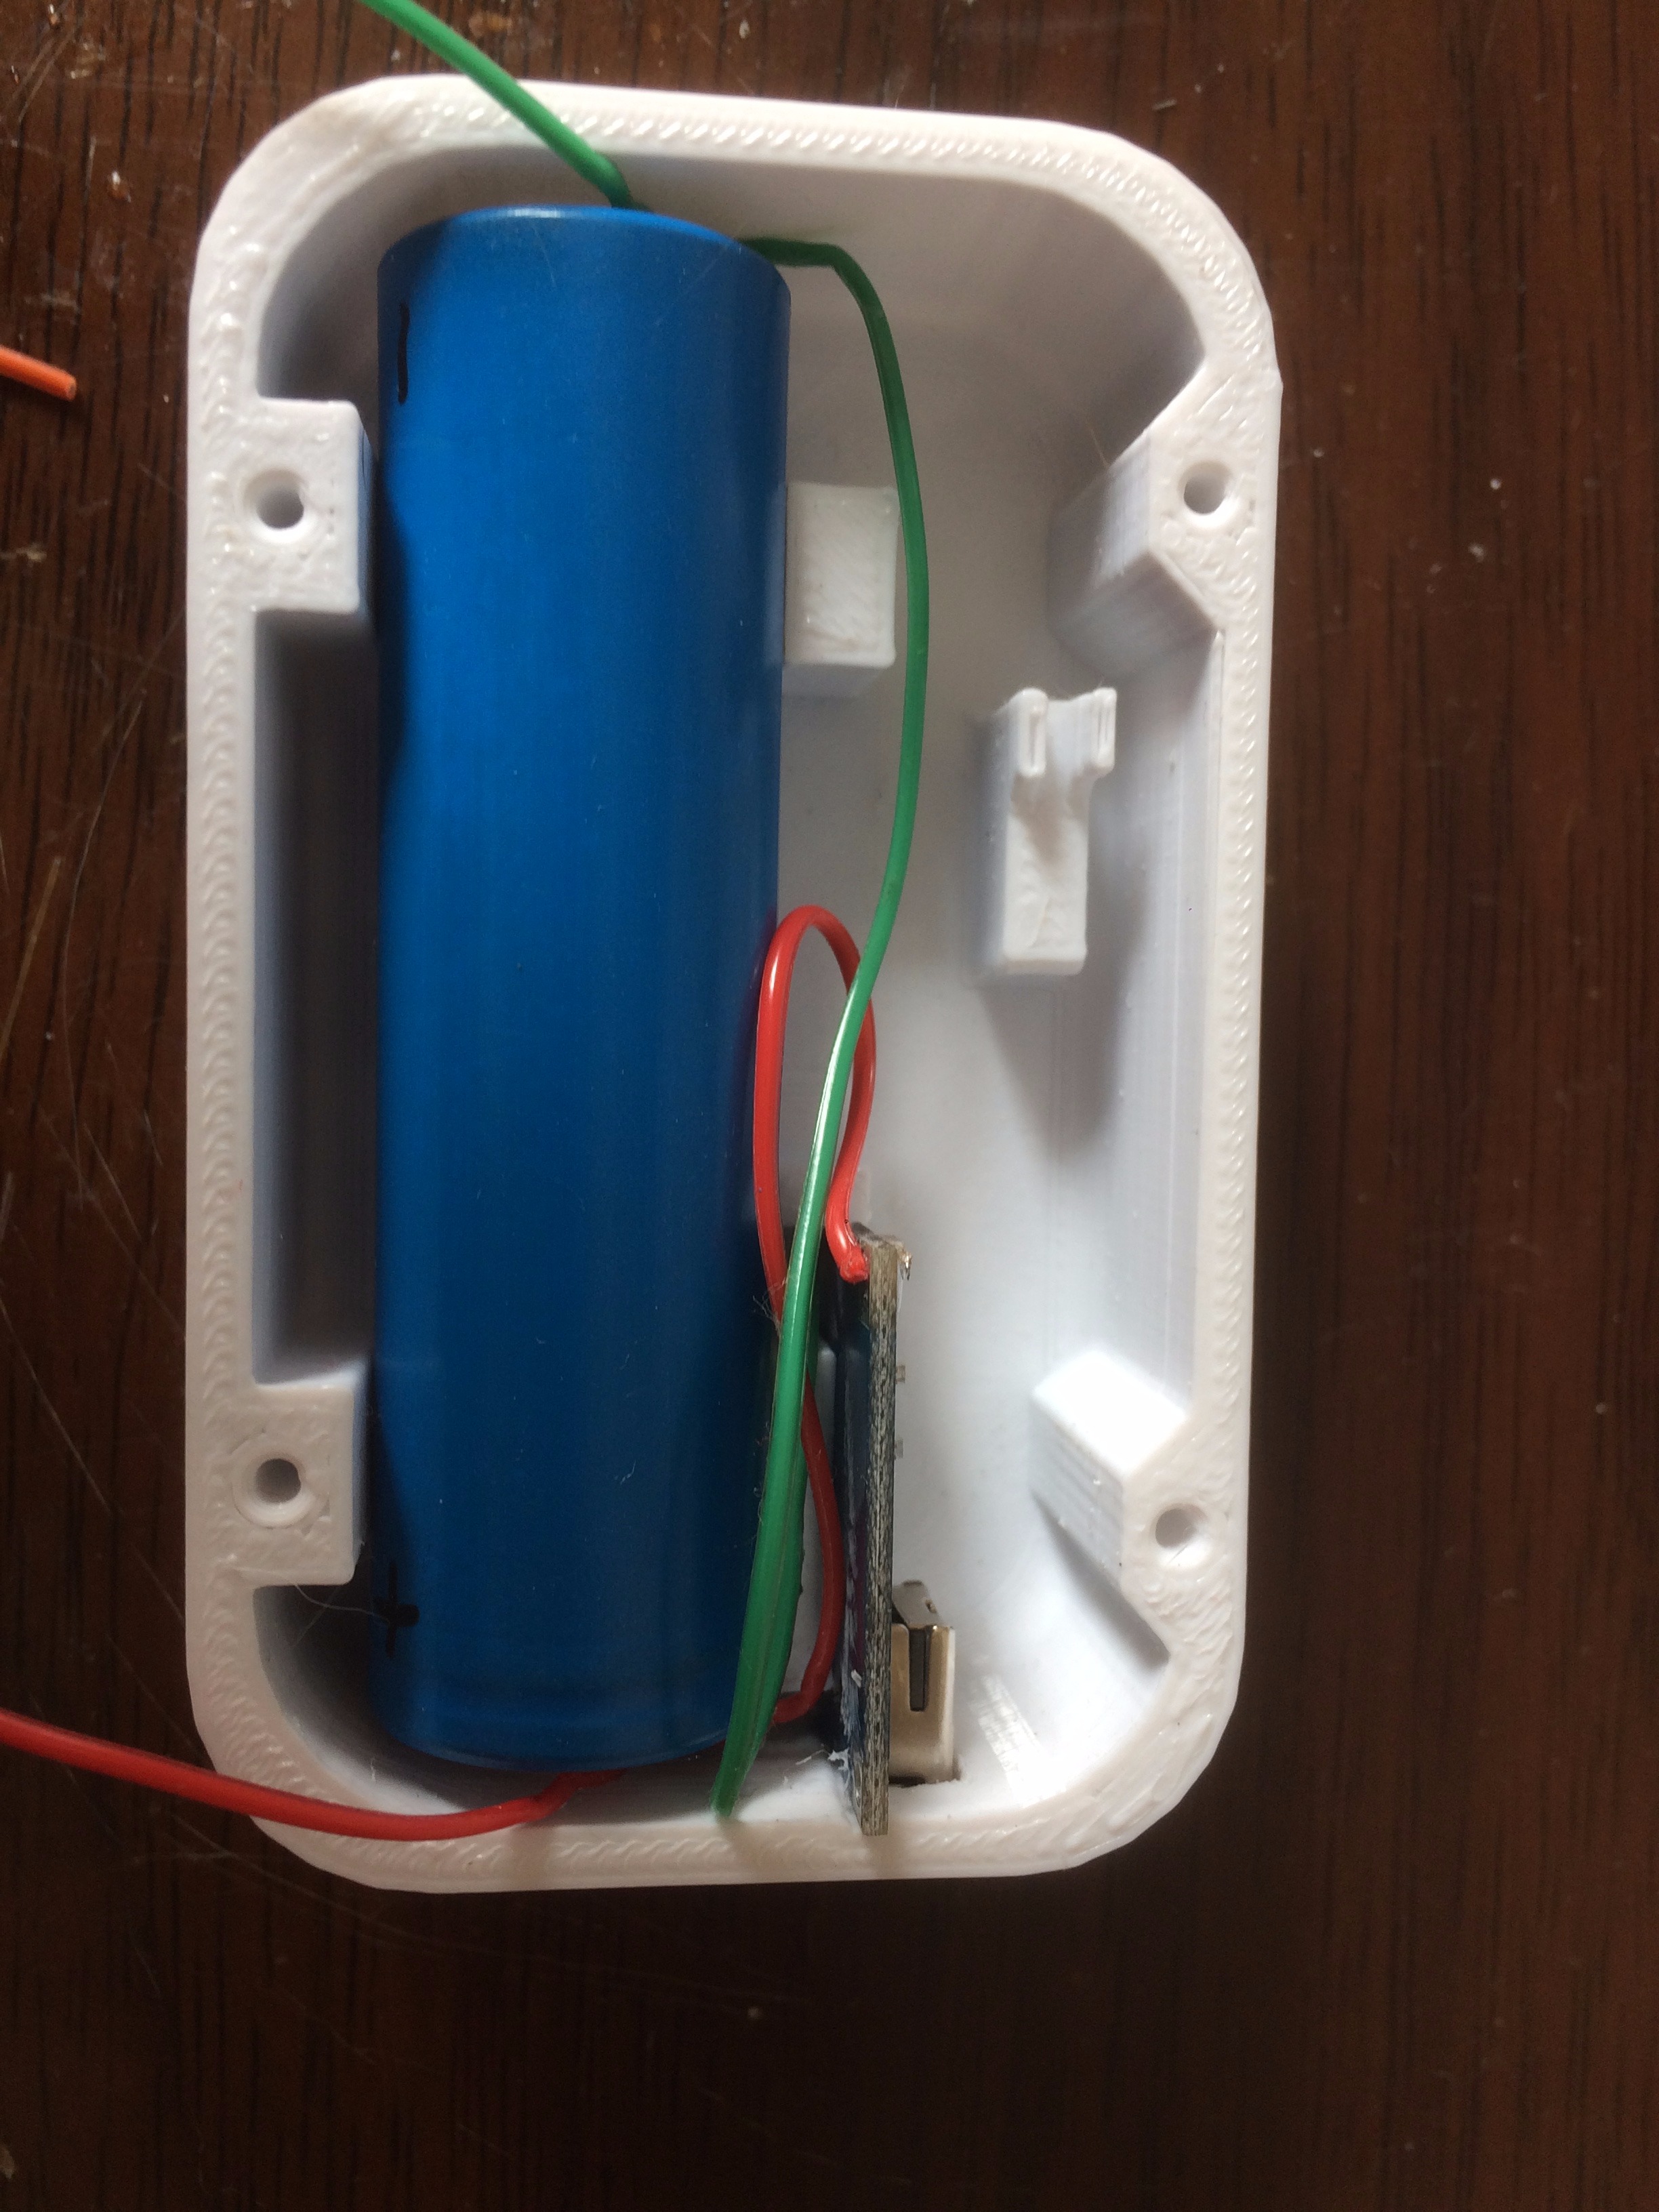
There's a 18650 lithium battery installed to power the system. Distinguish the positive and negative ports of the battery. Solder them to 'BAT+' and 'BAT-' ports of the charging module. You can charge the battery to check if it's soldered appropriate. Then install the battery and charging module into the 3d printed case. You can use some hot glue to fix them in position.
Install the Bluetooth Audio Module
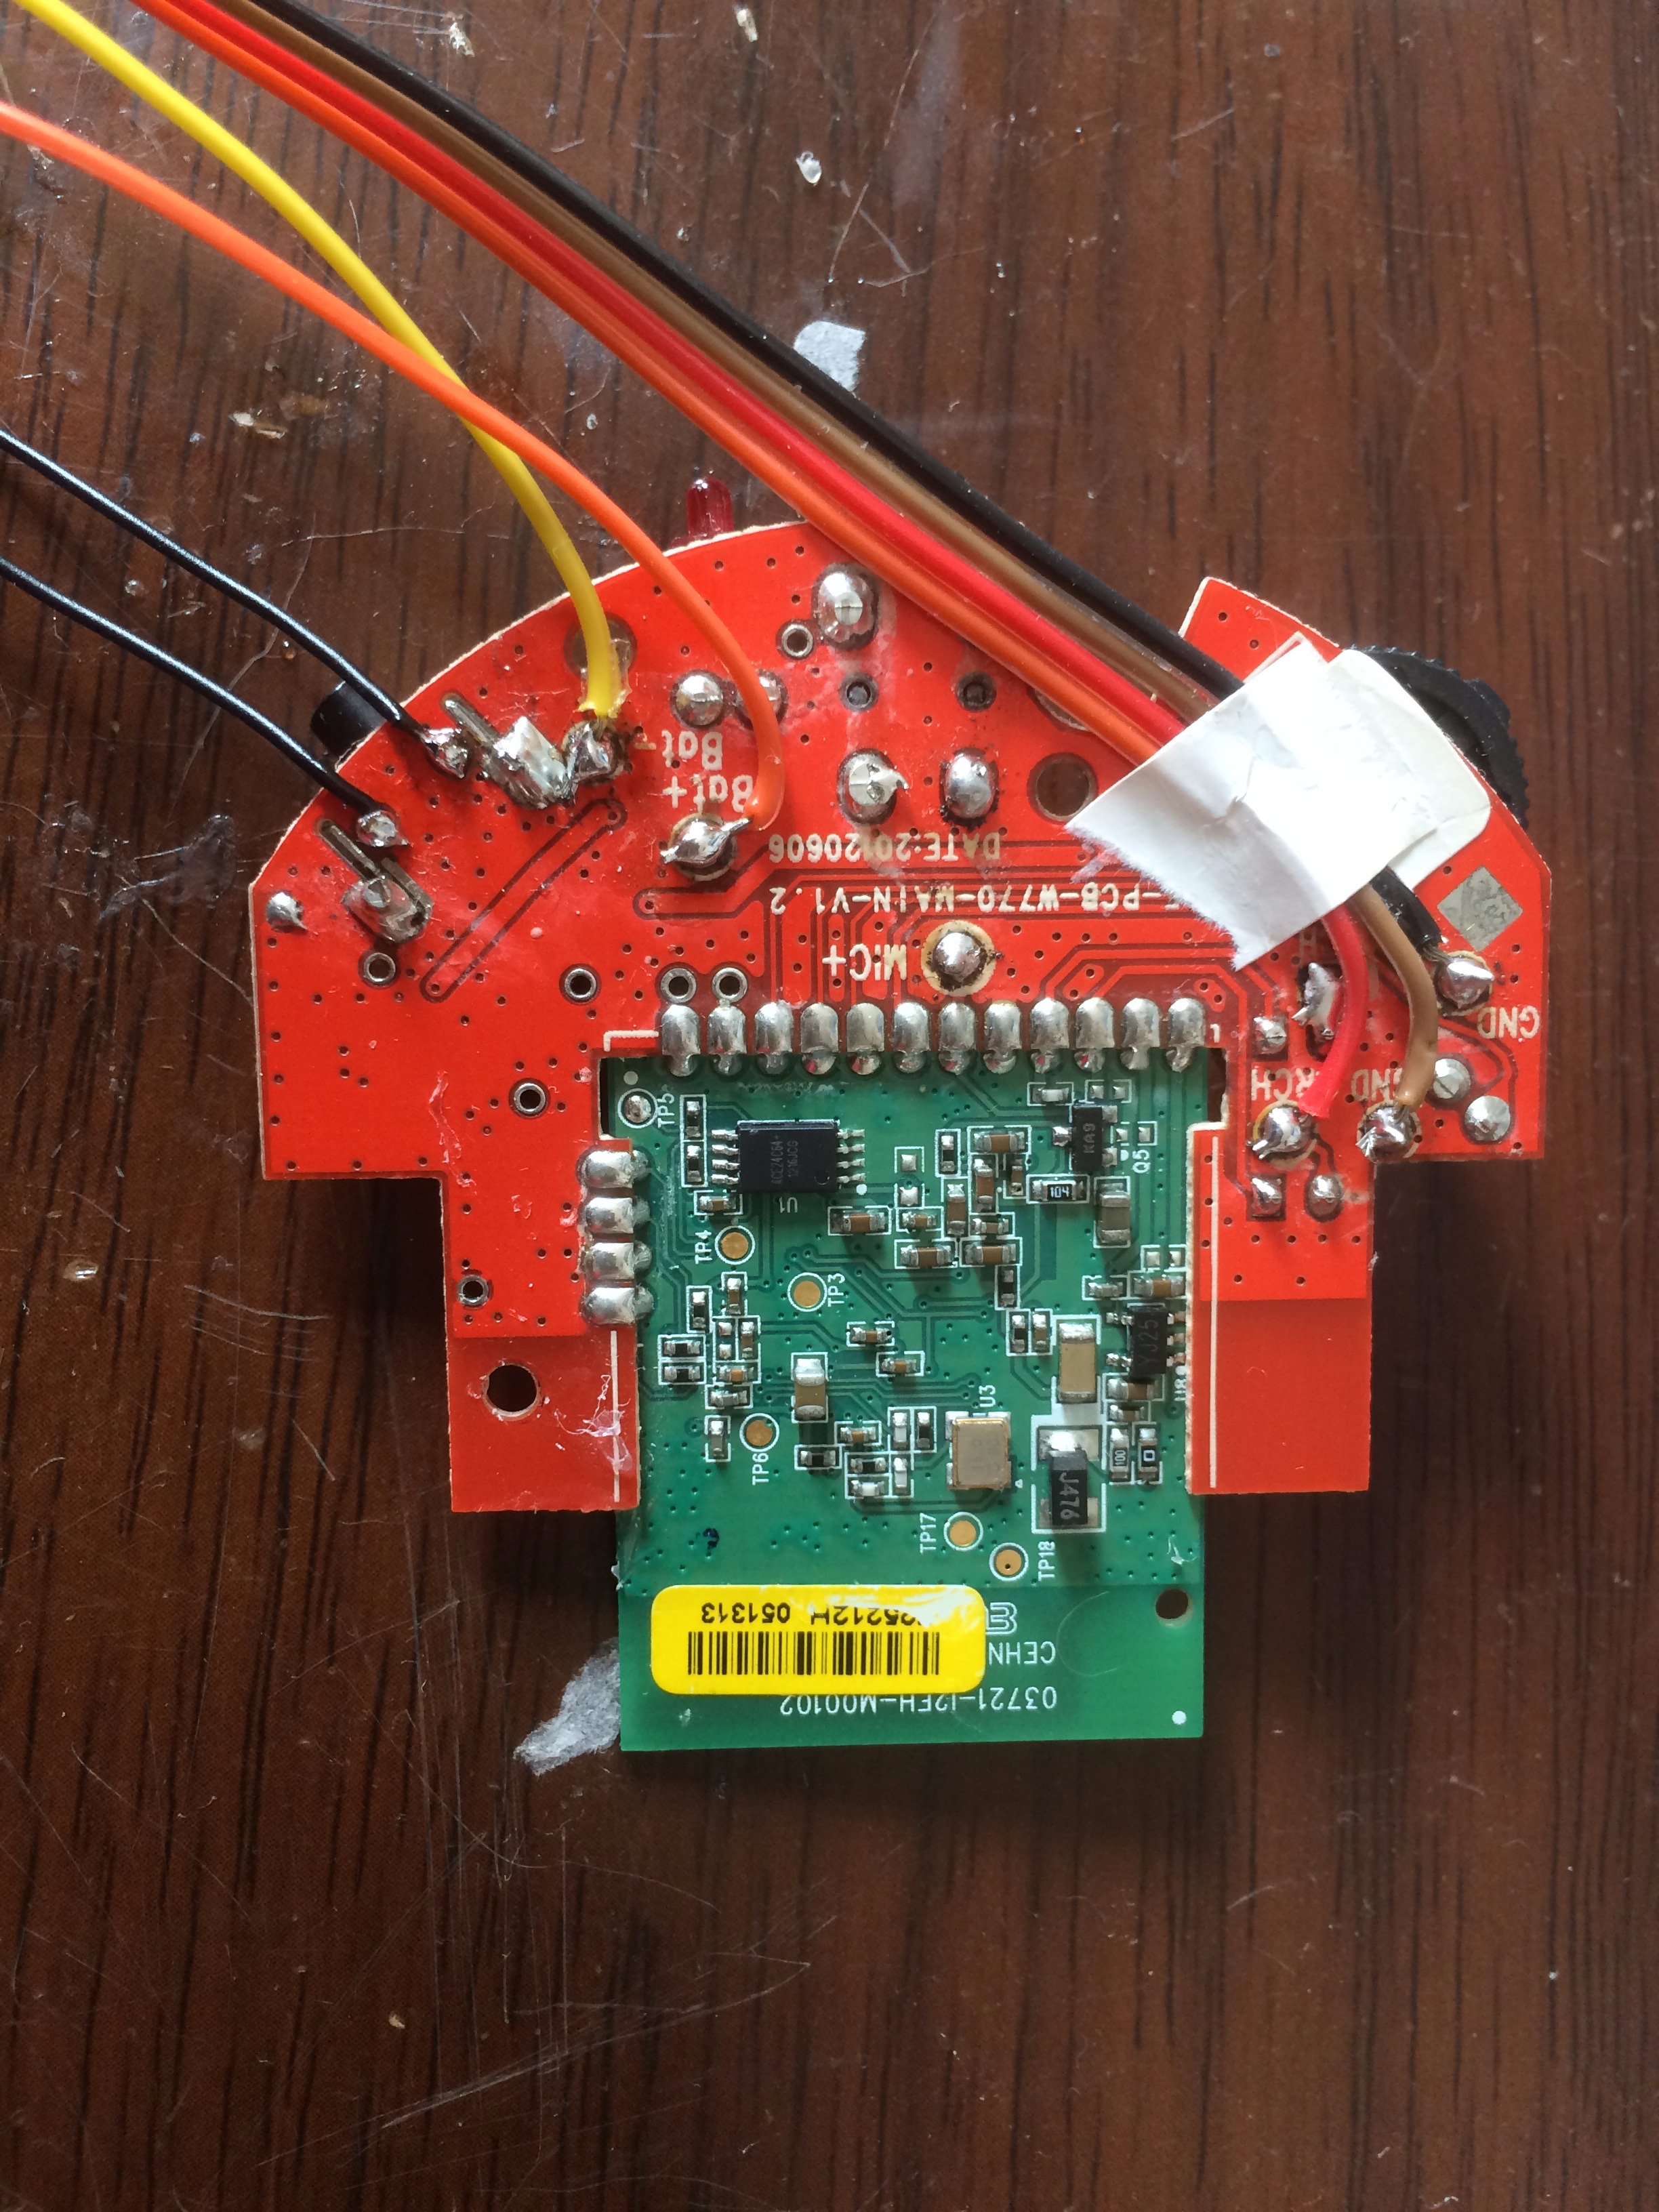
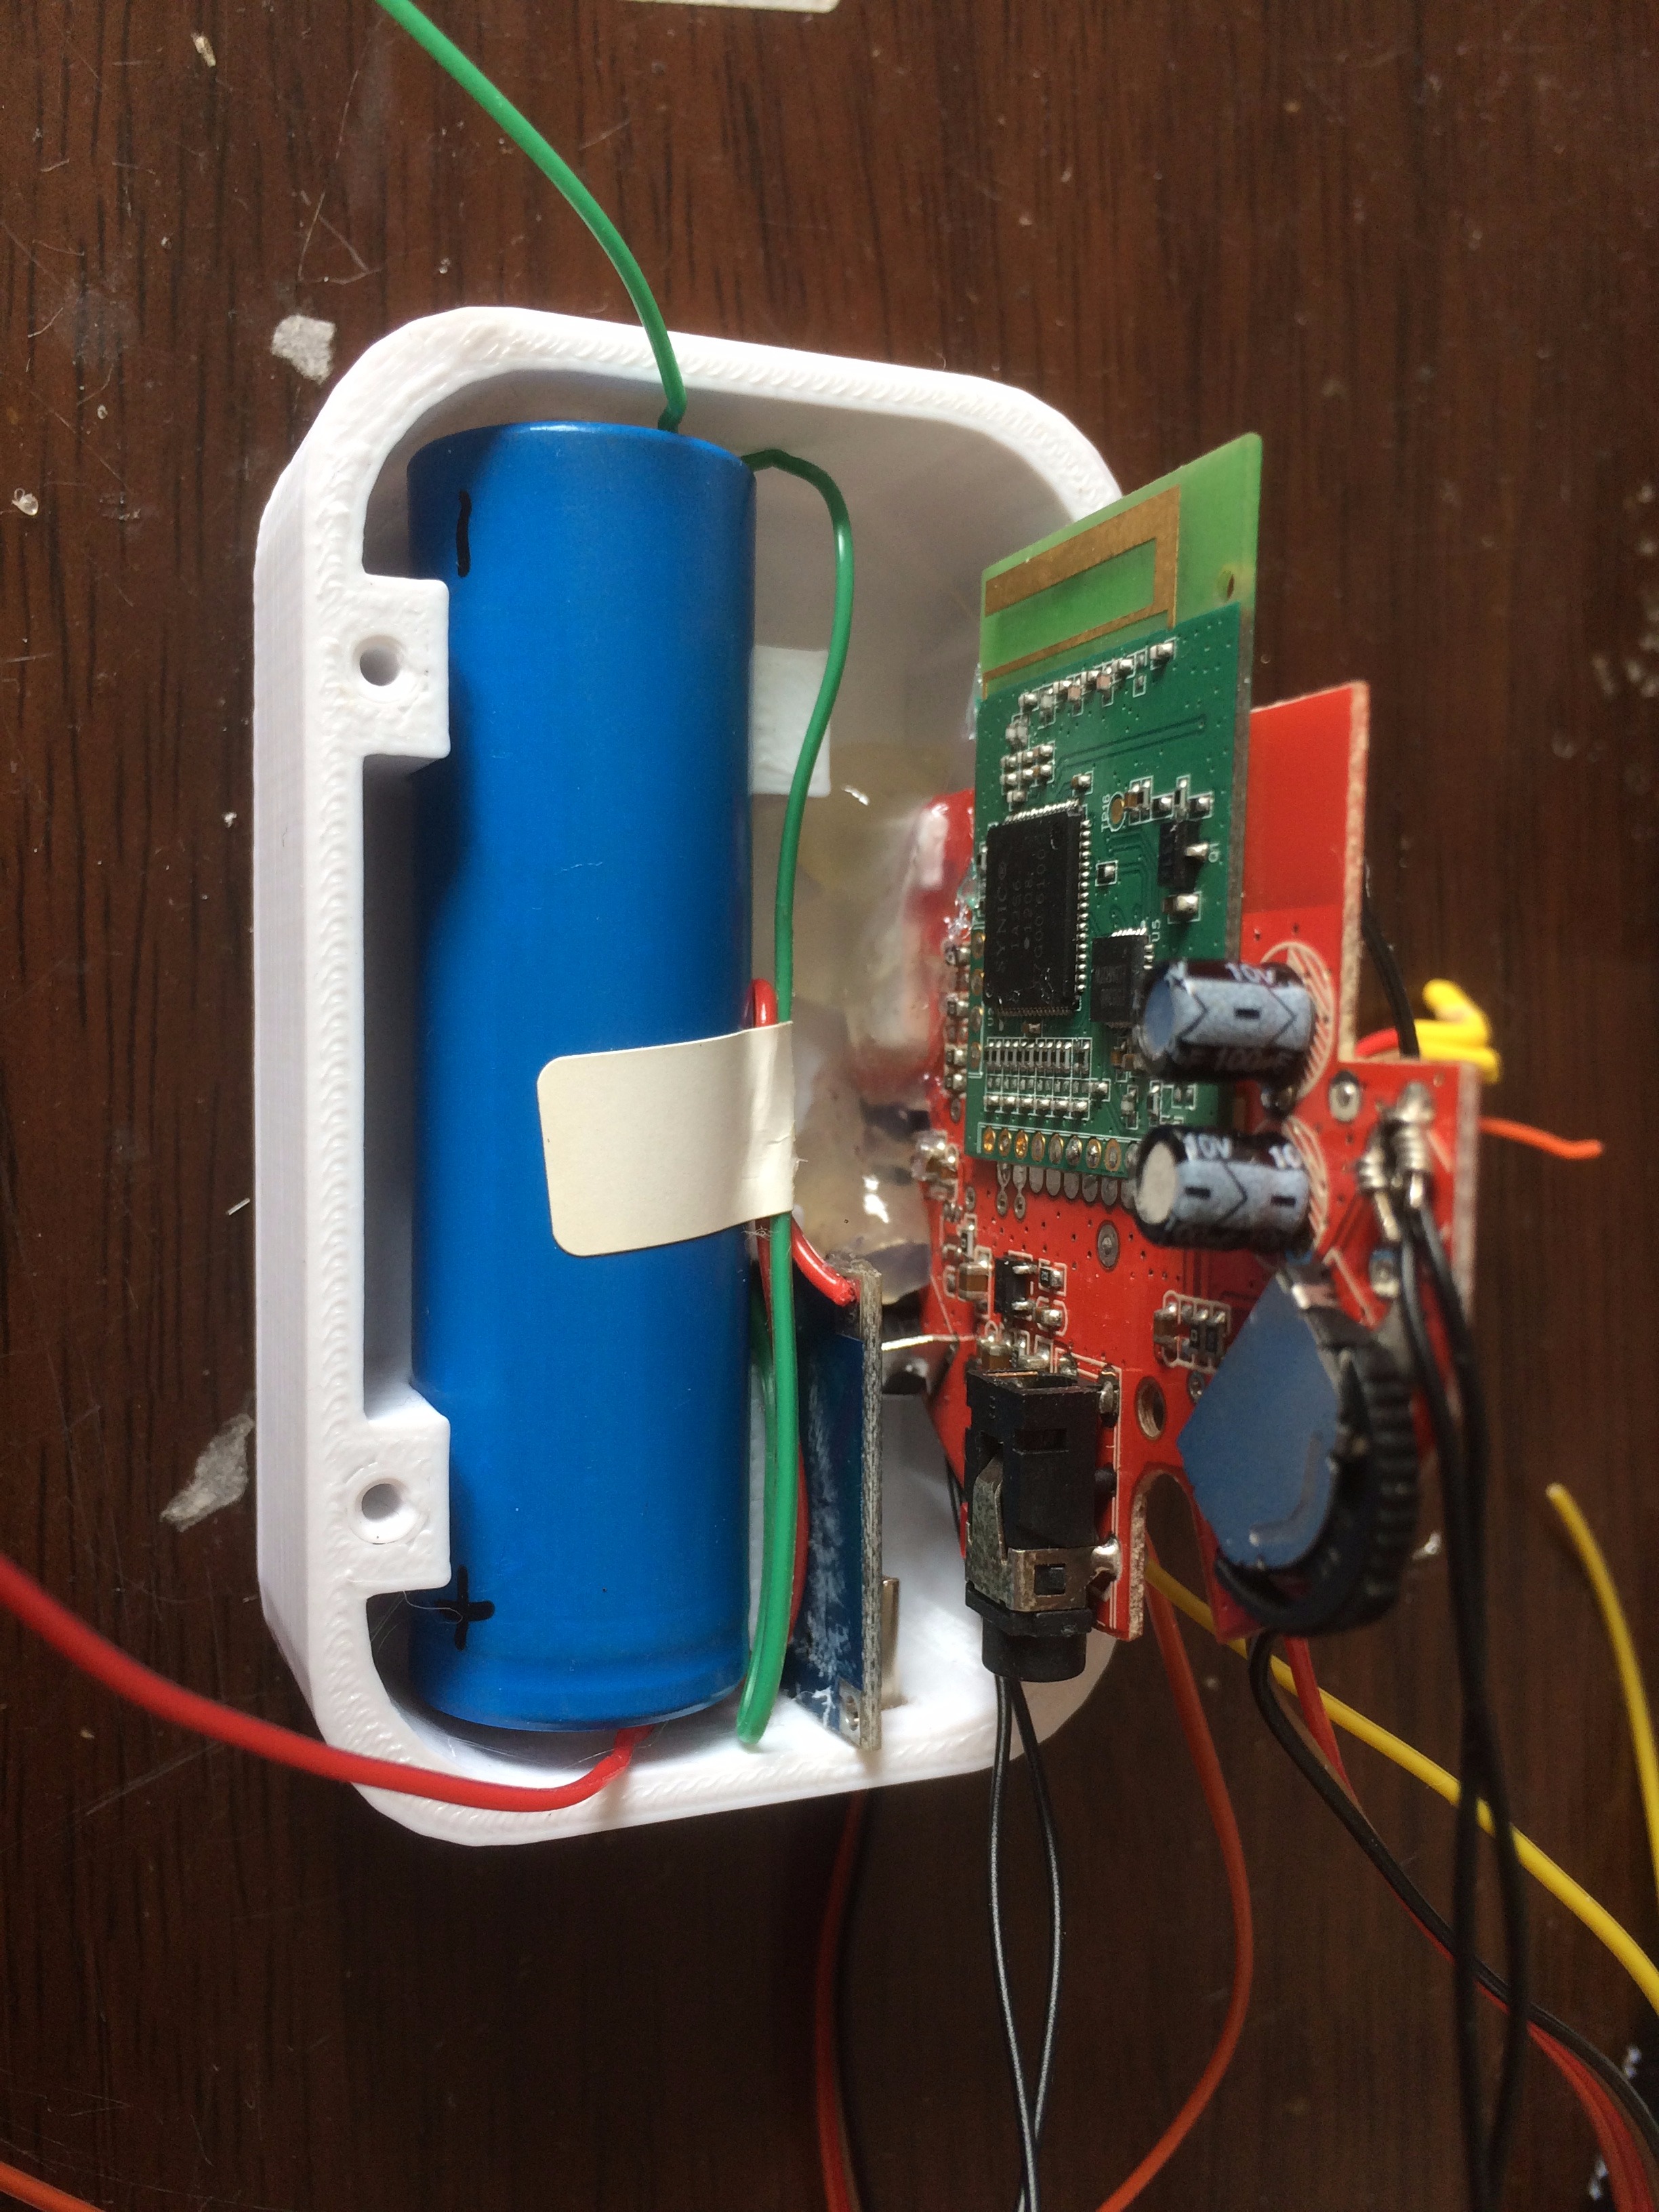
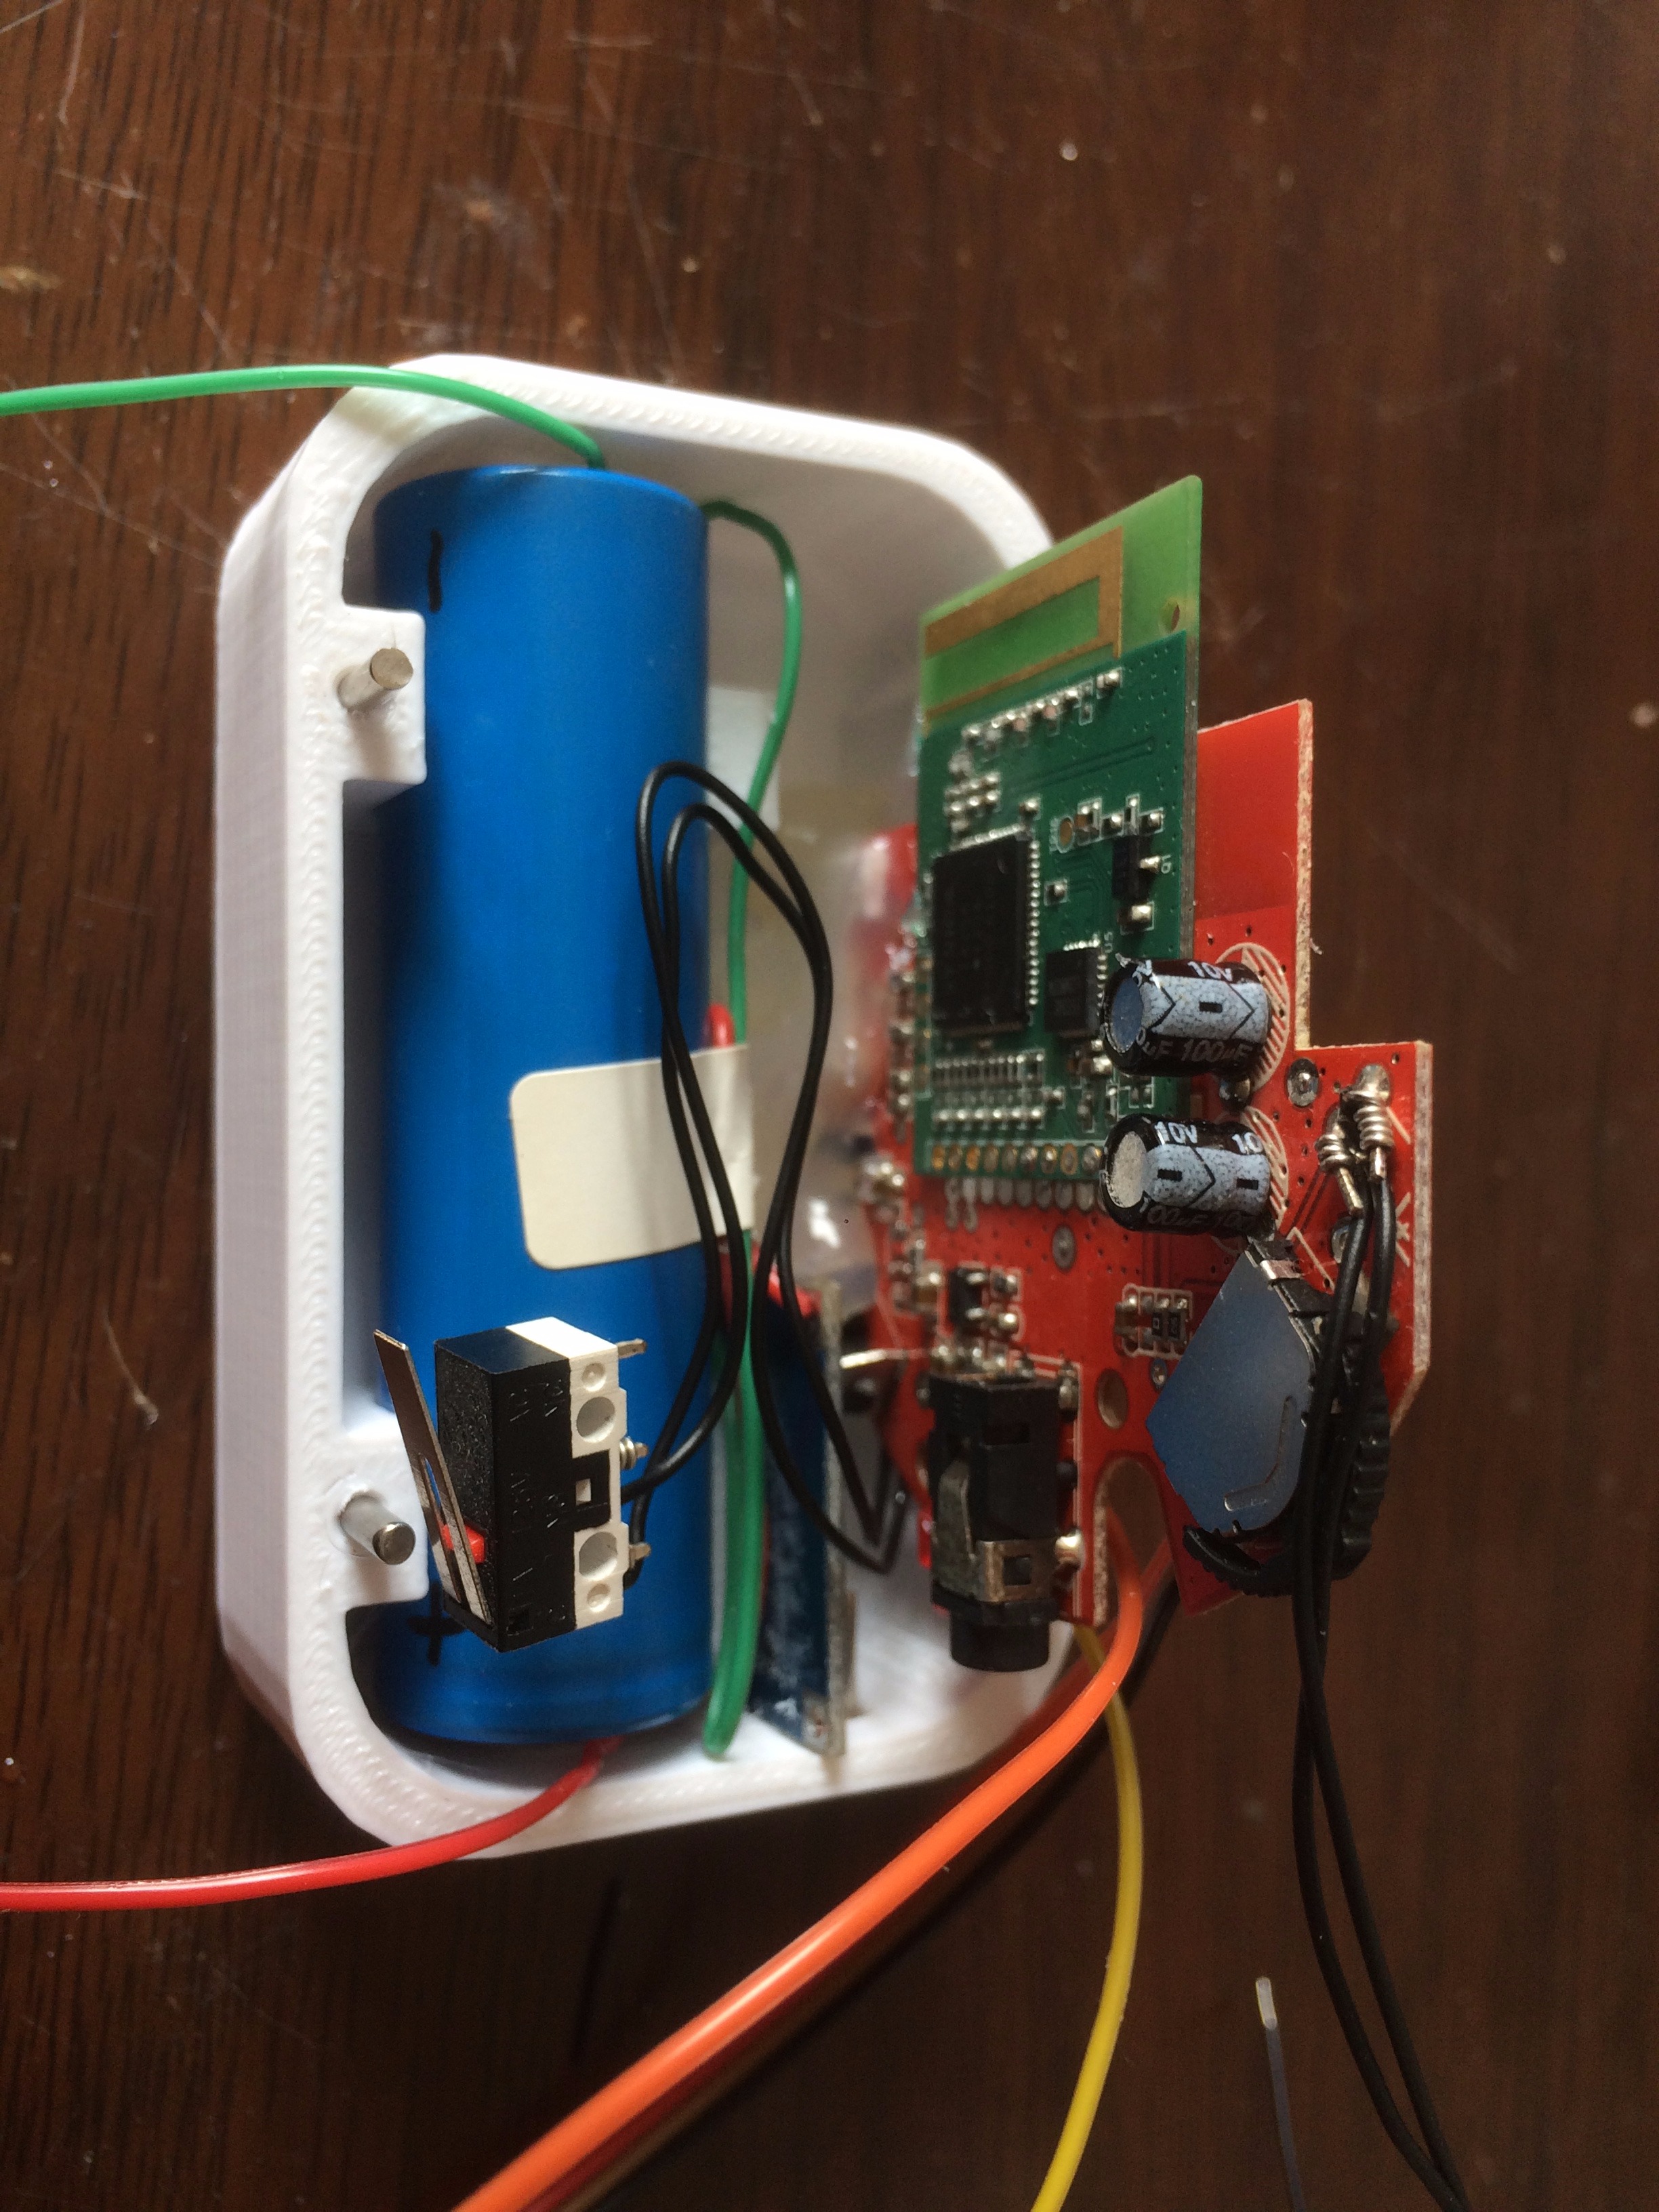
Find the left channel, right channel contacts on the bluetooth audio module, solder them with wires. Also solder the 'Power' and 'GND' contacts on the module. If your module have a signal led, remove the original and solder a new one with extension wire. After soldering, glue the module into base.
Wire Up Switch and Battery
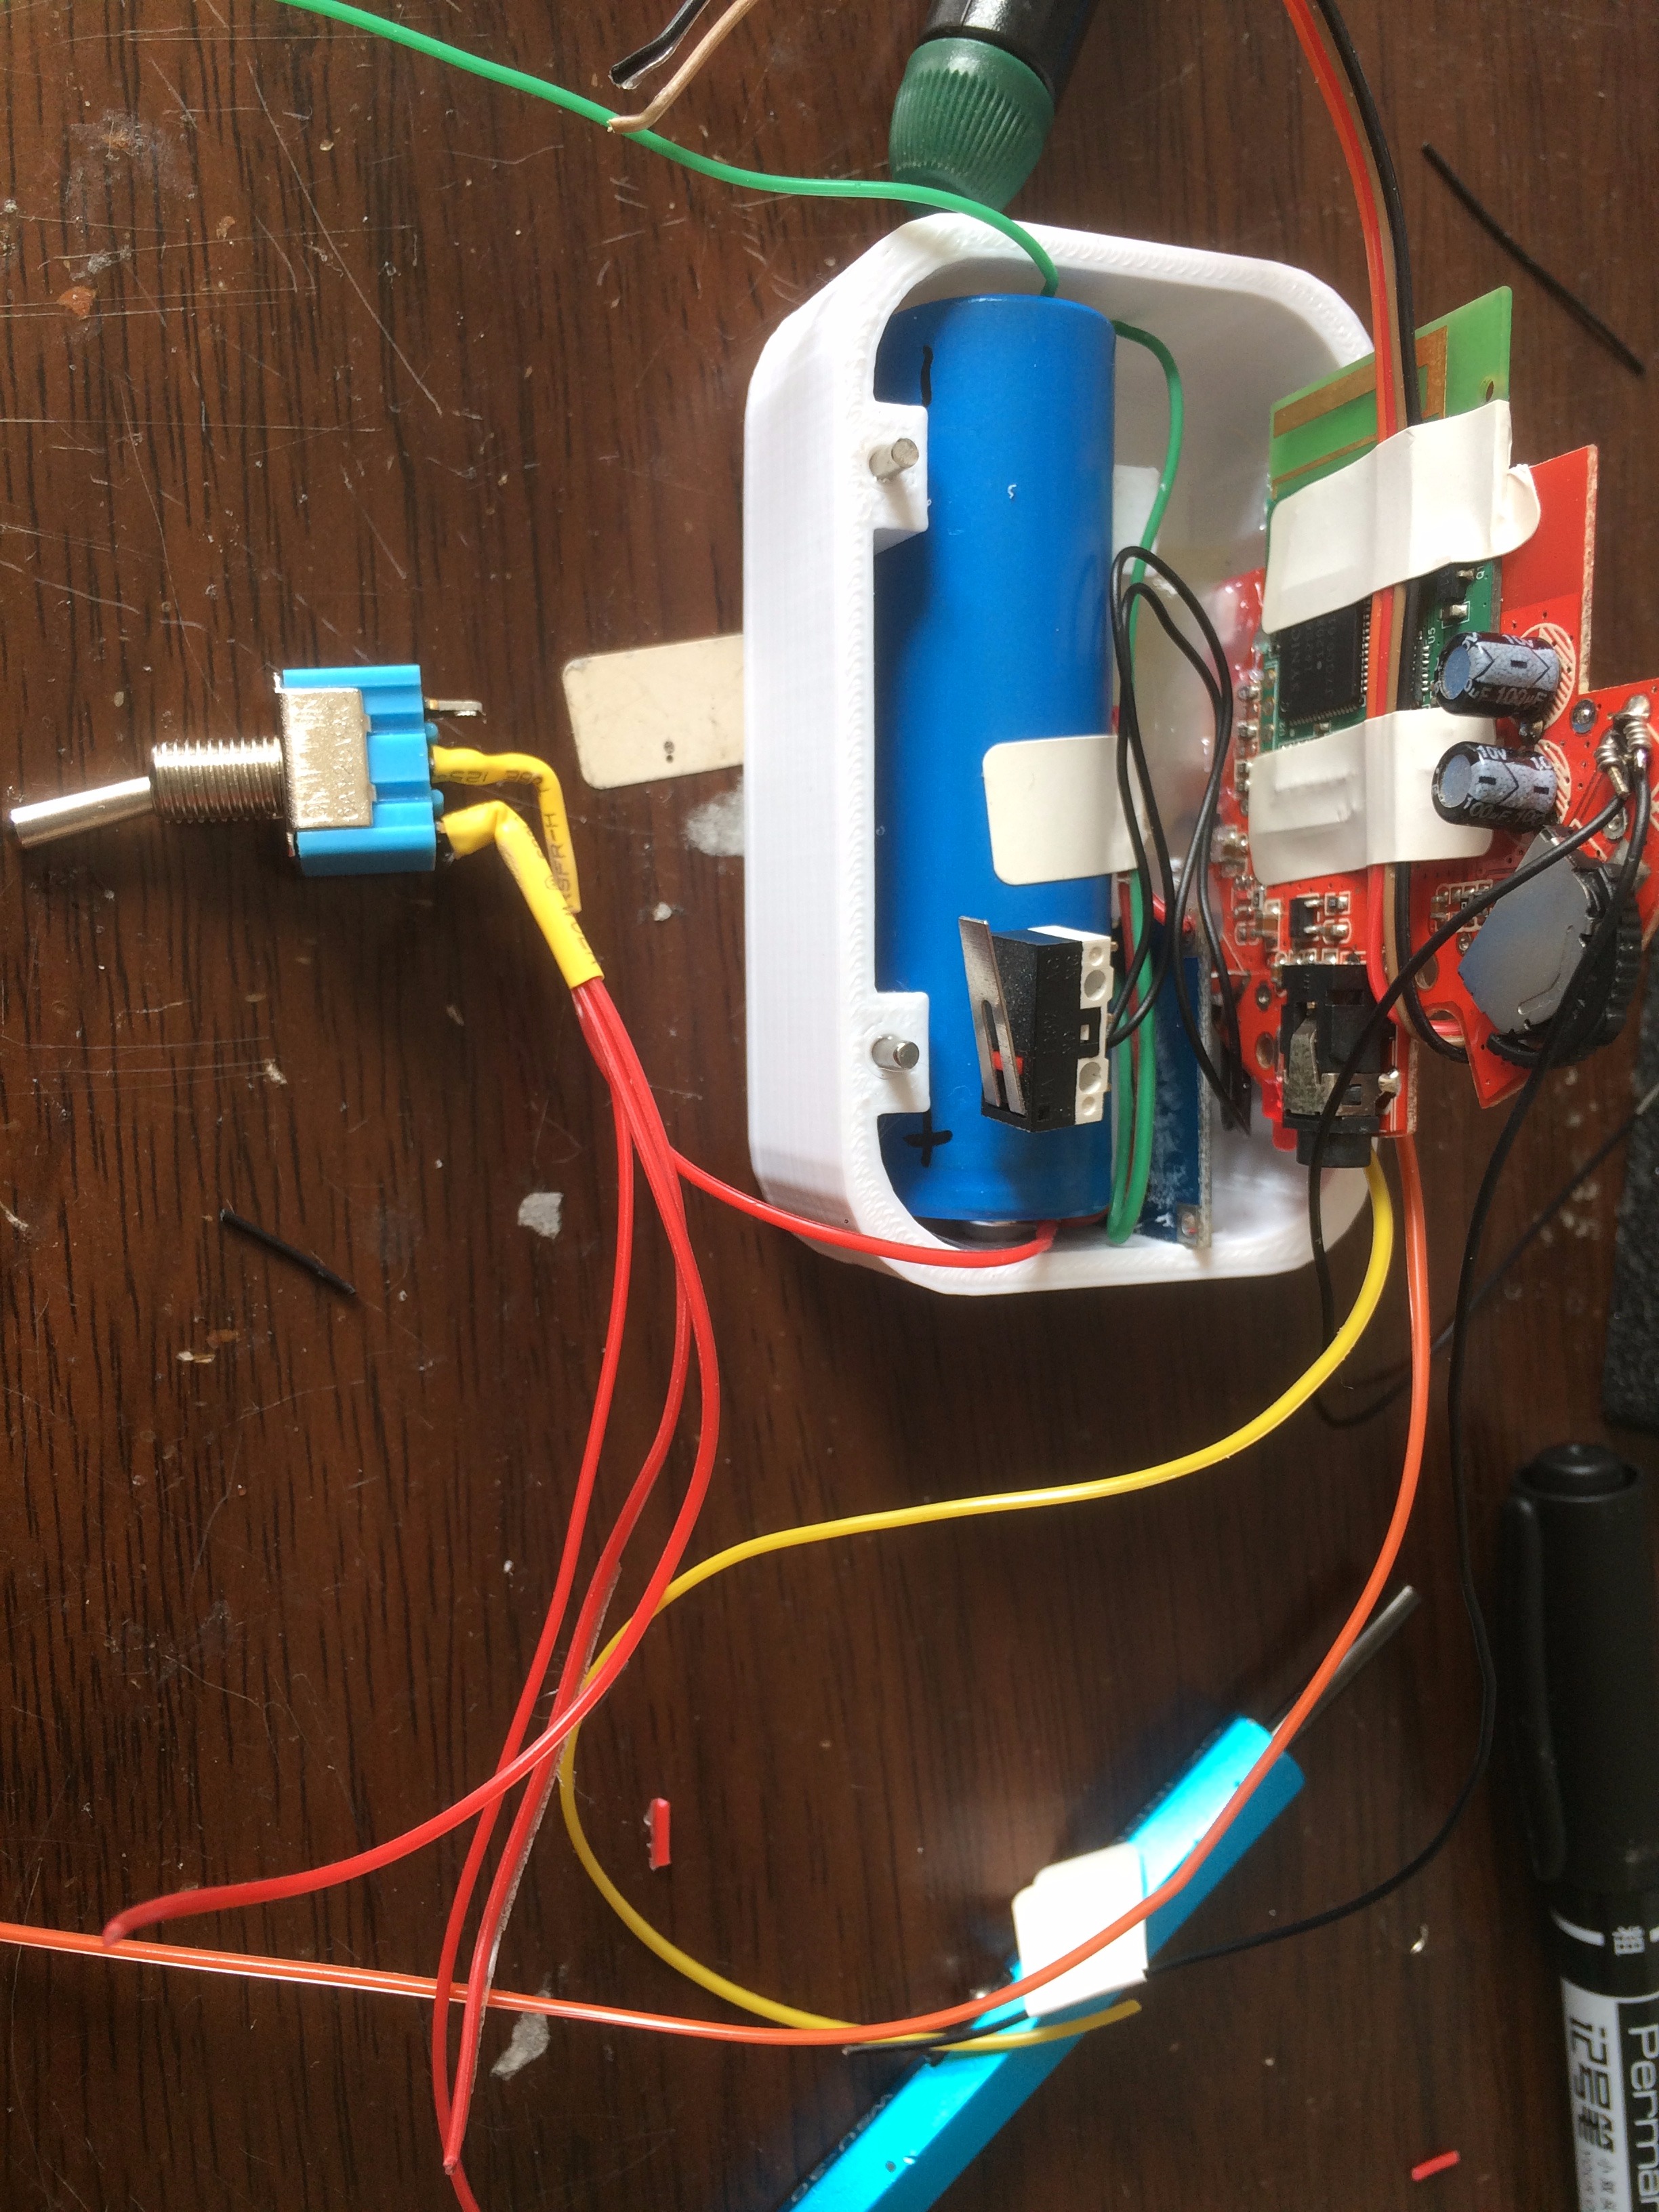
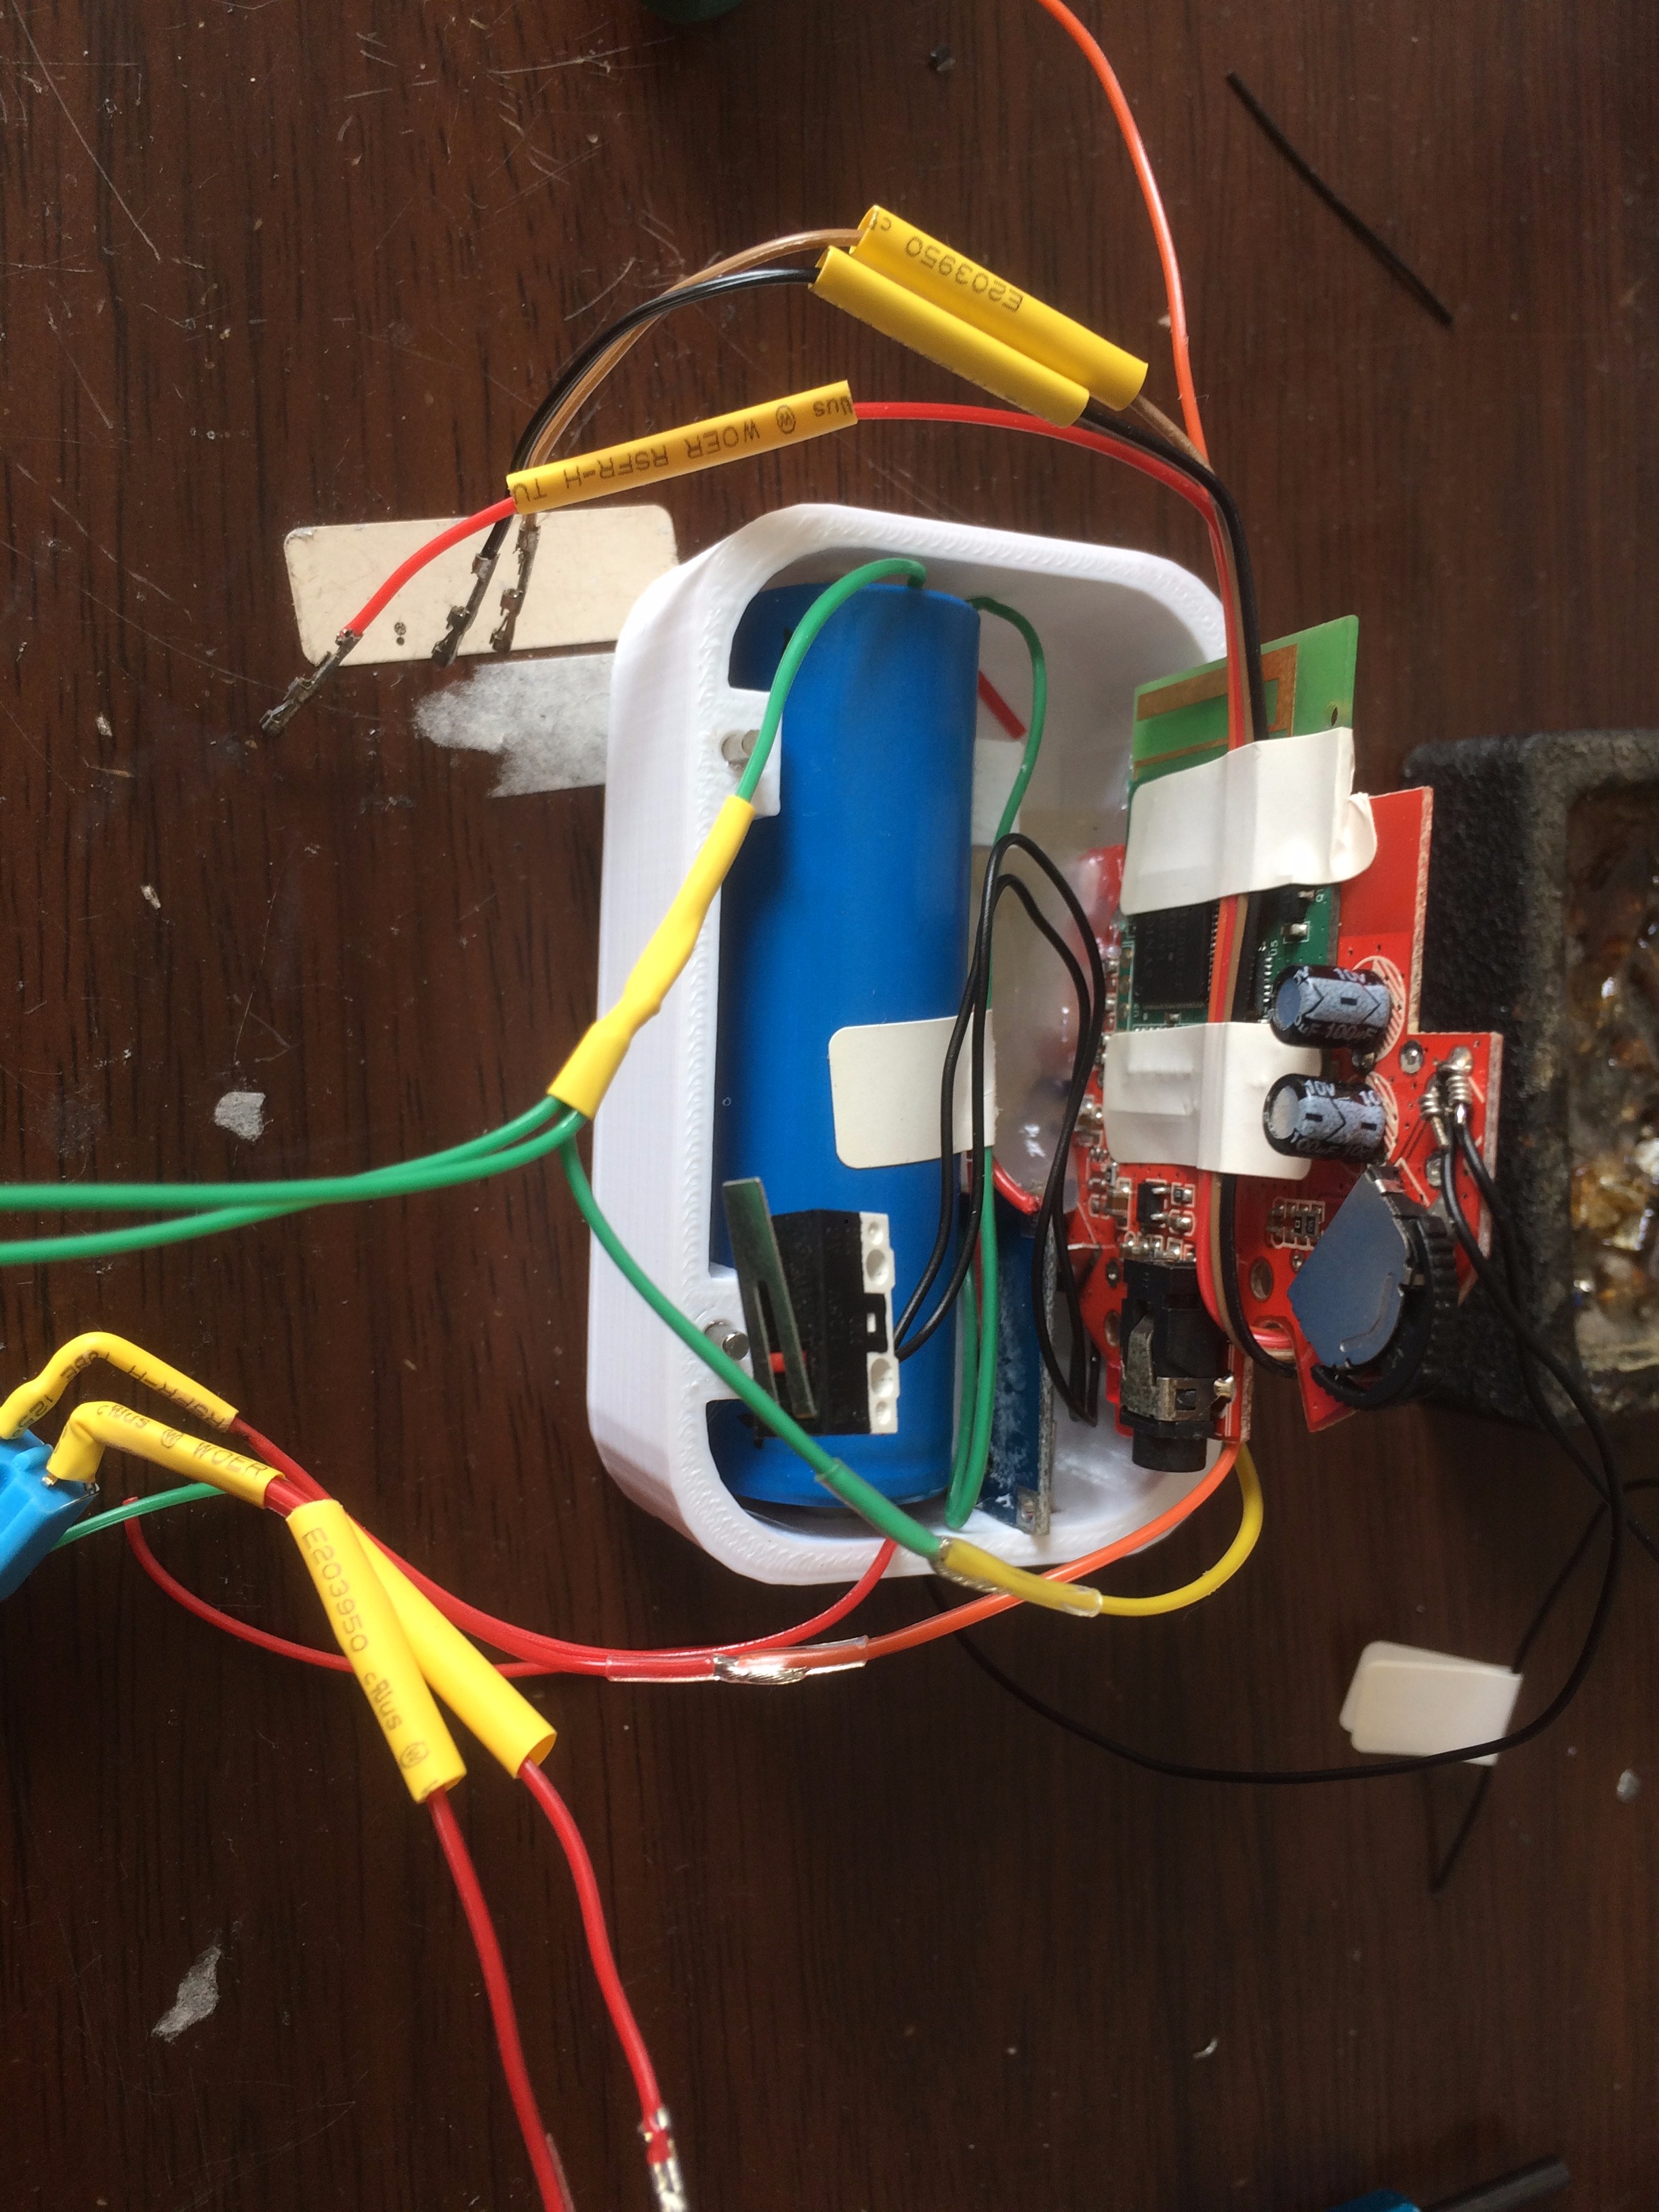
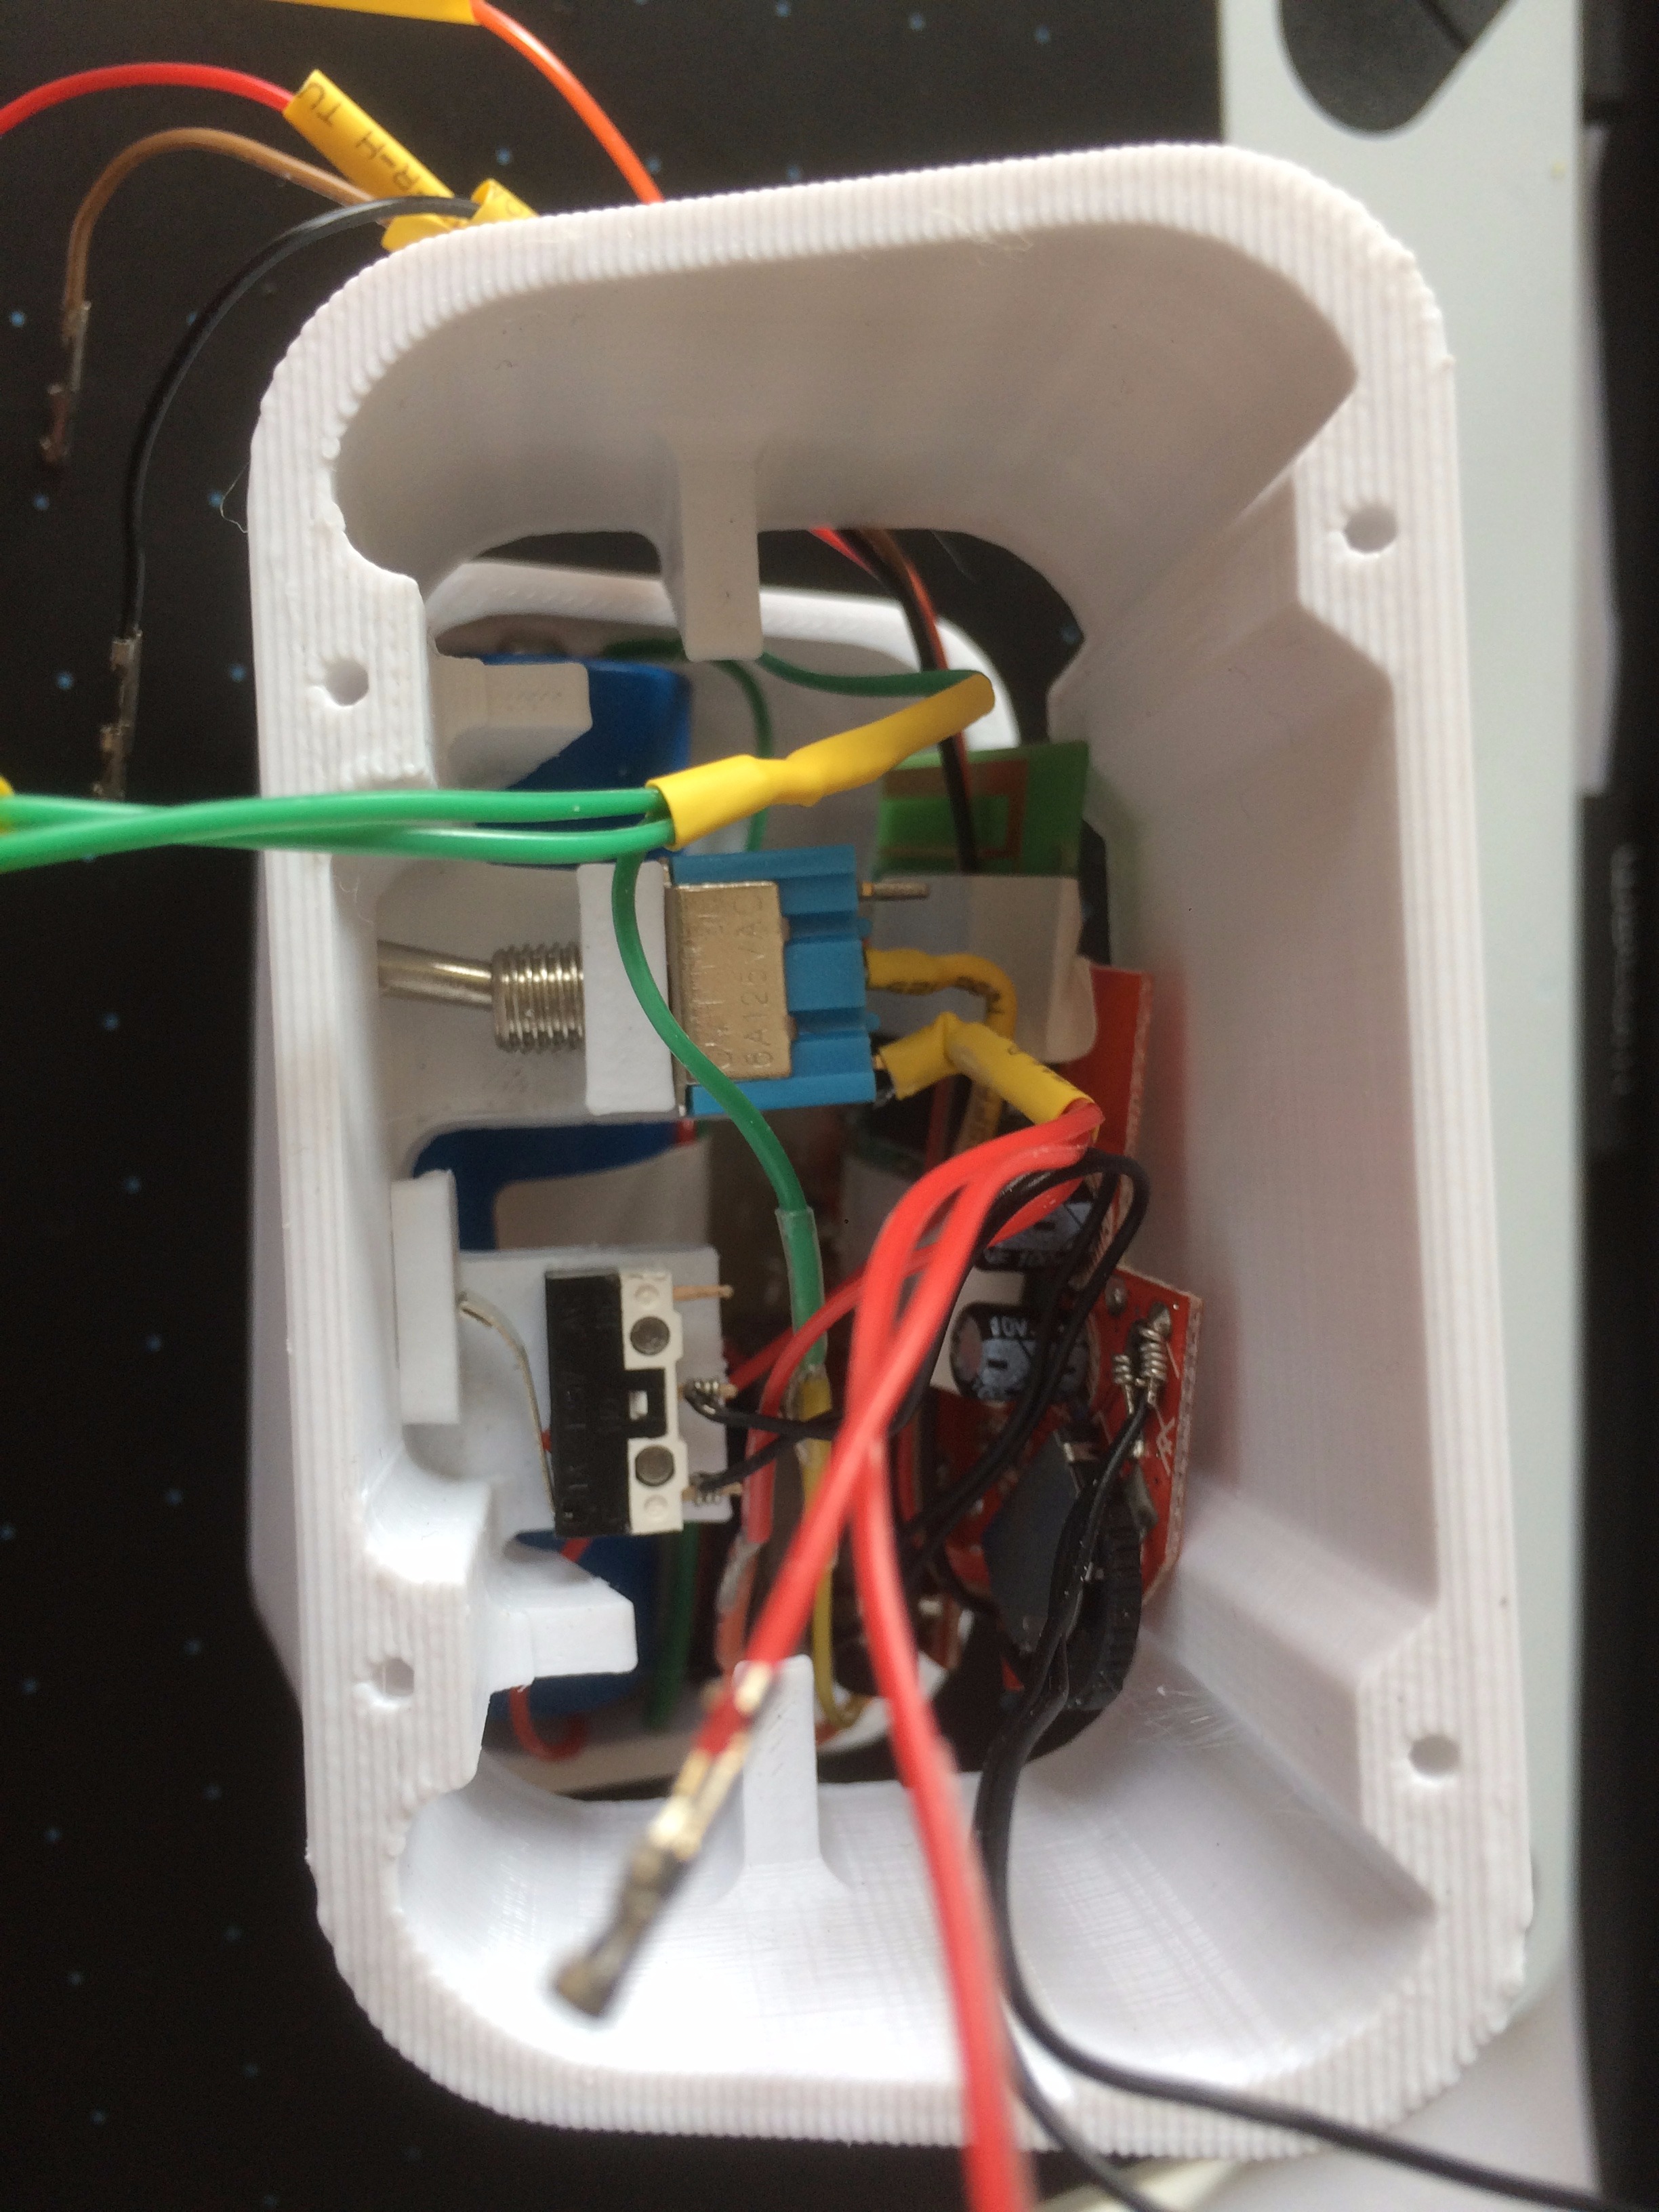
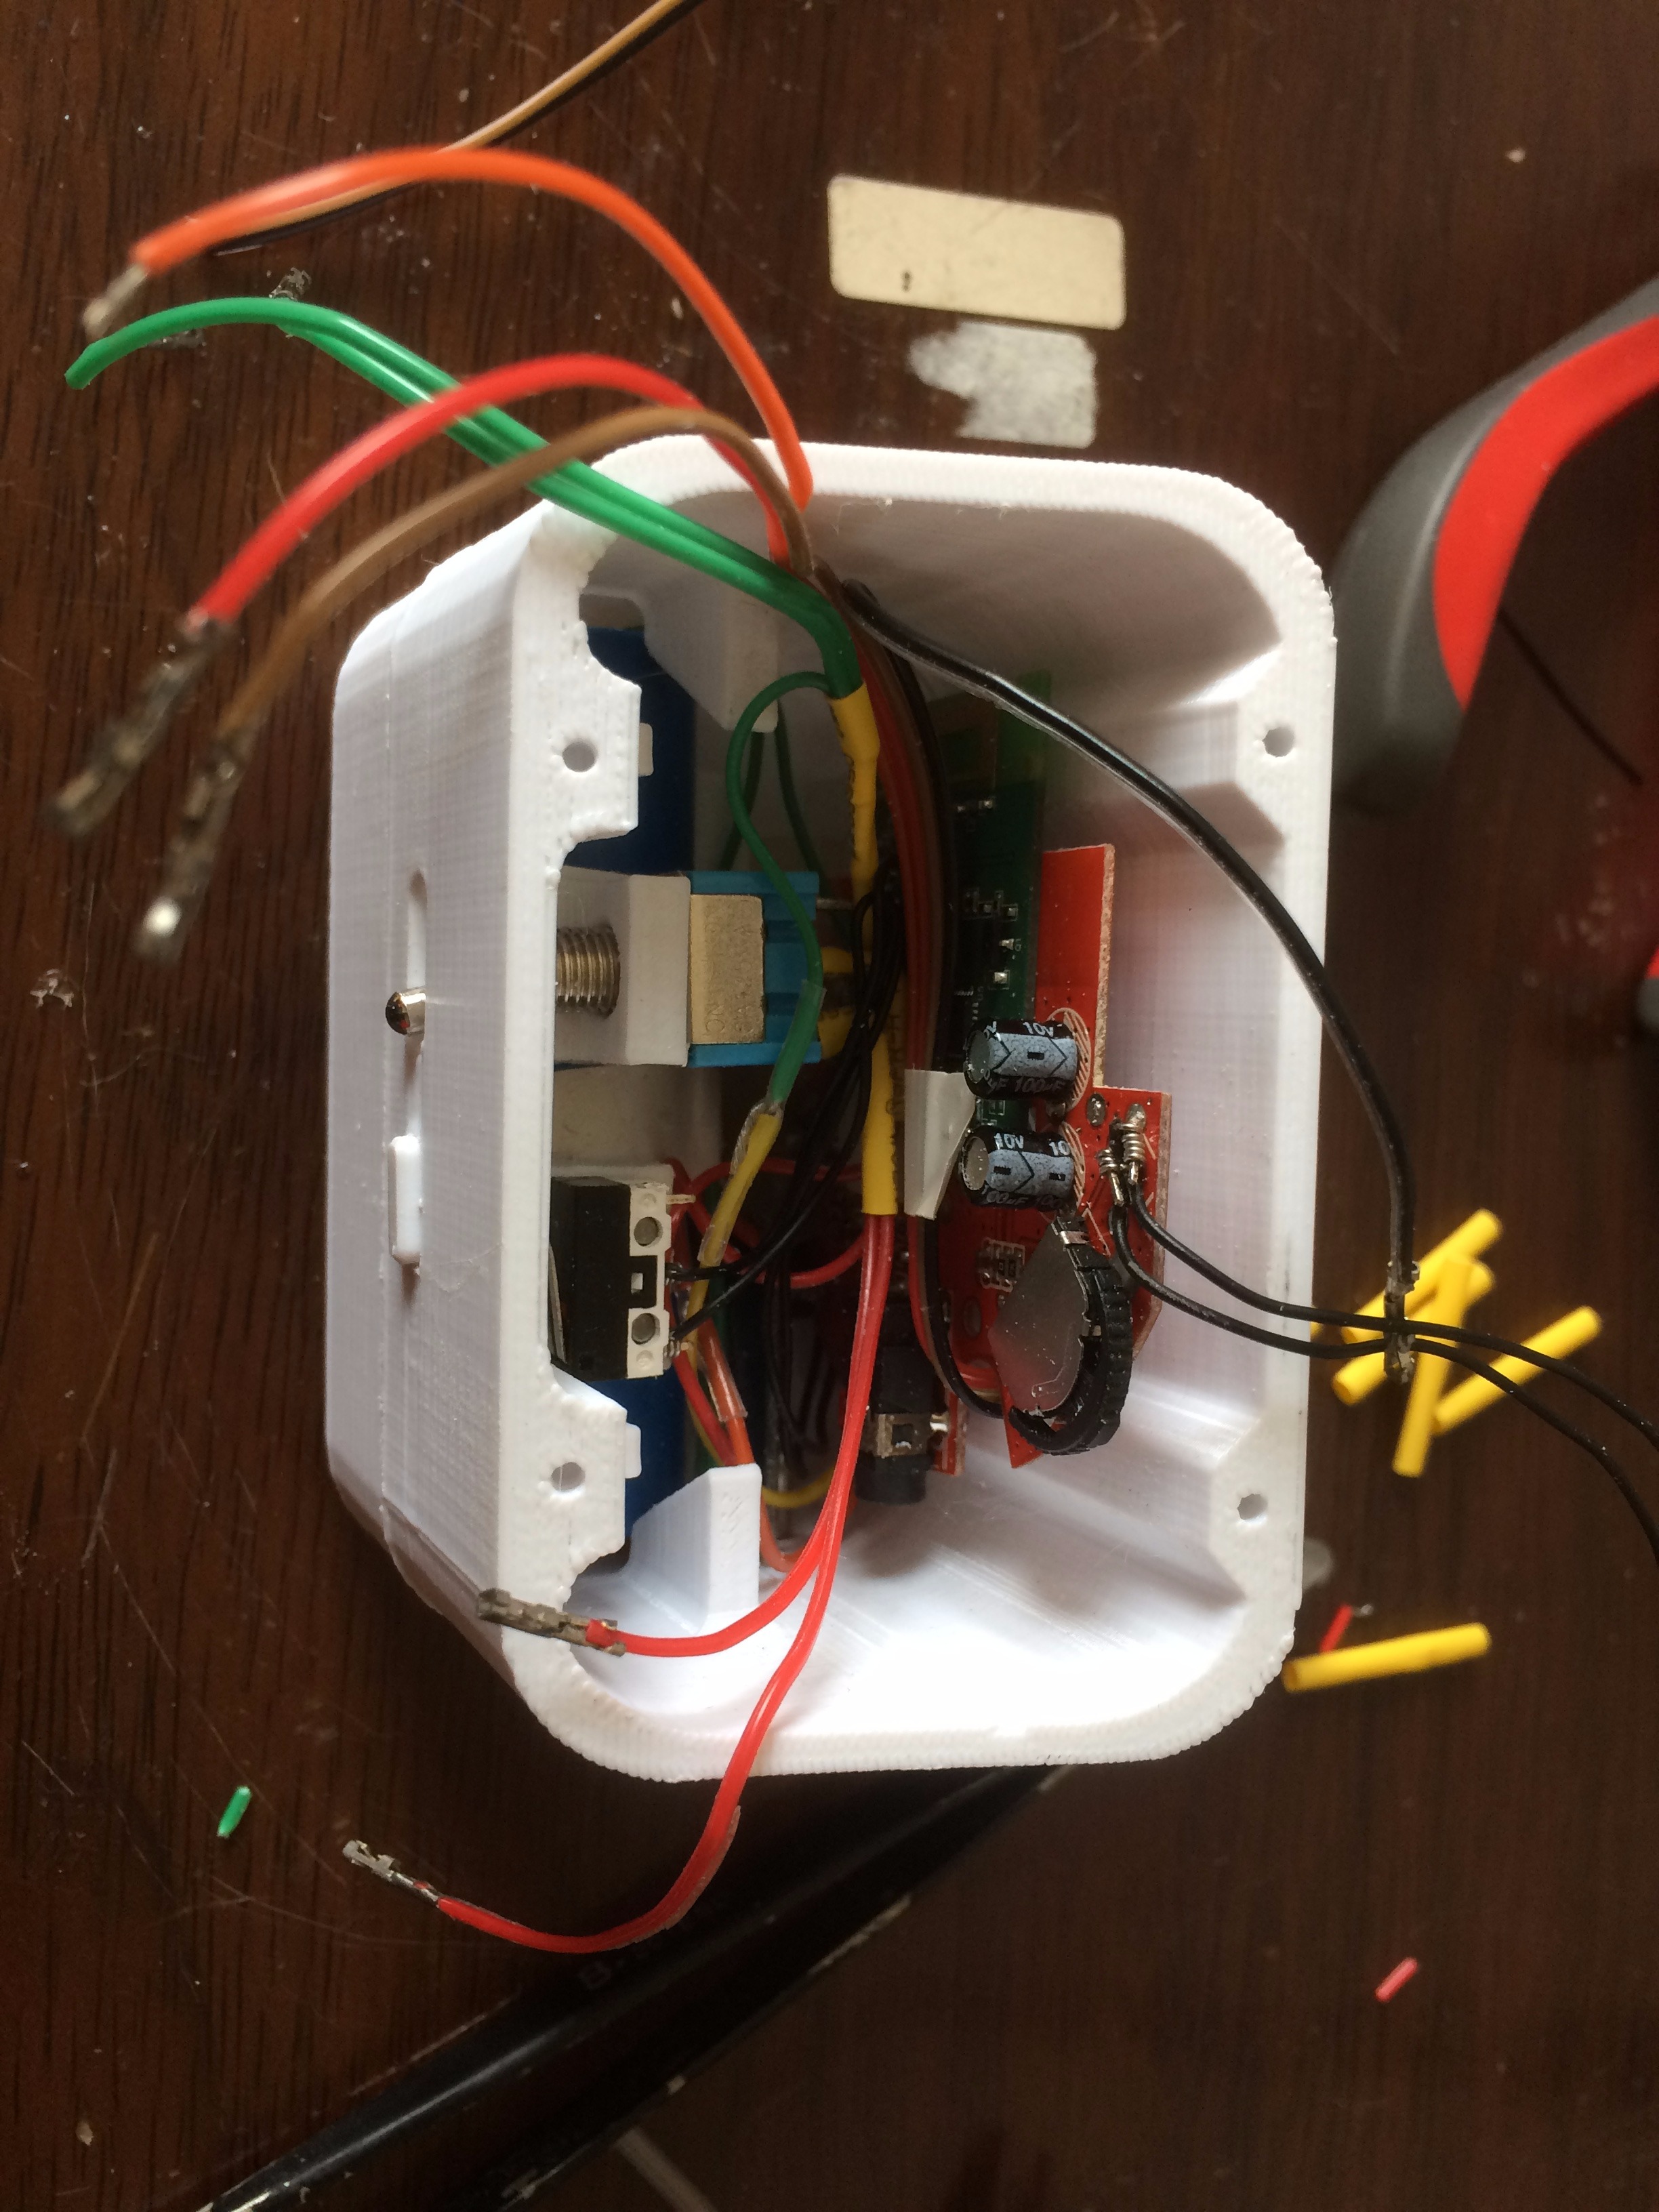
Print and prepare "middle" and "button" parts before this step. Solder the positive electrode of battery to one port of the twist switch. Then connect the output of twist switch to the Power port of the bluetooth module. Connect the GND port too. Solder 2 more wires from the Power and GND port for the amplifier module. Install the twist switch into the middle part. After that, Install the micro switch and button, solder them to the boot contacts of the bluetooth module. Fix the base and middle parts with 4*2mm pins (you can find holes on the shell).
Install Power Amplifier and Speakers
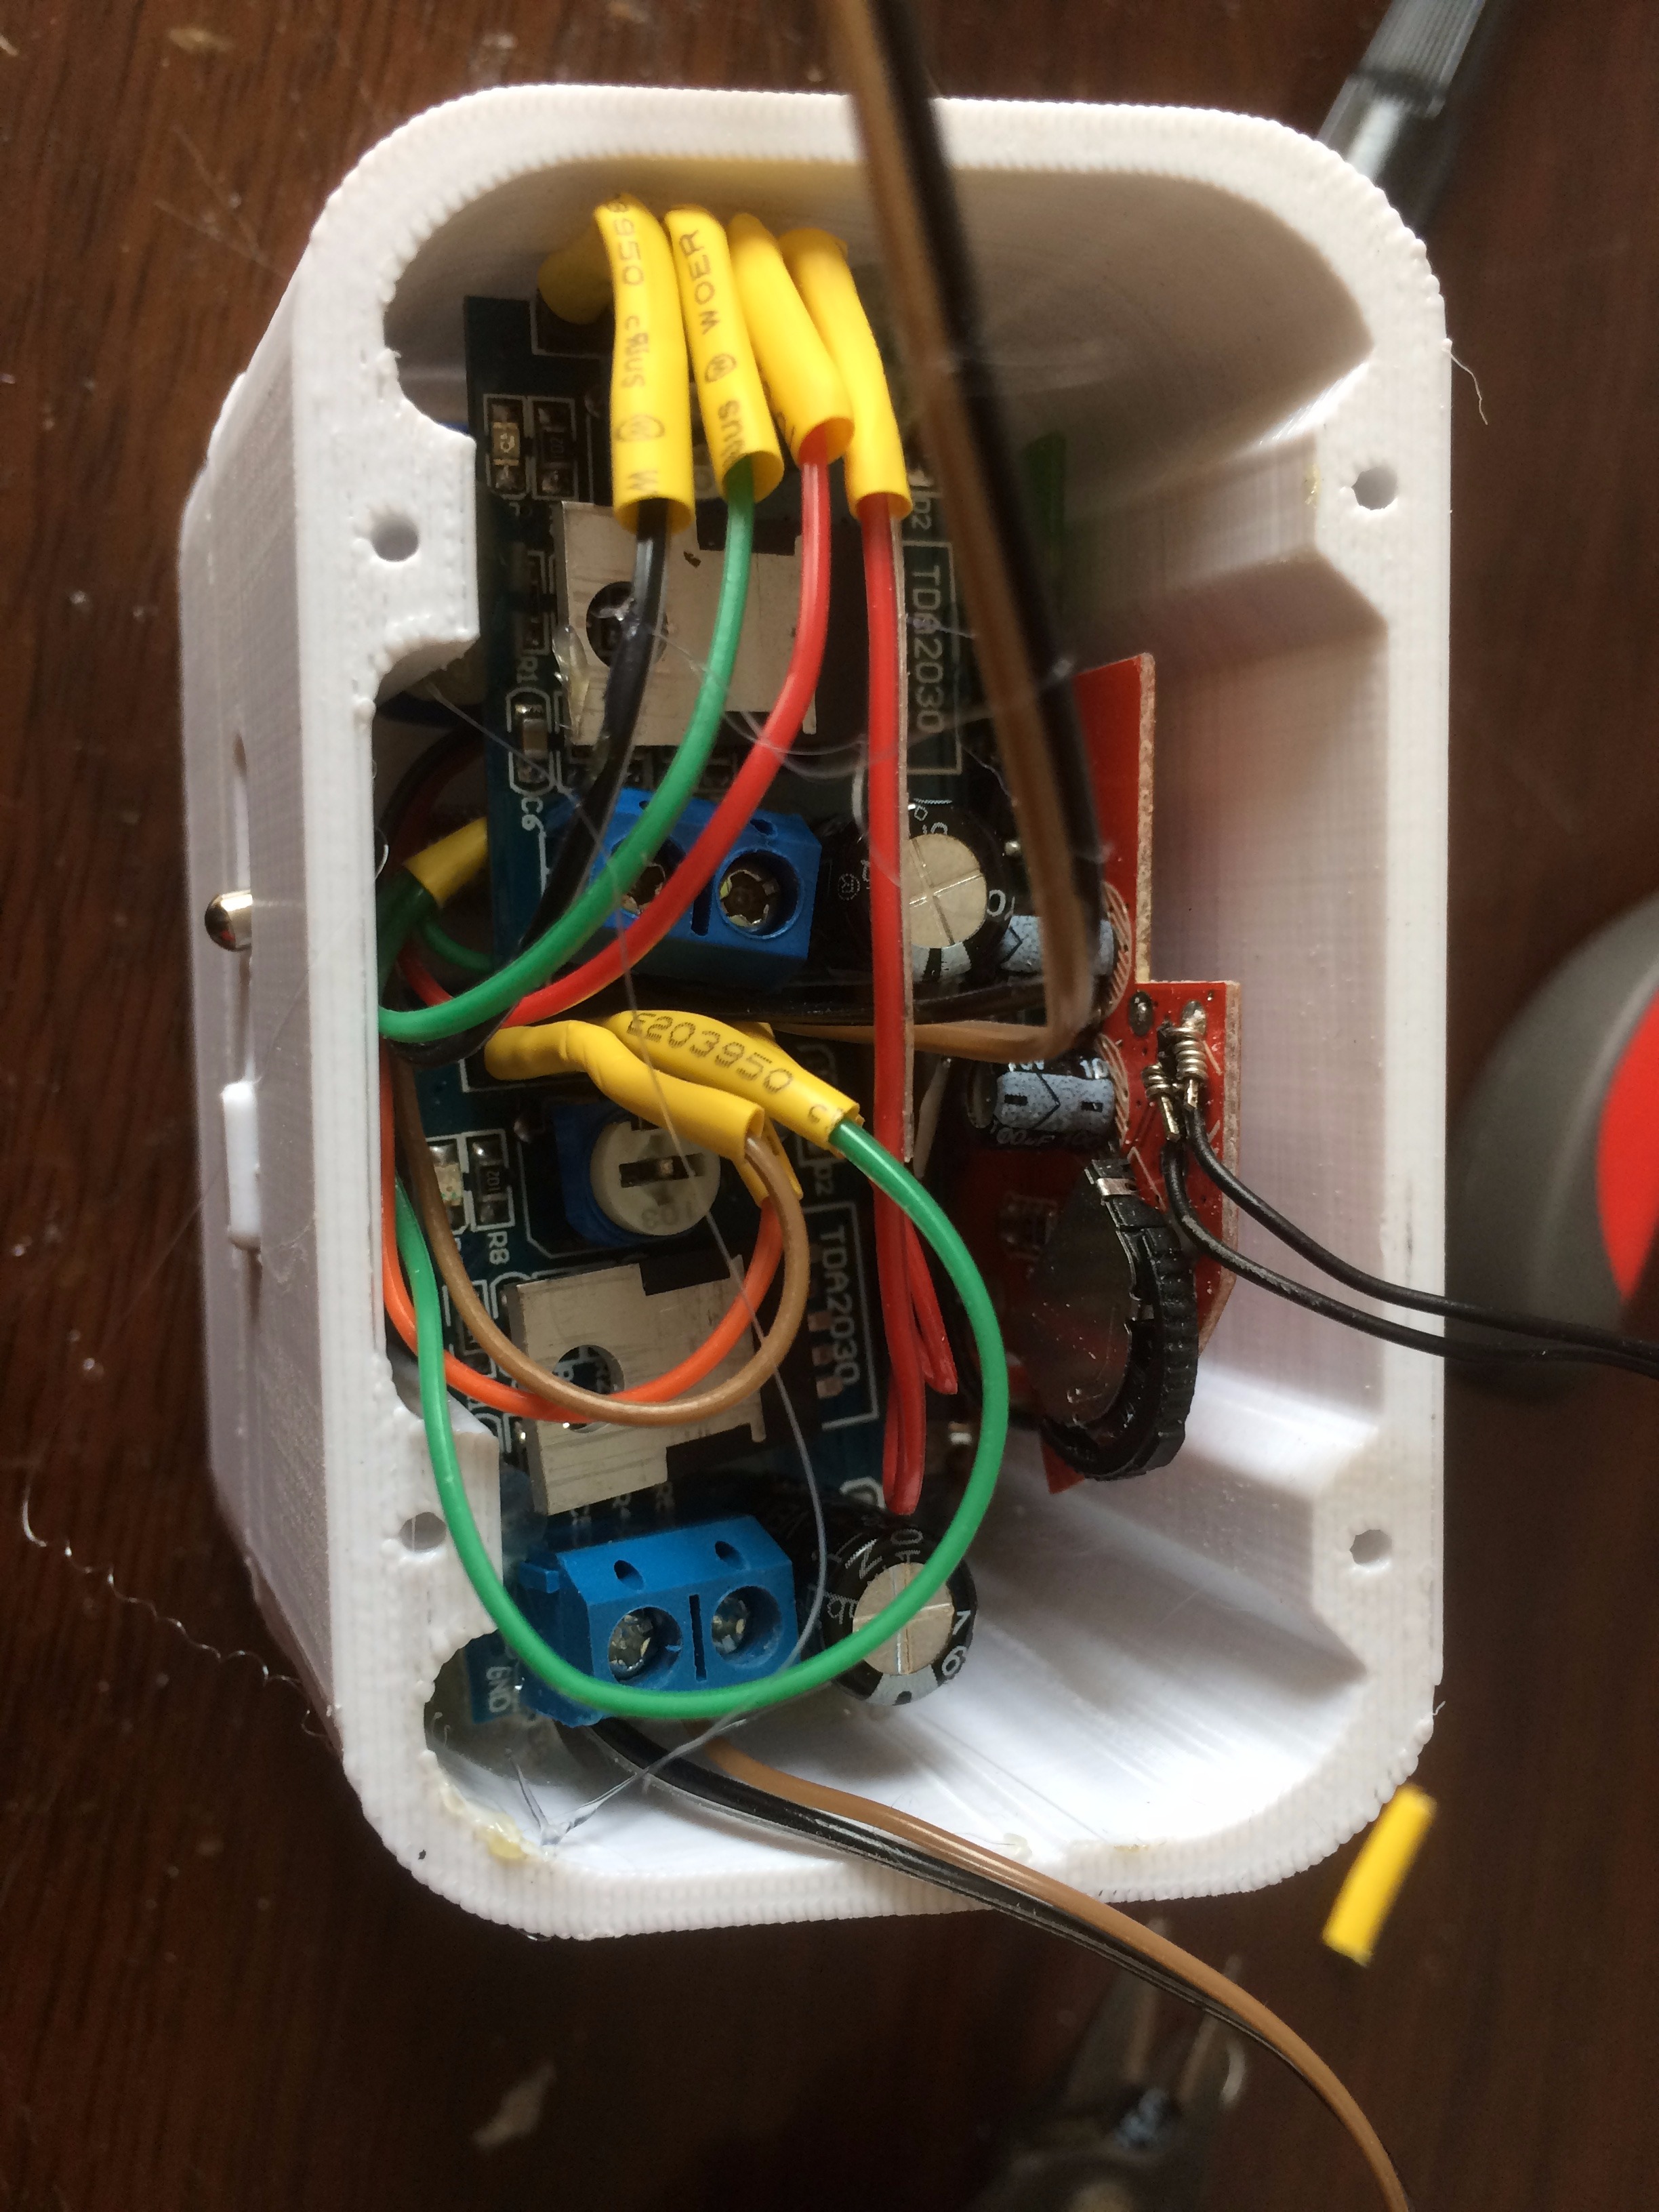
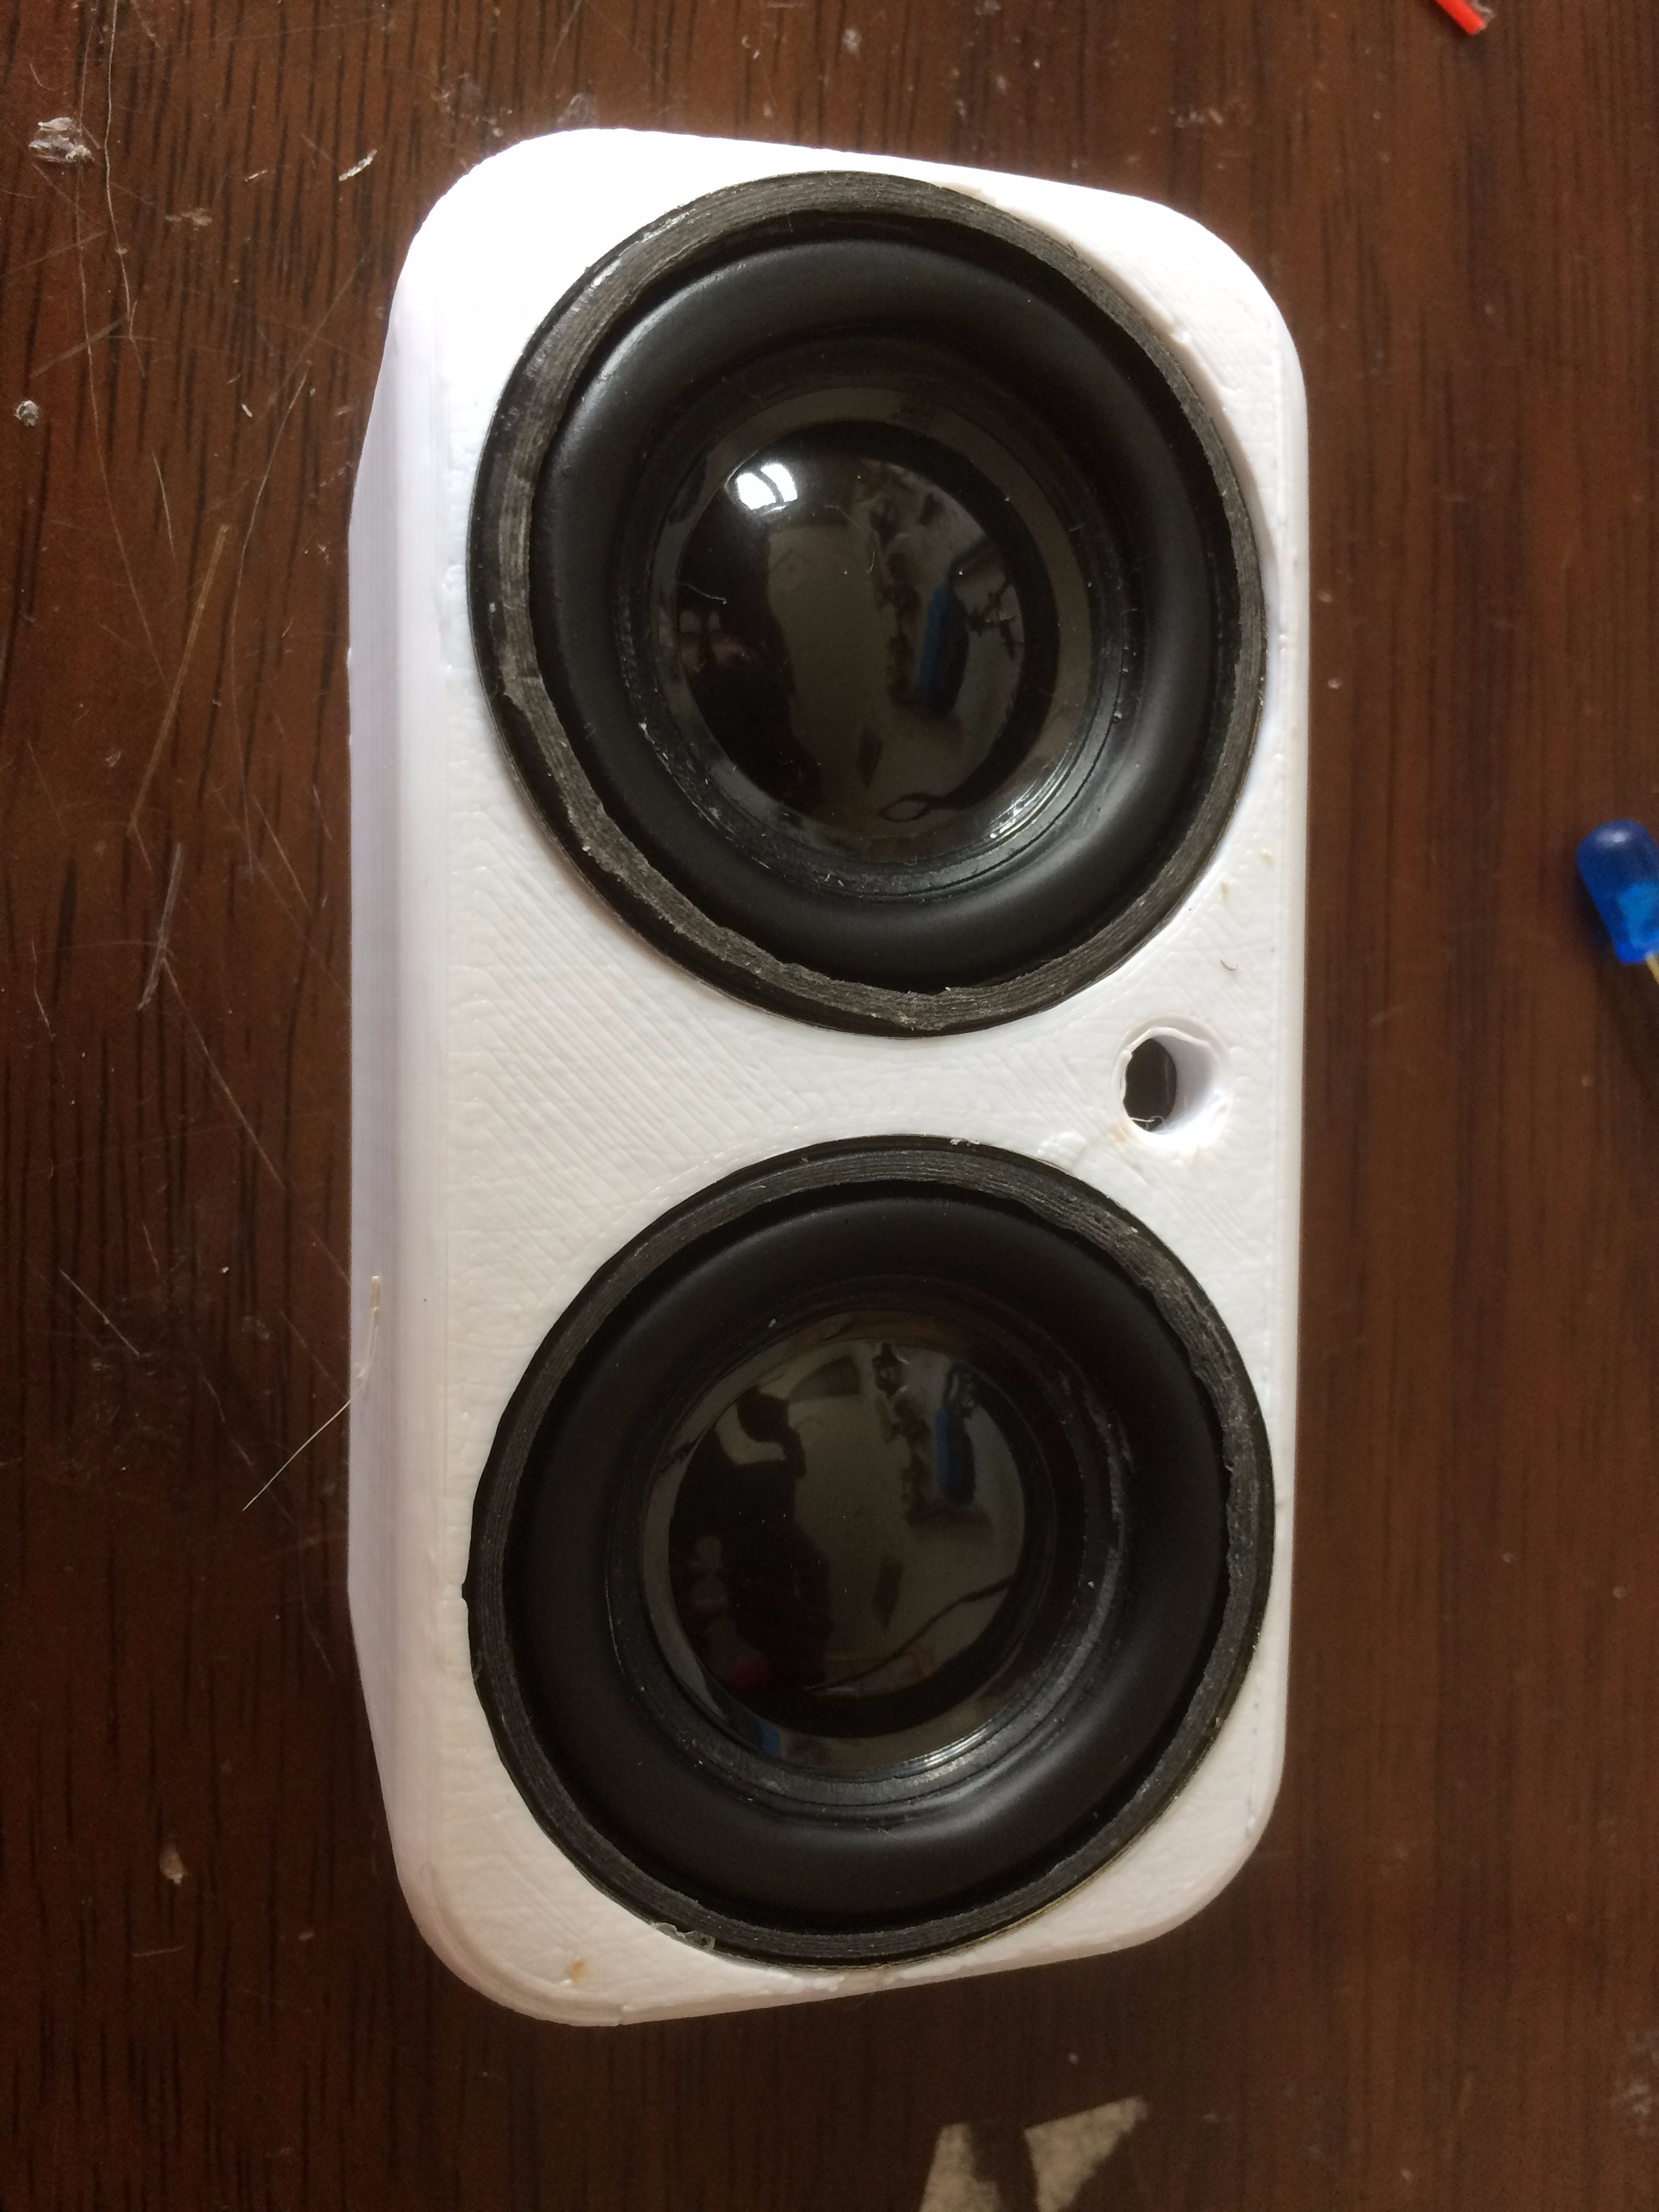
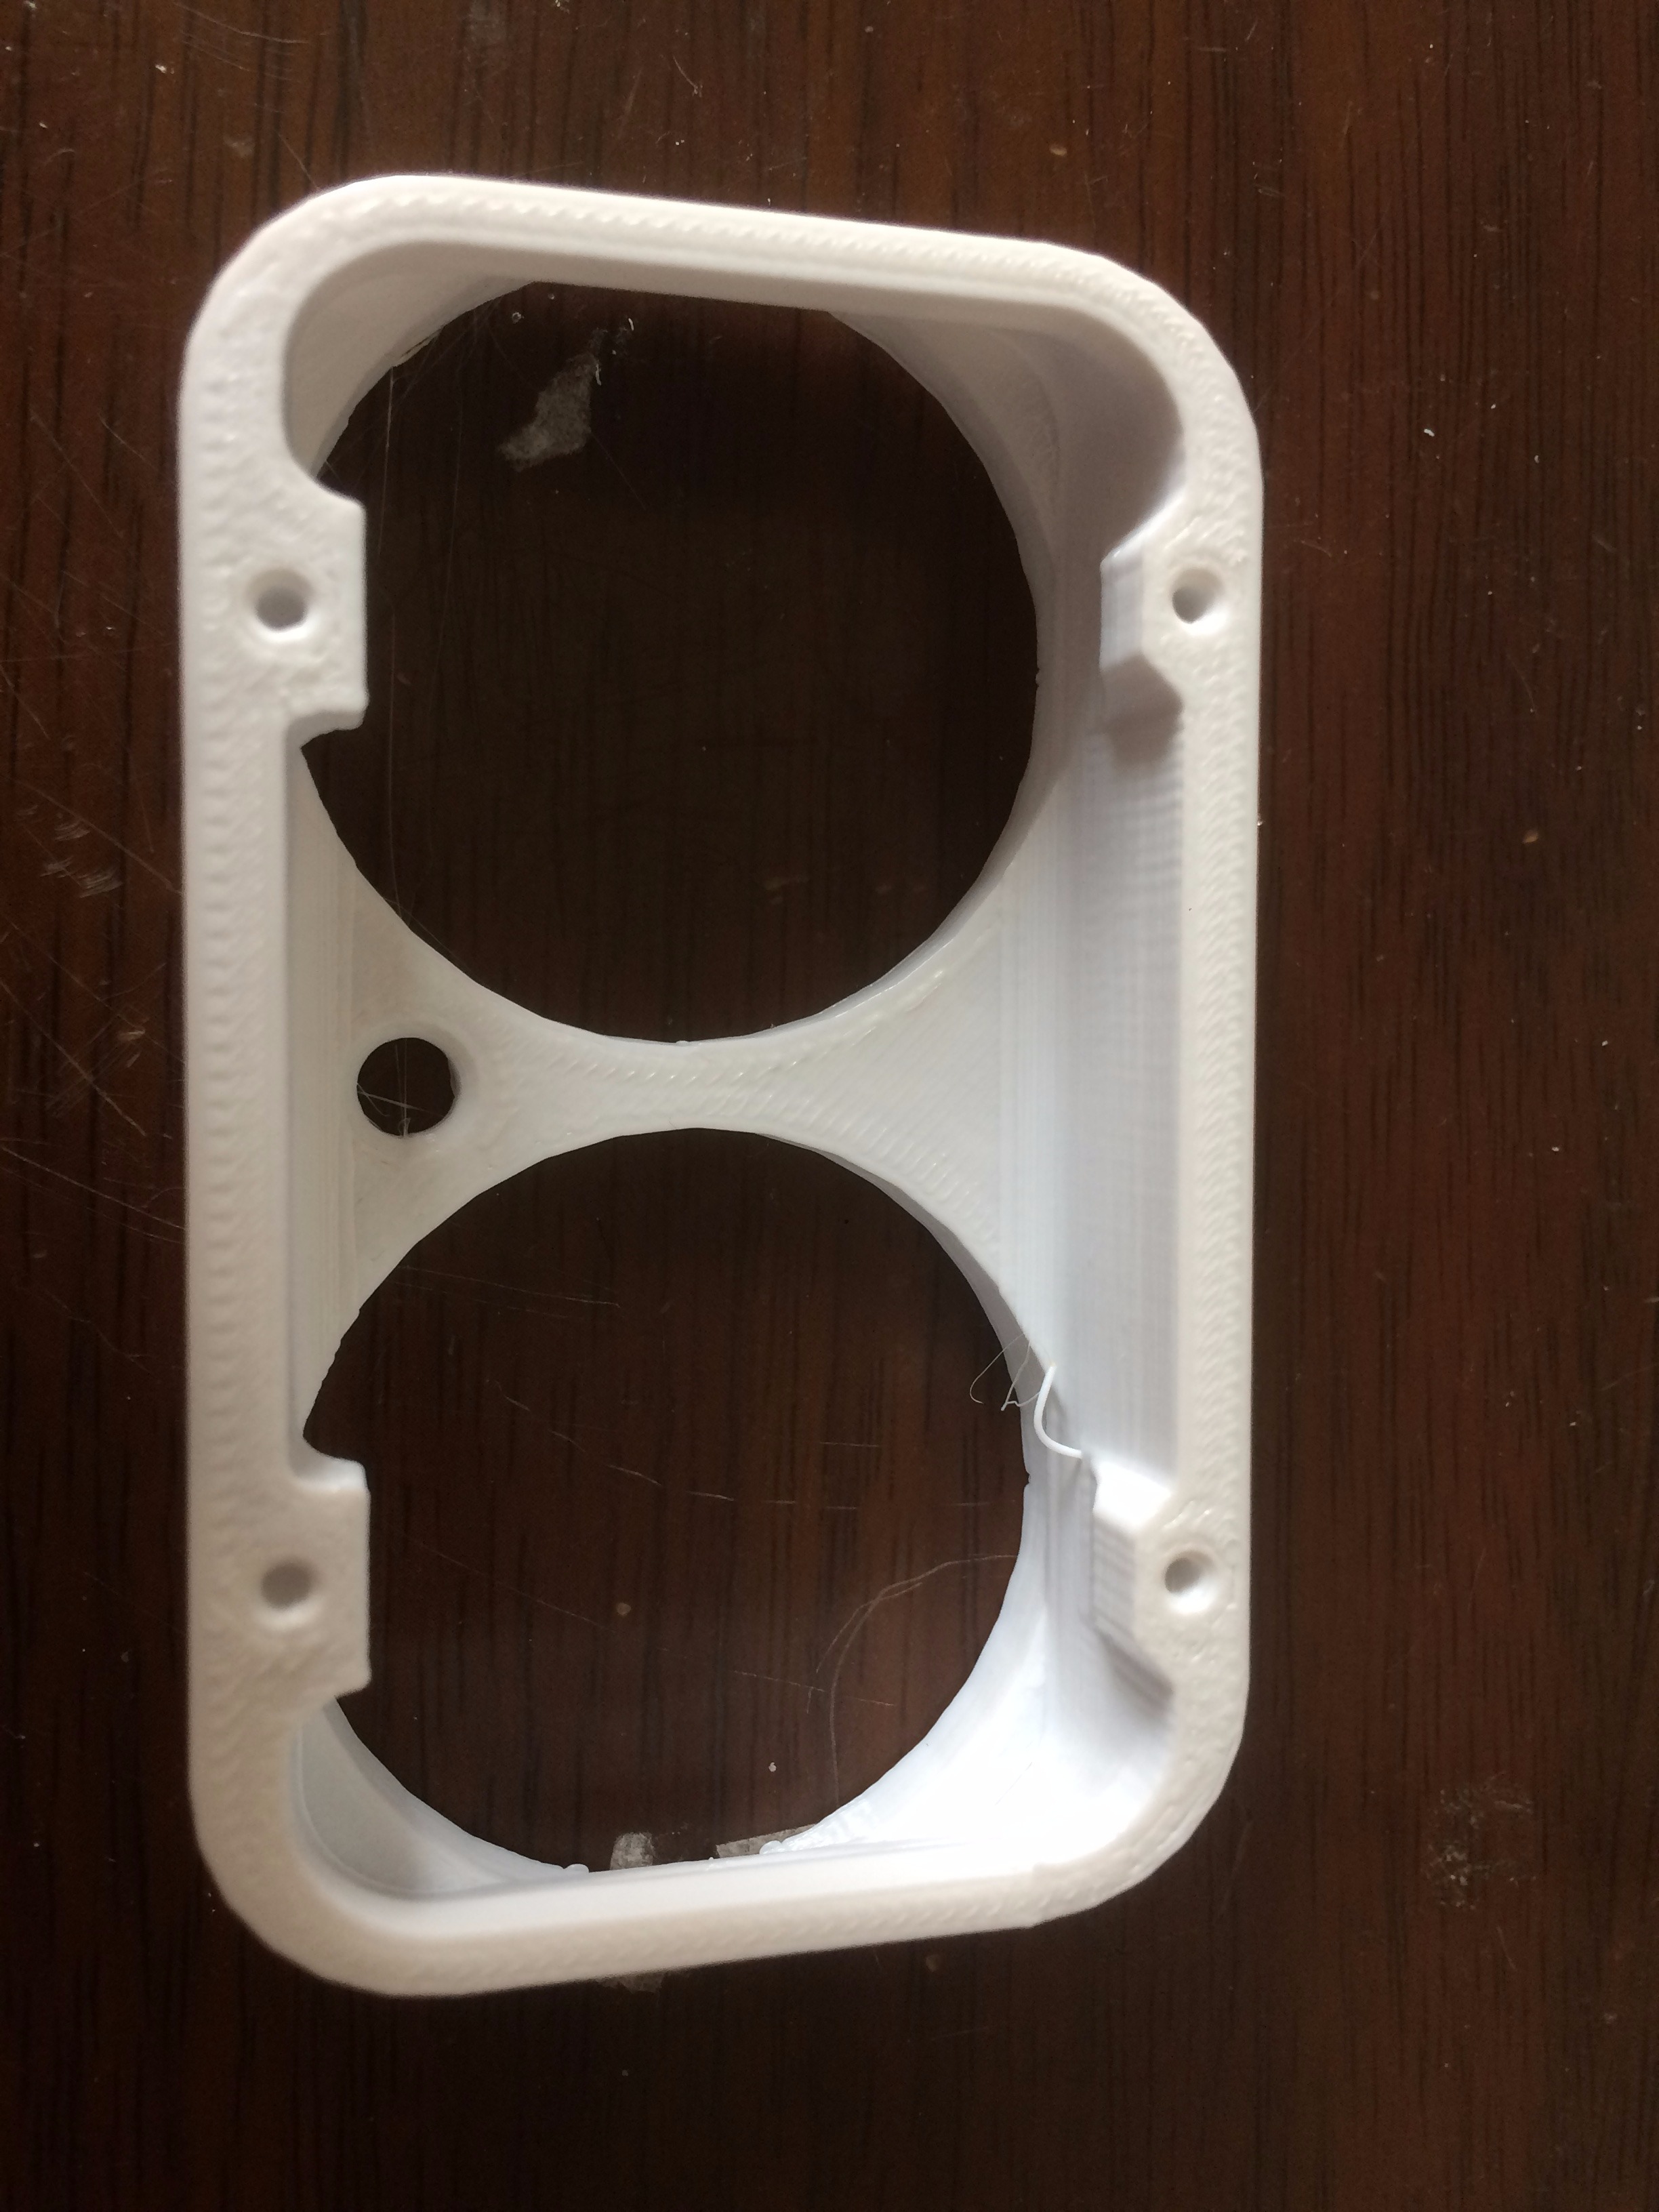
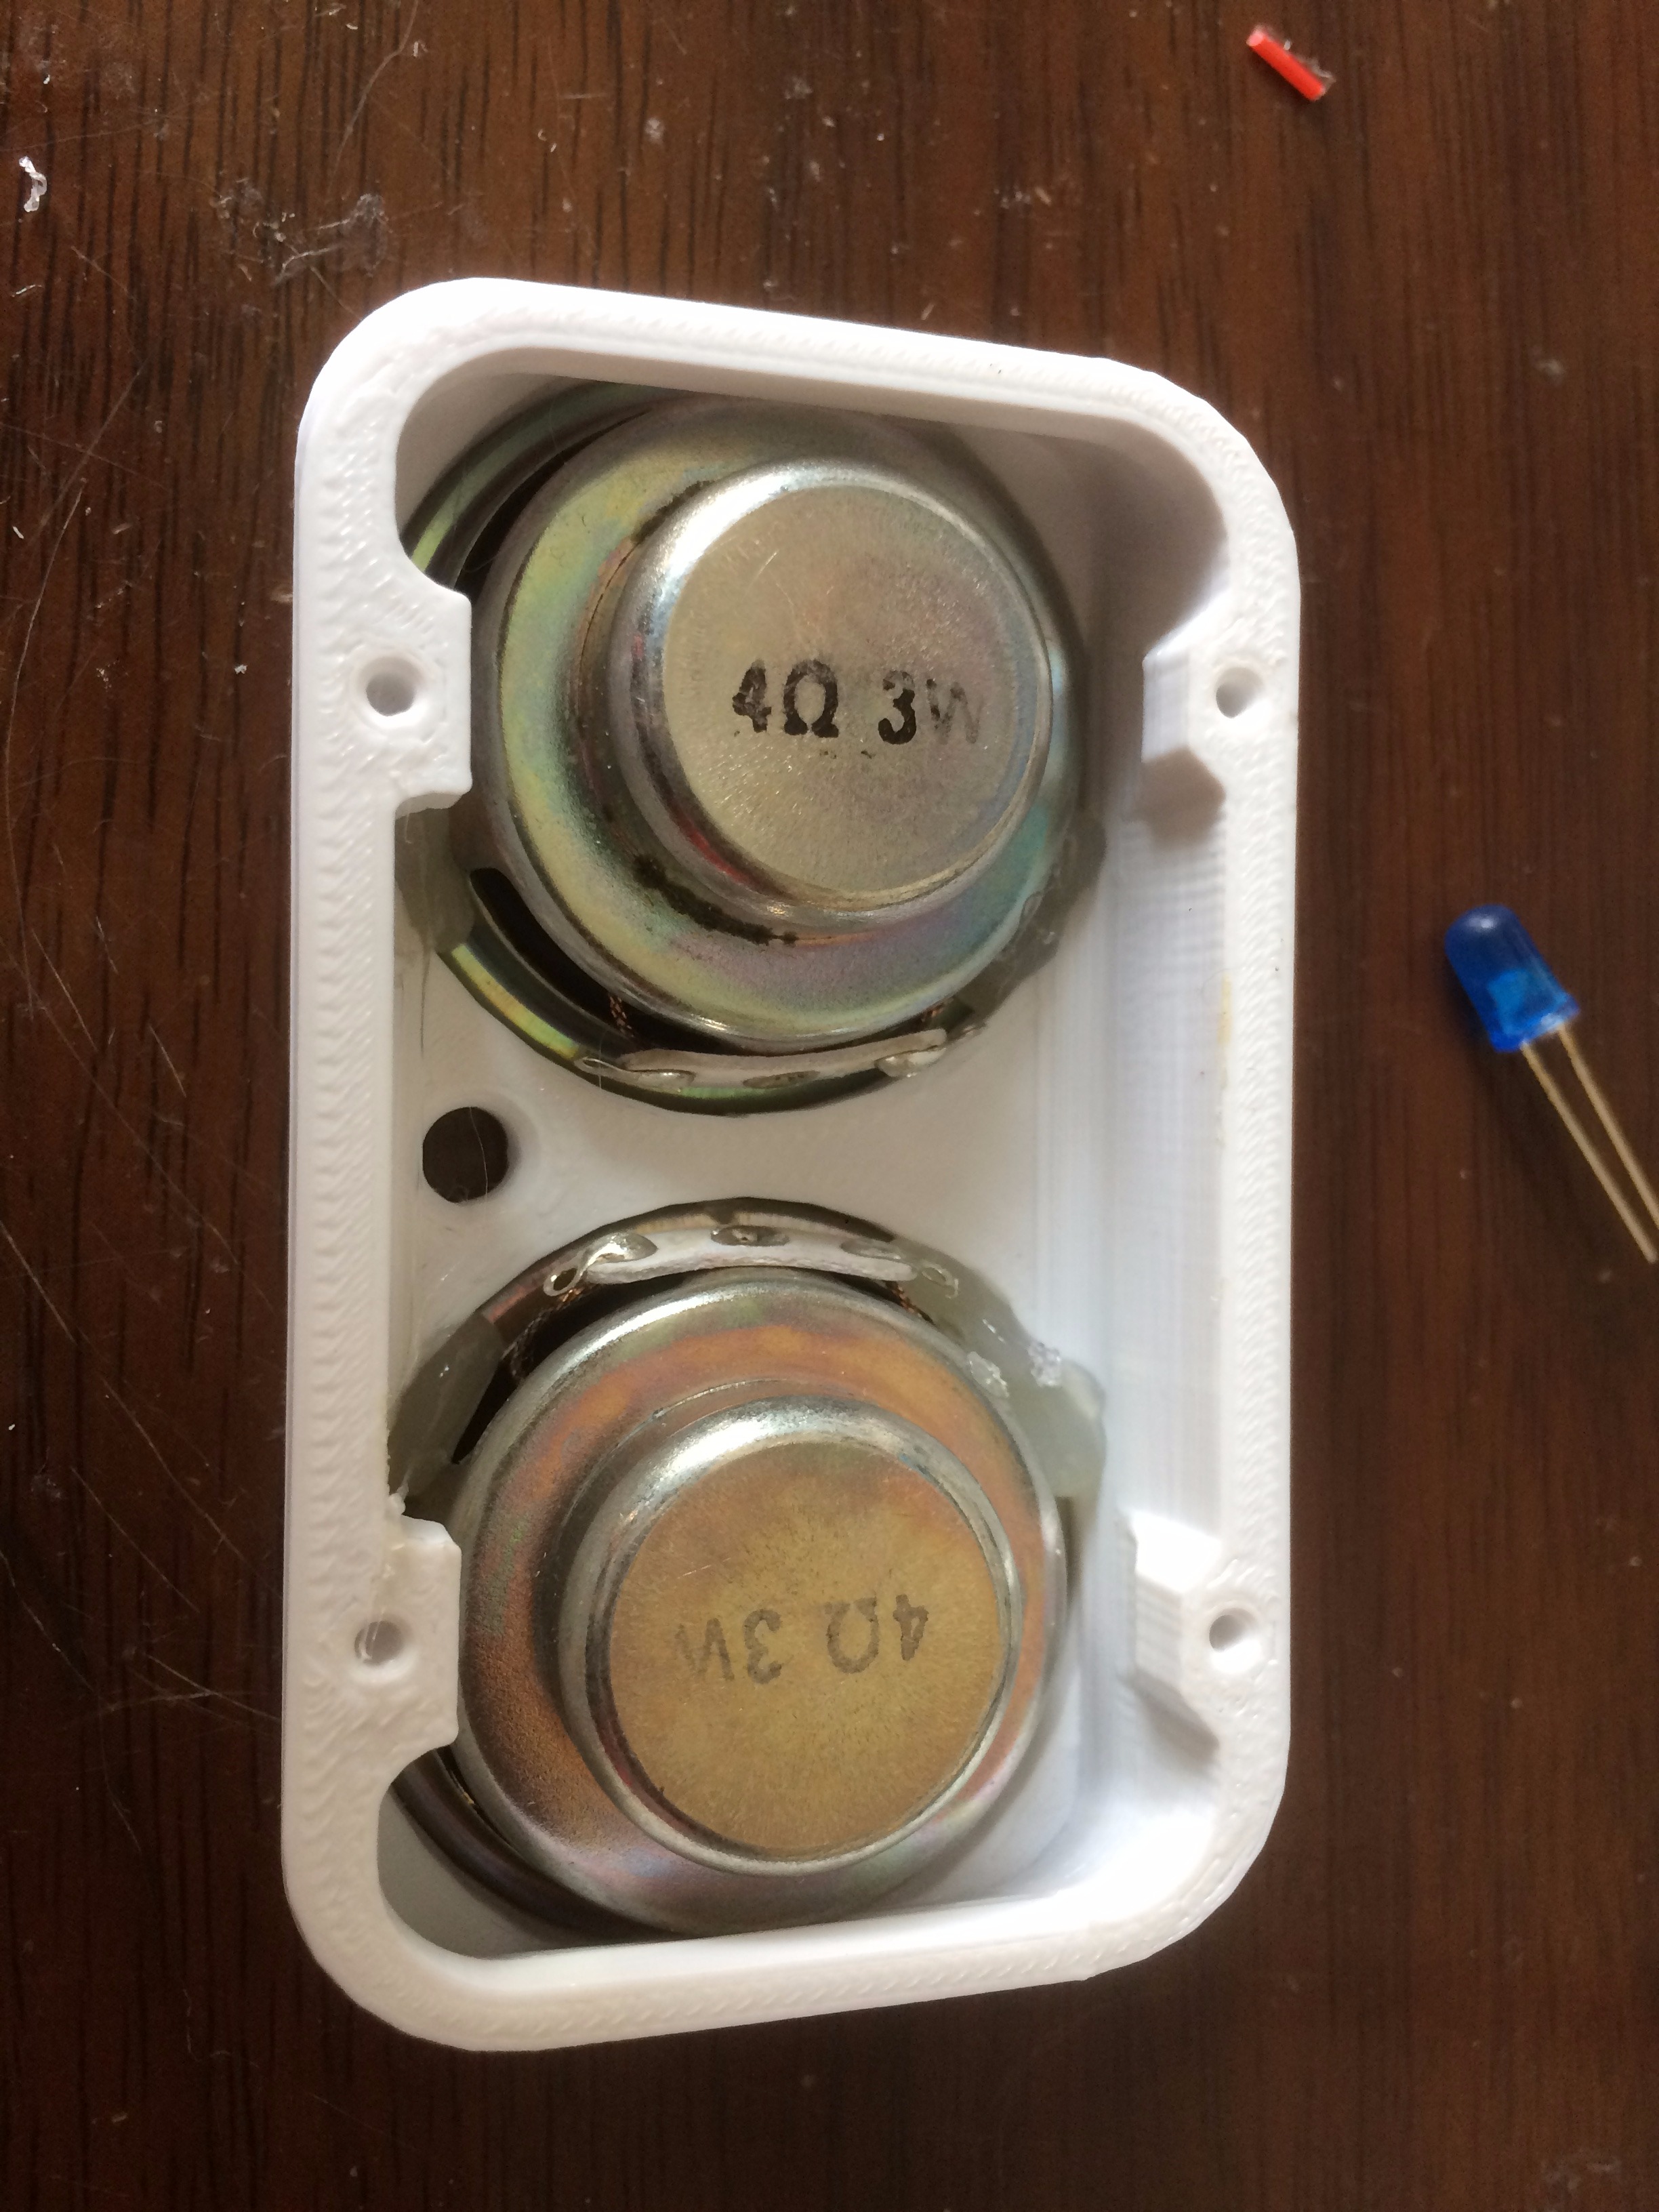
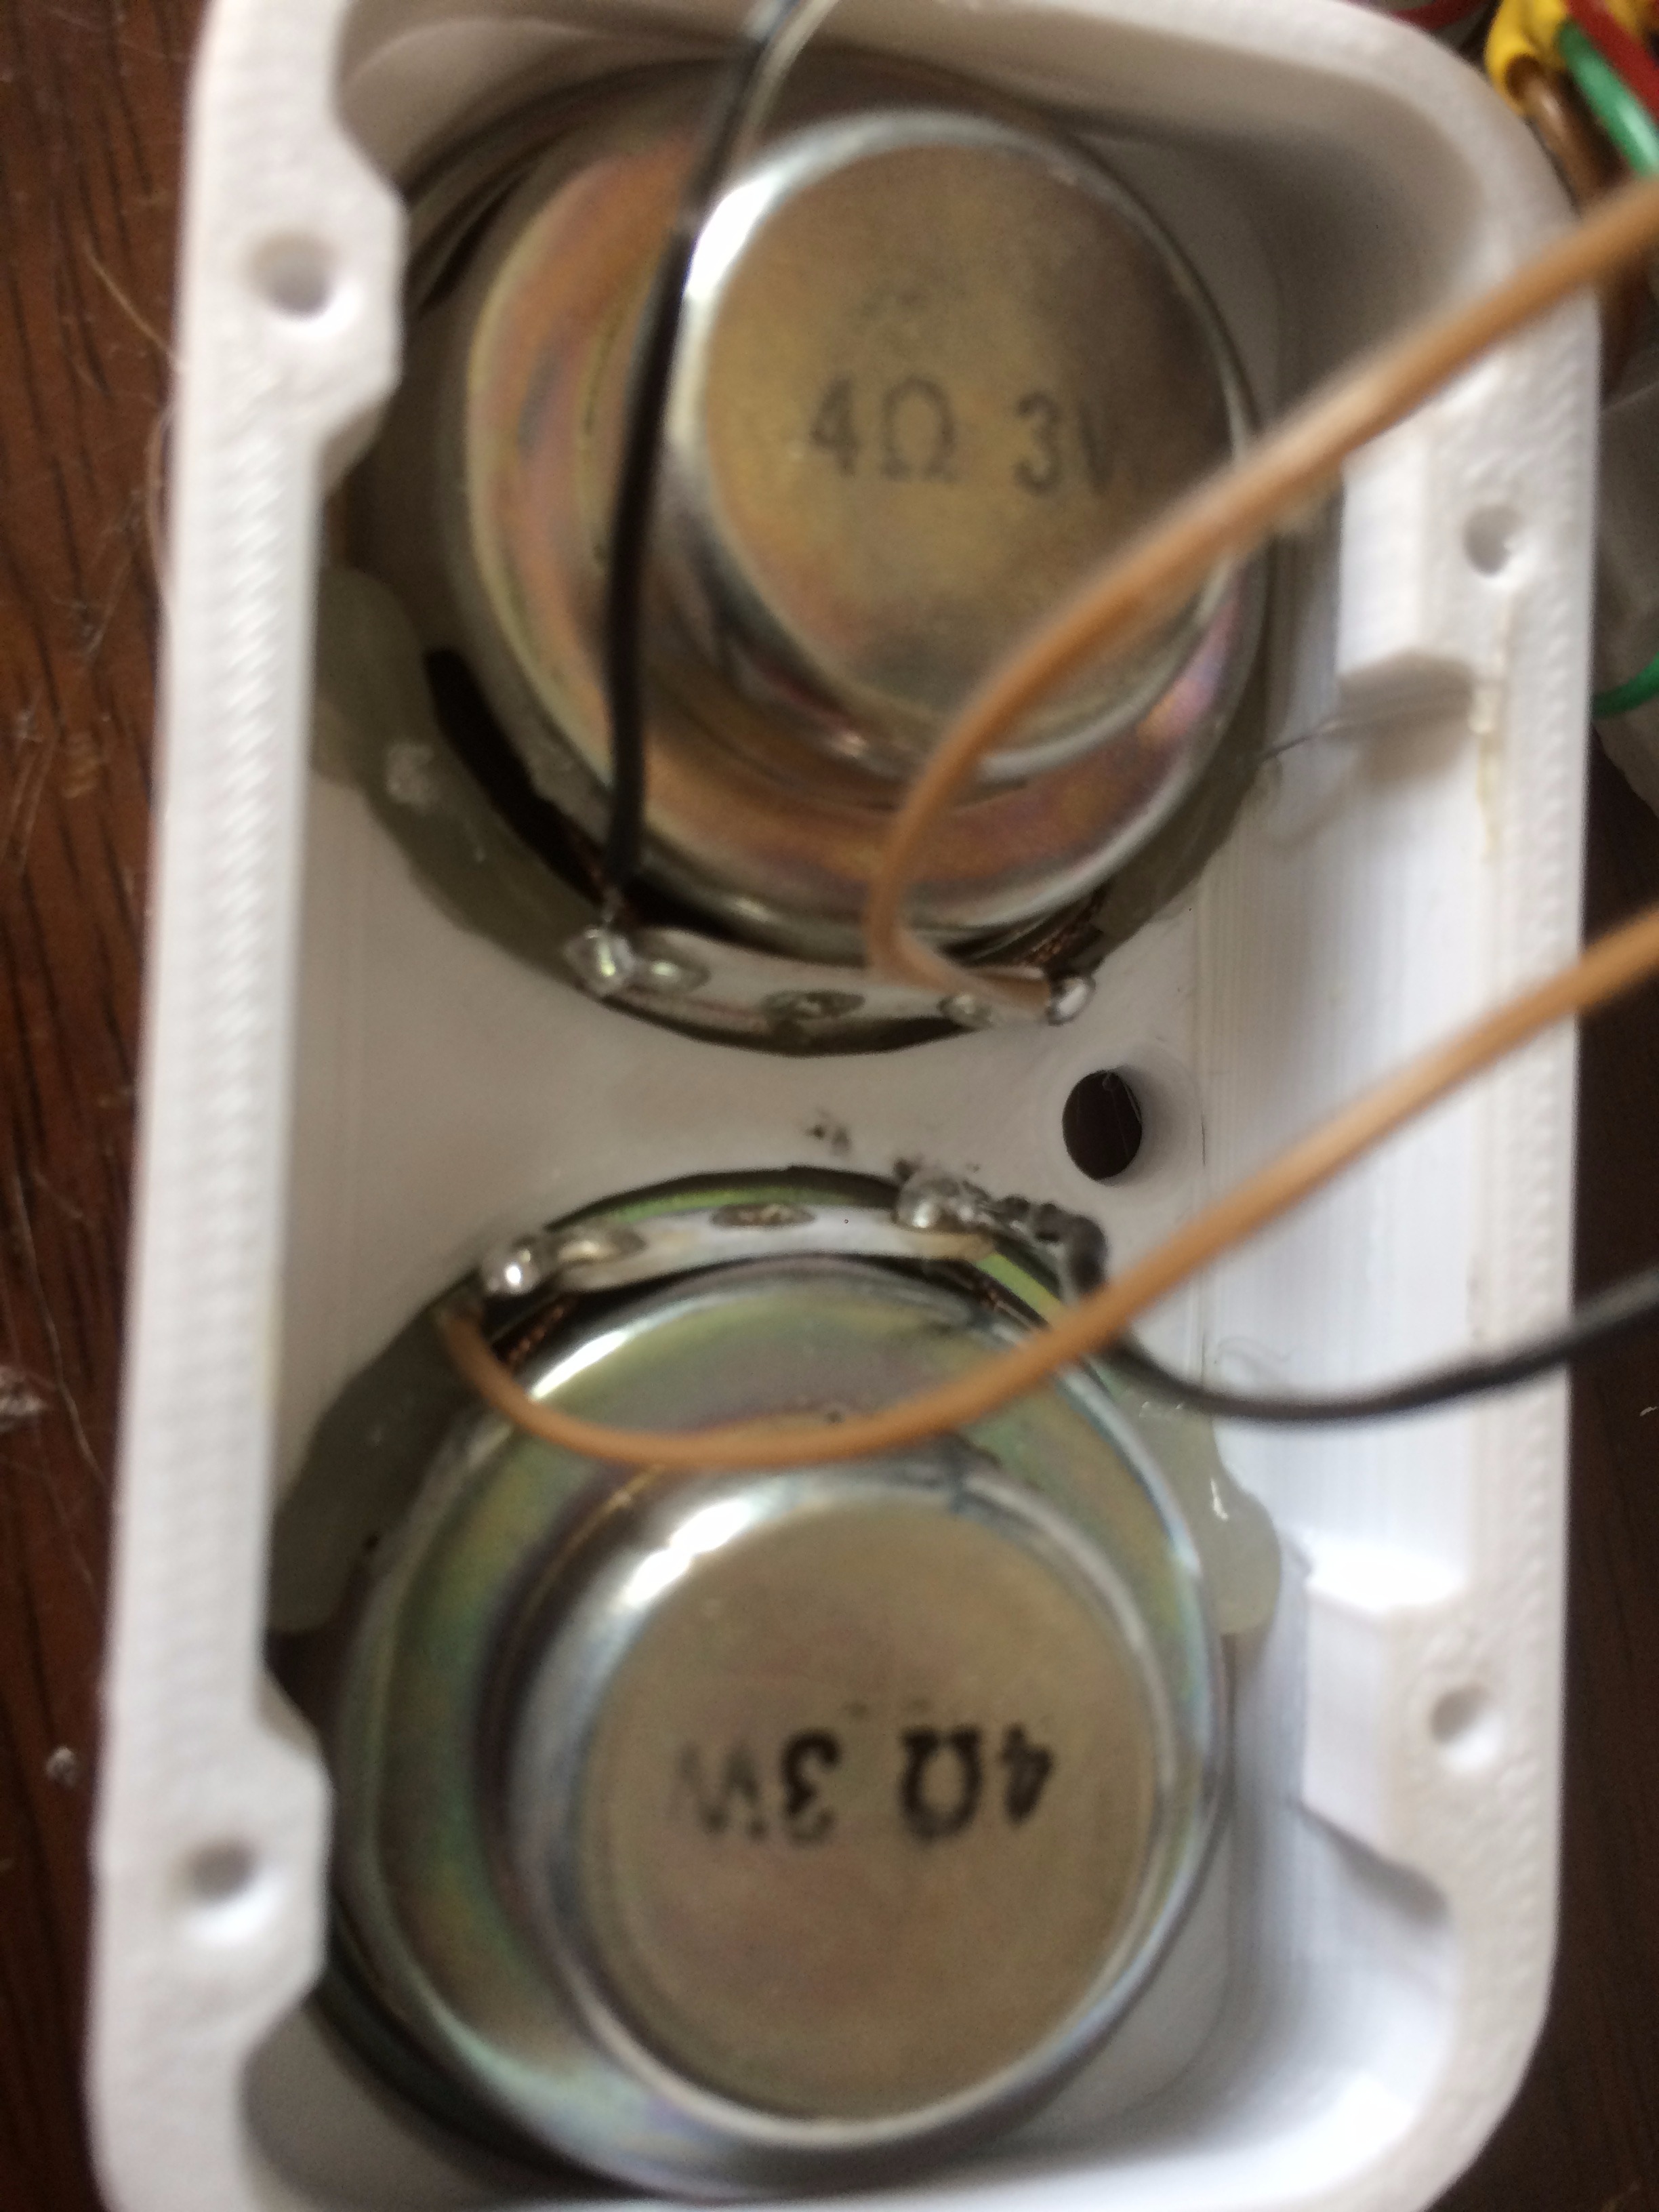
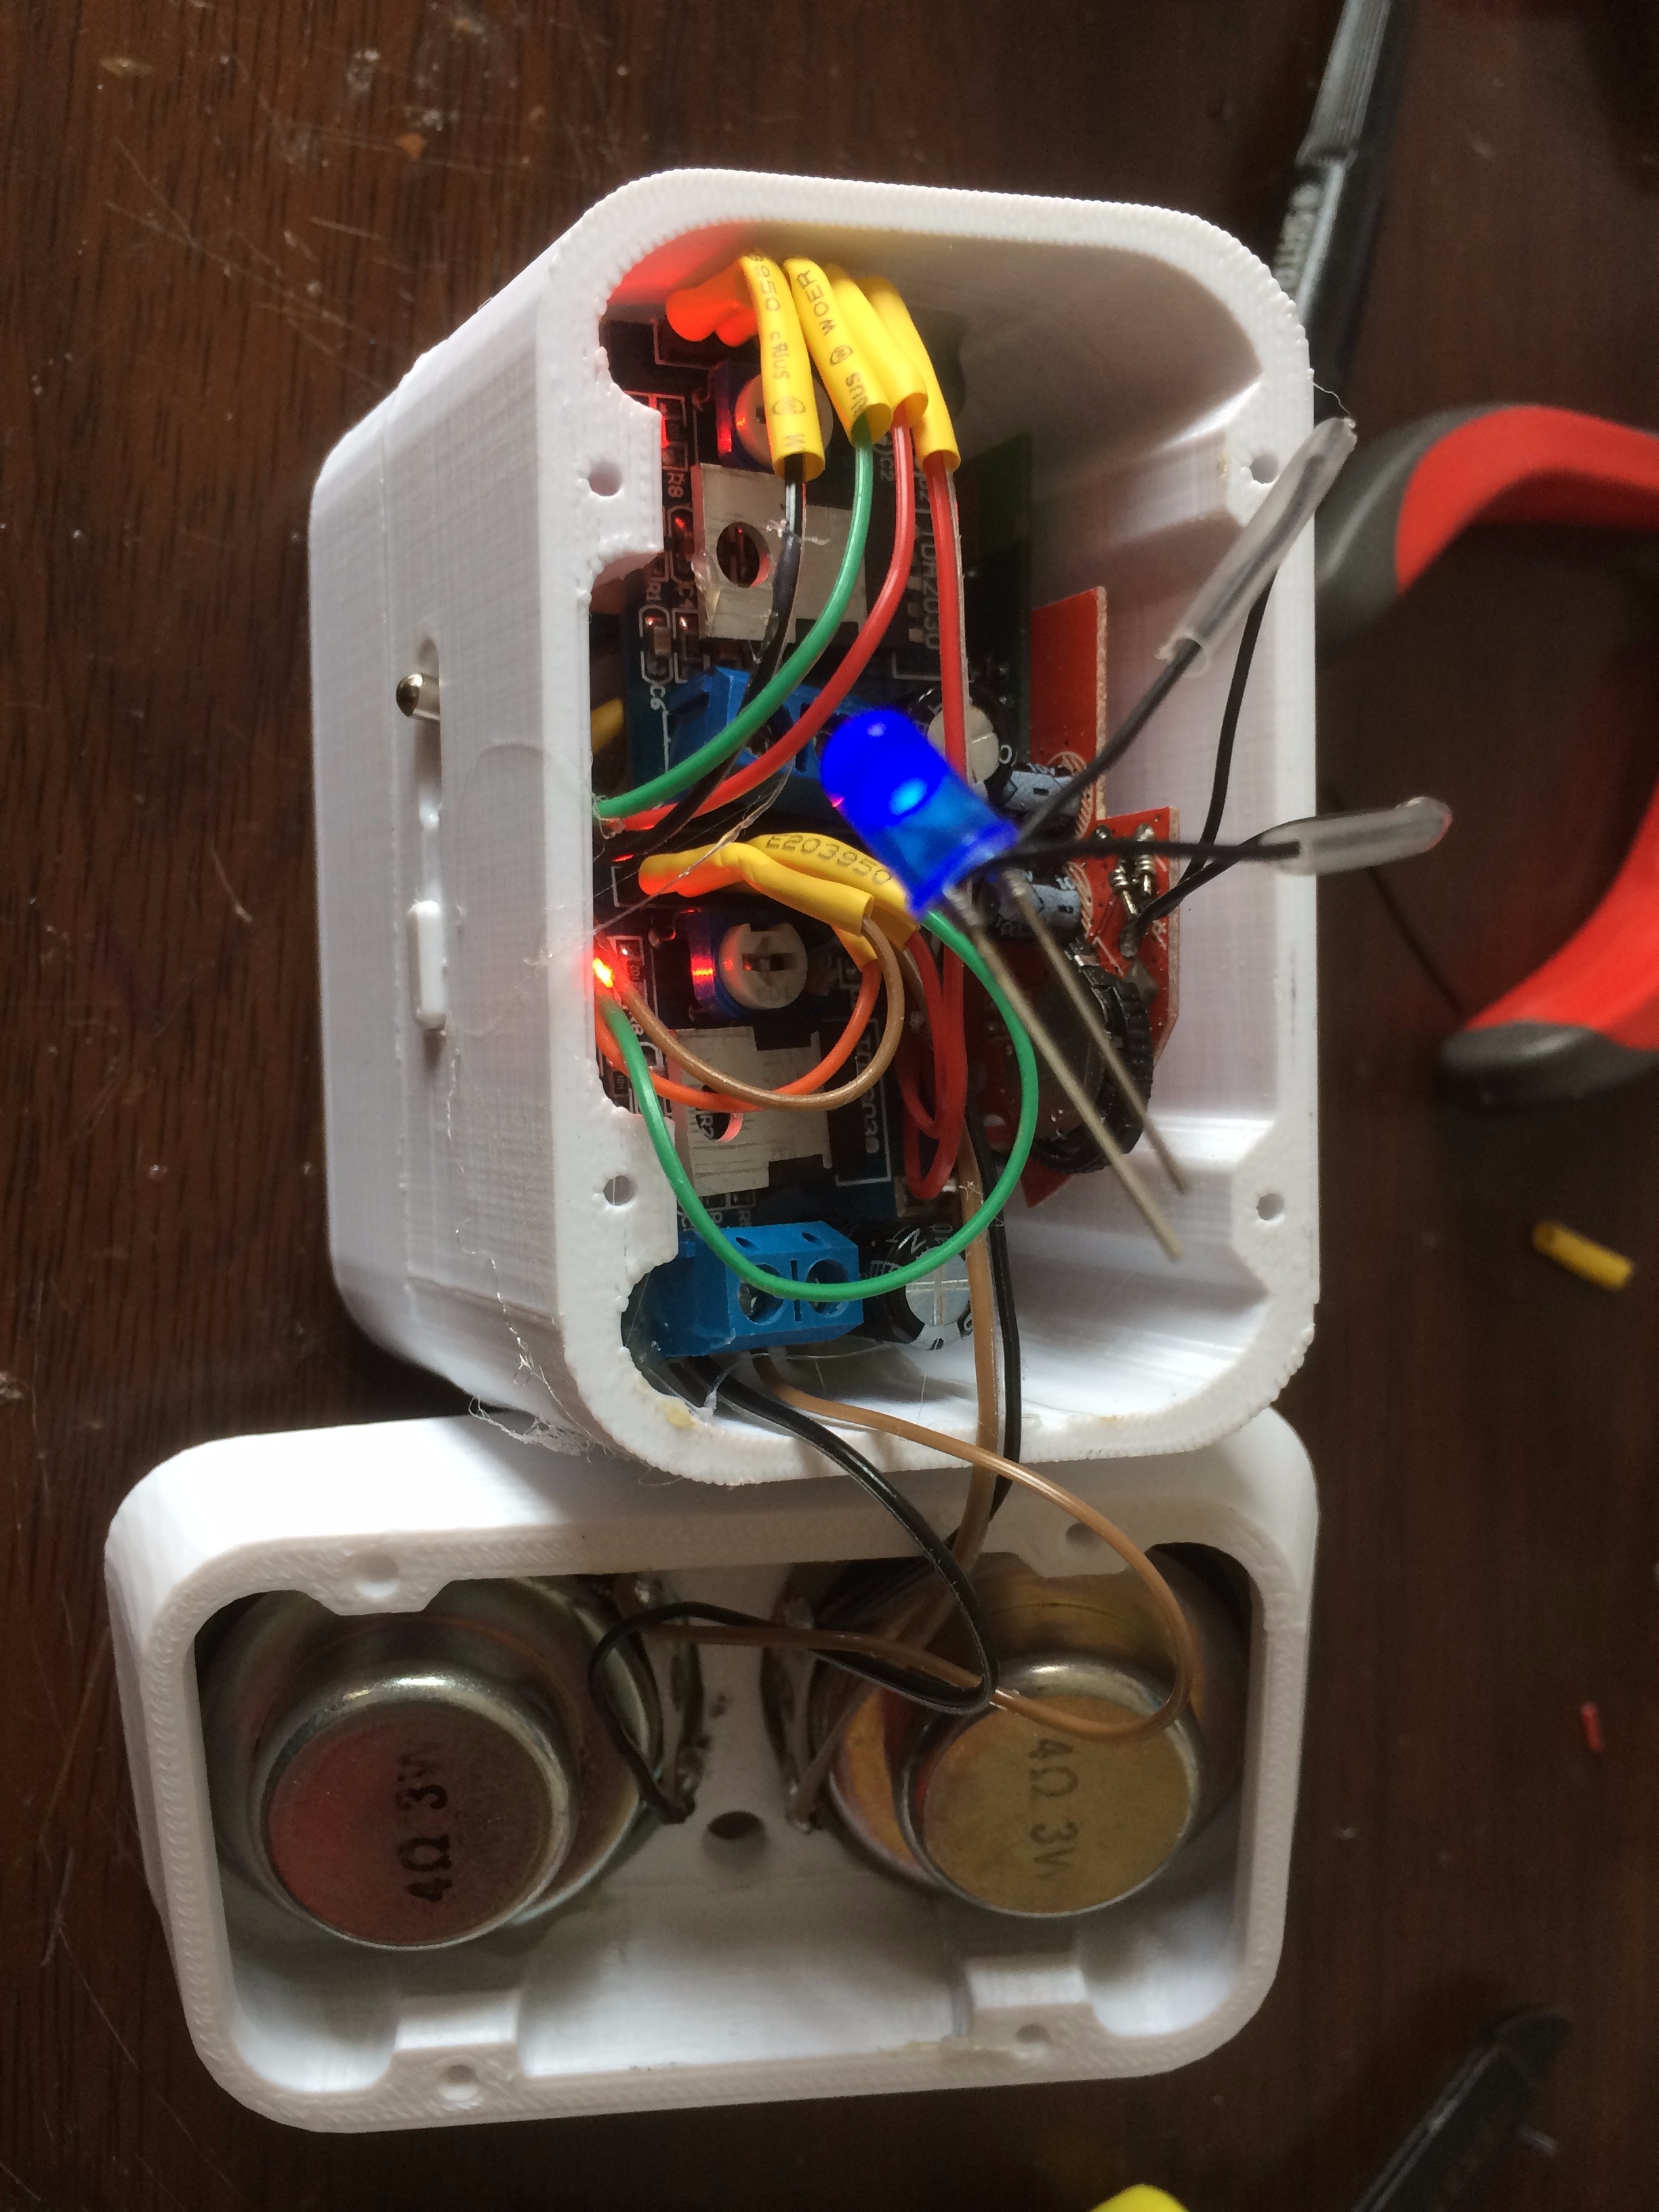
You need to print and prepare the 'top' part before this step. Install 2 TDA2030 amplifier module in to the 'middle' part. You can find the support prepared for them, glue them with hot glue gun. Then connect the power wires, left and right channel signal wires to it. Remember to use some heat shrink tube to avoid short circuit. After that, glue two speaker into the 'top' part, solder them to the output of the amplifier. Don't forget the led, install it into the 'top' part. Power up and test the system before seal all parts.
Enjoy!
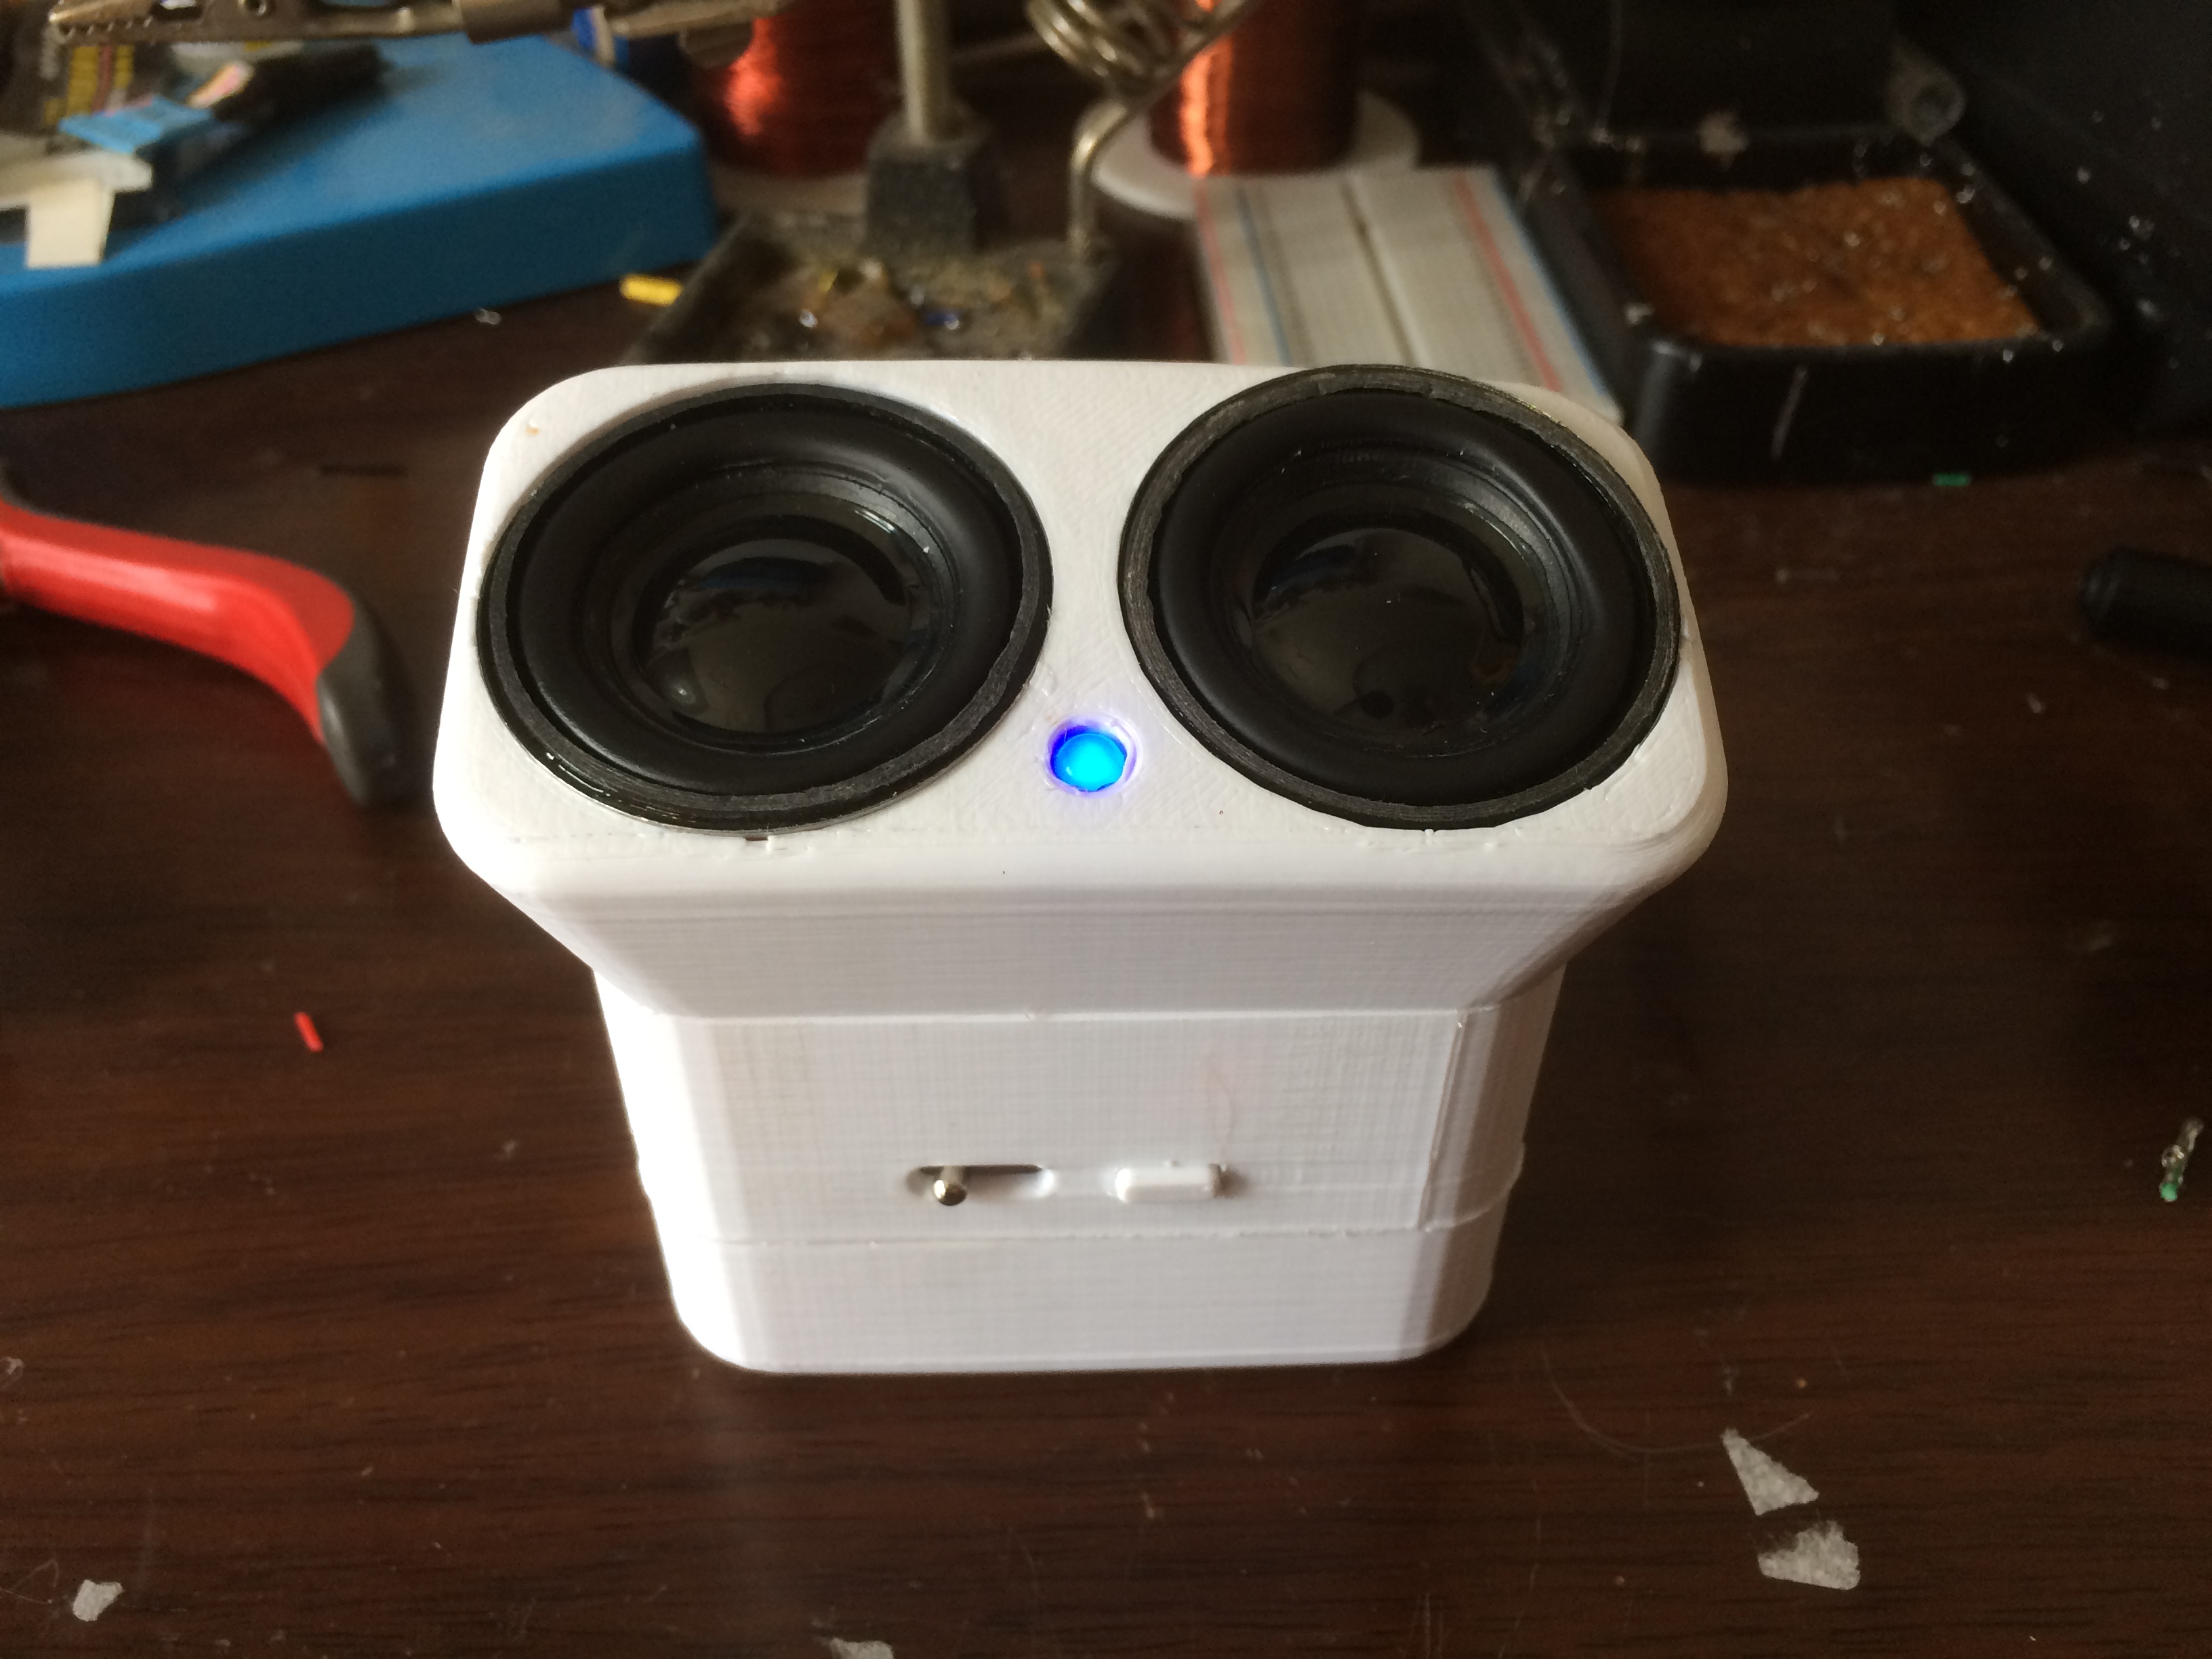
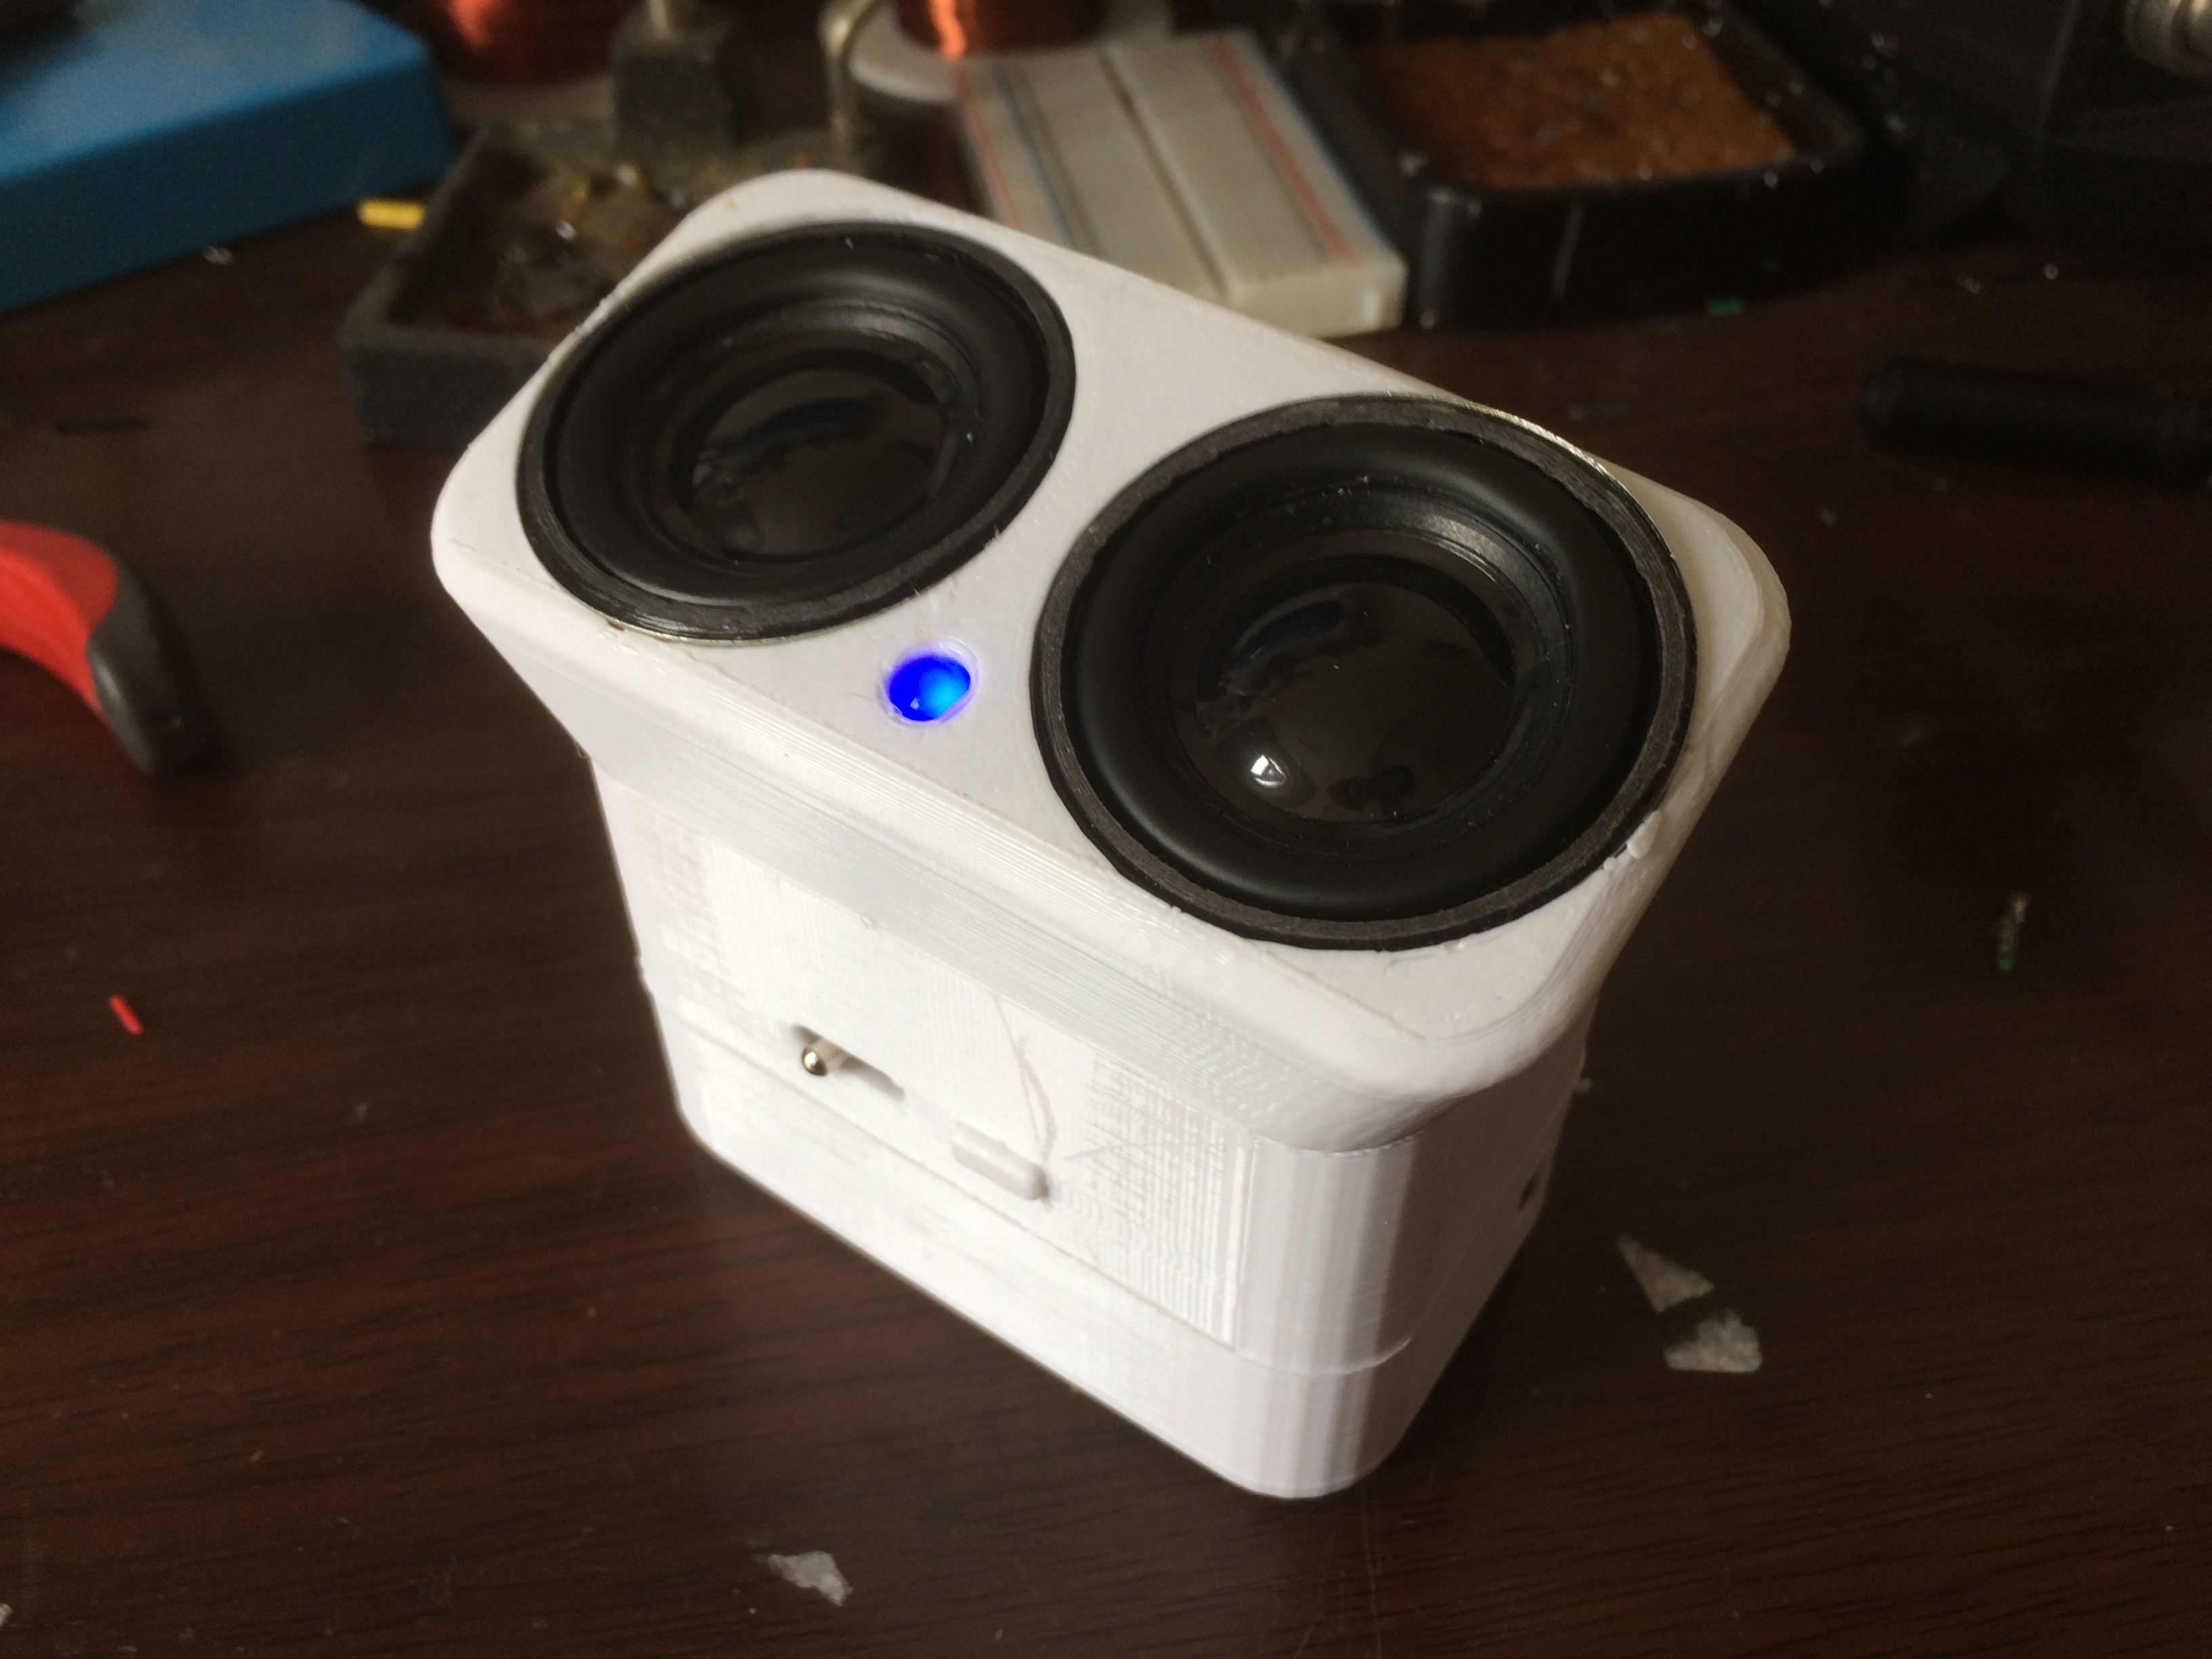
Seal all parts with 2mm pins. Charge the battery and enjoy some wireless music! Your bluetooth speaker is finished.
Thanks for watching, fell free to leave your comment.