How to Make a Beautiful Earring on Tinkercad
by PeRiWiNkLe ArT in Craft > Jewelry
856 Views, 2 Favorites, 0 Comments
How to Make a Beautiful Earring on Tinkercad
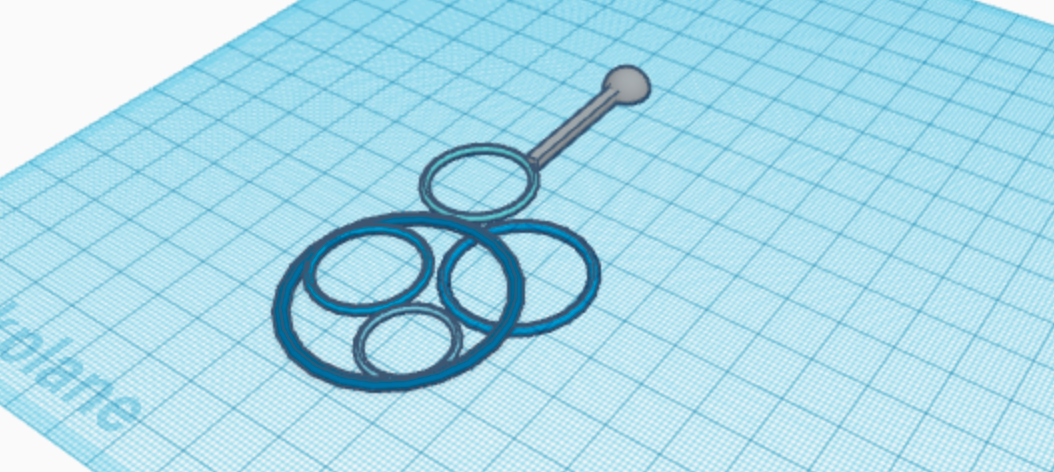
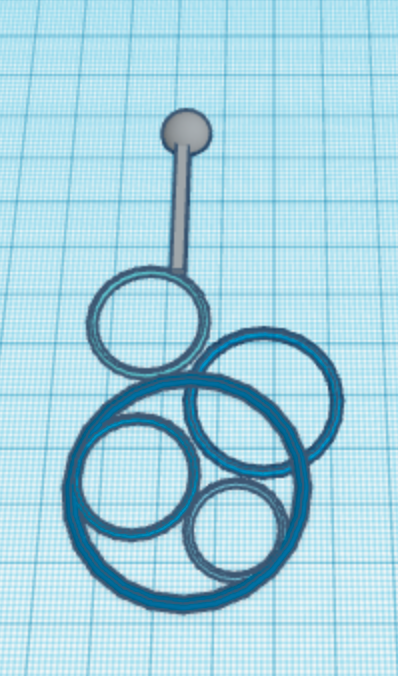
This a beginner friendly tutorial on how to make a cool and abstract earring on Tinkercad. I hope you enjoy and feel free to give me a vote in the Jewlary Contest!
Supplies
You will need:
- A free tinkercad account
- Some beginner skills
Starting Shape
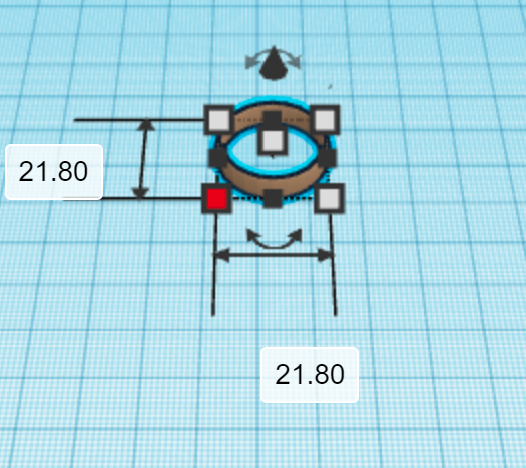
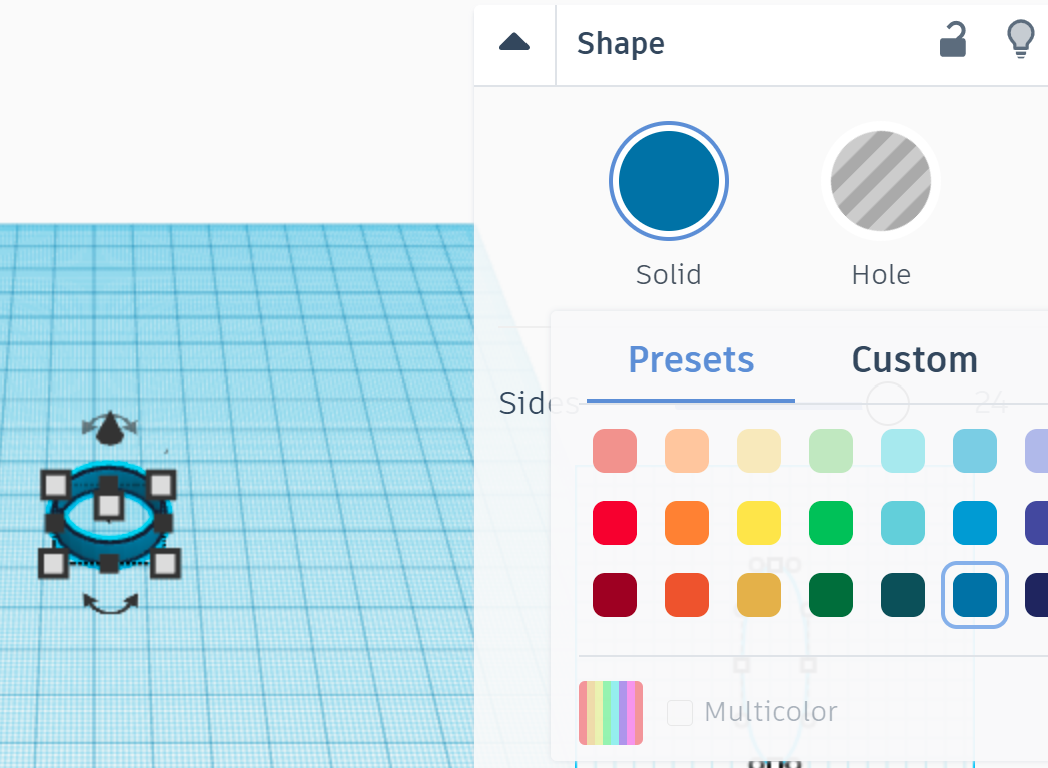
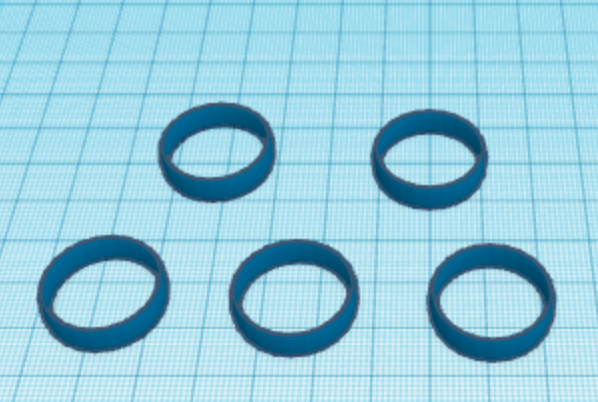
The first thing you will need to do is take a ring, and make it any color you would like, in this case I chose blue. Next you are going to make duplicates of it until you have 5 blue rings. To duplicate all you need to do is click yoru shape and Control C.
Sizing Up
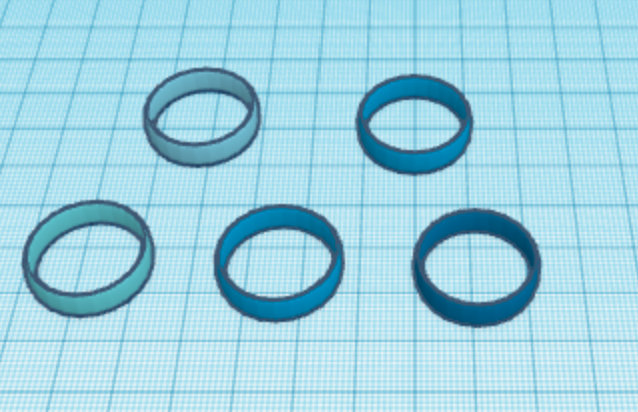
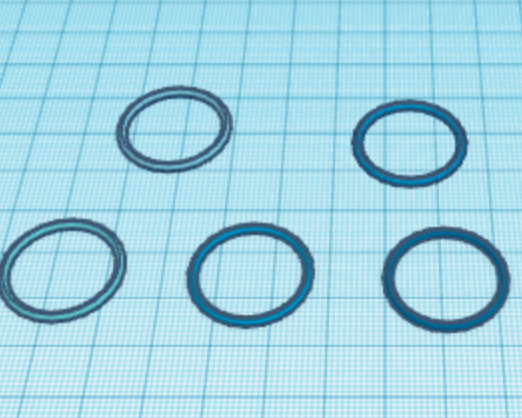
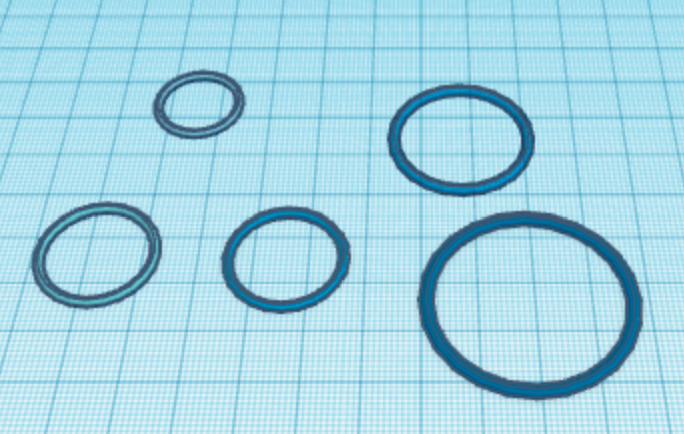
For the coloring, I decided to stick with the color blue, and color my rings different shades of blue. Once you haev yoru rings colored to your taste, you will shorten the rings down to about 1.00. To shorten them just click one of the top ajusting boxes and drag down, there should be a box on the side that tells you if you are at 2.00 or 1.00. Next you are going to size them up a bit more, you will have 2 medium, 1 small, 1 big, and 1 large.
Putting Together

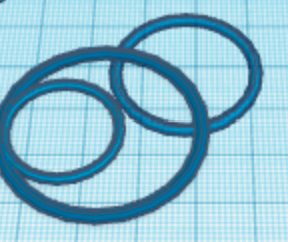
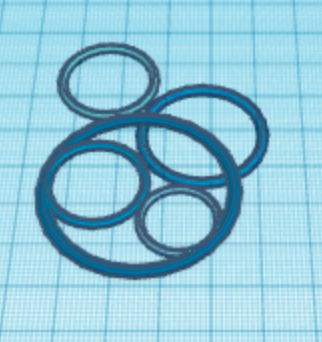
Now you are going to start with your biggest ring, and you are going to put one medium in the left middle of your ring. Next you are going to take your big ring and put it in the right top corner of the ring. And last you will put your smallest ring at the bottom right corner, and your last medium ring on the top of it all slightly further to the left.
Almost Done
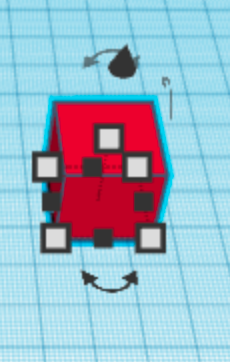
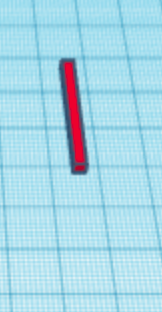
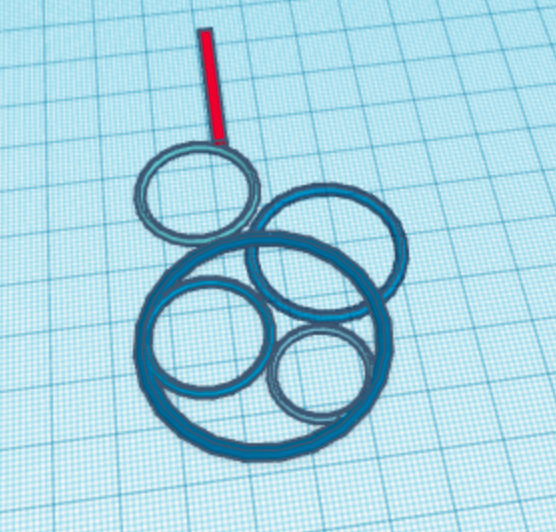
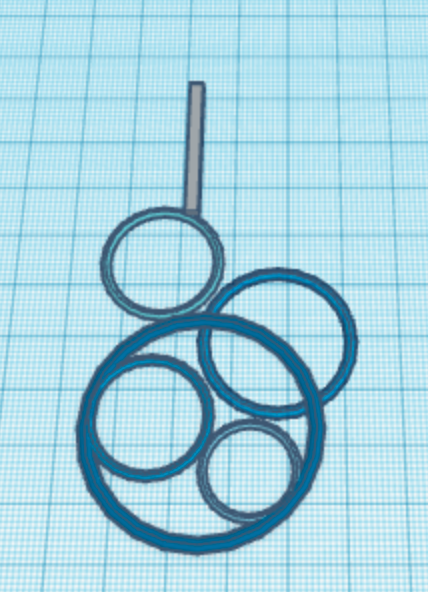
Now you are going to take a cube and make it into a little stick and color it silver, and you can just put that right on top of the highest ring.
Done!
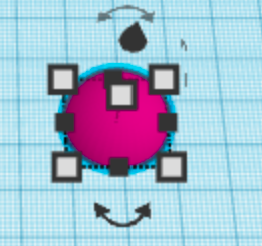
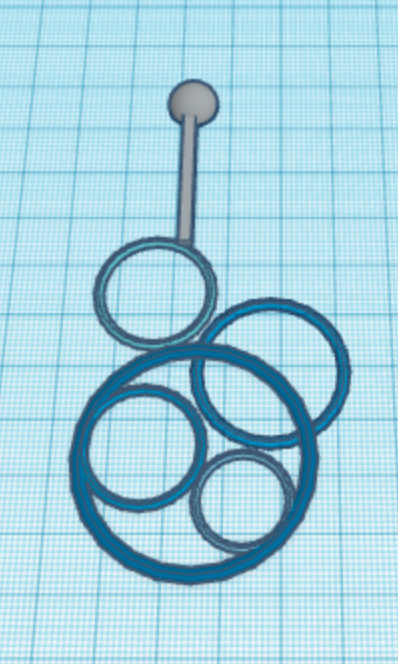
Now all you need to do is take a half spere to act as the stud, and size it up to make it smaller, and color it silver, and move it on top of your chain and you are done!
Hope you enjoyed!