How to Make a 3D Printed Speaker Using PAM8403 Amplifier
by DIYTechStudio in Circuits > Speakers
1054 Views, 0 Favorites, 0 Comments
How to Make a 3D Printed Speaker Using PAM8403 Amplifier

In this post, I will share how I created a 3D-printed speaker with a PAM8403 Amplifier. To see the build you can watch the video attached or continue reading for the details
Supplies
Here are the parts used in this project
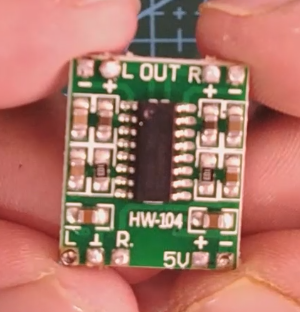
PAM8403 Amplifier
- Amazon USA - https://amzn.to/31Oazgp (https://amzn.to/3oygwaR)
- Amazon IND - https://amzn.to/3oAwuRN (https://amzn.to/3jBcJpB)
4Ohm 3 Watt Speaker
- Amazon USA - https://amzn.to/2TvCLQB
- Amazon IND - https://amzn.to/3oCHkHk
Creality Ender 3 3D Printer
- Amazon USA - https://amzn.to/37b28ix
- Amazon IND - https://amzn.to/31tqWyX
Soldering Station
- Amazon USA - https://amzn.to/3k4PZ2u
- Amazon IND - https://amzn.to/3k4ybo6
PLA 1.75mm Filament
- Amazon USA - https://amzn.to/354ccXX
- Amazon IND - https://amzn.to/34YsiCy
Hot Glue Gun
- Amazon USA - https://amzn.to/3lL8gCe
- Amazon IND - https://amzn.to/3dujCb3

First I designed the speaker enclosure using the Freecad software and then printed it with my Ender 3 3D printer.
Please find the attached STL file of the enclosure (only use it as a reference).
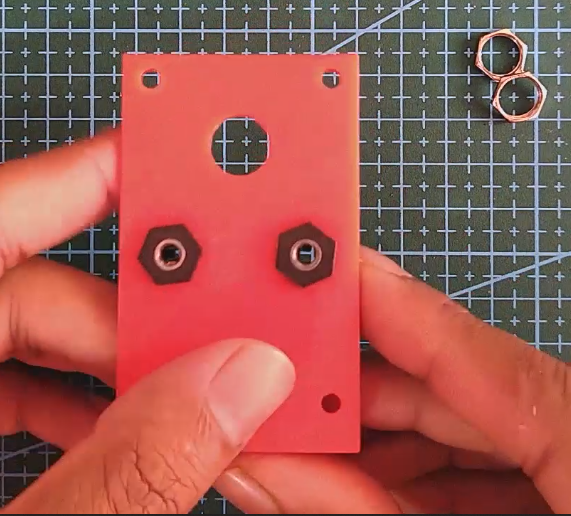
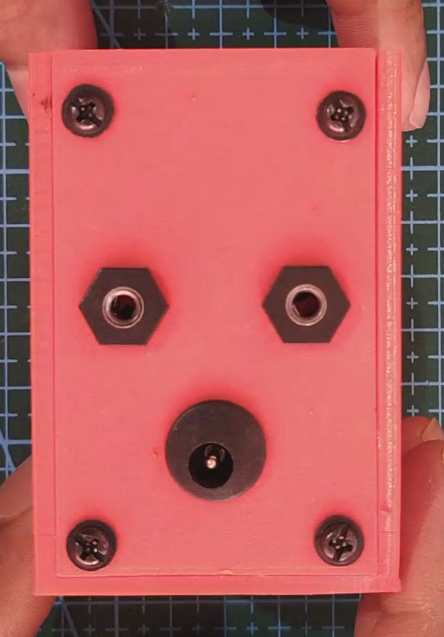
Next mount two 3.5mm stereo jacks. The first jack is used for Audio input and the second jack is used to connect the second speaker
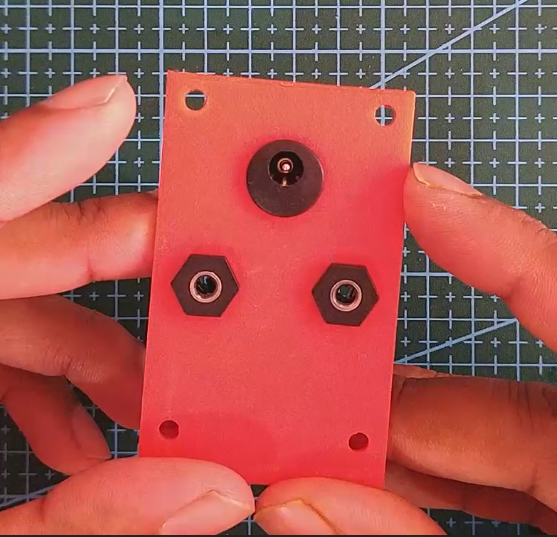
Next, add a DC jack to power the amplifier with 5volt

Next, mount the 4ohm 3-watt speaker and secure it with hot glue

Next, connect the pins of the DC jack to the 5V pins of the amplifier
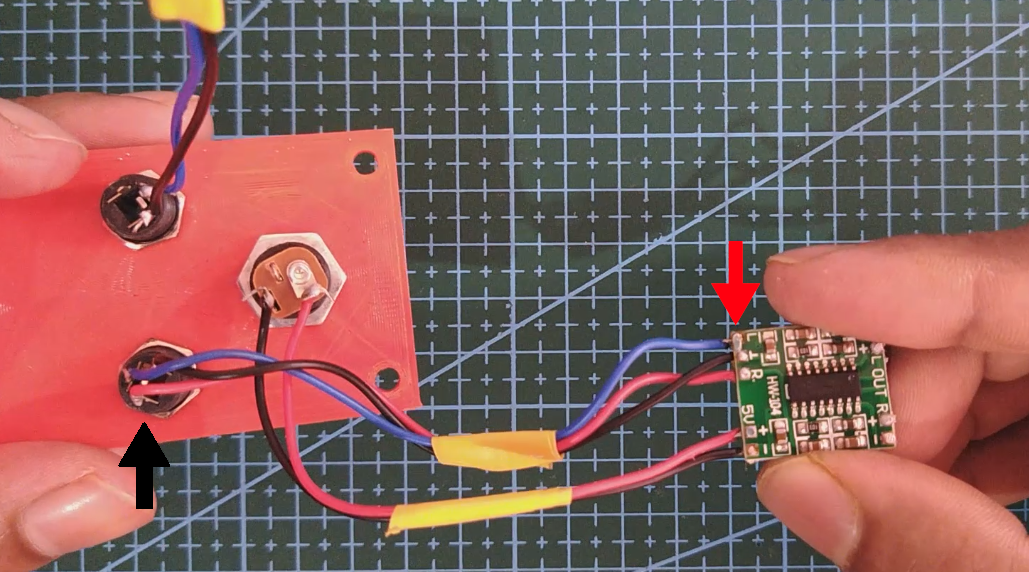
Next, connect the pins of one of the 3.5mm audio jacks to the audio input pins on the amplifier
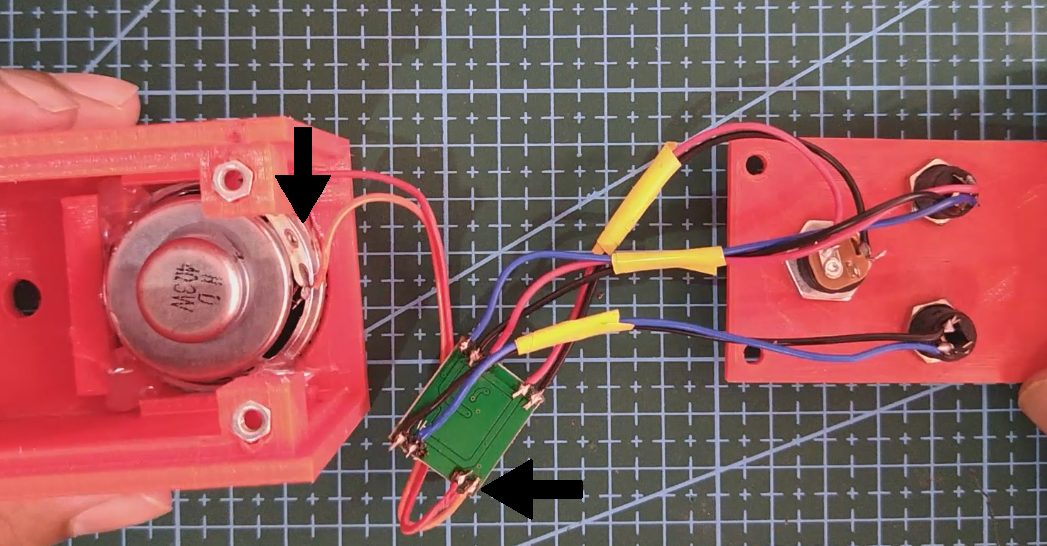
Next, connect the speaker to the left out on the amplifier
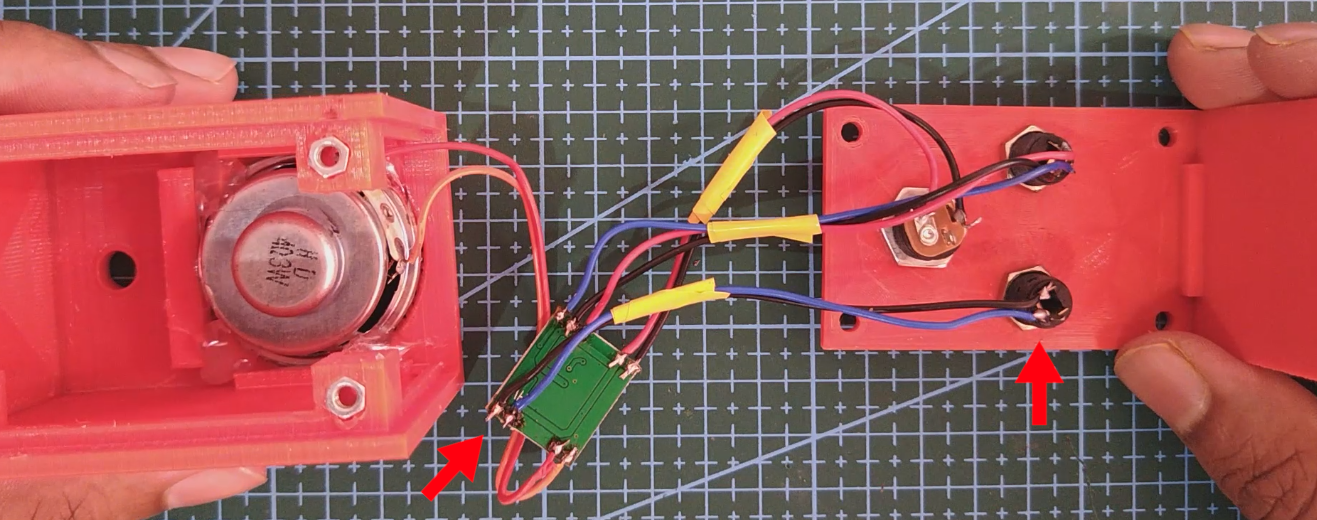
Next, connect the Right out of the amplifier to the free 3.5mm jack
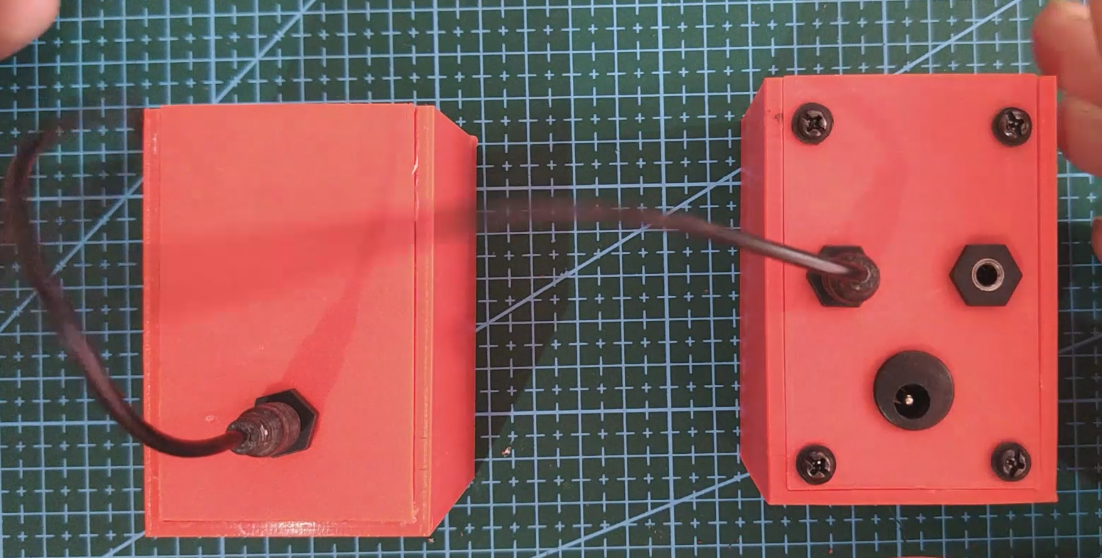
Next, close the enclosure and connect the two speakers with a 3.5mm audio cable and then supply it with 5V.