How to Make a 3D Printed 6 Pointed Snowflake
by Penolopy Bulnick in Living > Christmas
9620 Views, 79 Favorites, 0 Comments
How to Make a 3D Printed 6 Pointed Snowflake
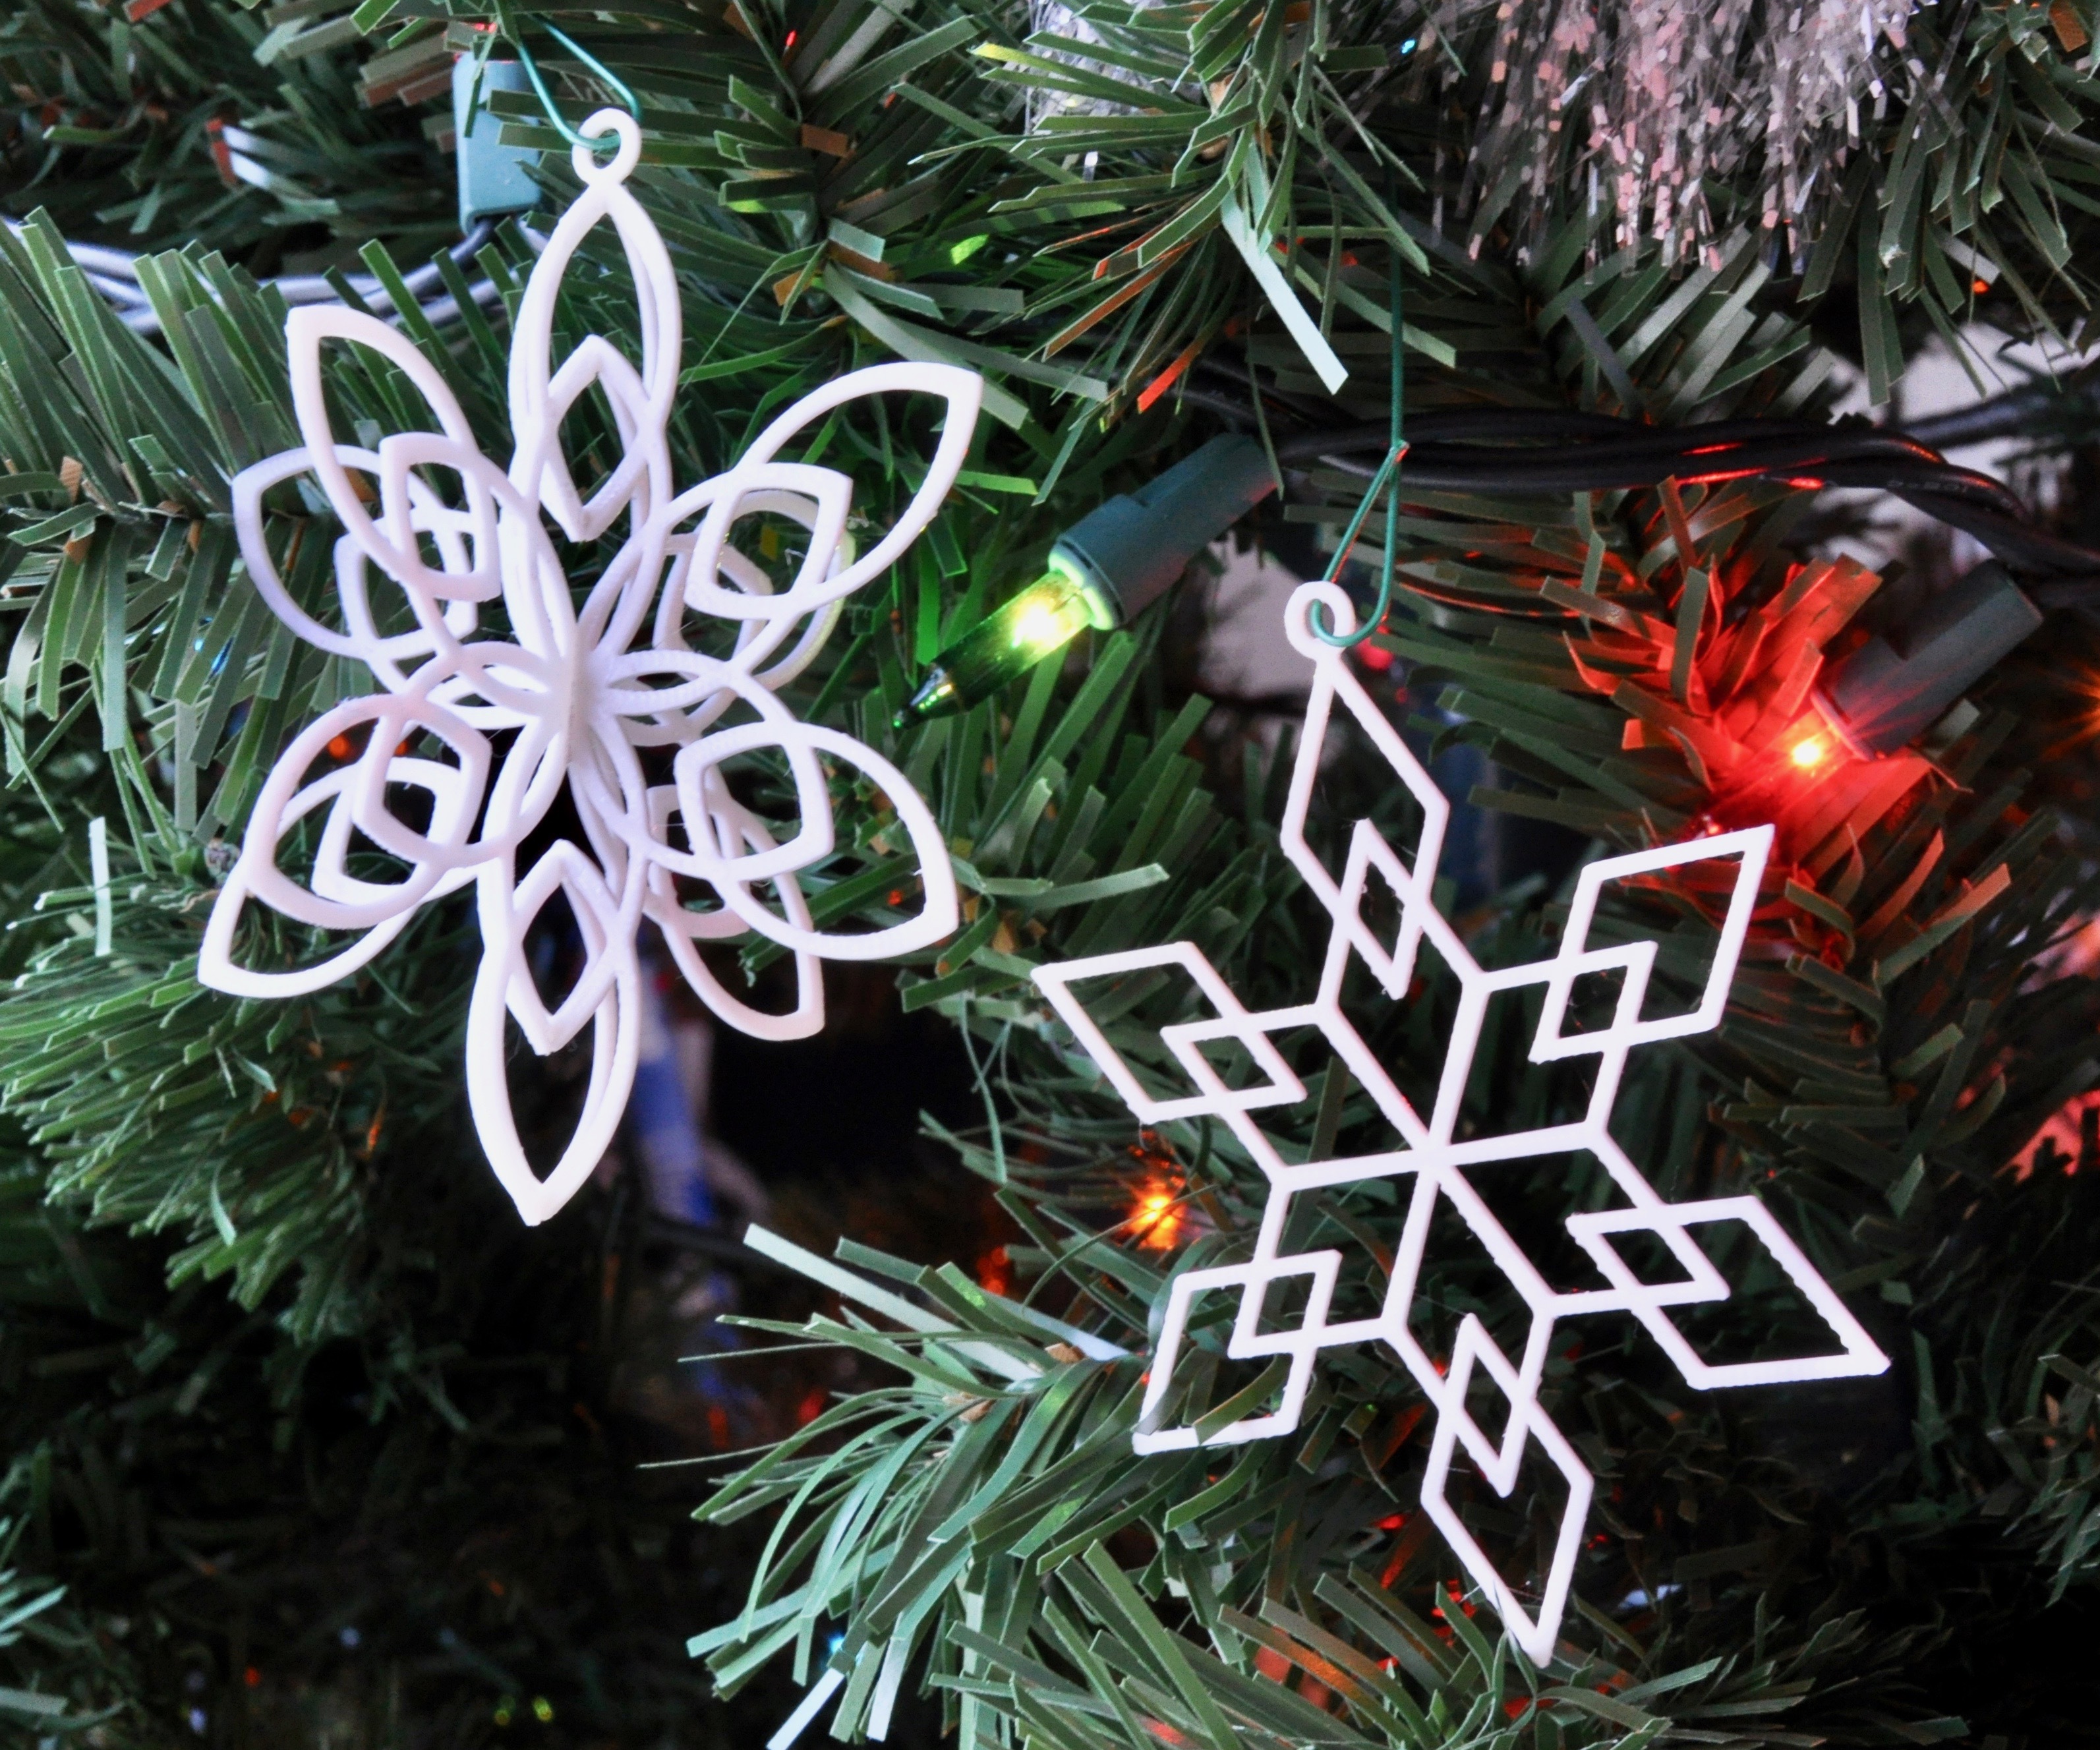
I made a six pointed 3D printed snowflake a while ago when I was making ornaments, but I thought I would talk about how to easily design your own 6 pointed snowflake. All you need to do is design one point and follow these steps to have a perfect snowflake.
Instructable 323
Supplies
- 3D printer - I have a Prusa MK3 with an MMU2
- Filament in your color of choice - make sure it shows up on the tree
- Ornament Hooks or String
If making a 3D Snowflake
- Glue - I find the Acrylic Adhesive works best with PLA
- Pipette - really helps put the glue in the applicator bottle
Files
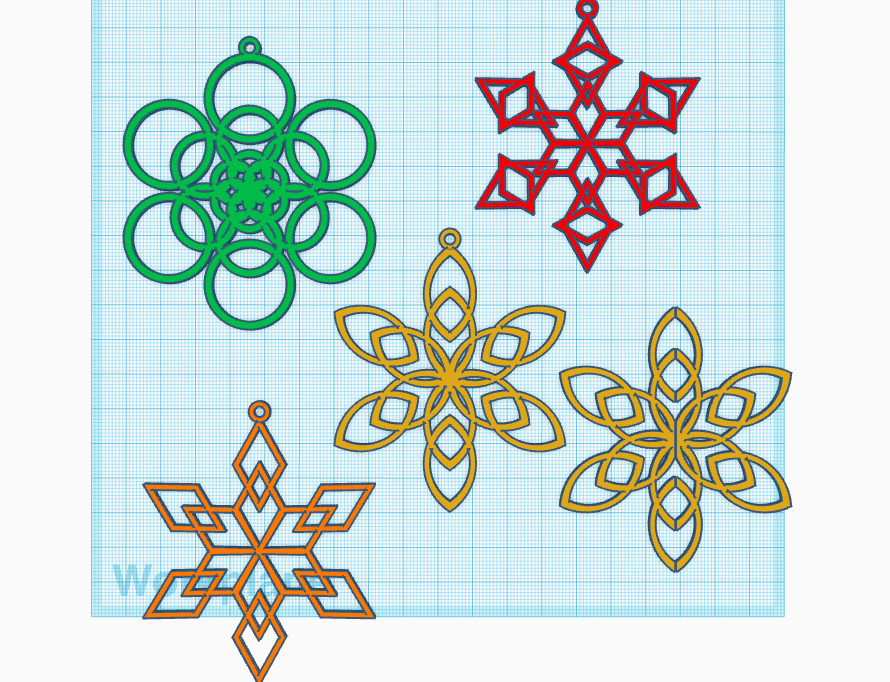
You can make your own designs, but here are mine if you want them.
Remember, they are only .8mm thick but you can change that in the slicer or upload them into Tinkercad and thicken them.
Start Your Snowflake "arm"
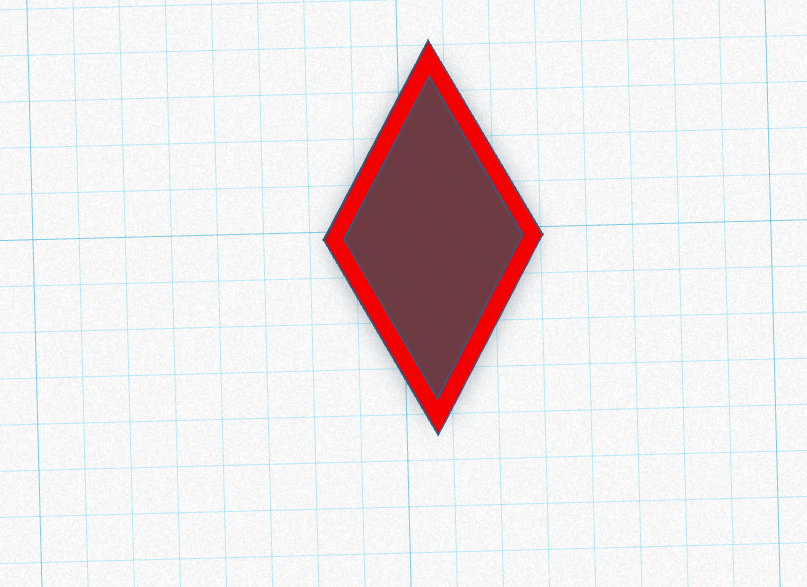
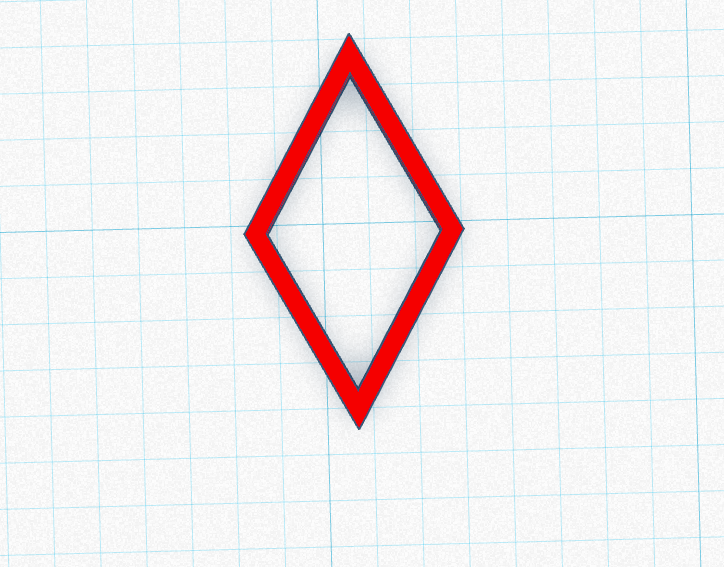
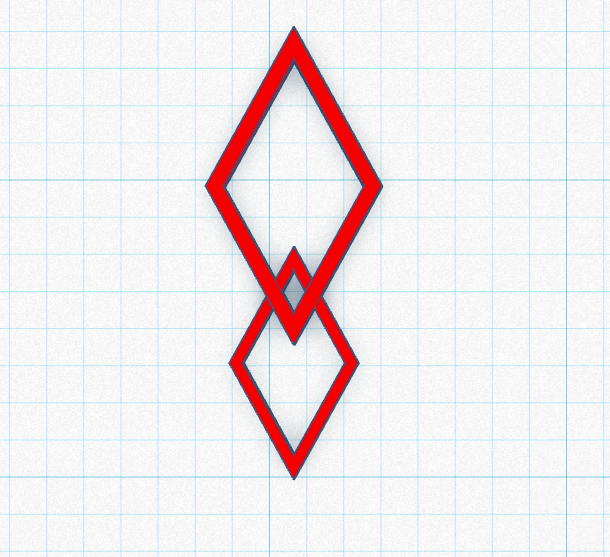
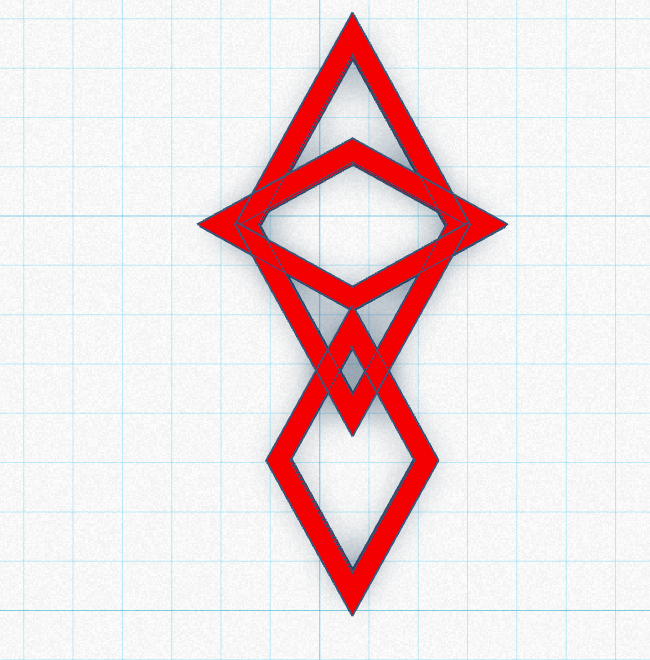
I designed my snowflakes using Tinkercad.
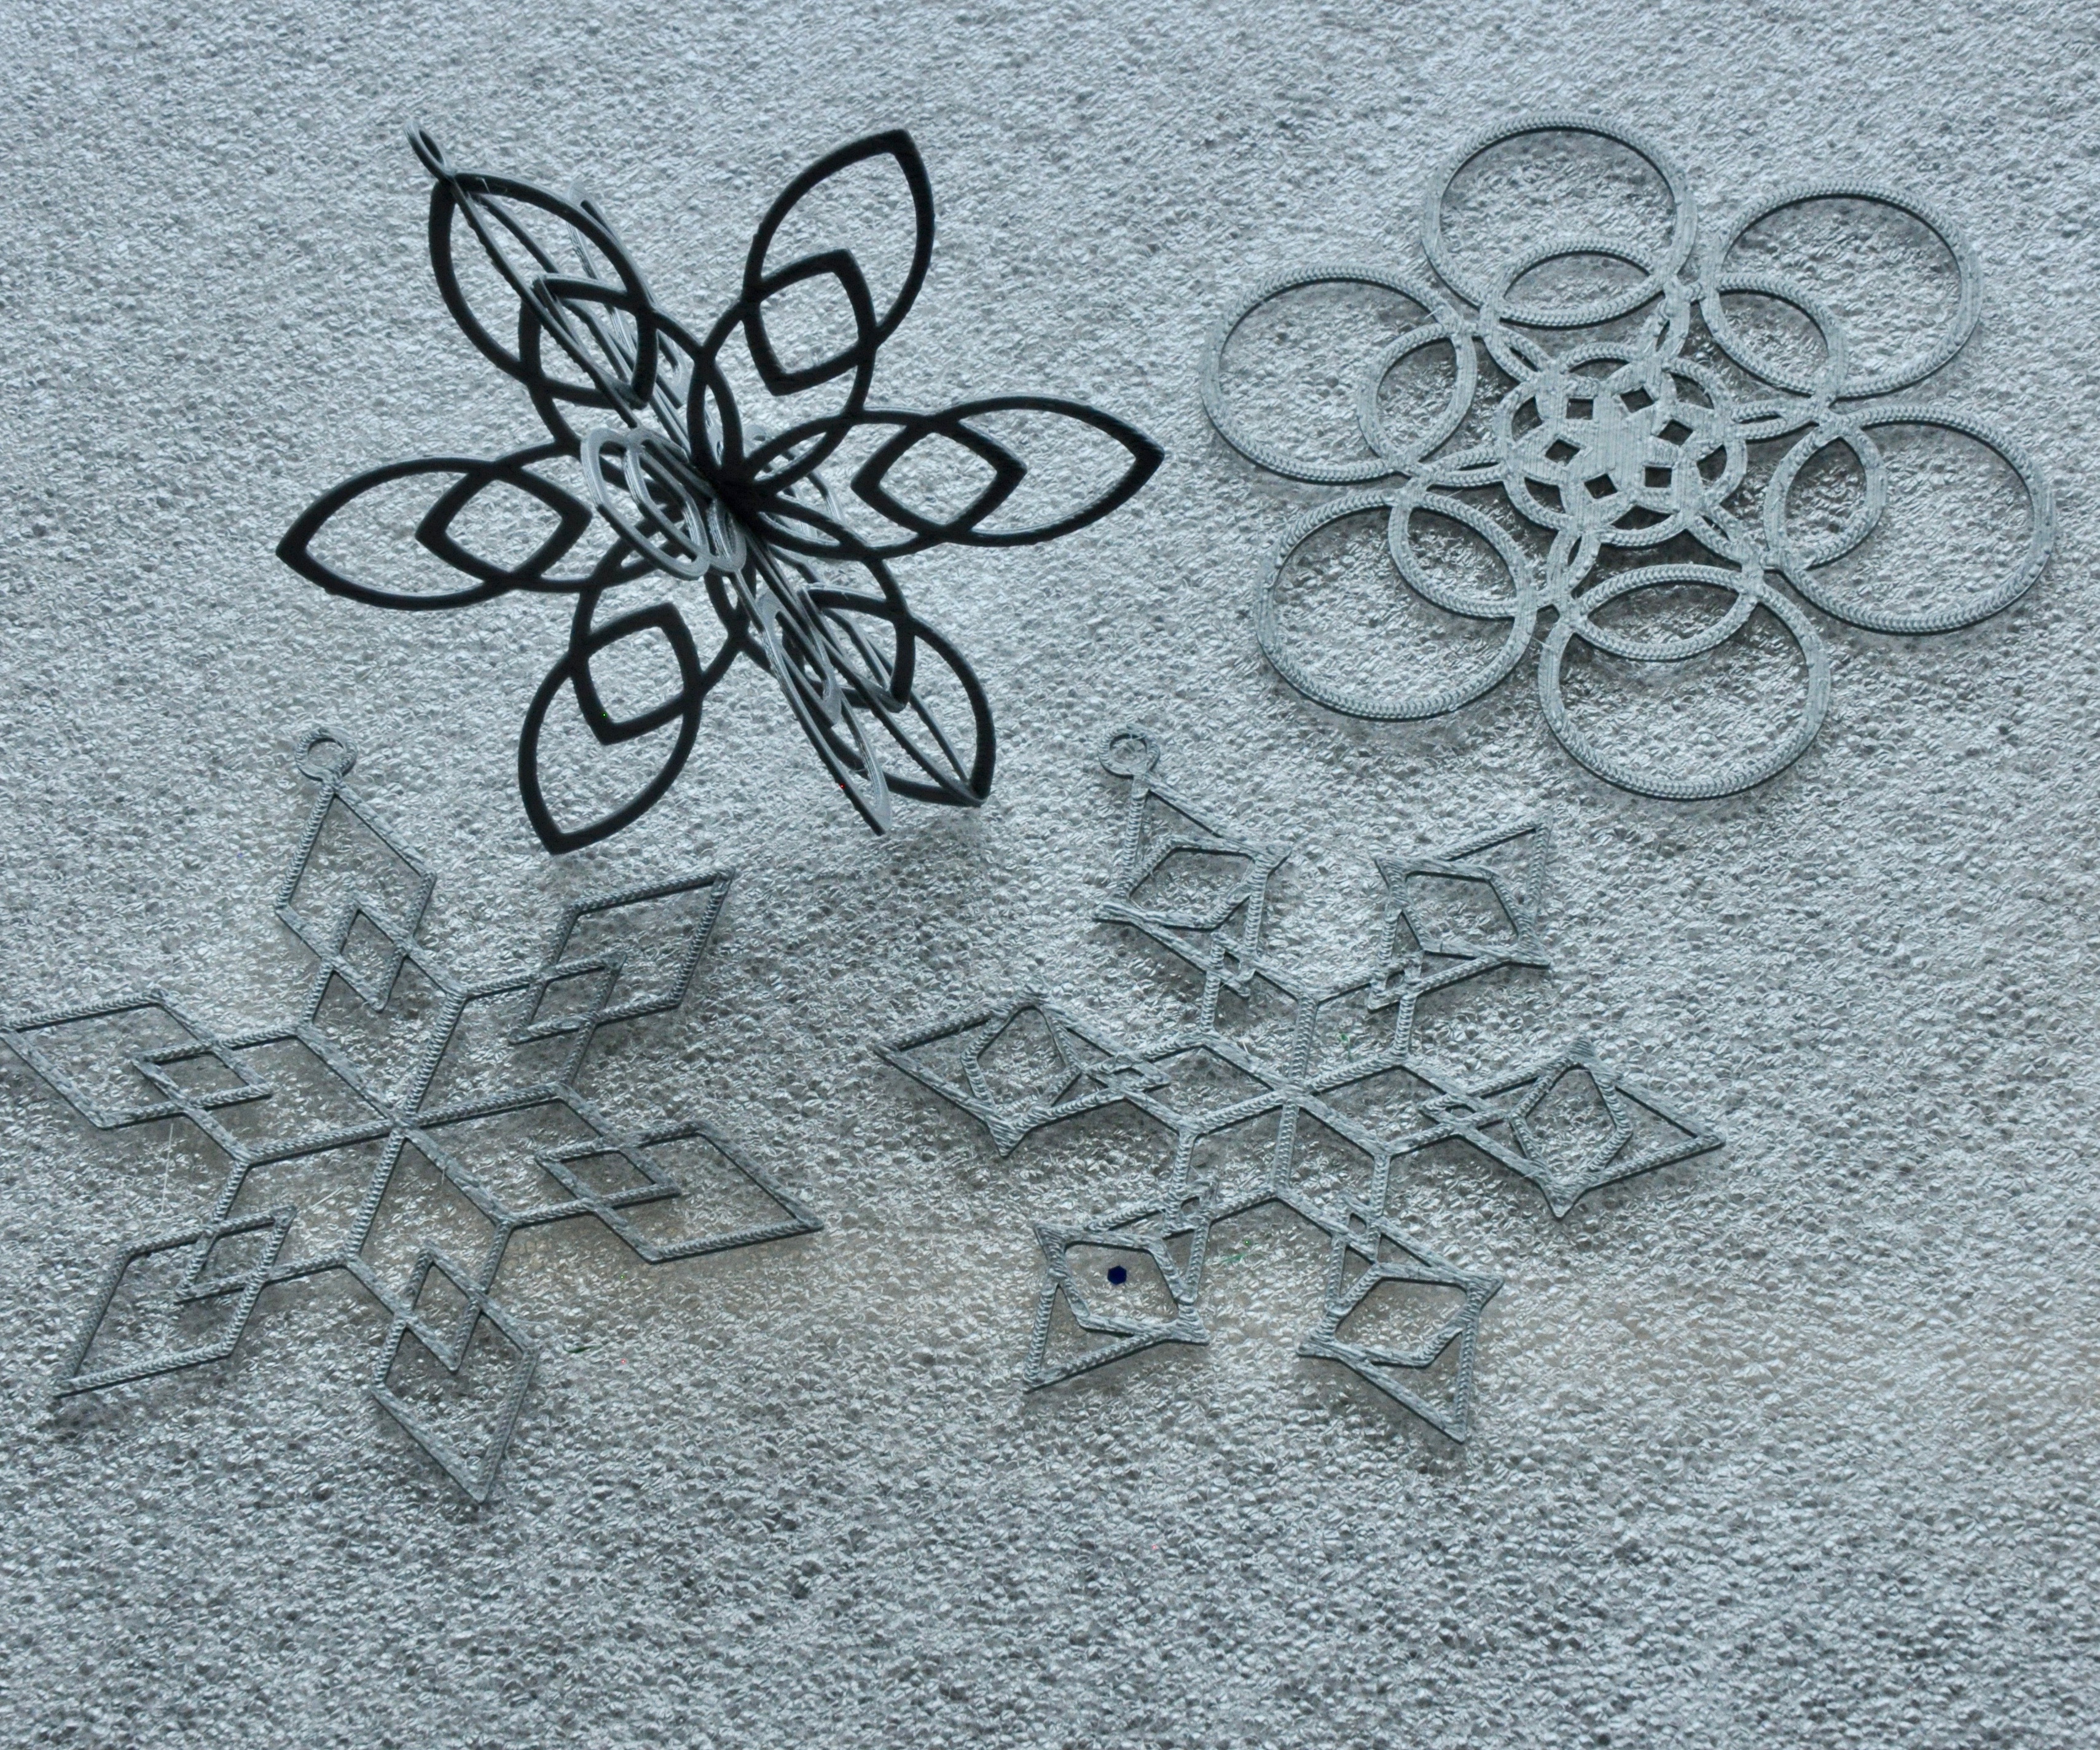
To make things easier, I made basic snowflakes made out of a single geometric shape each.
Start by "hollowing out" the shape you want to work with, I'm working with a diamond.
Copy, paste, and rearrange your shapes until you have a snowflake arm that you like. Make sure they are all the same thickness and they are all lined up (if that is how you want them), then group them together.
Top and Bottom
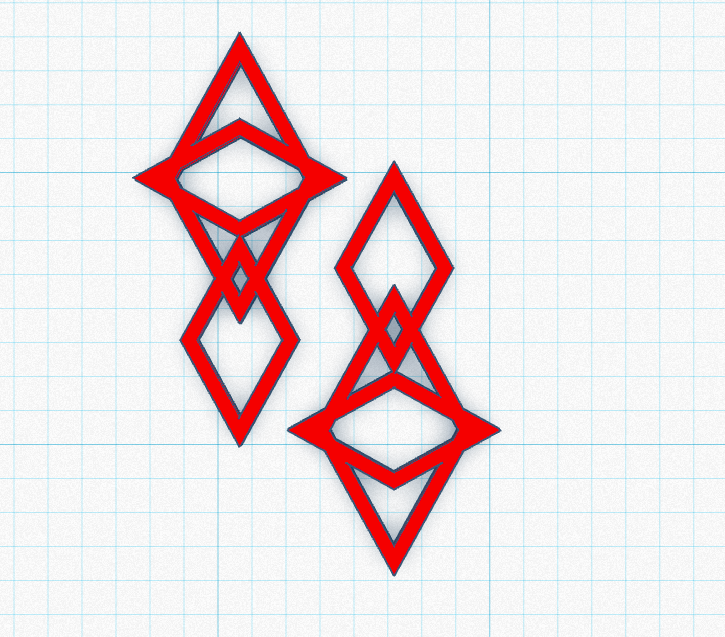
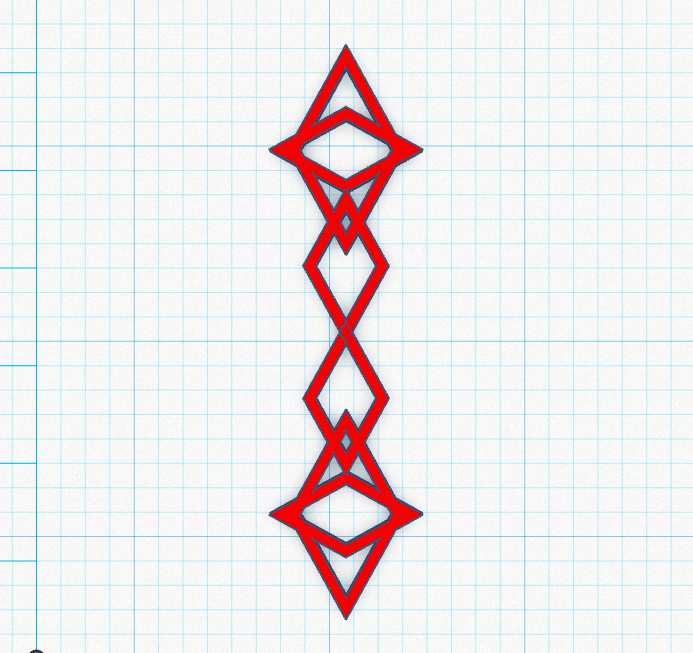
Once you have 1 arm, you can copy, paste, and rotate it 180 degrees.
Line them up the way you want and make sure they are aligned using that function.
Now you'll have the top and bottom of the snowflake. Group it all together.
Make It 6 Pointed
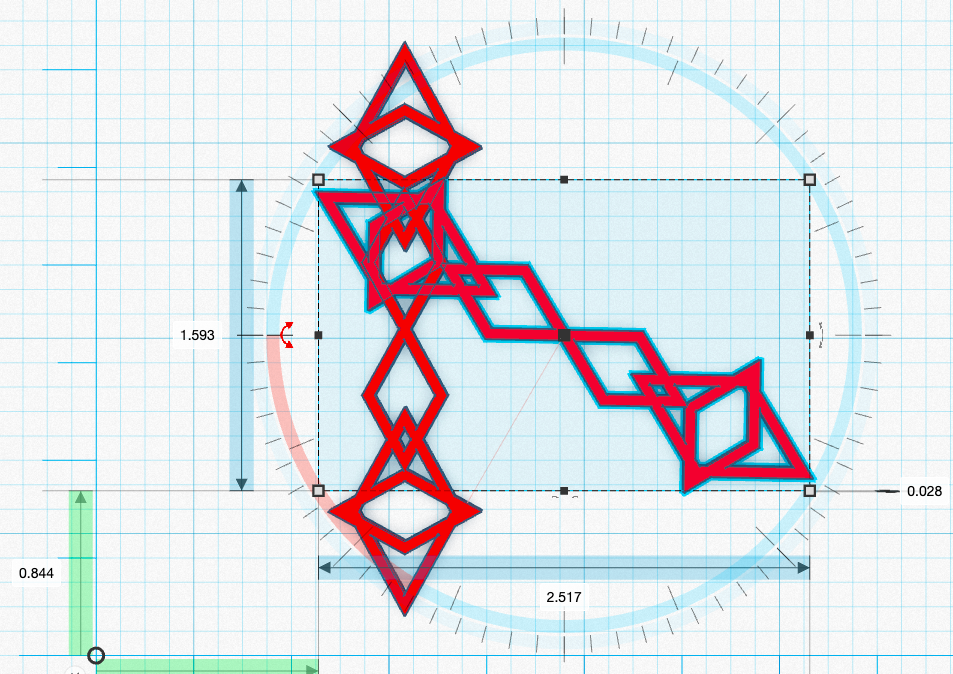
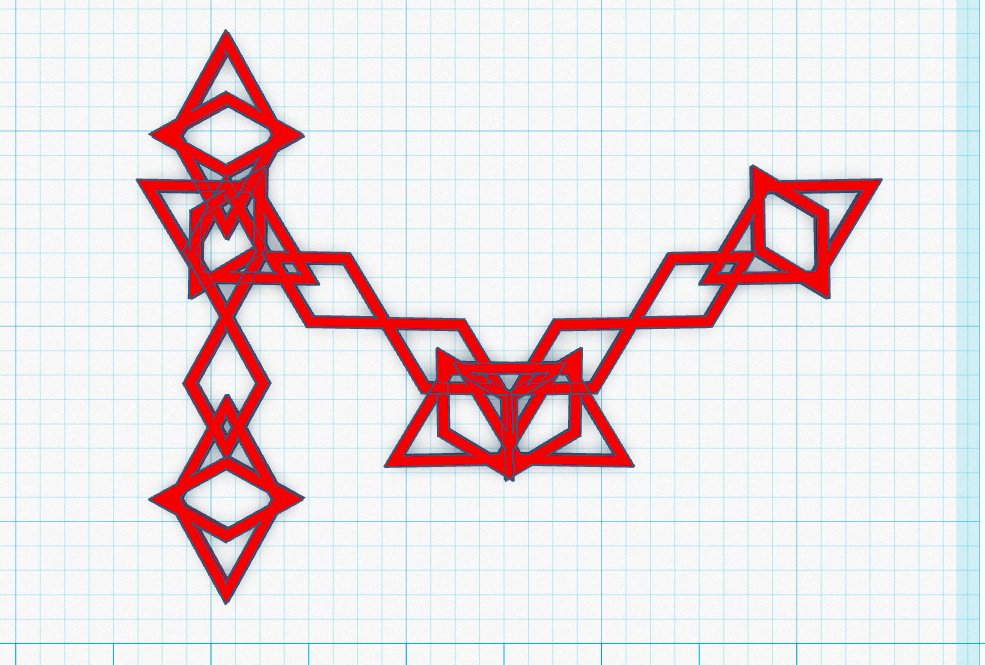
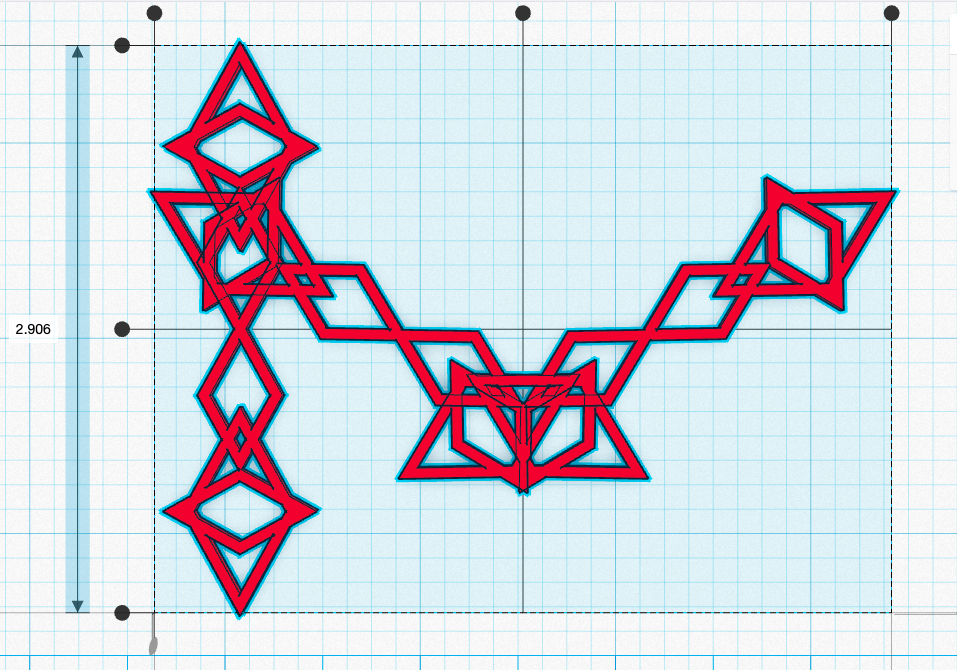
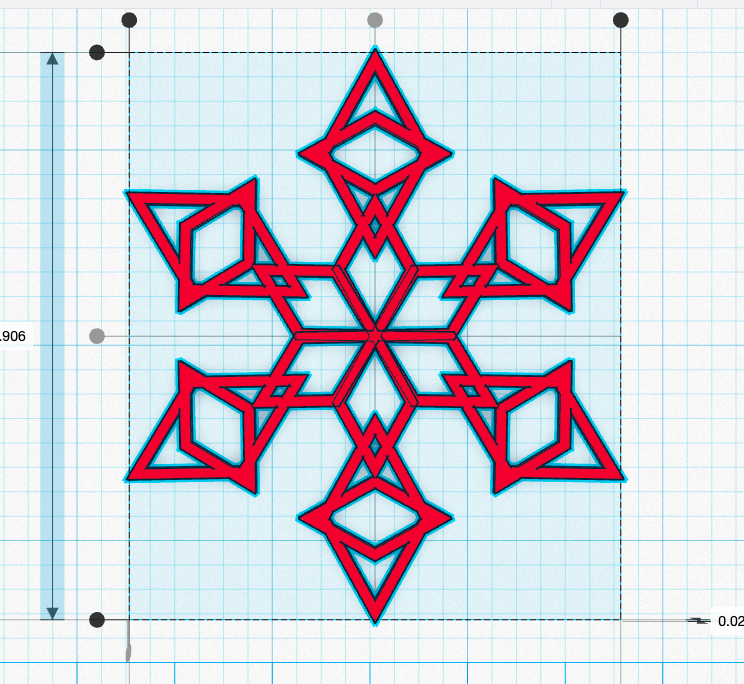
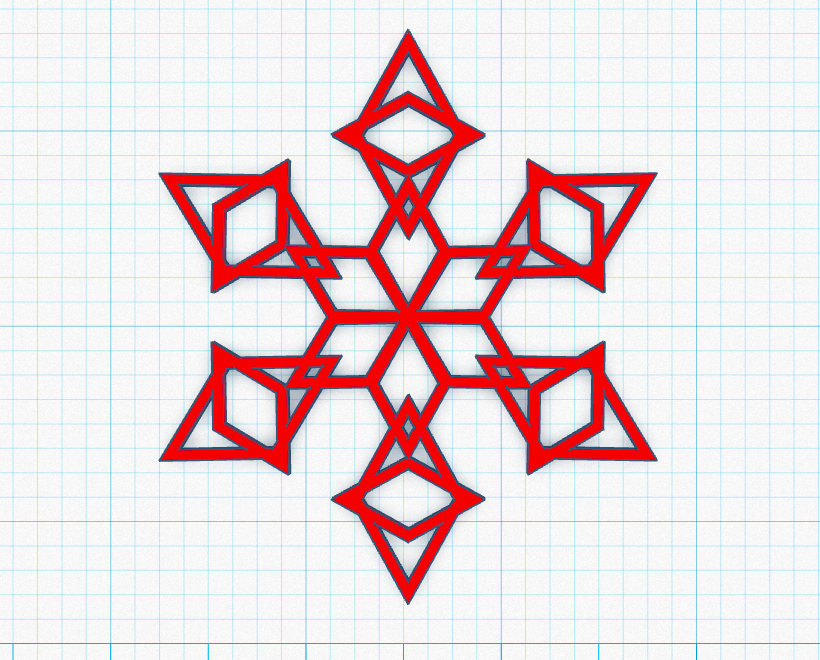
Now all you have to do is take your top and bottom shape, copy it and rotate it 60 degrees. Take this rotated shape and copy it and rotate it another 60 degrees.
Take all three of these shapes and align them top and bottom / left and right.
Group it and you have a snowflake!
Hanging
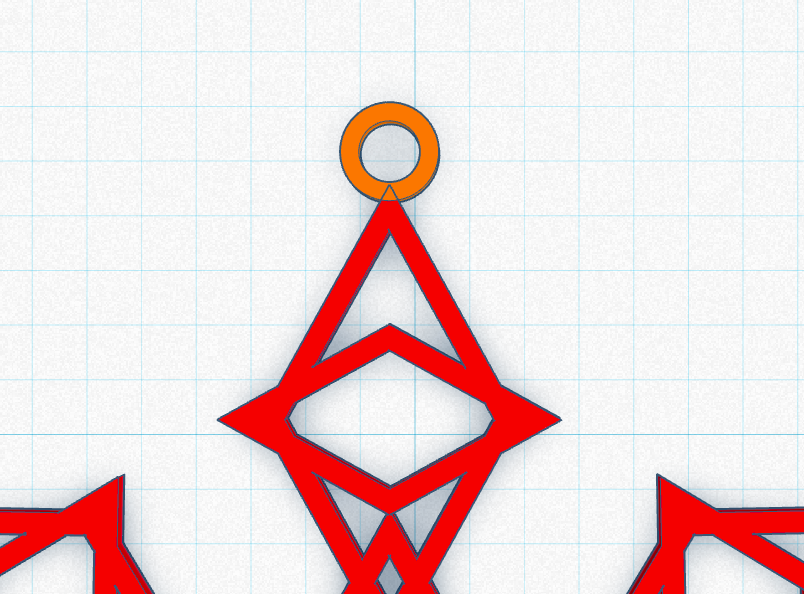
If you are going to hang it, add a loop.
3D Snowflake
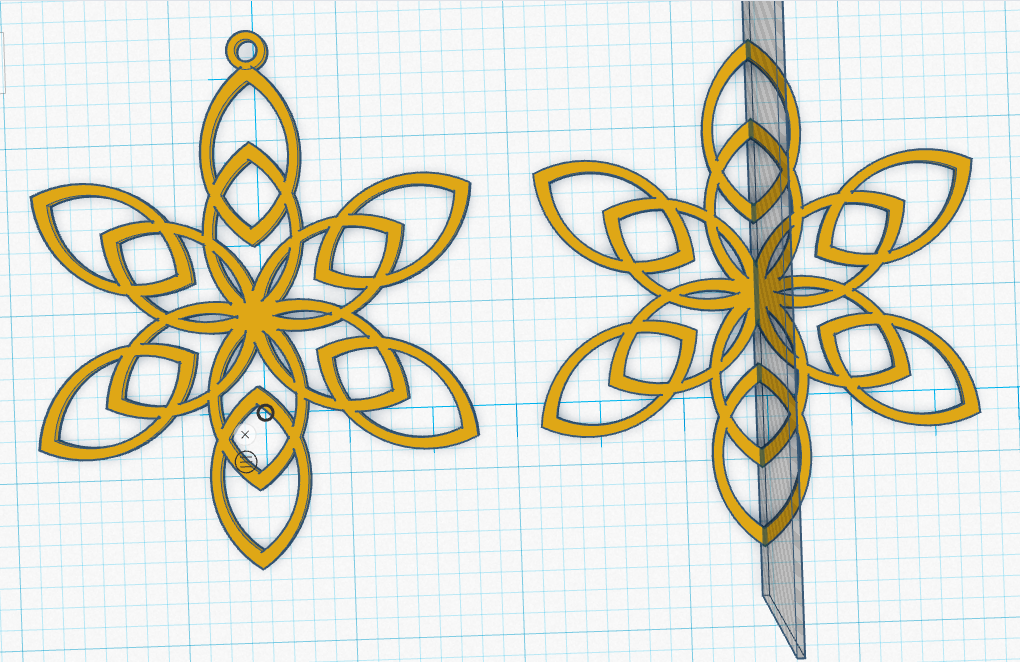
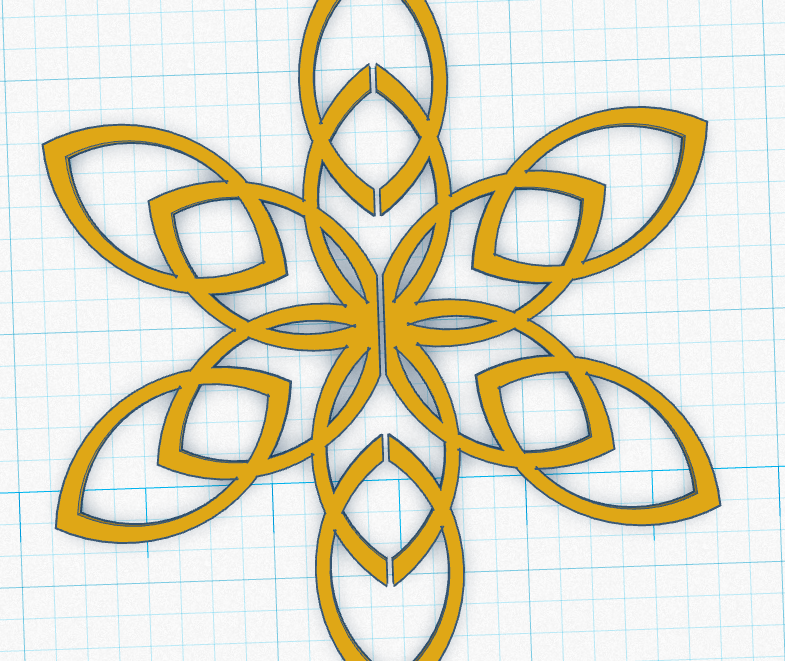
If you want the snowflake to be more 3D, an easy way to do this is copy and paste your snowflake design (minus any loop).
Now using a long thin rectangle, cut out the exact center of the snowflake. Mine was only 0.76mm. You don't need to cut out a lot.
Just print out the full snowflake with the loop, and the snowflake that has been cut down the middle.
Slice and Print
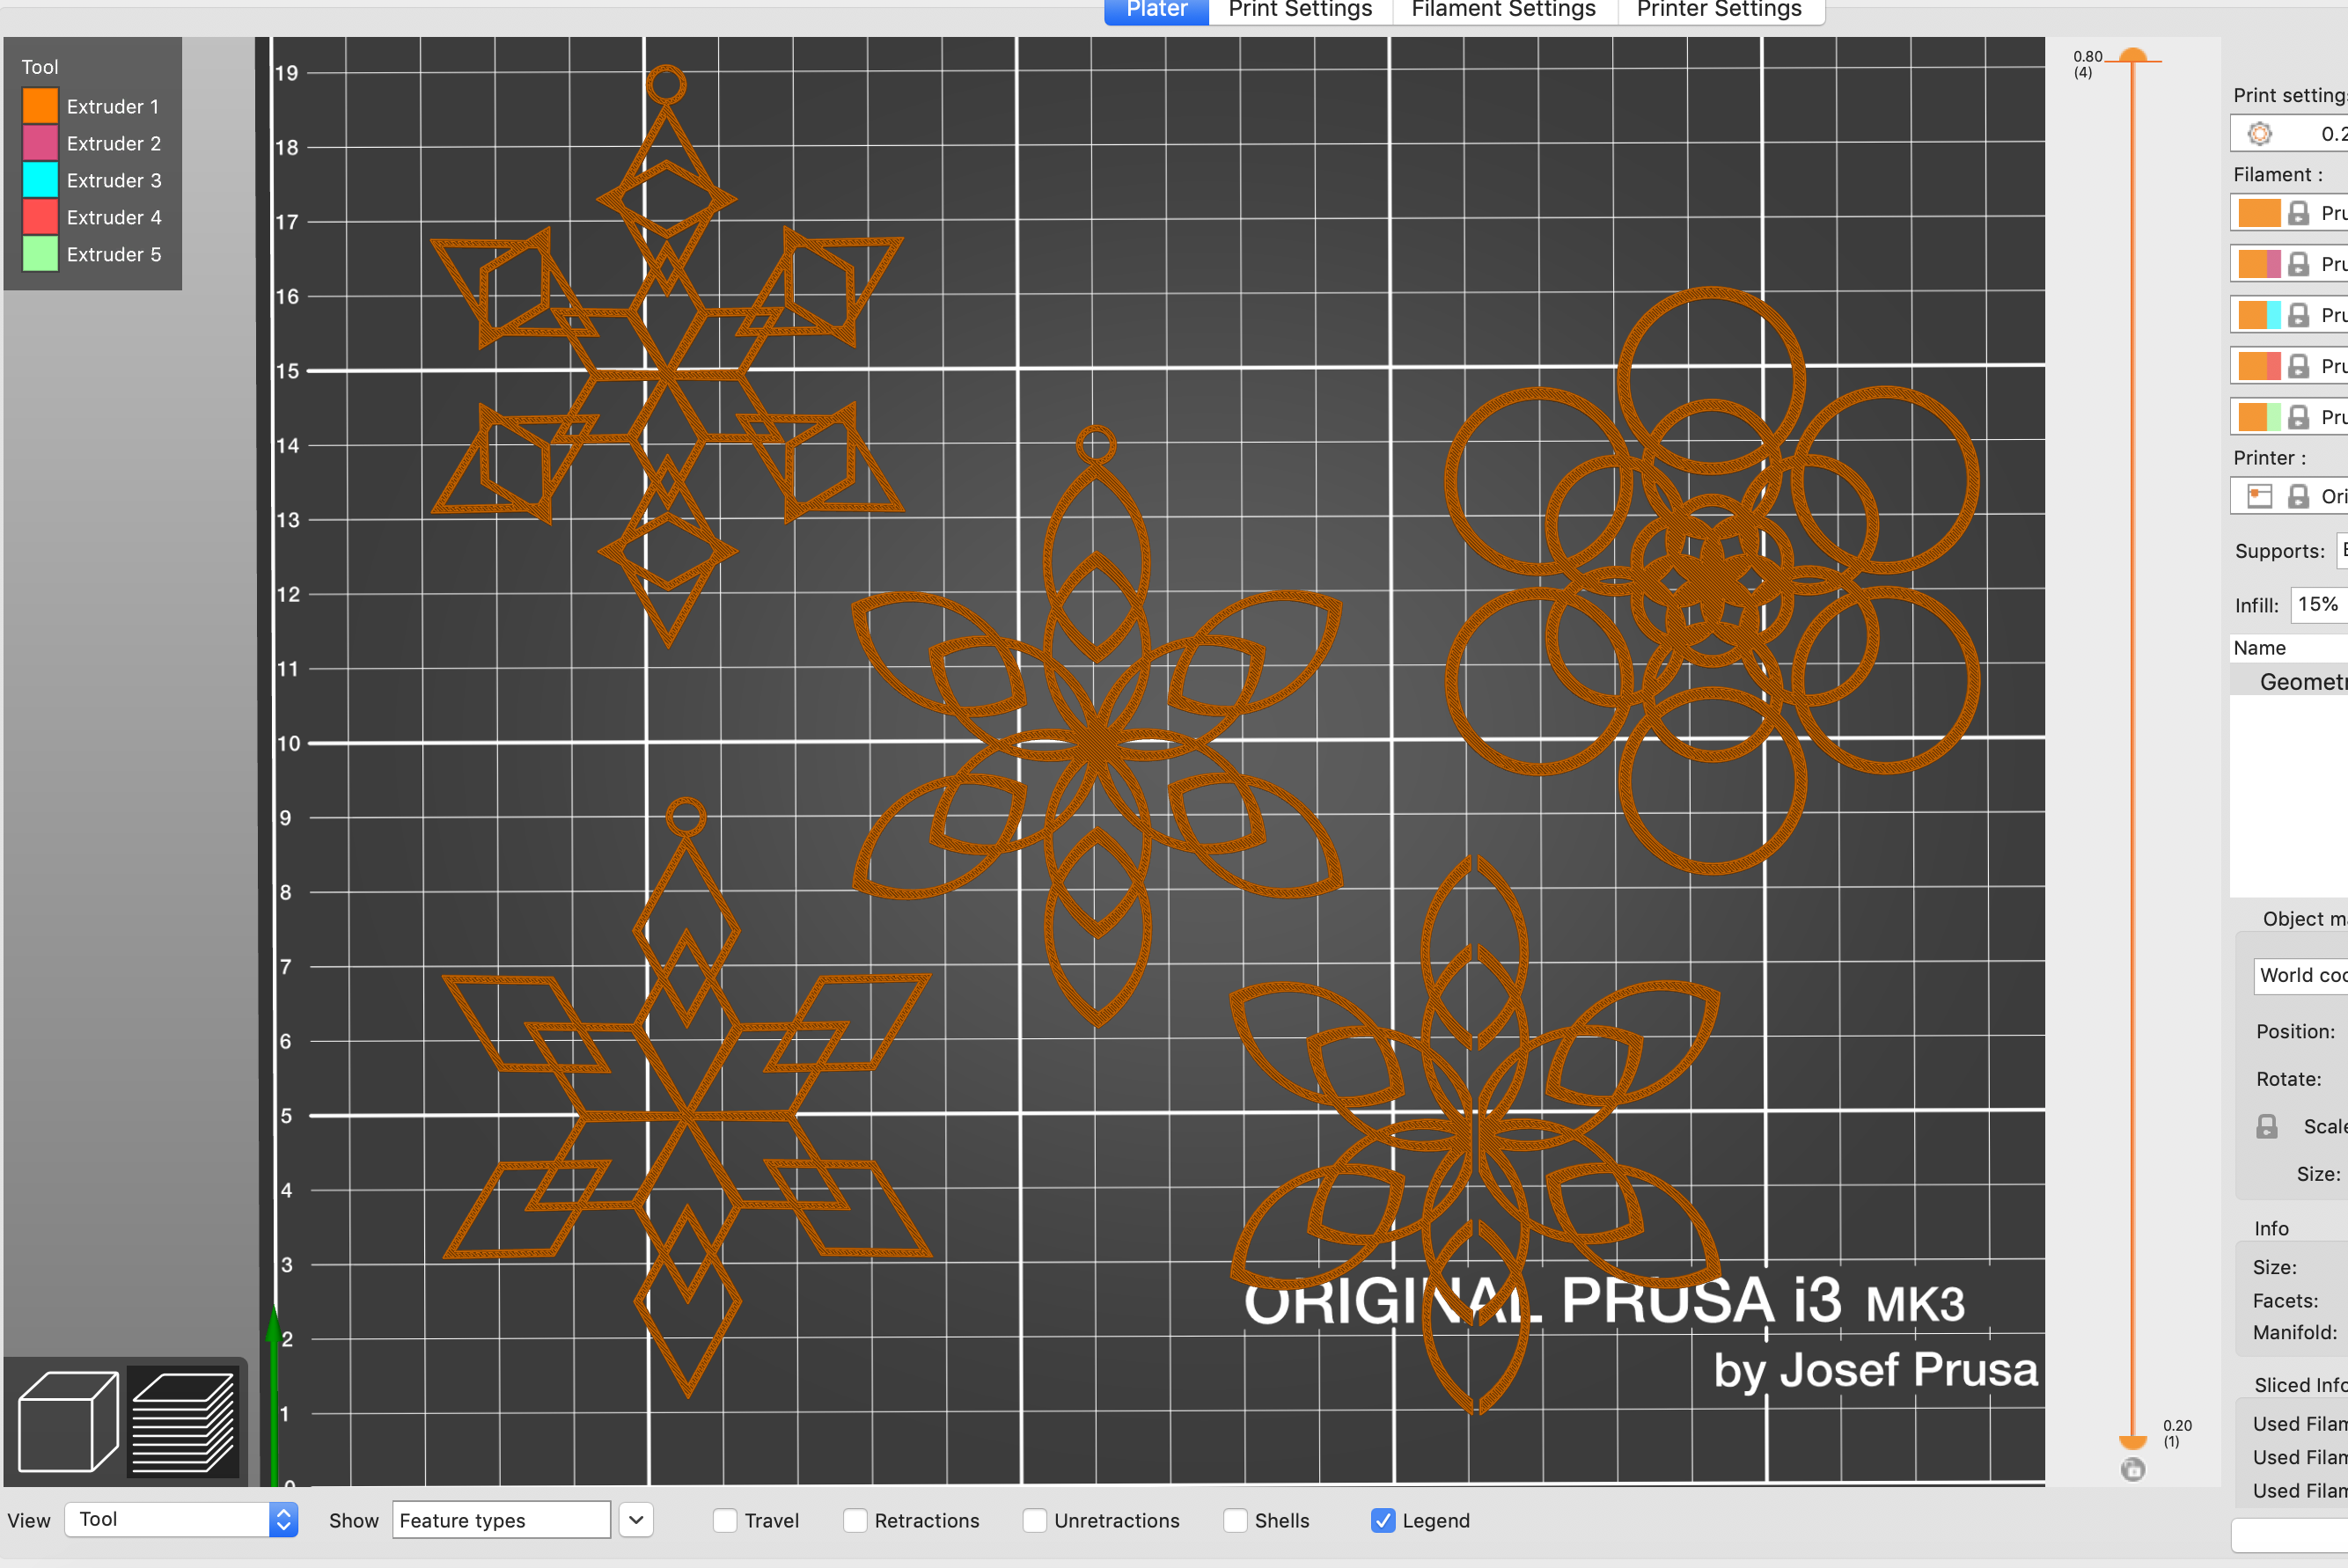
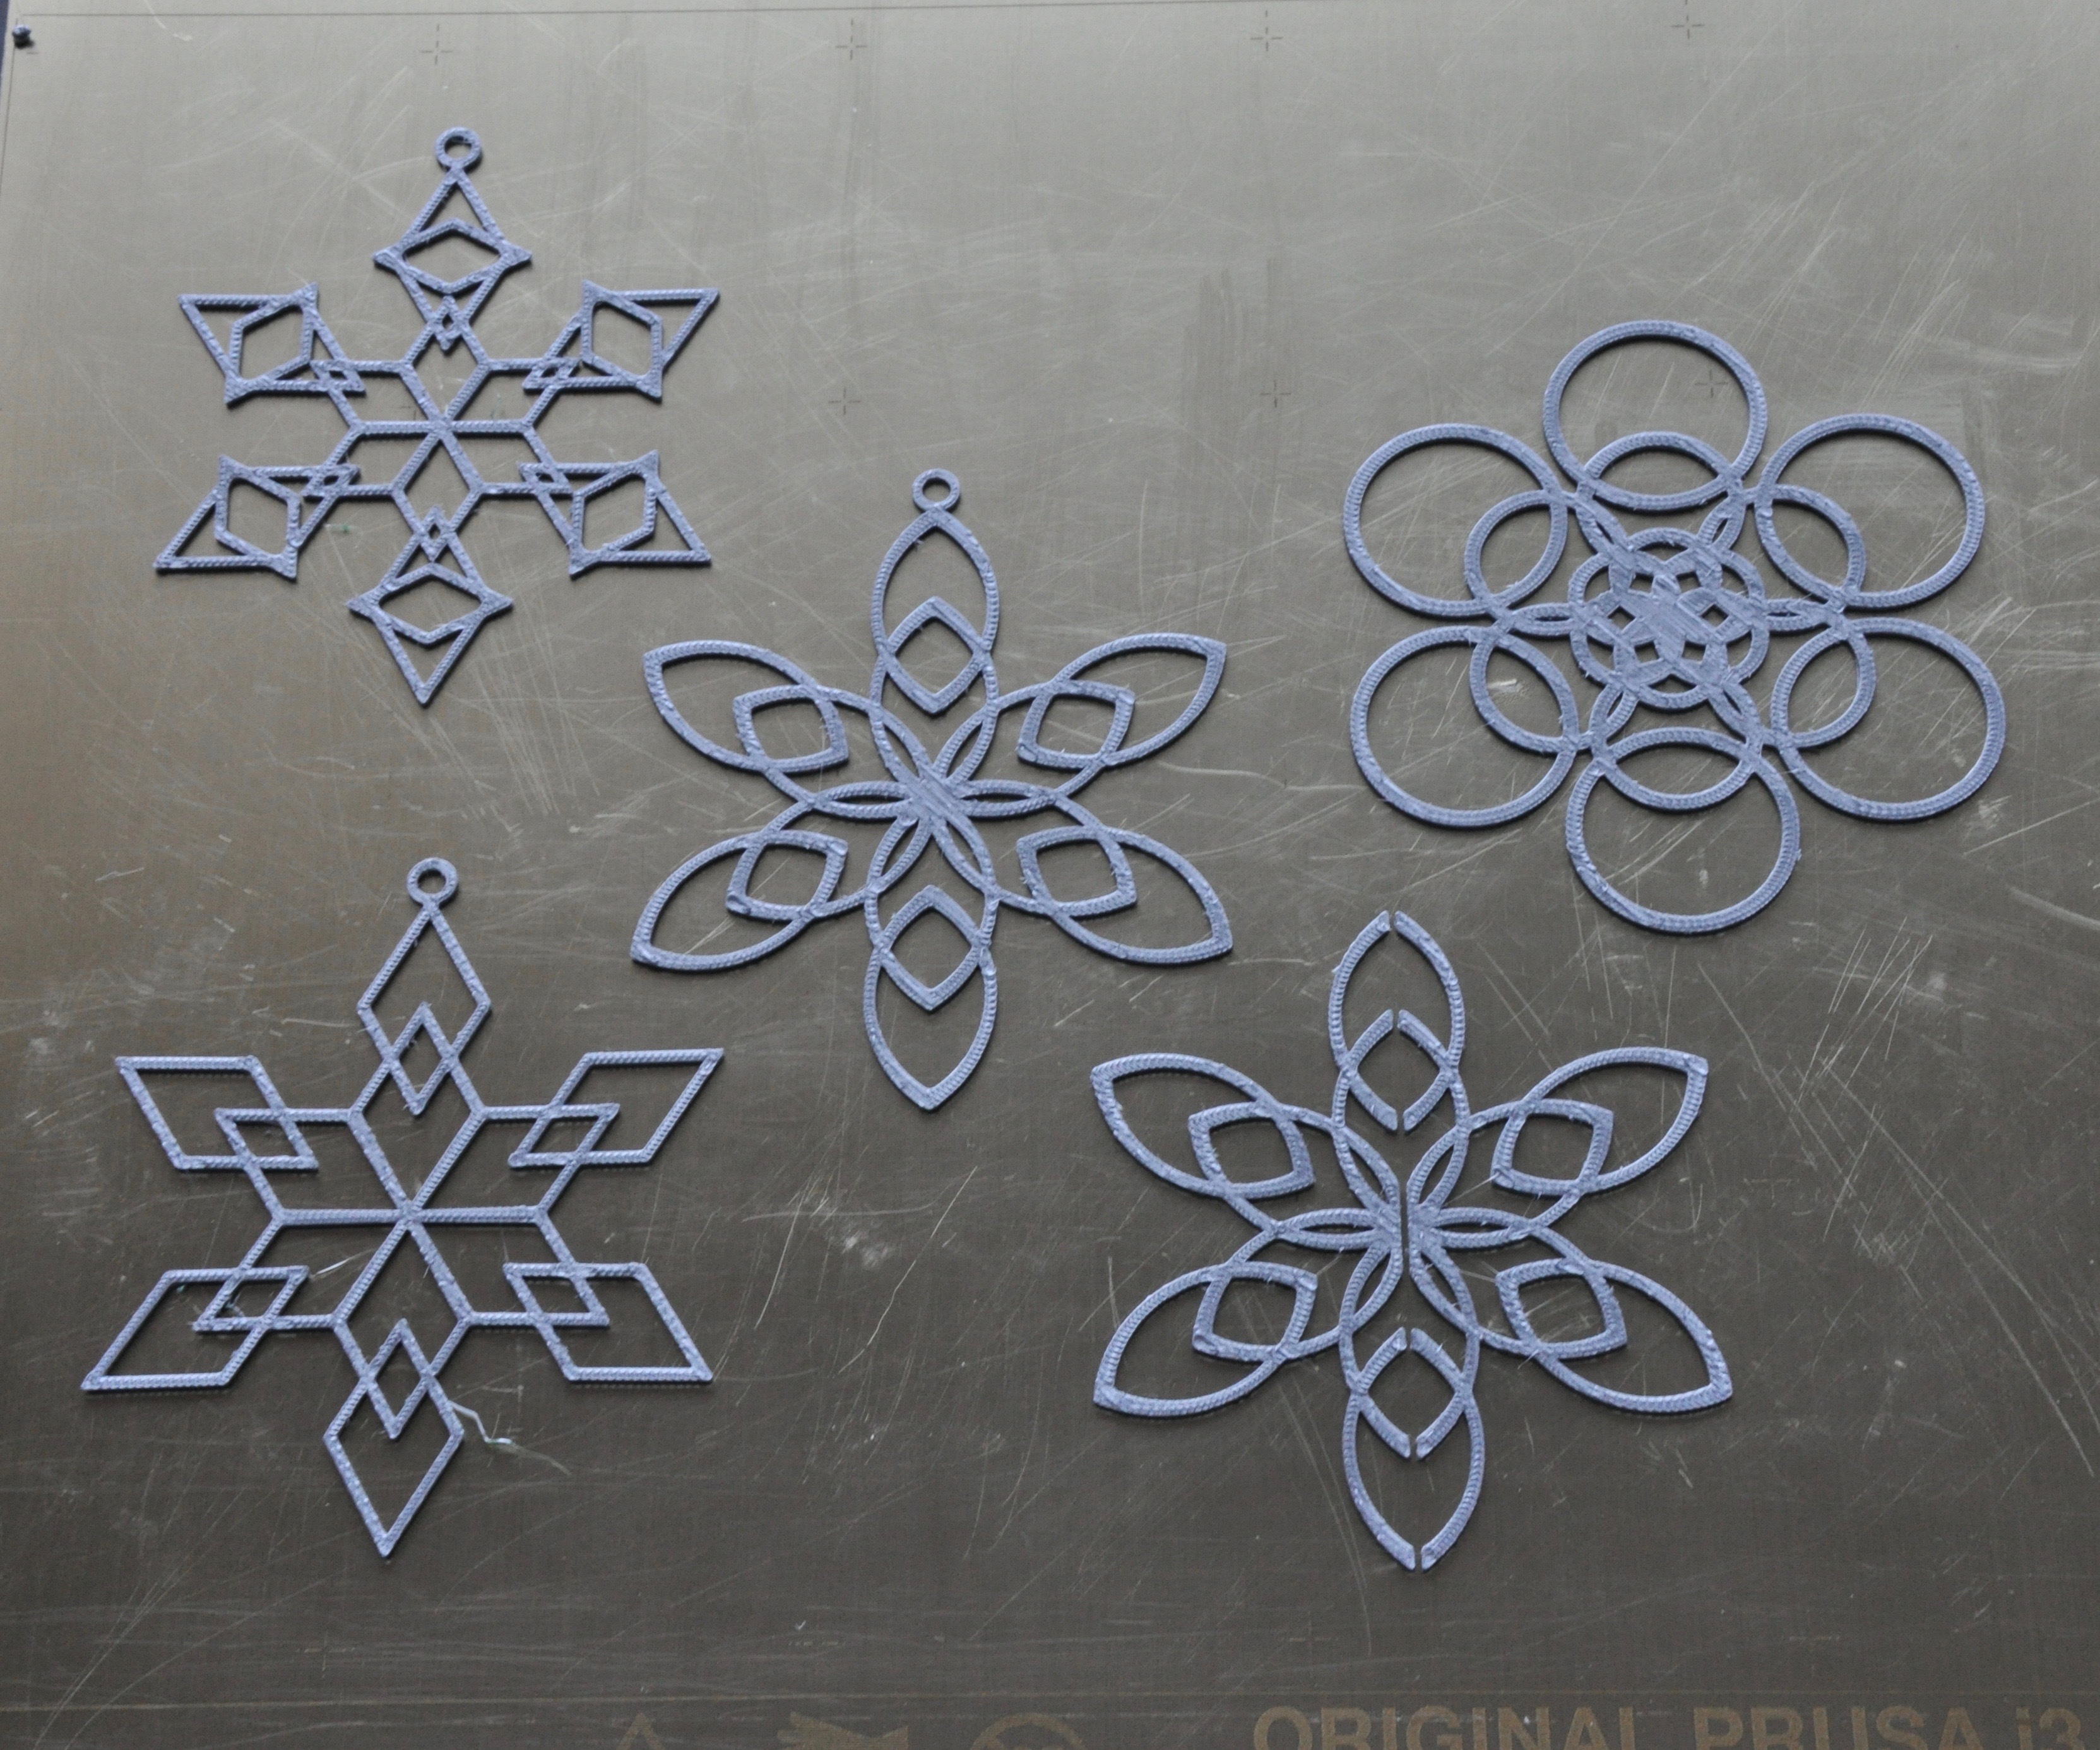
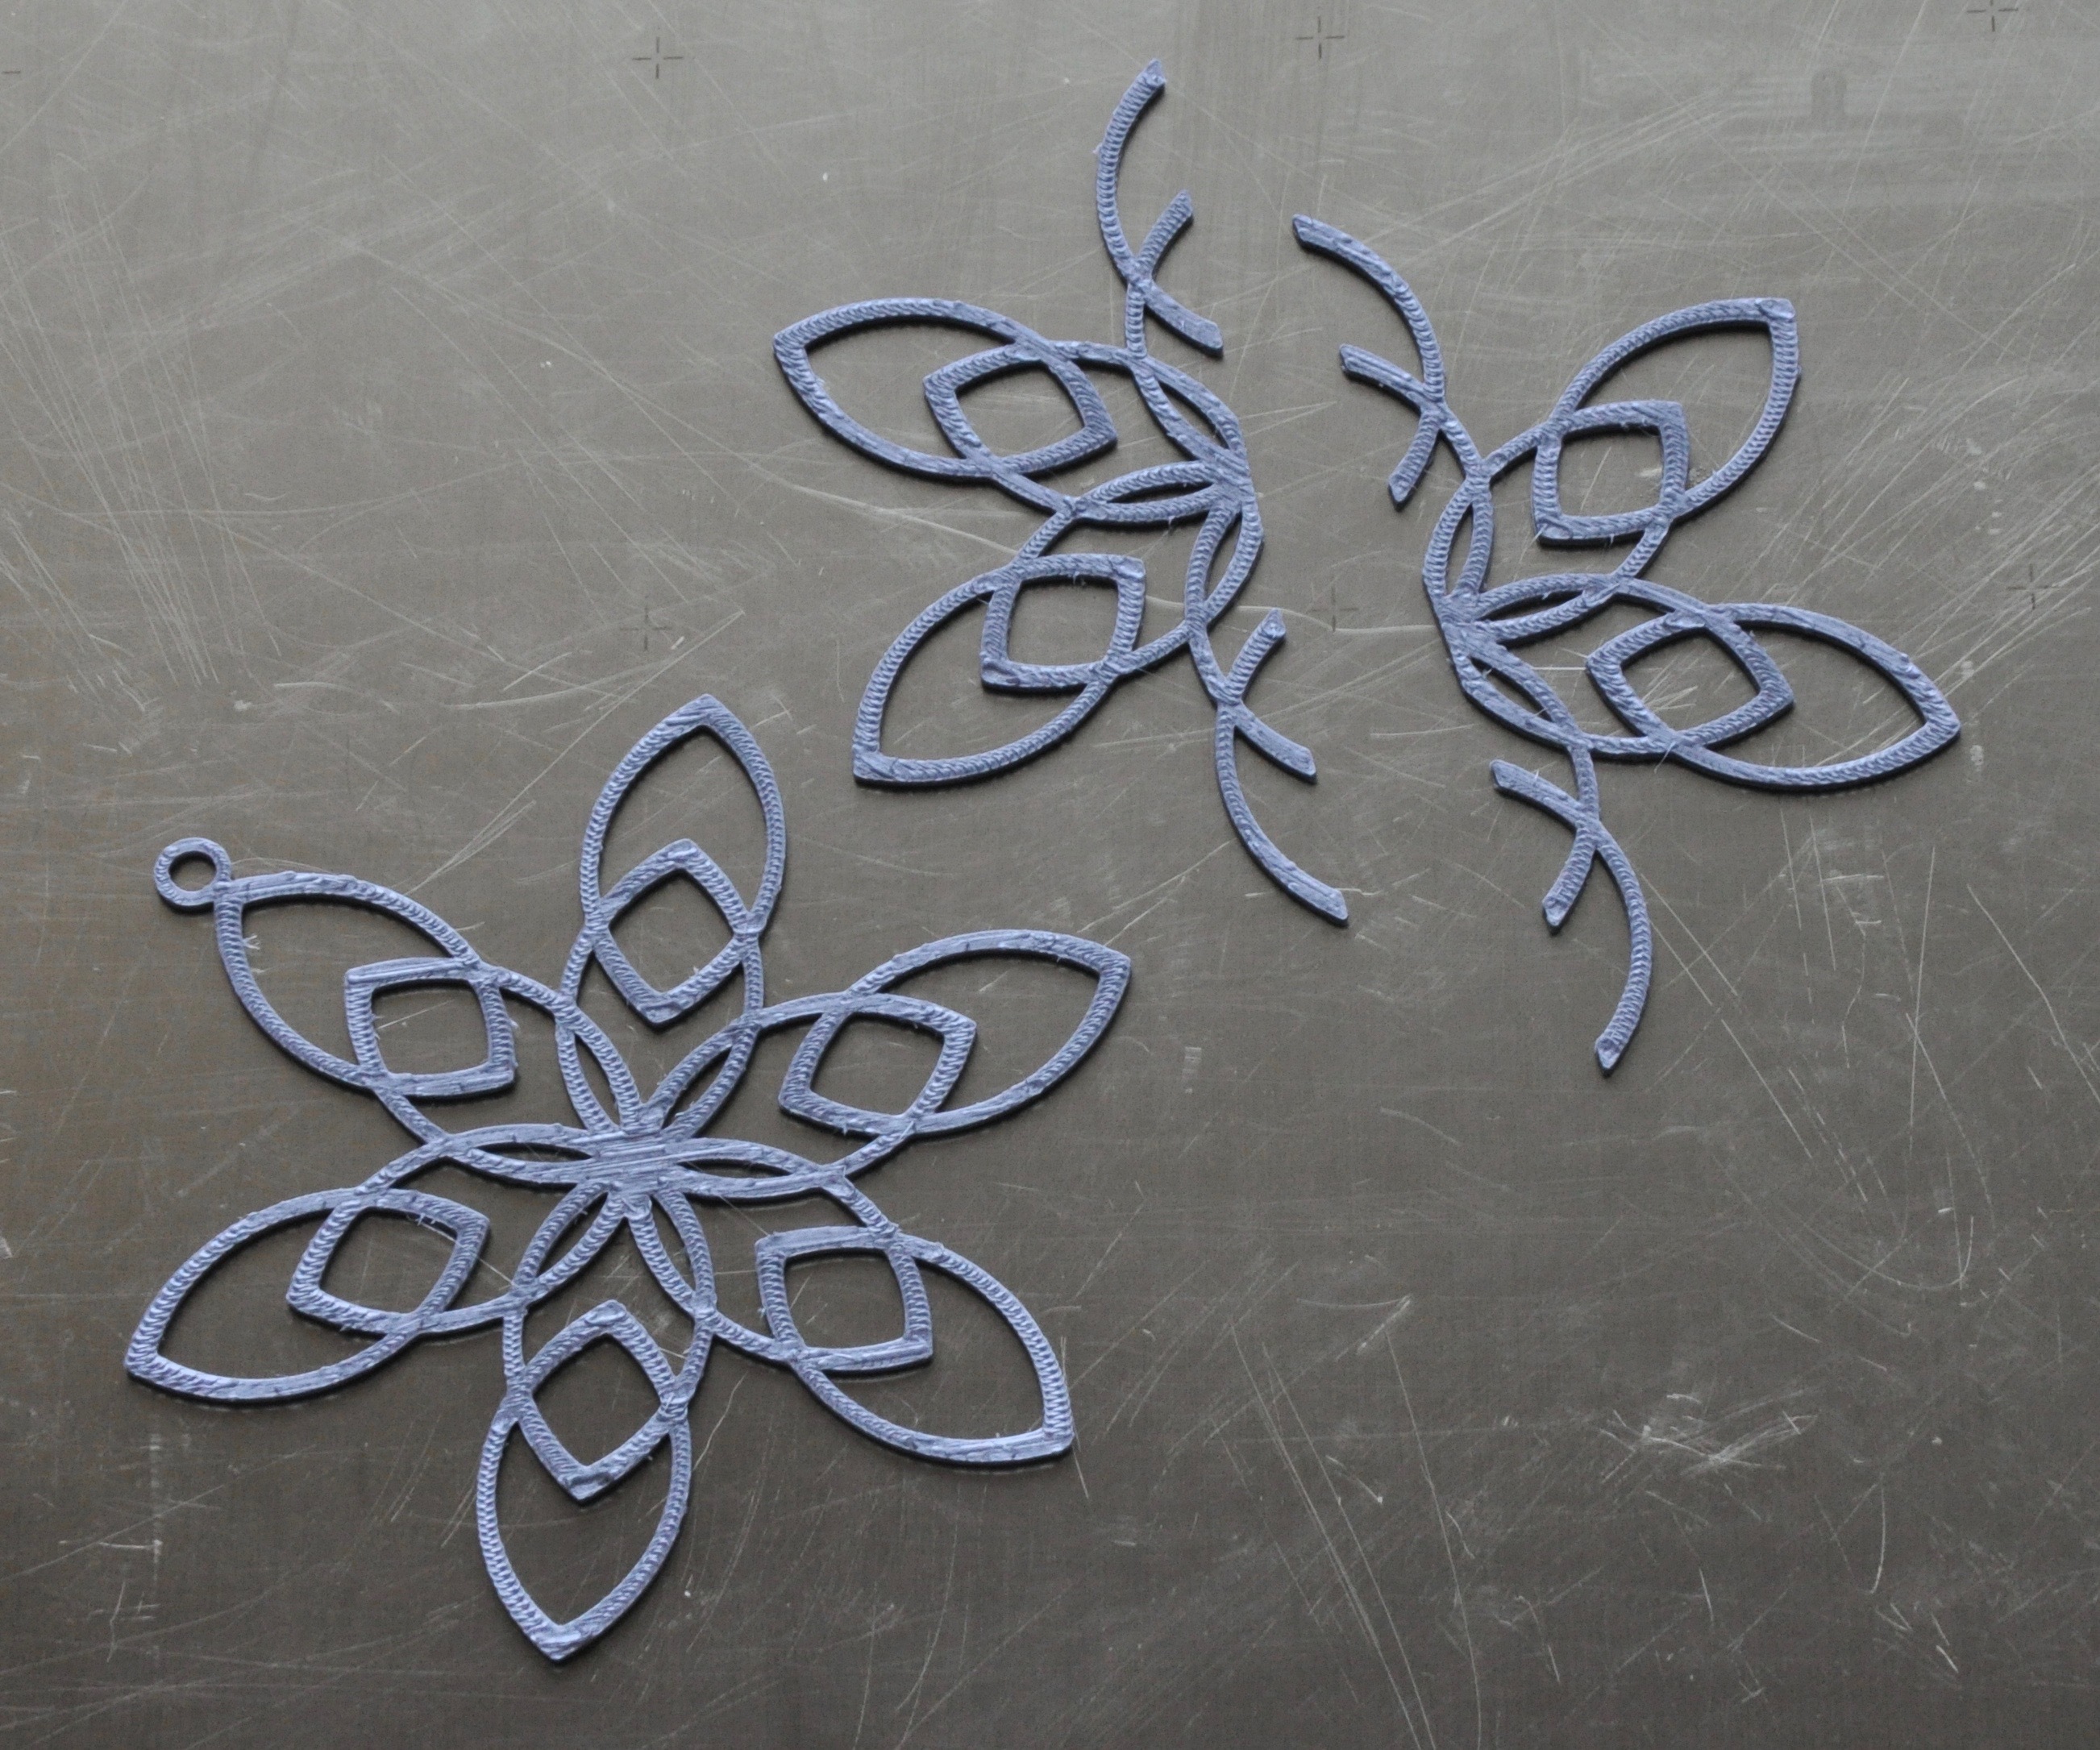
My designs were only .8mm thick which comes out to 4 layers when printed at .2mm a layer.
You can increase the thickness to as much as you want.
Glueing (for 3D)
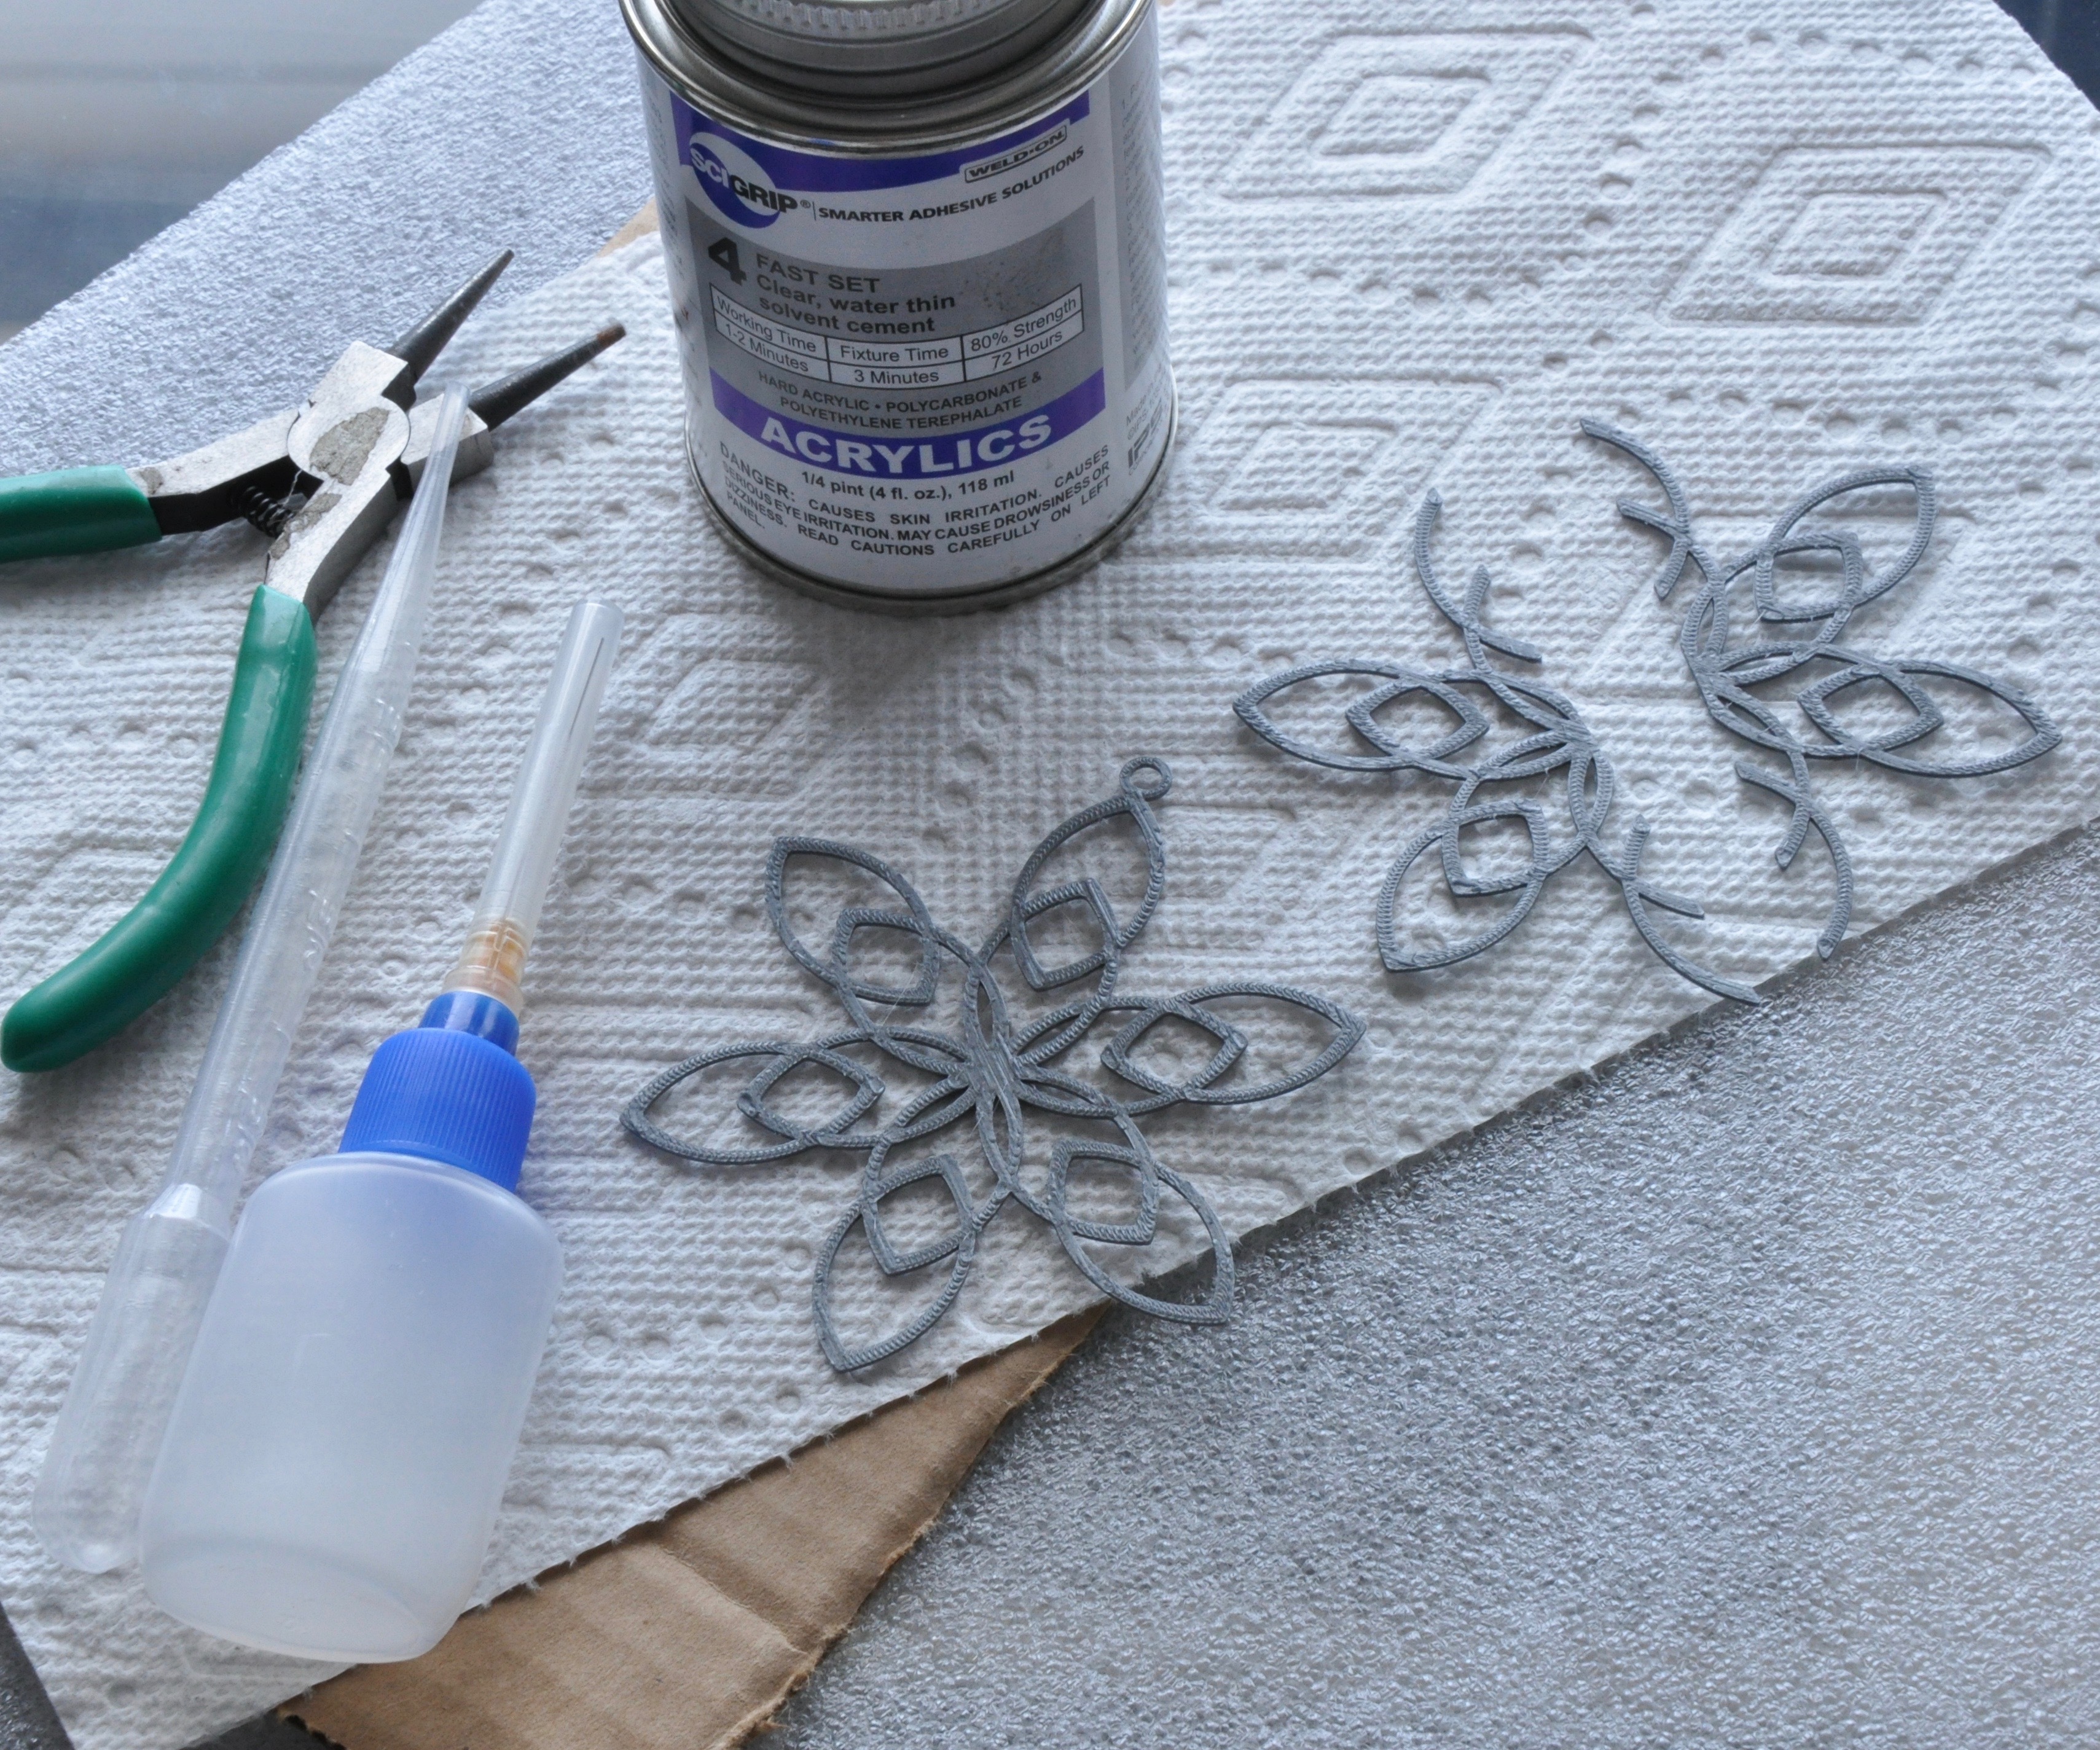
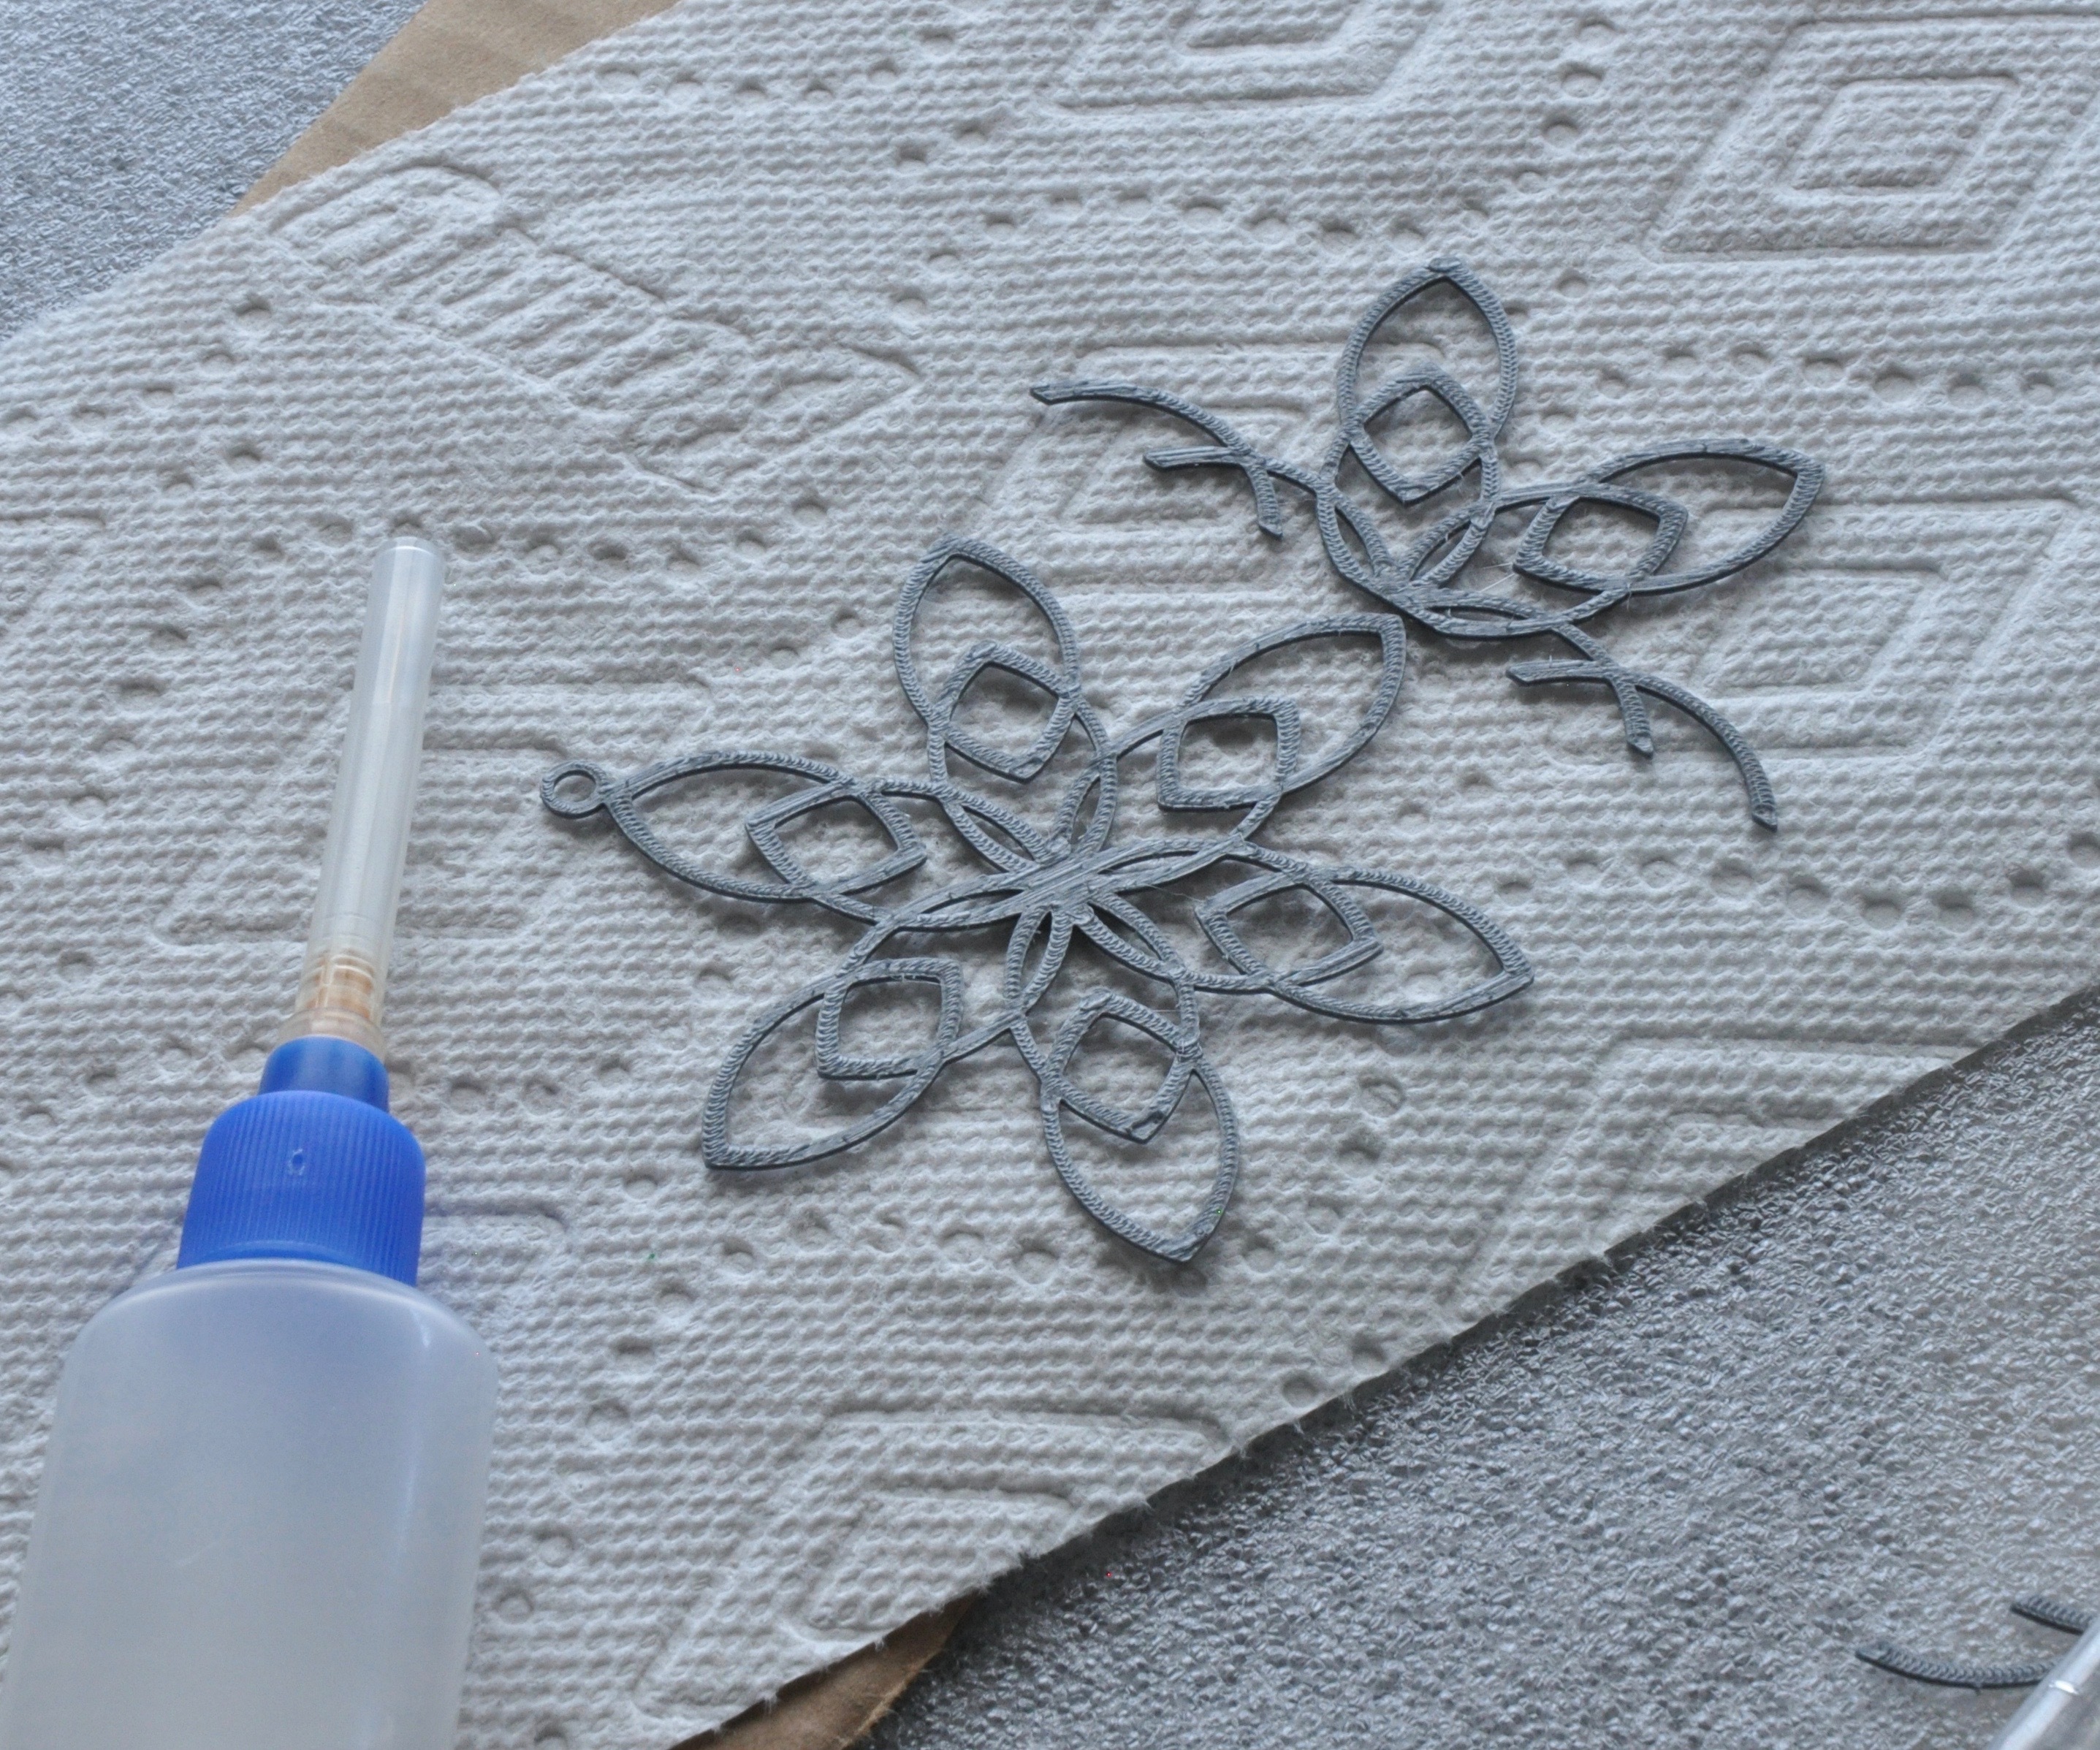
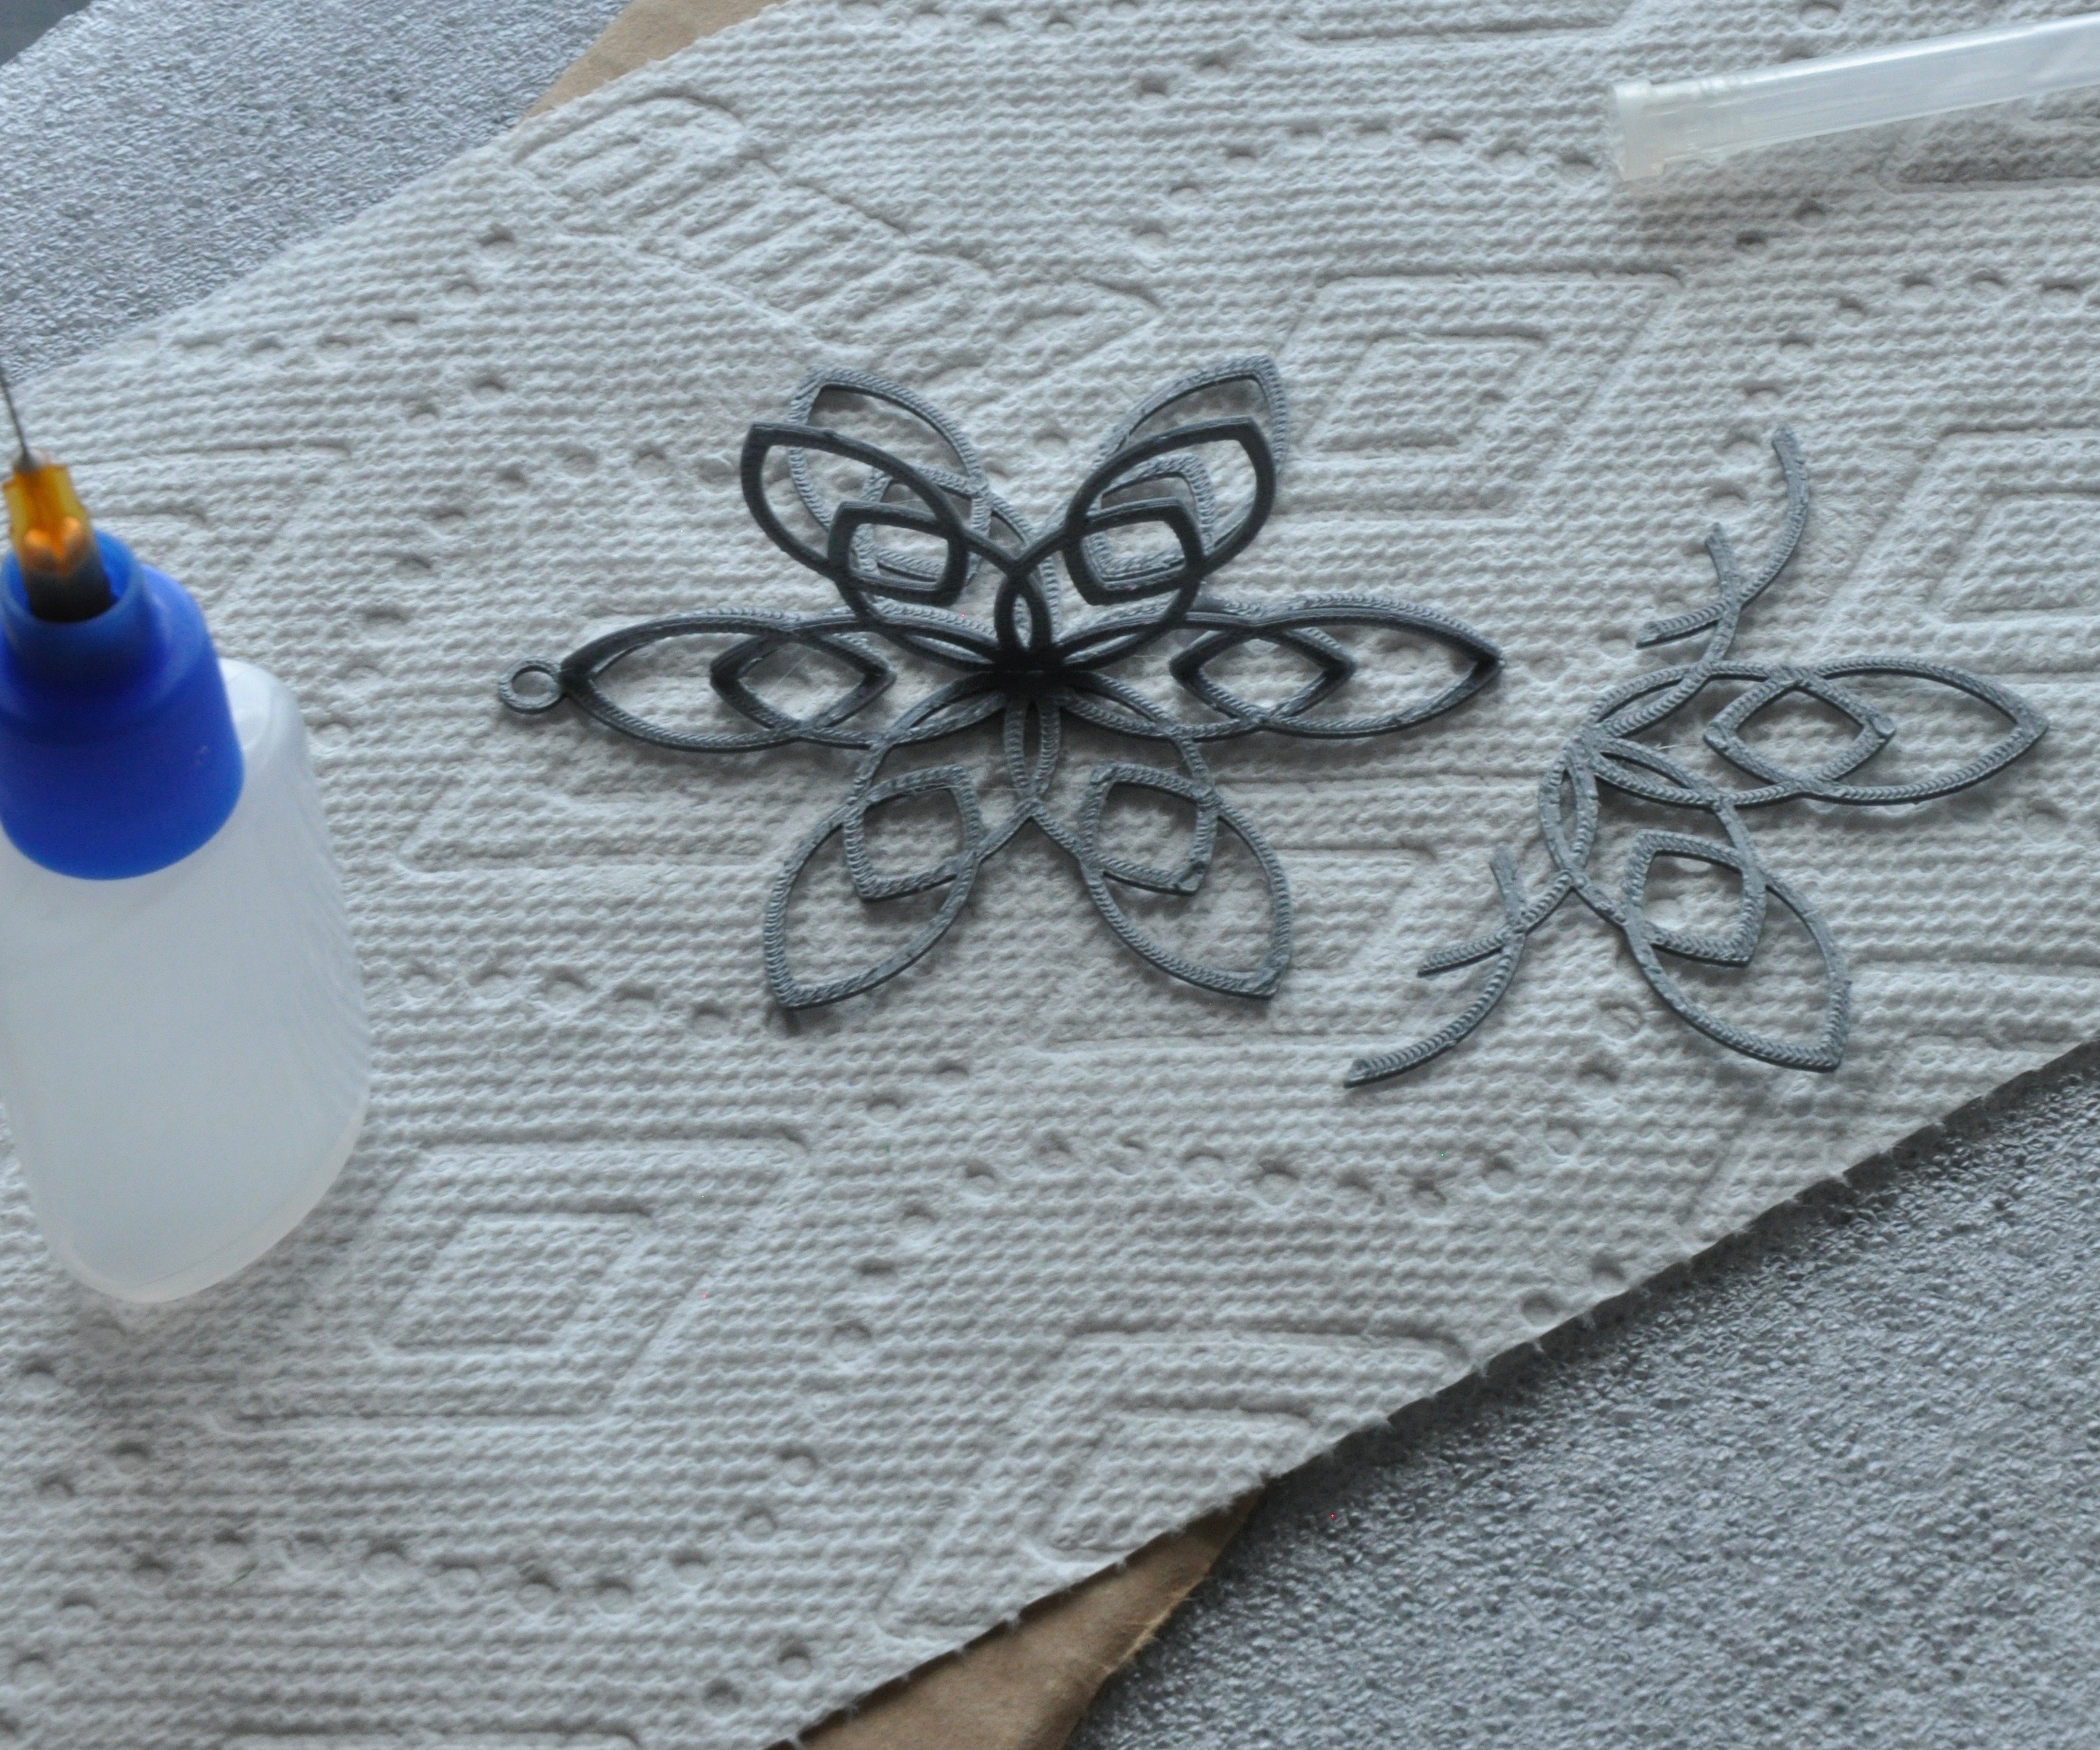
If you make a 3D snowflake, it's time to glue it together.
Using your applicator, carefully glue down the center of the looped full snowflake. Apply one of the sides and holding it in place, giving it a little time to dry.
Once it is sturdy enough, apply glue to the other side and add the other snowflake side.
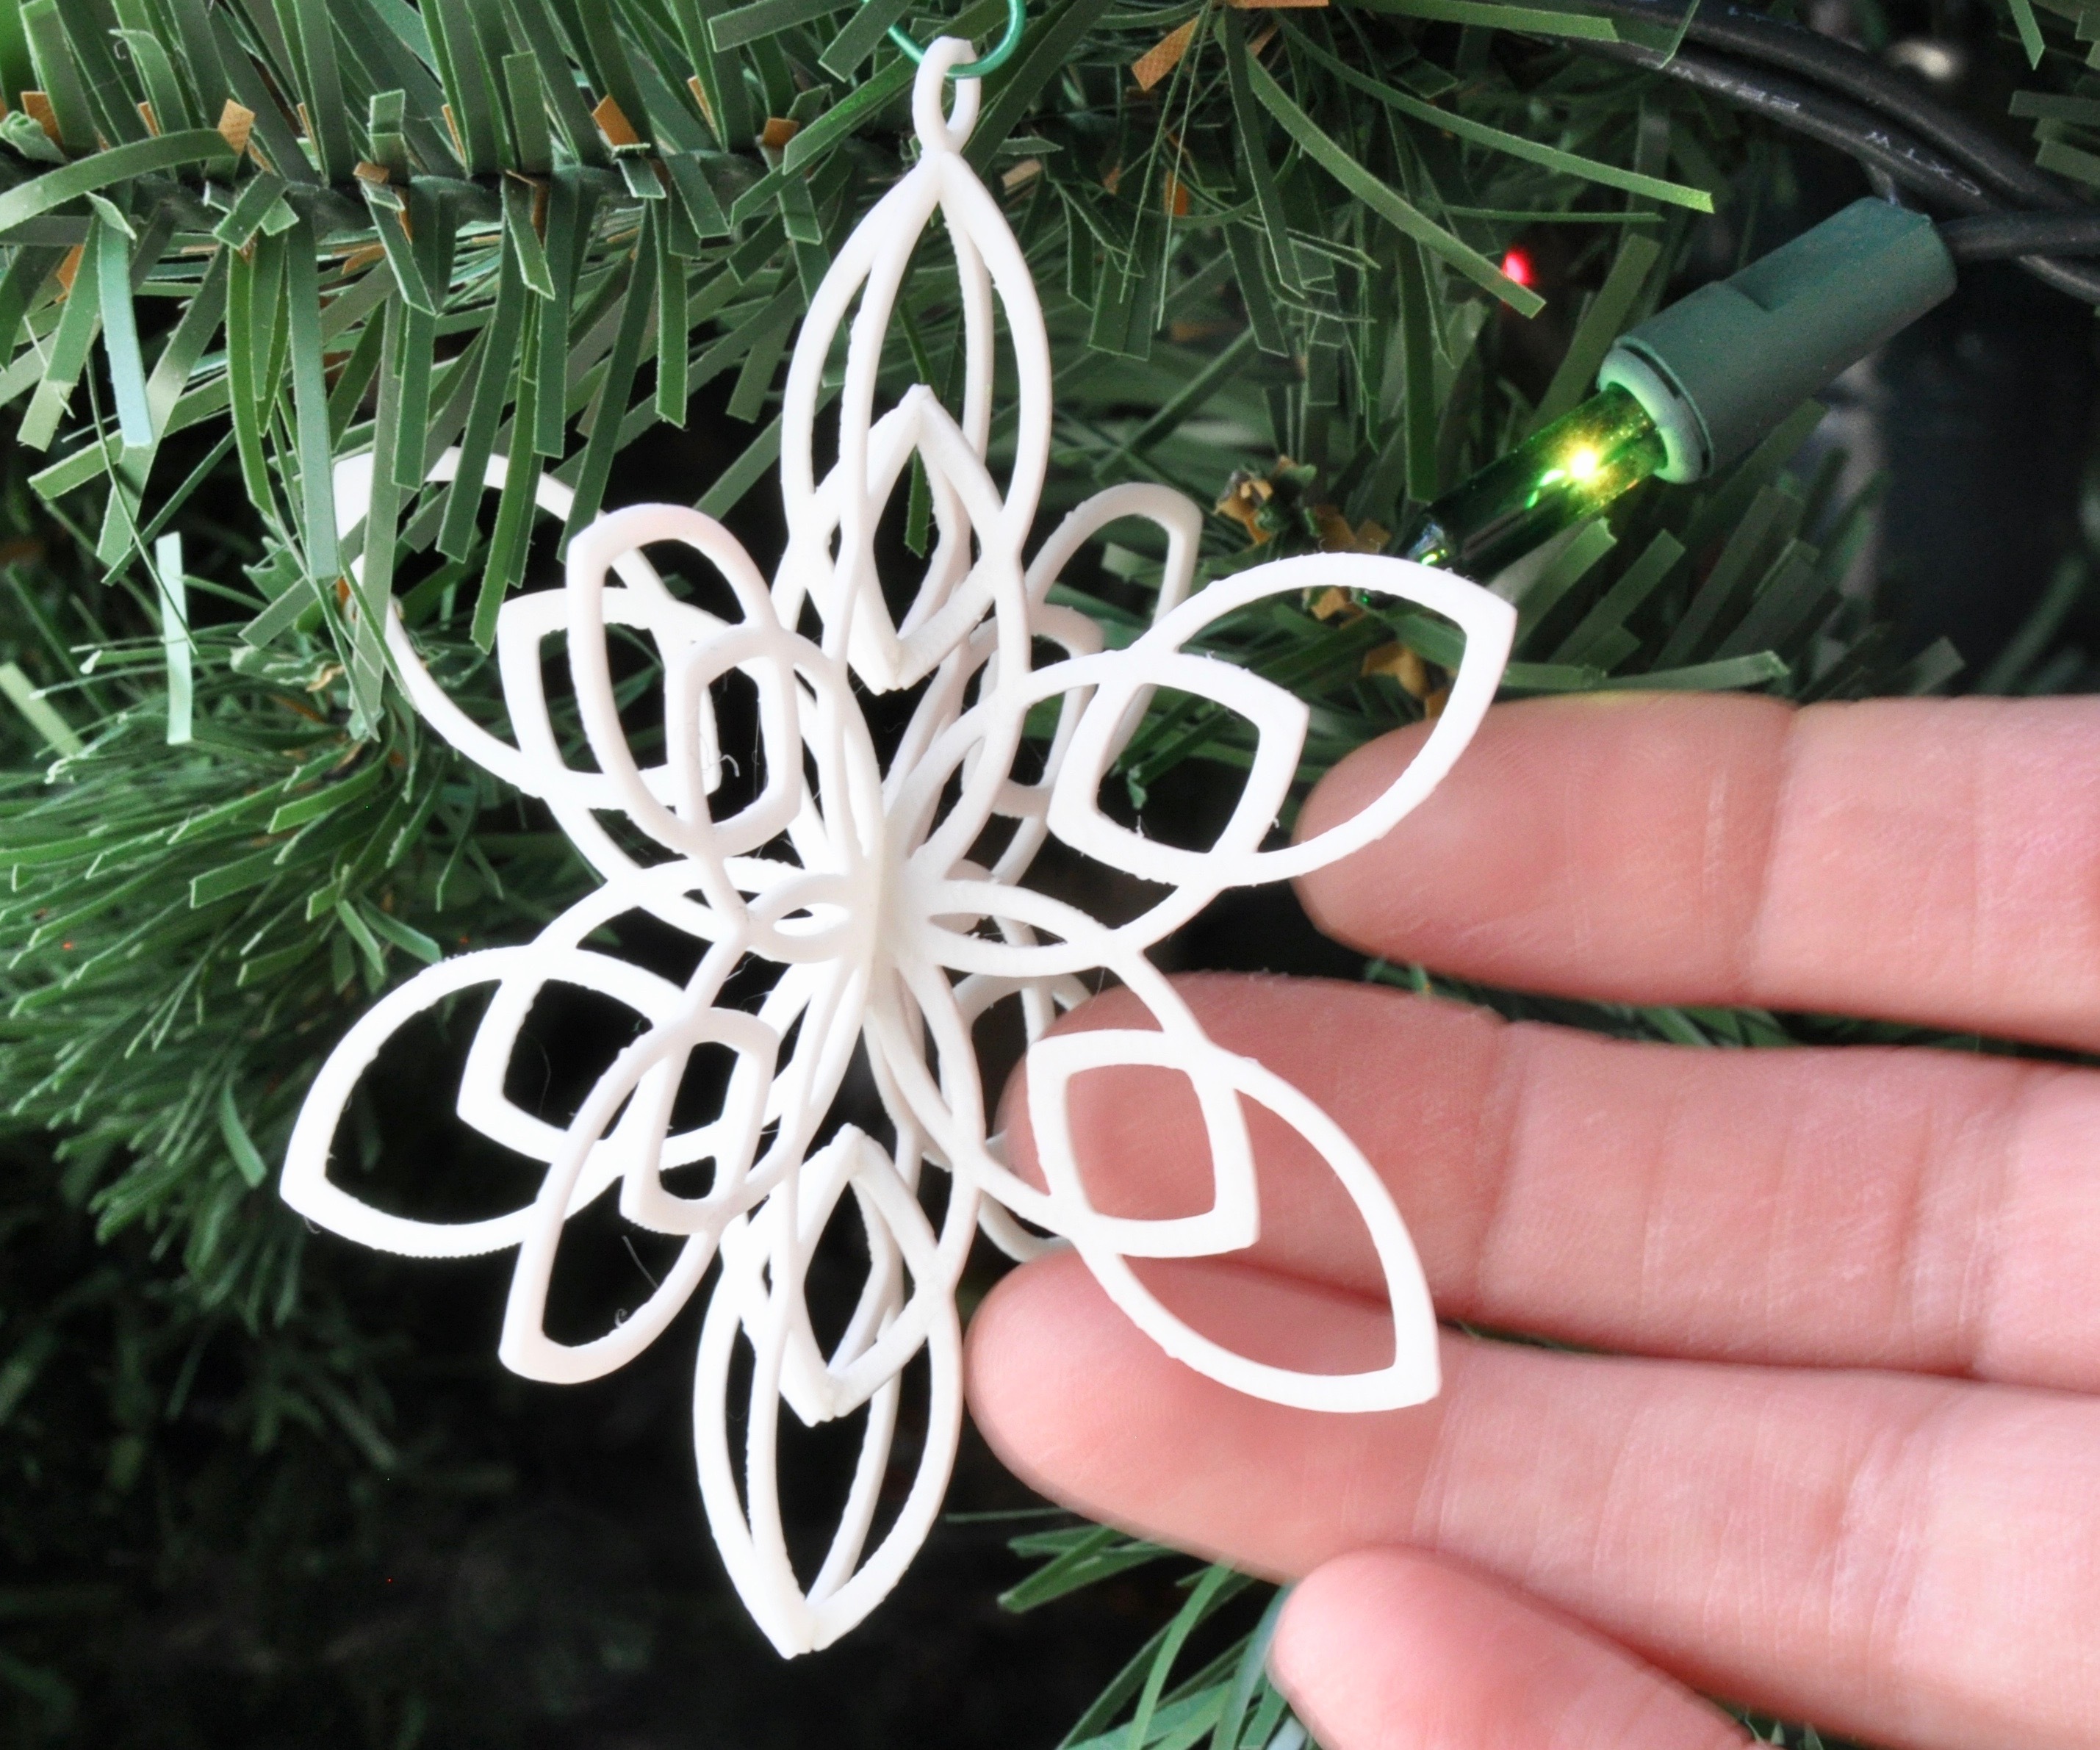
Give the whole thing time to dry and then hang it up.
Add a hook or string to your snowflakes and hang them up.