How to Make a 3D Printable Chess Set With Autodesk Tinkercad
by VCreations in Teachers > 12
1886 Views, 5 Favorites, 0 Comments
How to Make a 3D Printable Chess Set With Autodesk Tinkercad
Did you know, amazingly, there are even more possible variations of chess games than there are atoms in the whole universe !!! Chess offers several advantages for students as it requires your brains critical thinking, problem solving's and all calculations. There are numerous benefits of chess which include: Improves concentration and memory ,Enhances reading and math skills and most importantly being creative.
In today's Instructables we will be learning all about Autodesk tinkercad and we'll be making our own 3D printable chess set with Tinkercad.
Now you might think why should we make 3D printable chess set as there are many websites online for playing chess like Chess.com, Lichess, Chess24 etc.
Well with my personal experience its more fun to play chess with your friends rather than playing chess with someone you might don't know also when you have your own 3D printed chess set you can show off your 3D printing skills.
Supplies
- Autodesk Tinkercad
- 3D printer with filament
Starting Off With the Interface

- Before starting off you might want to know some basic functions of Tinkercad as they will help you to make your own designs using Tinkercad.
- First you need to have an account for Tinkercad its pretty easy just sign up with your Gmail address and you are done.
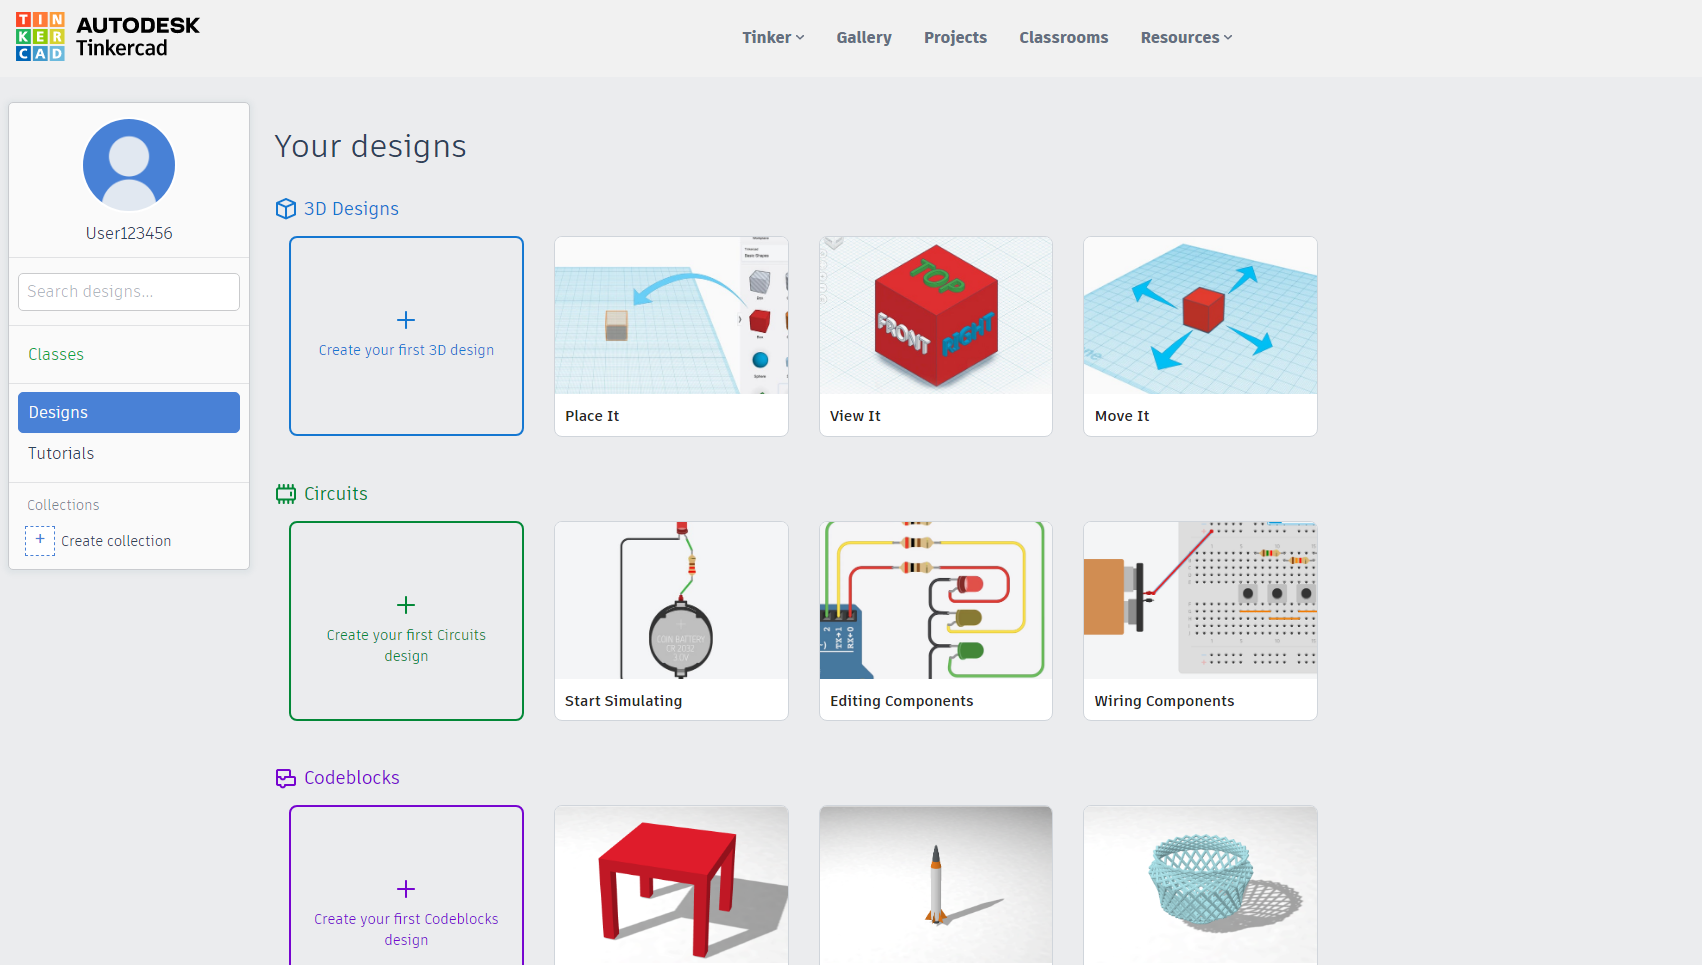
- Once done you will enter into the main dashboard of Tinkercad where you can see your 3D designs, circuits and code blocks.
- The Tinkercad dashboard may be seen in the image above.
Know Your Functions Part: 1
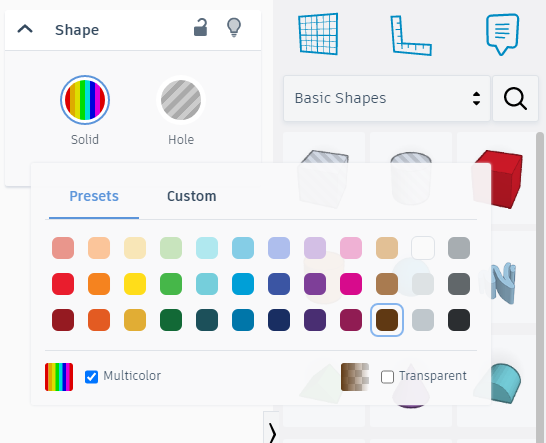
- With the help of above tools you can fill colors in your design or you can make your designs transparent moreover you can give multicolors to your designs with the option mentioned.
Know Your Functions Part:2

- The first tool is toggle note tool which helps you to create notes that can be collapsed or revealed individually as this is not so important tool you don't have to worry about this.
- You don't have to worry about show all tool
- Now the third tools play a major role in combing different bodies and know as group tool To use ctrl - G
- Fourth we have Ungroup tool to break different bodies. To use ctrl+ shift +G
- Fifth we have Align tool which help you to make different alignments To use L
- Sixth is Mirror tool which help you to rotate or mirror shapes To use M
Know Your Functions Part:3
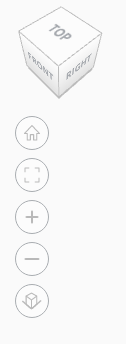

- These tools will help you to see from different planes or angles.
- For example if you wish to see your design more close then you can use option 3 from the above image.
Know Your Functions Part:5


- First is copy tool, as the name suggest it will help you to make copies of your designs.
- Second is paste tool again this will help you to paste designs.
- Third is Duplicate and repeat tool it will help you to make duplicates of your design.
- Fourth is delete tool if you wish to undo something you can use this tool to delete that shape or object.
- Fifth we have undo, this tool can bring your shapes back.
- Sixth is redo tool this tool will redo the work which you have erased it.
Know Your Functions Part:6
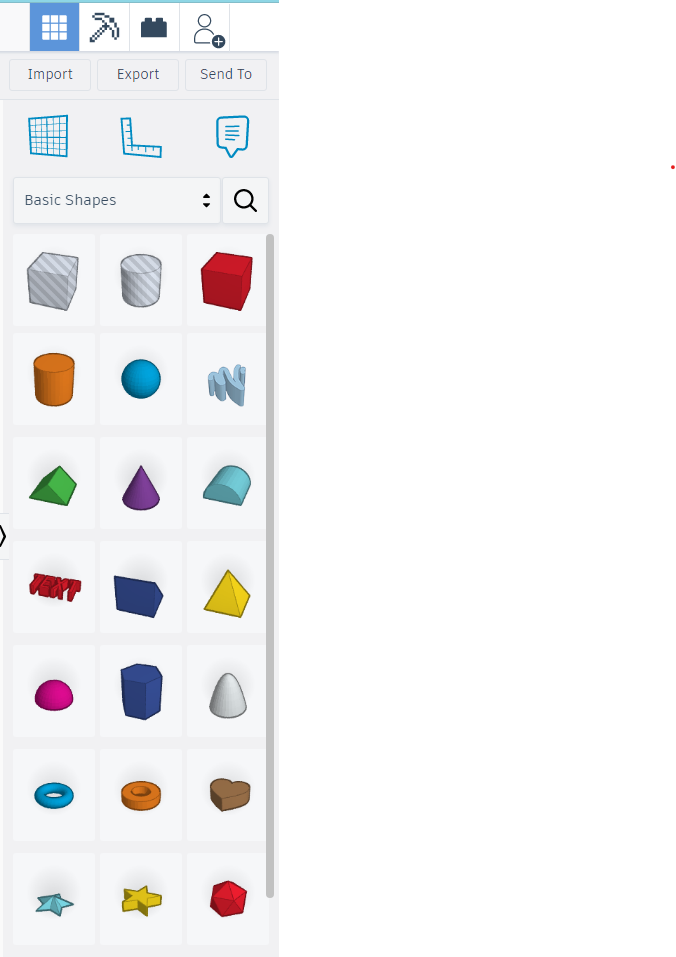
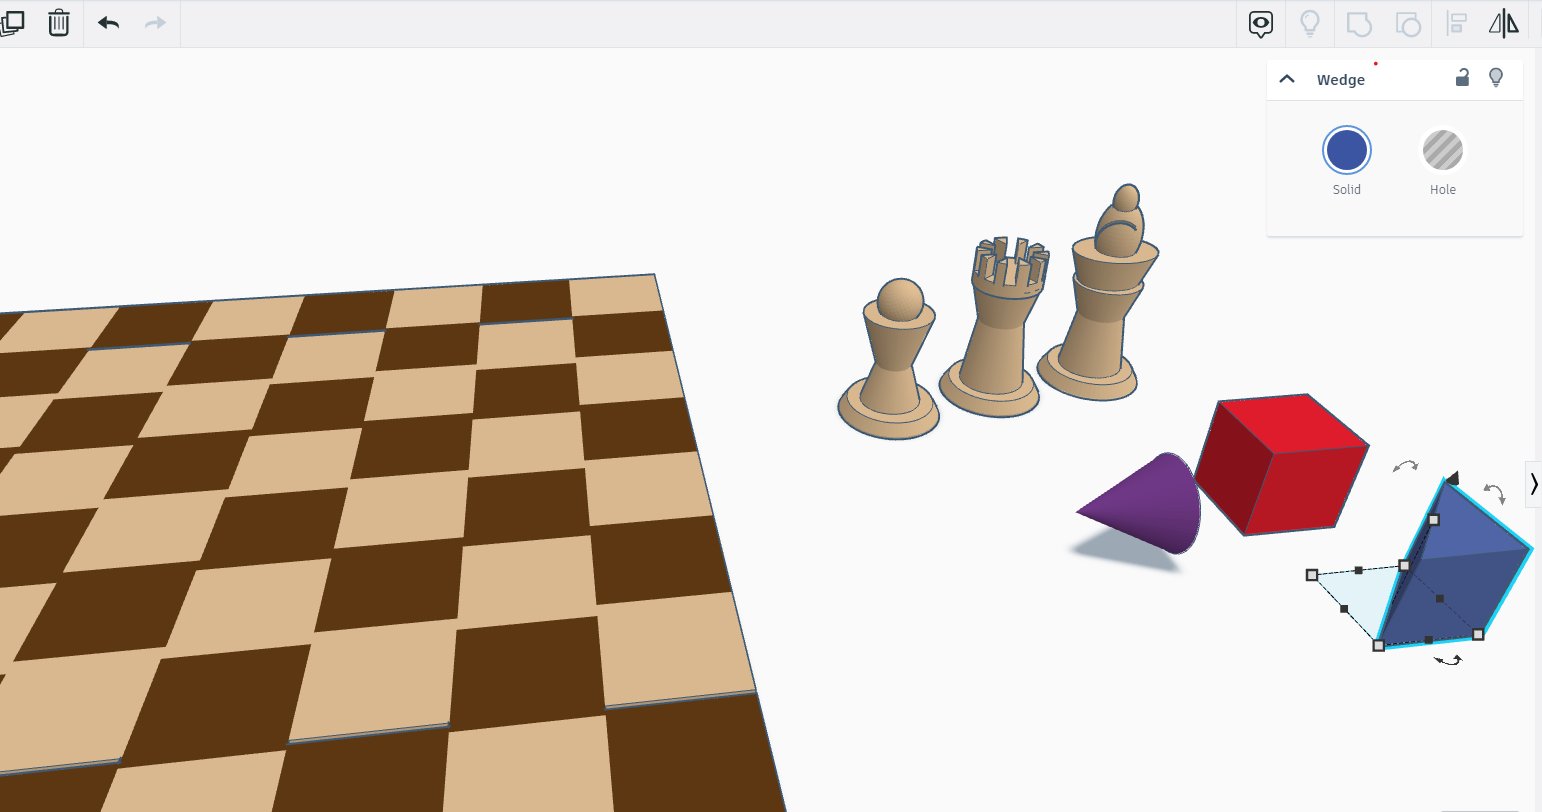
- This is the main pre built shape library from tinkercad which you can use to create designs.
Know Your Functions Part:7
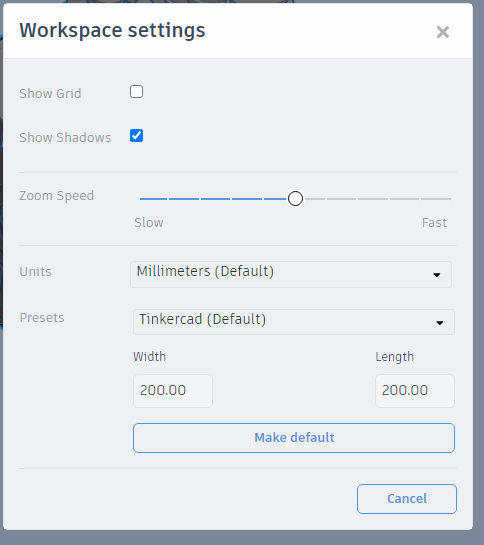
- You can also change your Work plane settings as shown above in the image.
Know Your Functions Part:8
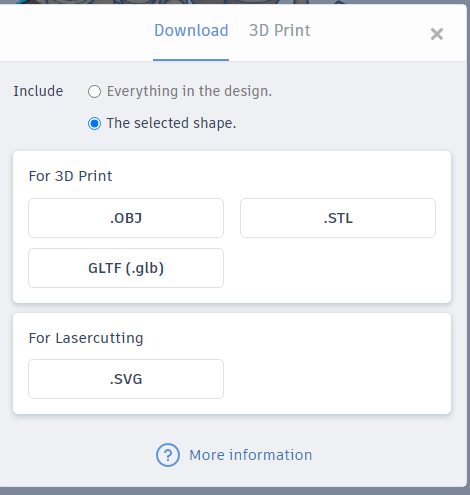
- For 3D print or laser cutting you can fetch different files from tinkercad as shown above in the image.
Know Your Functions Part:9
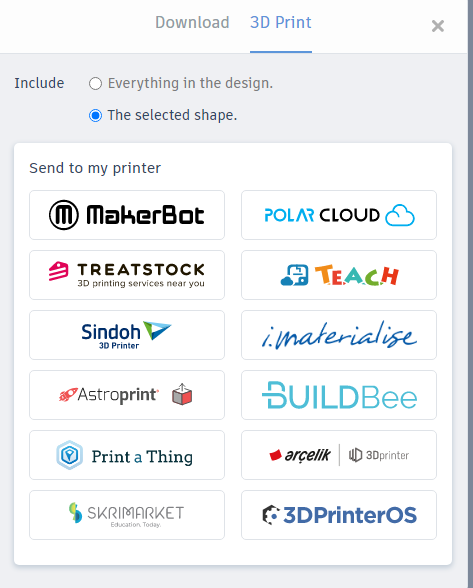
- For 3D printing you can even send your designs to your 3D printer as shown in the above image.
Know Your Functions Part:10

- If you wish more detailing or rendering to your design then you can send your Autodesk tinkercad designs to Autodesk Fusion 360 as well as shown in the above image.
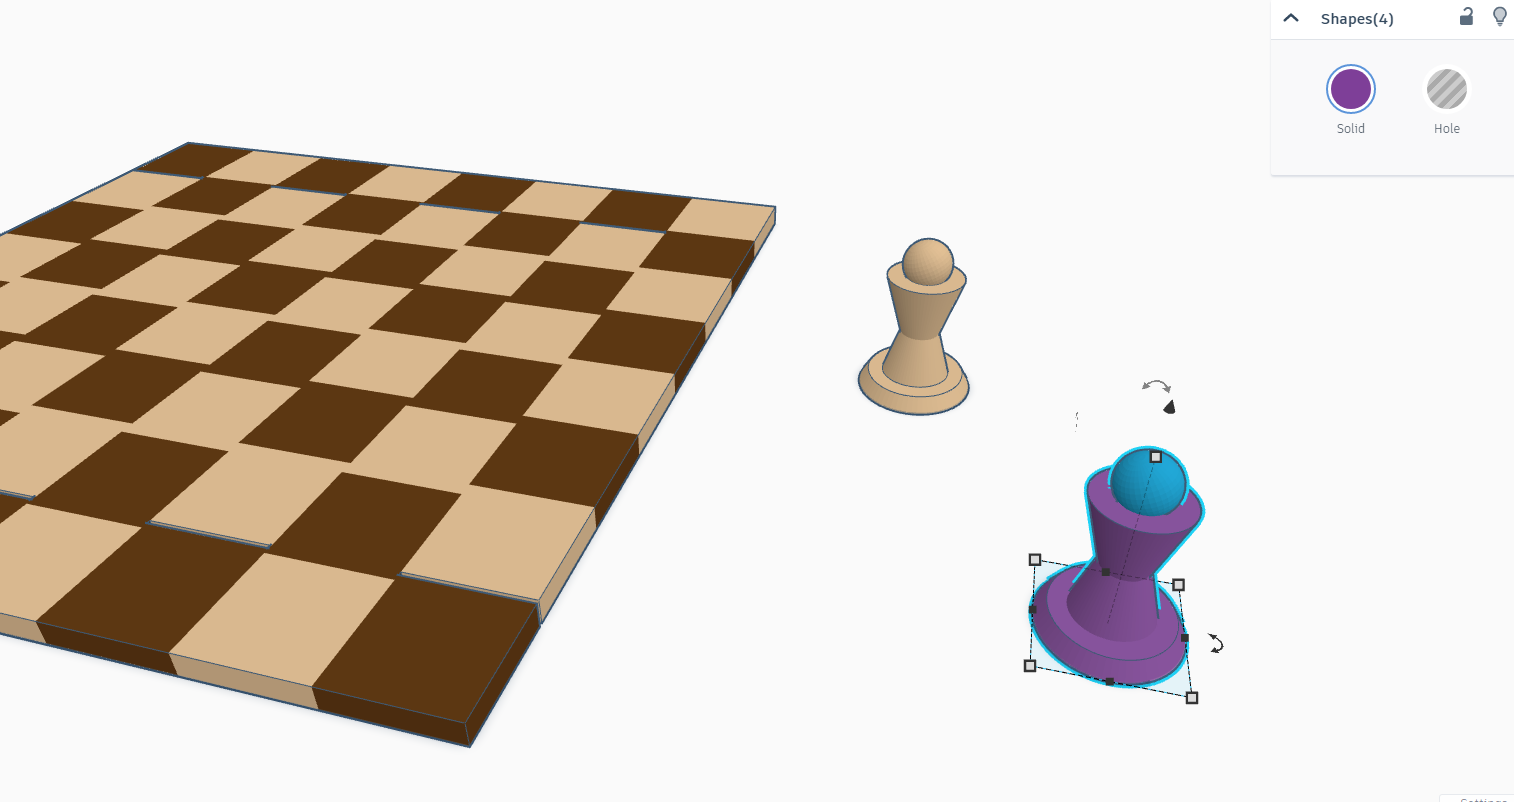
The Most Powerful Piece
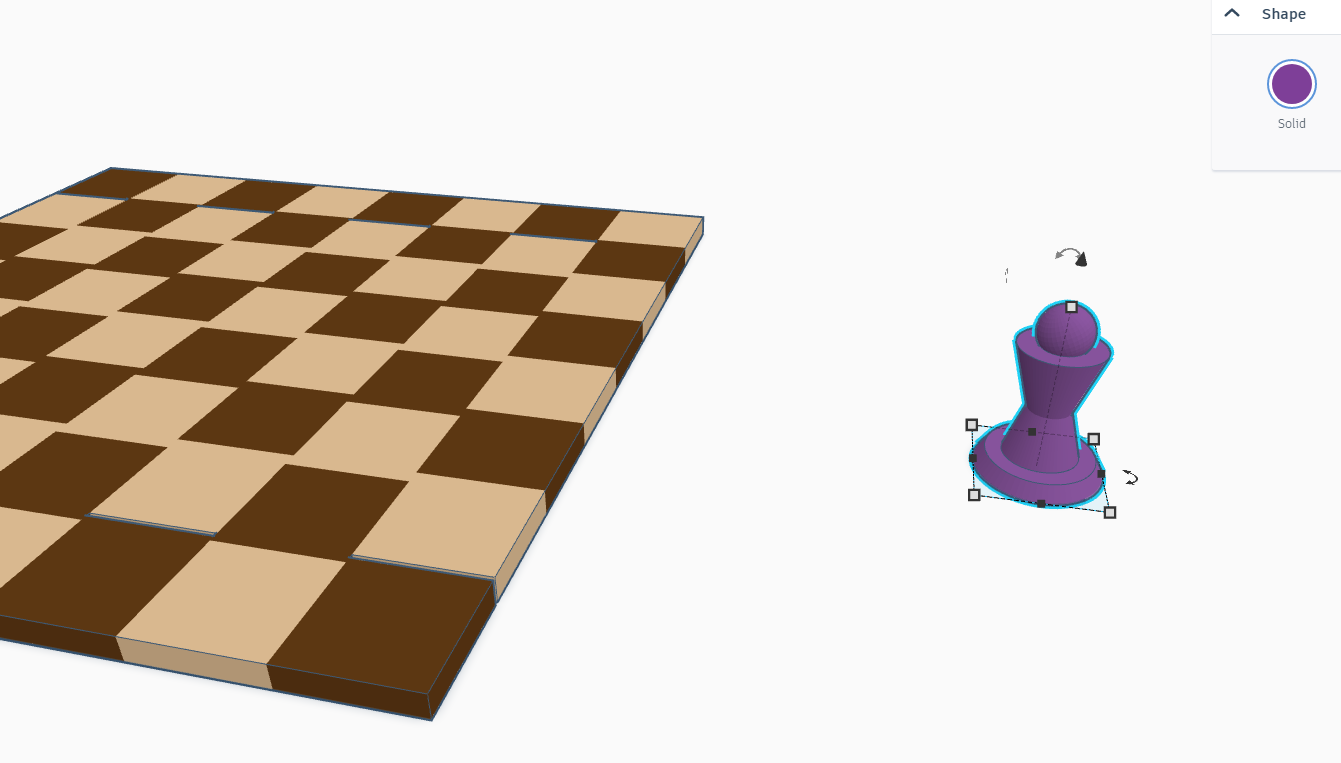
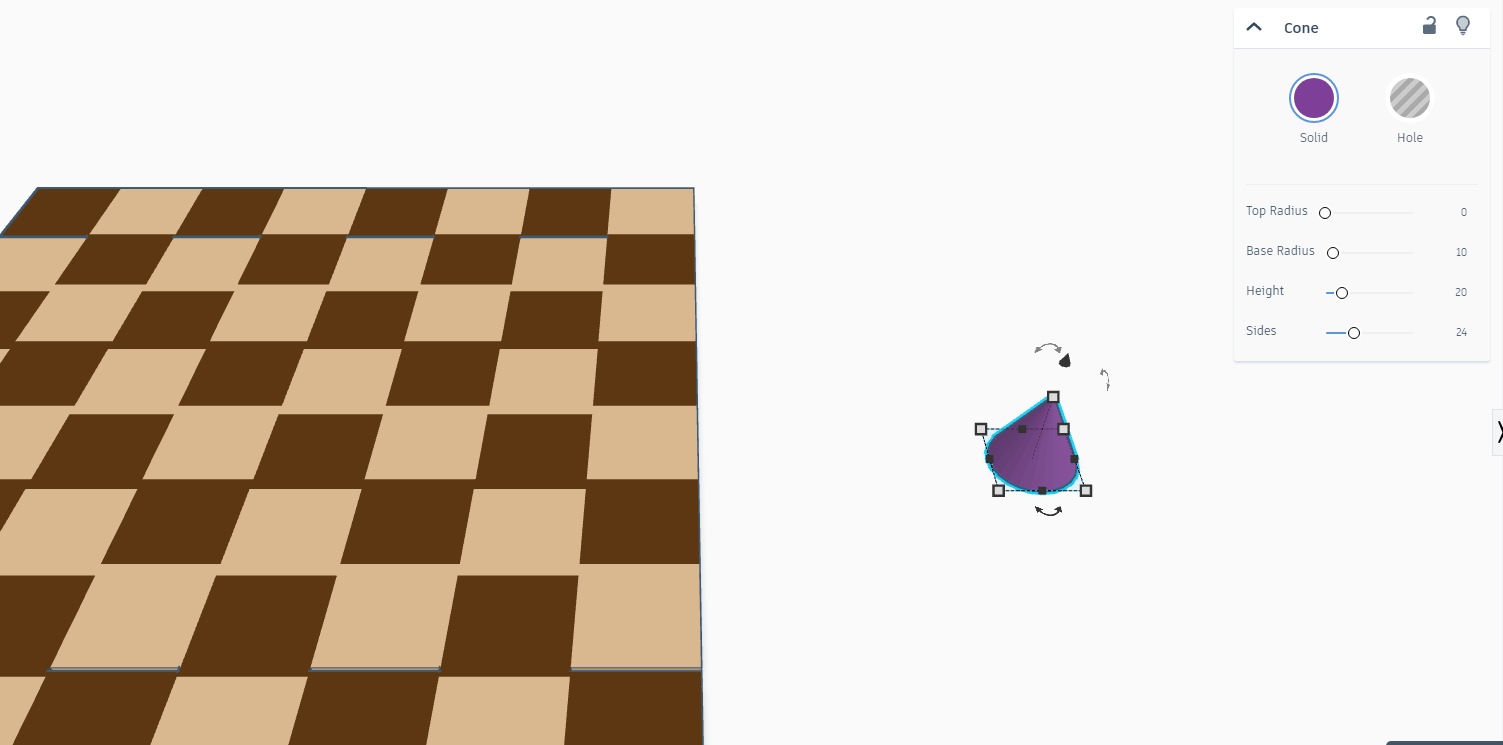
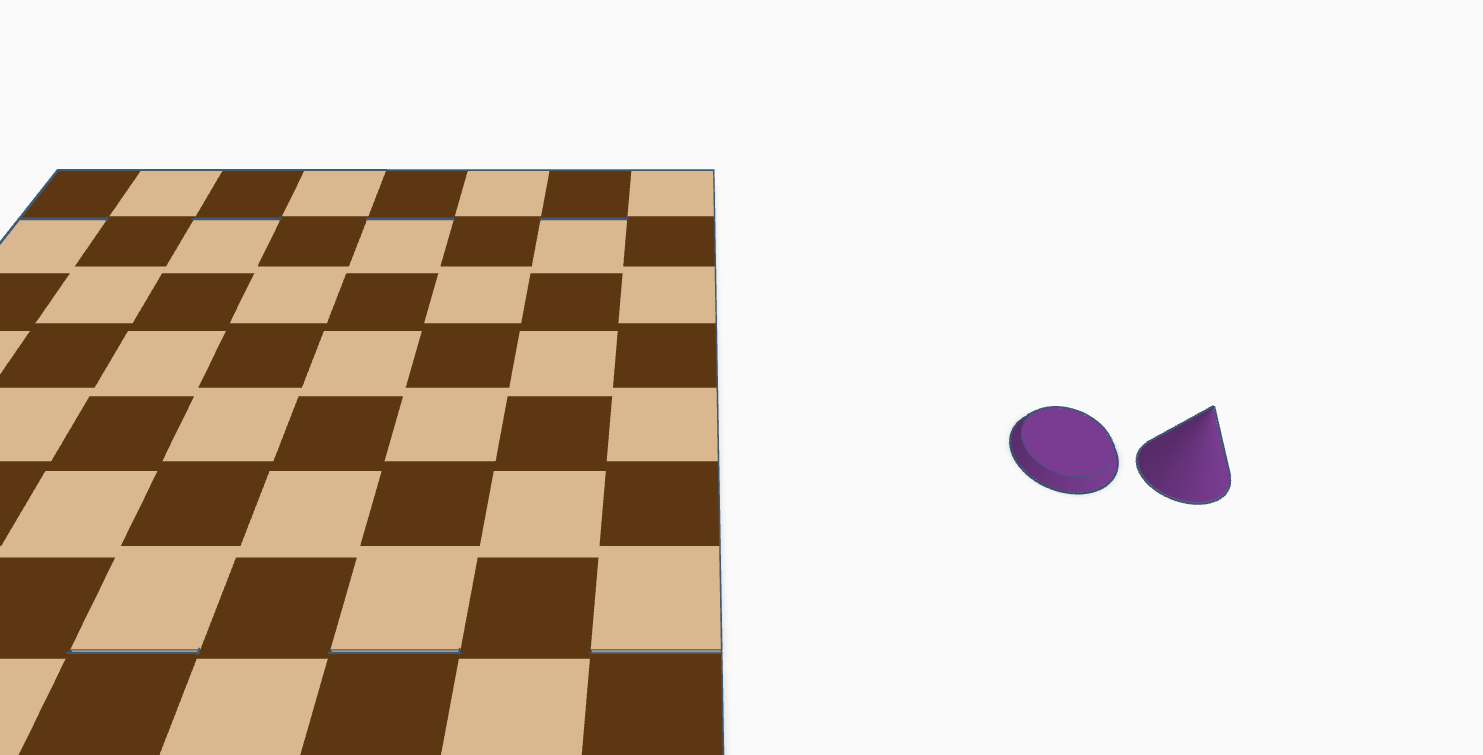
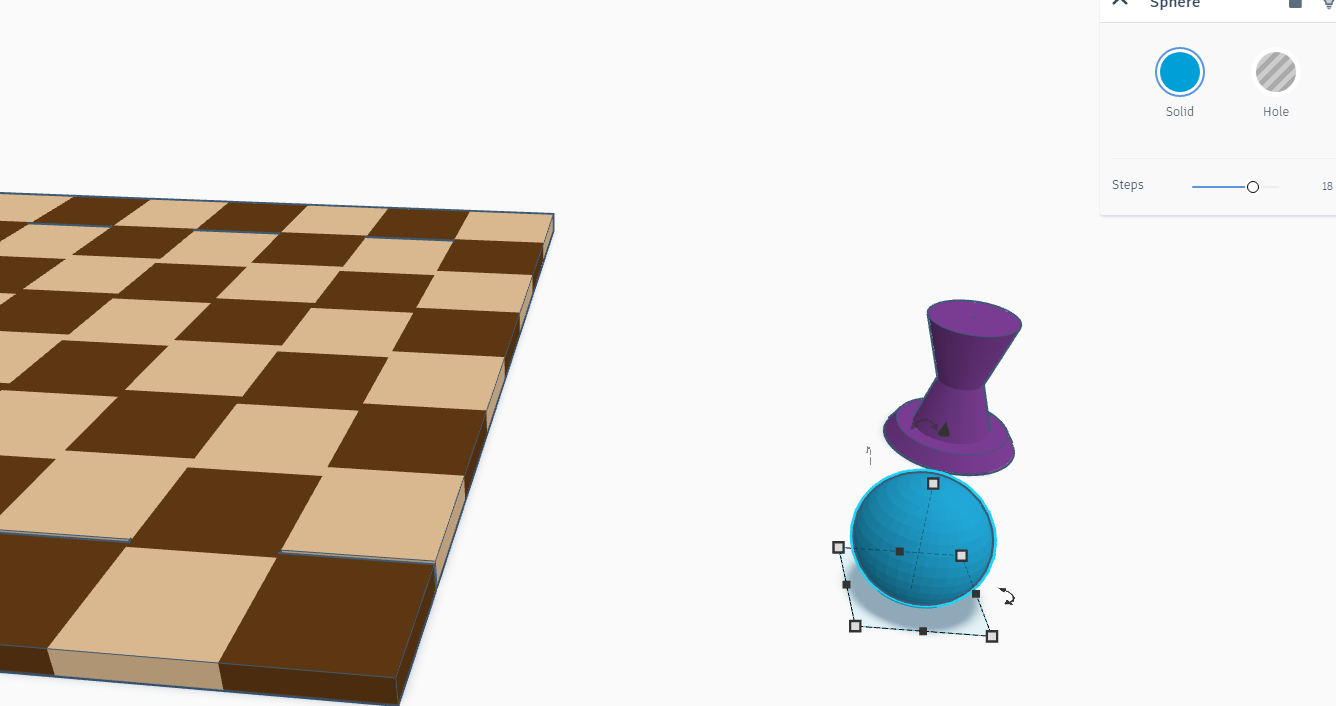
- Now you might think why the title suggest that the most powerful piece well its true indeed those who don't know when opposition pawn reaches in your castile it can regenerate to anything expect king means having 8 pawn on the chess board is equal to having 8 Queens, rooks, bishops or knights.
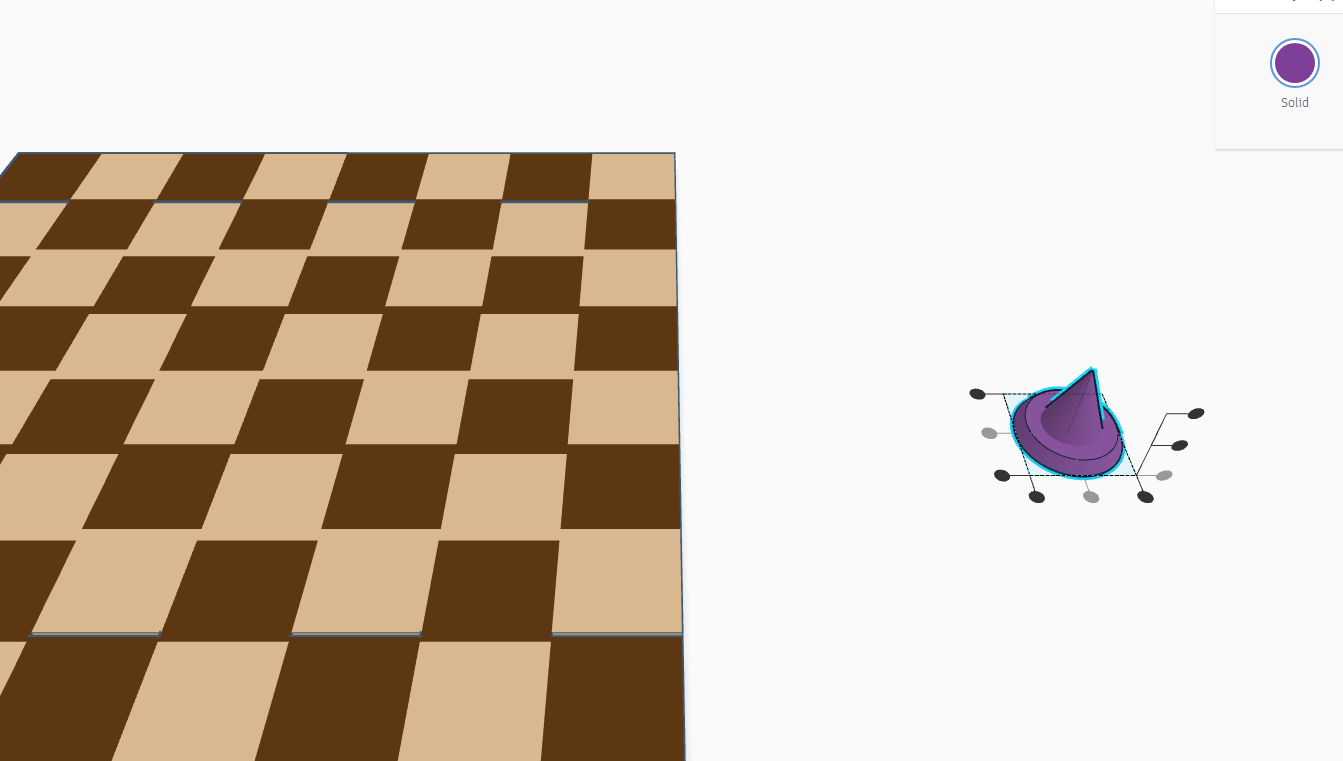
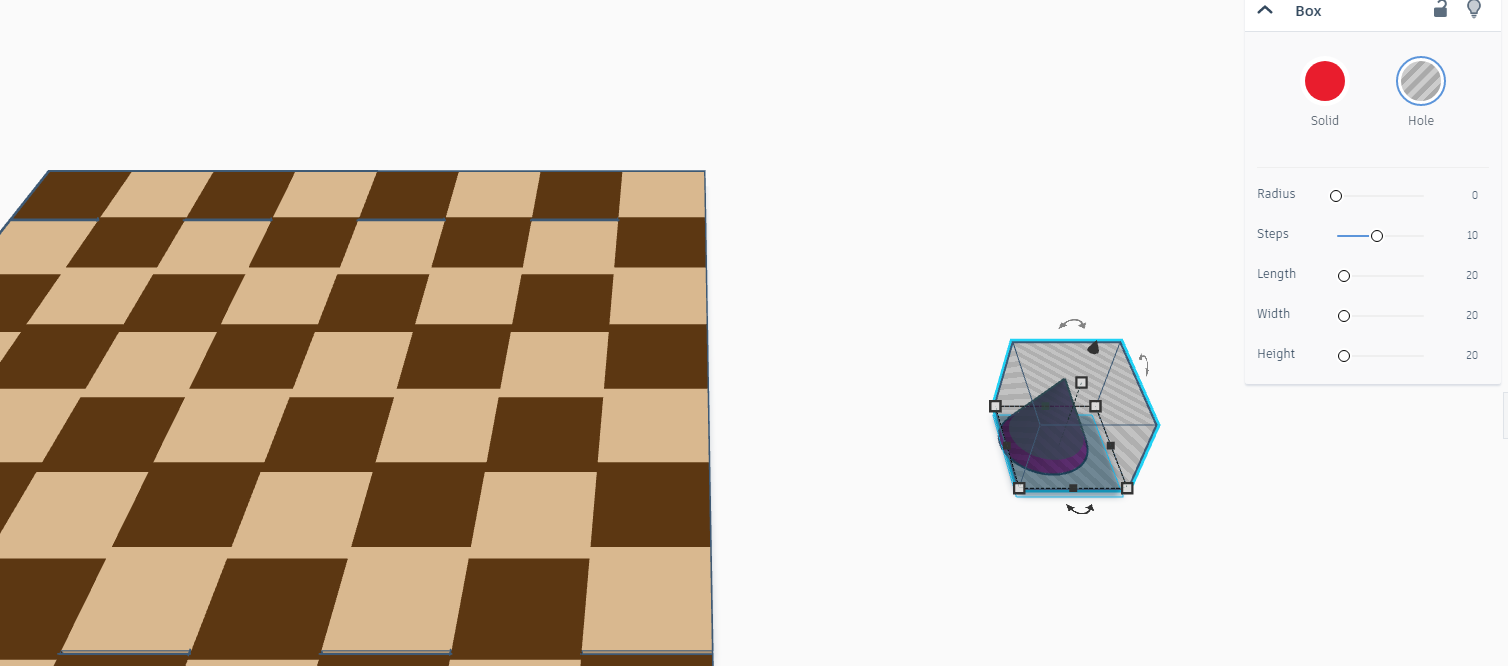
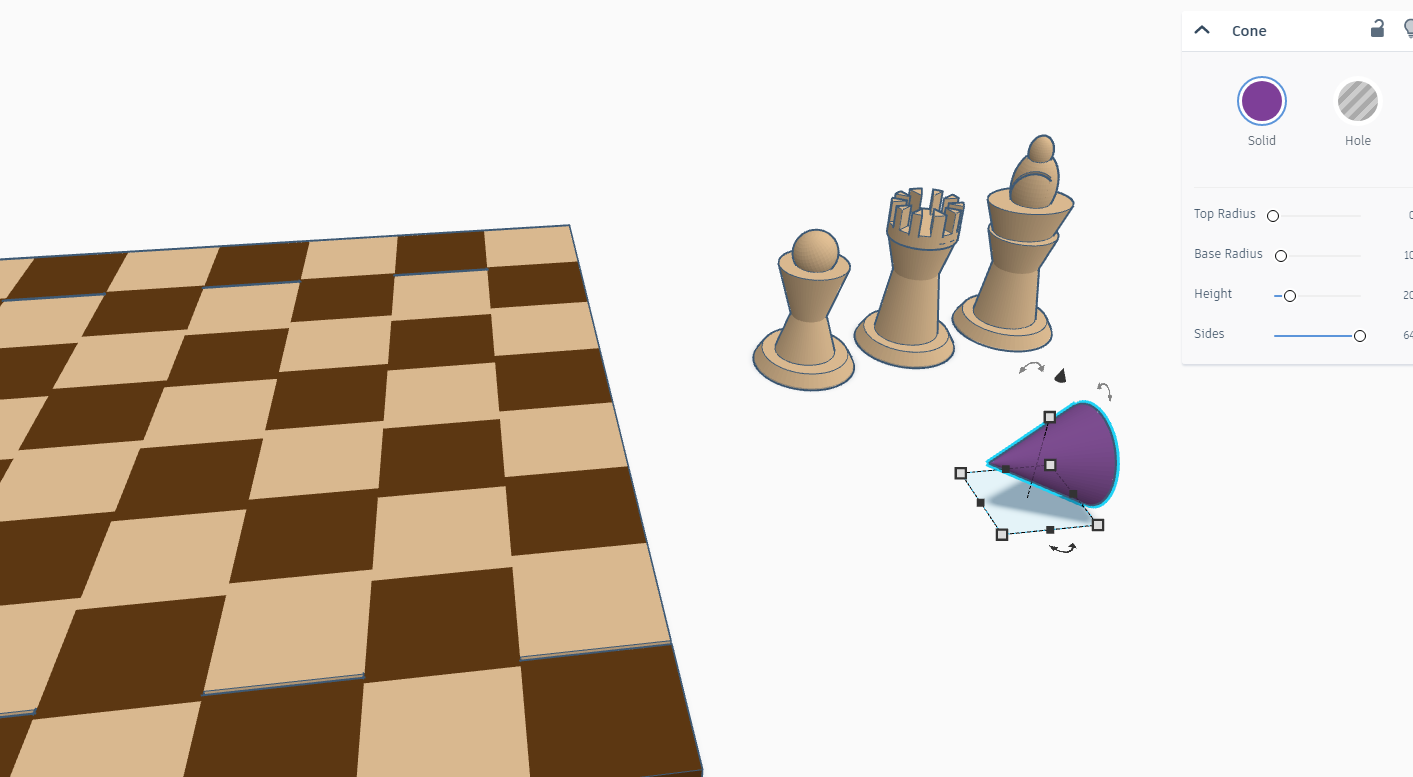
- Start by taking a cone and a transparent square from the pre built library then place the square on cone and cut 3/4 of it sides so that we can have a round circle now take another cone and align them together as shown above.
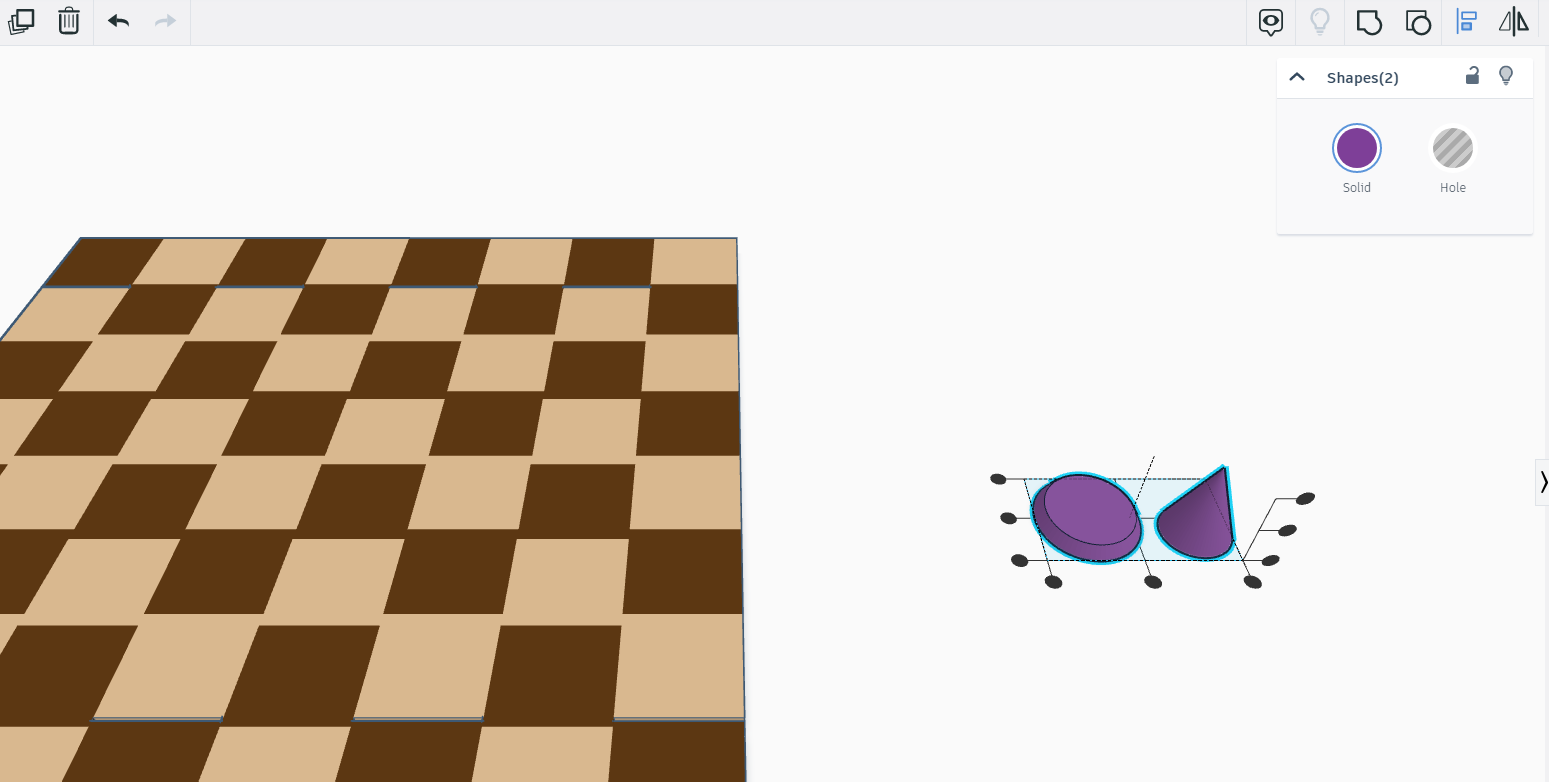
- Once again take a cone and use the mirror tool to create or join both cones as shown above.
- Now take a circle and place this on the top of the mirrored cone.
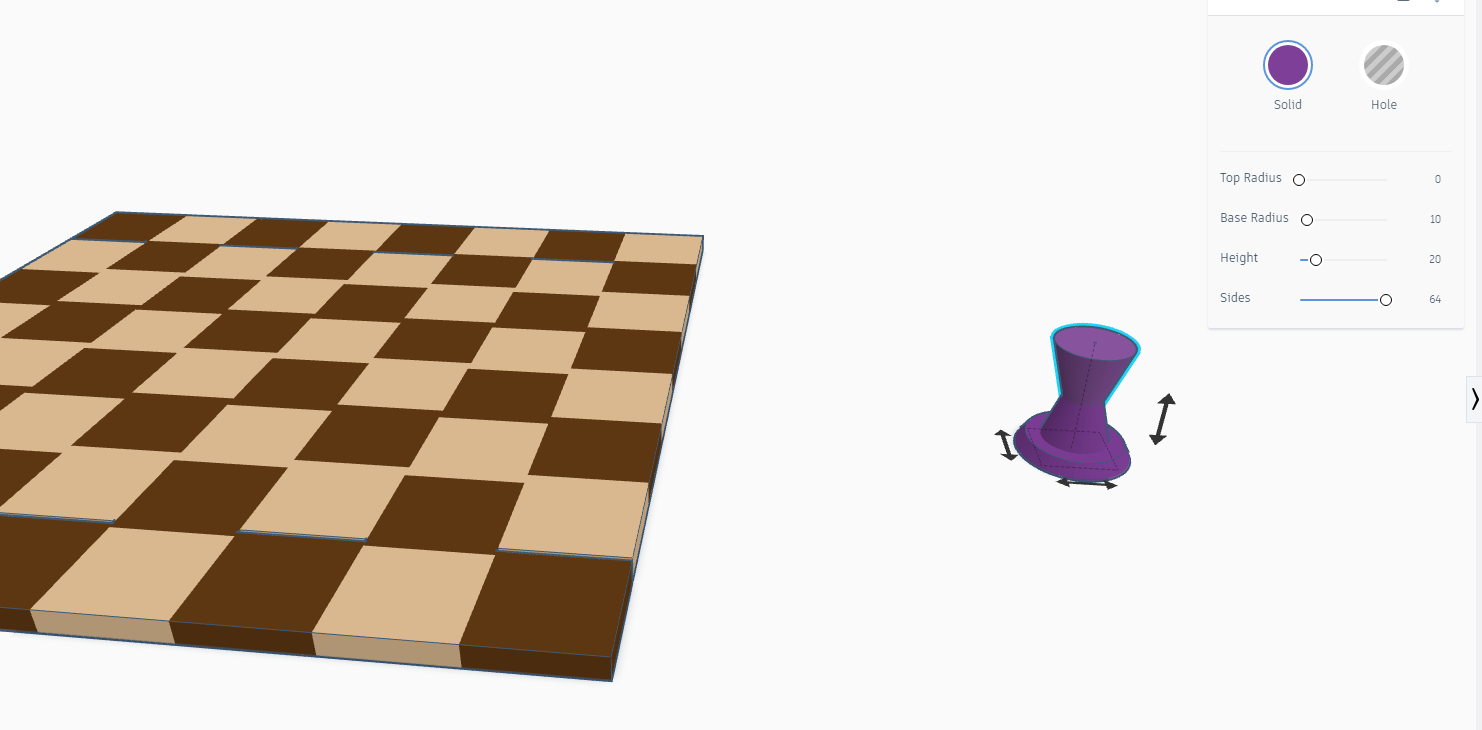
- Now group them together.
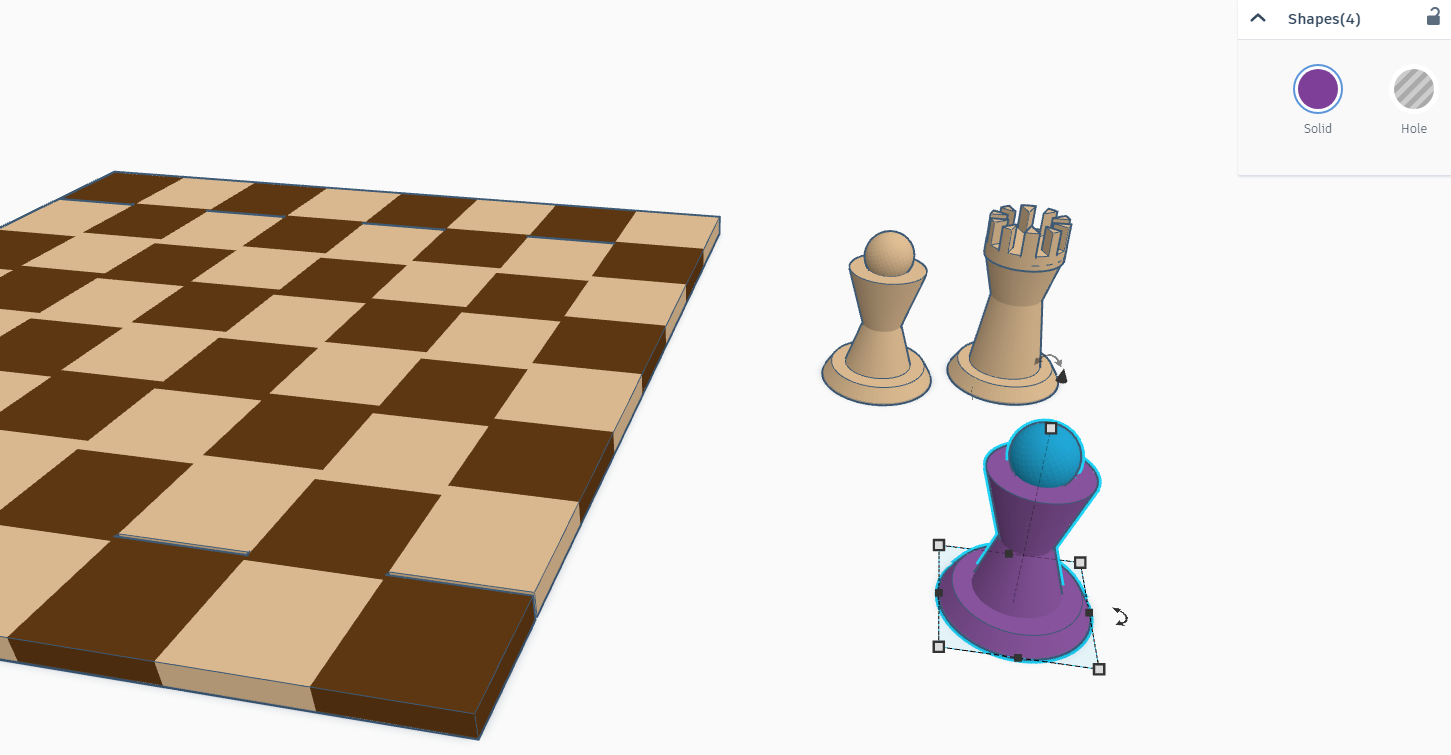
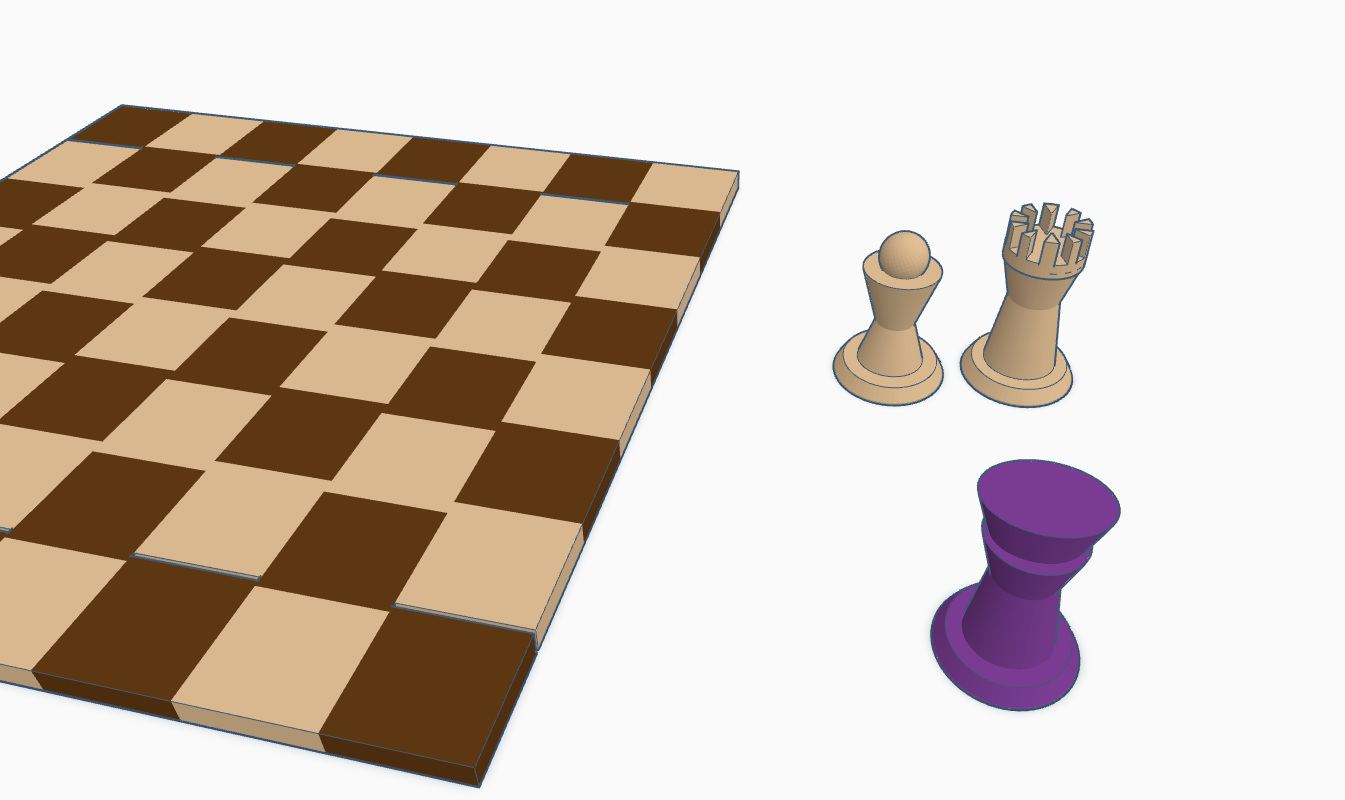
The Rook (Castle)
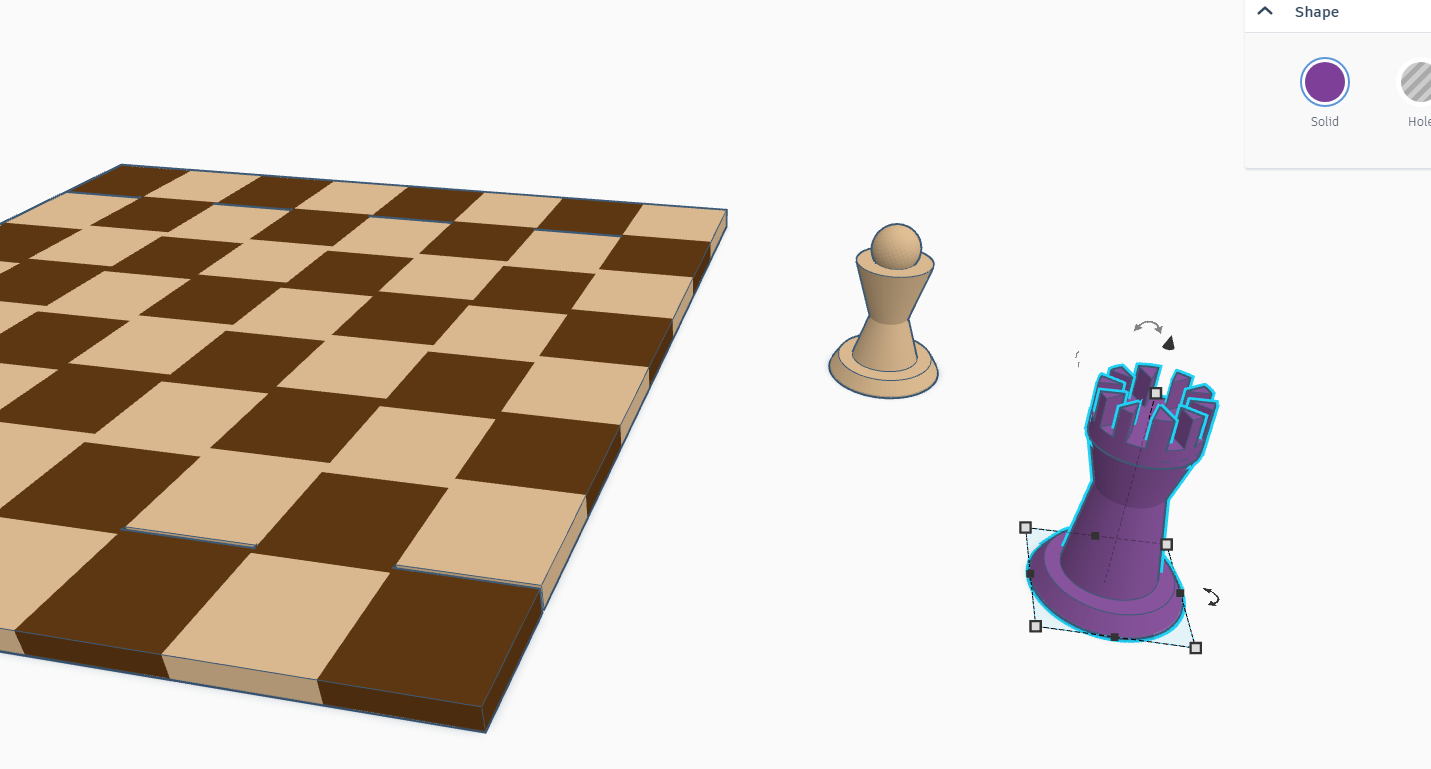
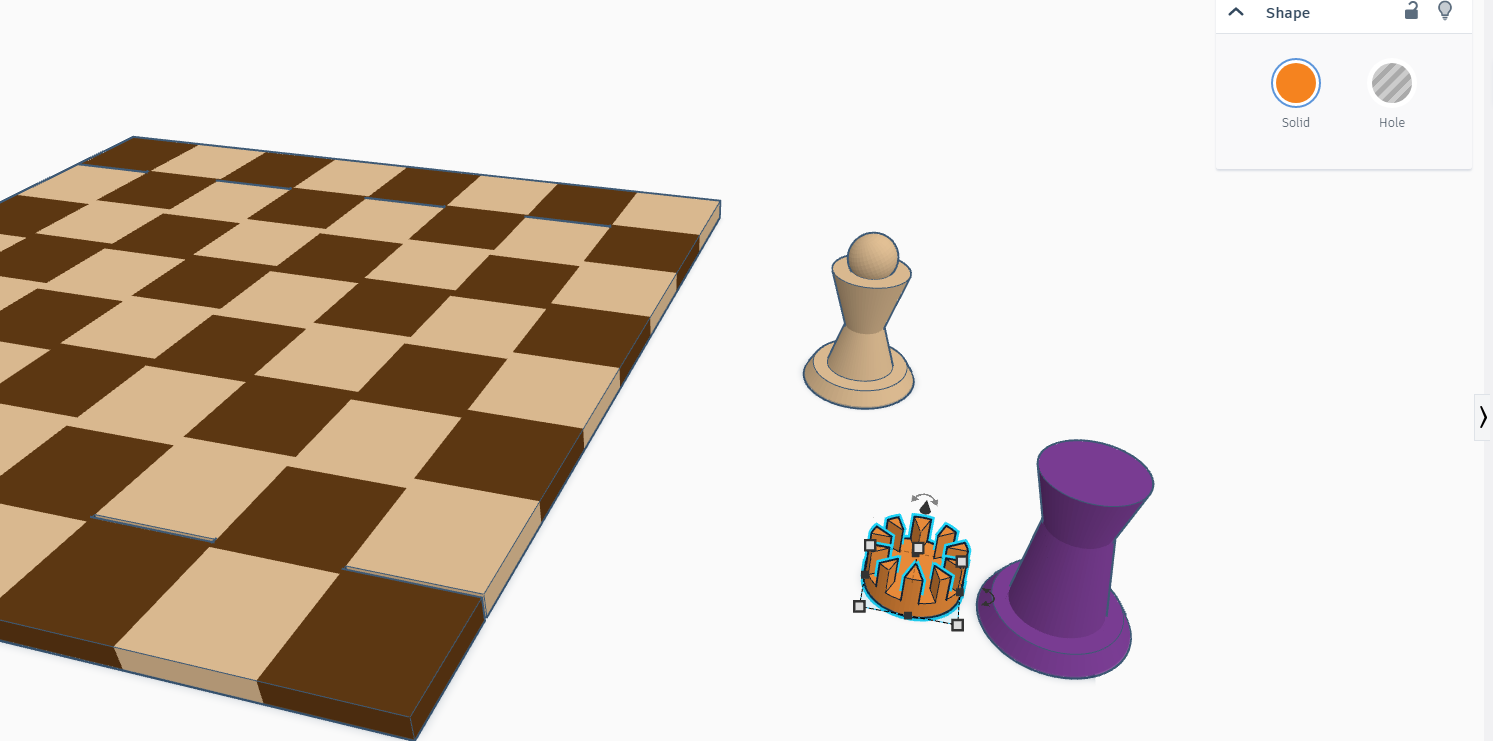

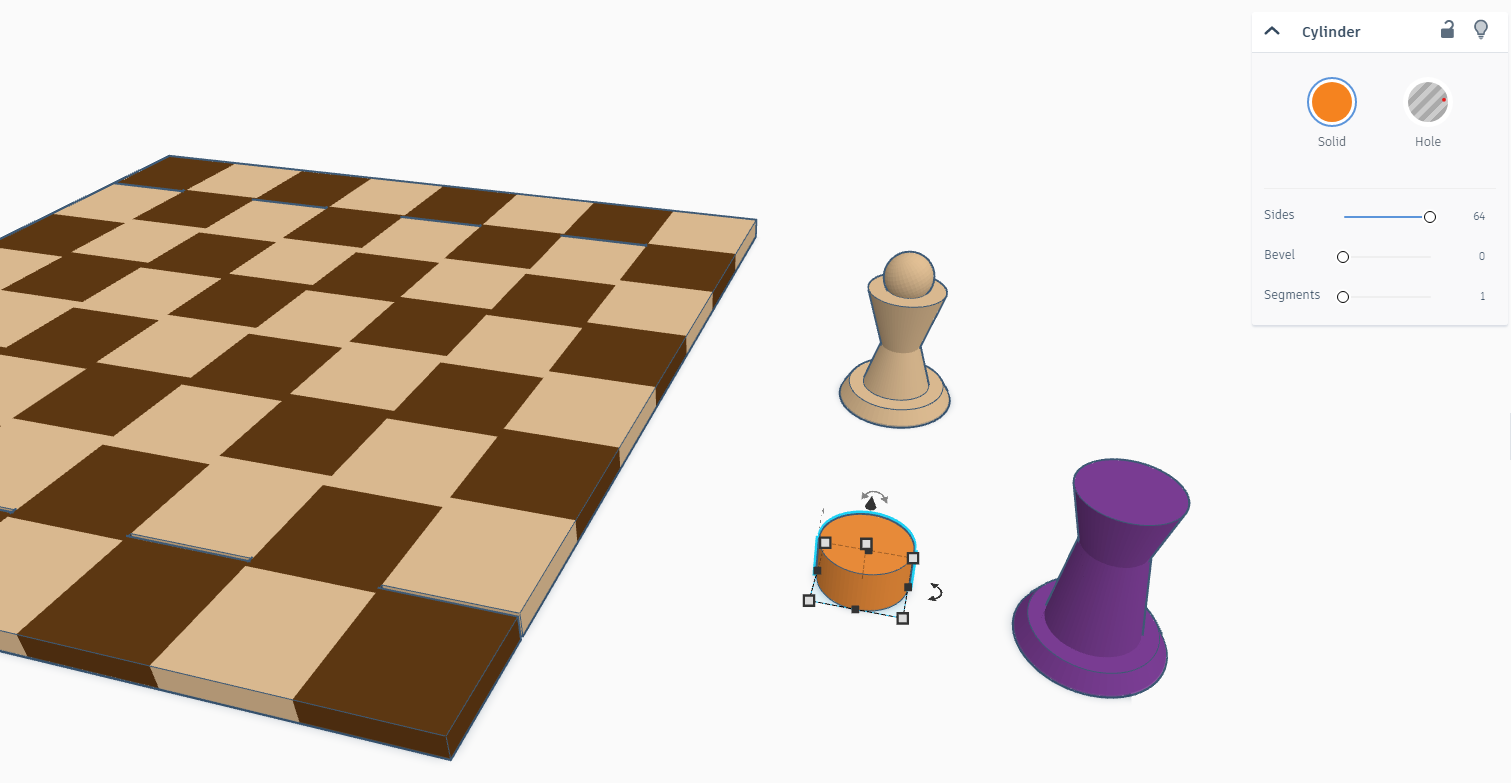
- Now by using duplicate tool create another pawn copy and remove the top circle from it.
- Once done take a cylinder and make the cuts in it from transparent square.
- Now align the cut cylinder with the main body for getting the rook or castle.
The Killer Bishops
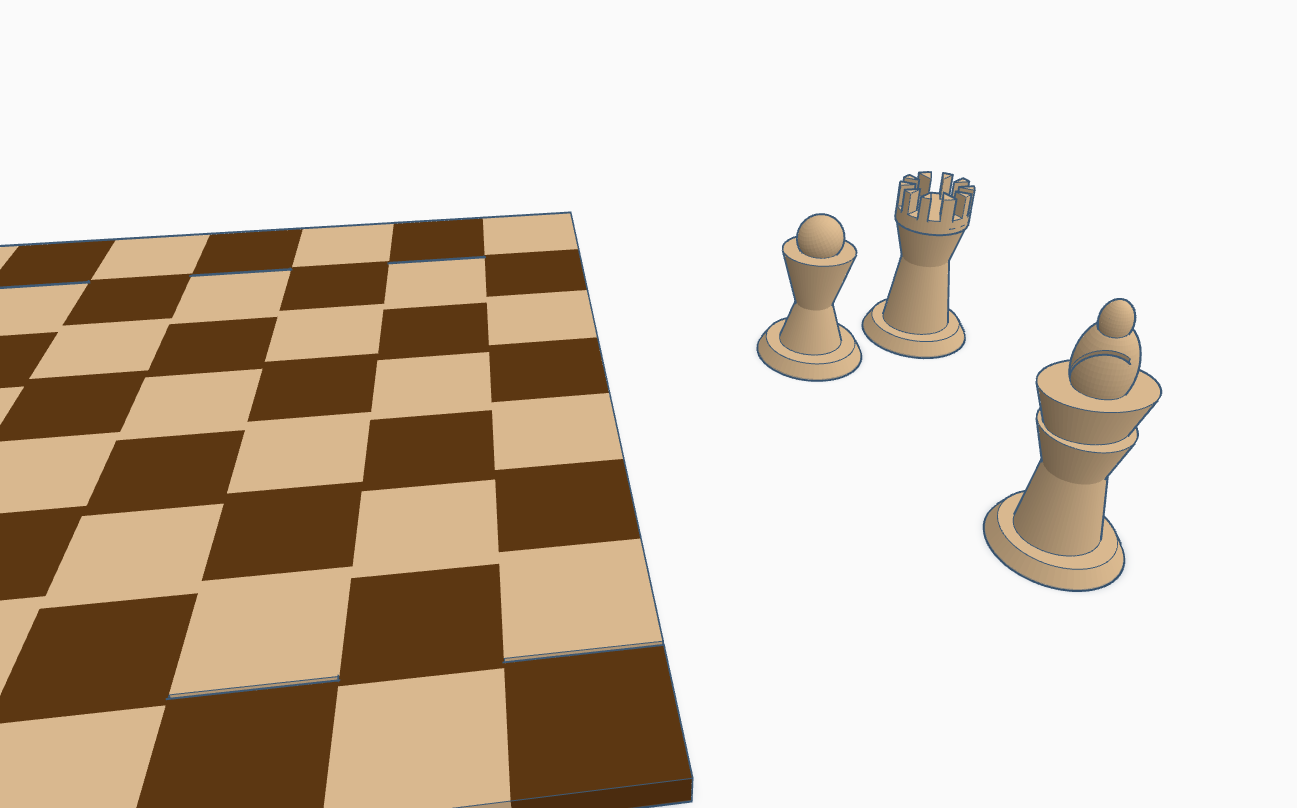
- Once again by using duplicate tool make a copy of the pawn which you have created earlier and increase the height of the body as shown above.
- Now take a oval circle and place it on the top for the head of the bishop.
- Once done make a cut with the transparent rectangle on the oval.
The Tricky Knights
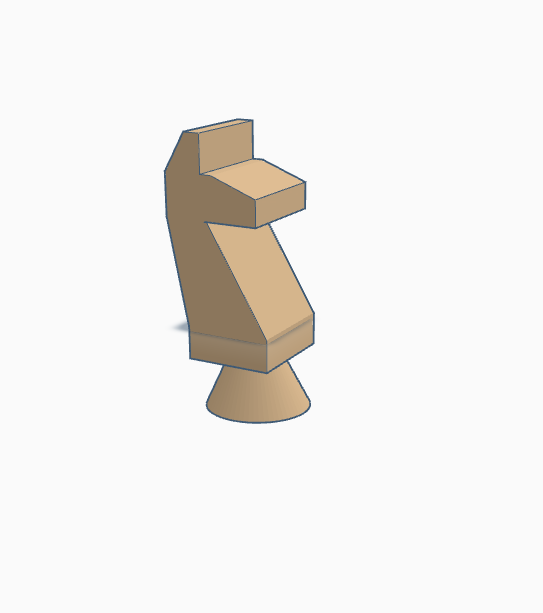
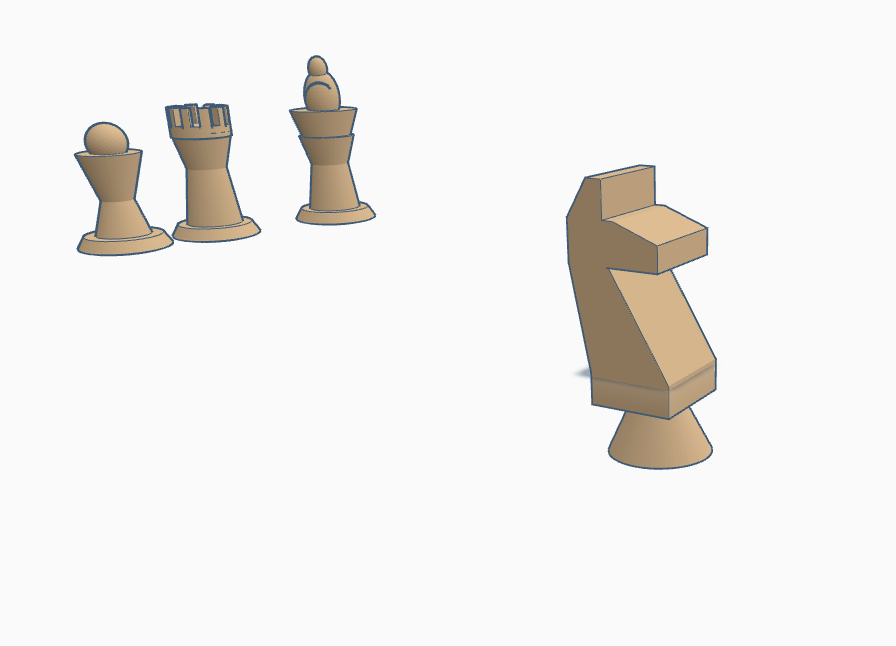
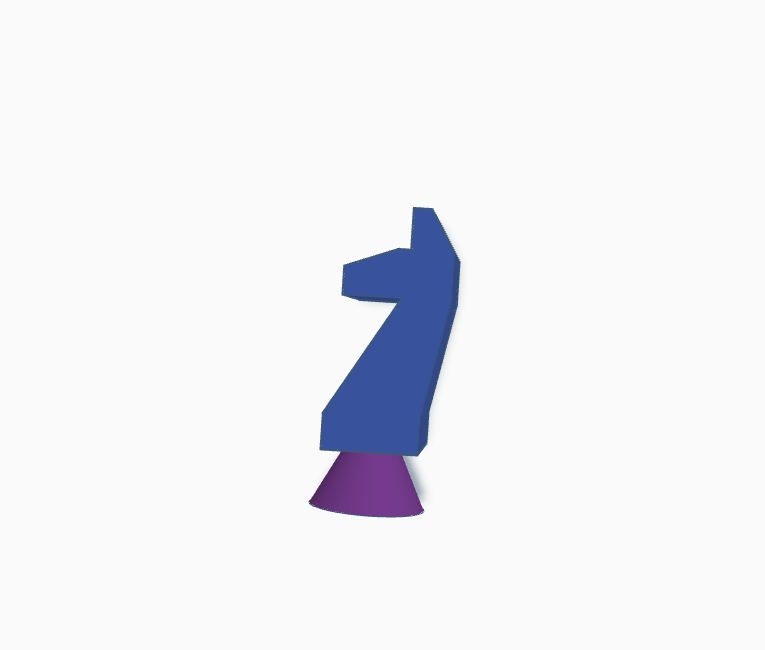
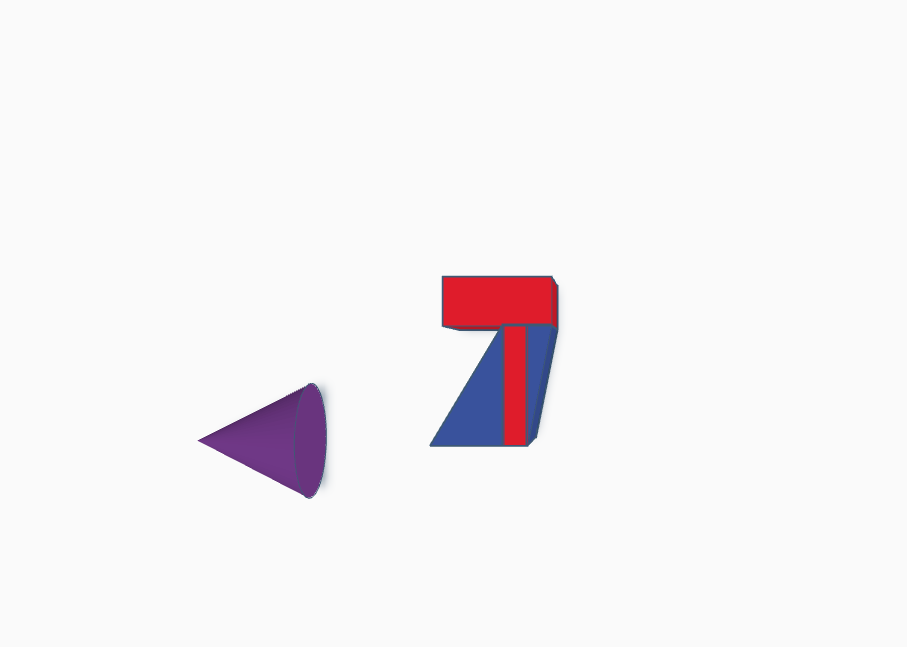
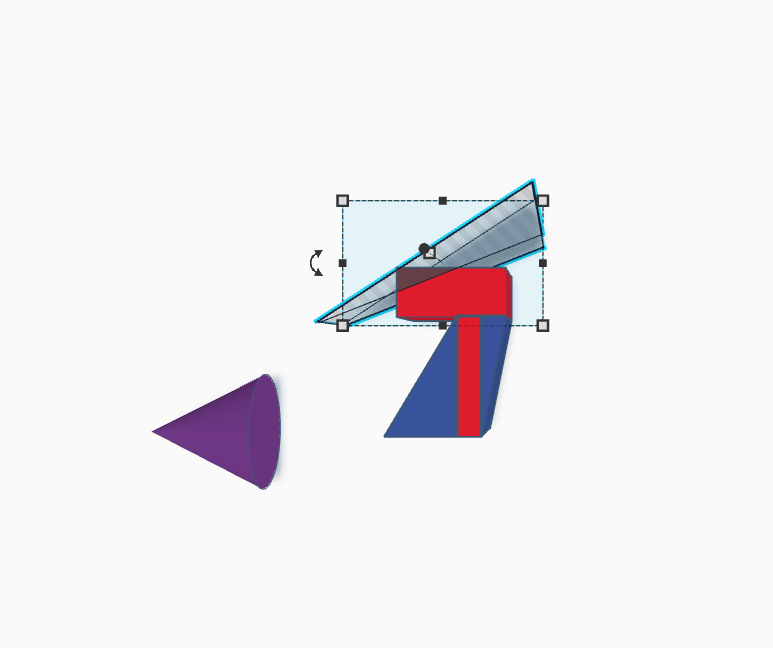
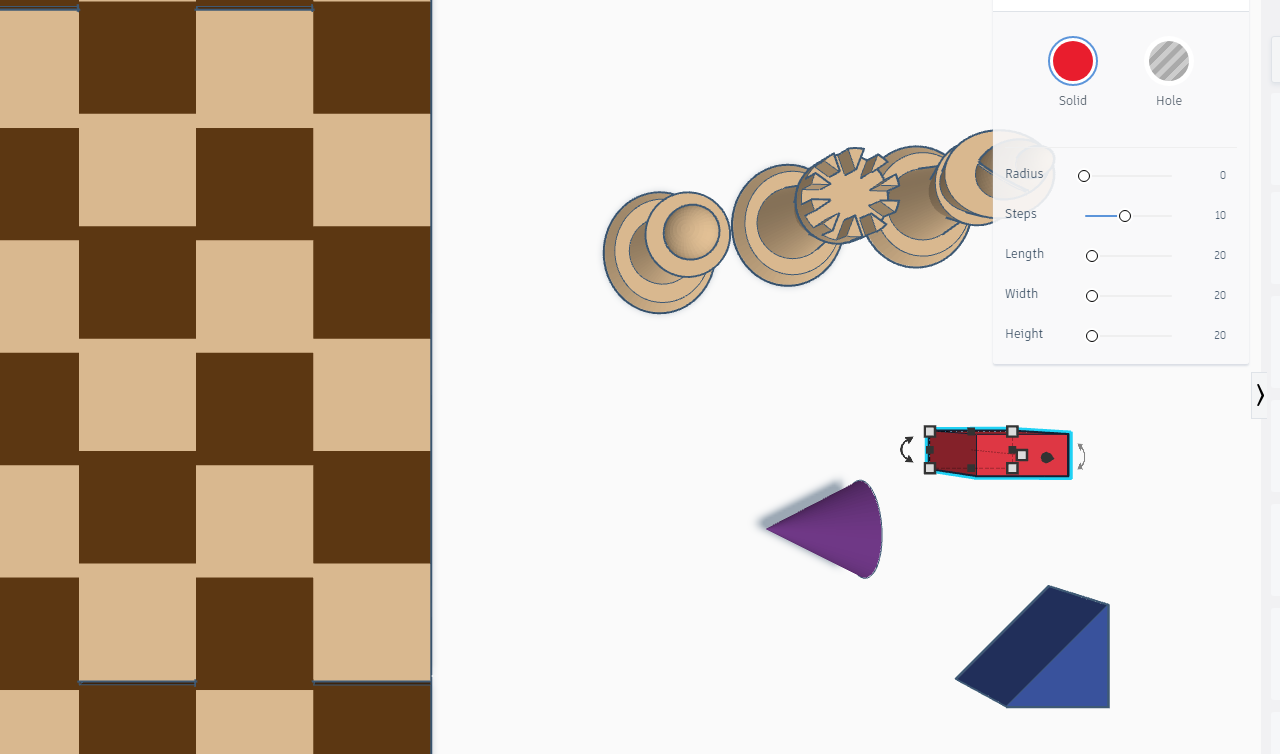
- As Knight are tricky this step is also a little tricky.
- Start by taking a cone, triangle and a rectangle TIP- use the top view for aligning these shapes
- Now align them together as shown above.
- In this step you have to use align tool, group tool, duplicate or copy tool and mirror tool.
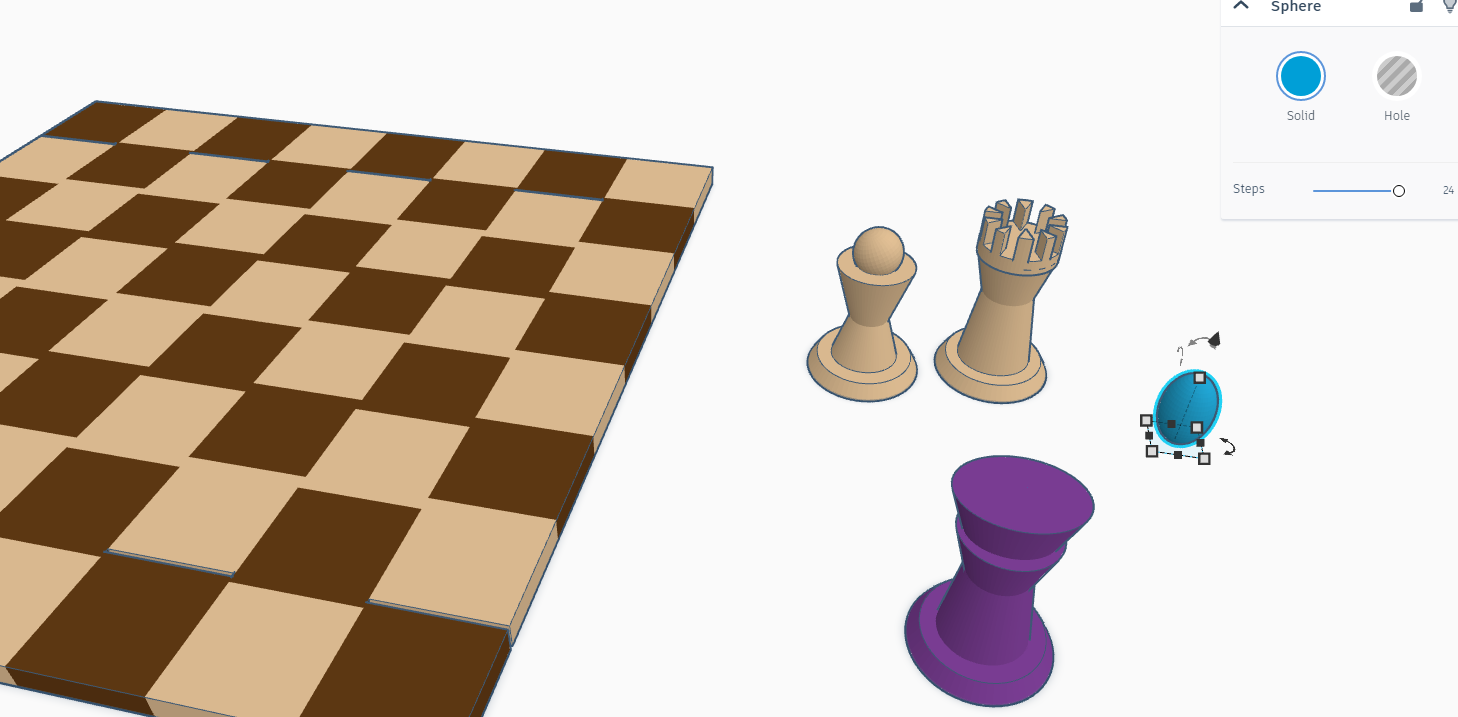
The Queen
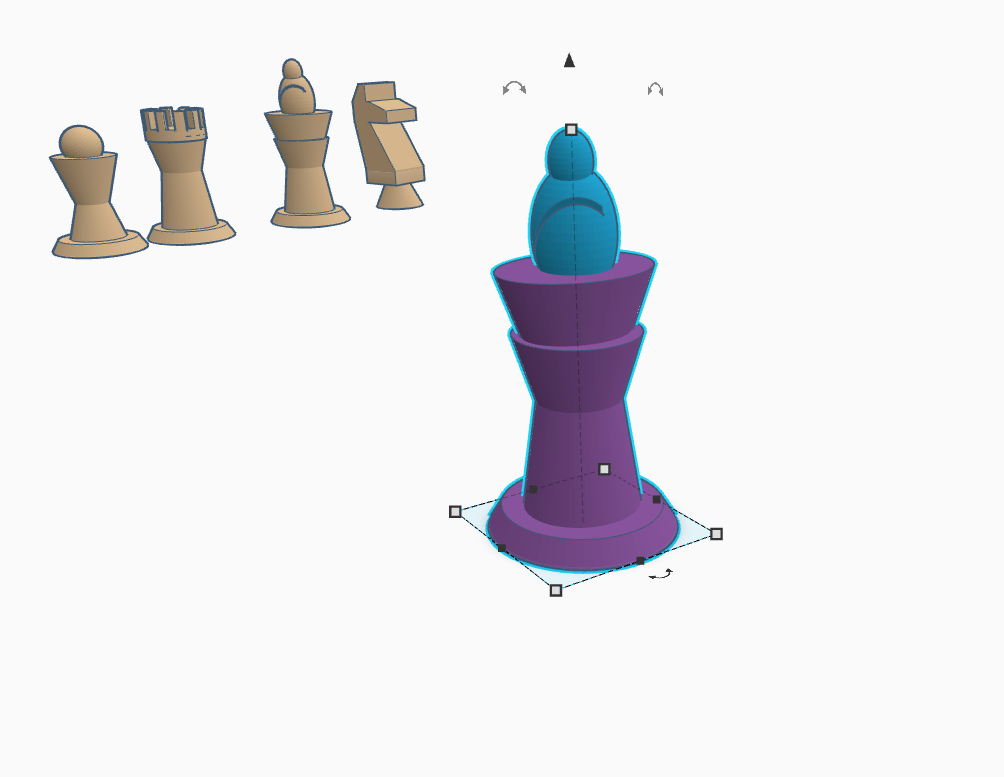
- For making the queen choose duplicate tool and make a copy of the bishop and increase the length and height of the bishop body.
- Now for the Queens crown take small circles and place them on the top position ( only center one others should be transparent so that we can make cut for the crown).
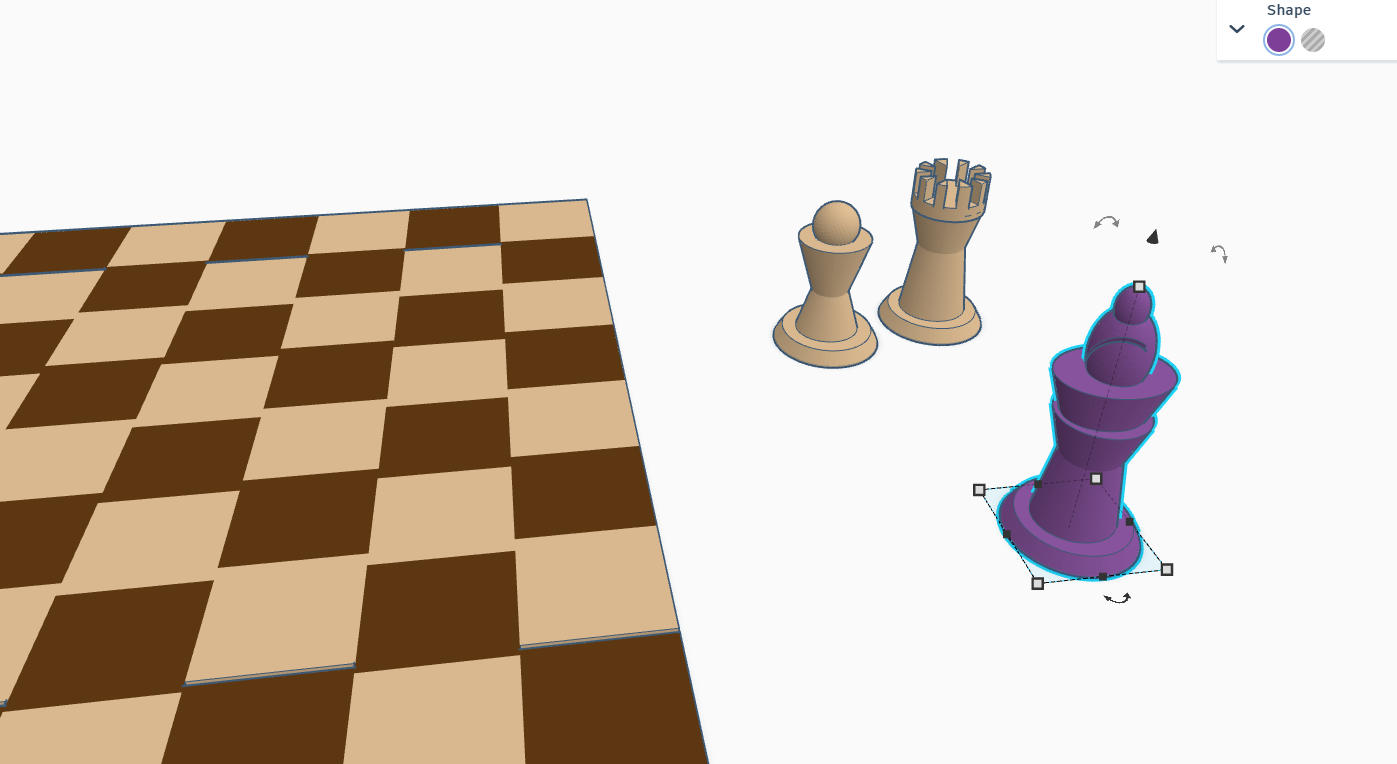
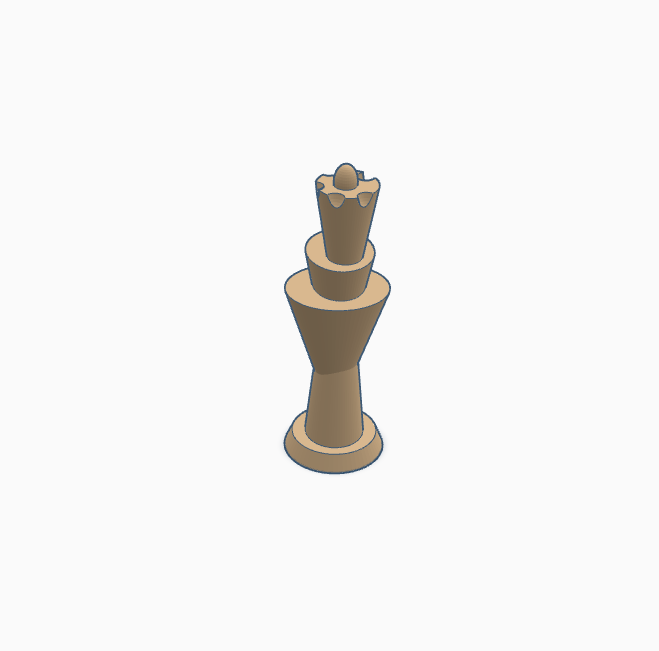
The King
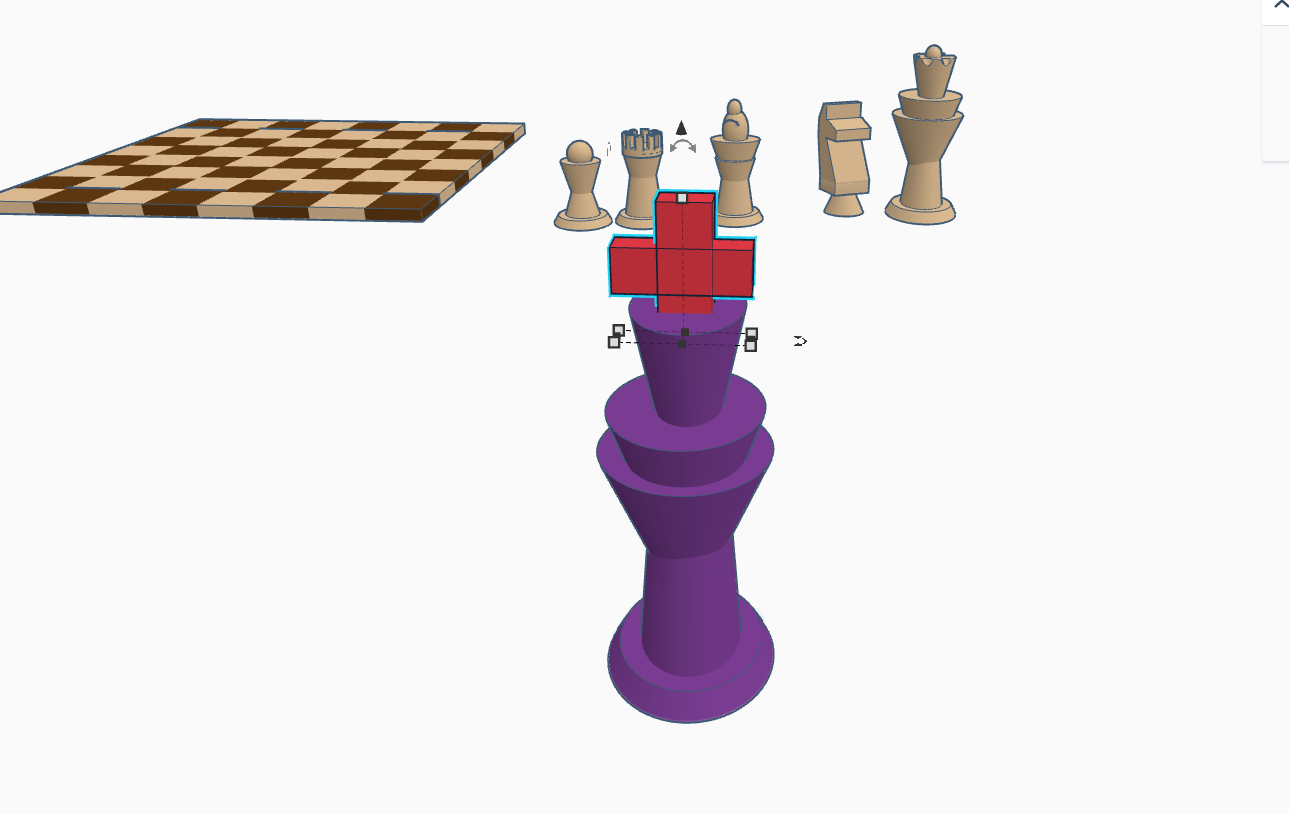
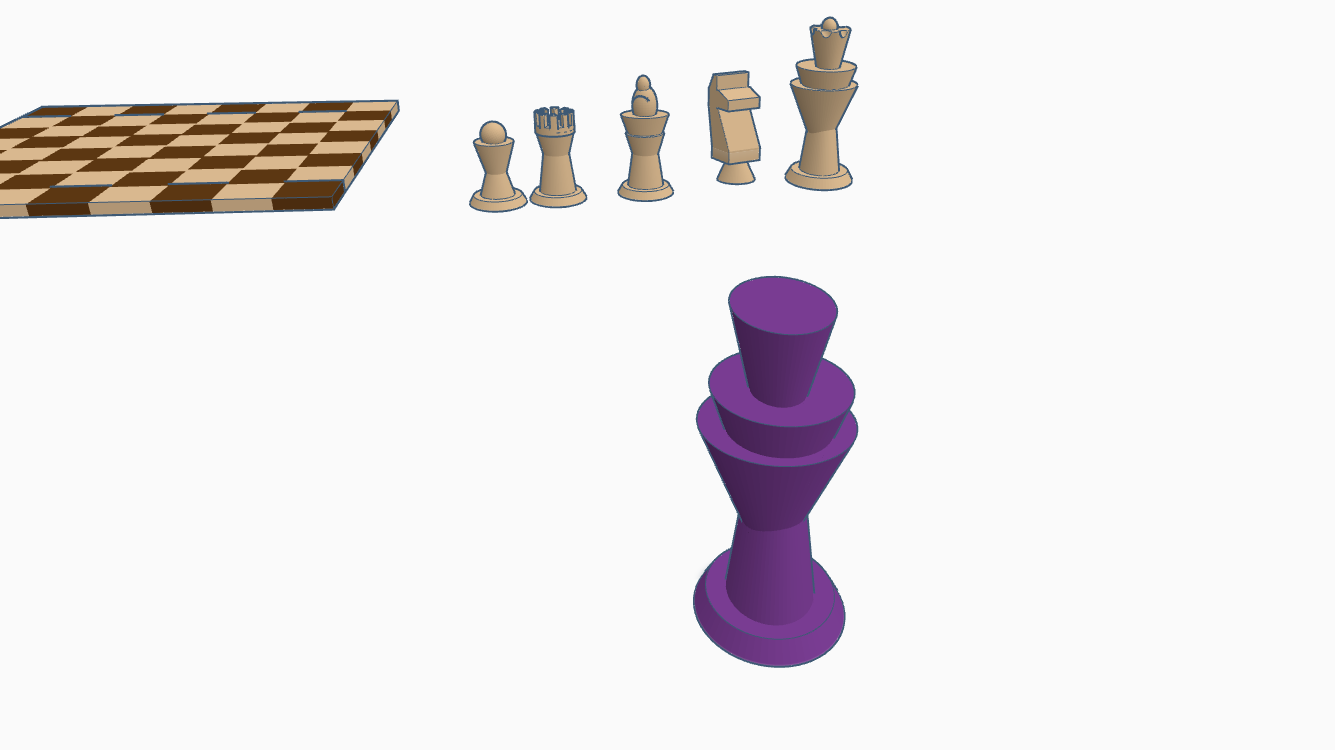
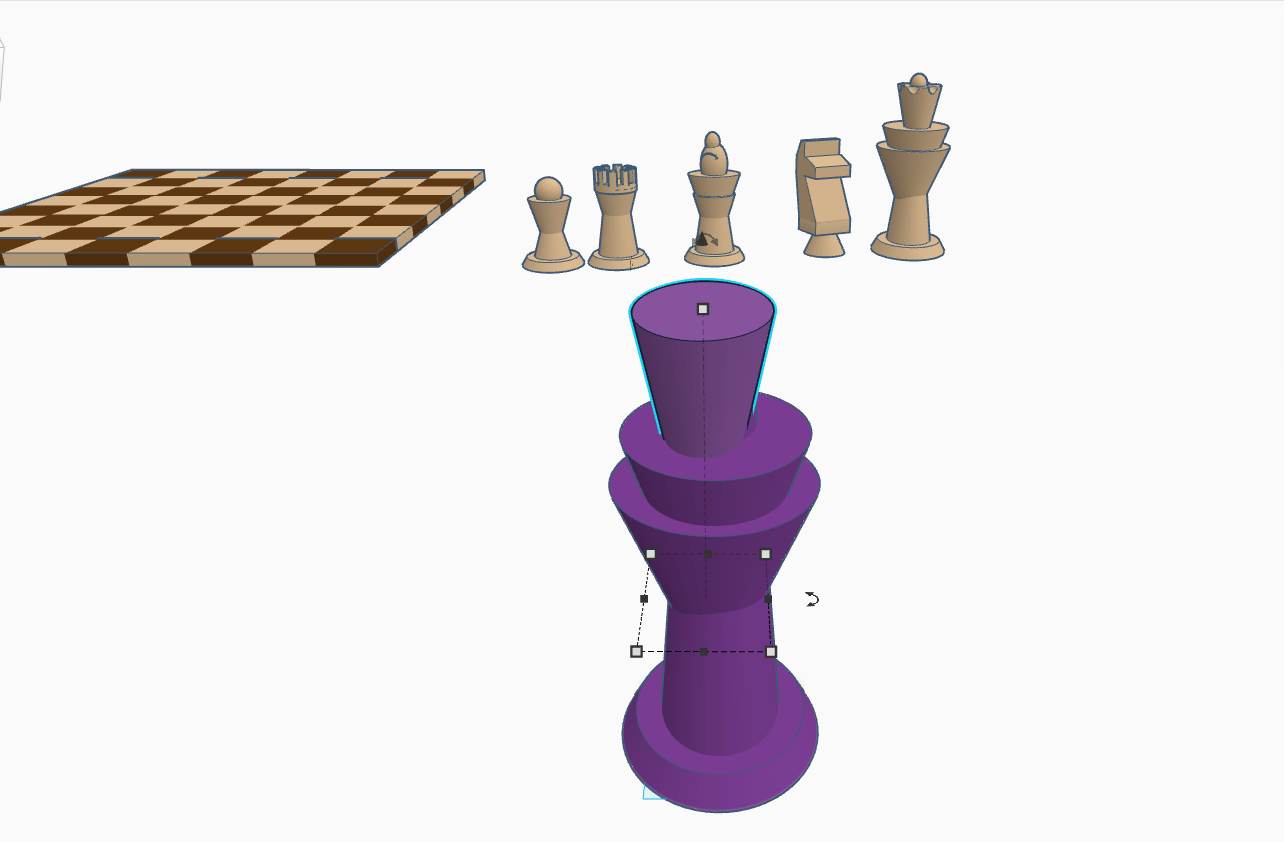
- For making the king do the same process as you did for the Queen the difference would be to make the king crown.
- For making the king crown take two rectangle shapes and make a cross and place it on the above king body as shown in the above images.
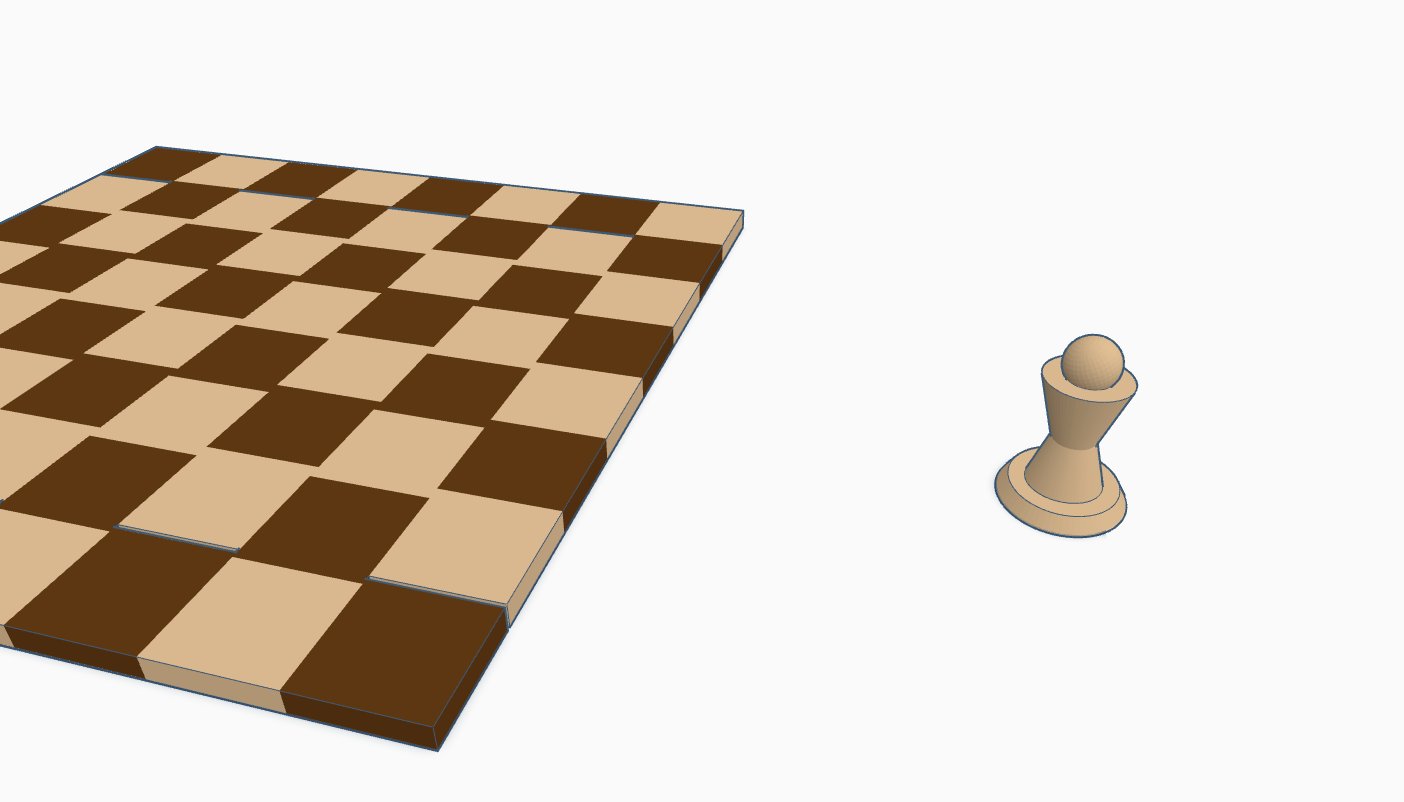
The Board
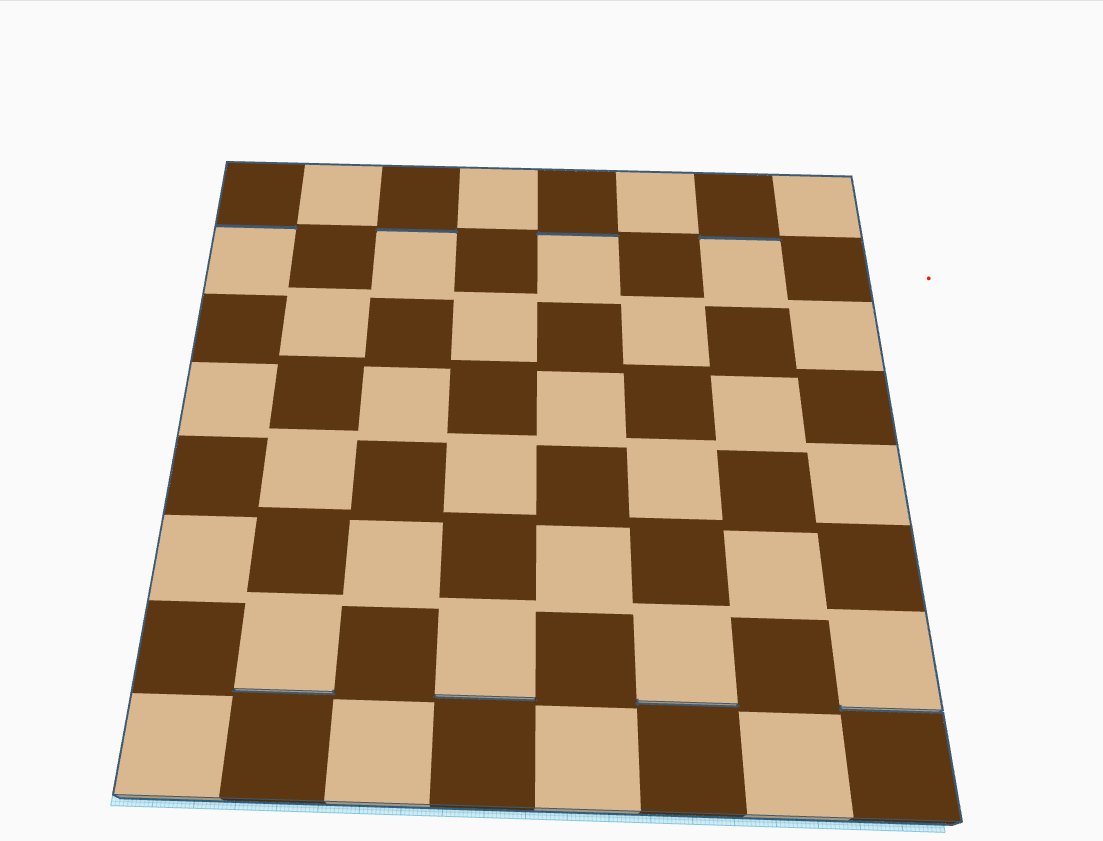
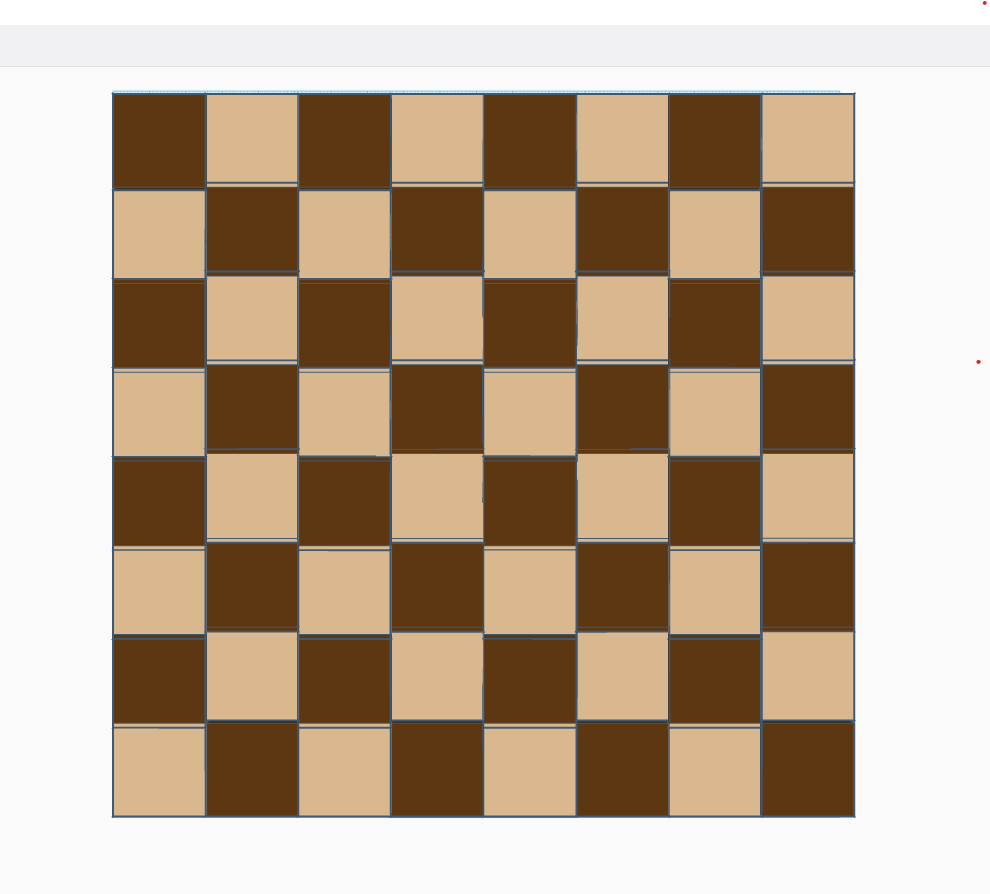
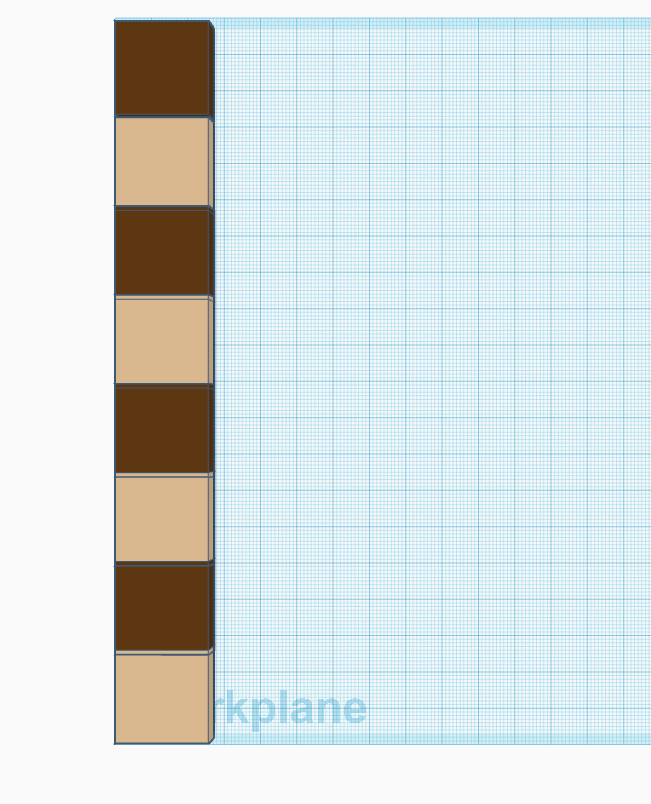

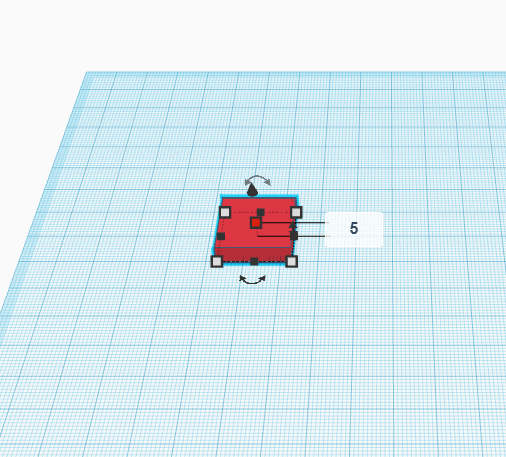
- For making the board take a square and adjust the lengths and heights as shown in the images.
- Now with the help of duplicate tool and mirror tool make the complete board.
- Remember there should be 64 squares.
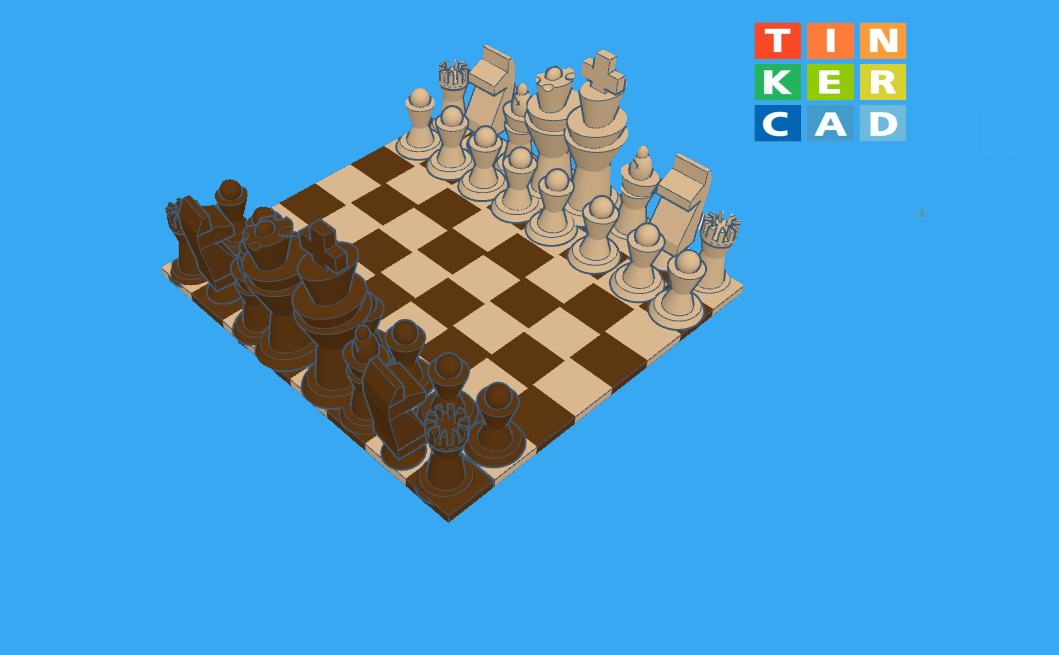
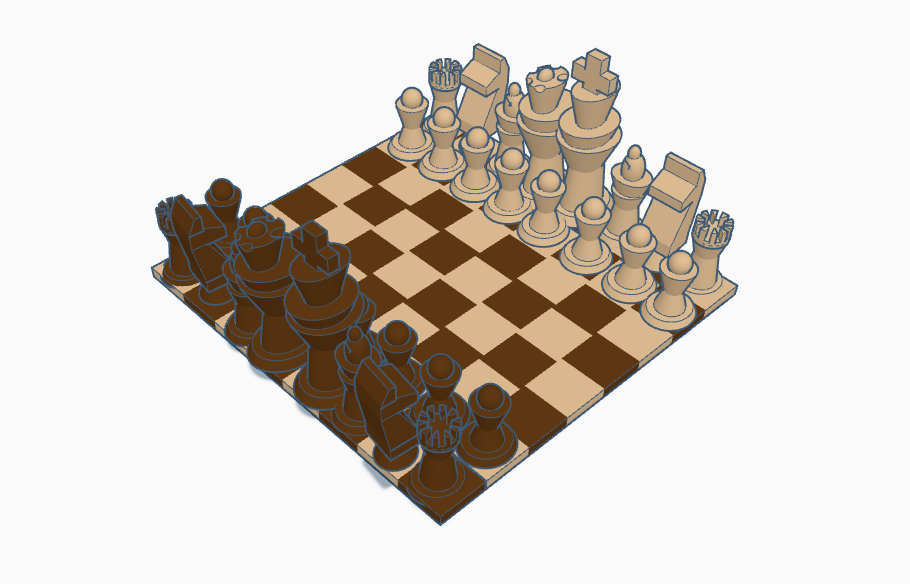
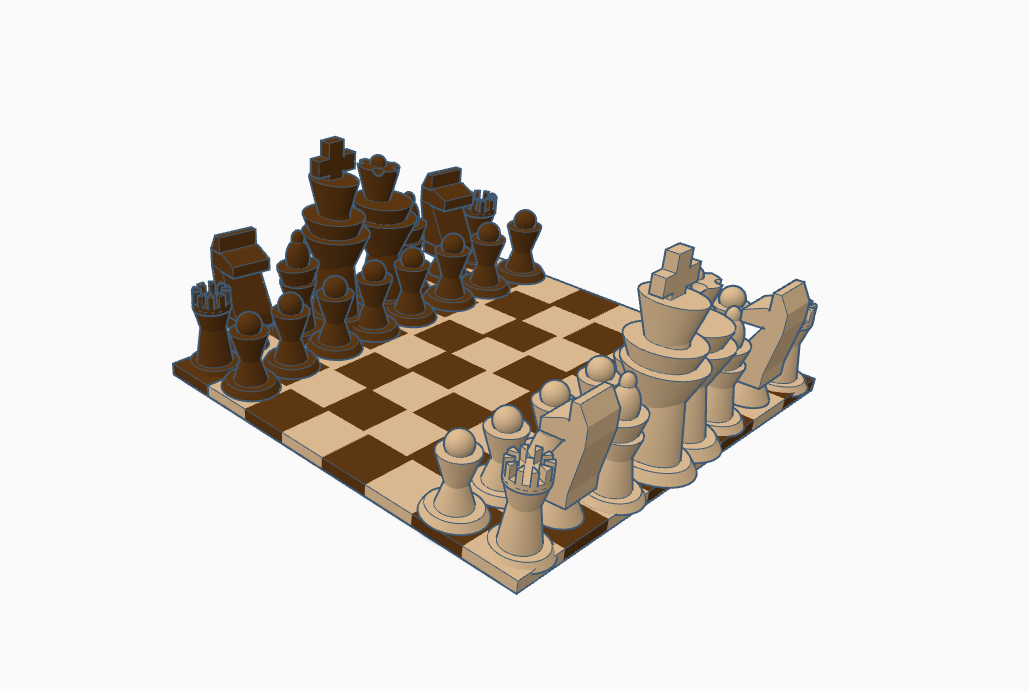
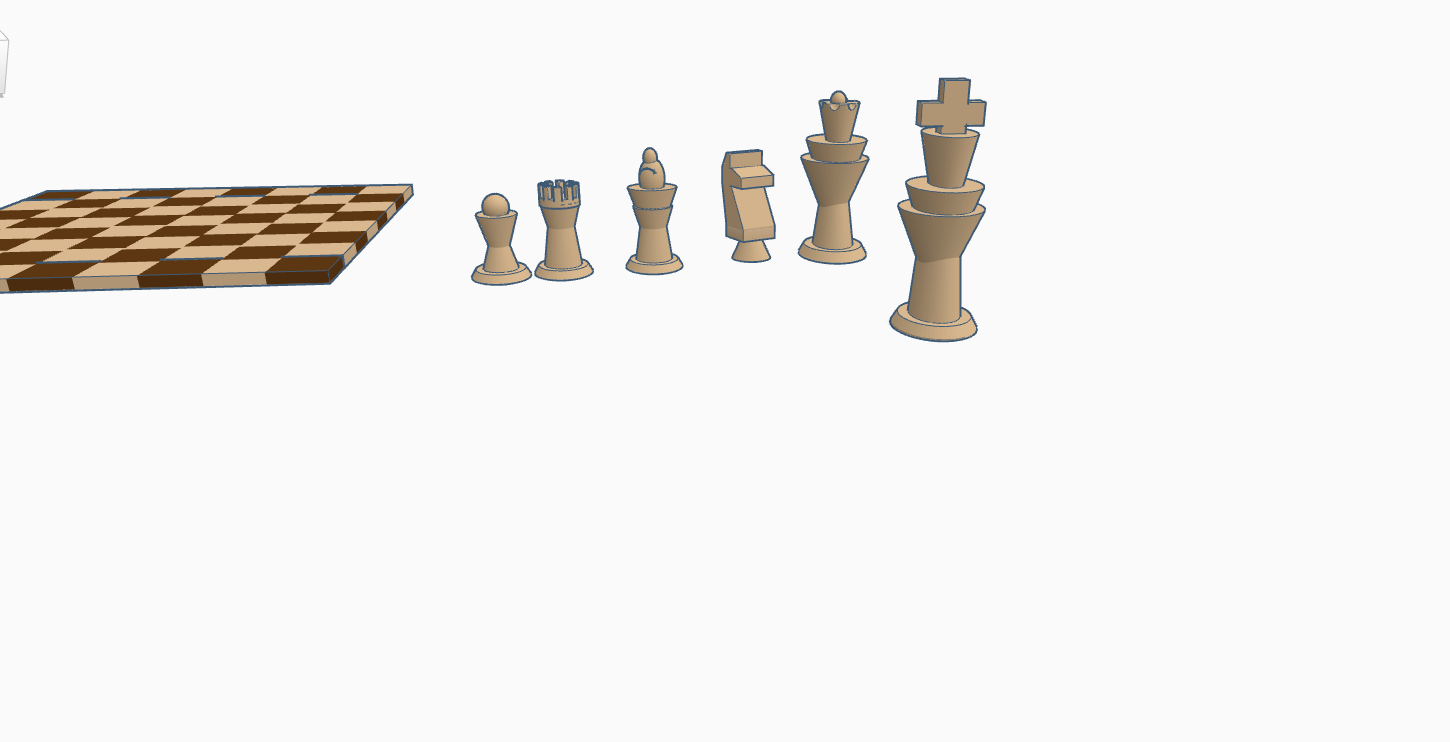
Setting Up the Board and Chess Pieces

- Arrange the chess pieces on the board and we are ready to play.
3D Print Guide


- Add supports at all overhanging portions and at angles larger than 45 degrees when you are ready to 3D print this model. This will not only guarantee fluid printing but also enhance the over.