How to Make Yoda With Tinkercad
by DamascusSword247 in Workshop > 3D Printing
983 Views, 3 Favorites, 0 Comments
How to Make Yoda With Tinkercad
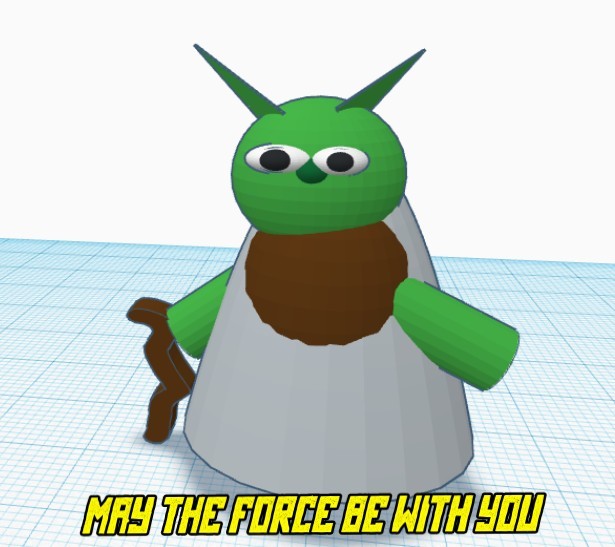
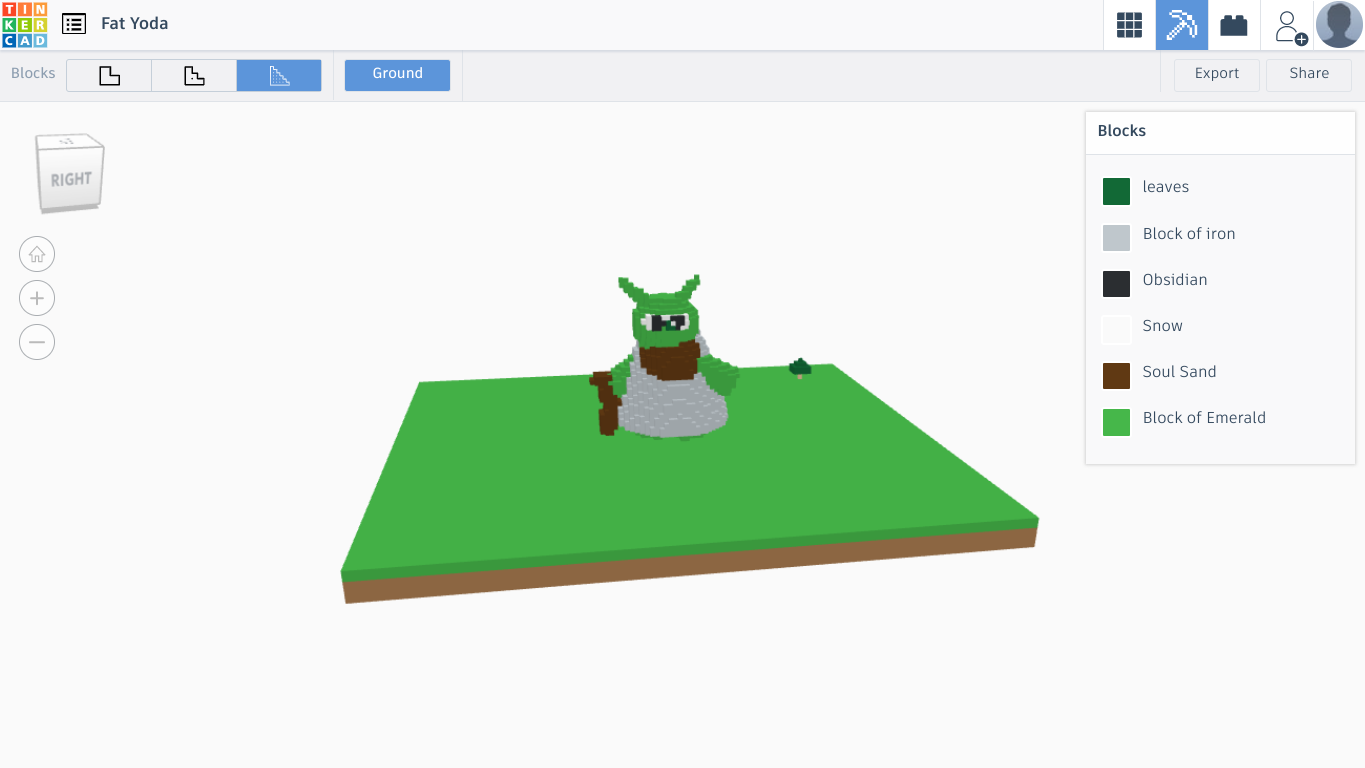
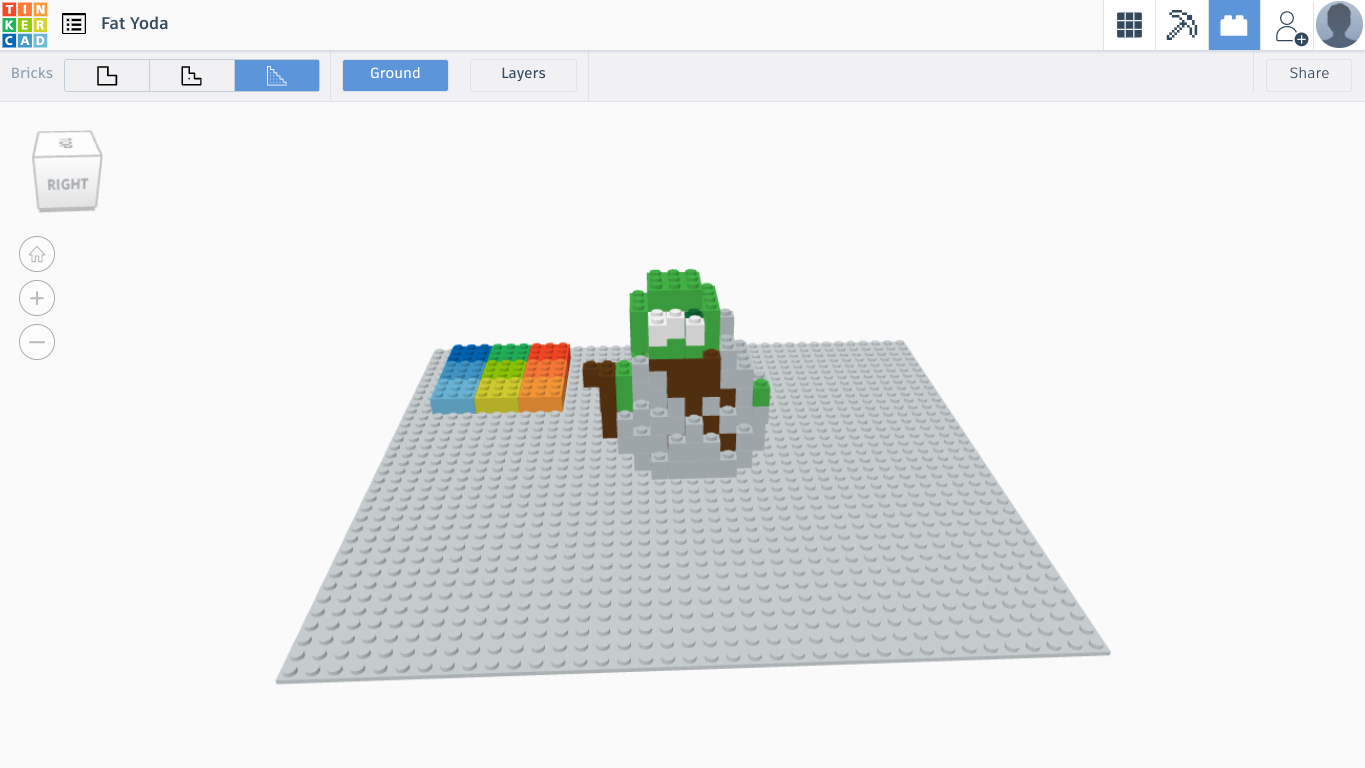
I recently have noticed more and more Instructables for tinkercad and Yoda, so I incorporated both of them to create a toy for young children, teens. So keep reading this instructable to find out how I did it.
Supplies
3-d printer (optional)
Tinkercad
Starting Your Yoda Figurines Body
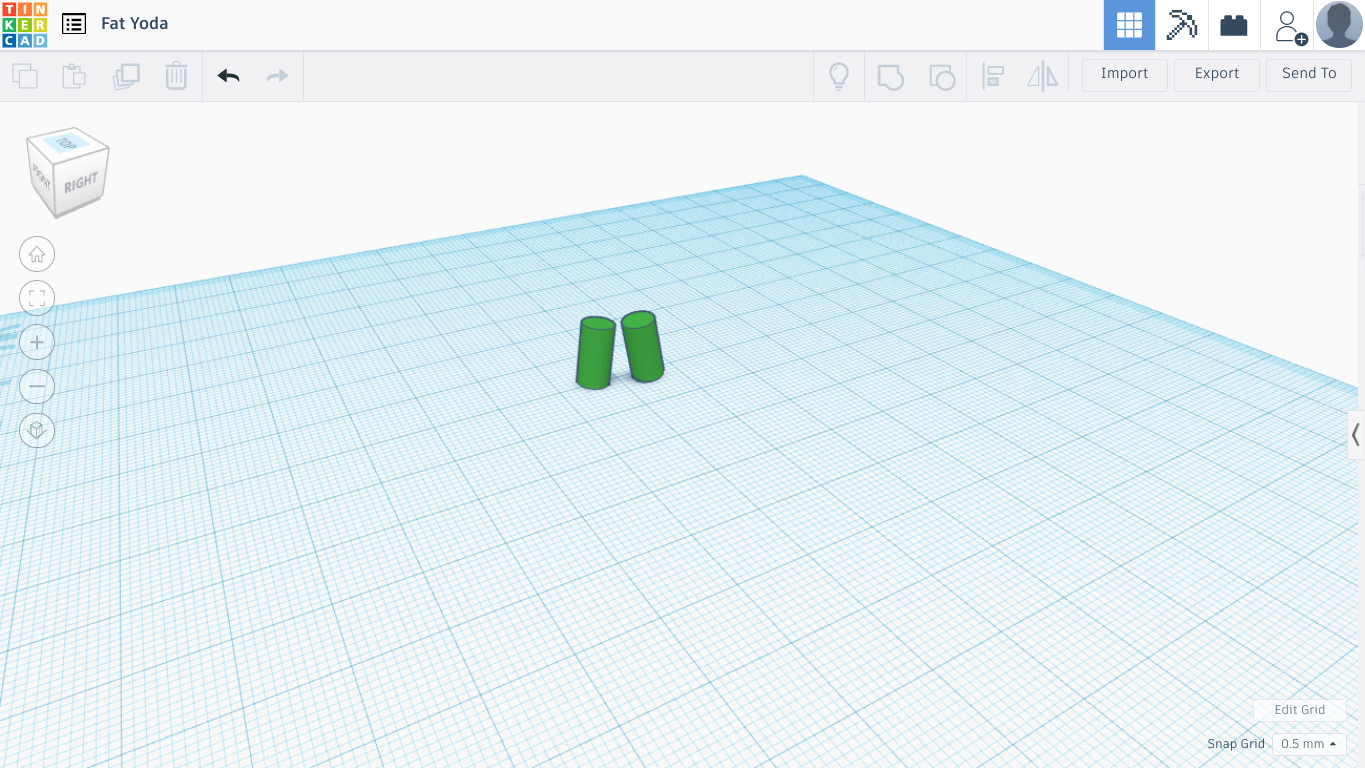
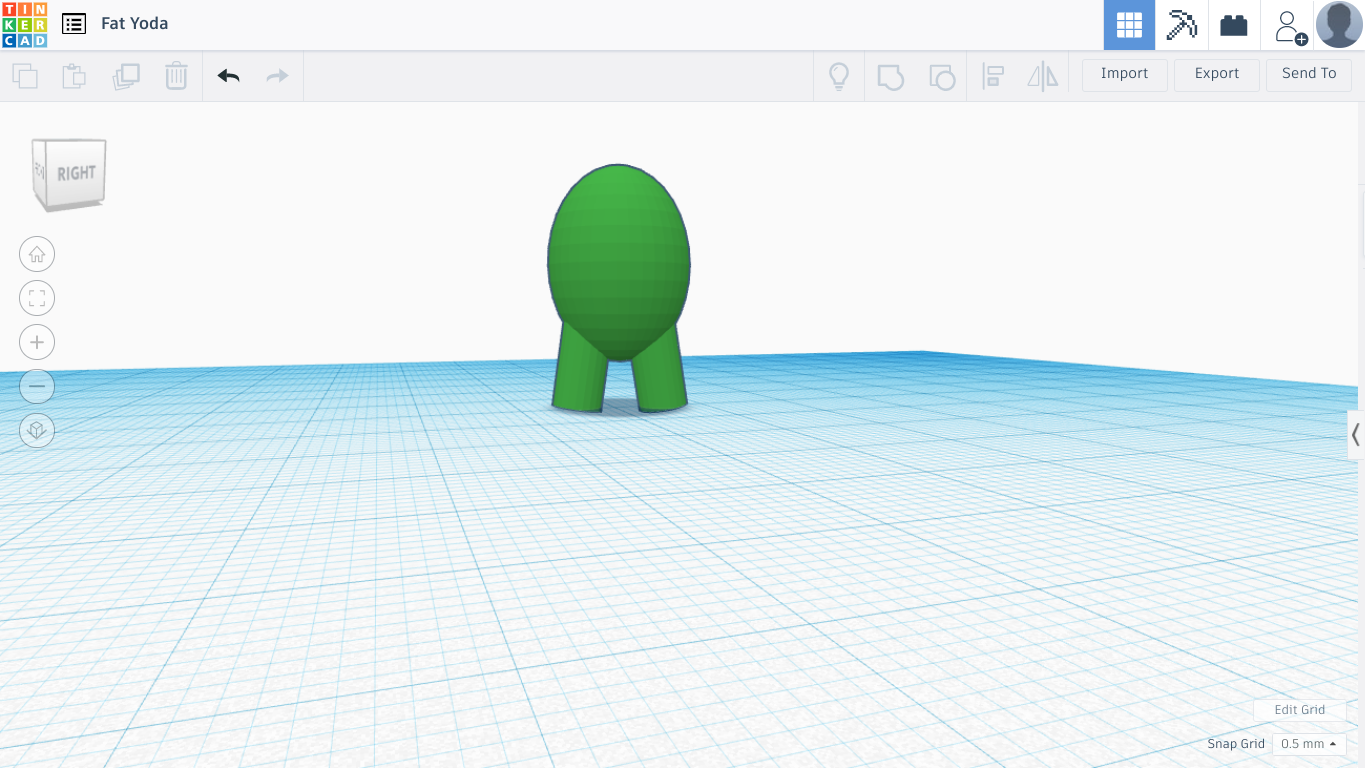
First, I started with 2 cylinders, shrank them down to the right size, then rotated them to the right angle. Then I used a sphere and made an egg-like shape. I then placed it on top of the two legs by lifting it up with the little black arrow (not in pictures) to the right height and then moved it over. Hint (for exact measurements, place your snap grid as low as it can go which is 0.1 mm)
Adding the Cape, Arms and Stick/Lightsaber
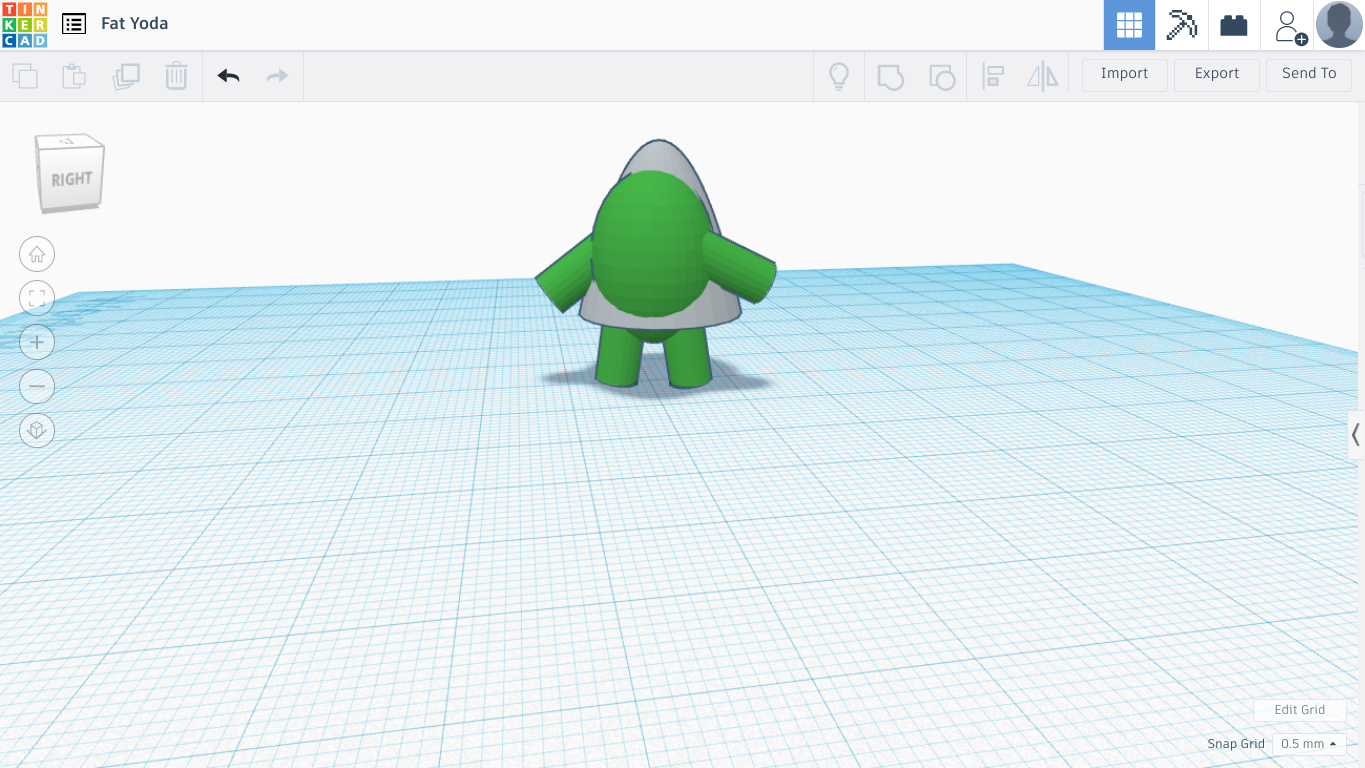
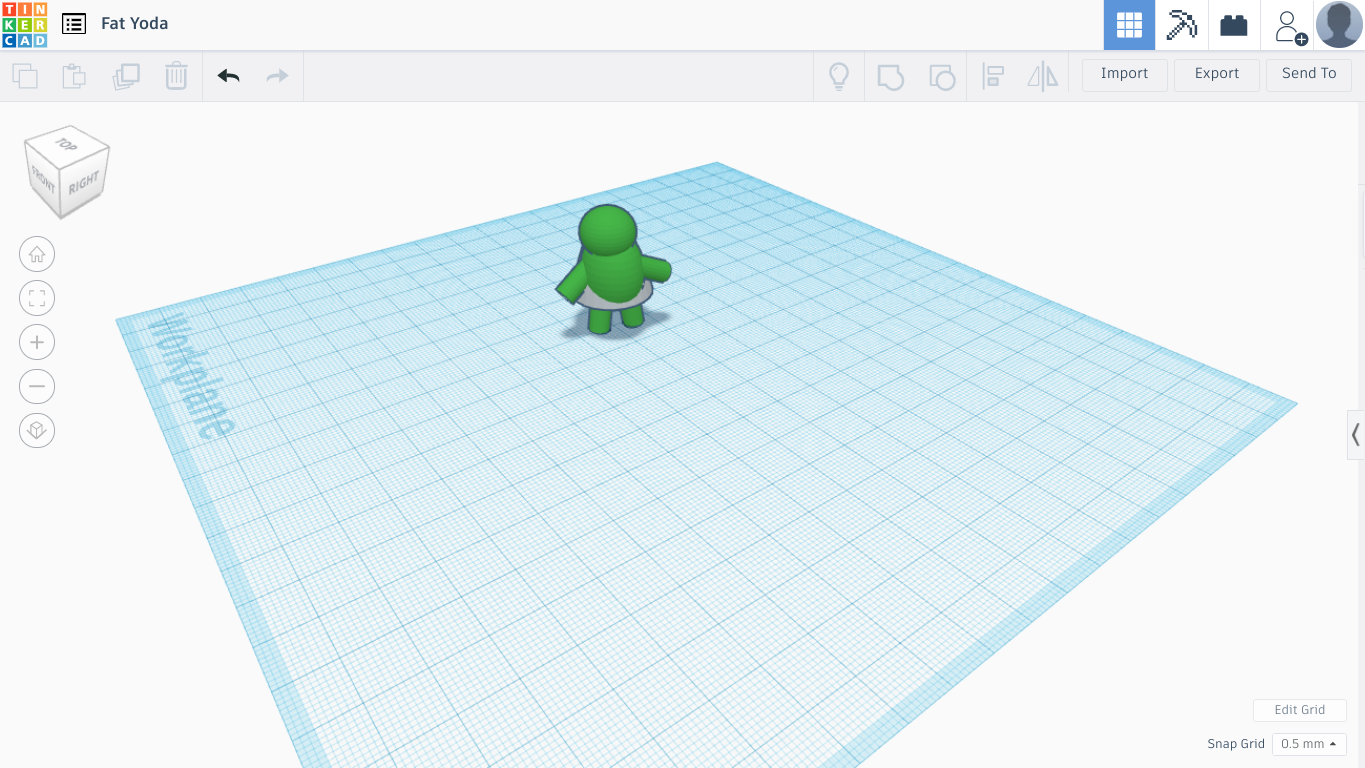
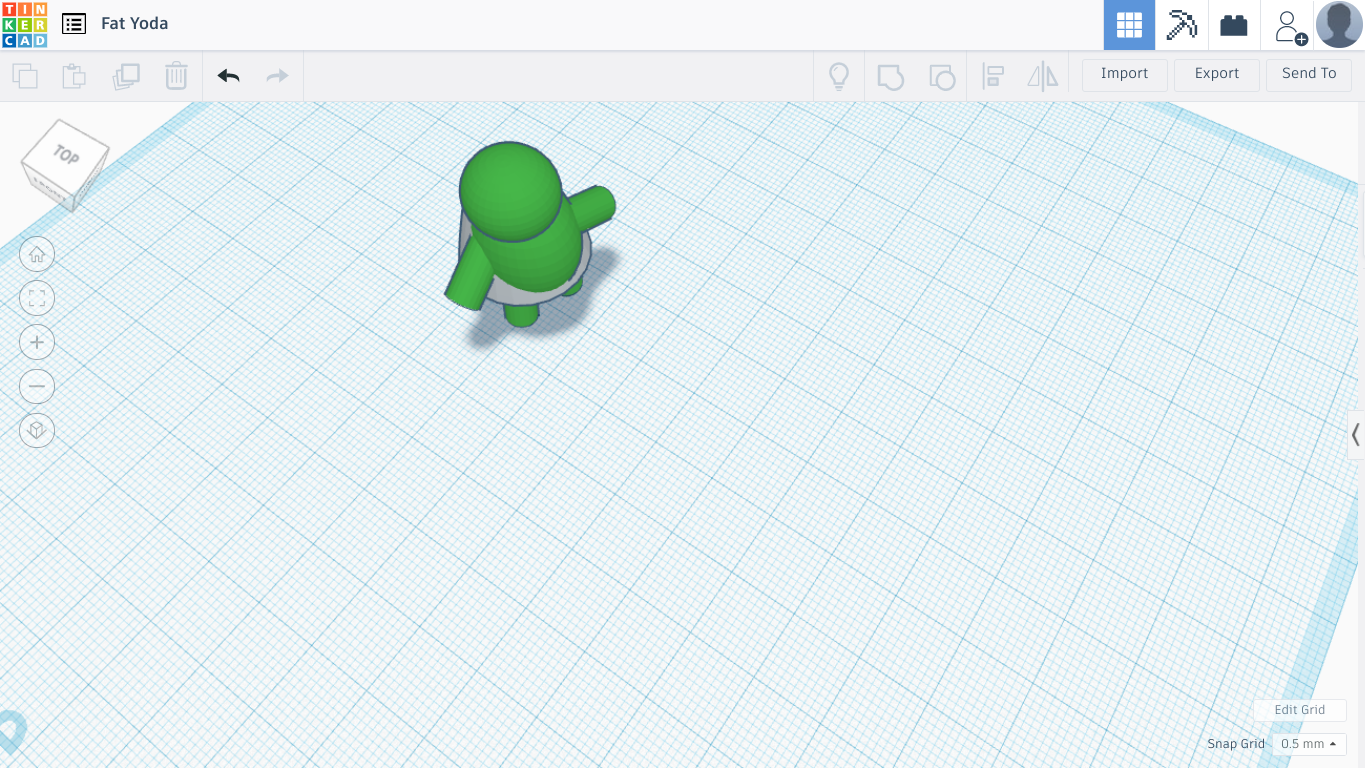
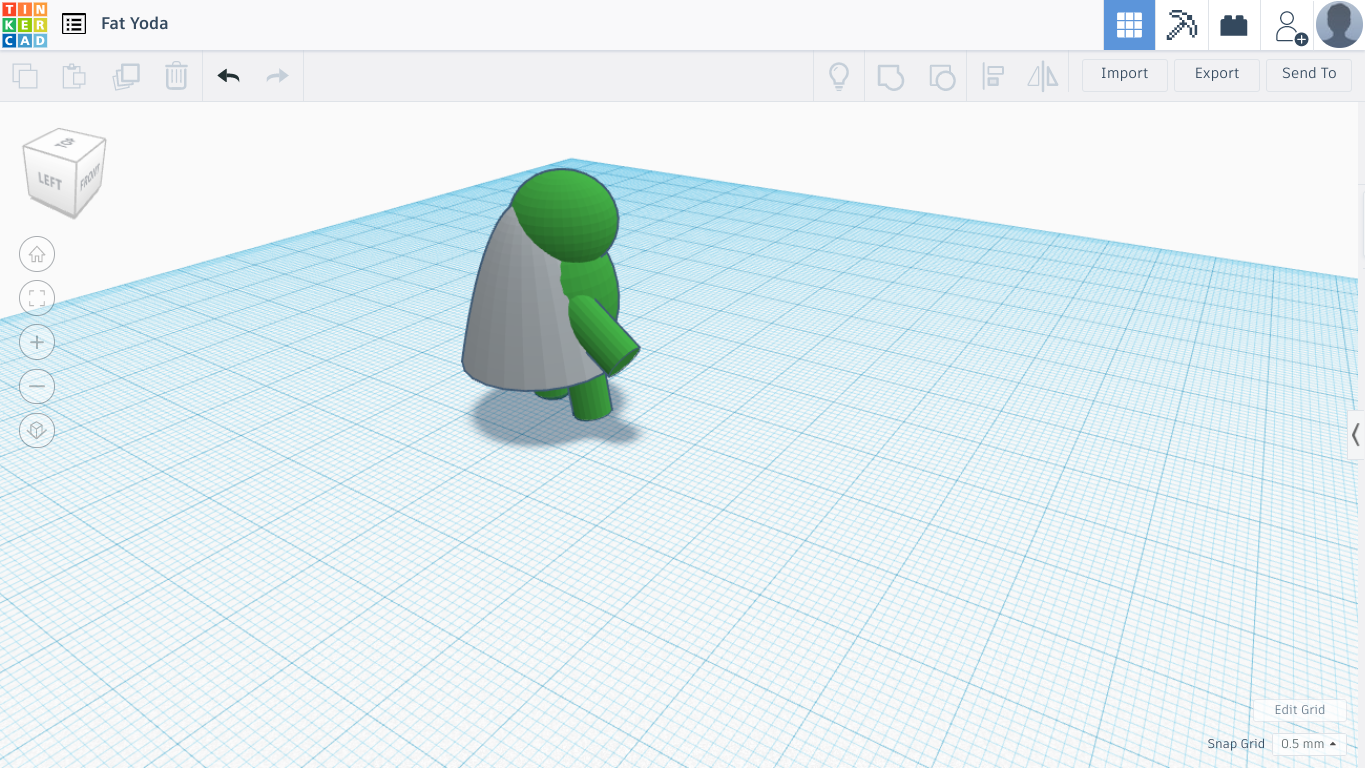
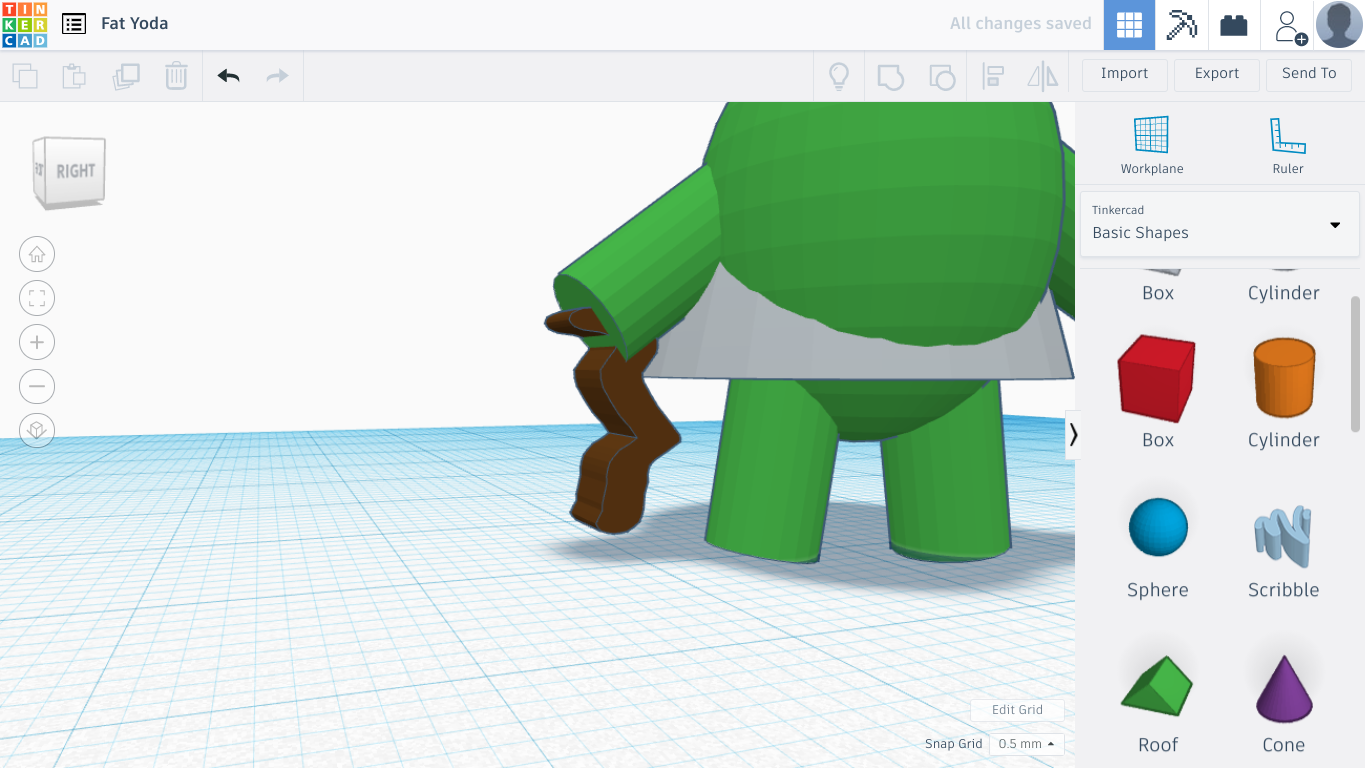
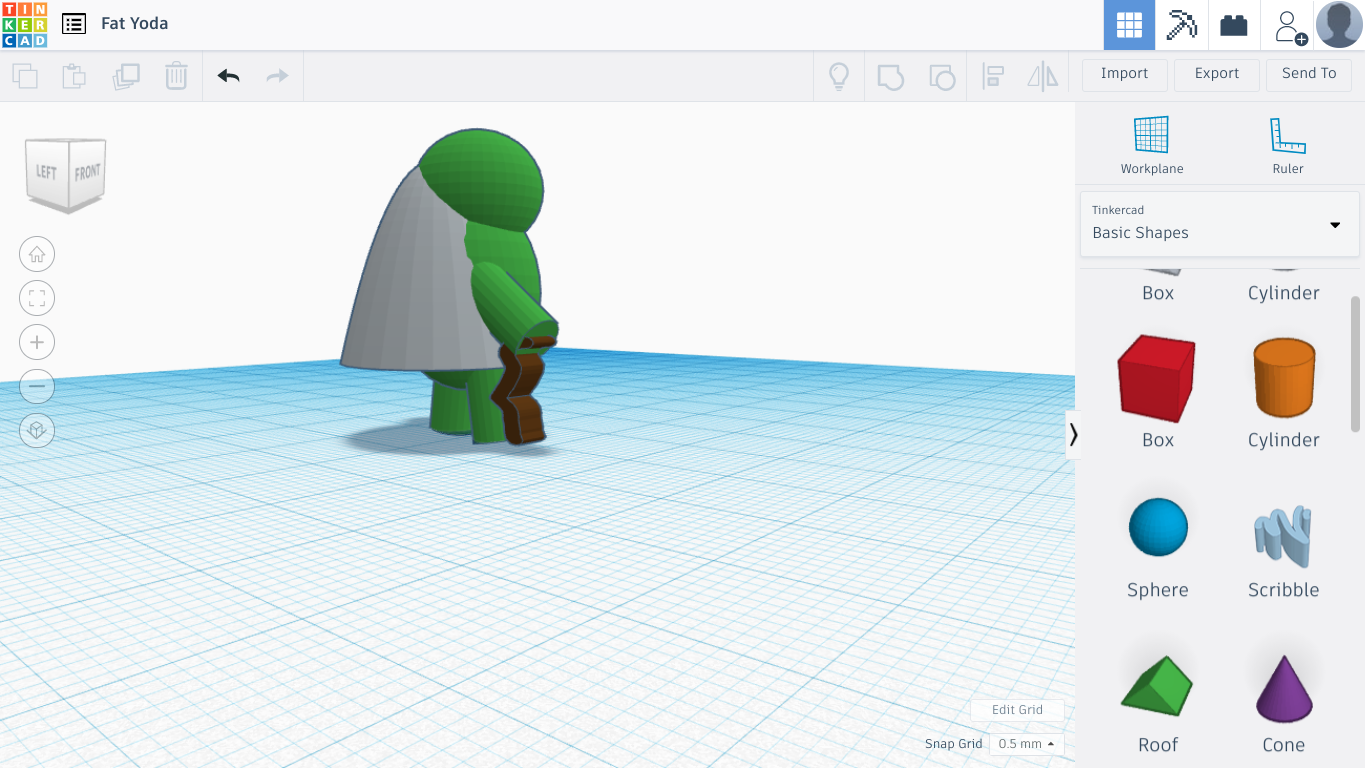
I used a paraboloid for the cloak and resized it to the right size to fit all the way around his body, which I did towards the end. In my pictures for this one, the coak didn't fit right so later I moved it around till I was satisfied. Then I placed two more small green cylinders on his sides, no need to be specific, then rotated and adjusted them to fit my needs. With the stick, I placed a scribble by his hand and drew approximately what his stick looks like. Then I shrank it and rotated it upright, so it would look realistic.
Adding the Ears, Eyes, and Mouth
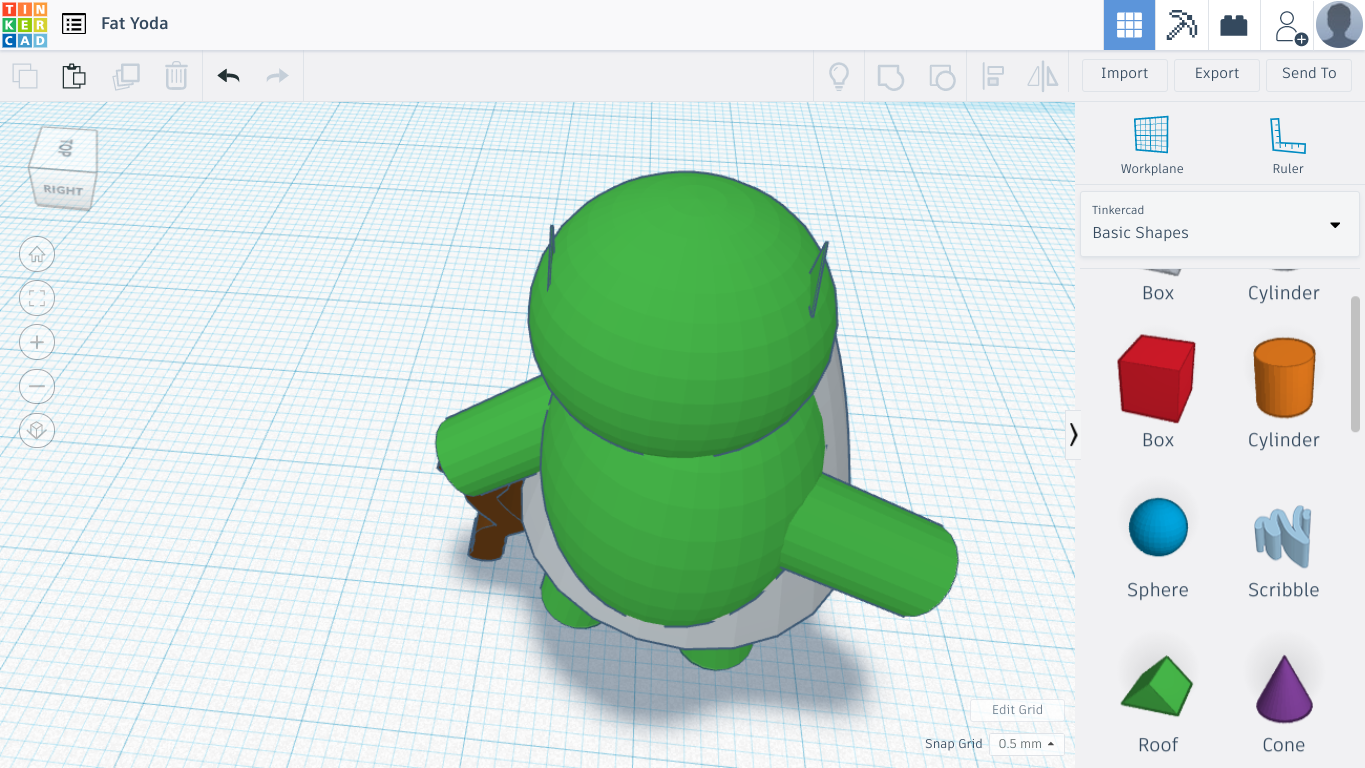
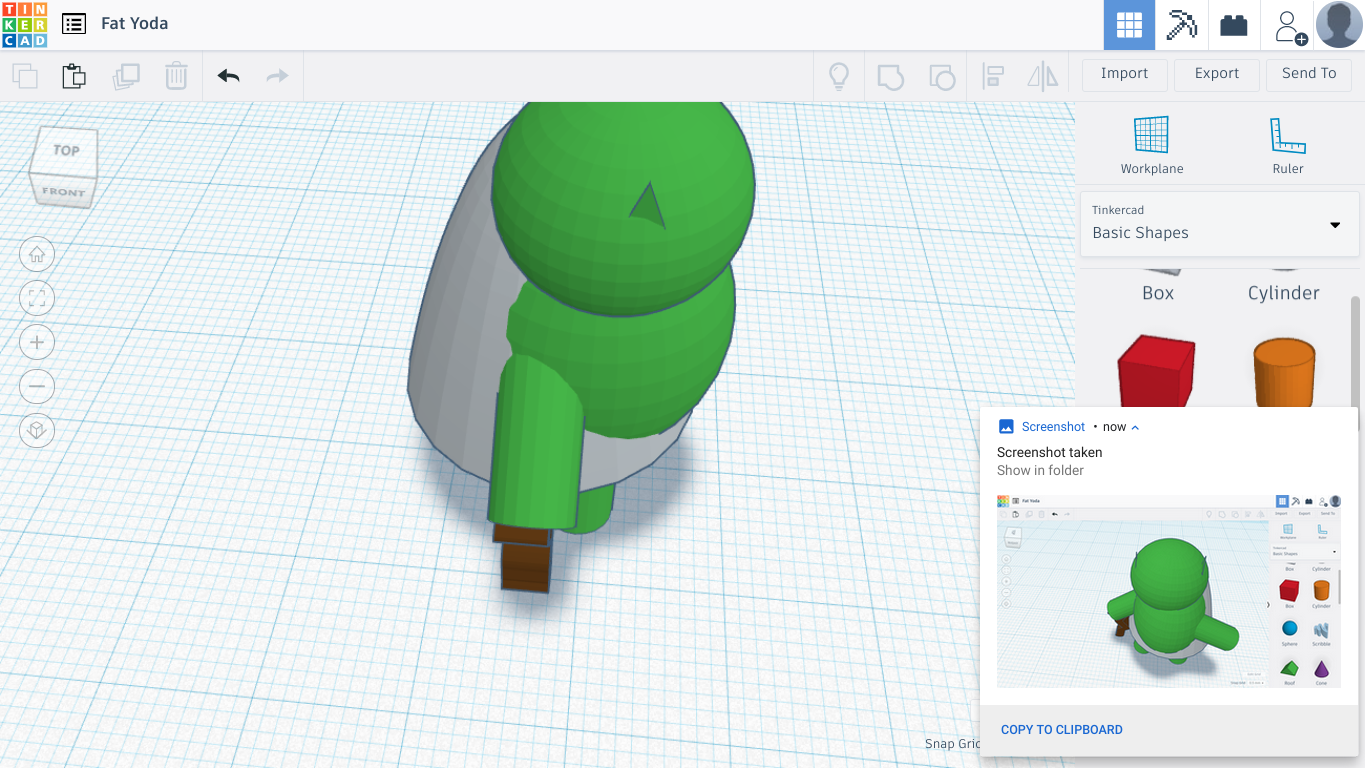
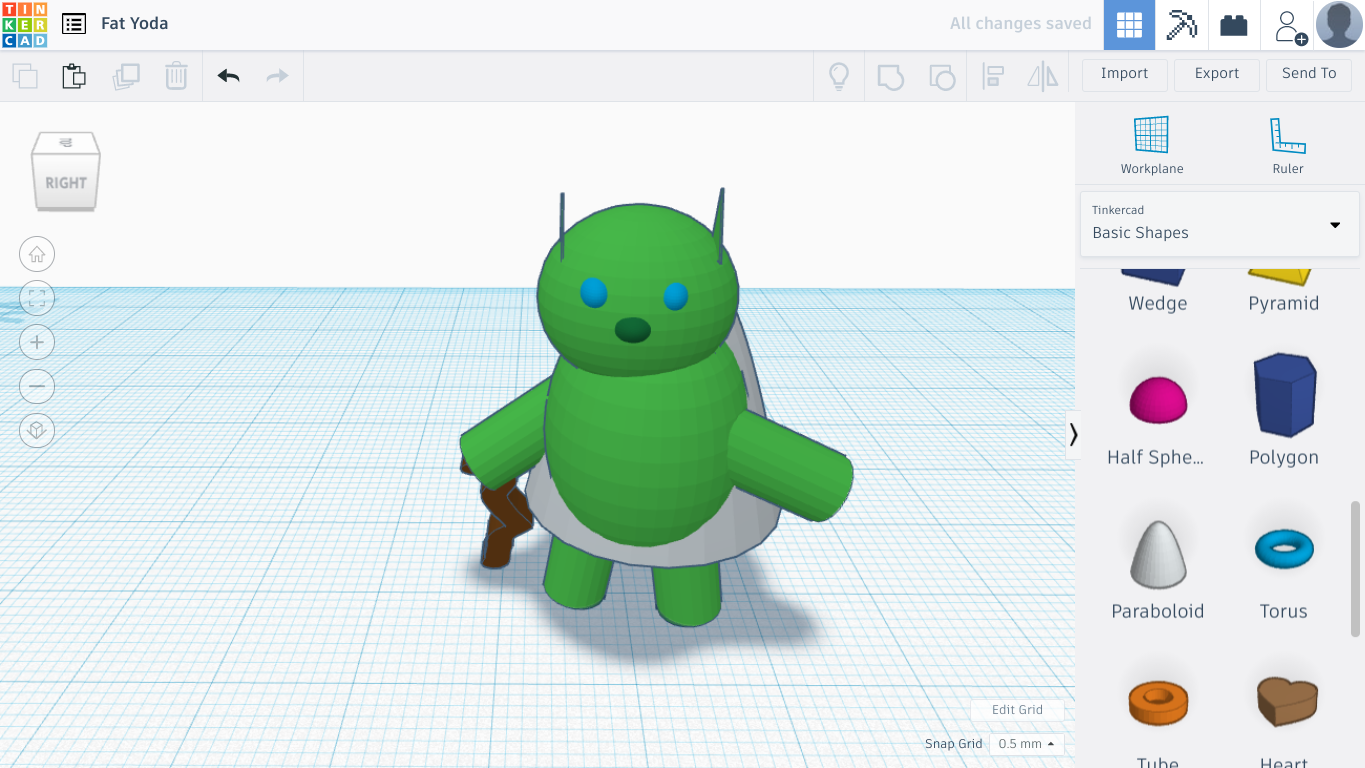
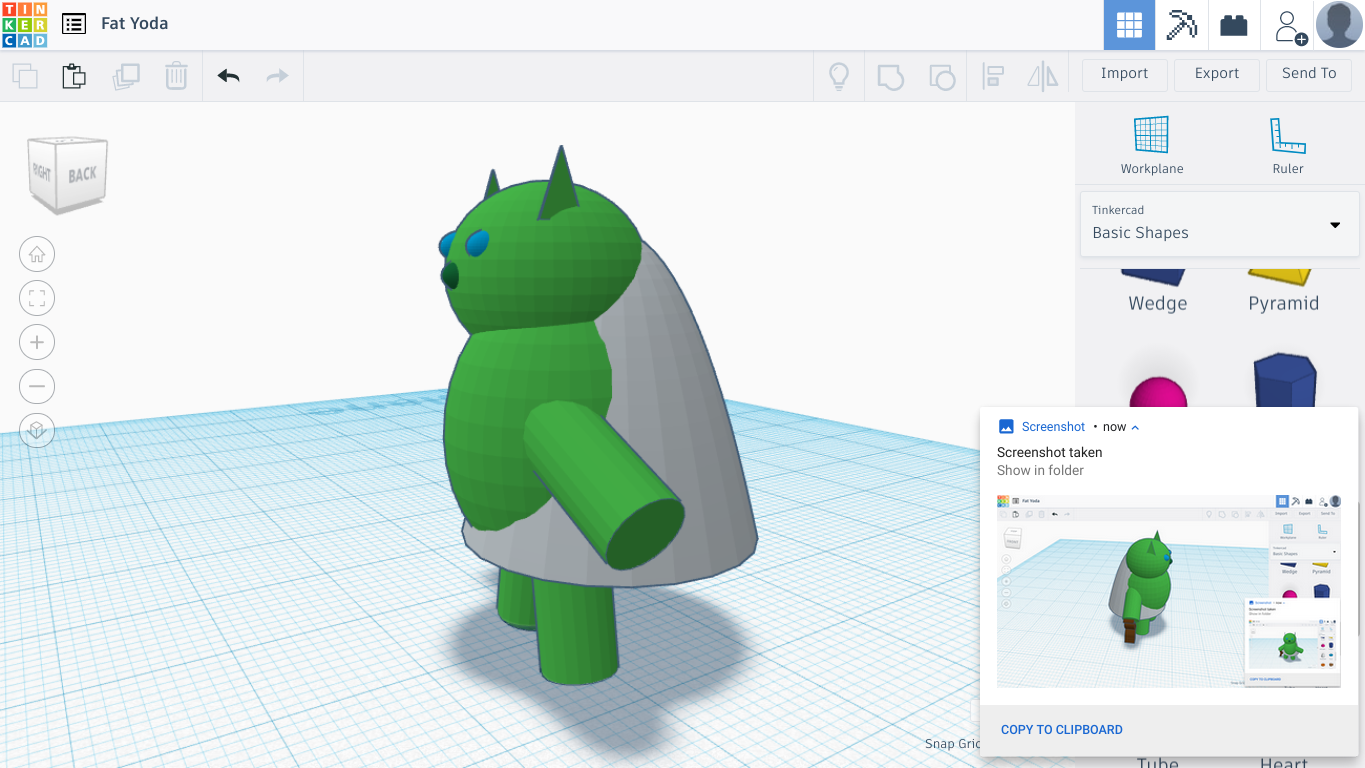
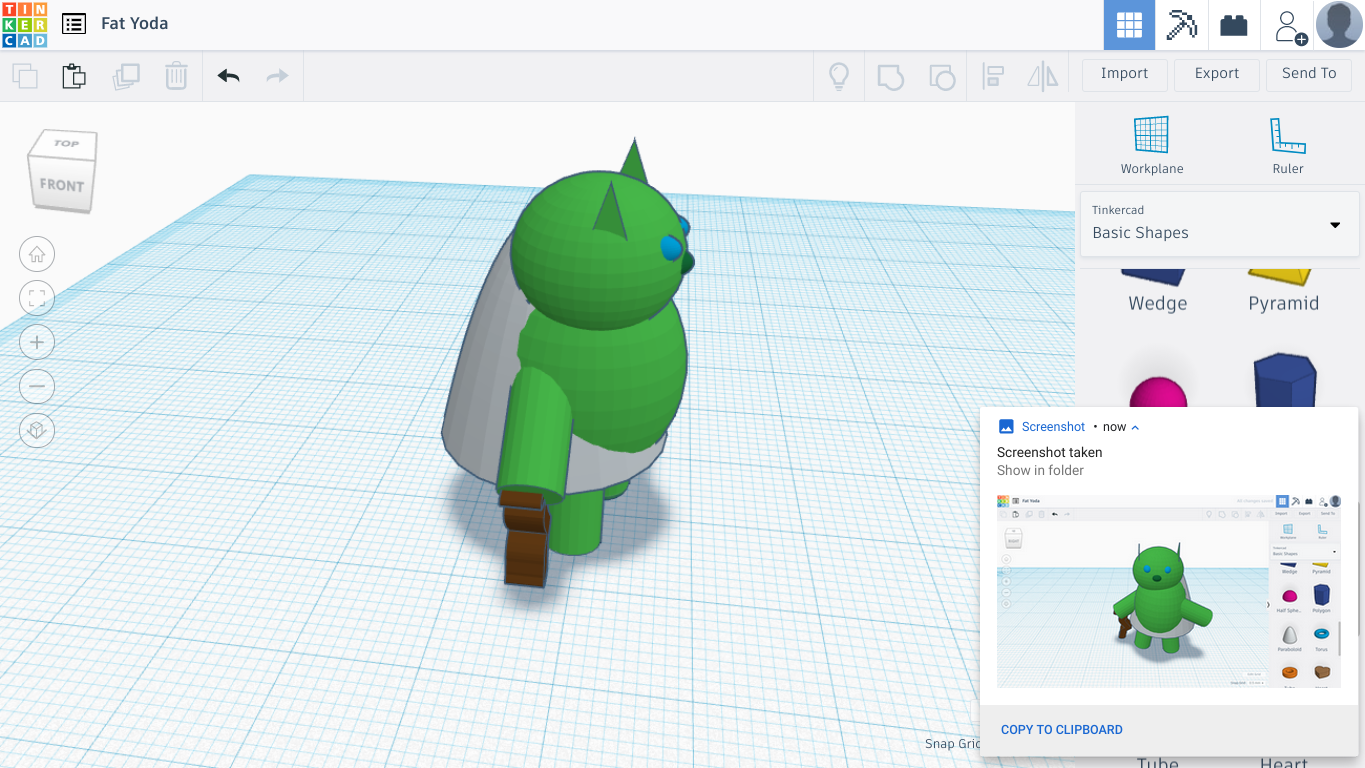
Next I made his ears. I took a roof shape and shrank it to the size that seemed reasonable. Then I raised it, rotated it, and placed it in the right position for my needs. Then I repeated the process. I then took two spheres for his eyes and placed them by the middle of his face after I moved them down to size. Making his nose, I took another sphere and changed its color, size, and height, so It would fit on his face right. Then on to final process.
Final Shaping and Designing
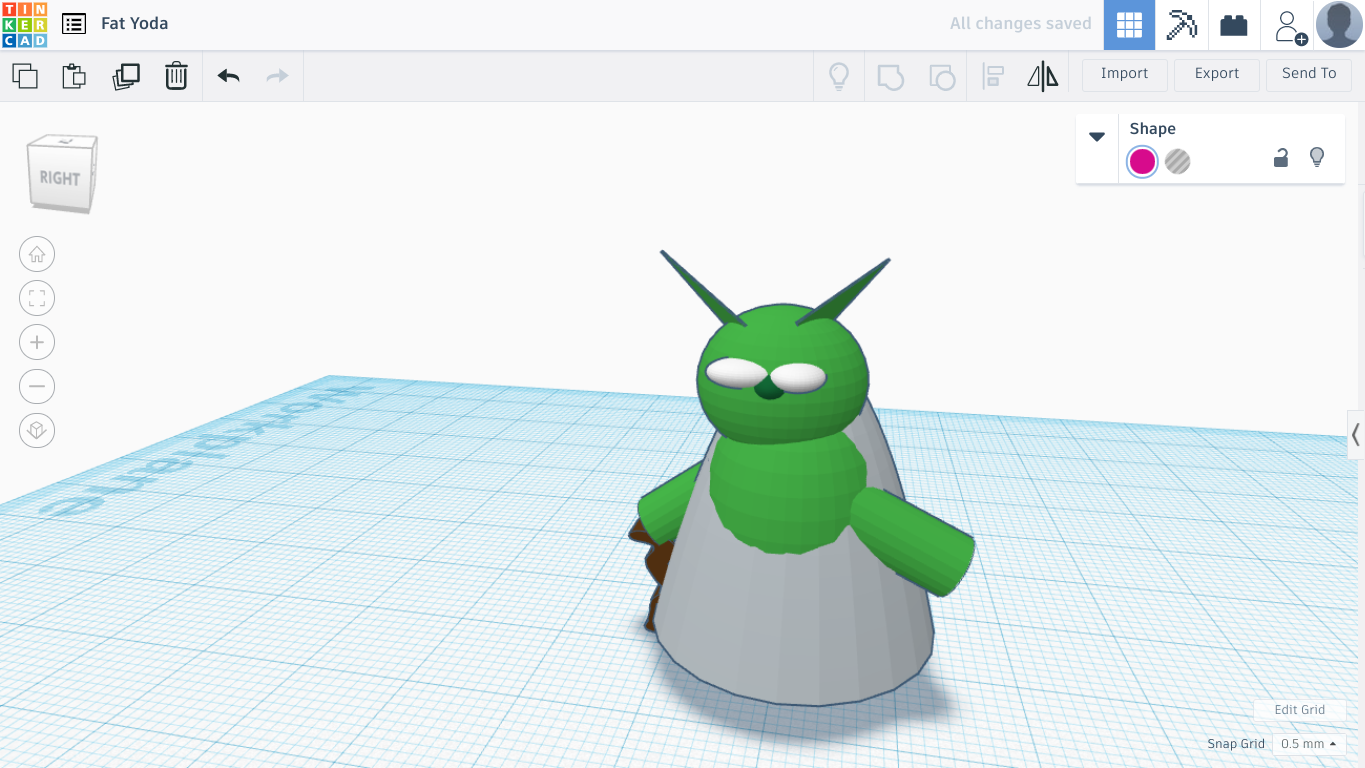
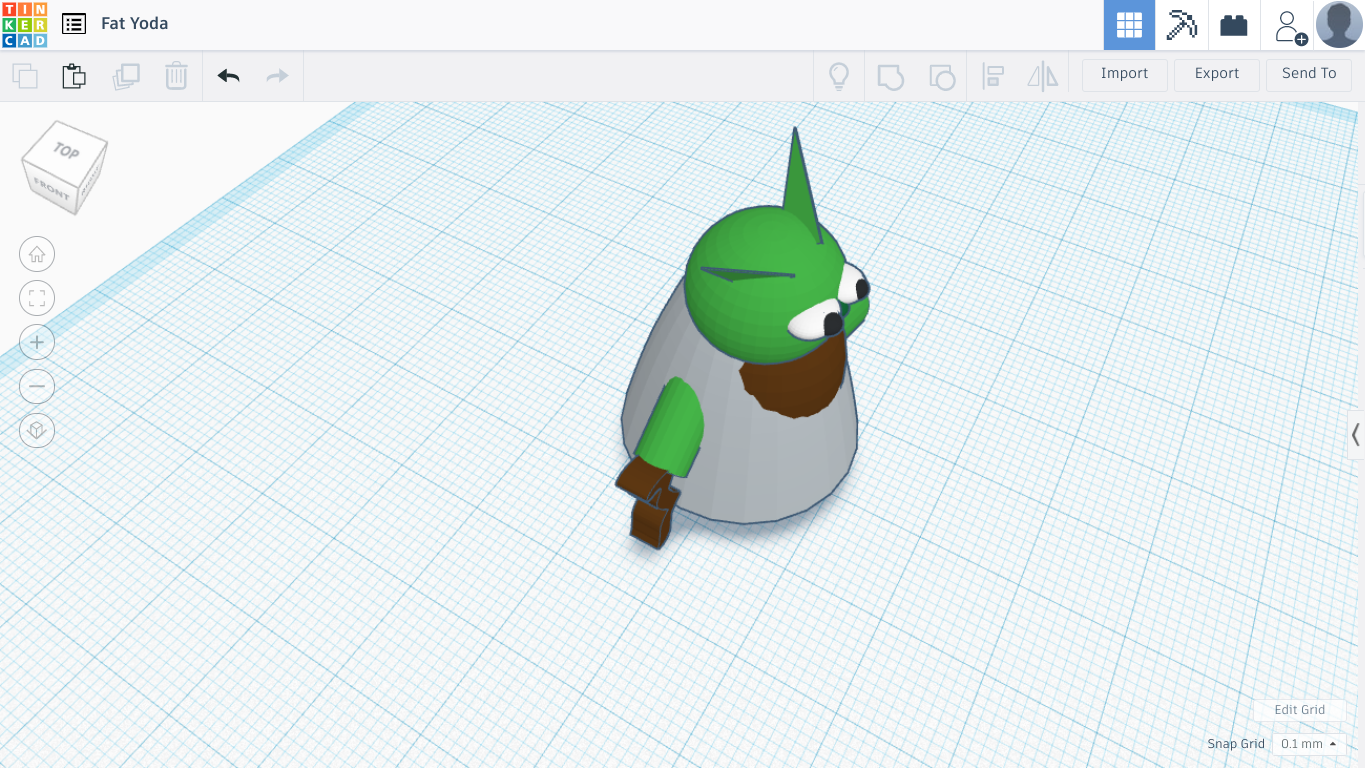
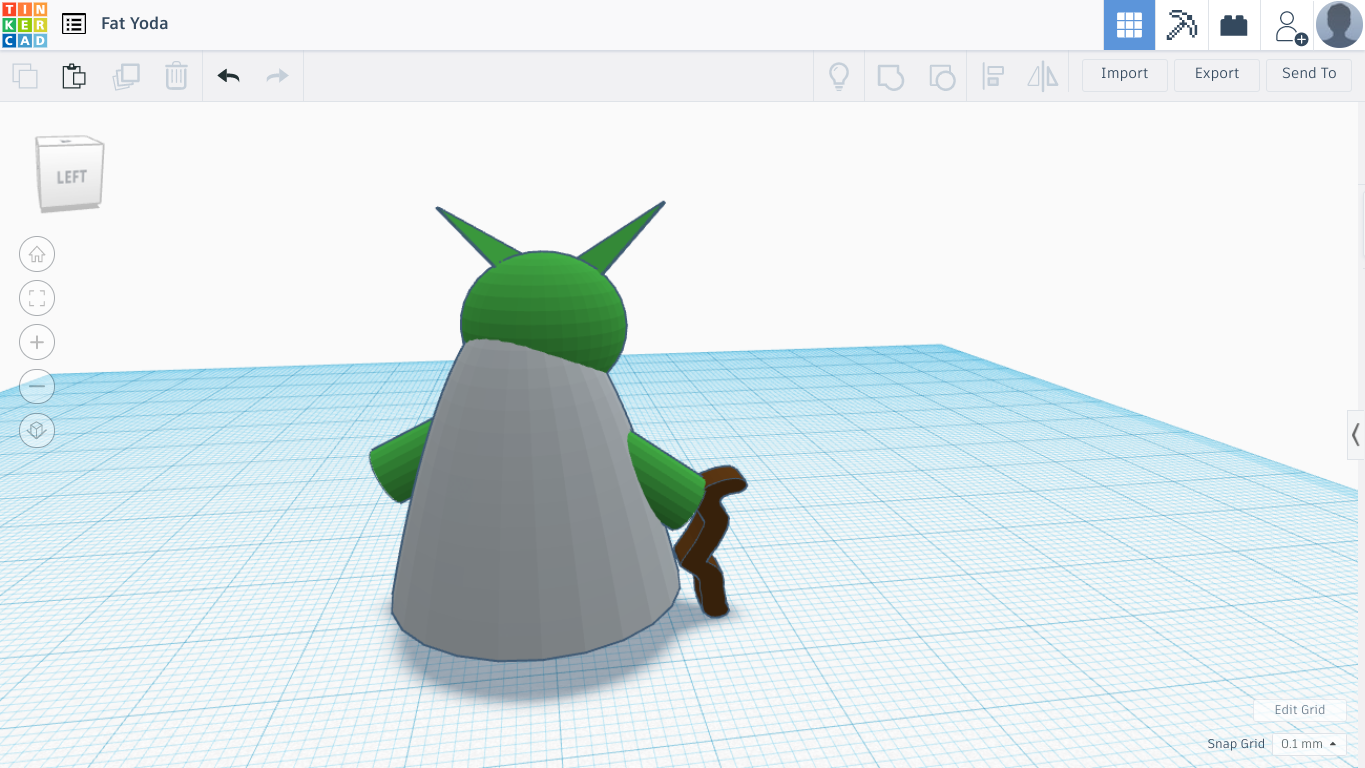
I resized everything after looking closer at a picture of Yoda, I changed the size and positioning of the ears, the eyes, and nose. Then I changed the color of the eyes and added two black half spheres. I reviewed it one more time. I decided to change the color of his inner shirt. It went from green, to brown,
The Final Product, Review Your Job
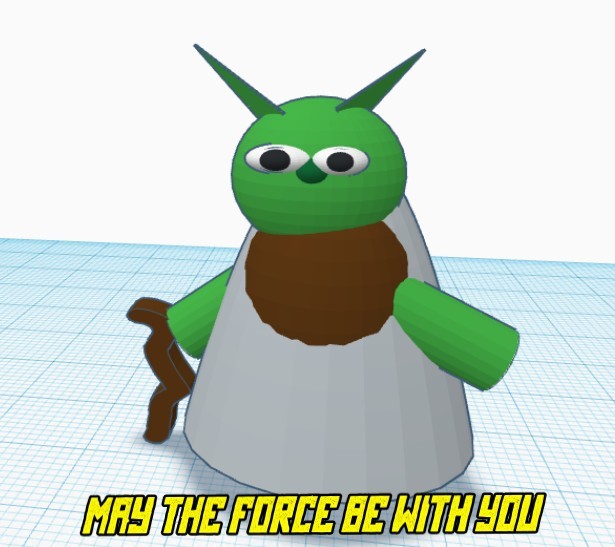
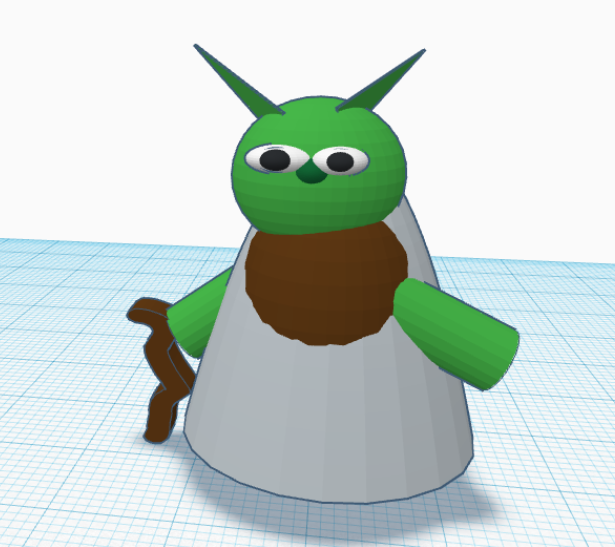
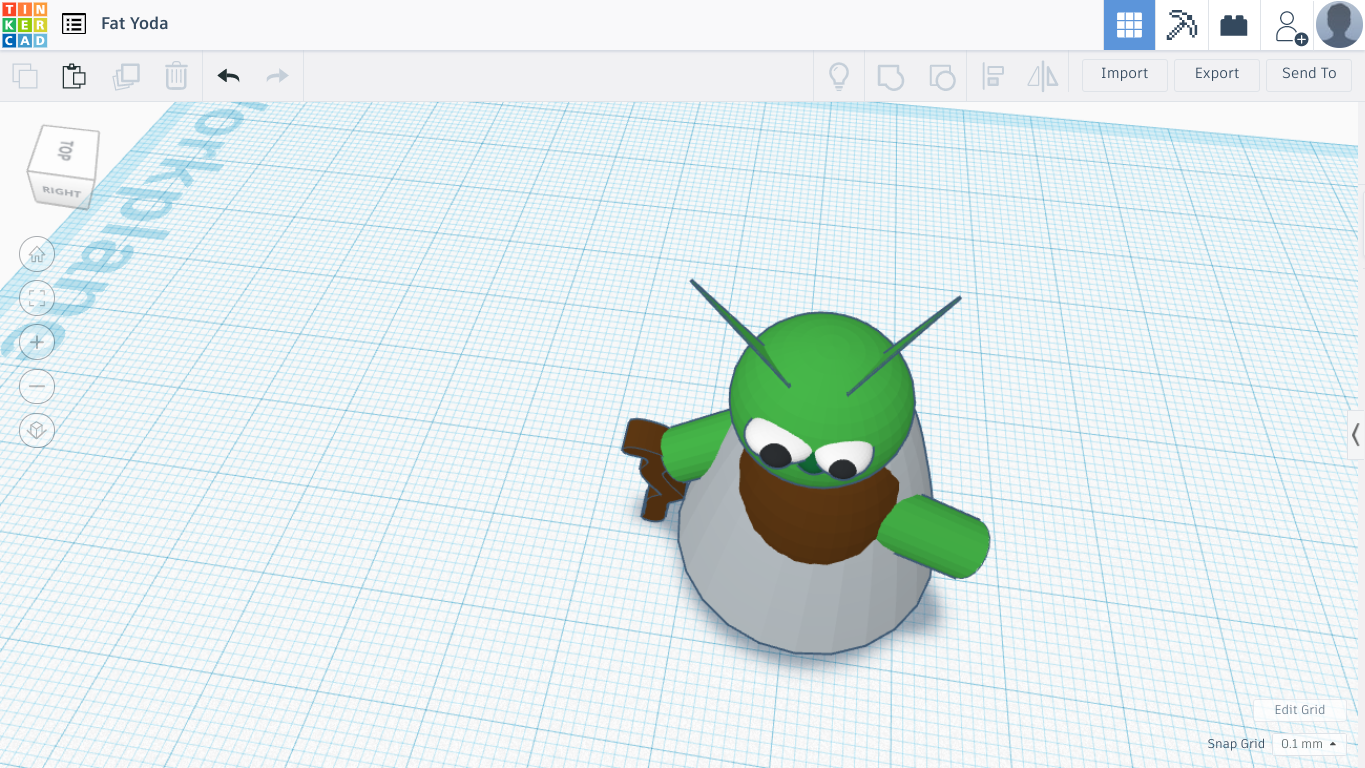
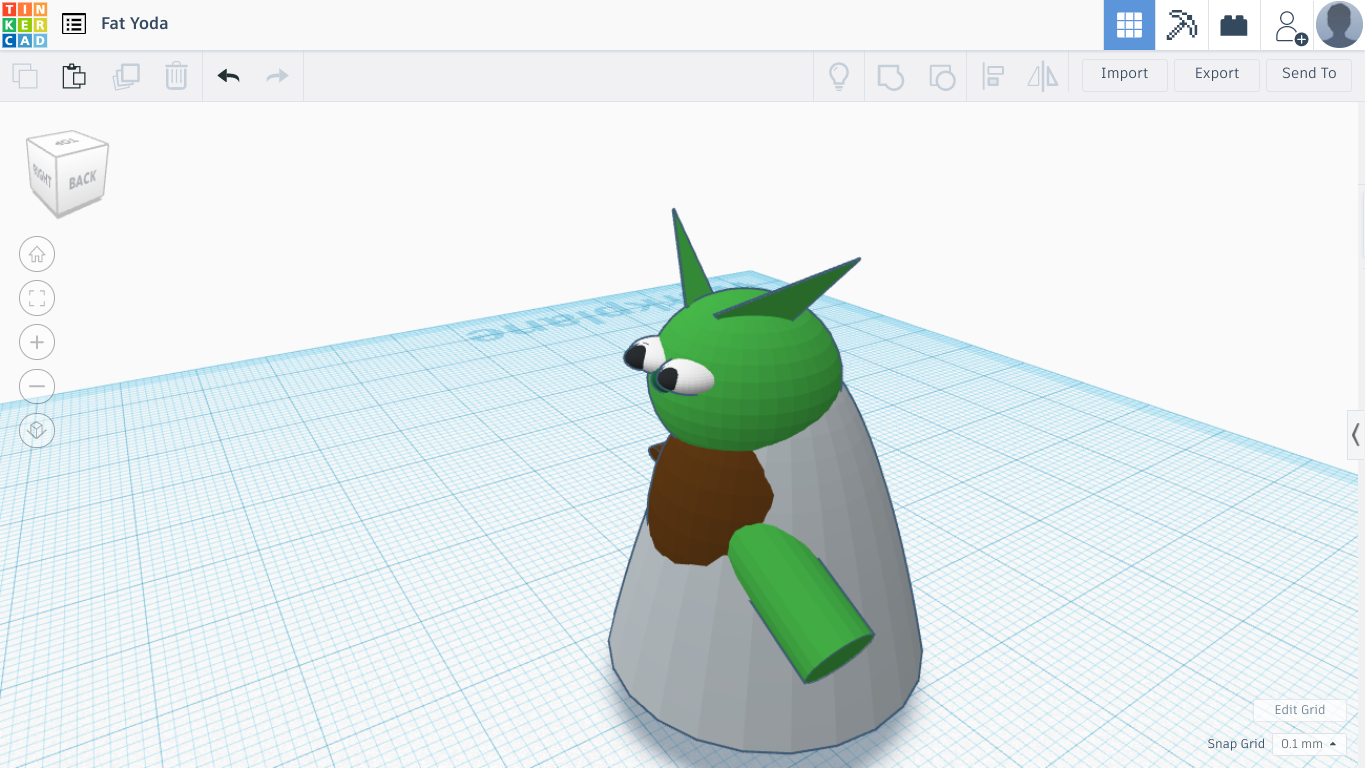
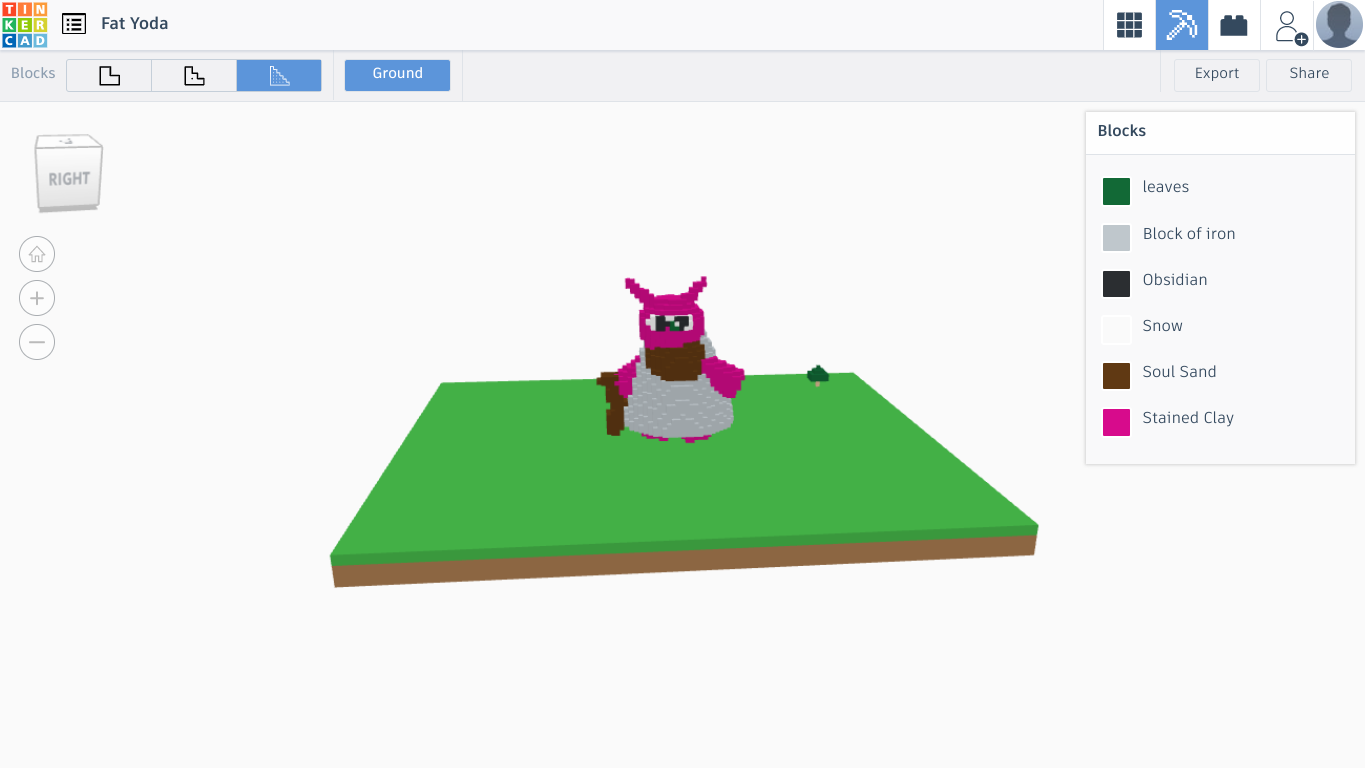
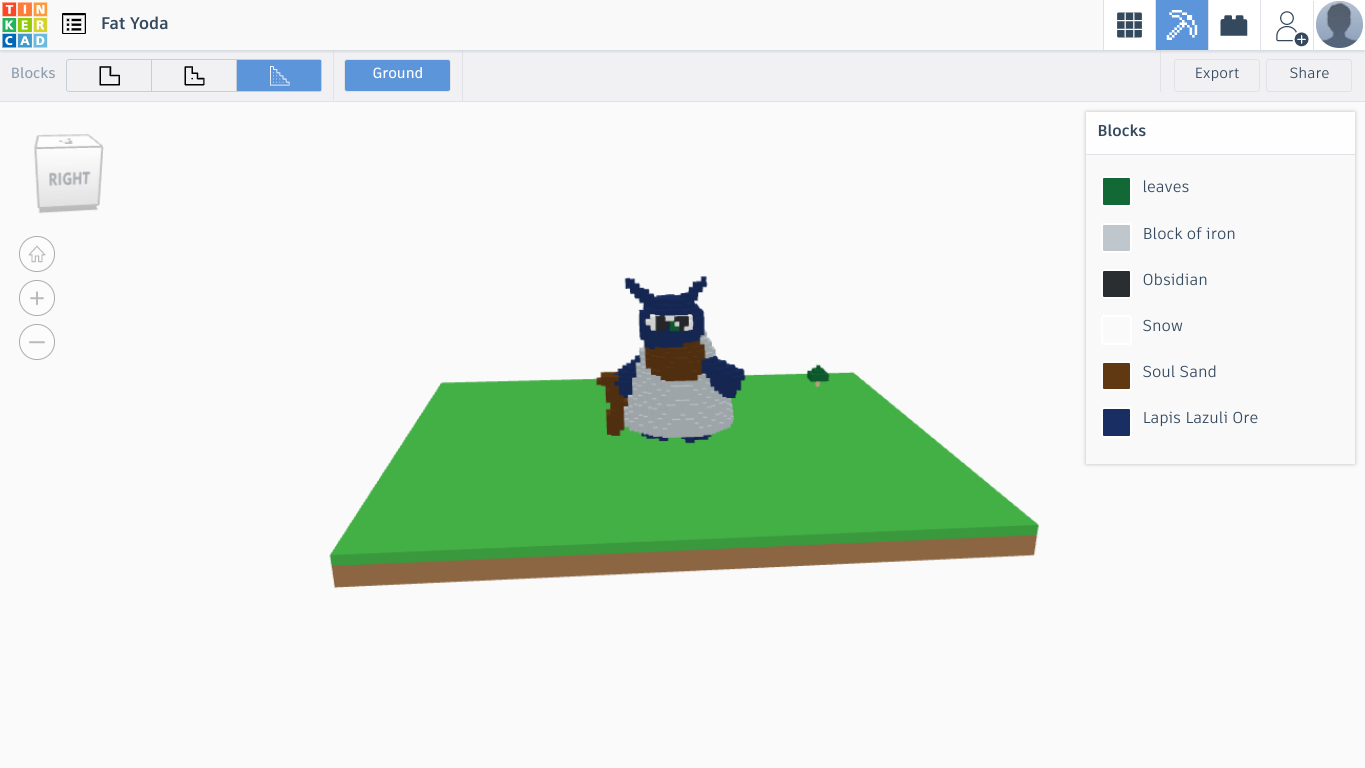
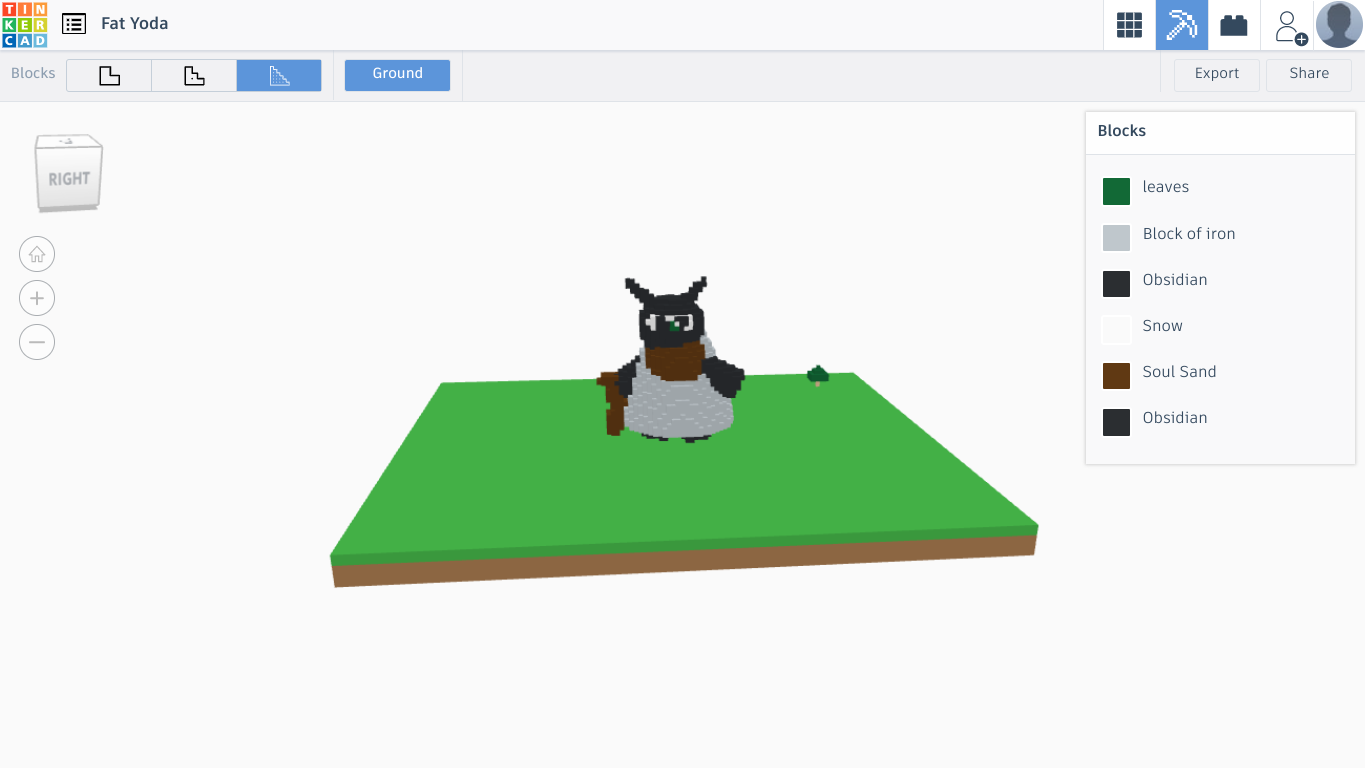
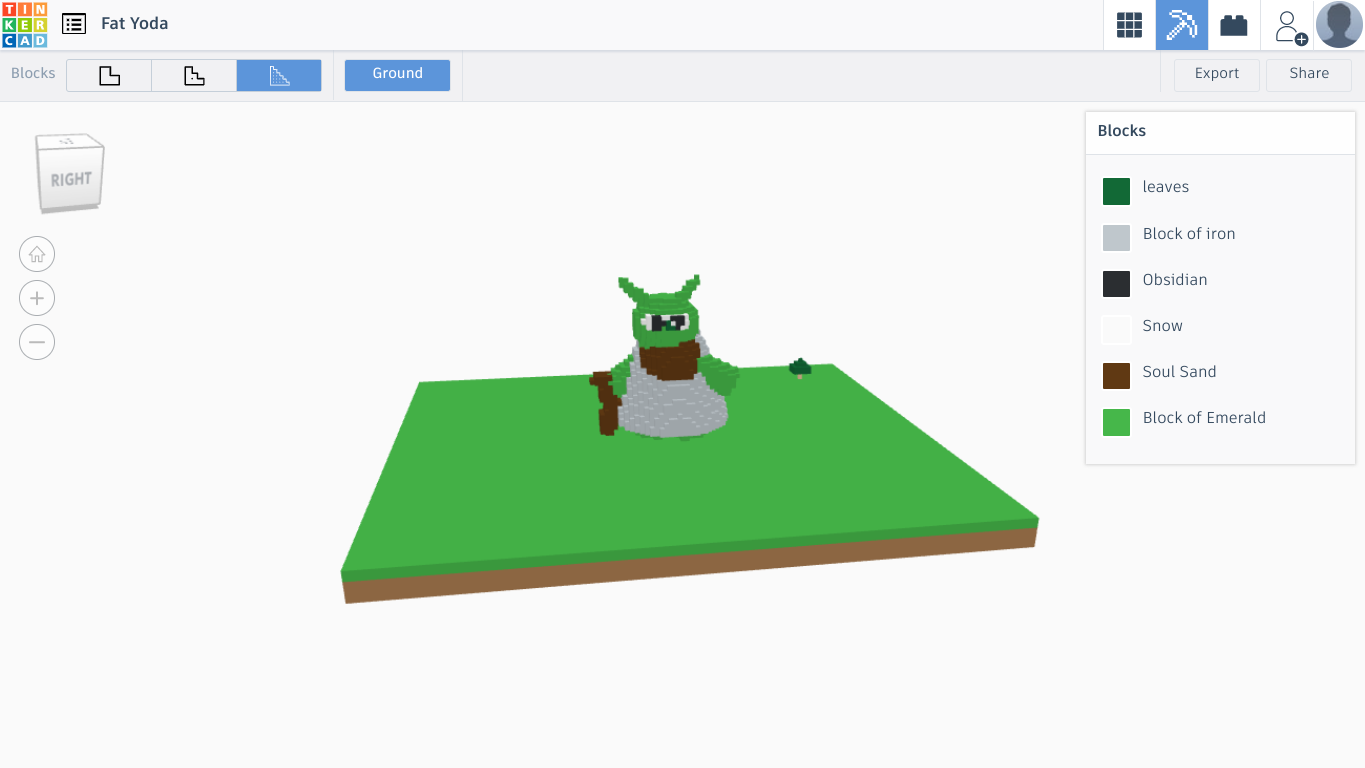
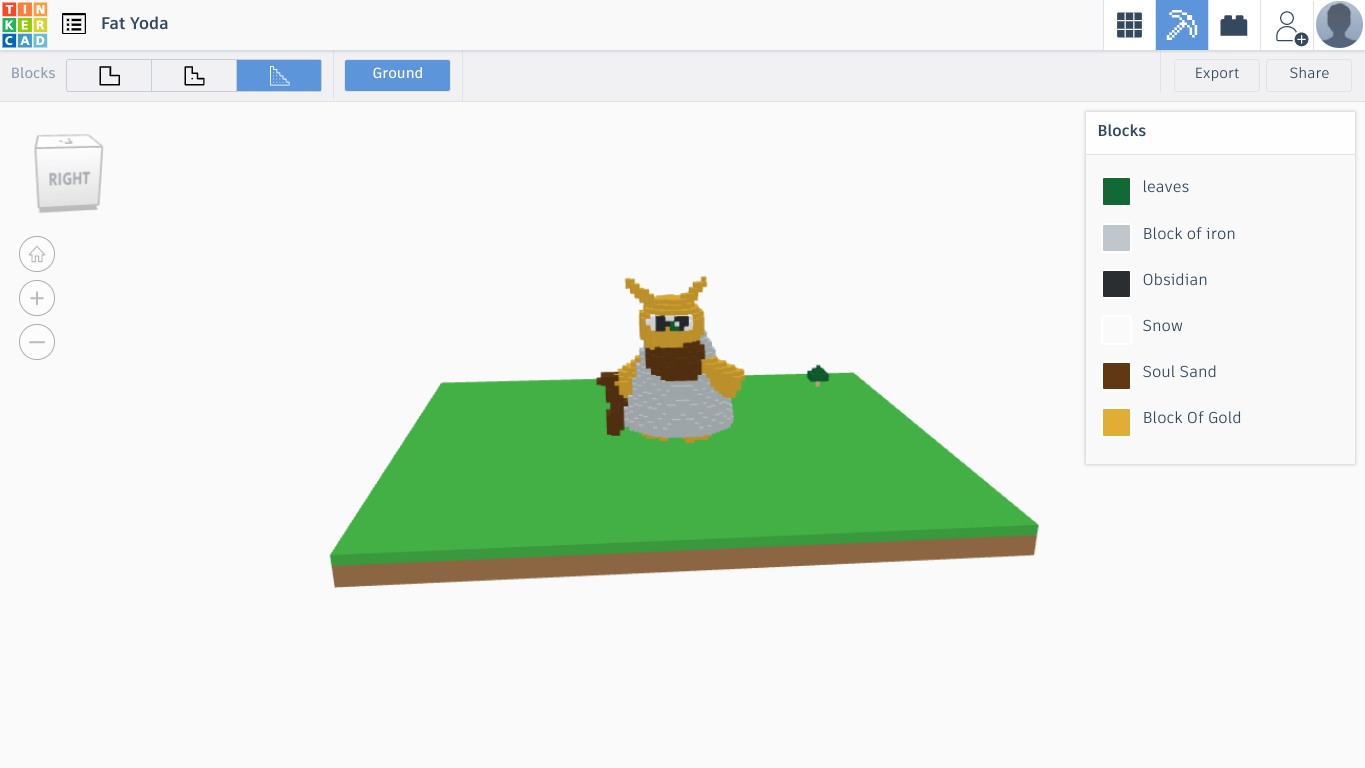
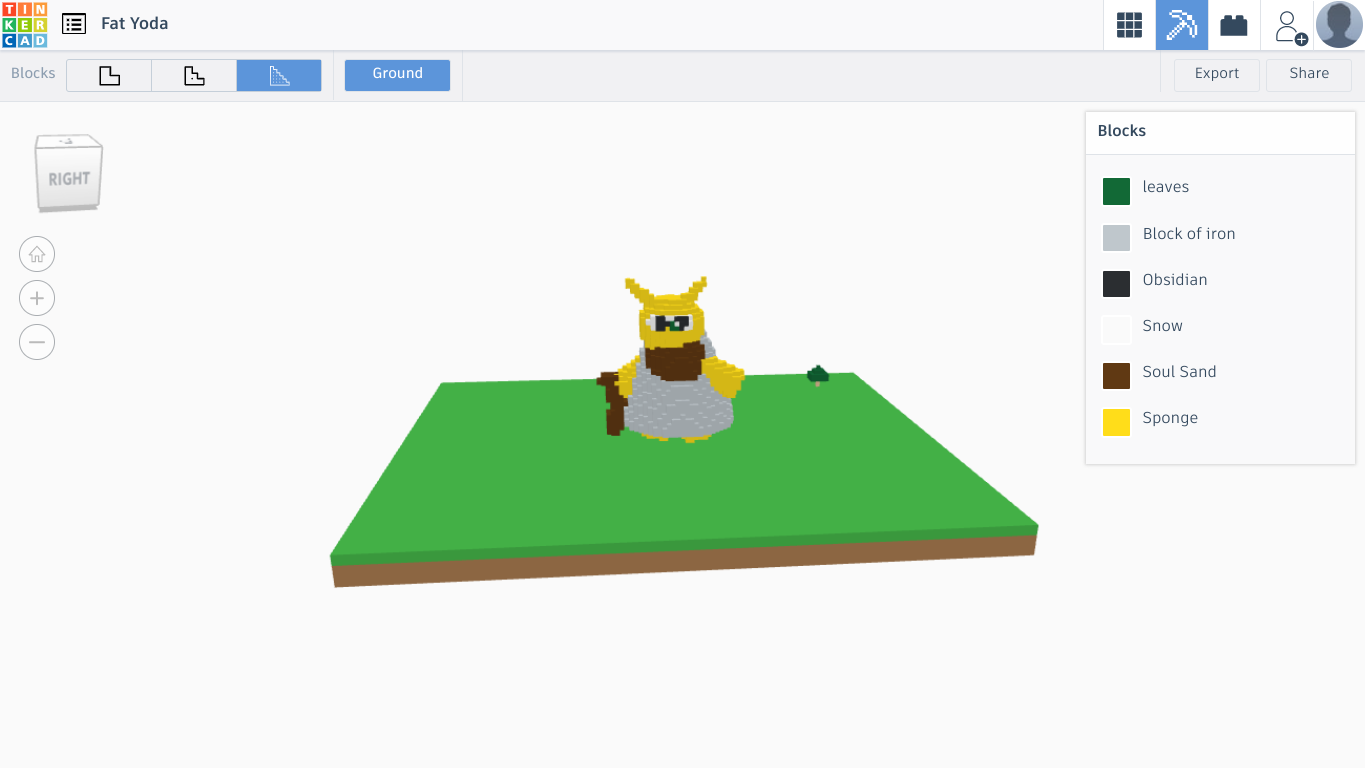
Give yourself a pat on the back for getting this far without losing your marbles. You did a good job. Check your product and print it out for a figurine, or a toy for your kids. Please Experiment and change my design, and try new things. May The Force Be With You!
In the last six pictures, I went into Minecraft mode and changed the body color to different ores.
Thank You For viewing.