How to Make Windows 10 Work on a Raspberry Pi
by pacmanboy1124 in Circuits > Raspberry Pi
1160 Views, 9 Favorites, 0 Comments
How to Make Windows 10 Work on a Raspberry Pi

Making windows 10 work on a raspberry pi can be a little frustrating but this guide will solve all your Raspberry Pi Windows 10 related problems.
Supplies
Raspberry pi 2, 3 or 4B (4 gigs of ram recommended.)
A computer running Windows 10
SD card 14 gigs ( 8 gigs minimum I will talk about this later.)
Windows on Raspberry alpha imager source files which can be downloaded from https://github.com/worproject or download the application straight from there website https://www.worproject.ml/downloads.
A ARM64 compatible Windows 10 image you can get these by nabbing the UUP files directly from Microsoft servers and build an ISO from it or go to UUPDump.ml or uup.rg-adguard.net
Imaging

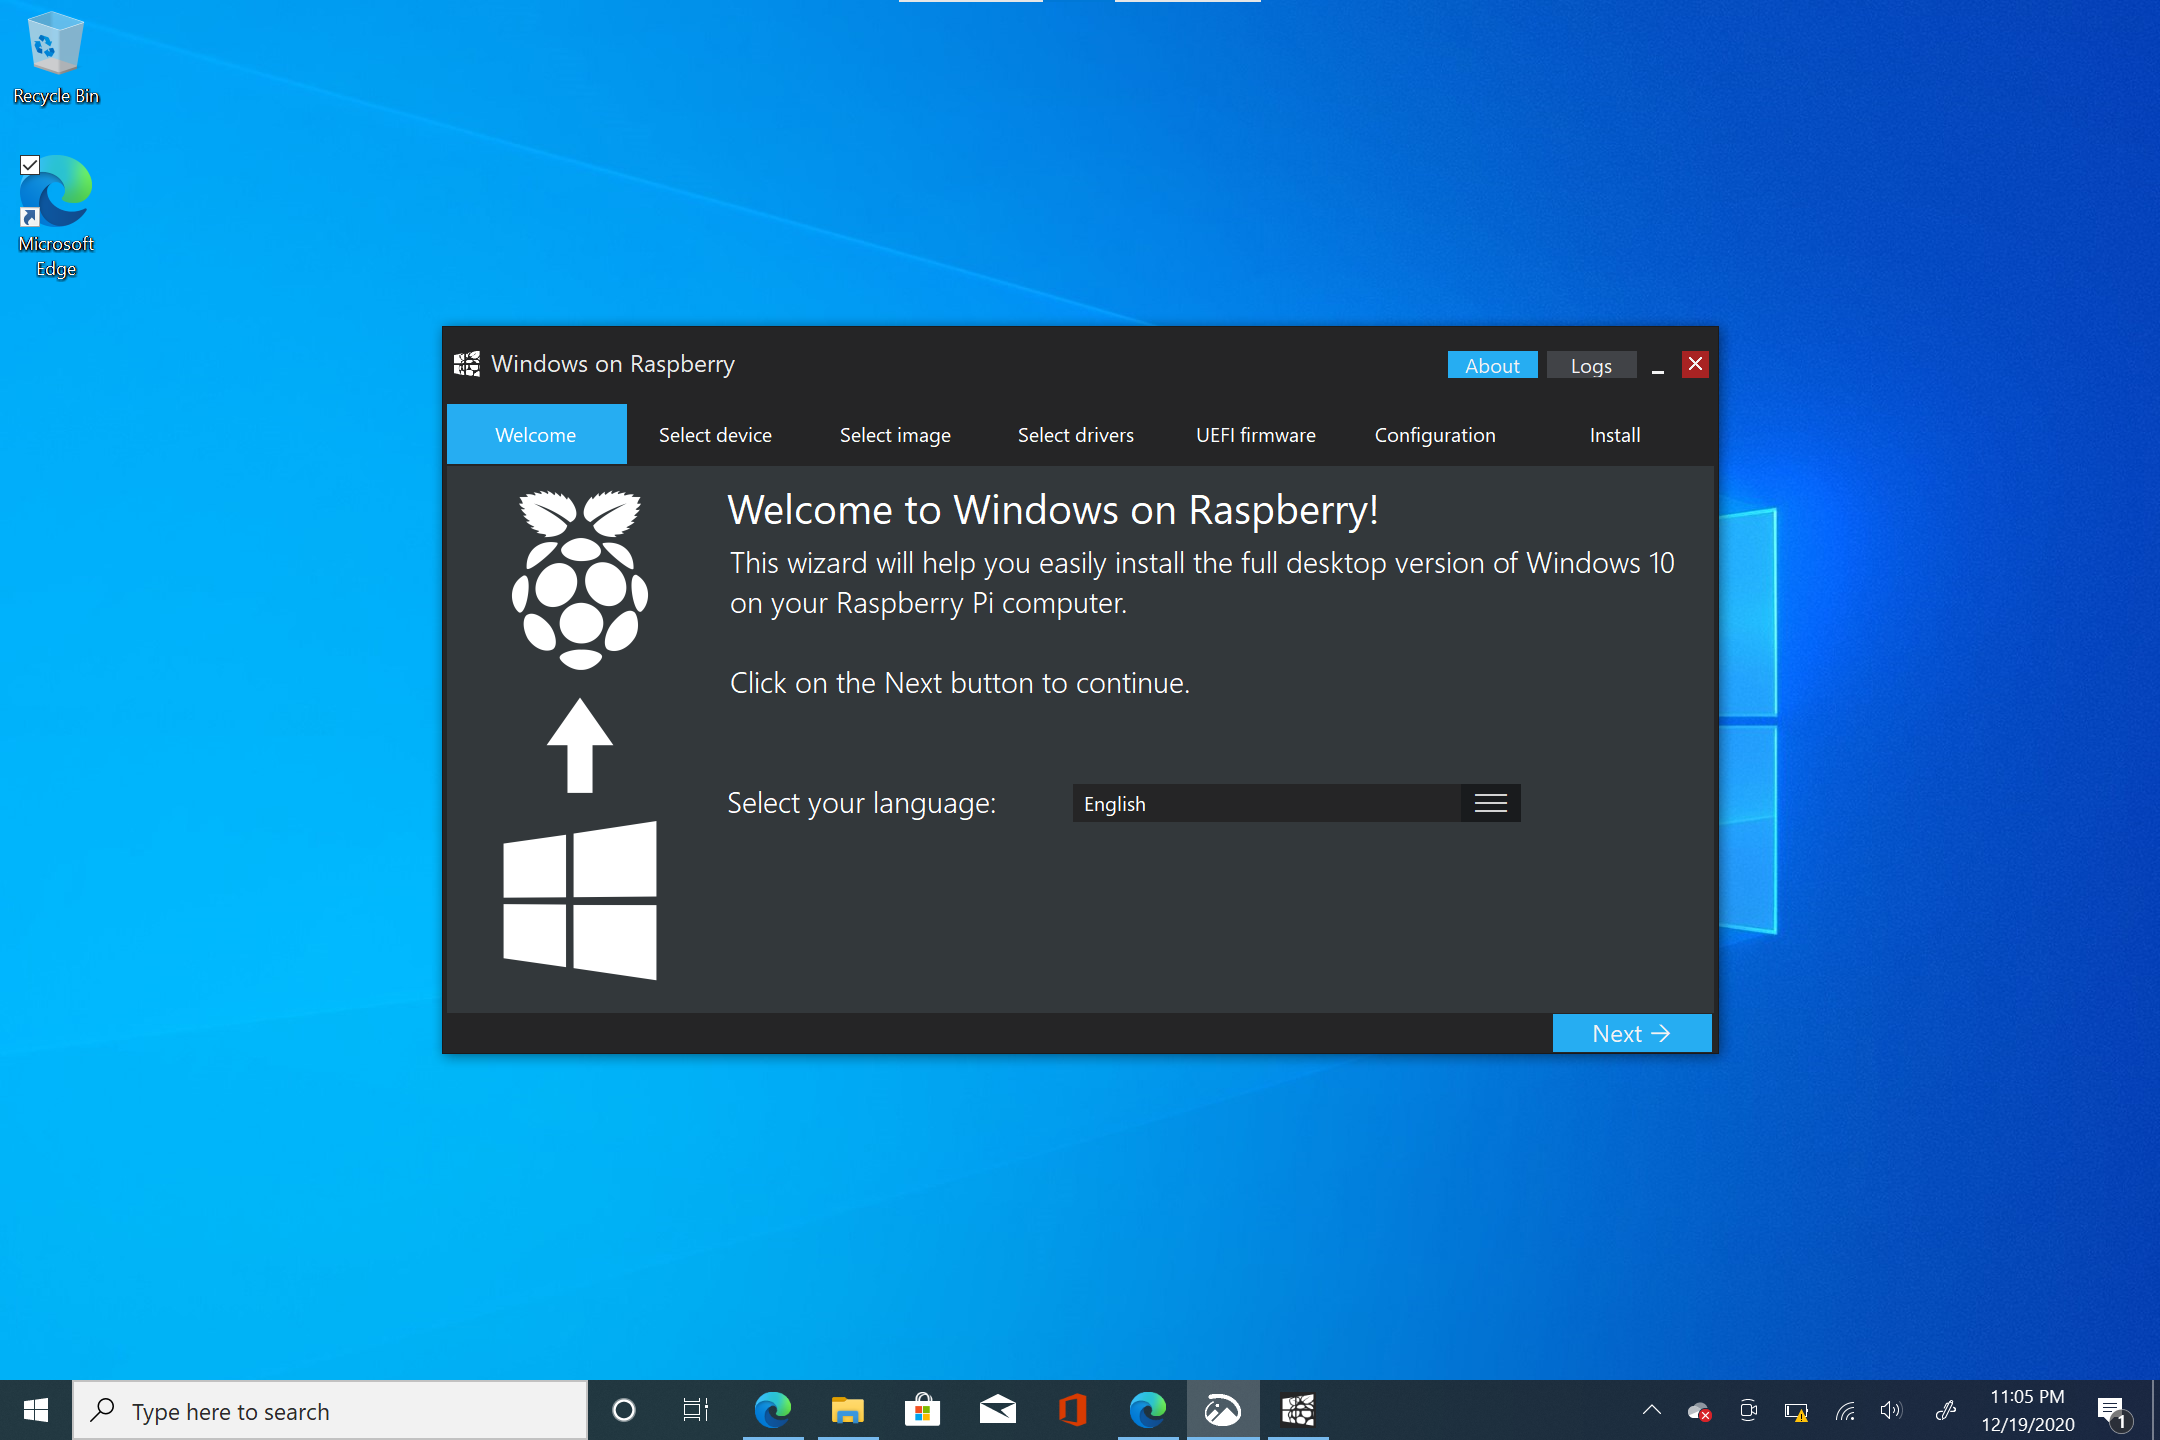
The first step you need to take to image is open up the WoR imager and choose your language. After that you choose the device you use in my case the raspberry pi 4 and choose your drive. After this you need your ISO which if you have not compiled please do it now because it is going to take a minute to finish after you choose the ISO you choose what edition to use I used Windows for IoT. After this you will select the drivers for the sake of making this easy choose " Use the latest package available on the server ". With UEFI firmware repeat the process and select again the raspberry pi that you are using. And finally the configure step just hit next. Then double check you got everything correct or else you will need to repeat the process then press install and then you do have to wait a little so just grab yourself a cup o' joe and relax. after it finishes we are on to the next step.
Set Windows Up on Your Pi Itself

this is the simplest step stick the SD card in plug it up and setup windows like the computer you are using right now.
Answers to Some of Your Questions
so you know in step one were I put SD card 14 gigs ( 8 gigs minimum I will talk about this later.) this is the reason I put it there is because you can compress it into an FFU file which makes booting significantly faster especially on slowwwww devices here is a link to the guide https://worproject.ml/guides/generating-ffu-images. Now onto how I decompiled the ISO I used the terminal because in the initial file it has the terminal just waiting to have it's command executed.