How to Make Toddler or Anybody's Passport and Visa Photos
by babybayrs in Design > Photography
5549 Views, 8 Favorites, 0 Comments
How to Make Toddler or Anybody's Passport and Visa Photos

This instructable shows how to make toddler or anybody's passport and visa photos at home without spending a cent. Of course with the condition that you already have a camera, computer, printer, and photo printing paper.
Let's get doing.
Note: This article may contain affiliate links as references for the same or similar products used in this project. If you click on the links and make purchases I could receive a small percentage of commission from the advertising company with no extra cost to you.
Know the Passport and Visa Photo Requirements
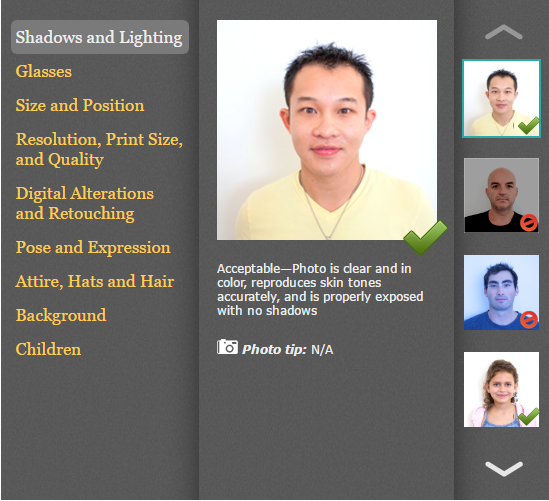
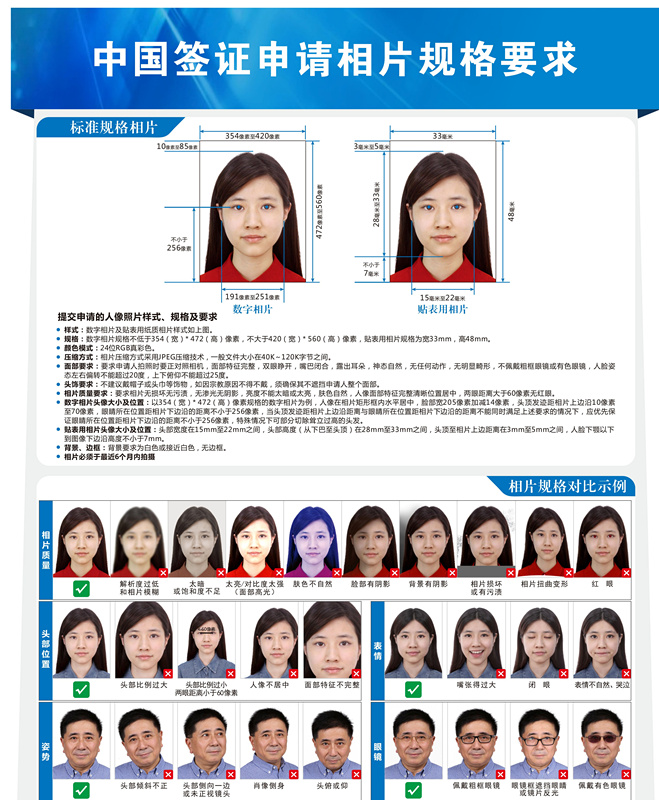
In this Instructable, I use American passport and Chinese visa application photo as examples. Different country and different application have different requirements. So print them out for your reference.
Set Up Background
![DSC_0393[1].JPG](/proxy/?url=https://content.instructables.com/F67/AF1X/J16P0XCX/F67AF1XJ16P0XCX.jpg&filename=DSC_0393[1].JPG)
If your house wall isn't white, hang a large piece of white drapery fabric with no wrinkles on a wall facing south-facing window.
Older children and adults can stand in front of it to take photos.
Toddler can stand on a chair in front of it to take photos so you don't need to lower your body to their height which can be a real work out!
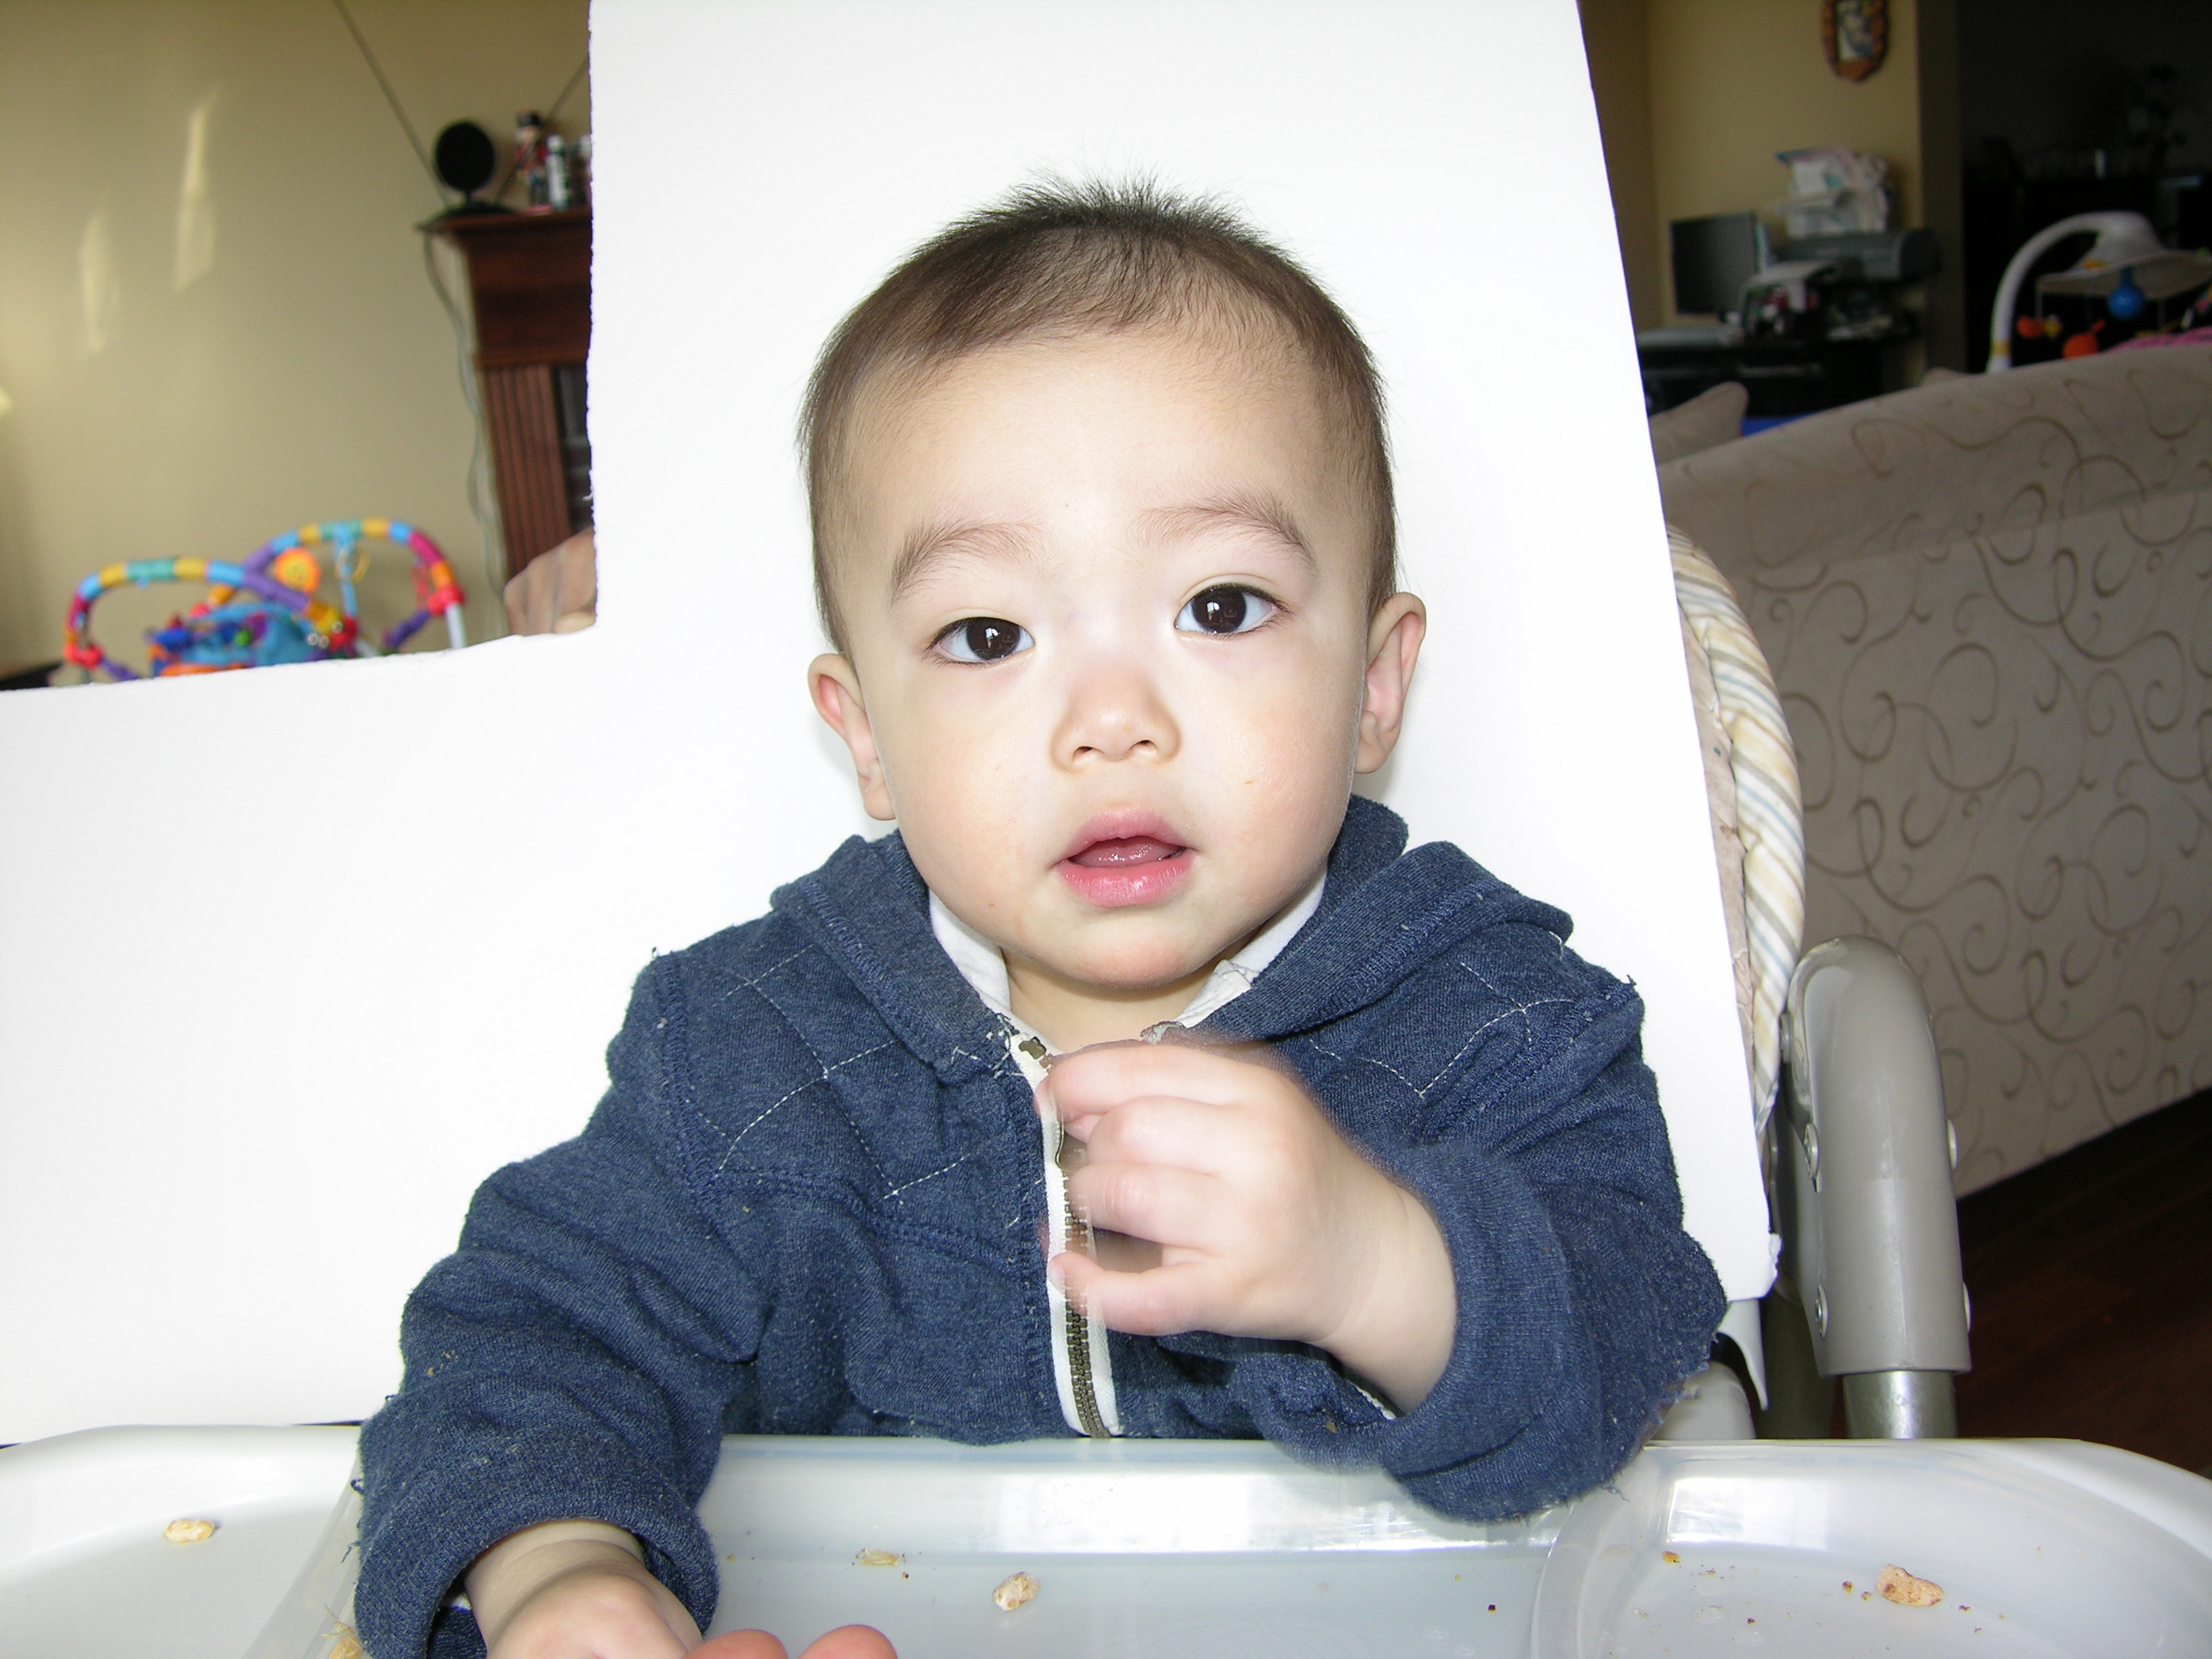
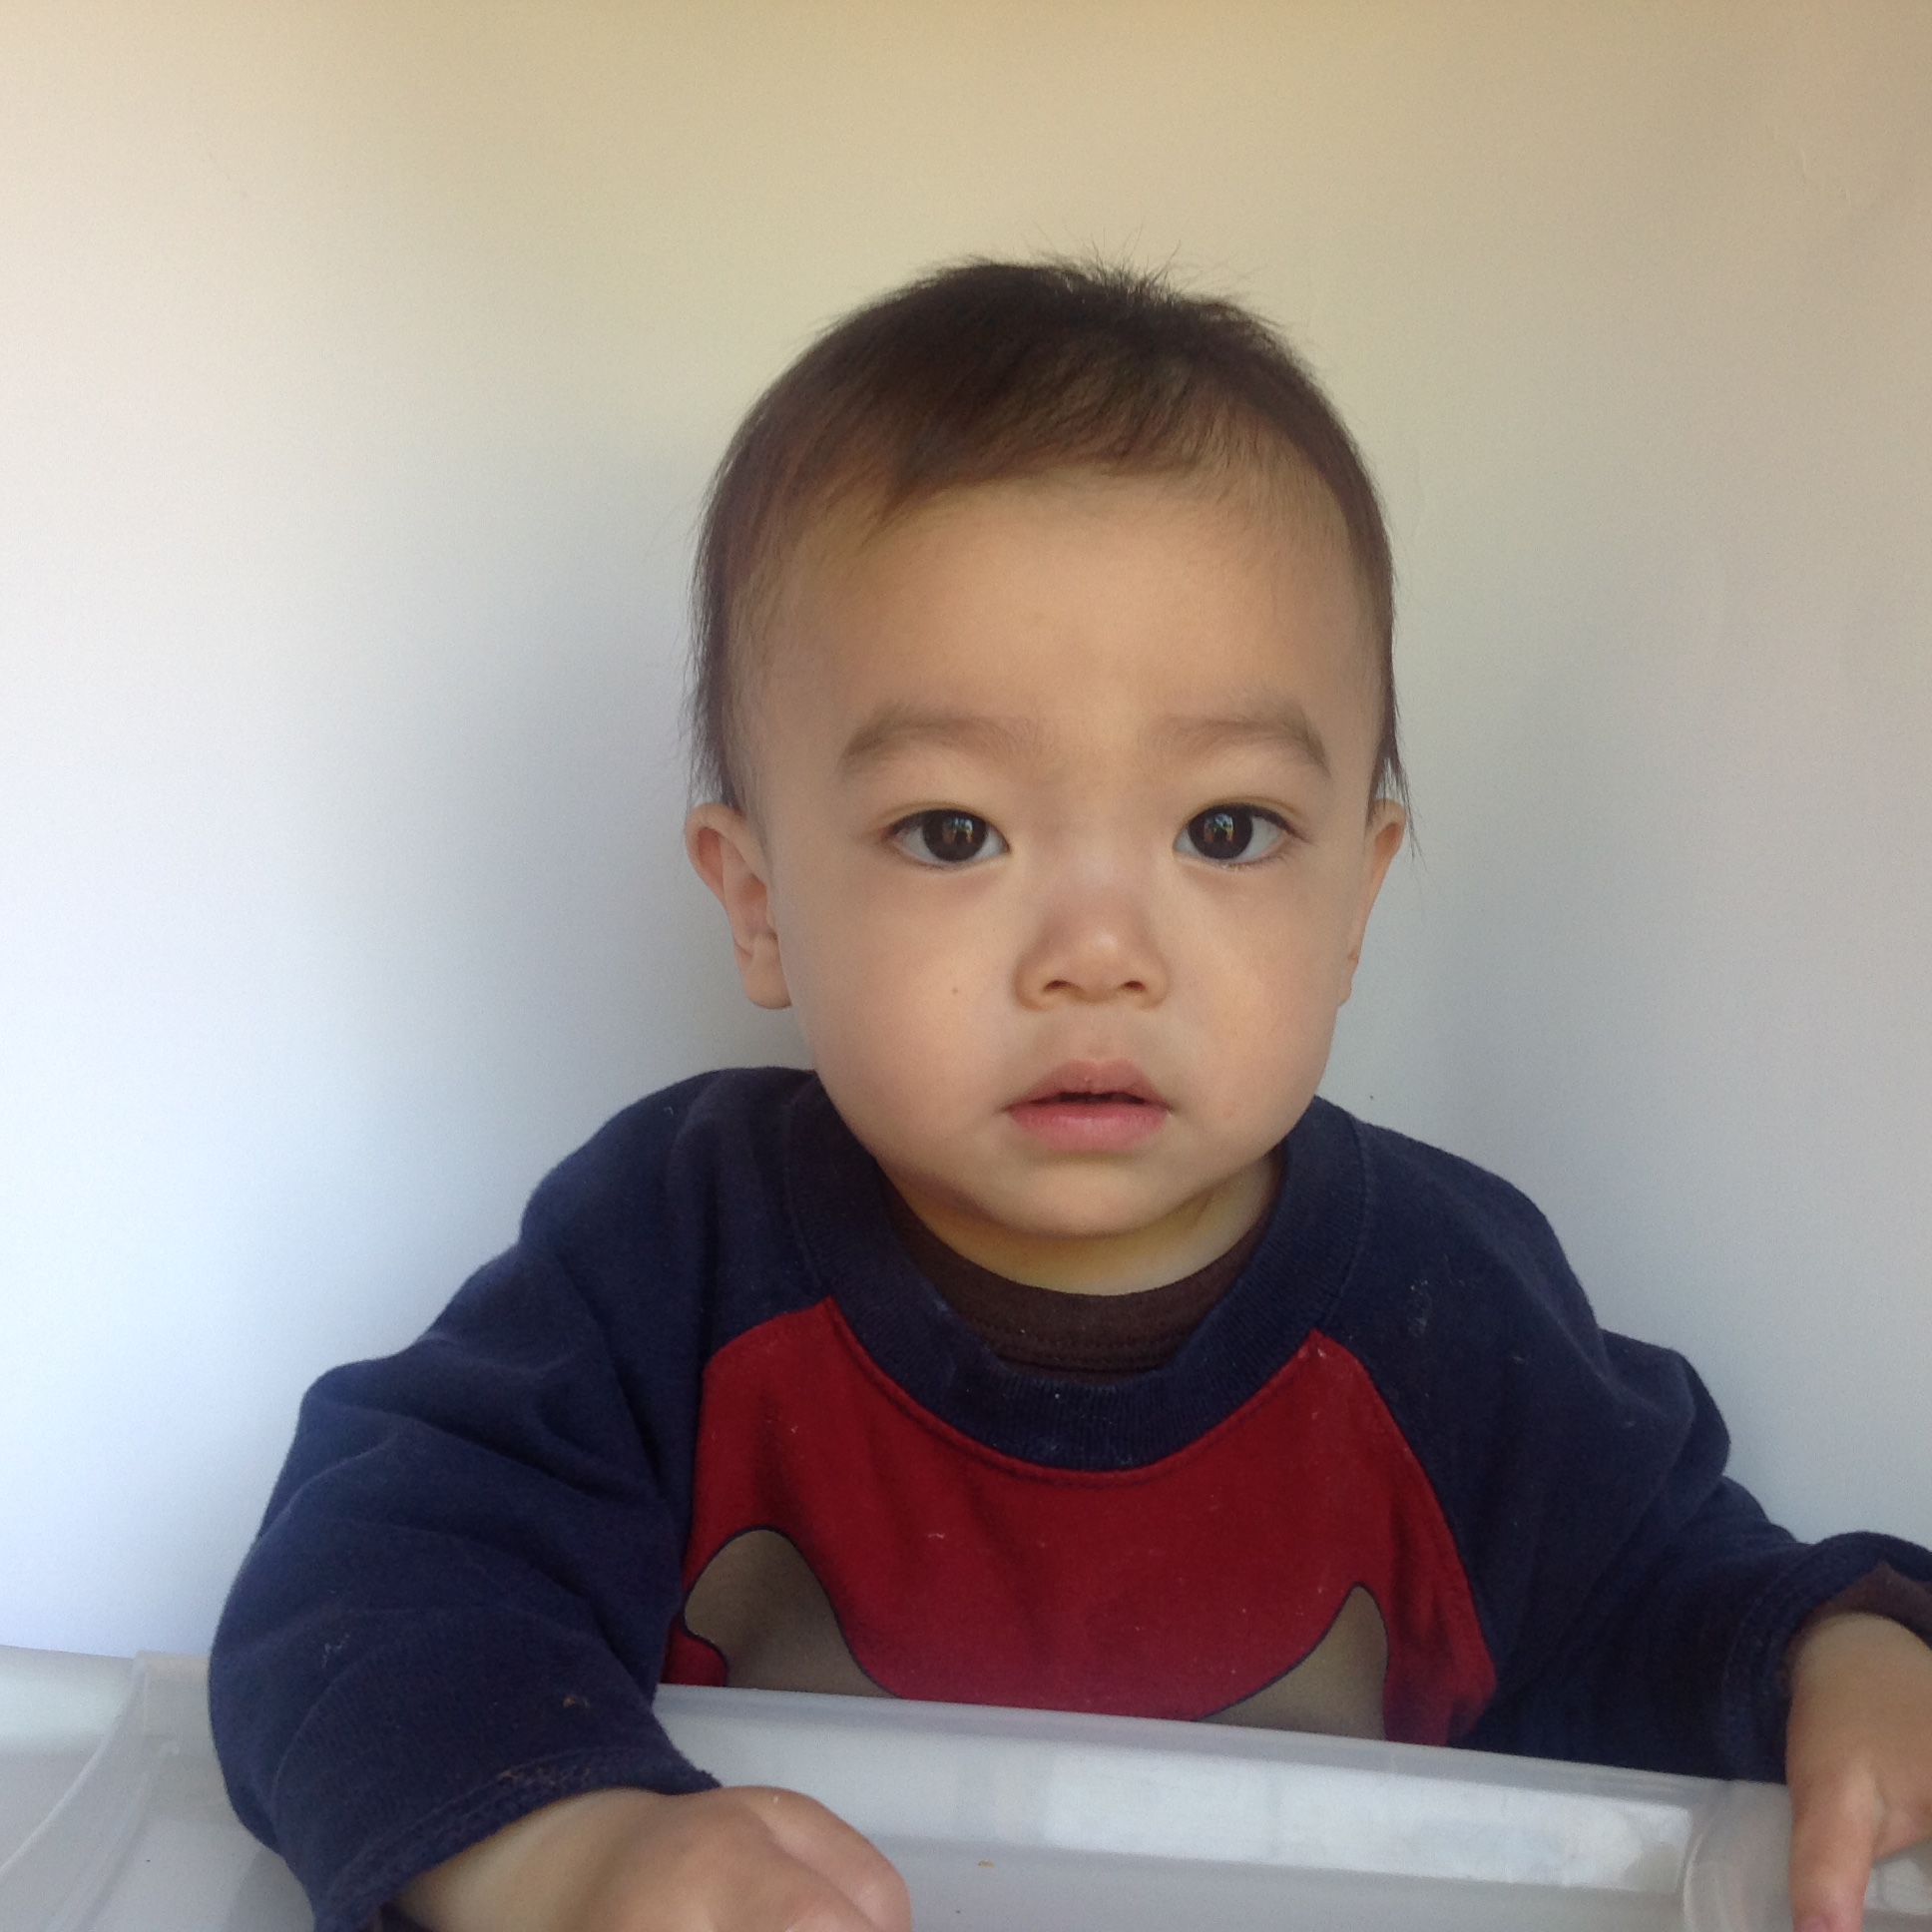
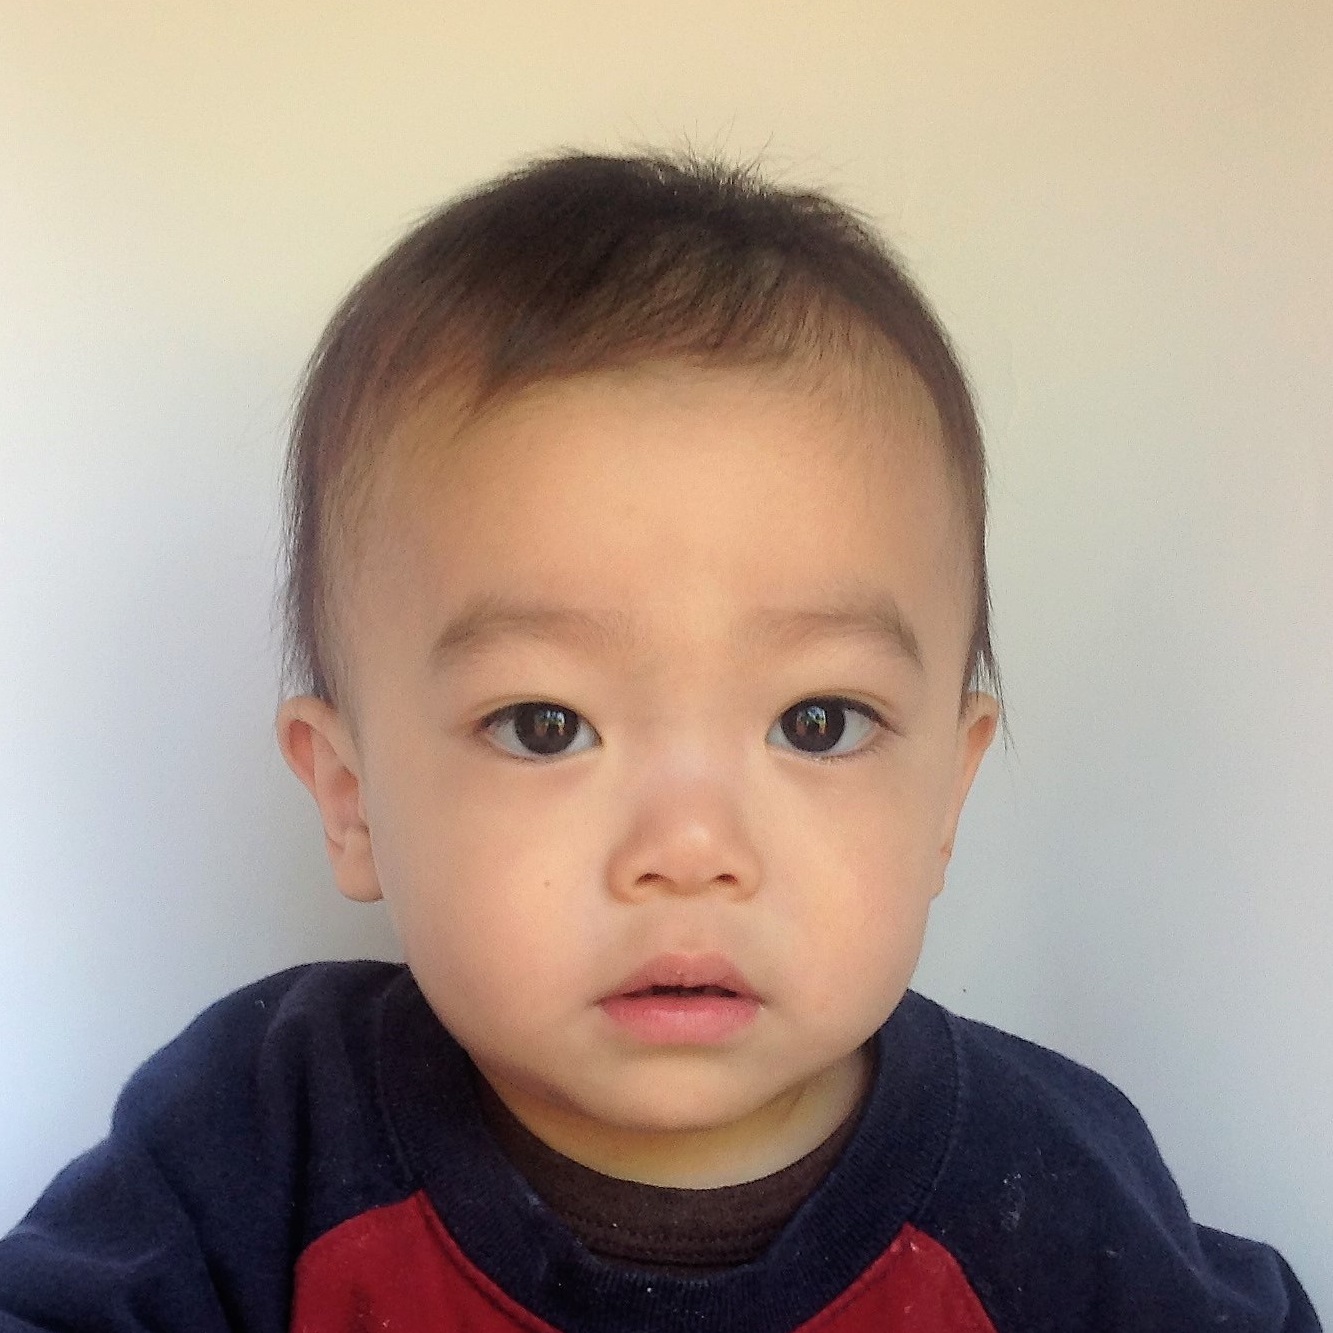
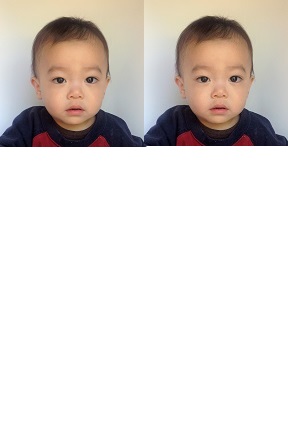
Younger children can seat in high chair in front of the wall. Use a white paper backdrop or white sheet of paper or board behind them (Fabric on the wall isn't necessary then). In the second photo here I used a cut-out white foam board from another project.
Take Photos
Set your camera at auto.
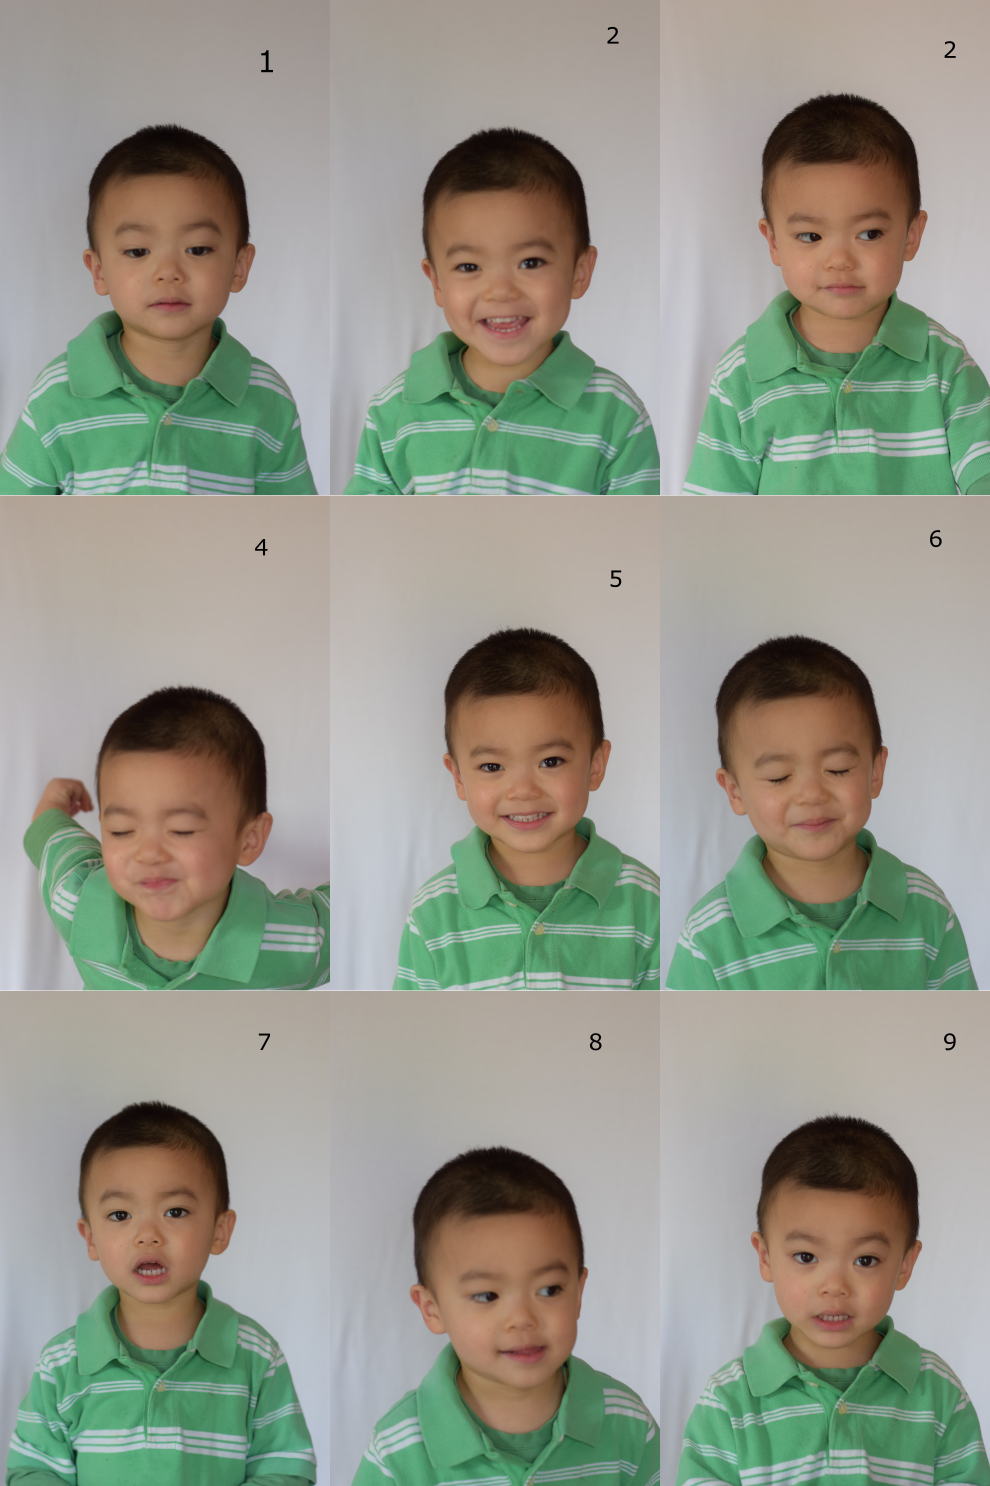
Take as many photos as you can get.
View the photos and make sure you get at least one or more photos that meet can the requirements of your application with some editing.
Delete all others that are obviously useless.
The work is all in the next steps. It can also be technical. Honestly I don't know a lot about computer programs. I did it many times so I assure you, you can do it. This is how I always do passport and visa photos myself for the last 15 years or so.
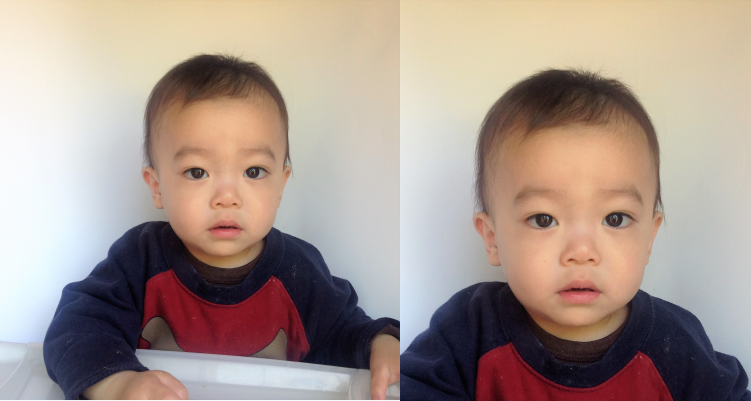
The first set of photos were taken over a period of weeks when my son was over 1 year old for his American passport application.
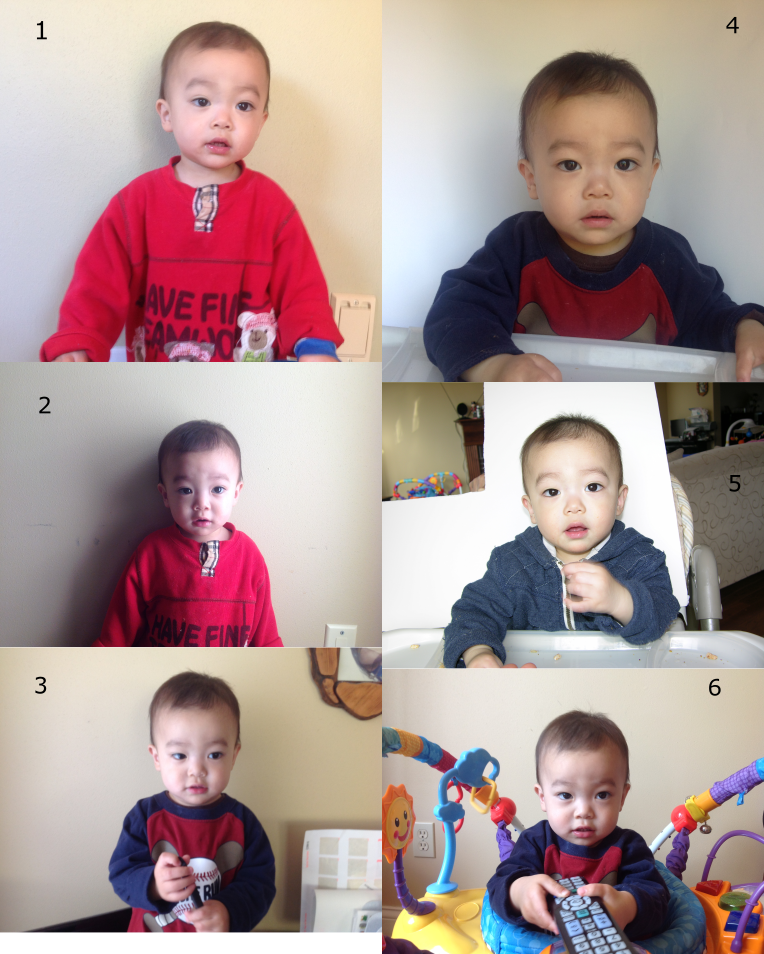
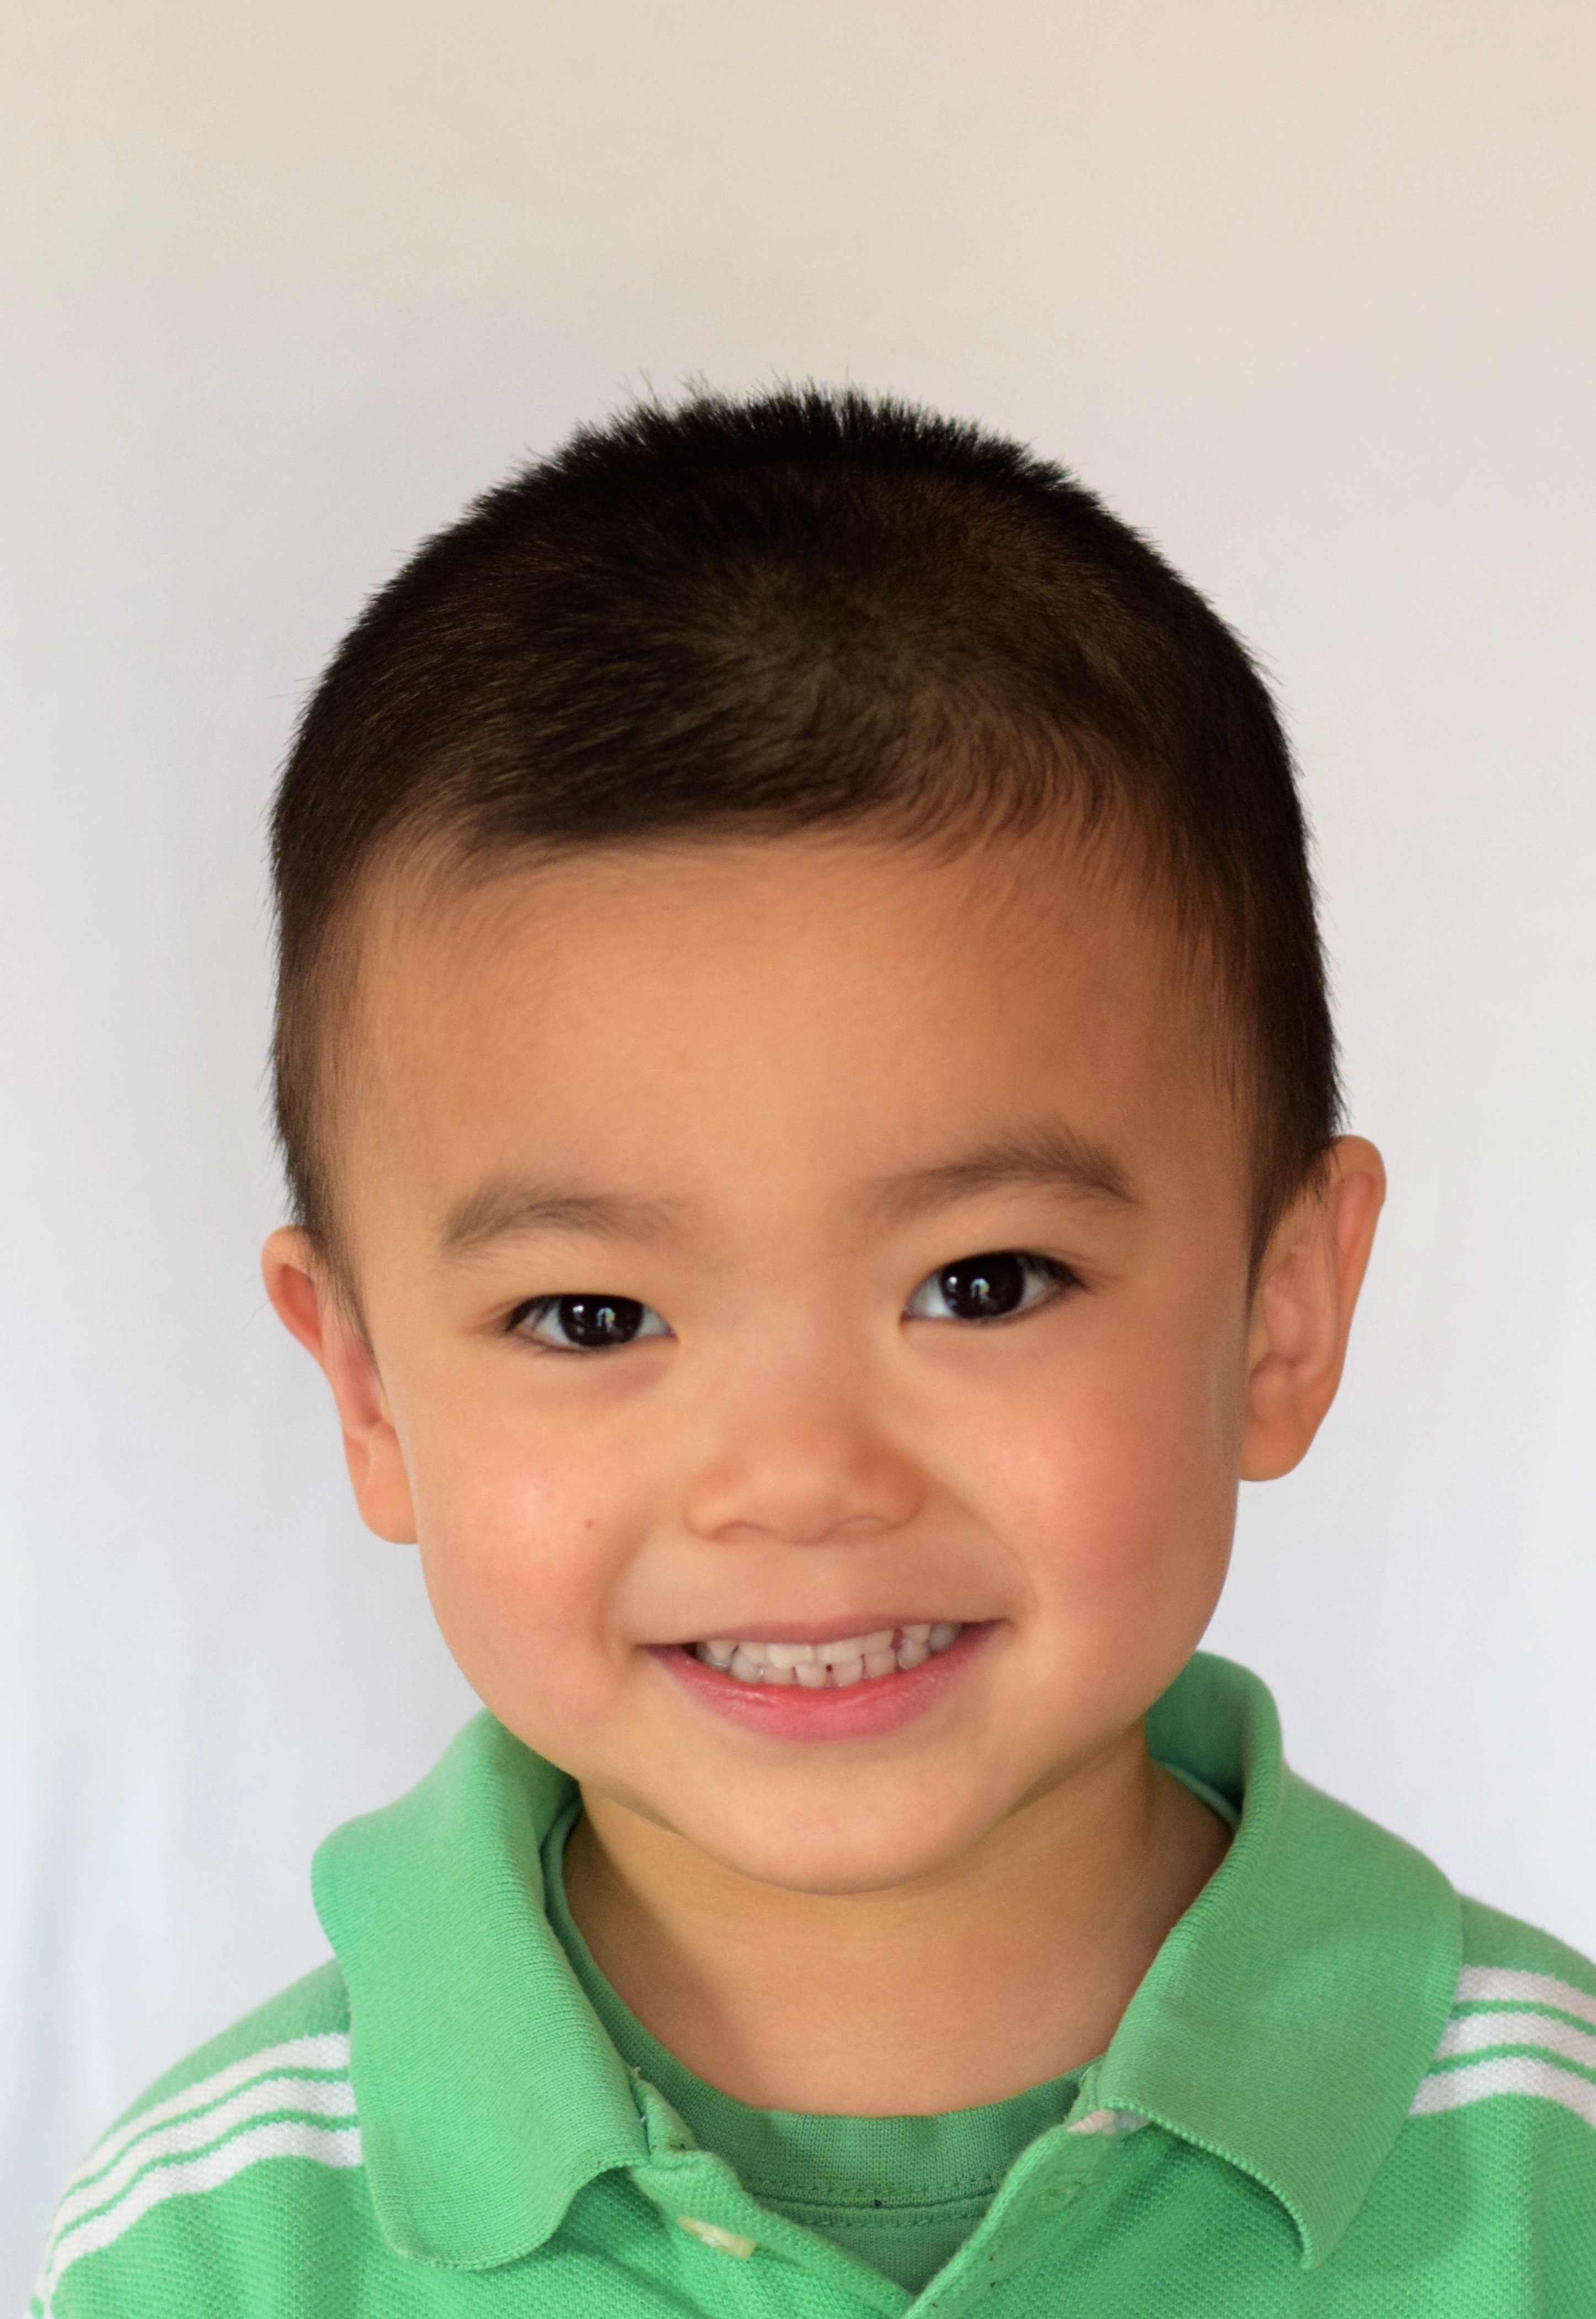
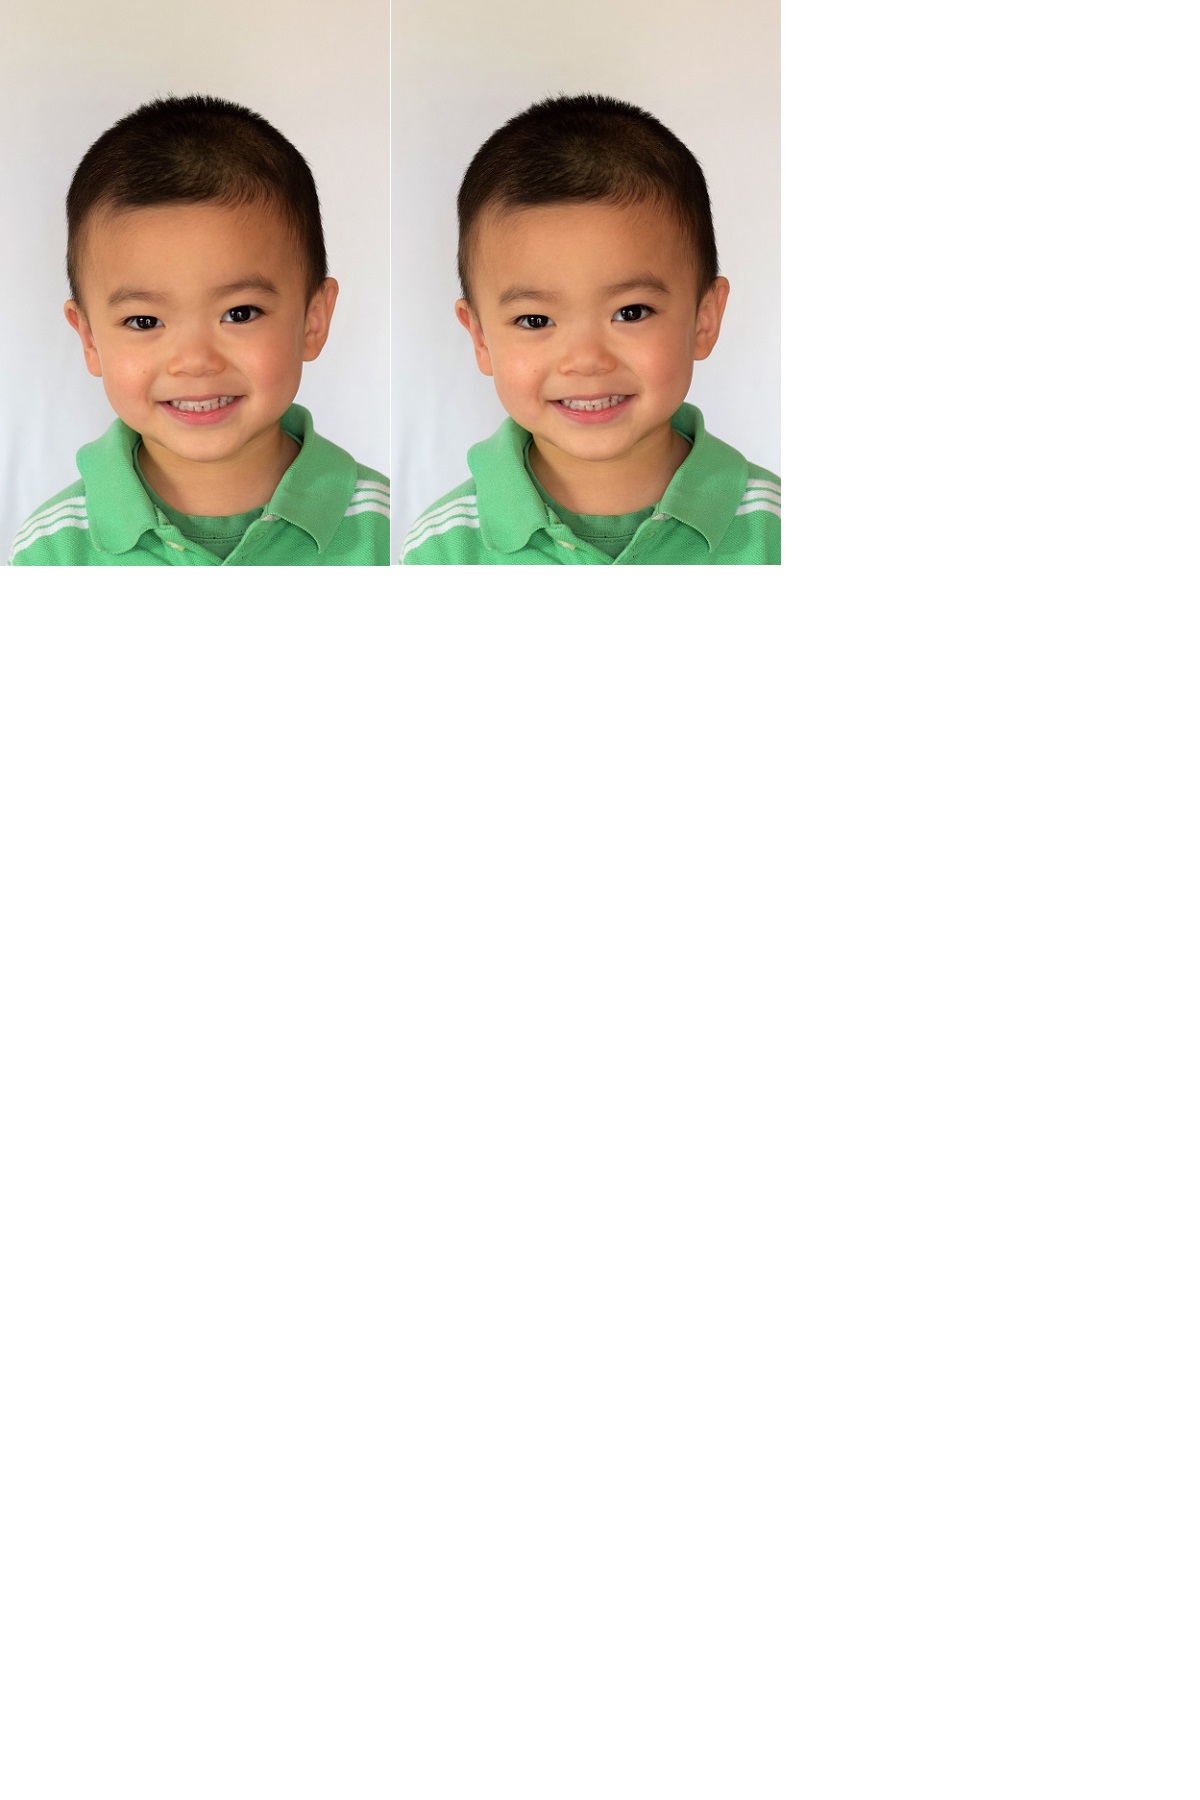
The second set of photos were taken just last week in one session when he is just over 3 years old for his Chinese visa application.
Choose One Photo That's Usable

I decided photo number 4 from the first group and photo number 5 from the second group were good to work with.
Enhance, Adjust, and Crop Your Photo on Sides
Now days it seems any photo view program on computers has some photo editing functions.
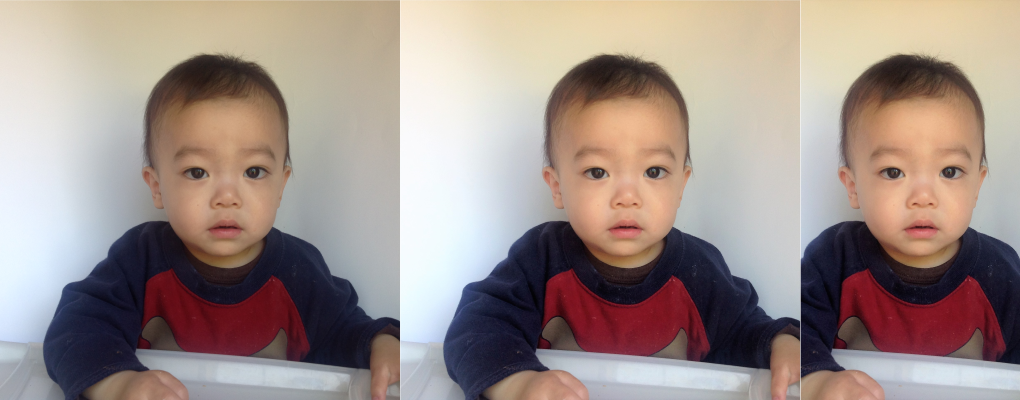
One of the two things I do in this step is to use edit function on my photo view program, that is use the auto enhance if it makes the photo better, then adjust light, color and clarity. Save a copy.
The second thing I do is to crop the photo on sides to the shoulder blades position. Save a copy.
The above photo shows original, after enhance and adjust, and after crop on sides was performed.
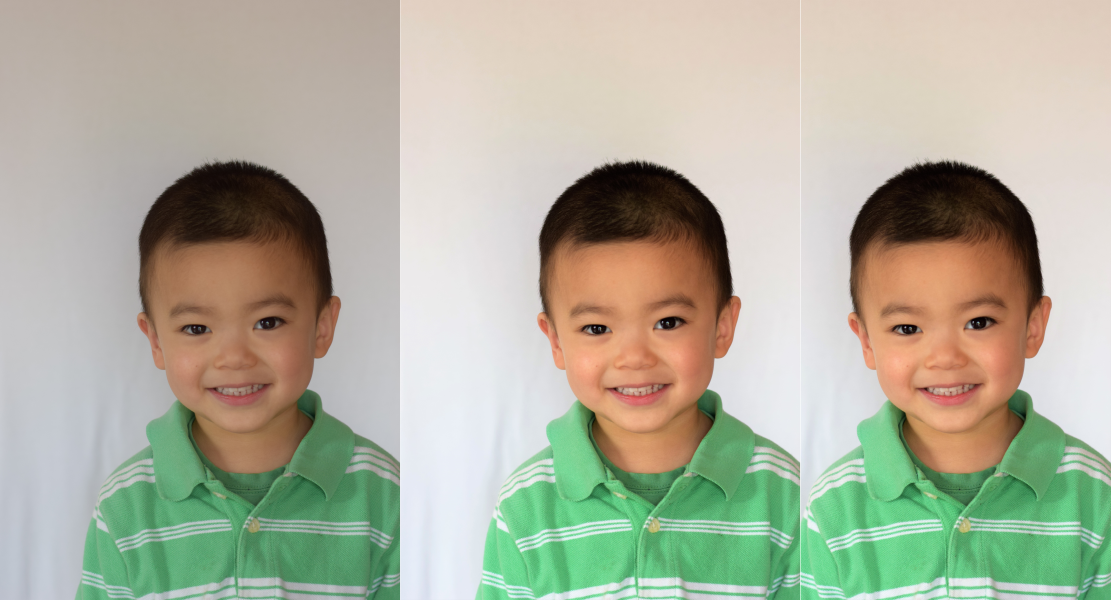
Crop the Bottom End of the Photo
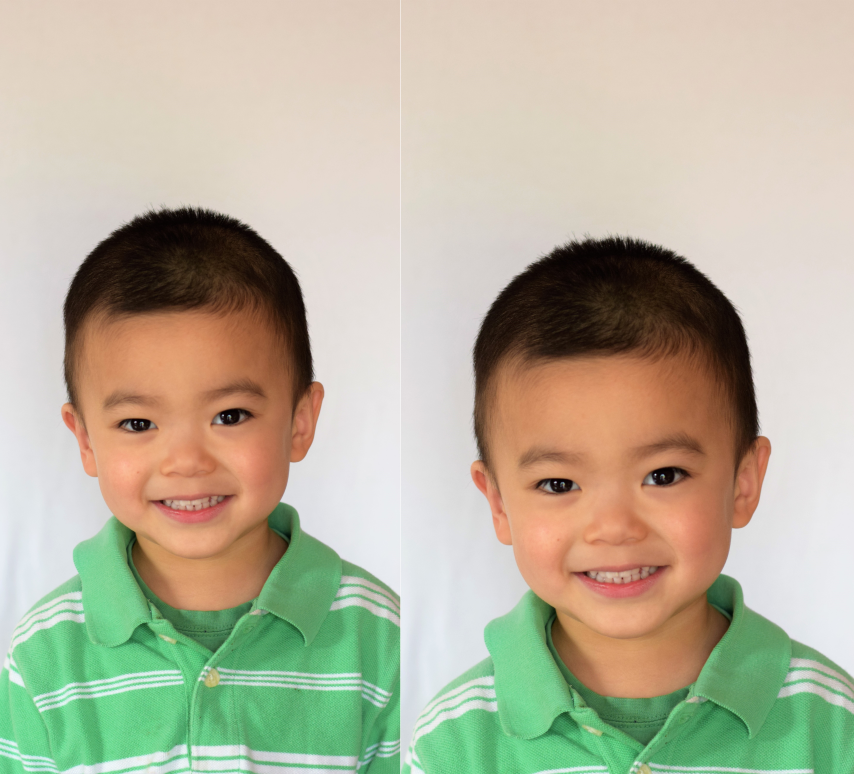
Crop the bottom end of the photo according to the passport and visa photo requirements.Here are the photos showing before and after effect.
There are two things important when editing and cropping photos for passport and visa application.
First, always save a copy of each editing step. If you crop too much, you can always go back to previous edition.
Second, keep in mind American passport requires a square photo, Chinese visa requires a photo of width to height ratio of 11:16. Your cropping has to guarantee you can conform the photo to such such ratios in the end.
Crop the Top End of the Photo
I couldn't find the exact photo dimensions displayed in my photo view program. So from this step on, I use Paint.
Click your computer start up icon, usually left bottom corner and find Paint and click to open it.
Go to File, then Open, and choose the enhanced cropped sides and bottom photo you are working on. You can use the zoom on right bottom corner of your Paint program to zoom out the photo so you can see what you are working on. This action doesn't change your file size or quality.
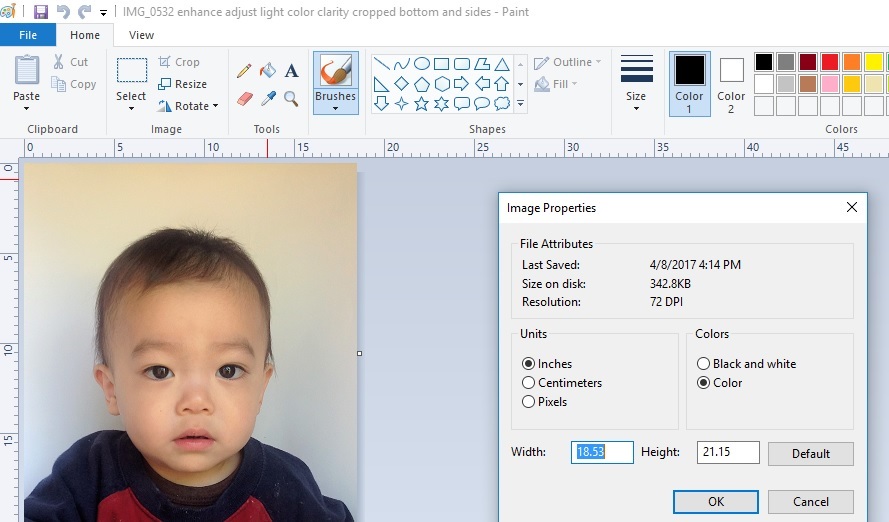
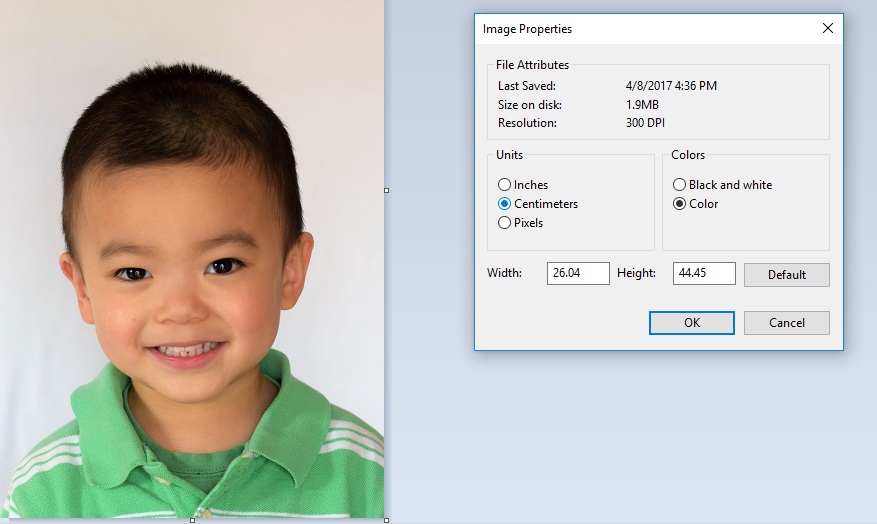
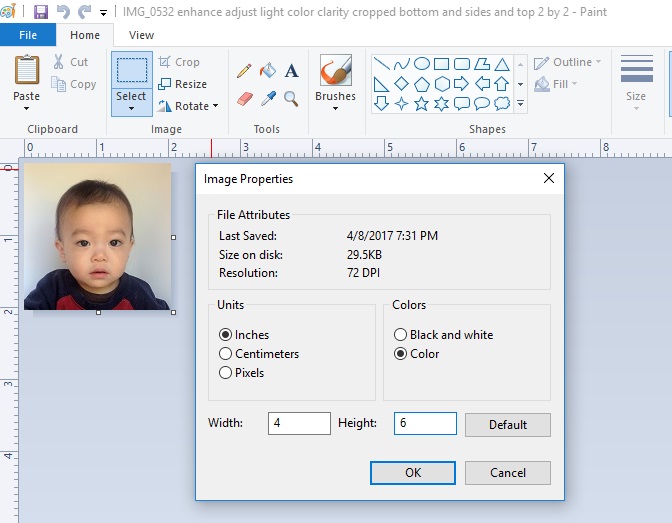
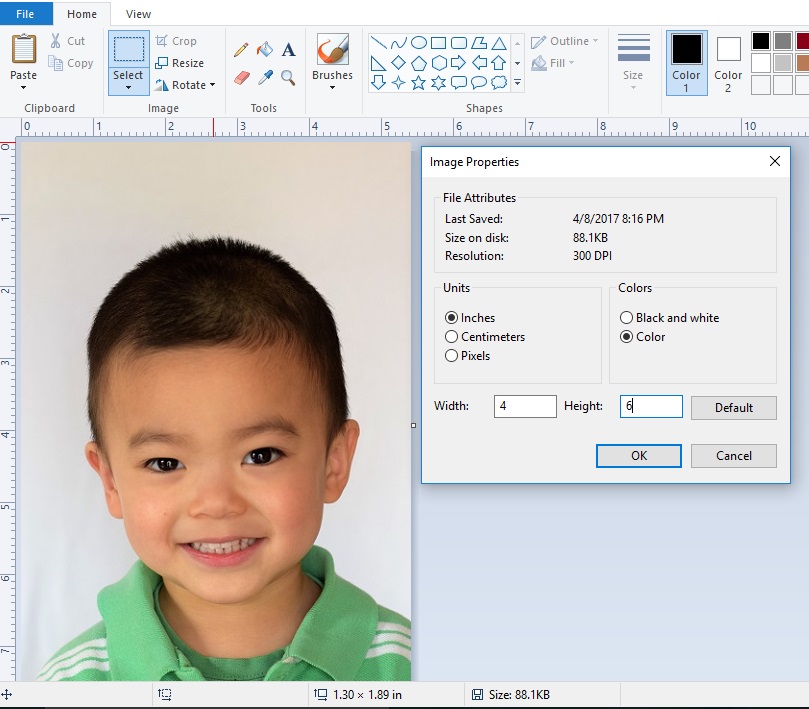
Go to File, then Properties, for American passport, select inches as Units for Image Properties. For Chinese visa, select centimeters as Units for Image Properties. The first two photos in this step showing this action.
Next, you'll find at the bottom of your Paint window, it shows the exact dimensions of the photo. Mine shows 18.53 by 21.15 inches for American passport photo, 26.04 by 44.45 cm for Chinese visa photo.
Because the width to height ratio of American passport photo is 1:1, Chinese visa photo is 11:16. I need to crop the photo to have a height of 18.53 inches, and 26.04*16/11 cm, that is 37.88 cm, respectively.
So I need to crop (21.15-18.53)=2.62 inches for American passport photo, and (44.45-37.88)=6.57 cm on top end of the photos.
The second two photos show the effect of cropping on top of the photos based on the dimension requirements.
Fine Tune Crop and Resize Your Photo to the Final Dimension Requirements

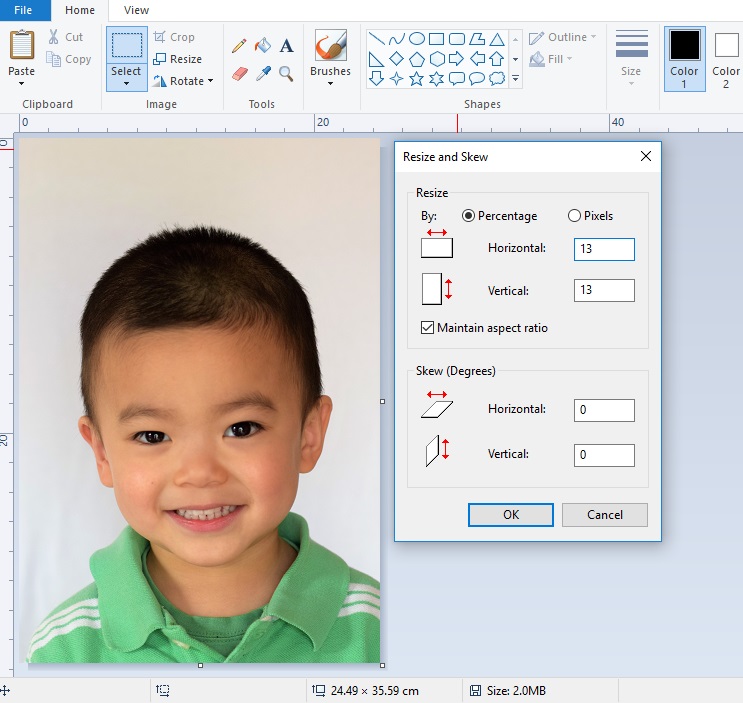


Whatever fine tune crop you do from here on has to conform to the 1:1 ratio and 11:16 ratio of width to height of the American passport and Chinese visa photo requirements.
In Paint, click on Resize, for my American passport photo, it's size was 18.51 by 18.51 inches. The American passport photo is 2 by 2 inches. So it needs to be resized by 2/18.51*100%=10.80% (make sure Maintain aspect ratio is checked).
For my Chinese visa photo, it's size was 24.49 by 35.59 centimeters. The required Chinese visa photo is 33 mm by 48 mm. So it needs to be resized by 33/244.9*100%=13.5% (make sure Maintain aspect ratio is checked).
Sometimes it's hard to get the photo to the exact size by one time of resizing. Then do more than once.
Arrange Your Passport and Visa Photo on 4 by 6 Inches

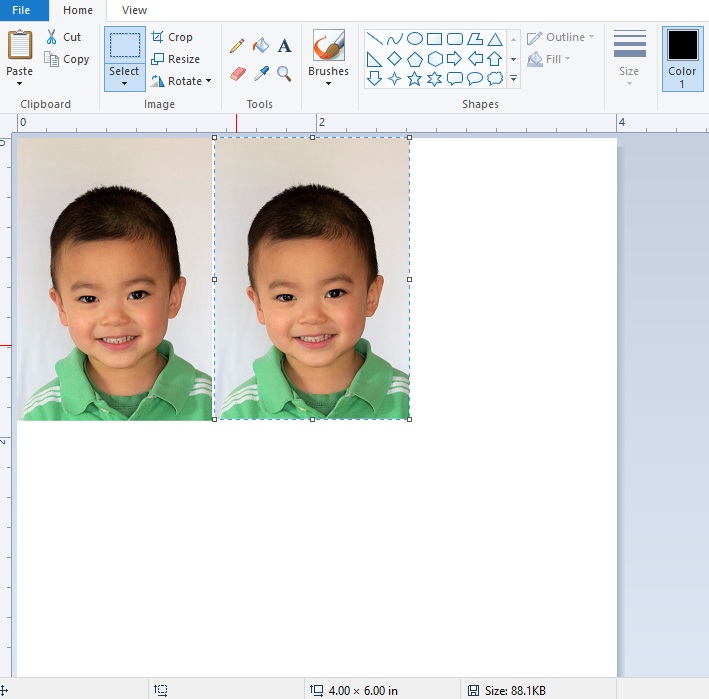
Now that you have your 2 by 2 inches American passport photo and 33 mm by 48 mm Chinese visa photo.
Open Paint, then File, then Open, choose the final 2 by 2 inches American passport photo or 33 mm by 48 mm Chinese visa photo.
Go to File, then properties, set inches as Units and 4 as width and 6 as height.
Go to Paste, choose Paste from, paste from the same file again to arrange two copies of the photo on the 4 by 6 inches area. That's usually how many photos are asked for passport and visa application.
Save the photo as a jpeg file.
Print and Done!
P.S. Both these photos were actually used to apply for American passport and Chinese visa. The agent and officer didn't say a thing not good about them. The passport agent even thanked me for saving him from photographying a toddler.
Hope you find it helpful. If you like it, please vote it for the Photography contest.