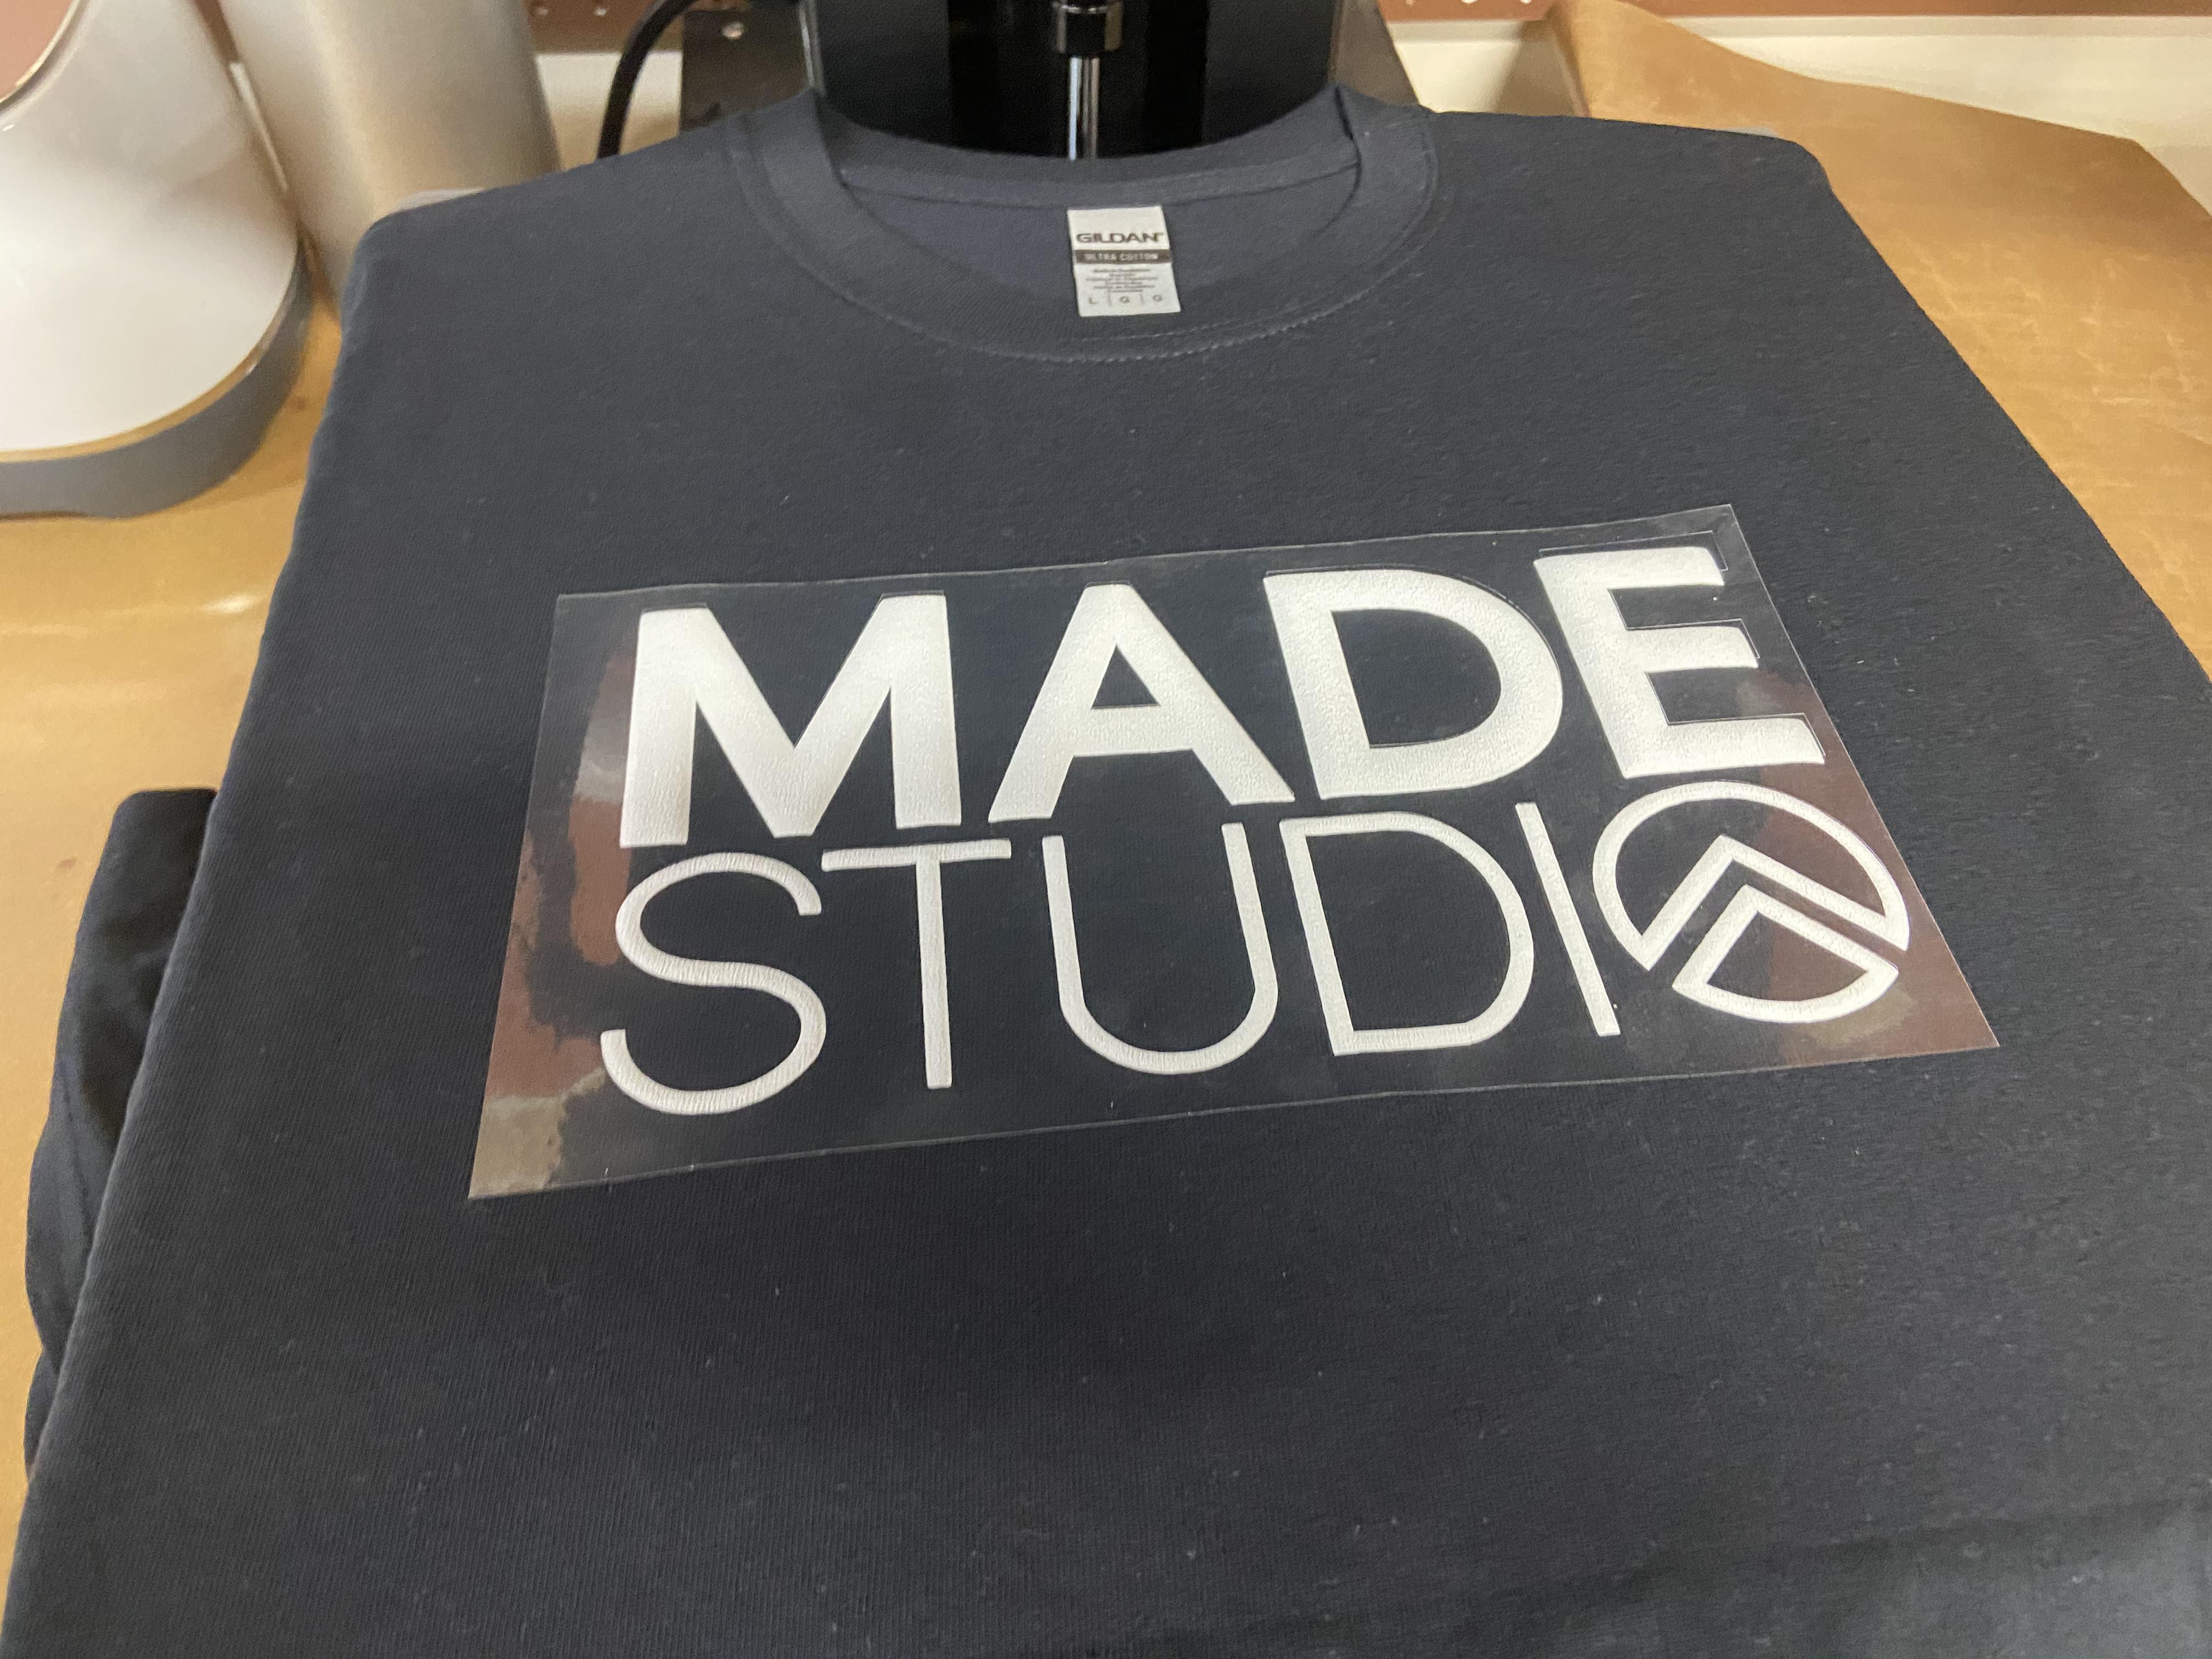
How to Make T-Shirts With Puff Vinyl
by Made Studio in Craft > Printmaking
561 Views, 0 Favorites, 0 Comments
How to Make T-Shirts With Puff Vinyl
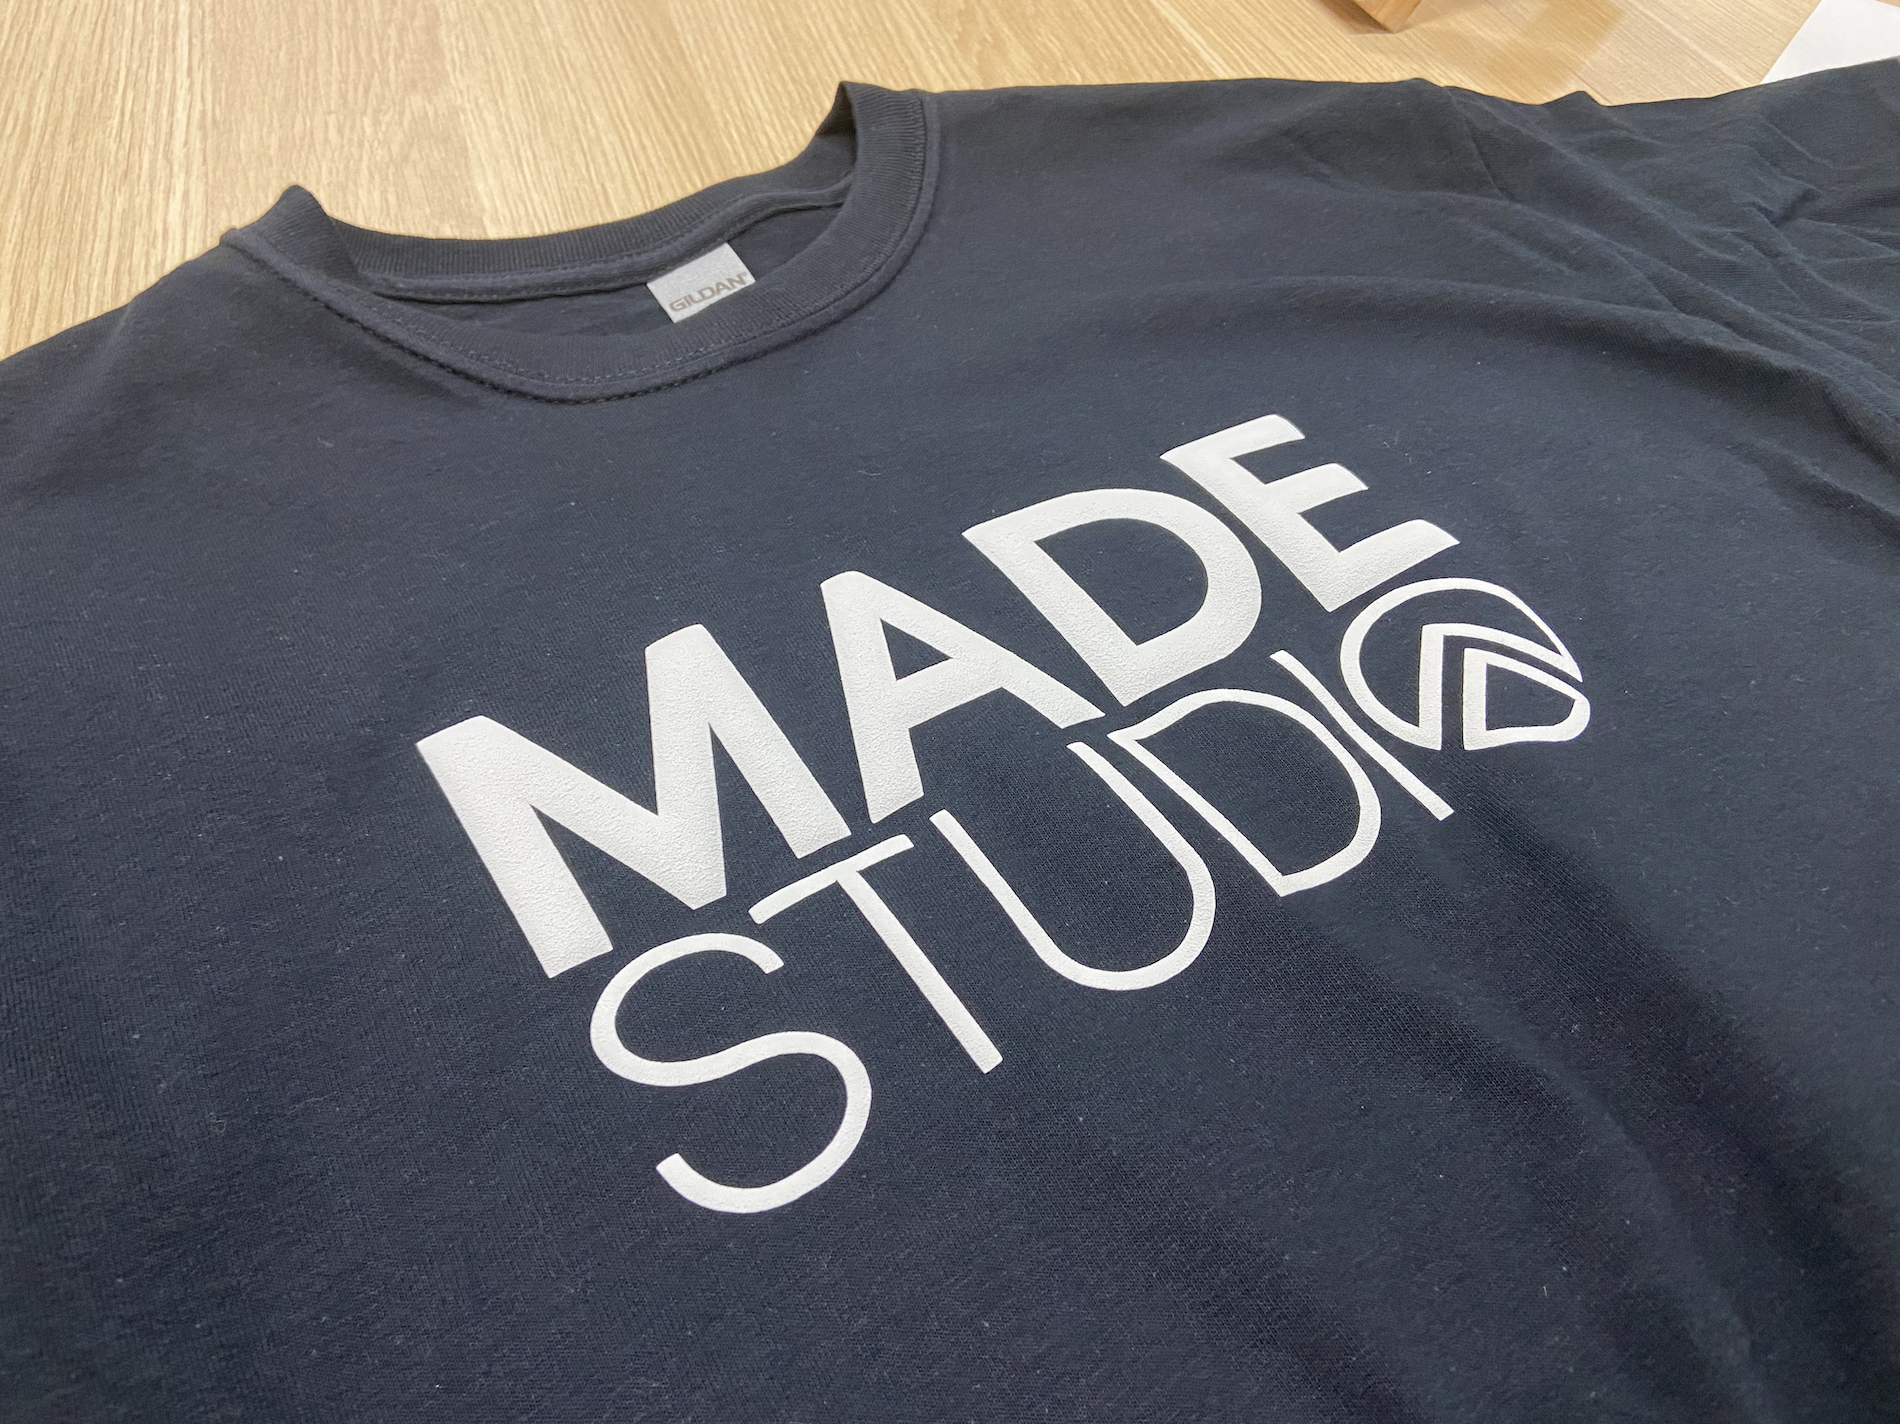
Make your t-shirt designs pop using heat transfer puff vinyl! This tutorial will guide you through how to cut an image using a Cricut vinyl cutter and transfer onto a t-shirt using a heat press.
Supplies
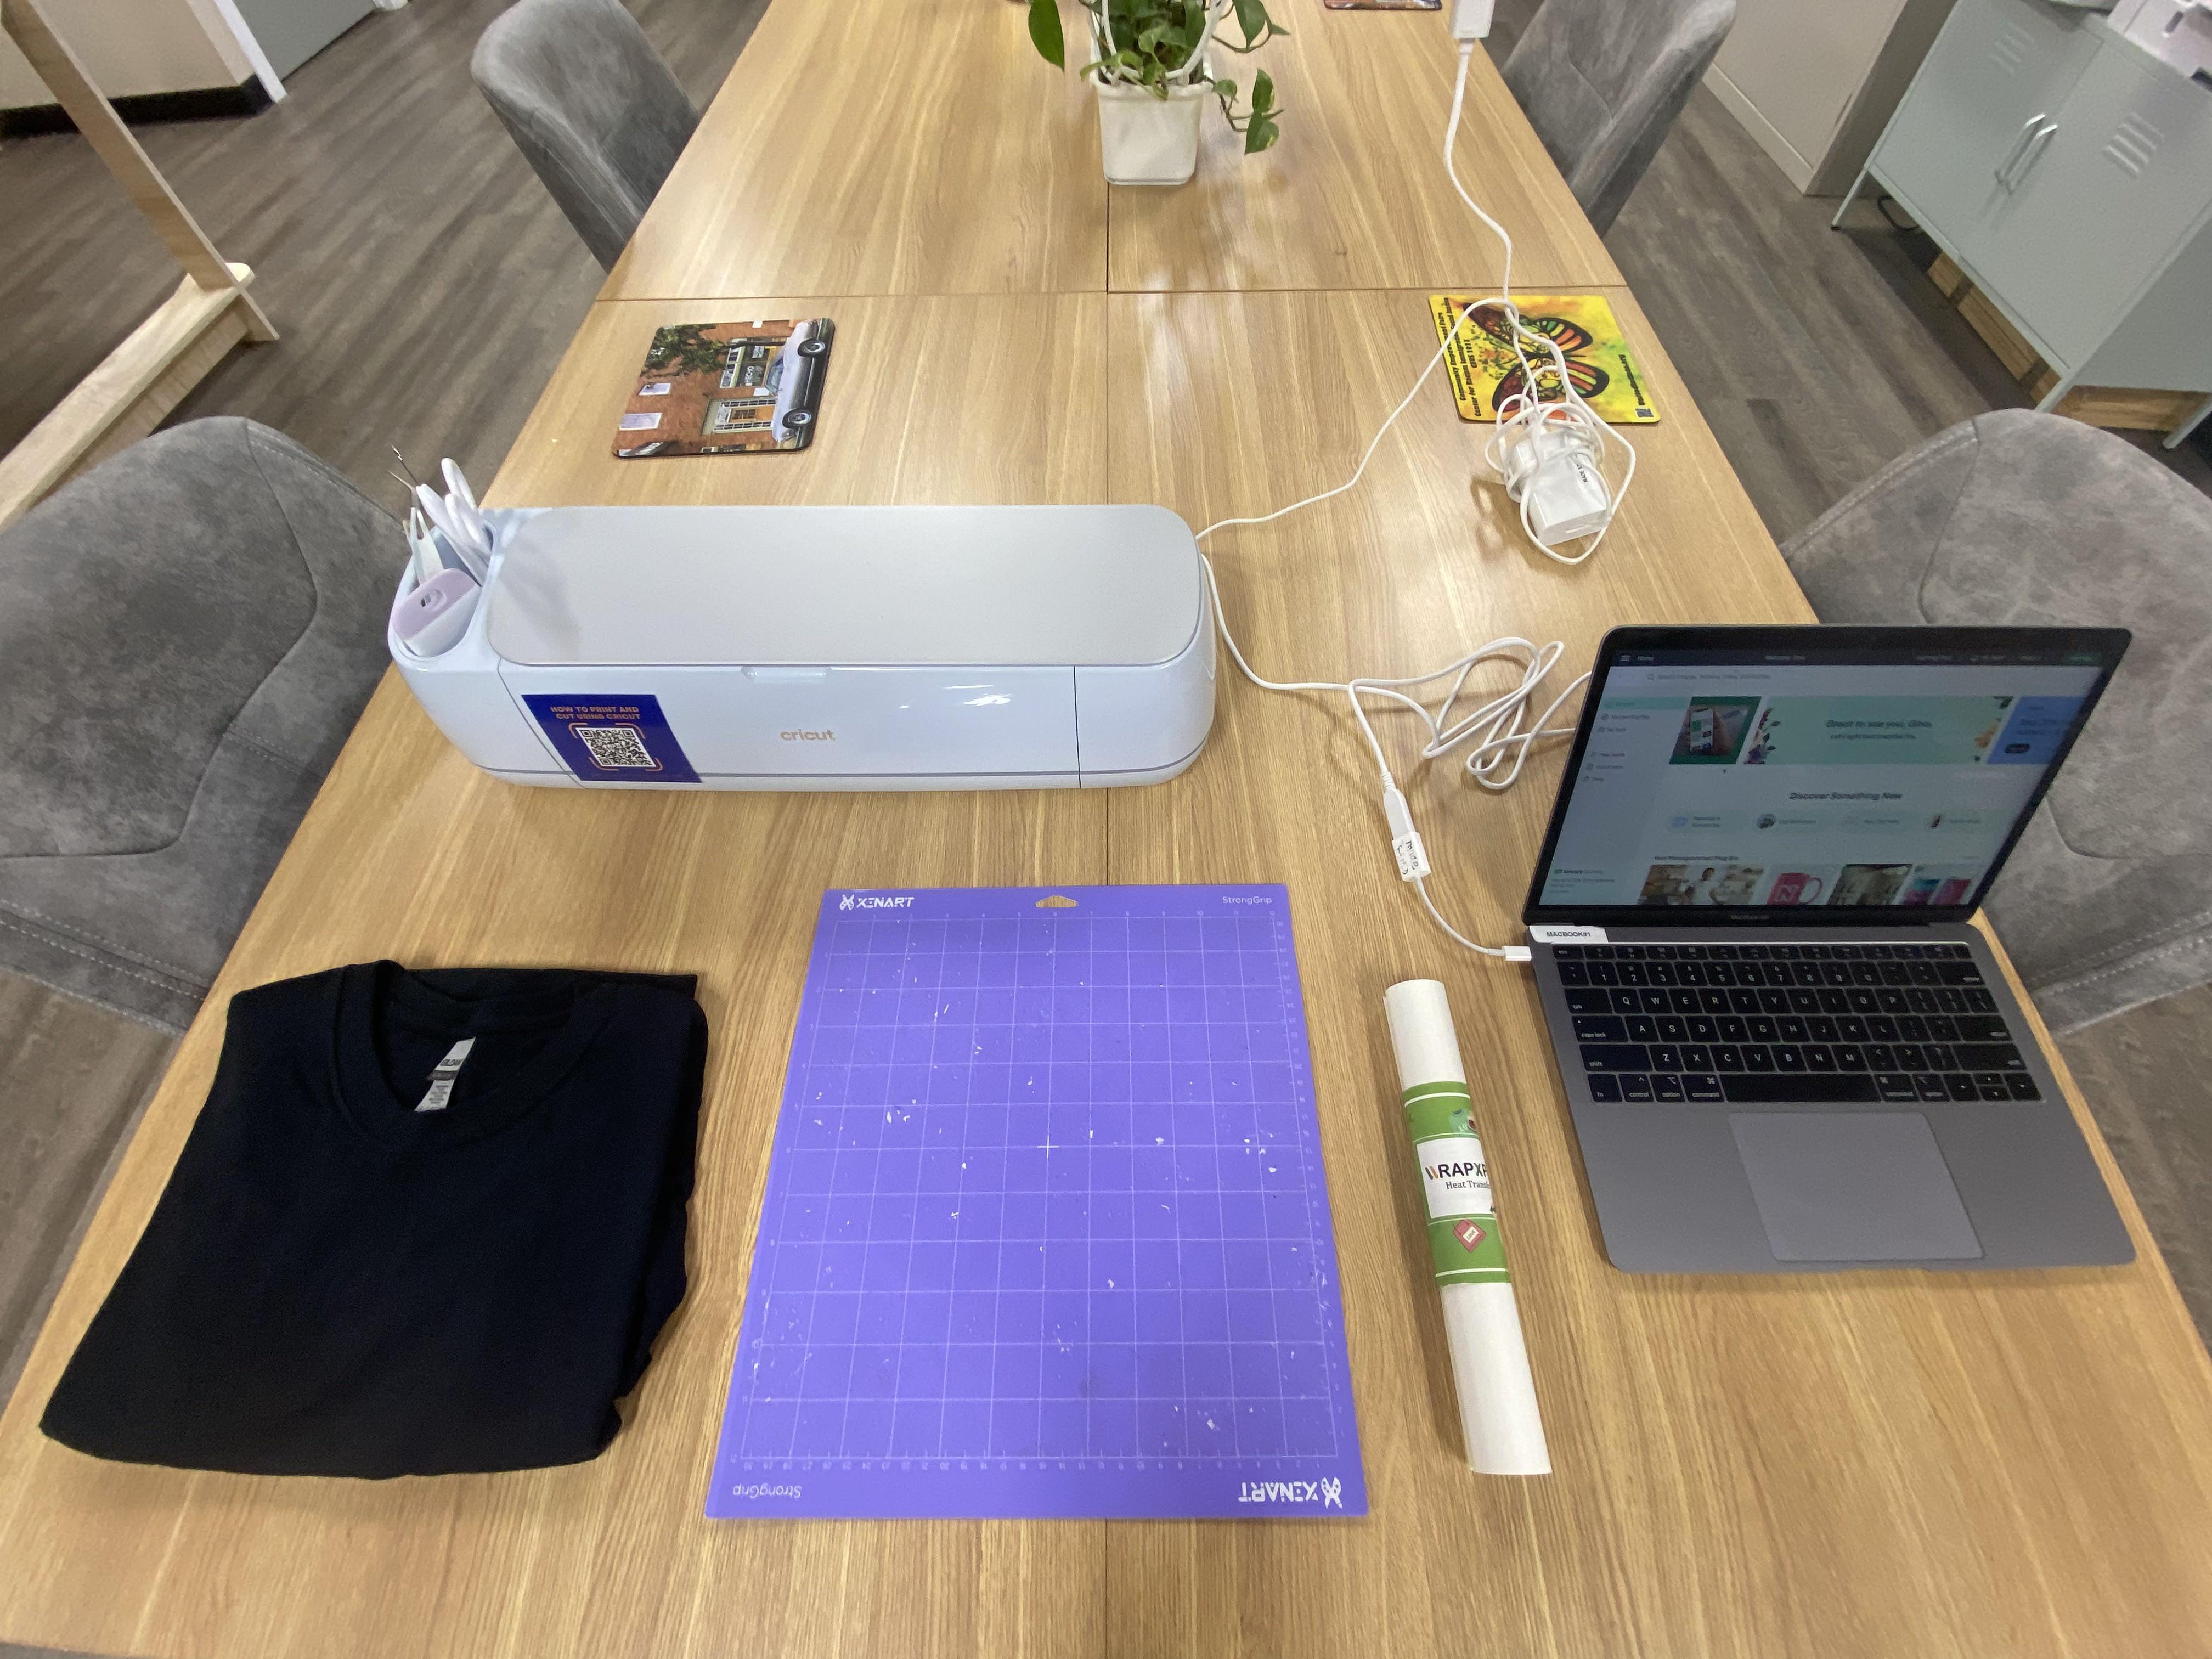
Tools Used In This Tutorial:
Cricut Maker 3
Laptop with Cricut Design Space Installed
1 x Cricut Sticky Mat
Materials Used In This Tutorial:
1 x Black T-Shirt
1 Roll x Heat Transfer Puff Vinyl
Setup Workstation
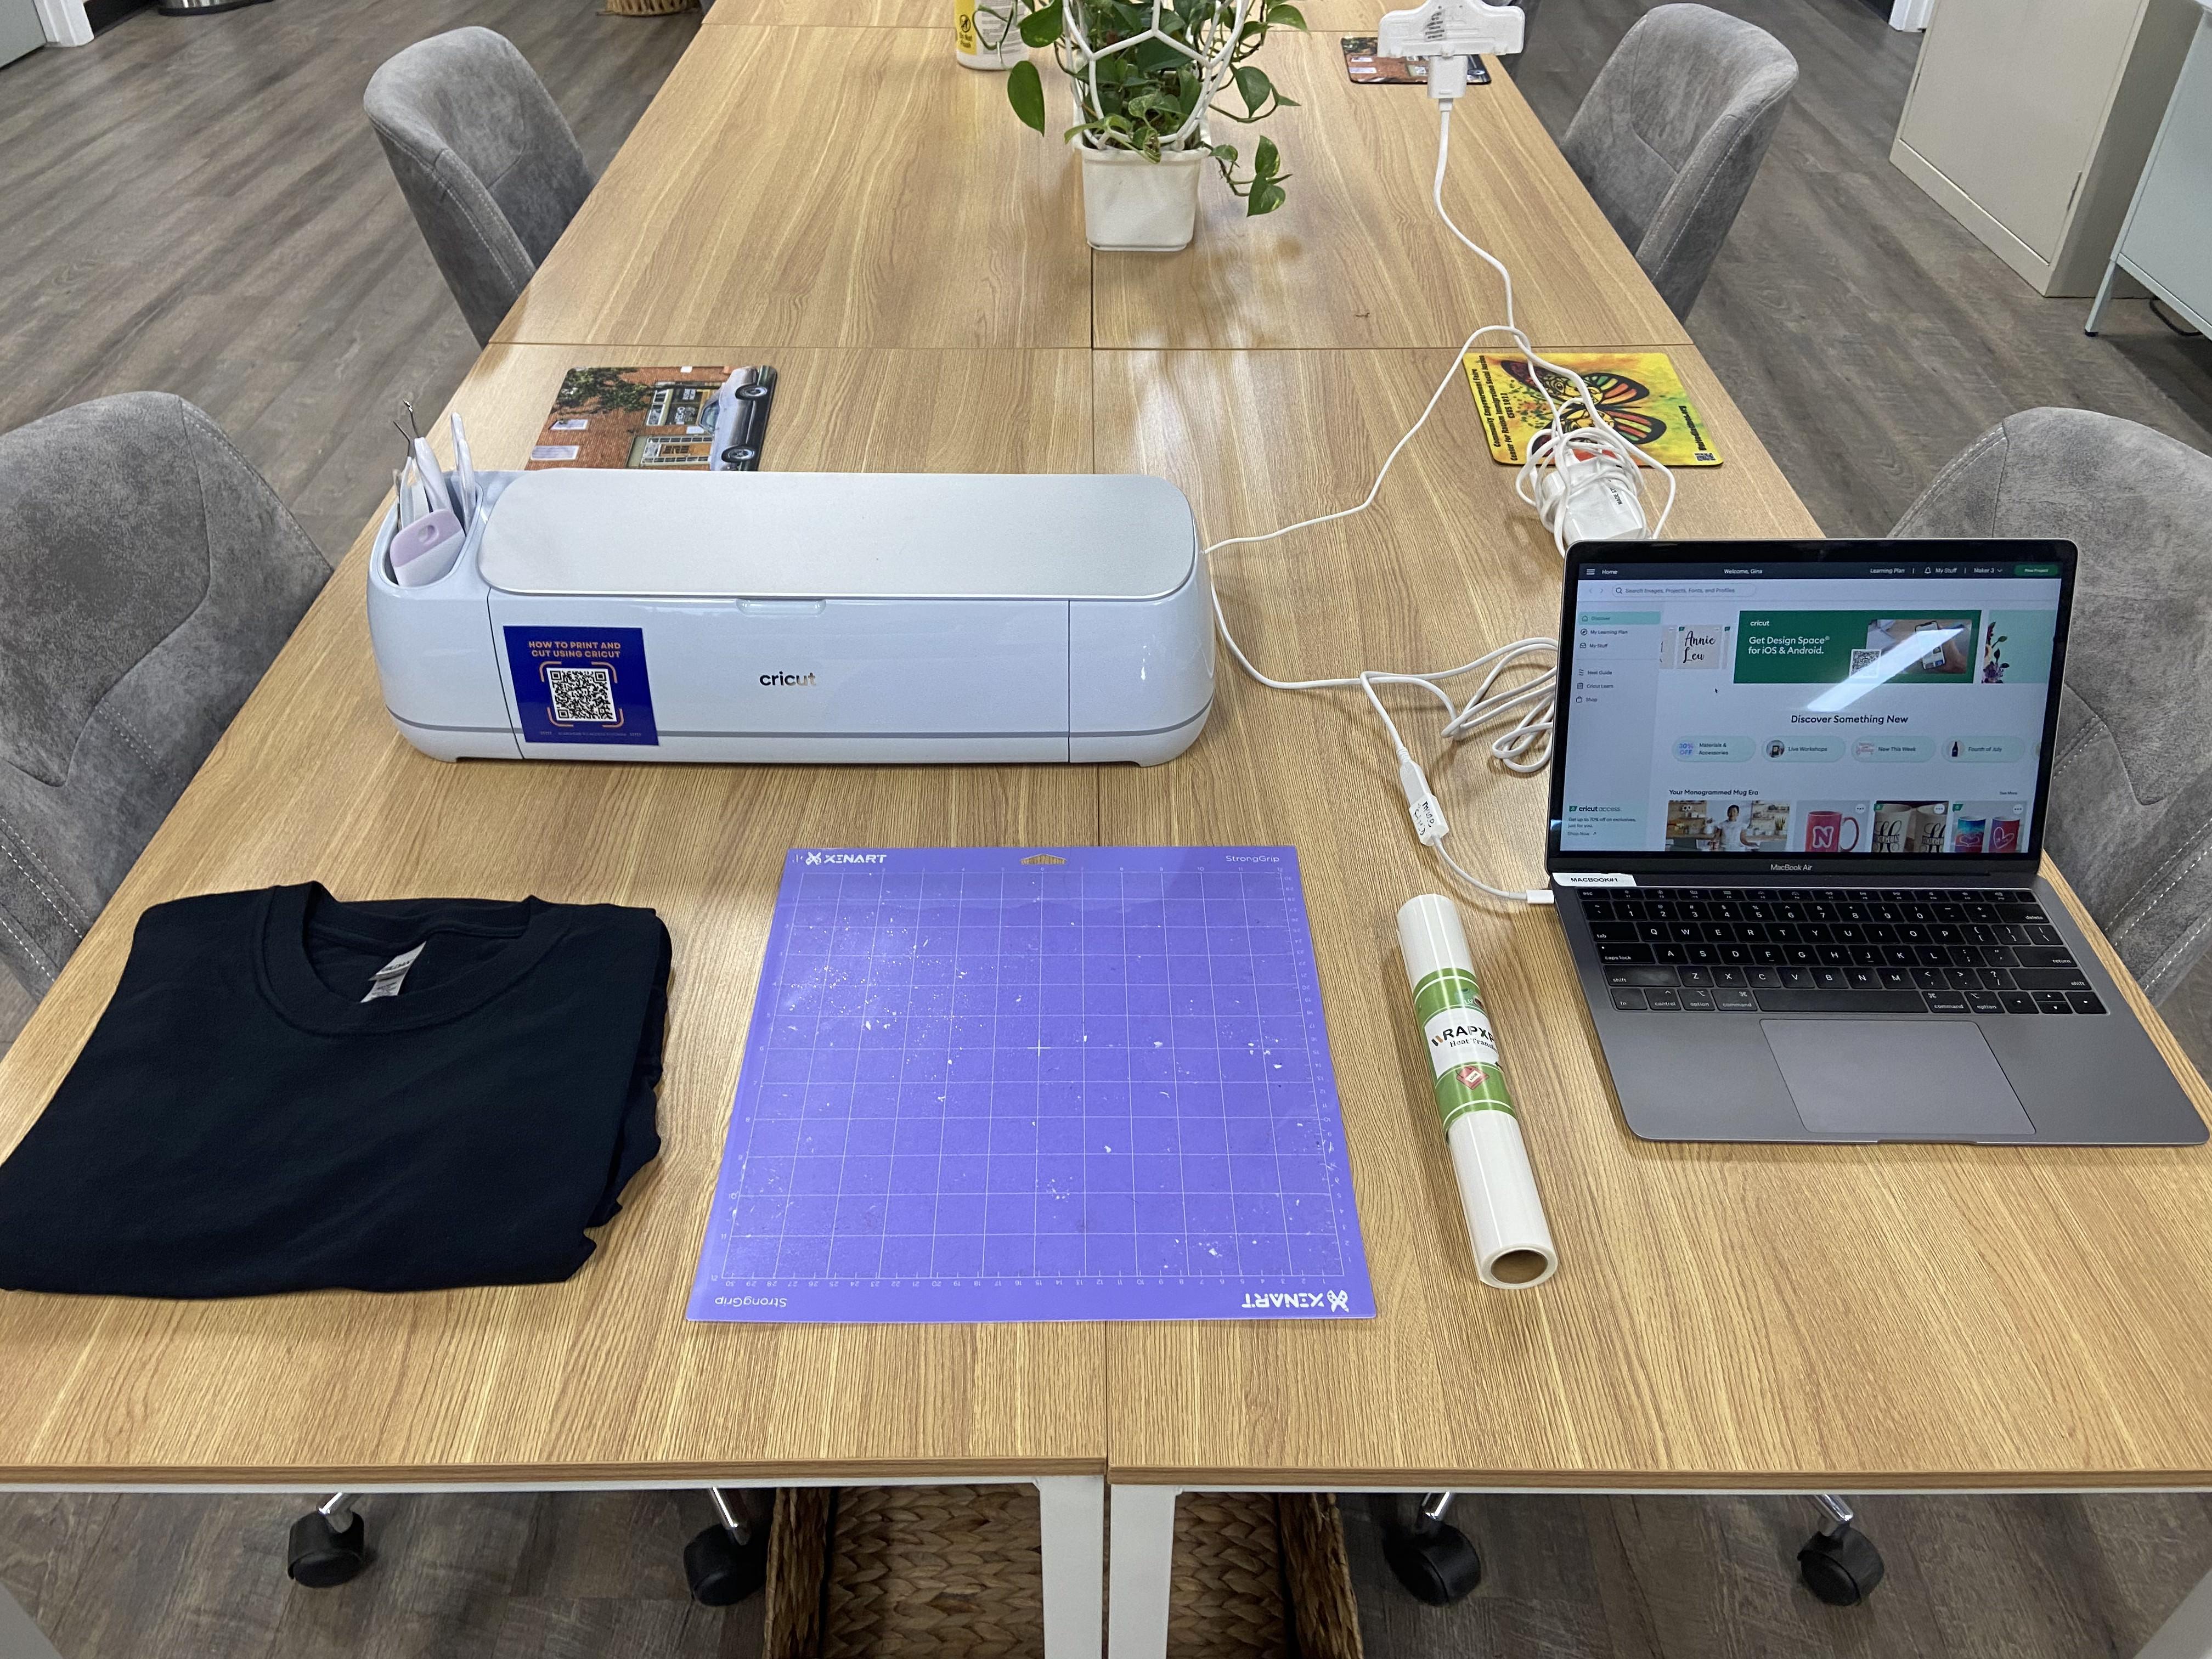
Power on your Cricut and Connect the Cricut to your laptop.
Upload Image Into Cricut Design Space Canvas
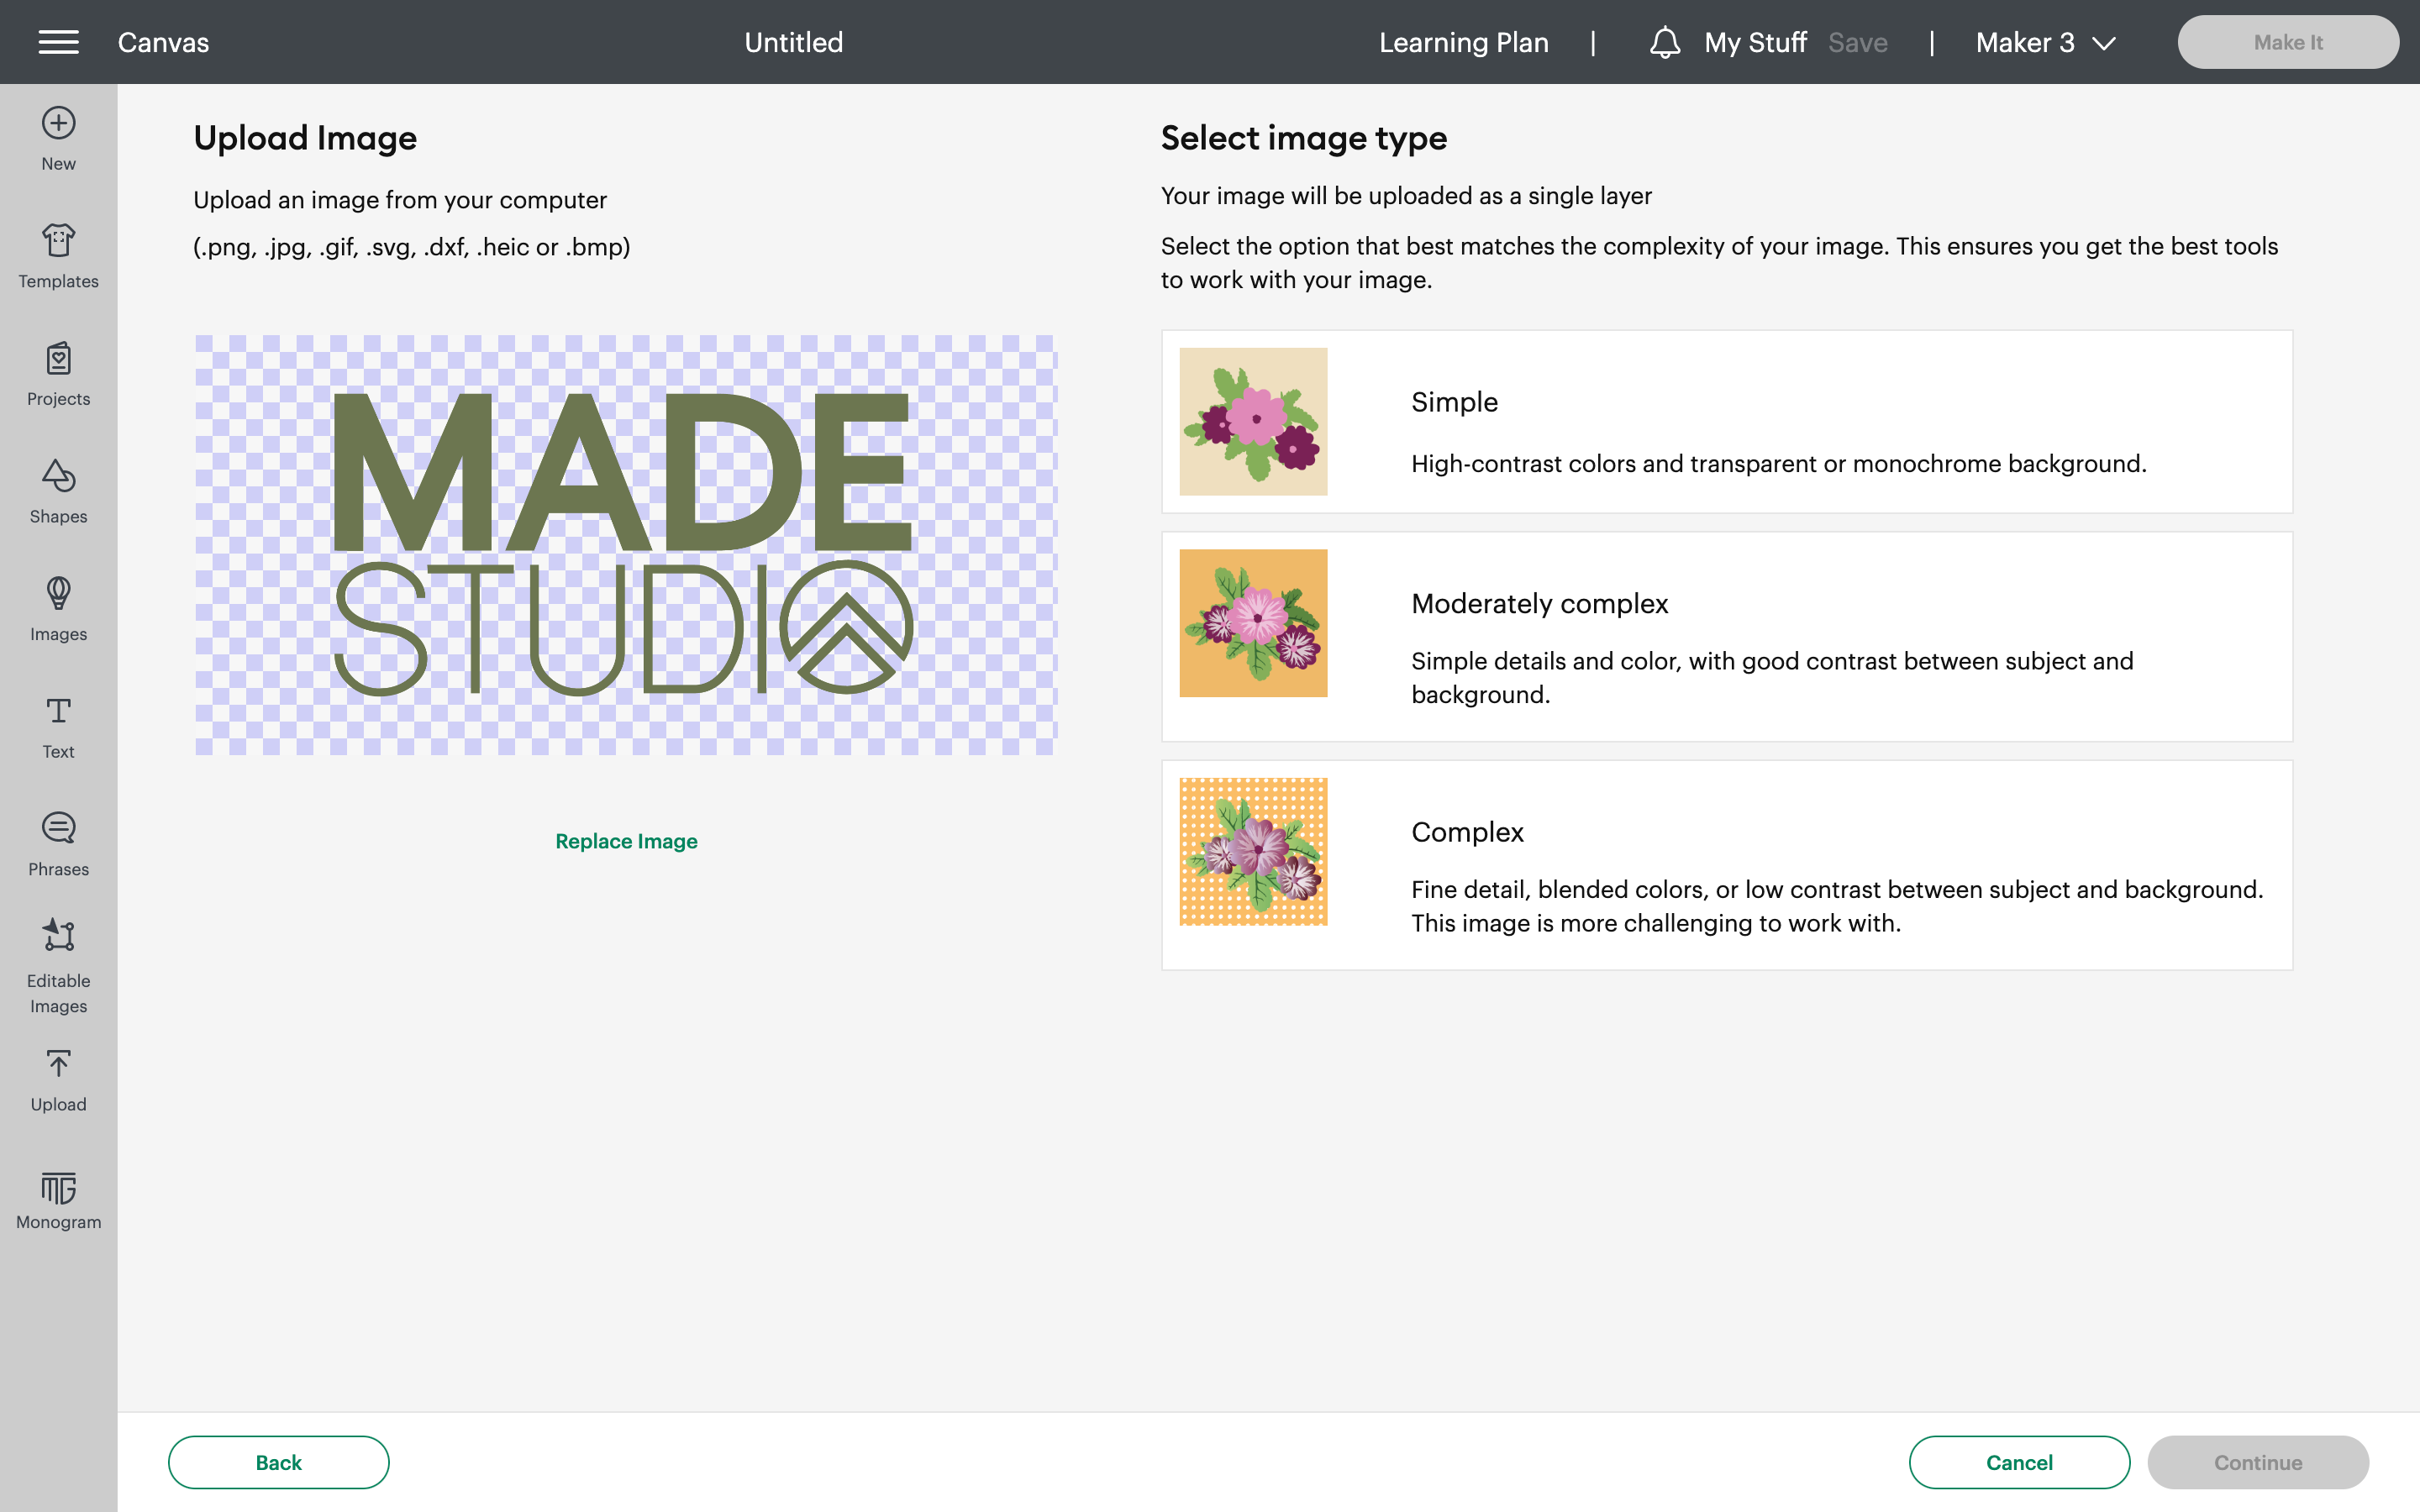
Remove Background and Unwanted Parts of Image

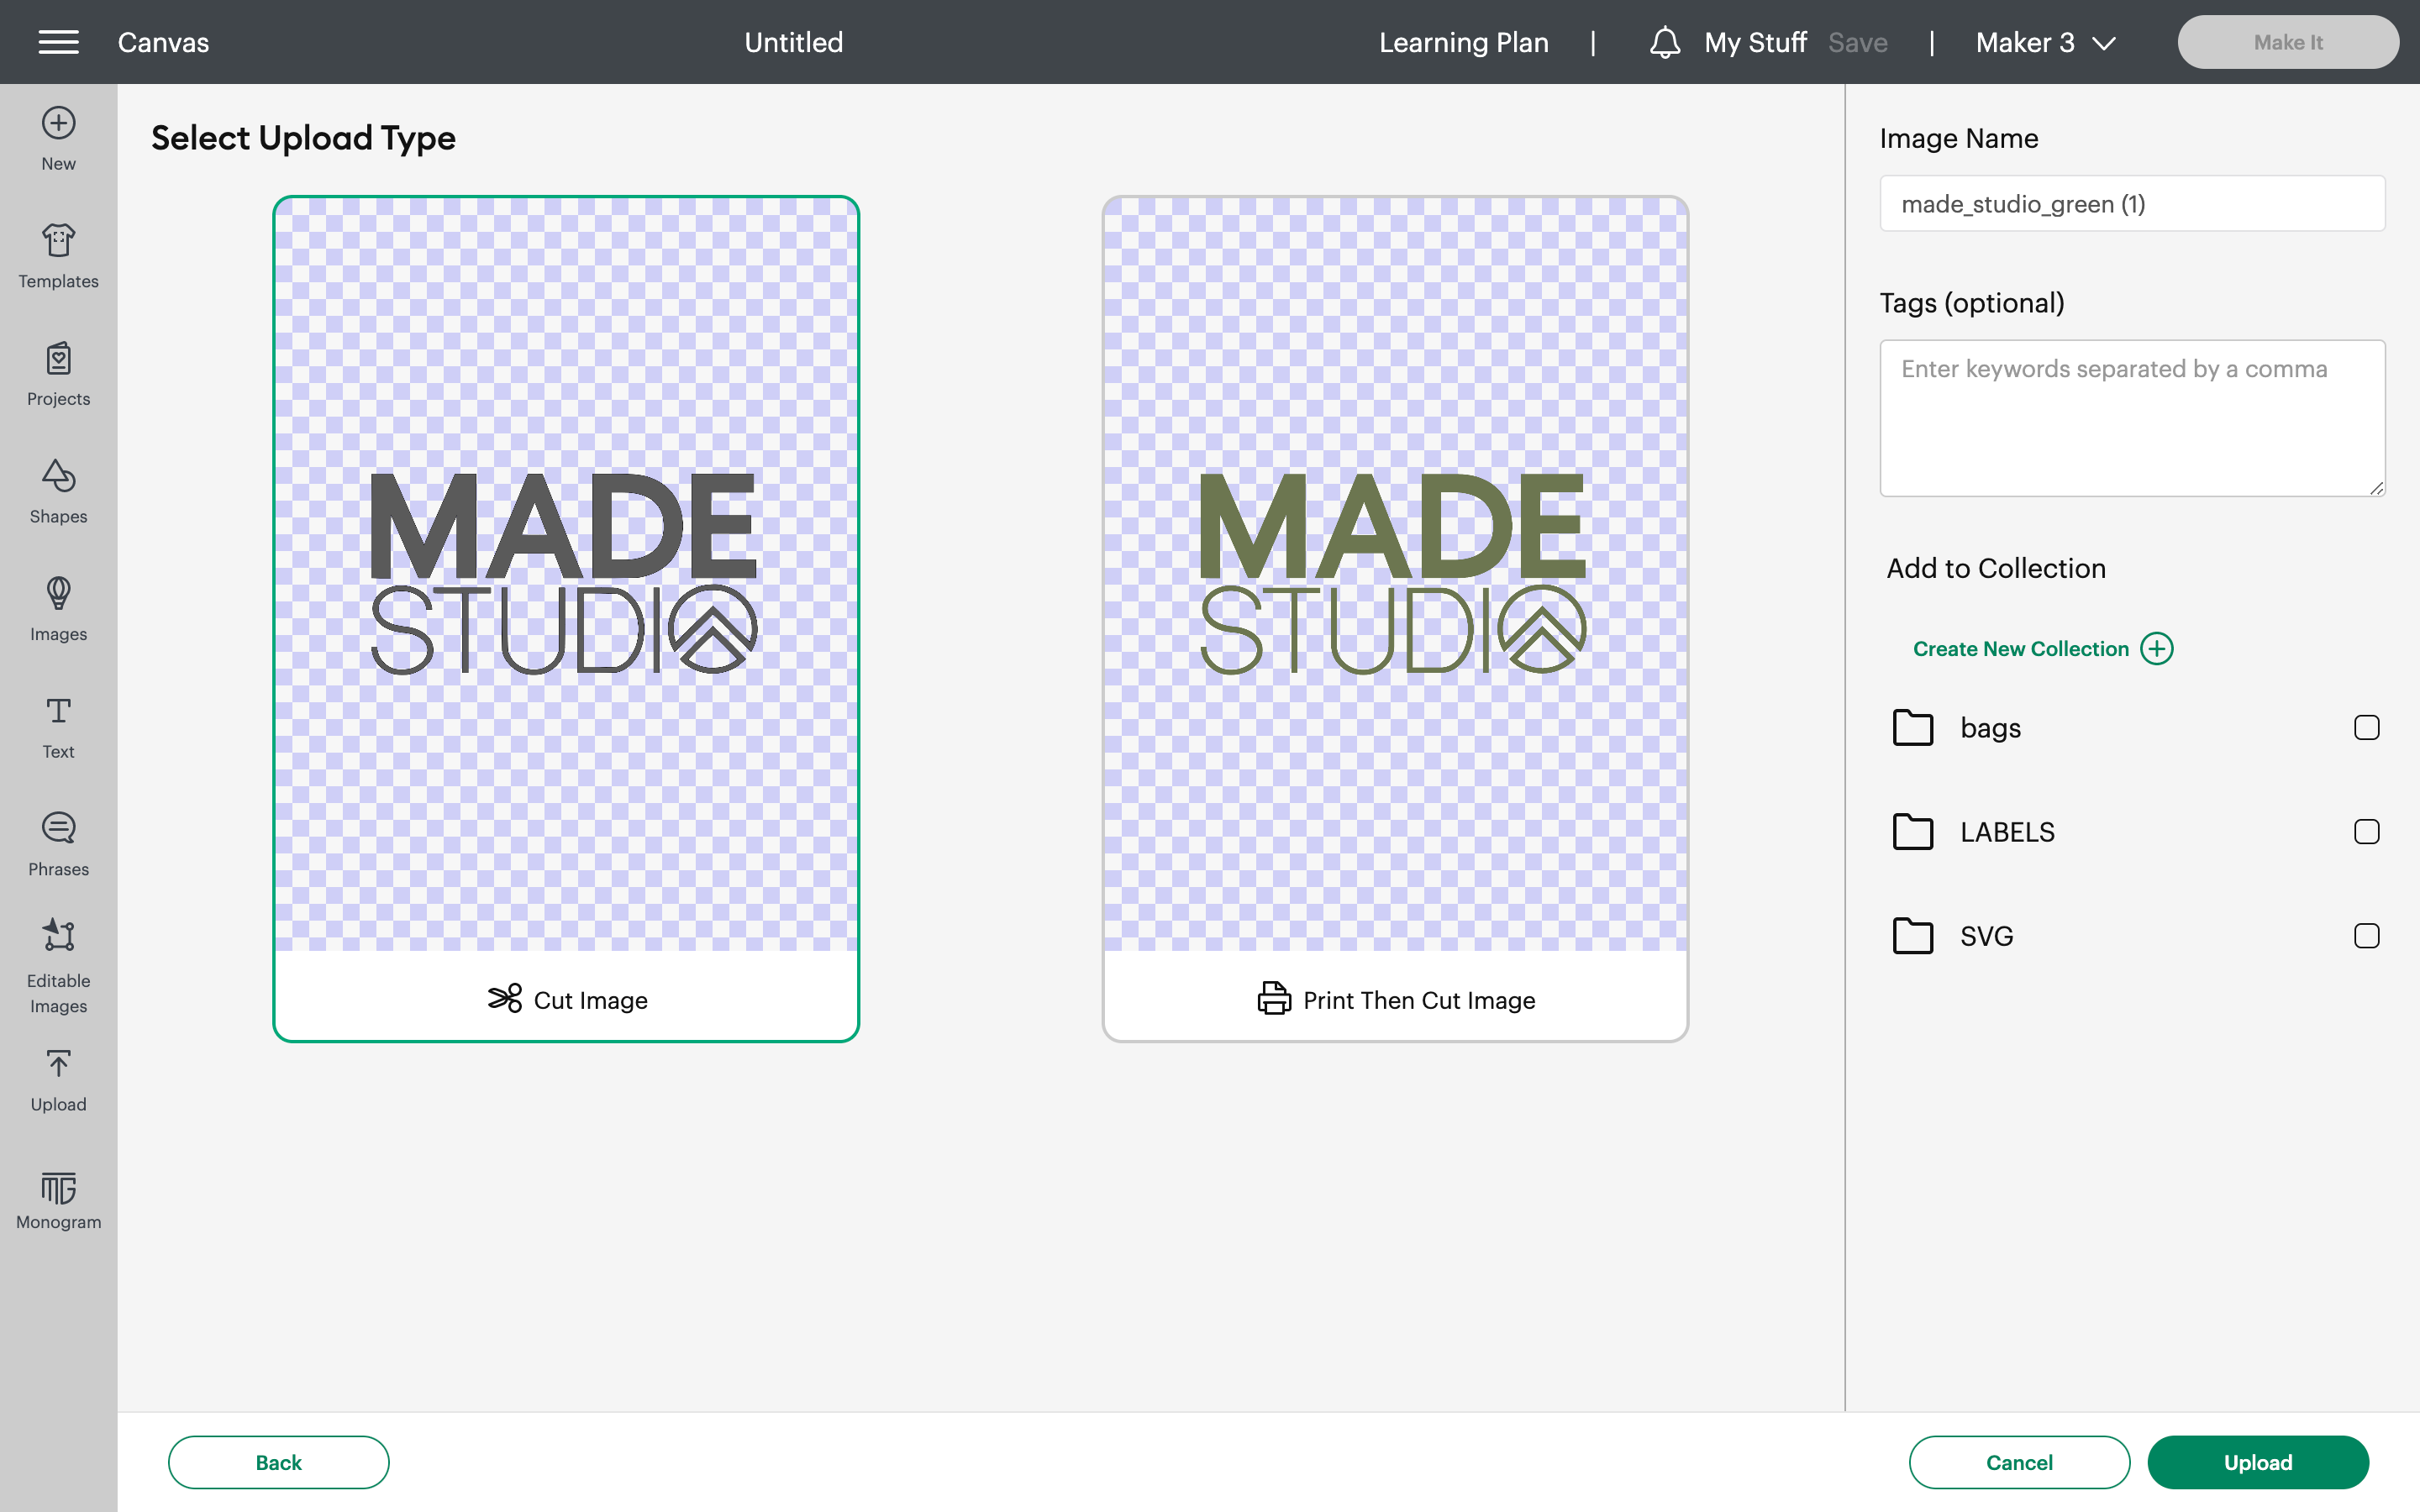
Select Cut Image and Finish Upload
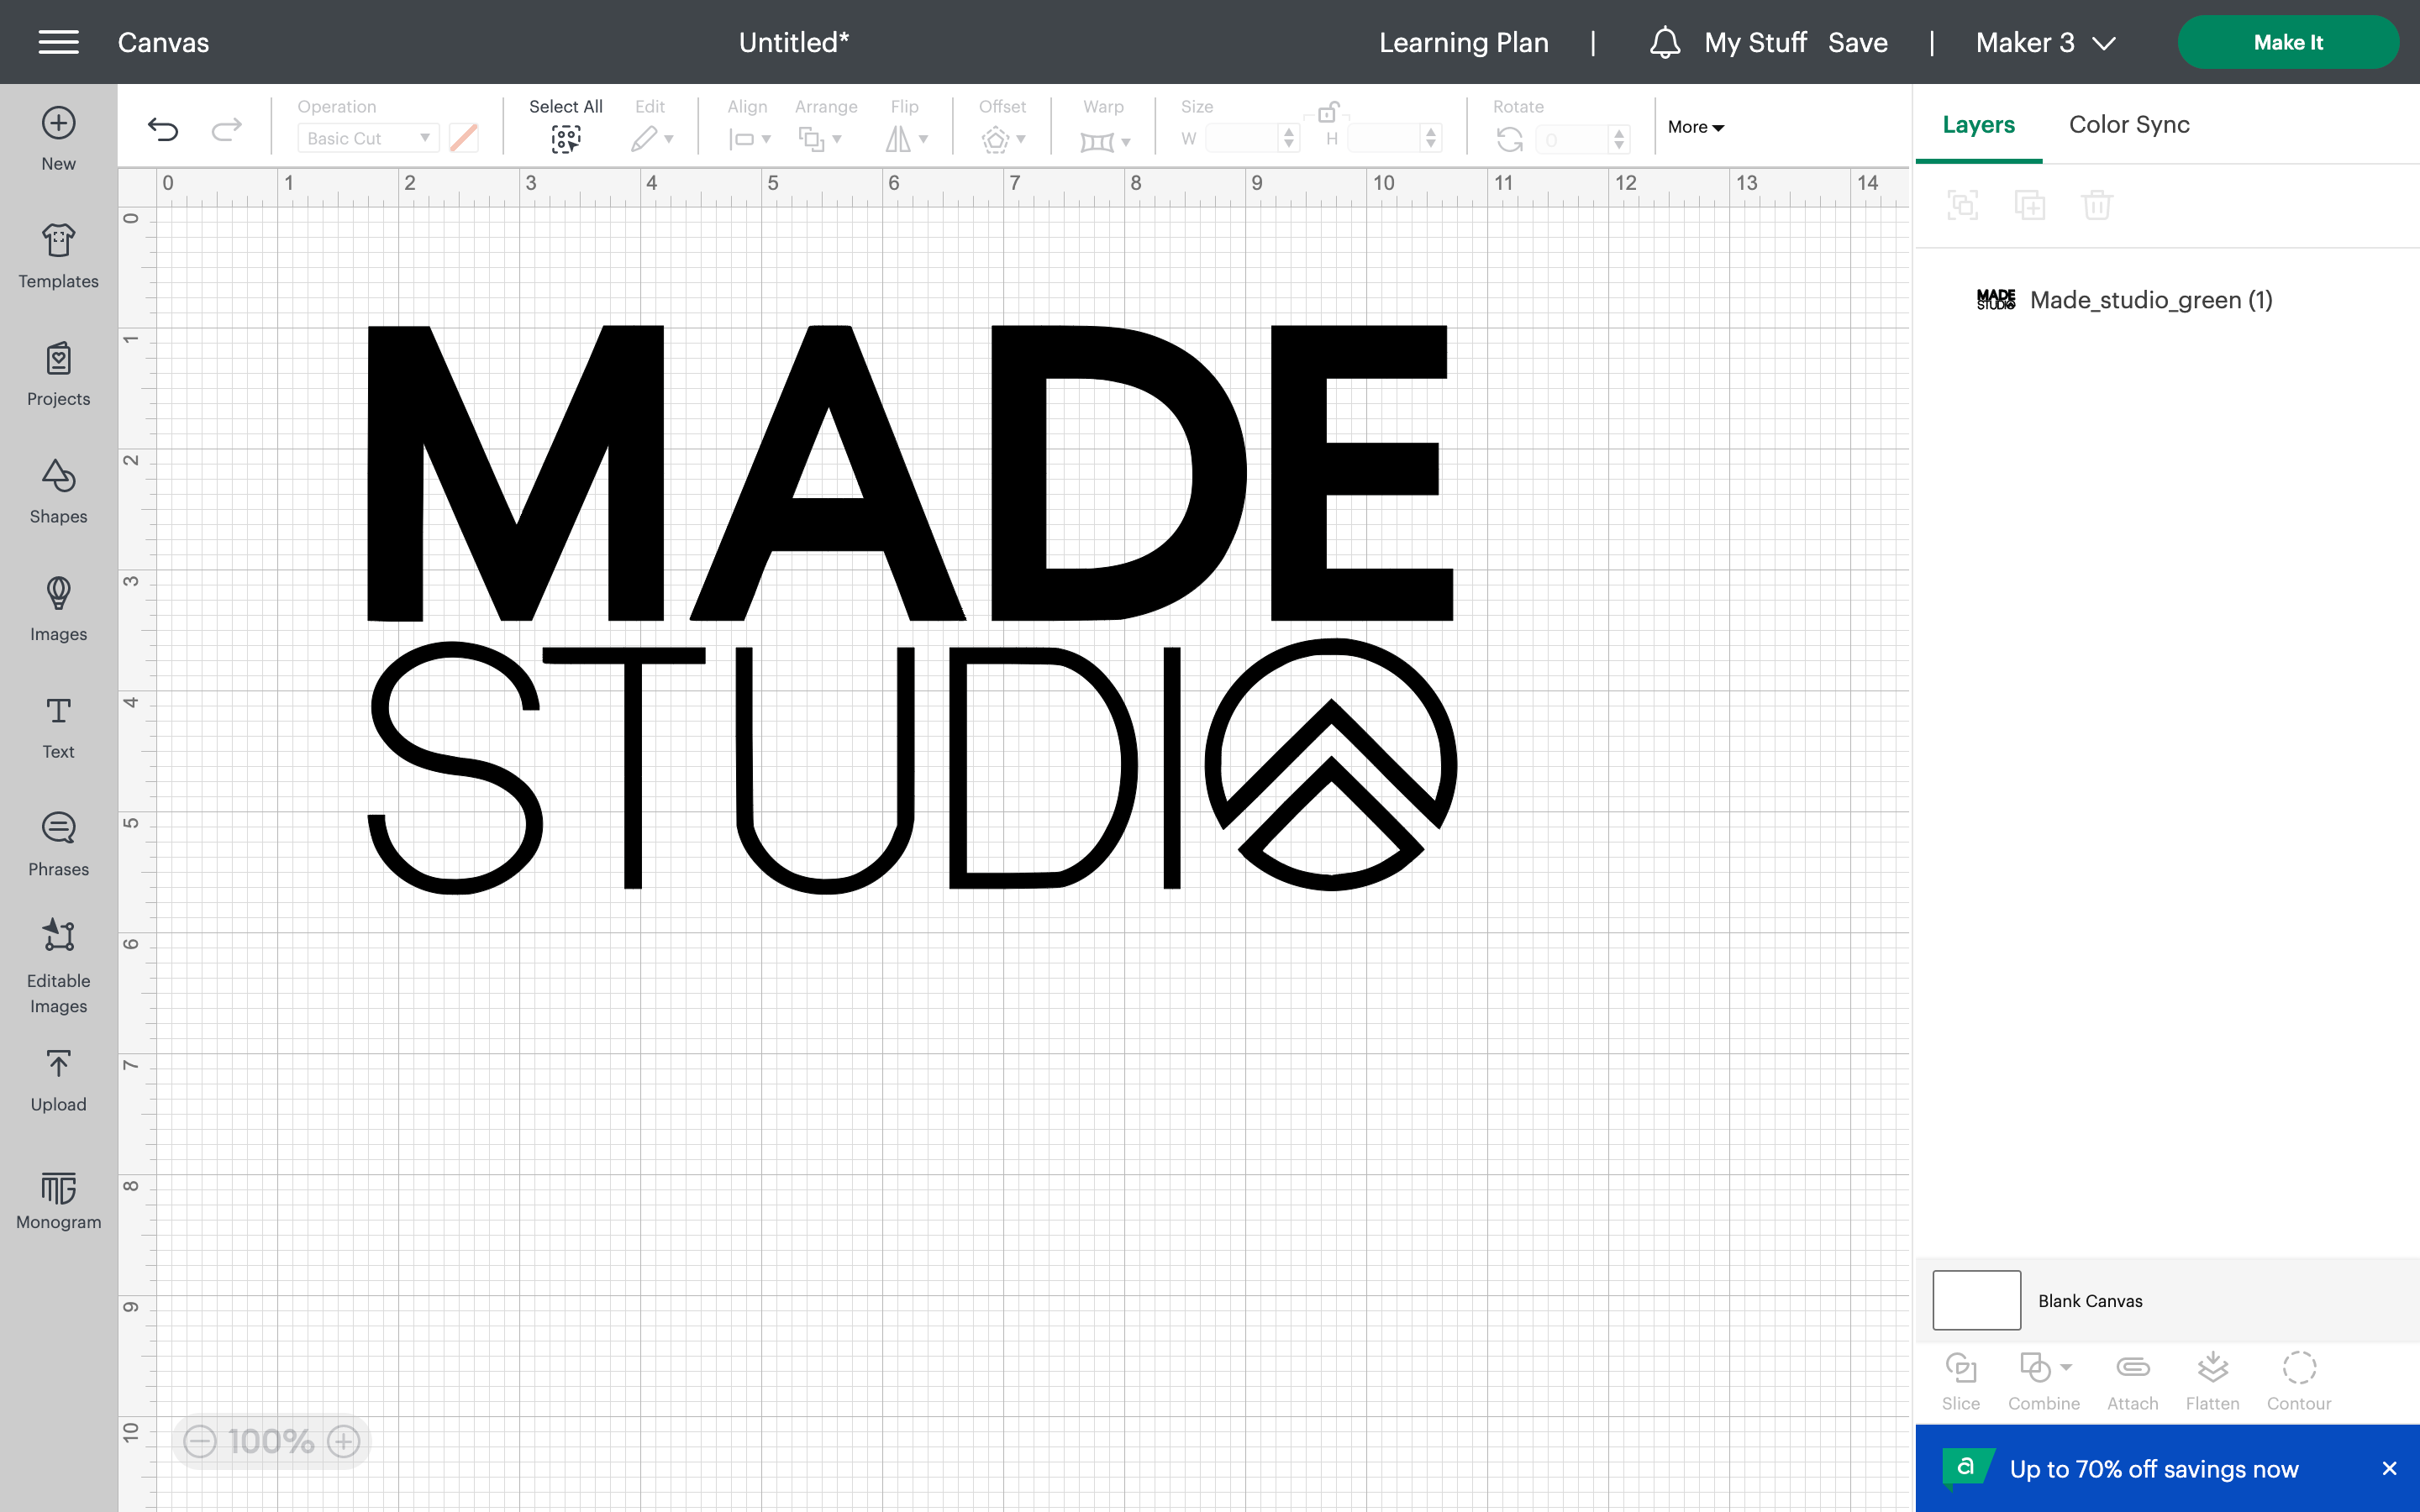
Select Uploaded Image and Add to Canvas

Resize Image and Select "make It" When Ready
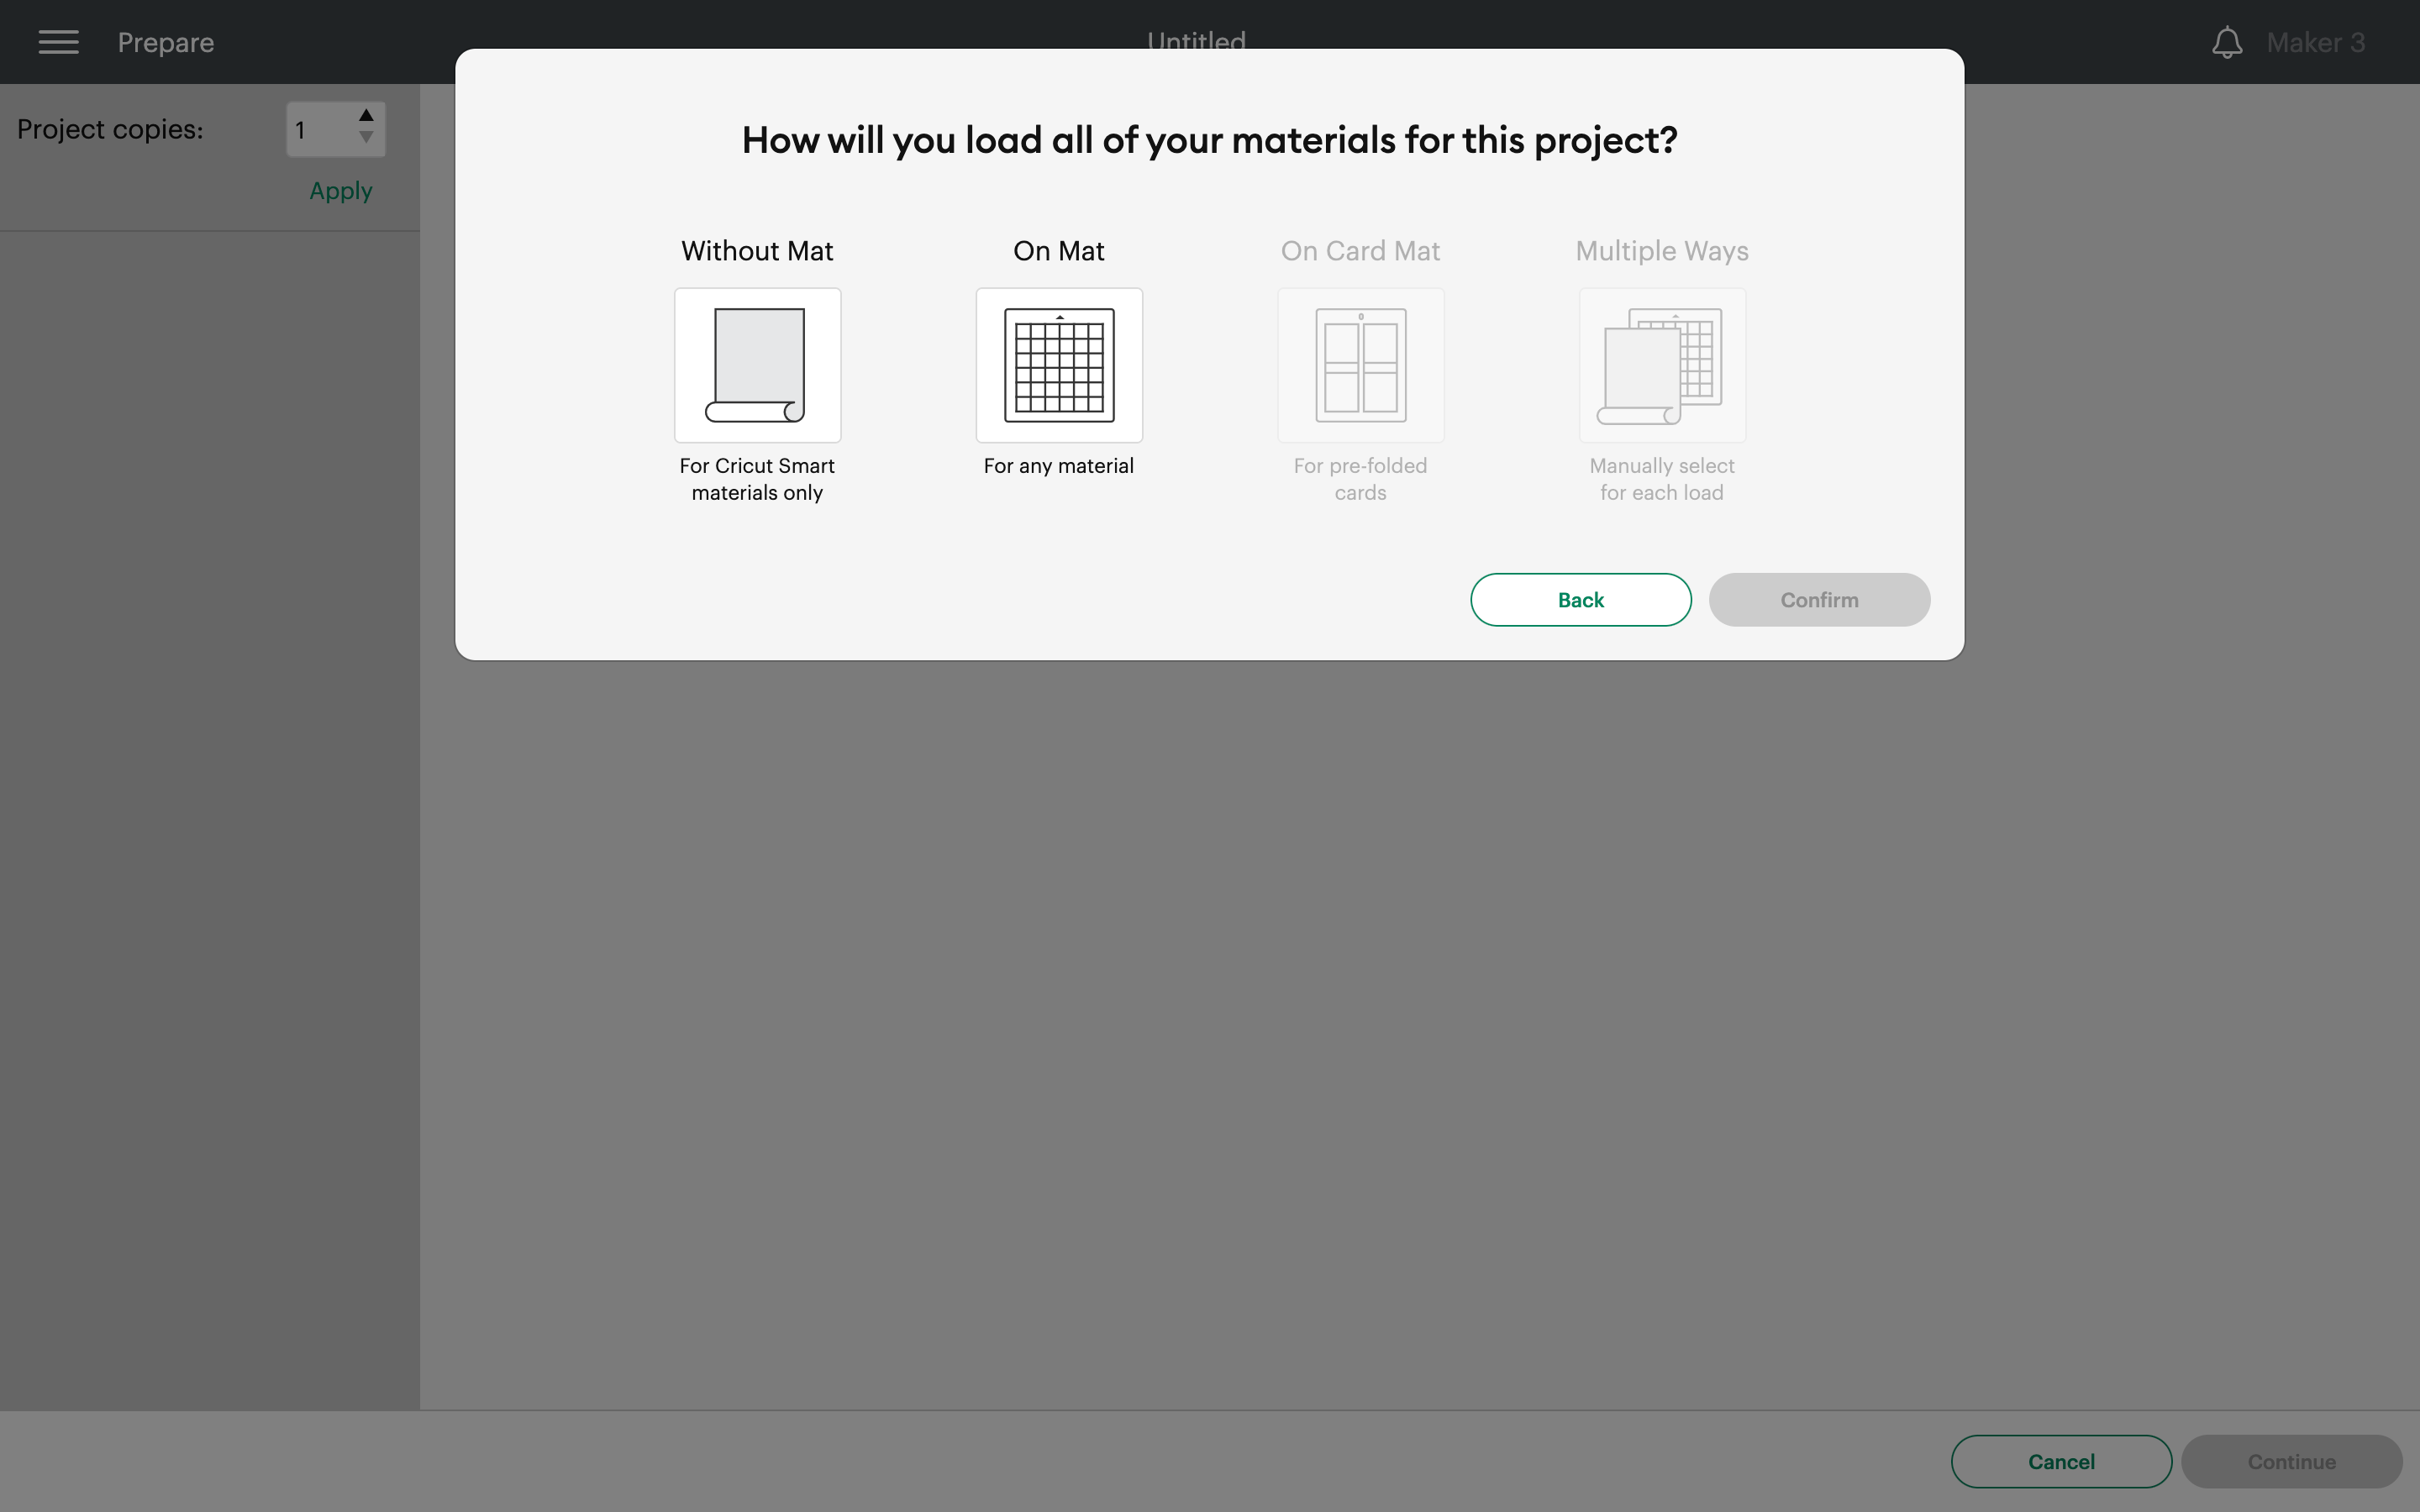
Select "on Mat" and Confirm
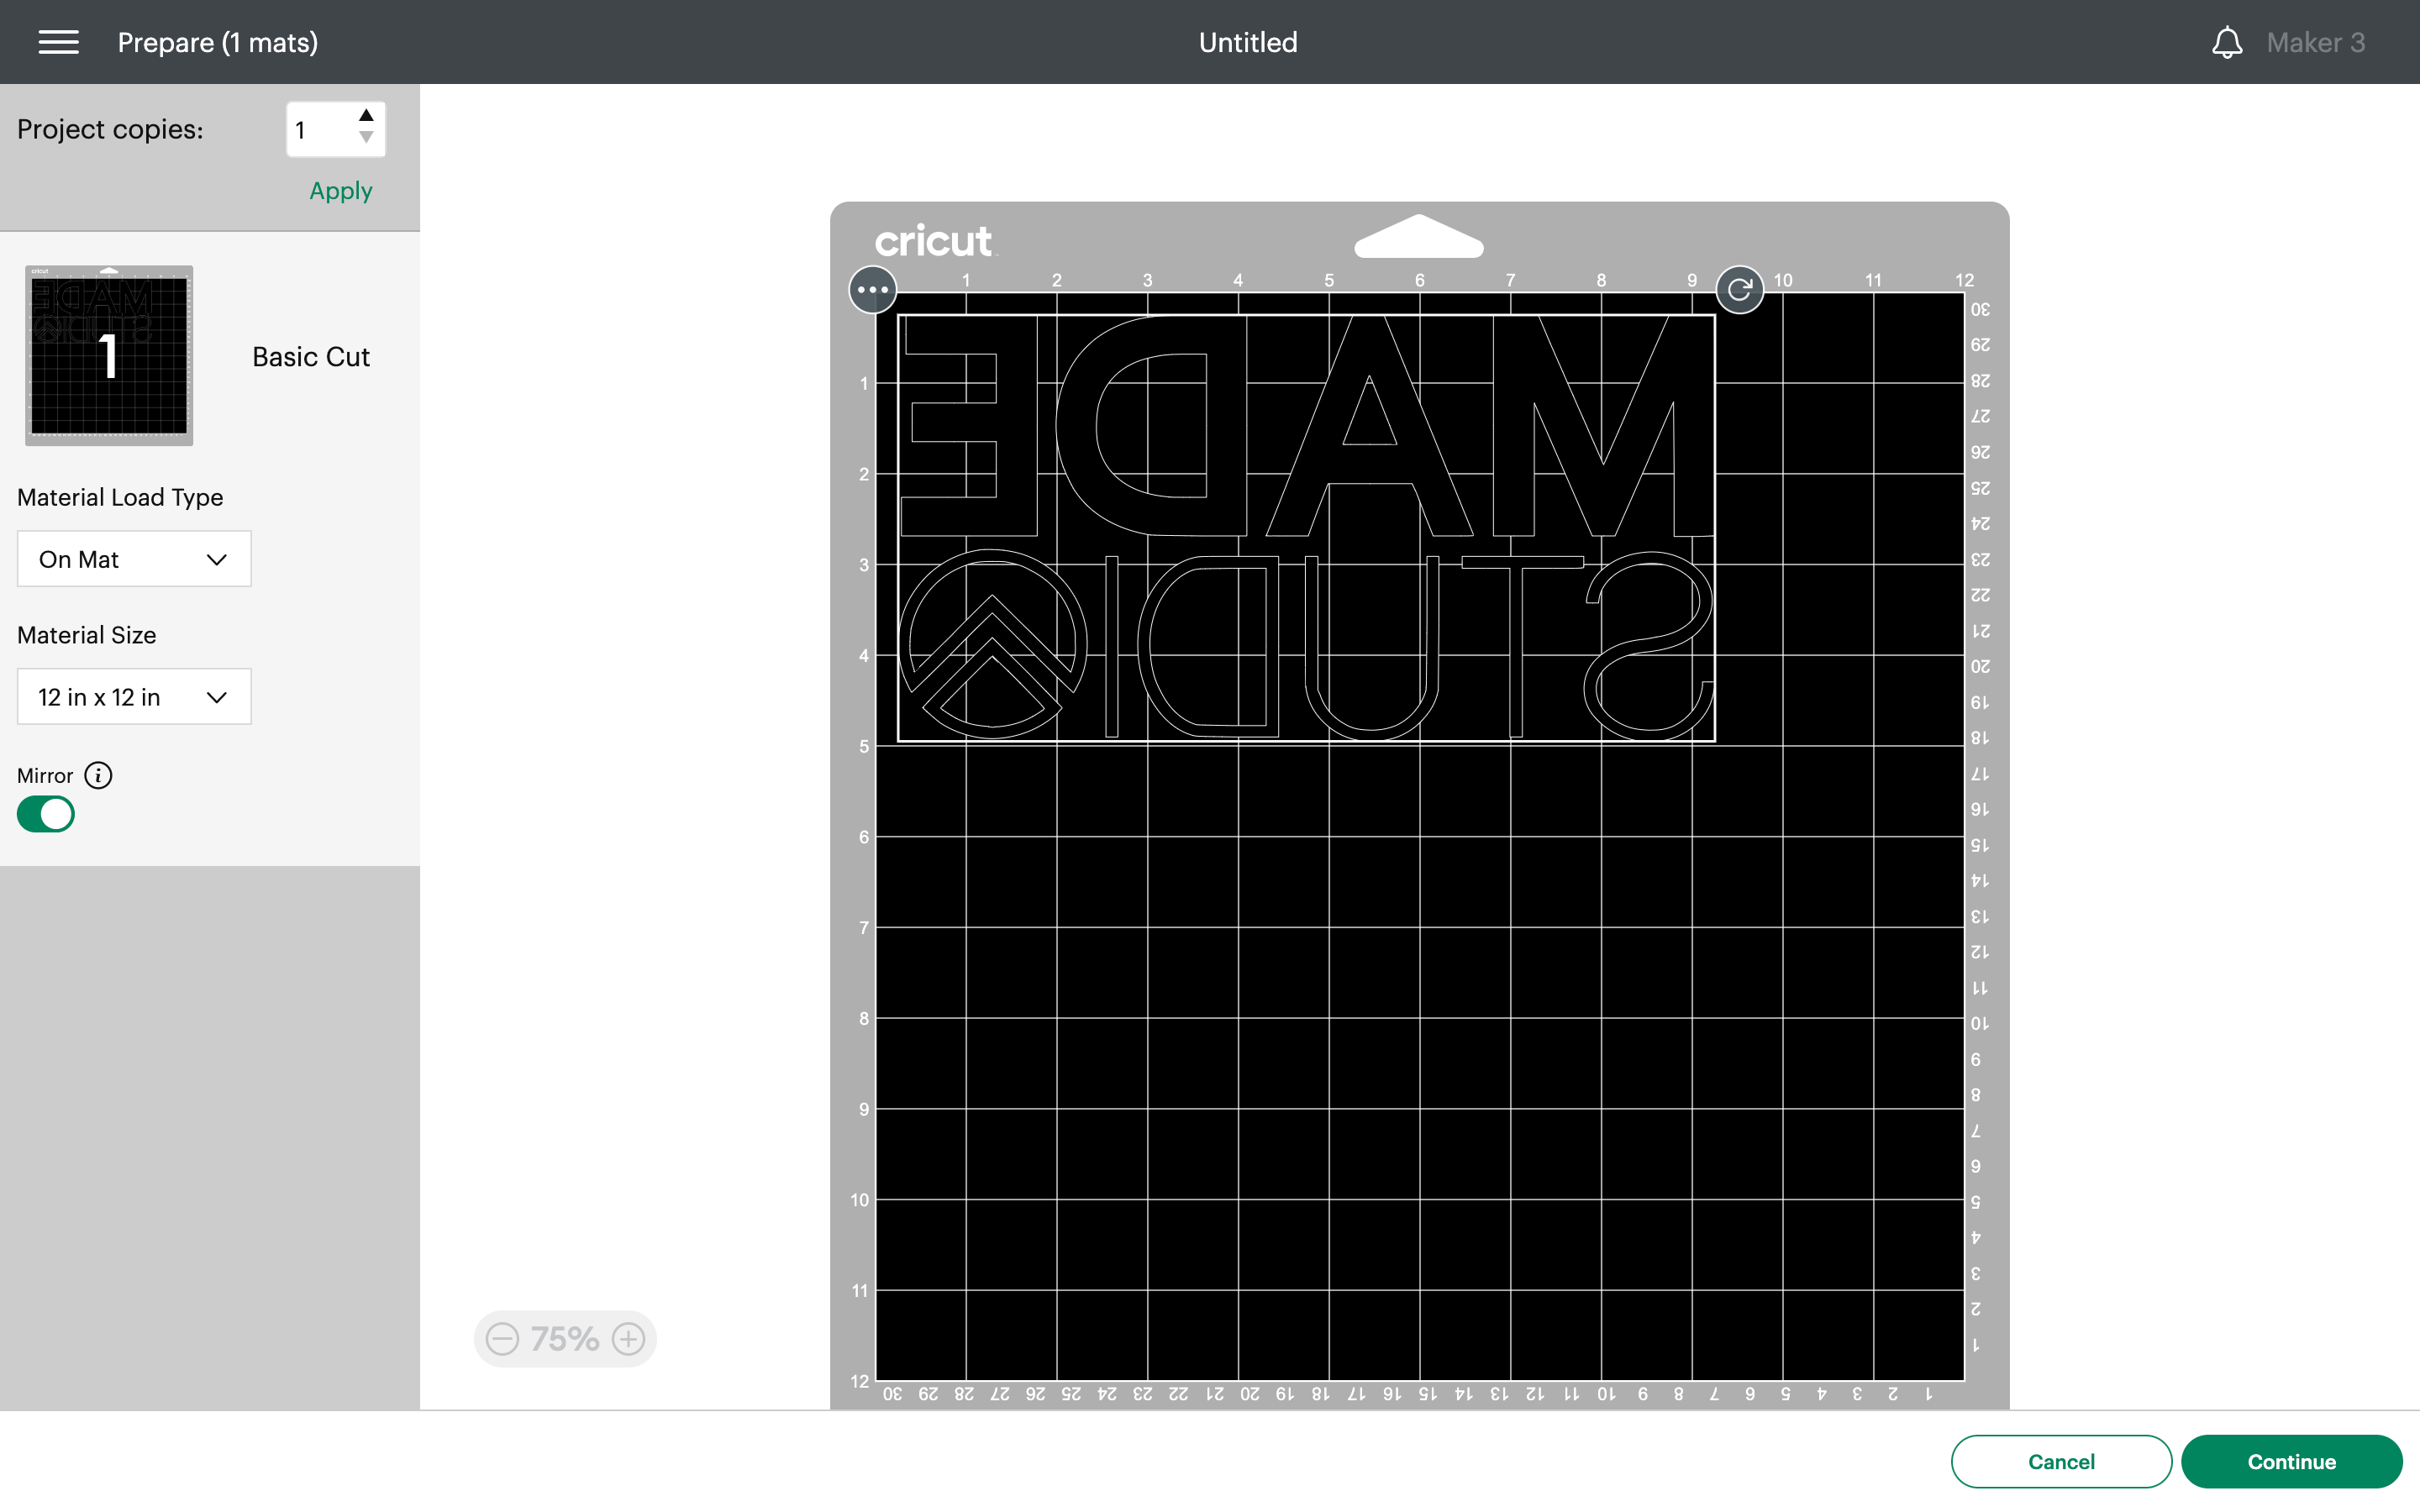
Mirror Your Image and Move Image If Applicable
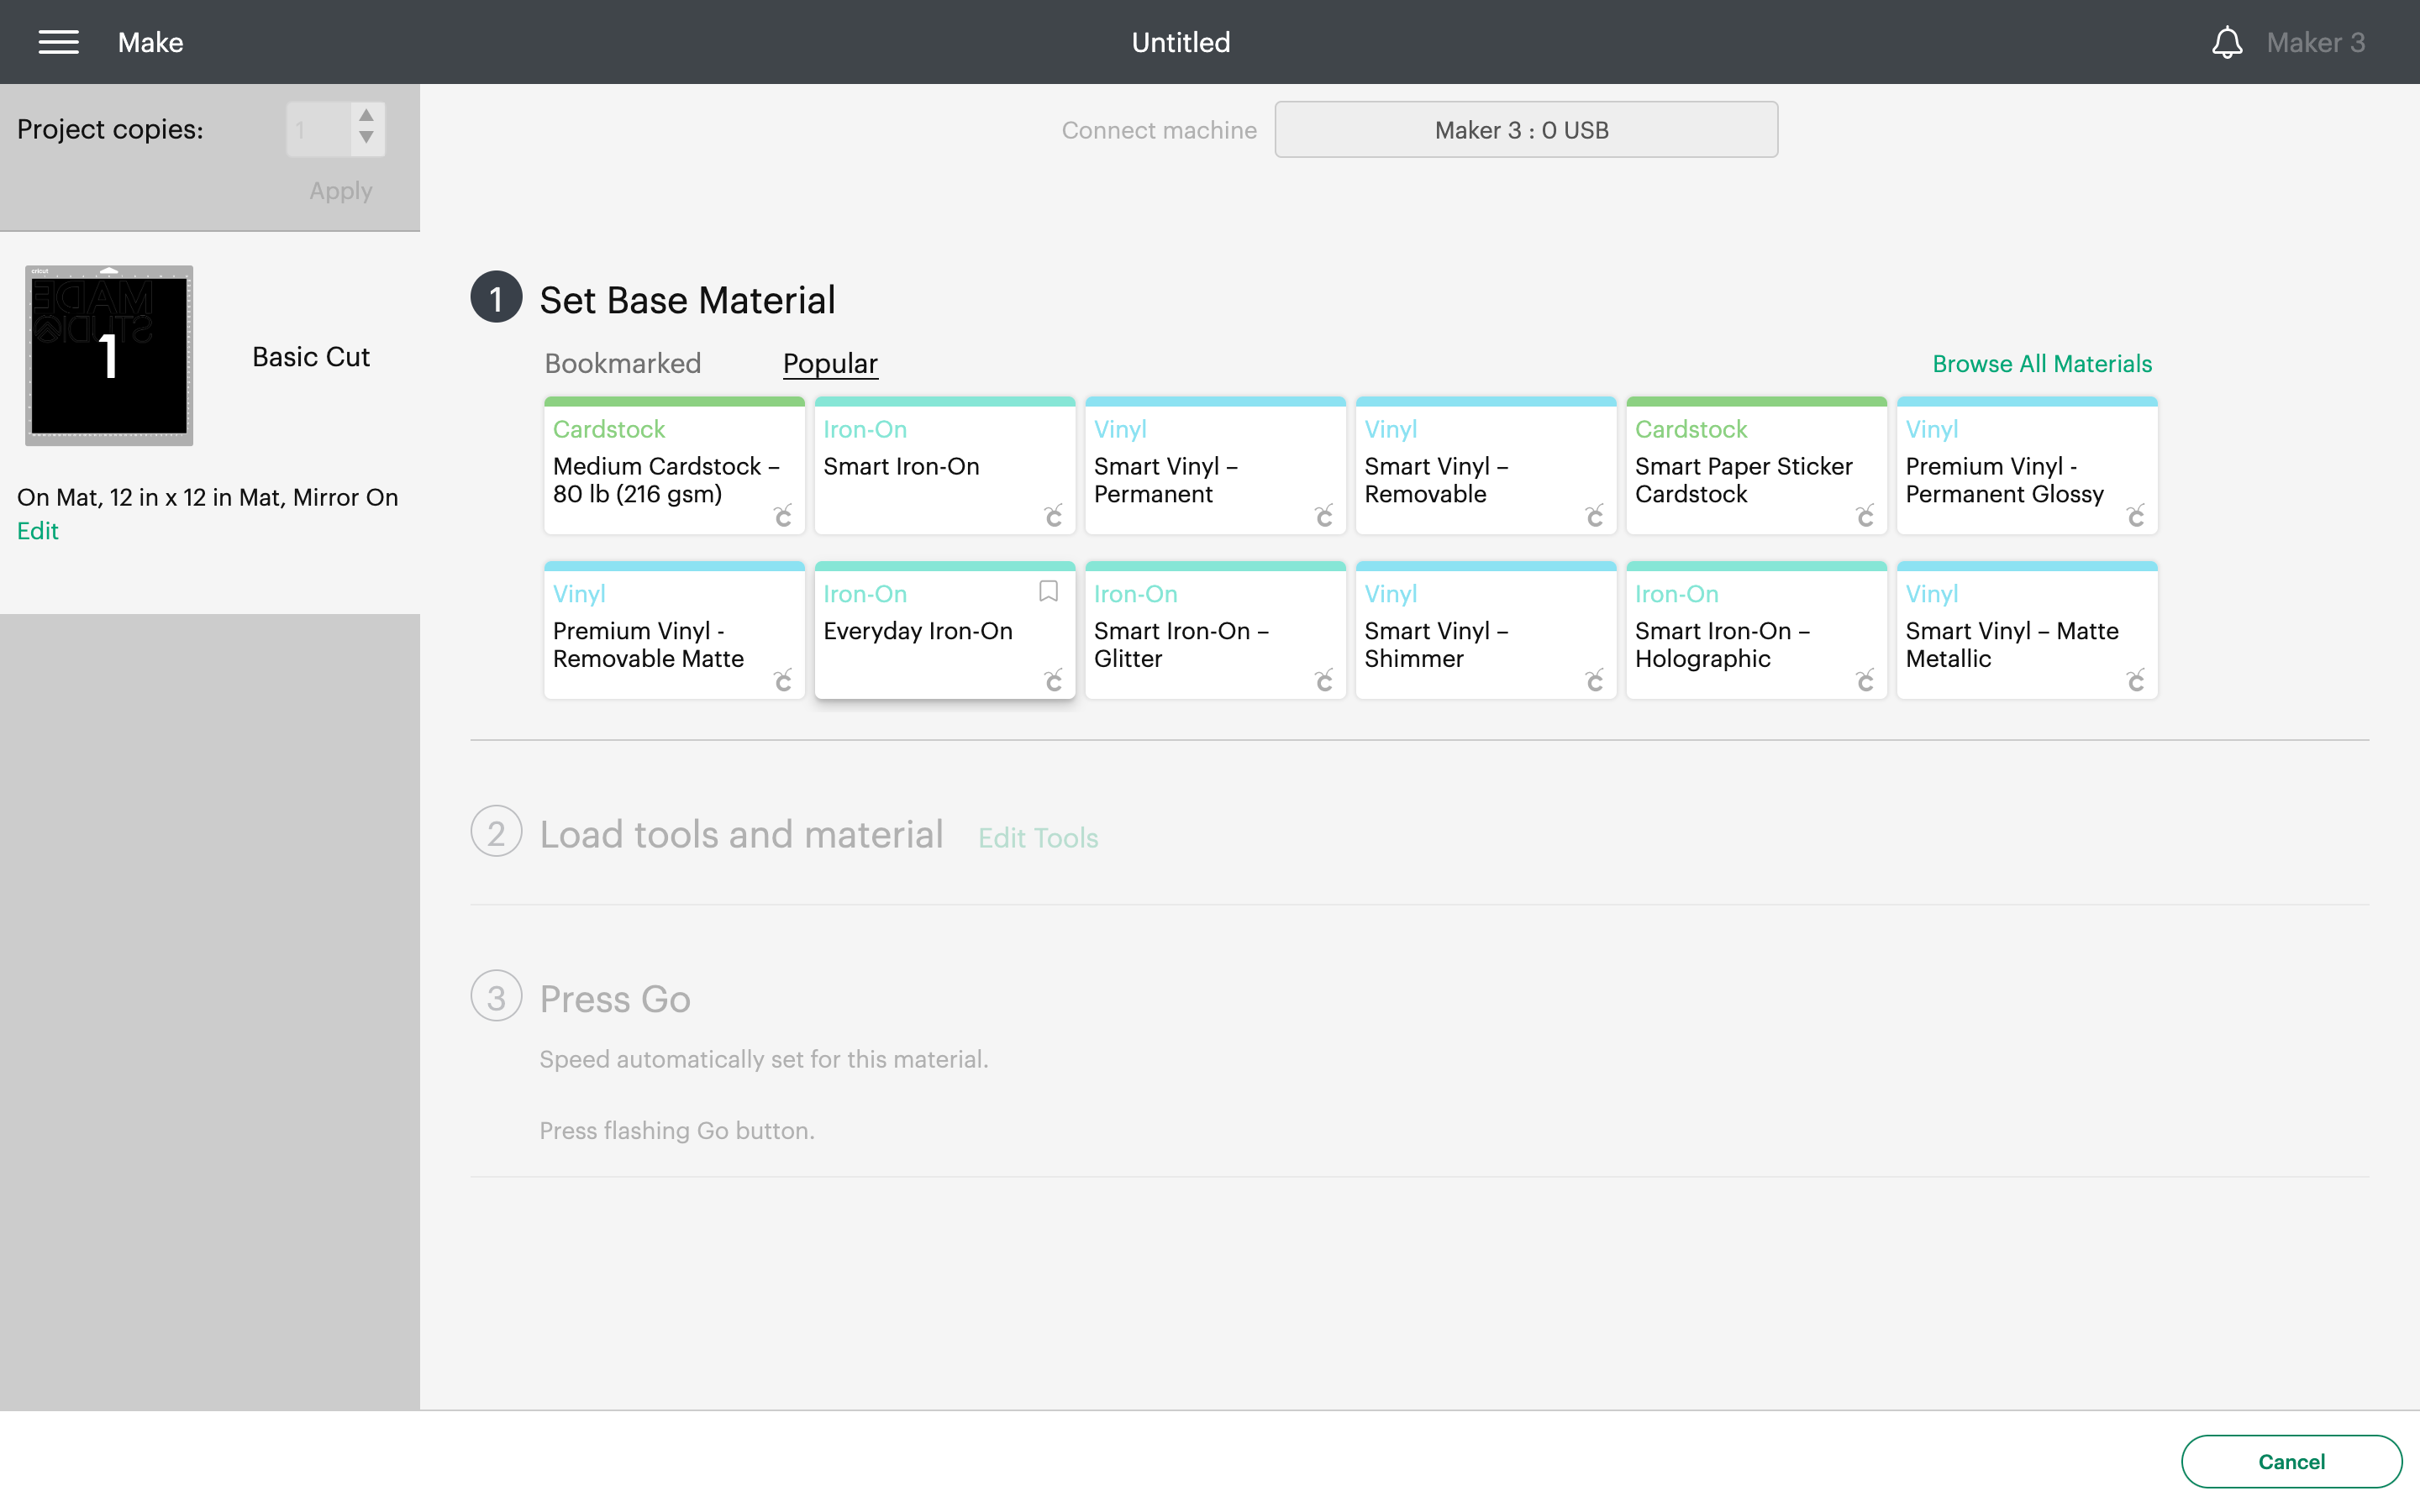
Select Iron on Vinyl in Materials List
Set Pressure to "More" and Follow Directions Given by Cricut Design Space
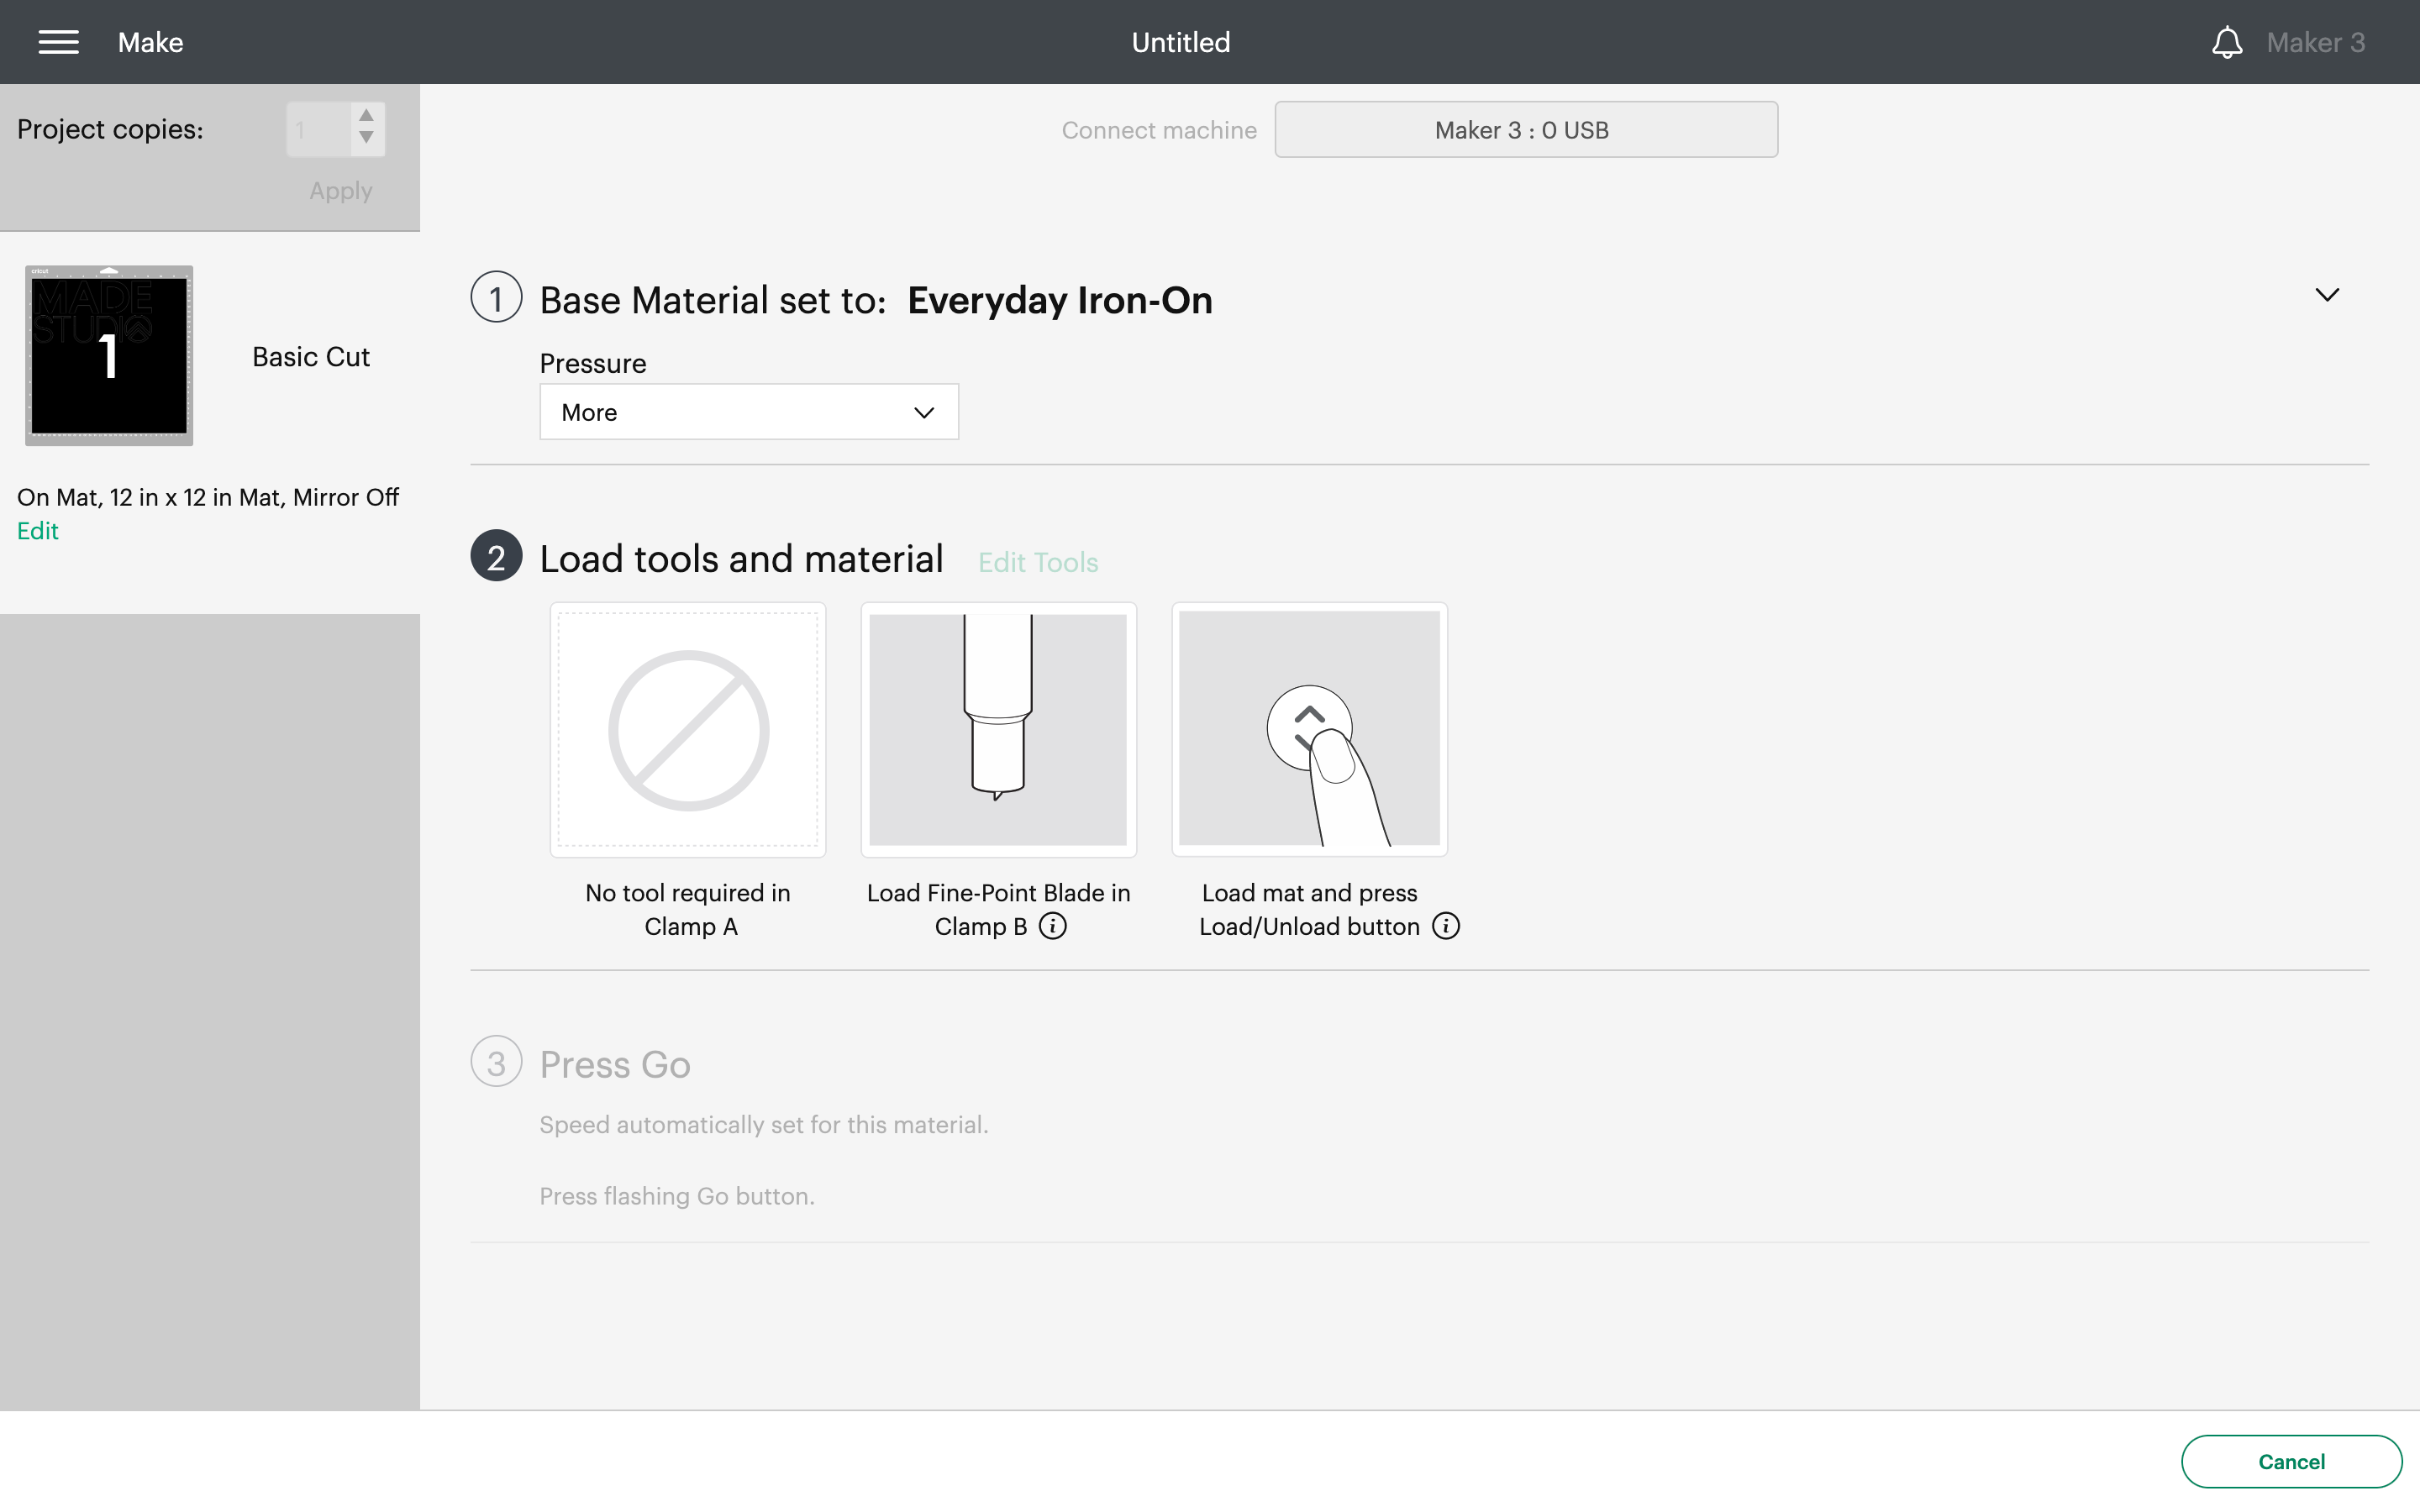
Roll Out Vinyl (glossy Side Down) on to Sticky Mat and Load Into Cricut
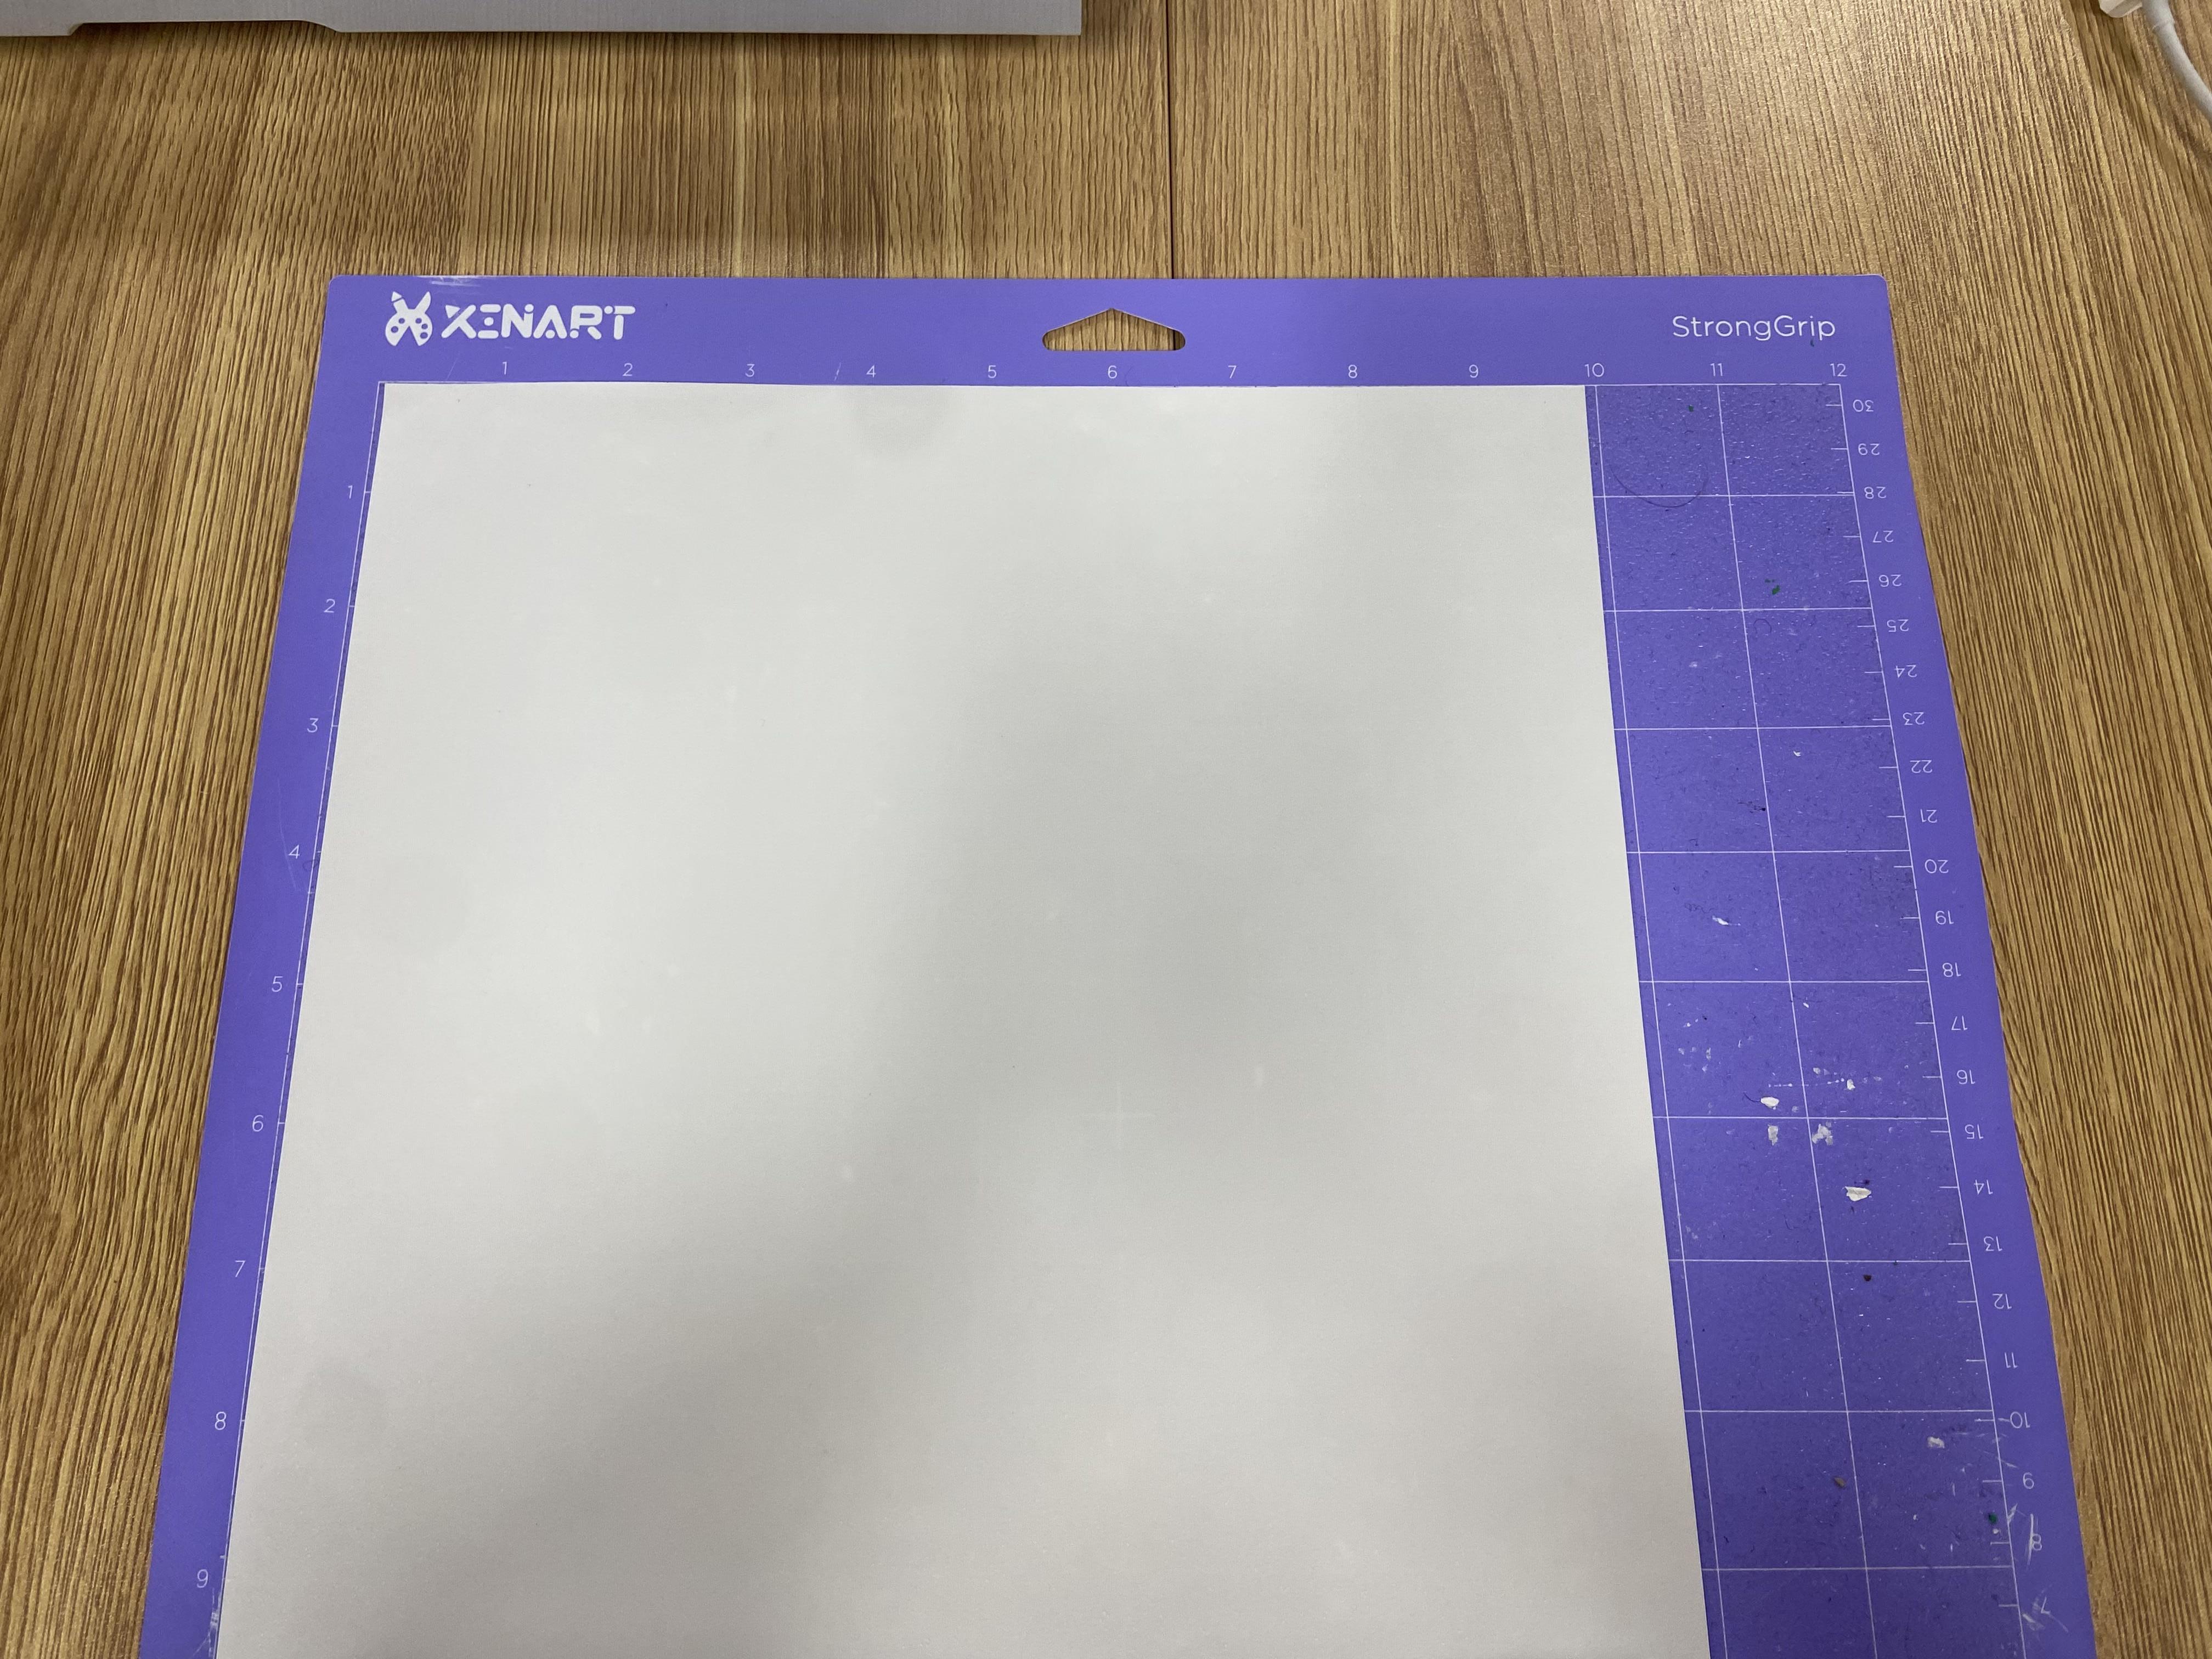
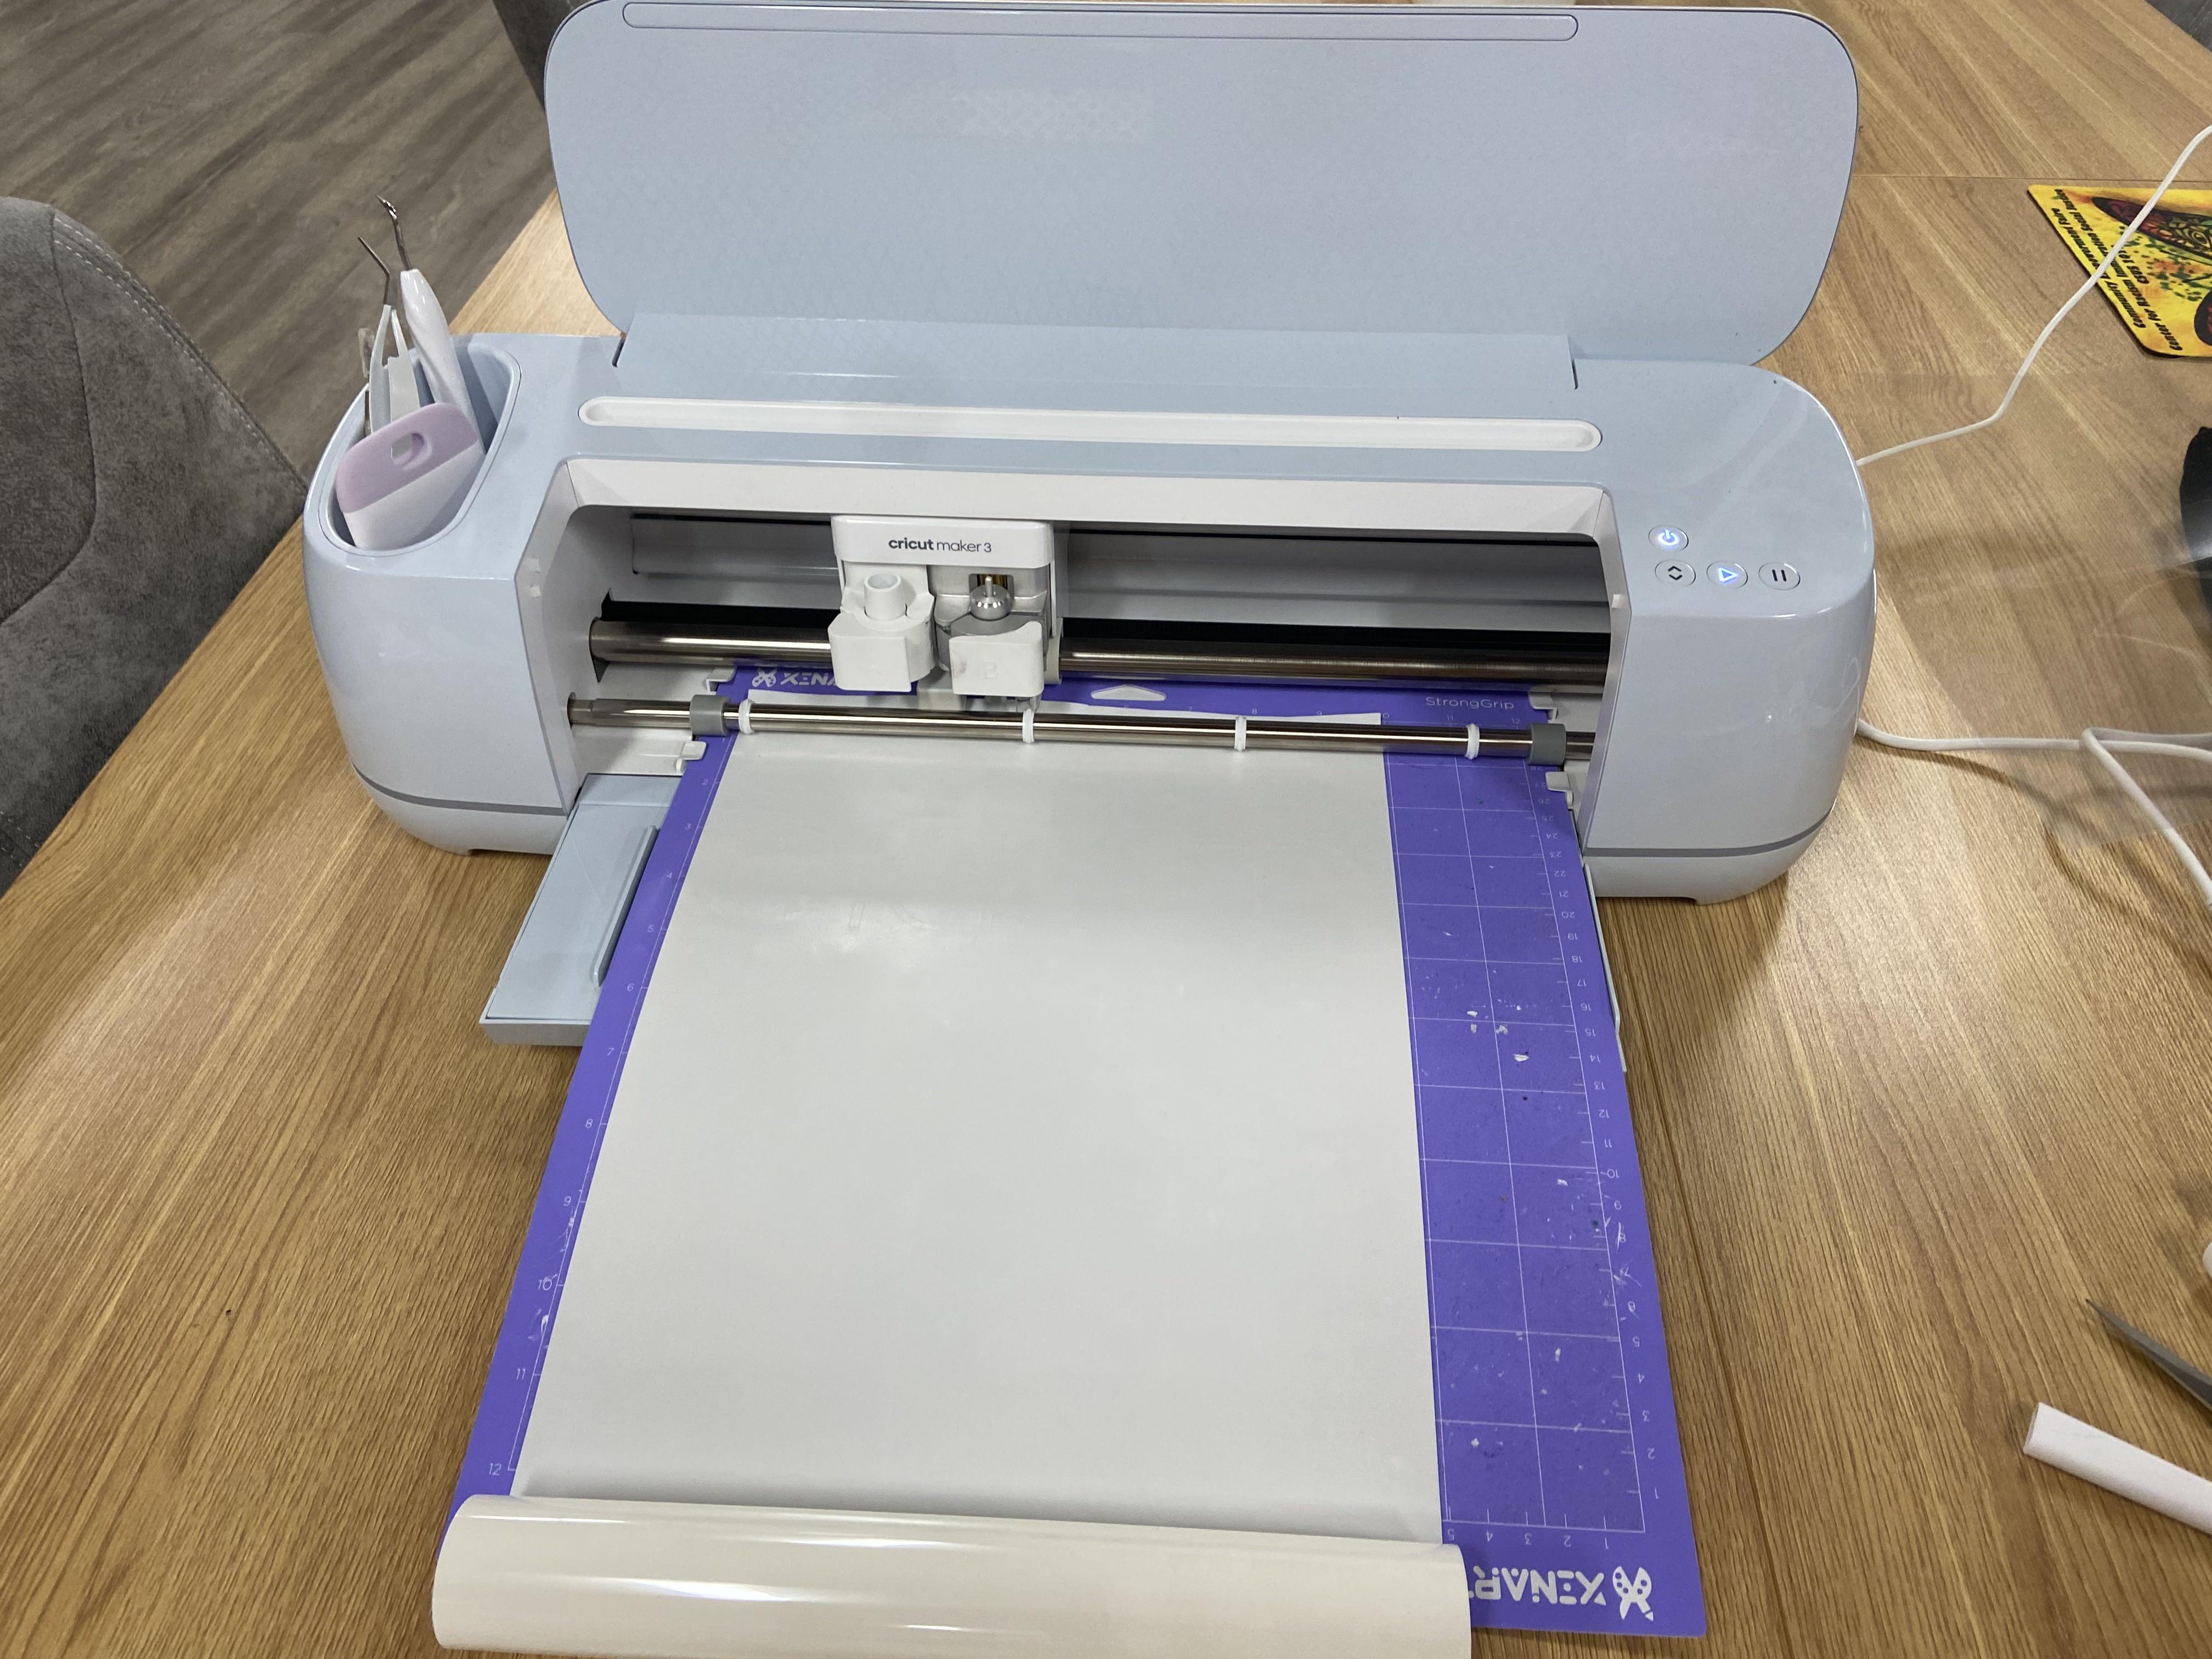
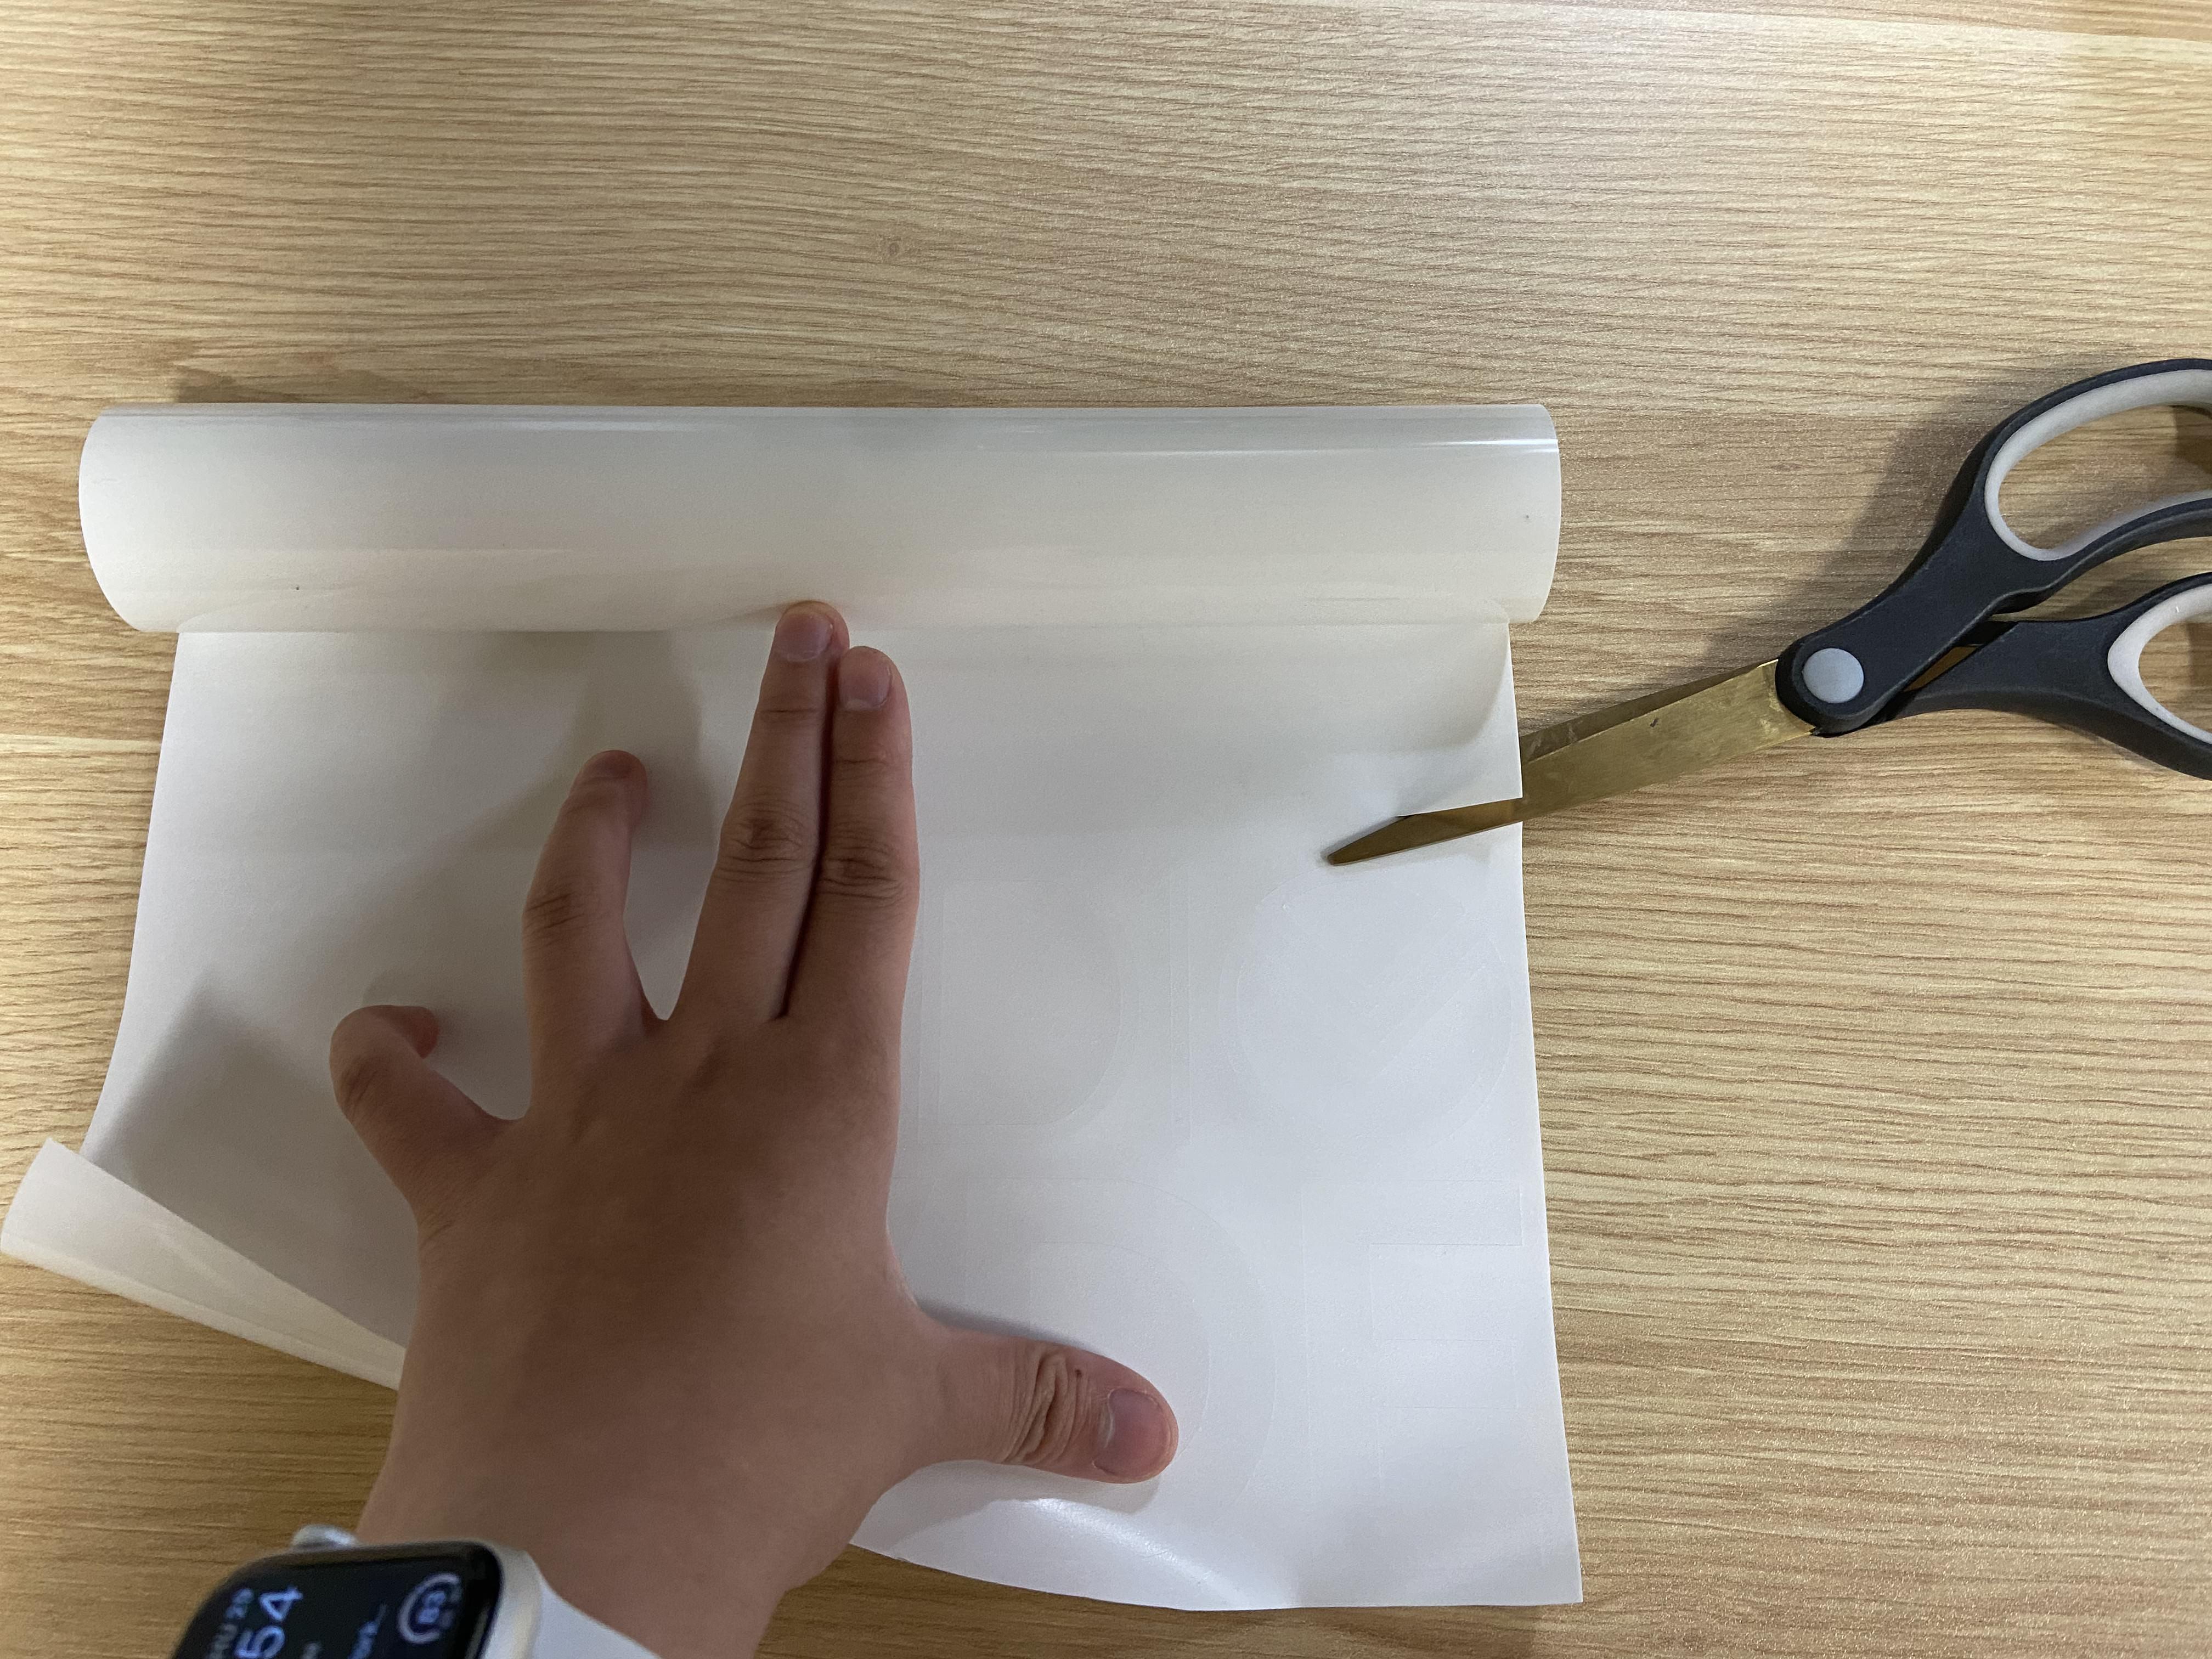
When Done, Remove Vinyl From Mat and Cut Away From Roll
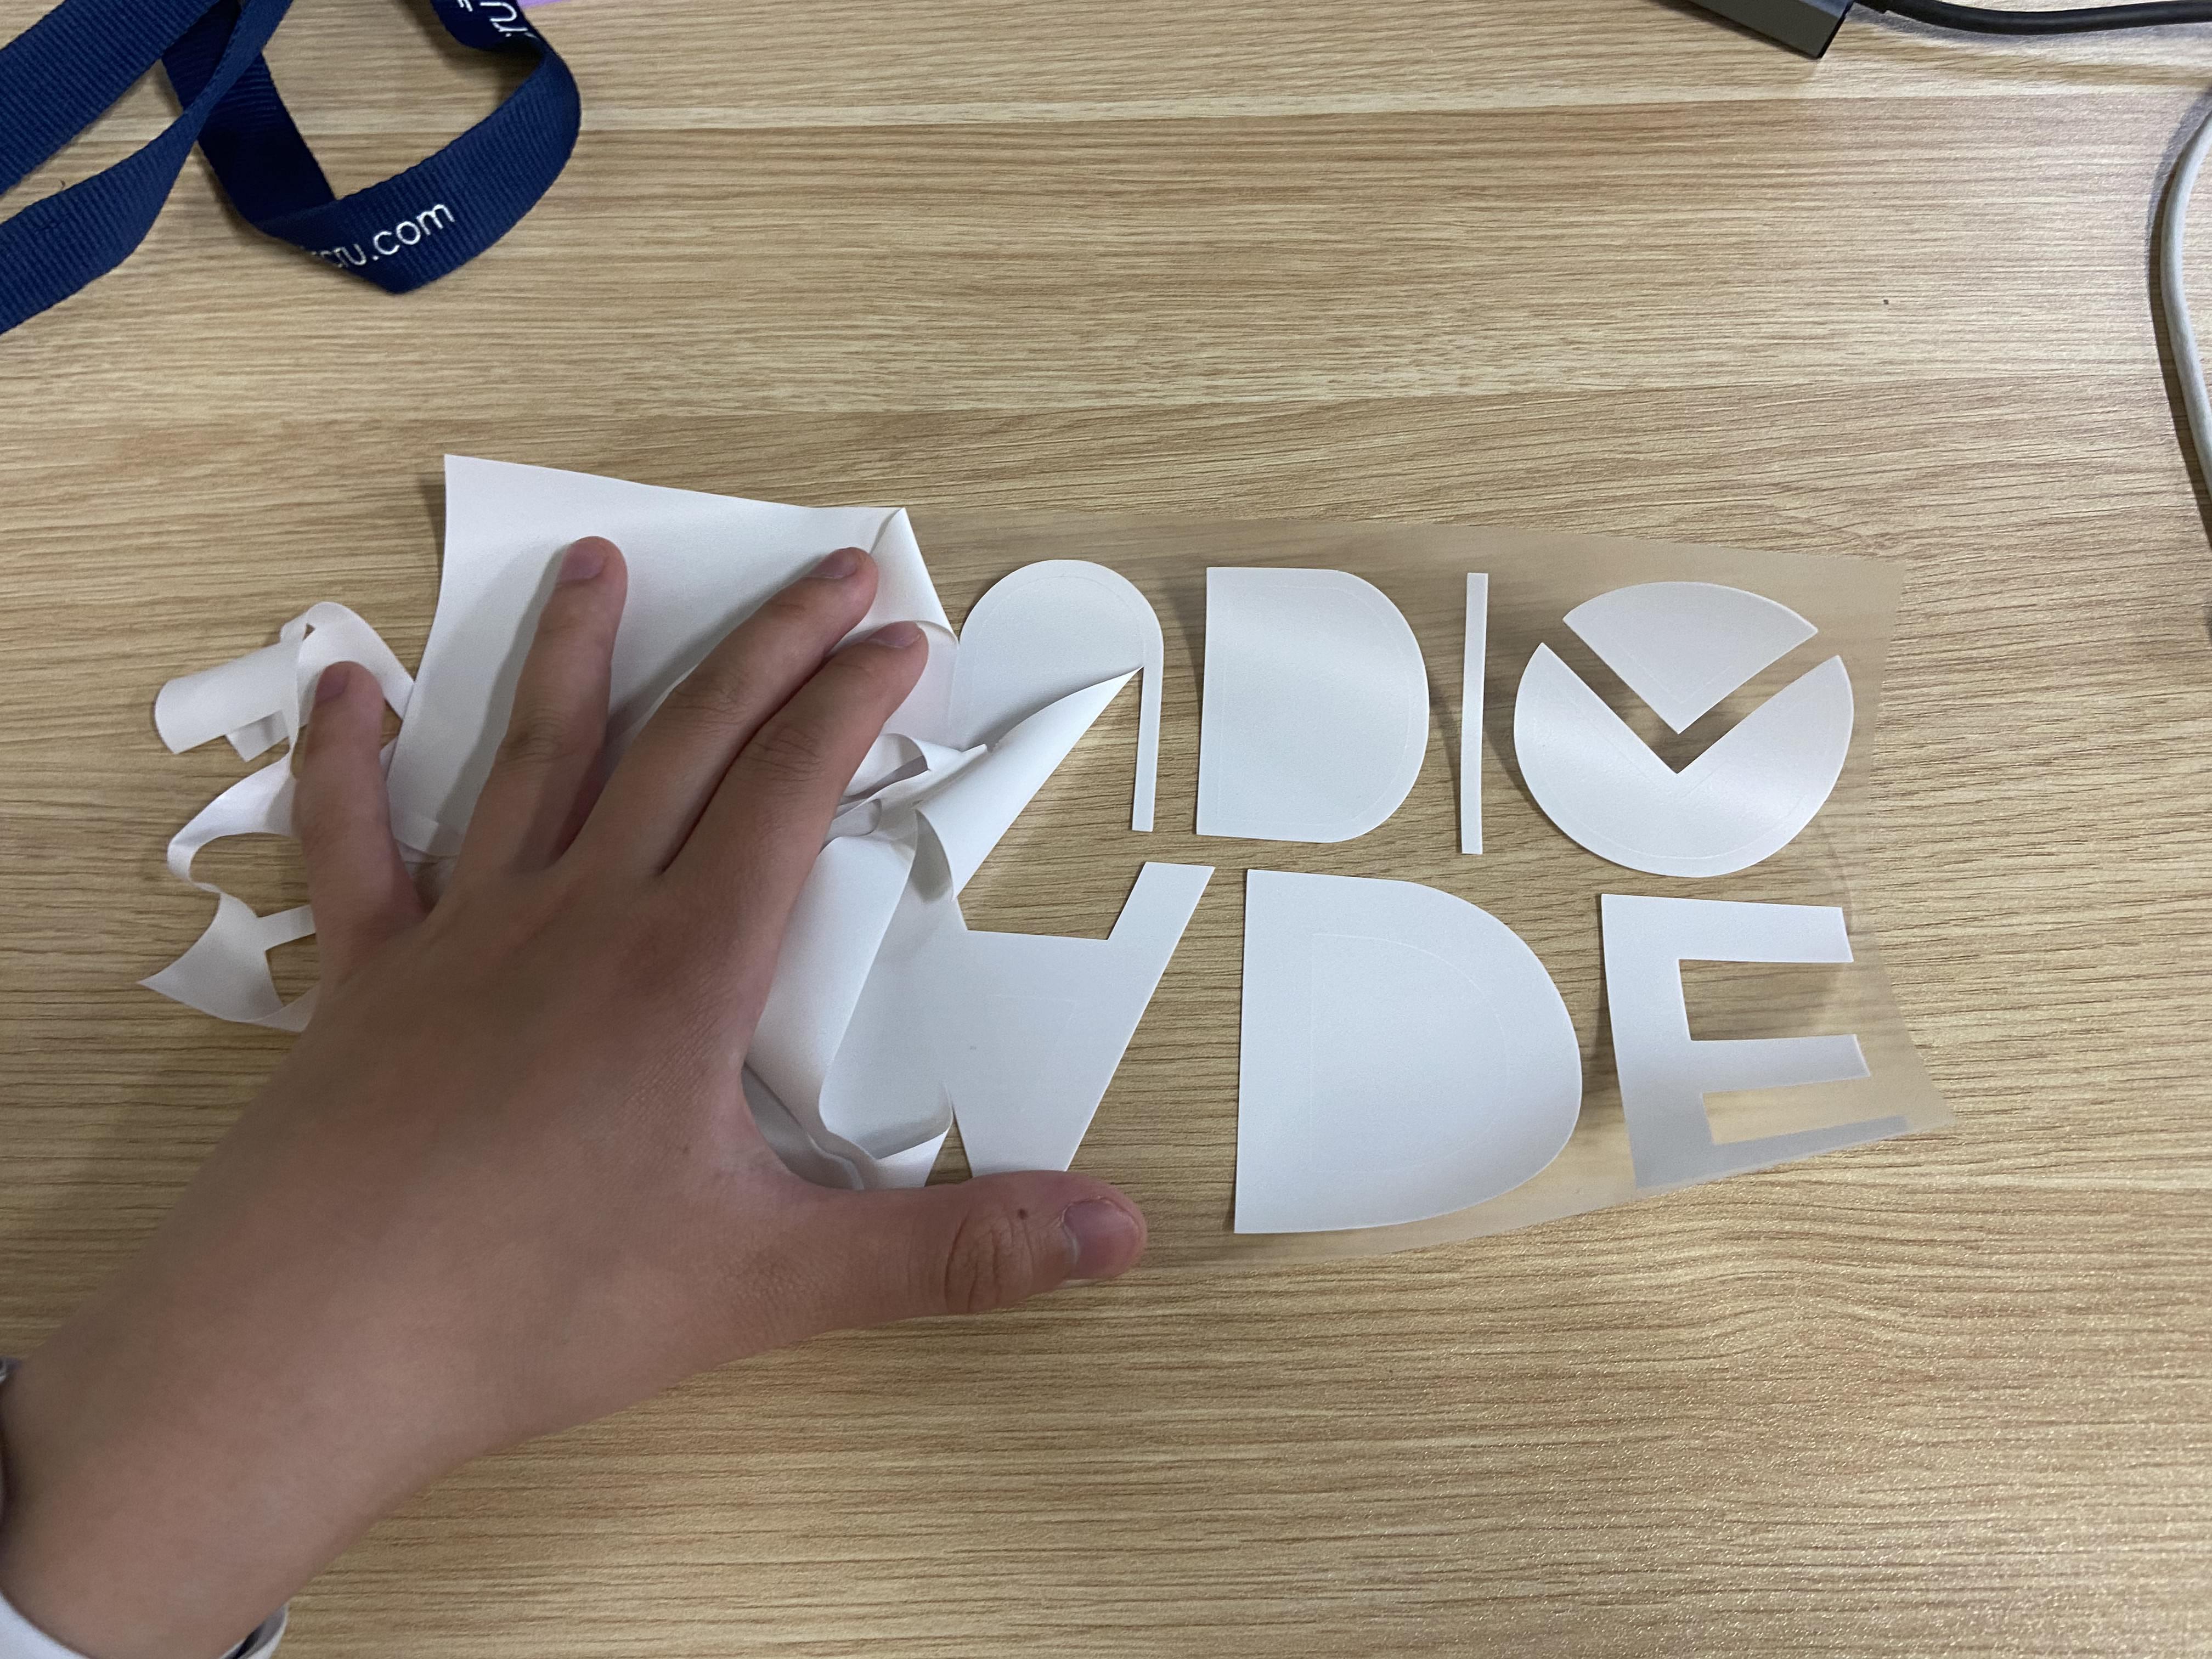
Peel Away Negative Space
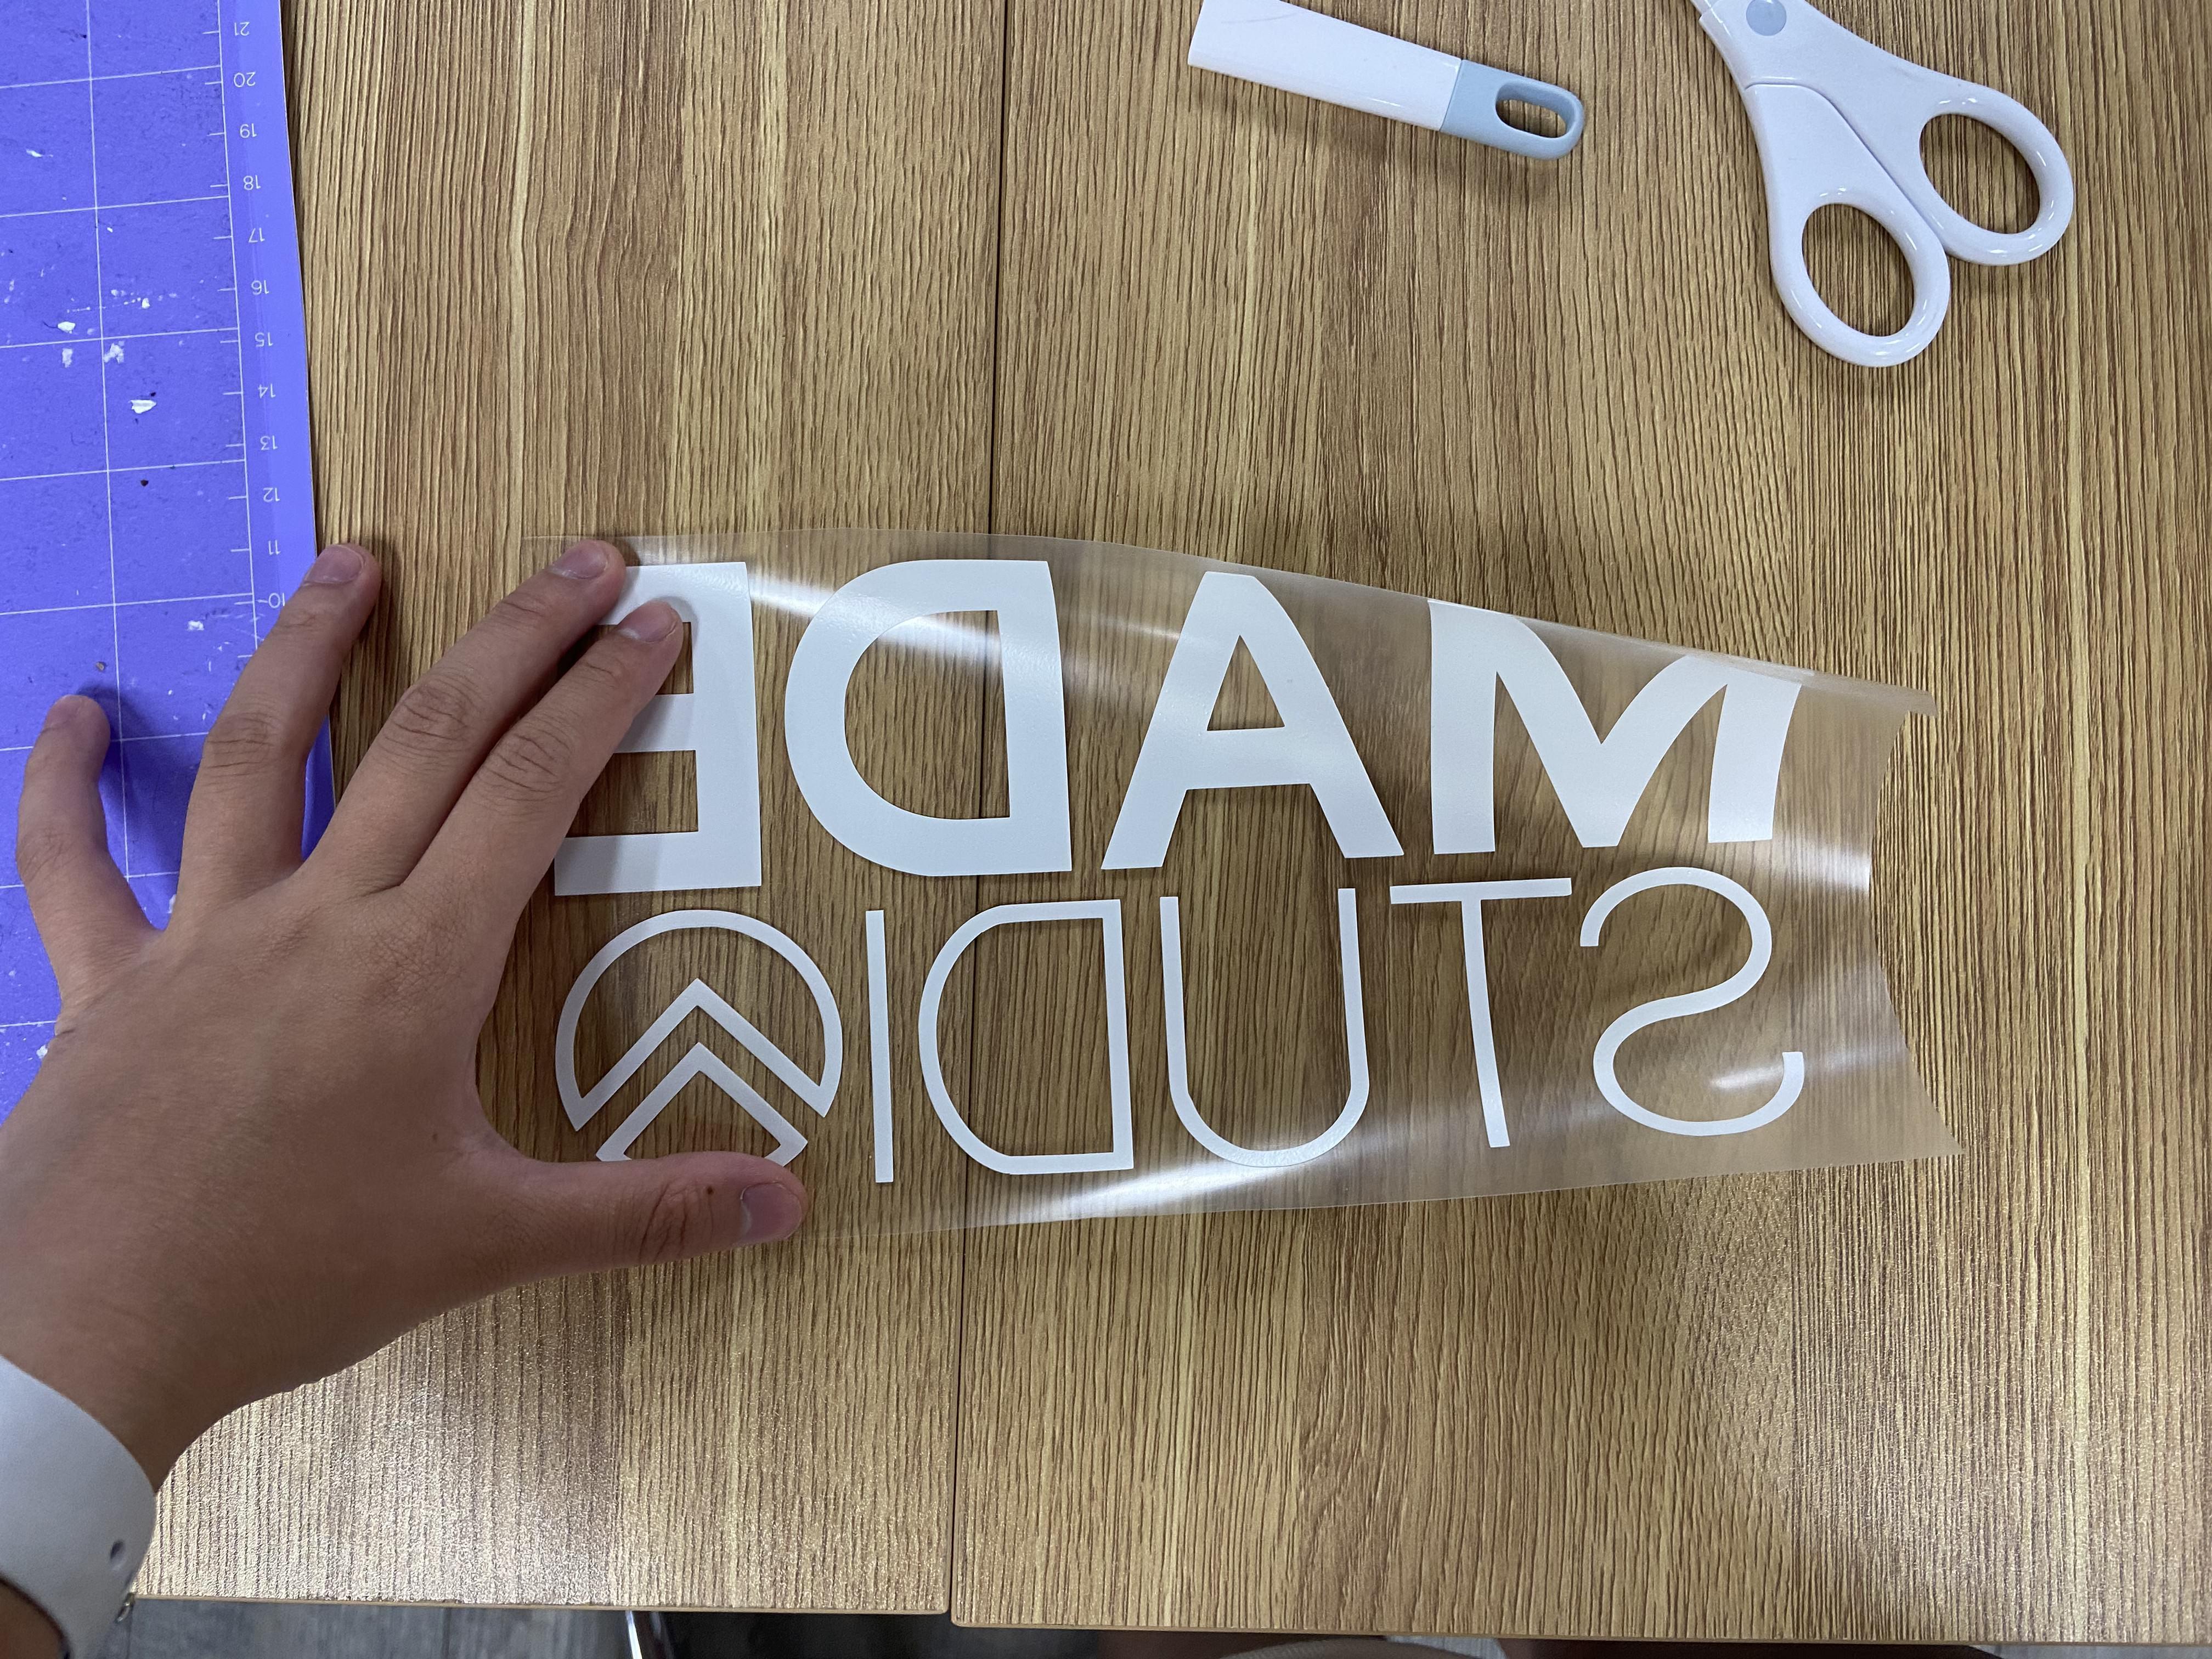
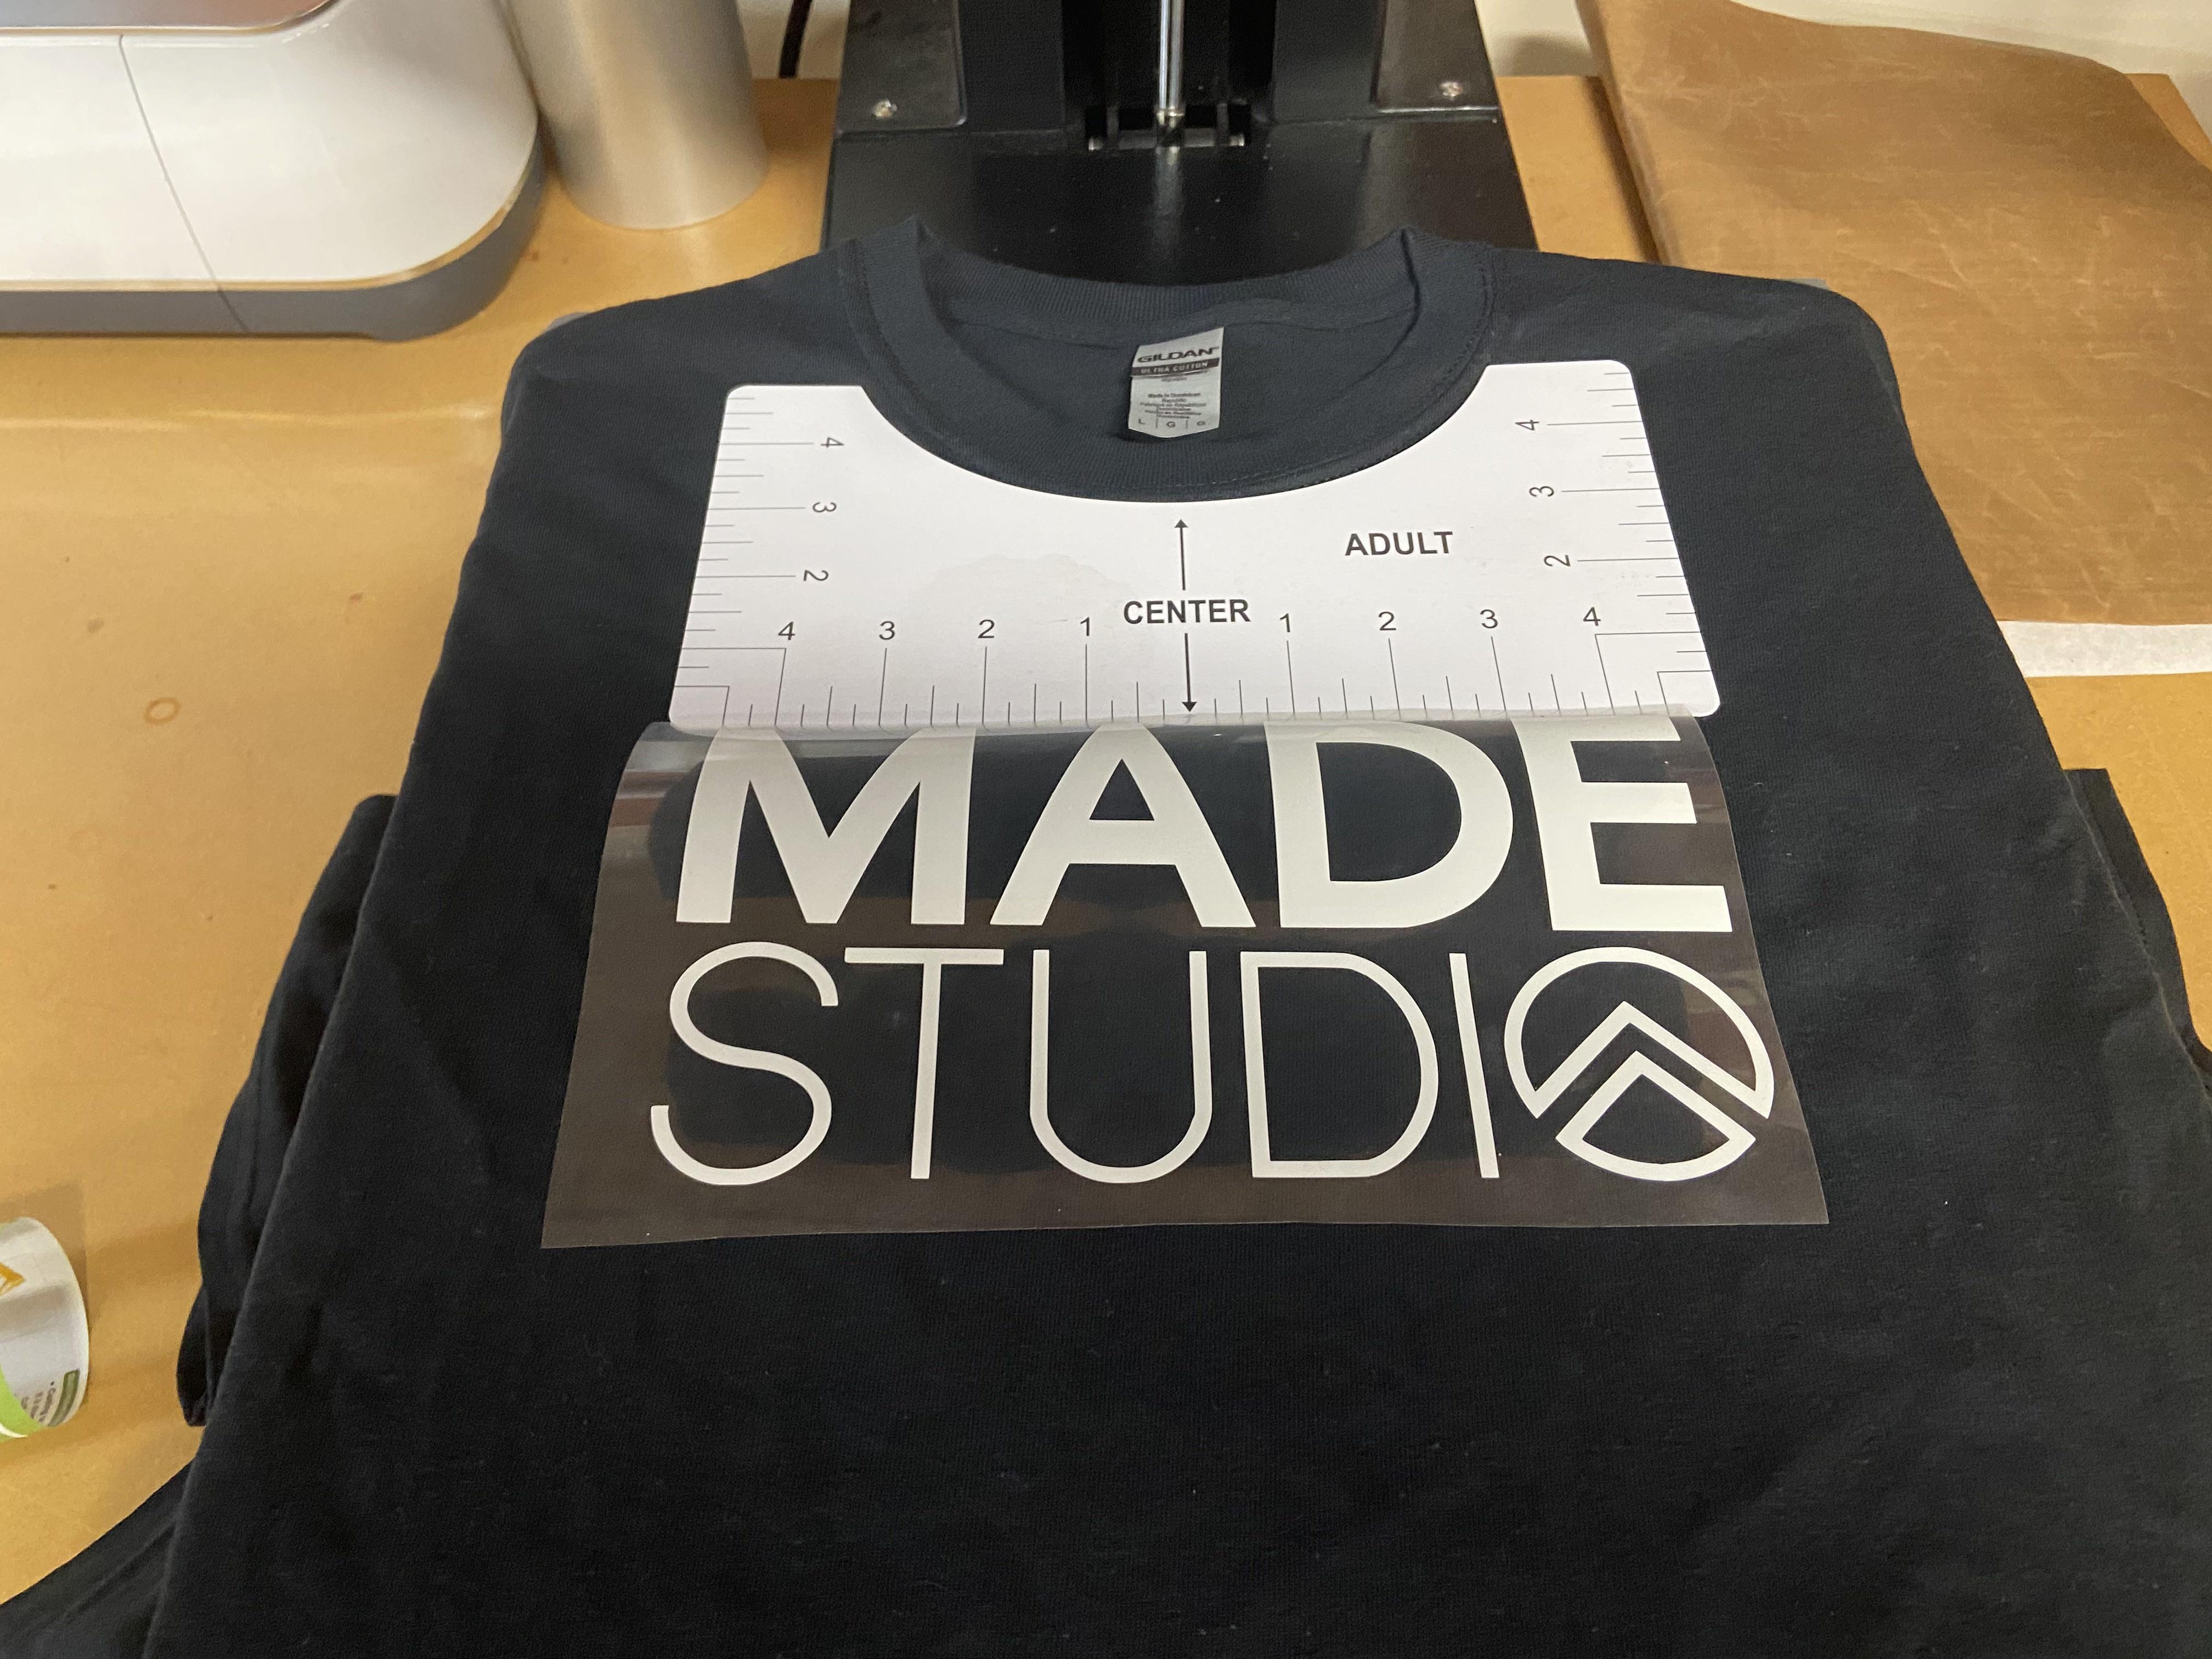
Using a Jig Stick Logo Onto T-Shirt
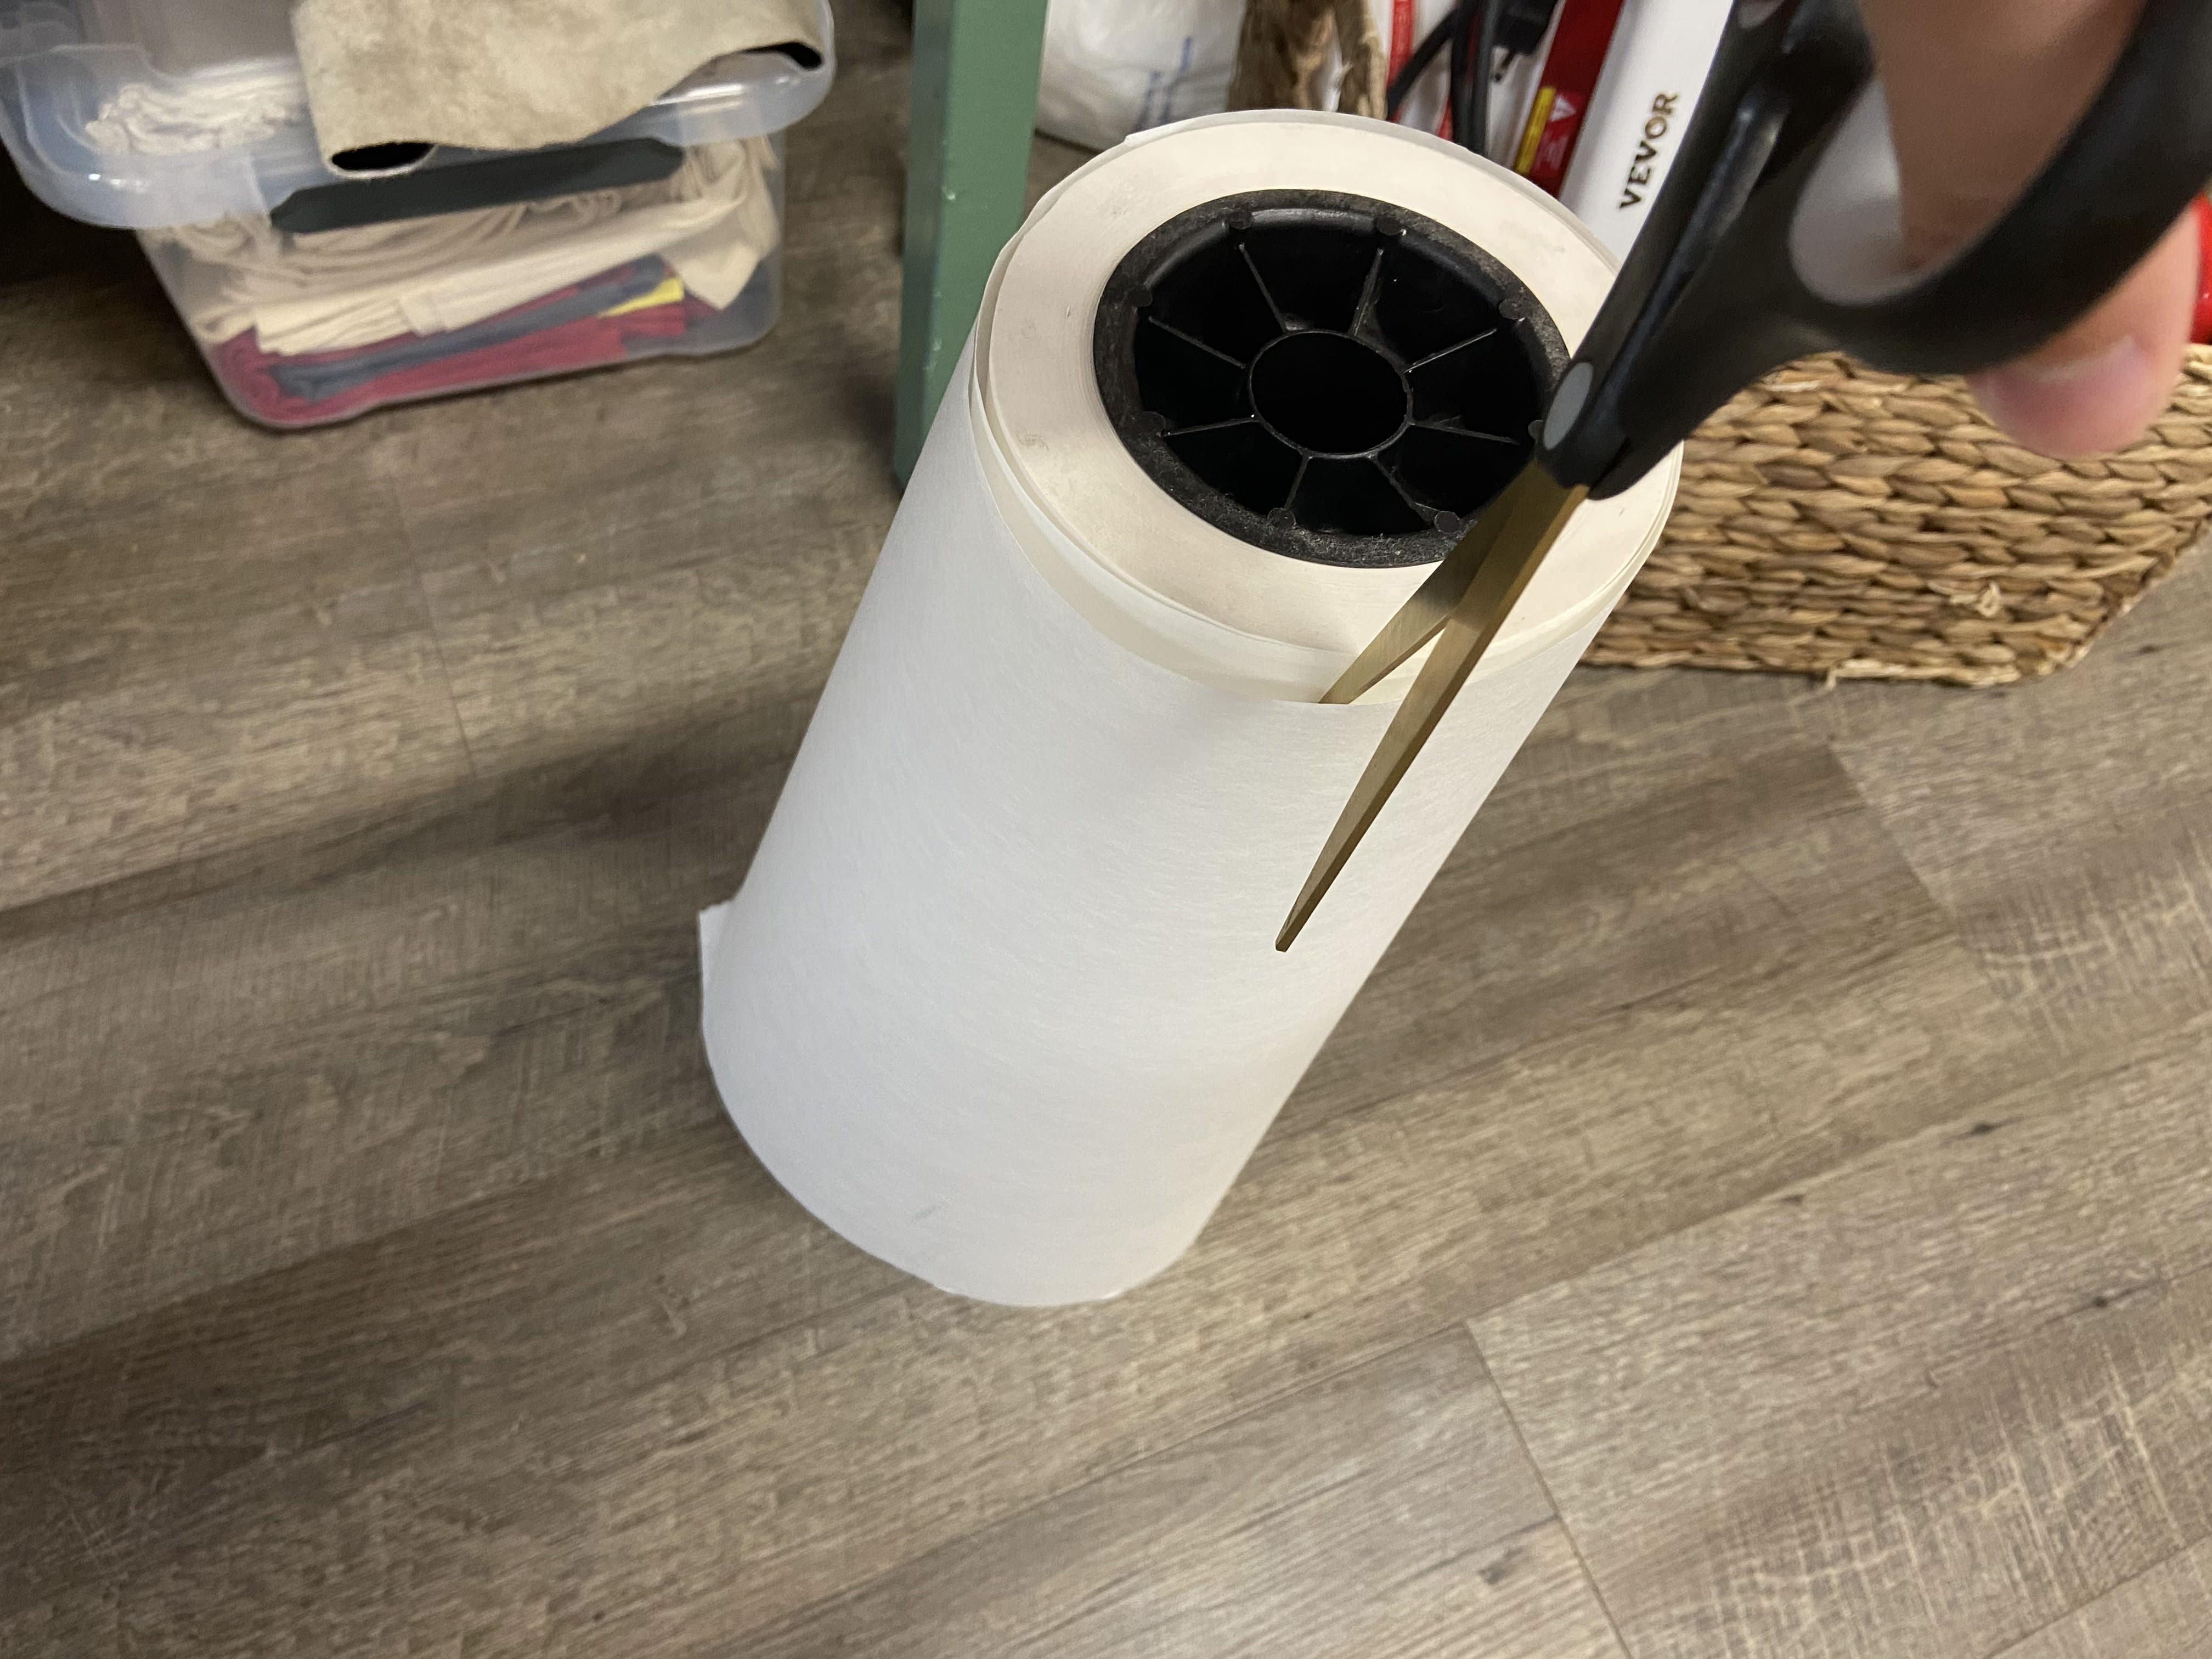
Cut Out a Piece of Butcher Paper and Place Over Vinyl
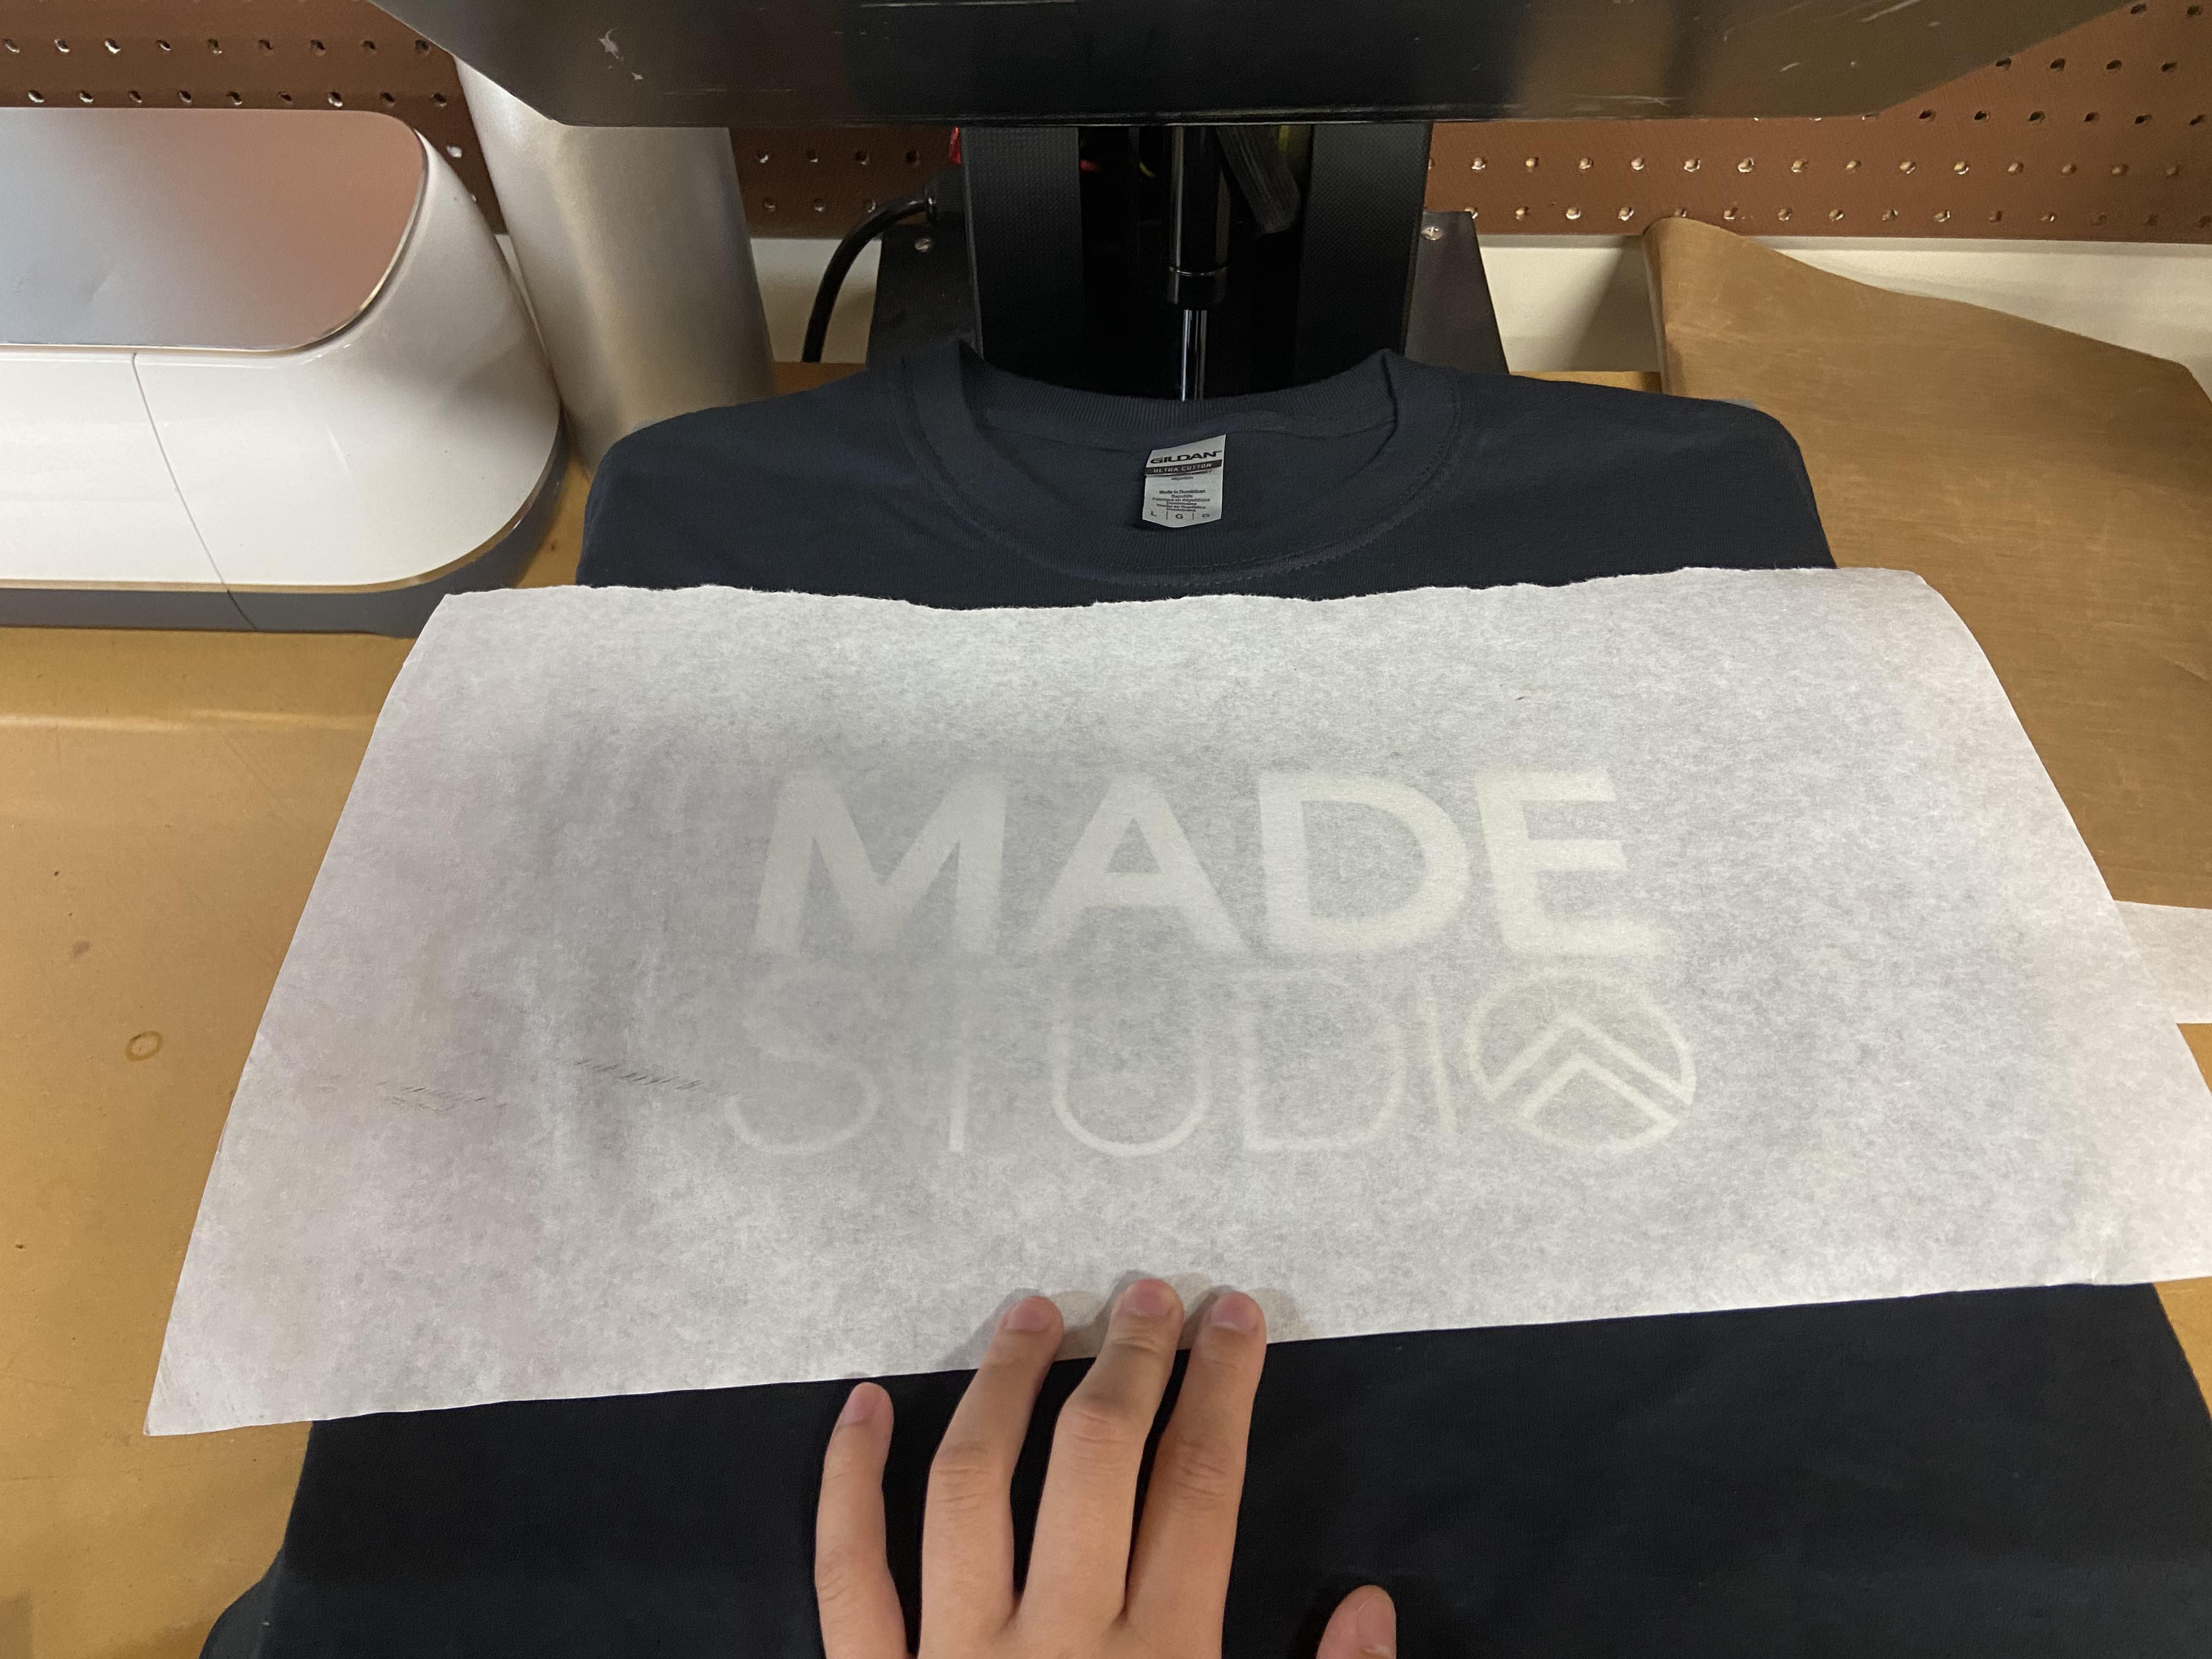
Heat Press at 315 Degrees Farenheit for 15 Seconds
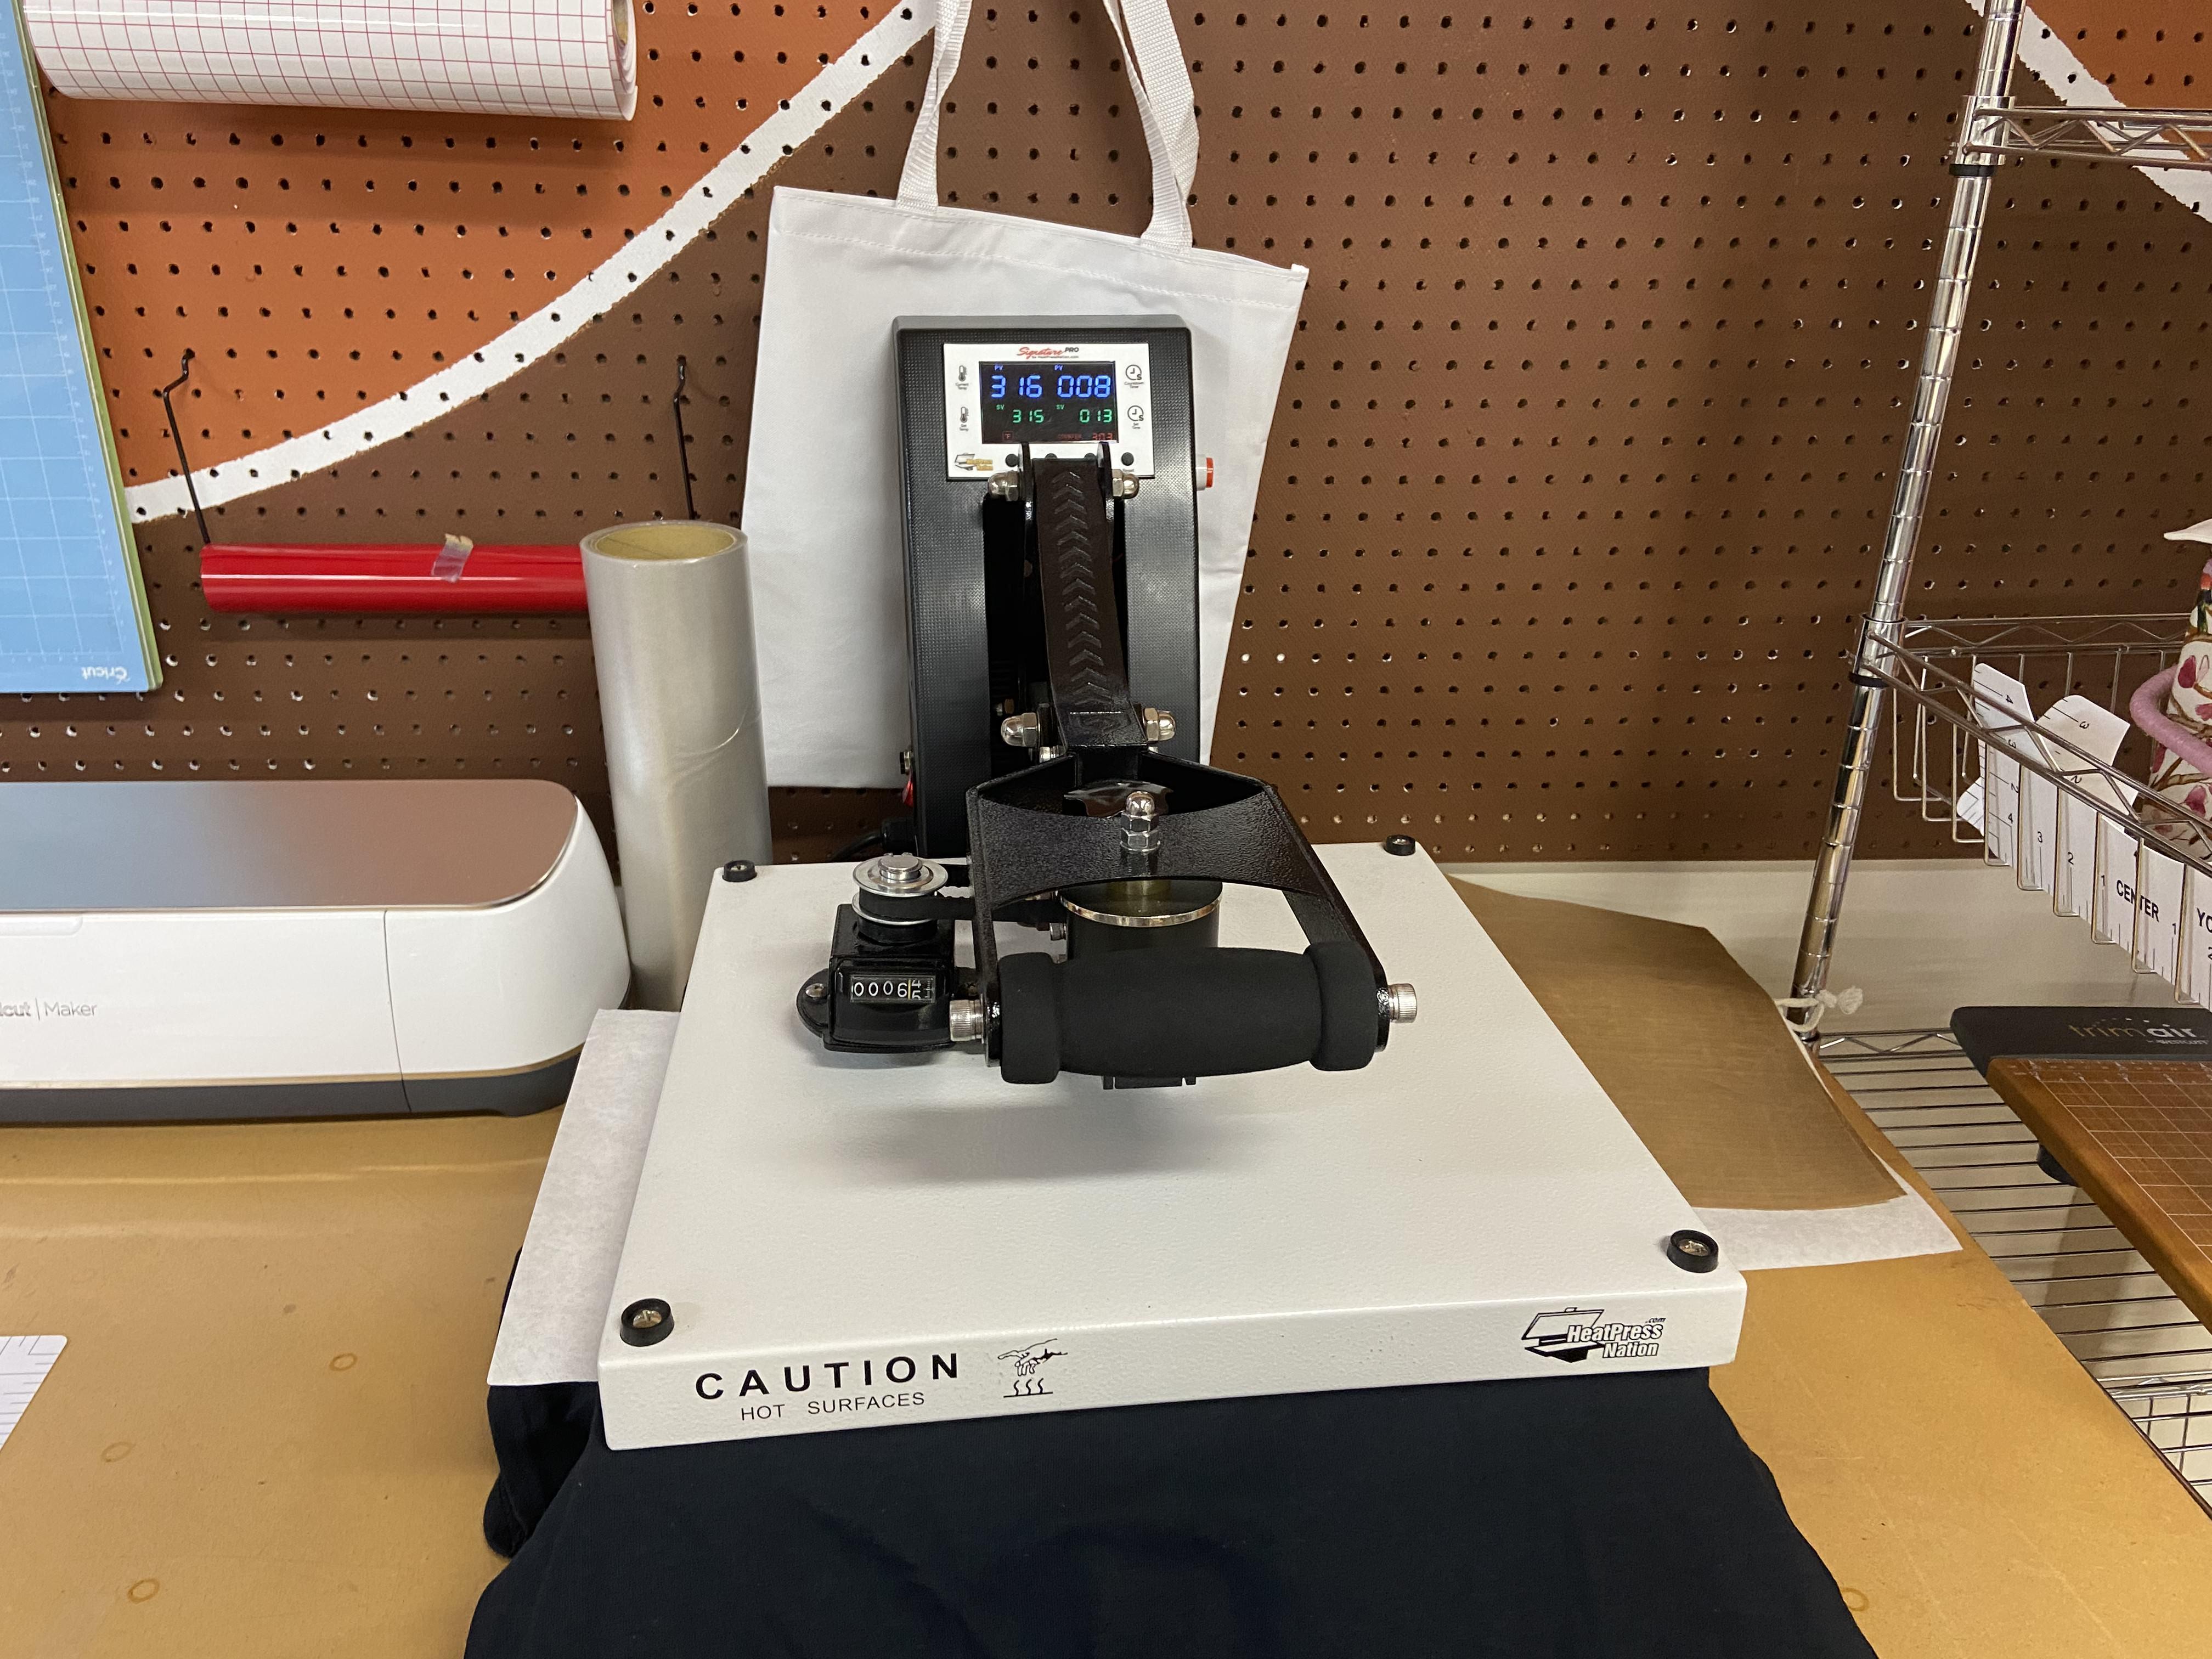
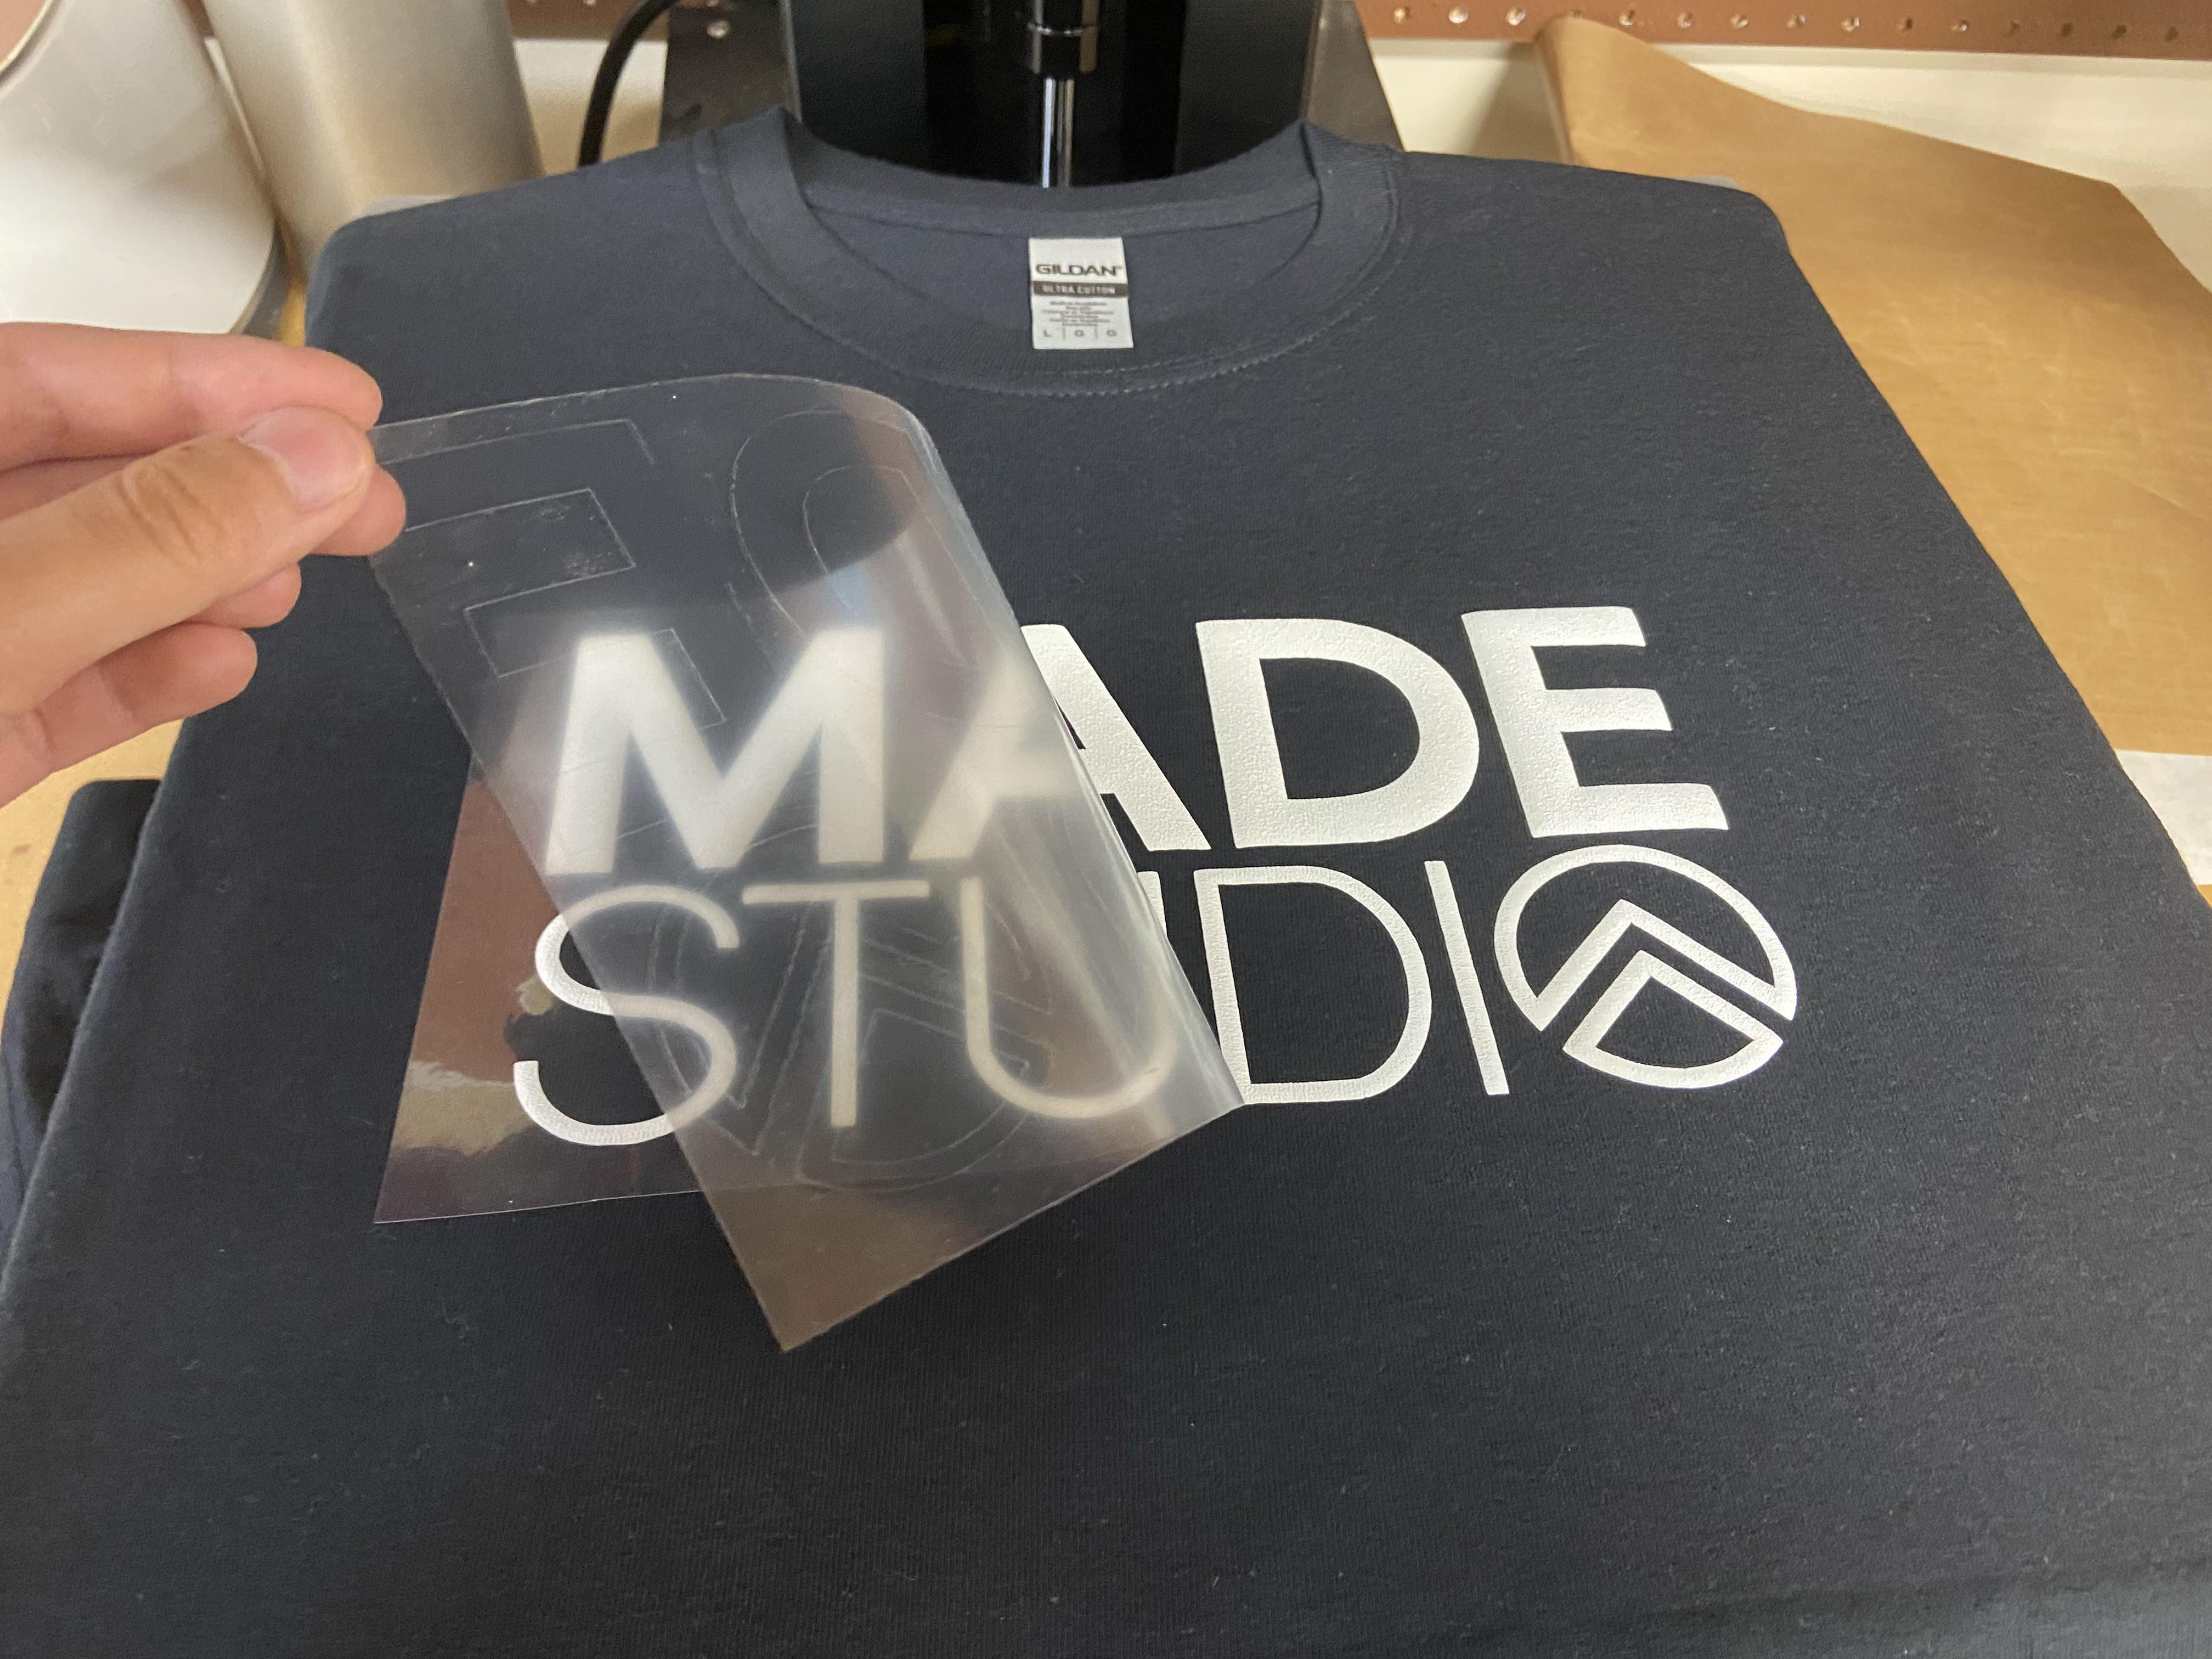
Remove Butcher Paper, Peel Away Plastic Covering, Watch the Vinyl Puff Up!
