How to Make RPG Maps With Procreate | With Free Brushes
by Carolina Parente in Design > Art
60328 Views, 113 Favorites, 0 Comments
How to Make RPG Maps With Procreate | With Free Brushes
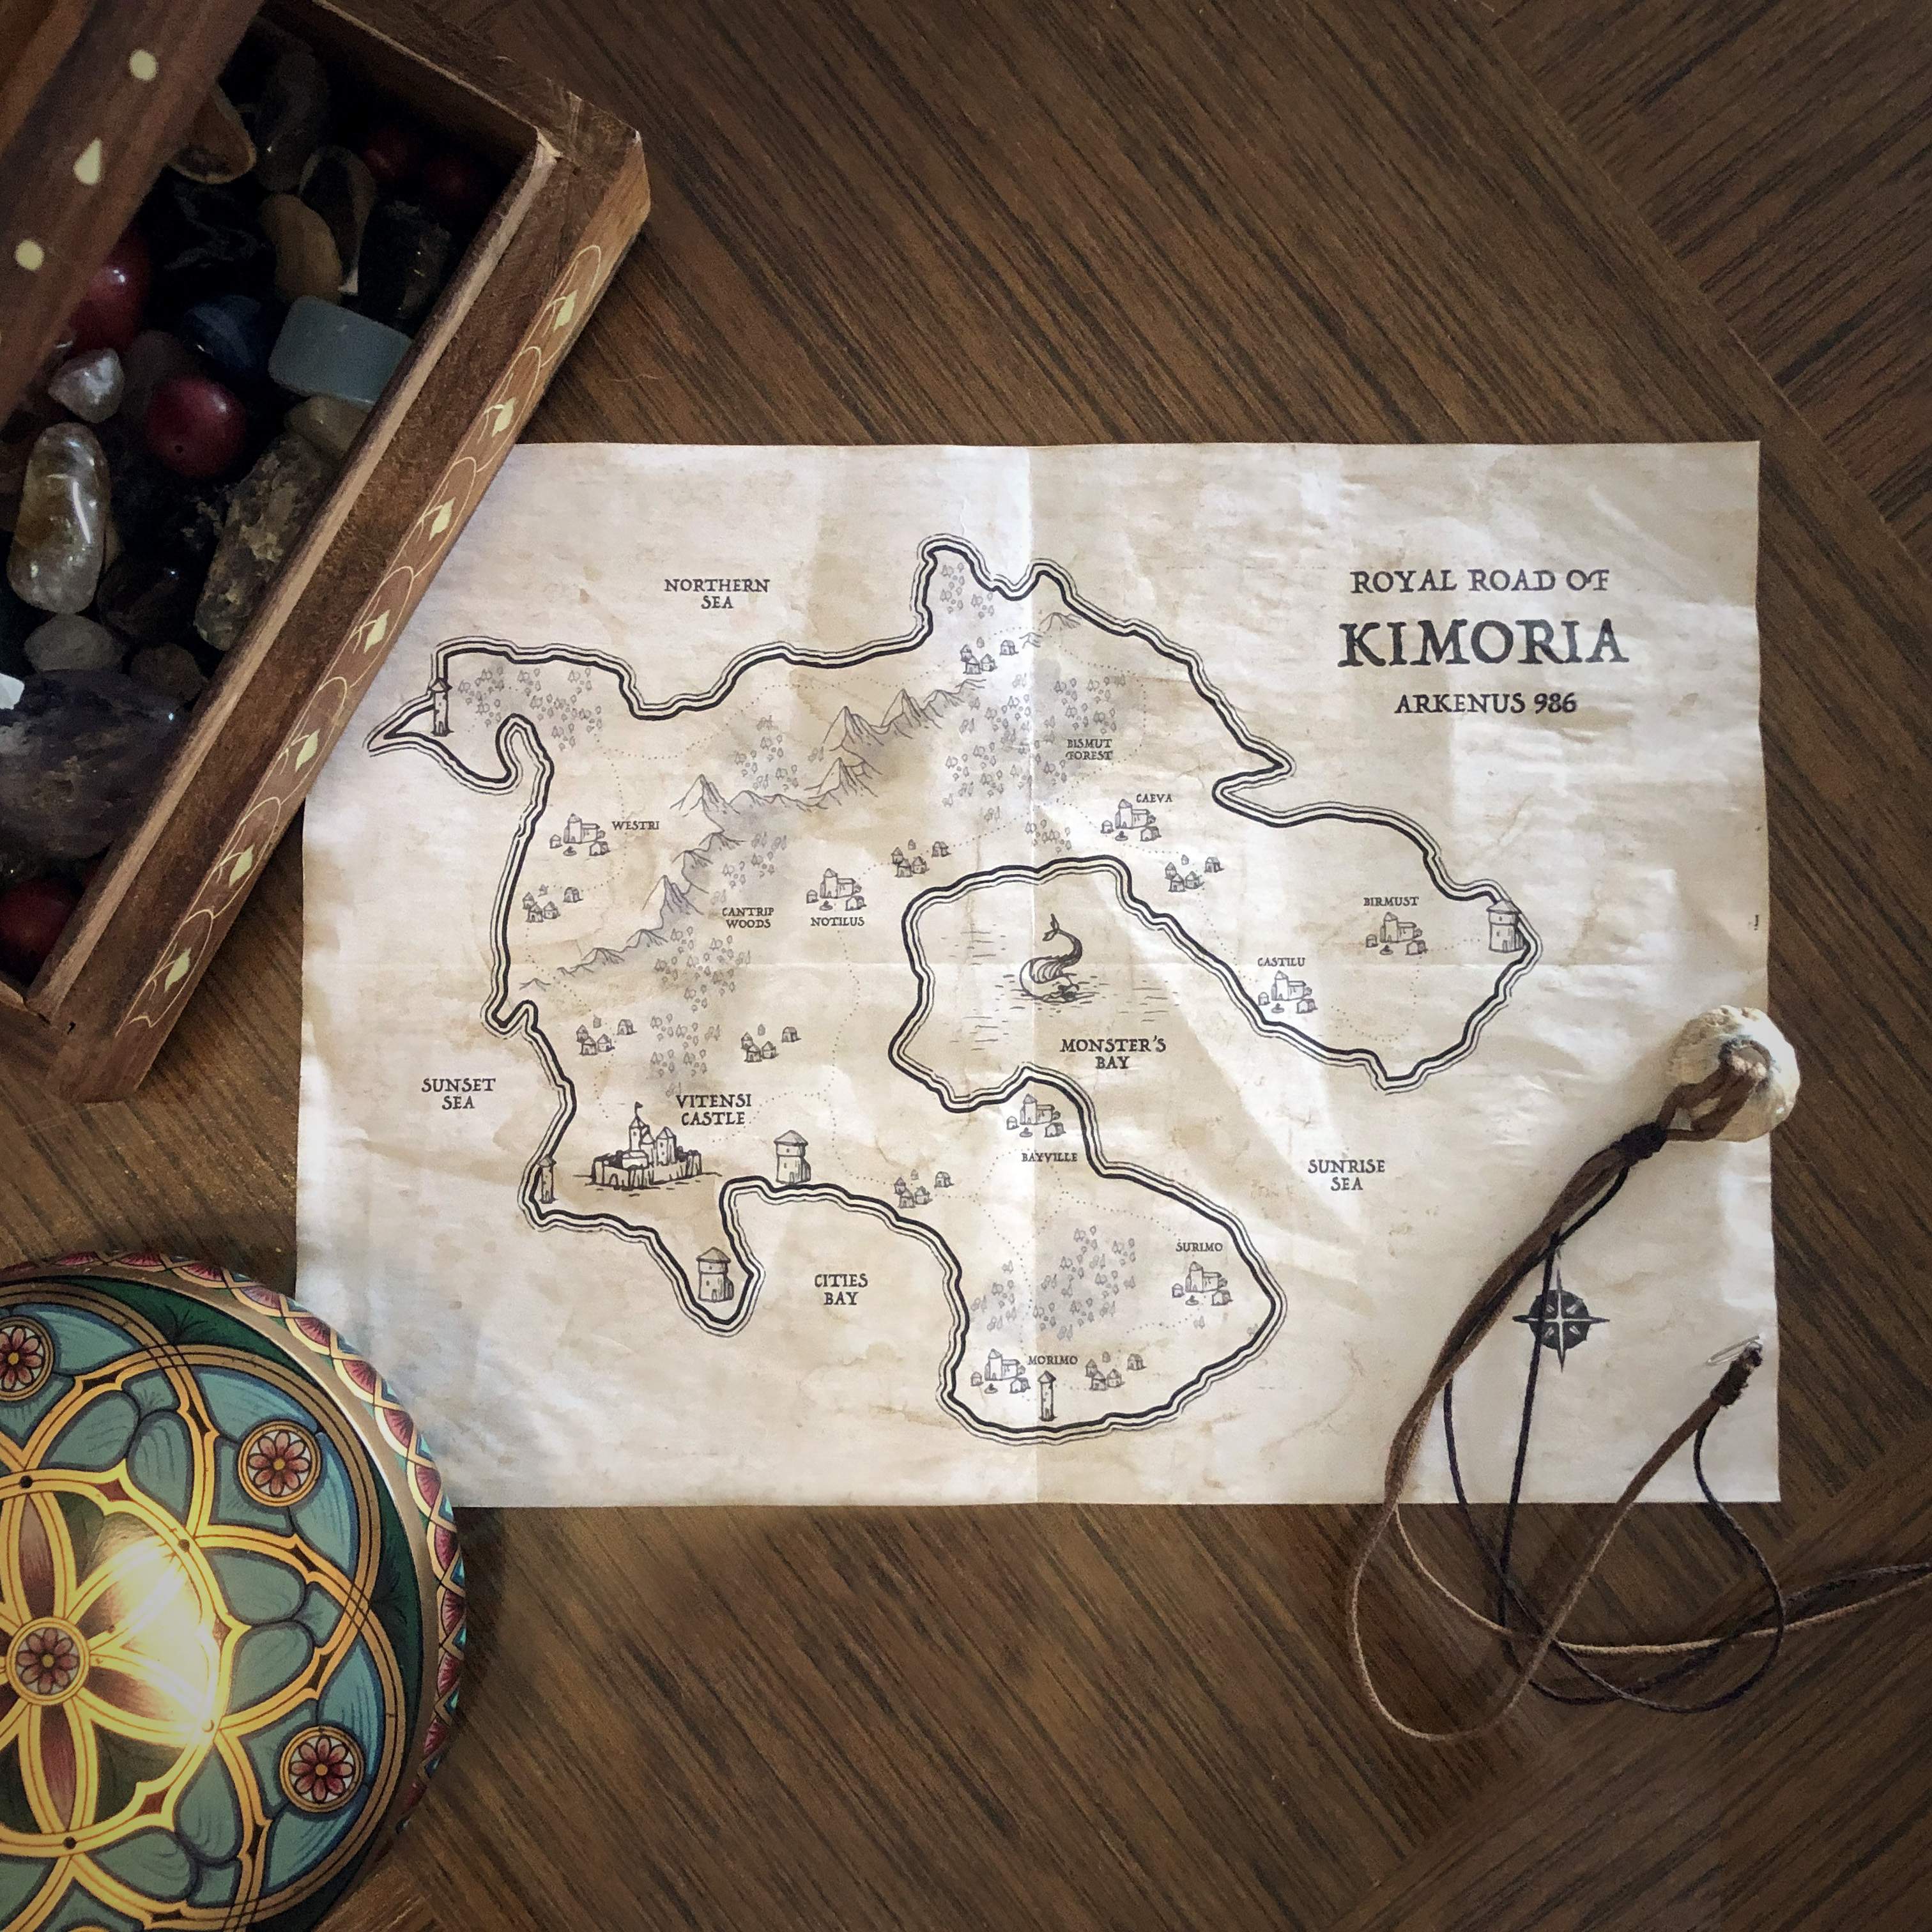
As a DM one of my favorite things is making real-life documents for the players, so they can feel inside the story. These documents can be a letter from the queen, a page from a grimoire full of strange symbols or a map from a distant master...and of course, maps are my favorites.
I like to treat maps them as historical documents inside the game. Some can have inaccuracies, missing information, or secrets. All depending on who made it and when. So when the characters receive the map in the game, it has more context and, hopefully, it will deliver a more immersive experience to the players.
And of course, as an illustrator, I couldn't lose the opportunity to draw my own maps, so this is what this Instructable is about. I will show you my creative process and working flow to create a map like the one on the cover and, don't worry, you don't have to know how to draw because I'll give you some brushes with the basic elements of a medieval map and tips on how to use it.
The brushes can be used on photoshop or procreate, but if you don't have an iPad or Photoshop, you can draw on a paper, I'll give you some tips on how to do it along the way.
So let's go!
Supplies
For the map:
- My medieval brush pack (for Photoshop and Procreate)
- iPad, Photoshop or pen and paper
For the paper:
- Brown and ochre cheap watercolor
- Paper (any type that you can print on it)
- Flat one inch Paintbrush or similar
- Rectangular Tray
Drawing Your Map - Overview
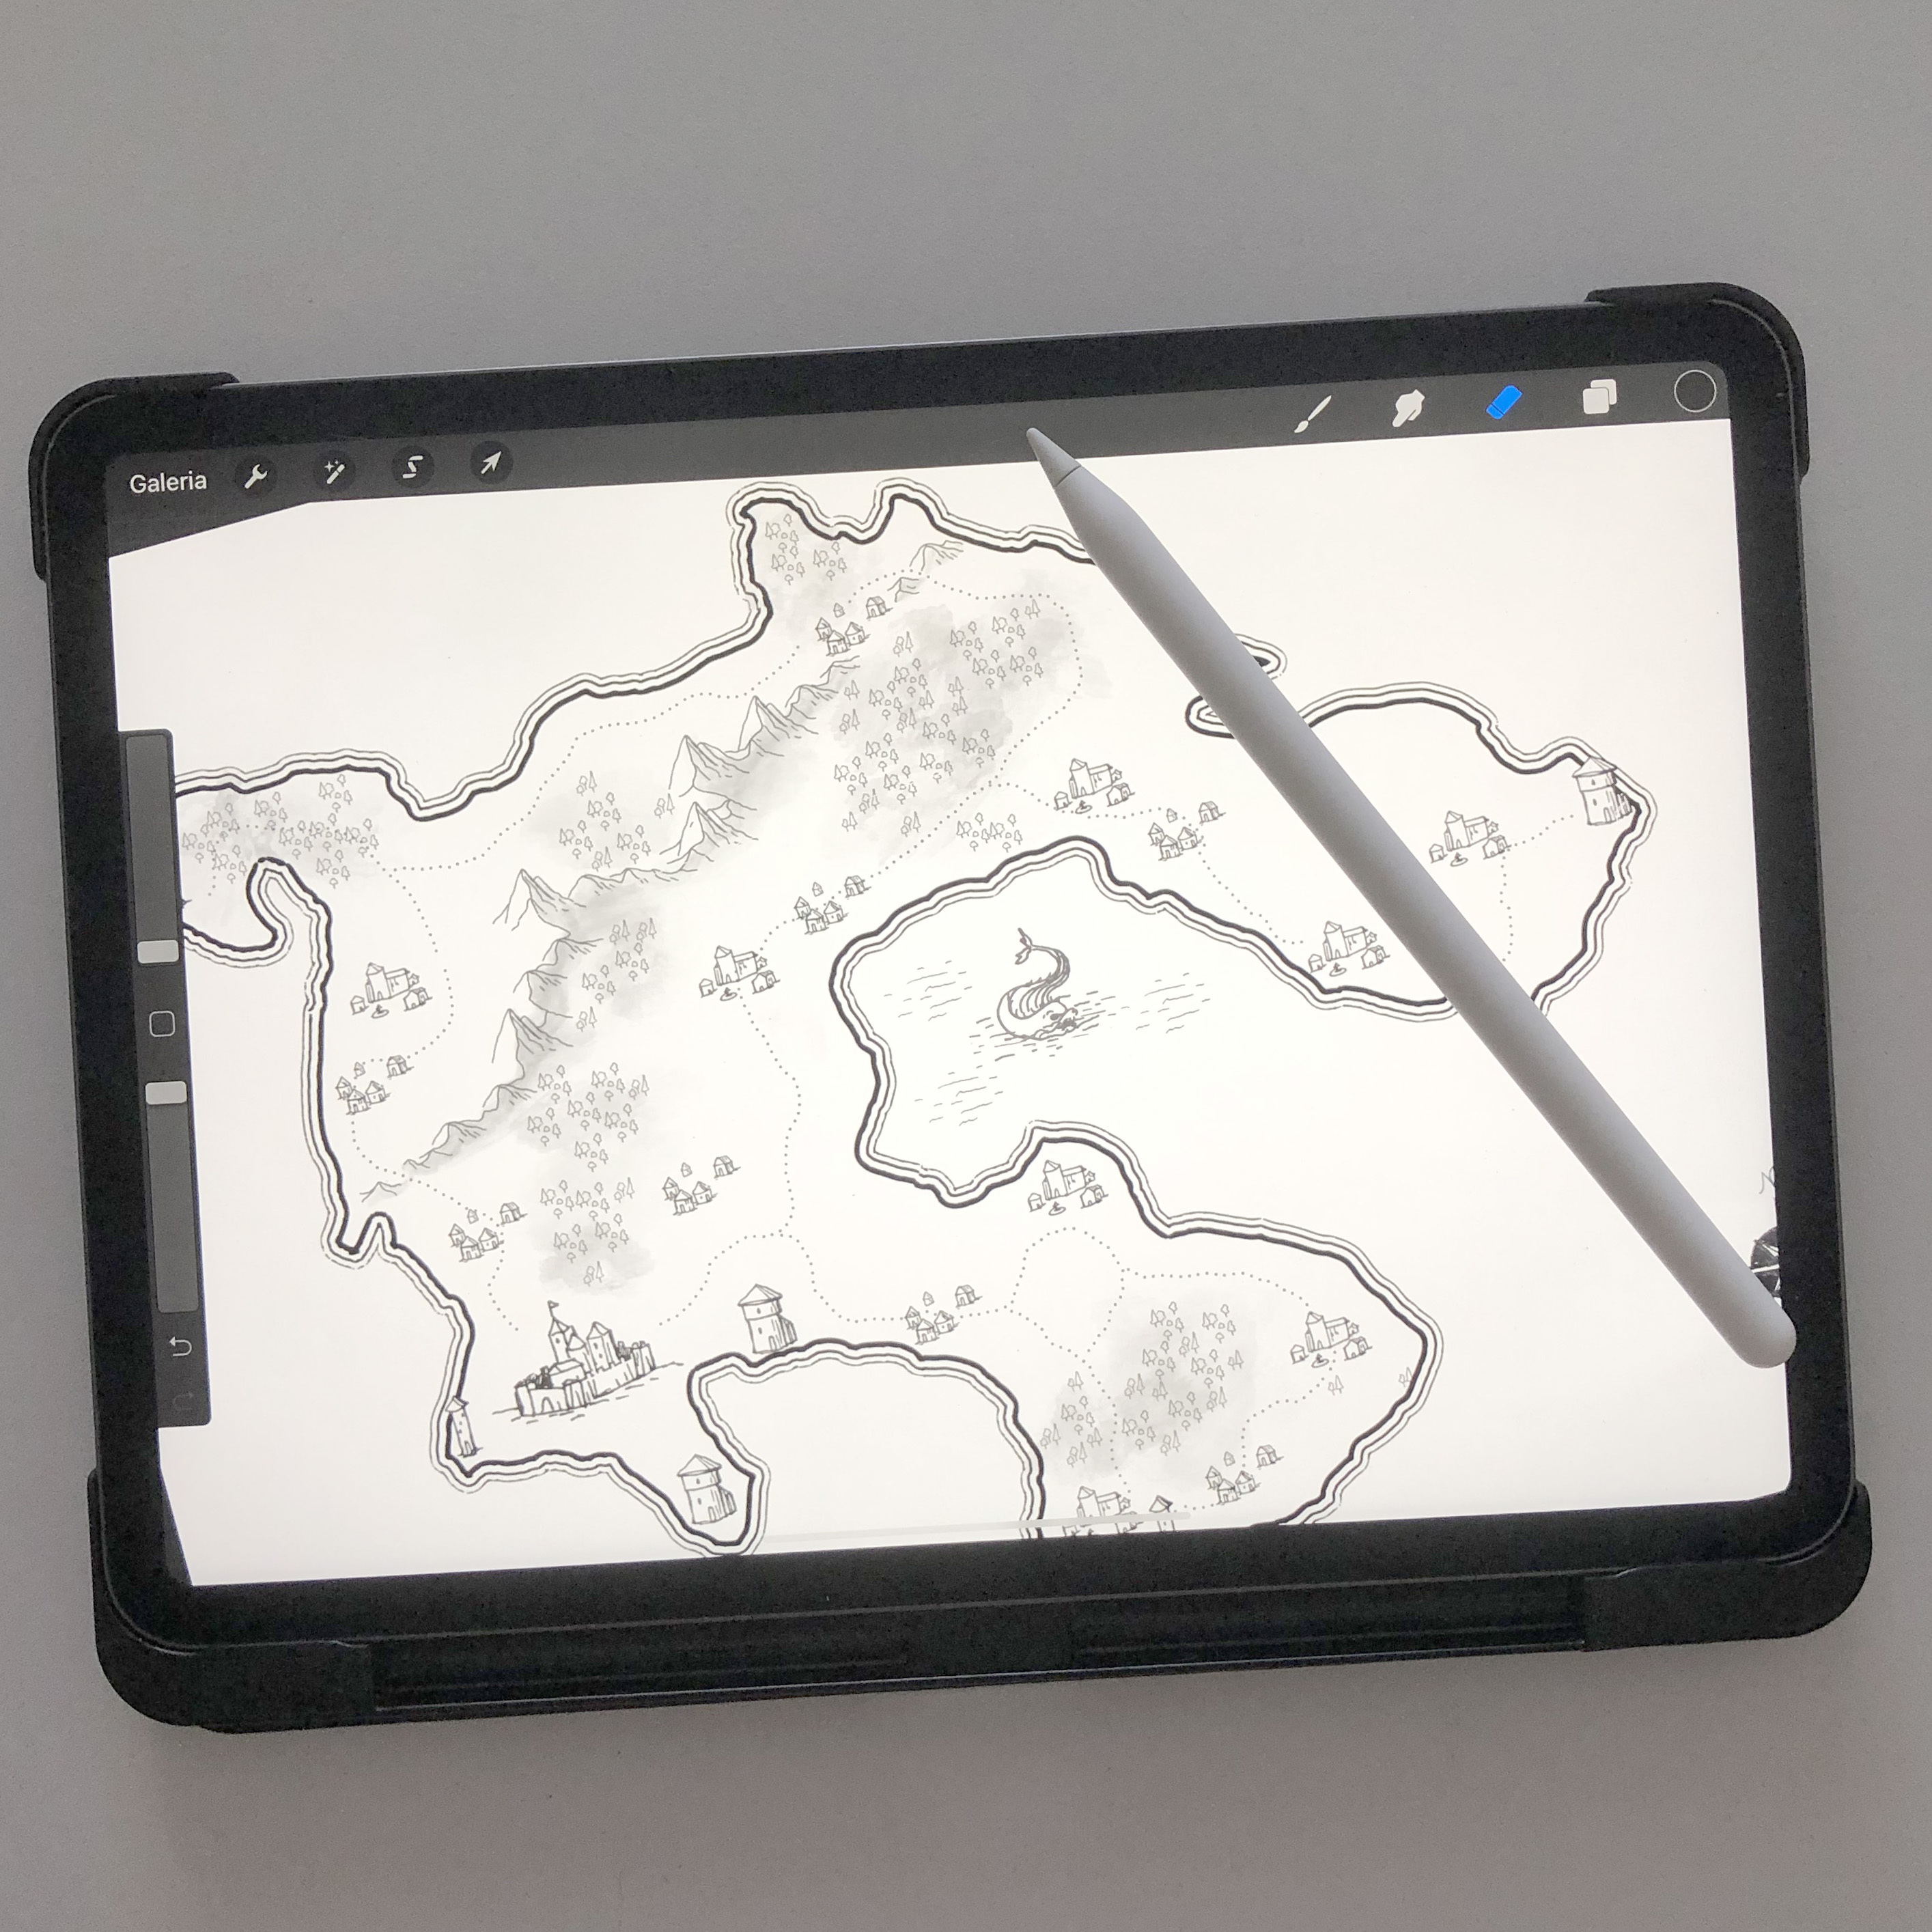
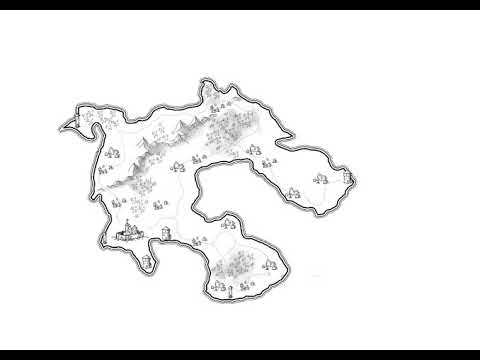
I like to draw my maps on Procreate. Because it has all the advantages of drawing digitally, but with the practicality of the iPad. But all the steps that I'm going to show, you can replicate on Photoshop, drawing software, or even with paper! At the end of each step, I'll give and tip on how to do it with only pencils, pens and paper. Start with a white paper and a black ink pen - with a stroke that is not too thin -, pencil and eraser.
After I finish drawing the map, I save the image - or take a picture/scan the drawing - and bring it to Illustrator or Photoshop to add the text and labels. Later on this Instructable, I'll give you the way to my favorite fonts.
Drawing Your Map - Sketching
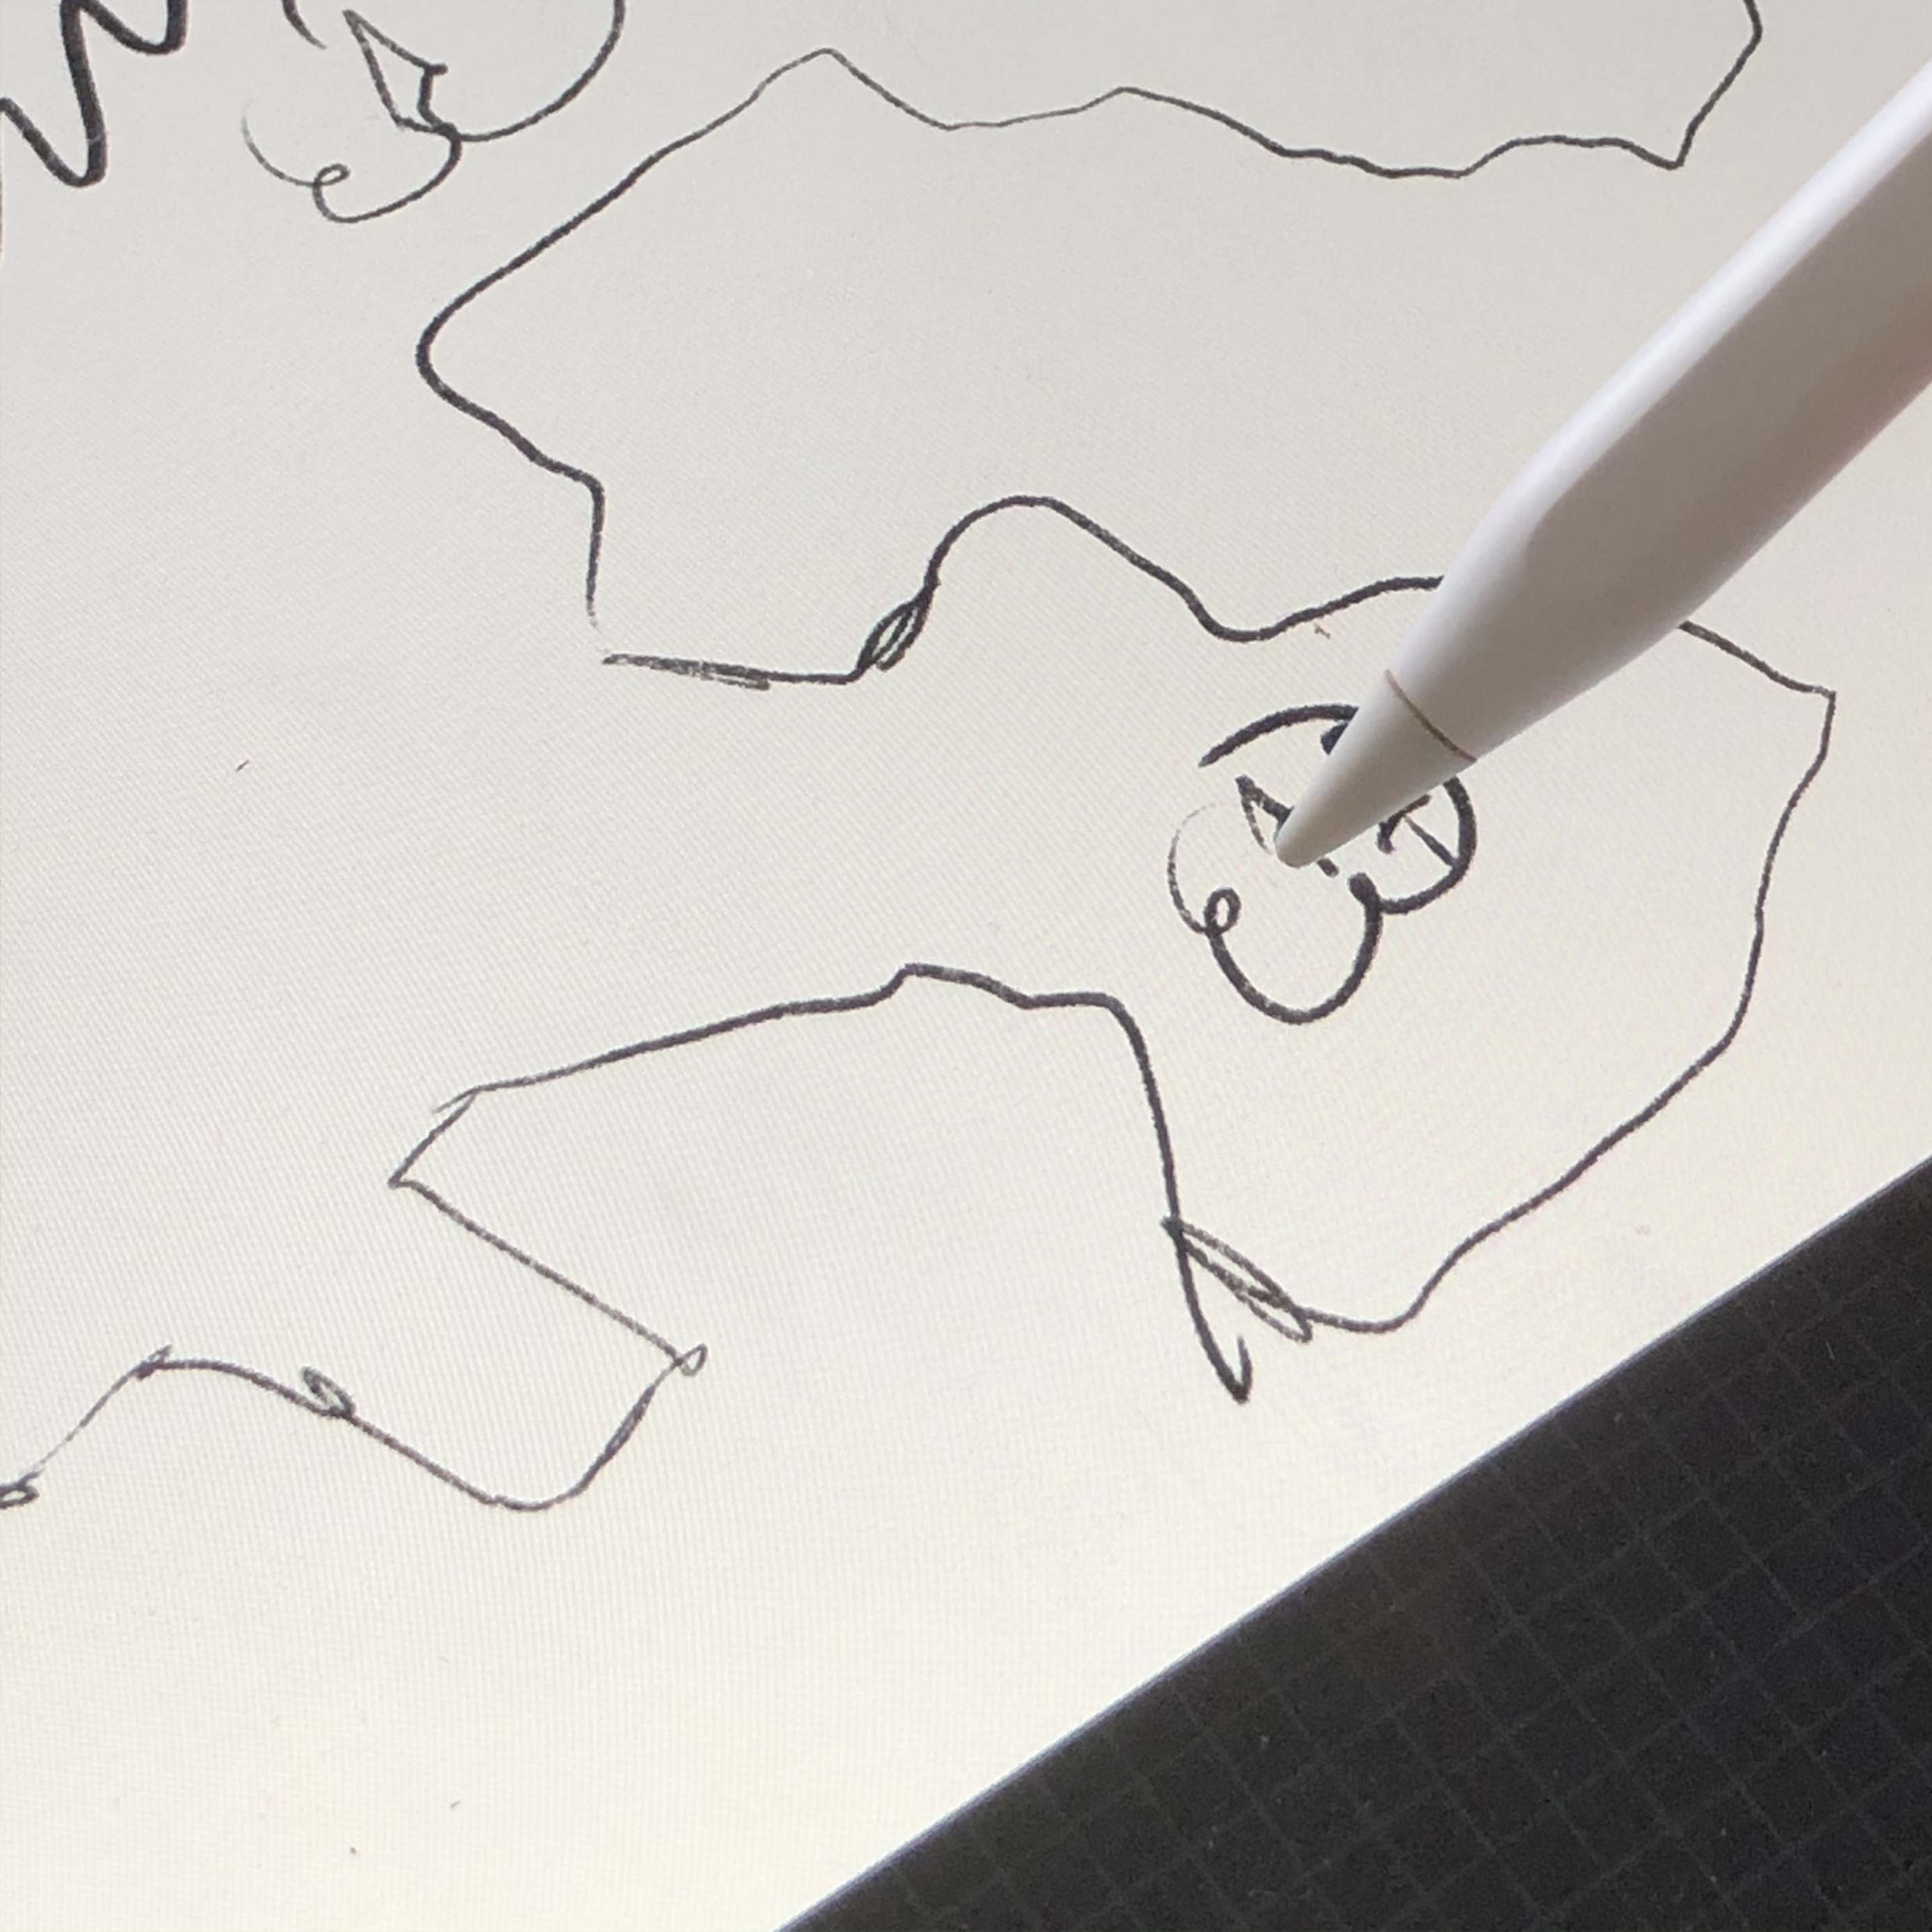
First of all, you need your map! If you already have a sketch you can take a picture, upload it to a drawing software and draw over it, or start from zero. Details don't matter yet, focus on the big forms, the islands, the continent/region. You can also plan where things like mountains and rivers will be.
If you are drawing on paper: do this first step with a graphite pencil that can be erased later.
Drawing Your Map - Line Art and Natural Elements.
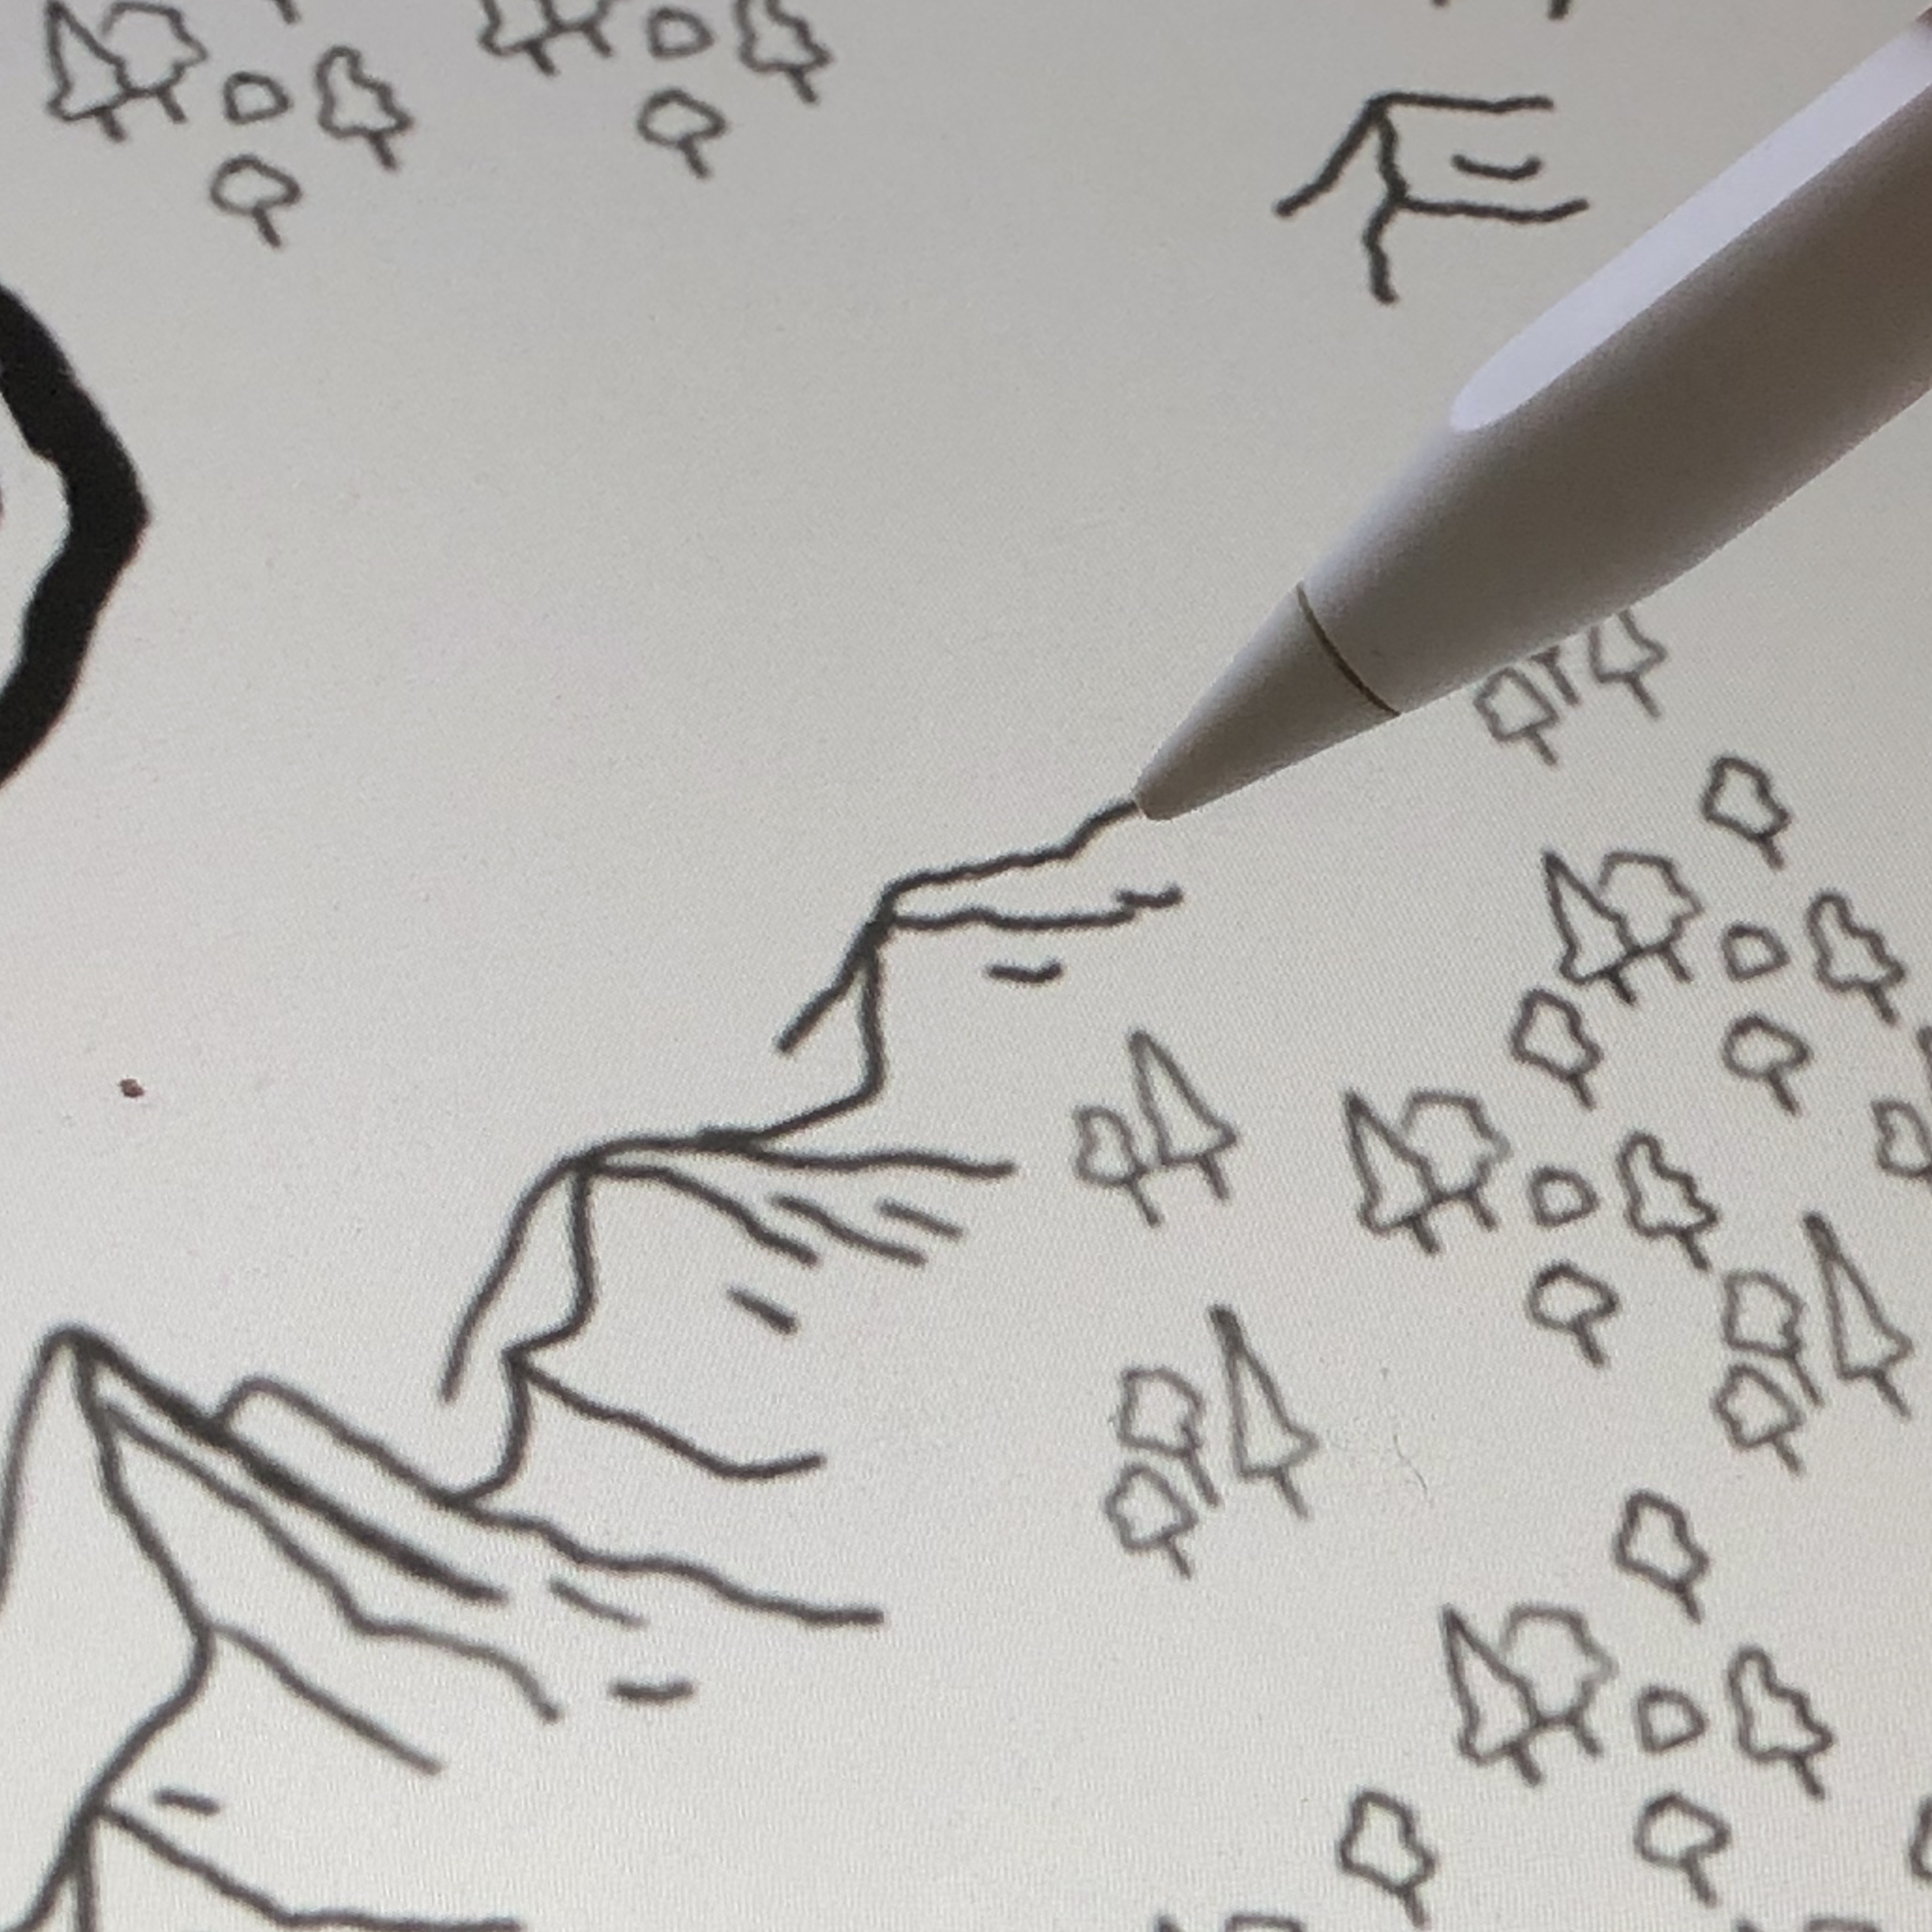
Now you can use the Medieval Map Pack, to draw the outer line of the region or continent, using the brush Border Line.
And using the brushes Trees 1, 2, and 3 you can make the forests. In this maps style, the scale is not really a problem, we just want to give the user a notion about where things are placed.
You can draw rivers with the same color as you ocean or making simple lines with the Bleeding Line brush.
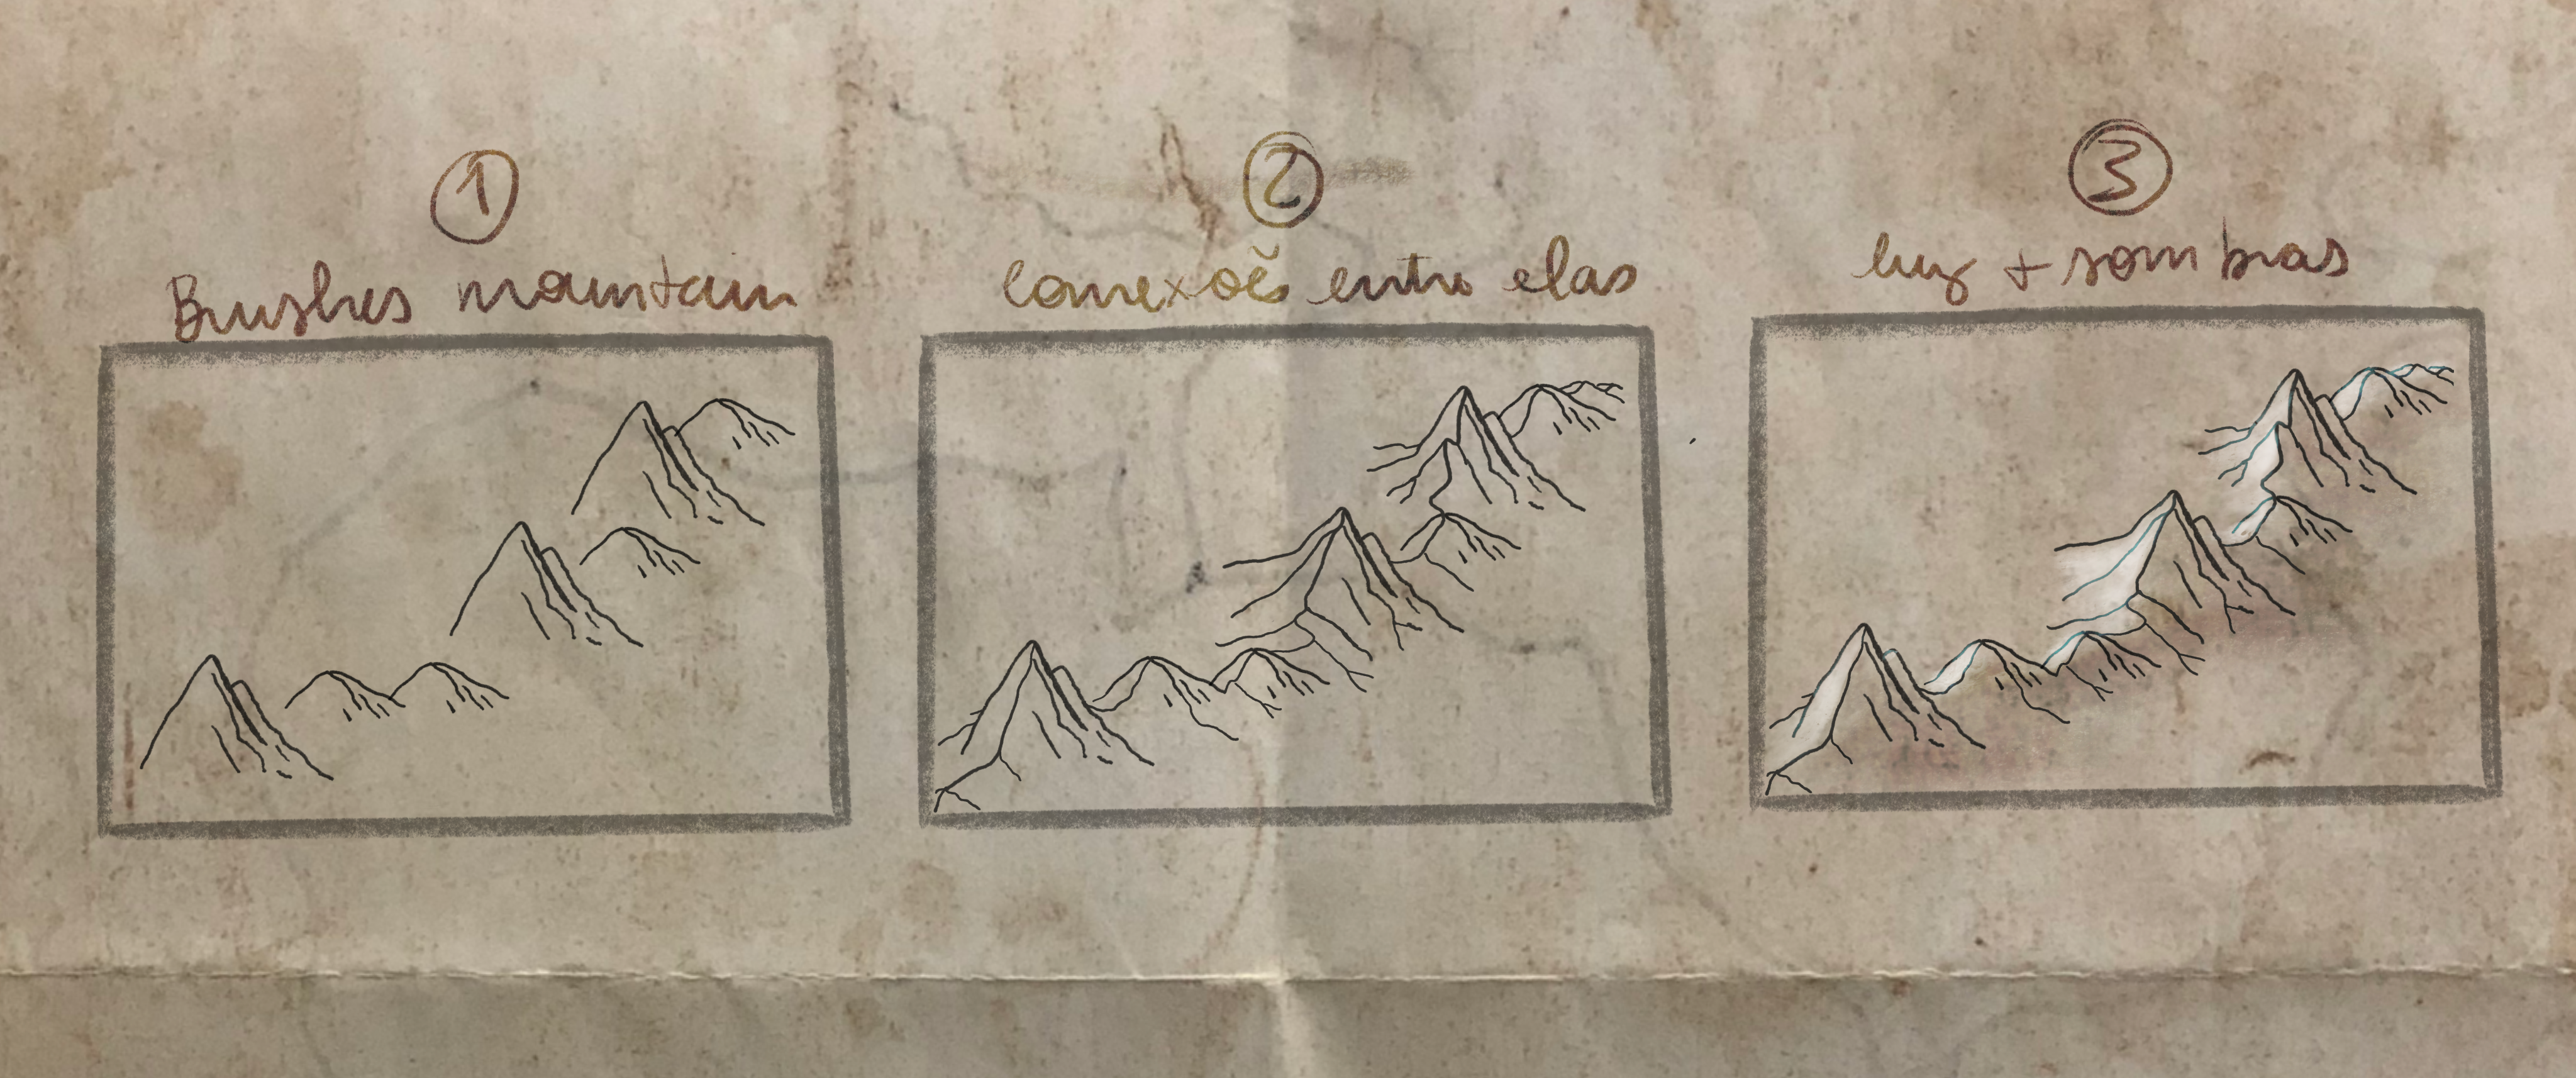
Using the brushes Mountain 1 and 2 you can create the mountain ranges or single mountains. To make mountain ranges you'll need an extra effort:
1. Place the mountains following an imaginary line (usually along one border of the continent or region), alternating between the Mountain 1 and 2.
2. With the brush Bleeding Line, connect the mountains, usually from top to top. And create new line son each side.
3. Put light and shadows, if you want.
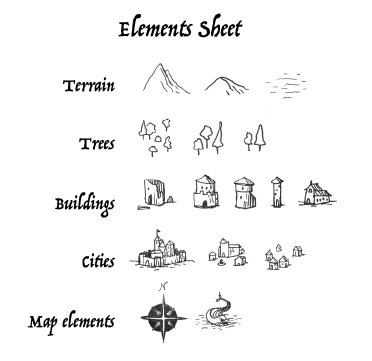
If you are drawing on paper: now is the time when you want to start inking. So use your pen to draw the elements, you can copy it from the Elements Sheet image.
Drawing Your Map - Stamping the Other Elements
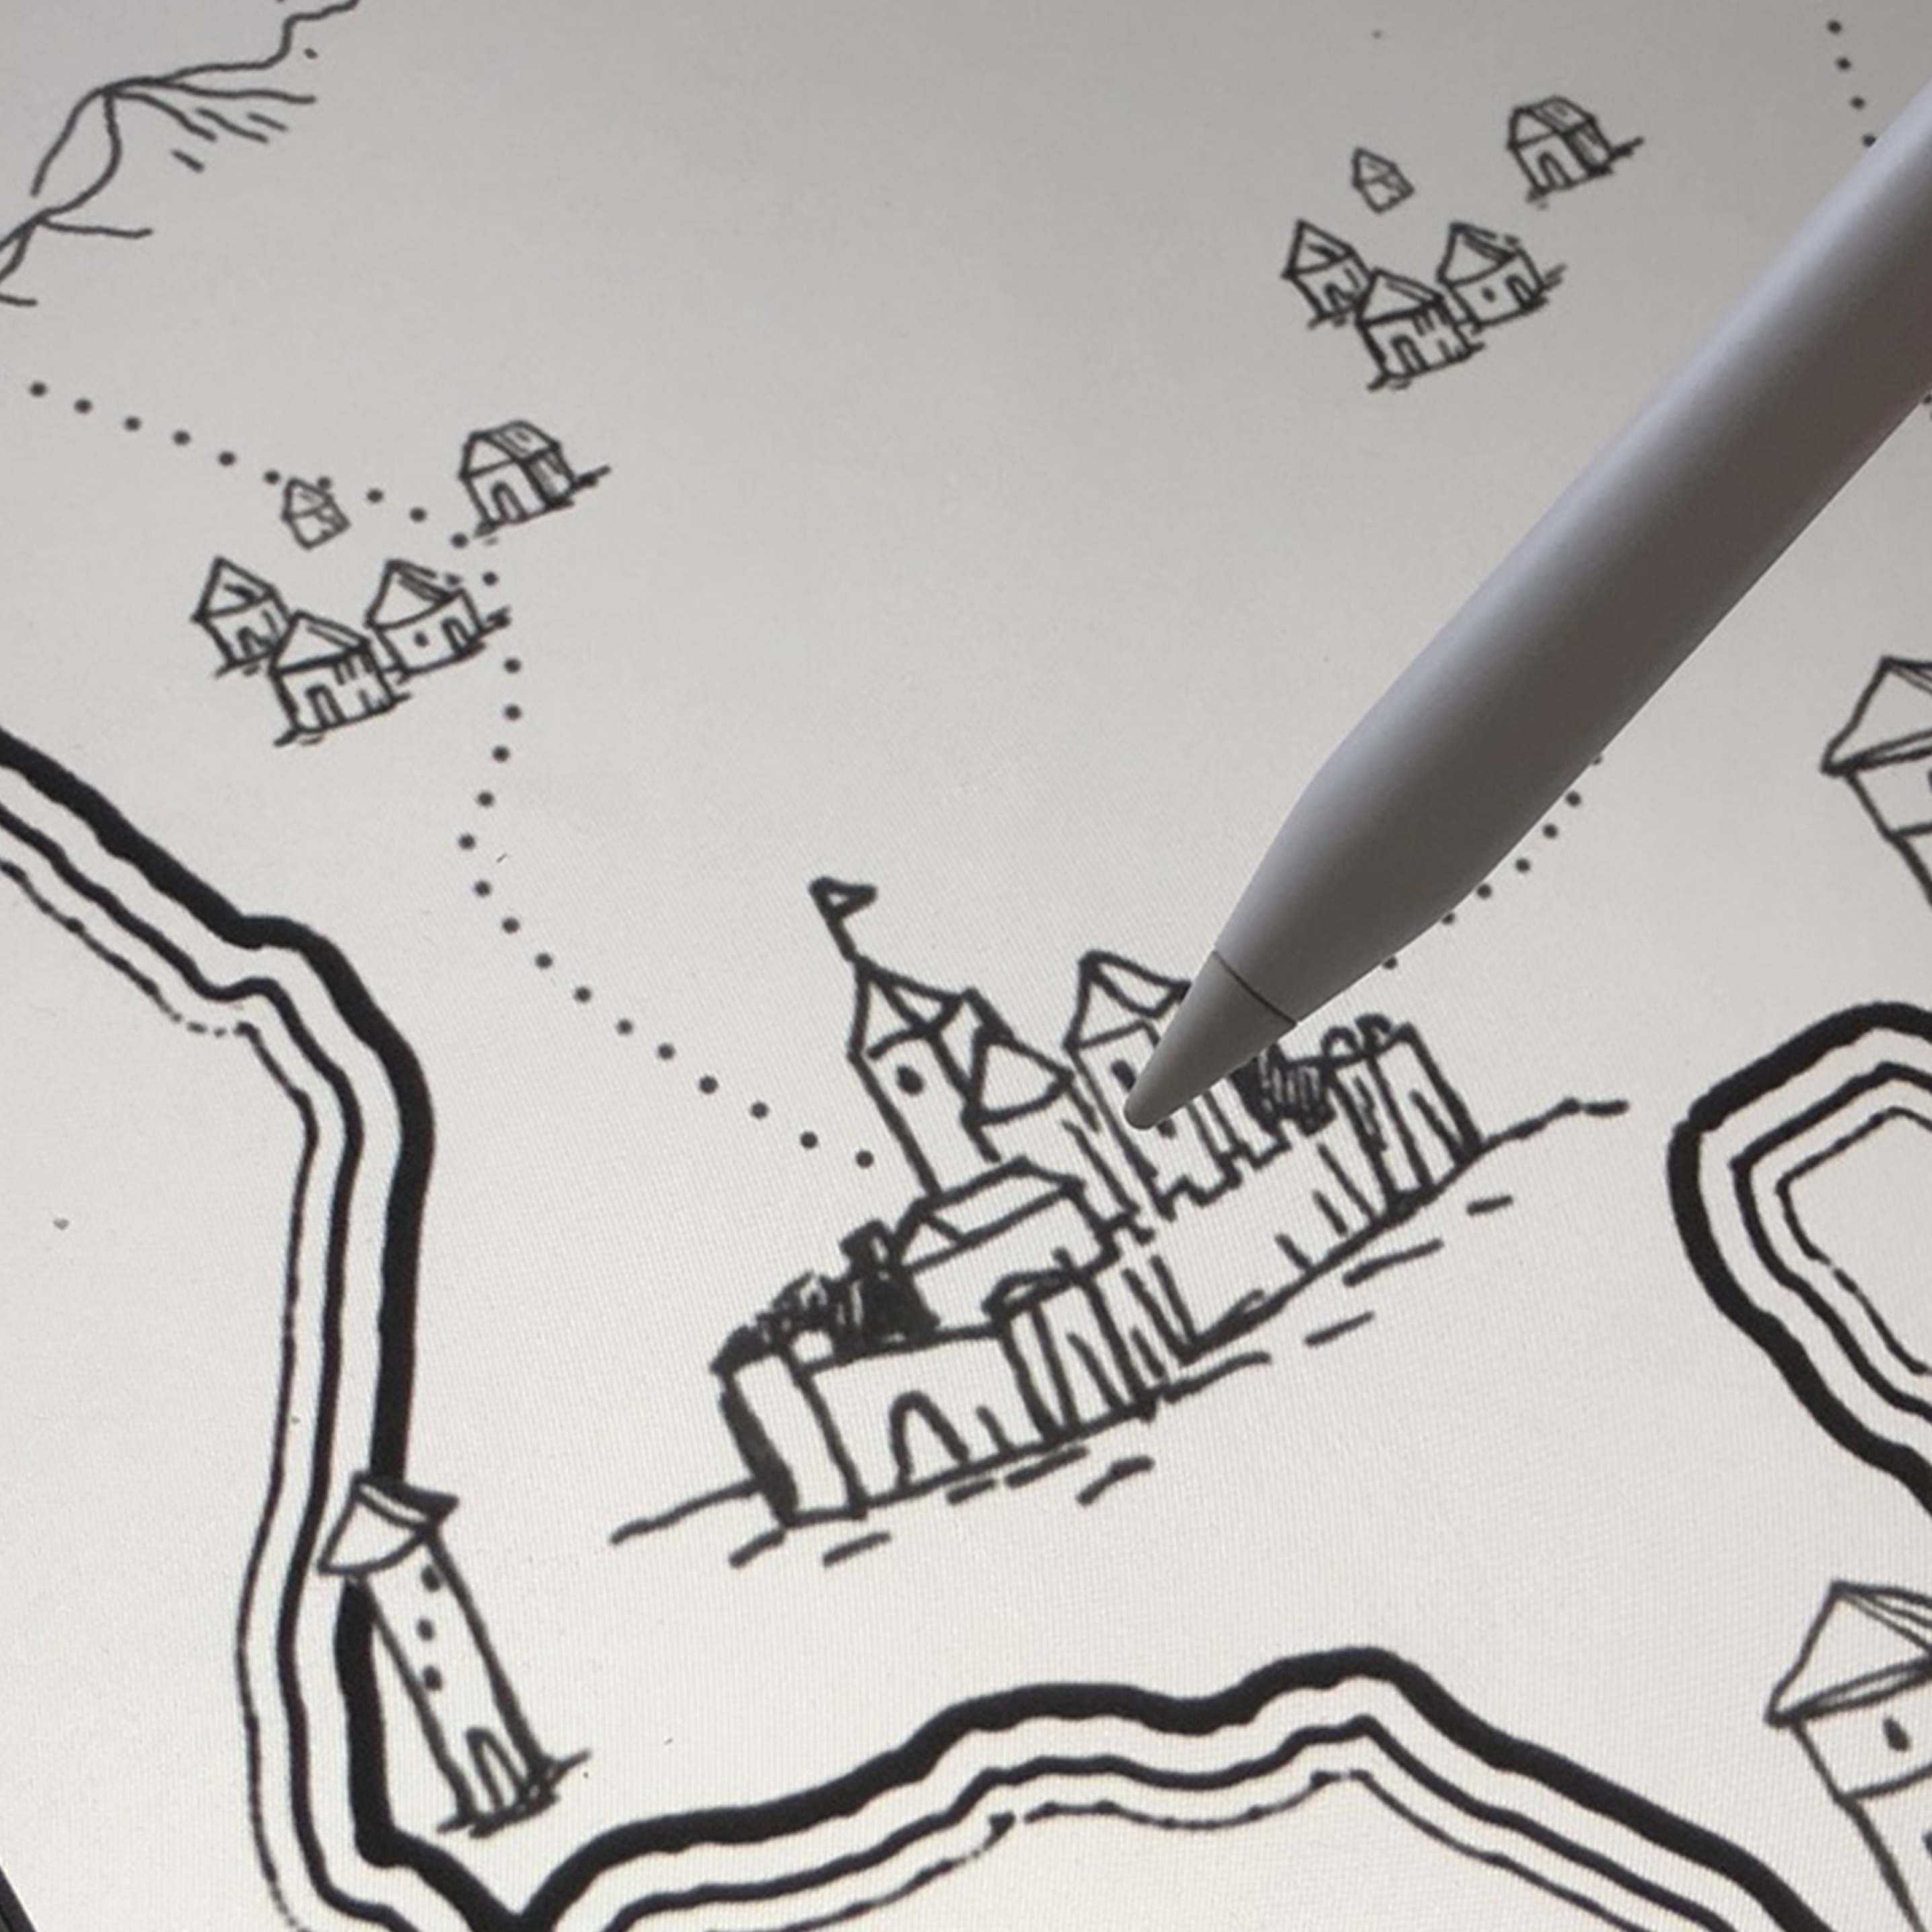
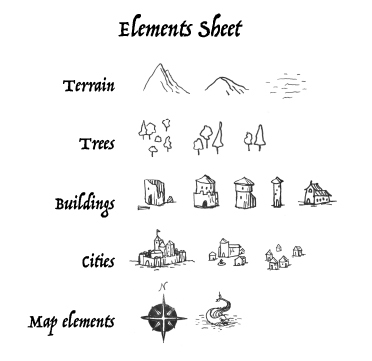
Now that you have all your natural environment, you can easily place your cities, citadels, villages, towers, and roads. For the roads, I like to use the Liner Pen Round. In the brush pack, we have towers, citadels, villages, generic buildings, temples, houses, ruins, and more.
To finish it, you can place the wind rose with the brush Northmark and some monsters in the water with the brush Monster.
If you are drawing on paper: continue inking. and copy the elements from the Elements Sheet image.
Drawing You Map - Adding Labels and Text
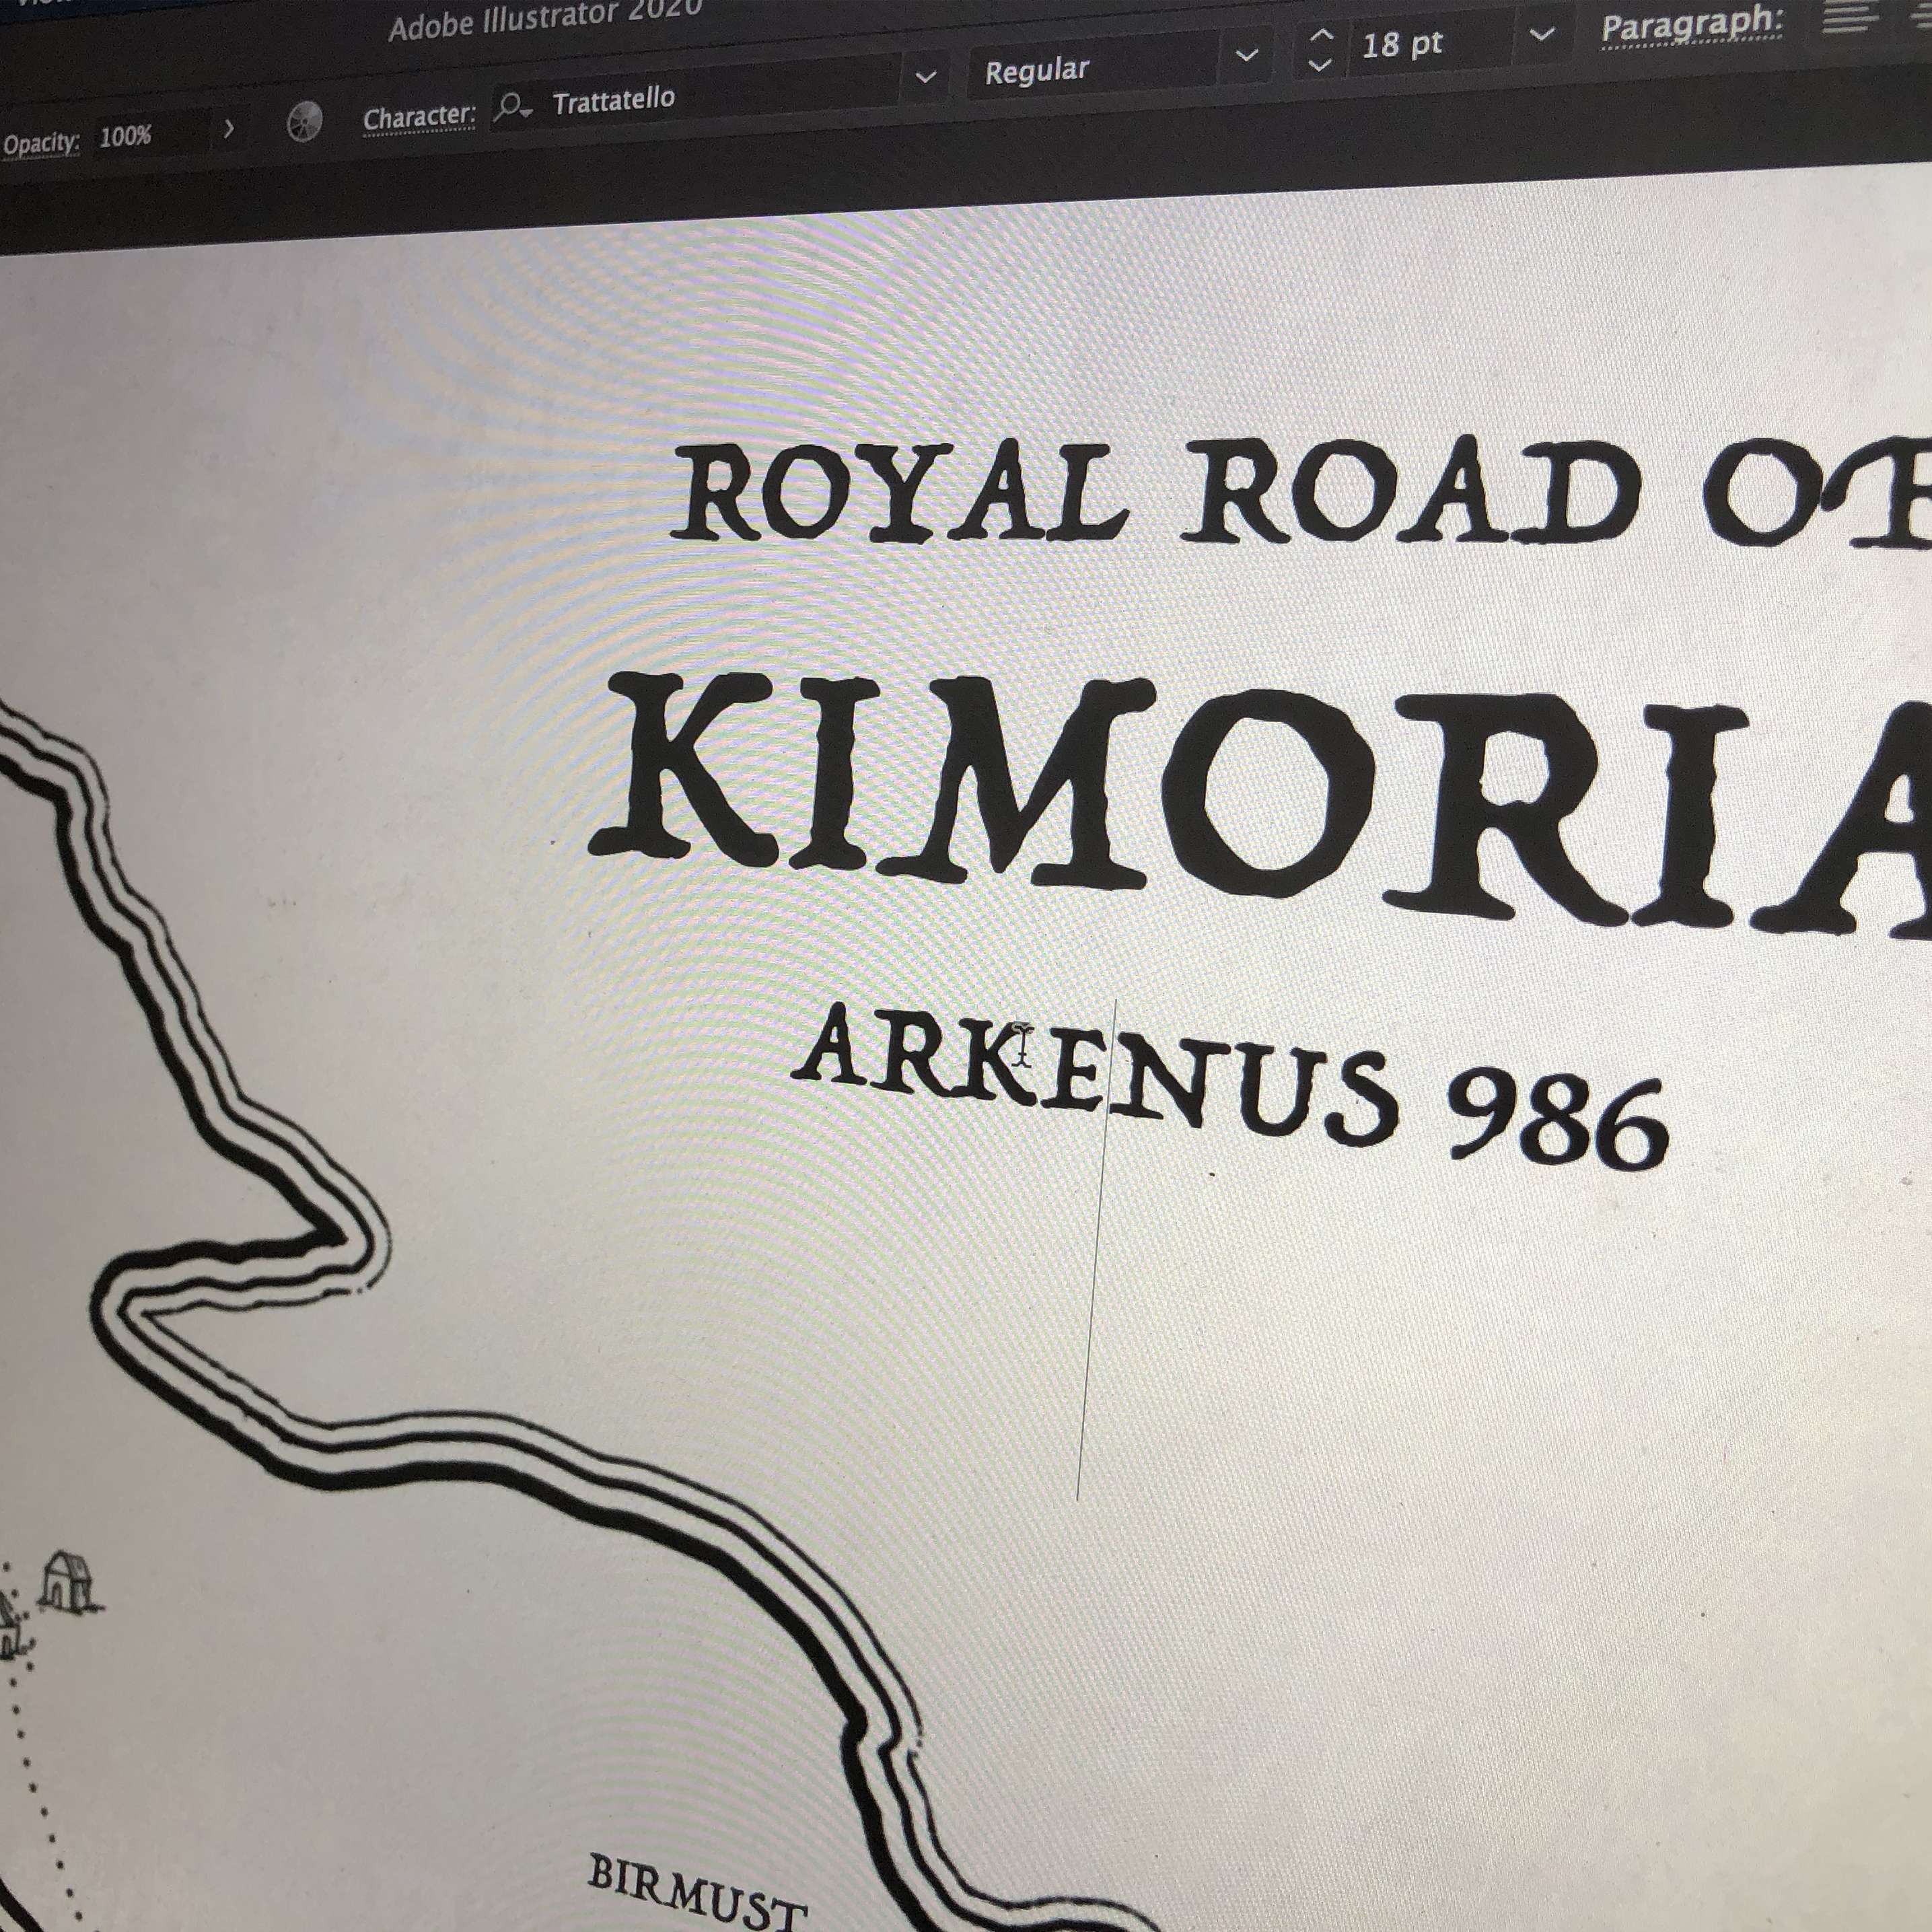
Now, save the map and bring it to some graphic design program like illustrator or photoshop. But this step can be made even with our old friend Microsoft Paint, I think.
My favorite fonts for maps are:
- Trattatello (free)
- Plantagenet Cherokee (free)
- IM FELL DW Pica (free for Adobe Creative Cloud subscribers)
- BlackBeard (free for Adobe Creative Cloud subscribers)
If you were drawing your map on a paper: now is the time to scan it or take a good picture and bring it to some editing software where you can erase everything that is not your black lines. An easy way to do this on photoshop or similar software is by using the Levels tool. Just bring everything that is close to white to pure white and everything that is close to black to pure black. And then you can add the text.
Making Your Paper
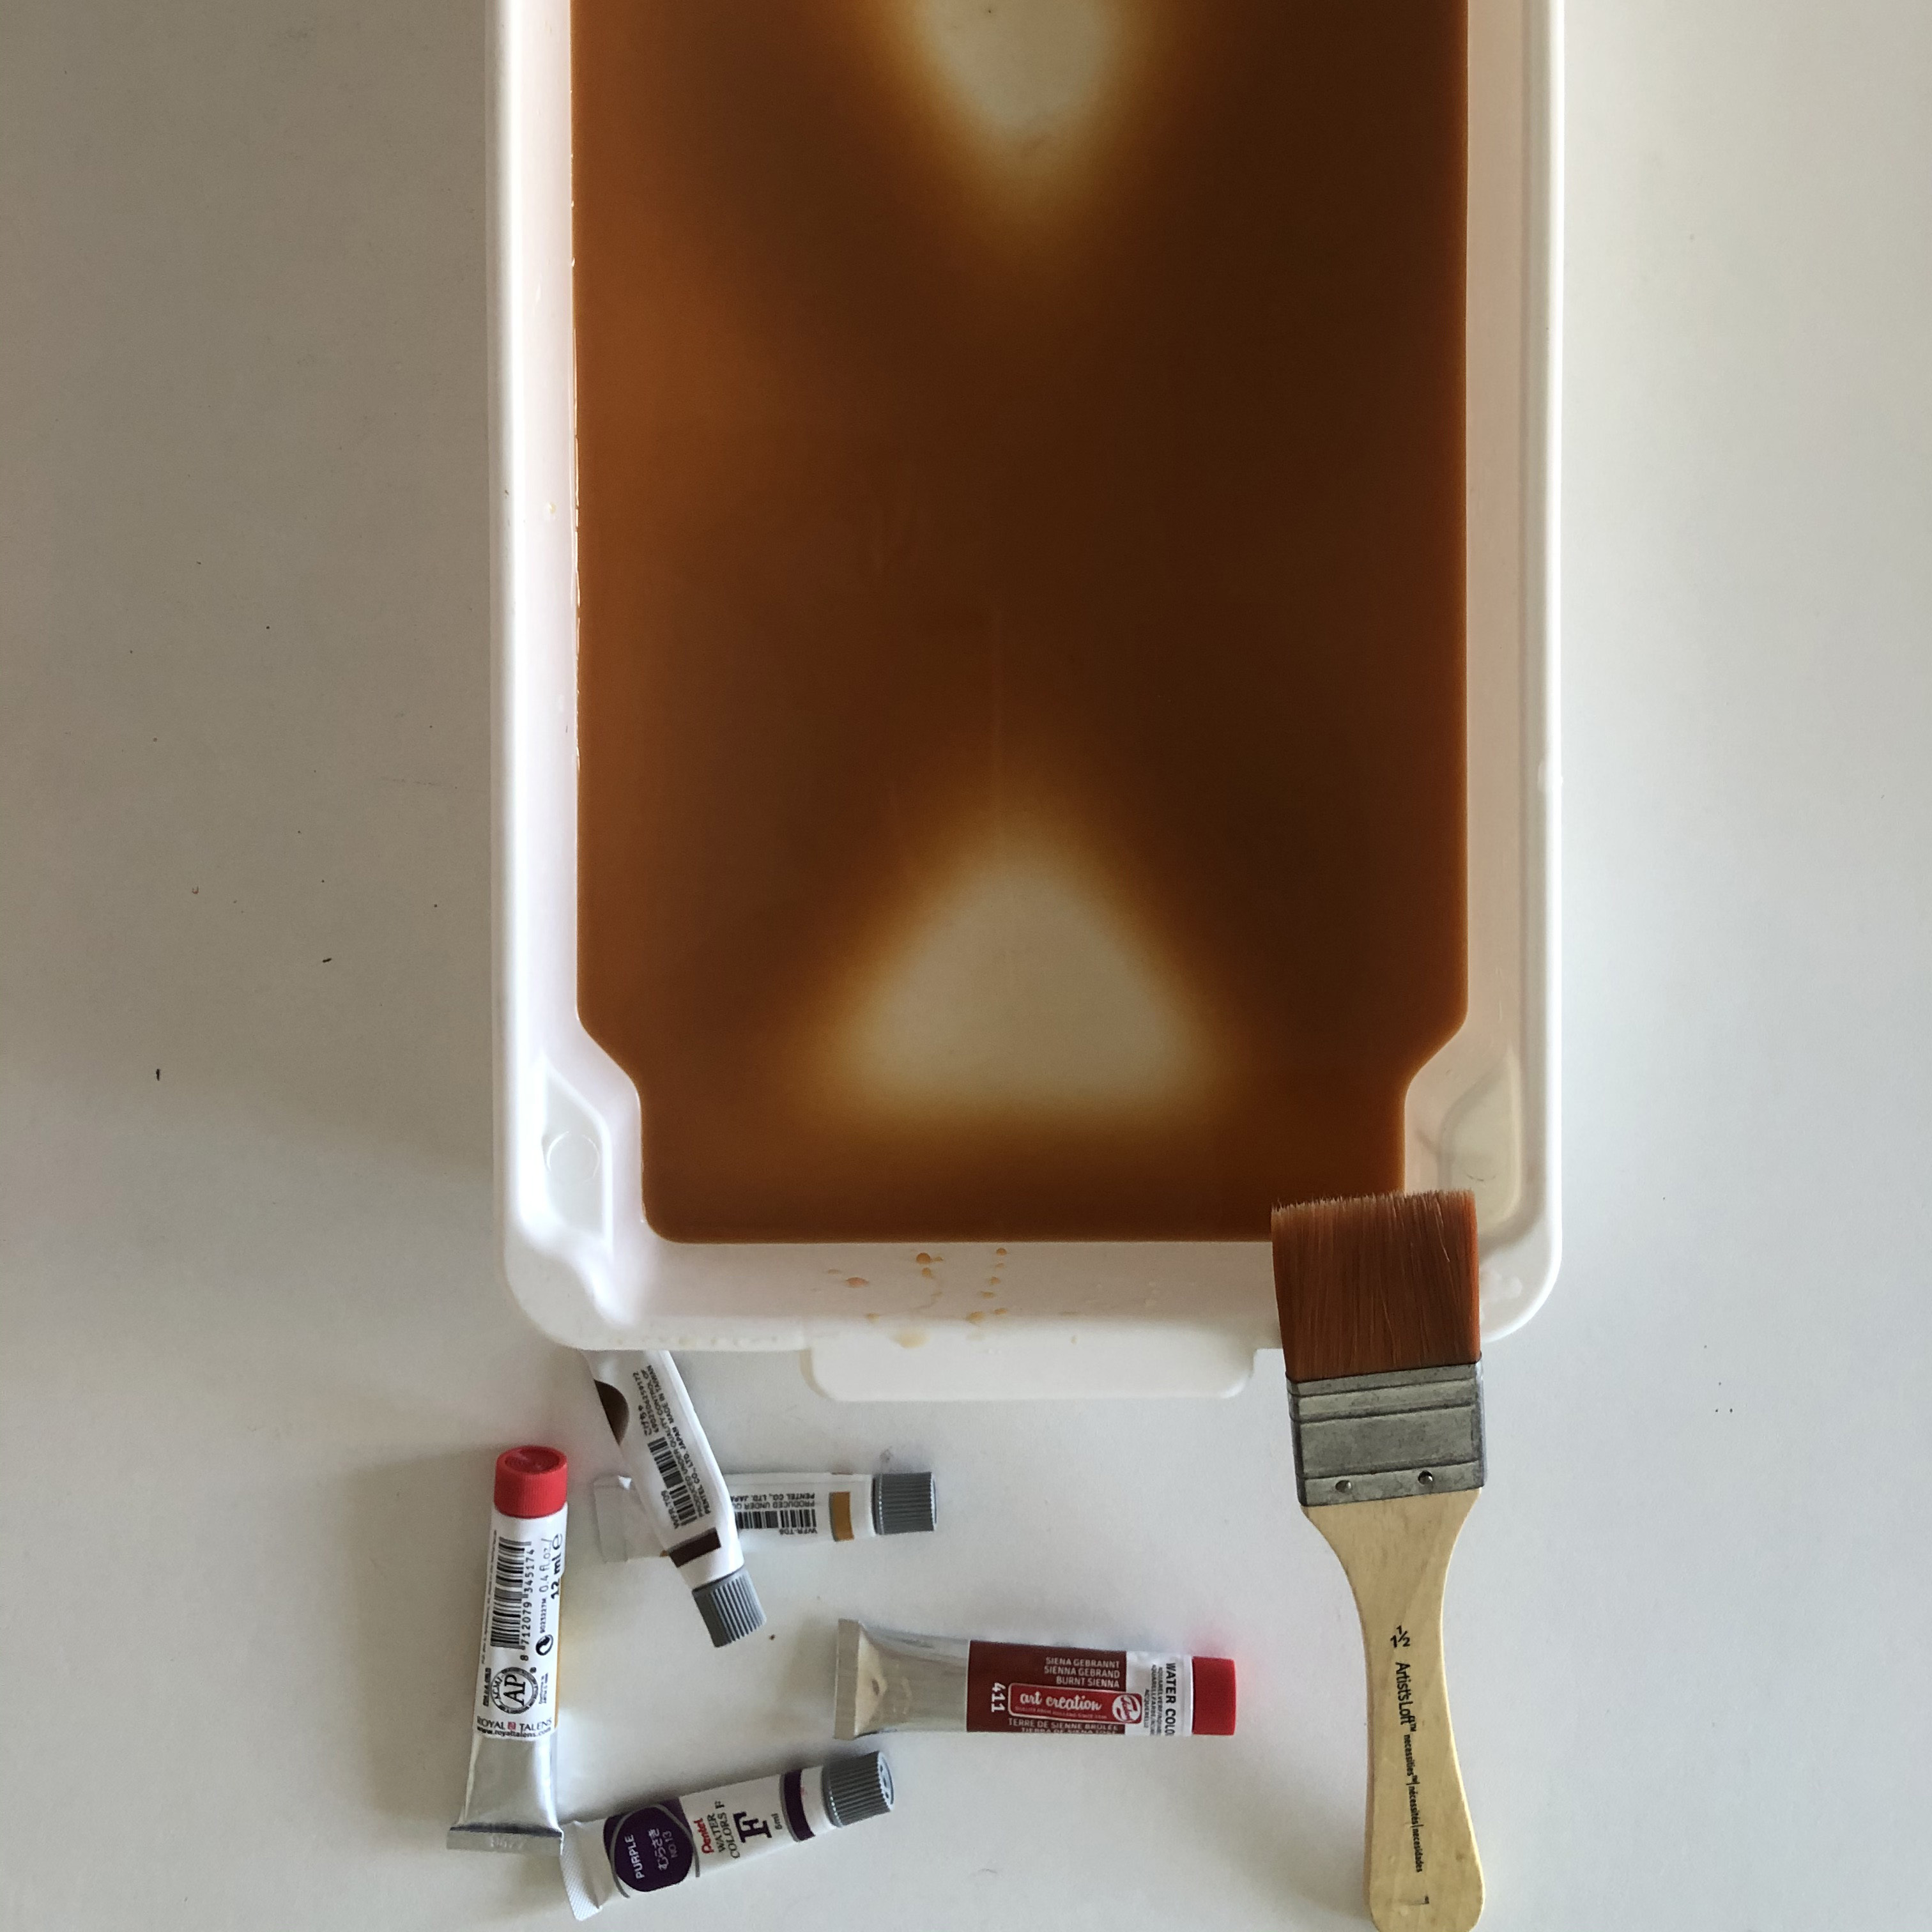
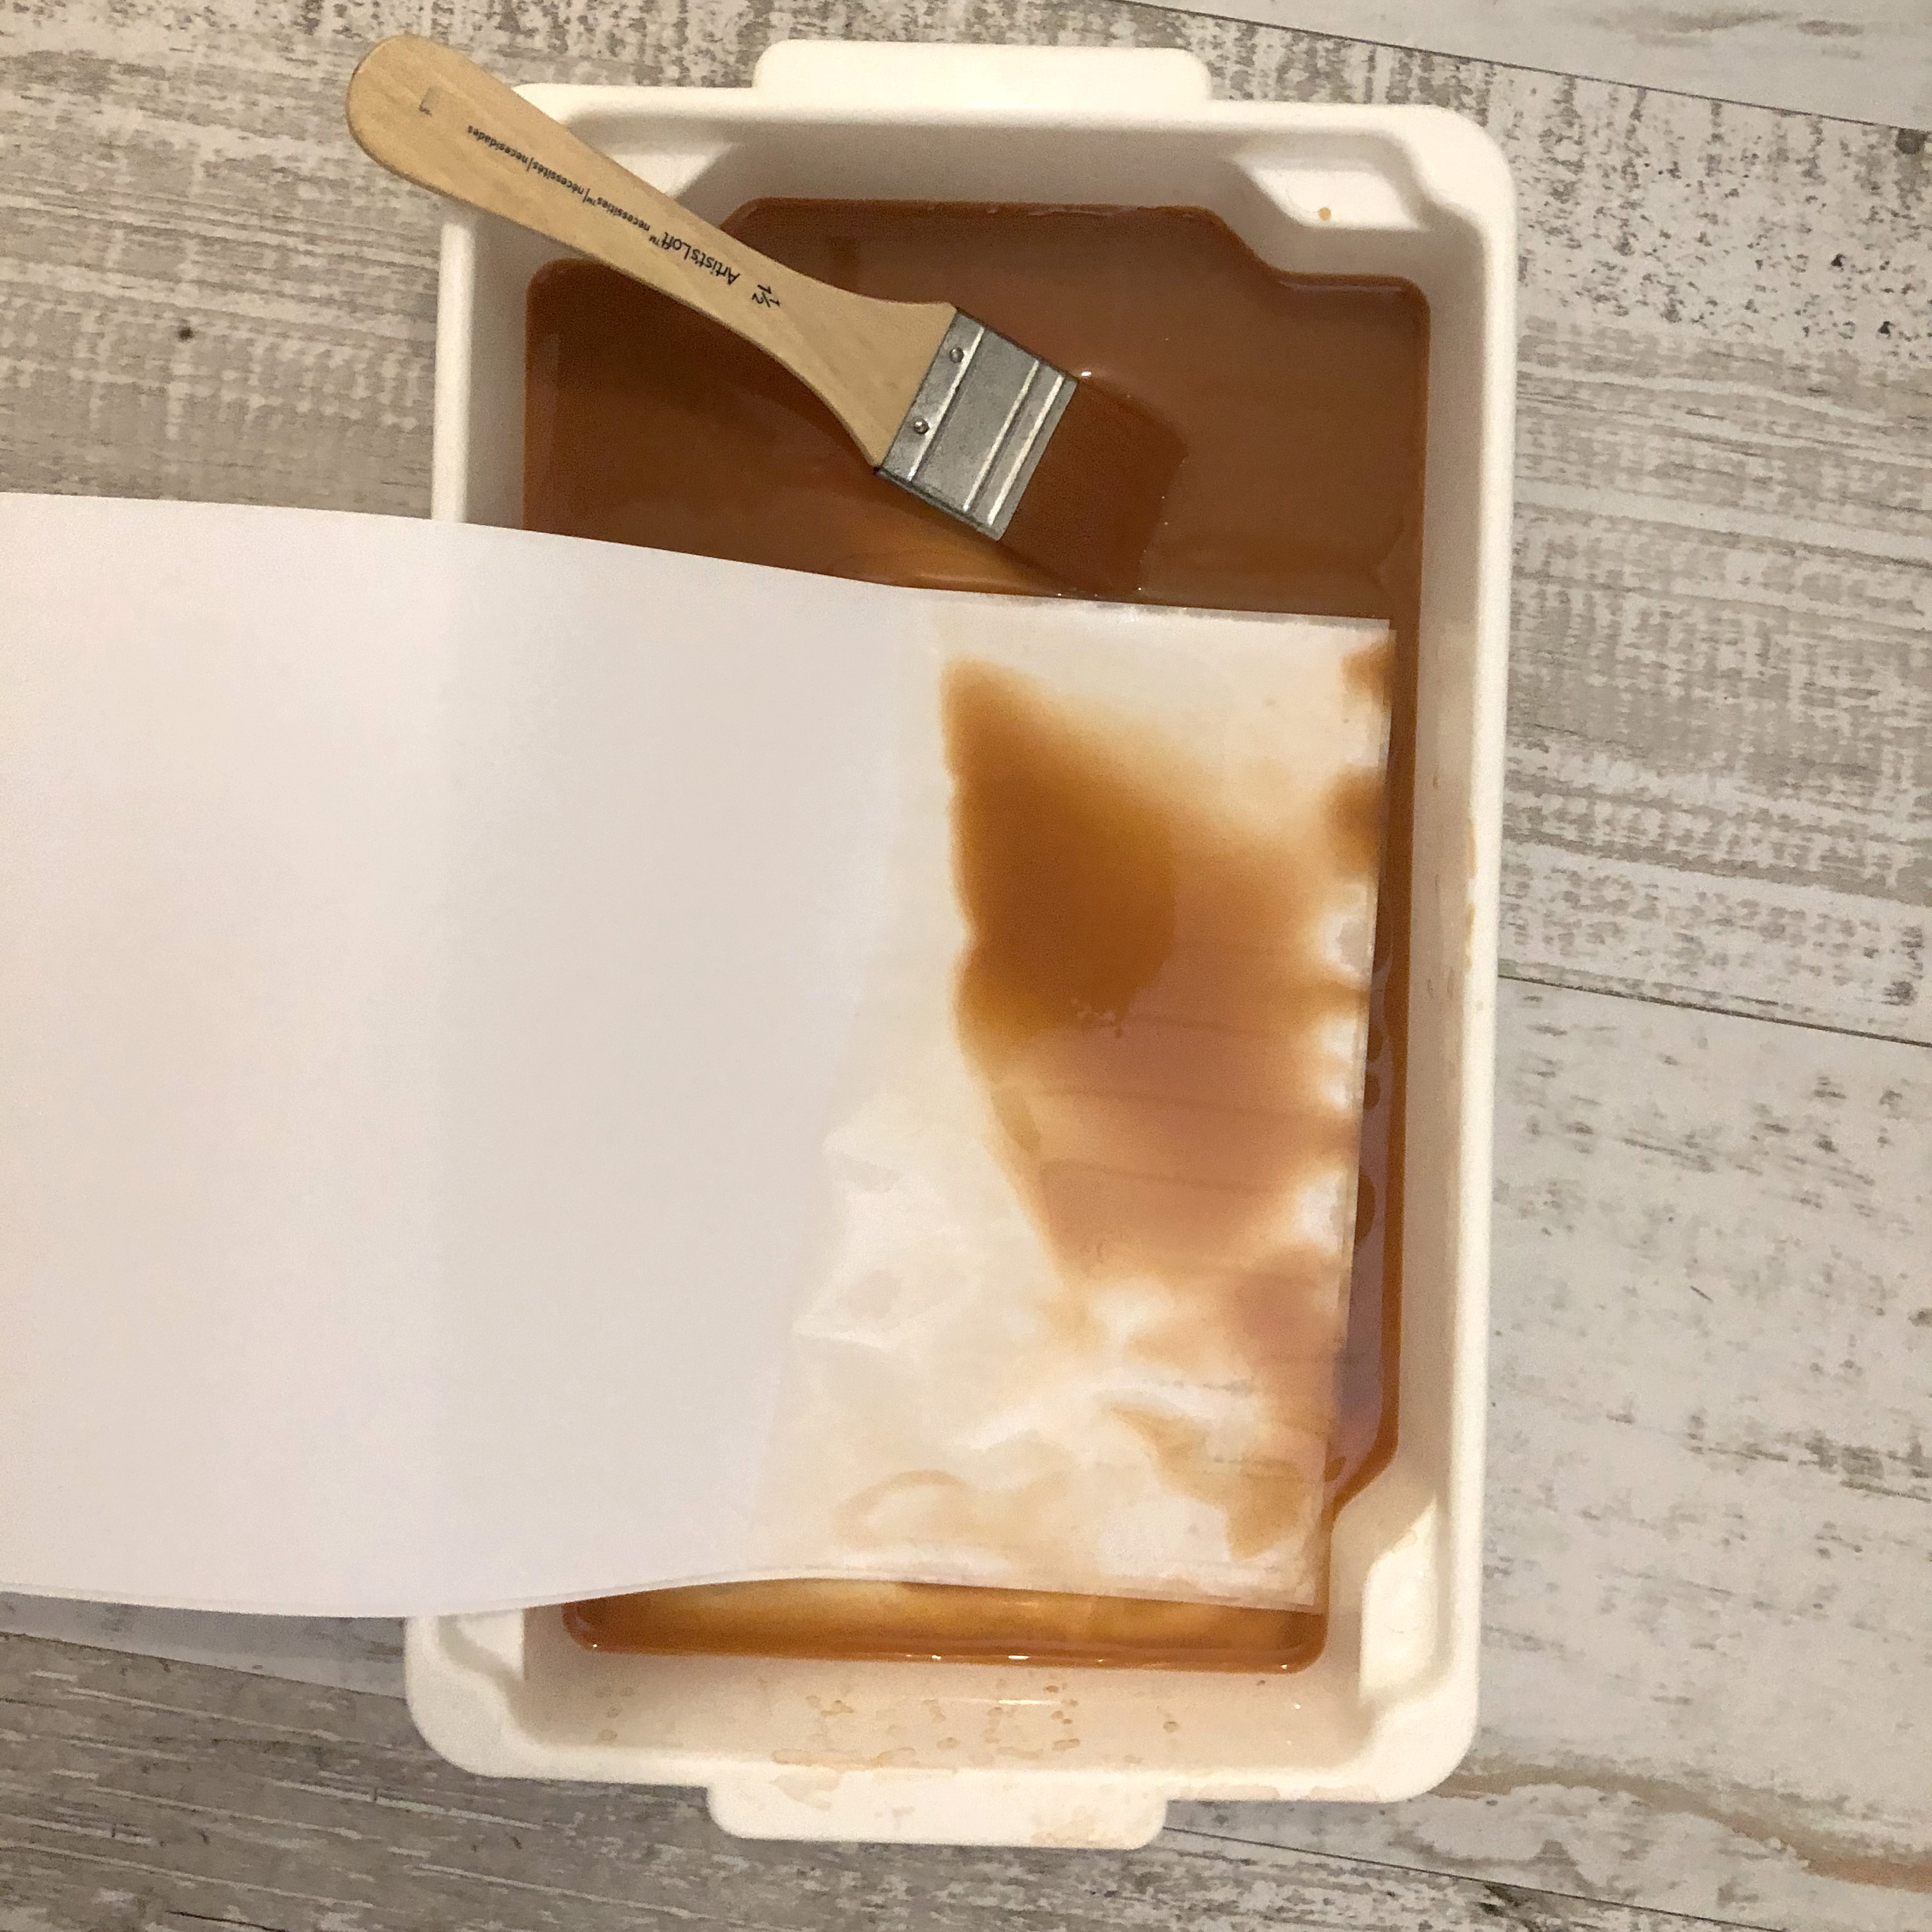
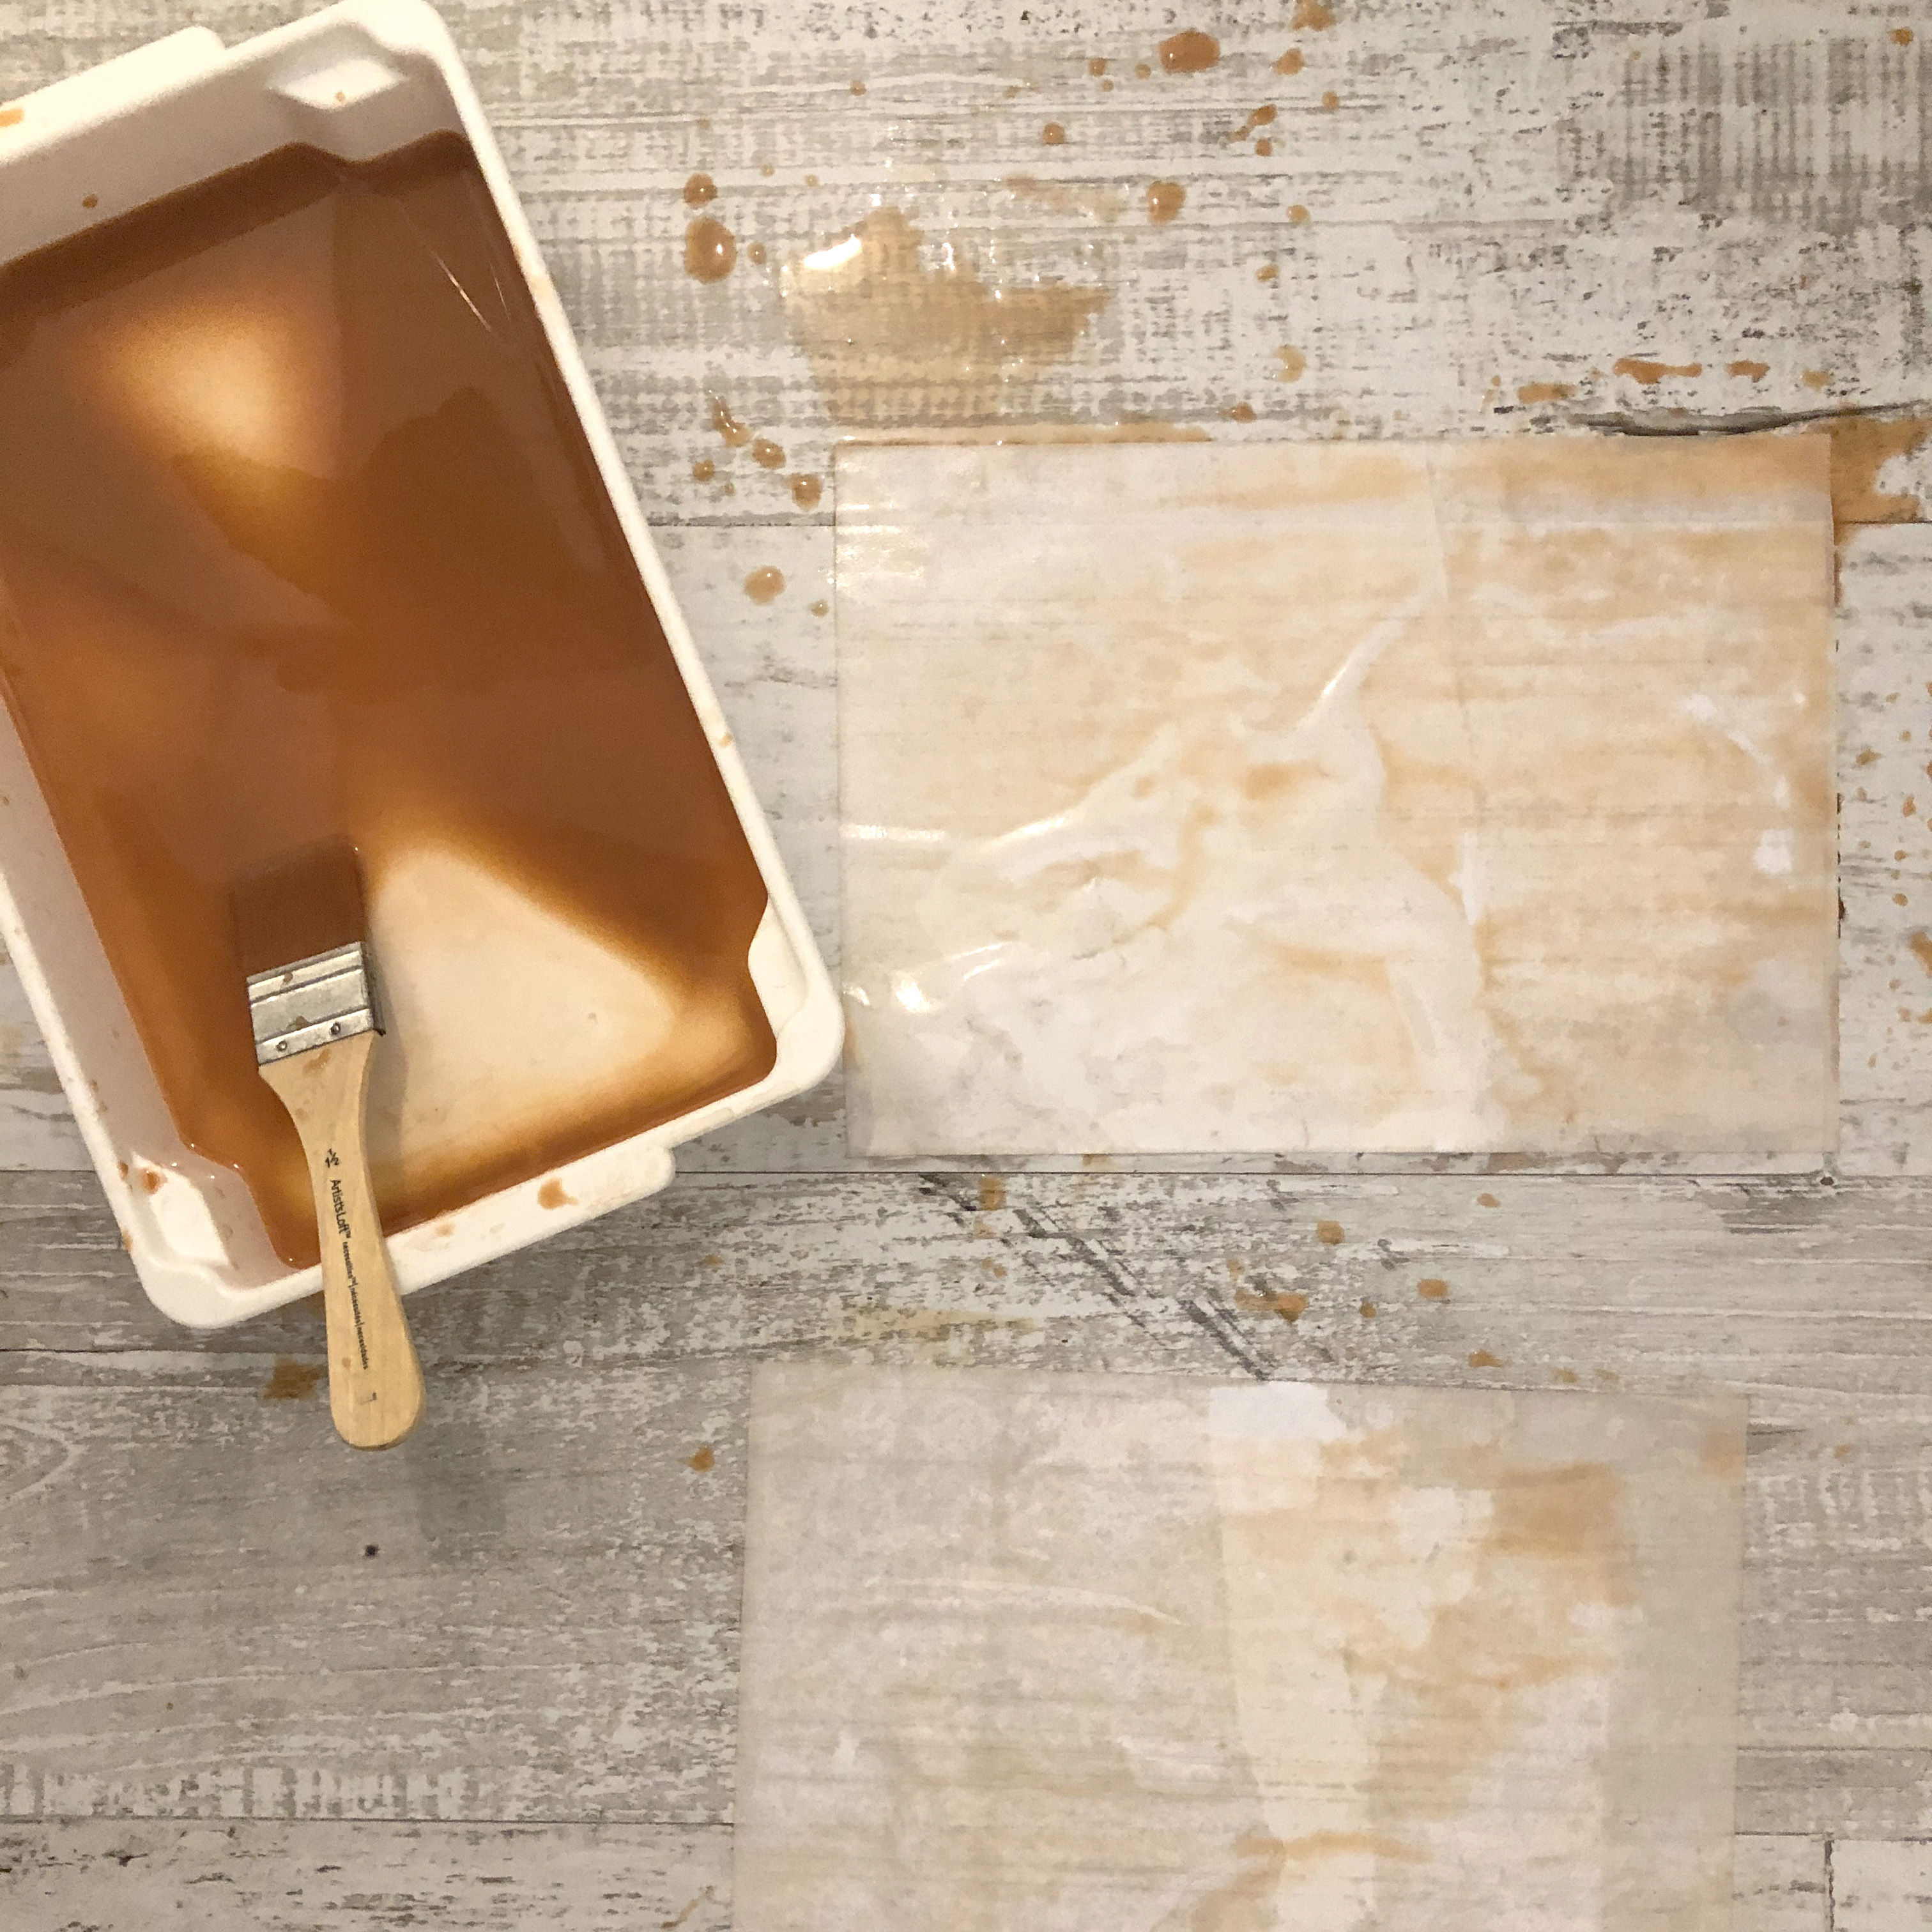
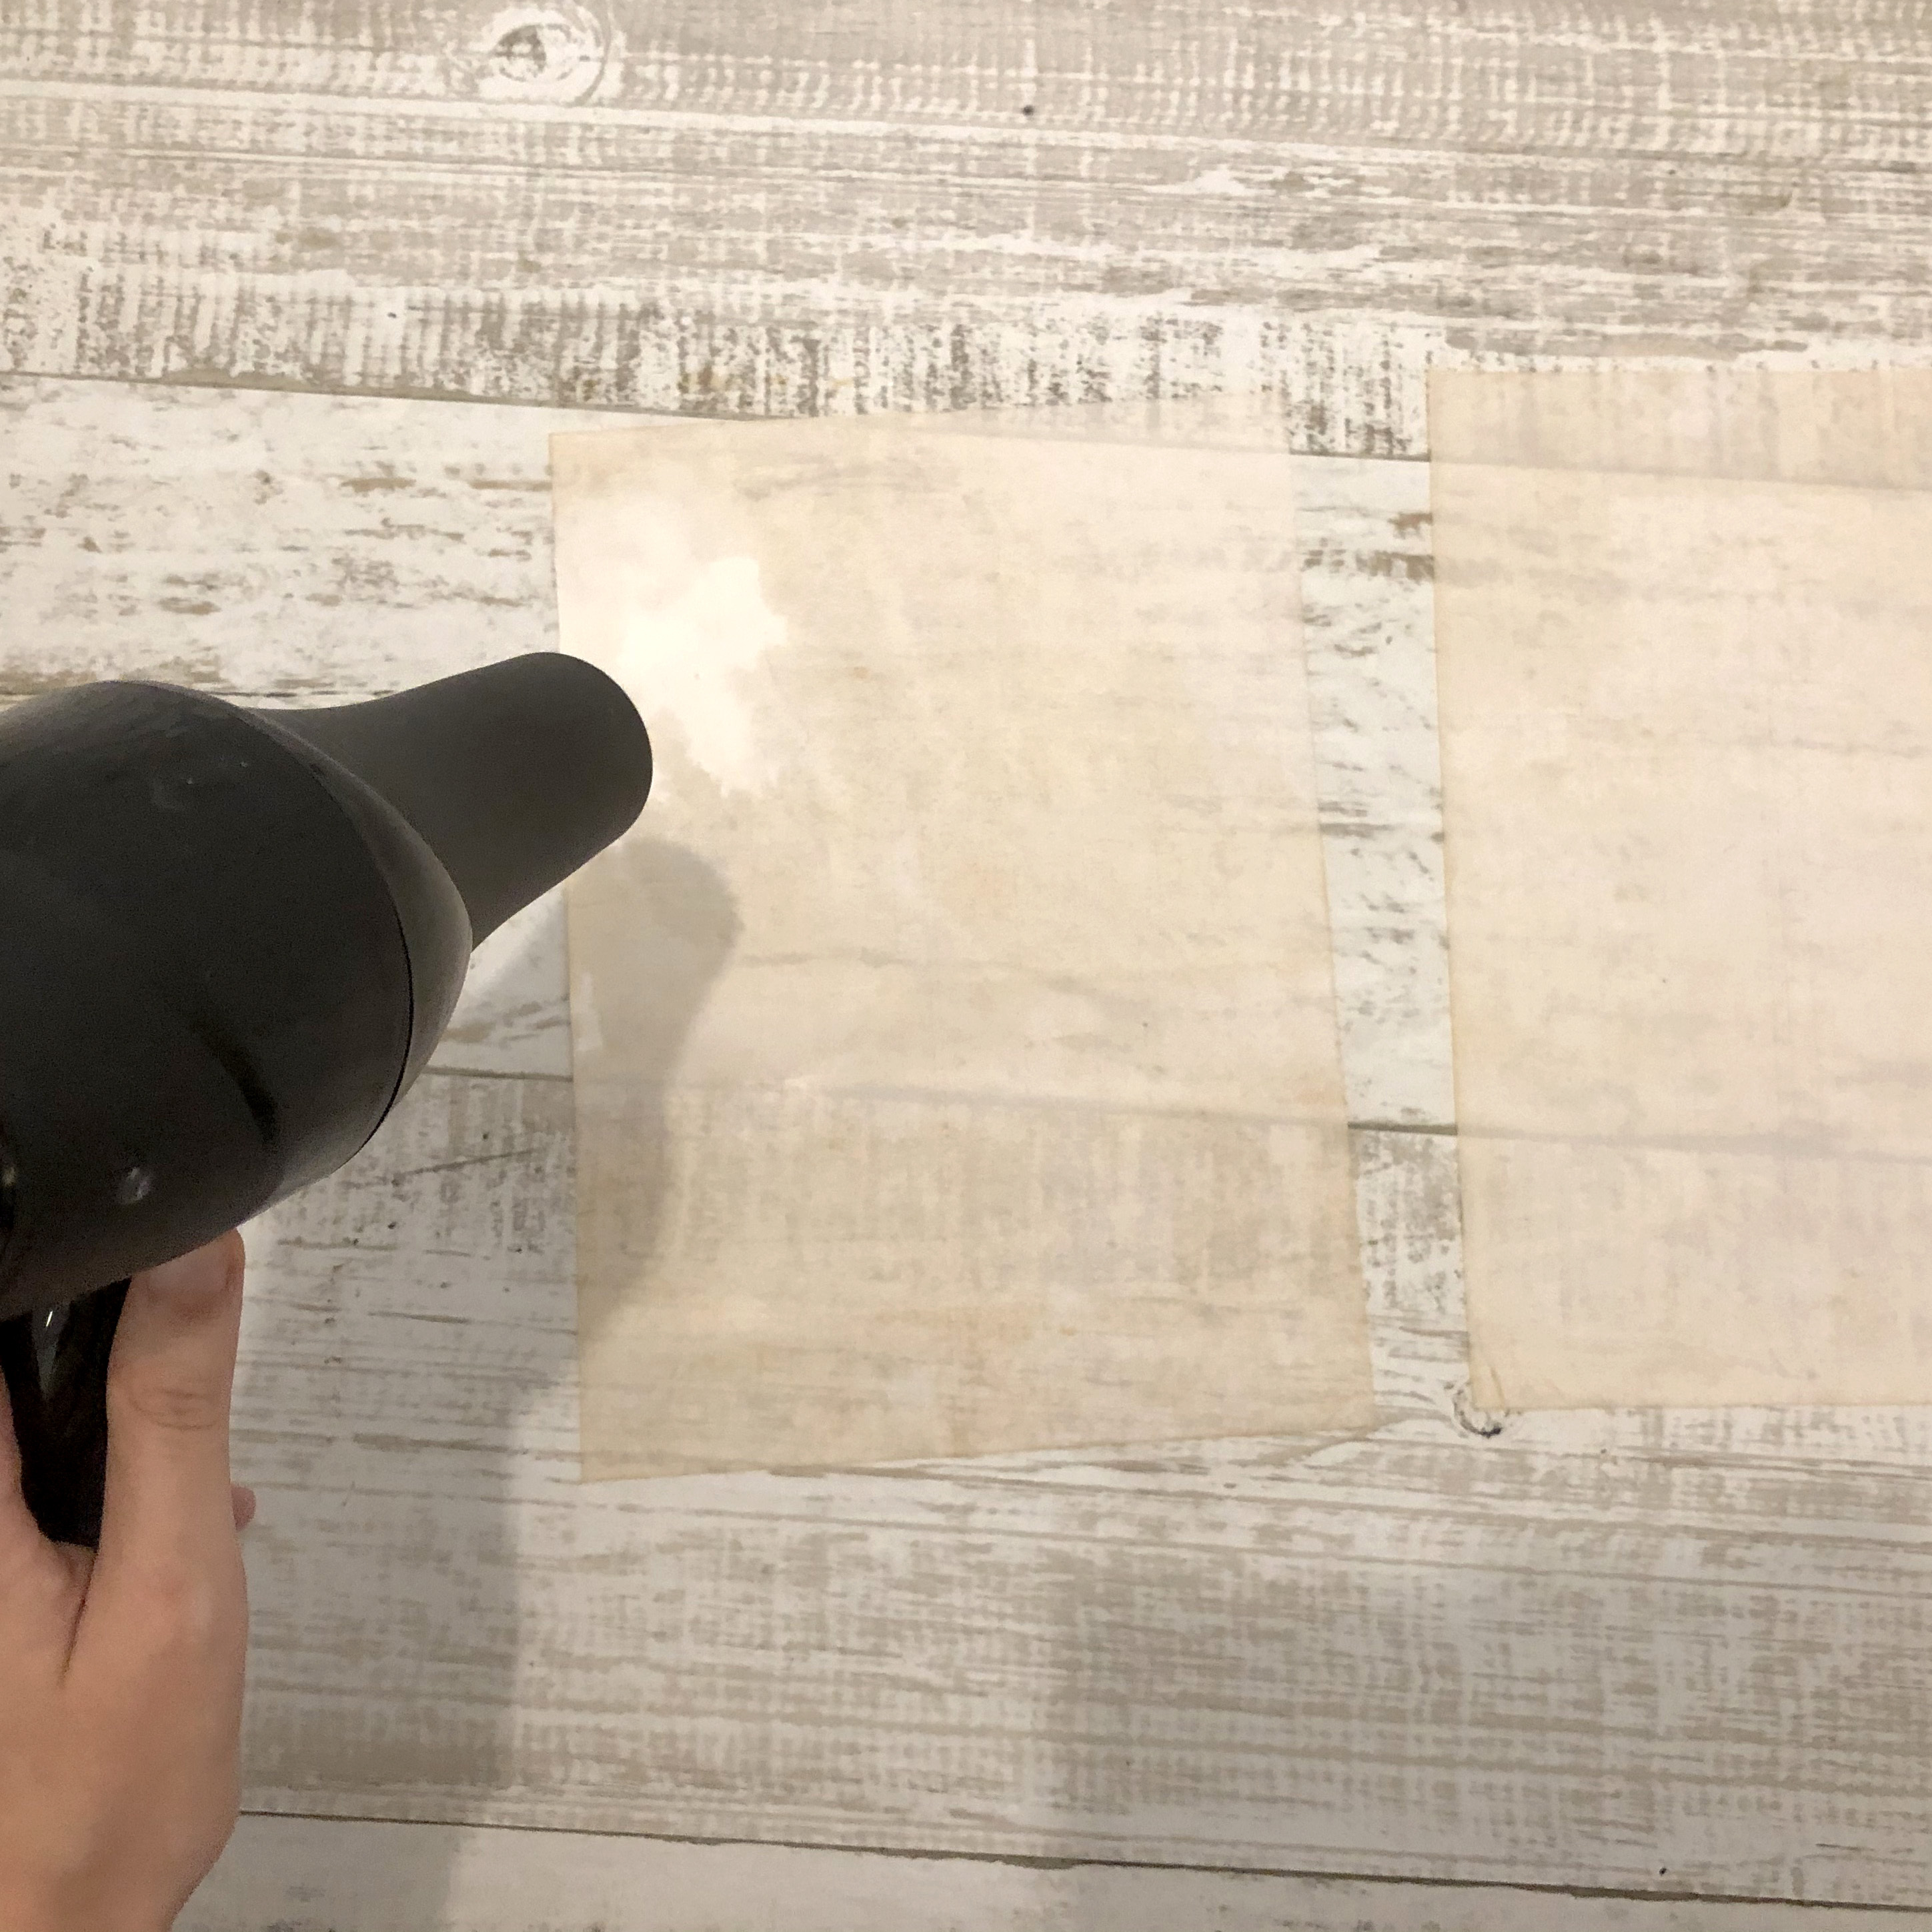
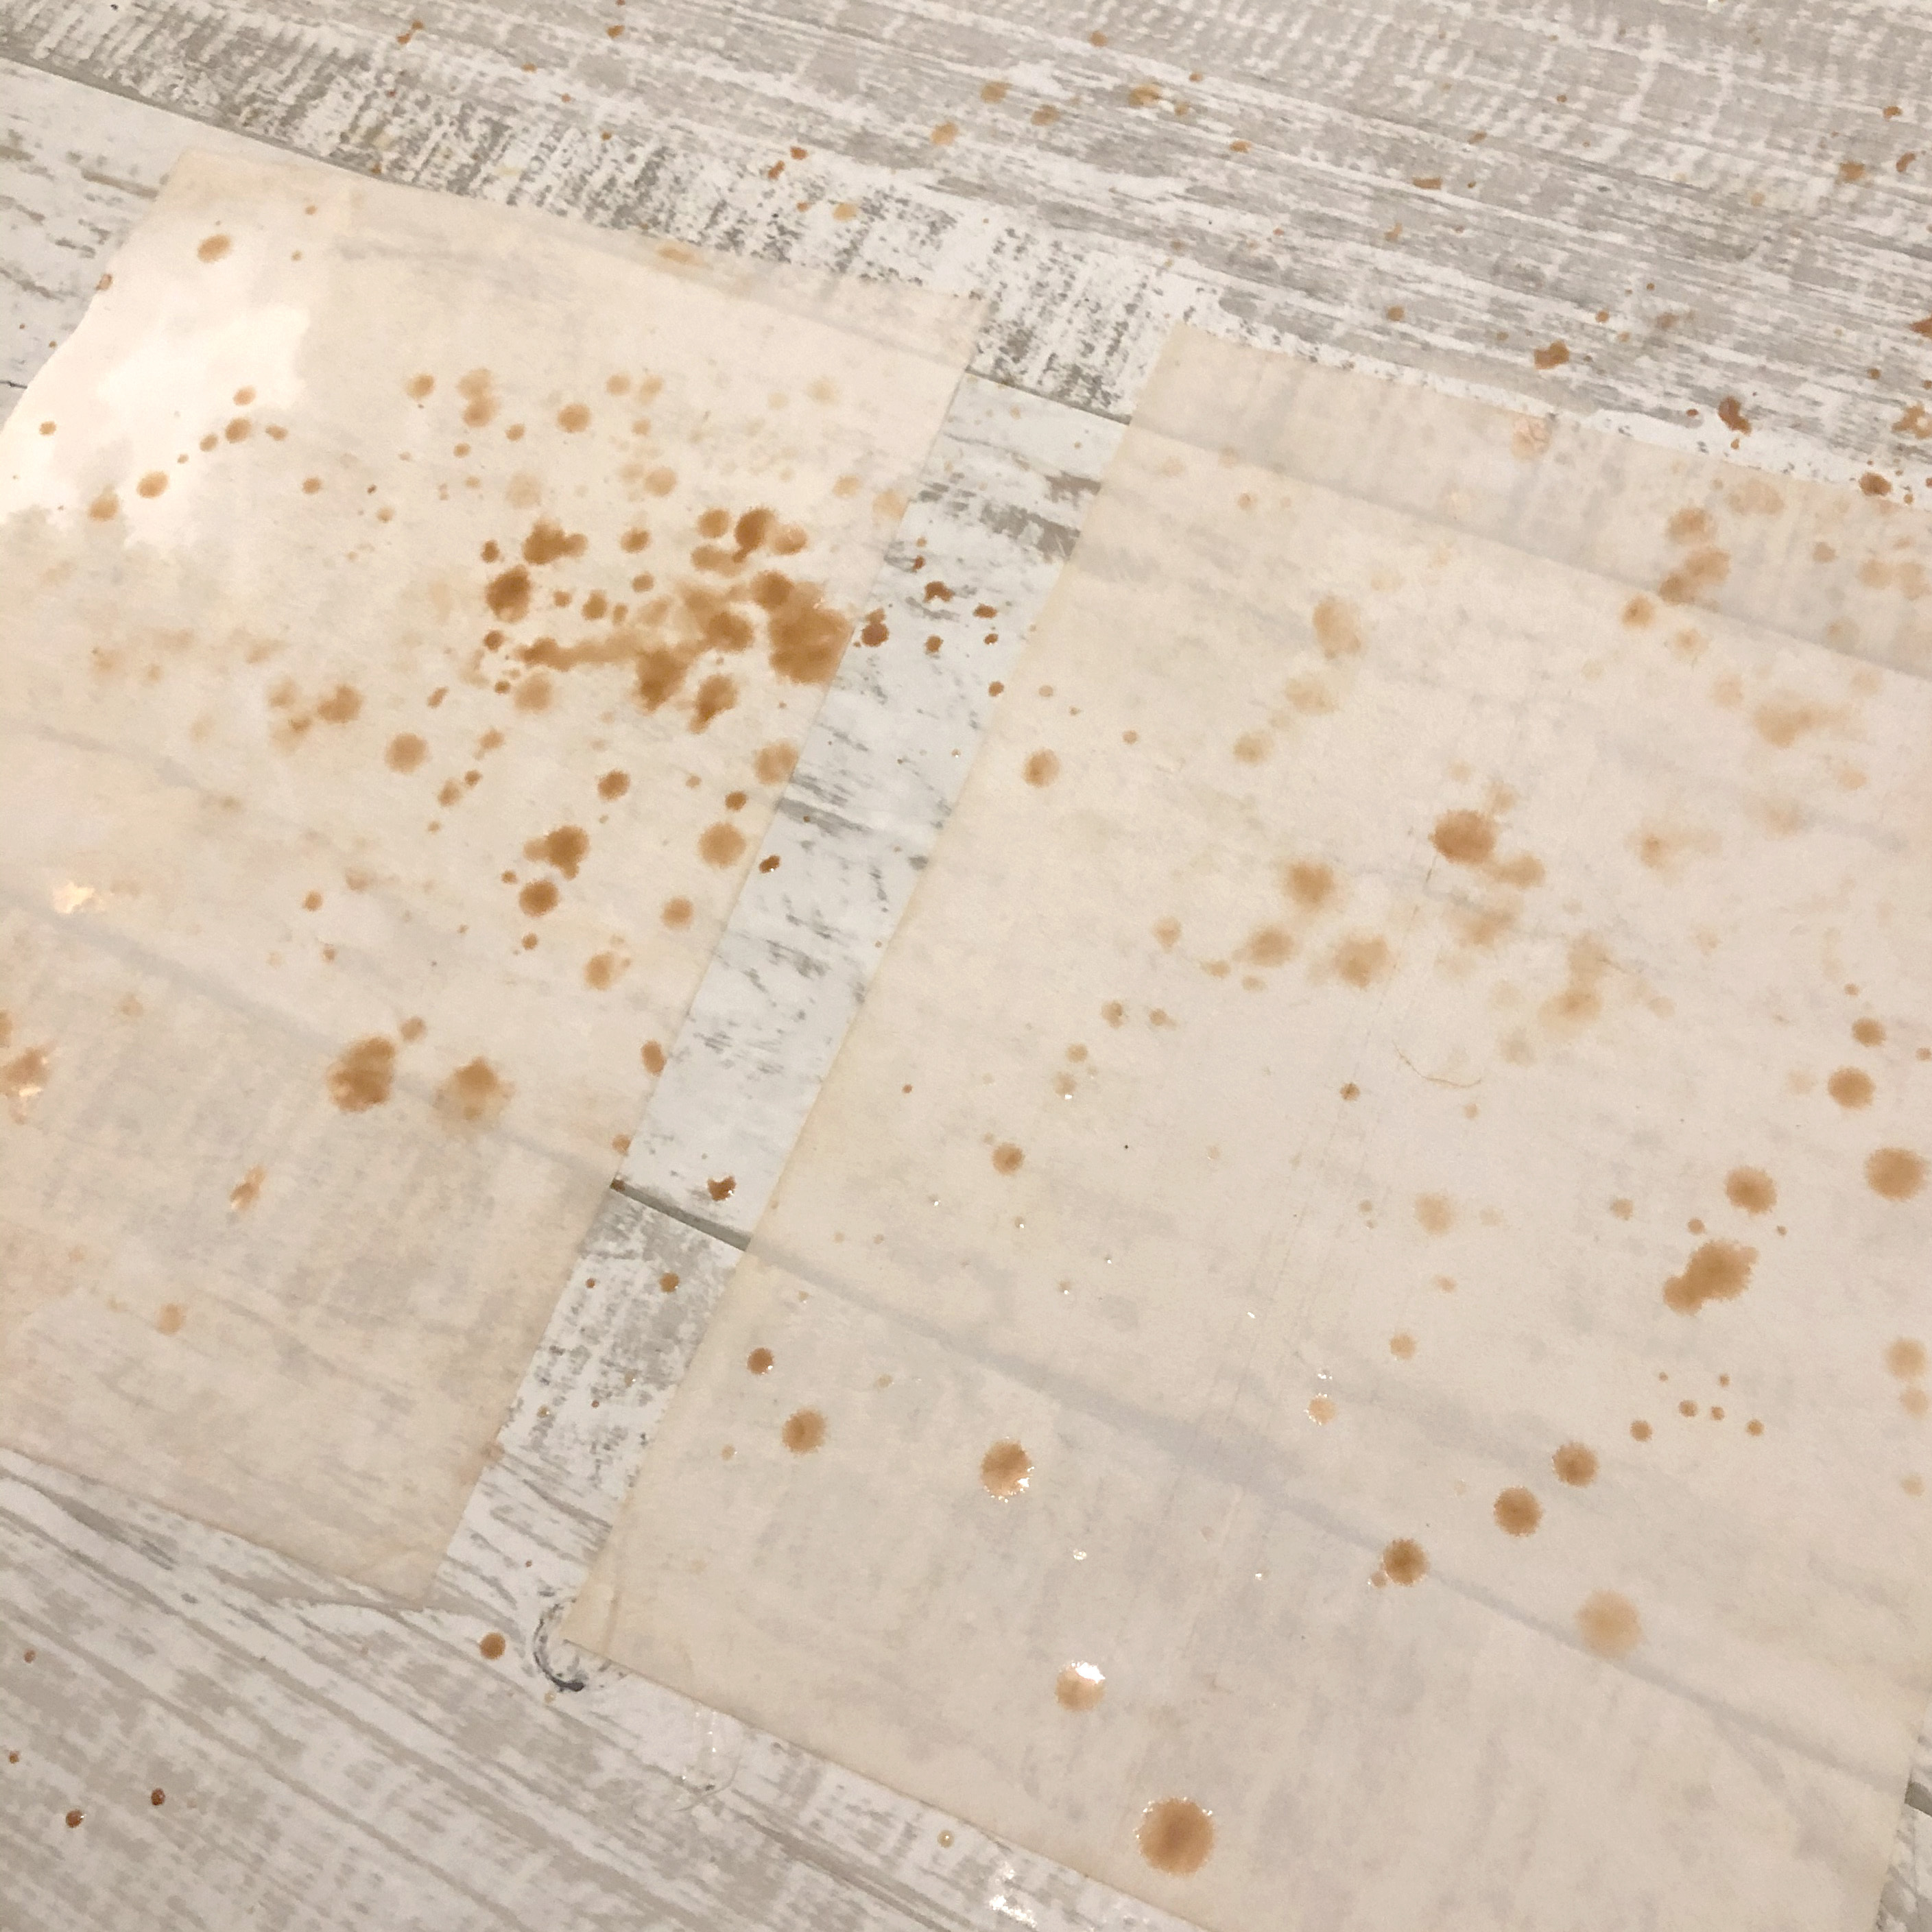
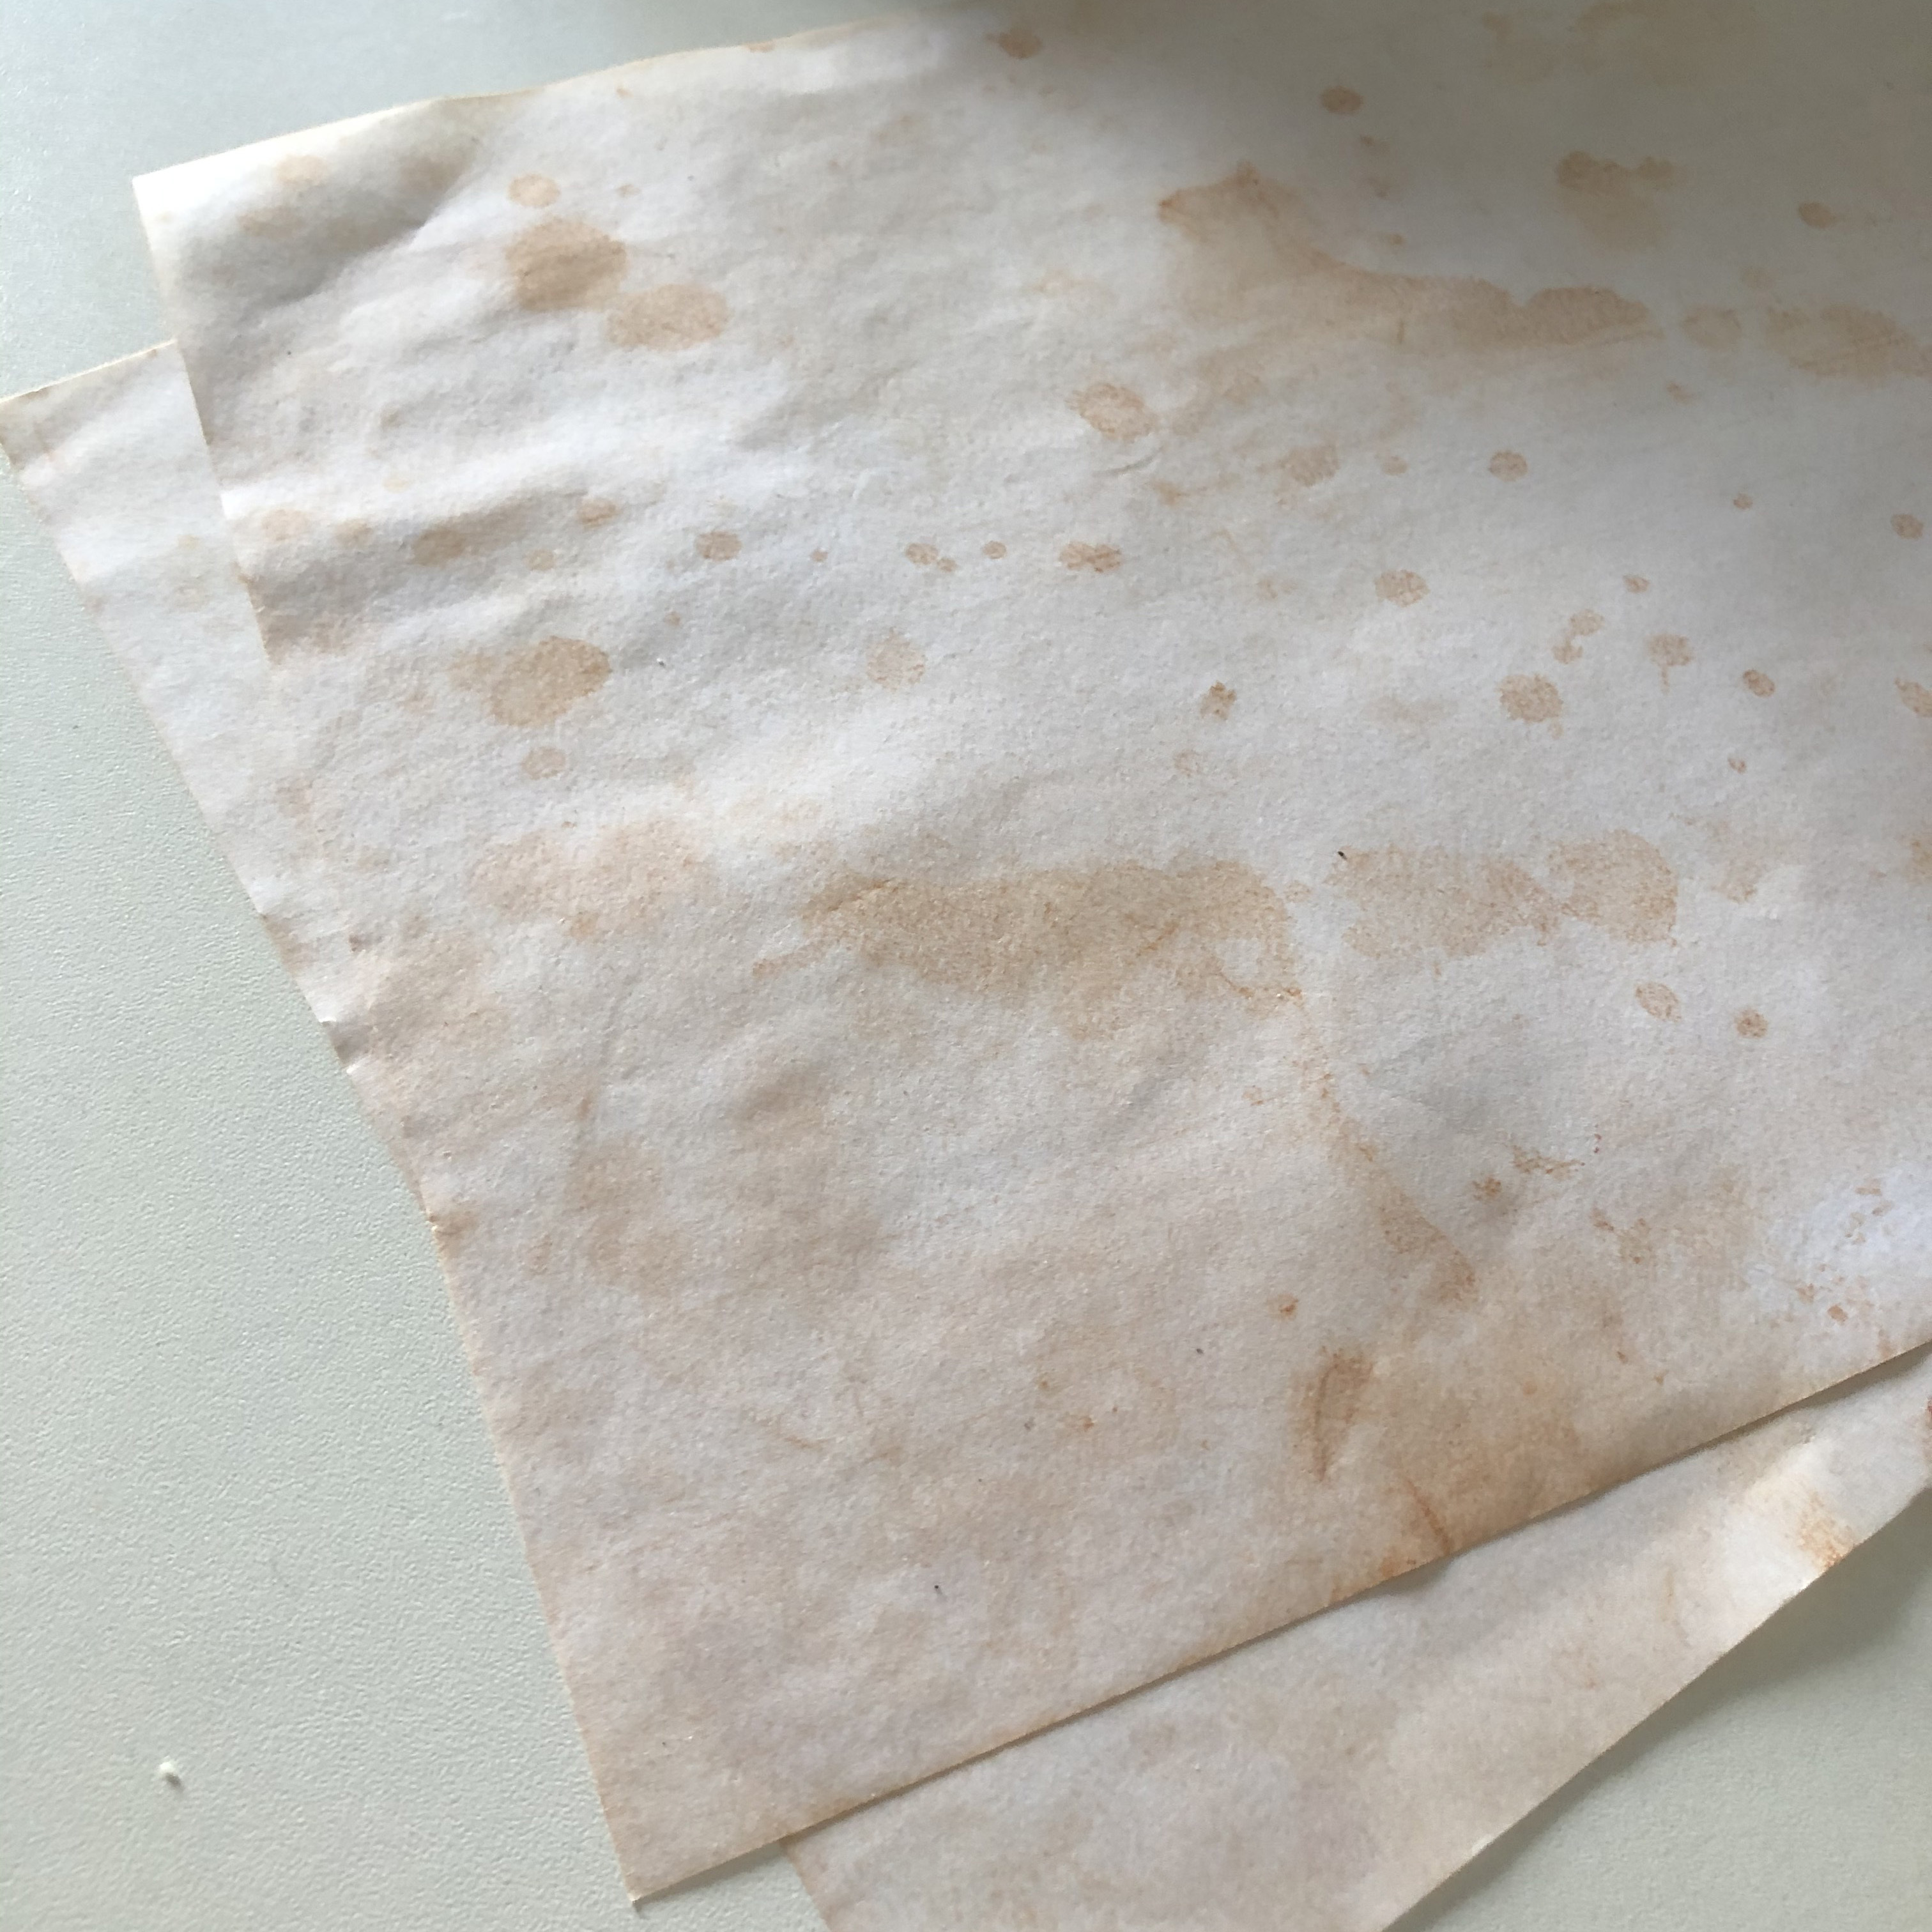
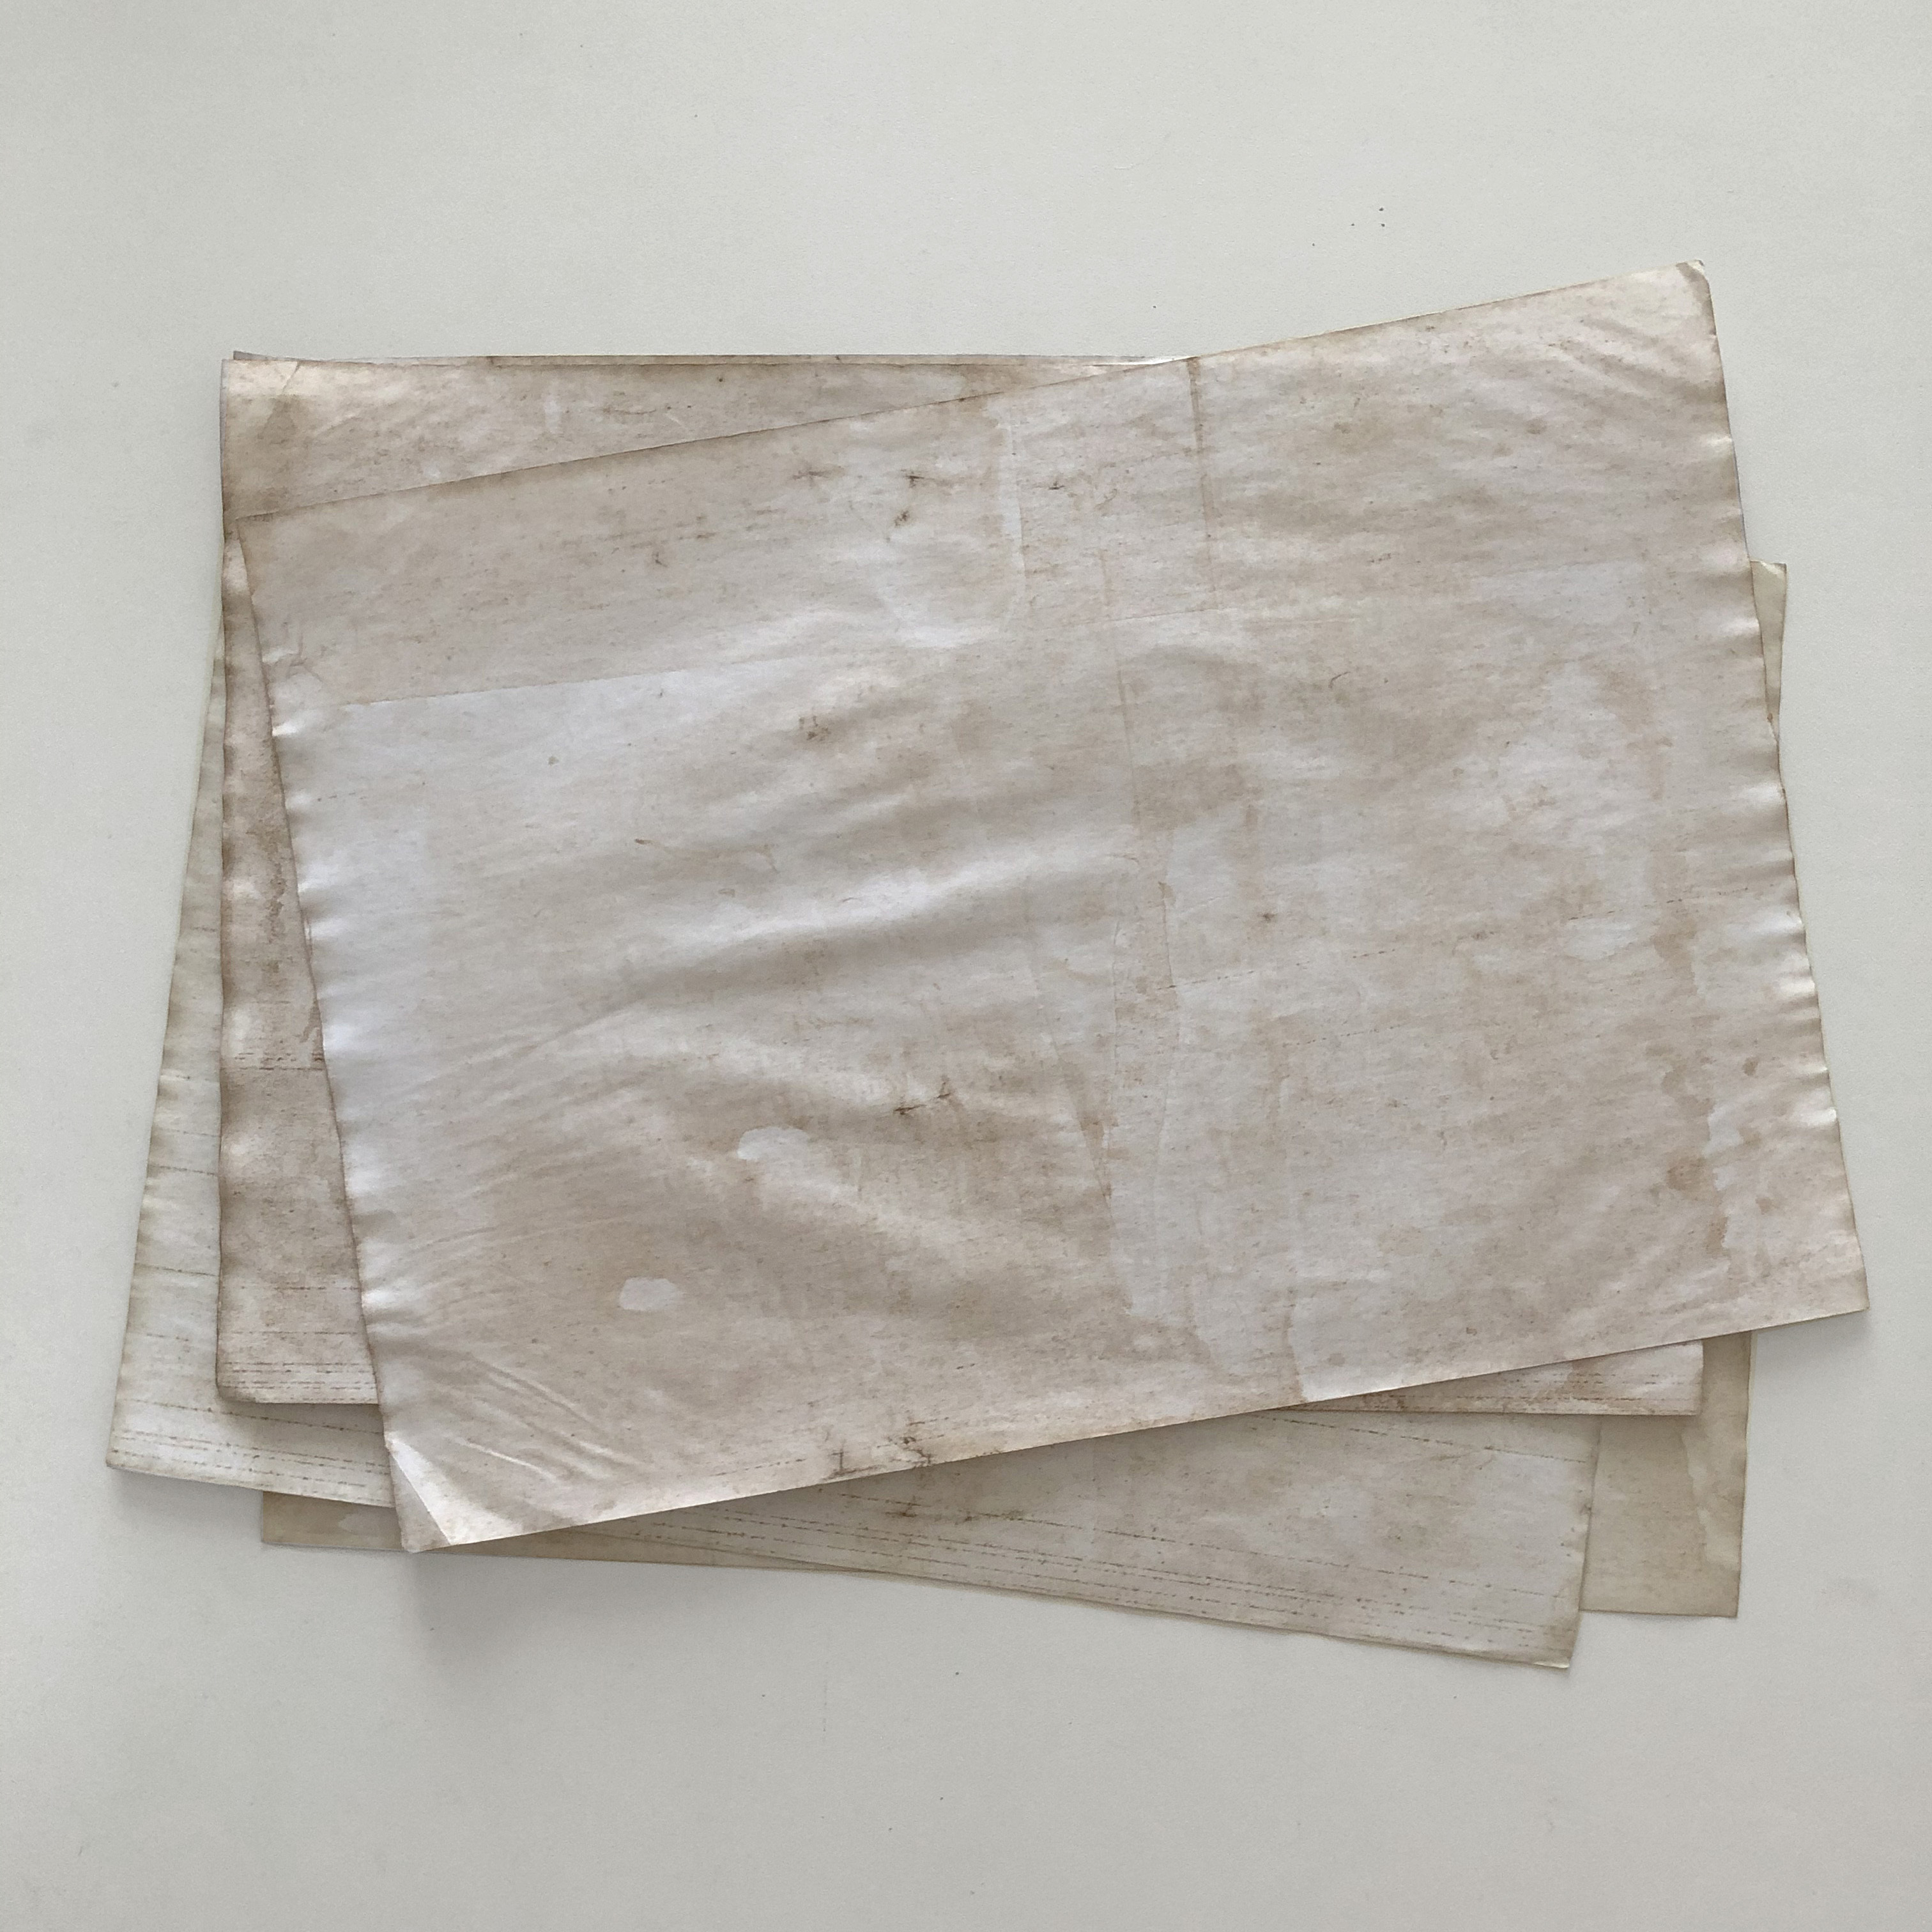
This is my favorite part! I love having some old looking paper laying around while DMing. It is super useful to make letters and all kinds of documents. So this step is super useful even if you don't want to make maps. So these are the steps to achieve an old-looking paper.
- add a thin layer of water in a tray and add brown and ochre watercolor until the desired tonality is achieved in this watercolor bath. You can test in a piece of paper how your mixture will perform. Remember that in the water the mixture looks way darker.
- Submerge all of your papers in this water. This project can be a little messy, so usually I make a lot of papers at once, this way I also use more of the watercolor bath and waste less paint.
- Let the papers laying flat in the ground while finishing the rest of your papers.
- With a hairdryer or a heat gun, blow your papers until humid or just a bit damp.
- Splatter a more concentrated mixture of paint and water to add more texture. You can vary the shades, making ochre and brown platters to give the paper a more realistic looking "mold" effect.
- Dry it again with a hairdryer or a heat gun, until humid or just a bit damp. Let it air dry completely. If your paper is too wrinkled after drying, pile them up and put a lot of heavy books on top to make it flatter. You need a smooth paper to print on top, but a few wrinkles will make no harm.
Tip: You can do this with coffee. The bad thing is that the coffee is acid and this can make your map last less. One way of correcting this is putting a bit of sodium bicarbonate (baking soda) in the coffee mixture to balance the Ph.
Printing and Distressing
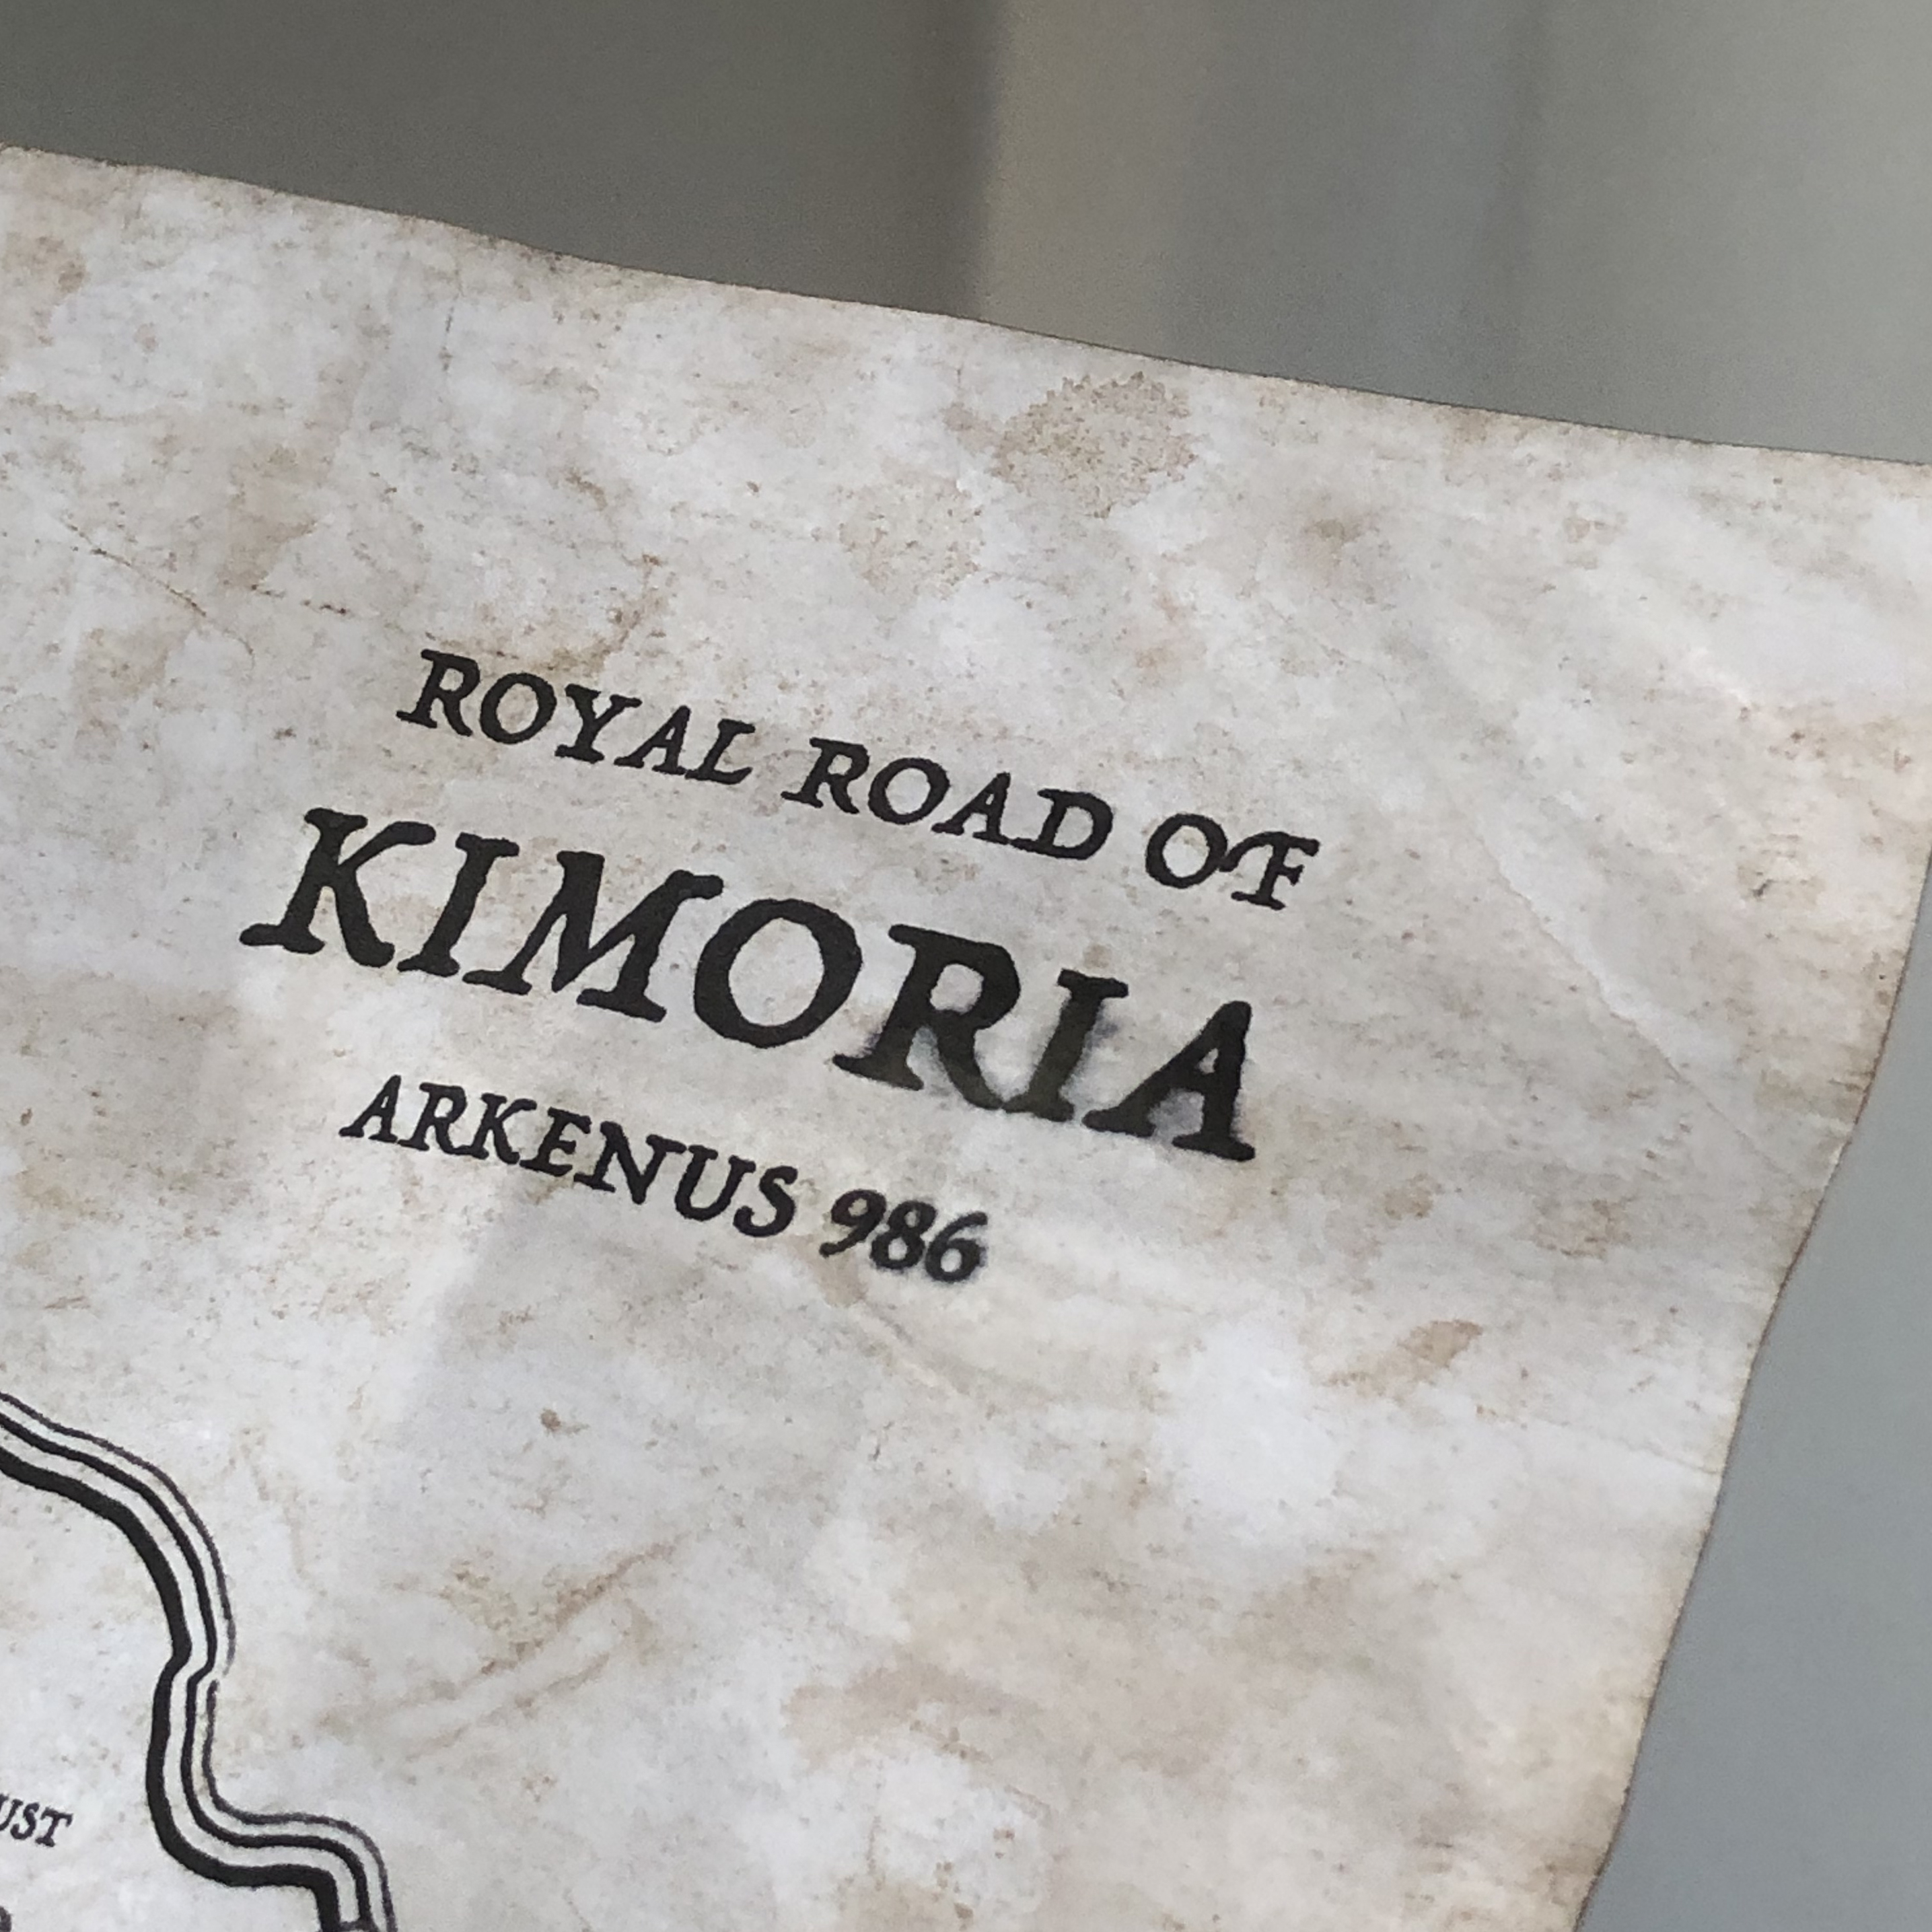
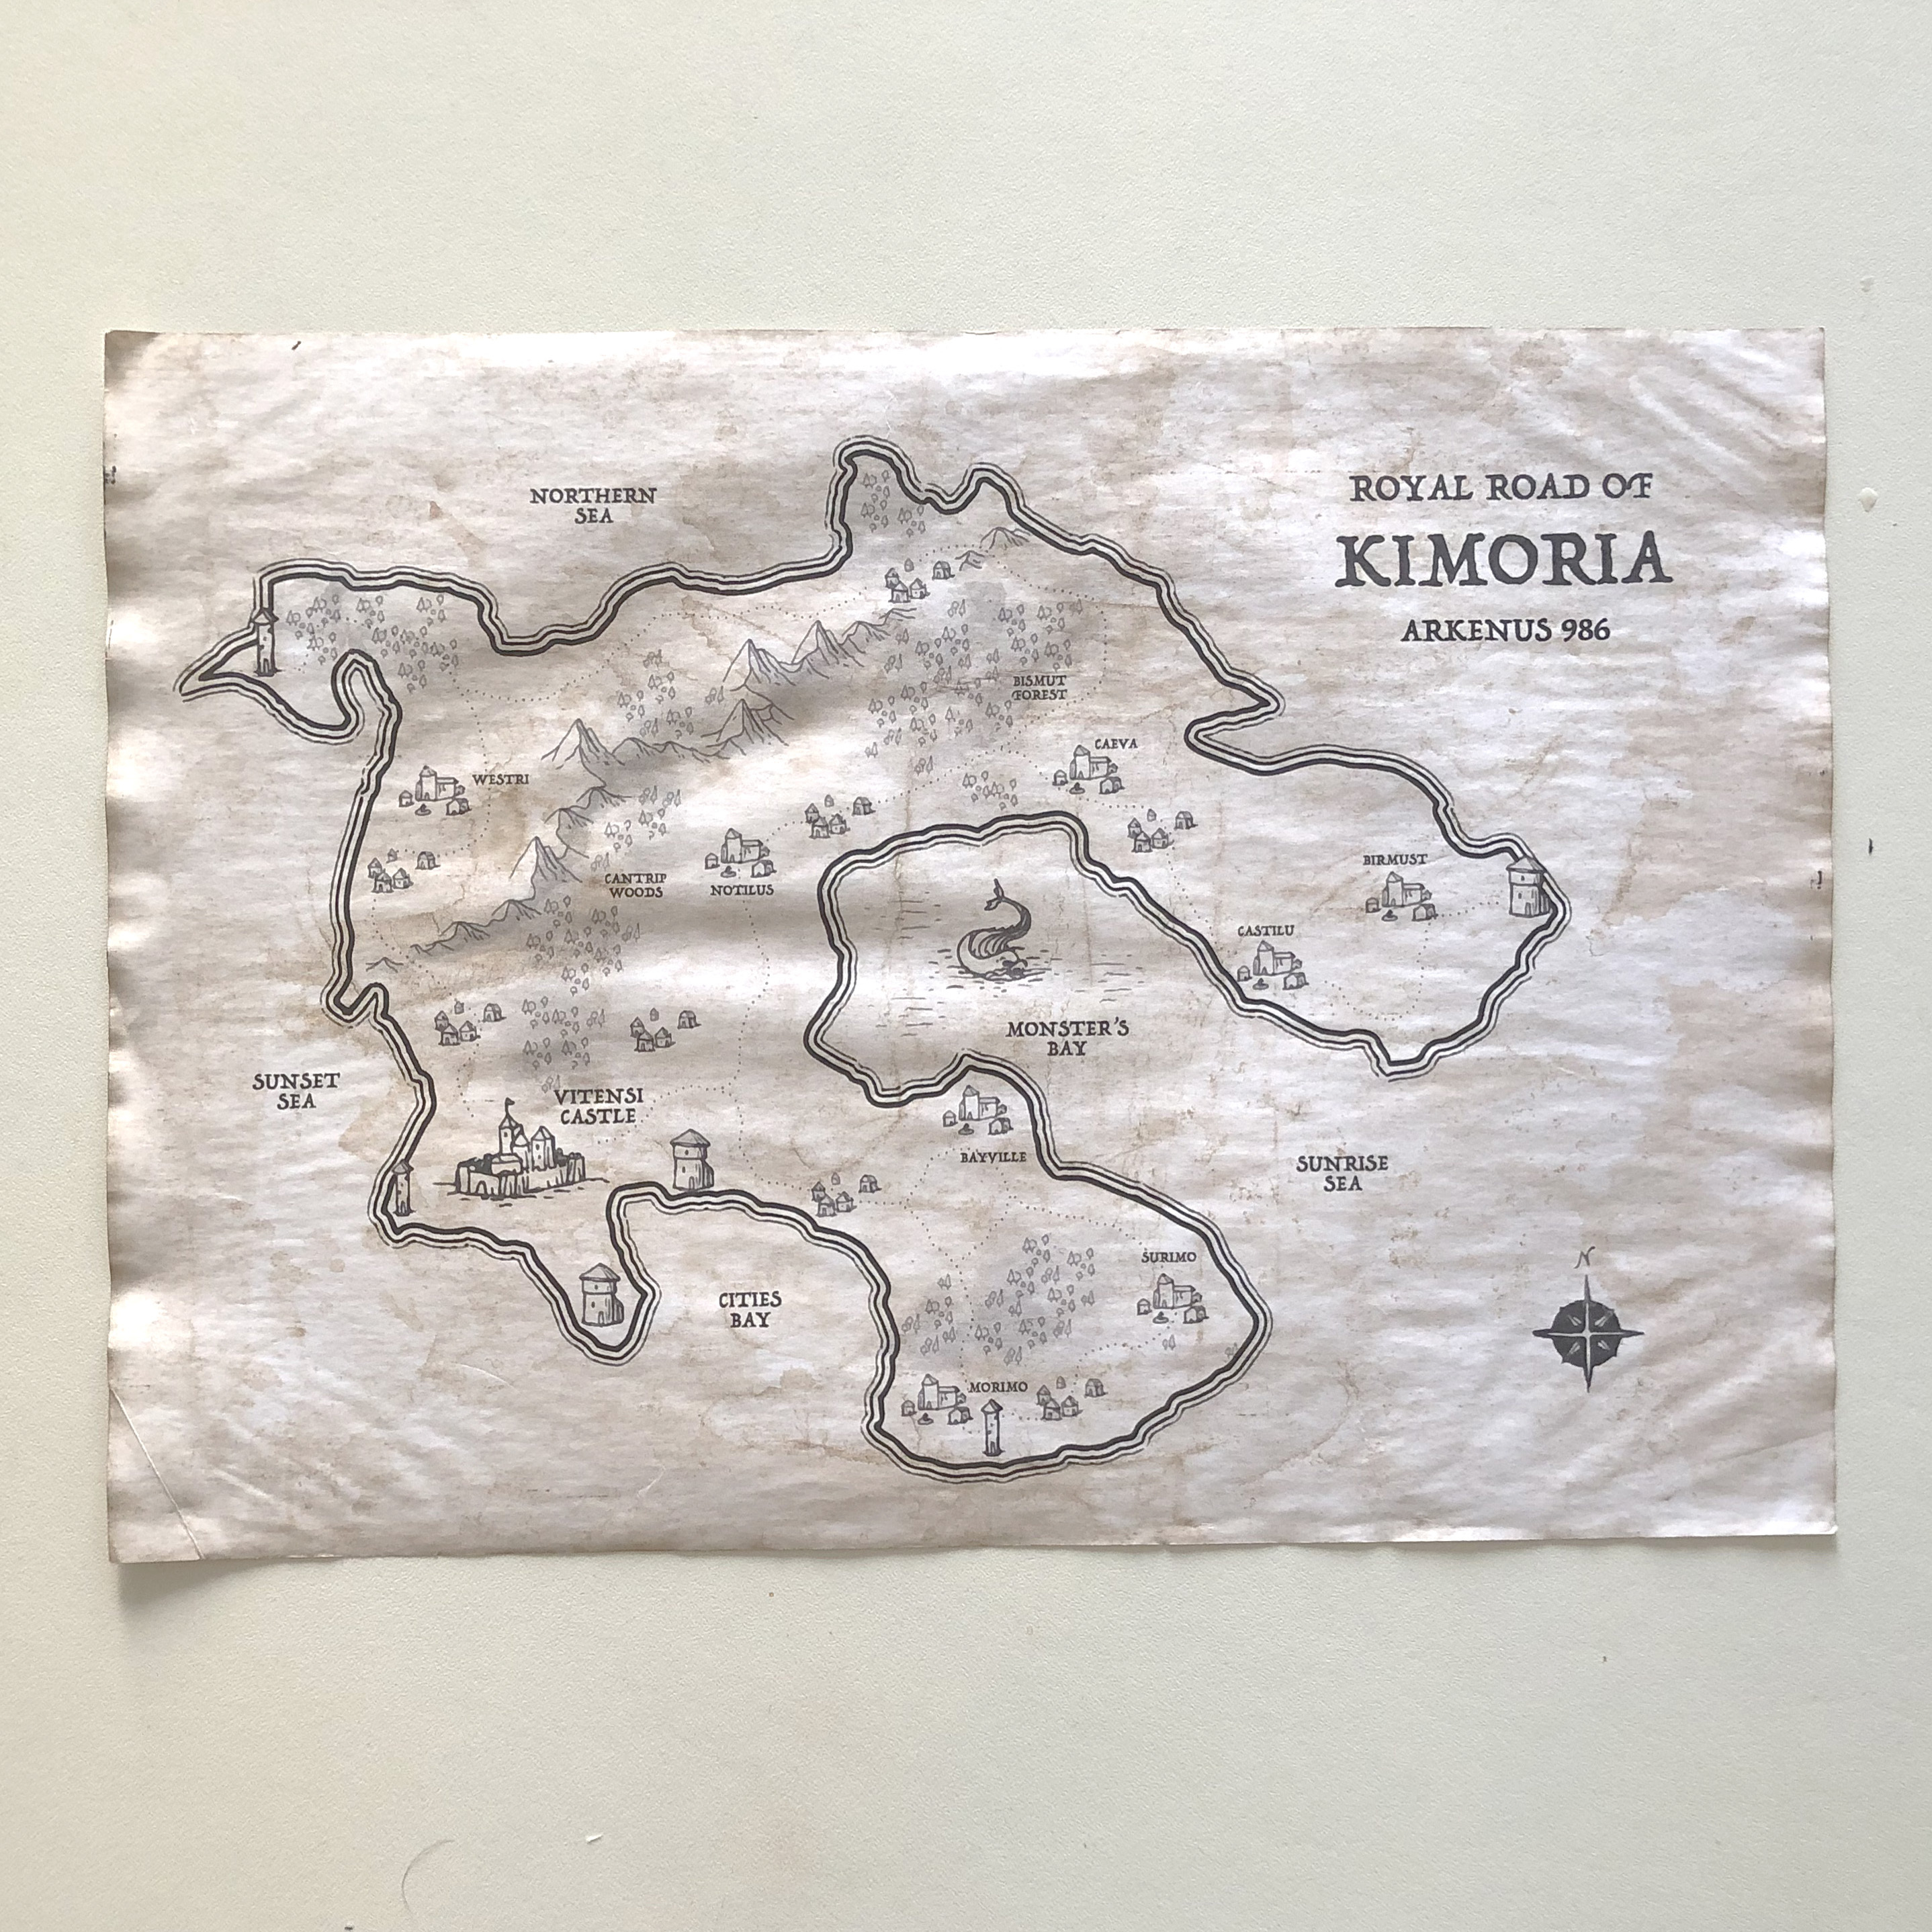
Now you can print your map in your old-looking paper. After printed you can make your map looking even older and more "used" by distressing it even more. Some things that I like to do is:
- If printed with an inkjet printer, Splash water a bit of water with a paintbrush or toothbrush to bleed some of the lines.
- If printed with a laser printer, take a metal spoon and scratch some lines to take some of the ink out.
- Crumple the paper.
- Add more paint splatters with different tonalities of brown and ochre.
Other Possibilities
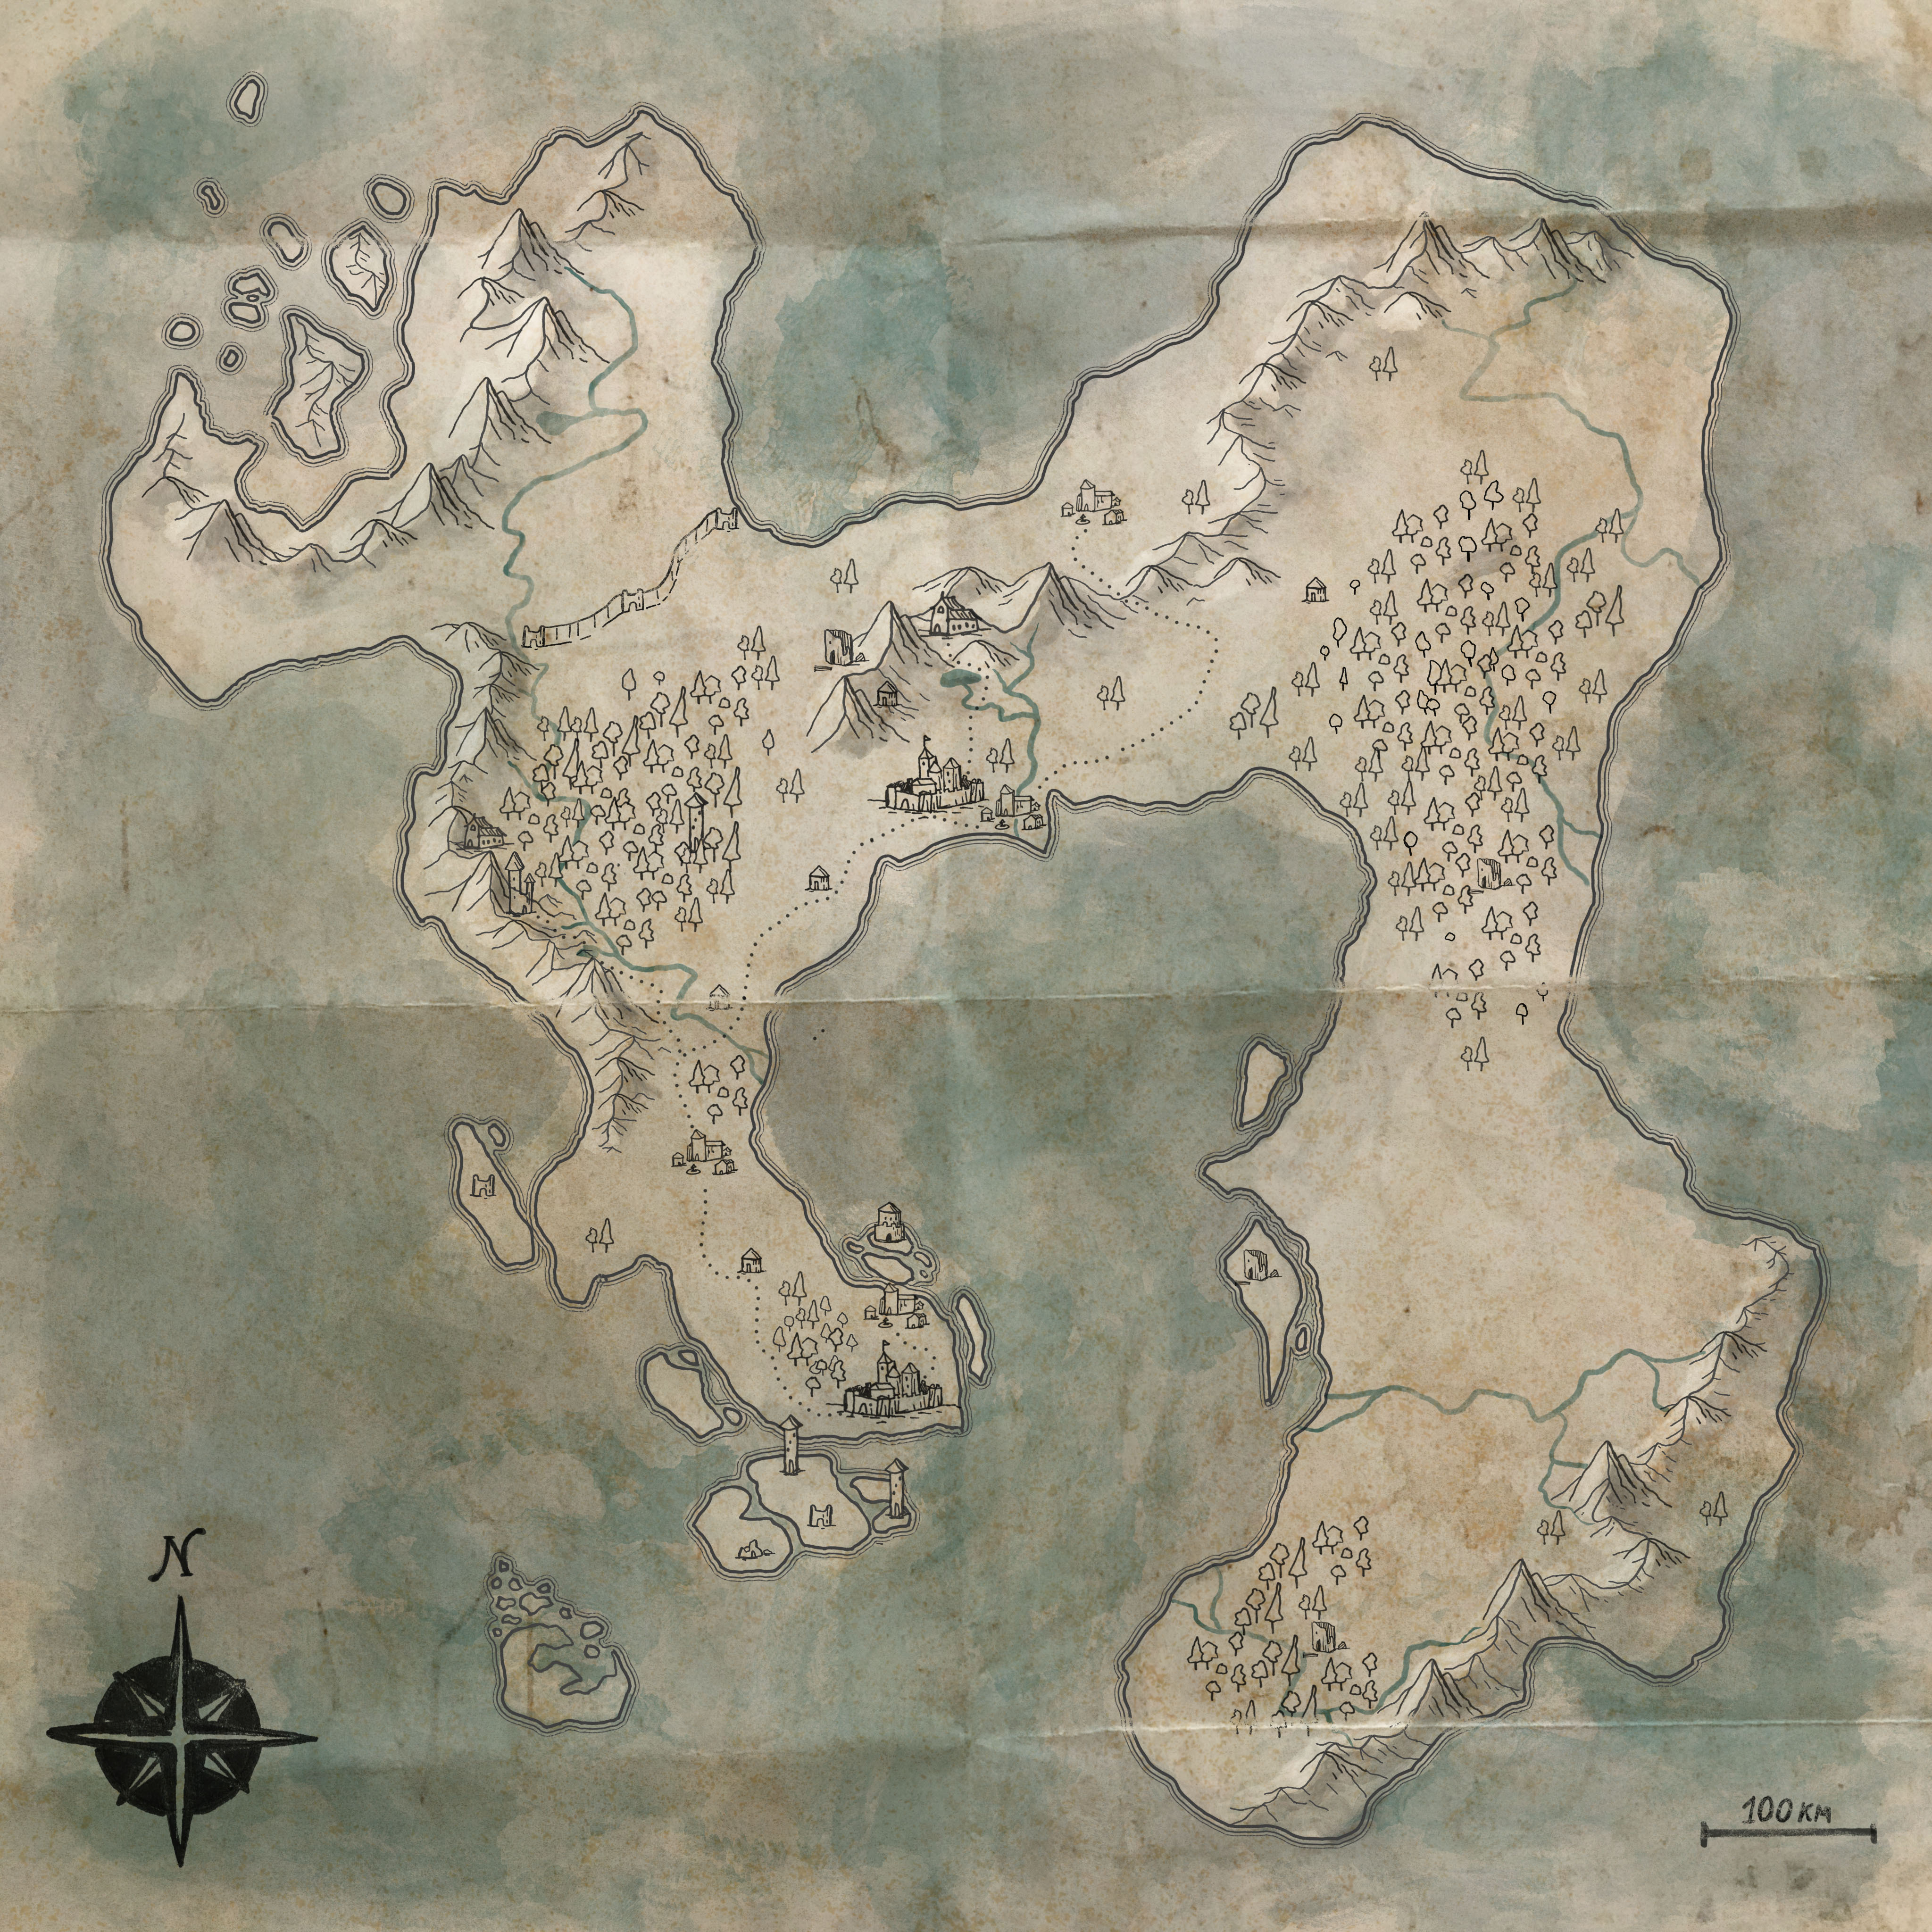
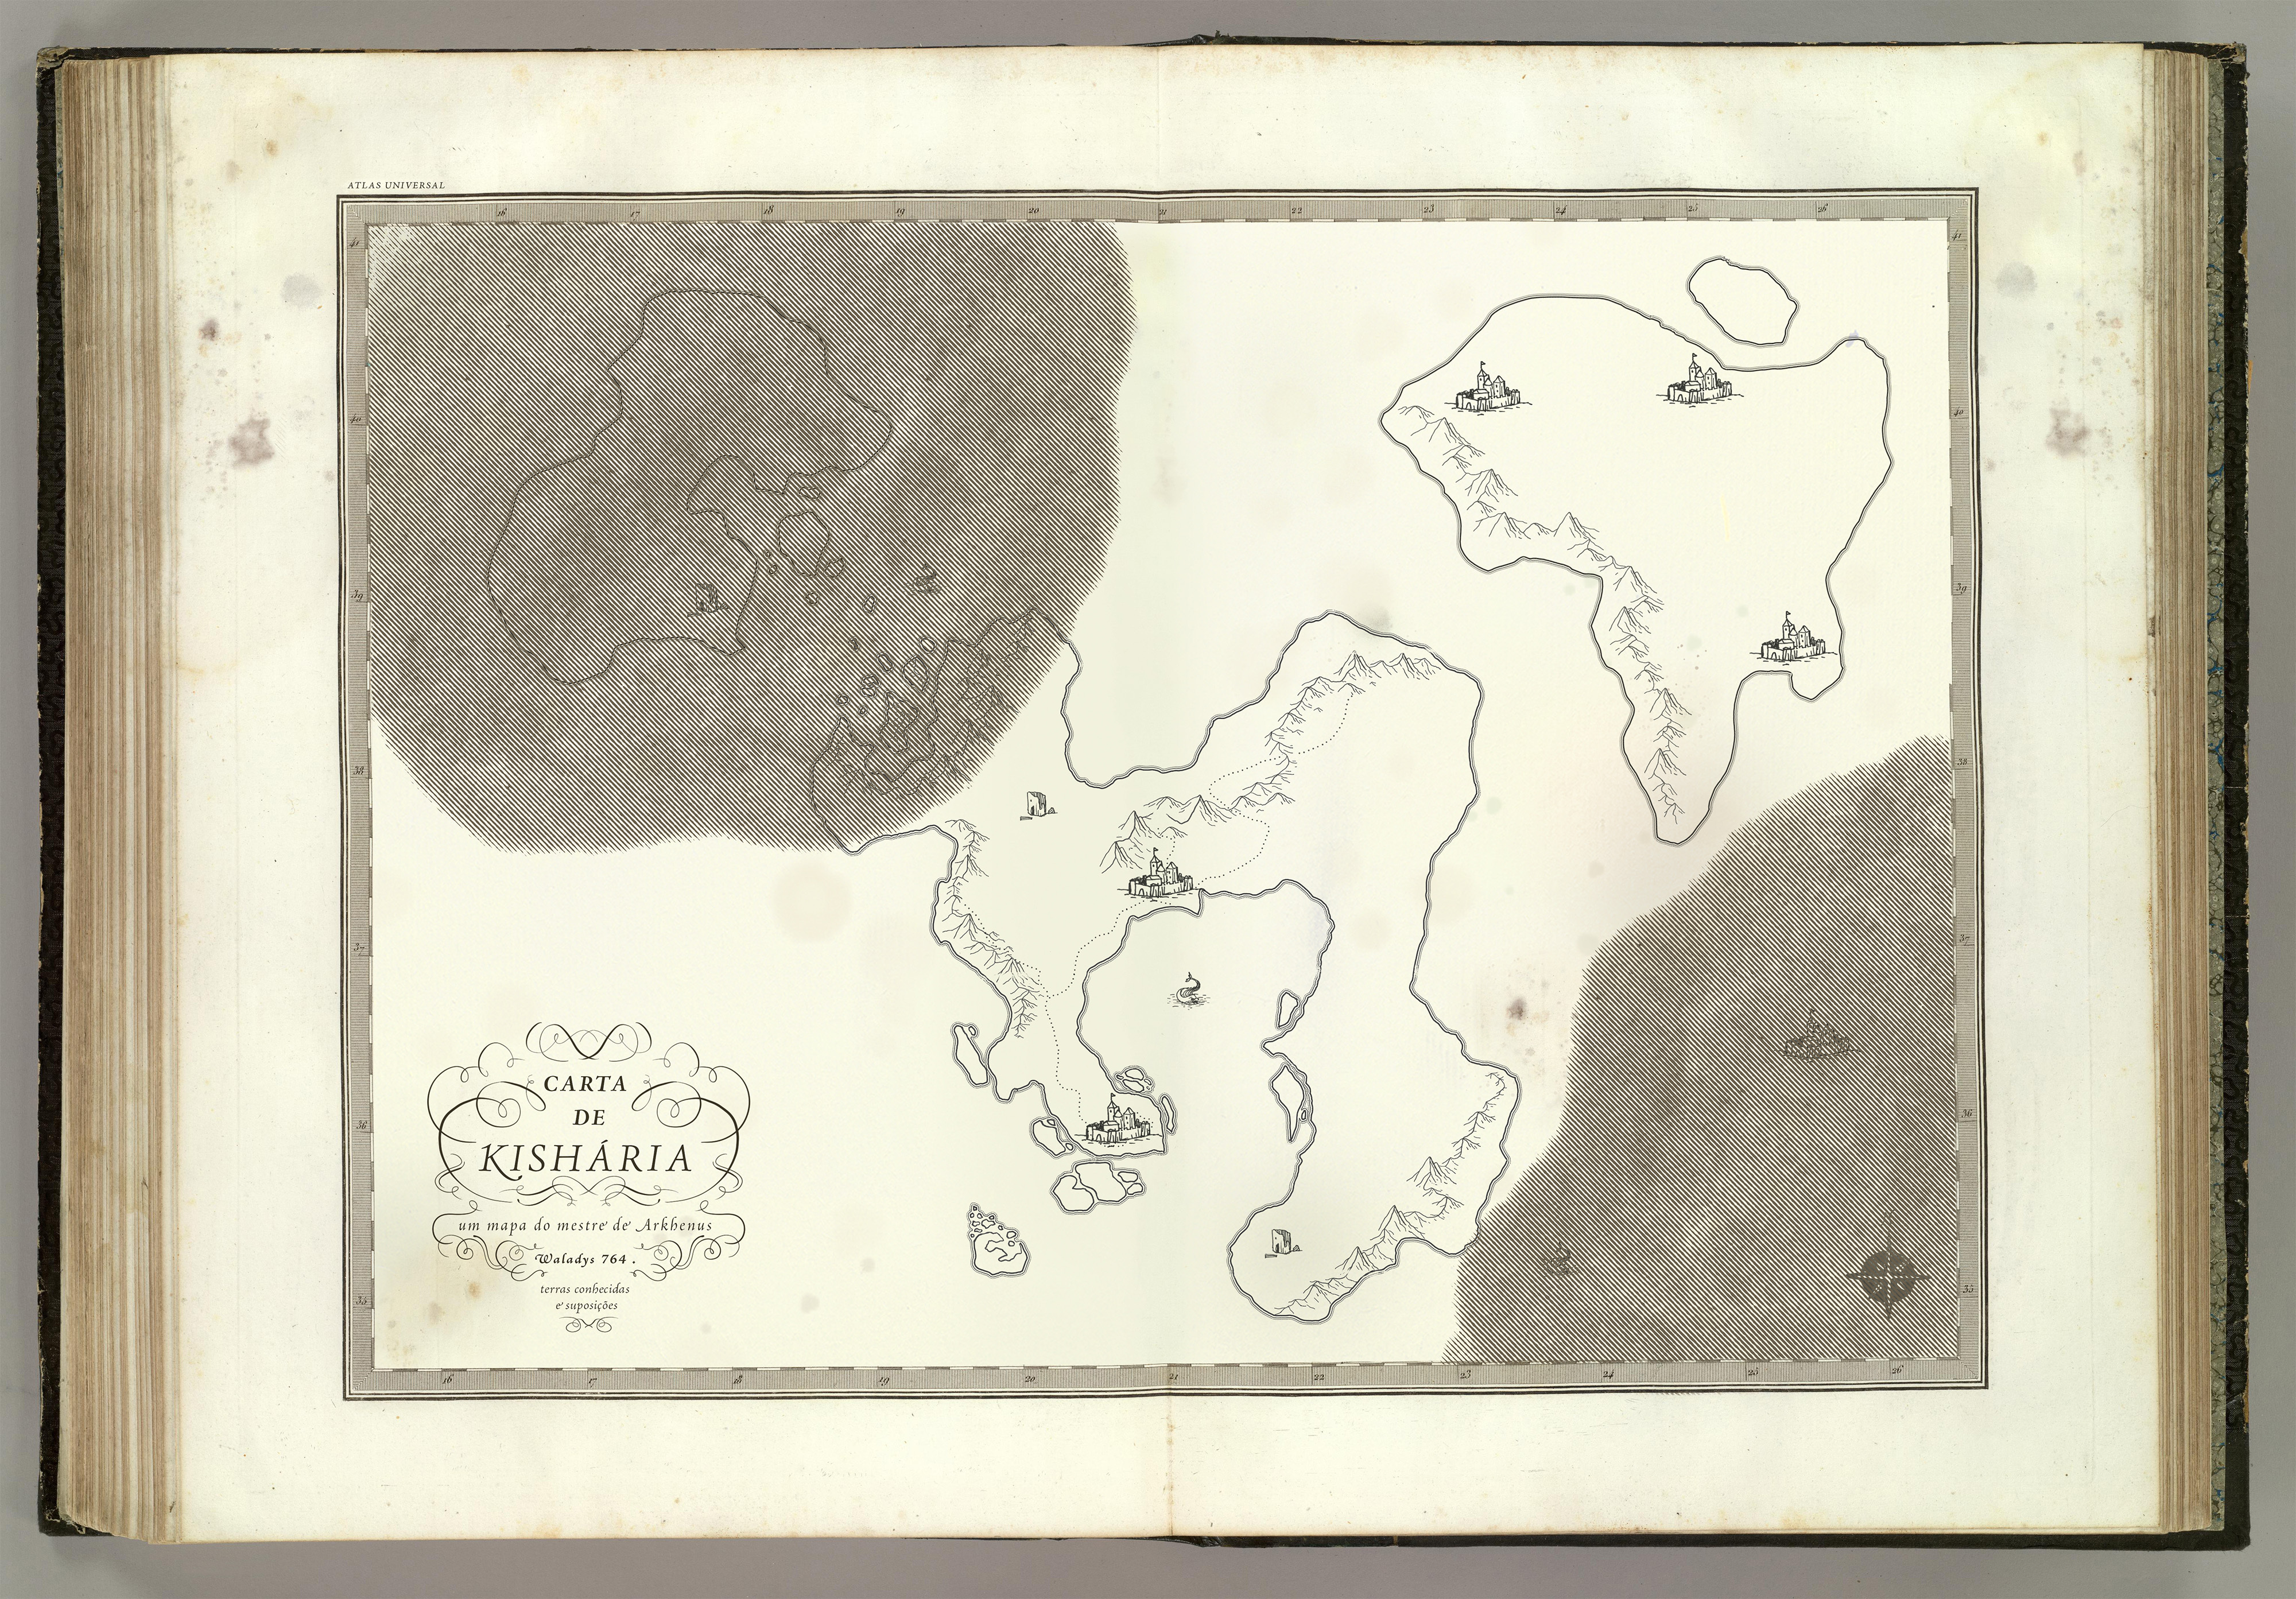
I always like to print my maps to give to the players, but if you only use digital files, then you can use all these techniques to in the end scan it and have a unique, antique looking, and super distressed map image.
Also, play with colors, backgrounds, and styles! Make this map your own and have fun!