How to Make Poses Using an Artist's Figure
by CMFDesign in Design > 3D Design
286 Views, 1 Favorites, 0 Comments
How to Make Poses Using an Artist's Figure
Making poses for anything from sketching to modeling can be one of the most difficult parts of creating a work of art. This tutorial is to help make the process easier and give you a few pointers on how you can make some of the best poses using only a standard Artist's figure.
Supplies
You'll need only an Artist's figure for this project.
Step 1: Acquiring an Artist's Figure
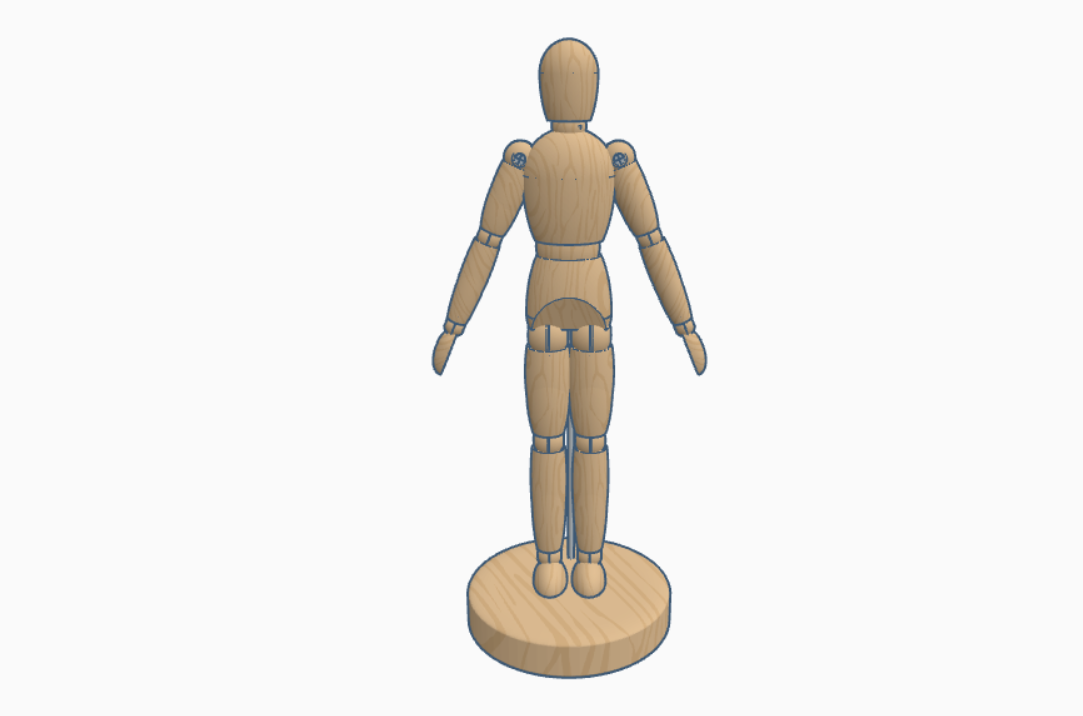
Artist's Figures are commonly sold at a price of around $10 USD. Ikea is a well known seller of these figures, but they can also be purchased online, through places like Amazon or Ebay. I couldn't get my hands on one of these at the time of making this Instructable, so I created one using Tinkercad to illustrate the process.
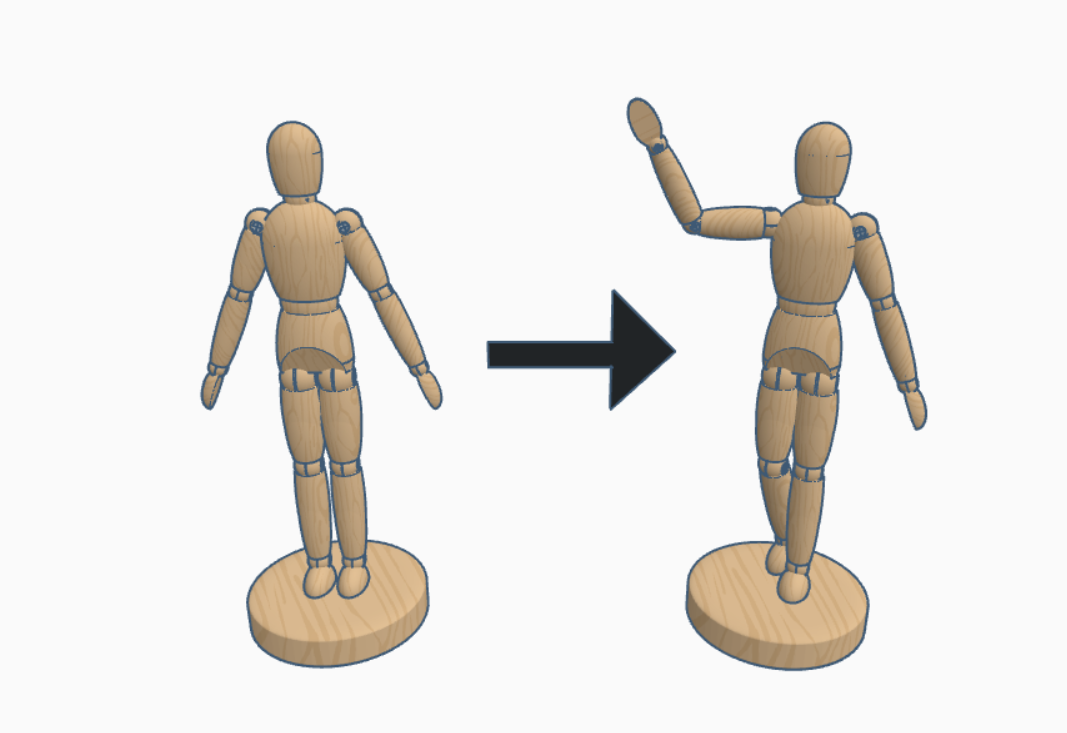
Step 2: Start With the Hands
Hands are one of the most key parts to conveying the emotion of your character. For example, if a character was crying, his/her hands would be covering his/her face. Using this knowledge, you want to start by posing the character's arms. When doing this, think of typical human hand gestures, such as waving, in order to get the perfect pose.
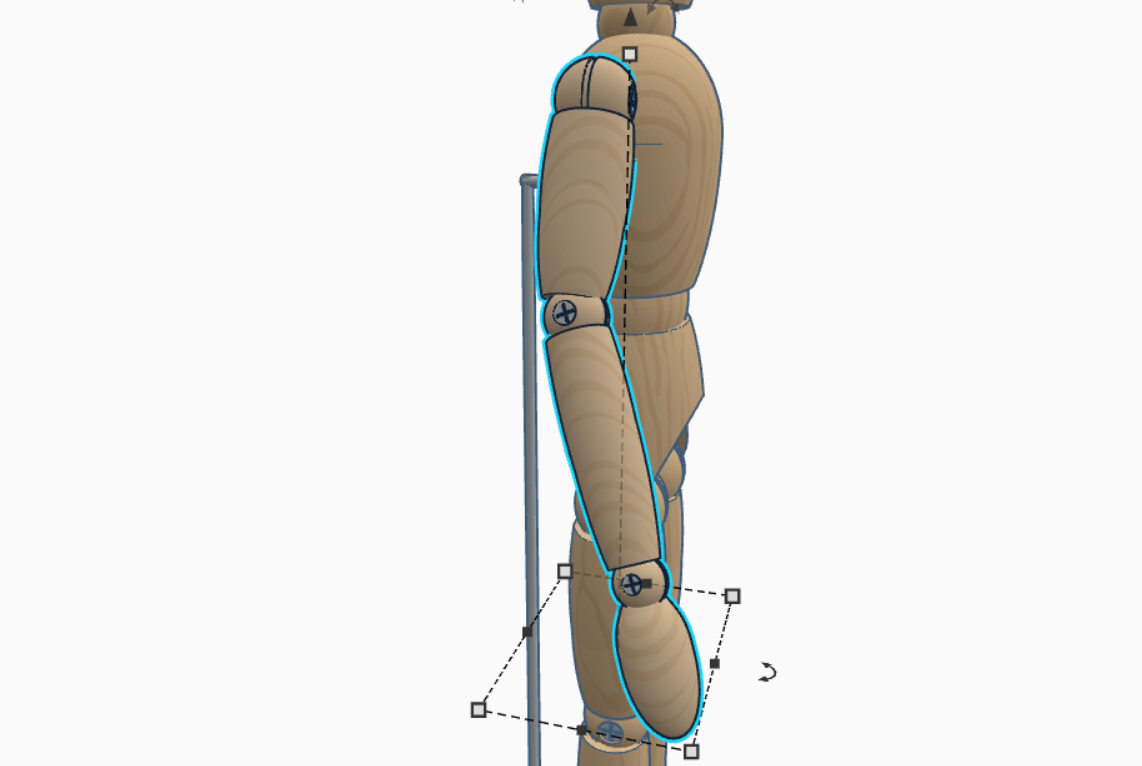
Step 3: Onto the Legs!
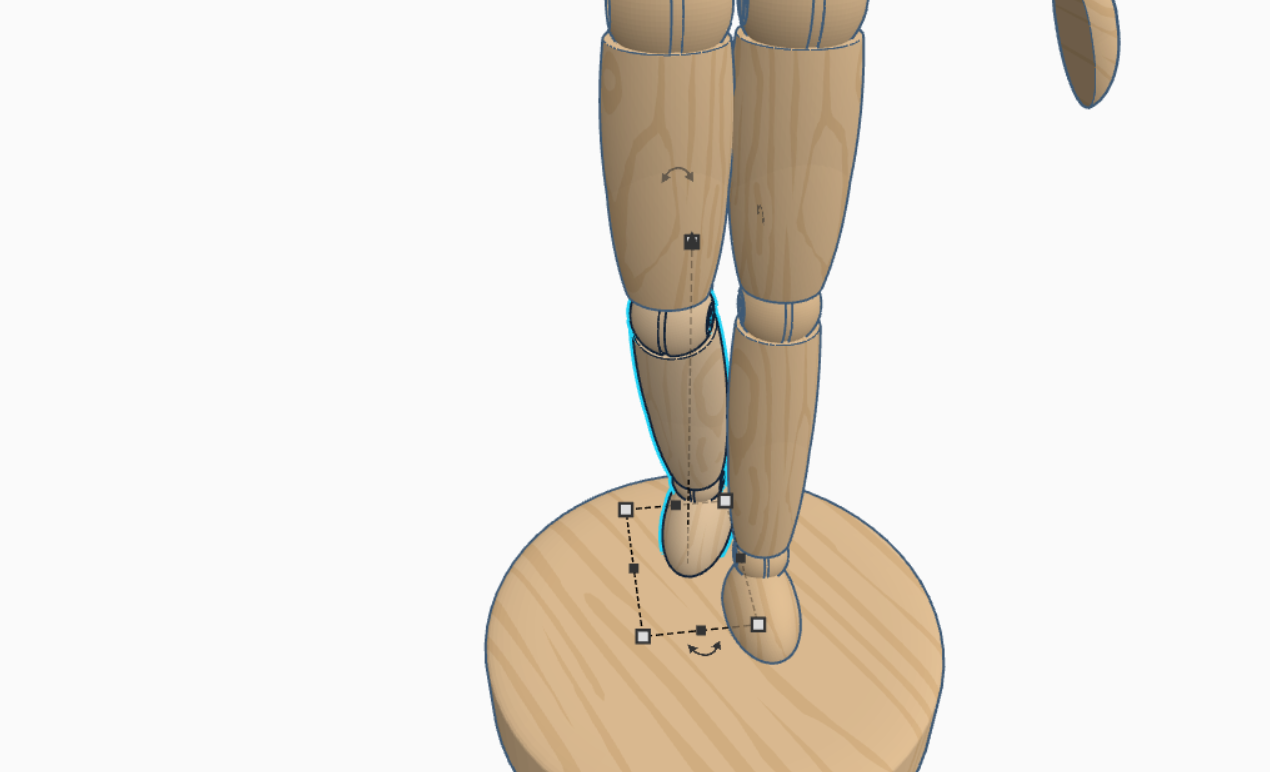
Most people skip this step, but if you do so, you are making the pose seem less realistic! Most people don't stand in the default pose of the figure. Instead, they could have one leg tilted at an angle, a right leg behind a left leg, etc. Again, think of typical human poses when doing this. If you can't think of any on the spot, look some up on the Internet!
Step 4: Angle the Head
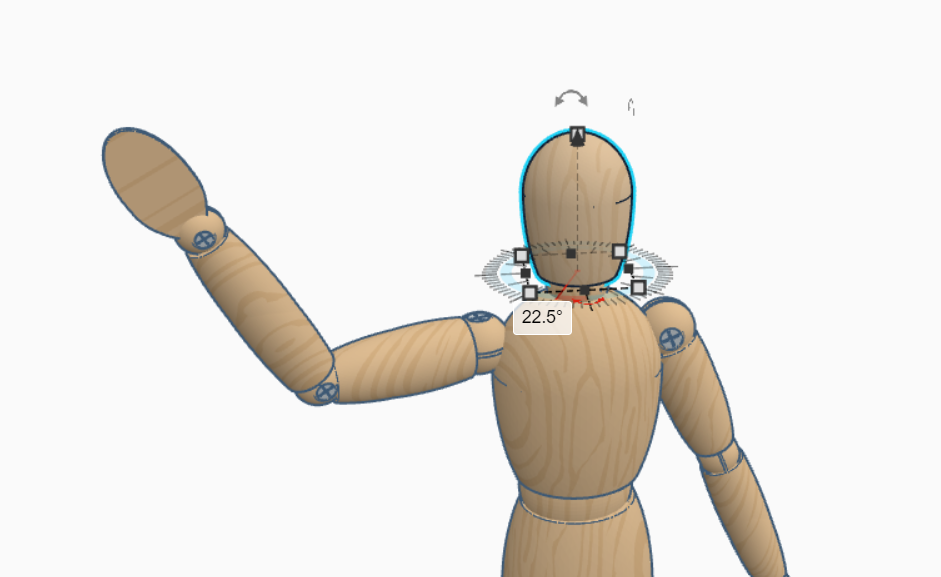
The head angle is also key to conveying the emotion of your figure. Try tilting the head upwards for a more elated look, and tilt downwards for a more depressed/somber one.
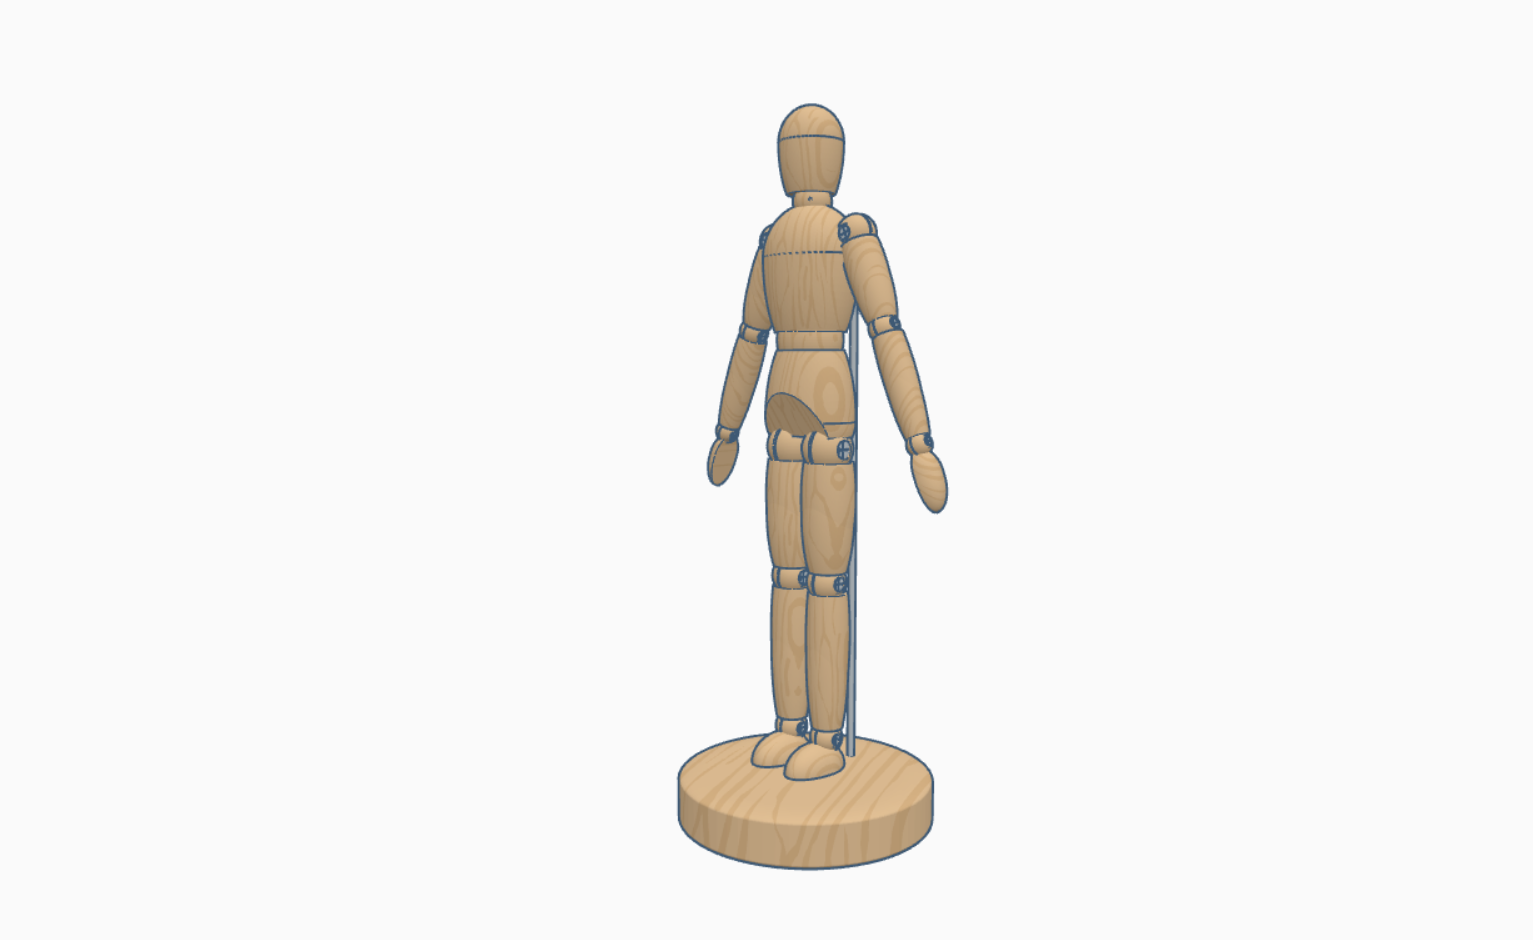
Step 5: Rotate the Whole Figure
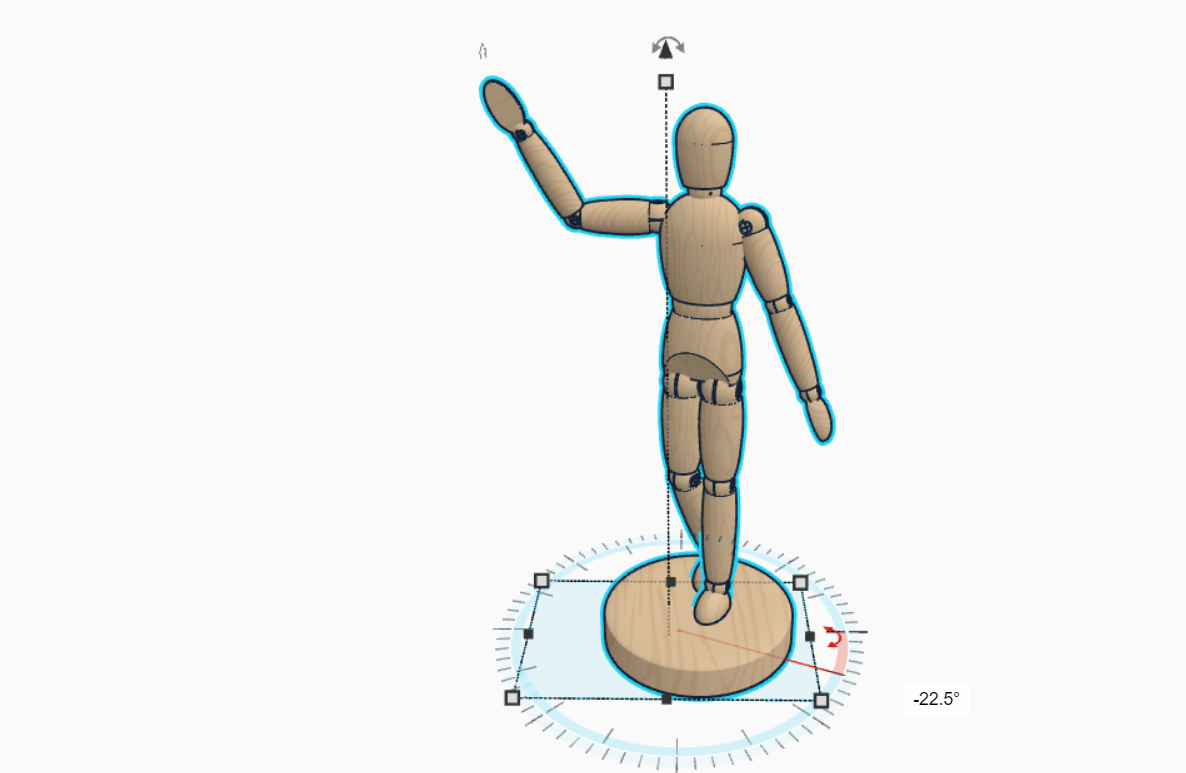
This step is mostly optional, because most artists have his/her figure face forward. If you're wanting the figure to face another direction, rotate the base of the figure by whatever angle you see fit to make the figure appear to be facing the direction you want it to.
You're Finished!
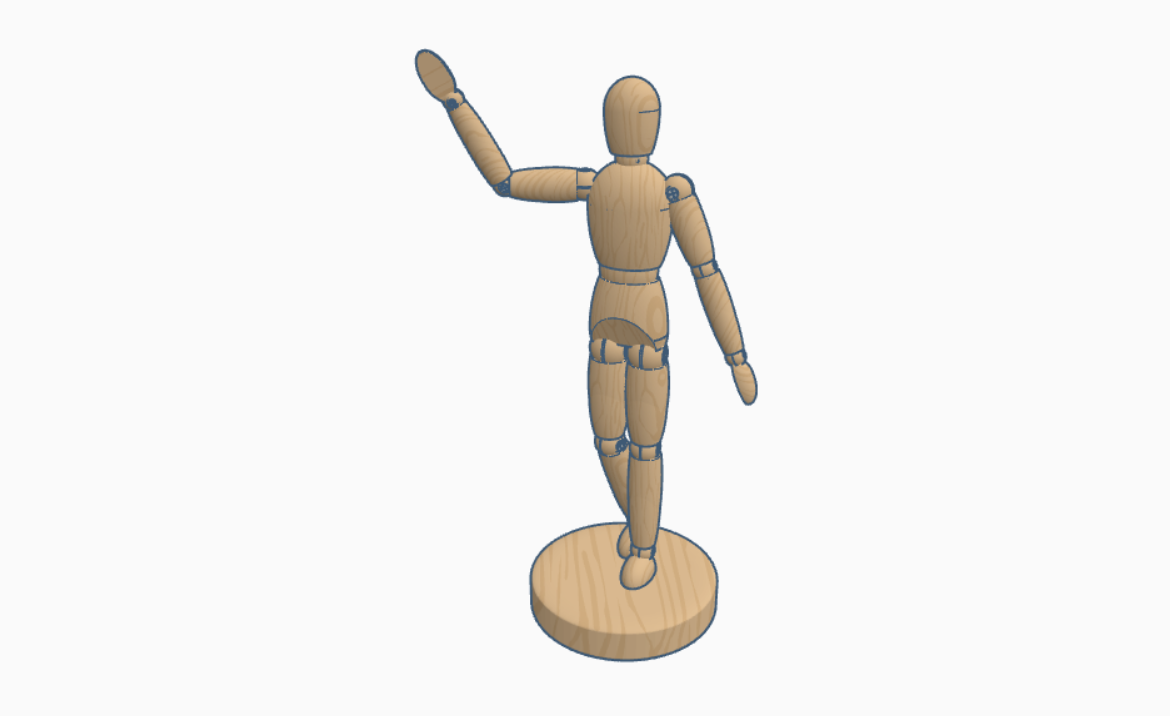
You've completed all the steps to posing your figure! Now, you can sketch the outline of this figure, or even try it on another 3D model!