How to Make Online Shop Banner Using Pixlr
by LawrenceK in Circuits > Websites
1097 Views, 1 Favorites, 0 Comments
How to Make Online Shop Banner Using Pixlr
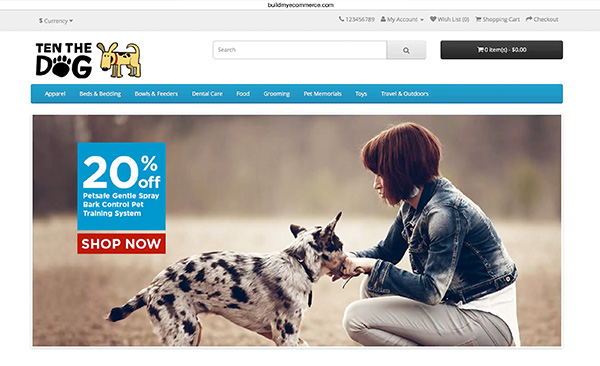
This video tutorial will show you step by step on how to make online shop banner. Pixlr - the online photo editor will be used to create the banner. You can download the assets or use your own images to follow along.
Step 1
Step 2
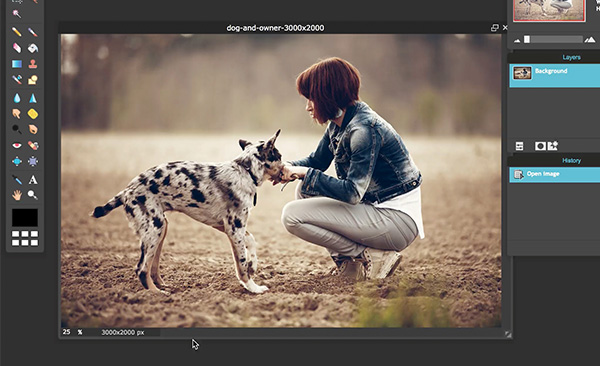
2. So, you have this original photo that is 3000 x 2000 pixels. The dimension is too big to use for an online store as it will have negative impact on your web performance. We can easily scale this down in using Pixlr.
Step 3
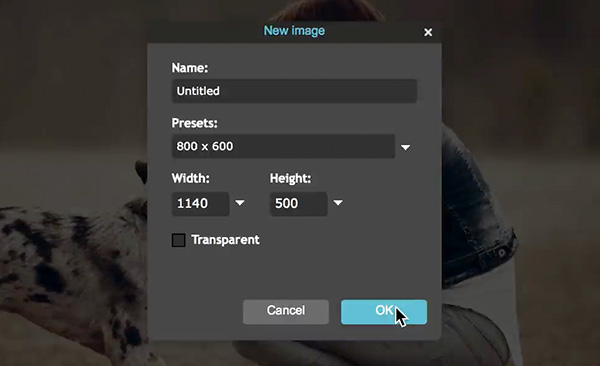
3. Go to File > New Image to create a blank canvas. Change the Width and Height to 1140 x 500. This image dimension is good for modern computer screen and will look good using mobile devices.
Step 4
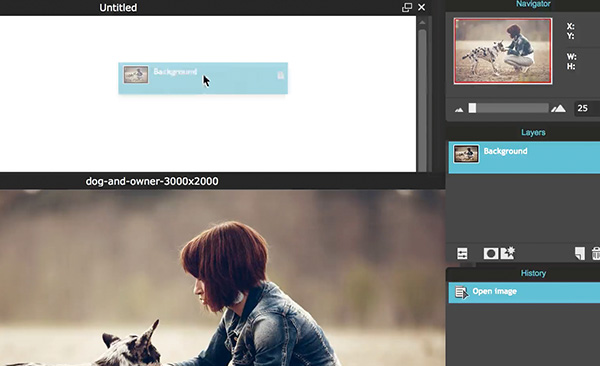
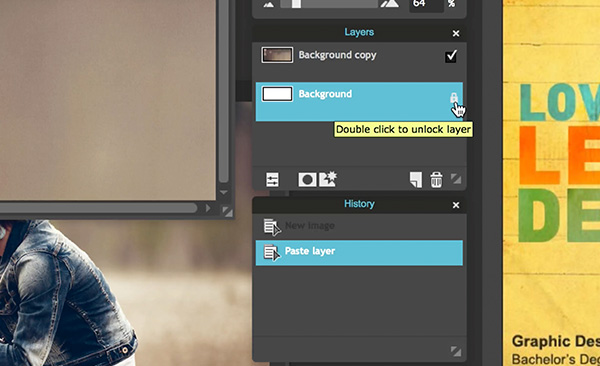
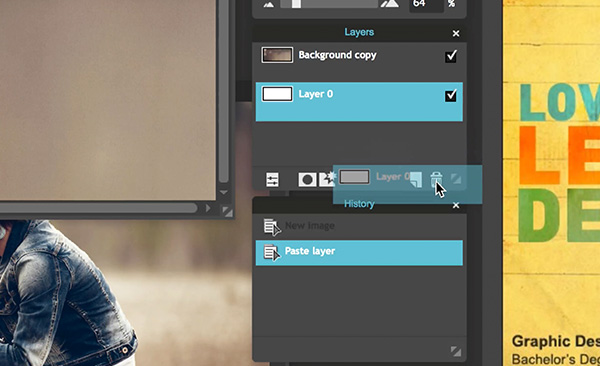
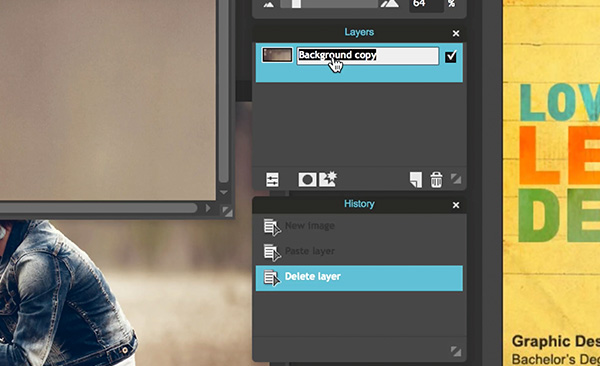
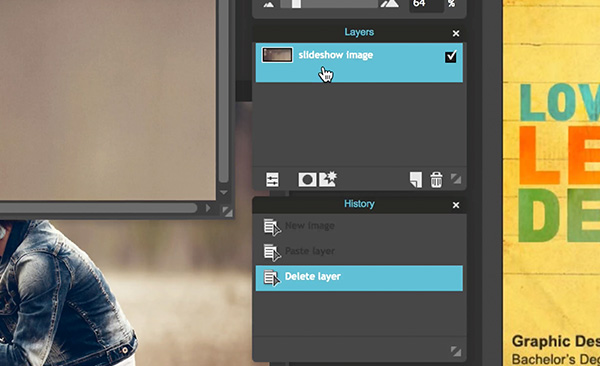
4. Drag the background layer from the original photo into the blank canvas. Just click and hold the layer and drag it over to the blank window and let go to release the photo. To delete the white background layer, you need to unlock it first. Hover your mouse over the lock icon and double click to unlock. Now drag the white layer into the trash bin icon (see the image below). Let's now rename the background layer to keep things tidy. Double click the layer and rename to slideshow image or anything that works for you.
Step 5
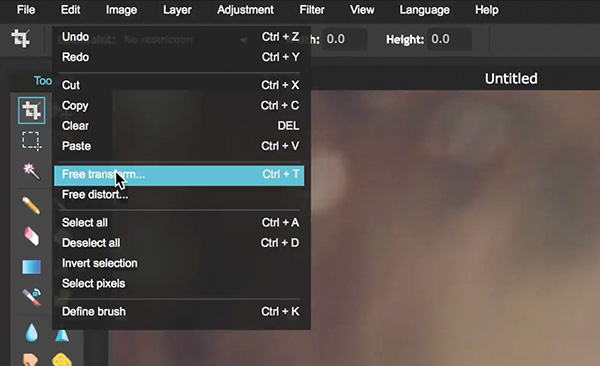
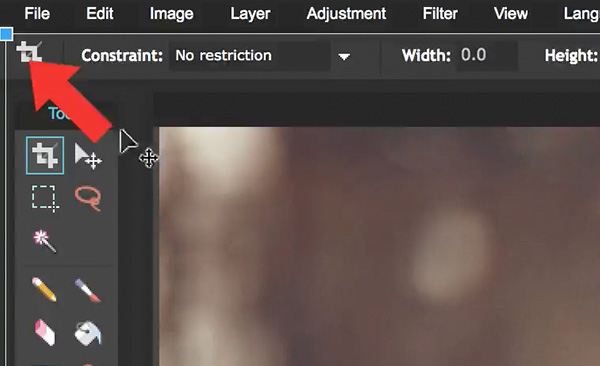
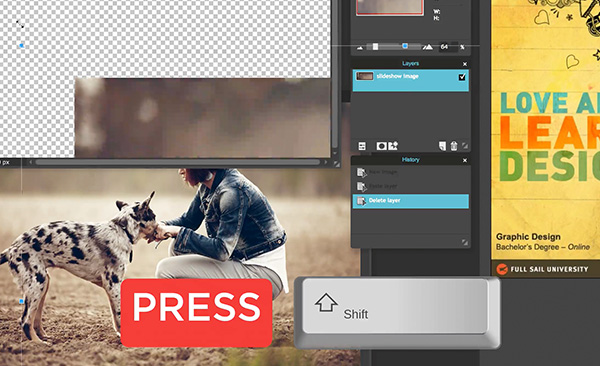
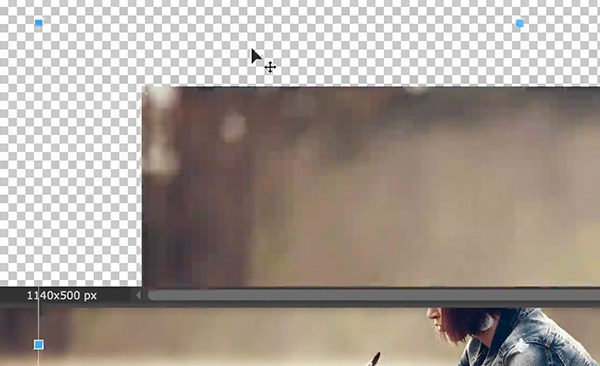
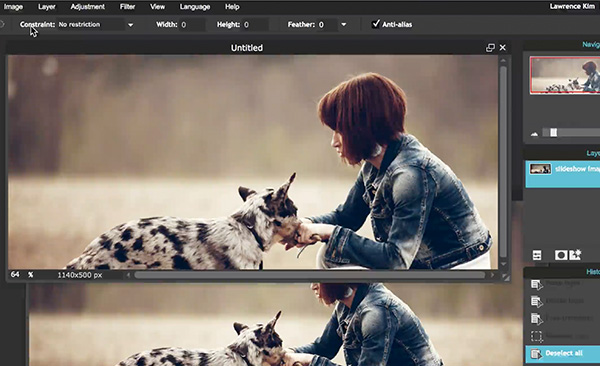
5. Now let’s resize the image by going to Edit > Free Transform. Grab one of the corner handles and make sure to hold down Shift key to constrain the proportions and resize… Just move the image till you find a good spot. I want some negative space on the right for graphics and text. Press Enter to get out of the Free Transform mode.
Step 6
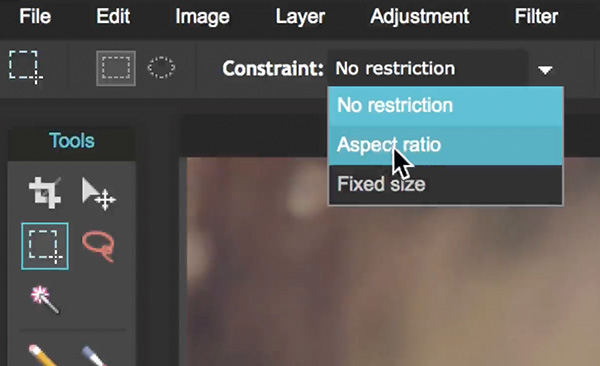
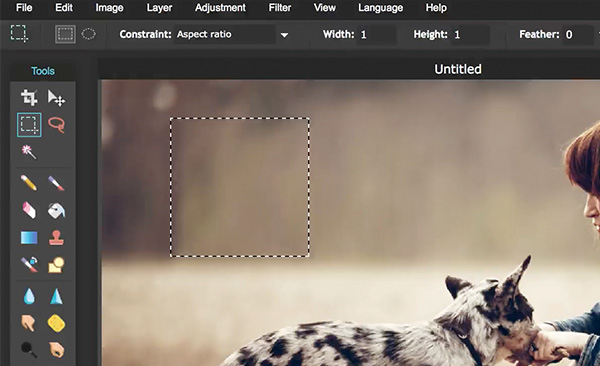
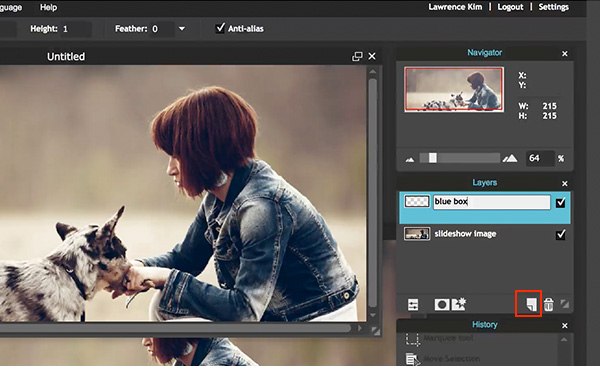
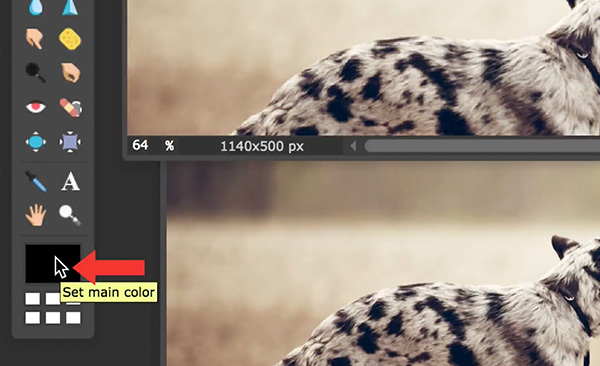
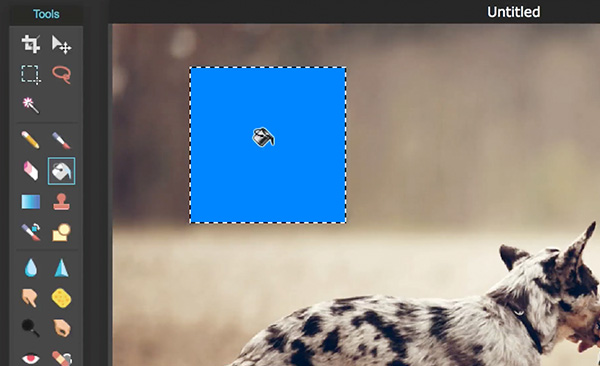

6. Next, create the blue box. Make sure to have the marquee tool selected from the tool box on your right. Click the box next to the Constraint and select Aspect Ratio. Make sure the Width & Height is set to 1. Now when you draw a box using the marquee tool, it will always be a perfect square. Create a new layer for the blue box by clicking the layer icon. Set the main color to fill in the box with blue color. Make sure you select the pain bucket tool and click inside the box to fill in.
Step 7
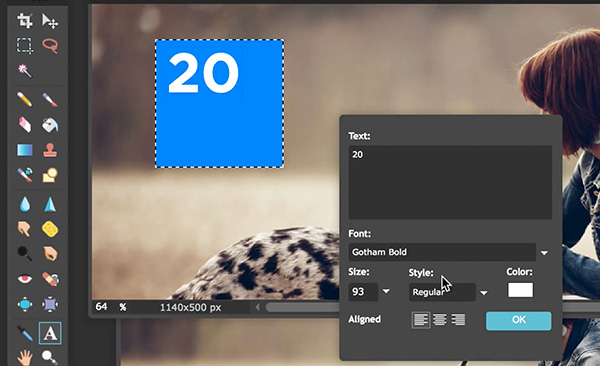
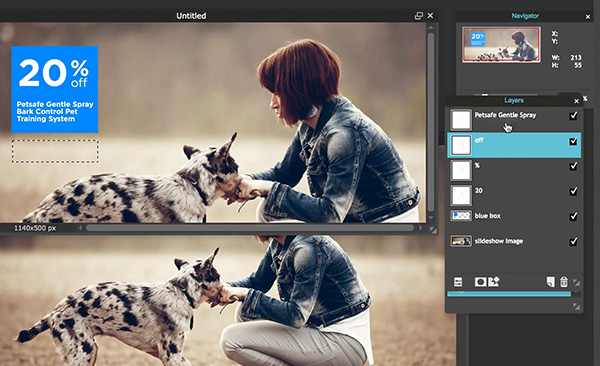
7. Select the type tool from the toolbox and type 20. See the photos to create the other three text layers. To achieve the final result, we have total of four text layers because of different font sizes. You can use any font of your choice, but I'm using Gotham Bold font for this tutorial.
Step 8
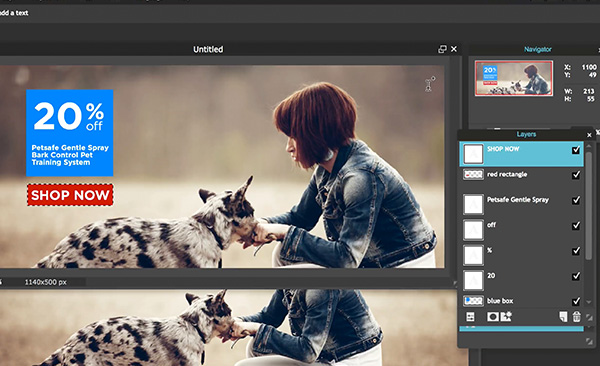
8. Now, create the red rectangle by creating a new layer and make sure to set the Constraint to no restriction since we don't want a perfect square this time. Repeat the same process from earlier to fill in the rectangle with red color. Select the type tool and enter Shop Now inside the red rectangle.
Step 9
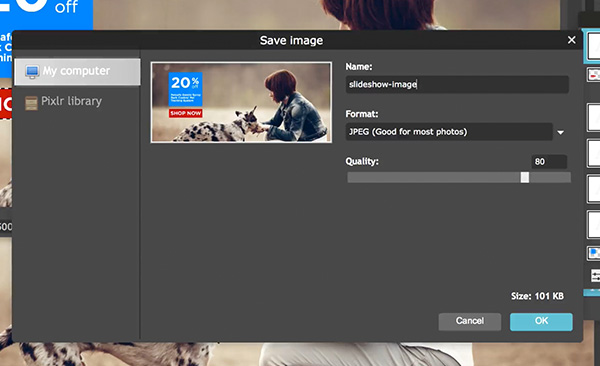
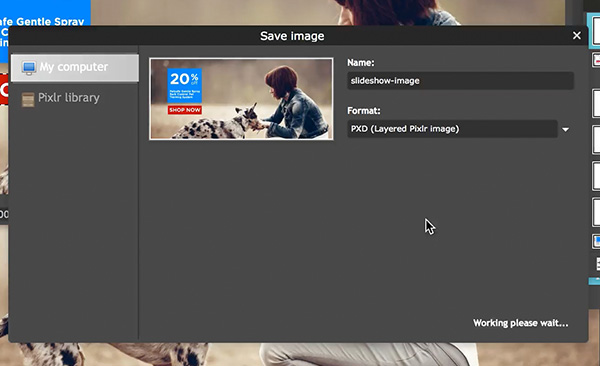
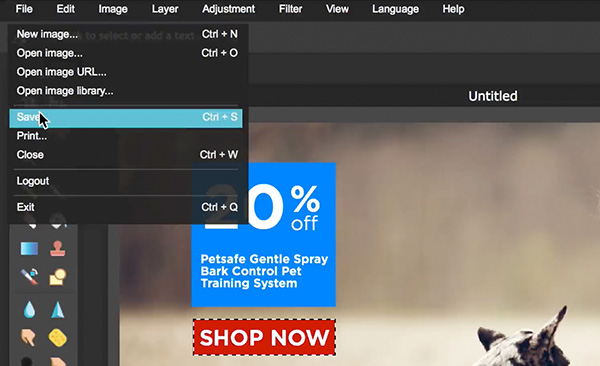
9. After you are happy with everything, go to File > Save to save the image file. Play with the quality setting and choose JPEG as your file format. You don't want to set the quality to too low since that will degrade your image significantly. Click Ok to save it to your desktop. Also, I highly recommend you save a PXD format since that will retain all your layers in case you need to go back and make changes later.