How to Make New Papua Guinea Mask From Paper Clay
by ishant_009 in Craft > Clay
147 Views, 0 Favorites, 0 Comments
How to Make New Papua Guinea Mask From Paper Clay
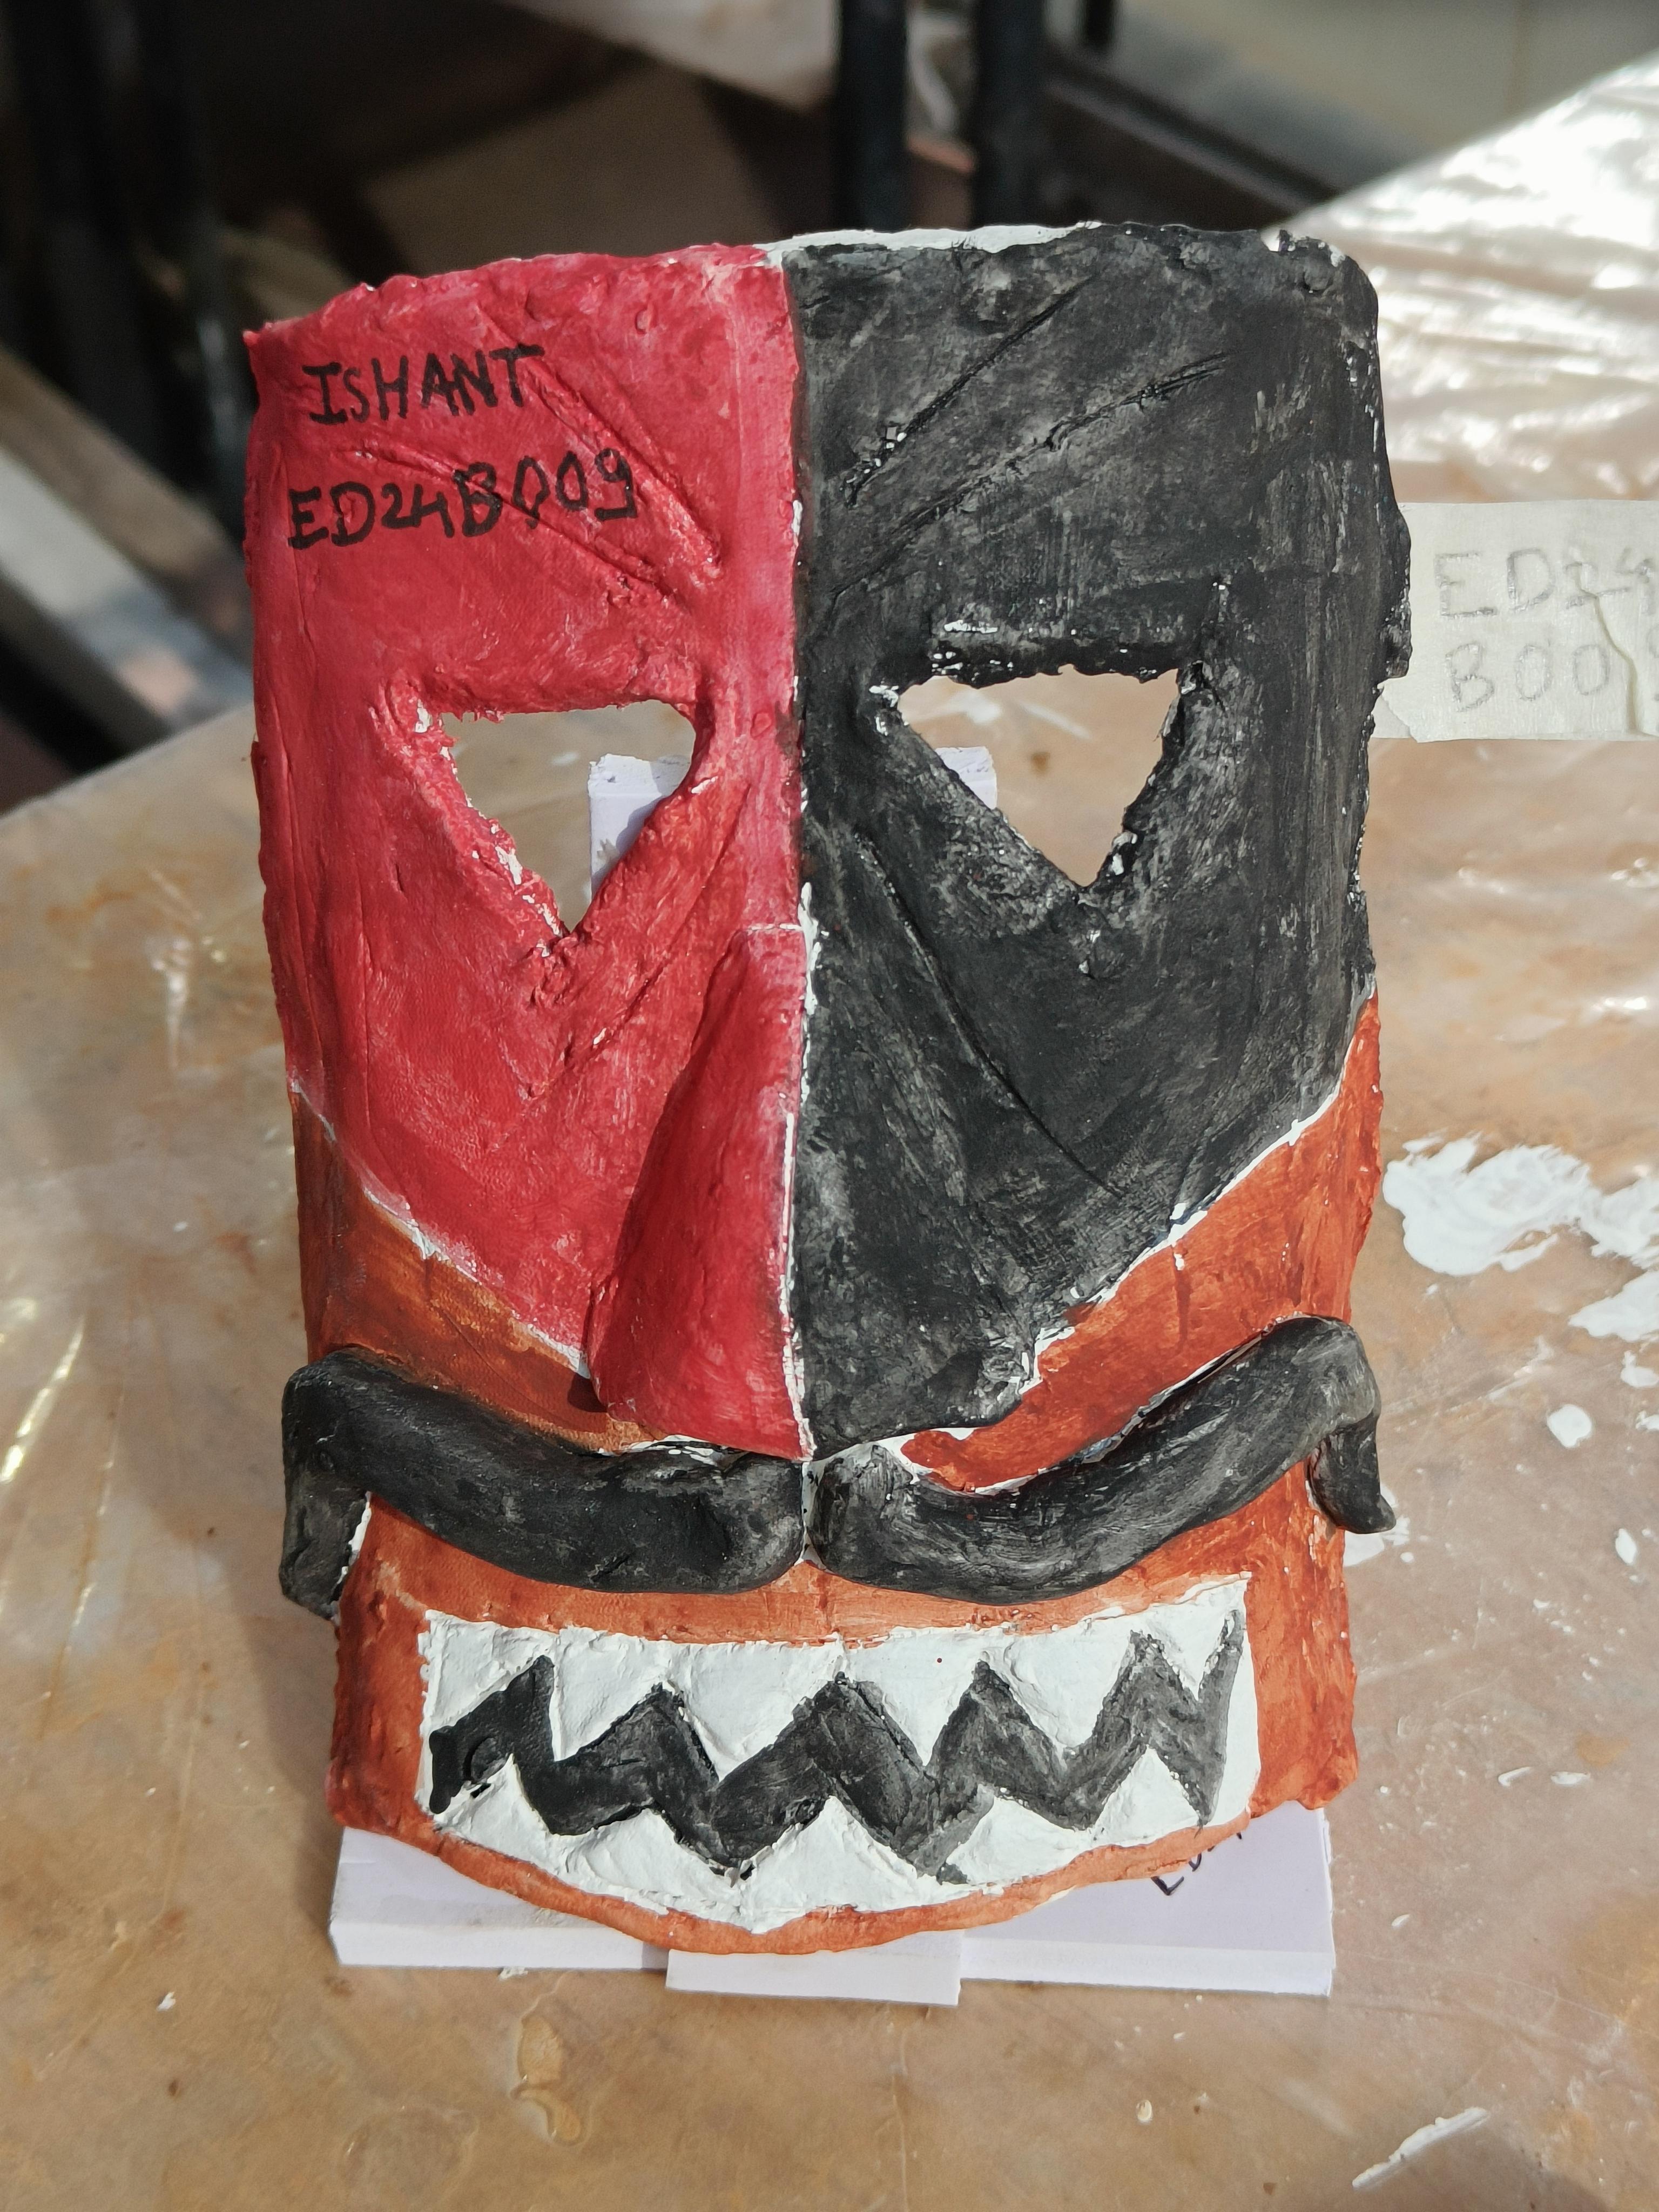
This post gives a guide on how to make a traditional tribal mask of the New Papua Guinea Mask, along with some advice based on my own experience. This post of mine also has the underlying motive of exploring, understanding and creating decorative masks for mainly interior design. Decorative masks are very lucrative add-ons to any interior. These traditional masks add that necessary color and culture and thereby enhance the beauty of the room. They add a sort of wow element and can be used as a means to convey your appreciation and understanding of art to your guests, giving off a good impression.
Supplies
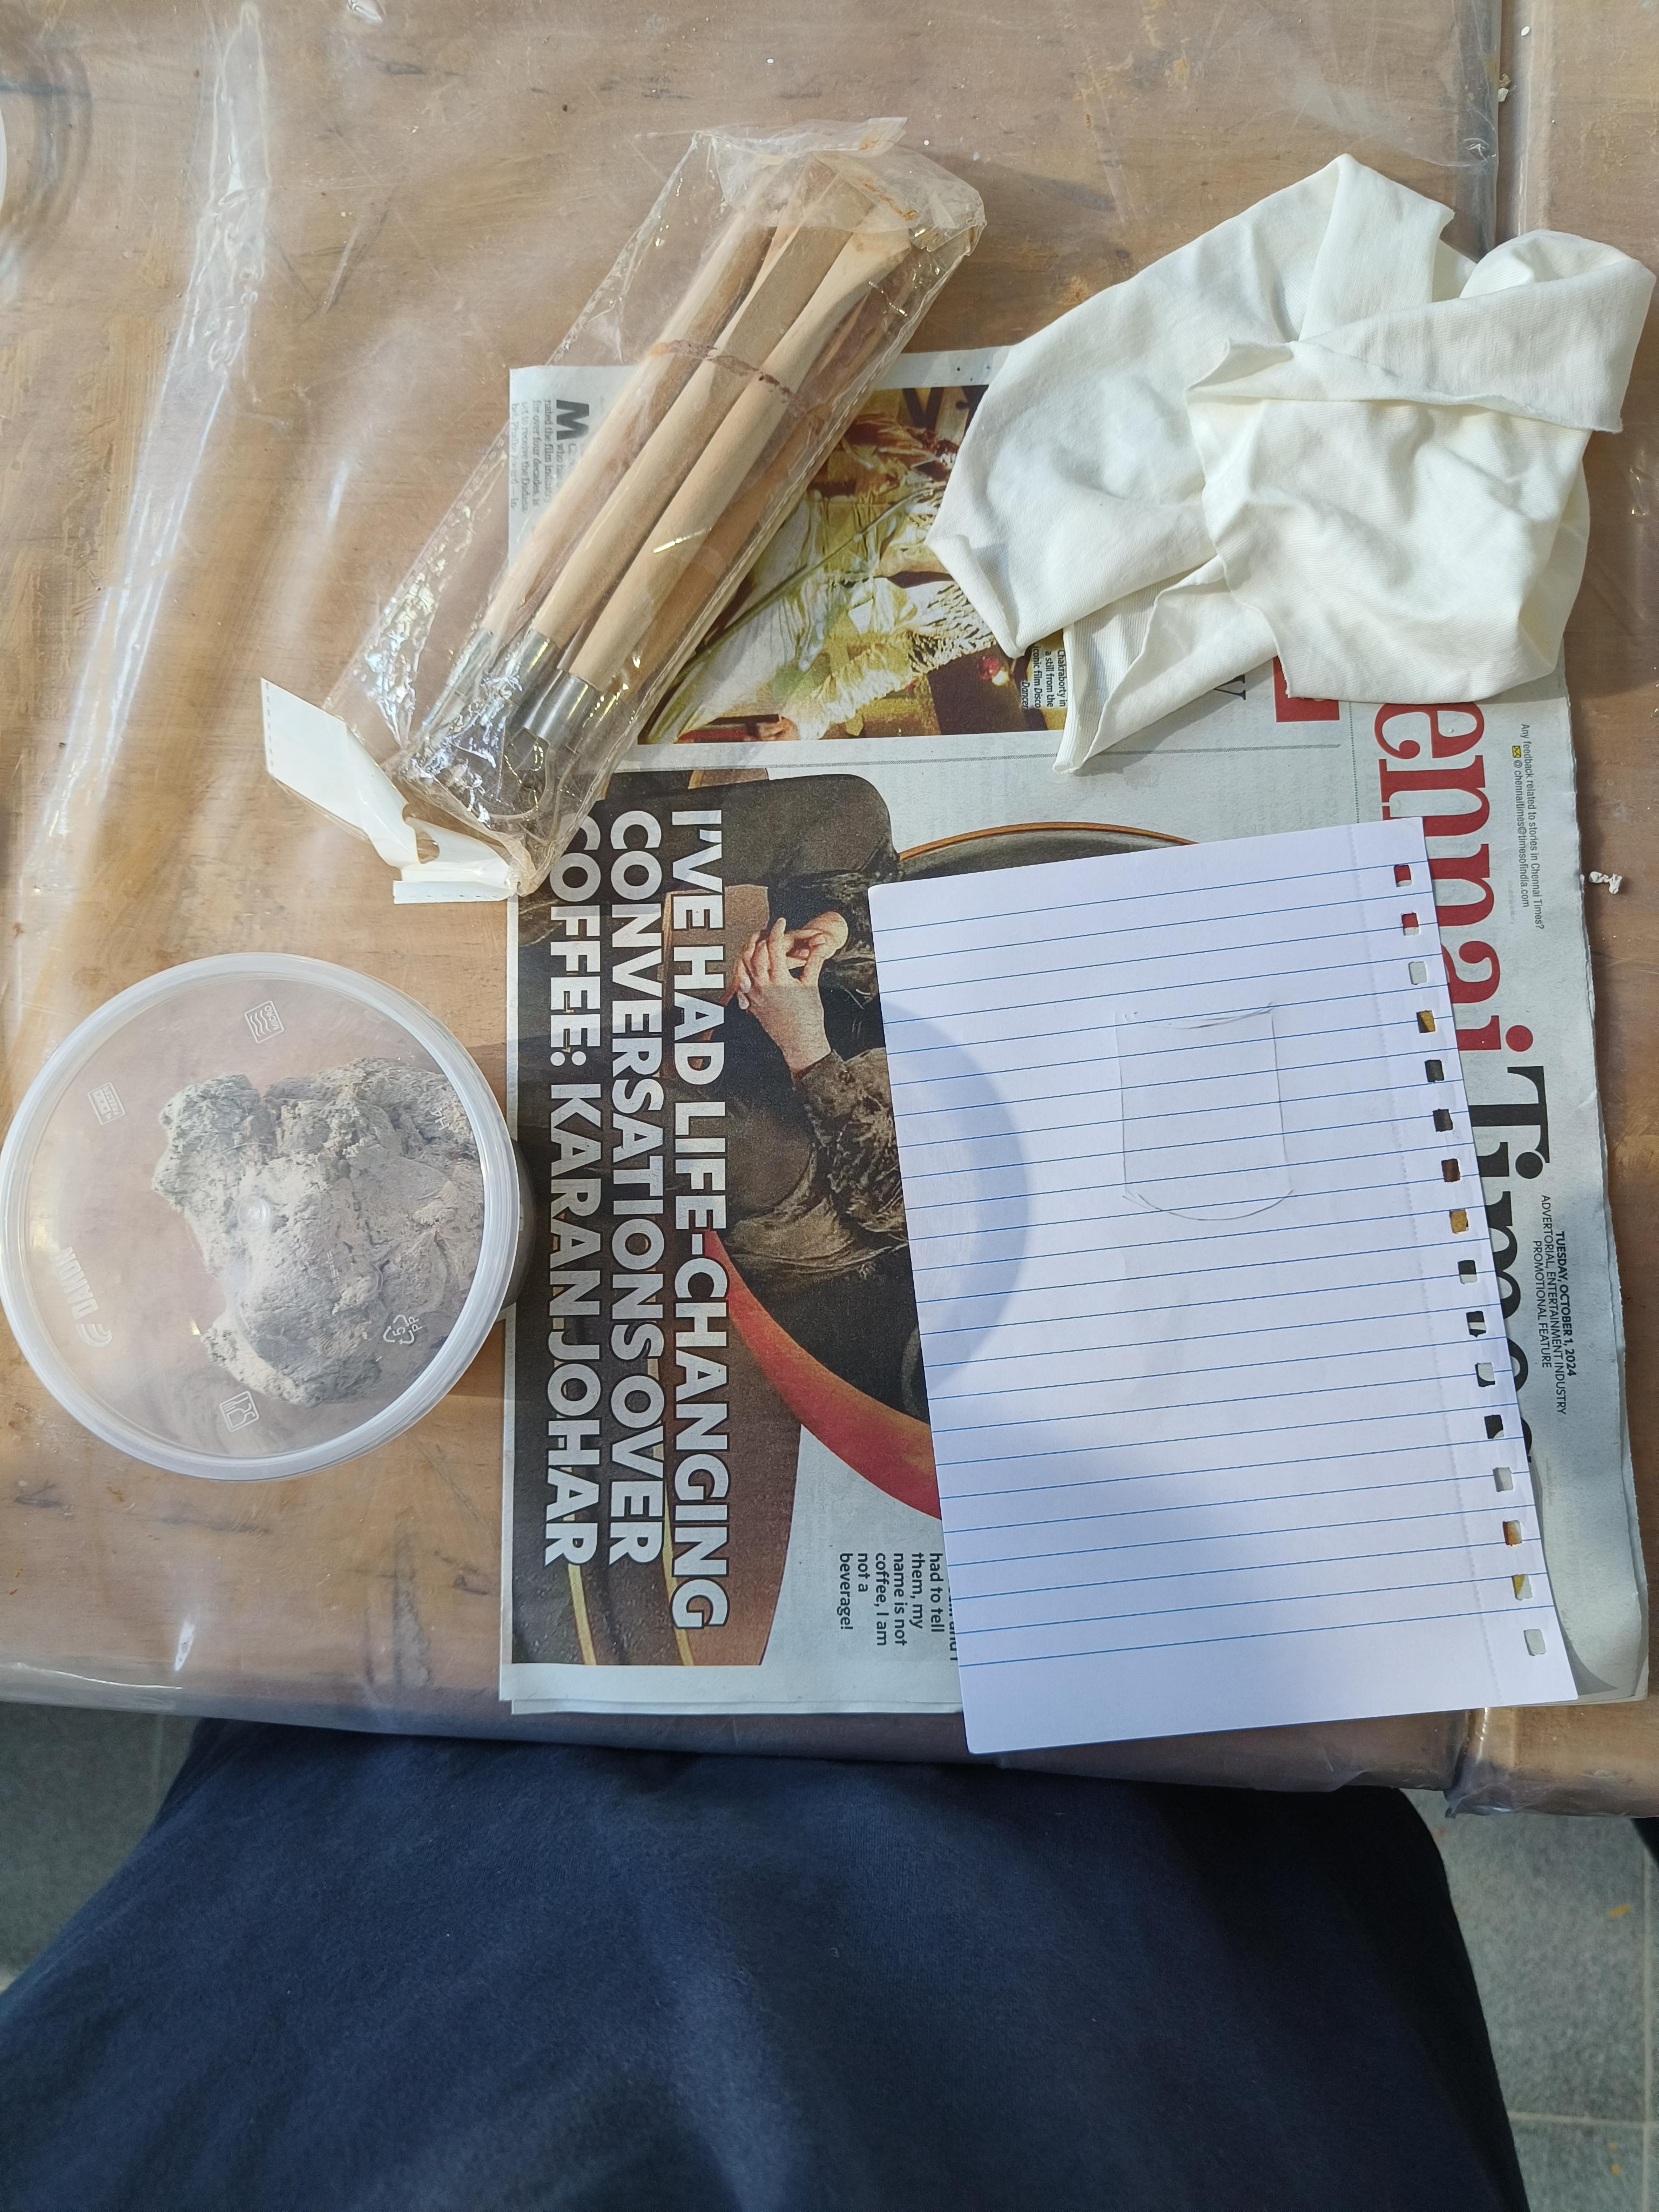
- paper clay
- clay modelling tools
- newspaper
- paper tape
- guaze cloth
- water colors
- pain brushes
- wet cloth
- primer
Make a Rough Sketch
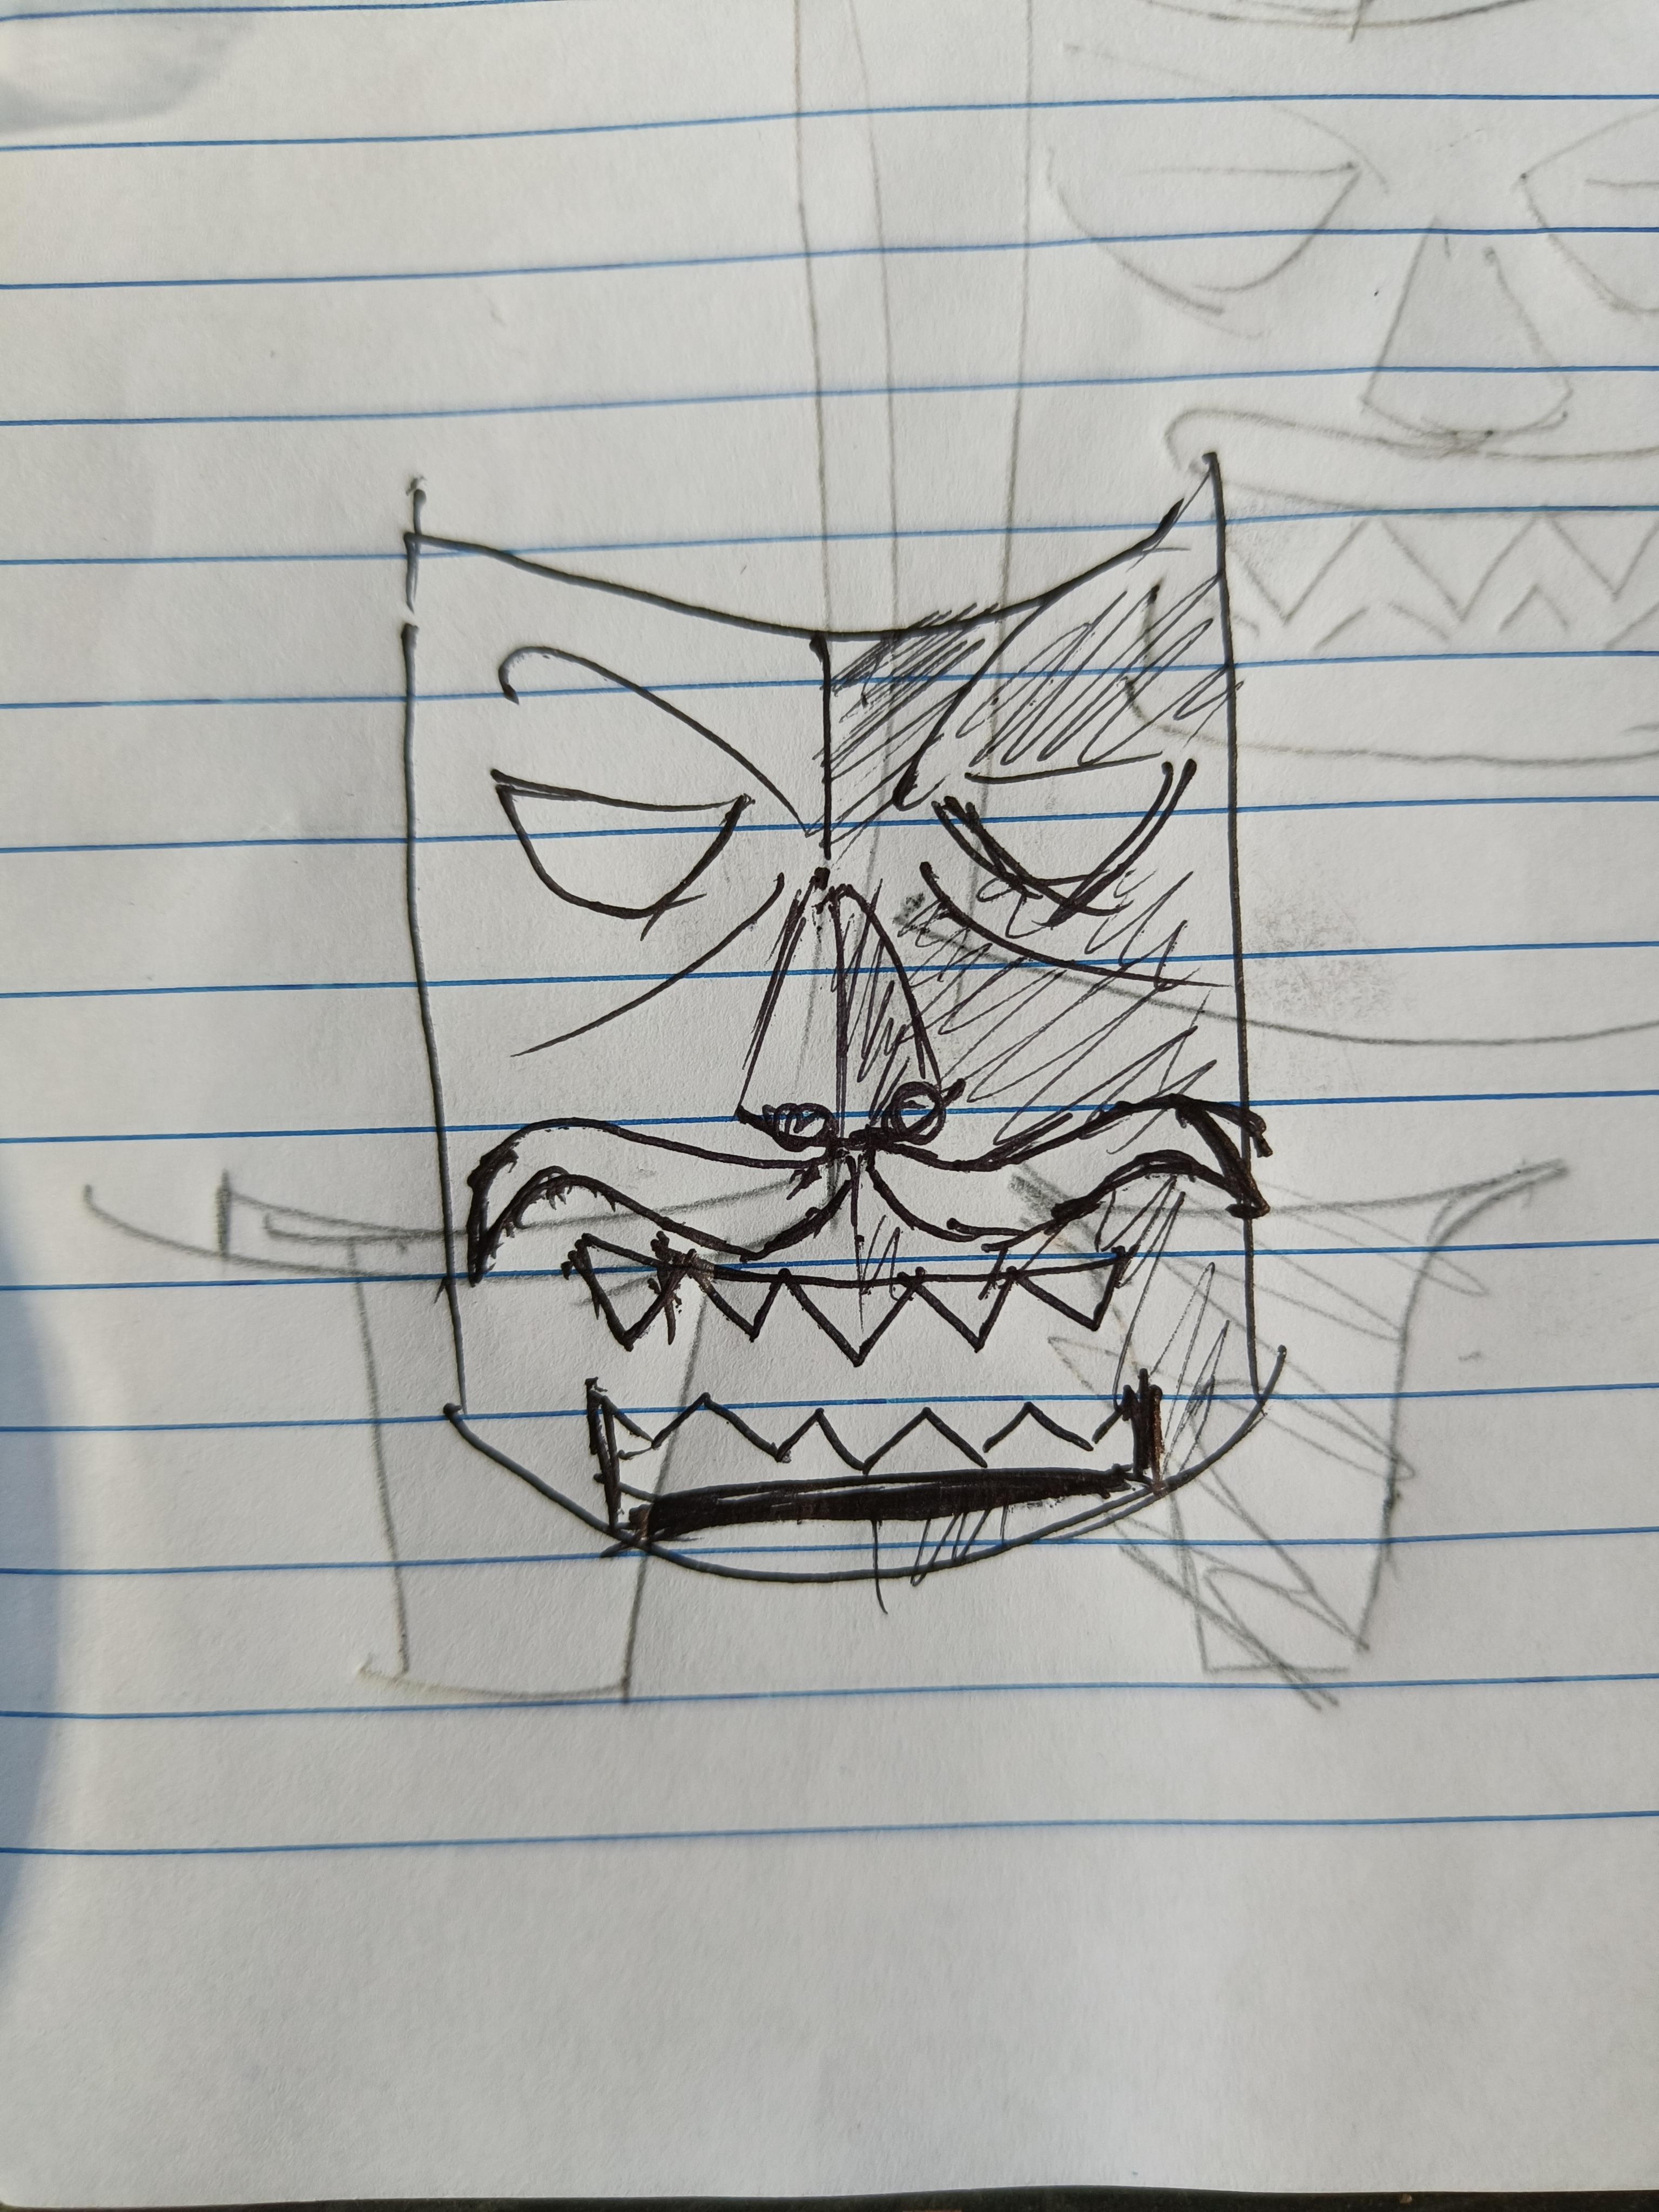
First, make a rough sketch of what you want your mask to look like. In our case a papua guinea mask looks like this which is inspired by the image shown earlier.
Make a the Base
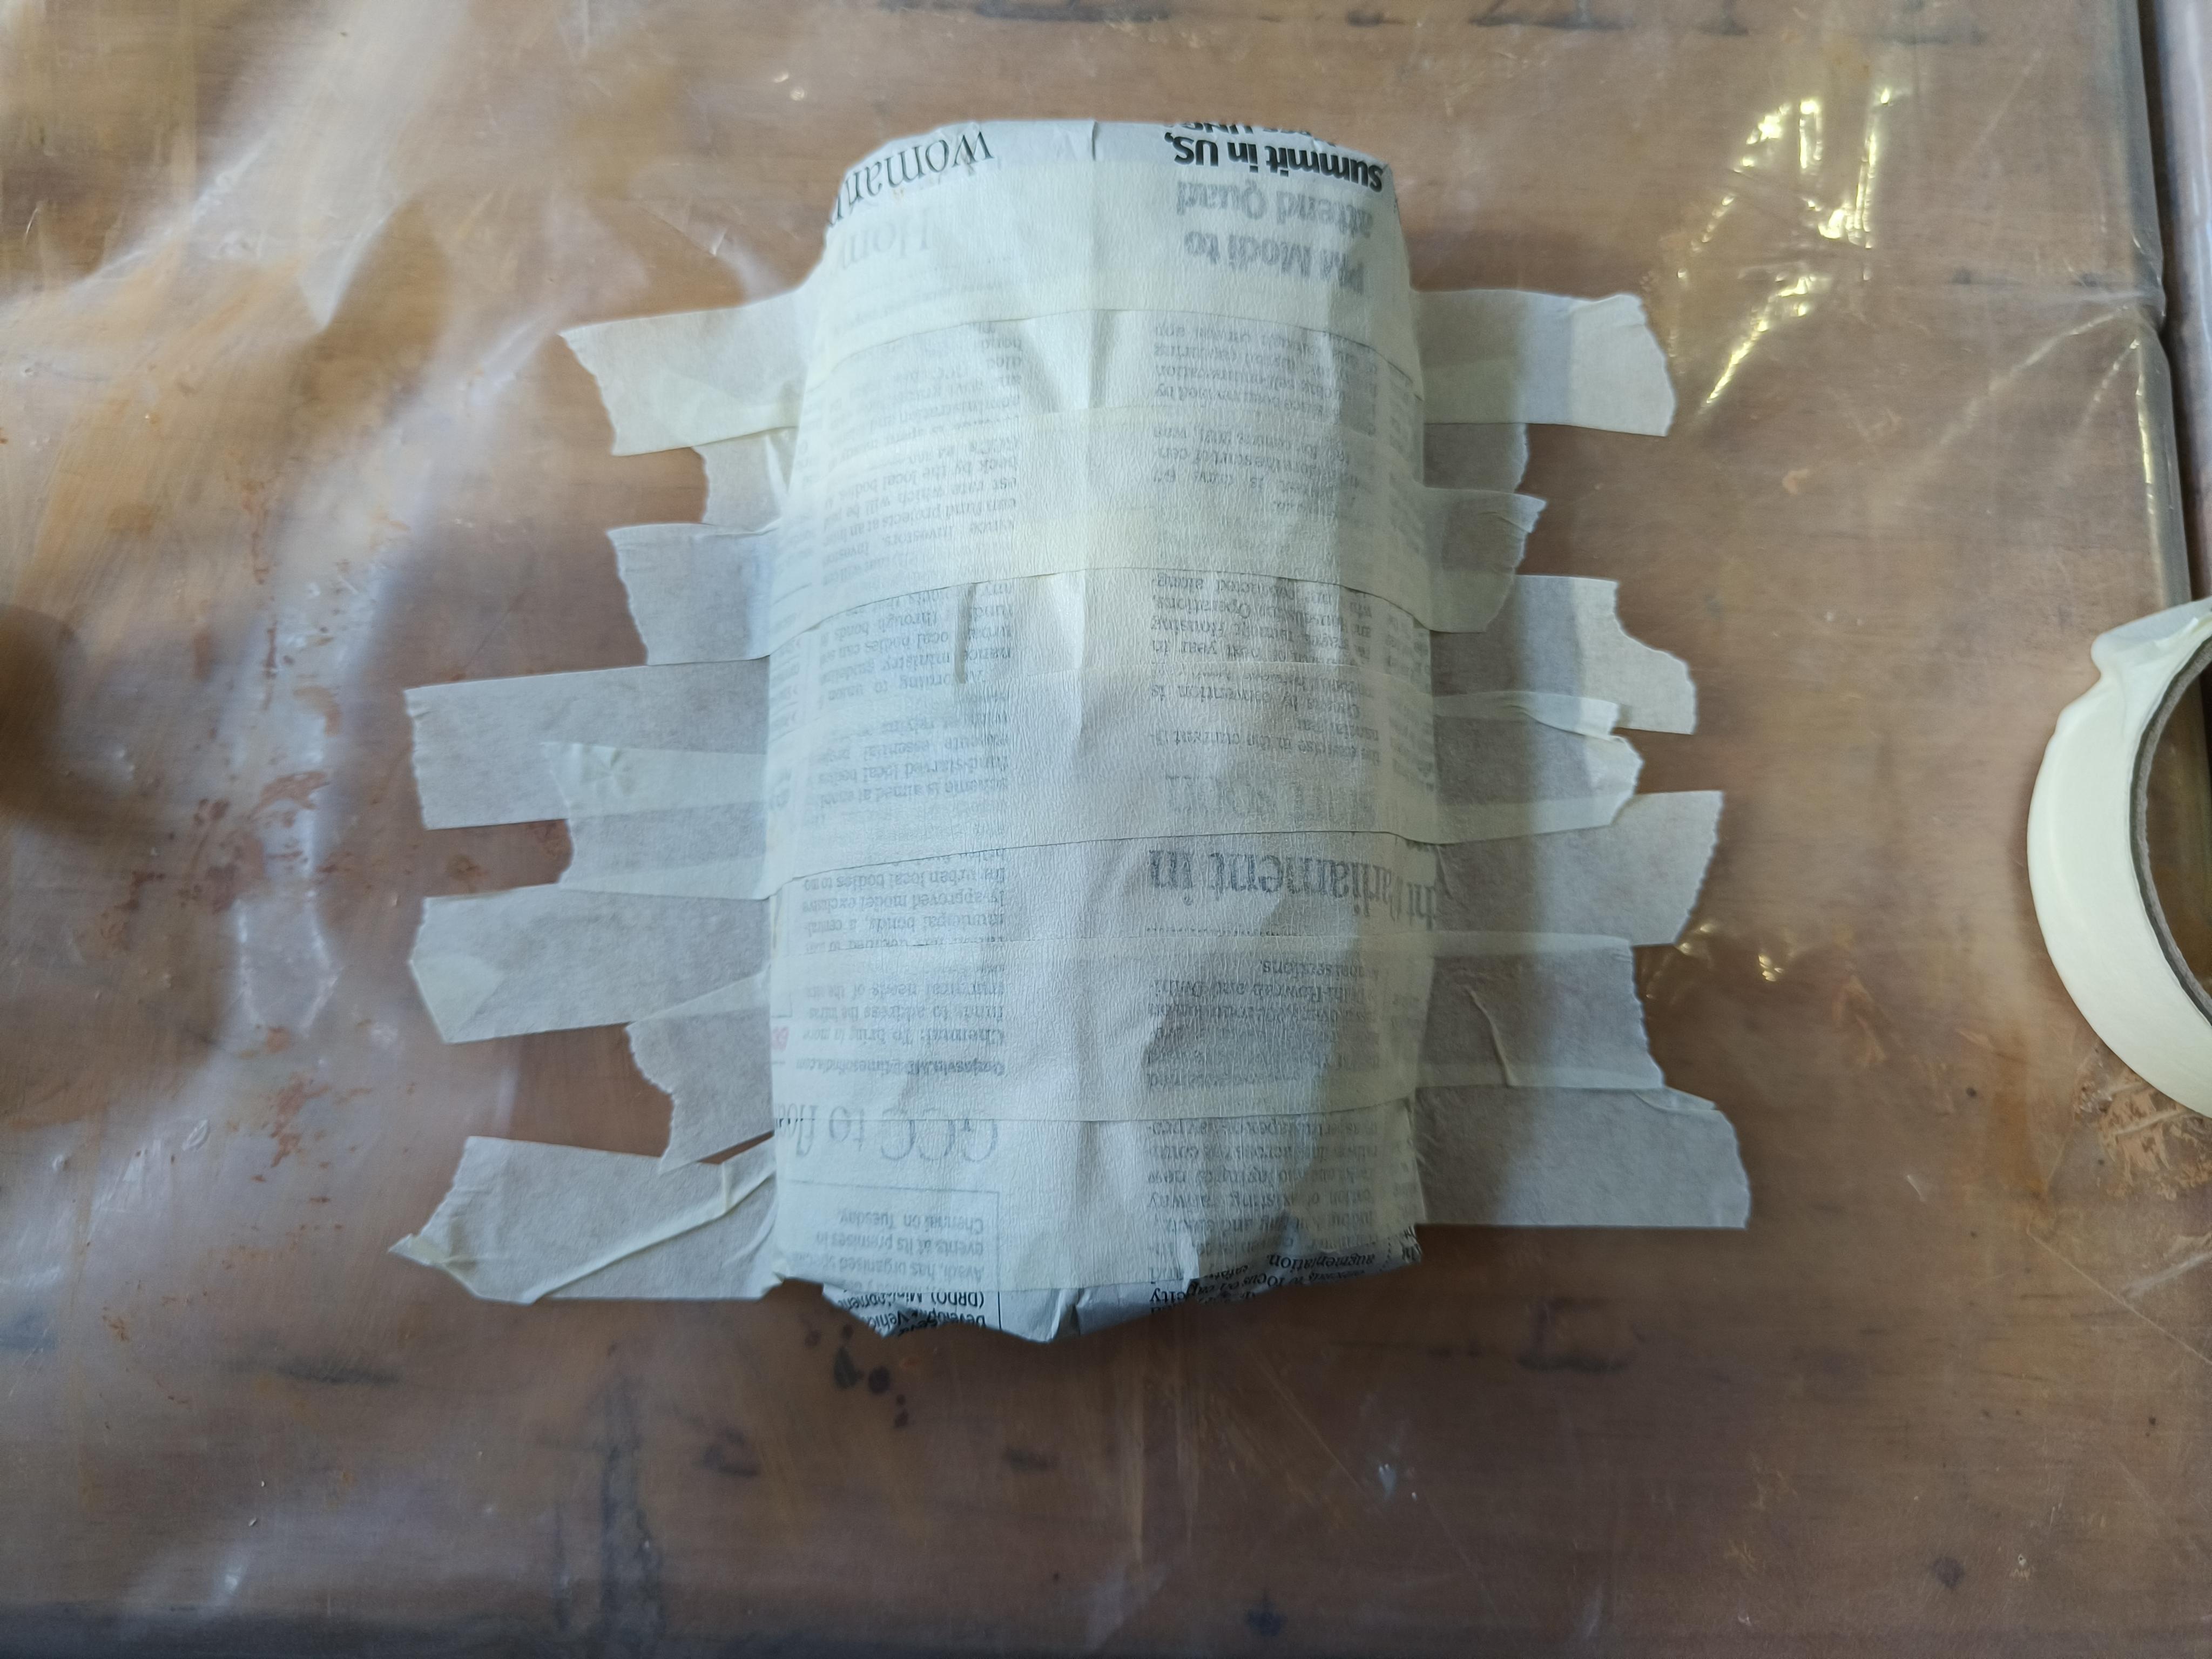
Take an entire newspaper and crumble it and try to make a half cut cylinder and keep it on the table. Then tape it to a table as shown.
Spread the Paper Clay on the Newspaper Base
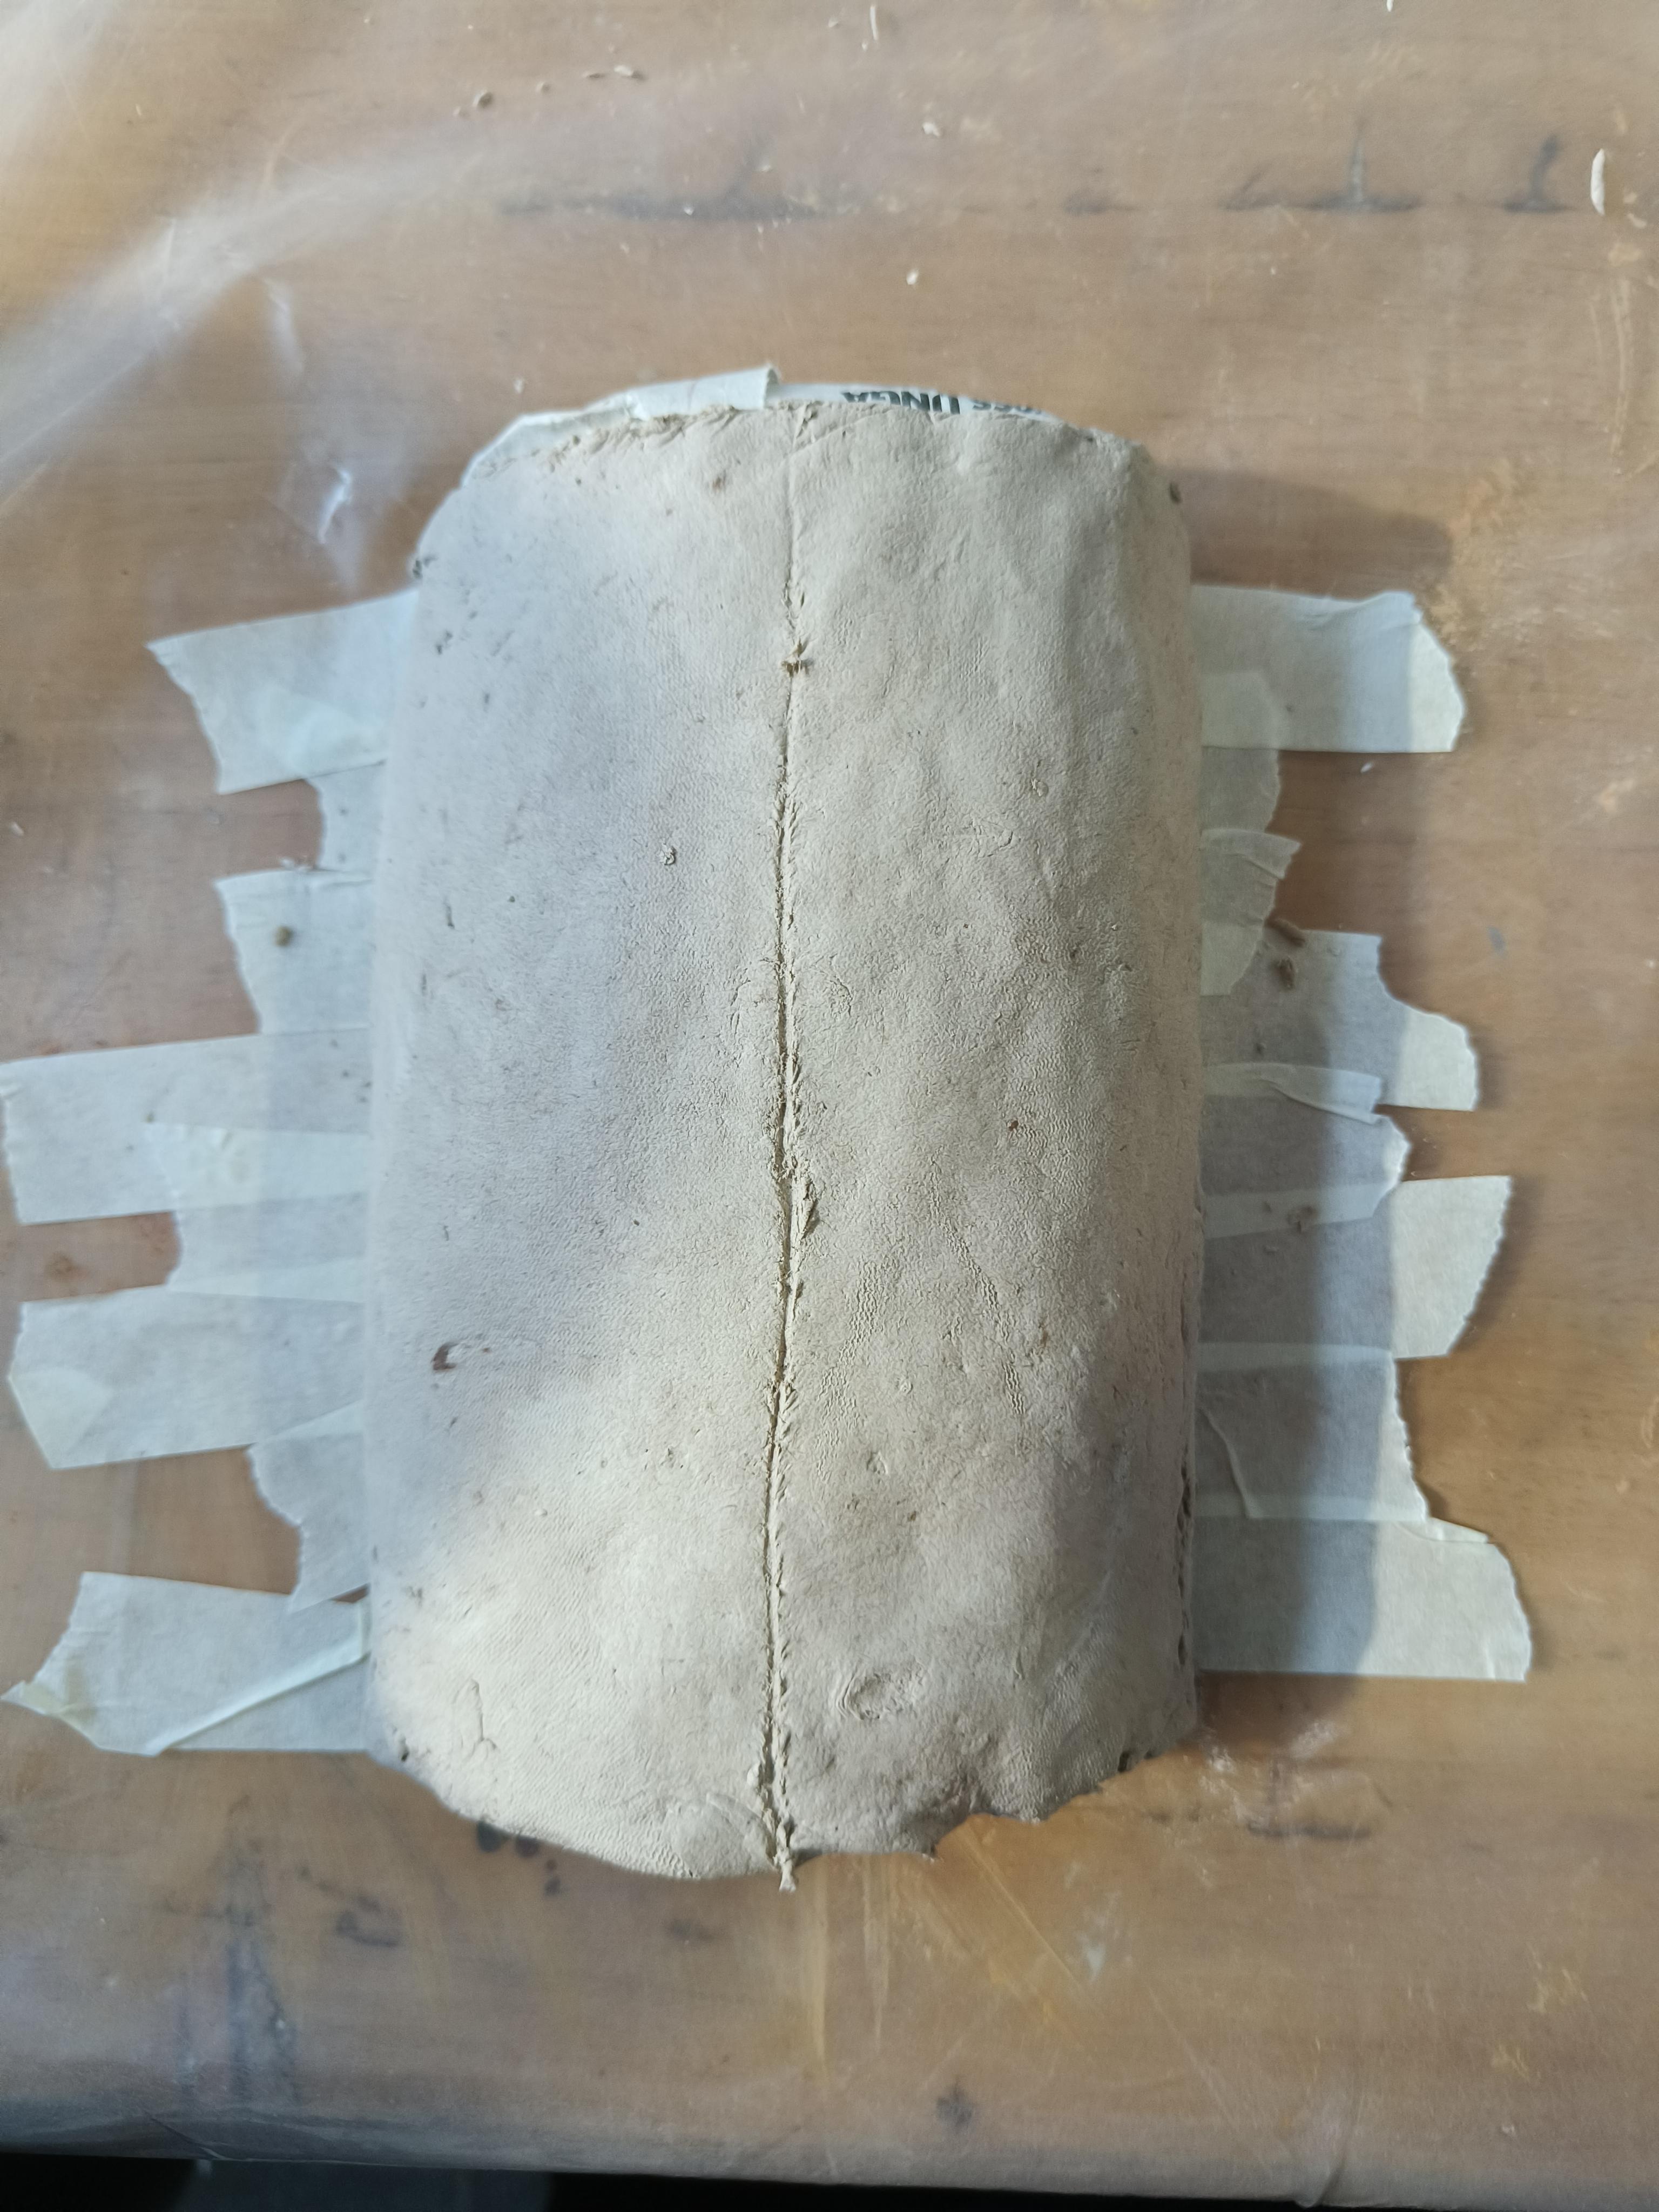
Next, we must first spread out the clay in an even layer. Before you place the clay layer on the mould, one useful tip is to place a gauze cloth on top of the mould. This is so that the inside of the mask has a uniform layer and does not get any markings from the newspaper. Once that's done, take the clay layer and place it slowly on the mould. Cut off any excess and add shape to the mask by using clay modelling tools. Also make a reference line in the between. This will help us place other things on the mask.
Give Details
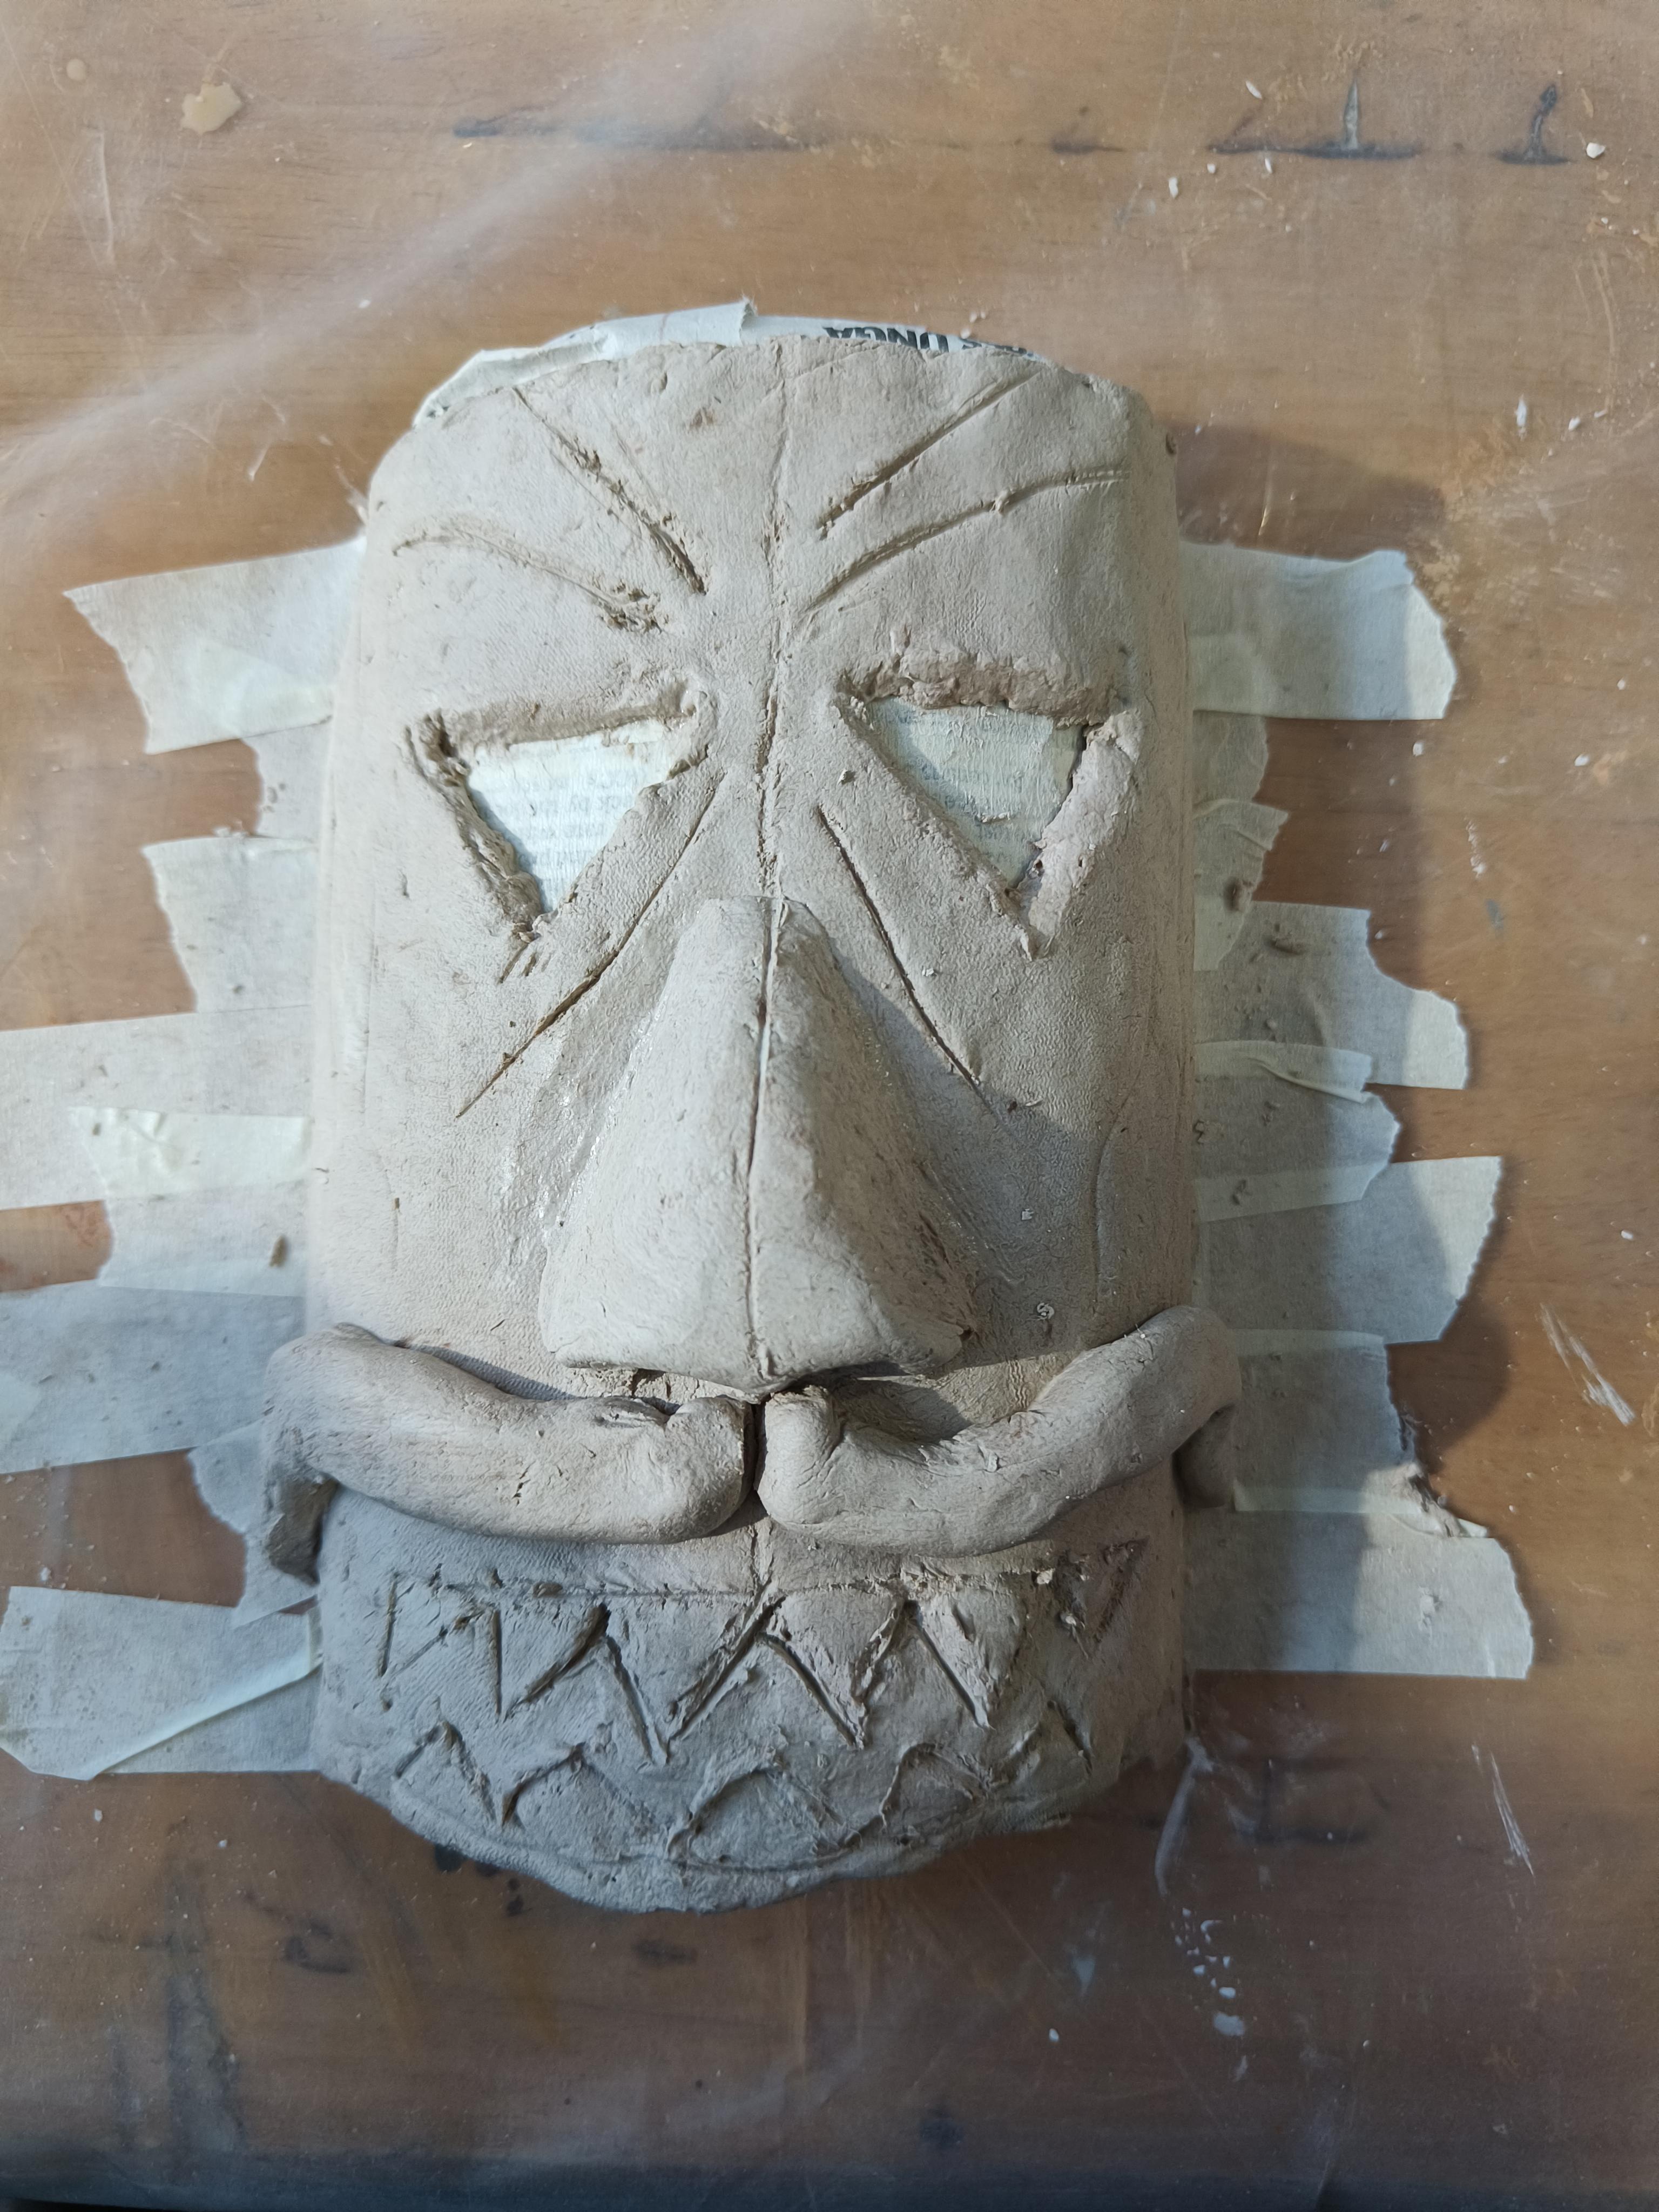
Now we add/remove other details on the mask. First carve the eyes and teeths out with the clay modeling tools. Then add mustaches and nose, here the reference line will help you.
Apply Primer
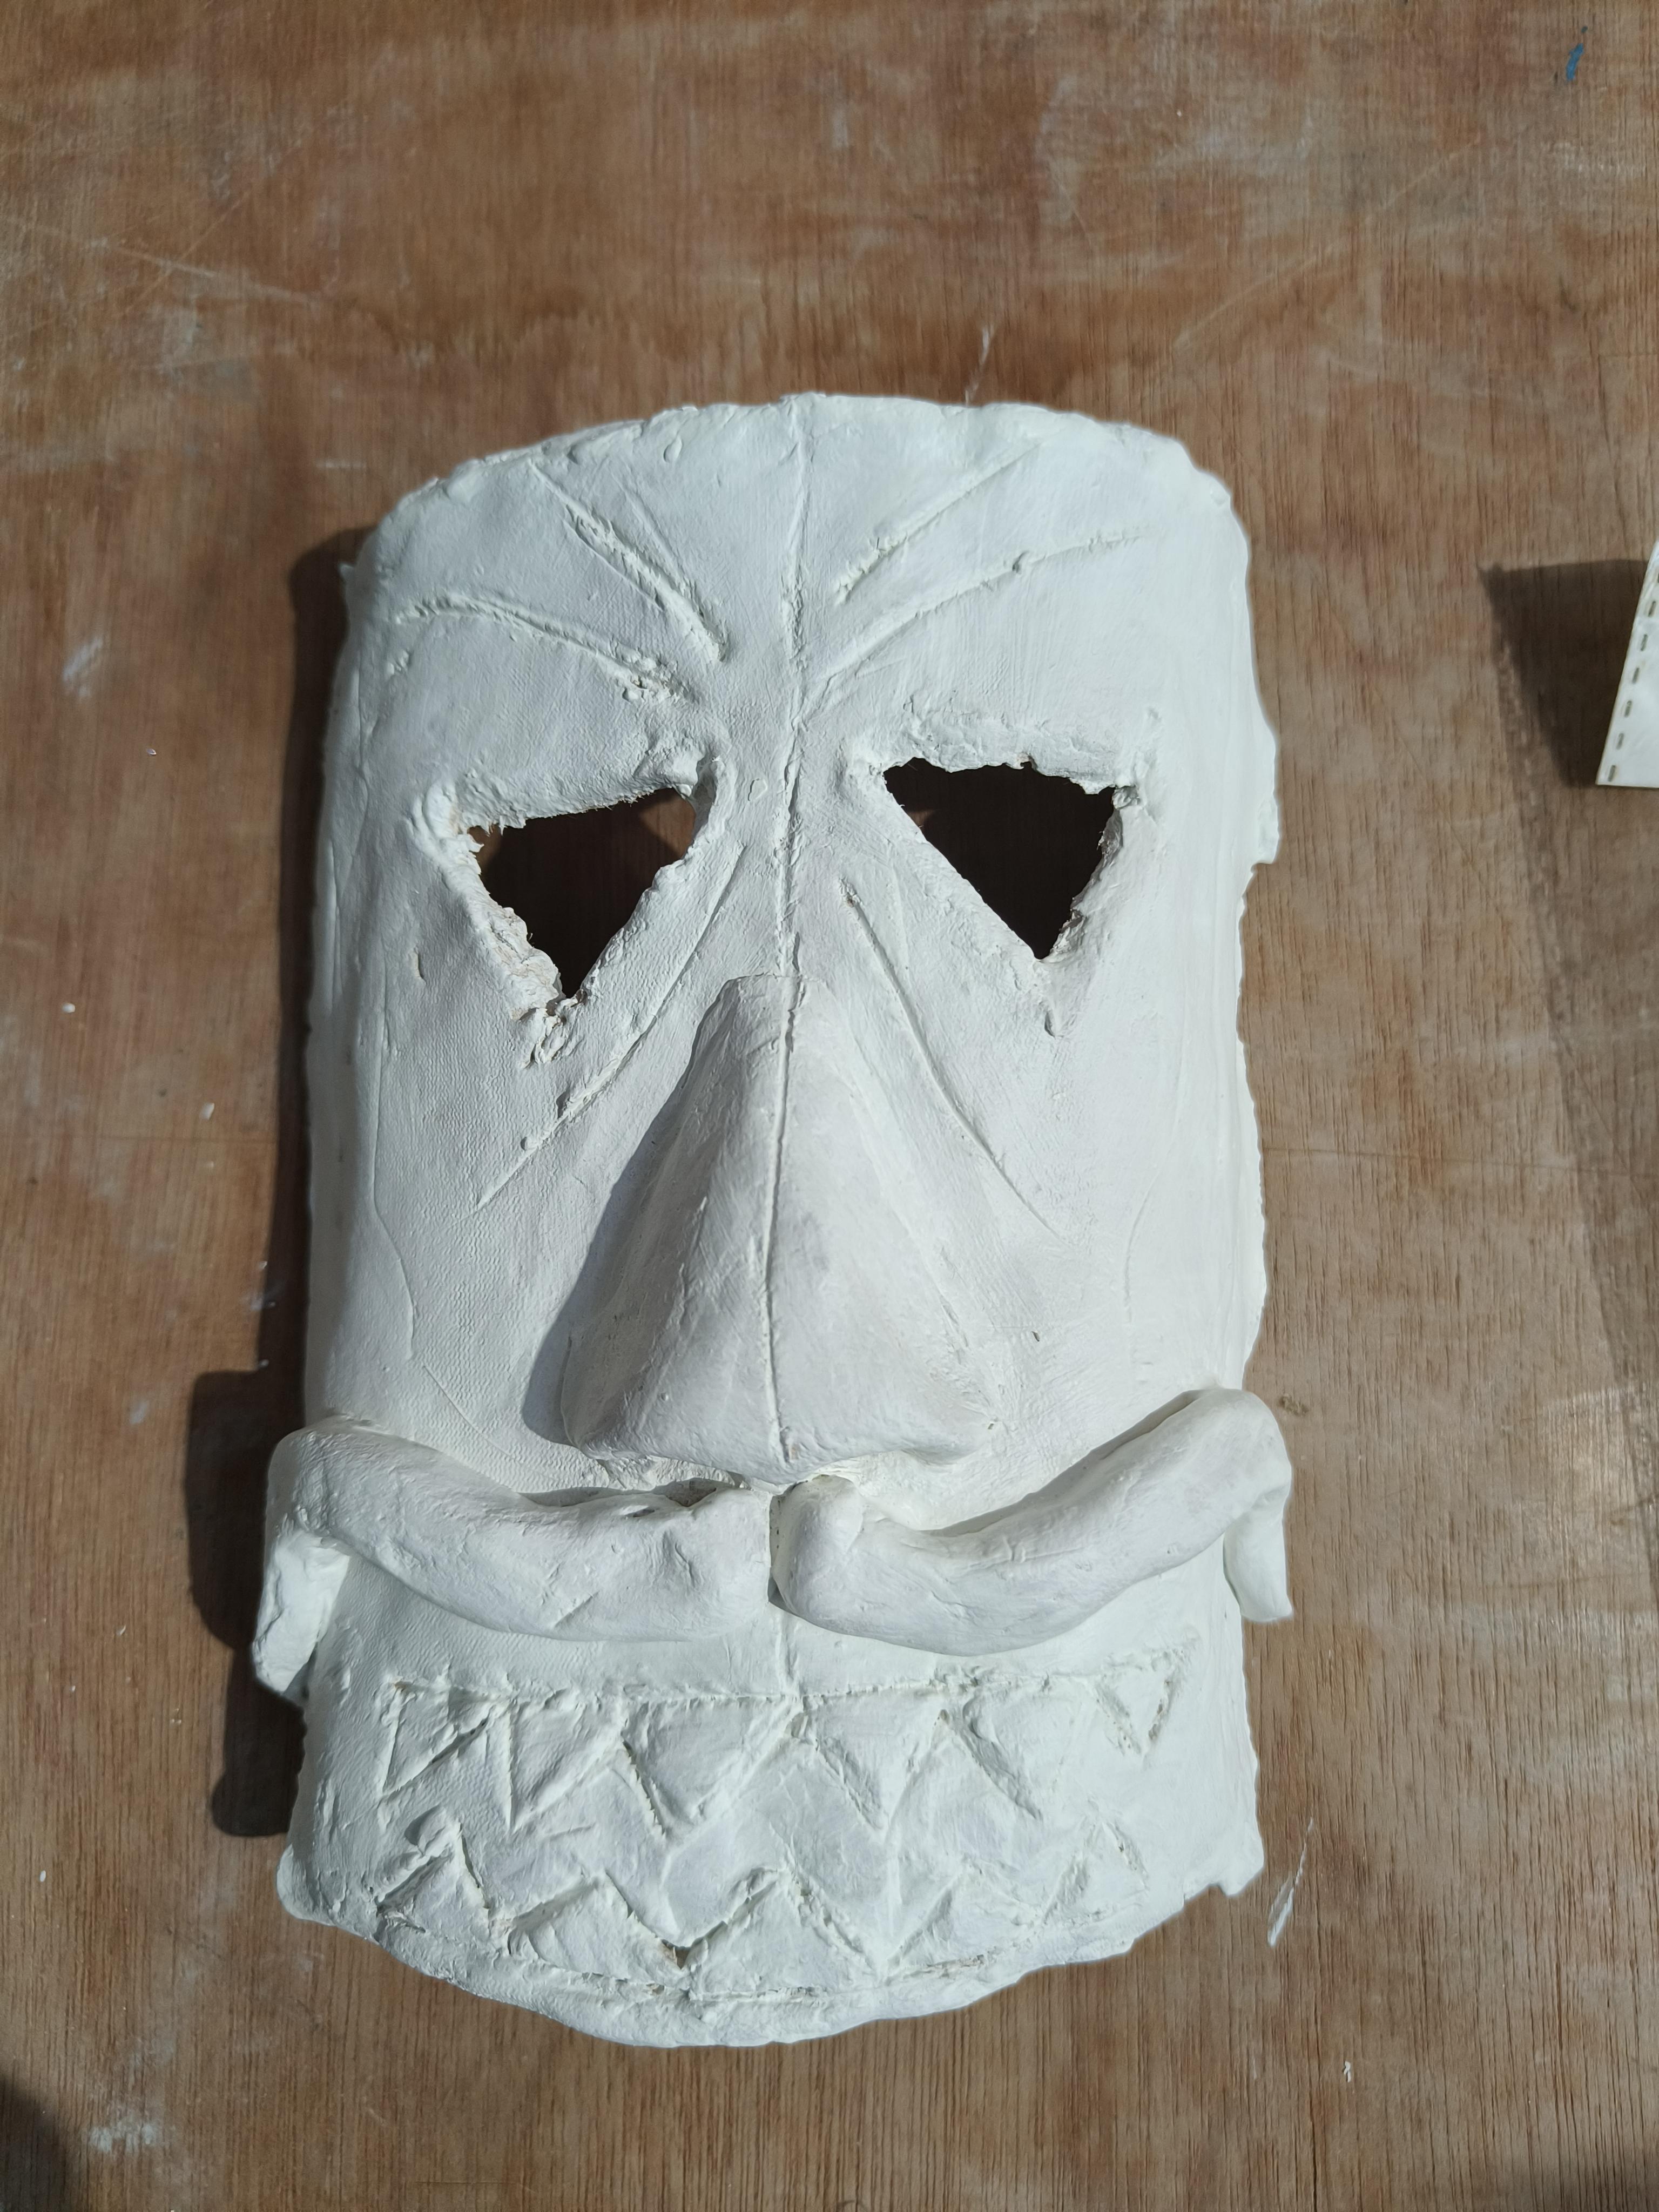
Now, leave it in a clean place for 1 whole day. After 1 day, it will dry, then take it out carefully and remove all the tapes and paper.
After you take it out, we need to paint it too. But before painting we will apply something called primer which will give us a proper white surface to pain on where your colors will be visible clearly. So, just take some primer and apply it evenly on the mask and then let it dry for about 10-15 mins. After you apply primer the mask will look like shown.
Paint
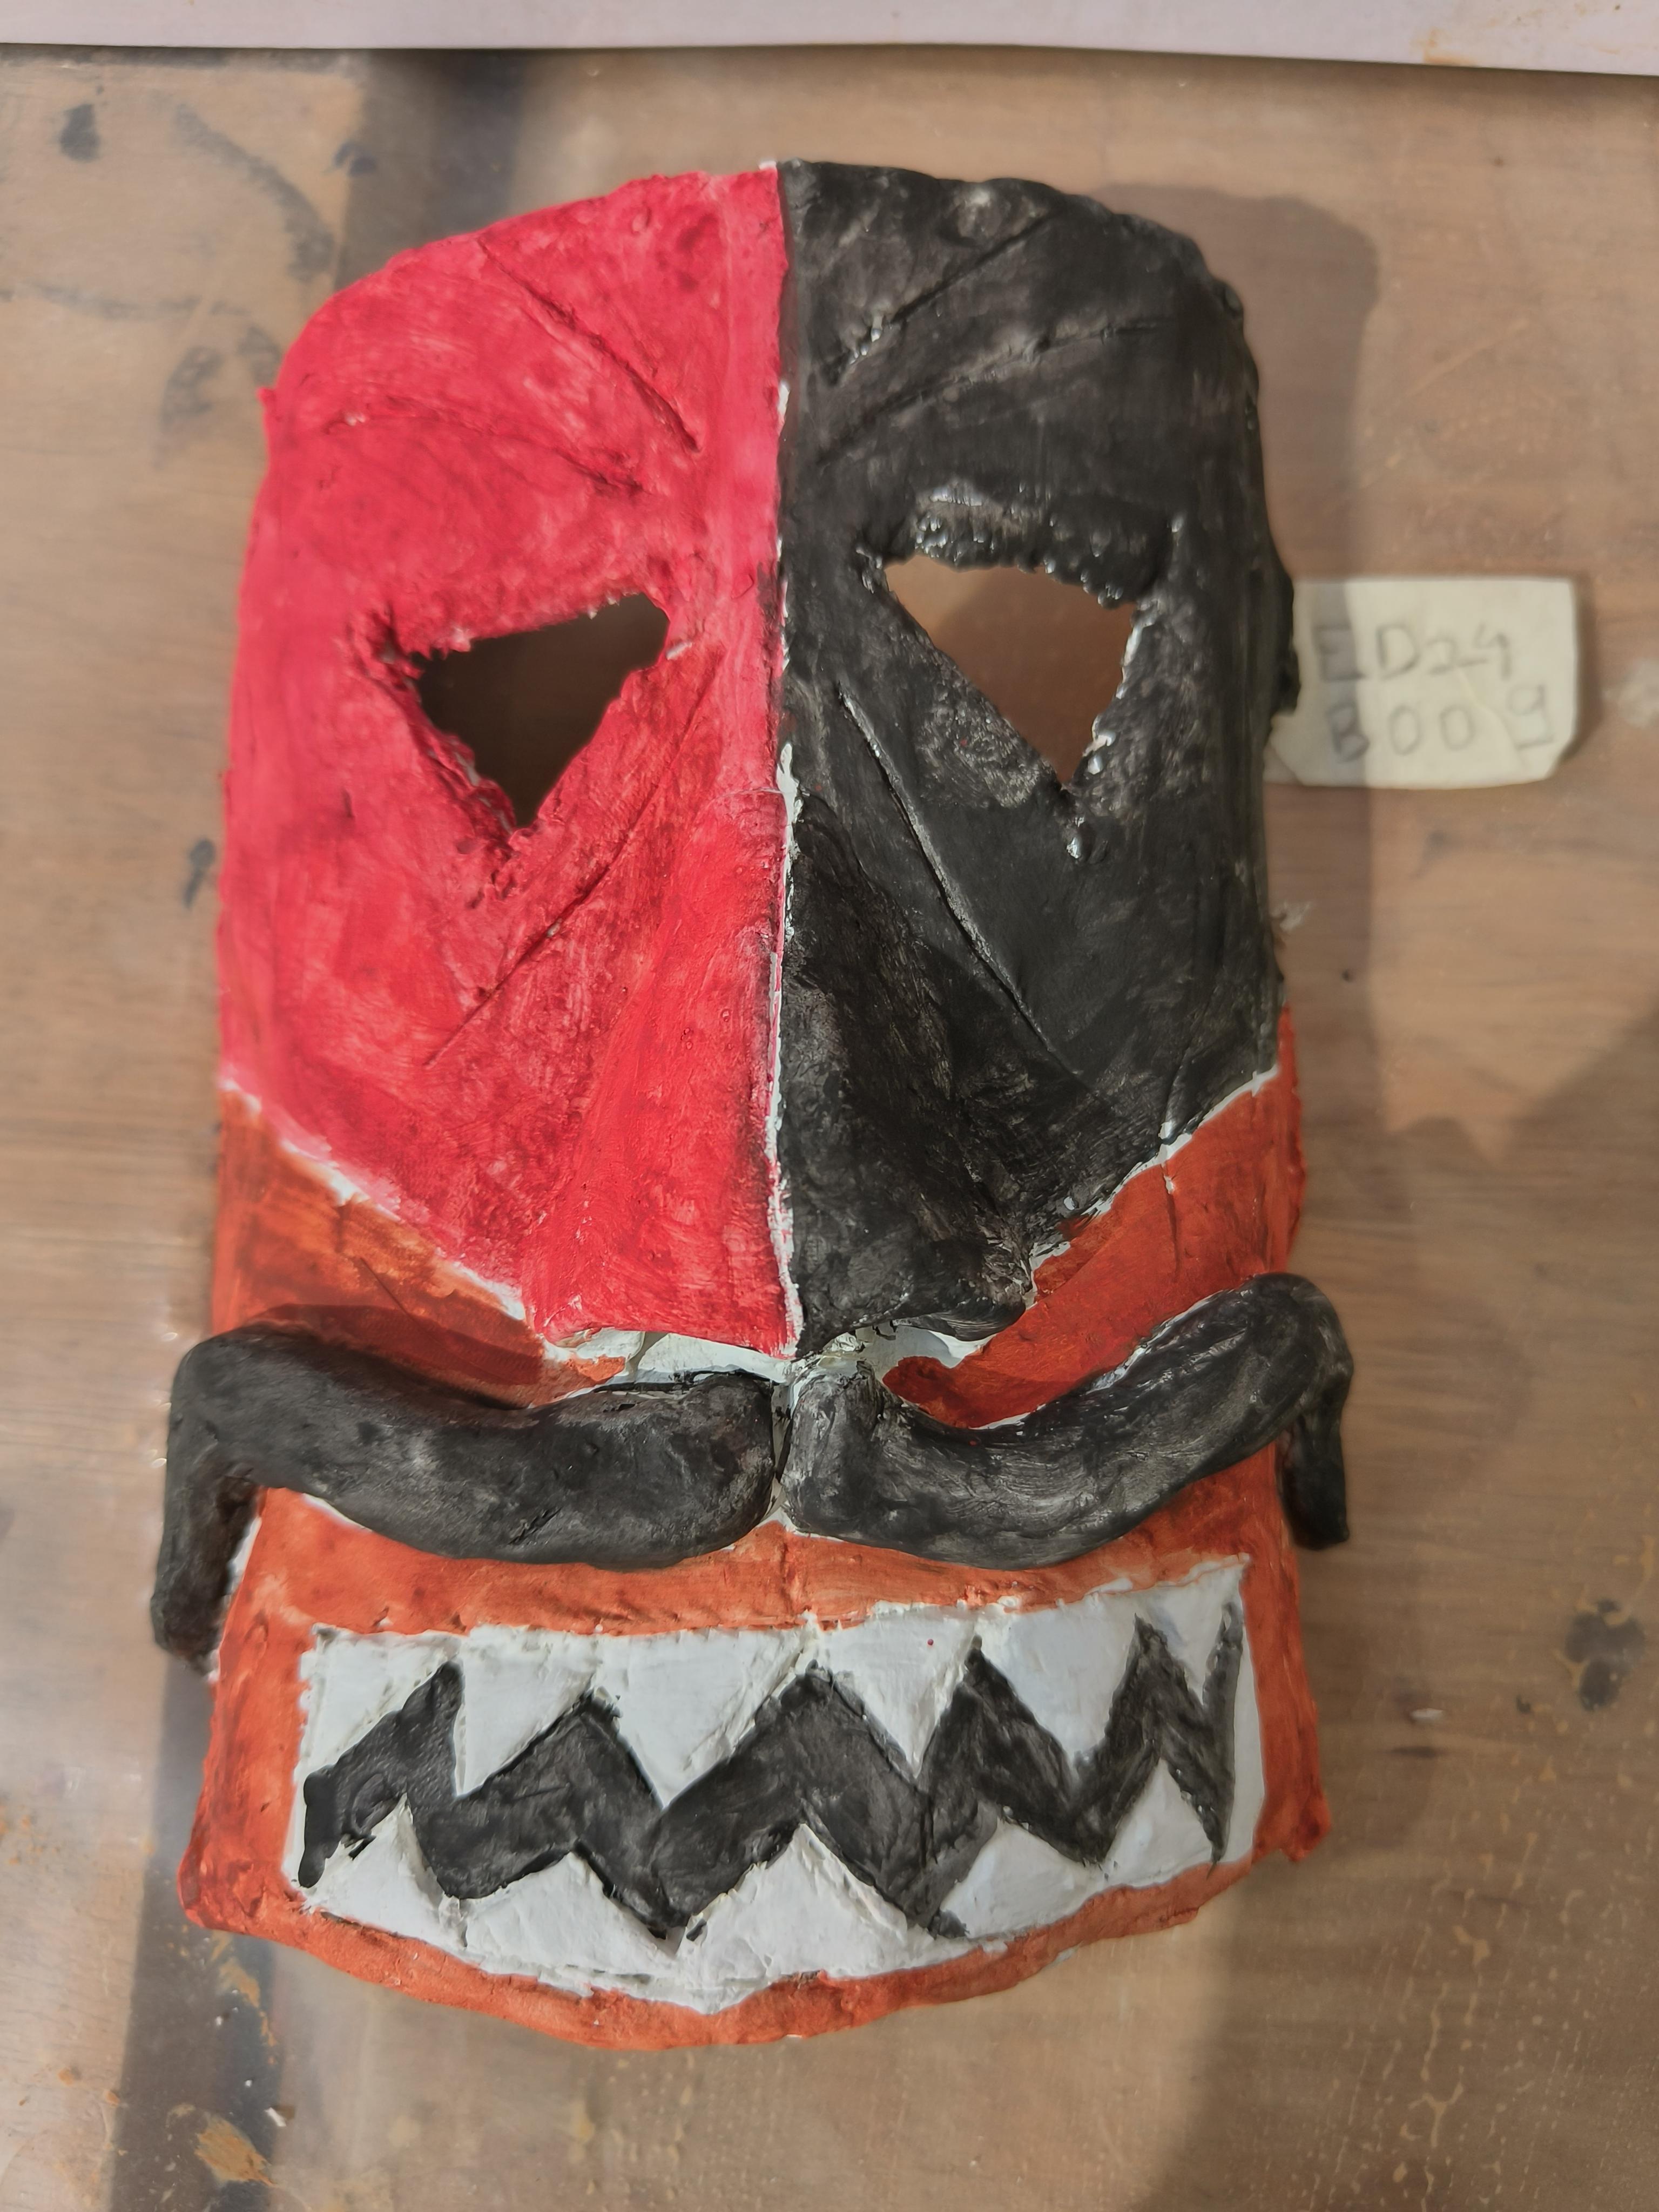
After the primer is dried we are now ready to paint. Follow the paint as shown in the image or you can get more creative and add more details on it.
Let the Paint dry and now our mask is ready!