How to Make Legend of Zelda Master Sword in Onshape(not Actual Size)
by kewidewiXD in Workshop > 3D Printing
883 Views, 3 Favorites, 0 Comments
How to Make Legend of Zelda Master Sword in Onshape(not Actual Size)

Here is a tutorial for making the master sword on Onshape. As it says in the title this is not a tutorial to the real-life size of the master sword, but you can use whatever measurement you want. I will still be showing you the measurement if you need it. The measurement will be in mm. I hope this helps.
Supplies

Onshape
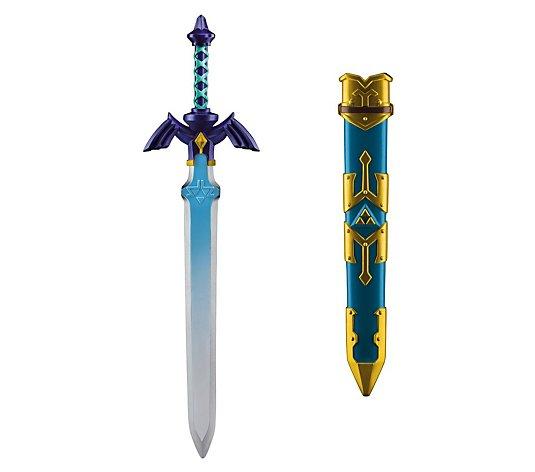
If you need references you can use this photos (THEIR NOT MINE)
Handle


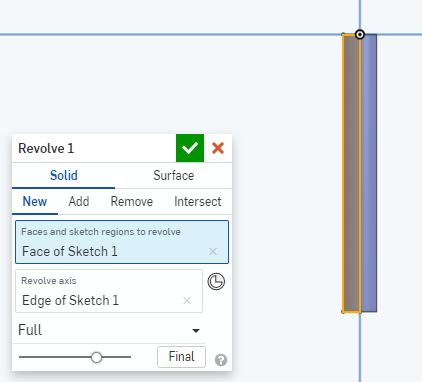
The first thing is to create a sketch on the top plane and draw a rectangle with the Line tool. Try to align the side of the rectangle to the middle line going up and down(THIS will be important later). You can Press D to use the dimension tool. to get the lines to a length that you want. After that, you need to use a revolve and click the line that is aligned with the side of the rectangle as the revolve axis.
The Disc Under the Guard

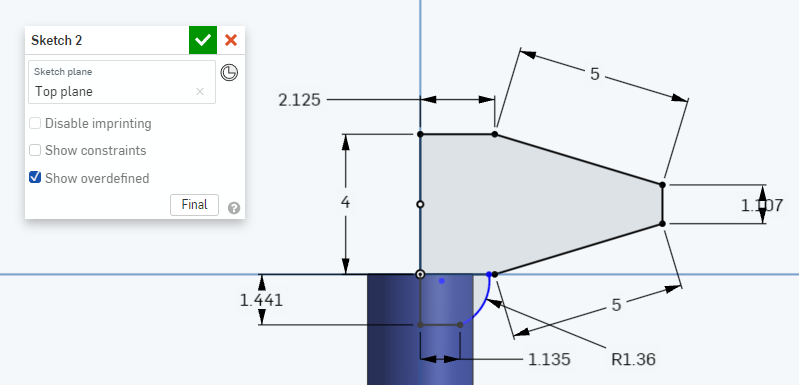

Create a new sketch on the top plane and sketch something like this. Make sure to but the line on the center line that goes up and down. After this you need to use a revolve and like last time use the center line as the revolve axis. Fo the line that is blue you will need to use the tool arc.
Butt of the Sword
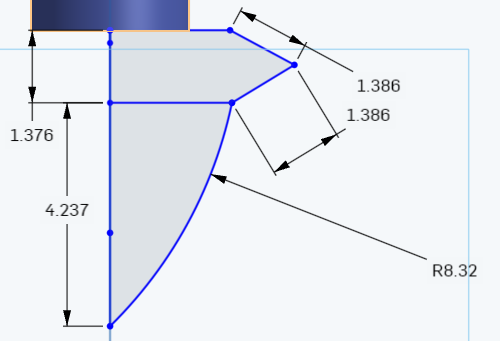
Again on the top plane you create this and revolve it
The Beginning of the Guard

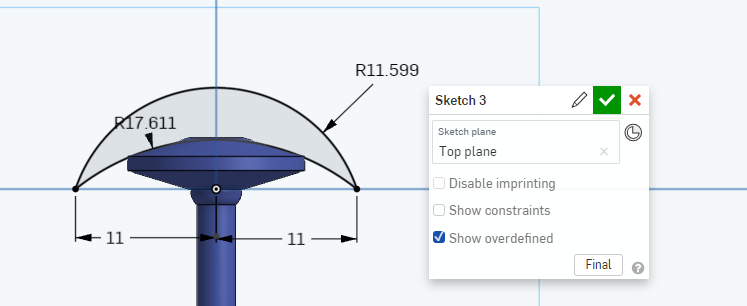
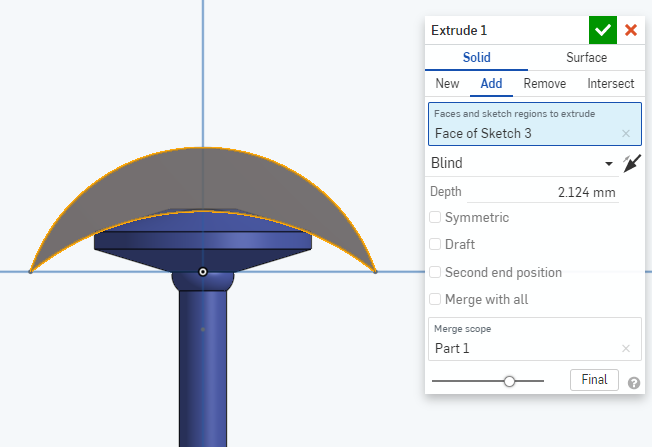
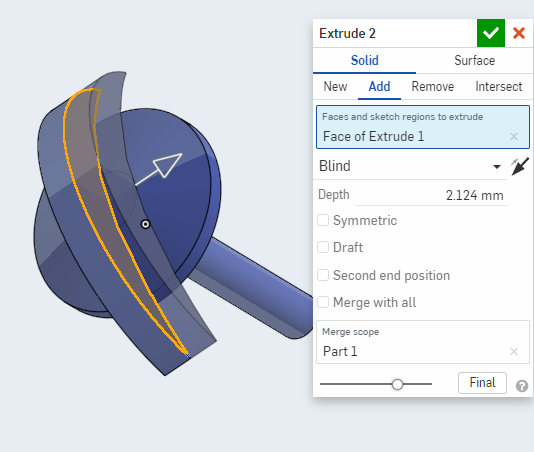
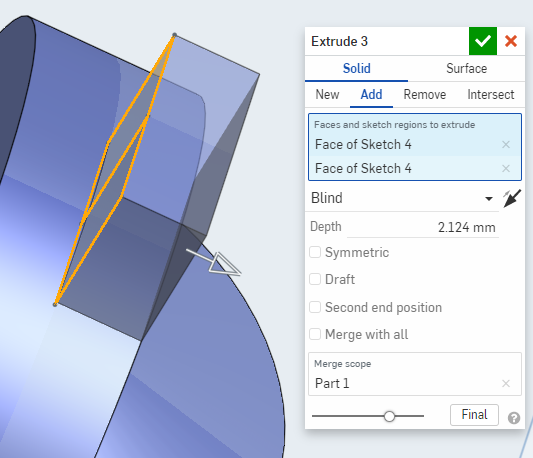
you are going to be making the basic part of the guard first and doing the details later. you are going to use the arc to make that guard. start the arc on one side of the middle line and one on the other side, make sure the radius or third point is near the guard as well as intersecting it, also make sure that the two point are on the line that goes left and right. Use the dimension tool to make sure that the 2 points are equal distance from the middle line. you then create a second arc, putting the first 2 points in the same place you put the first 2 points in the first arc. For the third point, you place it farther away from the first third point to form something like a crescent. to the left of the revolve is the extrude which will give the sketch depth. make sure that the extrude is depth is near the circle on the disc.extrude again but for the other side. then you will create another sketch and place the sketch on the top plnce and make a rectangle extrude it and extrude it again.
Blade
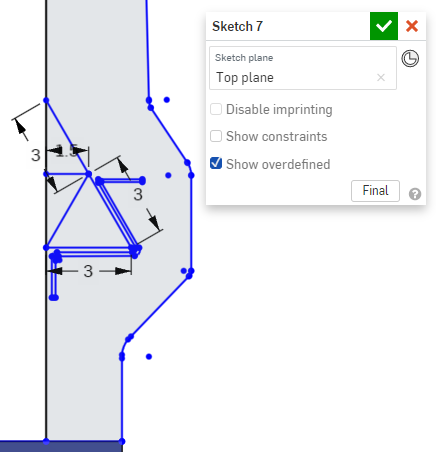
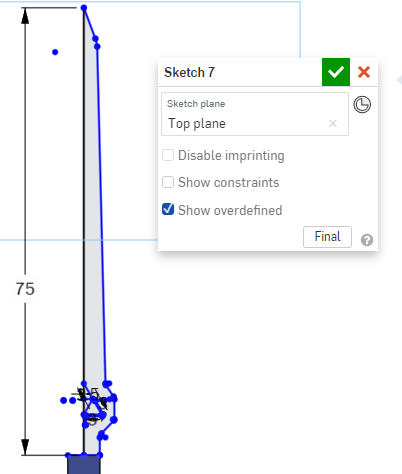
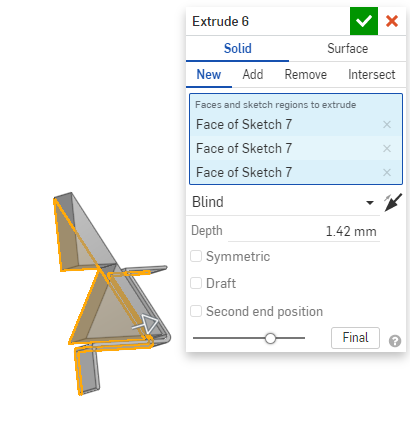
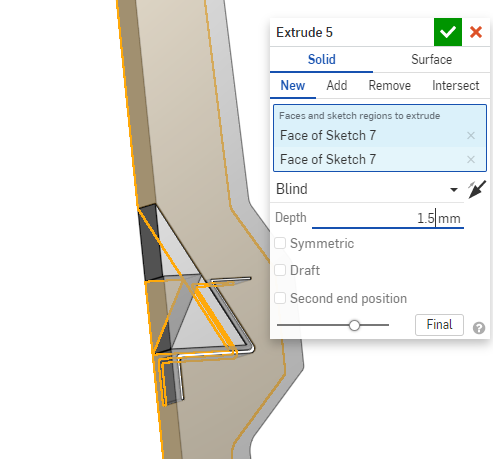
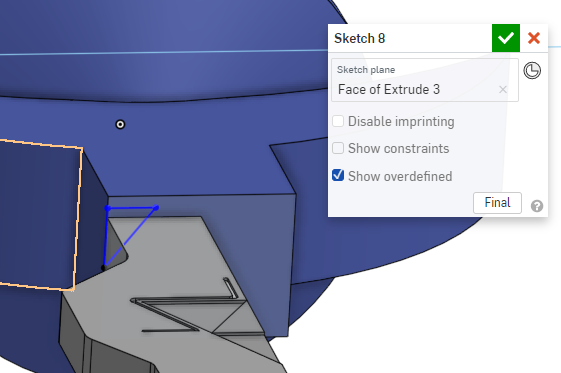
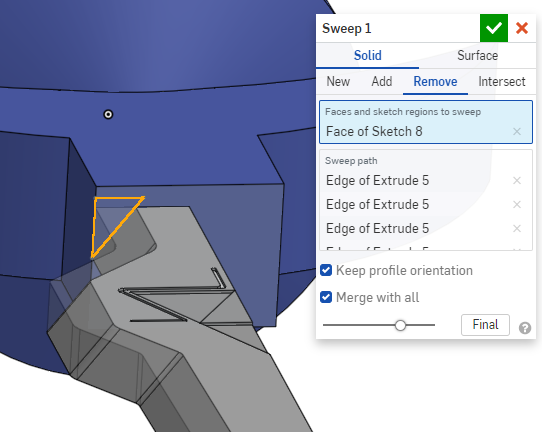
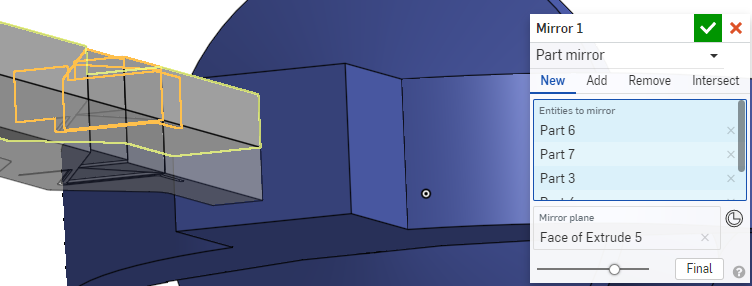
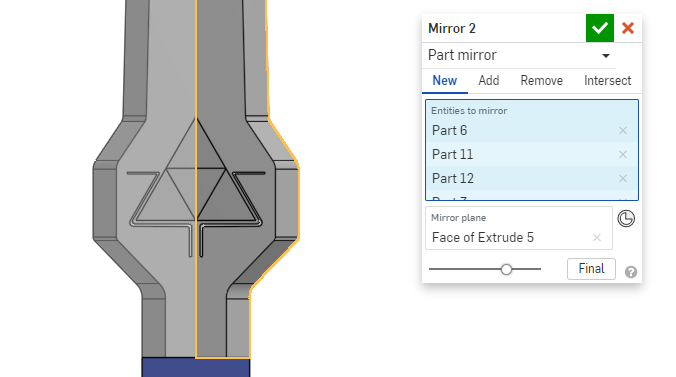
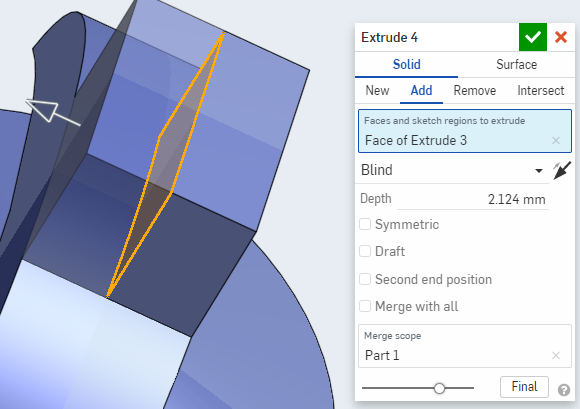
if you want create a sketch on the top plane and insert a picture so you can trace the blade, with the line and arc. Do not out line the entire blade, only outline half of it. as well as out line the triforce on the blade. then you will extrude the triforce ingraving first. make sure it is on new. The depth of the ingraving will be lower than the the depth of the blade. then extrude the rest of the sketch. the depth of this will be higher than the ingraving. this is also on new . then create a sketch on the top part of the guard. you will be making a triangle using the line tool. you'll start the line on the bottom corrnor of the sword and the next one will be diagonal to the right. the line will be going through the sword and will end a bit above it. then connect the lines to form a right angle triangle. next you will be using the sweep tool to make make the edge of the blade. Click on the solid and click on remove. for the faces and sketch click on the triangel. for the sweep path click on the edges of the sword. Click on keep profile orientation and merge with all. then mirror the blade using the bottom of it as a mirror plane, do it once more but mirror both parts and use the side as the mirror plane, either one will do.
The Rest of the Guard.
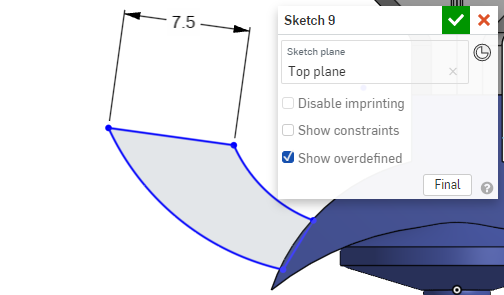
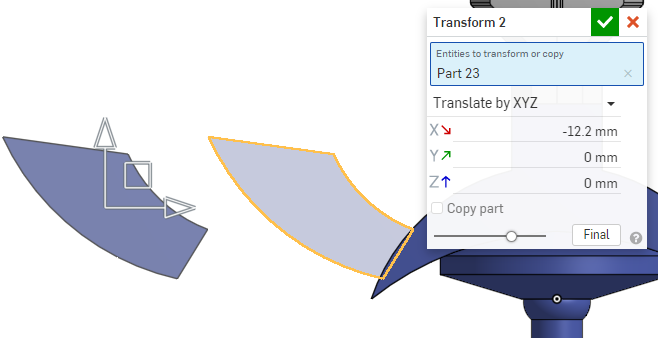
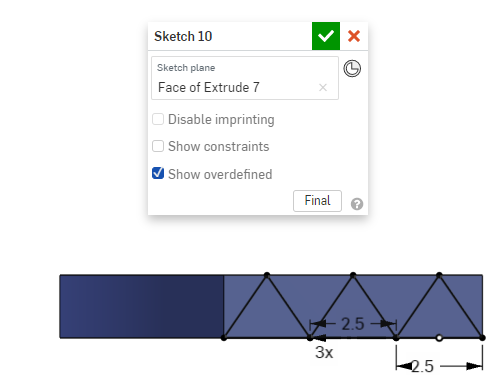
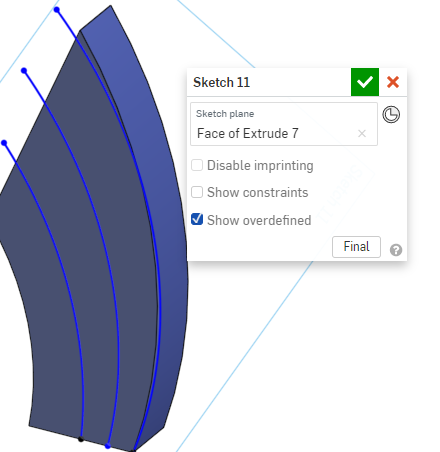
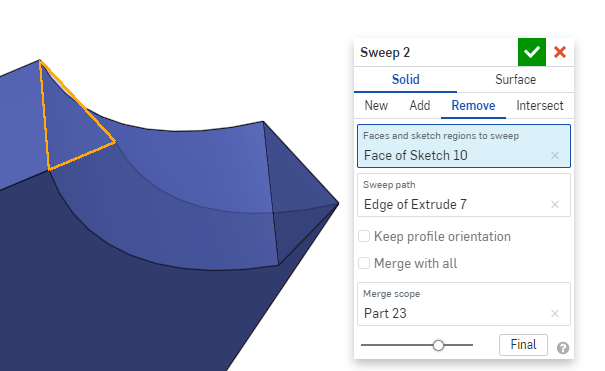
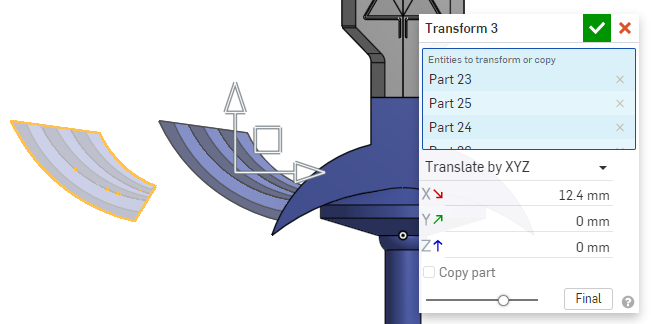

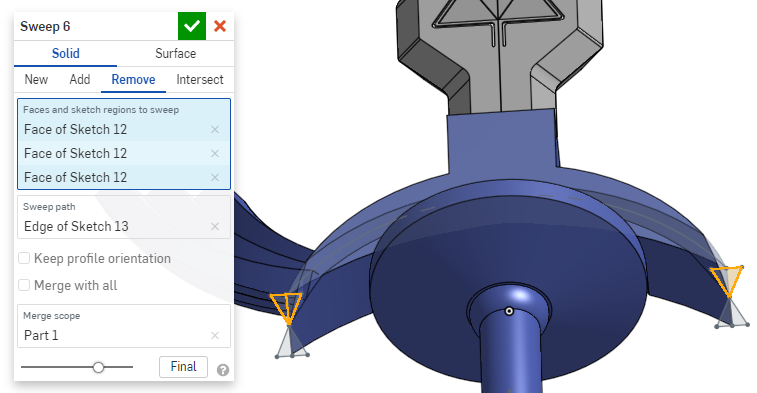
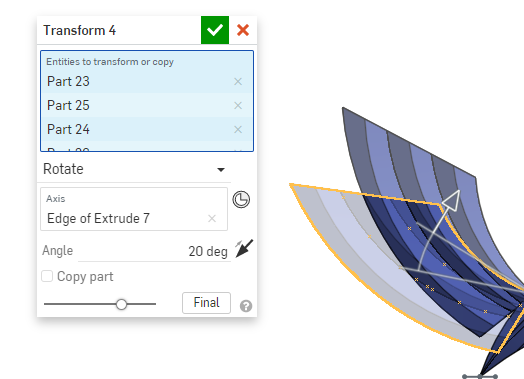
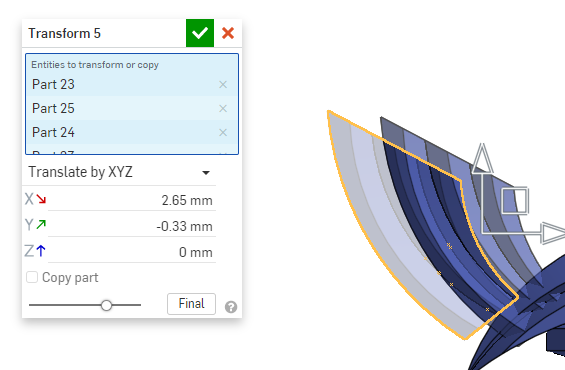
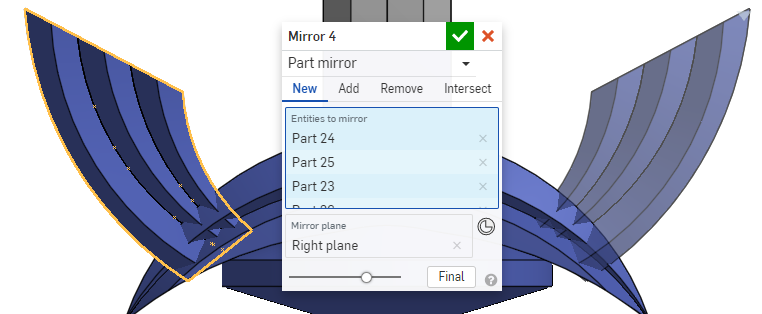
why is this separate? well, it's because I wanted to finish the blade first and then deal with the guard later. anyways create a sketch on the top plane and sketch out one of the wings, not both. extrude it, click new, and align it with the first part of the guard. do not mirror it and then you transform it. Click on the transform tool and click on the wing for entities to transform. Click on the drop-down box and click on translate by XYZ. move it away from the guard and confirm the transformation. create a sketch on the front of the wing and cause the line to create a triangle. use the linear pattern to make two more. make sure it fits in the wing. after that, you will create a sketch on the bottom of the wing, and create two arcs. use the sweep tool and click remove use the triangles that are pointing down as the sketch to sweep. use the edge as the sweep path for the merge scope click on the wing. do it 3 more times for the first 2 use the arc as a sweep path from the previous sketch. for the final one use the edge as the sweep path. the merge scope stays the same. mirror the wing using the back of it as a mirror plane. and translate the wing by using the translate by XYZ to move it. using the chamfer tool click on the top edges of the guard. Create a sketch on the guard and make an arc and do it on the other side. create a sketch on the front plane. sketch a triangle and mirror it using the middle line that goes left and right as a mirror line and do it again but for the line that goes up and and down. use the sweep tool and click on the remove, click on the triangles as the sketch to sweep and the arc as a sweep path, merge scope should be the guard. do this on the other side too. rotate the wing using the transform and then move it. when it is in a position that you like use the mirror tool to mirror it on the other side.
The Outline
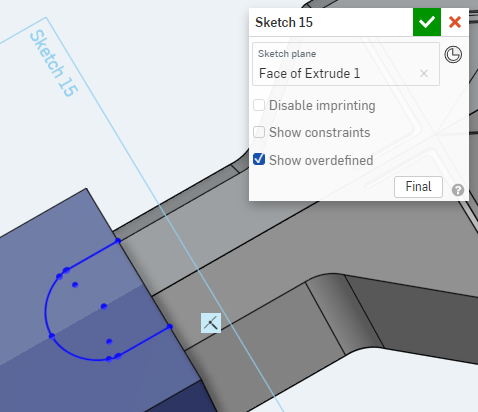
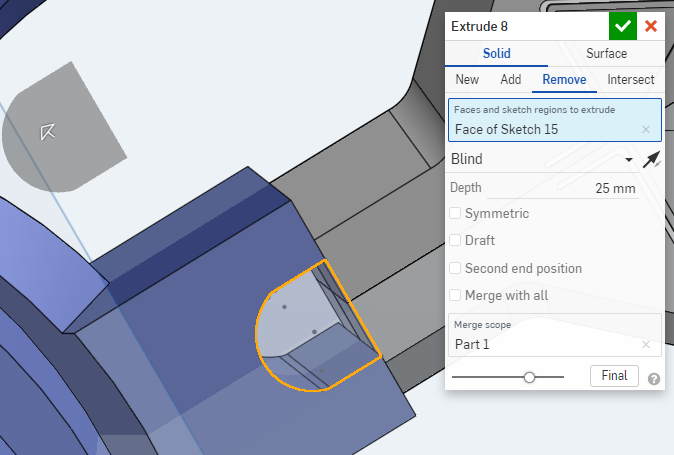
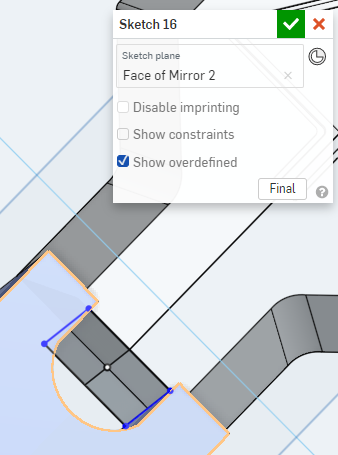
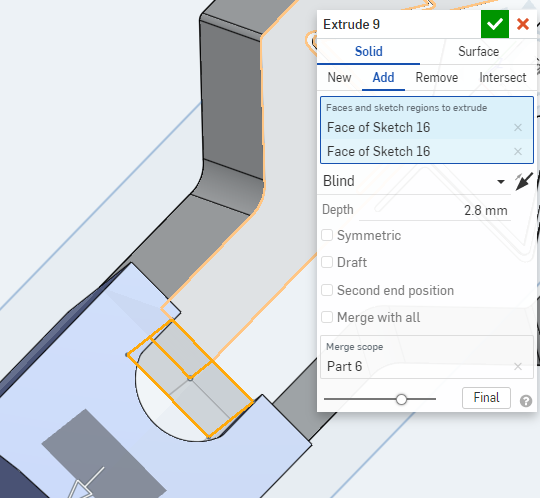
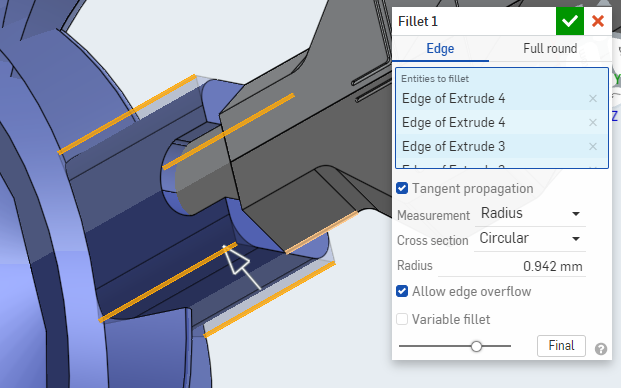
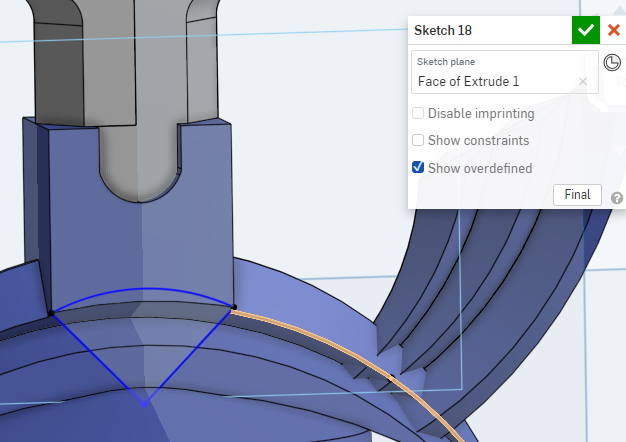
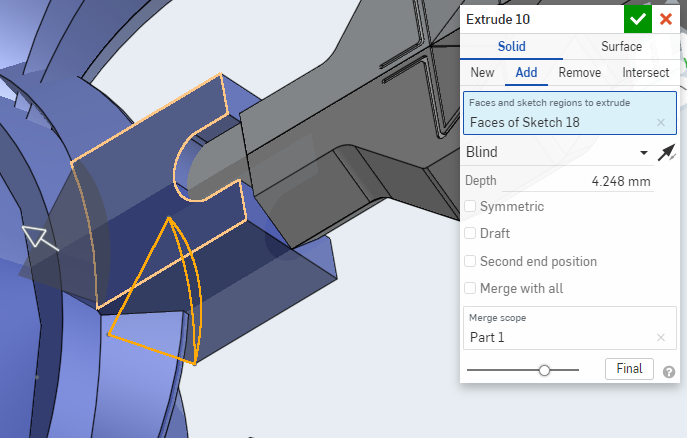
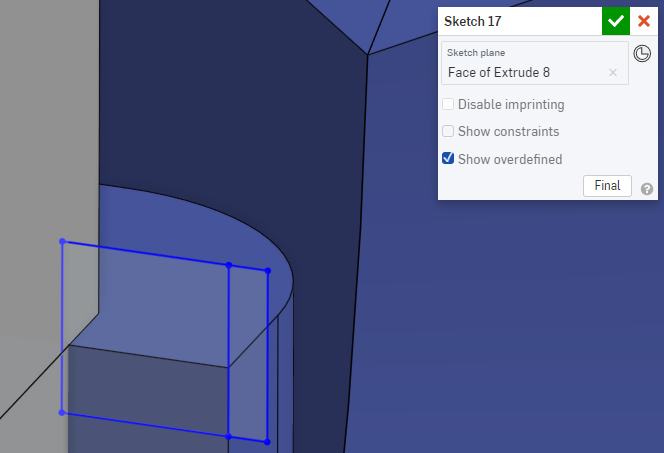
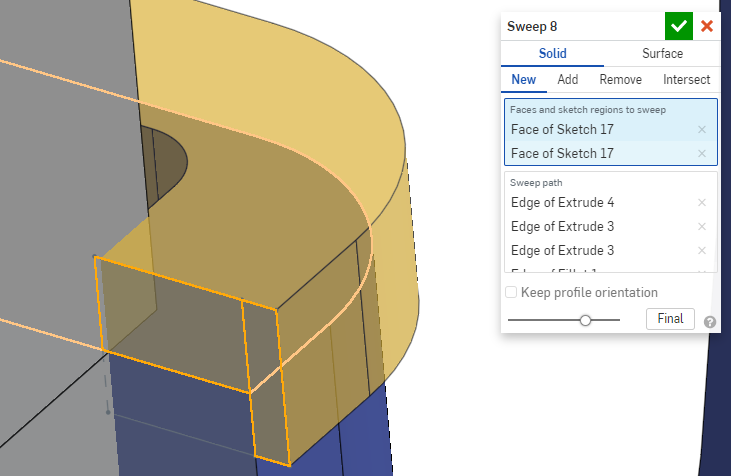
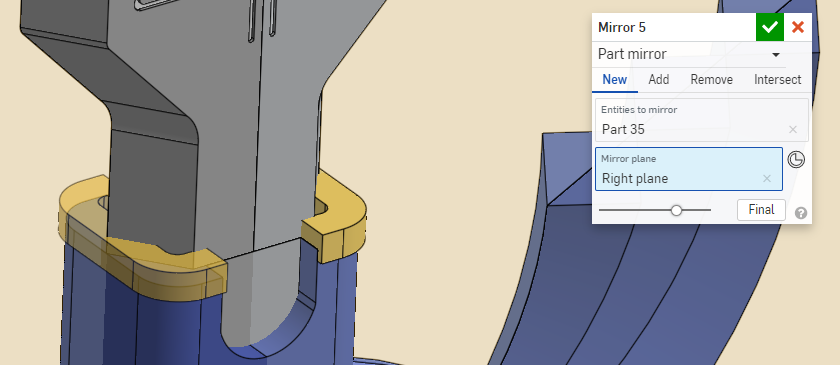
create a new sketch on the top front of the handle and create a U and click on extrude and remove. under the blade create a sketch and sketch a rectangle and extrude it and make it go into the guard. make a sketch on the front of the handle and make a arc that goes from the edges to edge of the square. then use the line tool and start from the first to two arc point and connect them to form a piece of pie. then extrude it so it could go to the other side of the sword.use the fillet tool on the edges of the plane. Next, create a sketch on the side of the U extrude line for the outline on the top of the sword and use the sweeping tool to create it. make sure to click on new and to use the edge of the handle as a sweep, mirror it, and use the right plane as a mirror plane.
The Gold Piece
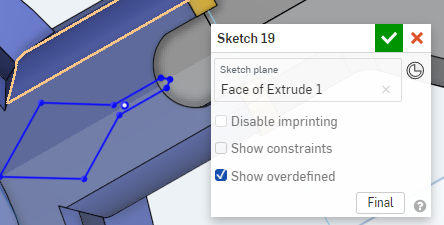
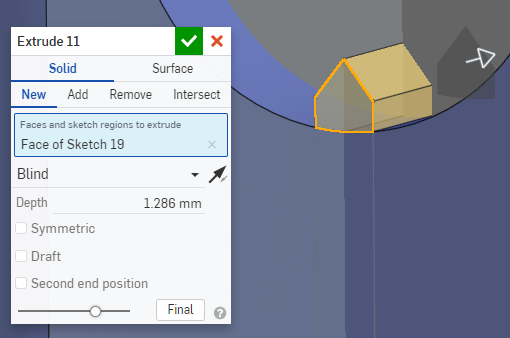
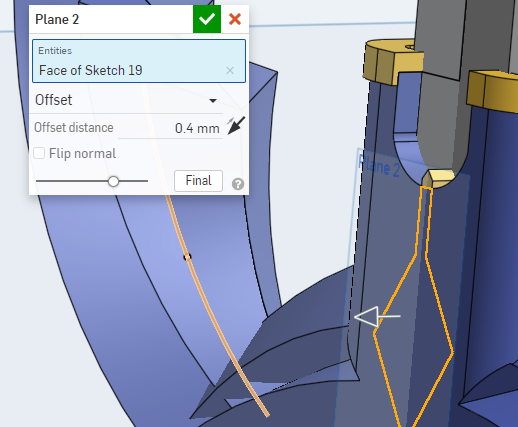
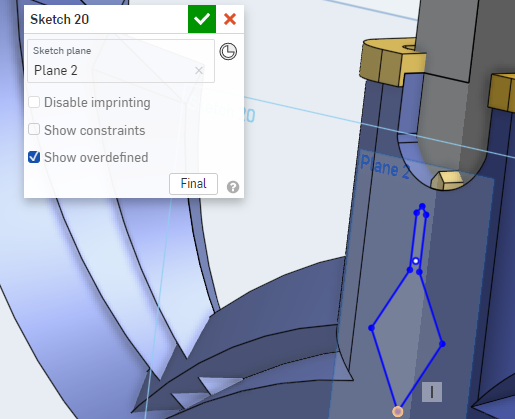
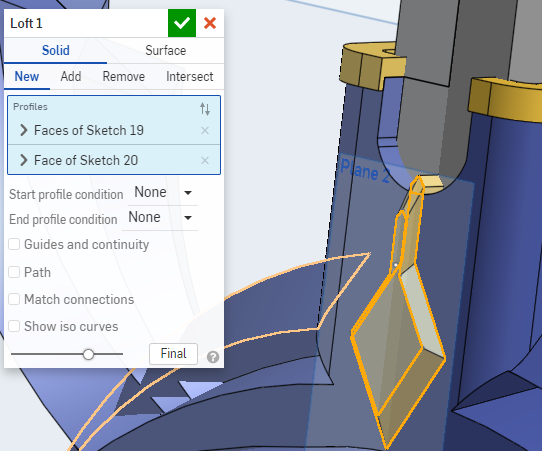
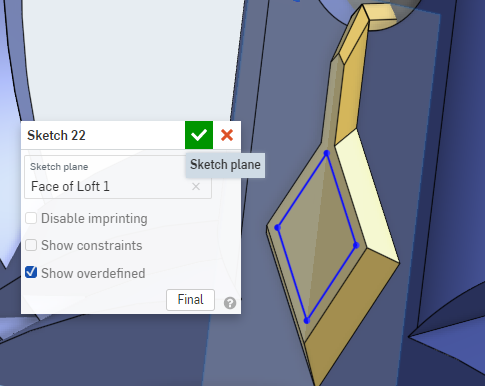
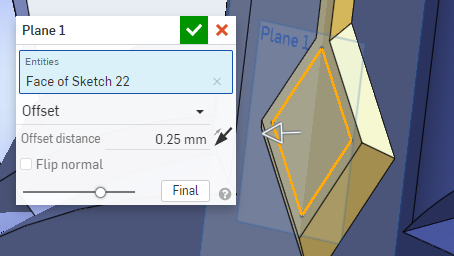
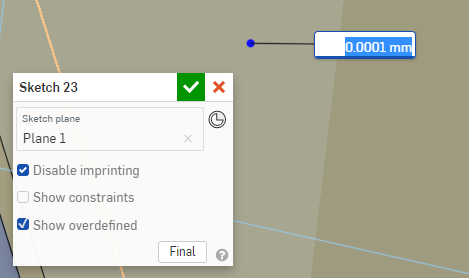
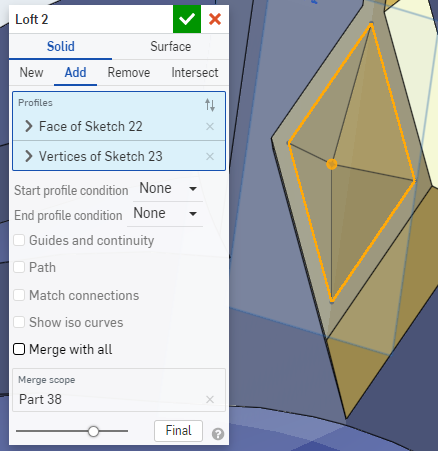
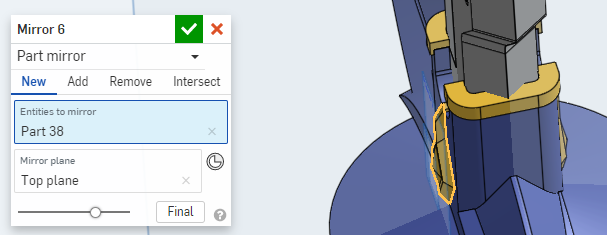
After that create a sketch on the front of the handle and create the outline of the gold piece on the master sword. extrude the small top part to make it go into the blade. copy the sketch, then offset the plane and make it go near the handle. create a new sketch on the plane and paste the sketch from before. use the dimension tool on one side of the sketch and decrease its length. then use the loft tool by clicking on the sketch from before and the sketch you pasted now. do it one more time but only paste the diamond. and for the last sketch make a small circle and loft it, then mirror it.
The Grip
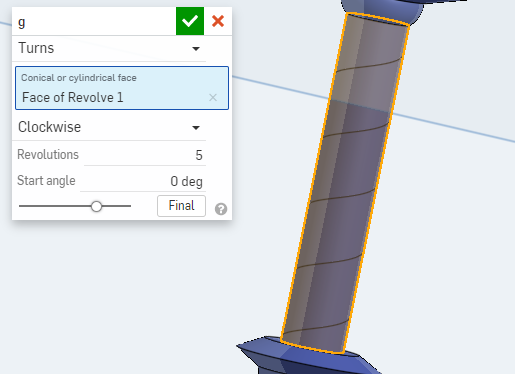
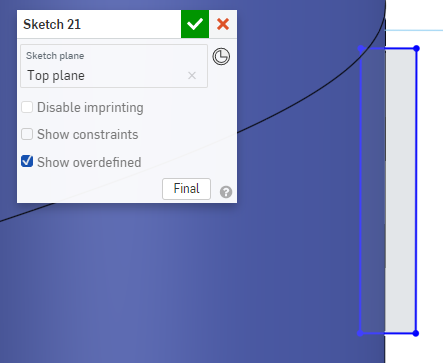
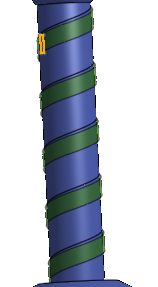
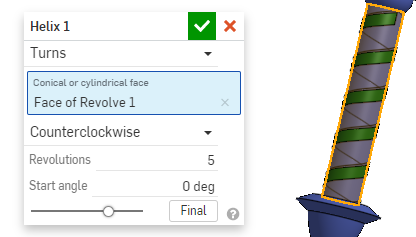
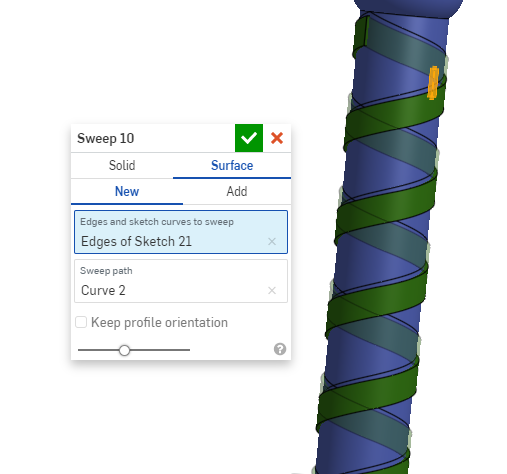
Use the helix and create 5 revolutions, clockwise on the handle. create a new sketch on the top plane and make a rectangle align with the handle. Sweep and click on new, and for the sketch click on the rectangle, and for the sweep path use the helix. do this once more and use the same rectangle for the sketch and for the helix make it counterclockwise
Coloring
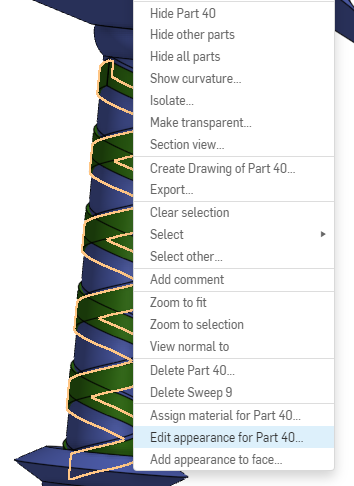
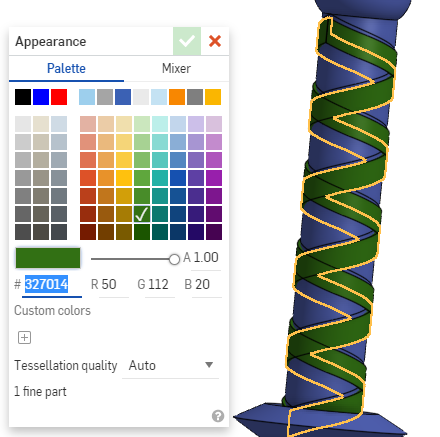
for coloring right-click on the part and click on edit appearance, and chose the color you want.