How to Make Images Pop Out of Polaroid Pictures
by jenttrenson in Craft > Digital Graphics
7522 Views, 126 Favorites, 0 Comments
How to Make Images Pop Out of Polaroid Pictures
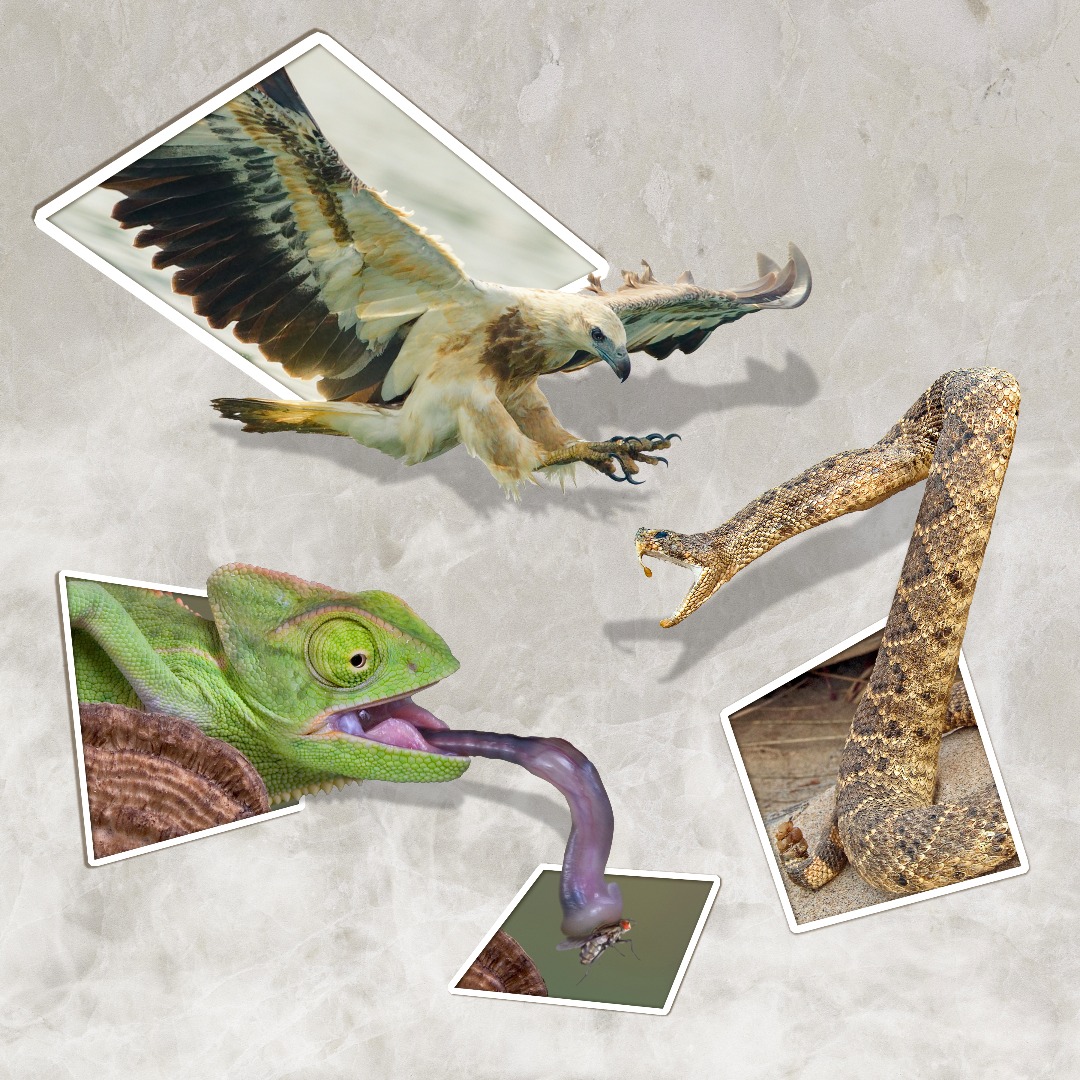
Have you ever wanted to make pictures come to life? This instructable is going to show how to take any image and make it look like it is popping out of a polaroid picture. This effect can be used to create some very unique pieces of art from pictures that you already have on your camera, computer or phone.
Things you need:
• A photo editing program (Pixlr is free on the internet or you can use any version of Photoshop or other photo editing program)
• Pictures - as many as you want to make pop out. In this instructable I am using 3 different pictures.
• Background images - optional. Sometimes a white backdrop is more enjoyable than a colored background. You can get some great background images from Creative Market - especially nature backgrounds so be sure to check them out! The pack that I used for a nature background can be found here Creative Market Backgrounds and the texture pack can be found here Creative Market Textures
Estimated time for completion: 1-4 hours depending on complexity of your image and experience with photo editing.
Find the Pictures That You Want to Use
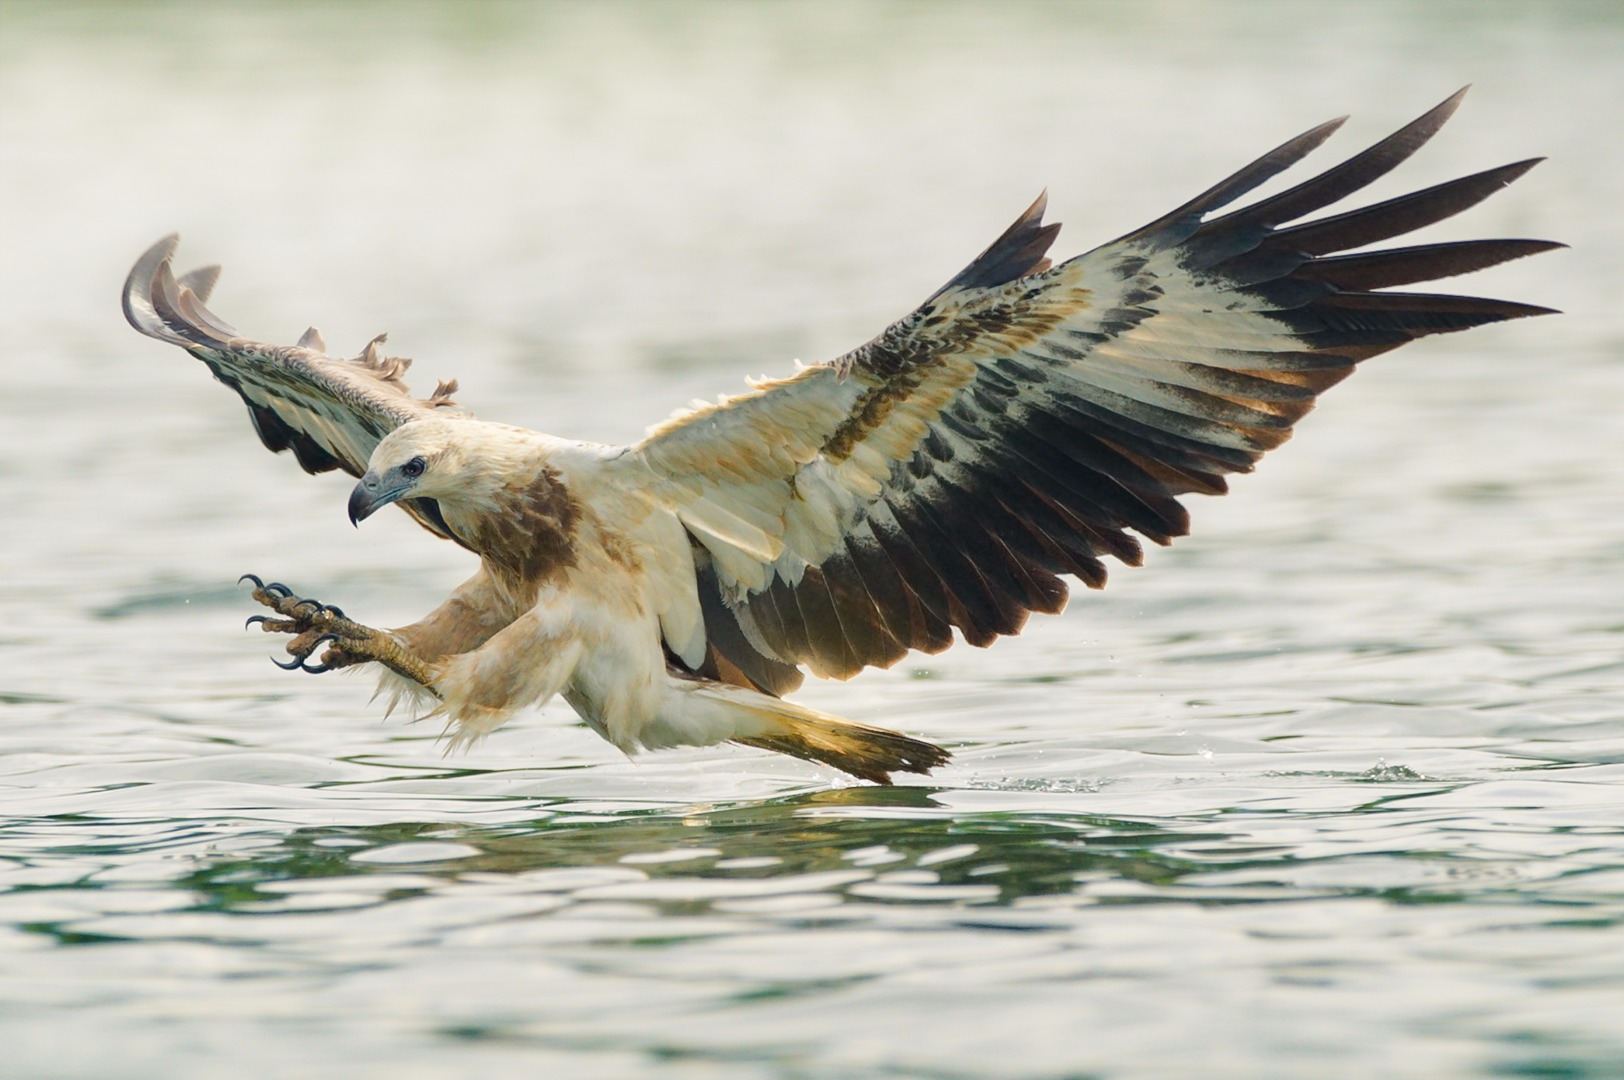
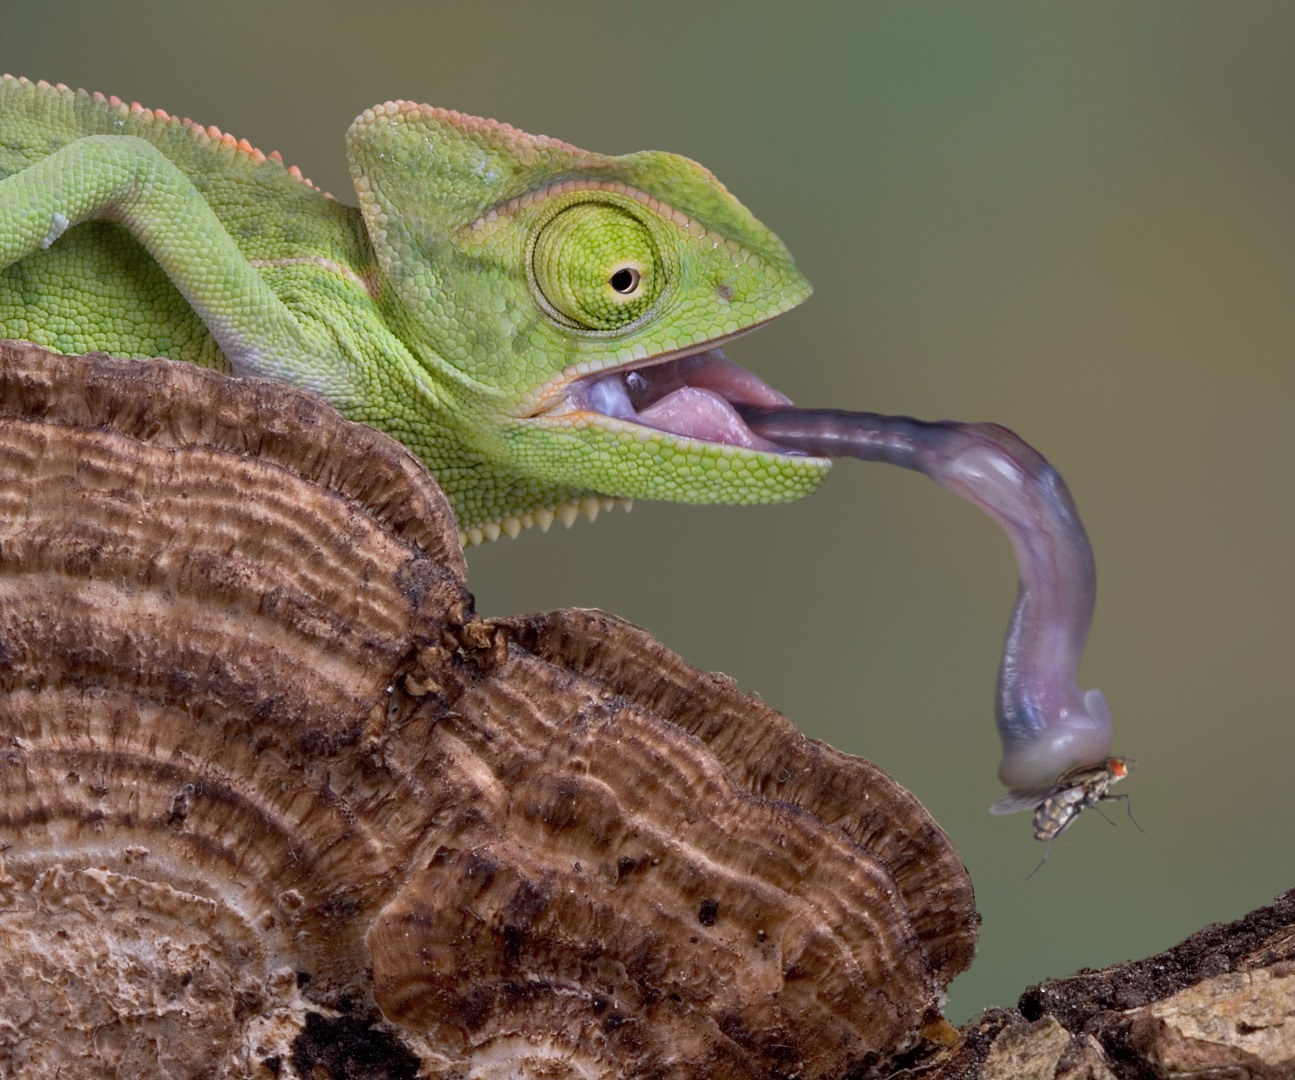
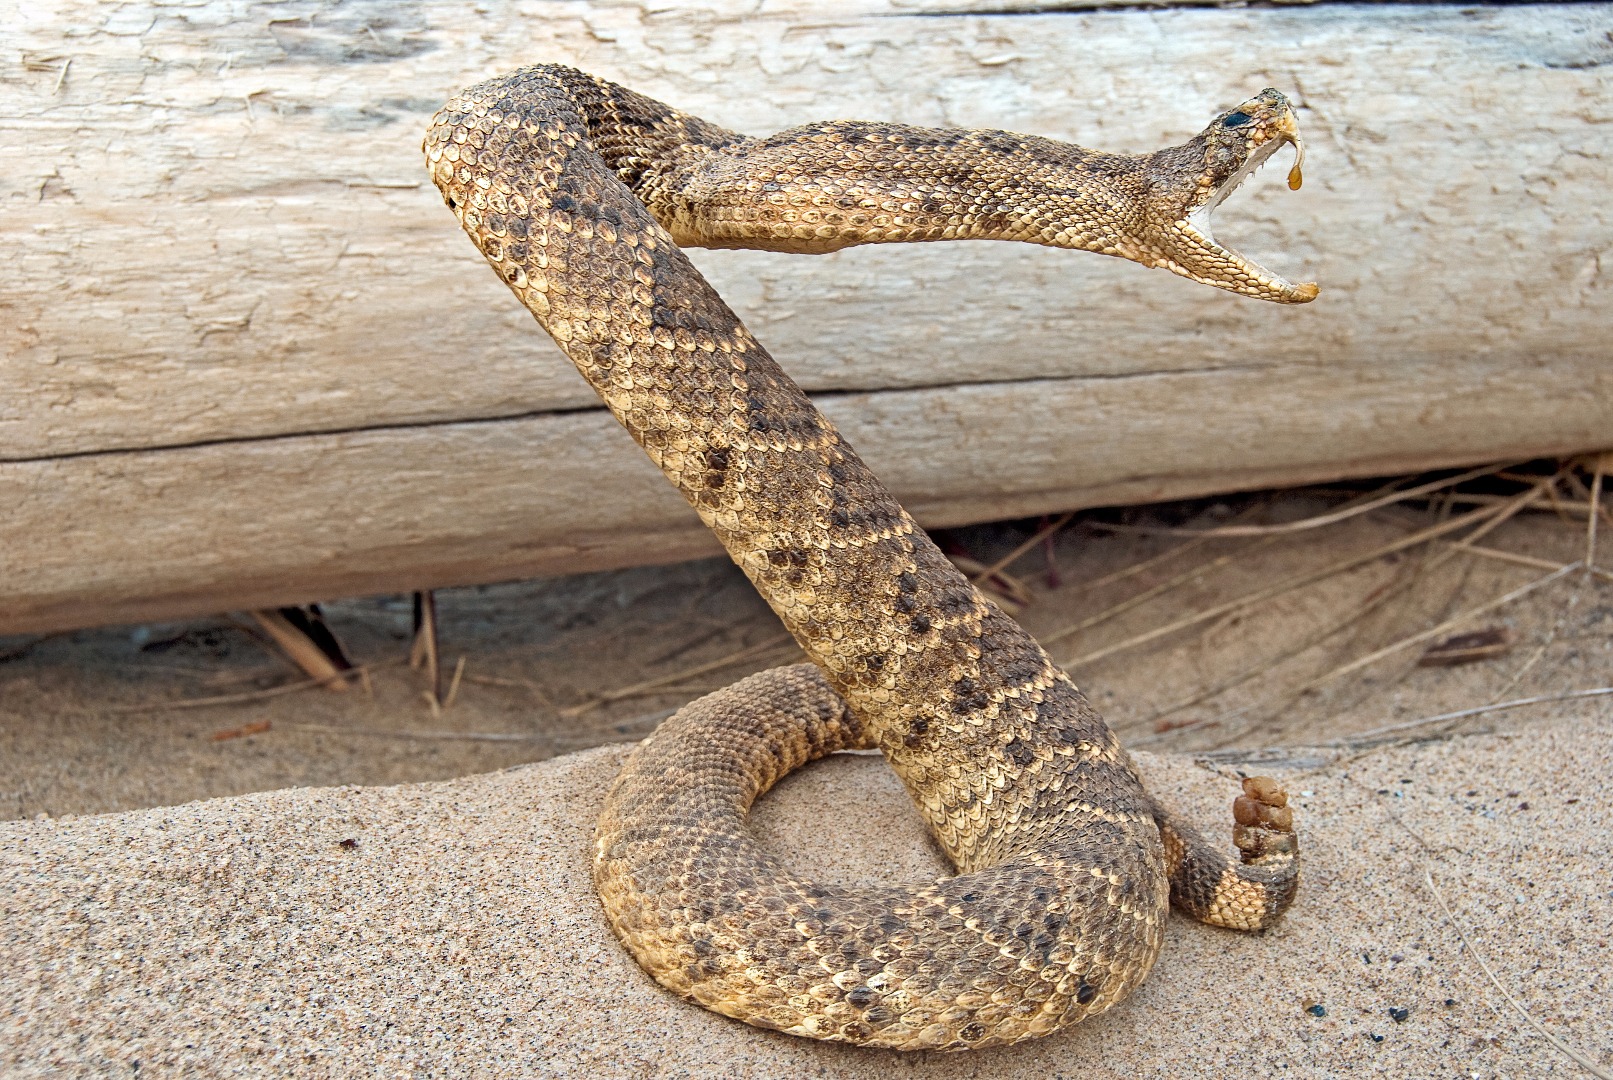
Look through your personal pictures of through a site such as Shutterstock to find pictures to use. There are a couple of things to keep in mind when making your selection.
• Complexity and difficulty: Images like the eagle can be difficult to cut out of the original image due to feathers and complicated lines whereas the snake has a lot of smooth, straight lines. The more complicated the image the more time and patience it is going to take.
• Image size: If you plan on printing this out then you are going to want to set up an image in your editing program that is 300 DPI at the overall size of your desired print. Depending on your desired size you may need to choose new pictures to keep your image quality high. If you plan on only using this digitally then you shouldn't have an issue with choosing any images. Set your art board up to be 72 DPI.
Take Your First Picture and Shape Your First Polaroid
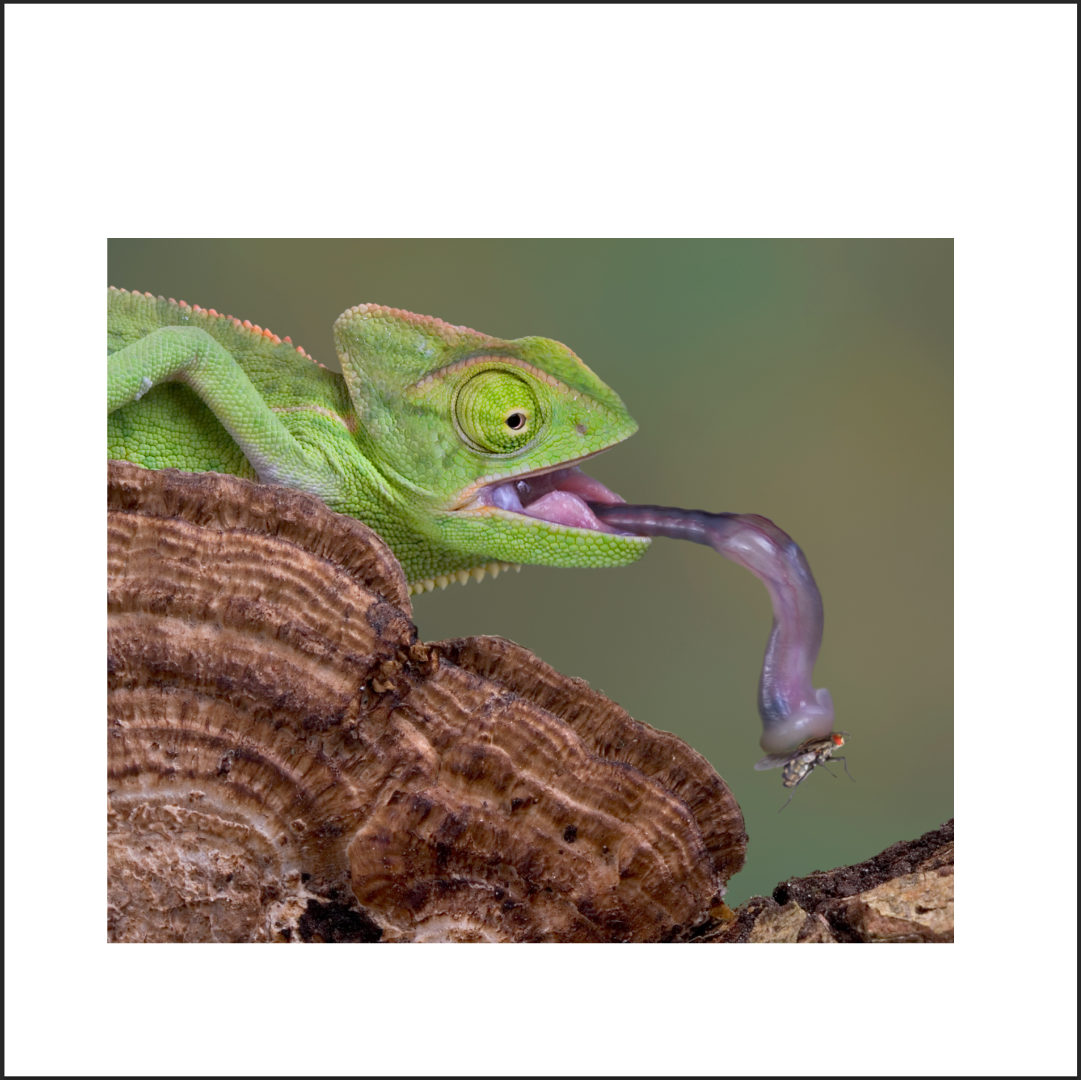
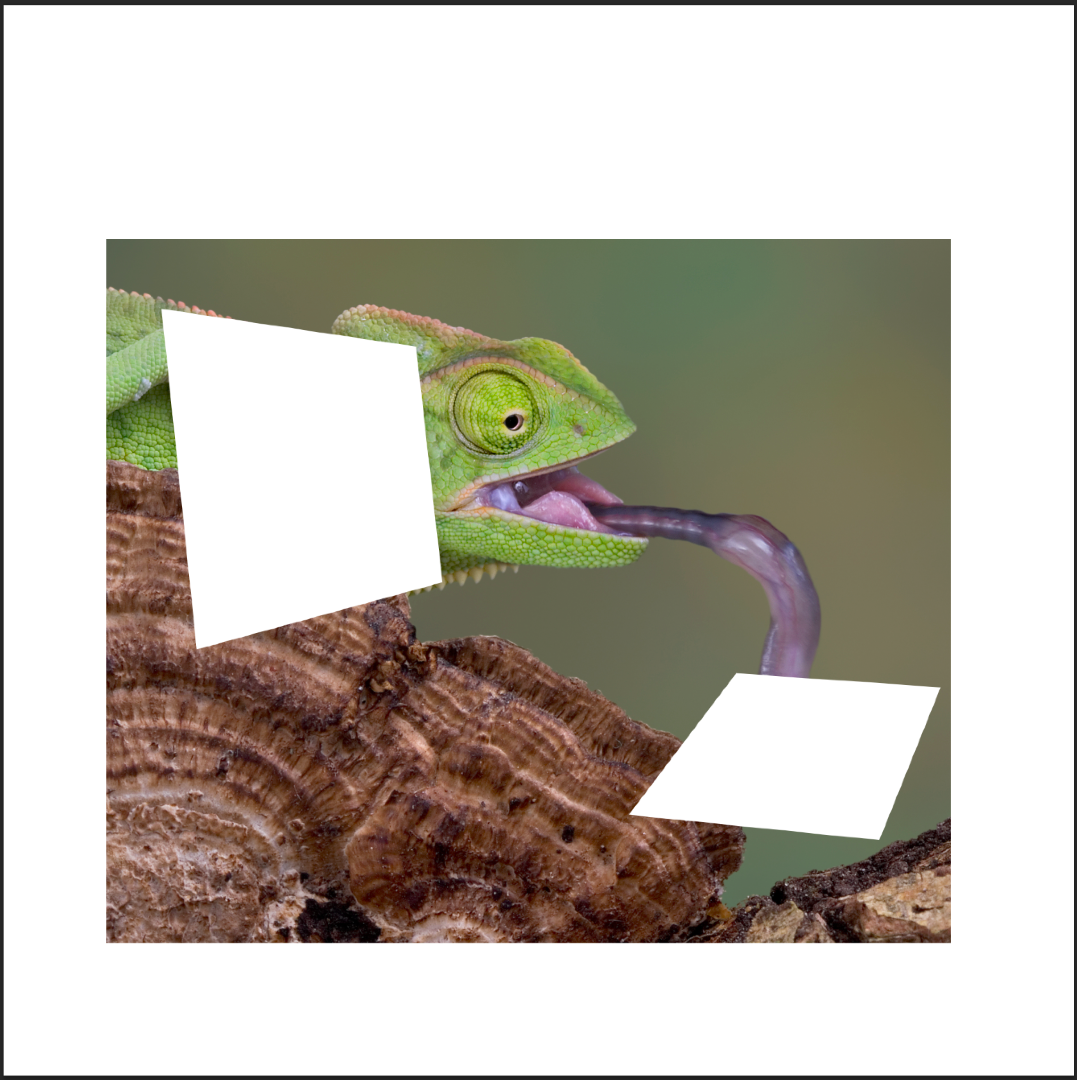
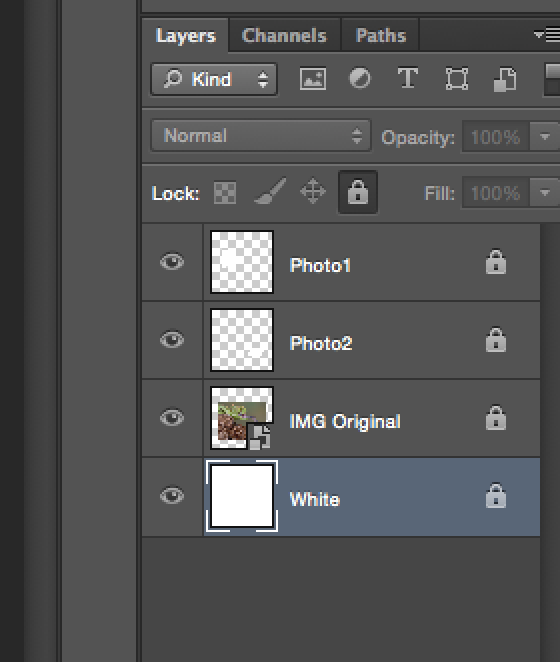
Grab your first picture and place it in your photo editing program on the art board. Once placed grab your selection tool (I used the lasso tool in Photoshop) and draw out your Polaroid Picture shape. Once you are happy create a new layer and fill that selection with white. To make the future steps easier build each Polaroid on its own layer.
Trace the Part of the Image That You Want to Pop Out
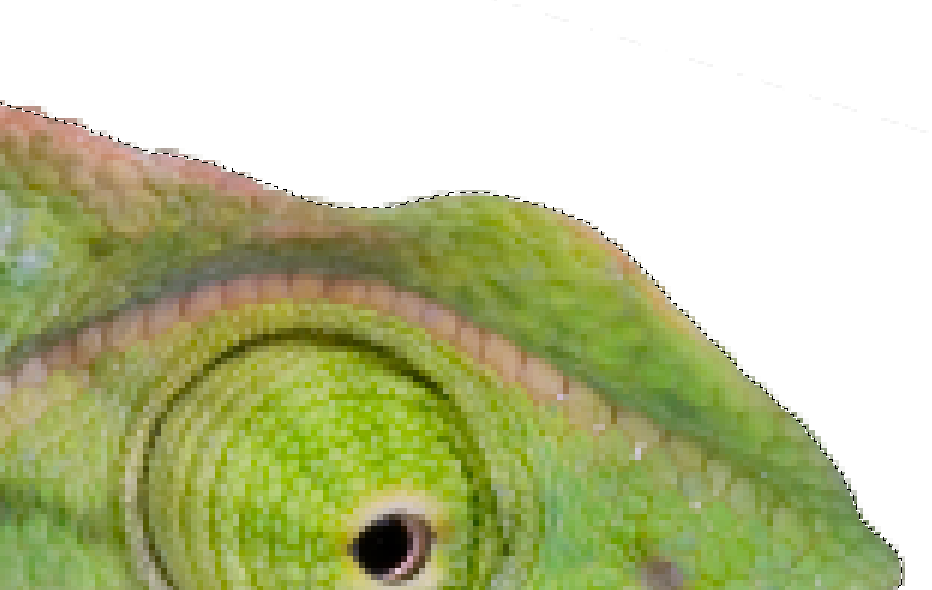
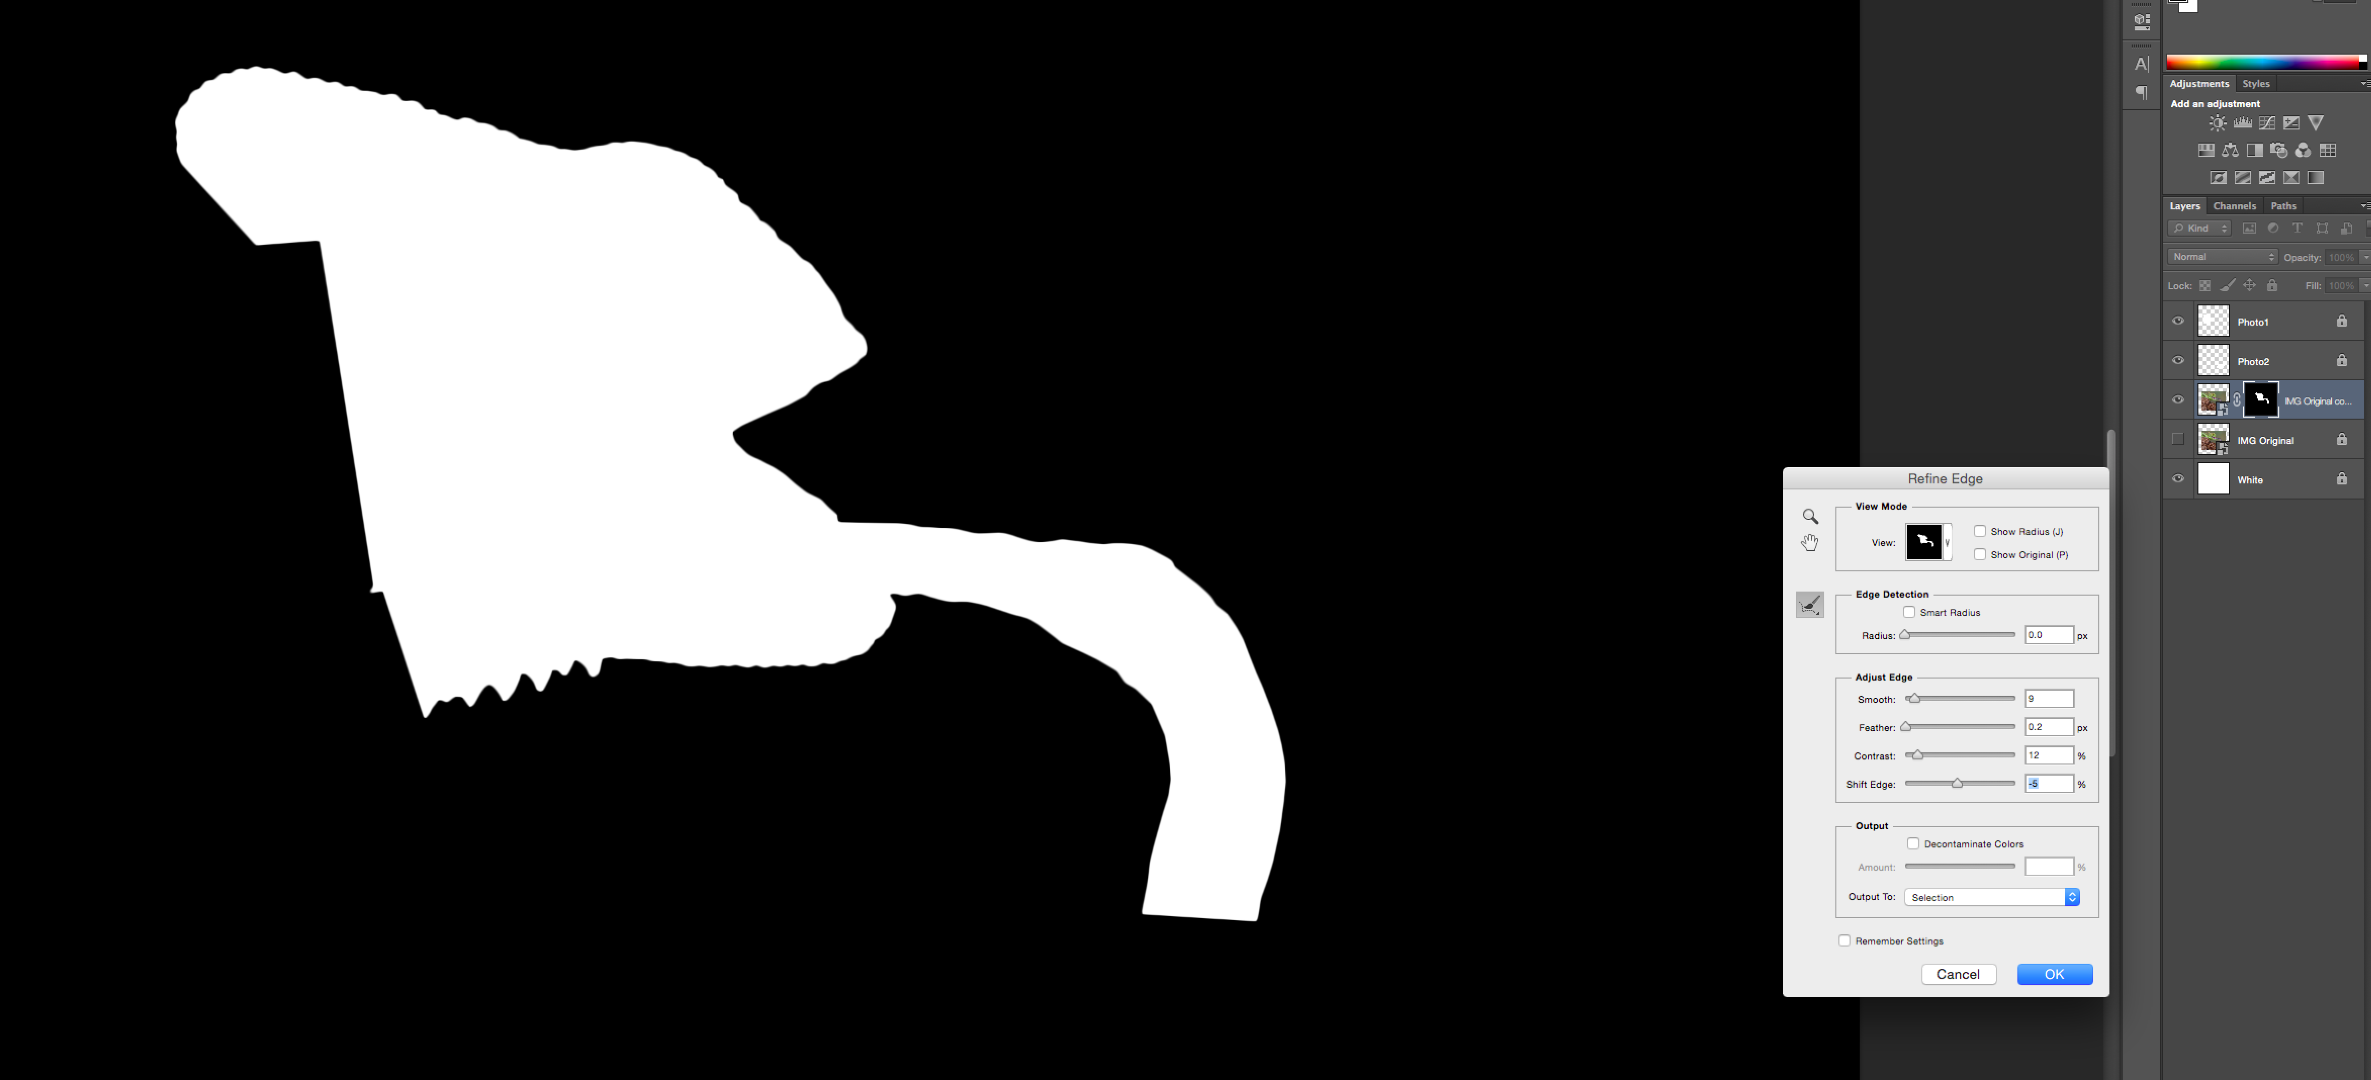
With your first image start tracing the part that you want to pop out. Once you have completed your selection add the polaroid square to your selection (cmd click on the thumbnail in your layers panel in Photoshop). You should now have your original Polaroid shape selected with part of your image popping out of it. You can continue to edit your selection until you are happy. Now refine your edge to get the desired effect on your selection. I smoother it out, place a light feather and then a slight contrast.
Once you are happy with your selection mask that part of the original image to where that is all you see. You can delete the parts you don't need if you wish...but if you need to come back and edit later your life will be much more difficult.
Start Working on Your Drop Shadows
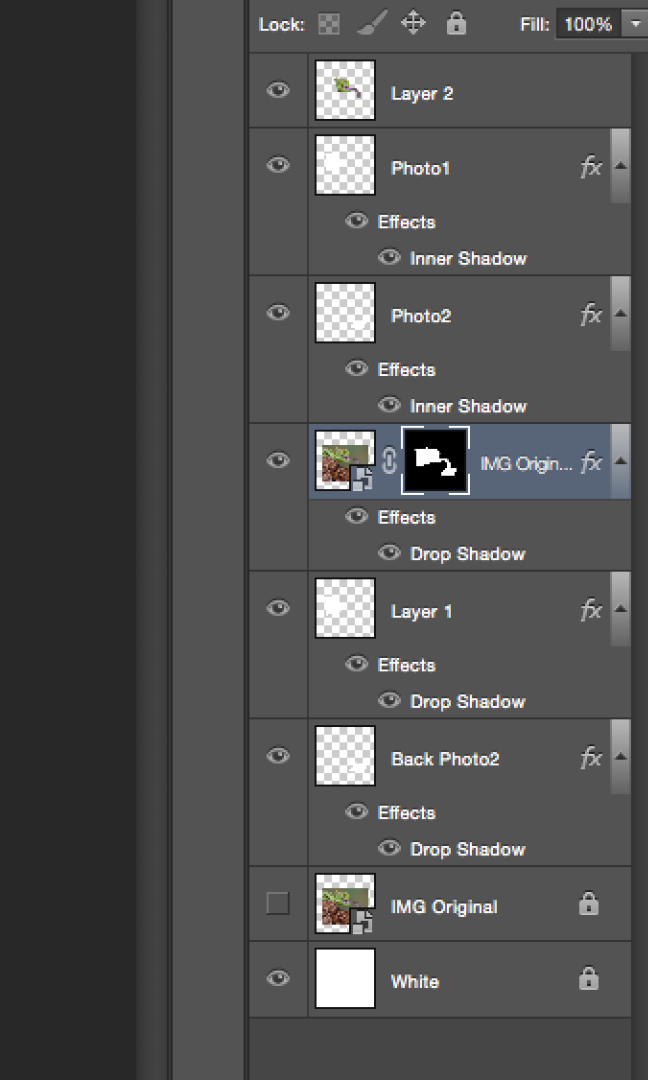
One of the most important (if not the most important) parts of this project is getting drop shadows to give the illusion of 3D. You will do this in 2 parts - one is for the polaroid frame and the other is for the image popping out.
Polaroid frame: Select the layer with your Polaroid image on it. Expand the selection by your desired pixel amount. This will create the white border around your Polaroid. Place this on its own layer and fill it with white. Place a drop shadow on this layer. I recommend taking global effects off.
Optional - inside frame shadow: This one is a little more difficult because you have to alter the shadow to go under part of your popped out image. Take the fill of your original Polaroid shape to 0% and place an inner shadow on it. Next, select the part of the image that you want to lay on top of the shadow (you can use your previous selection and just edit it). Copy this part of the image and place it on a new layer above your shadow.
Take Your Popped-Out Image and Place a Drop Shadow

Take your popped out image layer and place a drop shadow on it (if you chose to follow the optional shadow from the previous step use the new image layer you place above the inner shadow for your selection). Take the opacity of the shadow to your desired level - I chose 30%. Right click on your shadow effect and choose "create a new layer". With your shadow on its own layer transform it and arrange it to give a 3D lighting effect. If you hold the cmd key you can manipulate individual corners to make this process easier. You might have to use a mask to hide parts of the shadow that overlap into the image after you transformed it. Once it is in the desired place use the gaussian blur on your shadow to give it added effect.
Double Check Your Effects and Make Any Changes
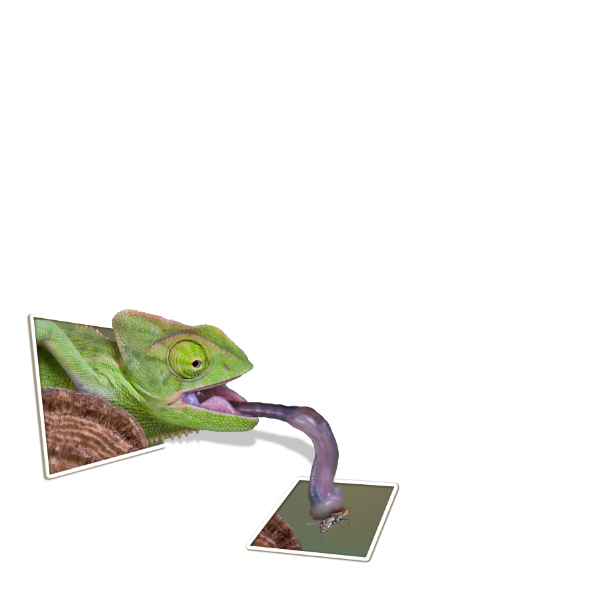
You should have now completed your first Polaroid. If you used masks (not deleting parts of the original images) you can edit any features that you think look off. Take your time to make sure your effects and shadows look right - you will be able to copy layer effects and carry them on to your other images to speed up the process. You should have several layers in your document at this point - if you plan on adding more photos I recommend placing all of these layers in a folder, labeling it and locking it.
Repeat Steps 1 - 6
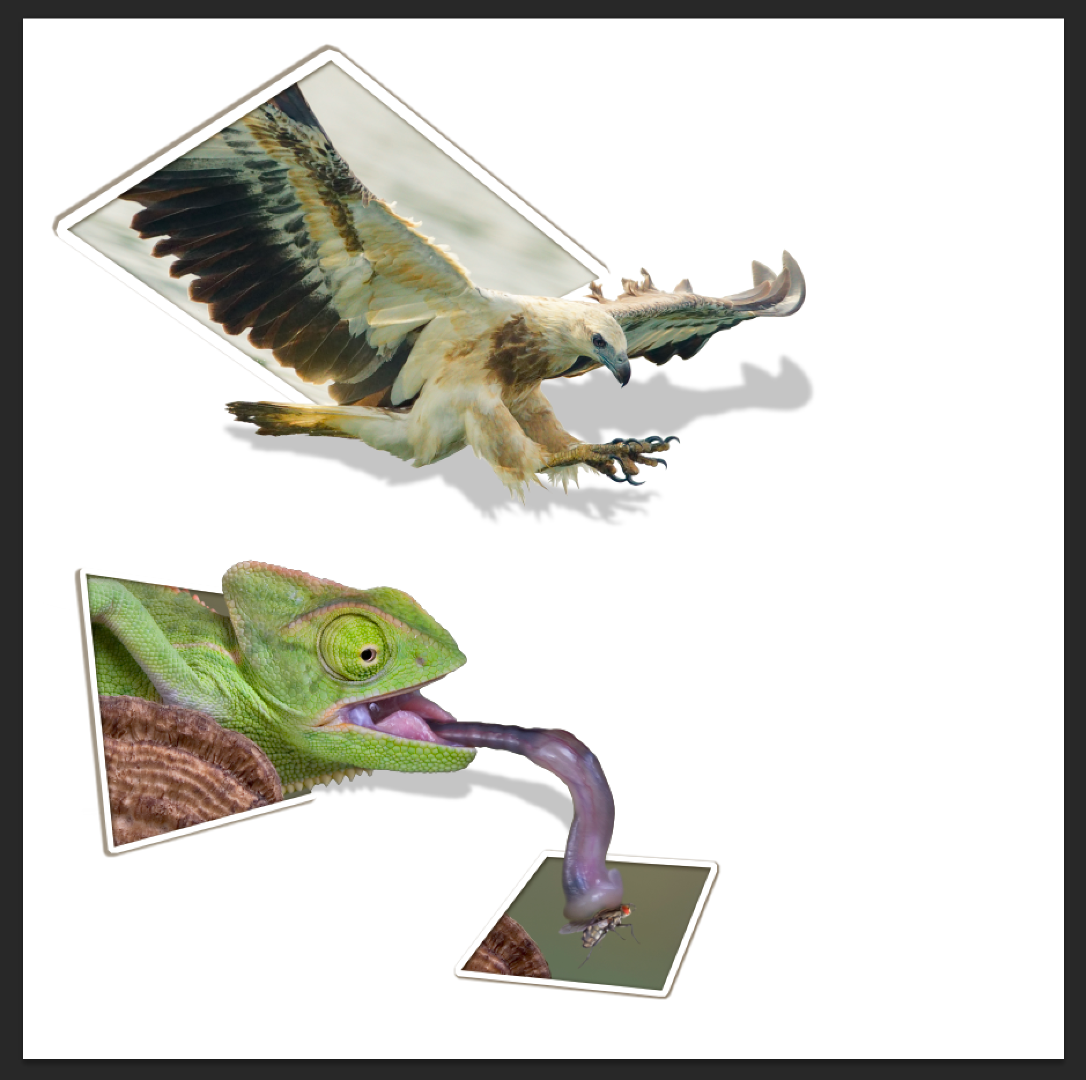
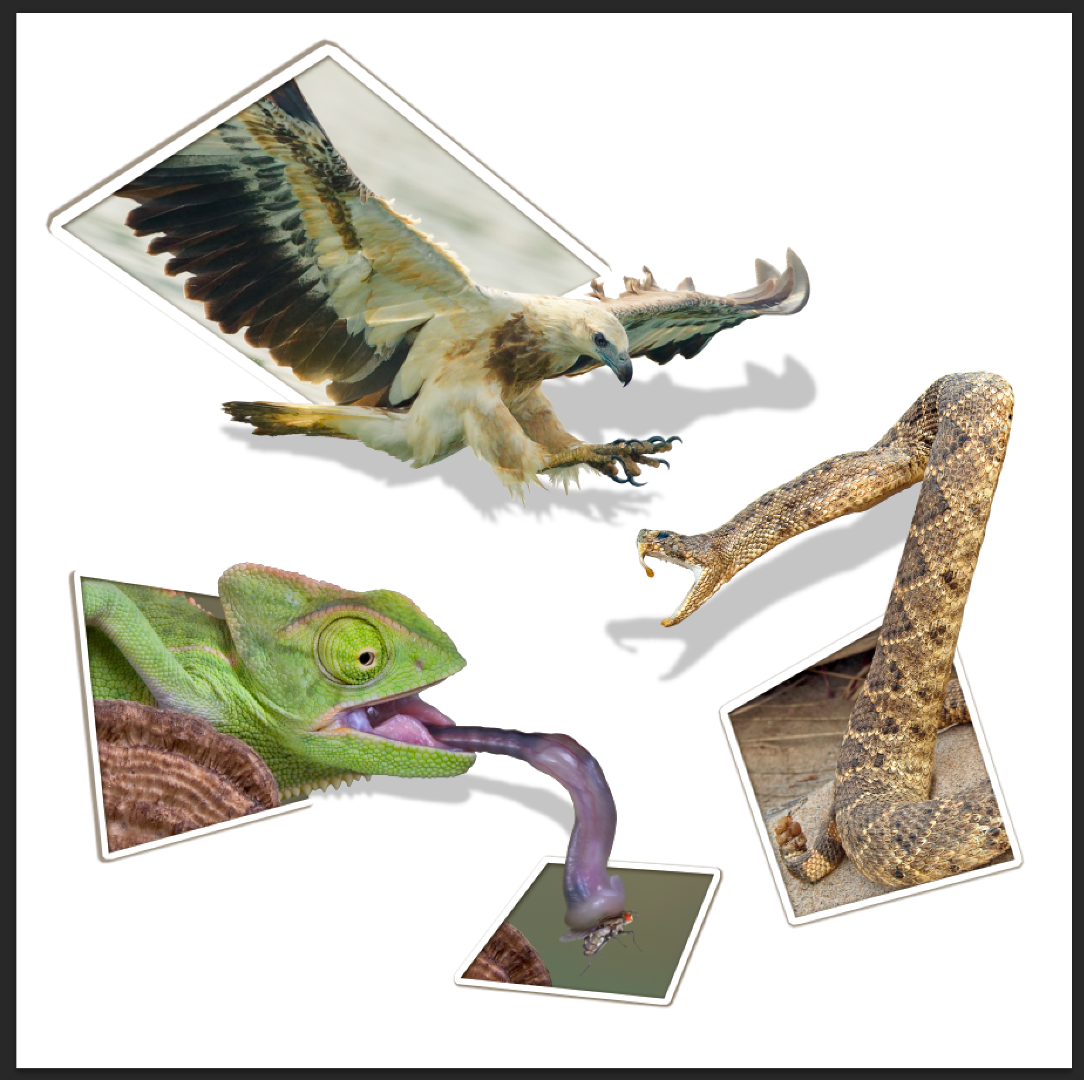
Now that you have your first image how you want it follow the previous steps on any other pictures you want to include. Have fun with placement and find pictures that compliment your original image.
Optional: Add Background

Depending on how you like the white background, have fun and add a background that you feel works with the image. Get a light textured background if you want to add something without stealing the focus away or a create a complicated background that acts as its own focus and adds to the overall image. I chose to use a nature background that I blended into the background with a texture. You can find some great nature backgrounds from Creative Market Backgrounds here and you can get some texture backgrounds from Creative Market Textures here. Save your document and your image out and enjoy your project!