How to Make Engraved and Embossed Pi Stamps
by IAM Team in Workshop > 3D Design
821 Views, 3 Favorites, 0 Comments
How to Make Engraved and Embossed Pi Stamps
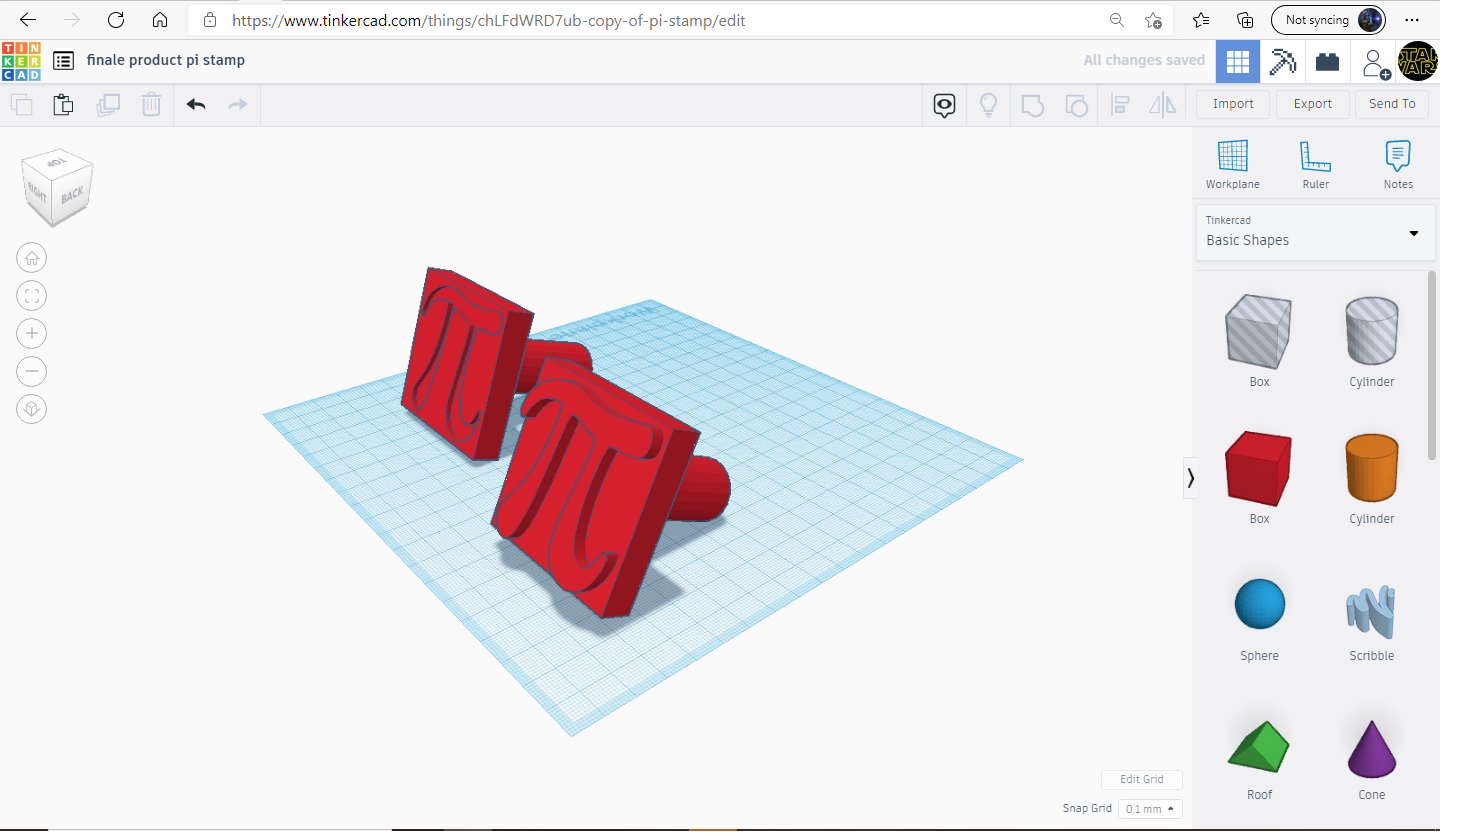
This is how to make a strong pi stamp on Tinkercad or any other 3d design app.
Supplies
A designing app preferably Tinkercad
Super glue
And a 3d printer with filament of your choice
Step 1
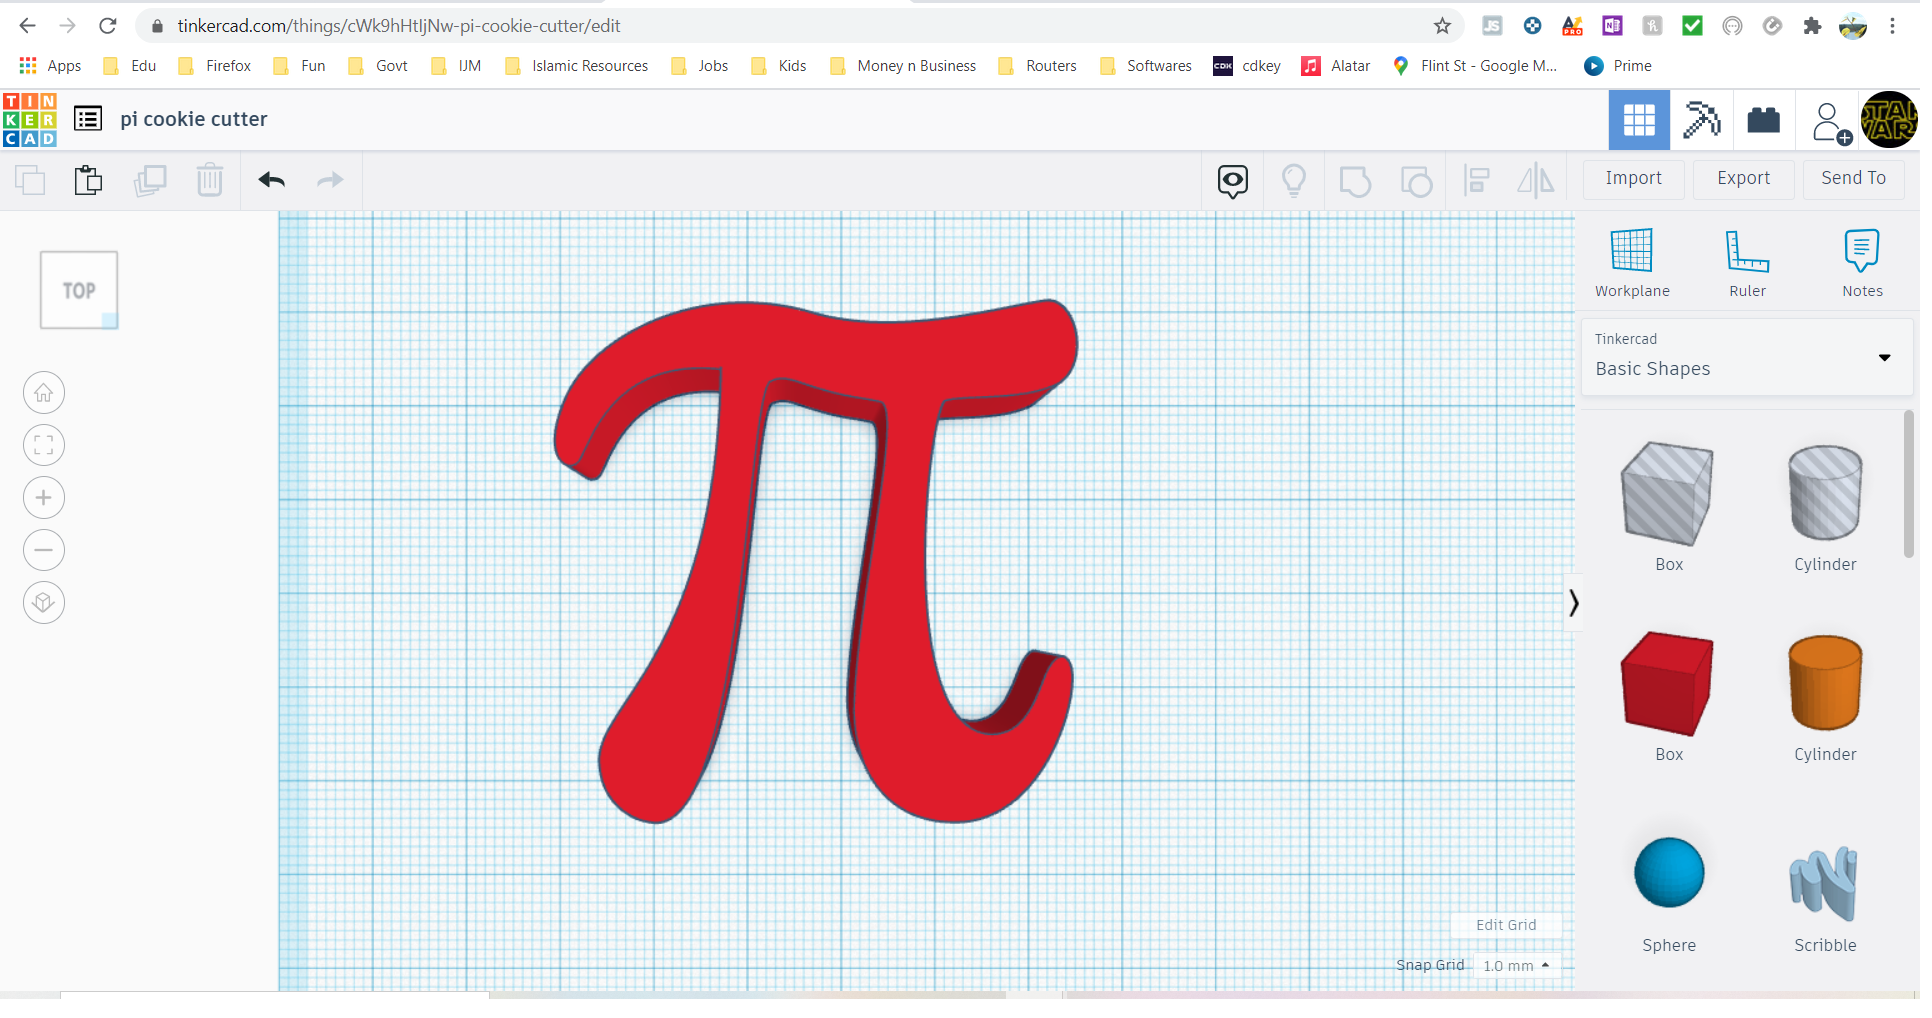
First find a Pi symbol you like on an online 3d database like Tinkercad.
When you download the one you like upload it on a 3d designing app you use.
Step 2
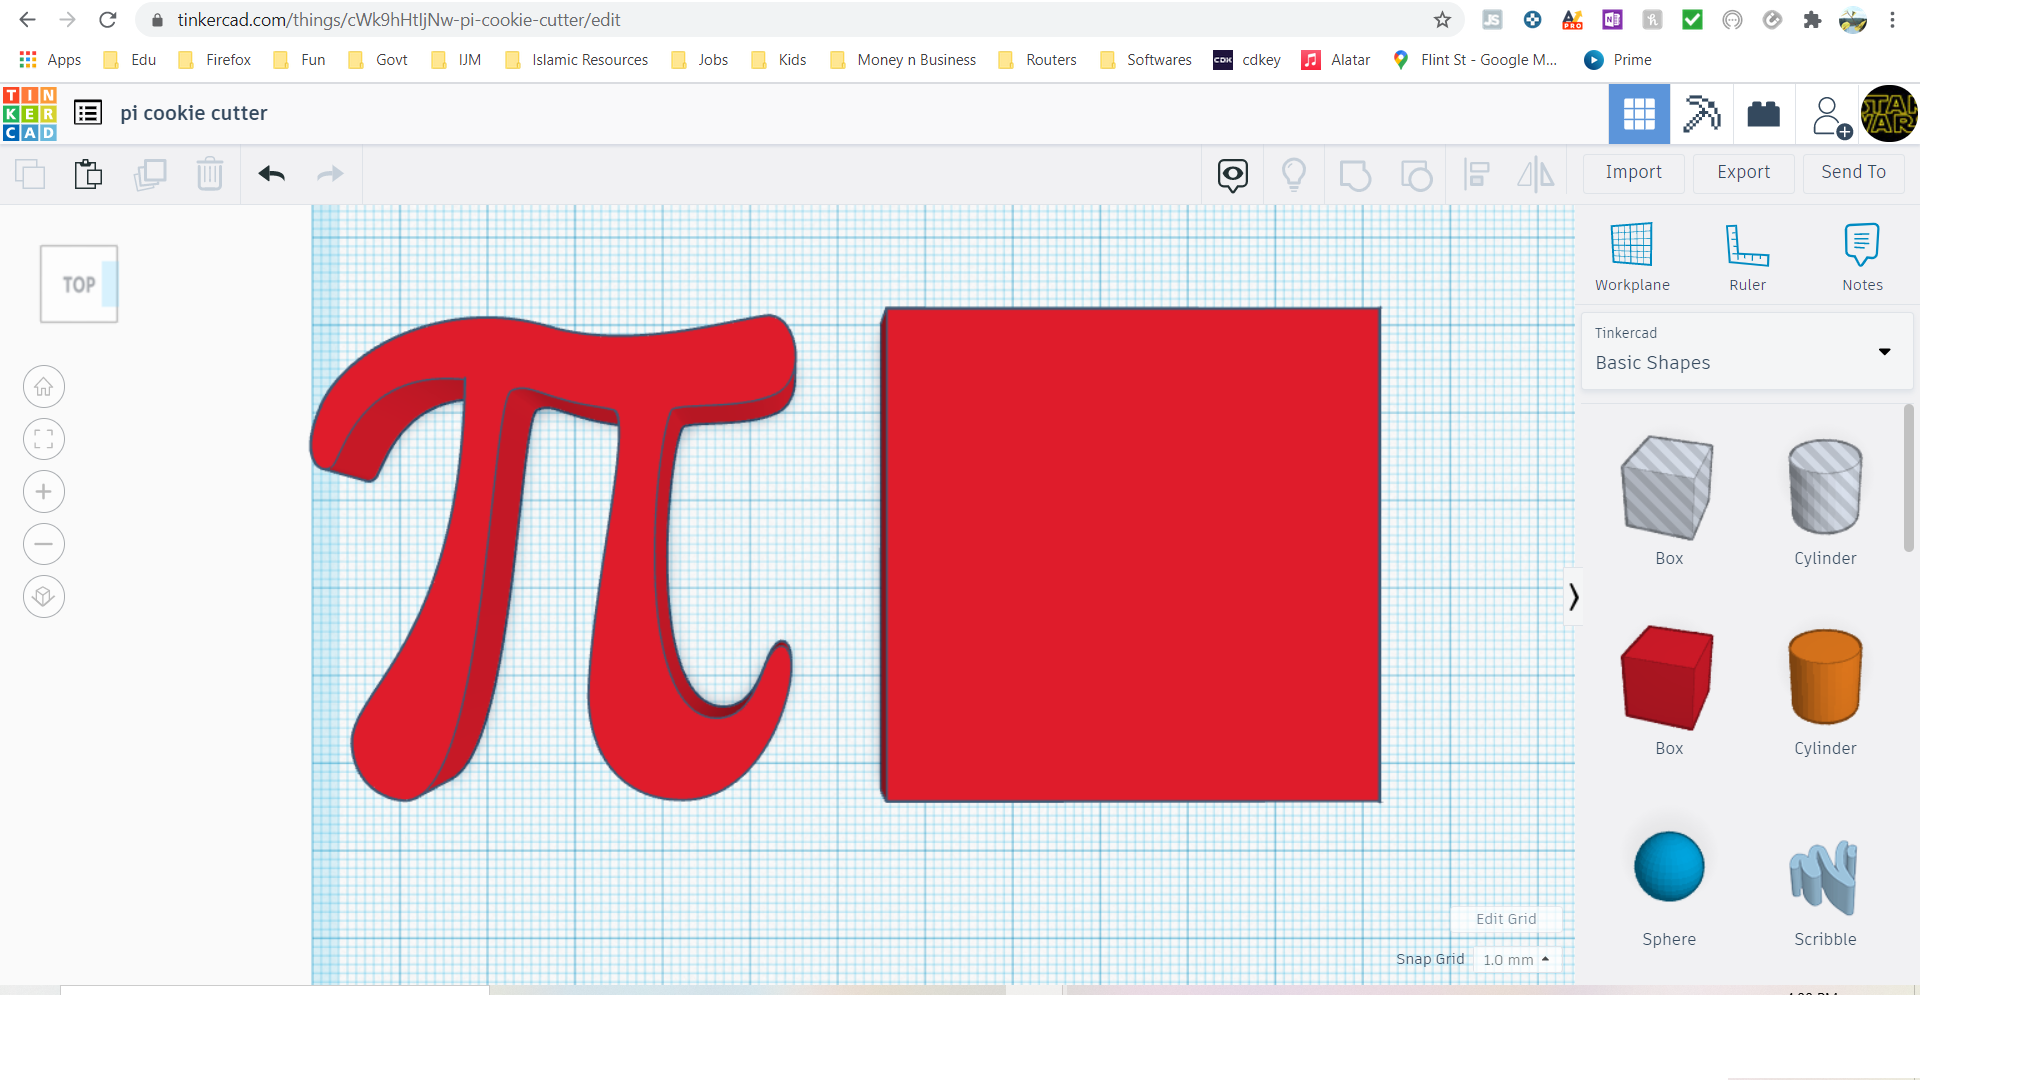
When you get your Pi symbol bring the size to a width of 50mm and a length 50mm with a height of 30mm. Also make a square with the width 53mm and a length 53mm, the height of the square should be 20mm.
Step 3
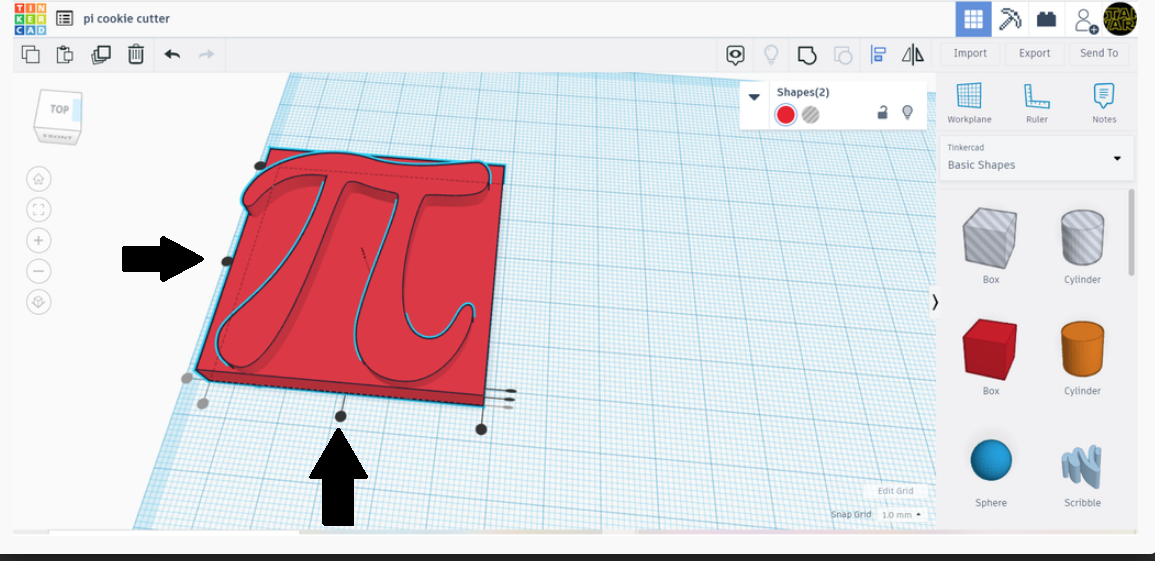
Then select both of the shapes and align them so the pi shape is in middle. If you are using Tinkercad then use the button on the top right that looks like a line with two rectangles on one side. After you press the align button many other buttons appear press the two buttons as shown in the image.
Step 4
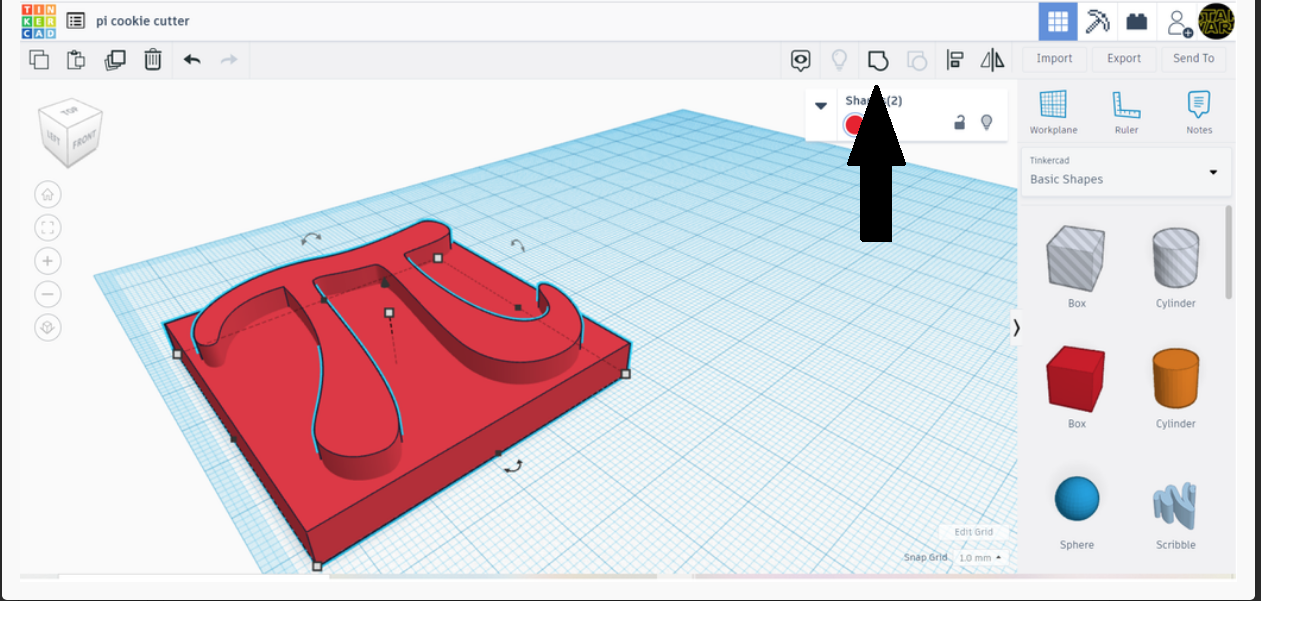
Then group the two shapes. If you are one Tinkercad use the button on the top right the looks like a square and a circle connected together as shown in the image.
Step 5
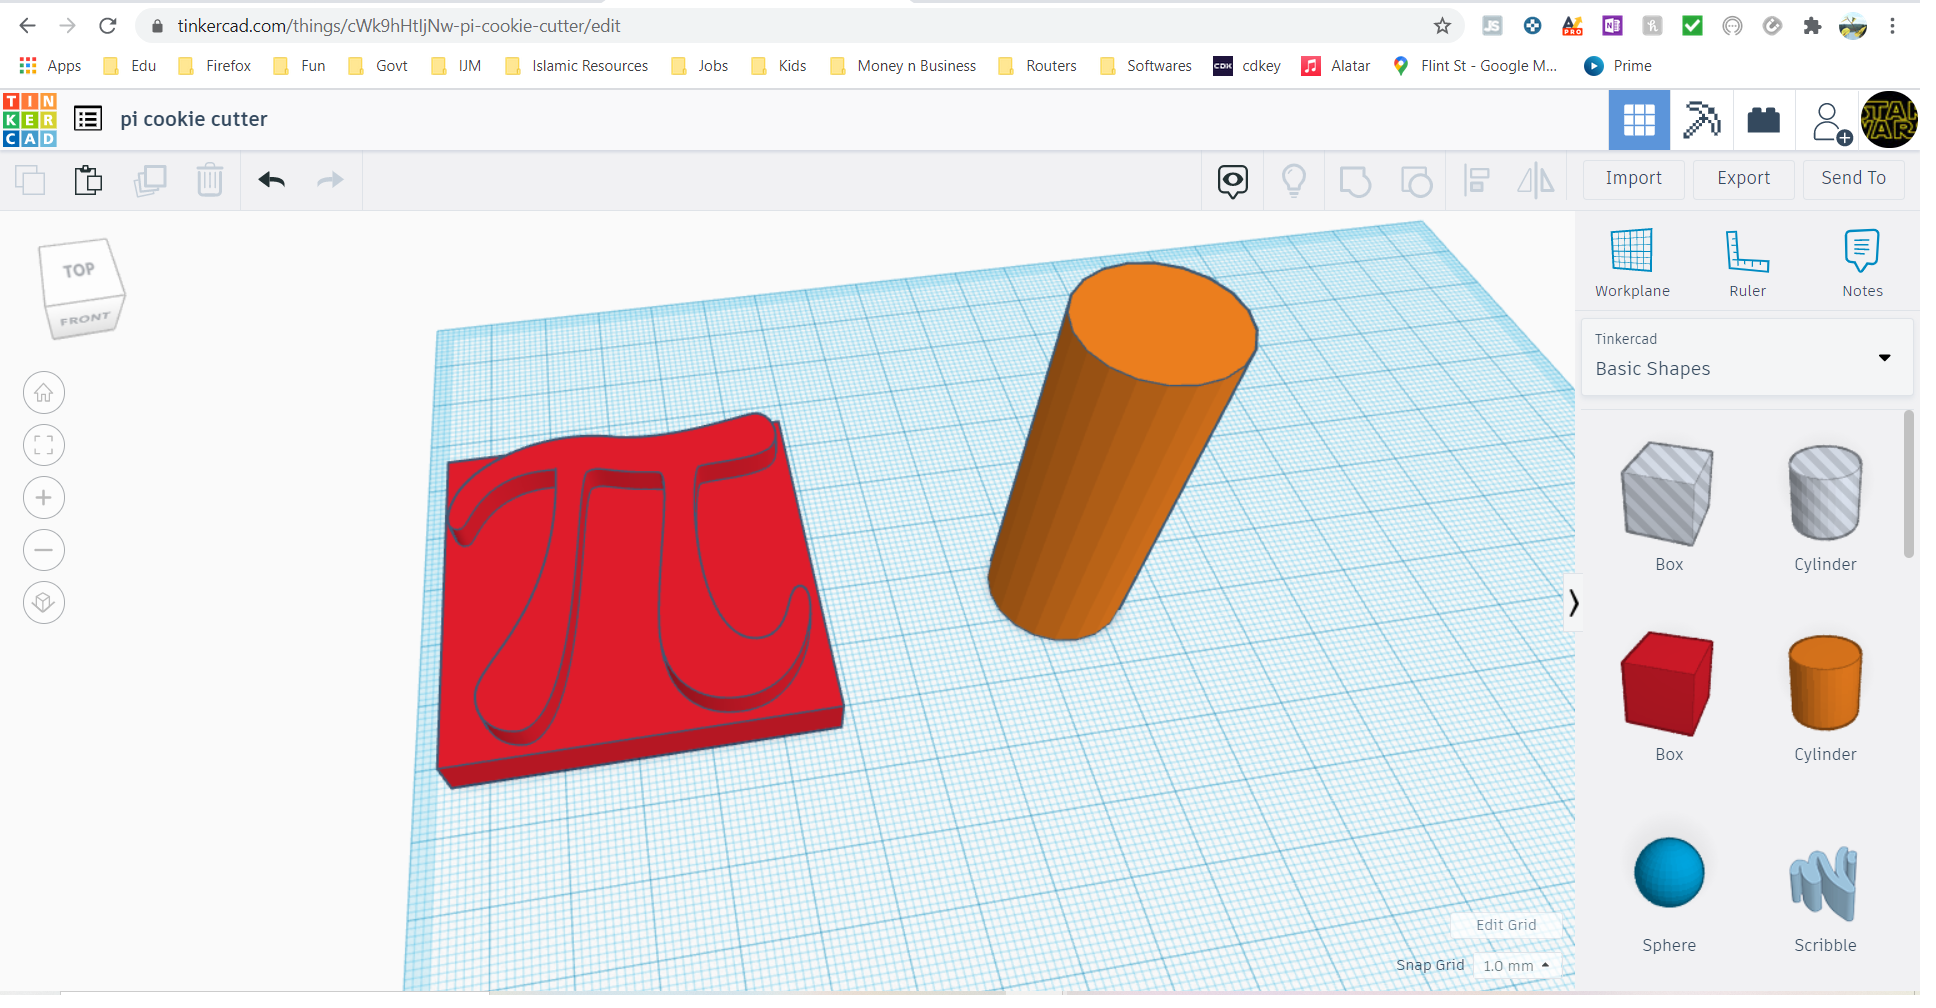
Then add a cylinder with a diameter 20mm and a height of 50mm.
Step 6
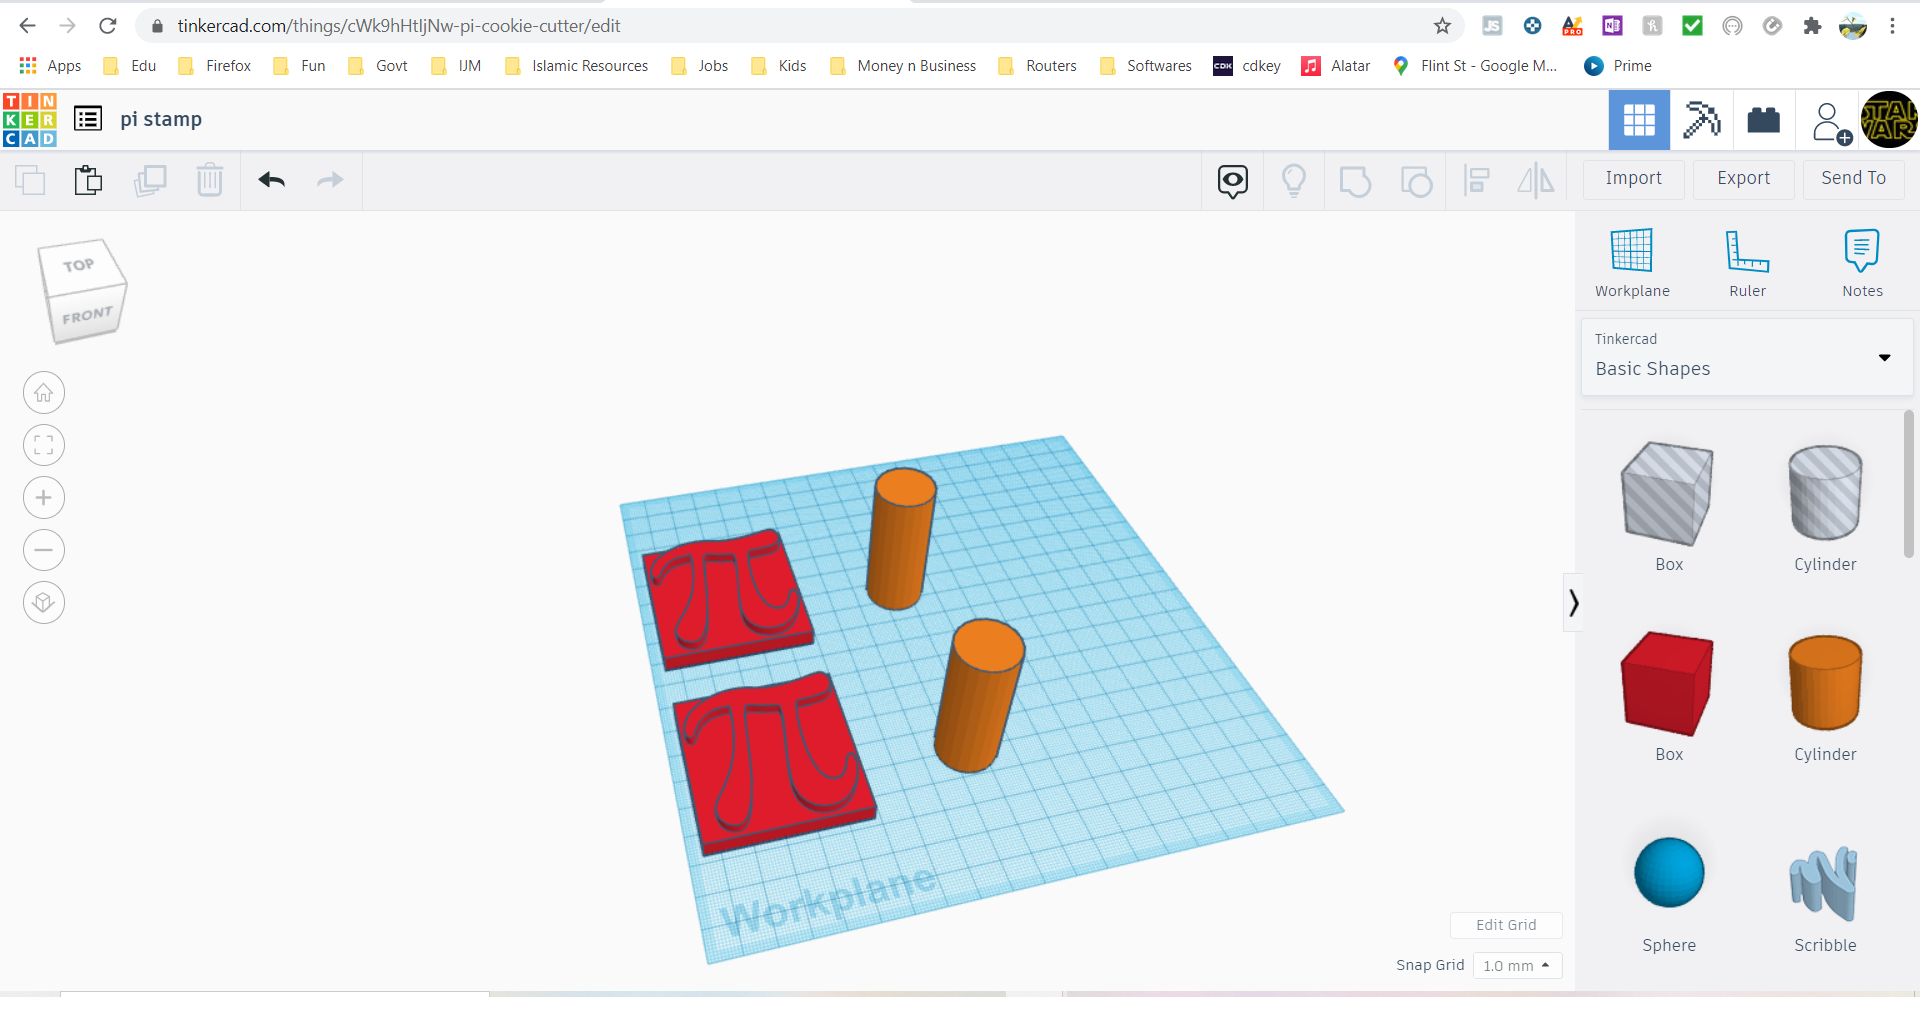
Then select both shapes and copy them.
Step 7
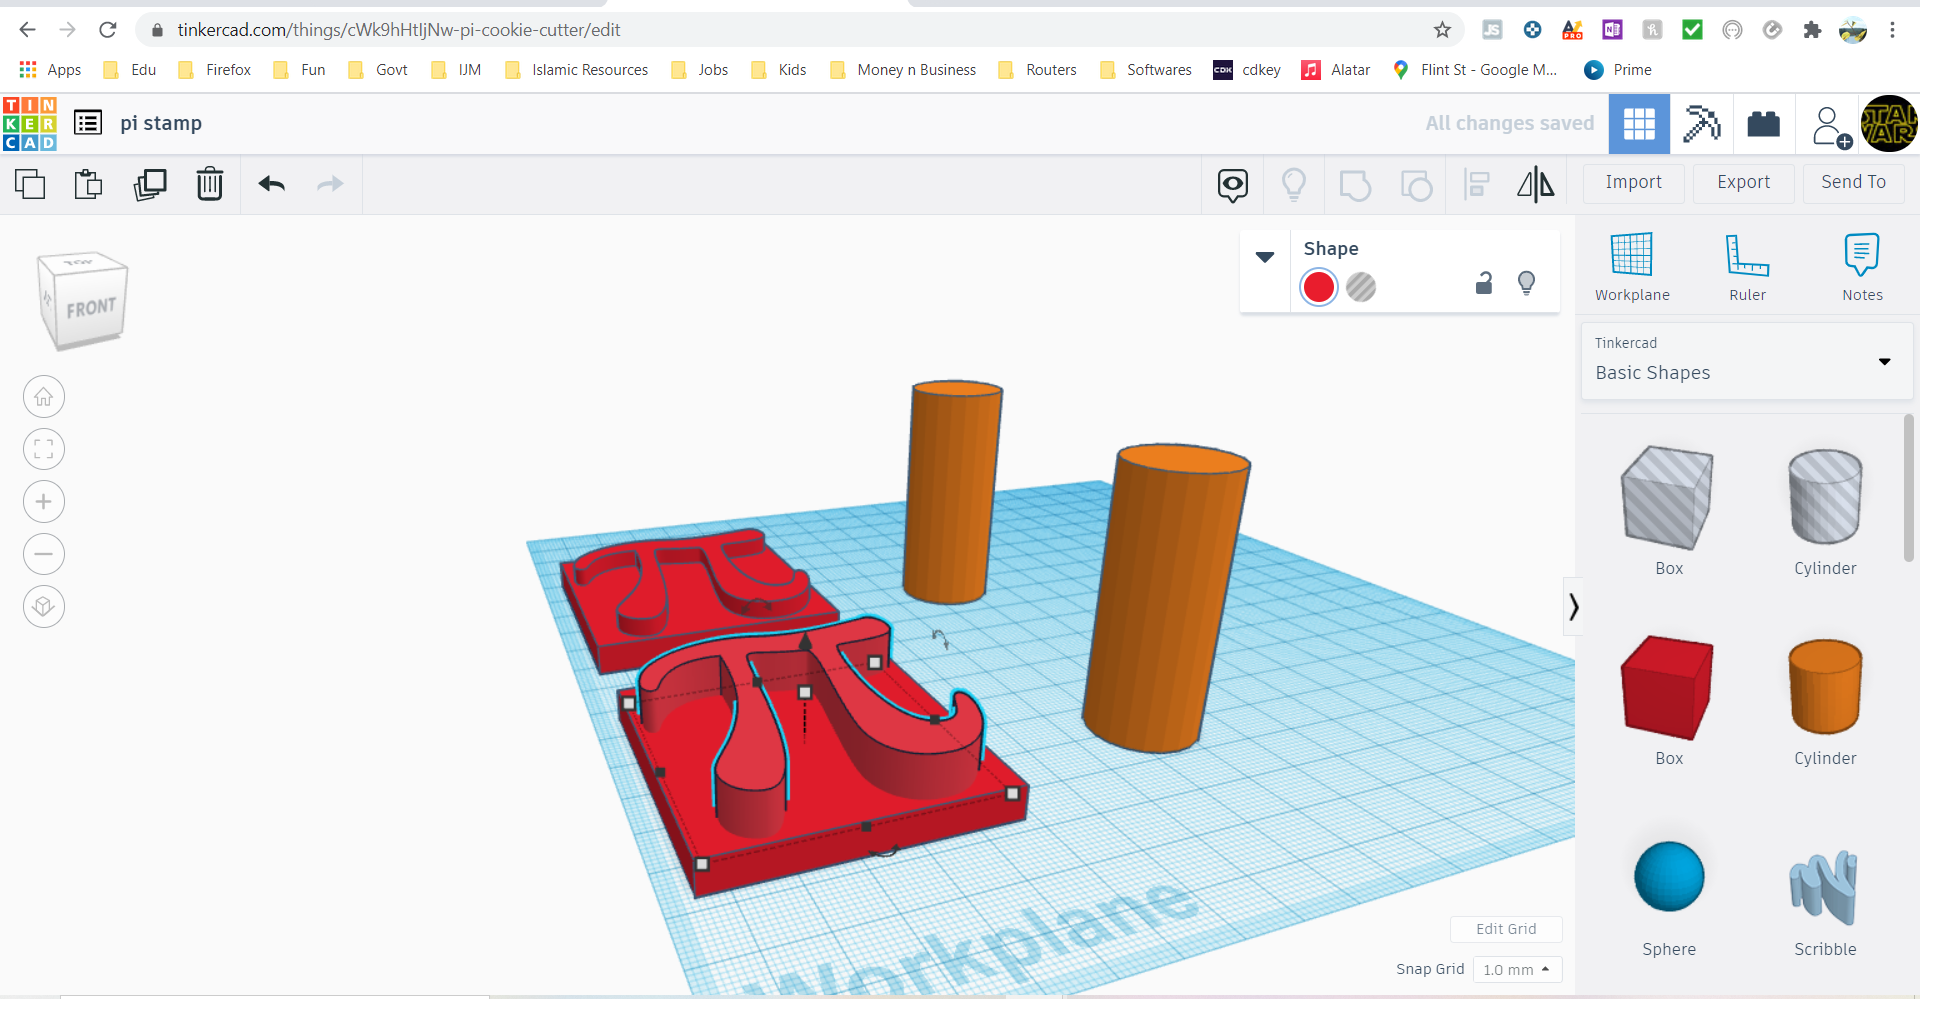
Then take one of the red Pi stamps and ungroup it the image on the top right that looks like a square and a circle separated.
Step 8
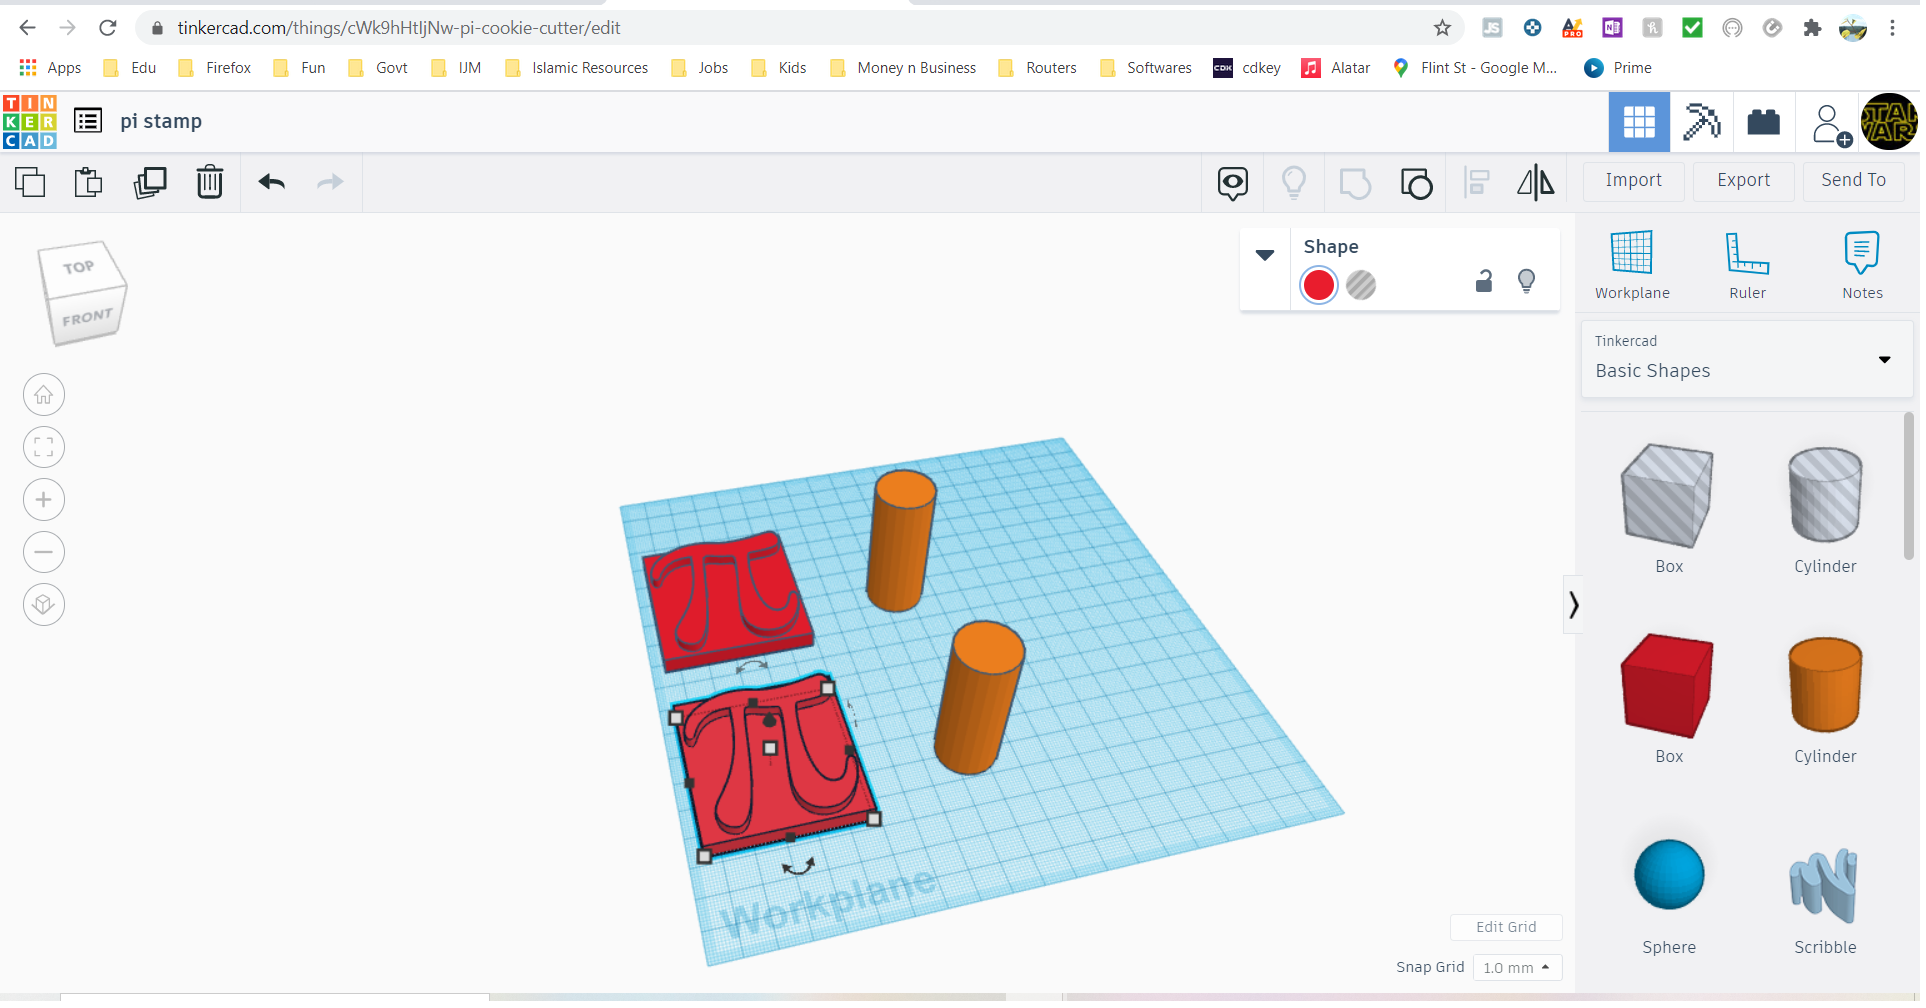
When you ungroup the shape. select the pi shape and lift it 10mm of the work plane.
Step 9
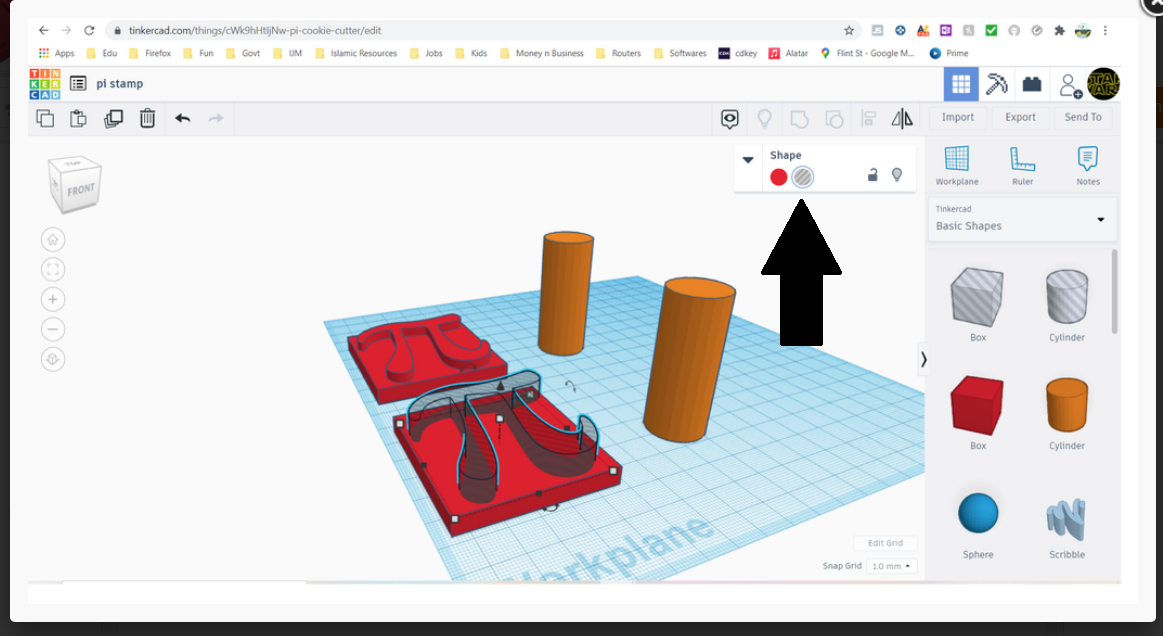
Then press the button that the arrow is pointing at ( see image) so it becomes a hole then group the shapes.
Step 10
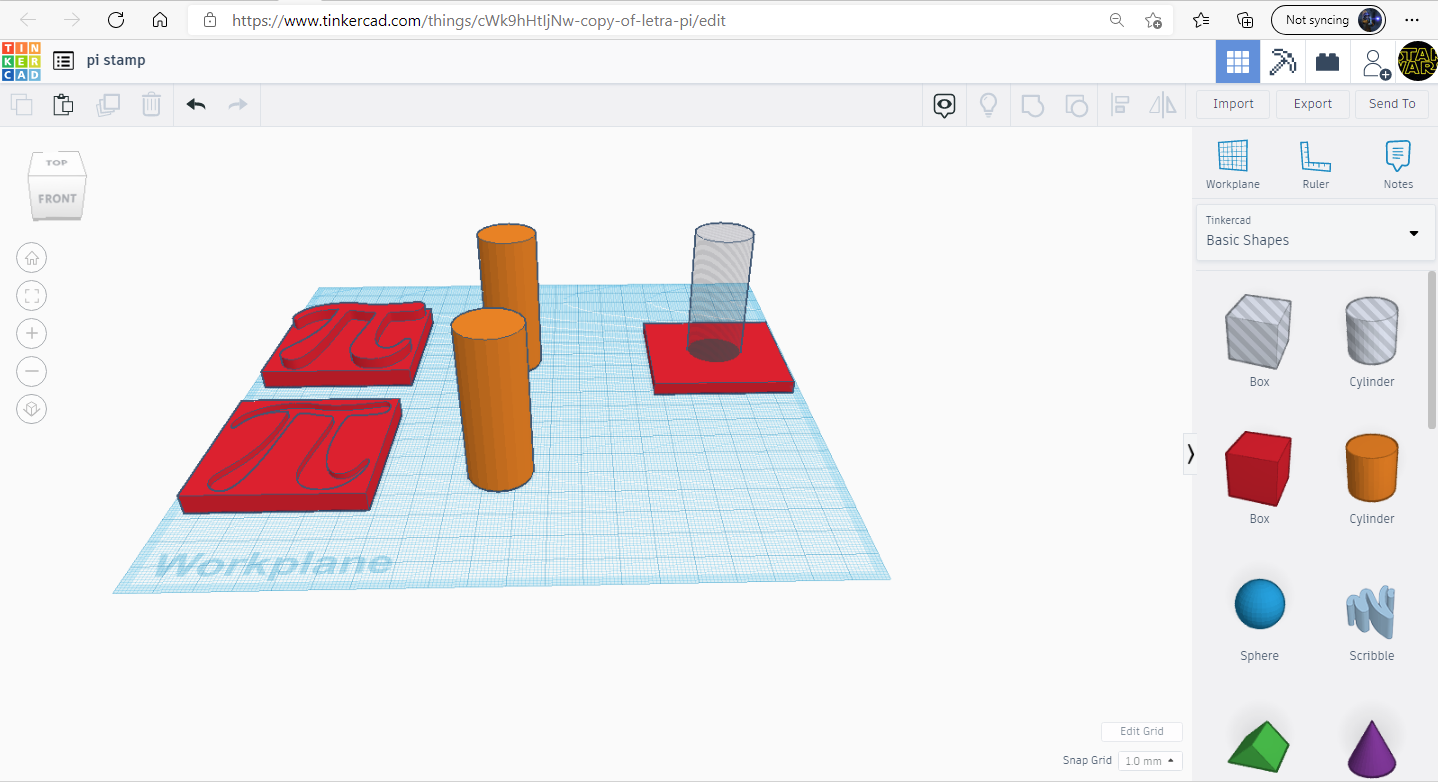
Then to make the stamp stronger make a square 53mm x 53mm in size with a height of 4mm.
Copy one of the cylinder and use the button in the last step to make it a hole. Align it with the same buttons used in step 3. Then group it and copy it for the second stamp.
Step 11
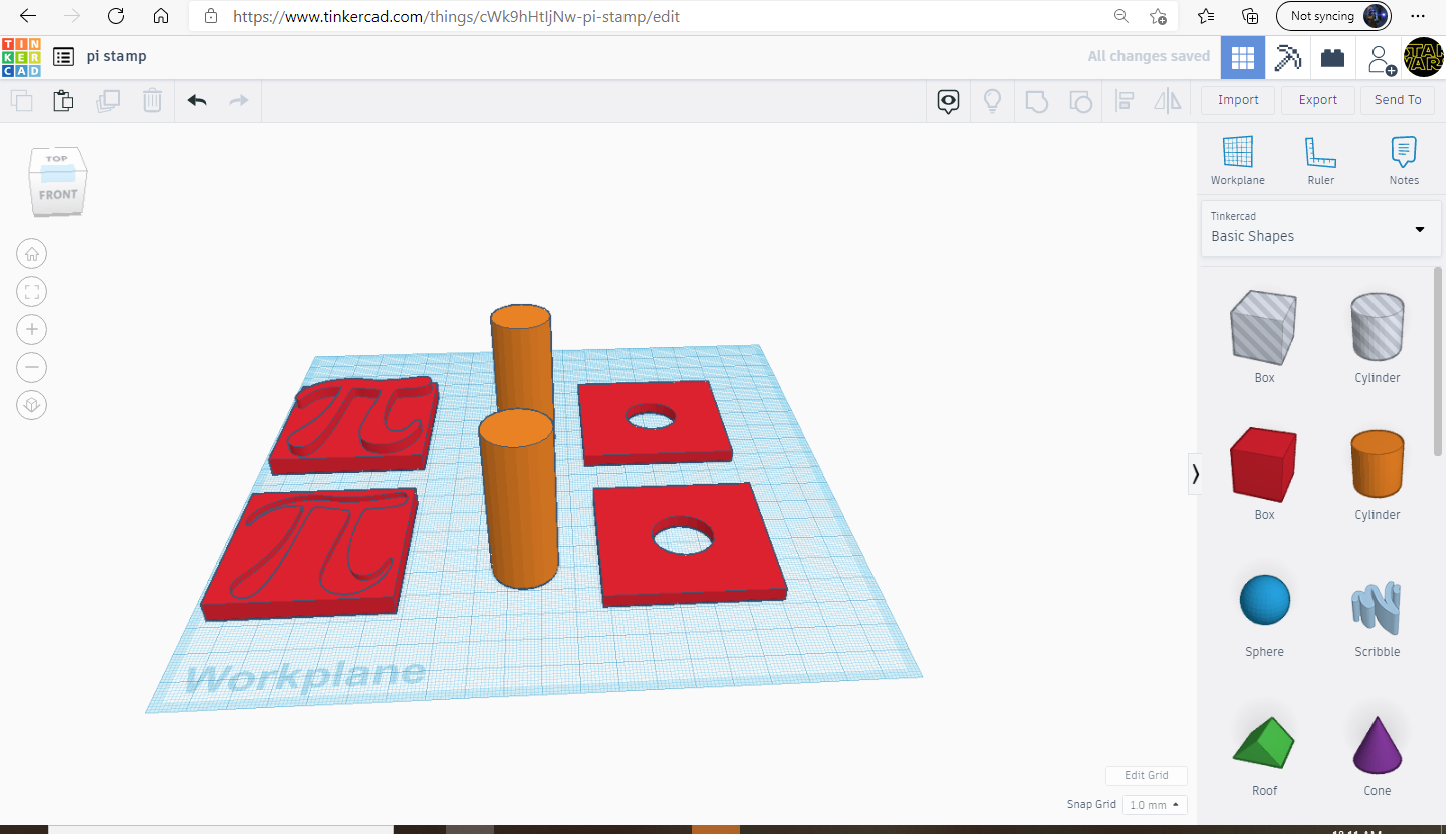
This is how it is supposed to look when you finish your design.
Step 12
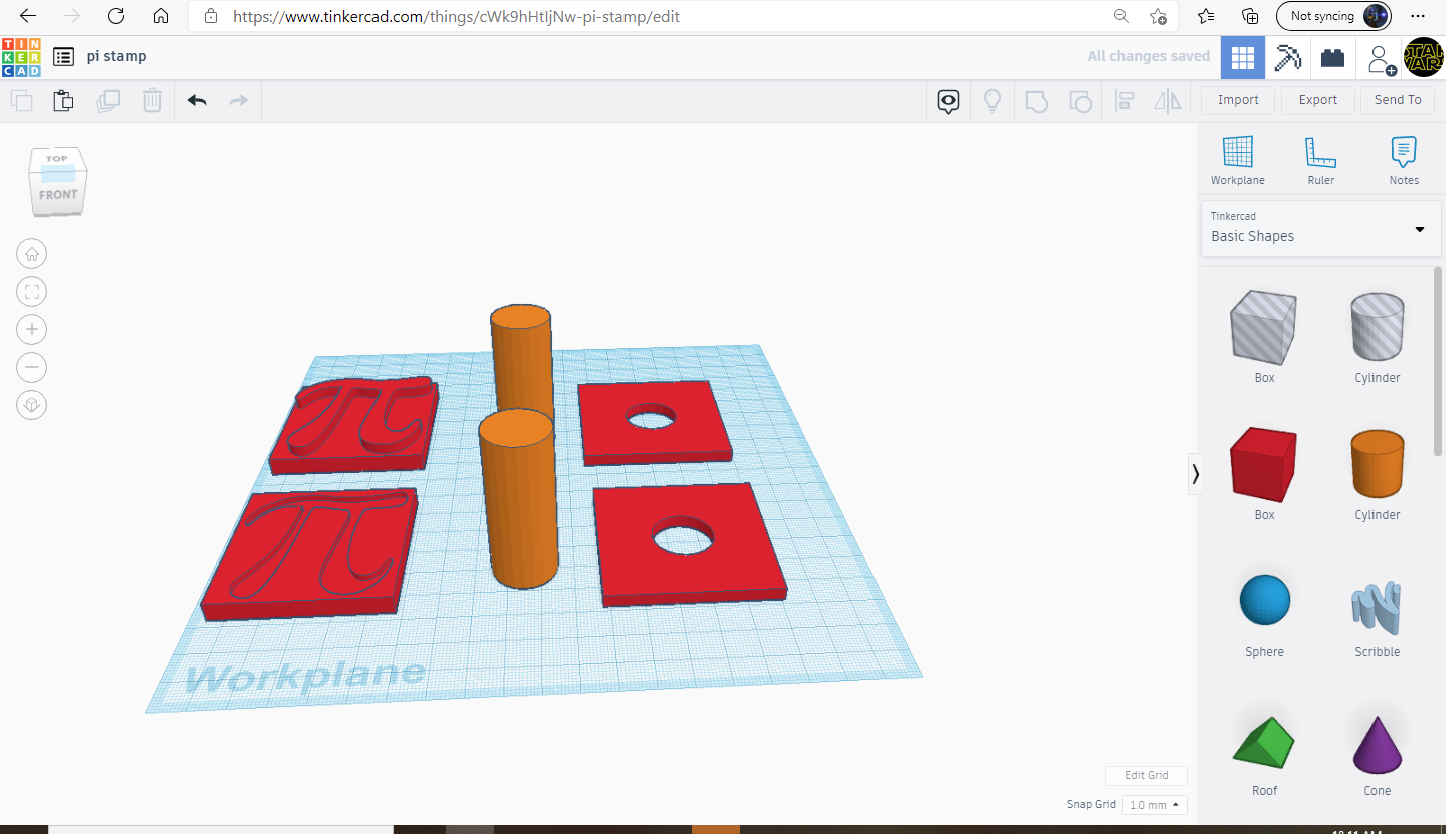
Print it and first glue the stamp square with the handle square. Then apply super glue in the hole made for the handle ( Cylinder ). Place the cylinder in the hole and apply pressure for ten seconds.
Finale Product
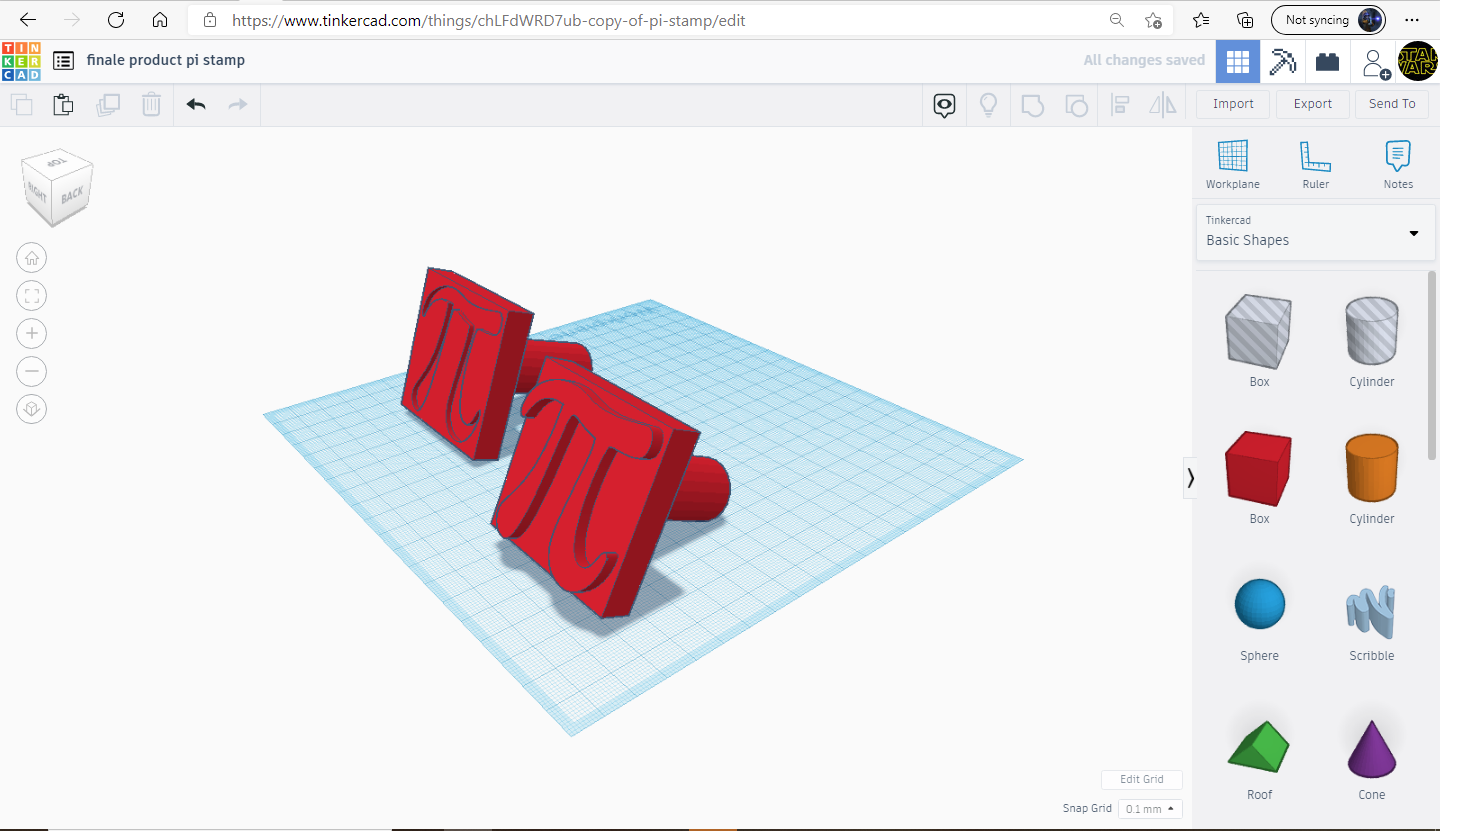
This is how your end product will look.