How to Make DIY Steering Wheel for Sim Racing Games (iRacing, Dirt Rally, Asetto Corsa, Euro Truck Simulator 2 and More)
by ilge ipek in Circuits > Arduino
13859 Views, 10 Favorites, 0 Comments
How to Make DIY Steering Wheel for Sim Racing Games (iRacing, Dirt Rally, Asetto Corsa, Euro Truck Simulator 2 and More)
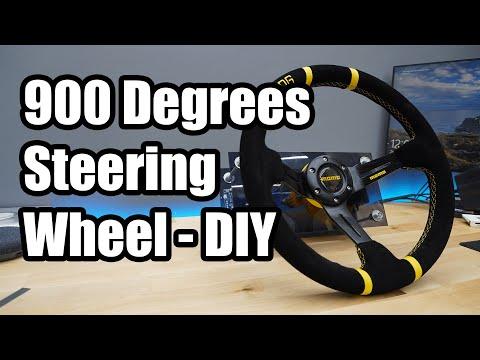)
Hello to everybody! In today's blog post, we'll build a DIY steering wheel, one of the most important components of a sim racing setup. The 900-degree-rotatable sim racing steering wheel we're intending to manufacture will work with lots of driving games, like iRacing, Dirt Rally, Asetto Corsa, Euro Truck Simulator 2, and more!
Supplies
You can get materials for this project from my product lists on amazon: DIY steering wheel materials.
Electronics
- Arduino Leonardo
- 10K Potantiometer
- Micro USB Cable
- Copper Cable
Hardware
- 2 x (150×300 mm) 4 mm Thick Plexiglass
- 2 x Ball Bearing
- 4 x 11 cm M8 Shear Connector
- 1 x 15 cm M8 Shear Connector
- 9 x M8 Fiber Nut
- 22 x M8 Nut
- 19 x M8 Washer
- 4 x M5x16 mm Hex Socket Head Bolt
- 4 x M5 Fiber Nut
- 8 x M3x6 mm Bolt
- 4 x 10 mm Female-Female Spacer
- 2 x M4x20 mm Hex Socket Head Bolt
- 2 x M4 Nut
- Steering Wheel
- 3D Parts: https://bit.ly/2Tsj9gd
Software
The software part of this project is not that hard, thanks to the software called MMJoy. MMJoy is a software designed for hobbyists and sim racing enthusiast. It lets our steering wheel interface with the driving games without much configuration and effort. Thus, you don’t need much coding and software knowledge to build this project.
Let’s start by downloading MMJoy and extracting the .zip file to our computer from the link below.
https://github.com/MMjoy/mmjoy_en
MMJoy Software GitHub Page
The necessary software is inside the “firmware and software release” file. Extract the “MMJoy2” file to your computer. This file includes all the necessary files like firmwares, images, softwares.
To proceed with the setup, launch the MMJoySetup application which is inside the “MMJoy2” file.
Launching the MMJoy Software
The first step is uploading the firmware to our Arduino Leonardo card. We will do the configuration from the section indicated by the red rectangle.
Choosing the Necessary COnfiguraitons in the MMJoy Software
In the “Firmware file” part, we are going to choose the firmware we will upload. The file we need to choose is inside the “MMJoy2/Firmware” file. There are 3 .hex files. We need to choose the one with the “ATMEGA32U4”, since we are using Arduino Leonardo.
Picking the Right Firmware File
After choosing the firmware file, we need to choose “atmega32u4” for the “Chip, “Arduino” for the “Bootloader Type”.
Settings for the Firmware Section
In the port selection part, you will encounter different ports after you click “COM ports list” button, but we are not going to choose one yet. Here is why:
In order to upload firmware to our Arduino Leonardo, we need to force it to ”bootloader” mode. When the board is in bootloader mode, the port changes. Thus, we need to determine the port the board is connected to, when it is bootloader mode.
In the MMJoy2 software, click on “Device Management and choose “Ports” on the opened window. Next, press the button on the Arduino Leonardo board twice to force the board to “bootloader” mode. Then, device manager will reload and we will be able to the port of our Arduino Leonardo board under the “Ports” section.
Now that we know which COM port our board is connected to, we can type it to the “Port” field in the MMJoy2 software. For instance, if you see COM6 on device manager, type COM6 in the “Ports” field.
Now it is time to upload the bootloader to our board. Again, double click the button on Arduino Leonardo and press “Upload Firmware” button on MMJoy2. Keep in mind that Arduino Leonarda stays in bootloader mode for 8 seconds and you should do the upload in that time gap.
Uploading the Firmware
If you see an upload screen like the one below, it means that the upload is successfully done. It is time to do the necessary configurations for the potentiometers.
Success Message After Upload
MMJoy lets us play with many hardware components and configure them as we like. In our project we only use a single potentiometer so the set up process will be quiet straightforward.
After you upload the firmware, you’ll see that the device list on the top left will change and from now on our computer will see the Arduino Leonardo board as a joystick. We need to choose it from the device list.
Selecting the Right Device from Device List
Then, we need to visit the “Joystick Axes” section and do some settings on the areas indicated in the image below.
Configuring the Device
Our potantiometer is connected to the A0 pin on our Arduino Leonardo and A0 pin is connected to the PF7 of the MCU. Therefore, we pick F7 for the “MCU port”. For the “Source”, we pick “IntSensor” and for the “Assignment” we pick “X”. We pick 10 as the “Precision” setting because Arduino Leonardo has a 10-bit Analog Digital Converter (ADC). Finally, we press “Save sets to device” to upload the settings to our board.
Saving the Configuration
After all these configurations, our hardware is ready to be used as a DIY Steering Wheel.
Schematics
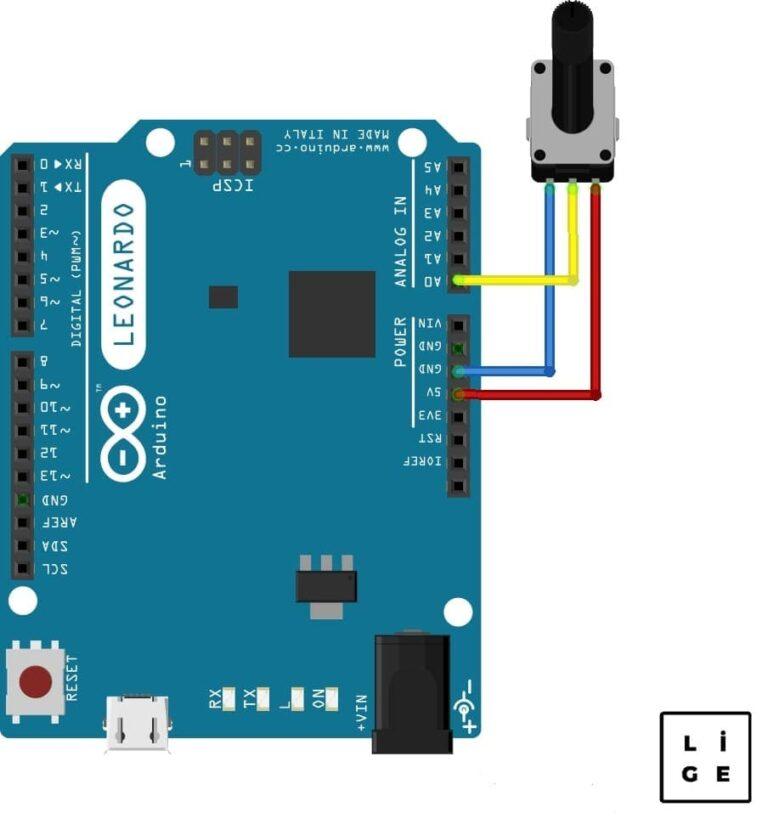
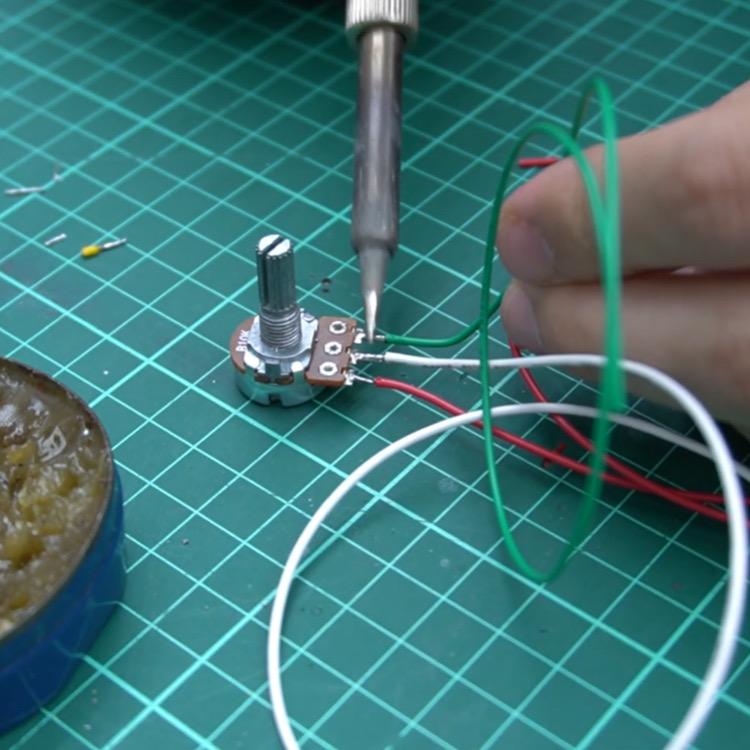
The electronic circuit of this project is very simple. We are using a potentiometer in order to transfer turning angle into electrical signal. In addition, our Arduino Leonardo board will read these signals and communicate with our PC over USB. You can check the schematic below while building it yourself.
Making the Mechanic Parts
.jpeg)
.jpeg)
.jpeg)
.jpeg)
Now that the electrical and software side of the project is ready, it is time to complete the mechanical build and finalize our DIY steering wheel.
3D Files
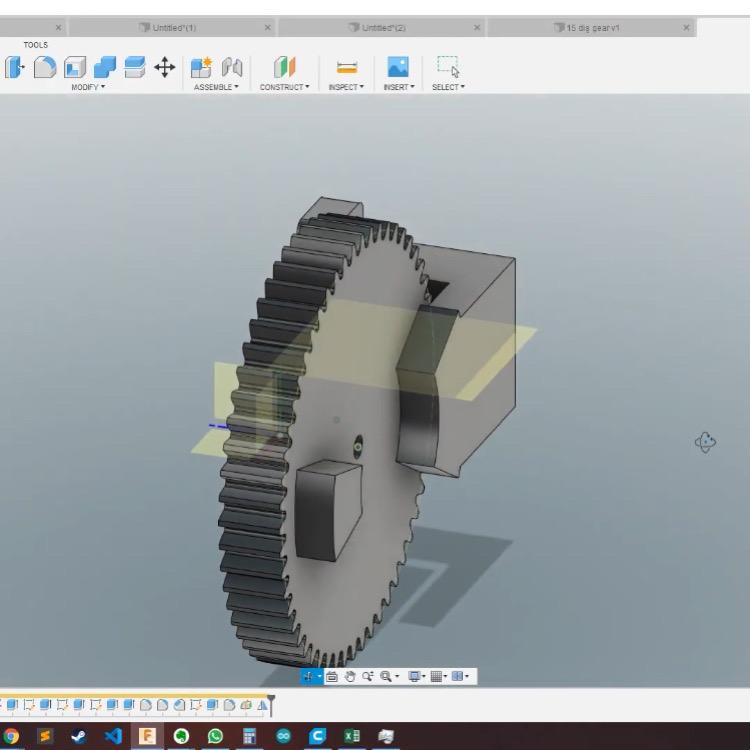
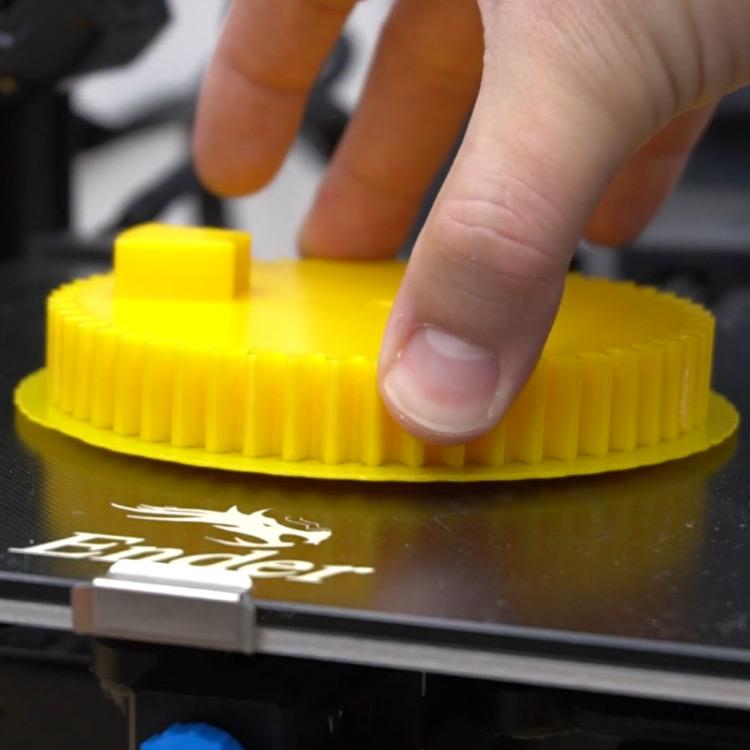
To build this project, we need several 3D printed parts. To download them, you can visit this GitHub repo which has the necessary 3D parts. You can either print them on your own machines or use online services to have them printed for you.
Assemble
Here are several pictures that will guide in the assembly projects. If you need more visuals while building you own steering wheel, you can check out the 900 Degrees DIY Steering Wheel video which shows the whole building process.
After the mechanical assembly process, you very own DIY Steering Wheel is ready! You can now enjoy it in games like iRacing, Dirt Rally, Asetto Corsa, Euro Truck Simulator 2 and more. Don’t forget to share your thaughts about this project in the comments section.