How to Make Cute Cheese and Mouse Earrings!
by mikaylak558 in Craft > Jewelry
669 Views, 10 Favorites, 0 Comments
How to Make Cute Cheese and Mouse Earrings!

I have seen many different types of acrylic novelty jewelry being made before, I absolutely loved the way it looked and the cute nature of it.
What better way to try out this new material than to make it first hand.
Making the earrings are pretty simple you can even design them yourself and customize them to your personal aesthetic!
Supplies
- Computer or laptop with Adobe Illustrator
- Epilog Zing Laser engraver & cutter (50 watt)
- One 8.5x11 and ⅛” thick sheet of clear acrylic
- You can customize this step and use any color of acrylic that you think would work! Maybe yellow acrylic for the cheese and brown for the mouse!
- Acrylic Paint in yellow, black, and pink
- tweezers or needlenose pliers
- Two silver jump rings
- Two silver earring hooks
Design Your Earring
You can skip to step 5 by downloading my AI file at the bottom of this step
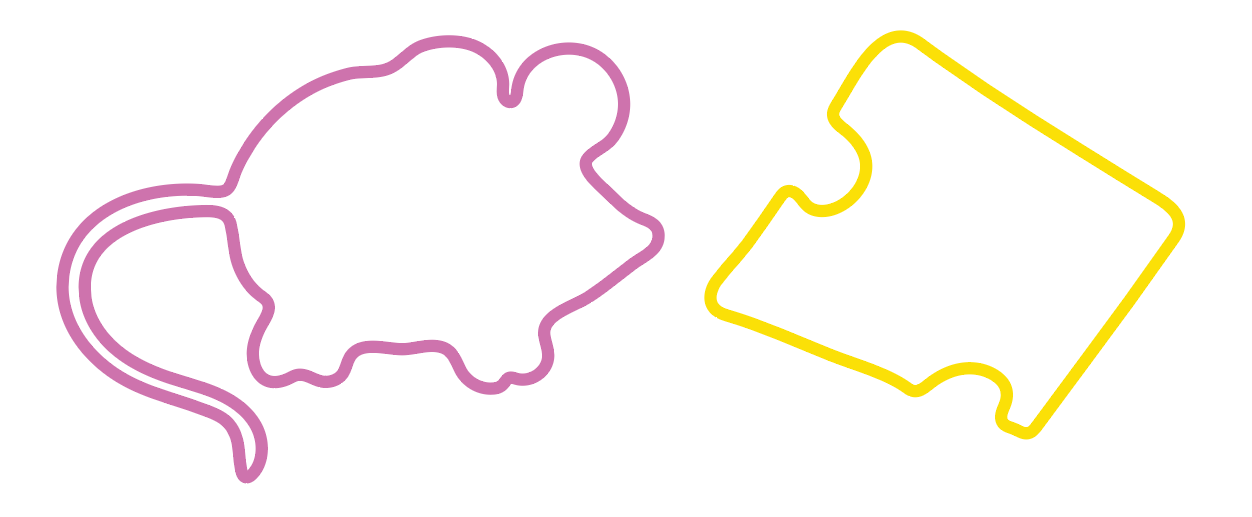
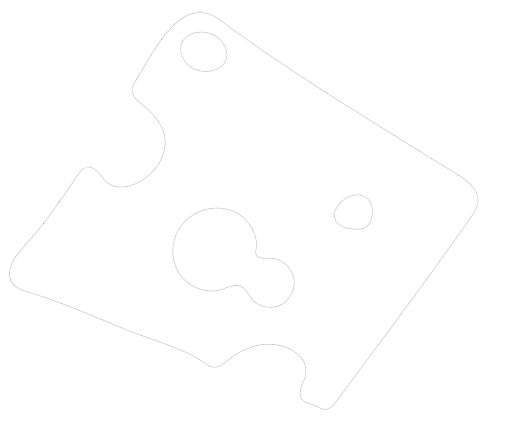
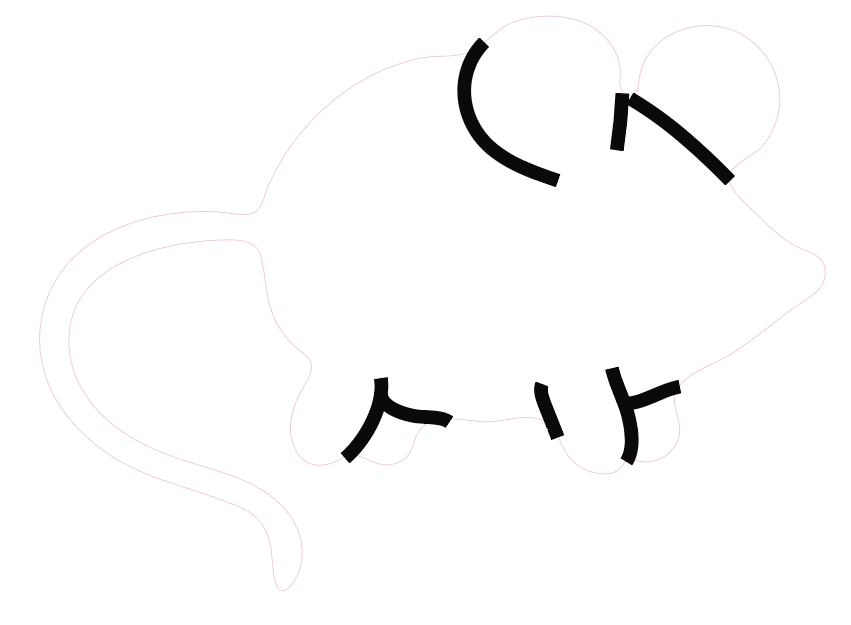
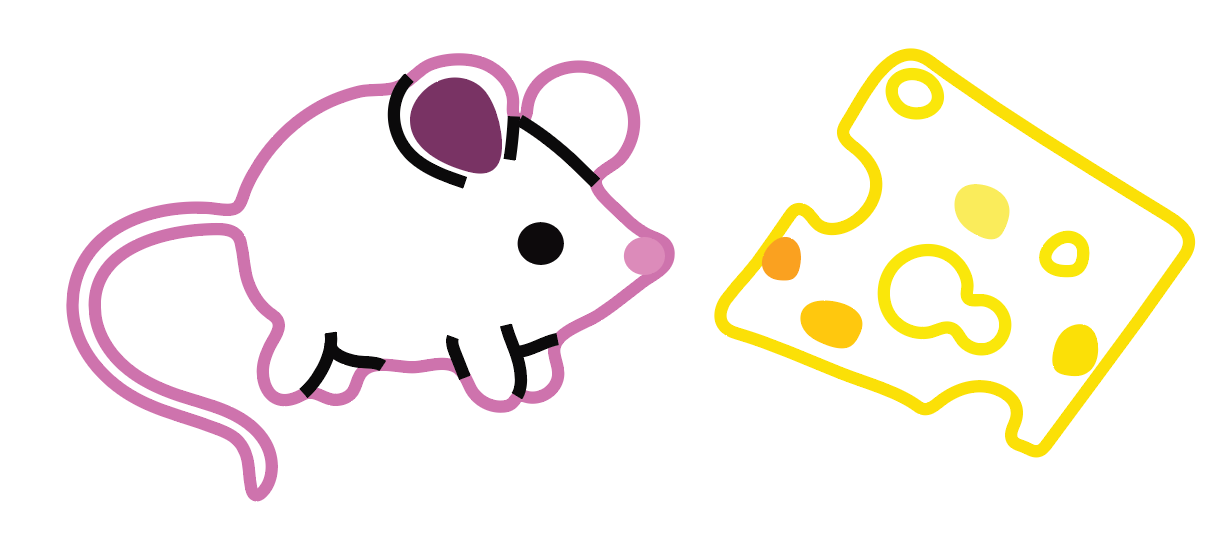
Use the Pen or Pencil Tool to draw out the outline of your design only.
Be sure not to draw inside your shape as later these will become the cut lines in the laser cutter later.
After you draw the outline set the stroke weight of the outline to <0.001 inches (MUST BE IN INCHES). By setting it to this stroke weight it tells the laser cutter that it is a vector line and should be cut.
Downloads
Drawing the Holes in the Cheese
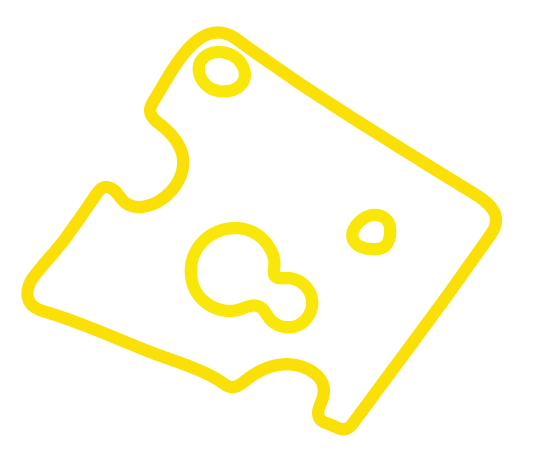
Using the Pen Tool again draw outlines of the holes inside the swiss cheese.
We want to cut these out as well so also set the stroke to <0.001 in.
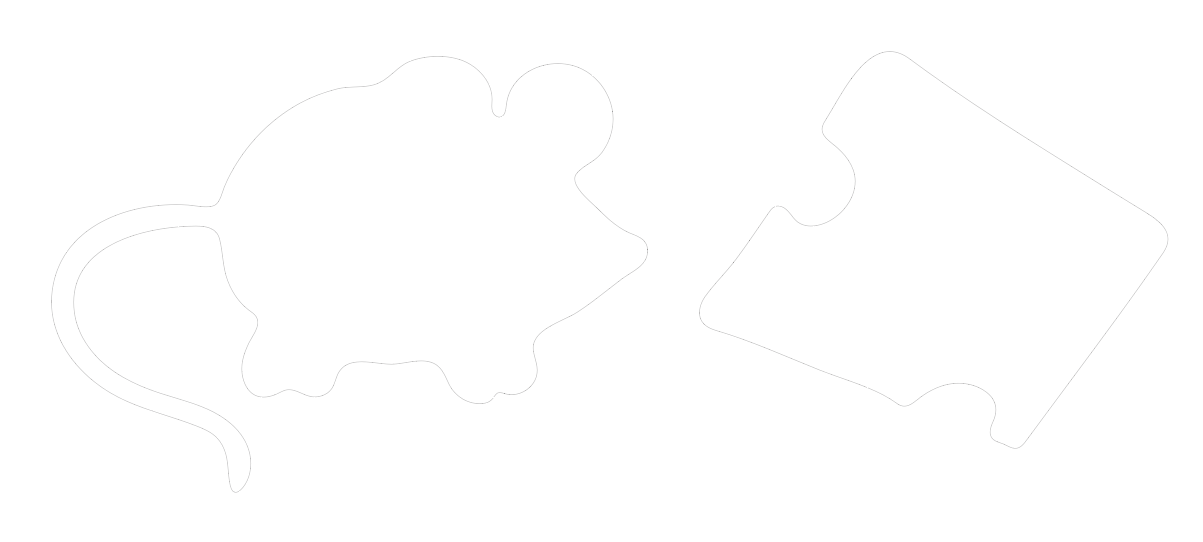
Drawing the Details
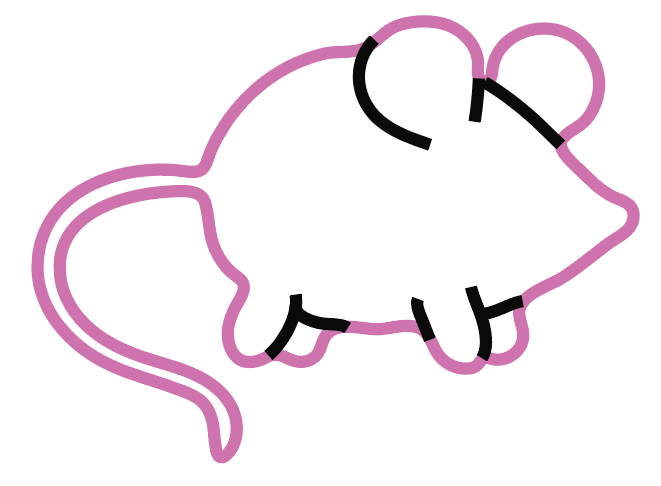
Draw in the mouse details with the Pen Tool and this time we don't want to cut these lines. Set the stroke width to 0.0313 in.
Finishing the Art
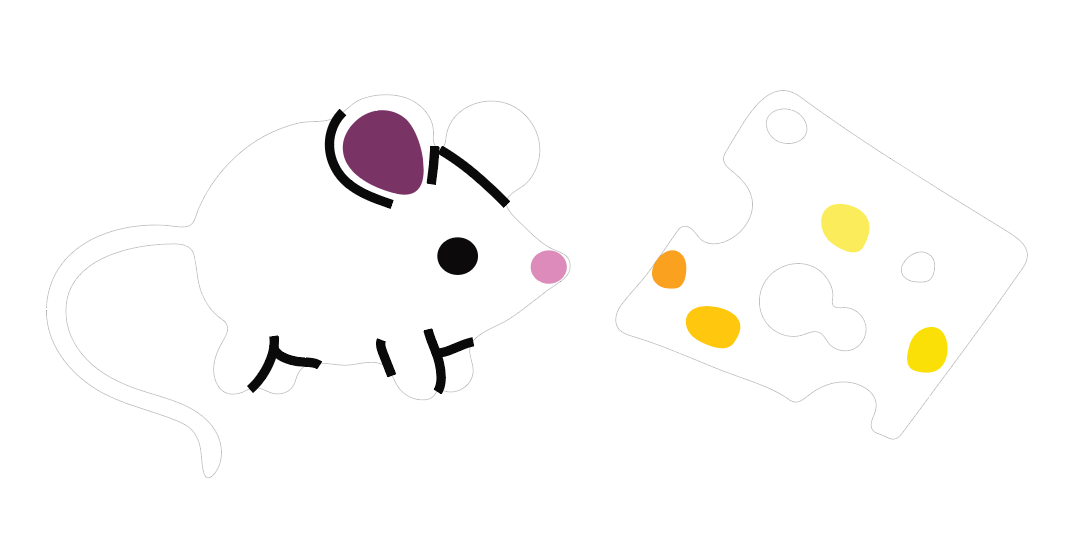
Use the Elipse tool to create circles of different sizes.
You can also use the Pen tool to try and click out a circle and then use the smooth tool over it to give it the rounded irregular oval look.
Set these to filled and do not add a stroke these will be engraved in the acrylic.
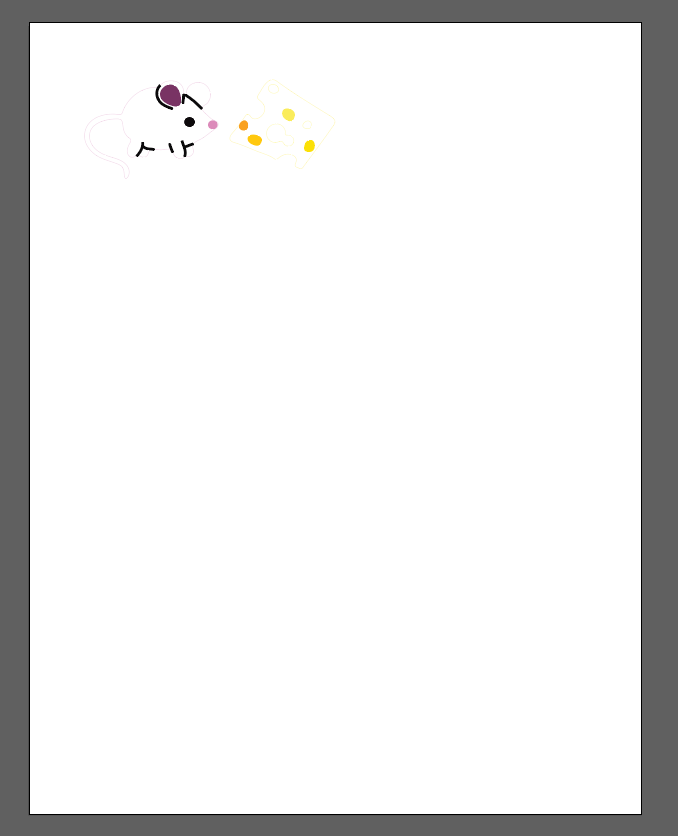
This is the final image! Don't worry if it looks a little strange now, you just have to trust the process
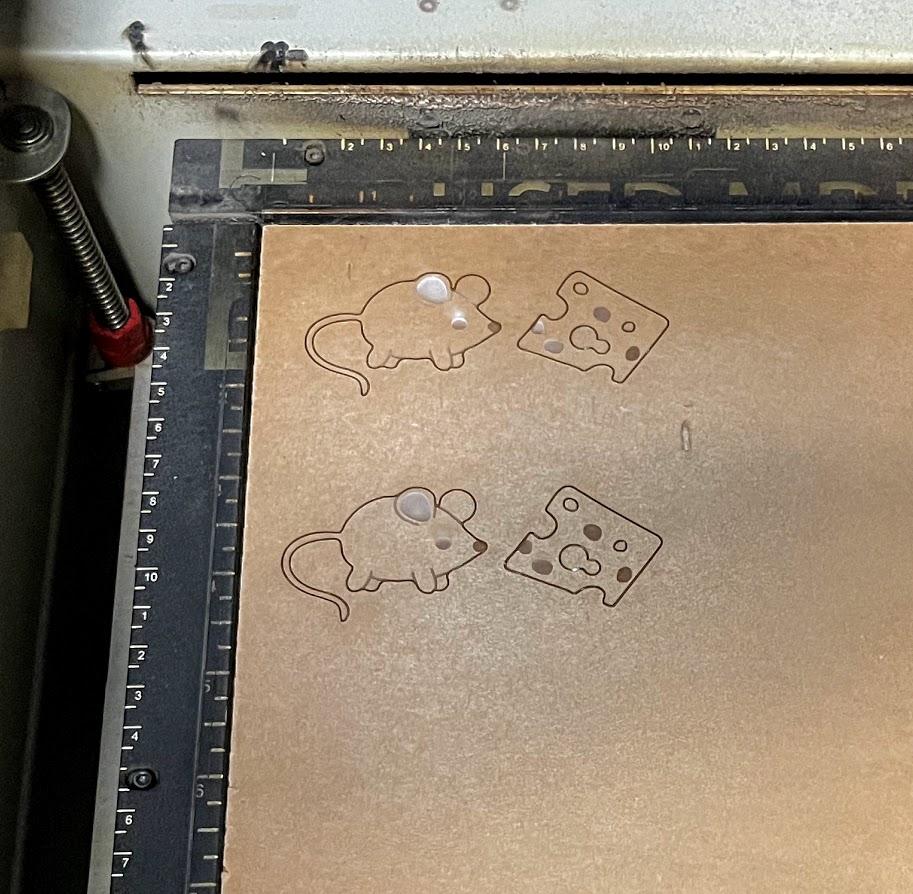
Send to the Laser Cutter
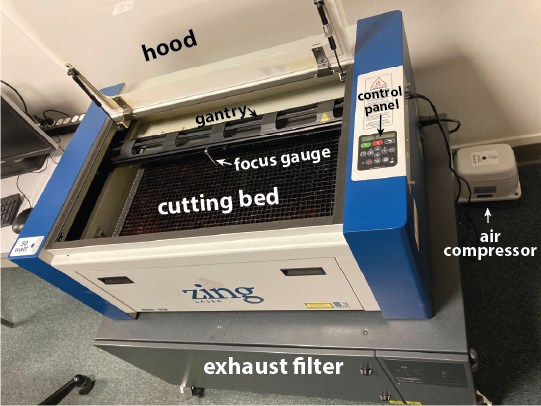

Make sure you are safe while using the laser cutter turn on the air compressor, exhaust, and Epilog Zing!
Open the Hood and lay down your material in the top left-most corner
Make sure your computer is connected to your Epilog.
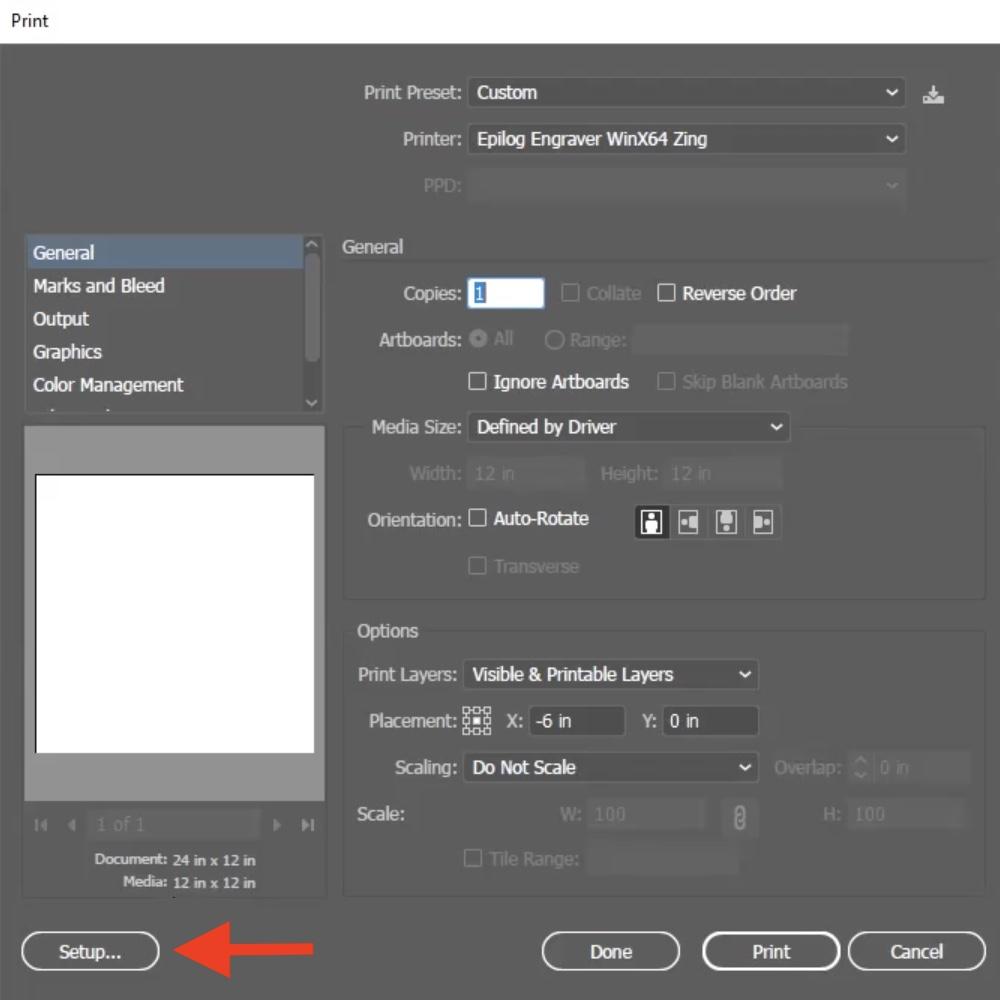
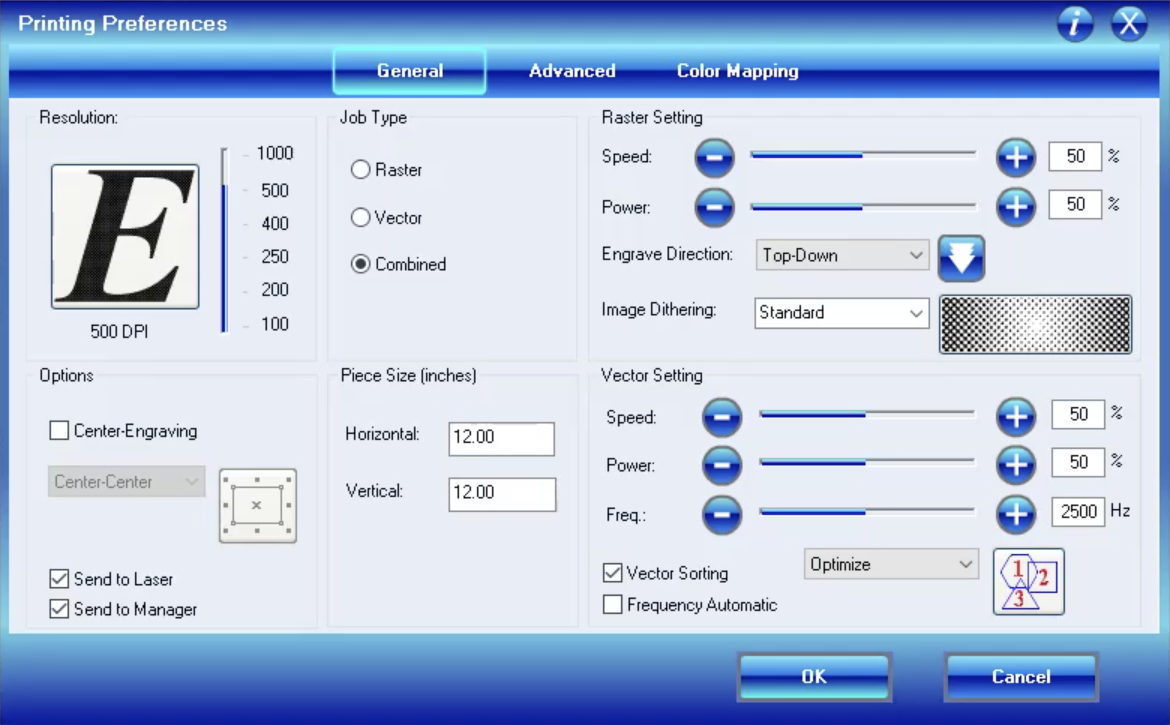
Press print in Adobe Illustrator --> Go to SetUp --> Preferences --> Make sure you are on Combined and have the right size in the Piece Size (I used a 8.5x11 and ⅛” thick sheet of clear acrylic)
Popping Out the Engravings
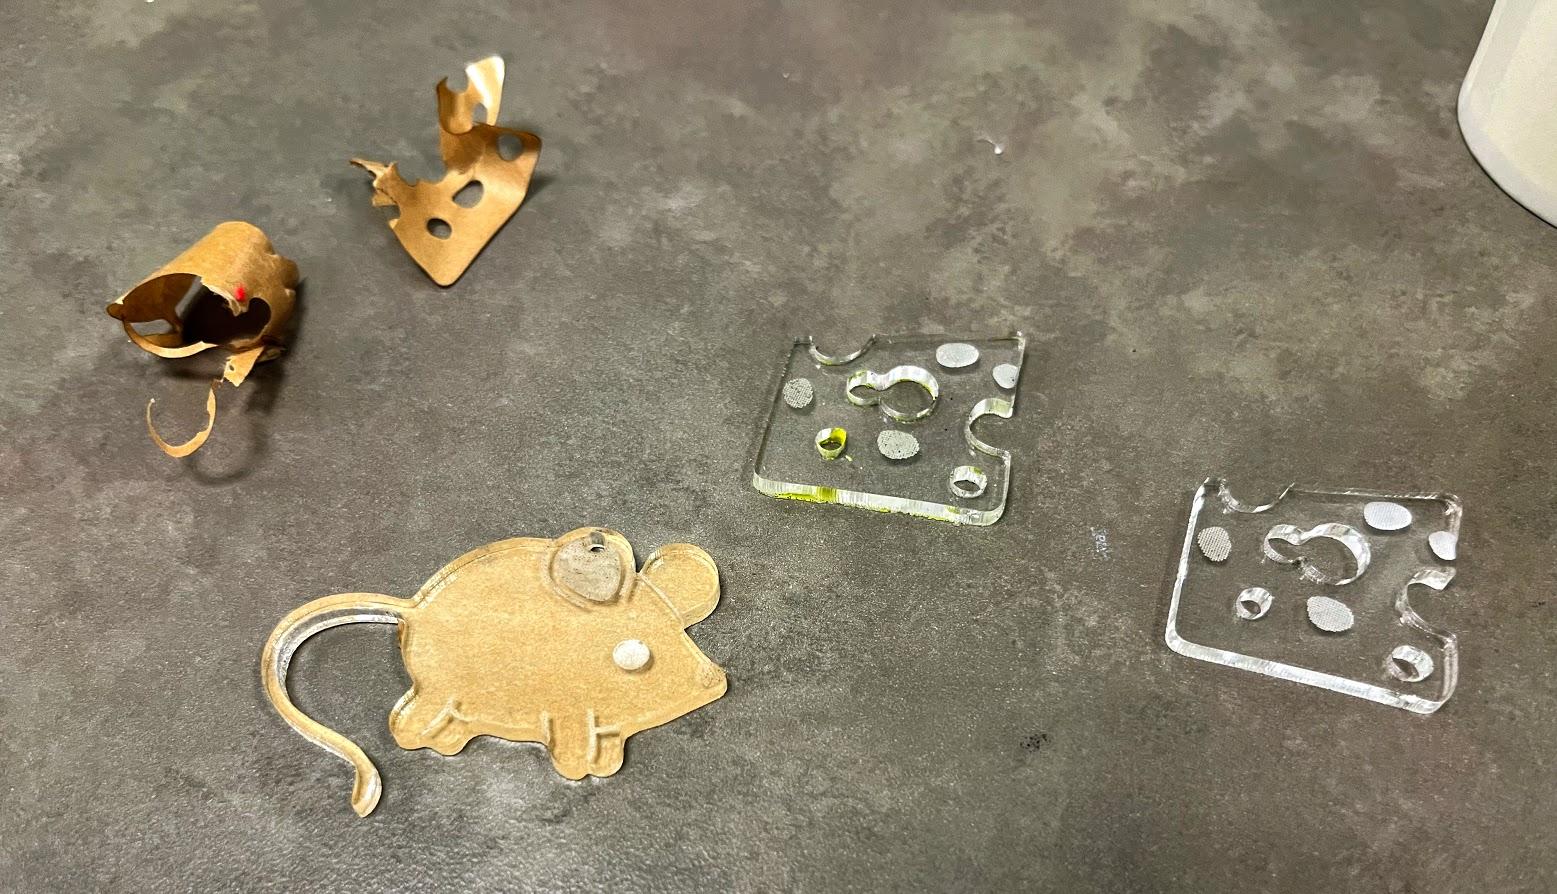
Be careful when popping out the acrylic as it can cut u and is quite sharp. If possible use a tool like tweezers or needlenose pliers to help pop out the small holes.
Paint
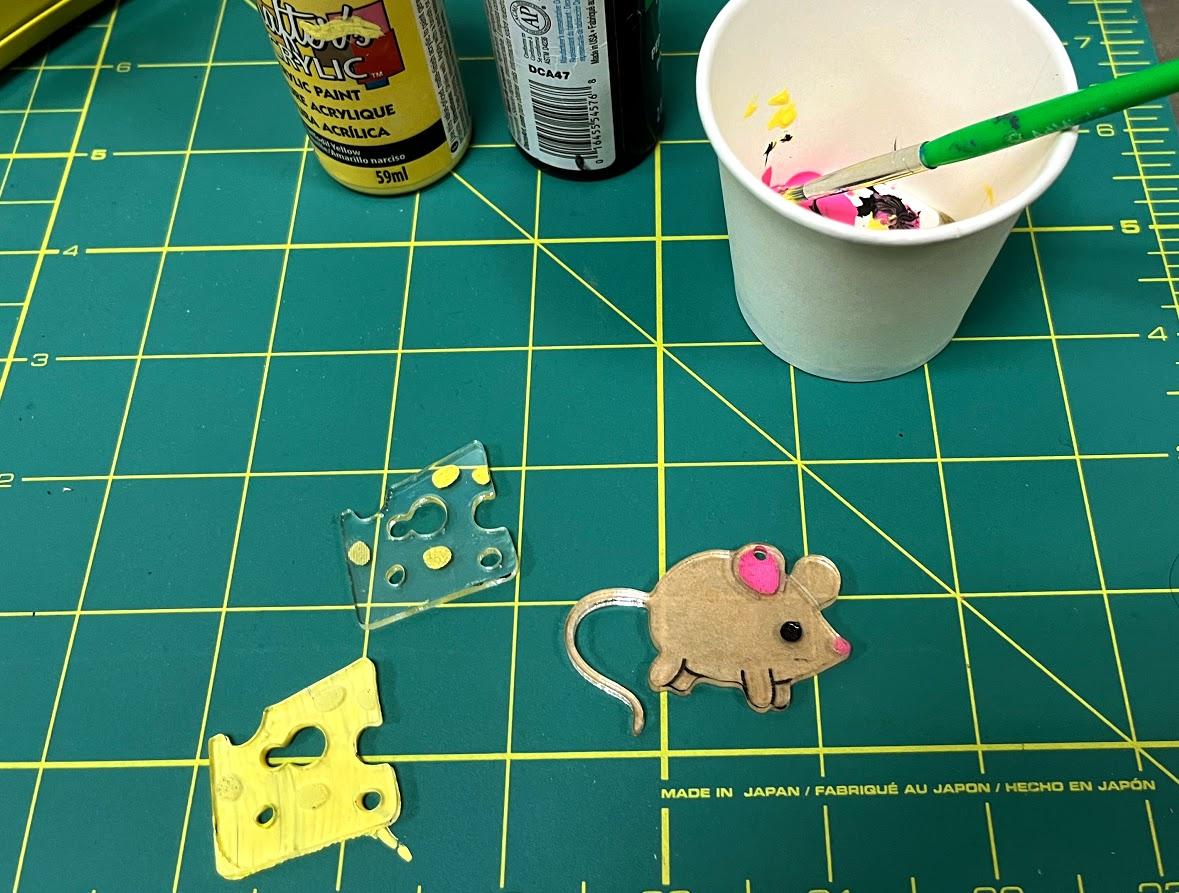
I used Acrylic paint and in the engraved areas I put a glob of paint on and with a slightly damp towel (or hands) I lightly wiped off the paint from the acrylic and the paint stayed in the engraved depressions.
I ended up liking this outcome better than painting the whole piece but this set is also totally customizable to your preferences in color and look!
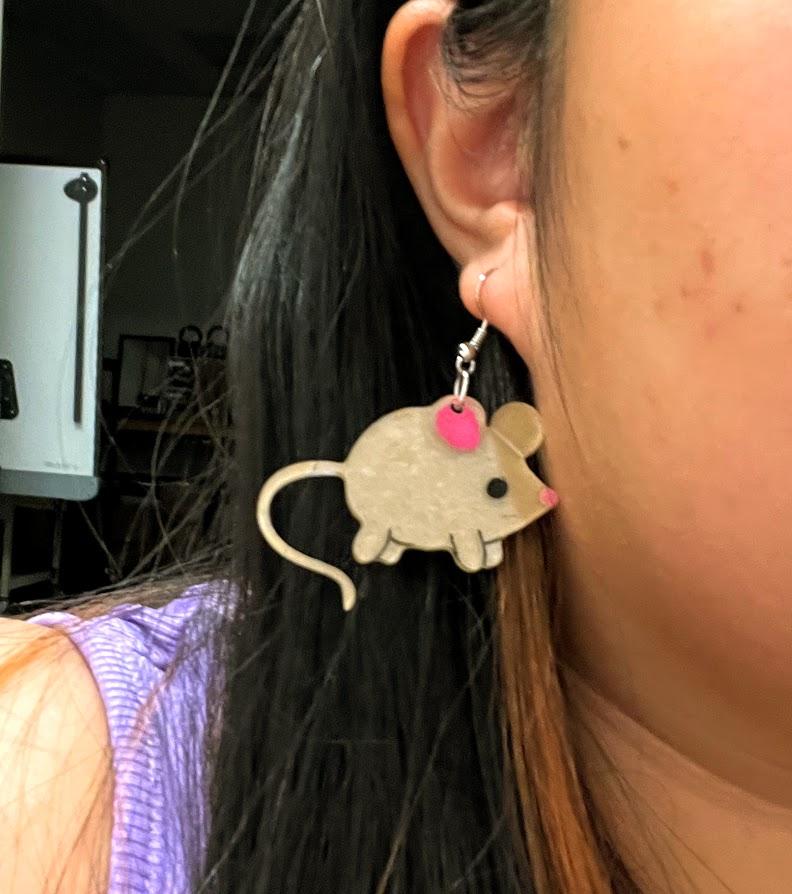
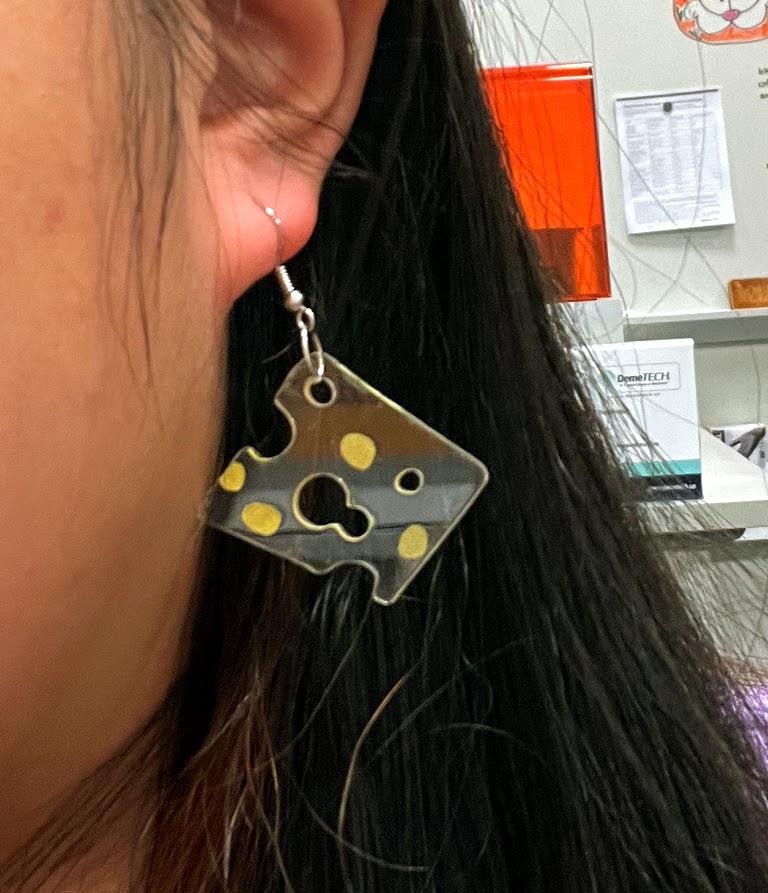
Add the Earring Hooks (LAST STEP)!!
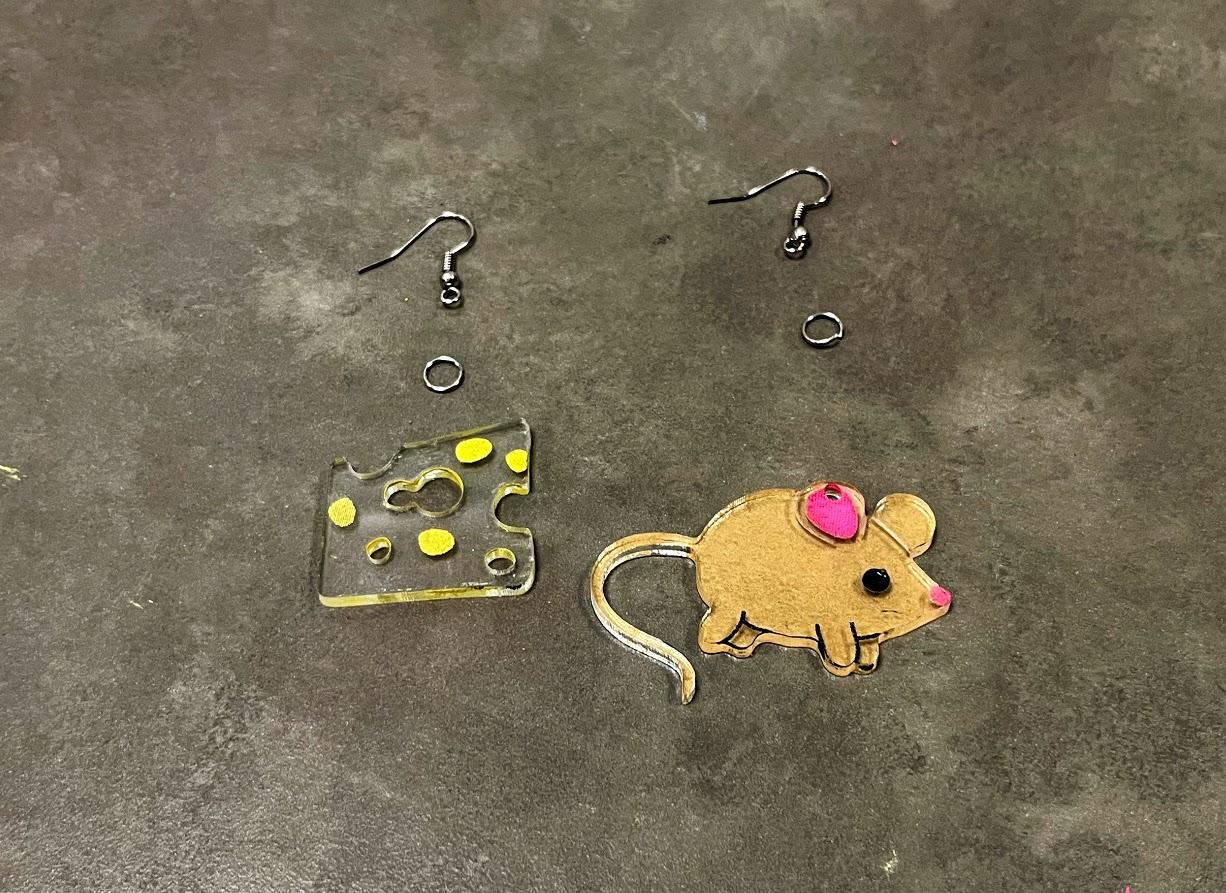
After waiting for the paint to dry use needle nose pliers to add the jump ring in the hole of the swiss cheese and the ear of the mouse.
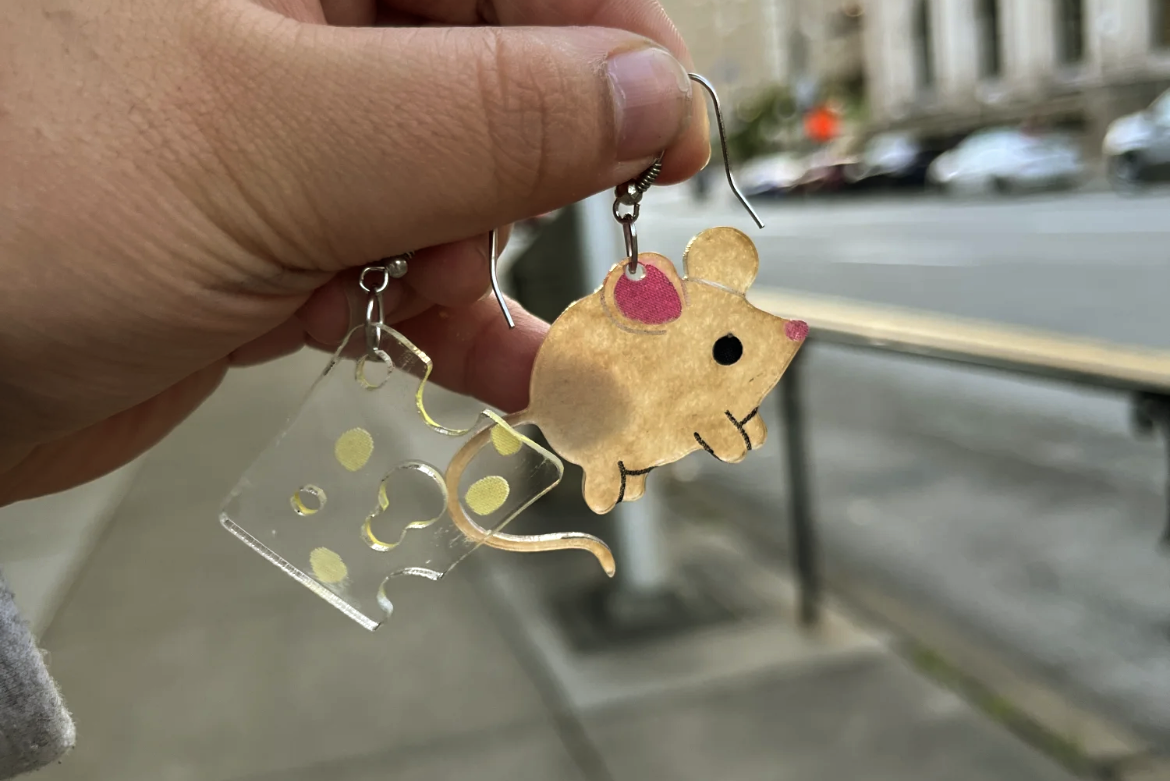
Then the Earring Hooks onto the jump rings!
There you have it! Adorable Acrylic Cheese and Mouse earrings and the skillset to make any earrings or acrylic designs you can imagine!