How to Make Contour Map With Tinkercad
by TheSpaceGuy in Teachers > 12
1865 Views, 14 Favorites, 0 Comments
How to Make Contour Map With Tinkercad
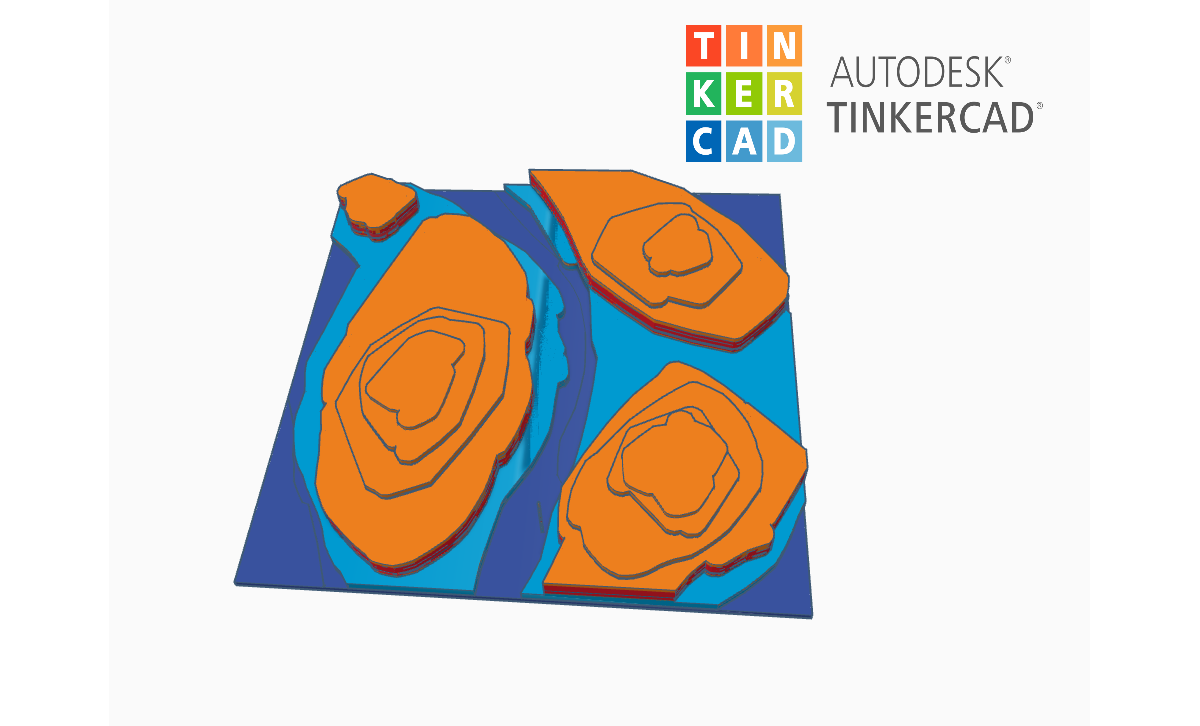
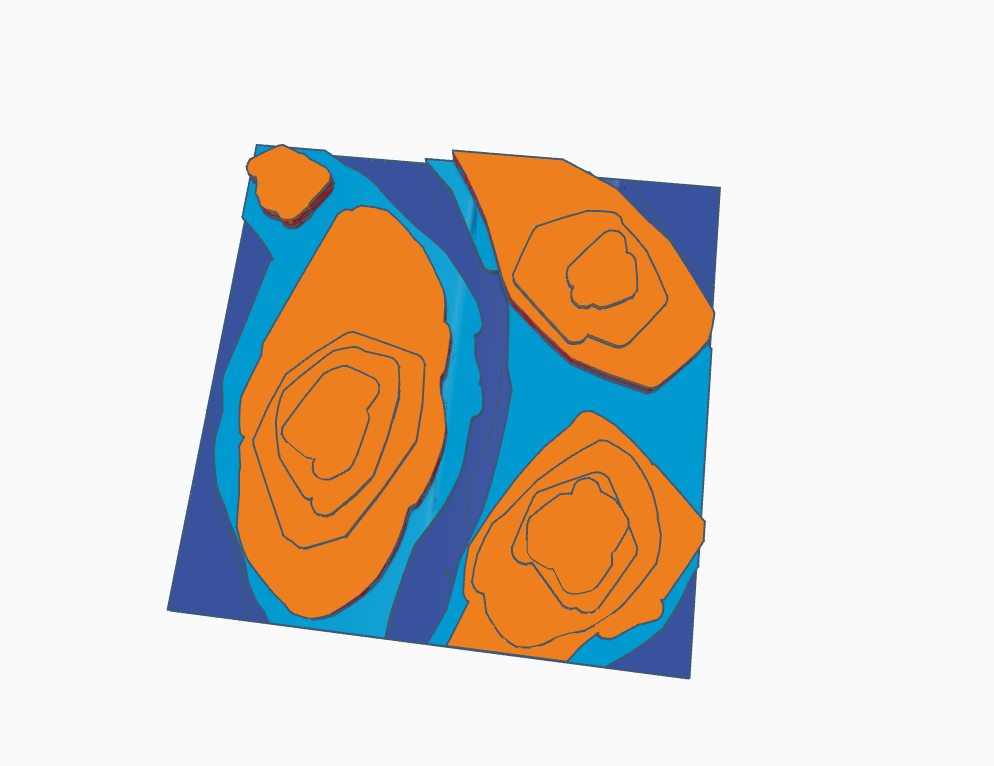
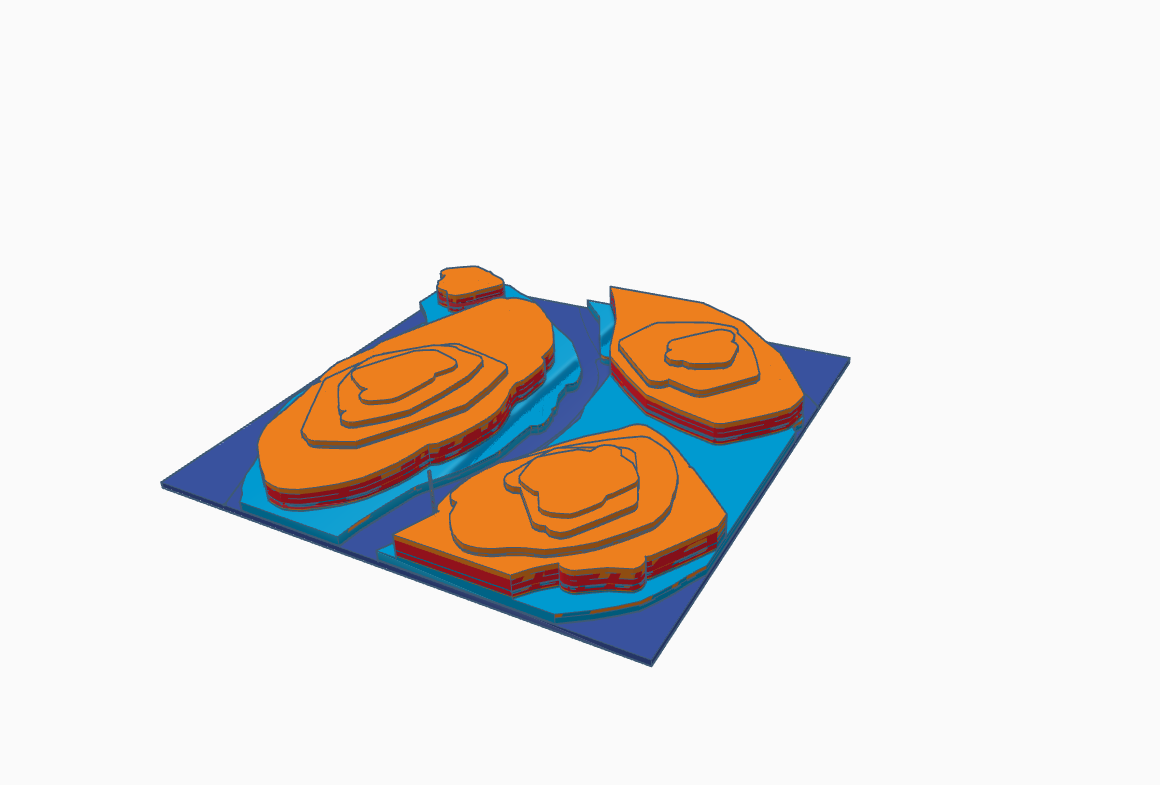
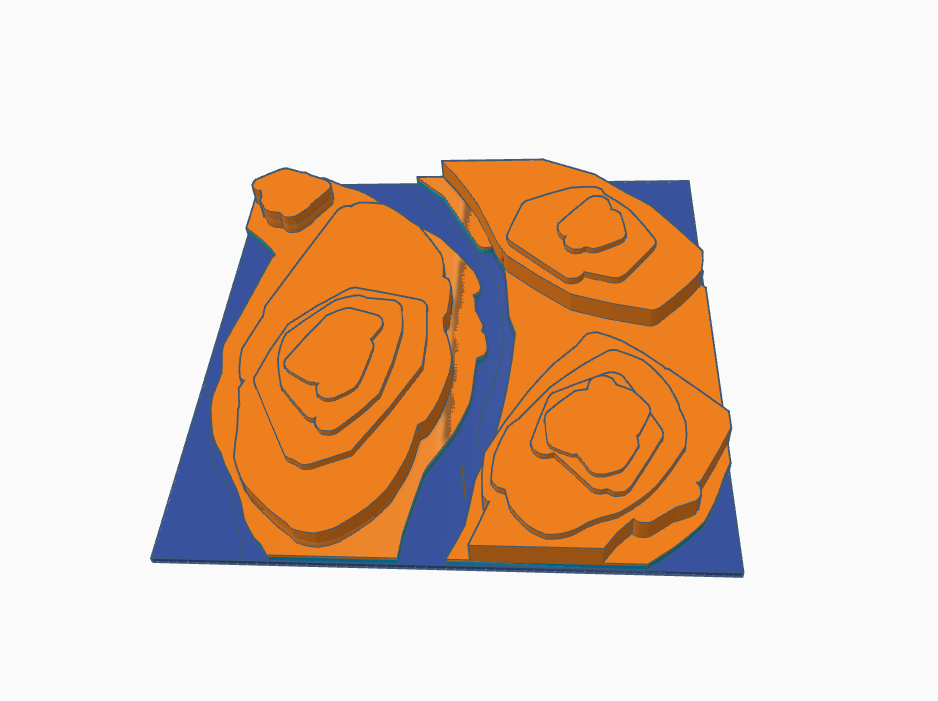
A Contour Map is a map illustrated with contour lines, for example a topographic map, which thus shows valleys and hills, and the steepness or gentleness of slopes. The contour interval of a contour map is the difference in elevation between successive contour lines.
When we analyze a contour map it can help us to understand the characteristics of a country's ground surface. Thus, the potential communication route between various locations can be identified.
Students studying STEM as well as others with an interest in this field can benefit from this map.
I have shared the STL file, so if you wish to 3D print this model for your classroom please go ahead : D
Downloads
Supplies
- For the Supplies -
- Tinkercad Account
- 3D printer
Making the Initial Layer
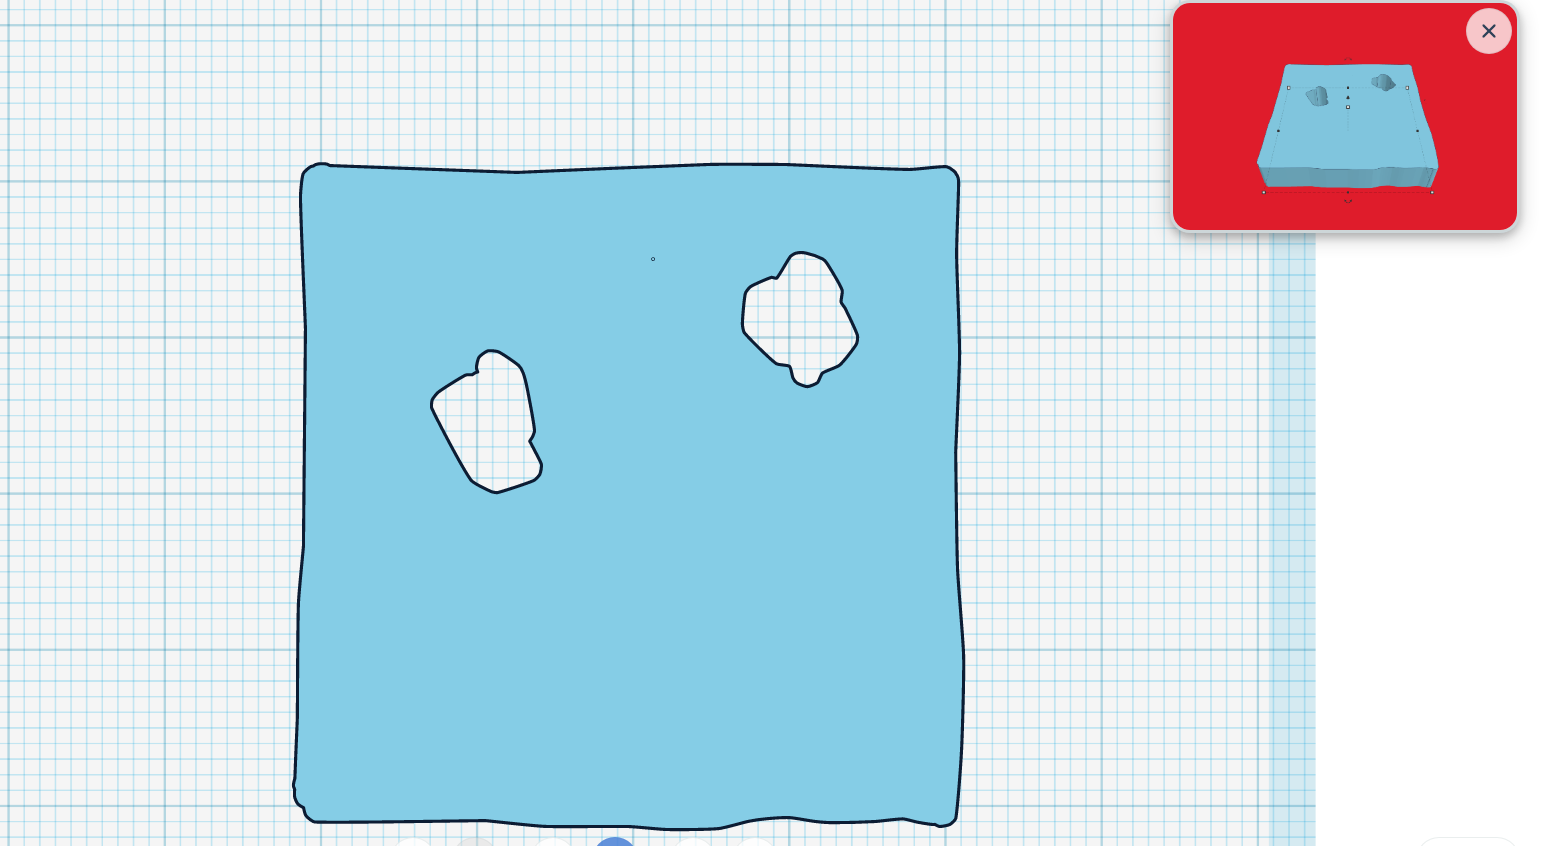
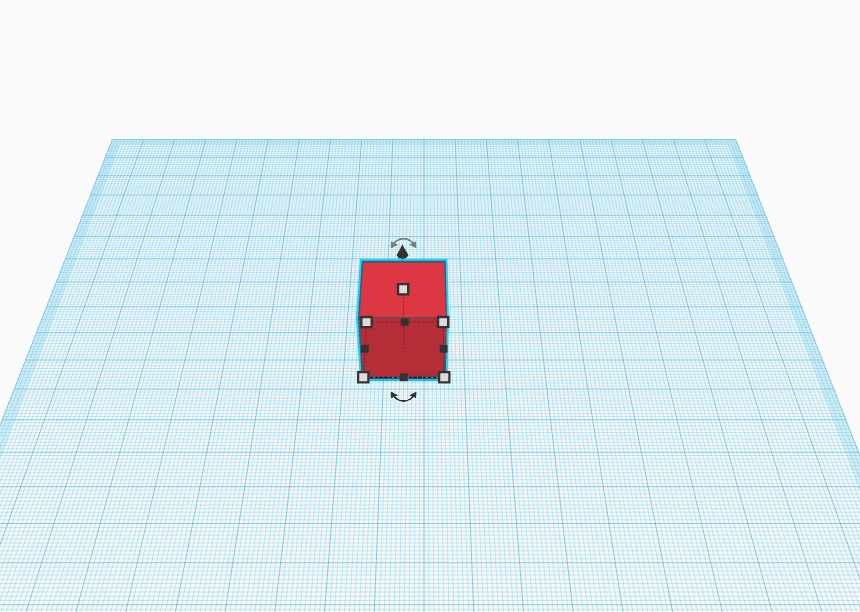
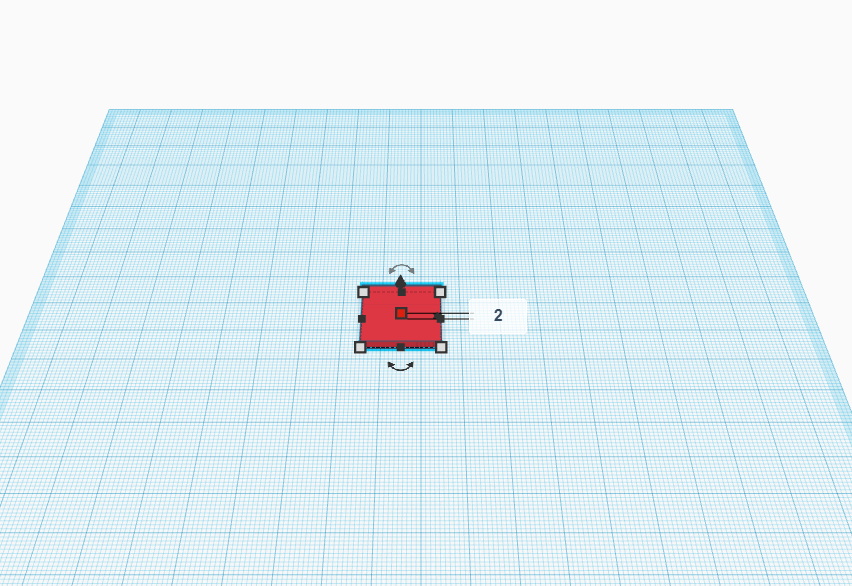
- Start by taking a square from the pre- built library from tinkercad.
- Adjust the dimensions of the square by 2cm for the height and 200 cm for the length.
- Now make the width also same as the length.
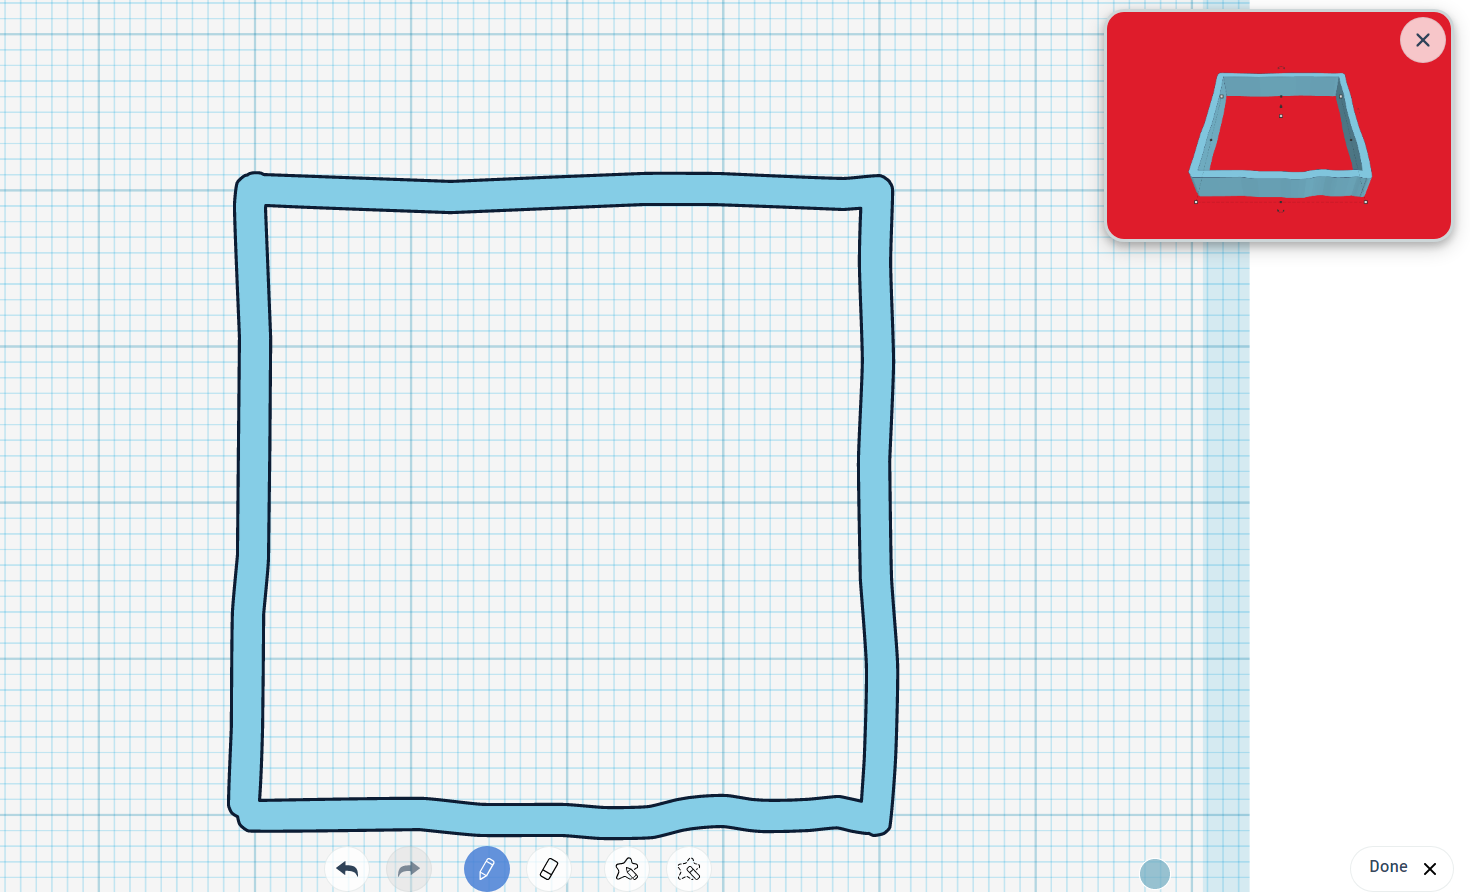
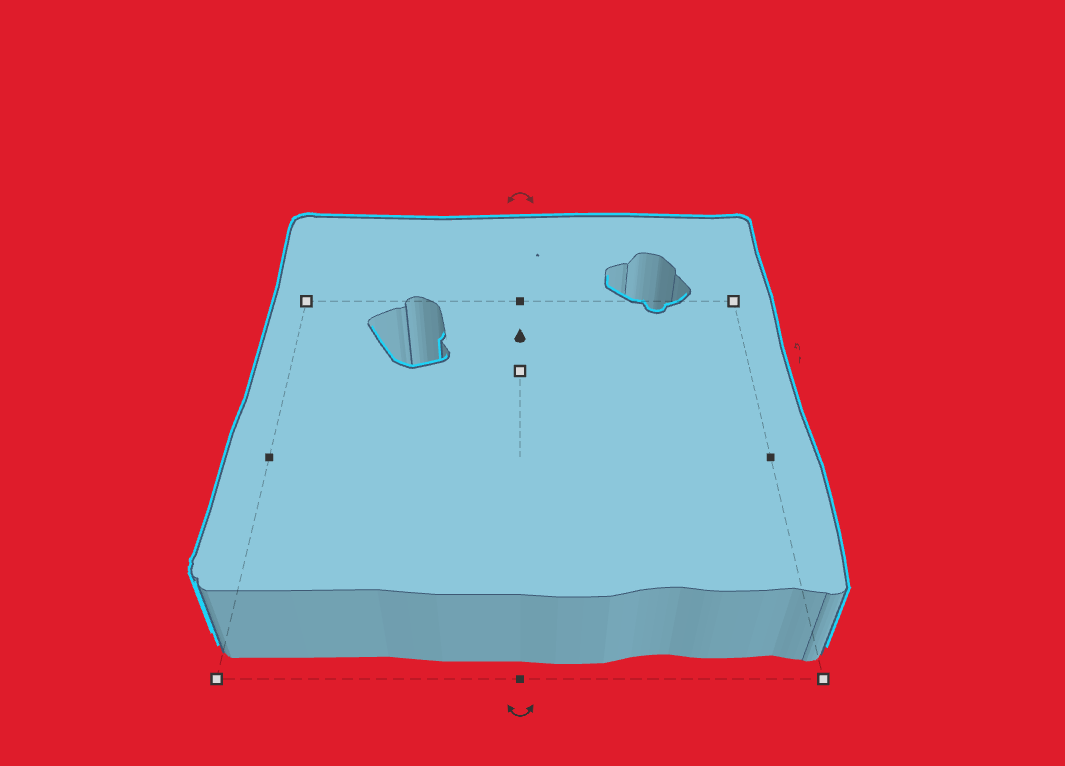
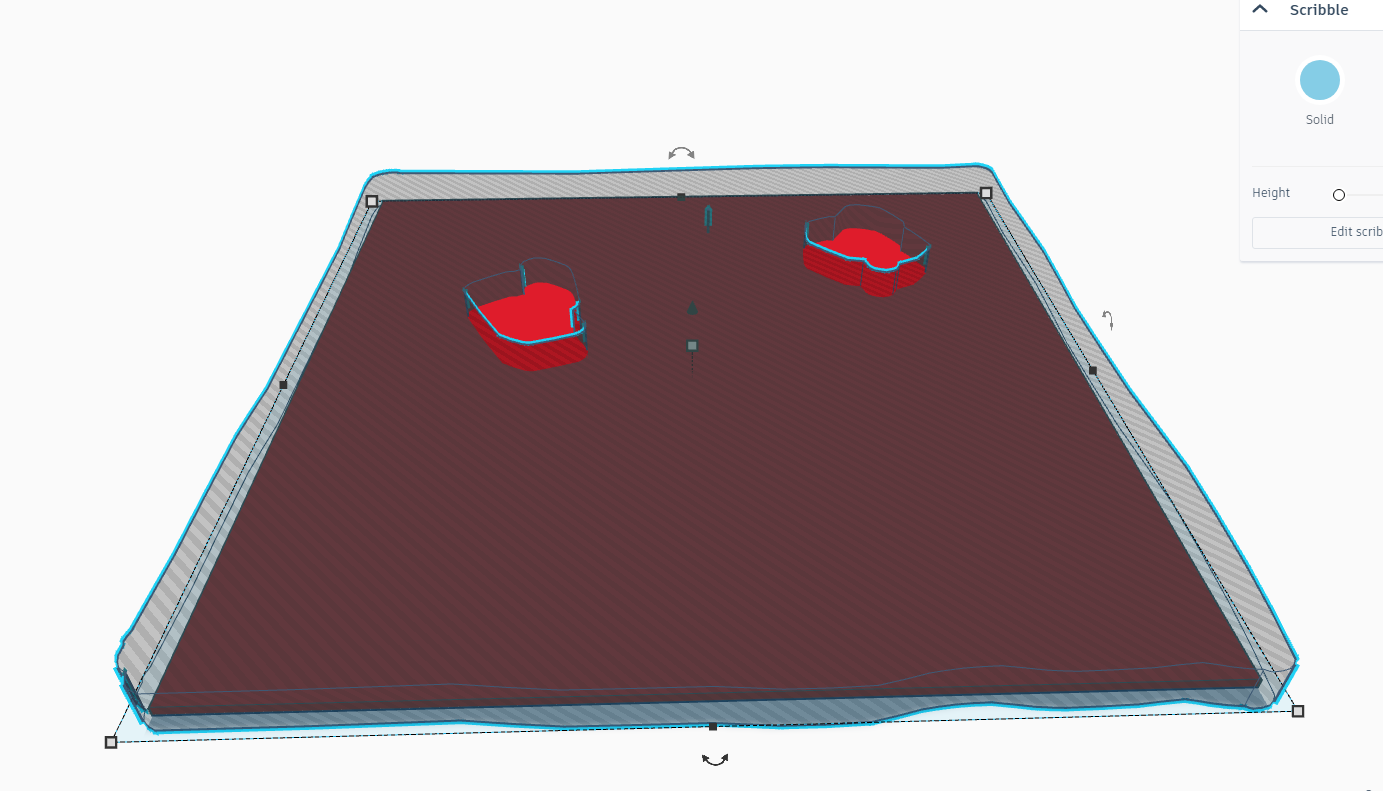
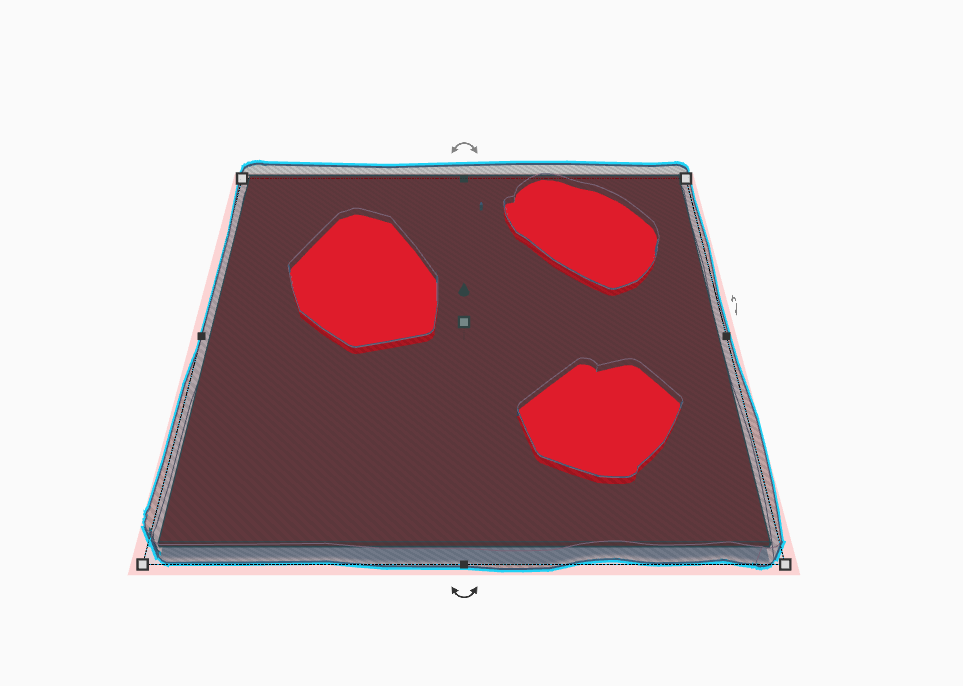
- Once done take the scribble from the pre-built library and place it on the square.
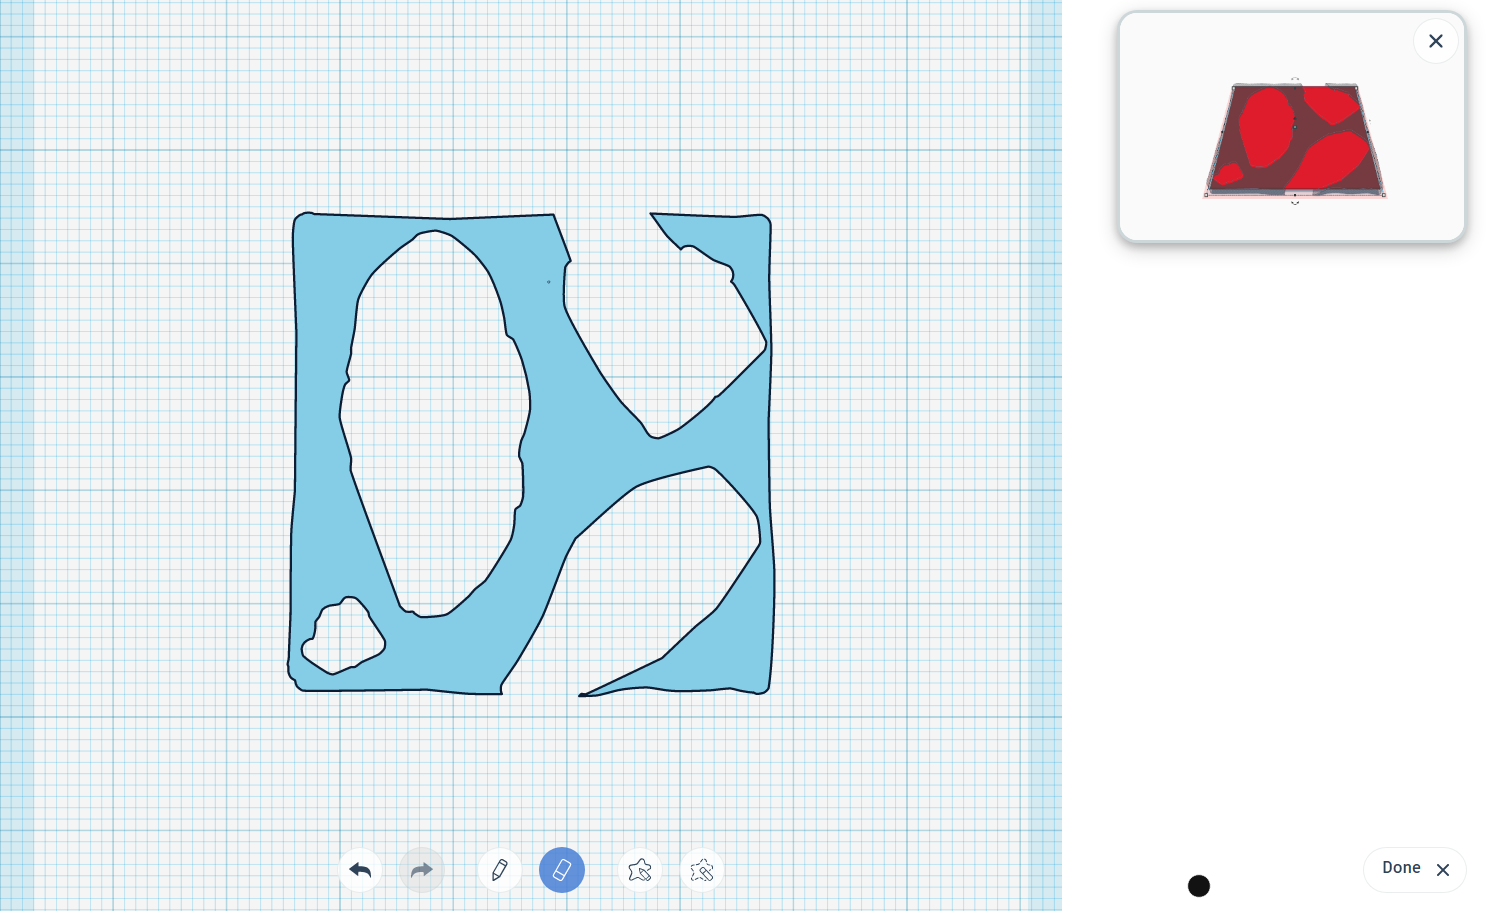
- The next step is to create a square form in the scribble.
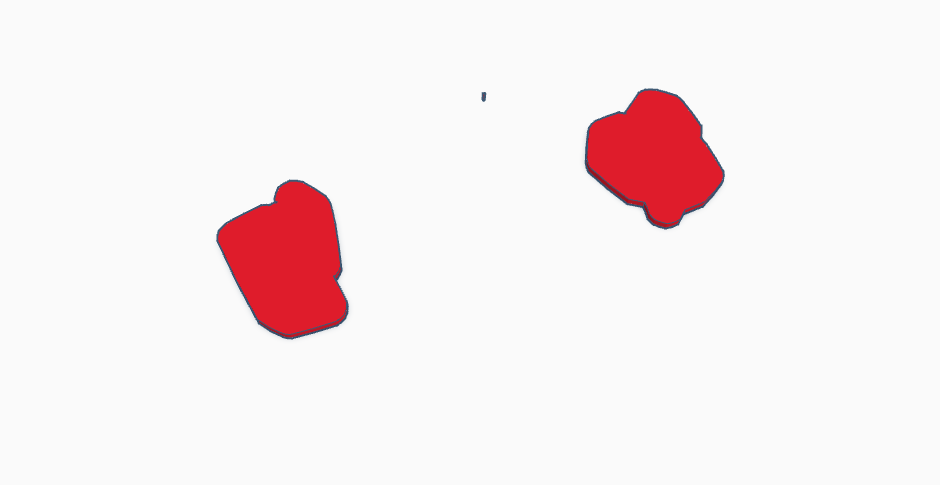
- .Next, use an eraser to make a few tiny patches on the square.
The Scribble Part

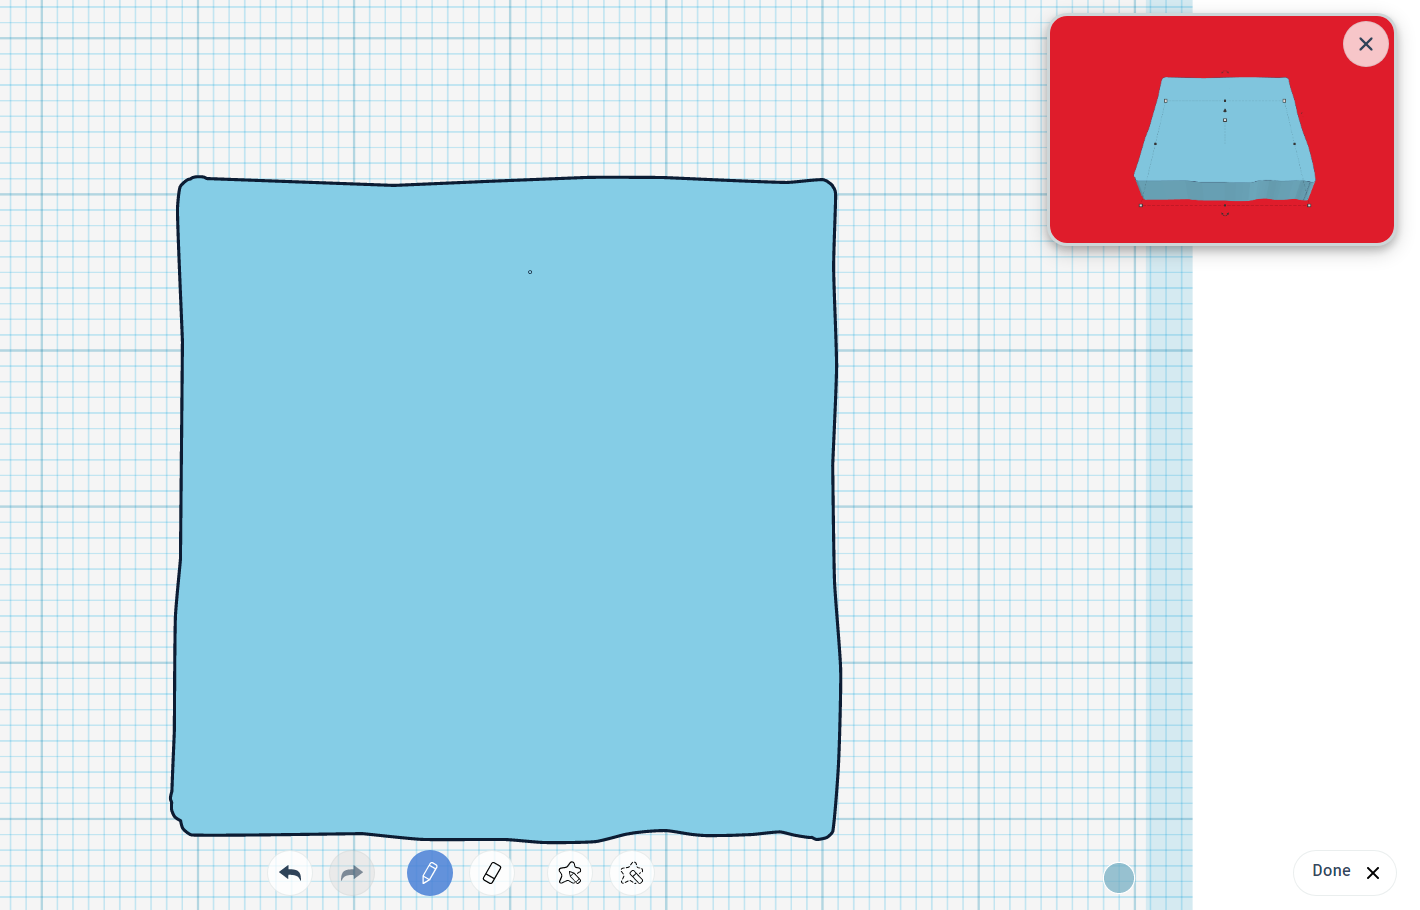
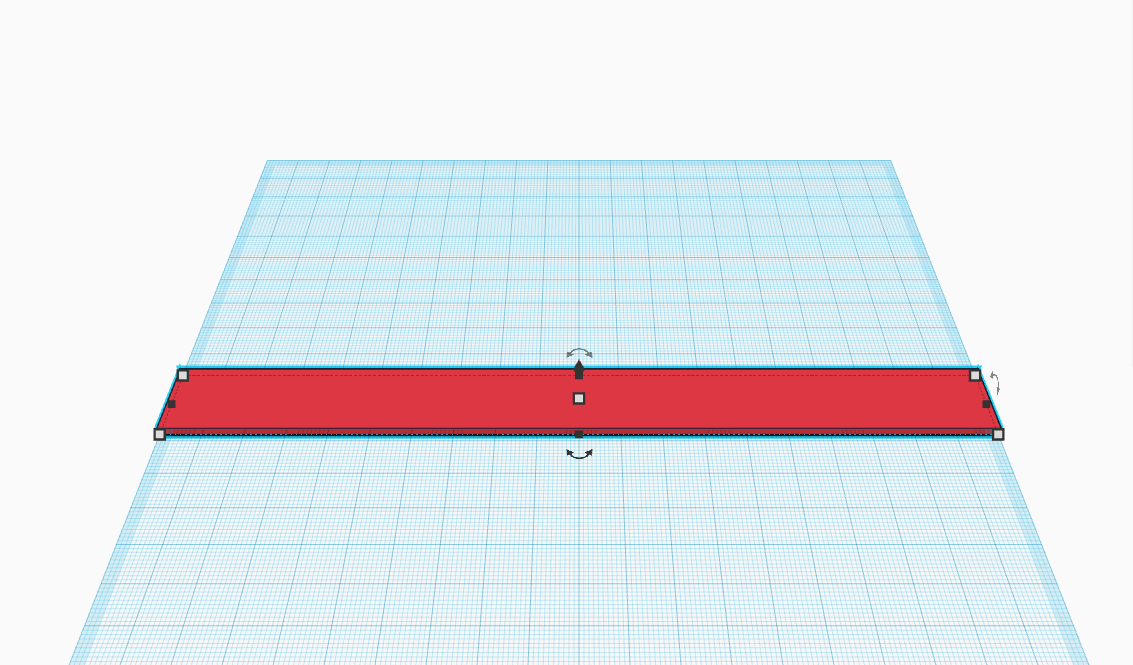
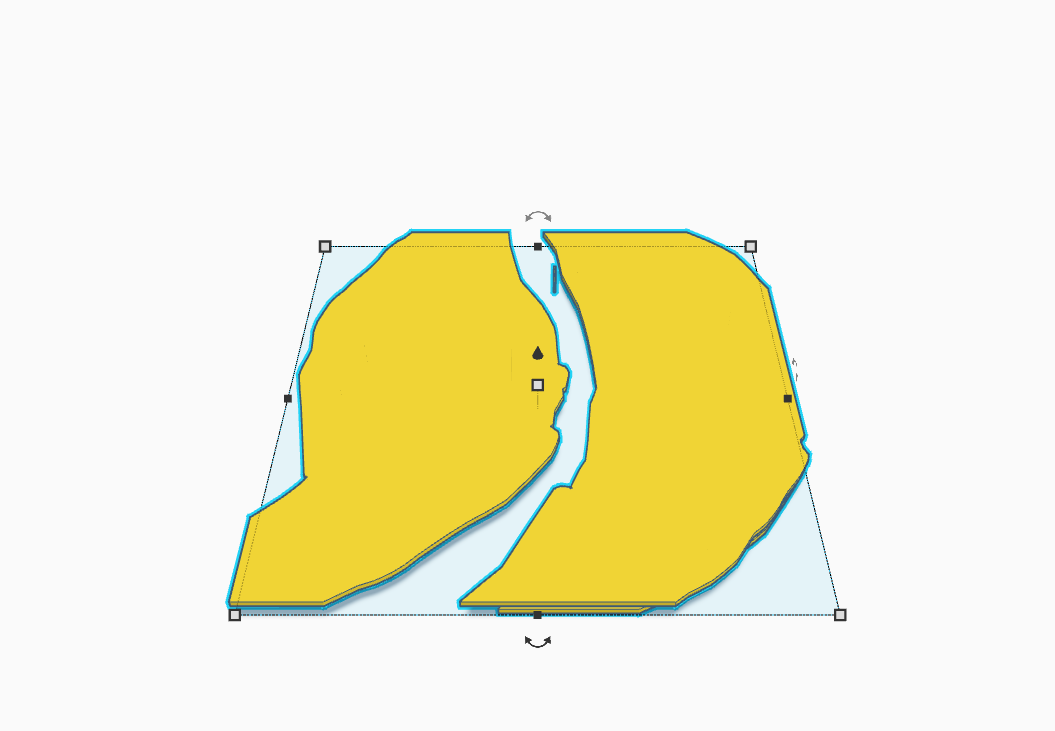
- Now click Done and return to main workspace.
- Next, adjust the dimensions of the square scribble by 210cm for length and width.
- Place this scribble now on the primary base and combine them with the group tool.
Edit the Scribble

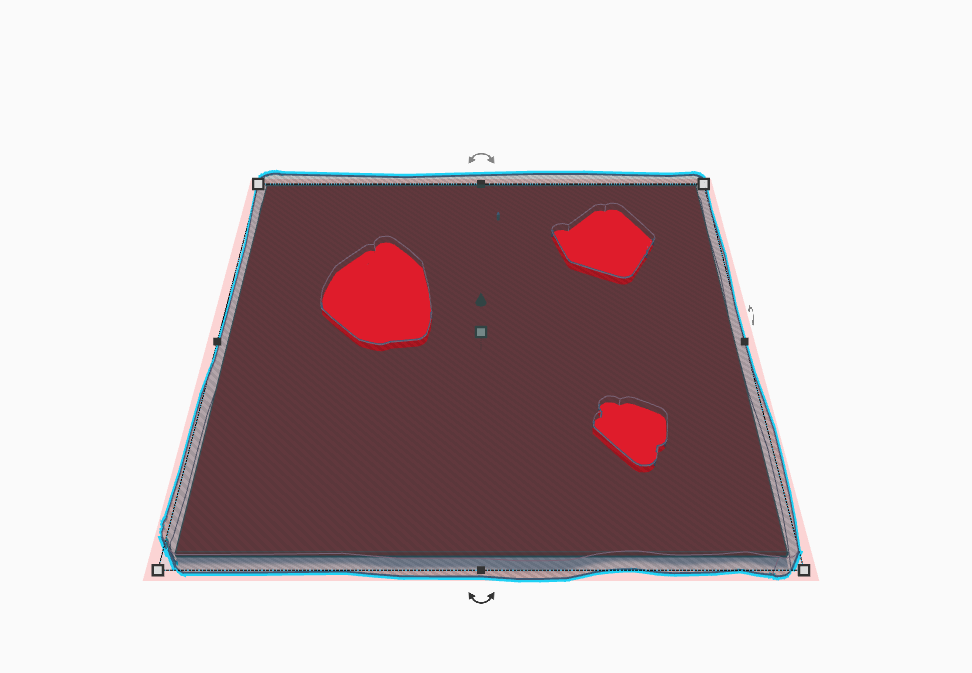
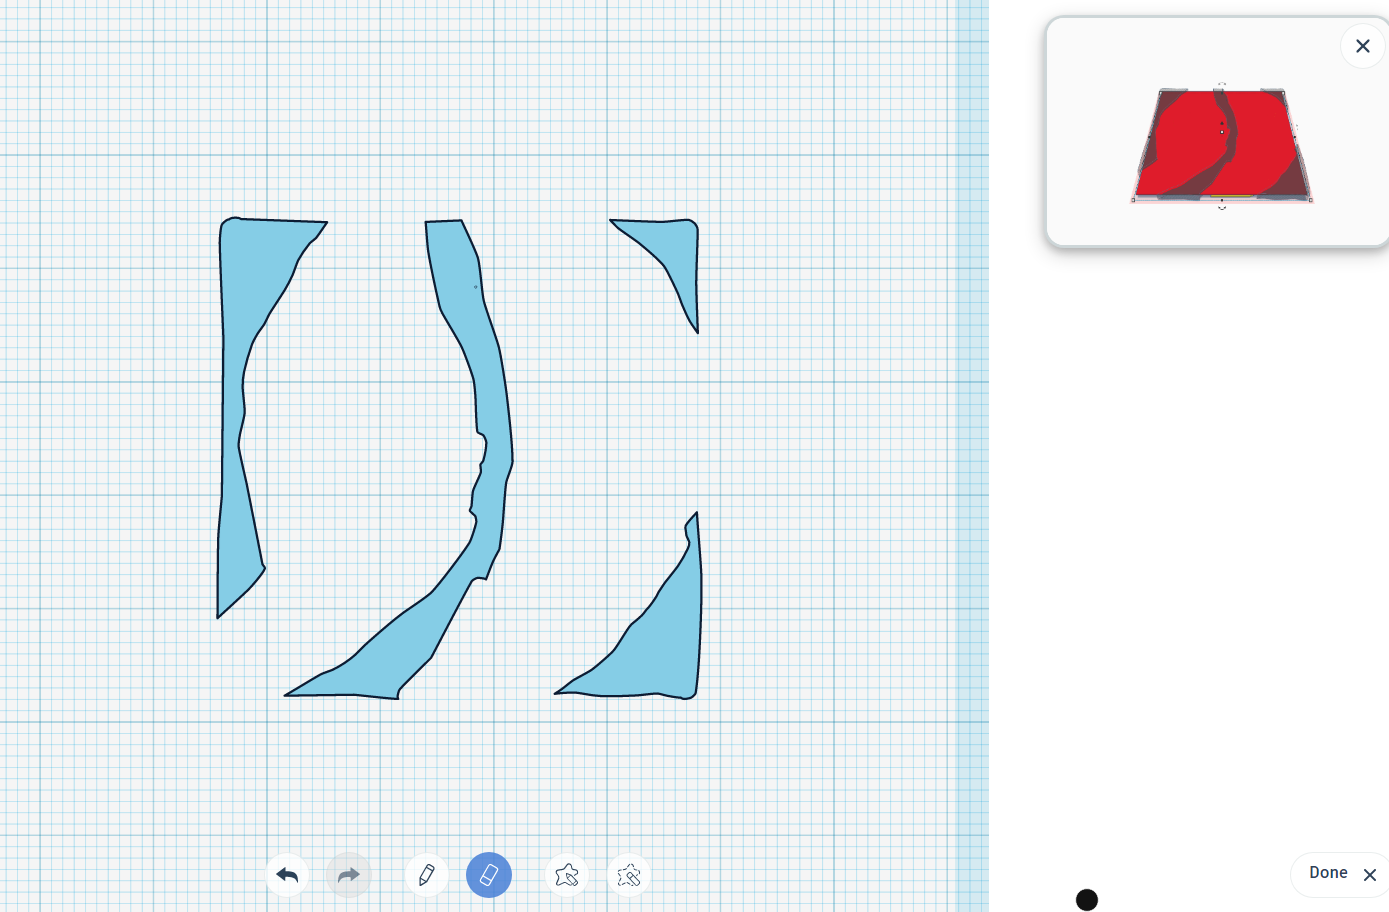
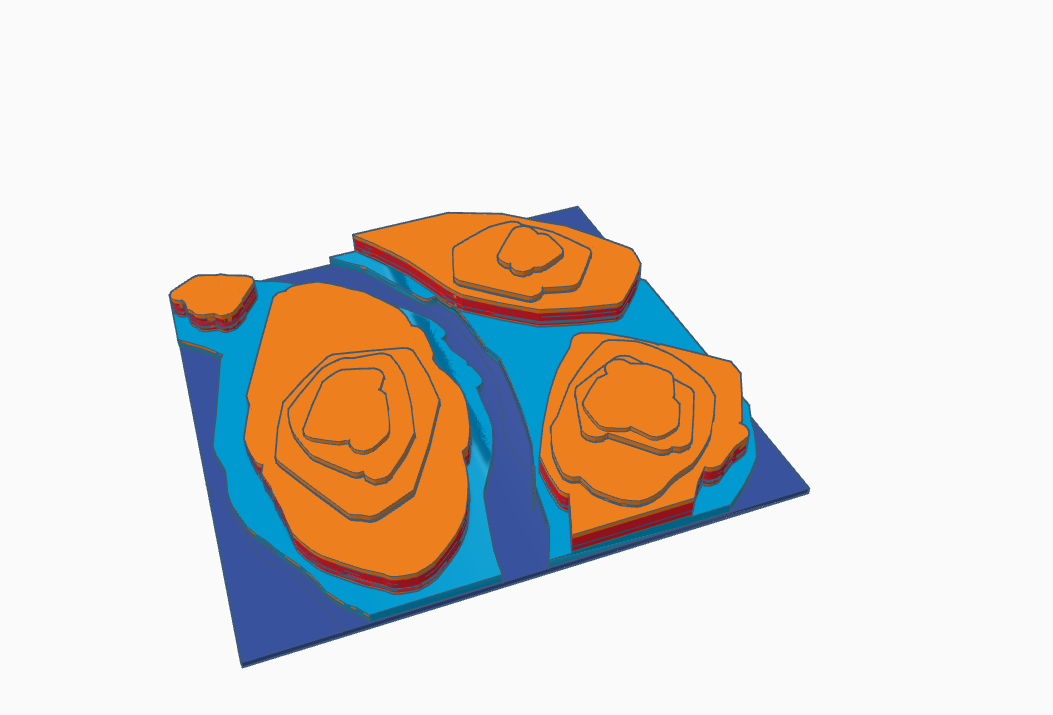
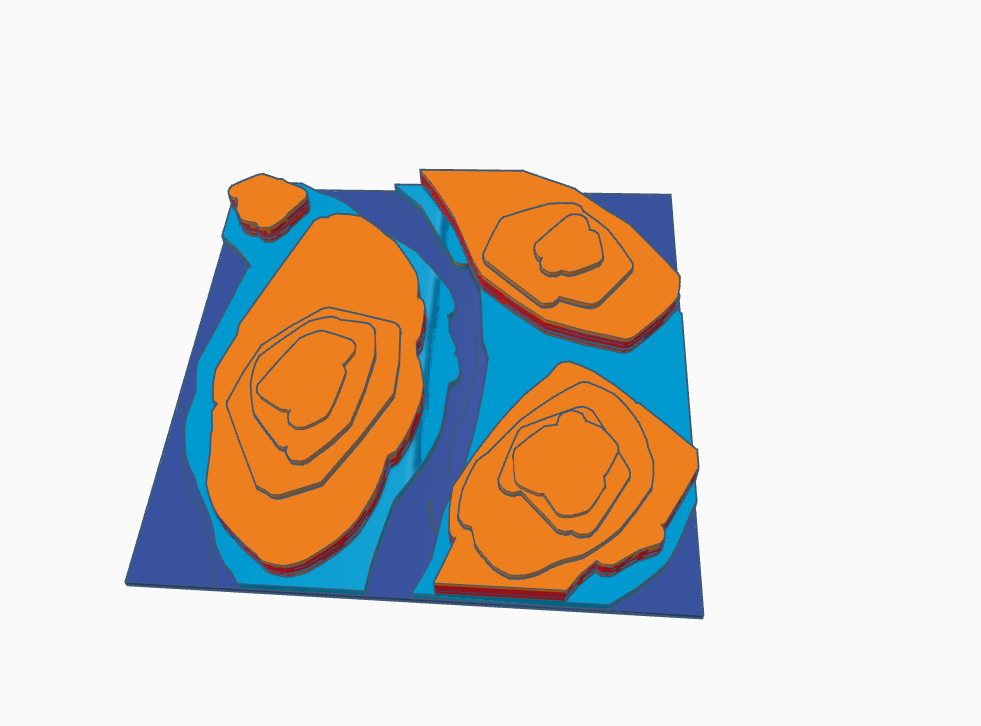
- Now you just have to repeat the previous step by editing the scribble and creating different layers.
- Now create patches that are denser than you did before.
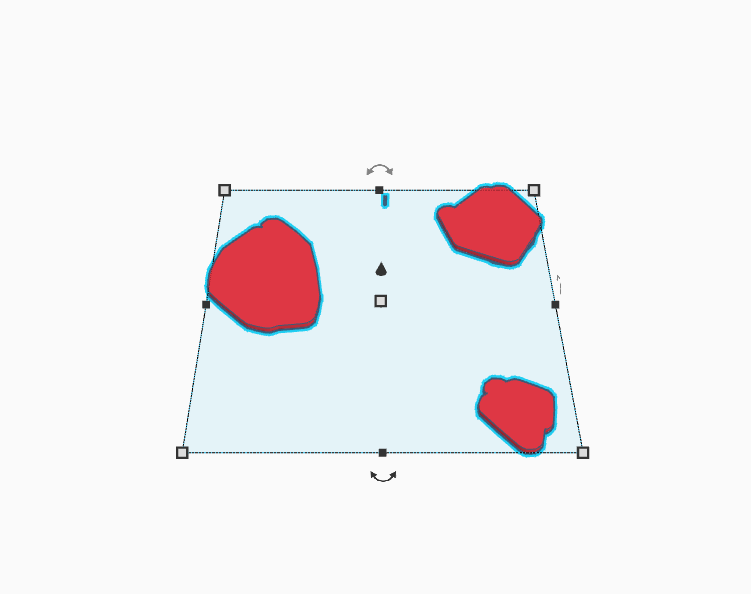
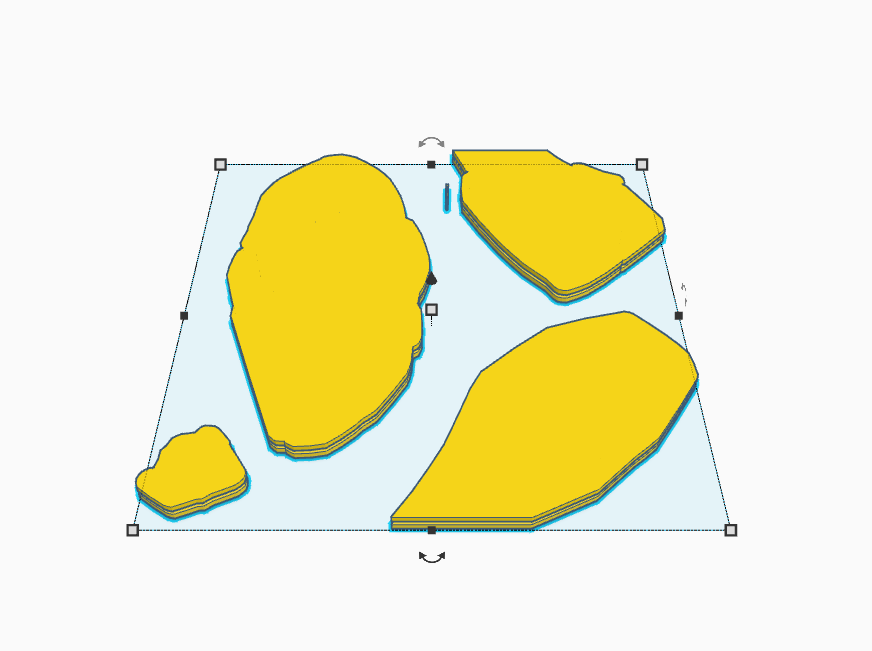
Create Different Layers
- Again just repeat the steps and make more denser patches.
More Layers
- Simply repeat the process to create denser patches while creating more layers.
Done
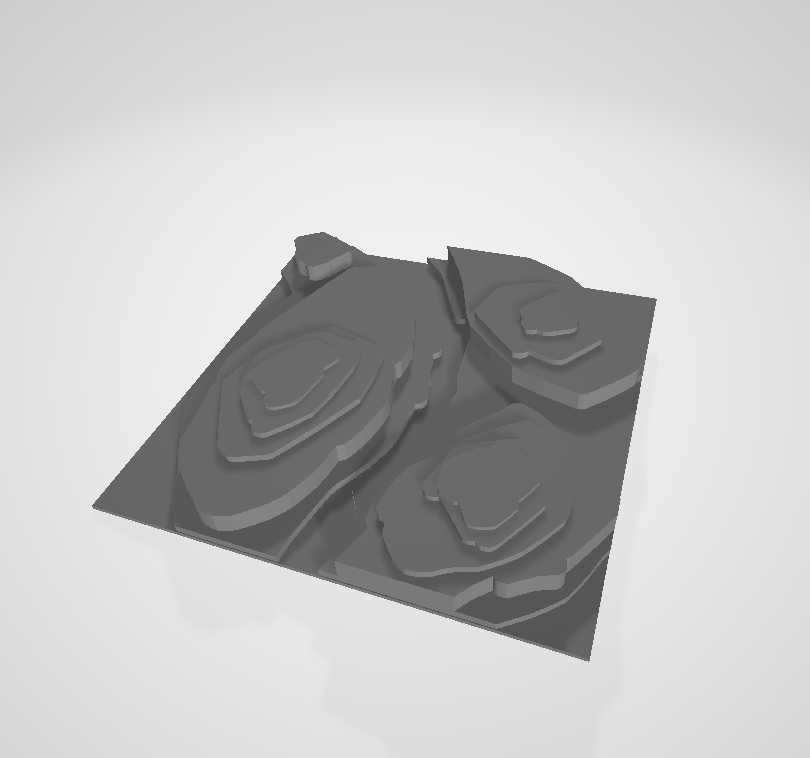
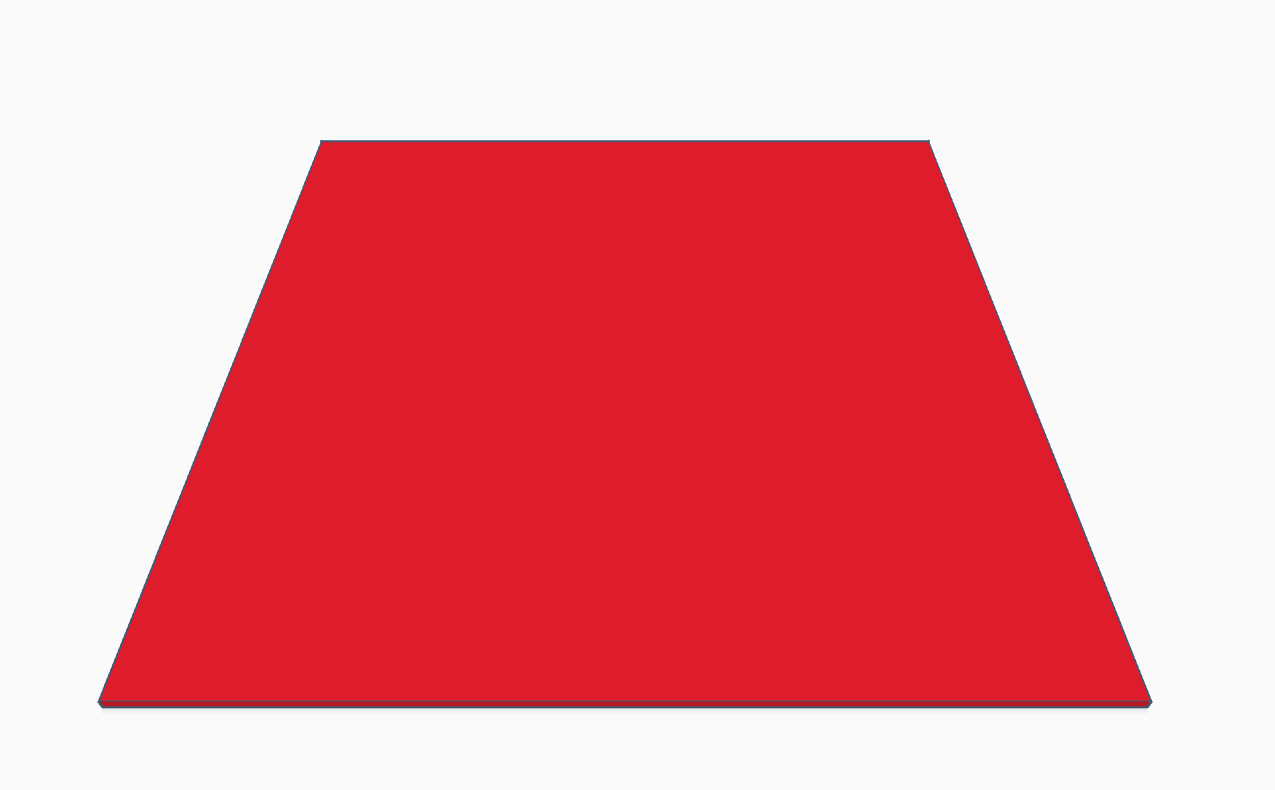
- After creating all layers, rotate them 180 degrees with a base below them.
- Now you can 3D print this model or just laser cut it.