How to Make Blood Drop Chokers
by CelesteOrchid in Craft > Jewelry
3051 Views, 16 Favorites, 0 Comments
How to Make Blood Drop Chokers
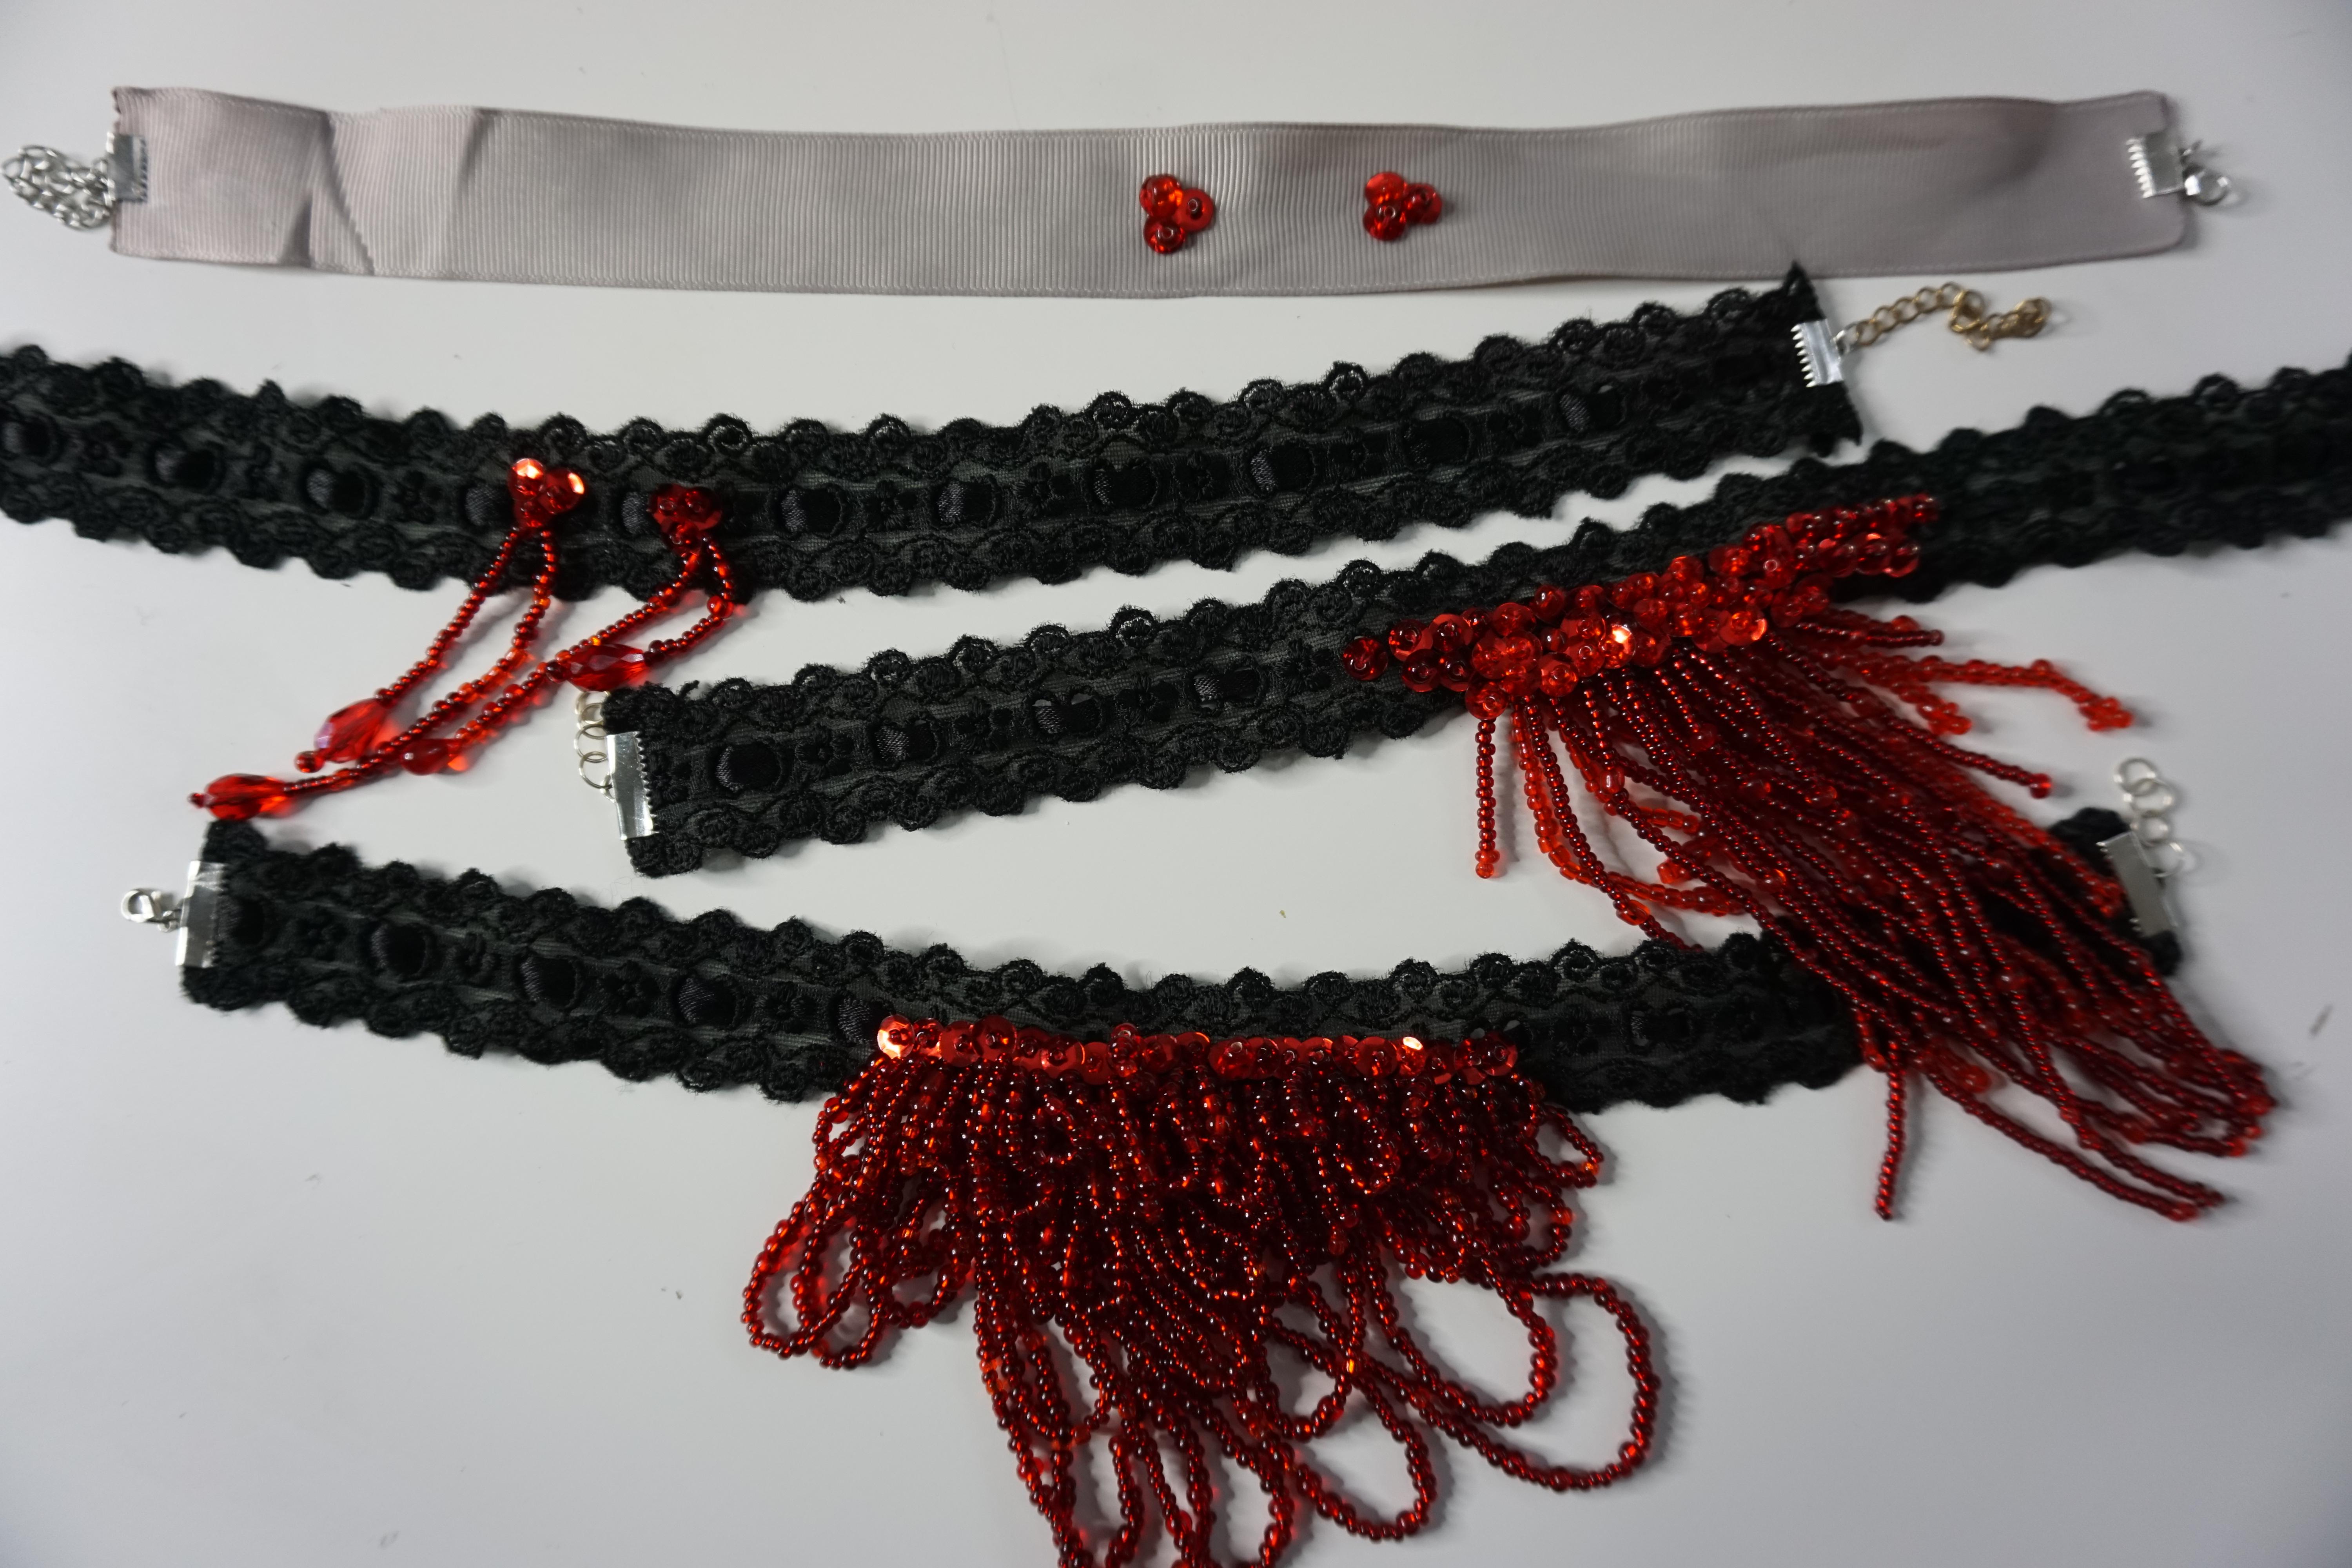




I've seen a lot of people make these and I've wanted a tutorial for making them. Sadly there was none that I could find. So I created my own! It's very simple and easy to create. I do hope you'll check out my longer version on my Youtube channel. It shows a bit more details and different styles you could create.
If you're a fan of vampires or just wanting to add a bit of gore to your everyday look, this tutorial is for you. I was inspired by Christian Dior Spring 2006 Couture Fashion Show's Bloody Pearl necklace, and vampire bite chokers I've seen floating around the internet.
You can definitely do this with other colors but for the best effect I only choose the color red.
Supplies
- premade choker
or you can create your own with these supplies
-ribbon the length of your neck
-flat crimp ends/ ribbon ends
-needle nose pliers
-lobster clasp/ jewelry fasteners
-jump rings
-extra long adjustment chain - red seed beads: various sizes works best with this
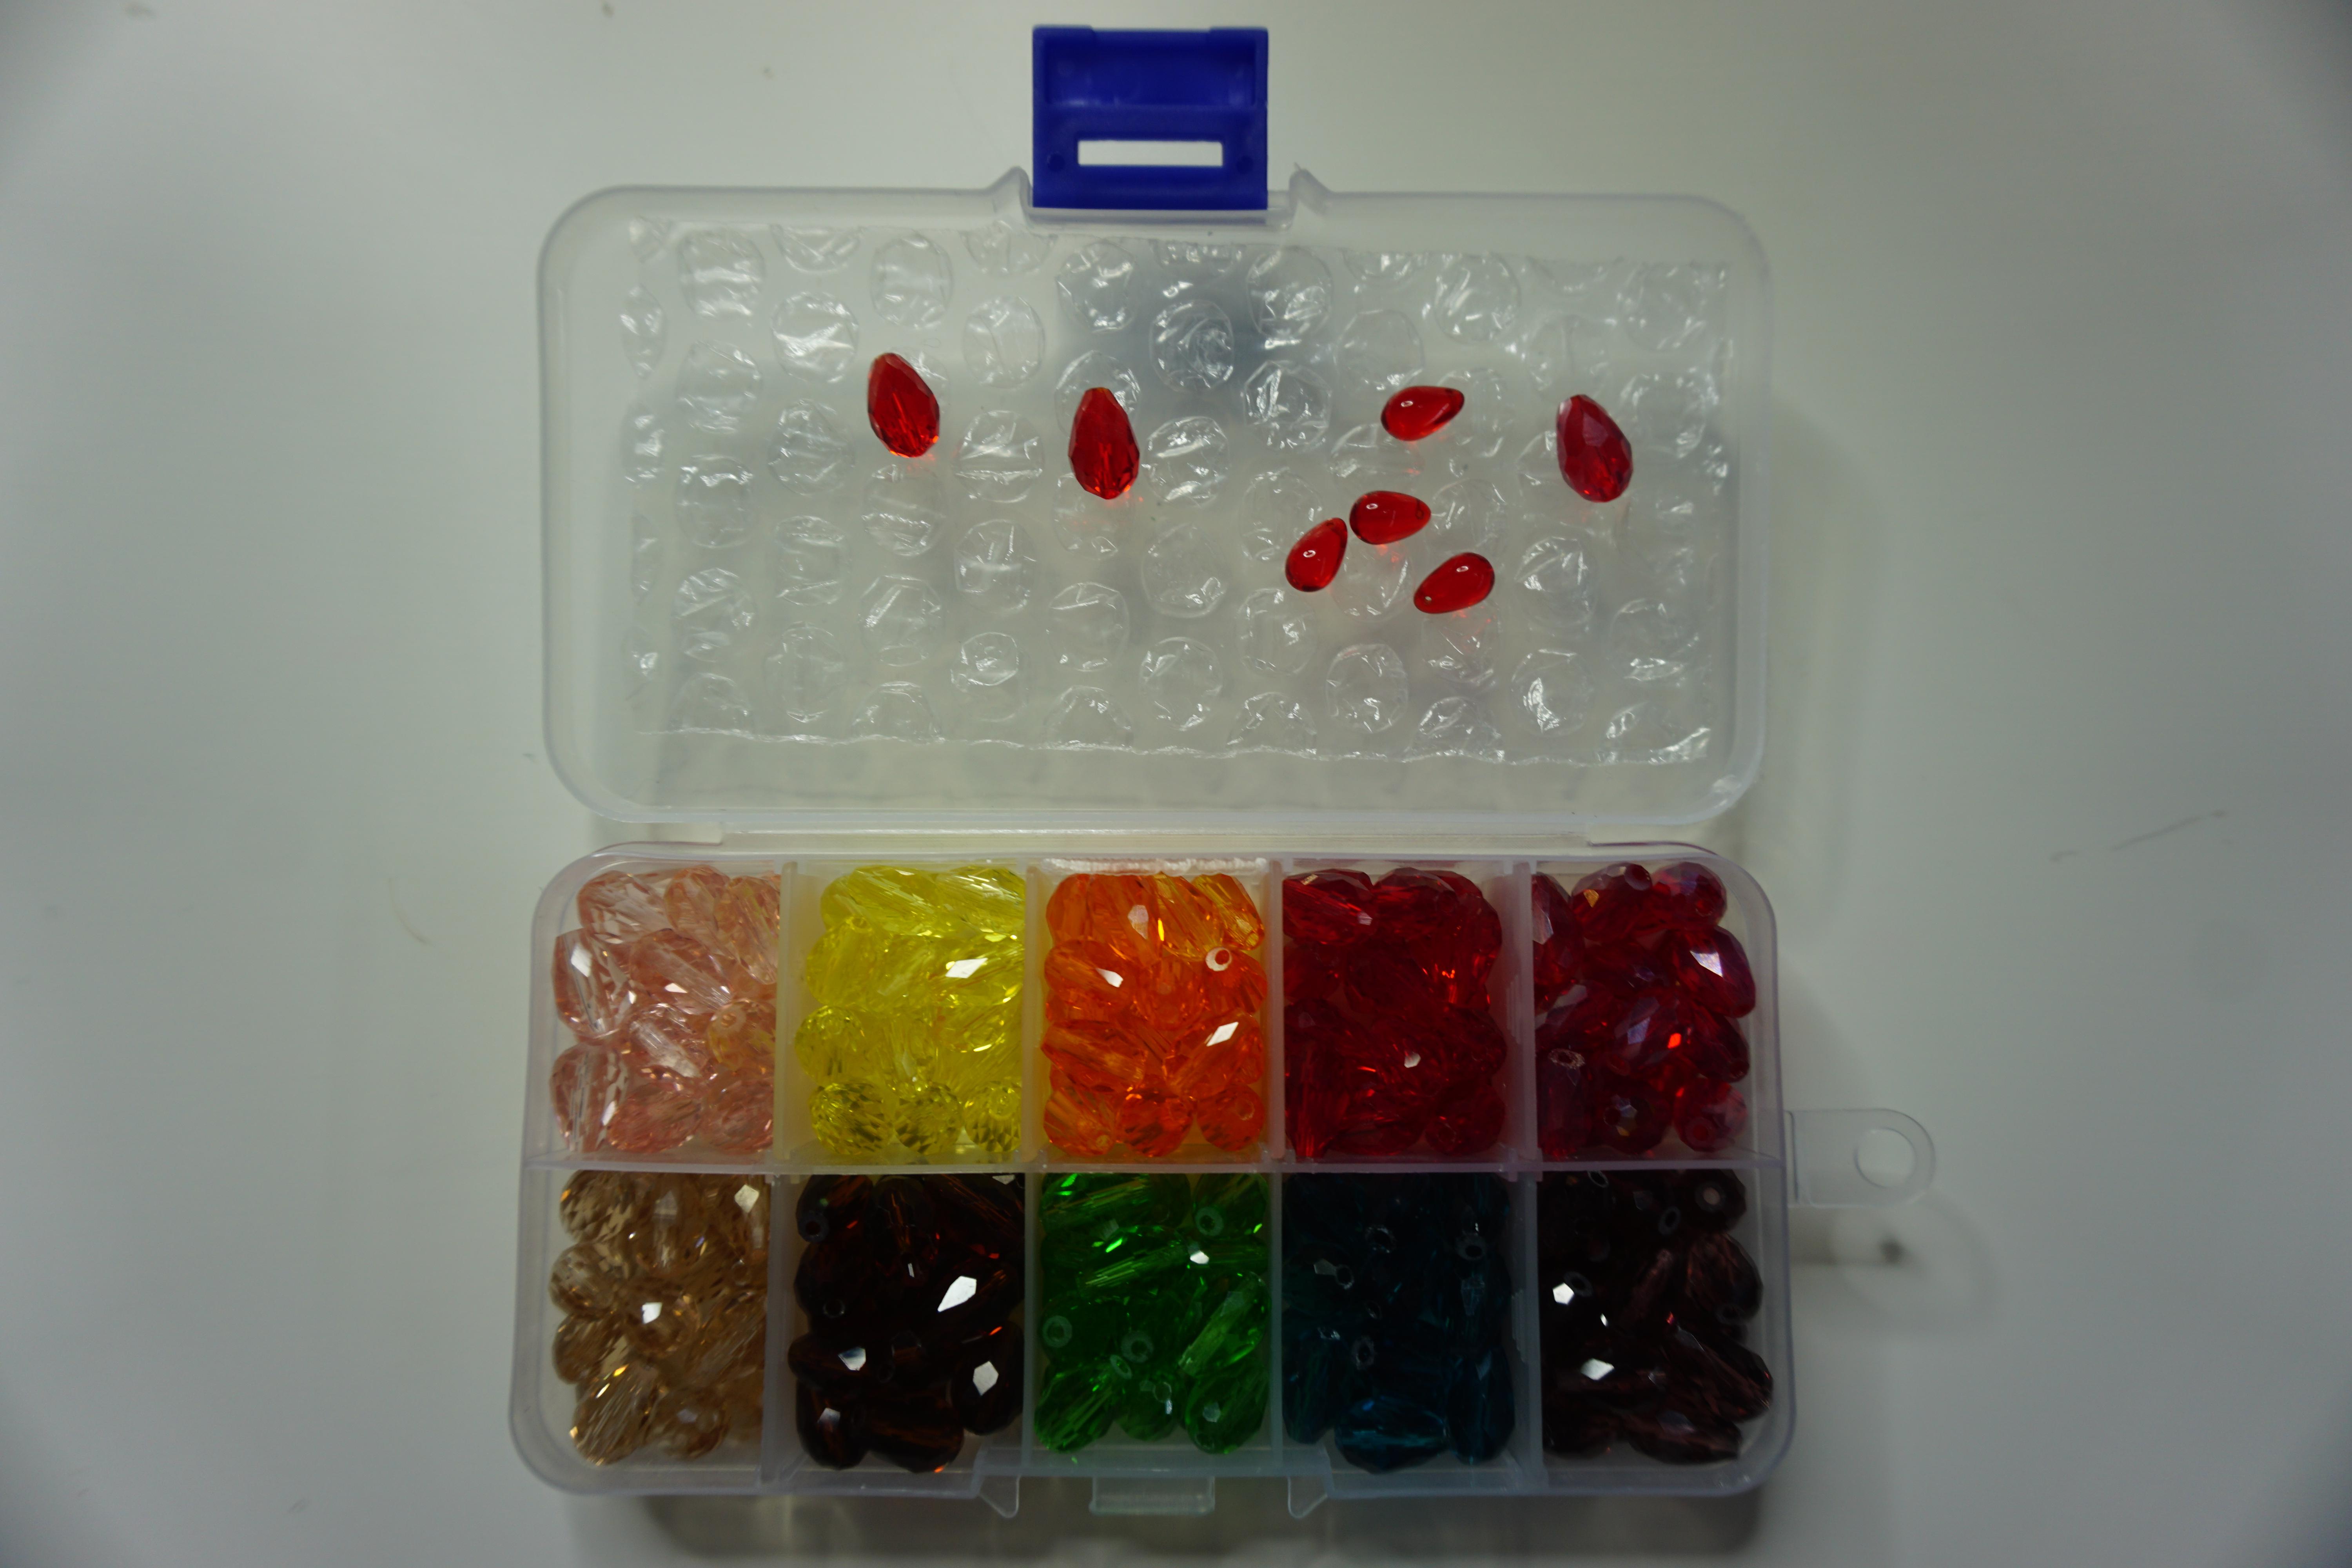
- red droplet beads
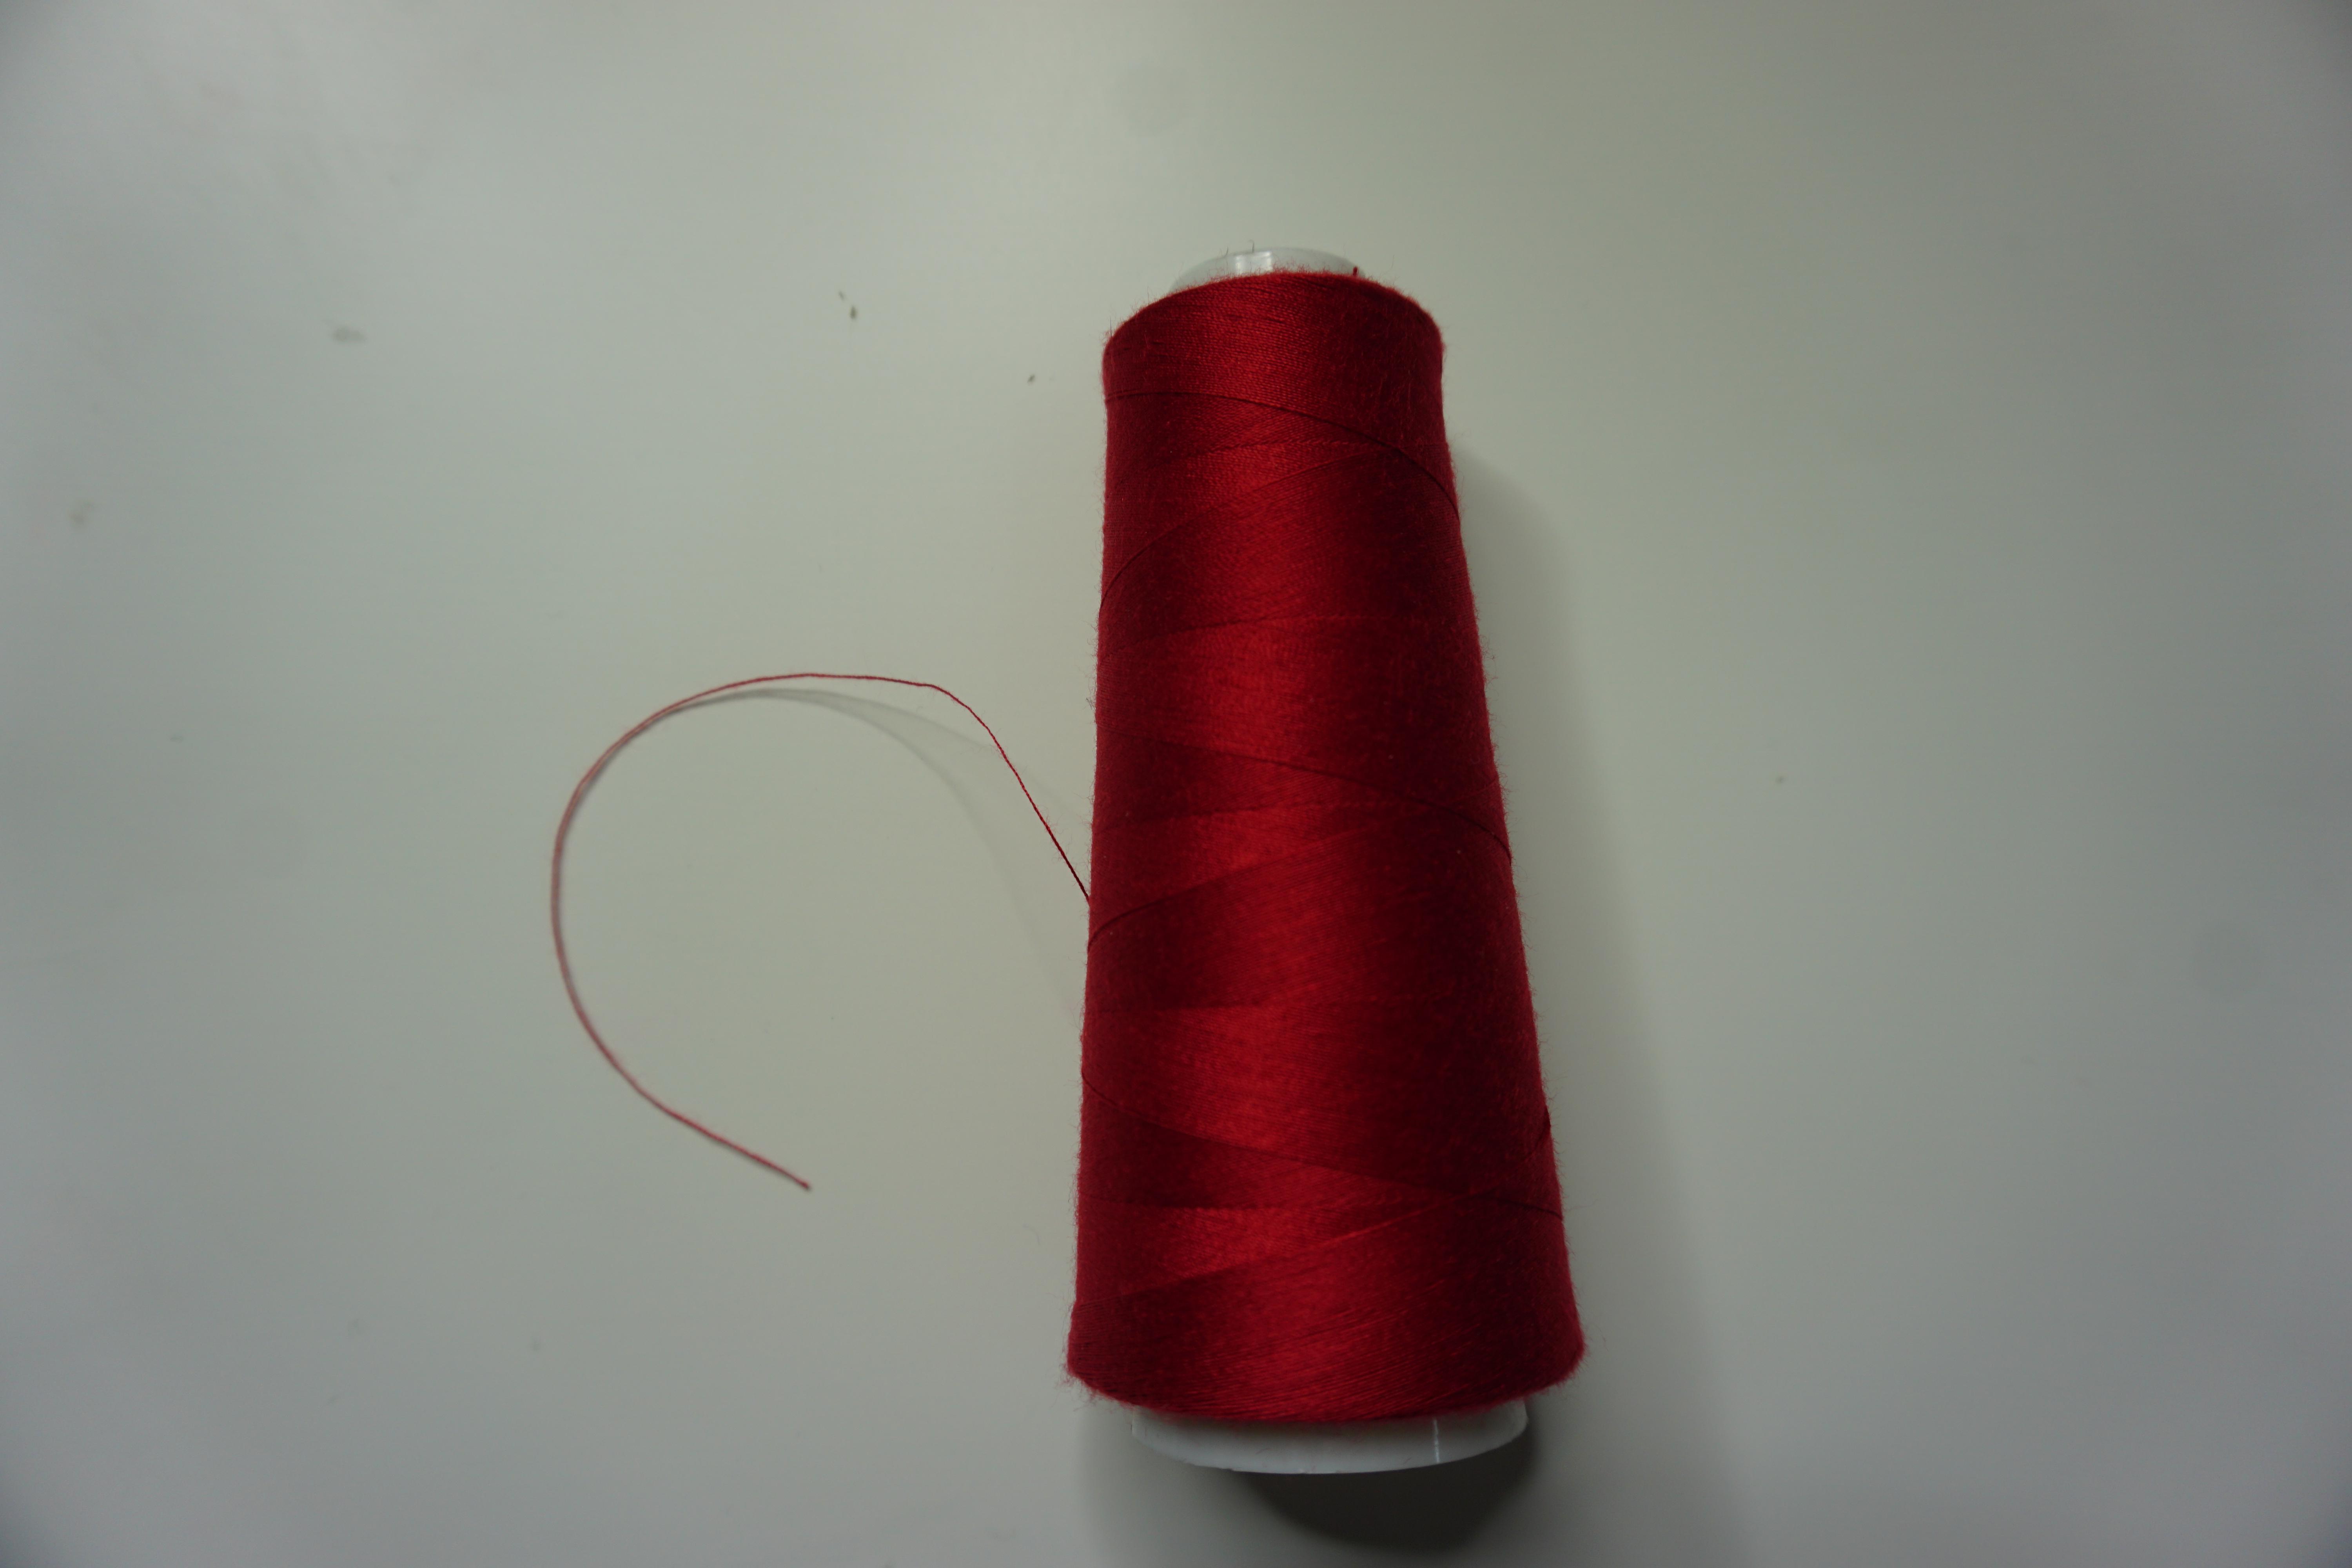
- red thread
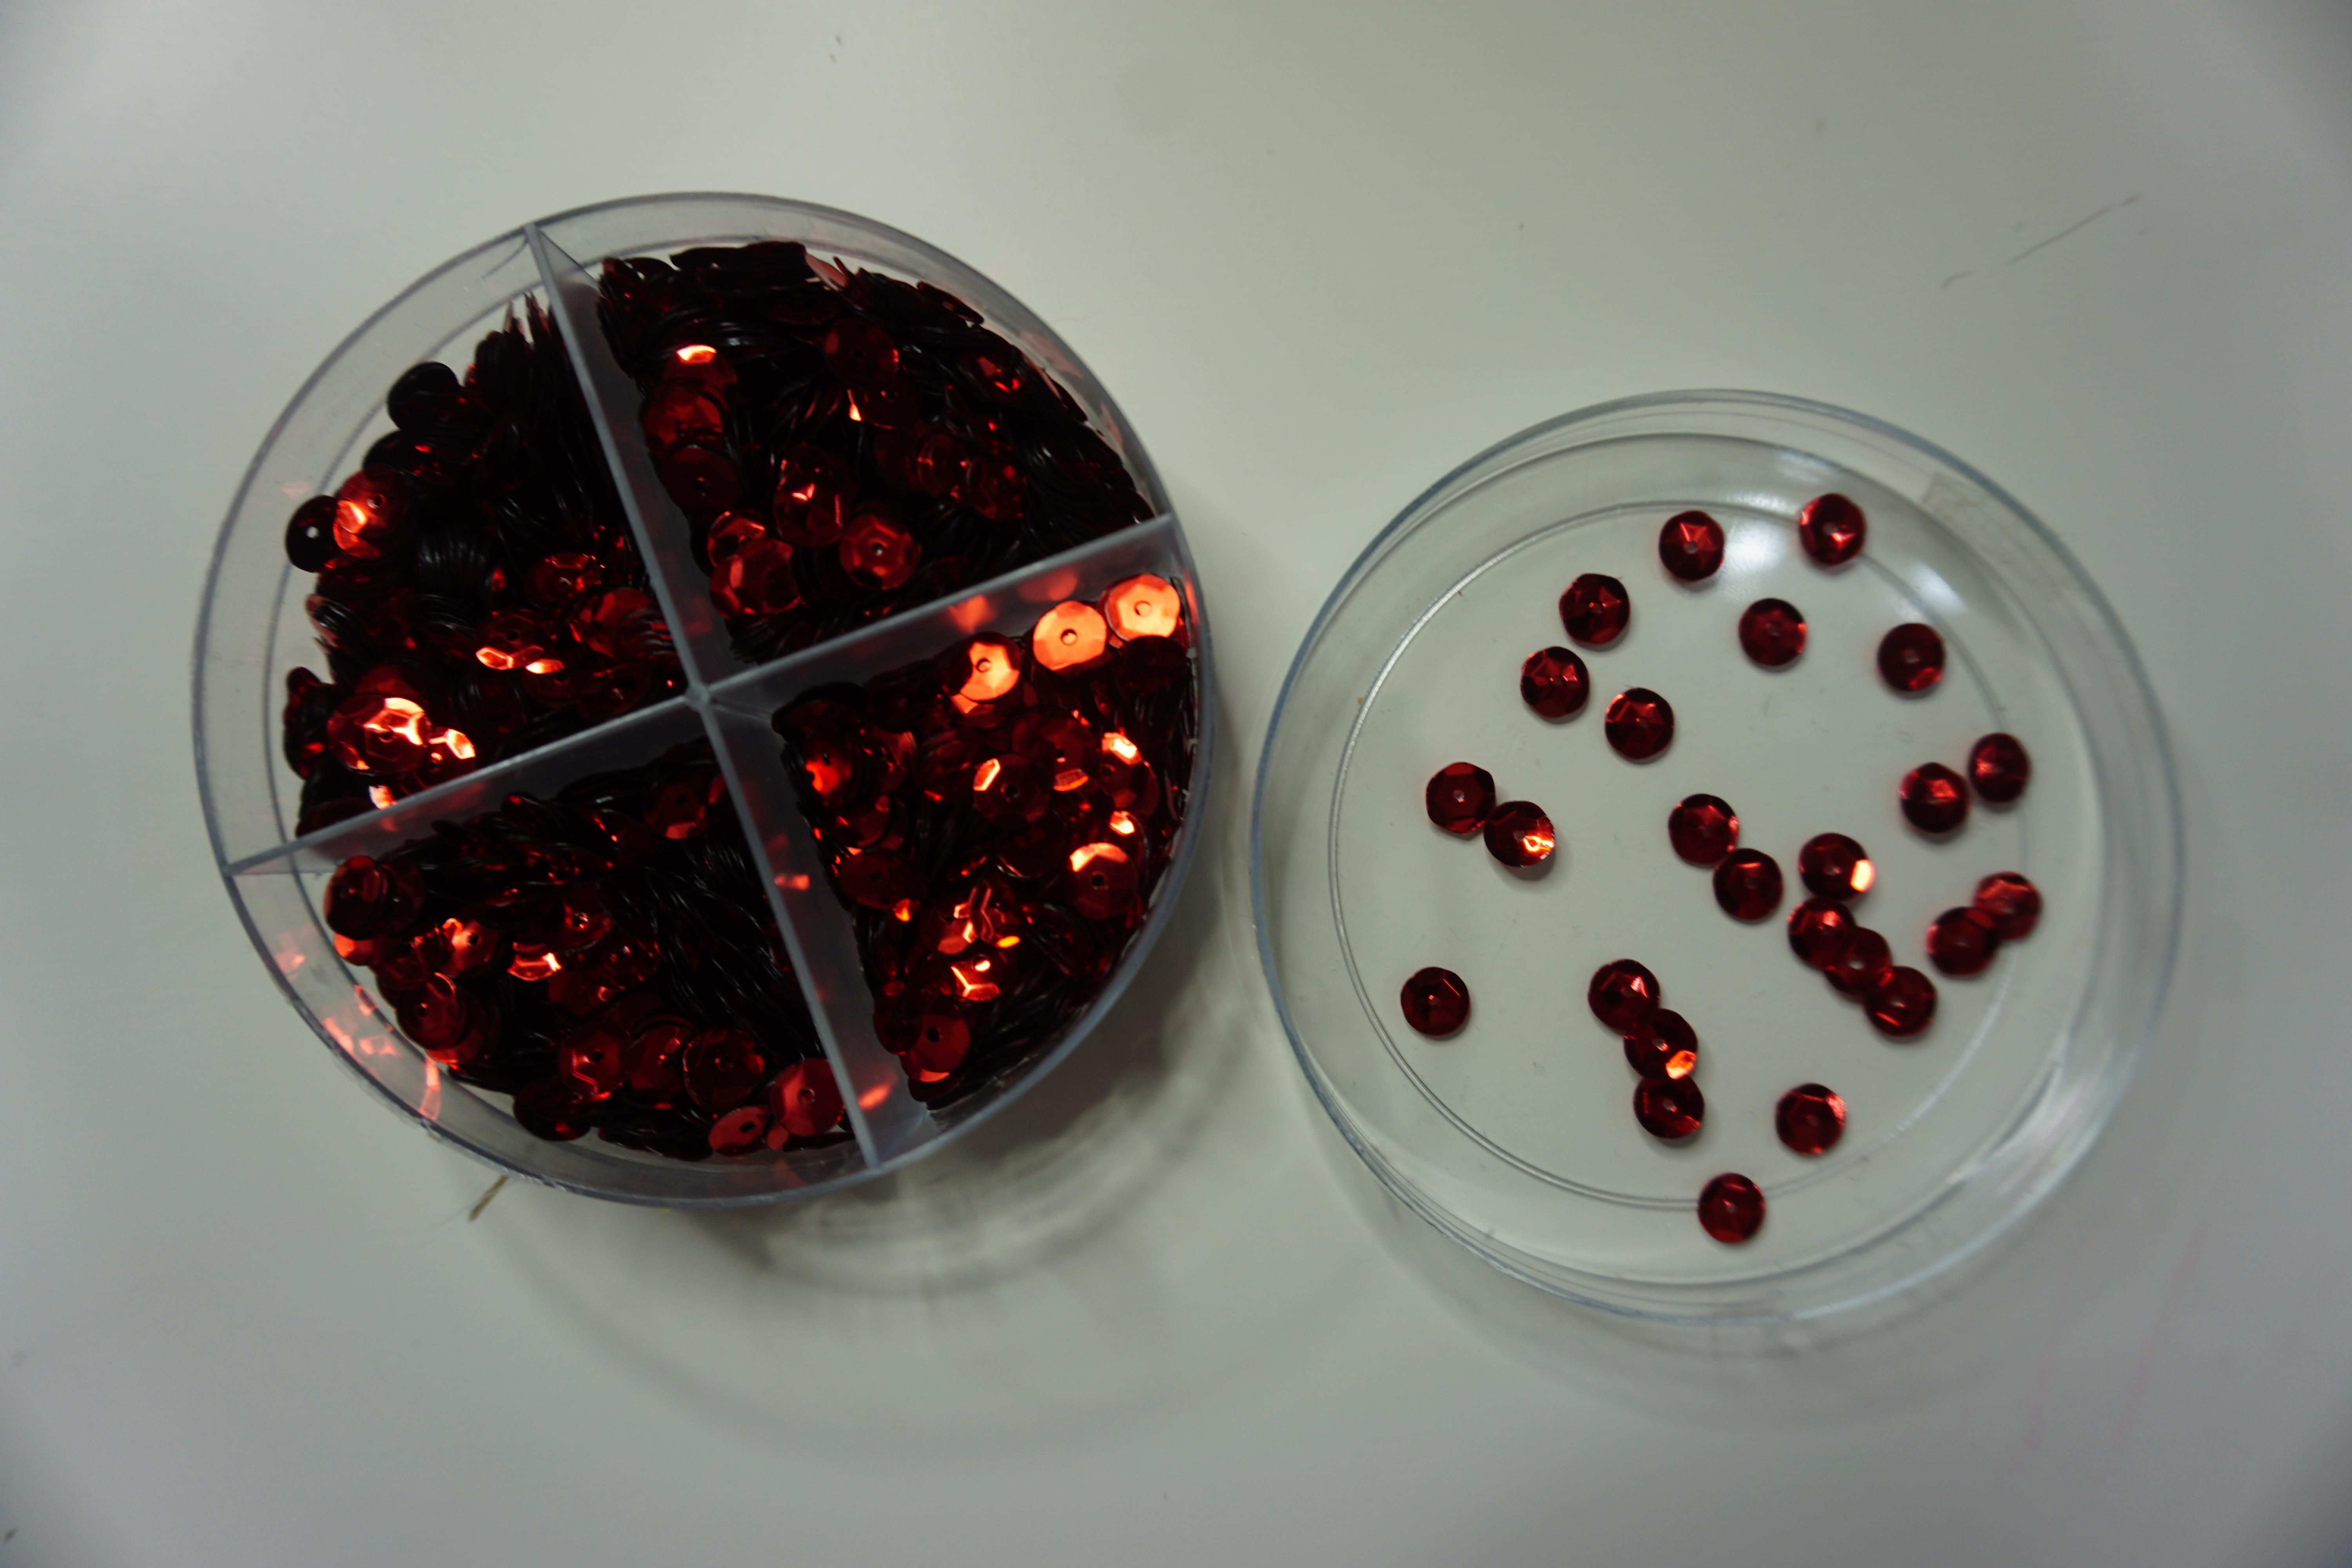
- red sequins
- needle
- scissors
If You Need to Make Your Choker: I Have a Mini Tutorial for That!
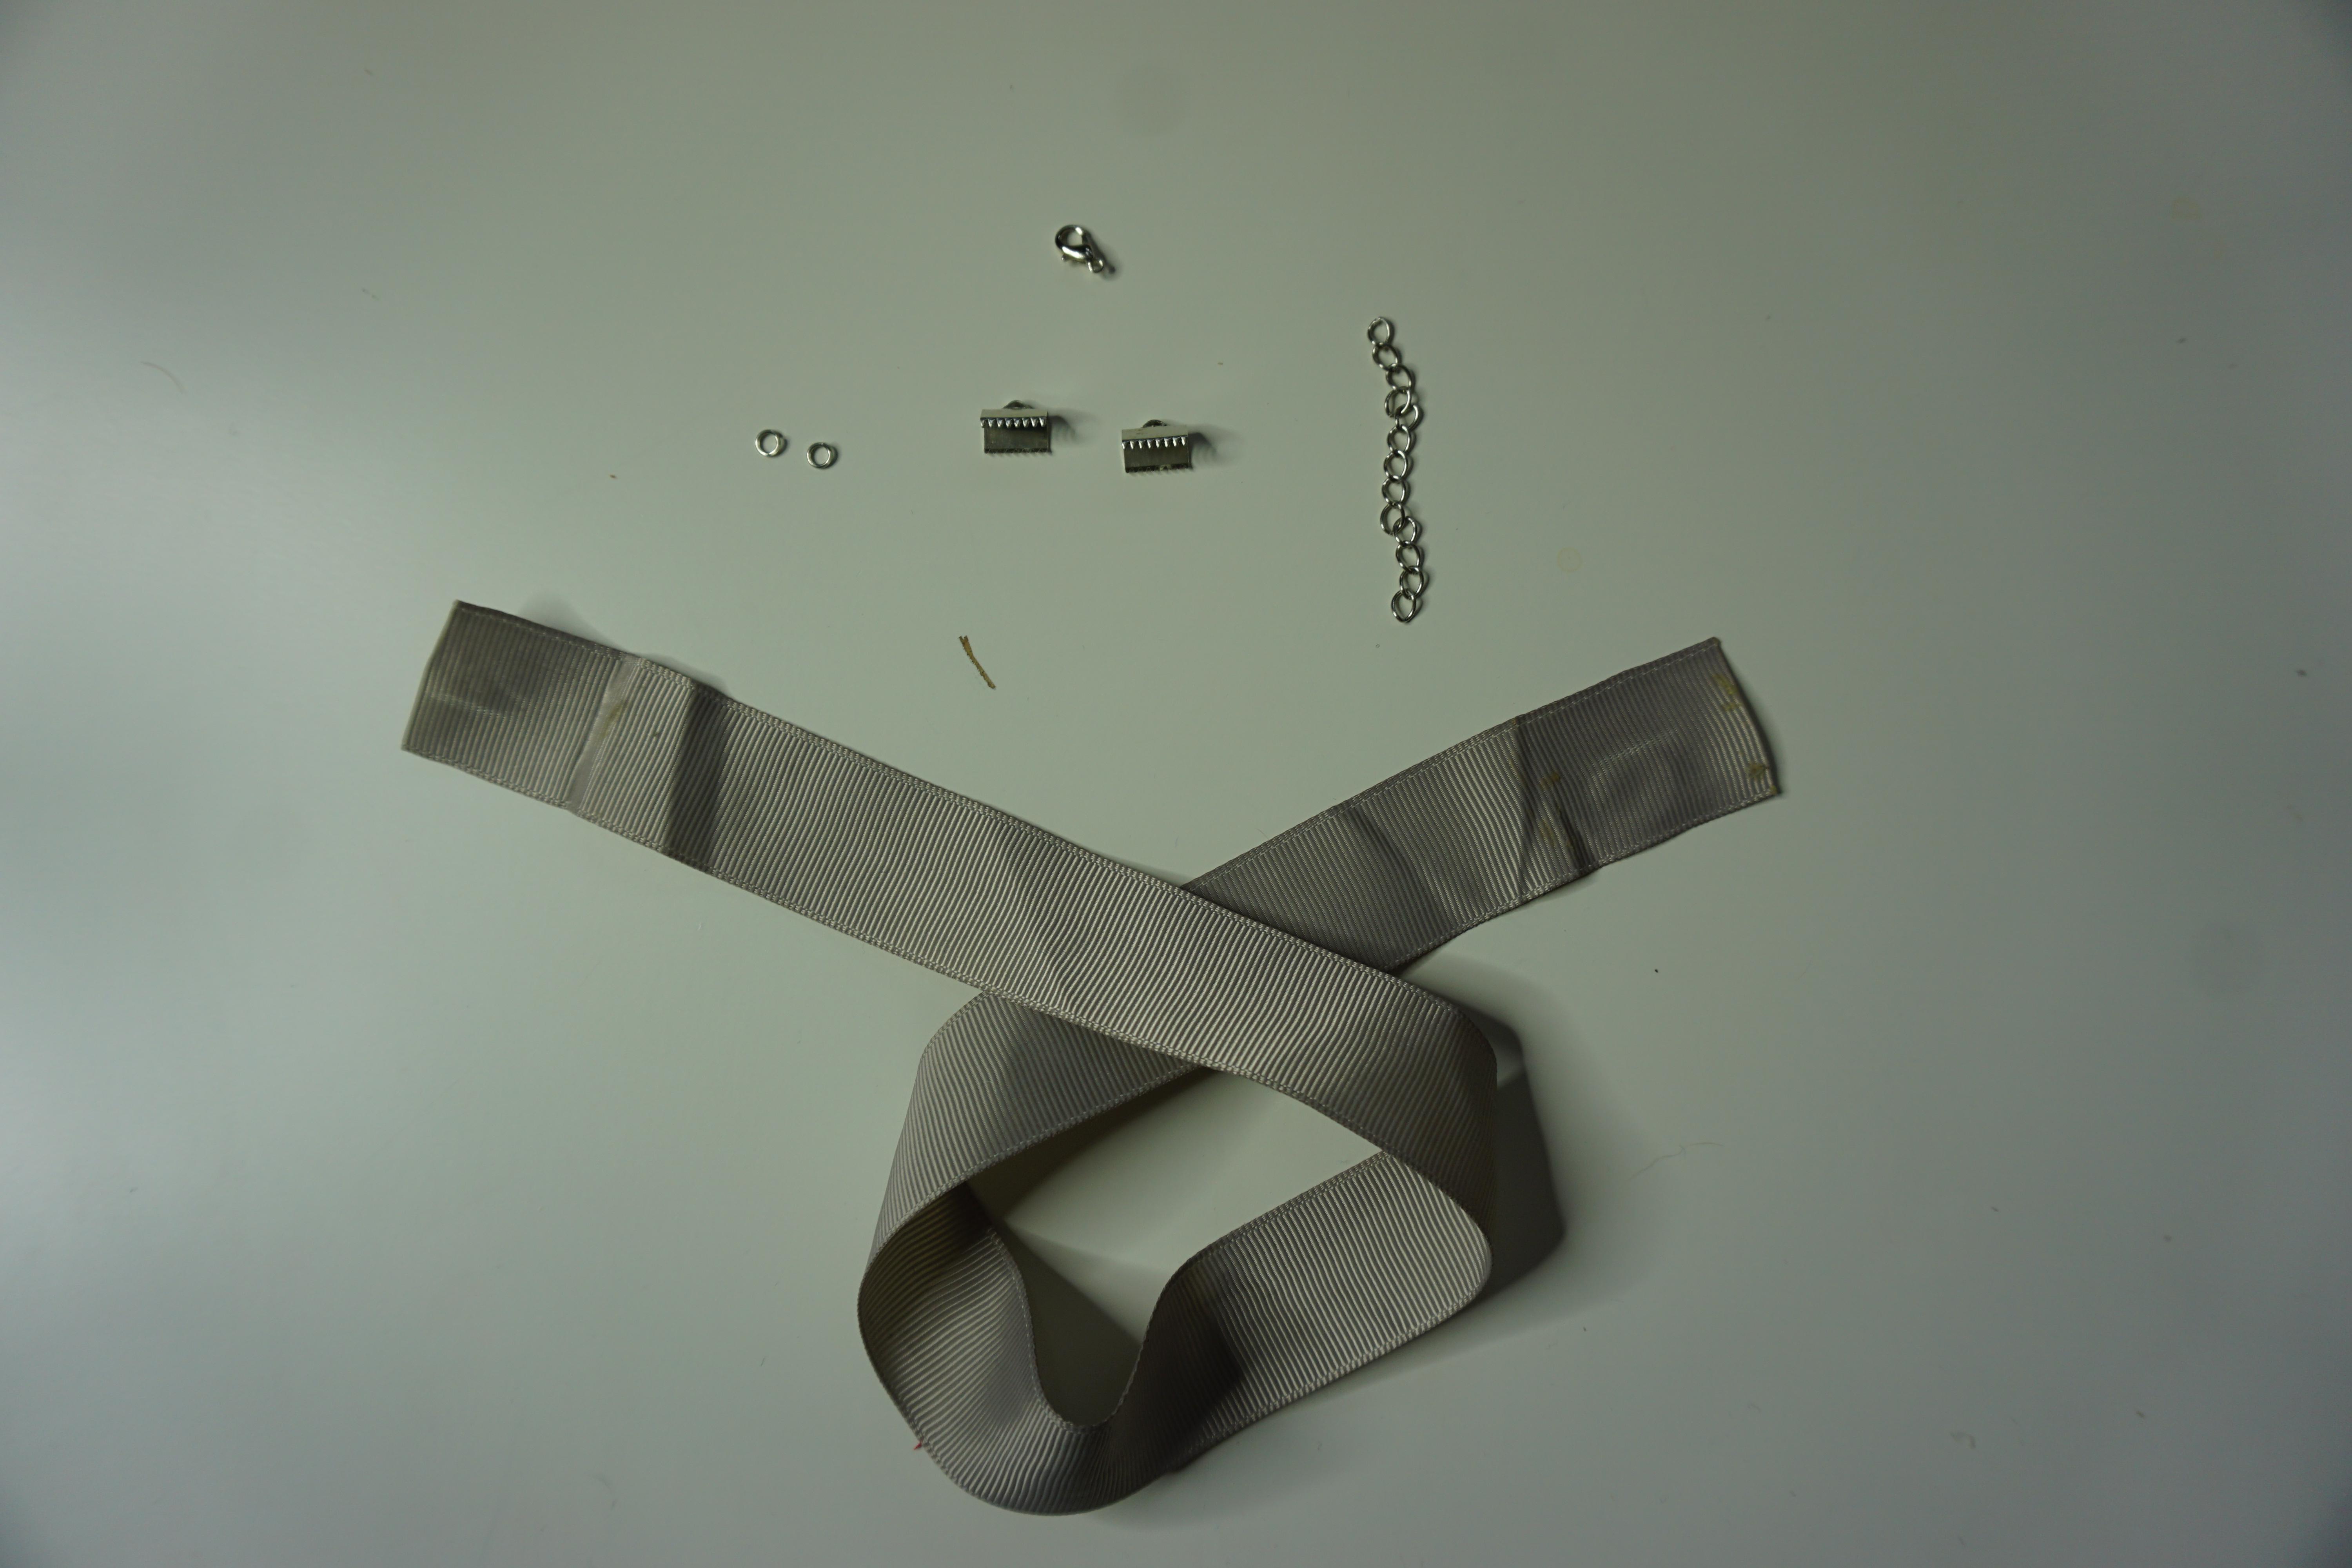
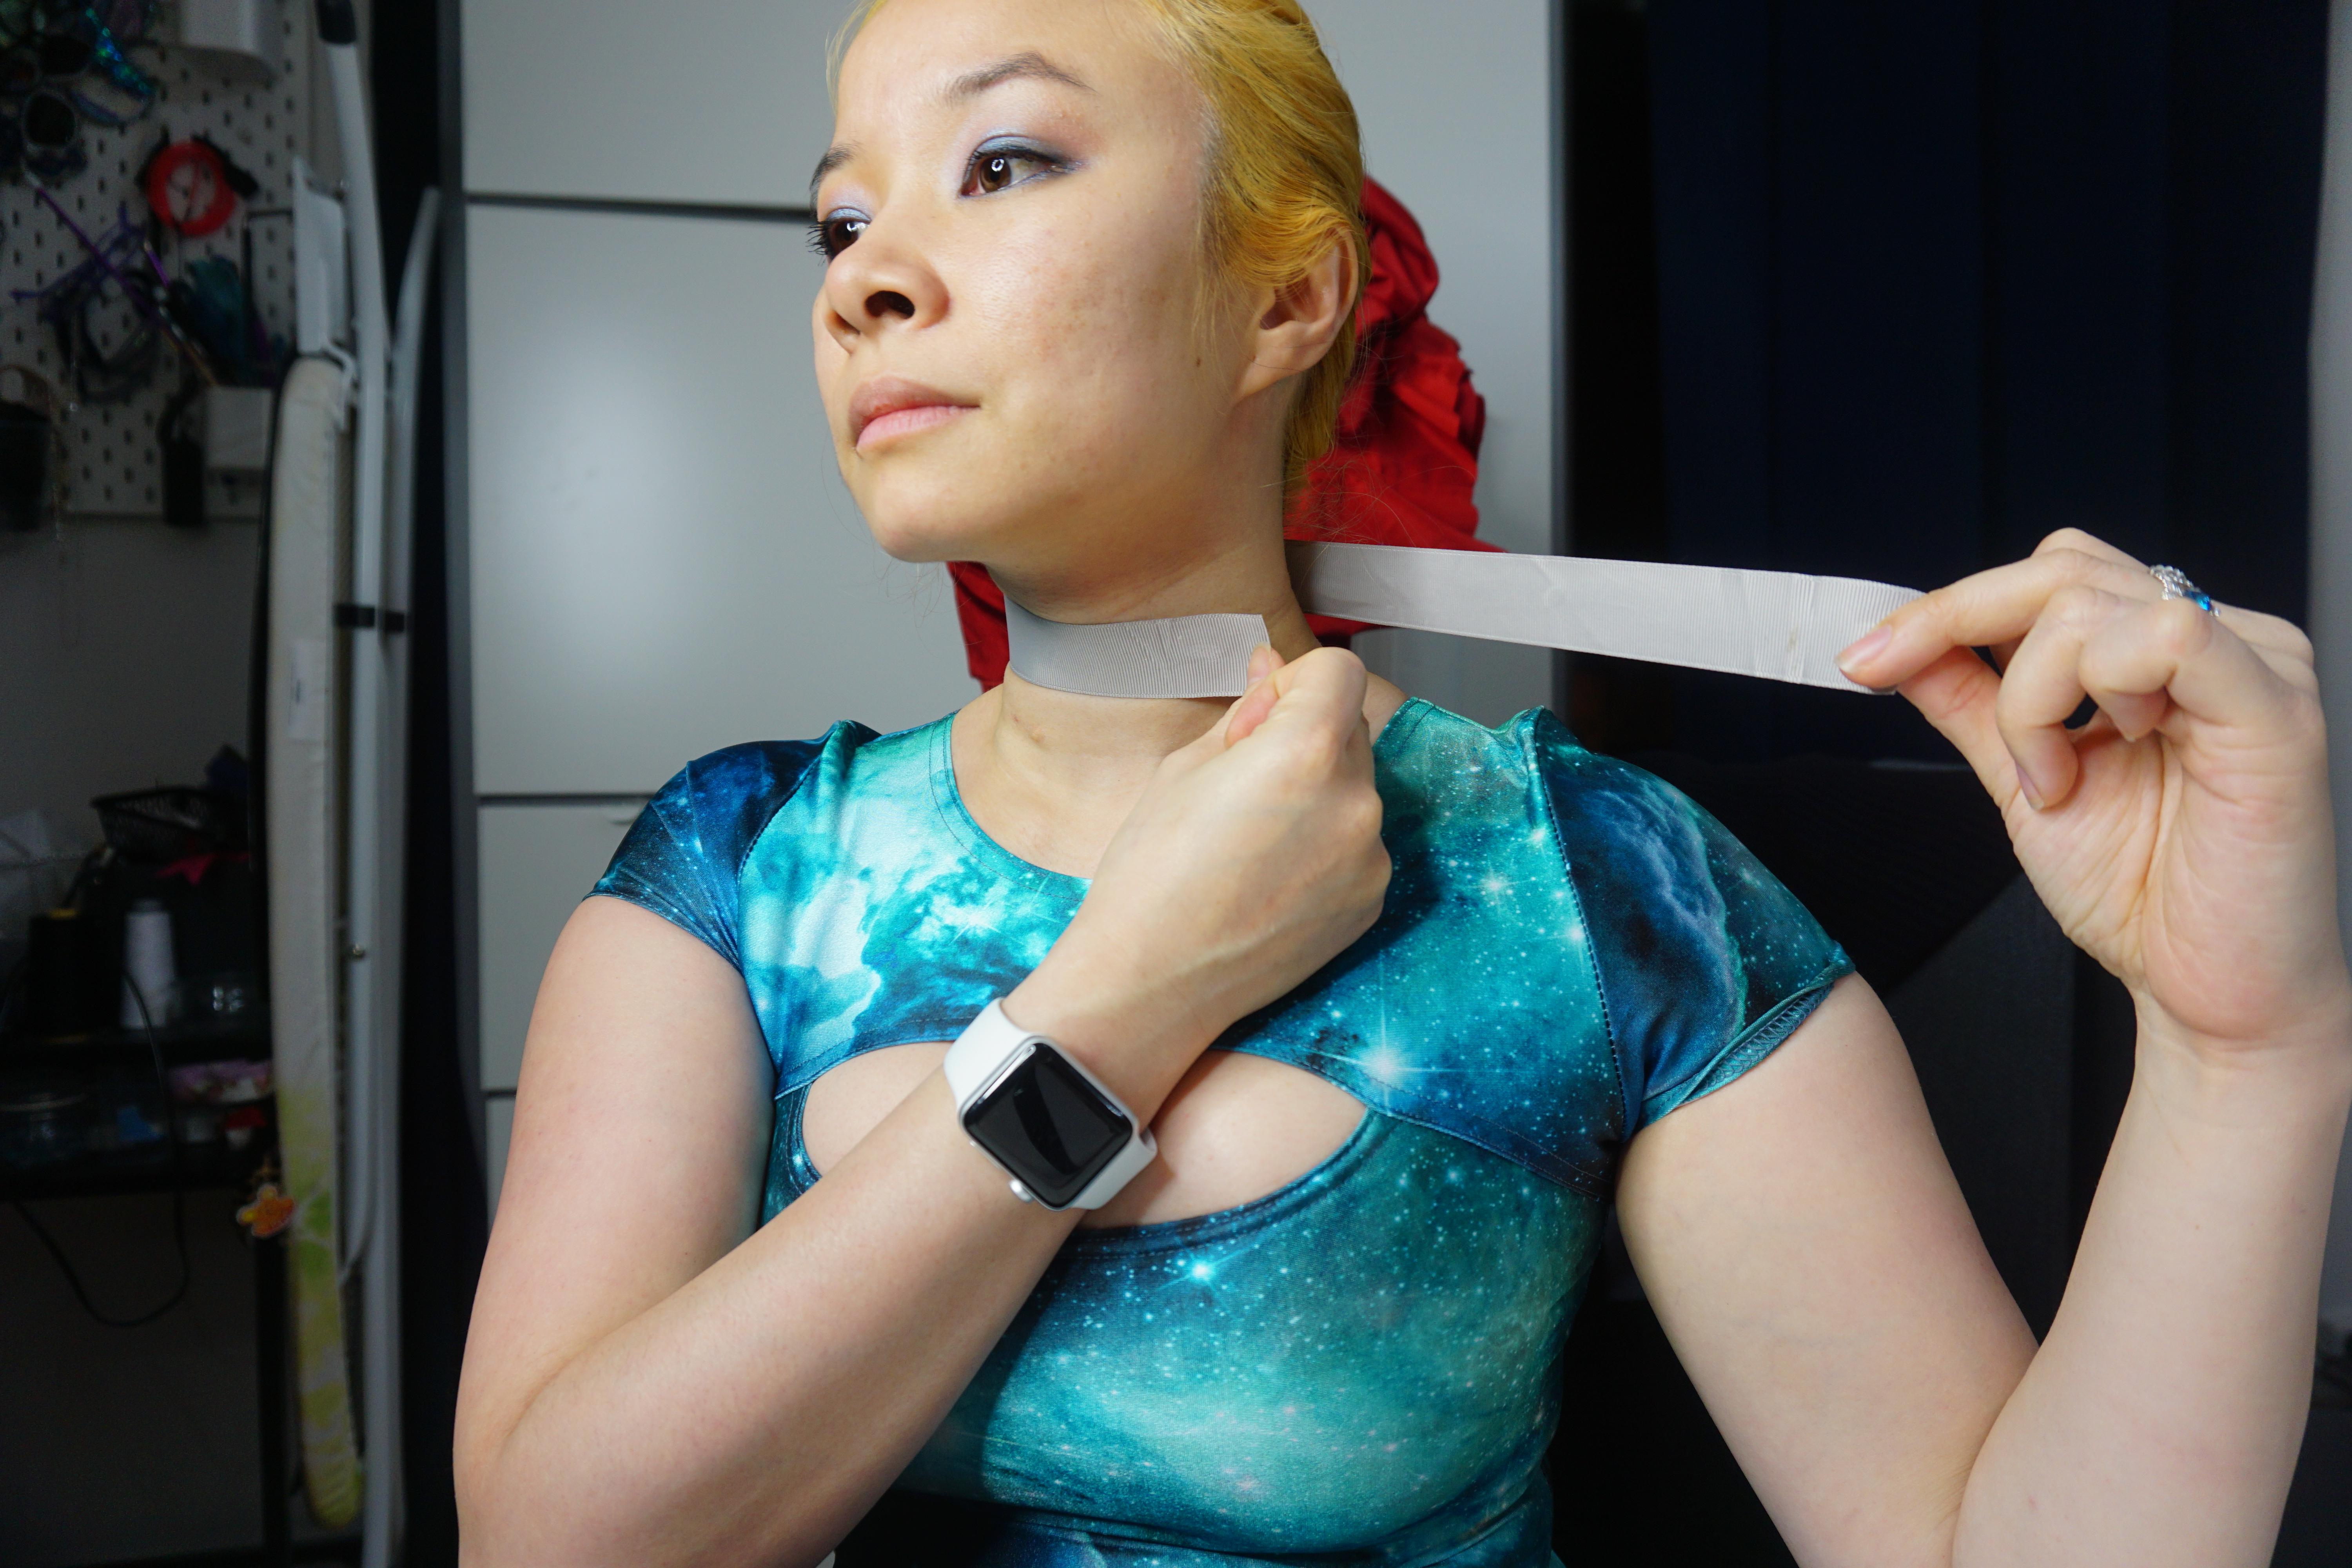

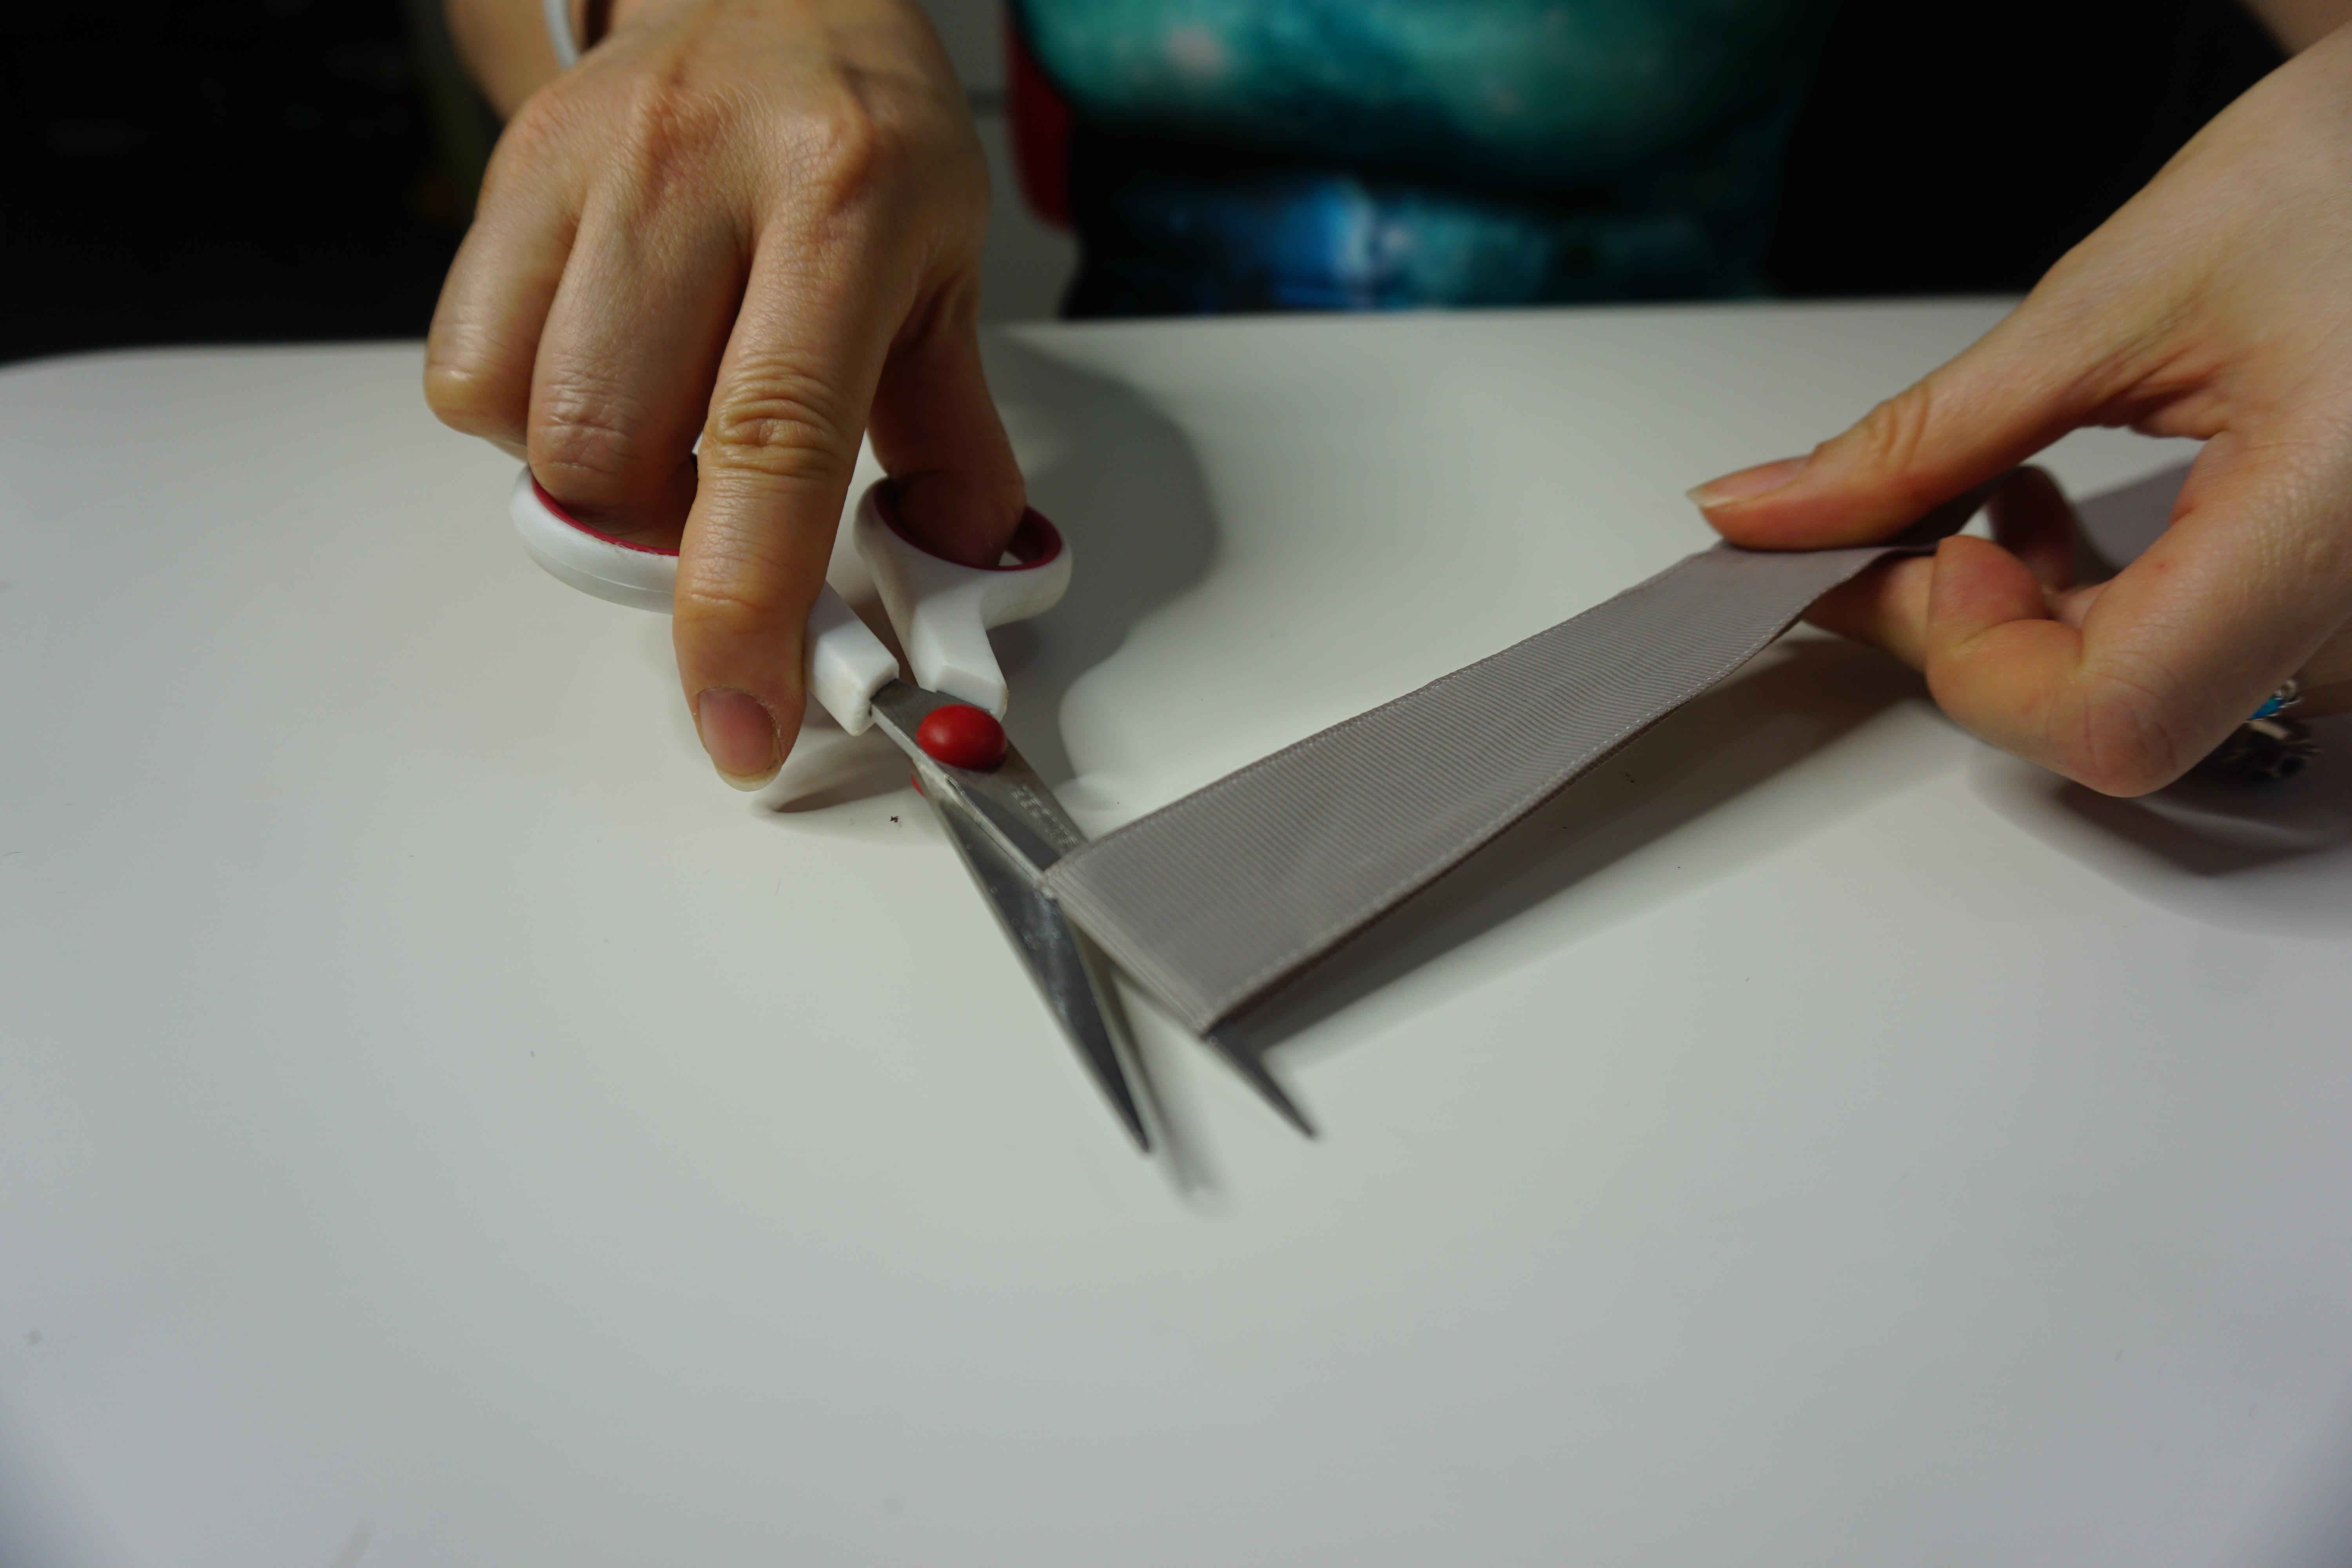


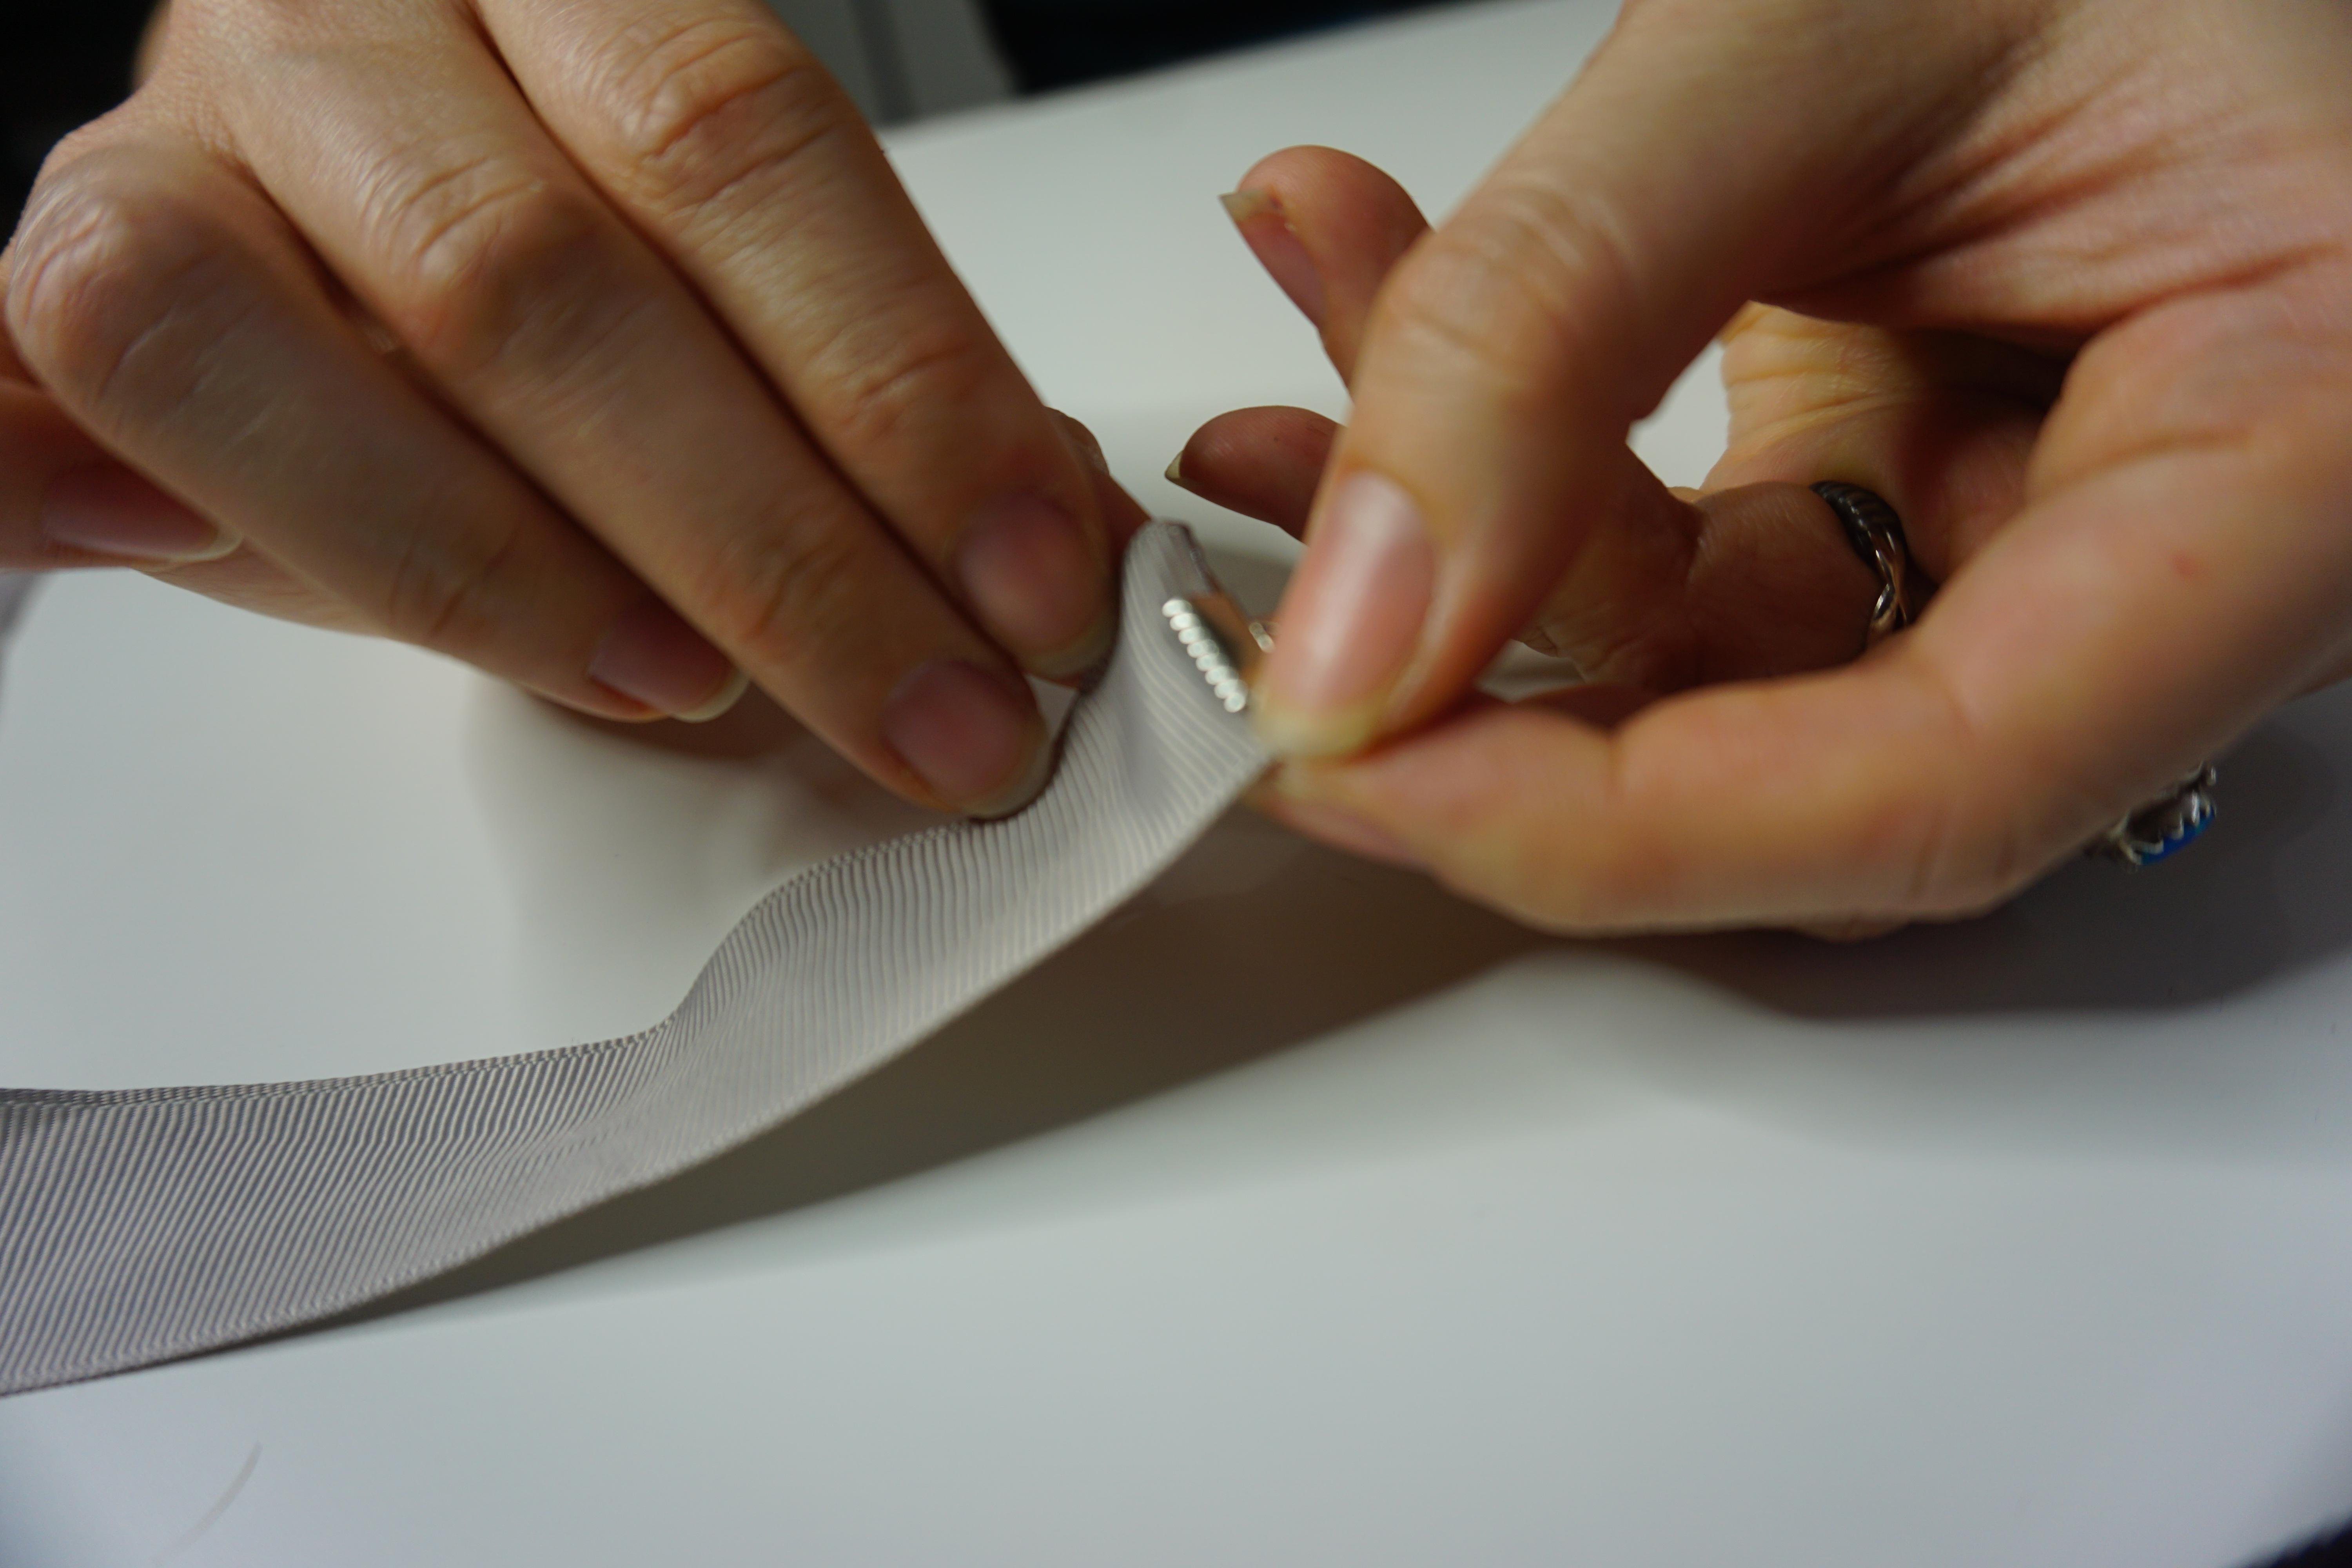

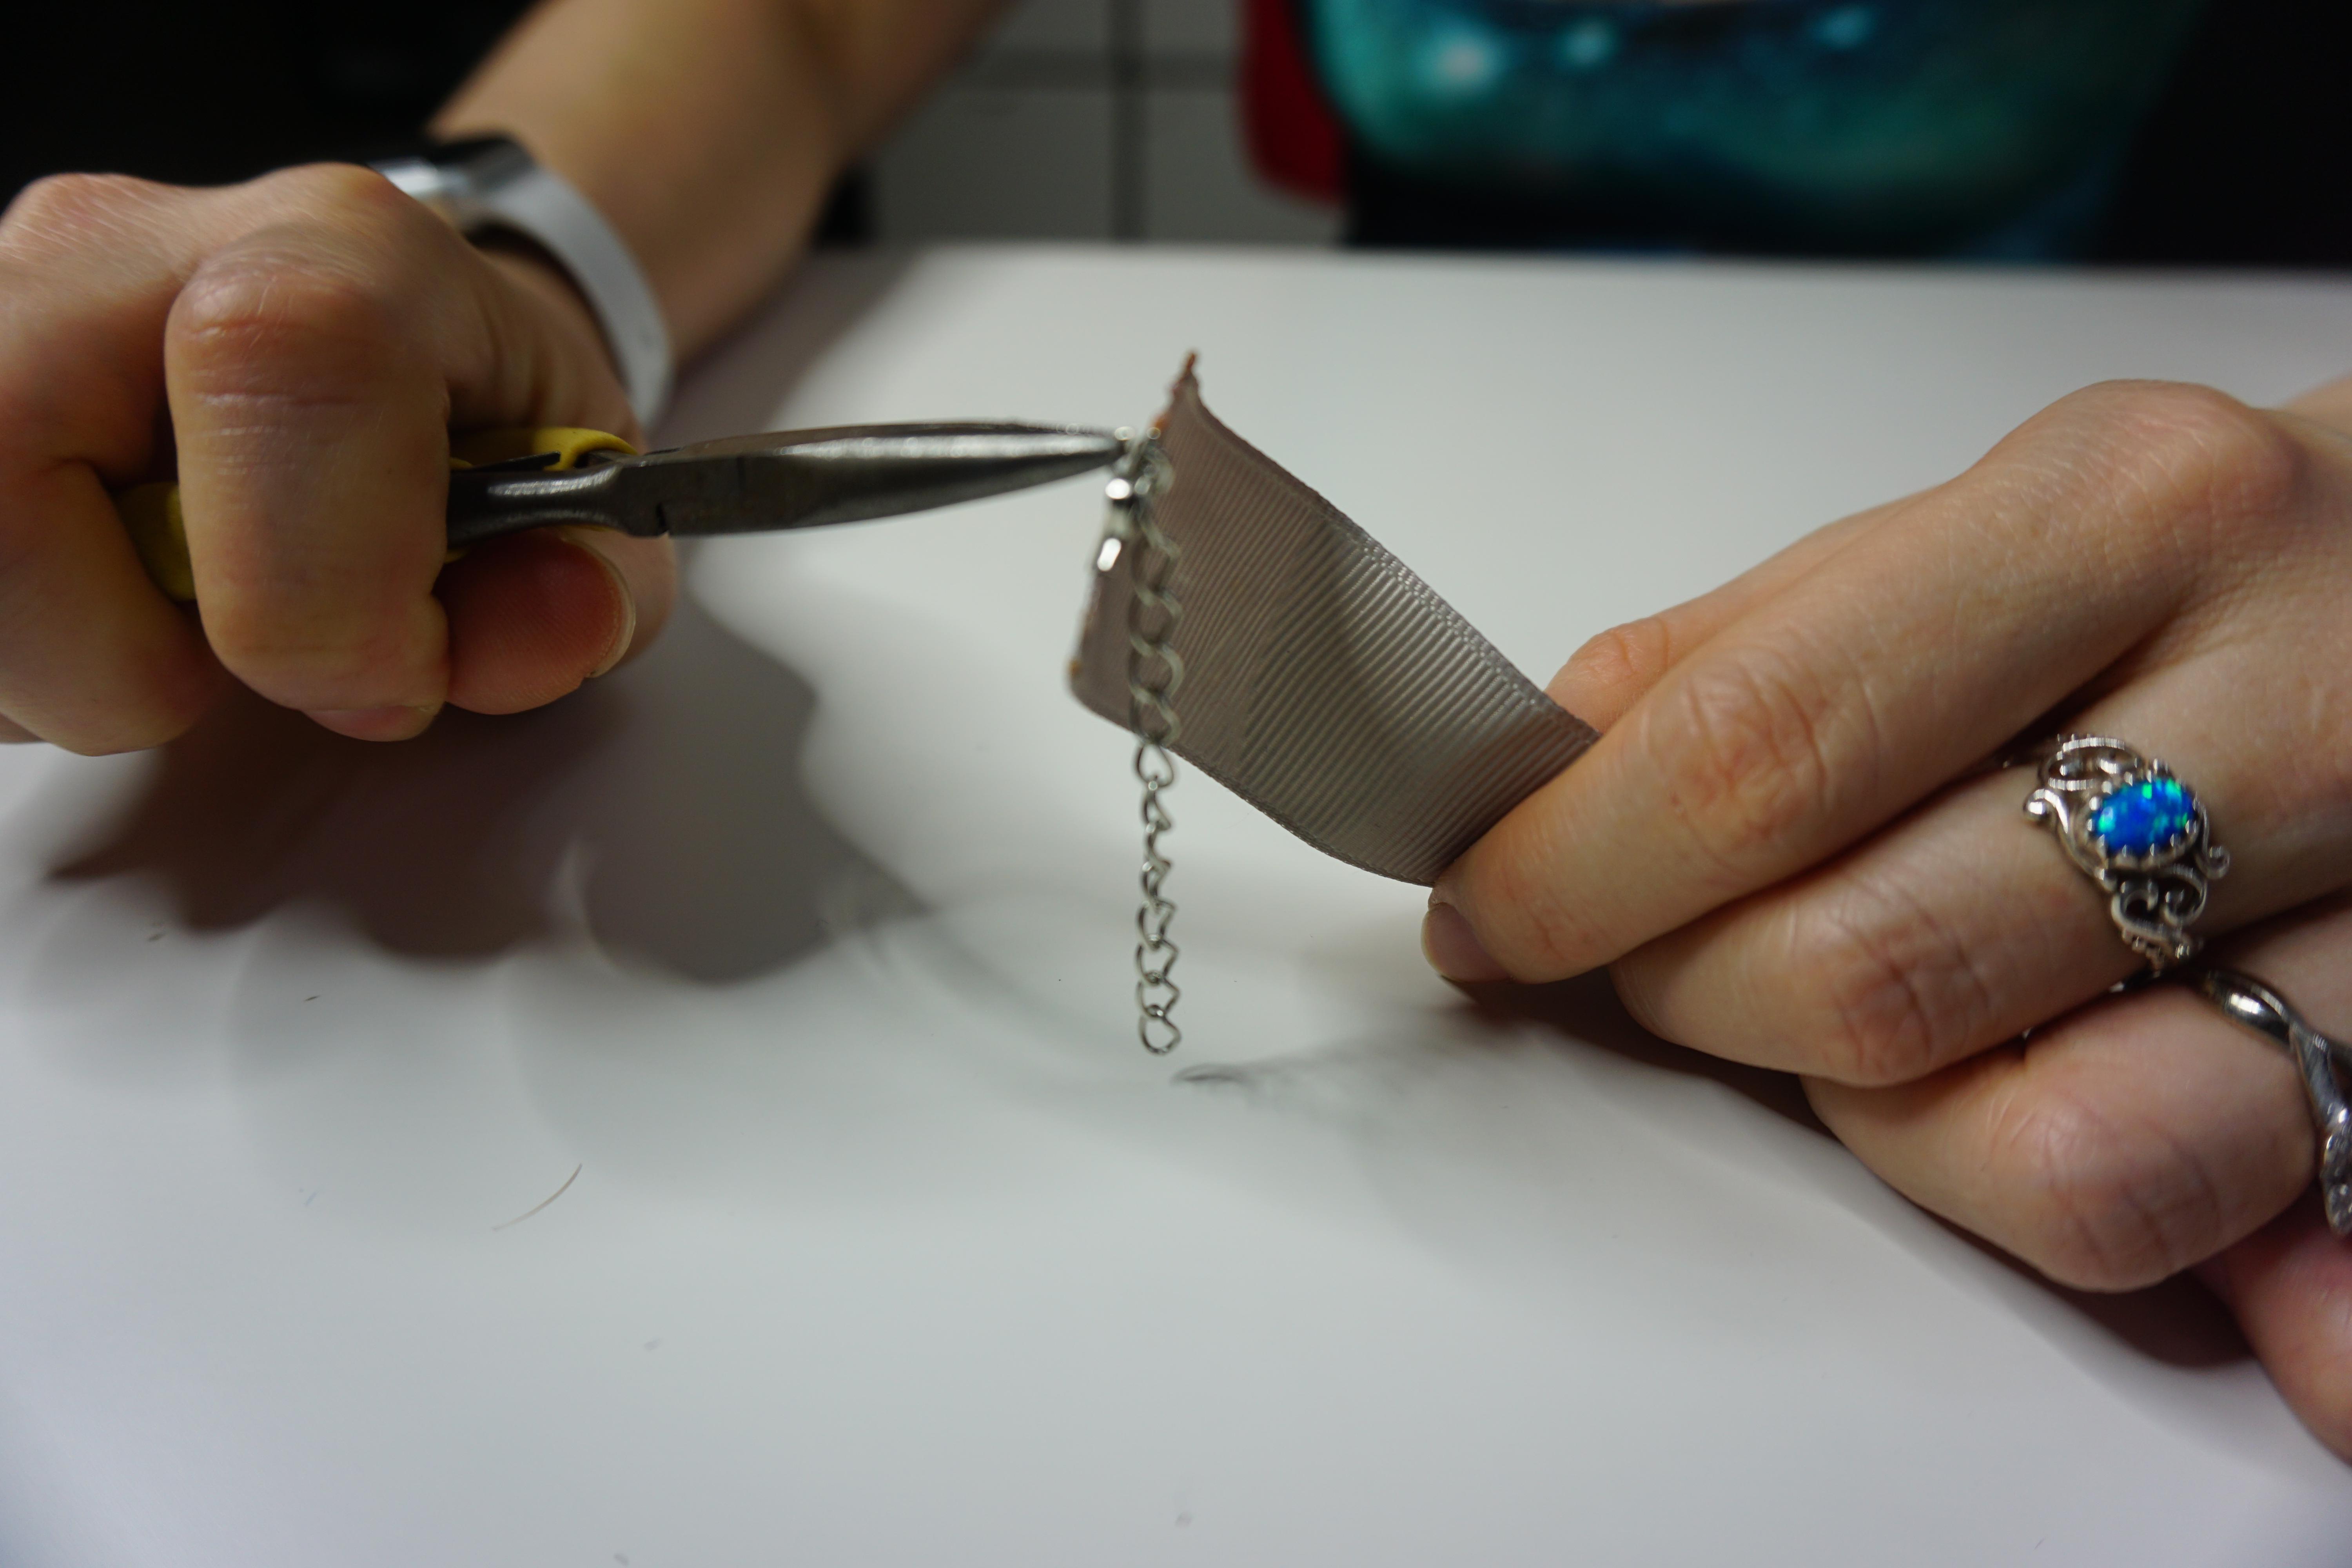


If you need to make your choker follow these steps and/or watch my Youtube video on how to create that.
- Cut your desired ribbon to the length of your neck.
Note: It can be a bit smaller to have an adjustment chain at the back. - If your ribbon frays, use a flame (a candle or a lighter) to seal the edges.
- Hold the flat crimp ends at the ribbon ends and press them together with needle-nose pliers.
Do this for both ends. - Add a jump ring to both flat crimp ends.
- Before closing the jump rings add the clasp to one side, and the opposite add the adjustment chain.
NOW DONE WITH YOUR CHOKER!
Find the Placement for Where You Want Your Blood to Drip From
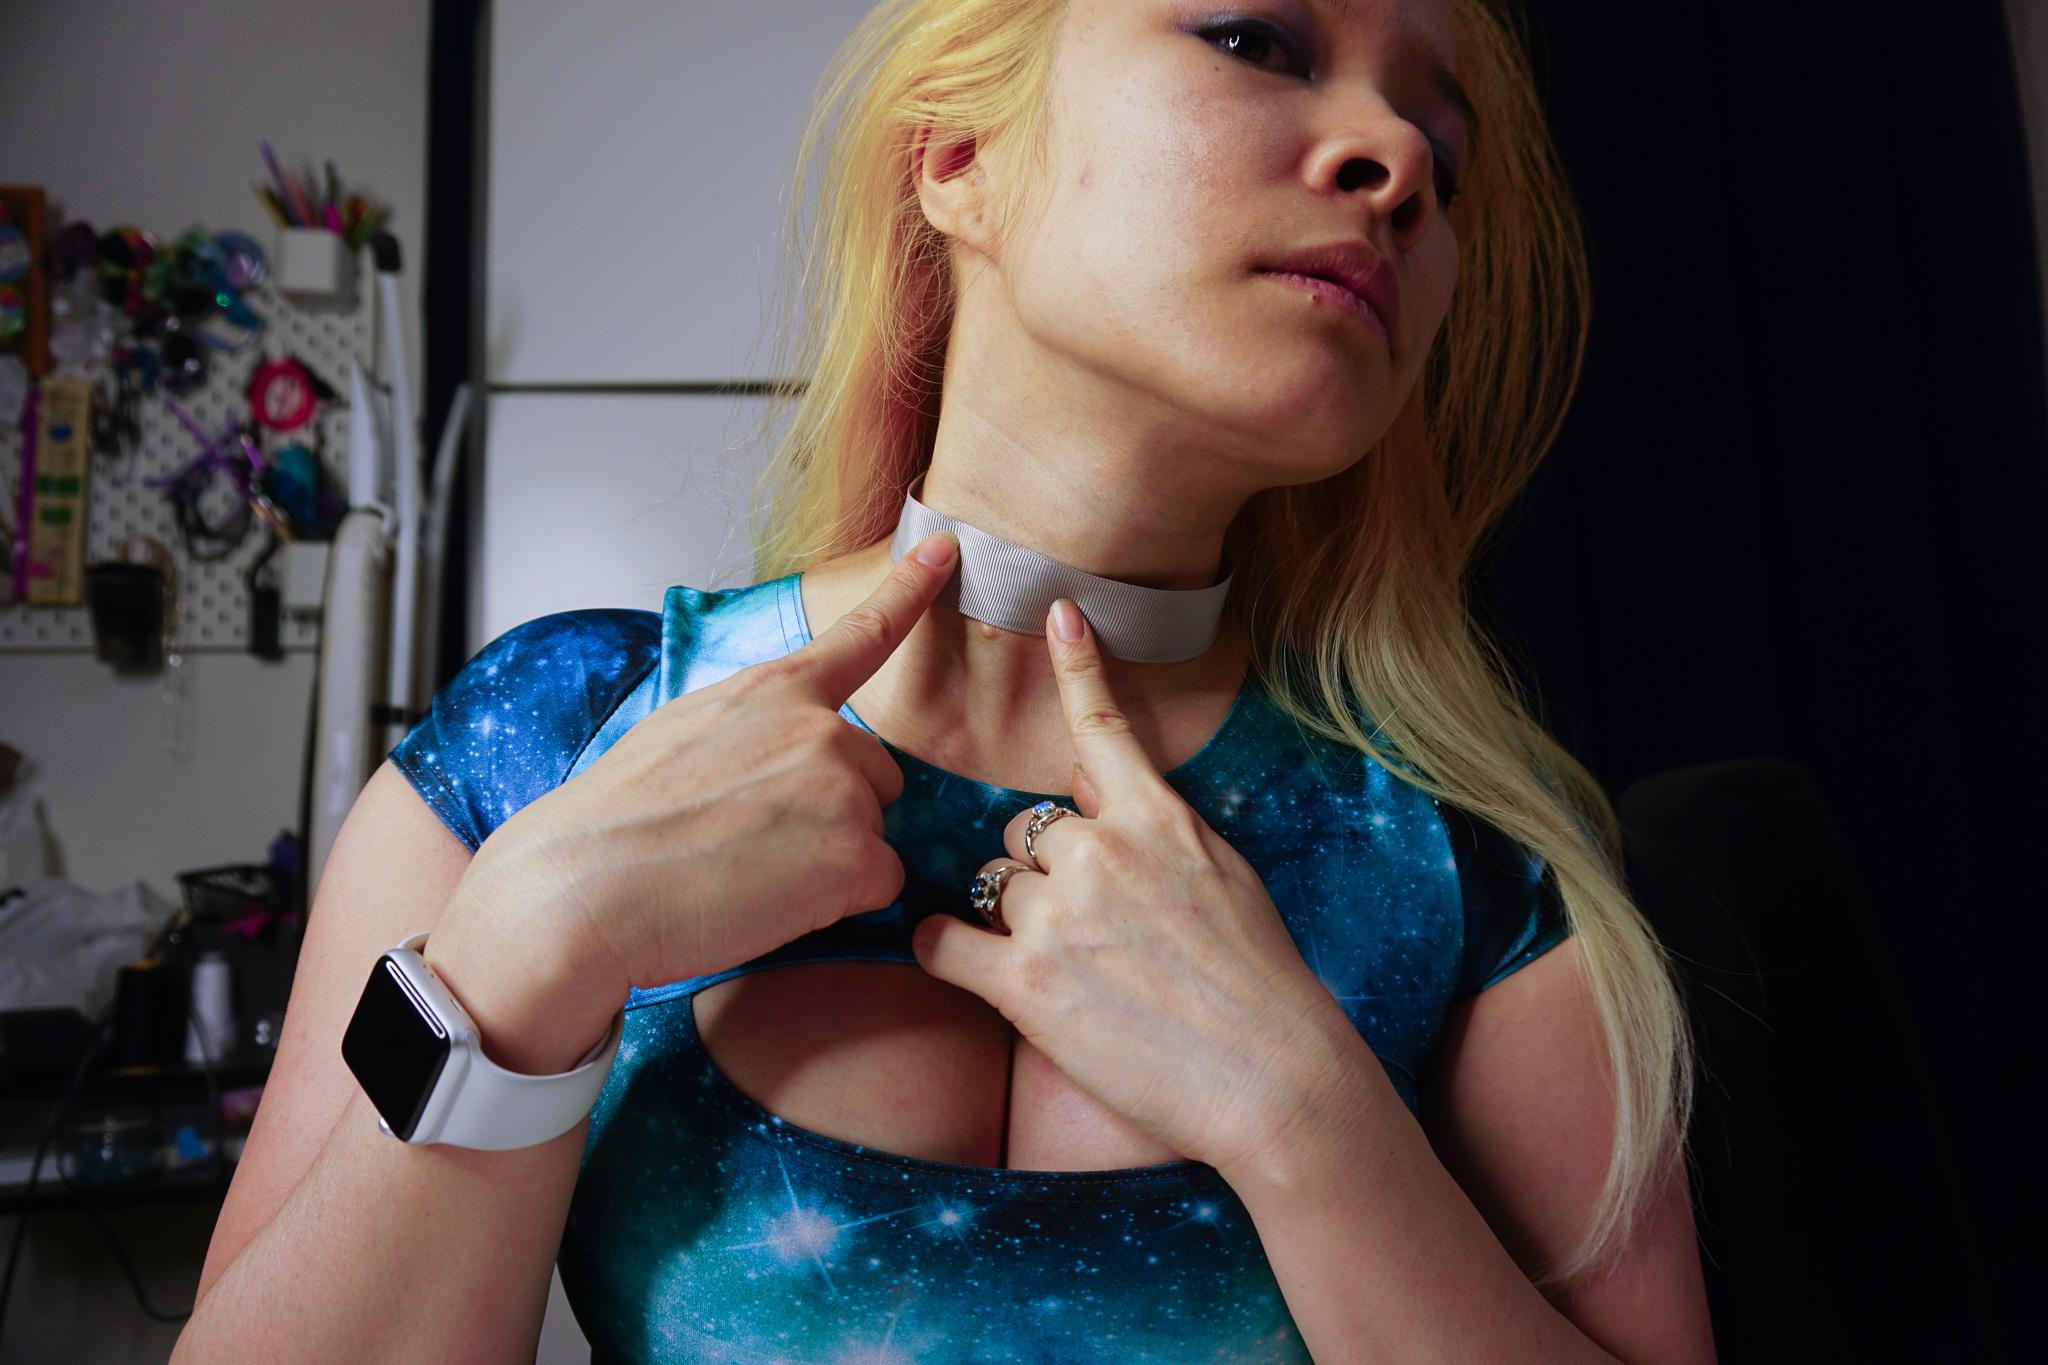

This is the step where you want to pay attention to the most. You want to try on your choker and make a note of where you want it to drip from. Some noteworthy things to think of is:
- Do you want to be vampire bitten?
- Do you want to look like a slit in your neck?
- Do you want lots of droplets?
In my Youtube video
I show different examples of all of these ideas.
But it's important to note to know what you want before starting to sew the beads on.
BEAD TIME!! Starting at the Choker Baseline.

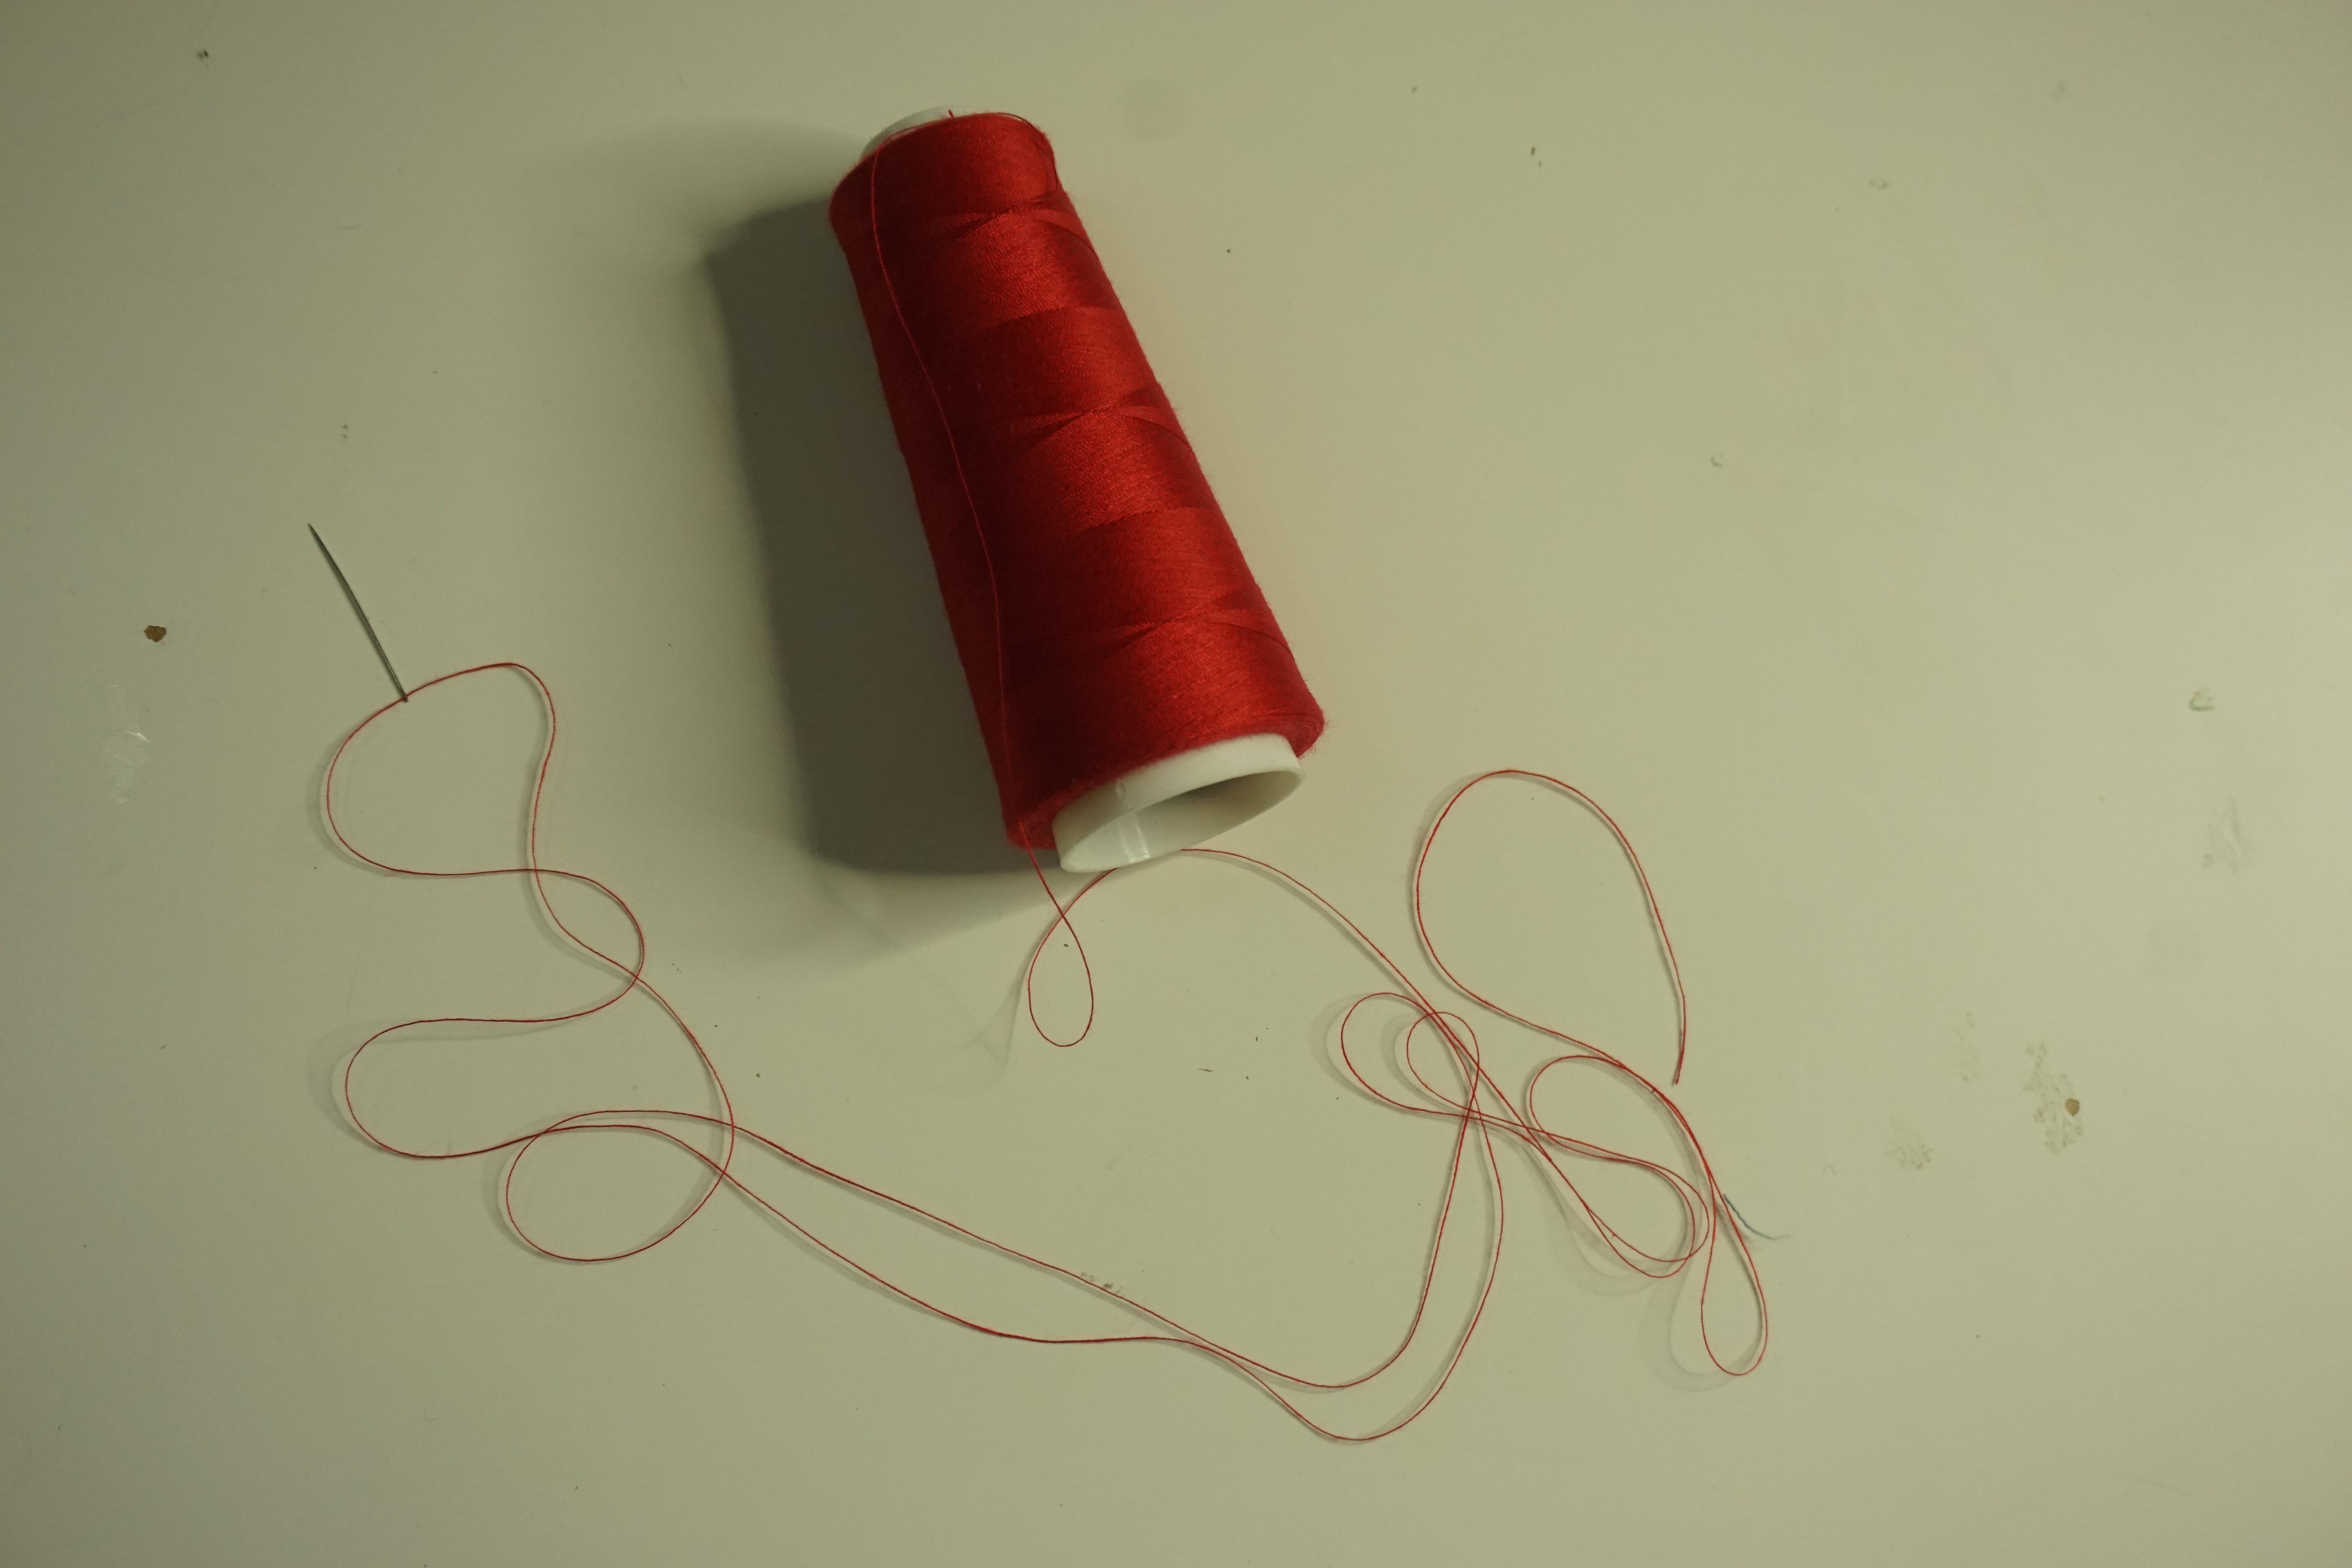
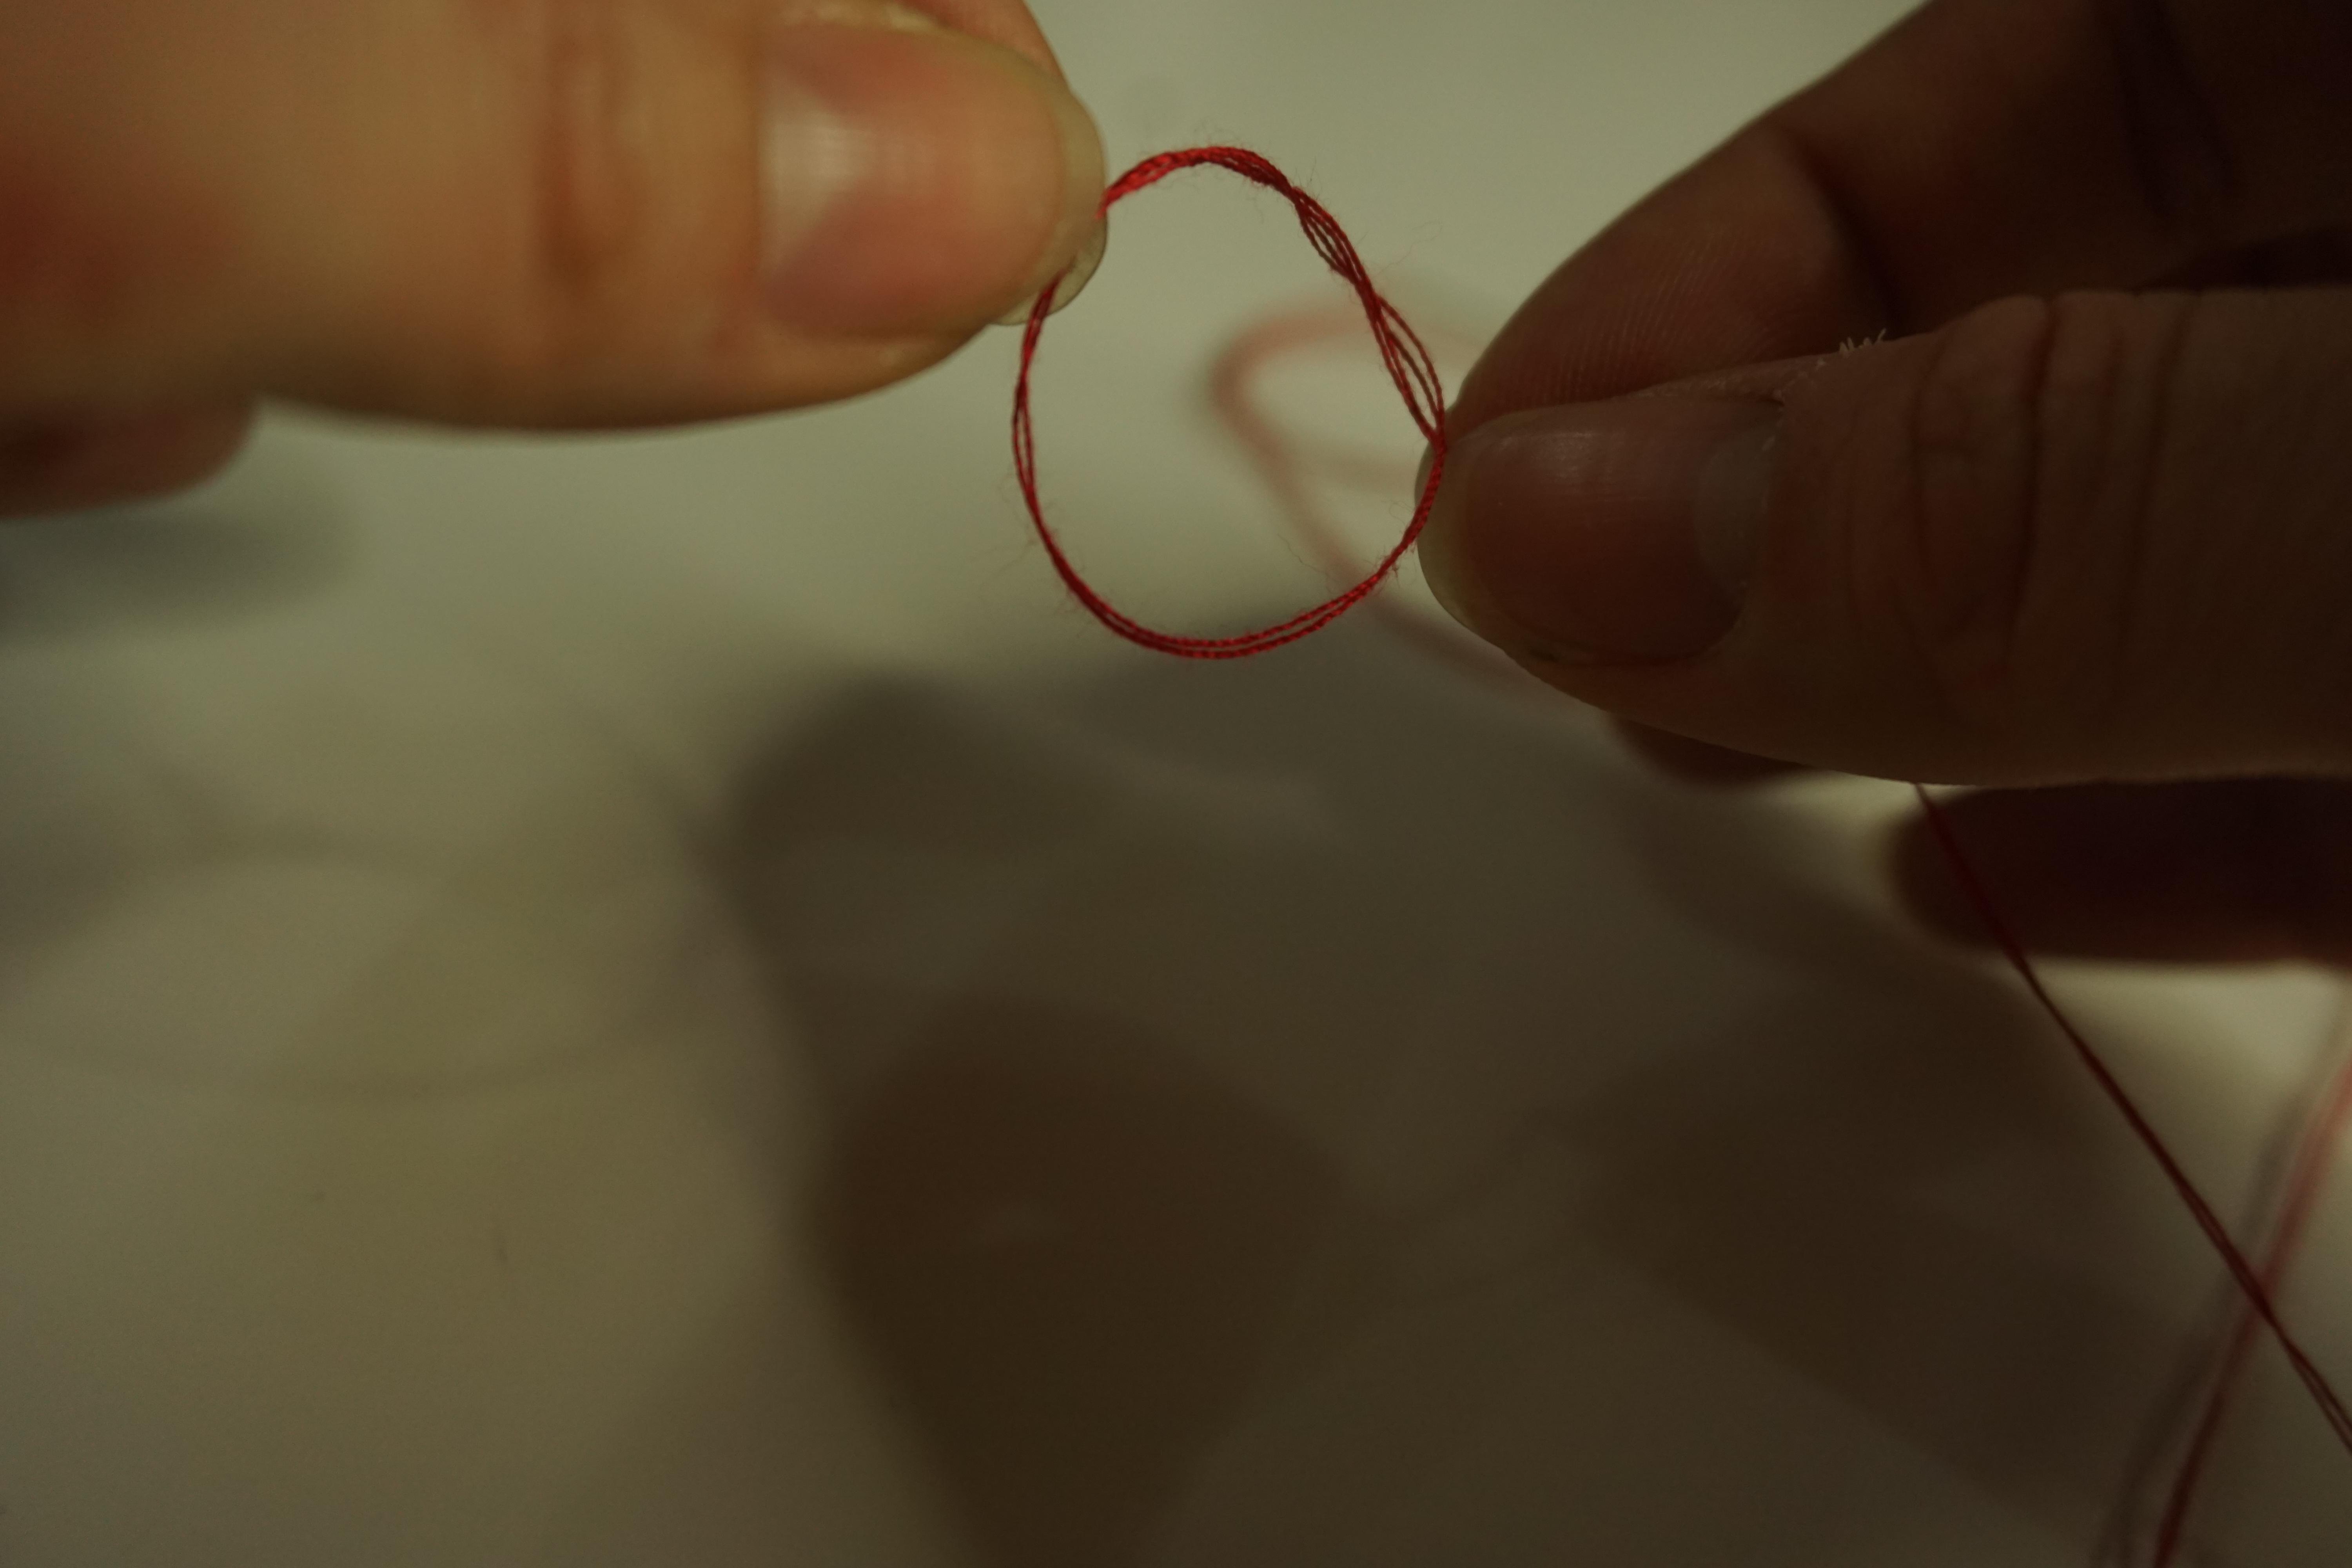

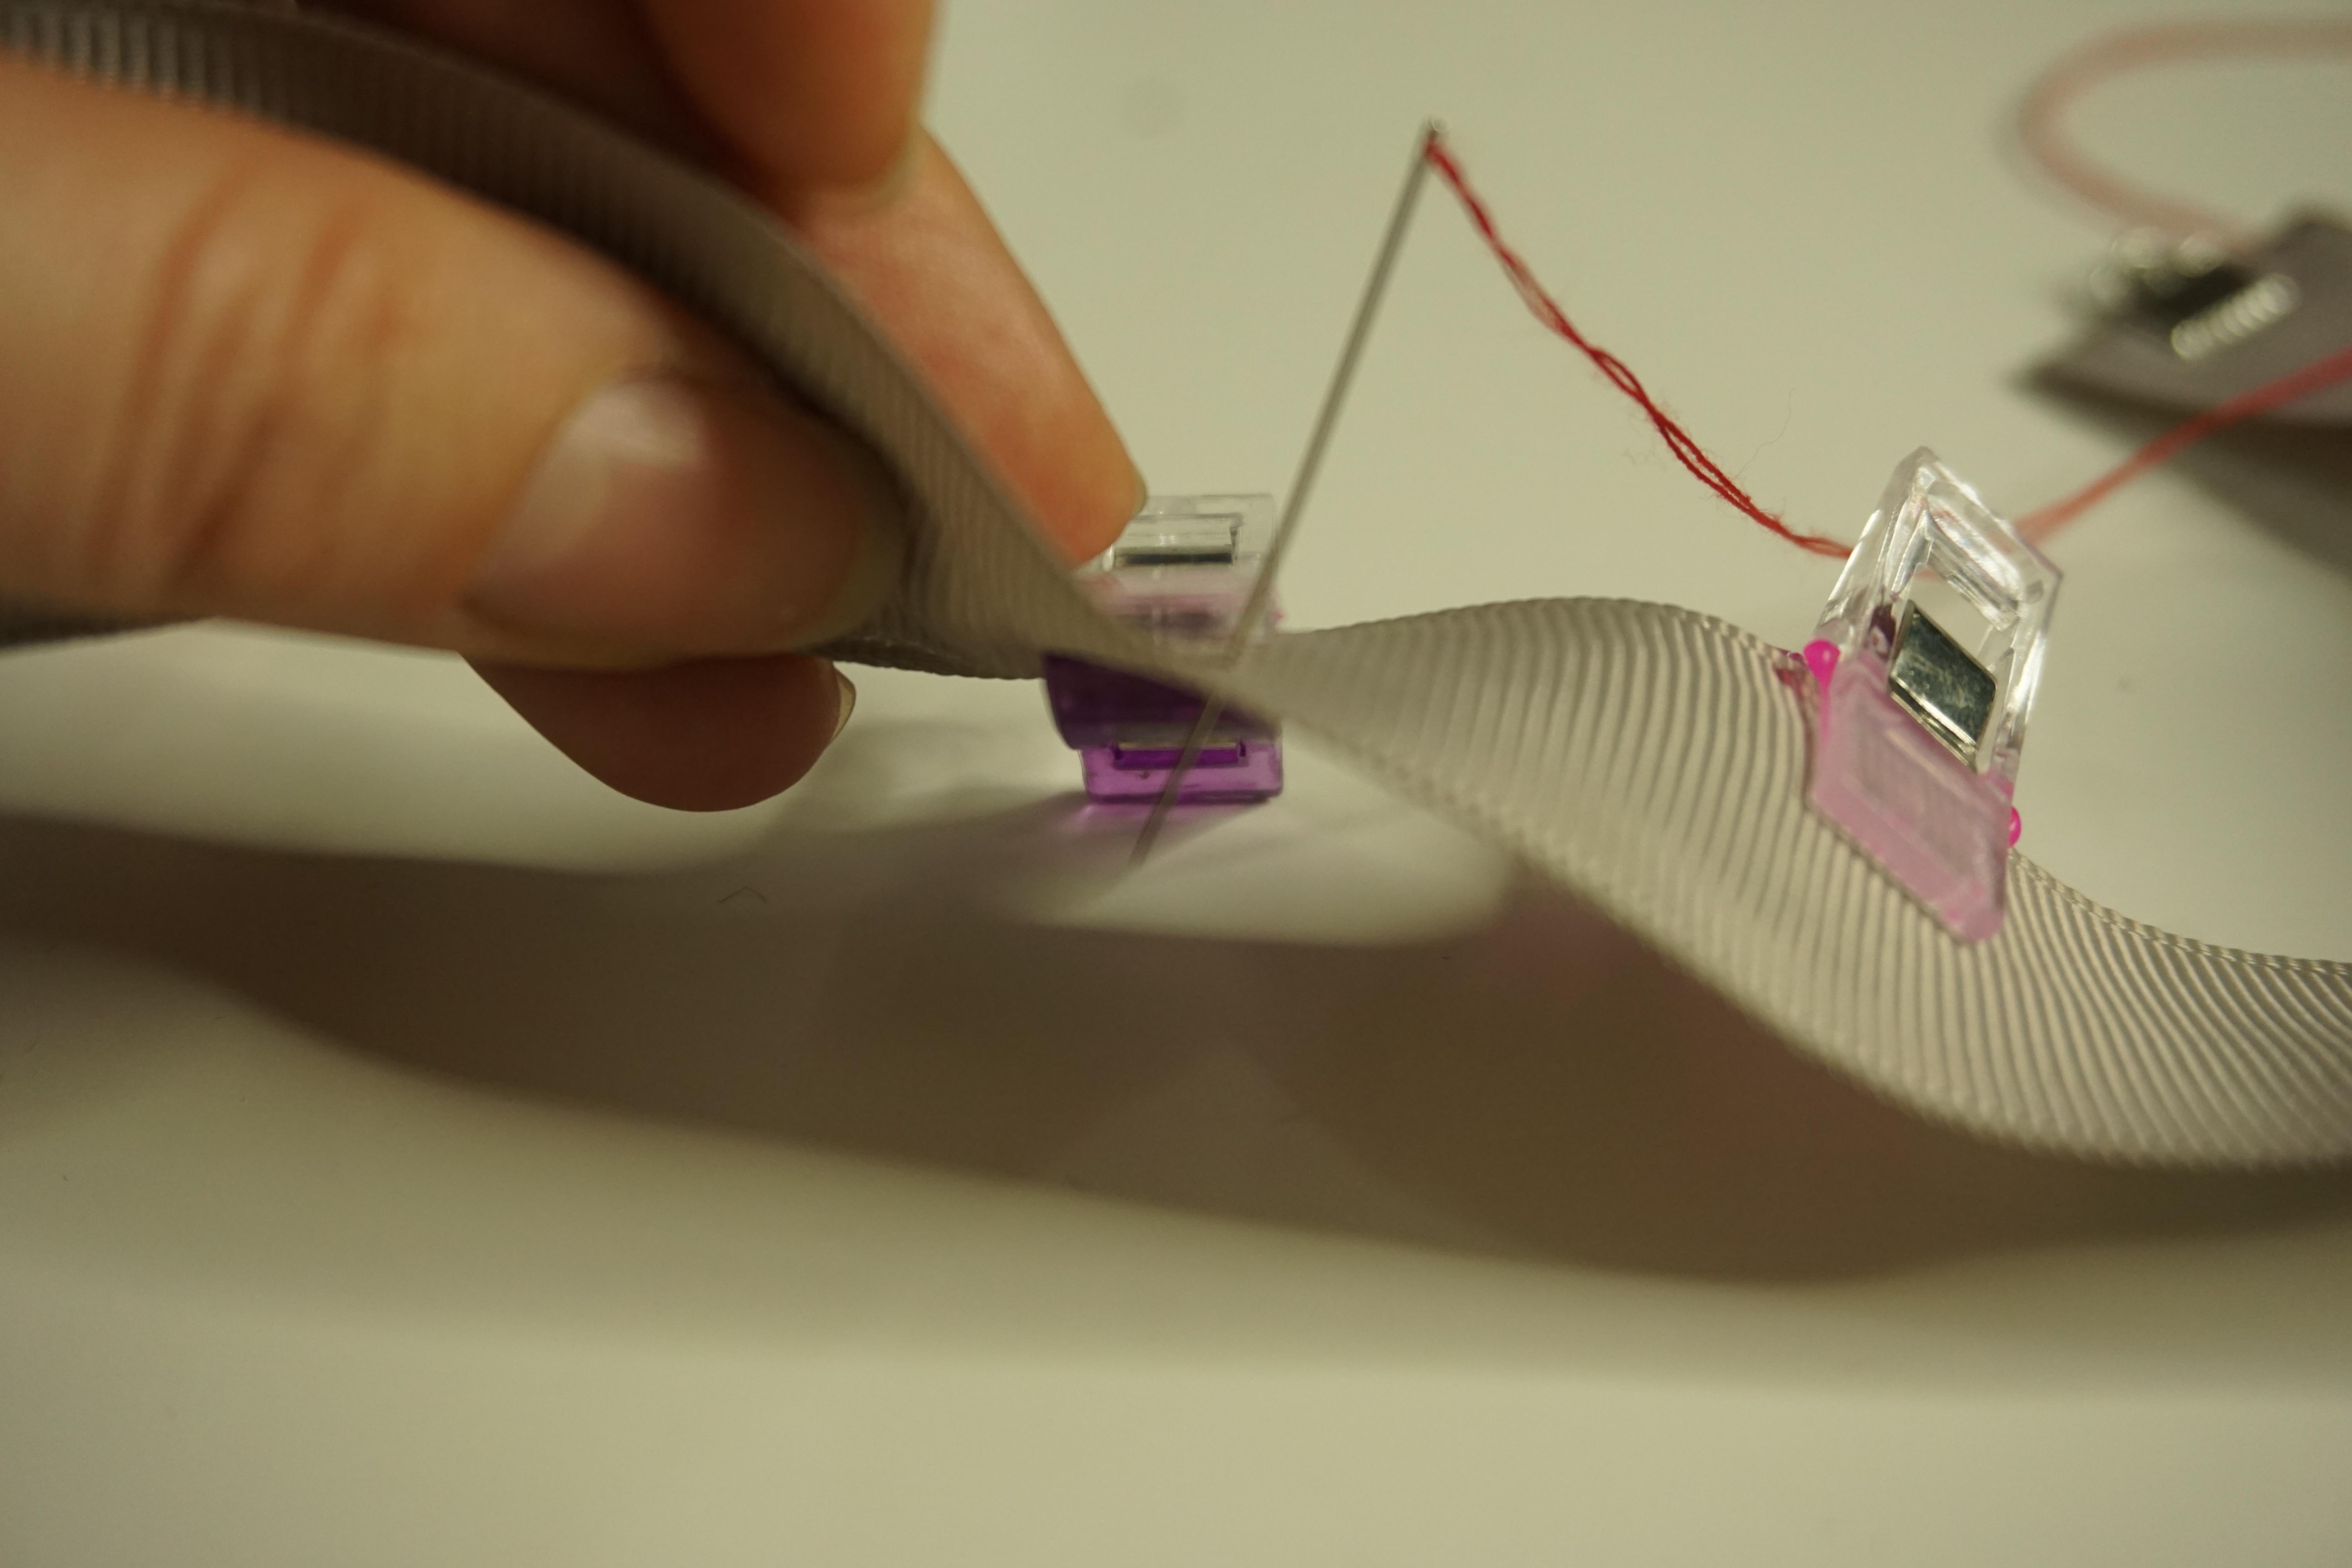

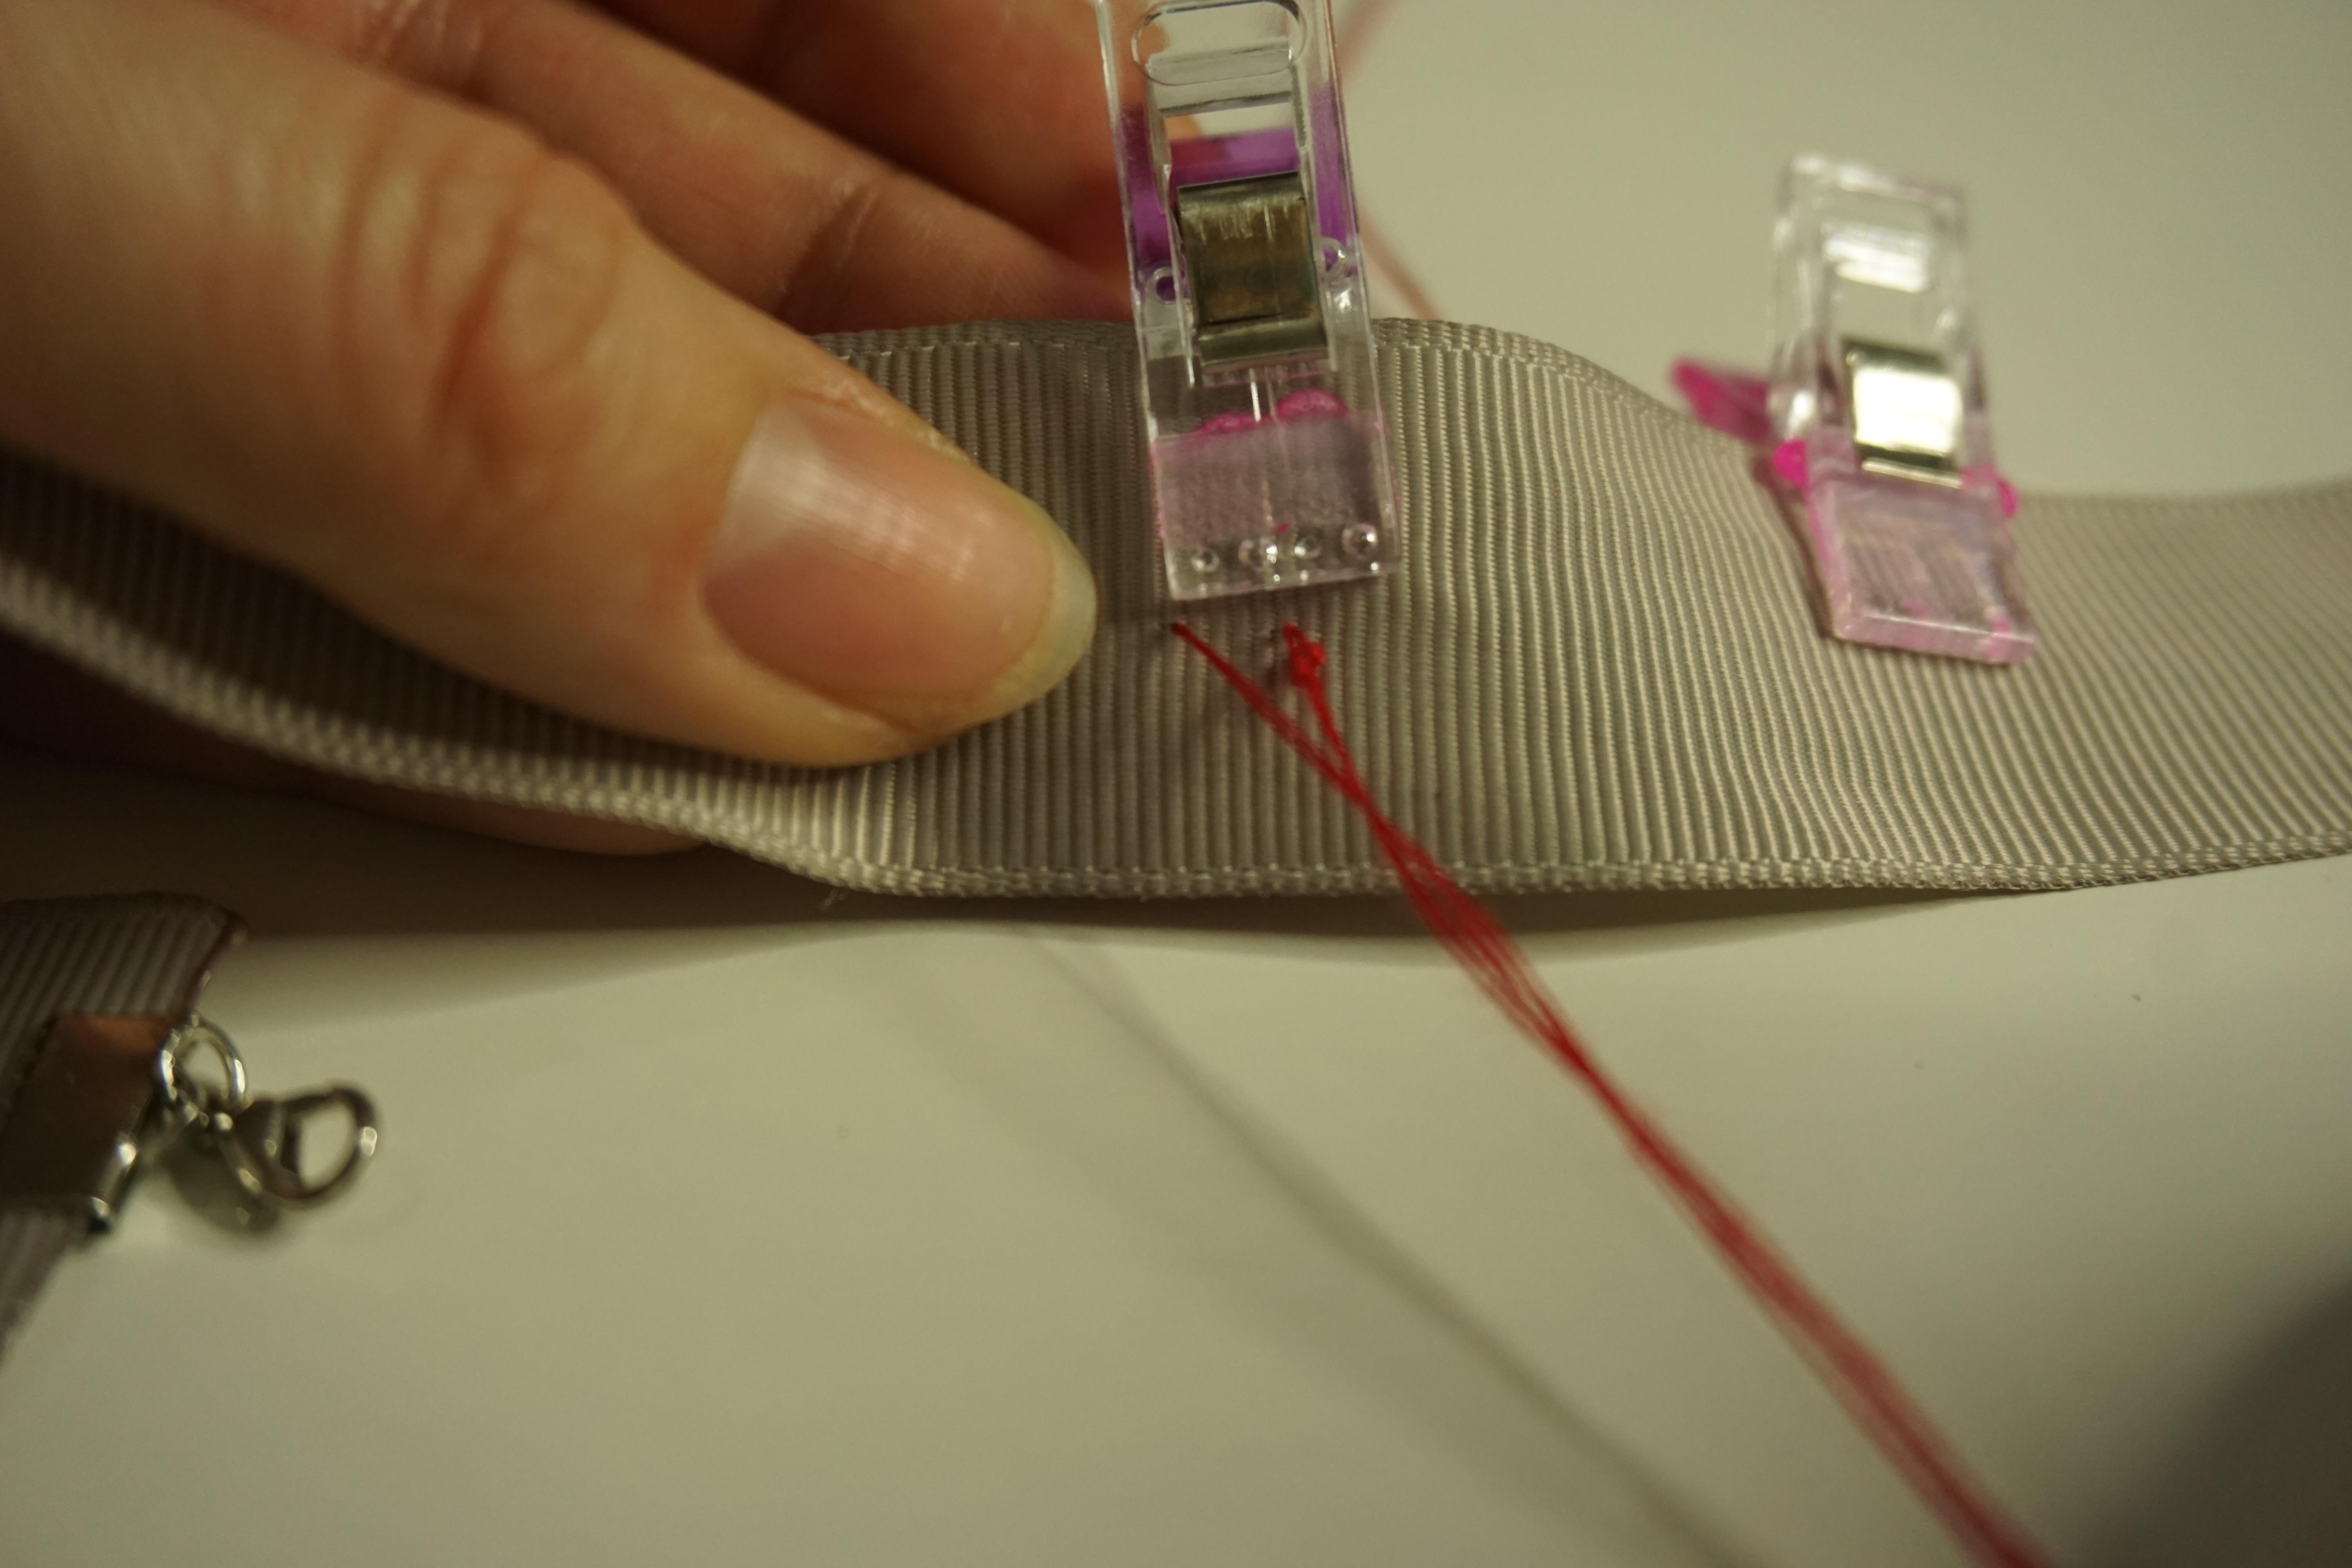
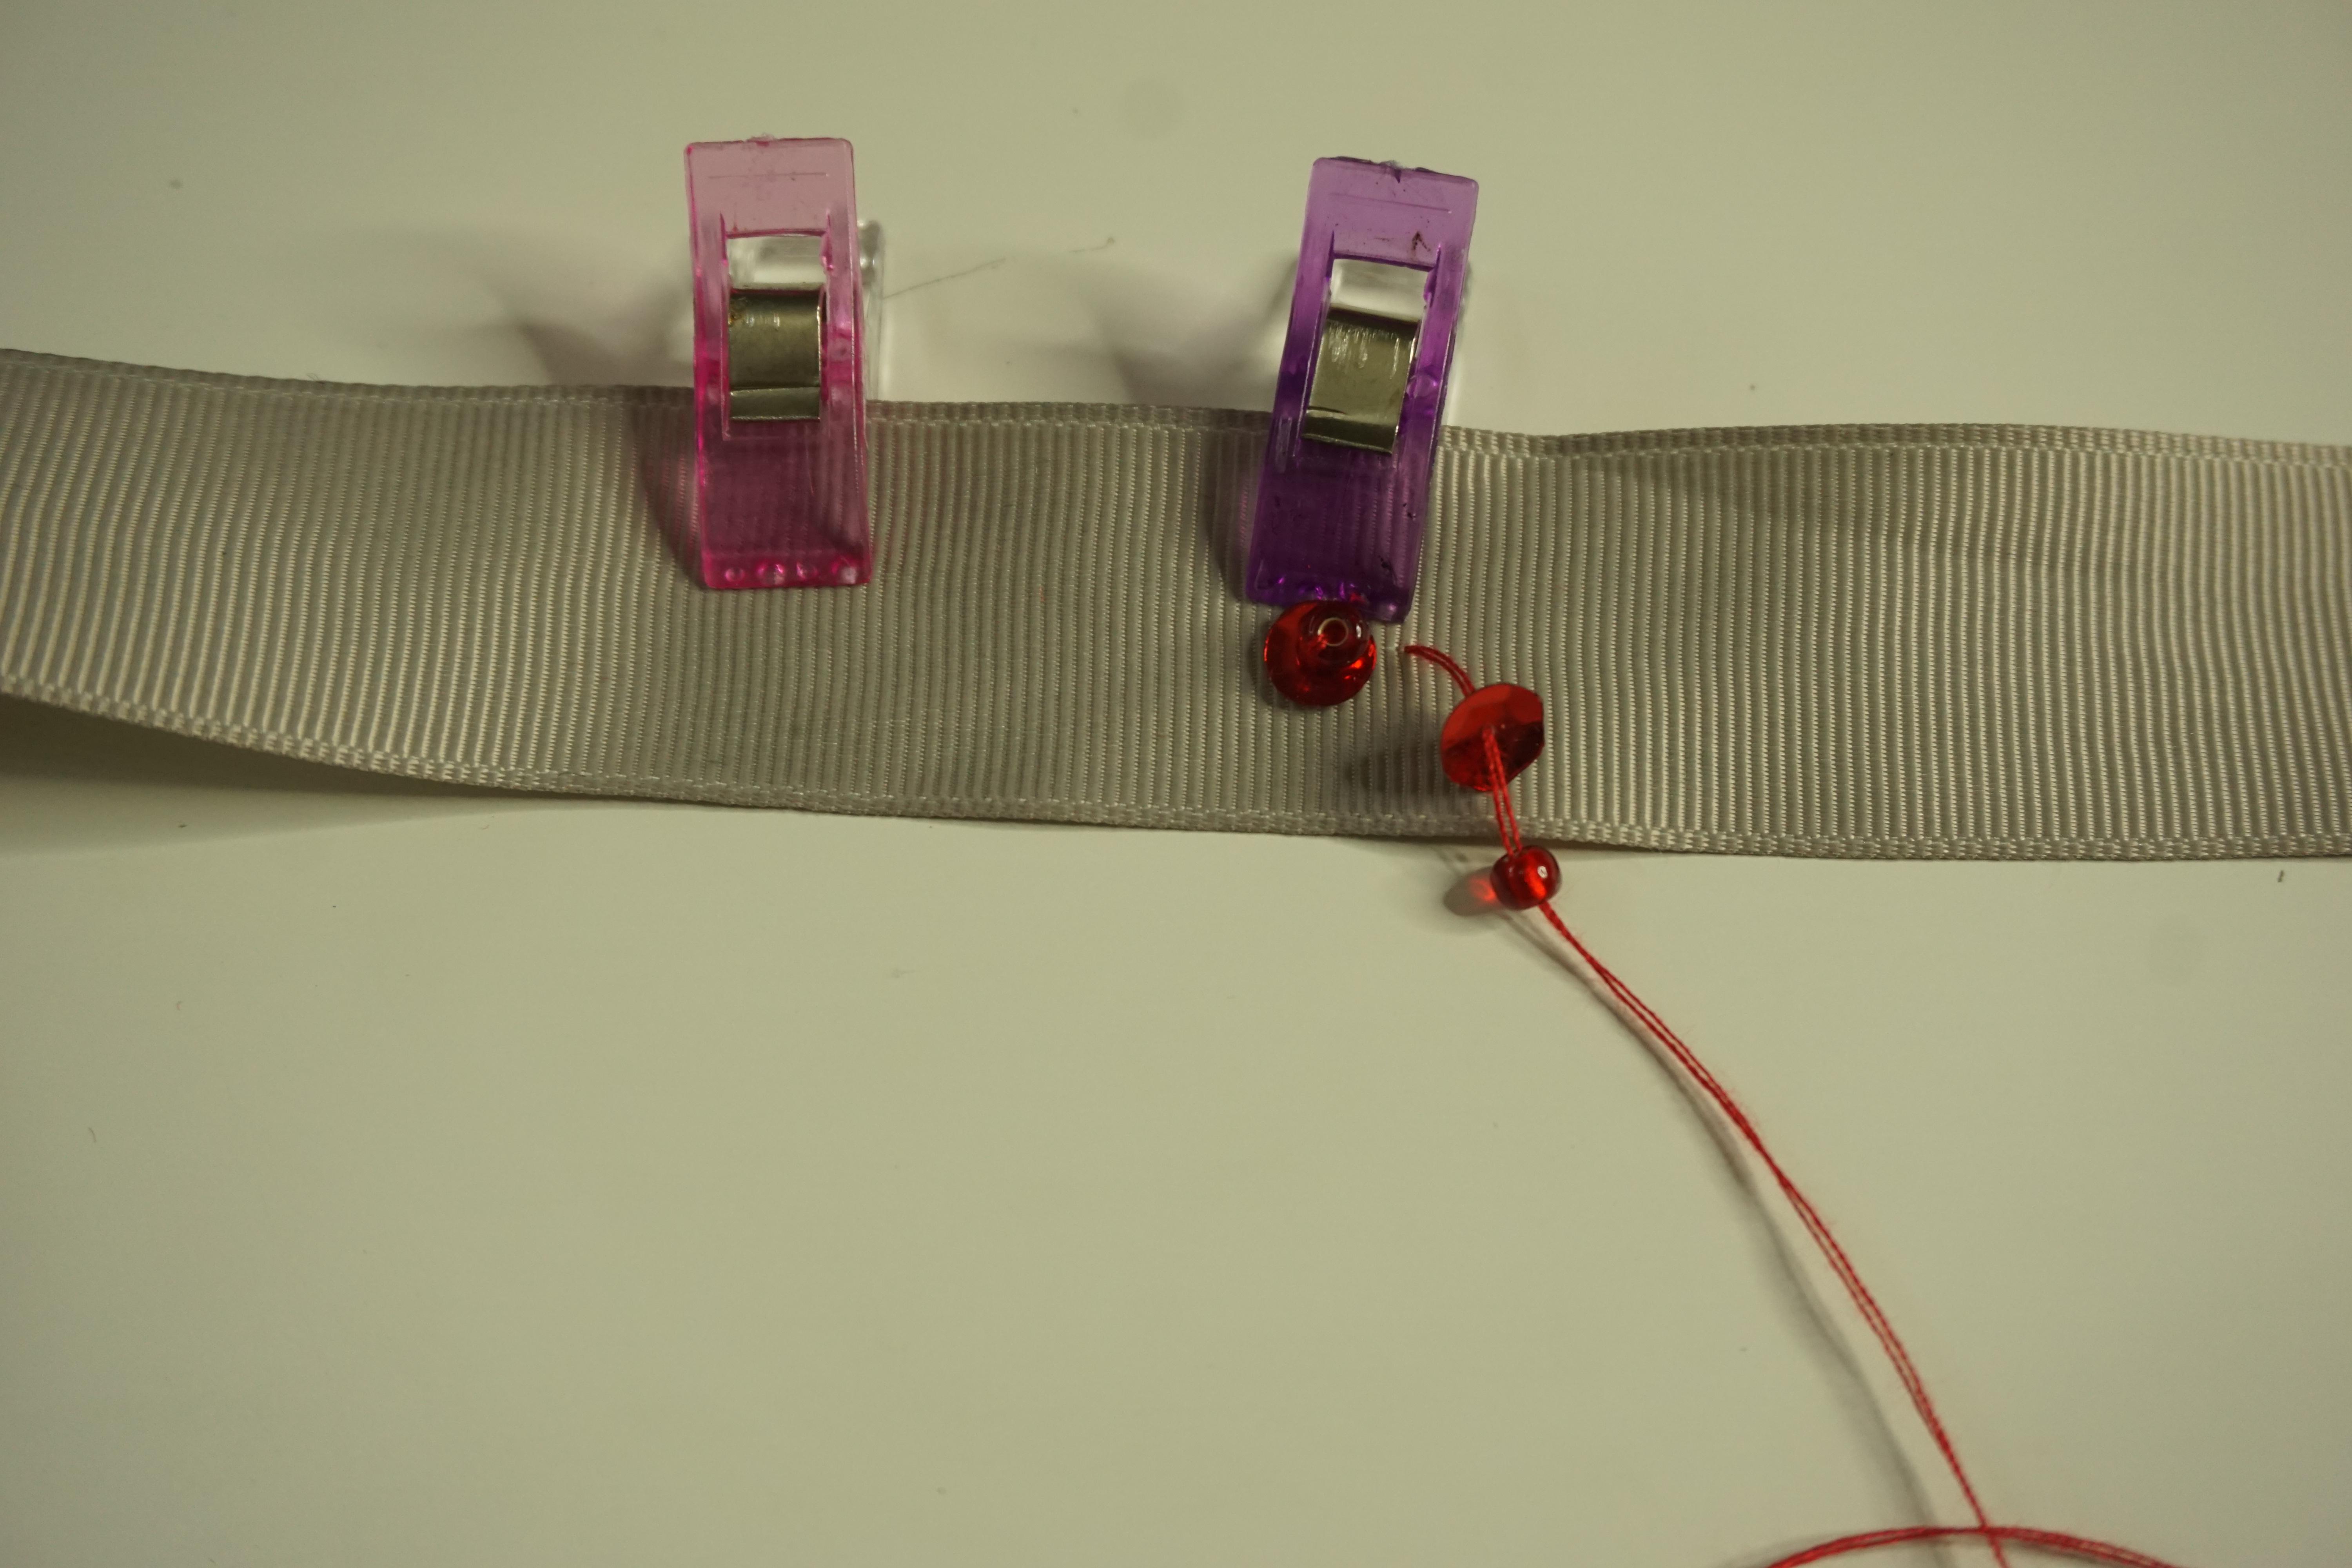


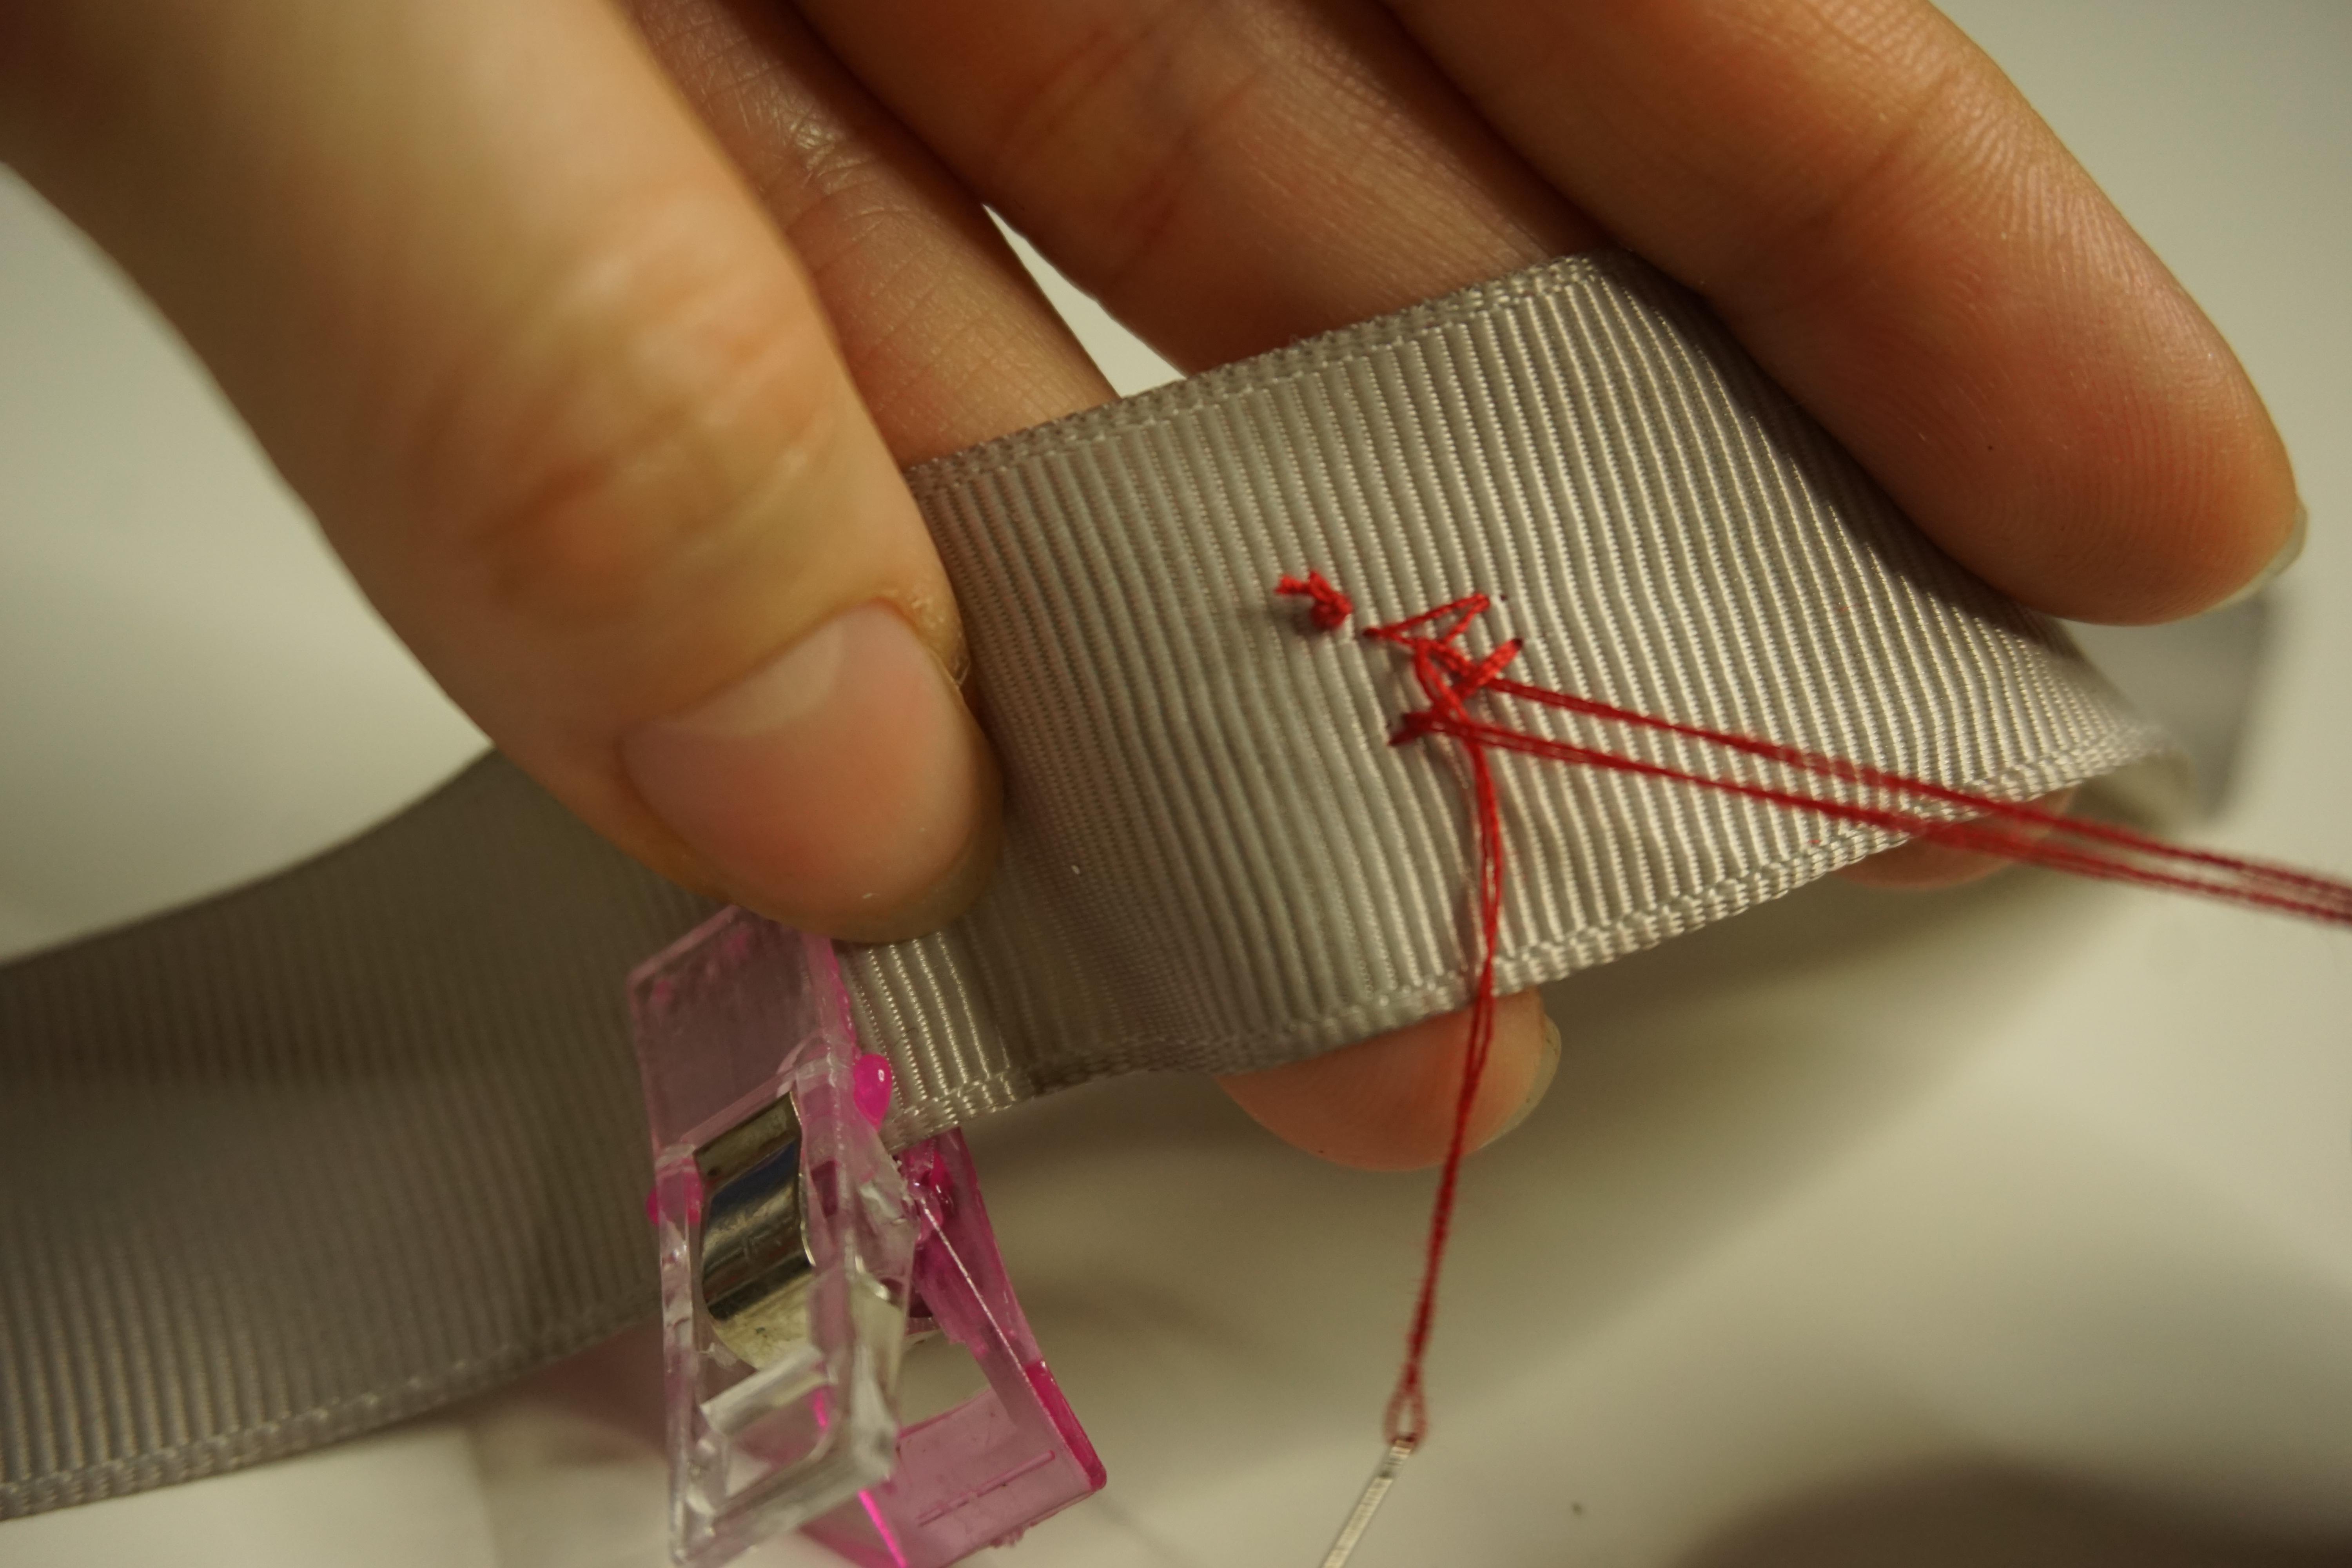

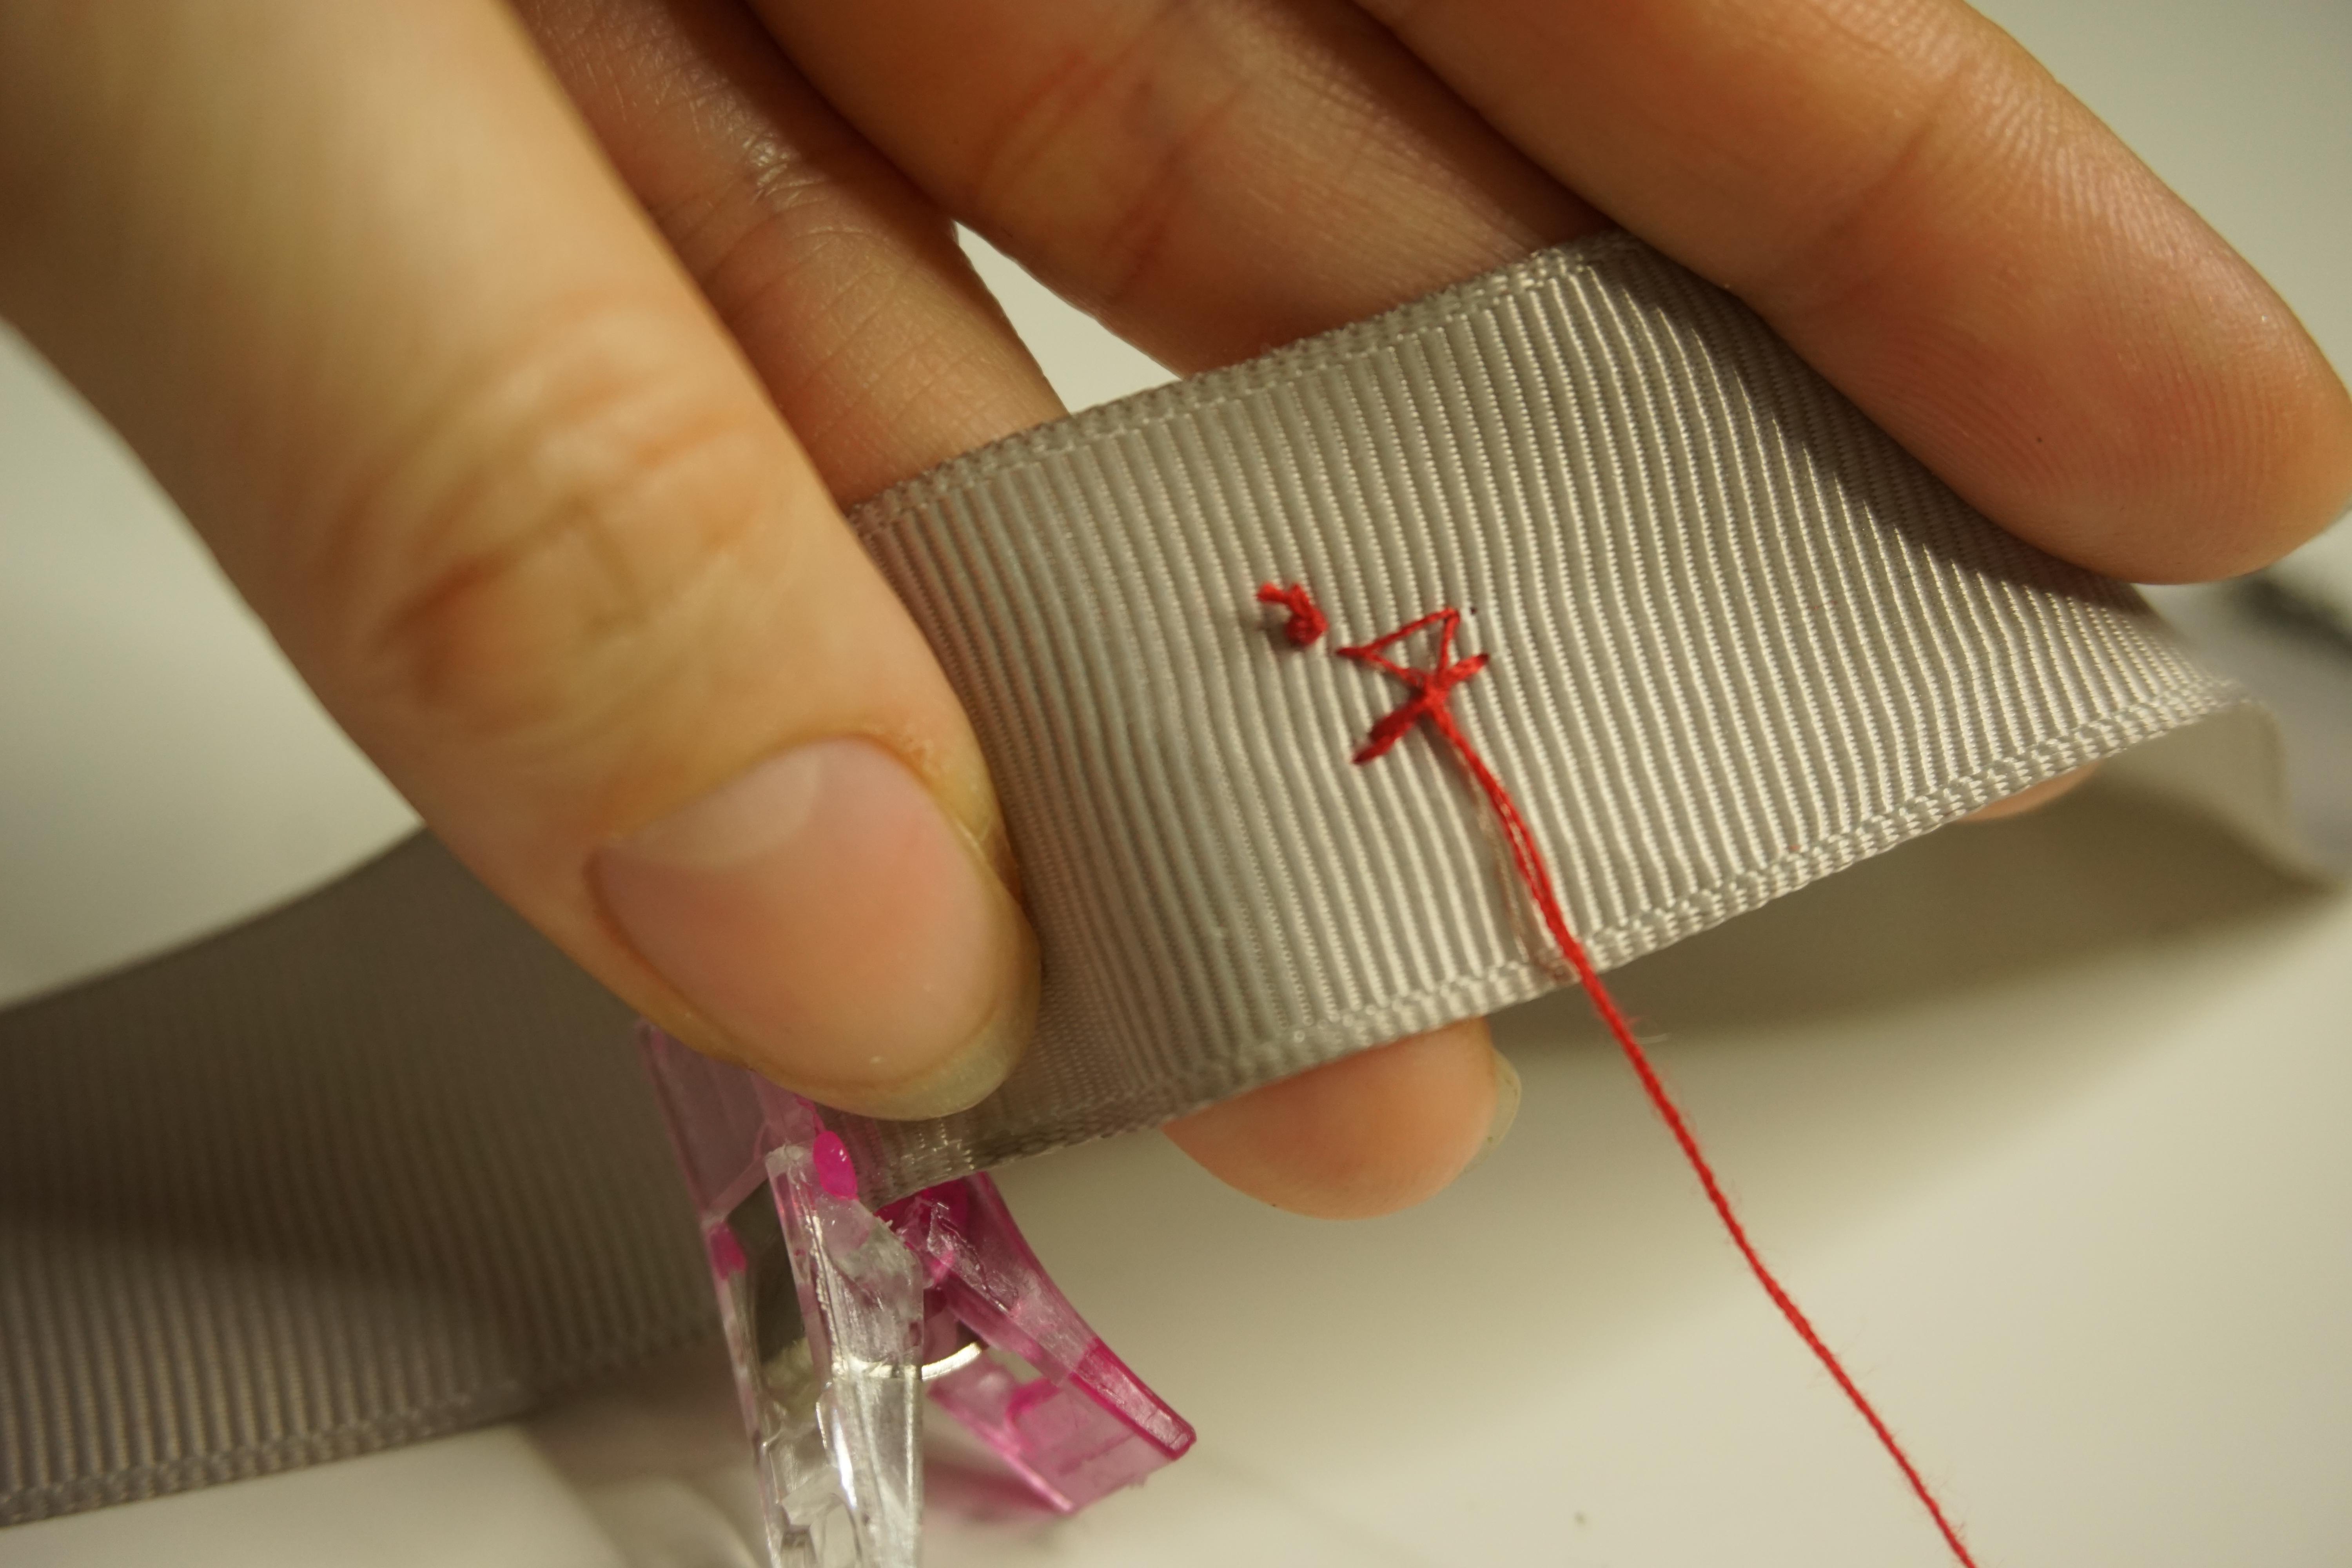
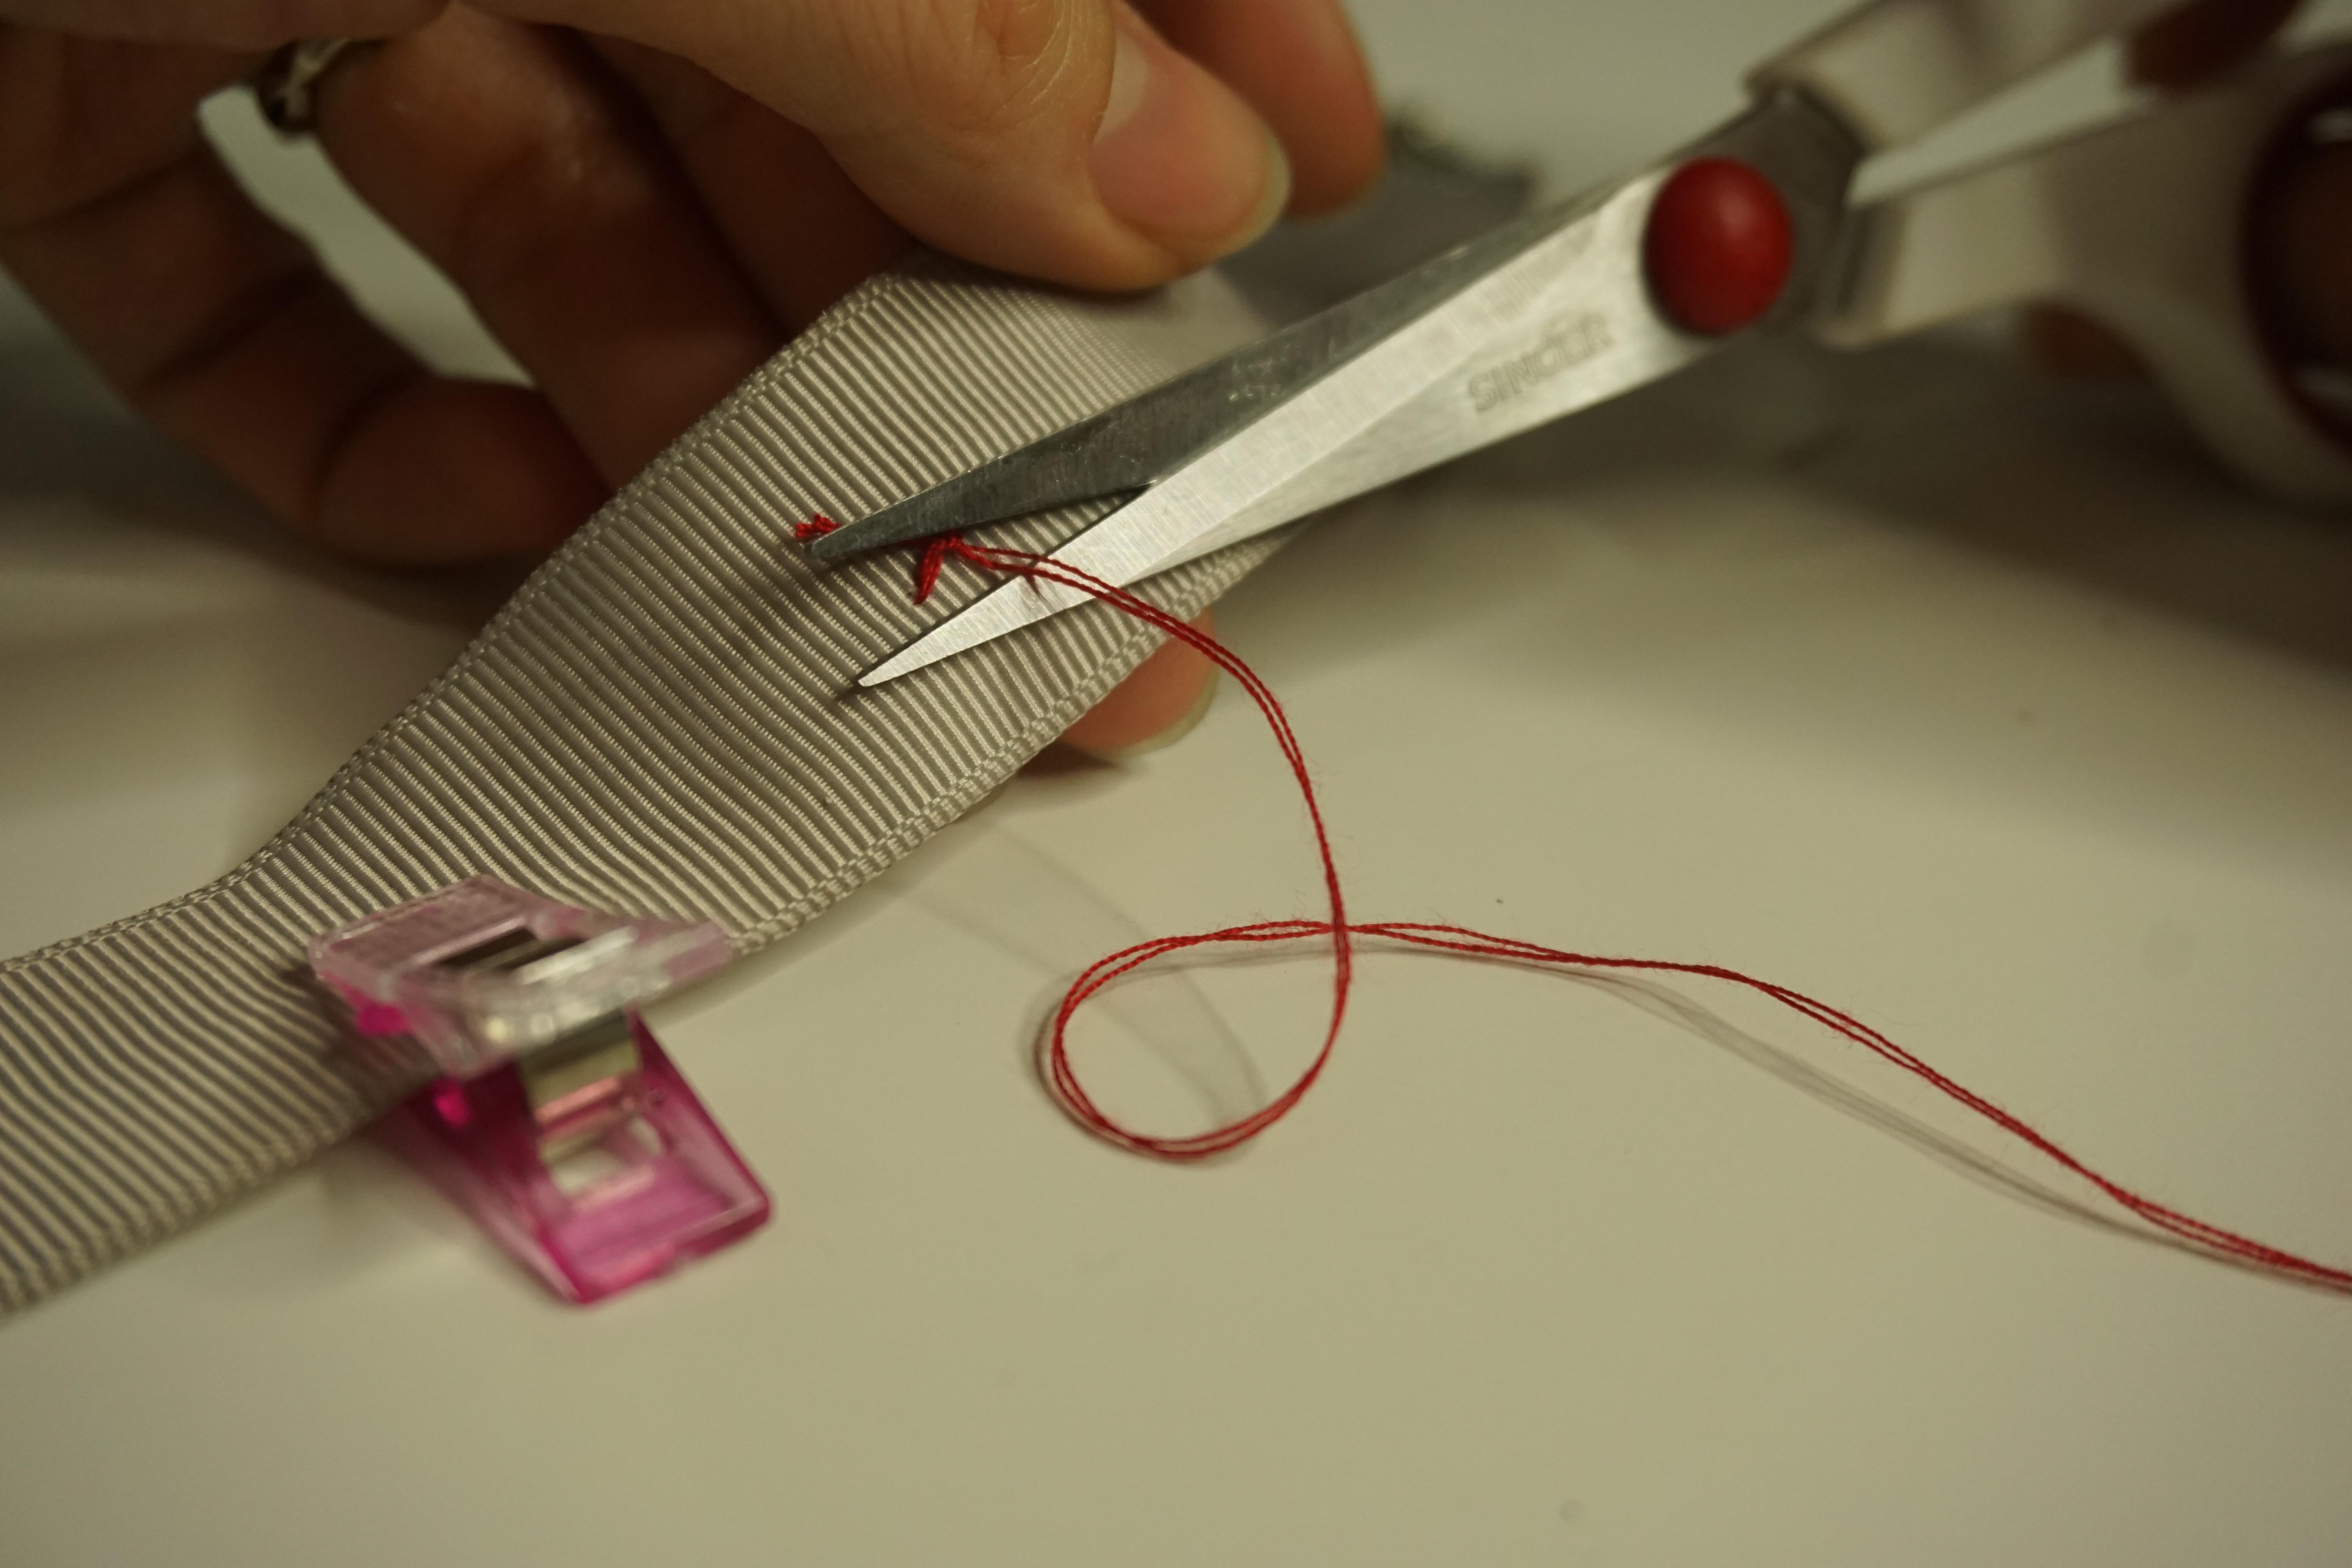


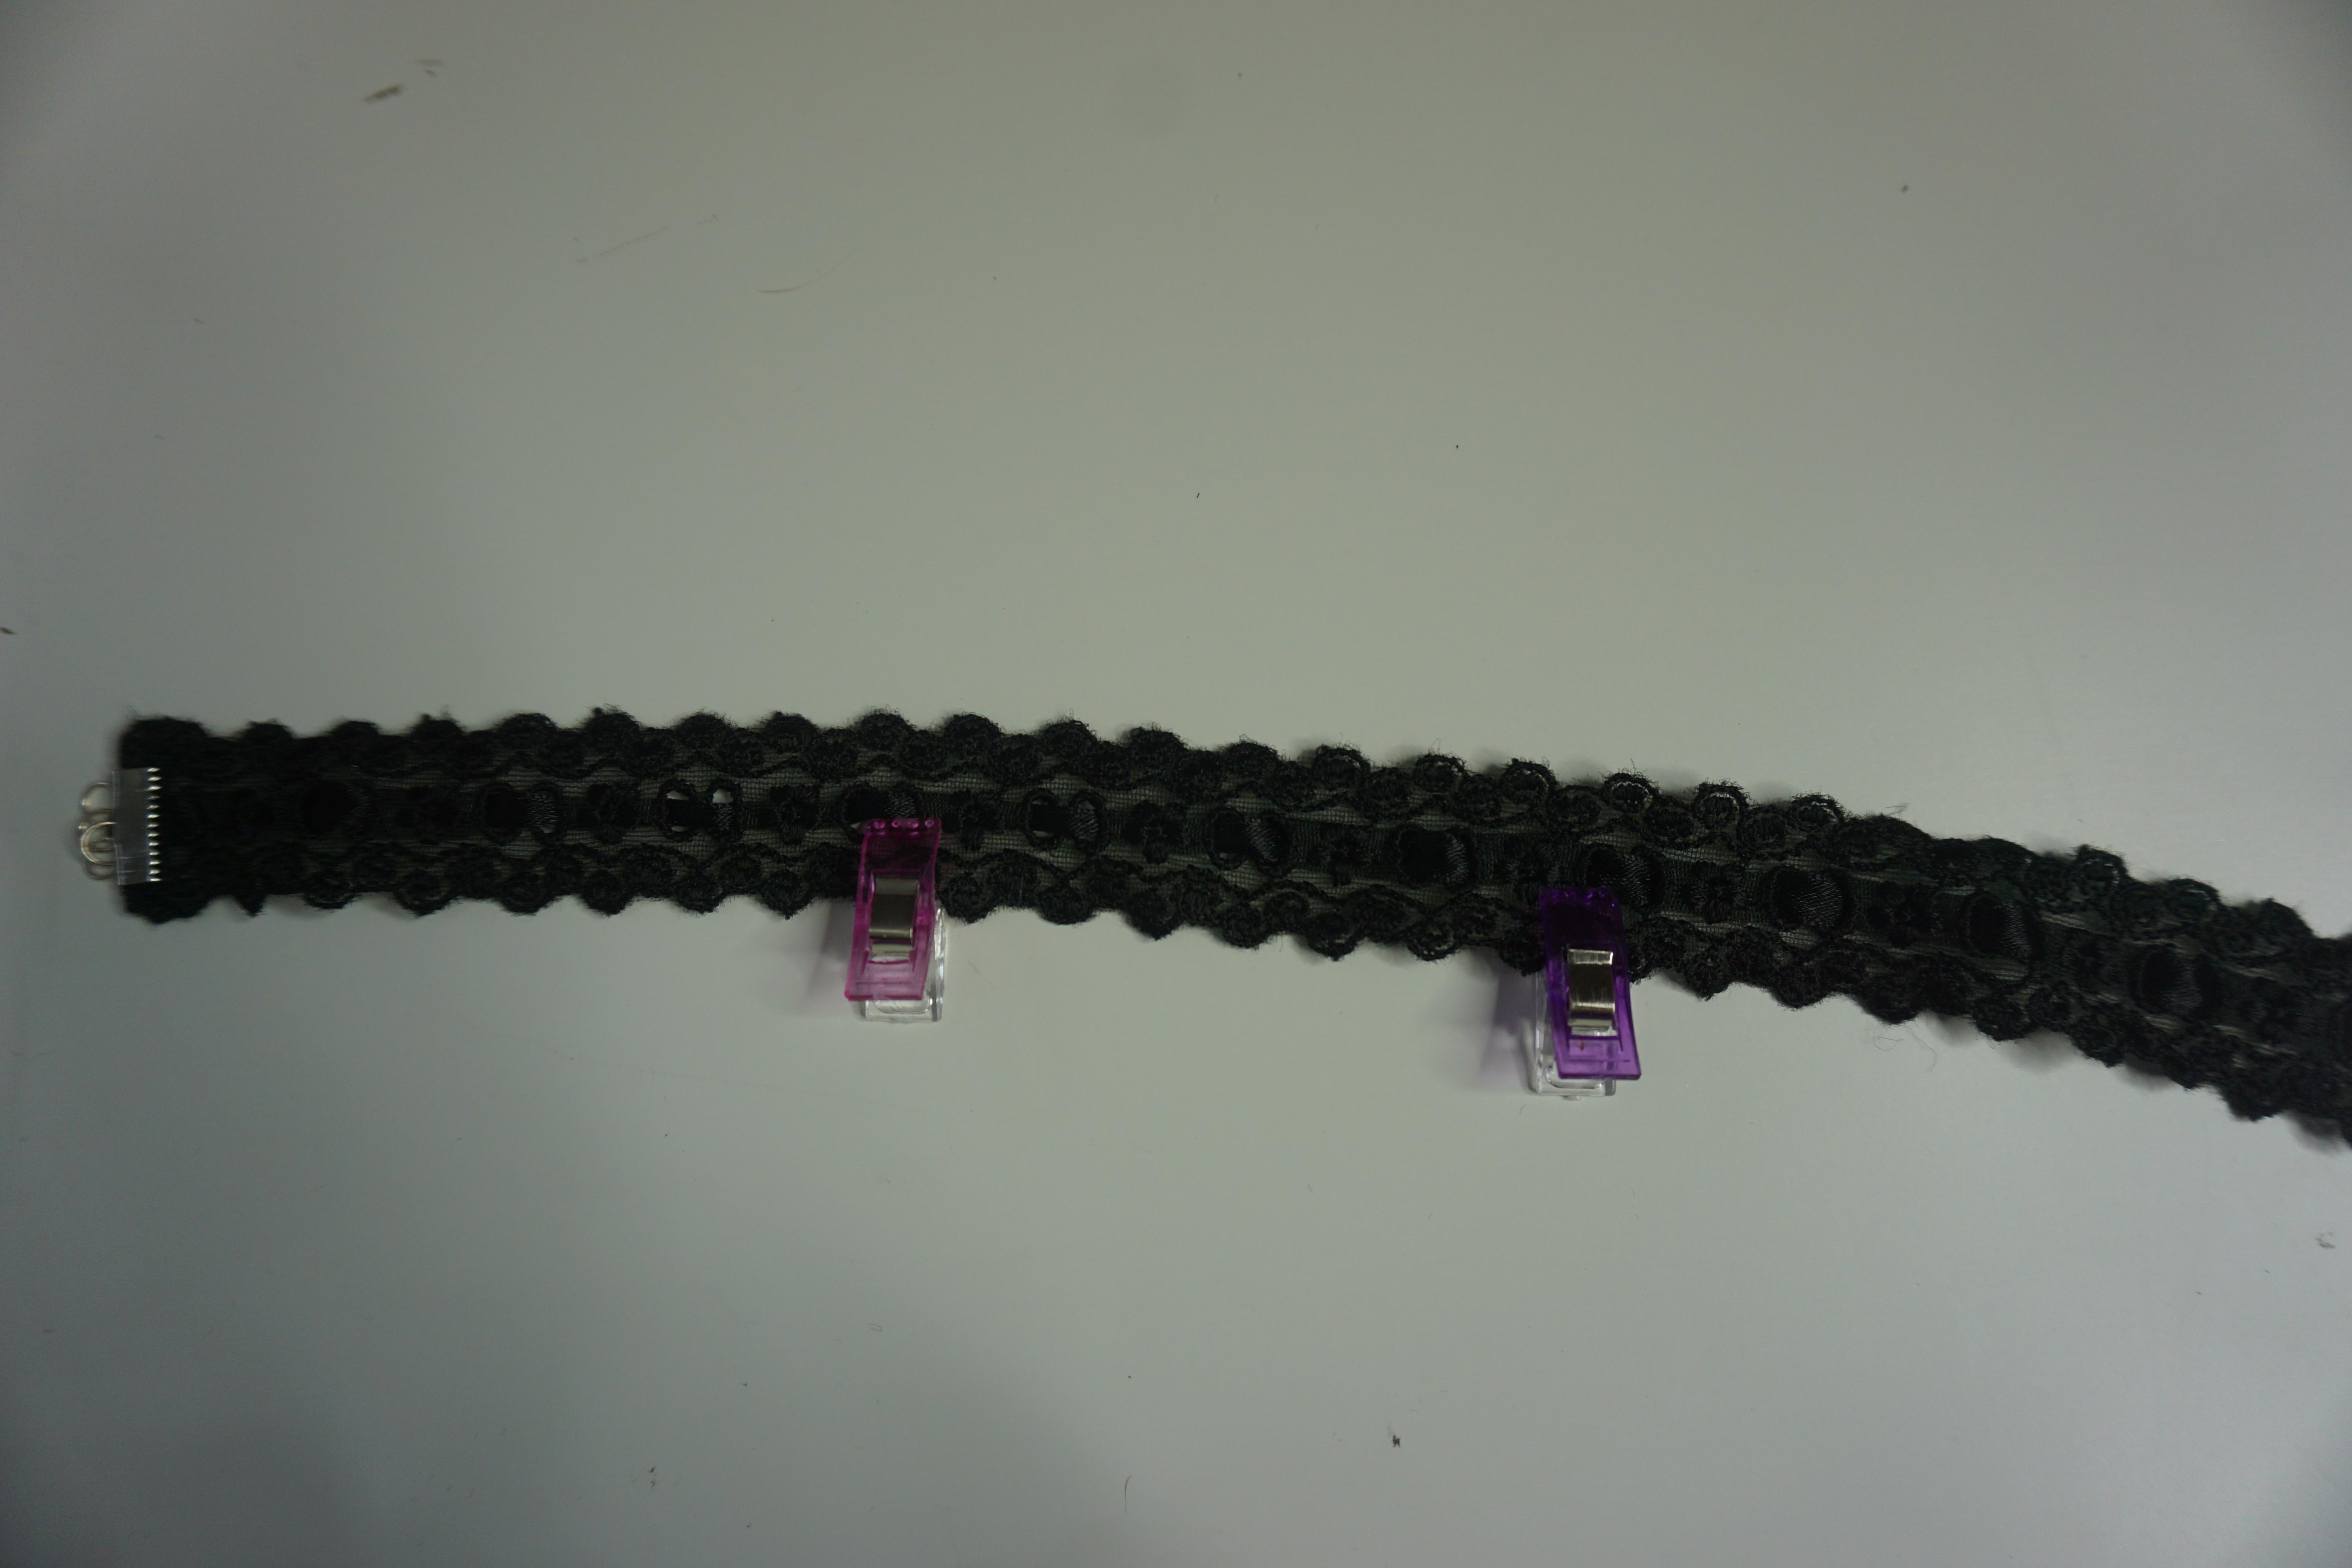


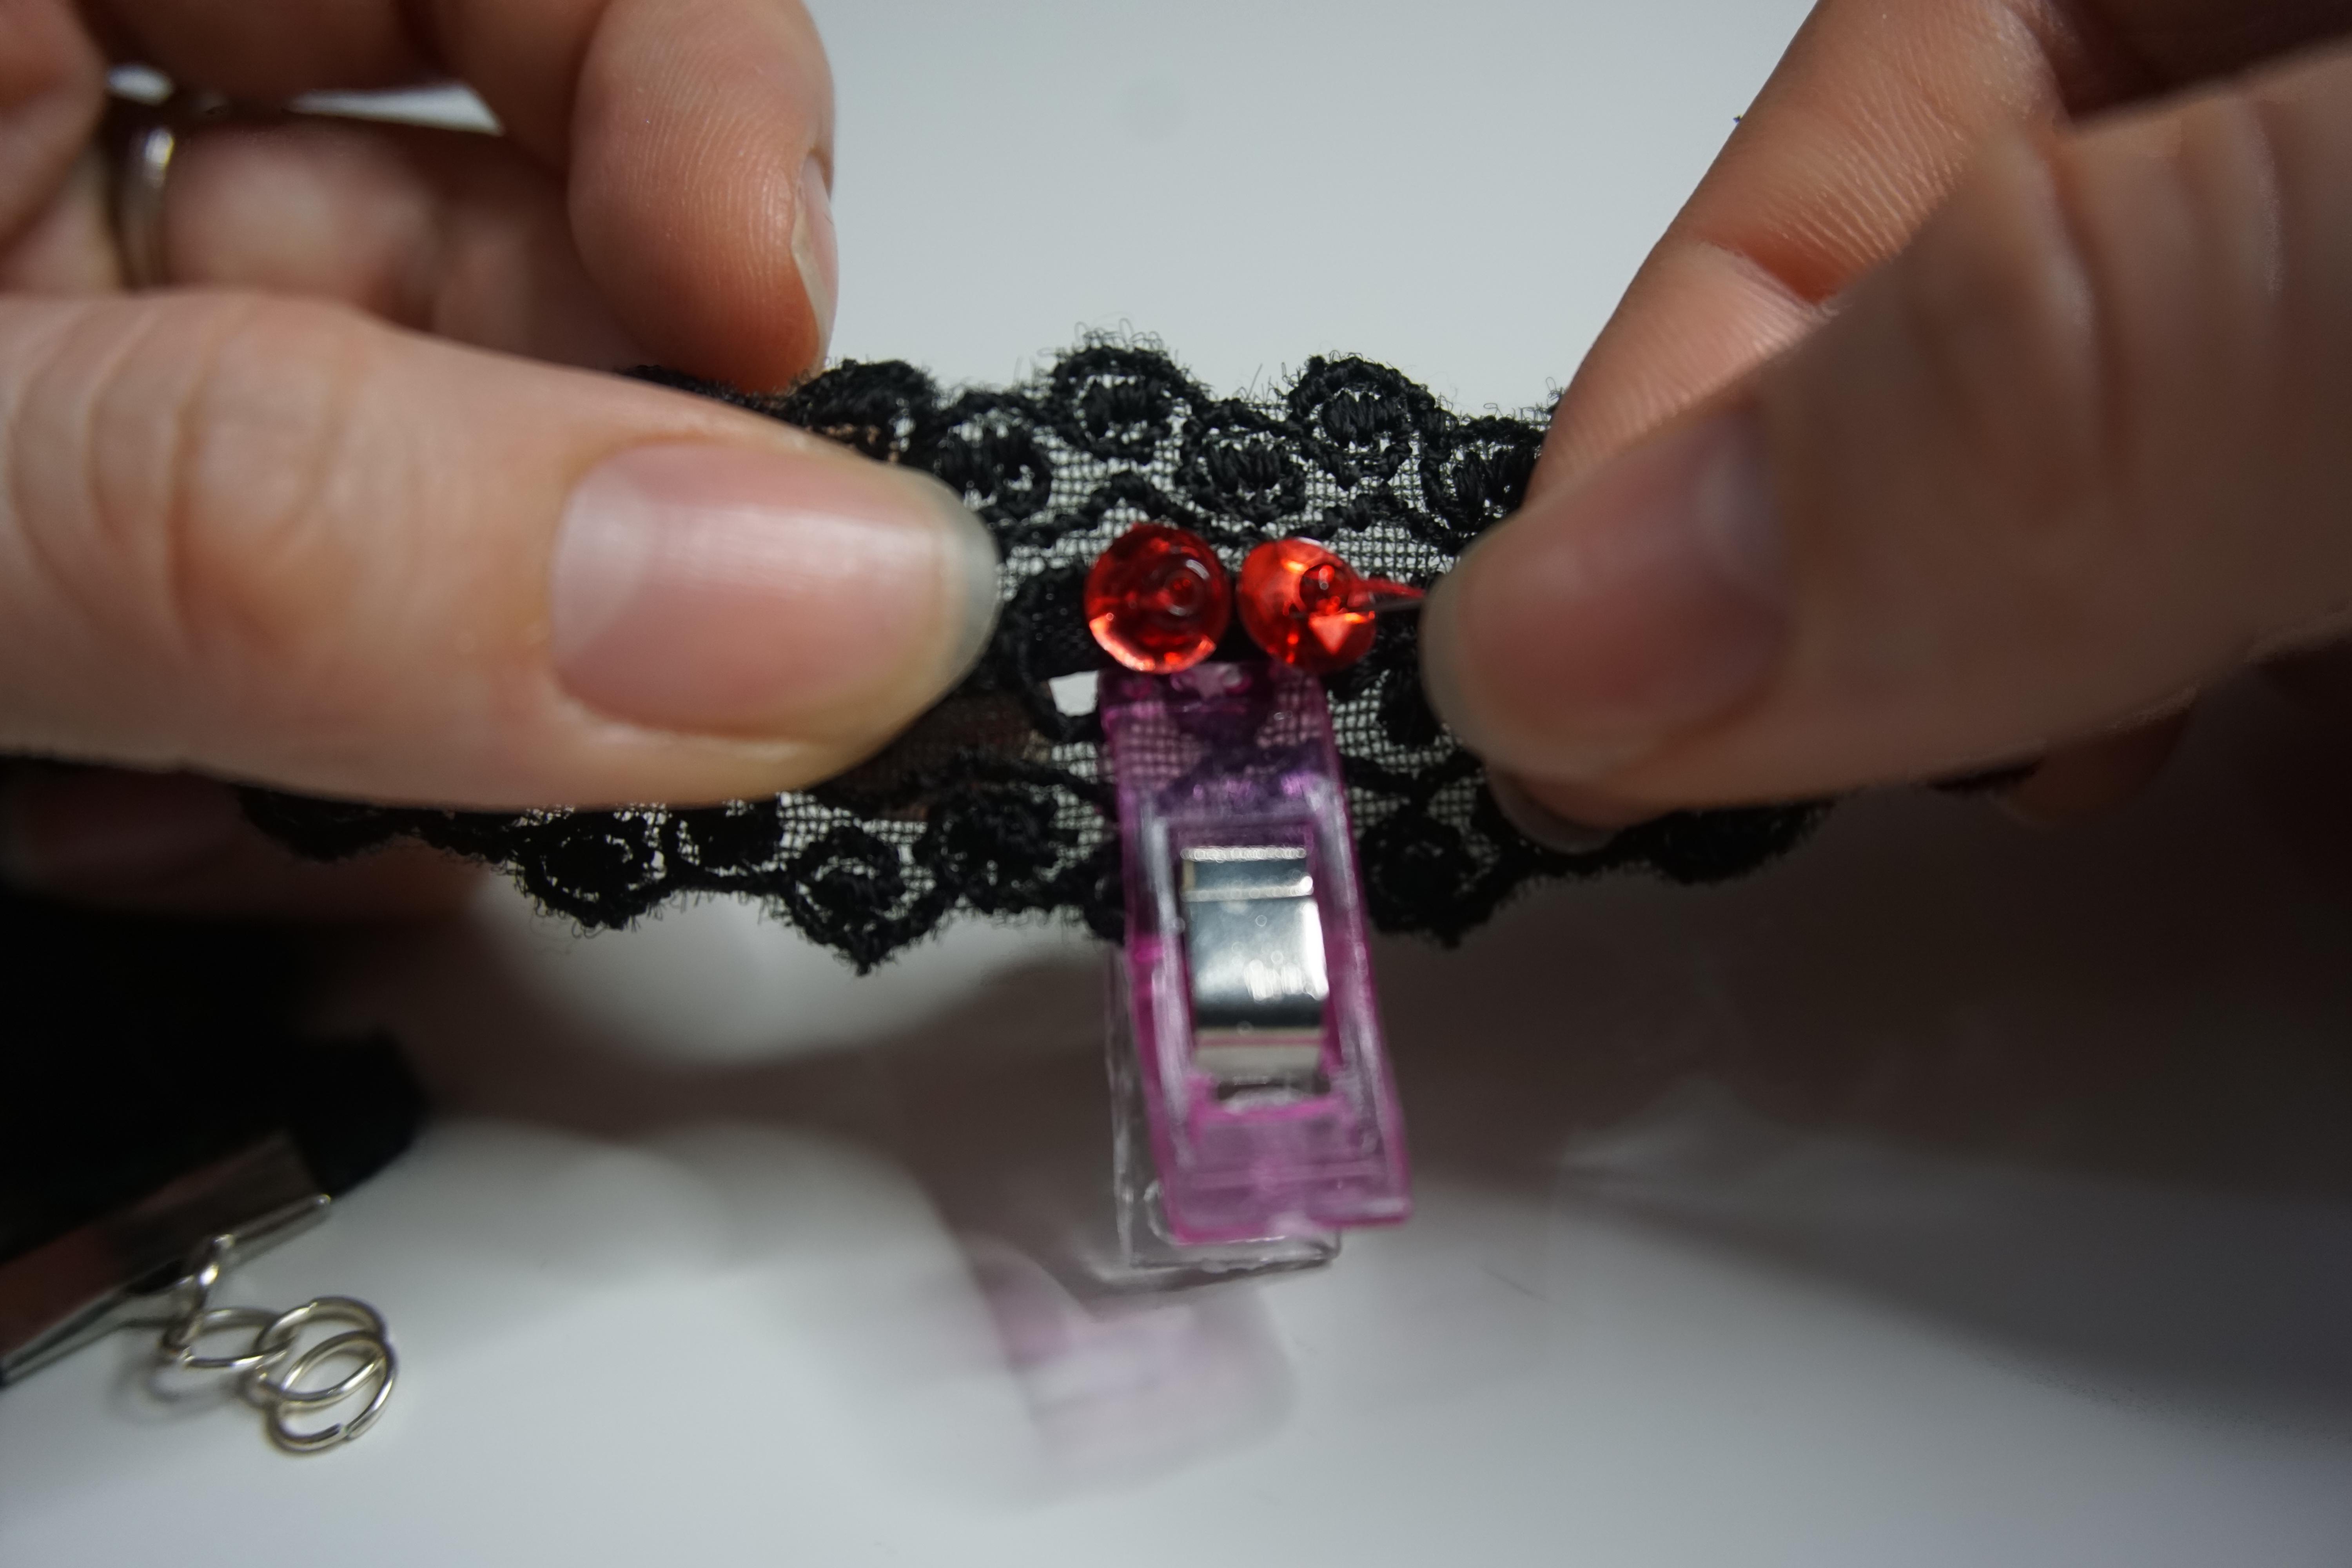


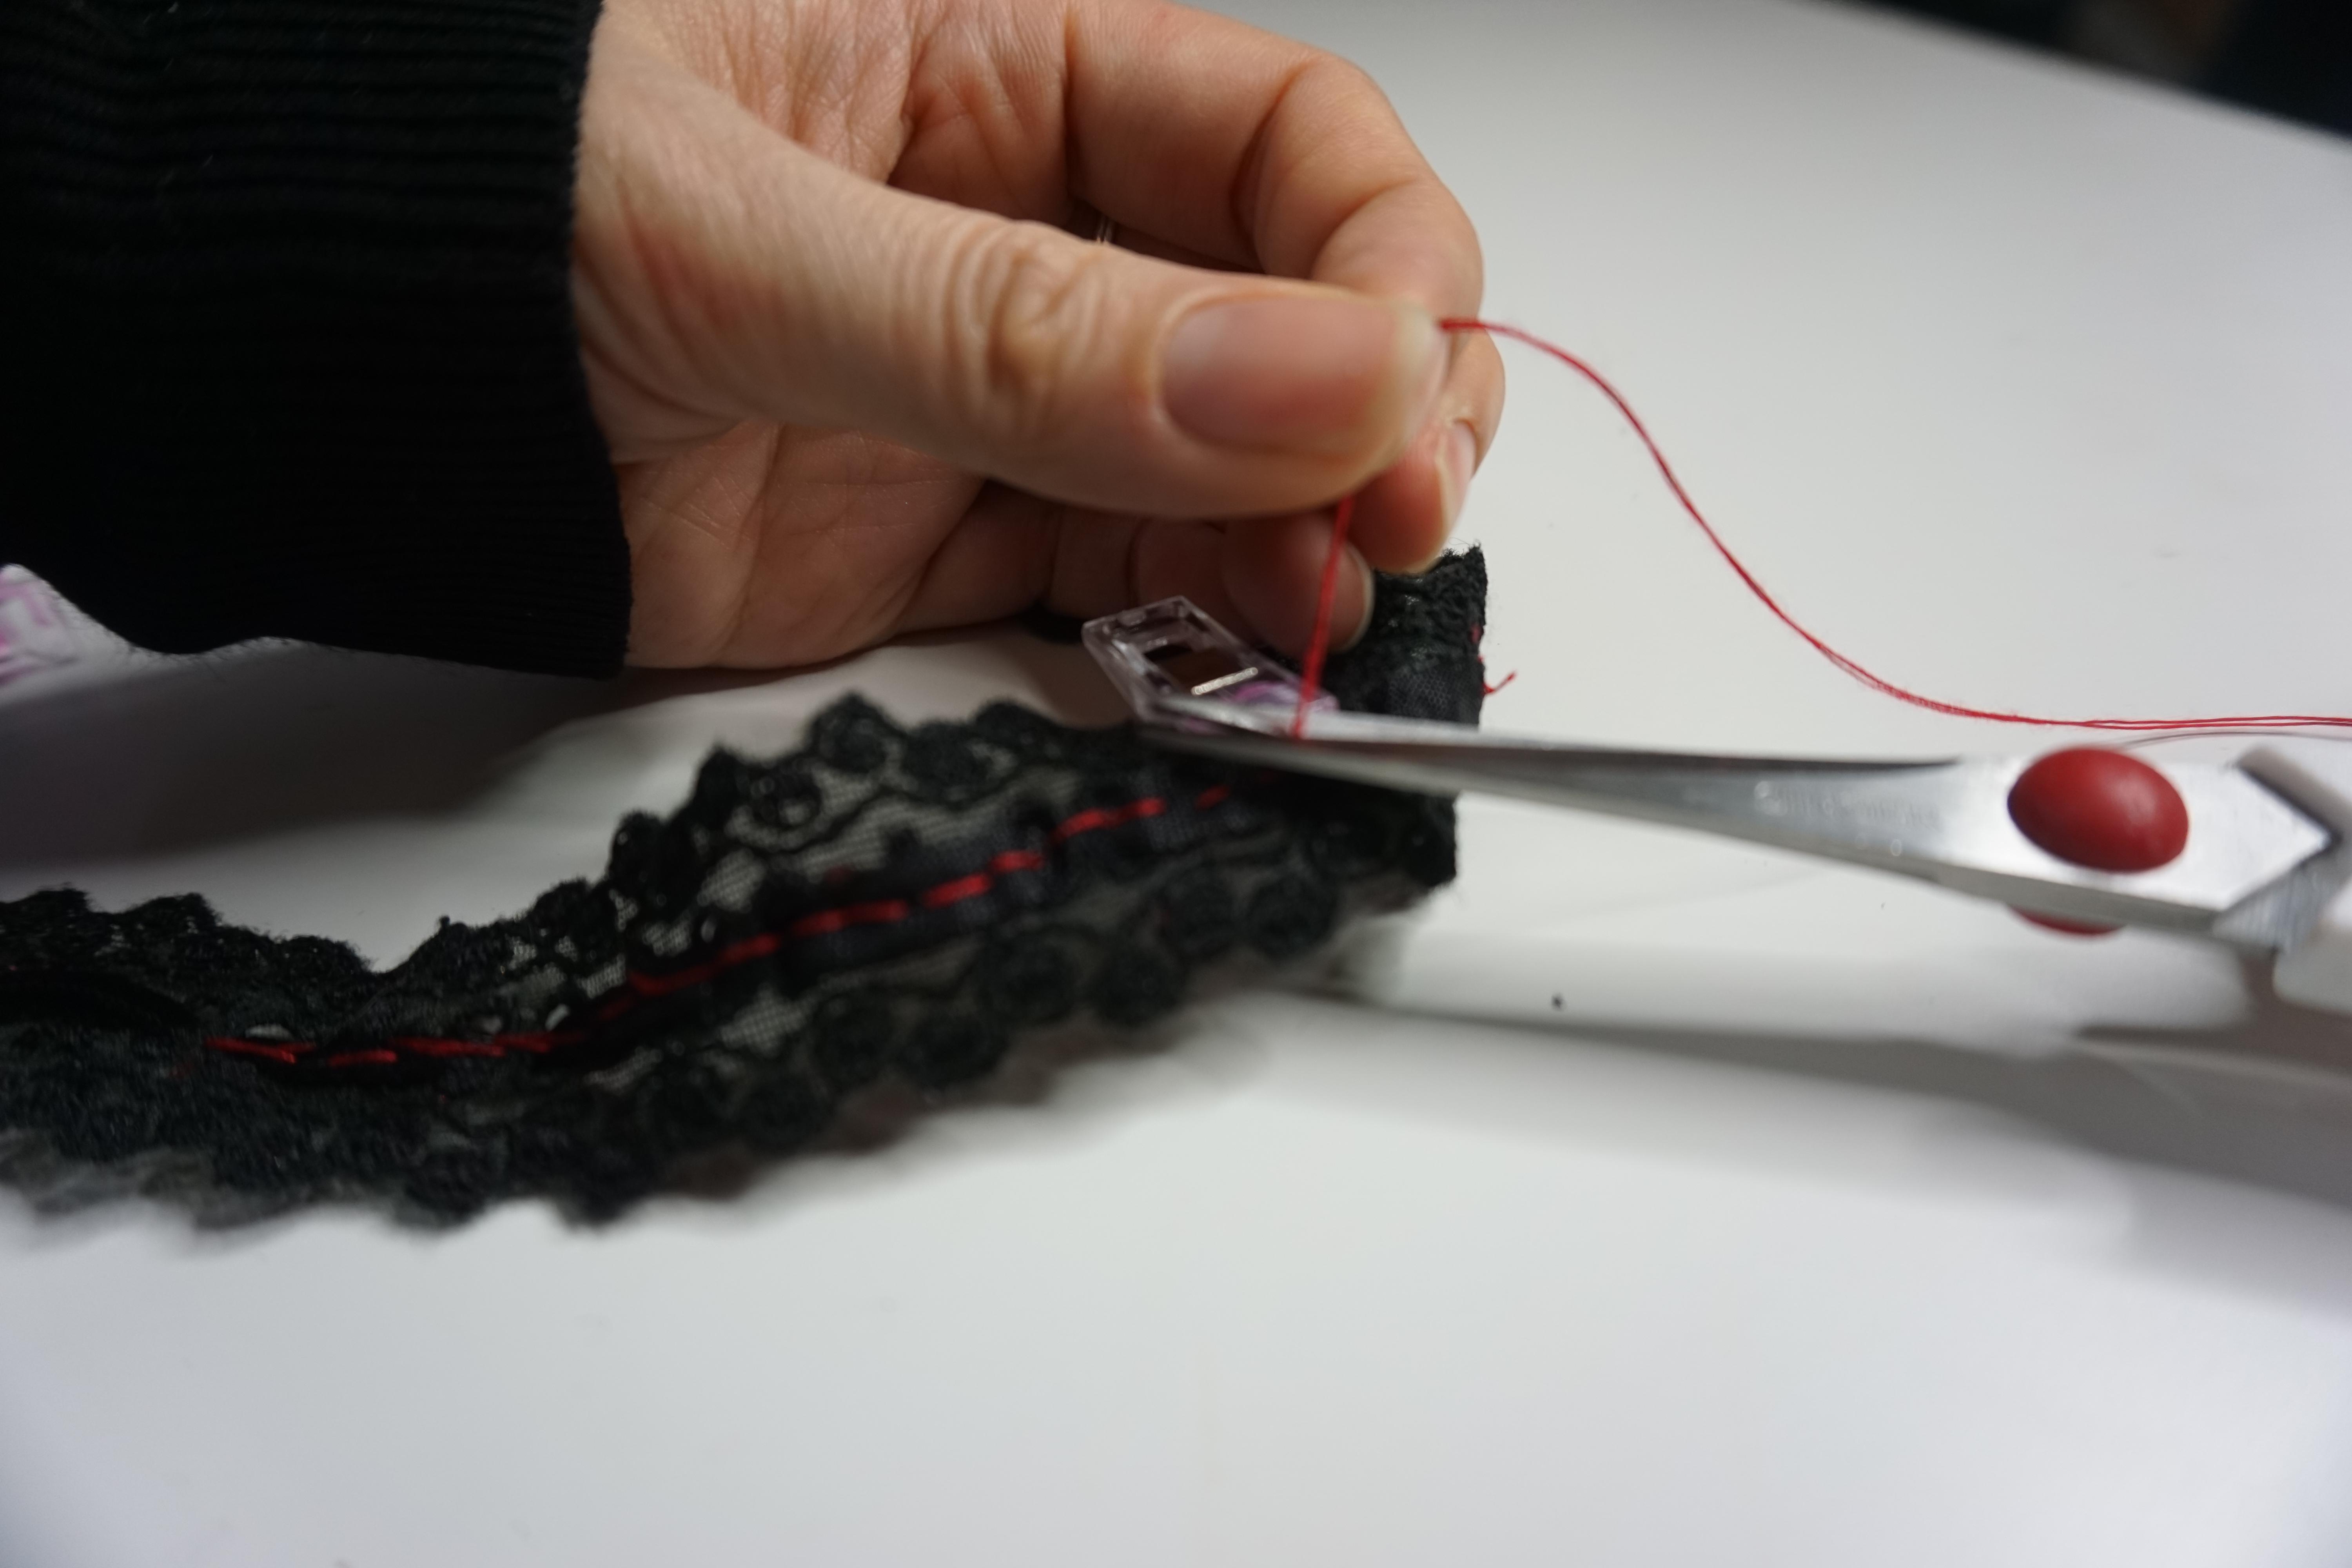

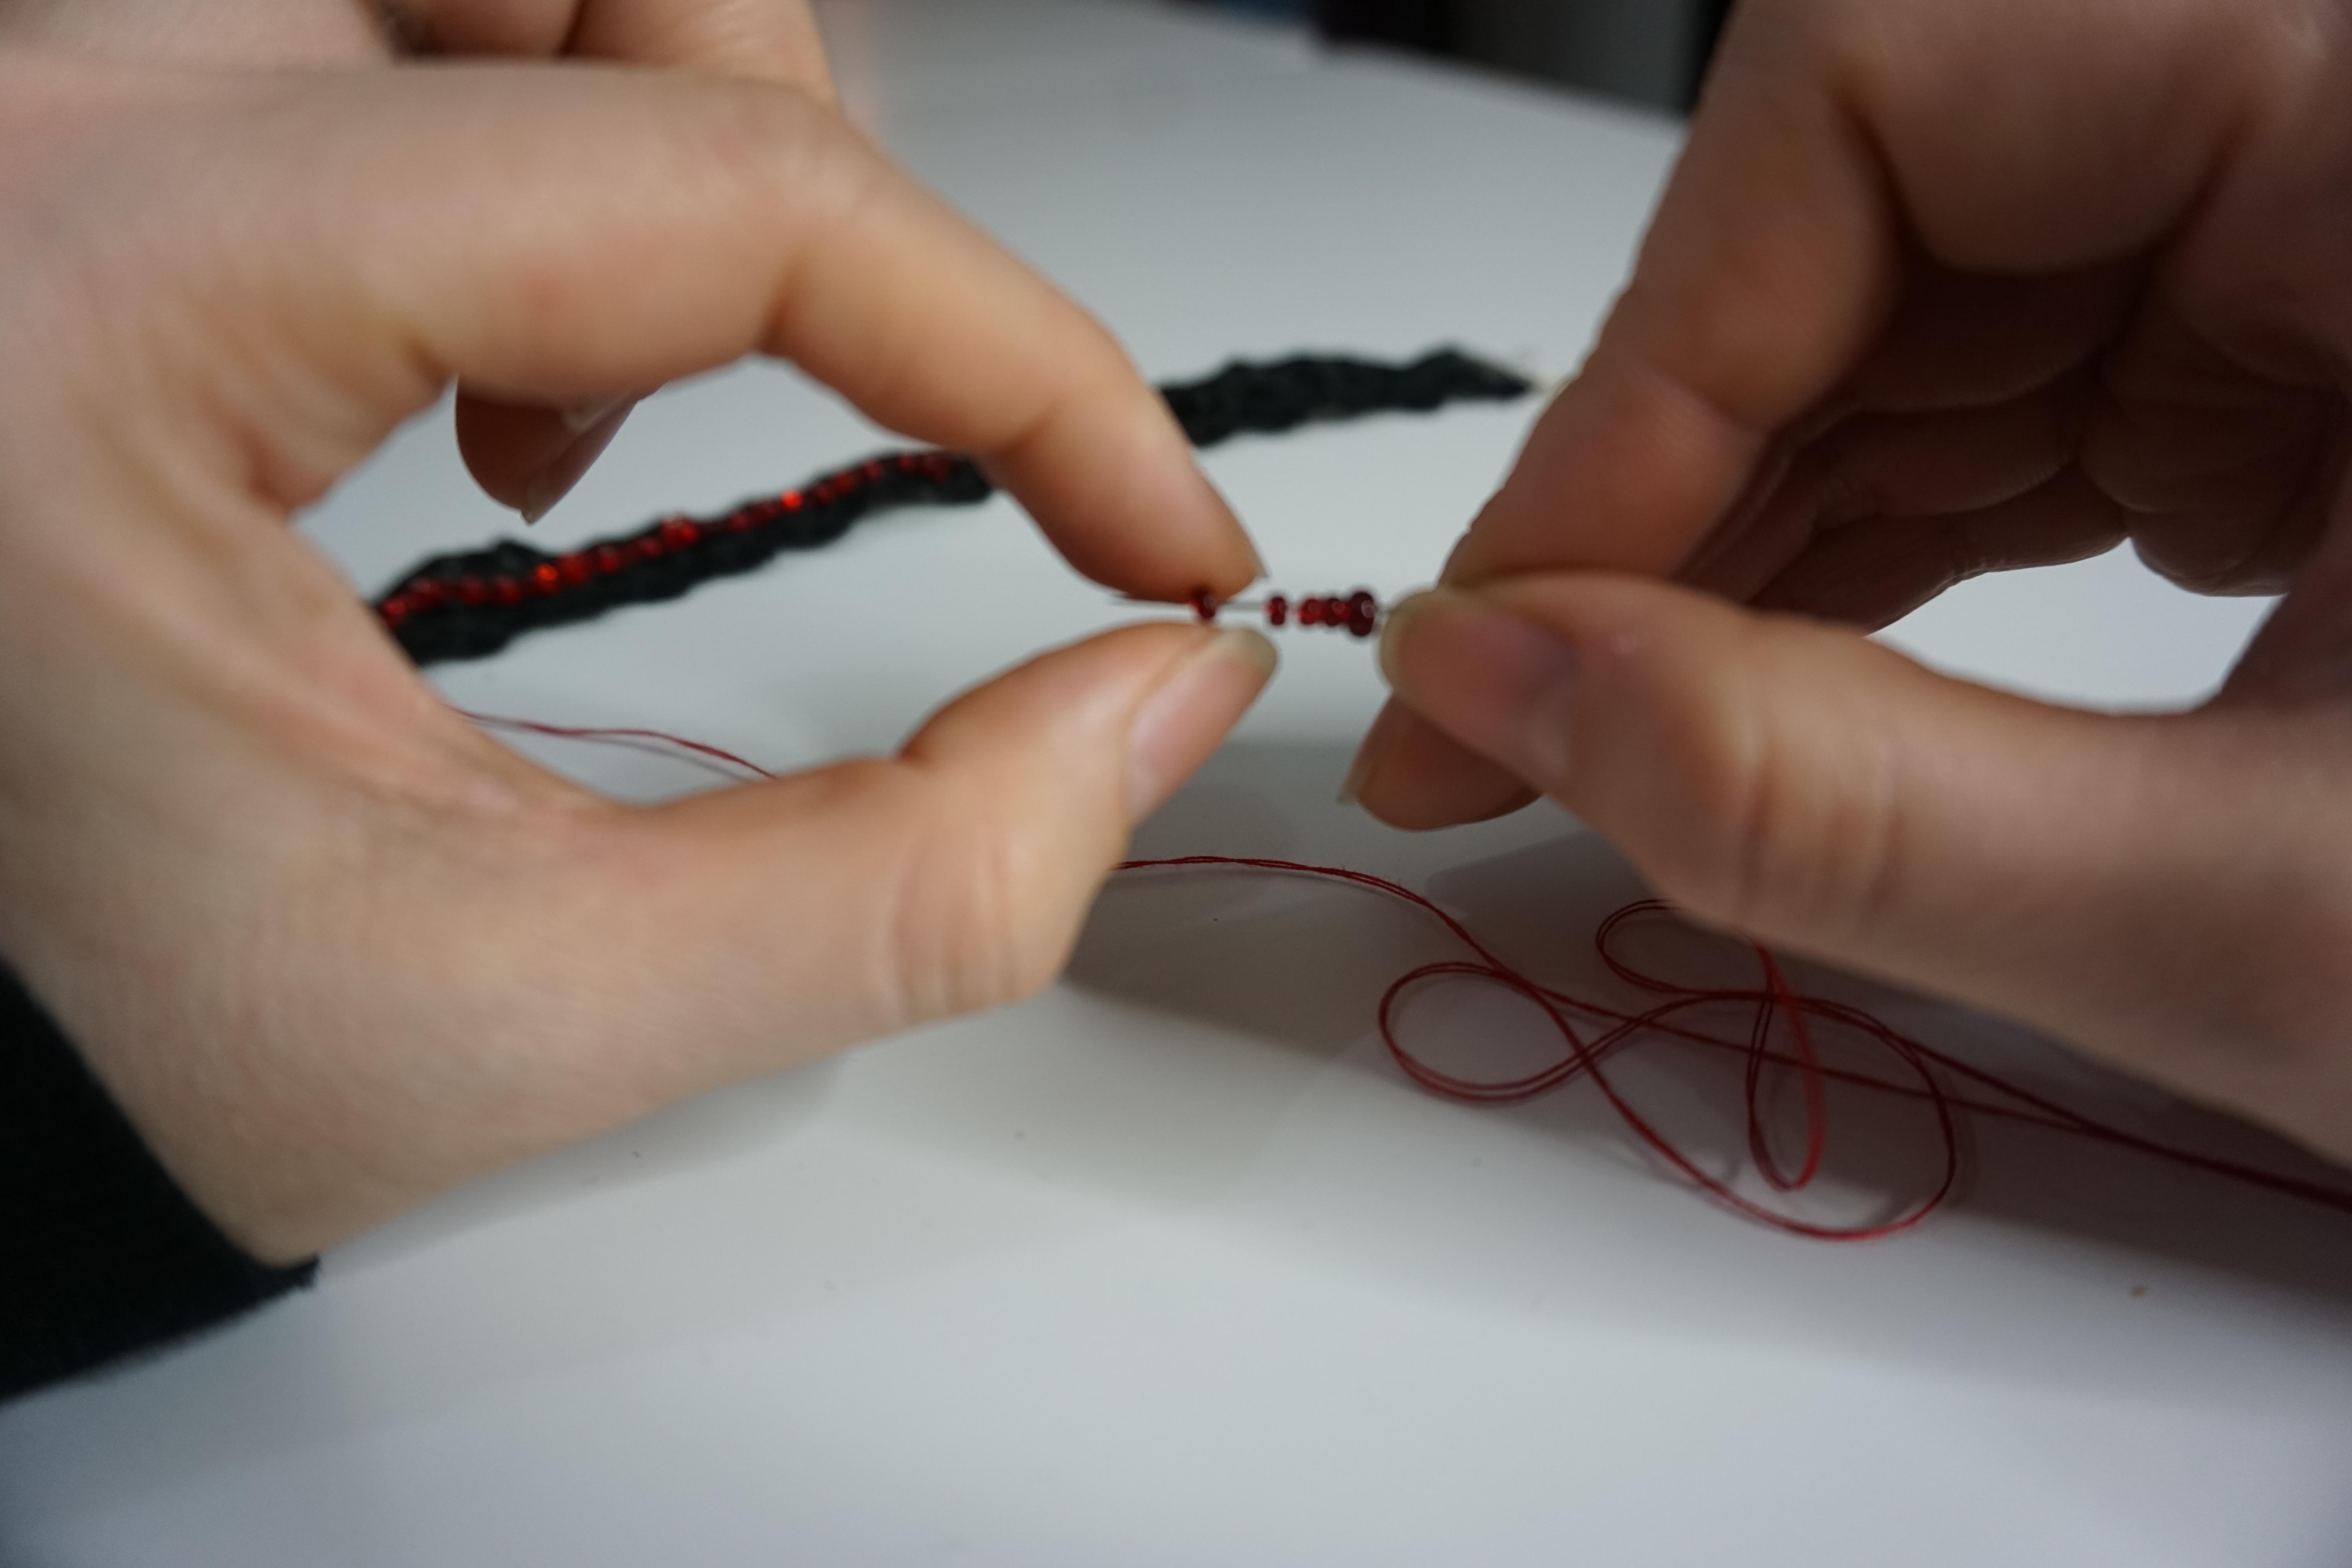
!!! Before you start using your thread with your needle, make sure that you can slide your beads through your needle. !!!
Sometimes sewing needles work just fine, but the best bet is to get a beading needle that is significantly thinner than a regular sewing needle.
- Thread your needle with a small length of red thread and tie the ends together to create a knot.
- Sew through the backside of the choker to create the starting point of the beads.
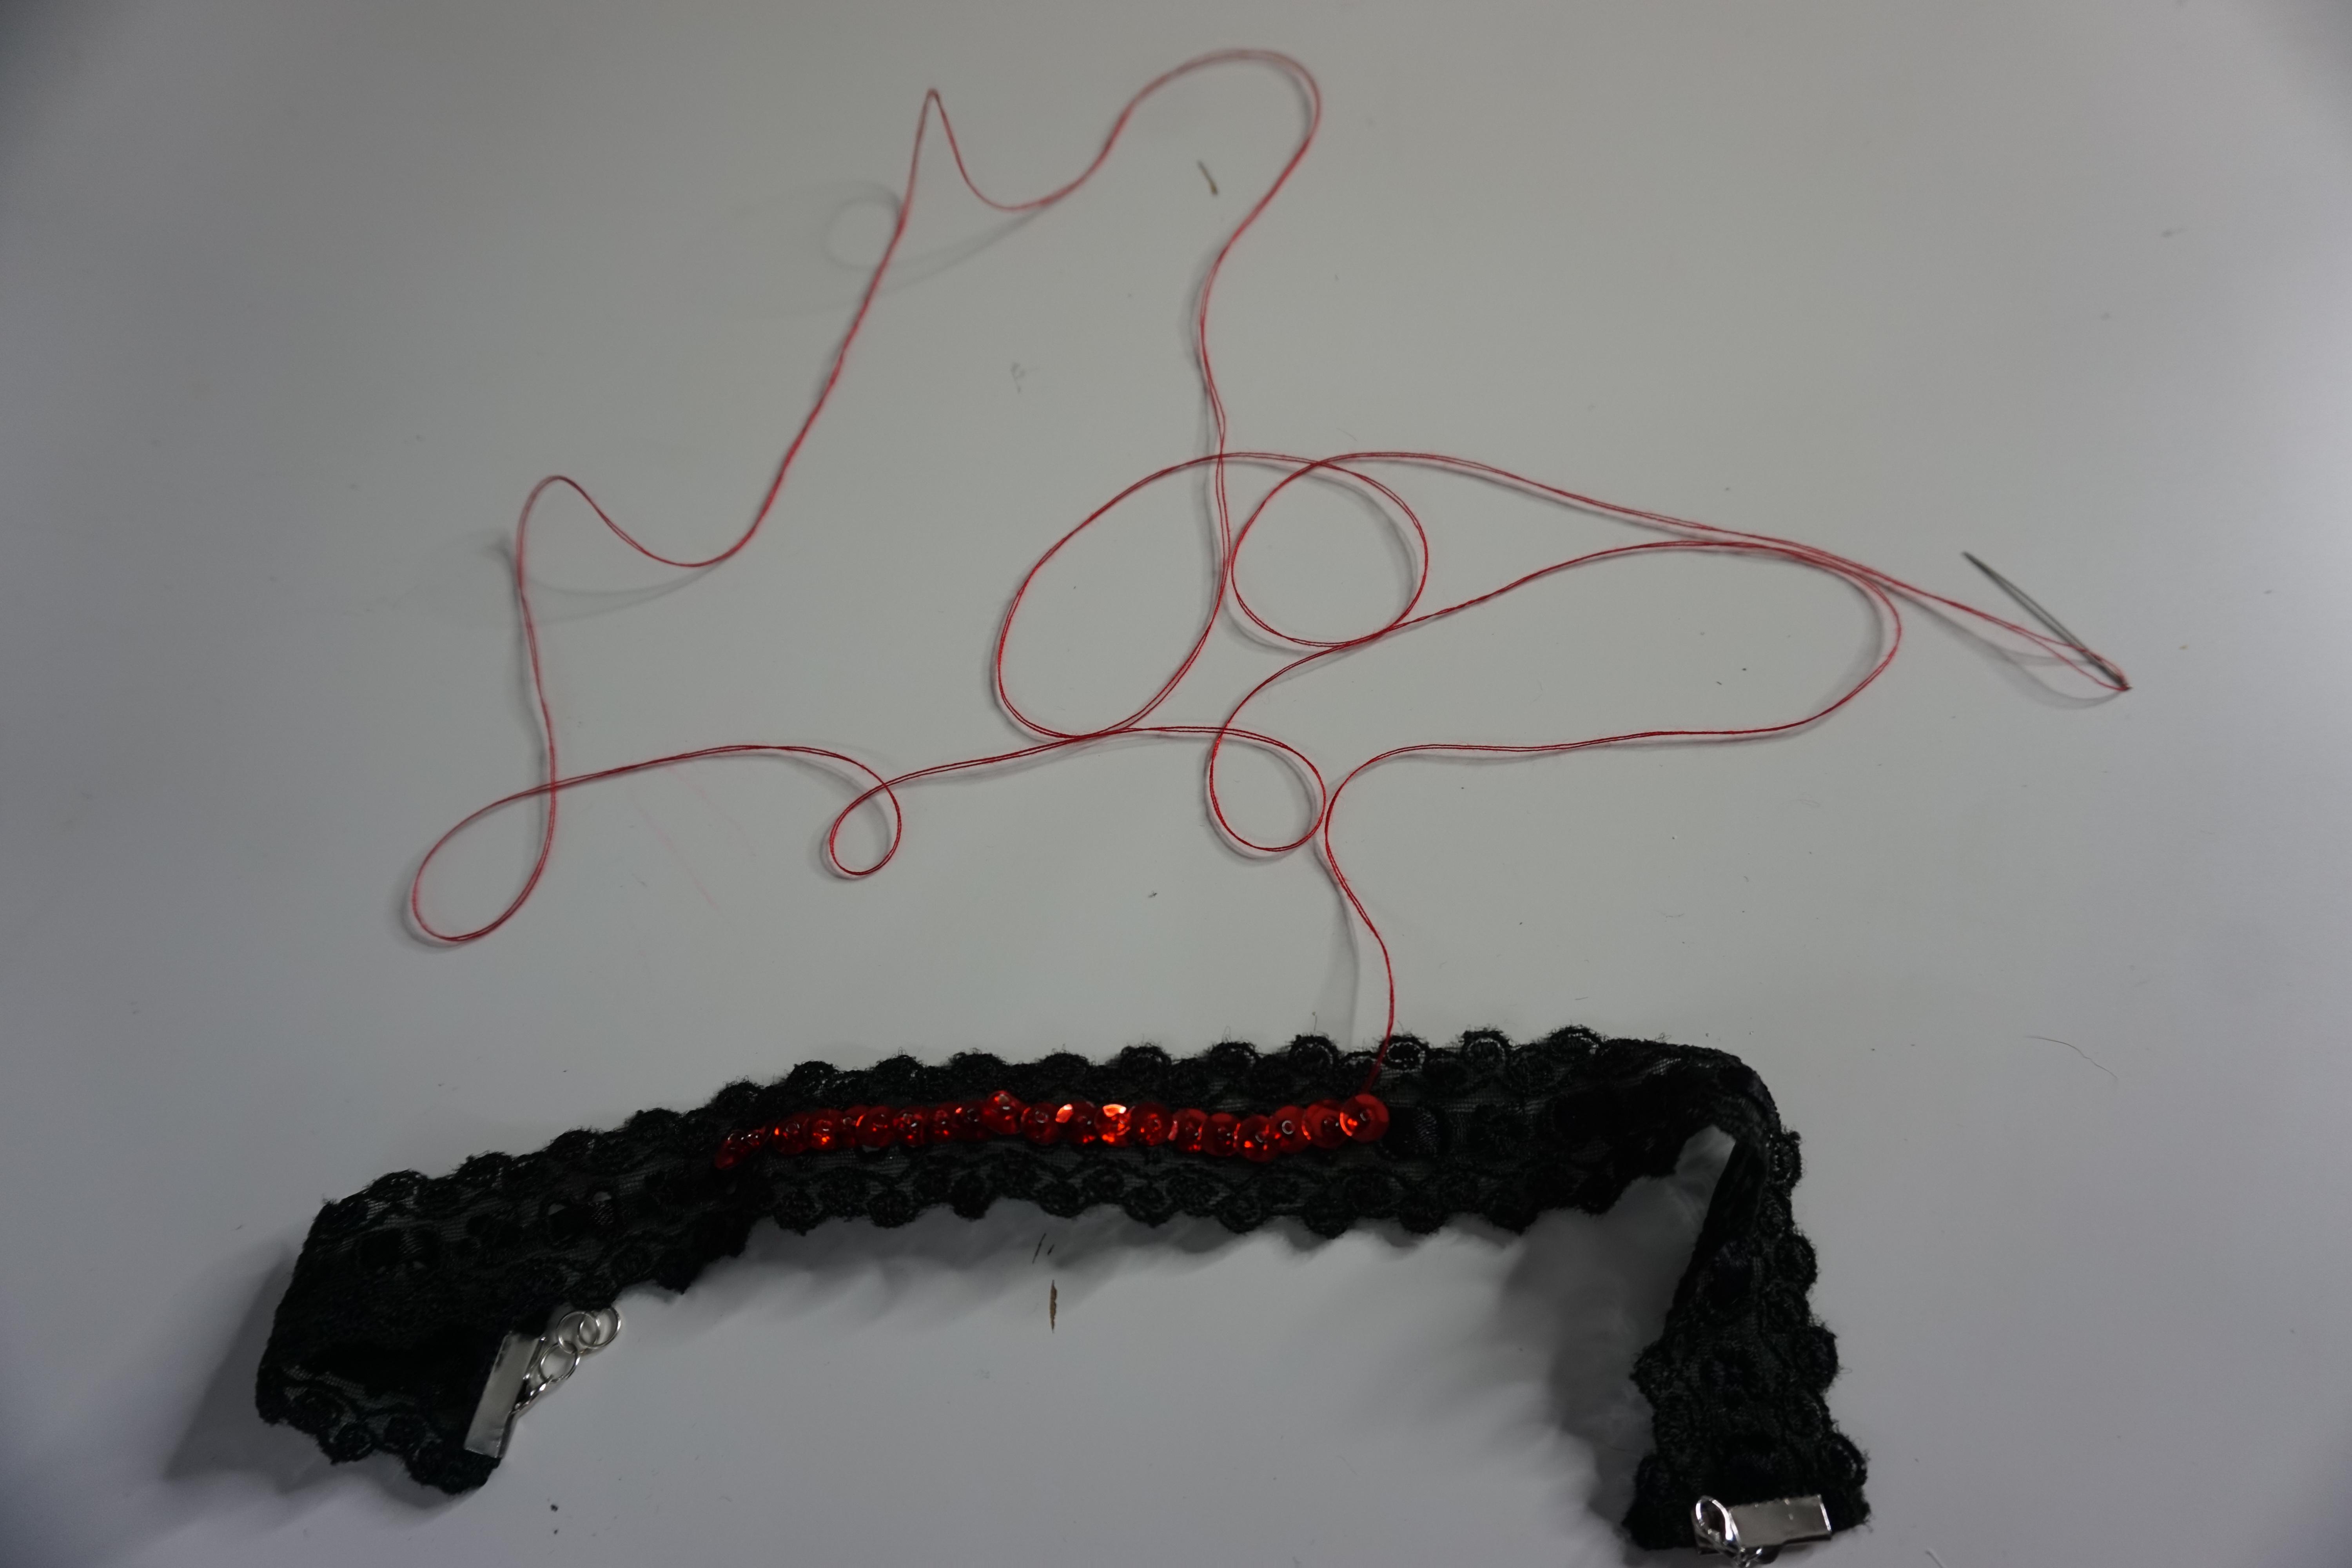
- Sew through a sequin, add a bead, go back through the sequin to tie the bead down.
- If you are only doing two vampire bites;
1. Just do this three times in one spot (Steps 2-3 listed above)
2. Secure a knot in the back.
3. Cut off the excess string.
4. Repeat to create another vampire bite.
Make sure that it's close to the other one.
- If you are doing a slit neck look;
1. Continue making a line across the choker until your desired look with Steps 2-3 listed above.
2. Once you're done with the line, sew a knot in the back of the choker.
3. Cut off the excess string.
AND YOU'RE DONE!
- If you want the beaded droplets, continue to the next step.
Creating the Falling Blood Look


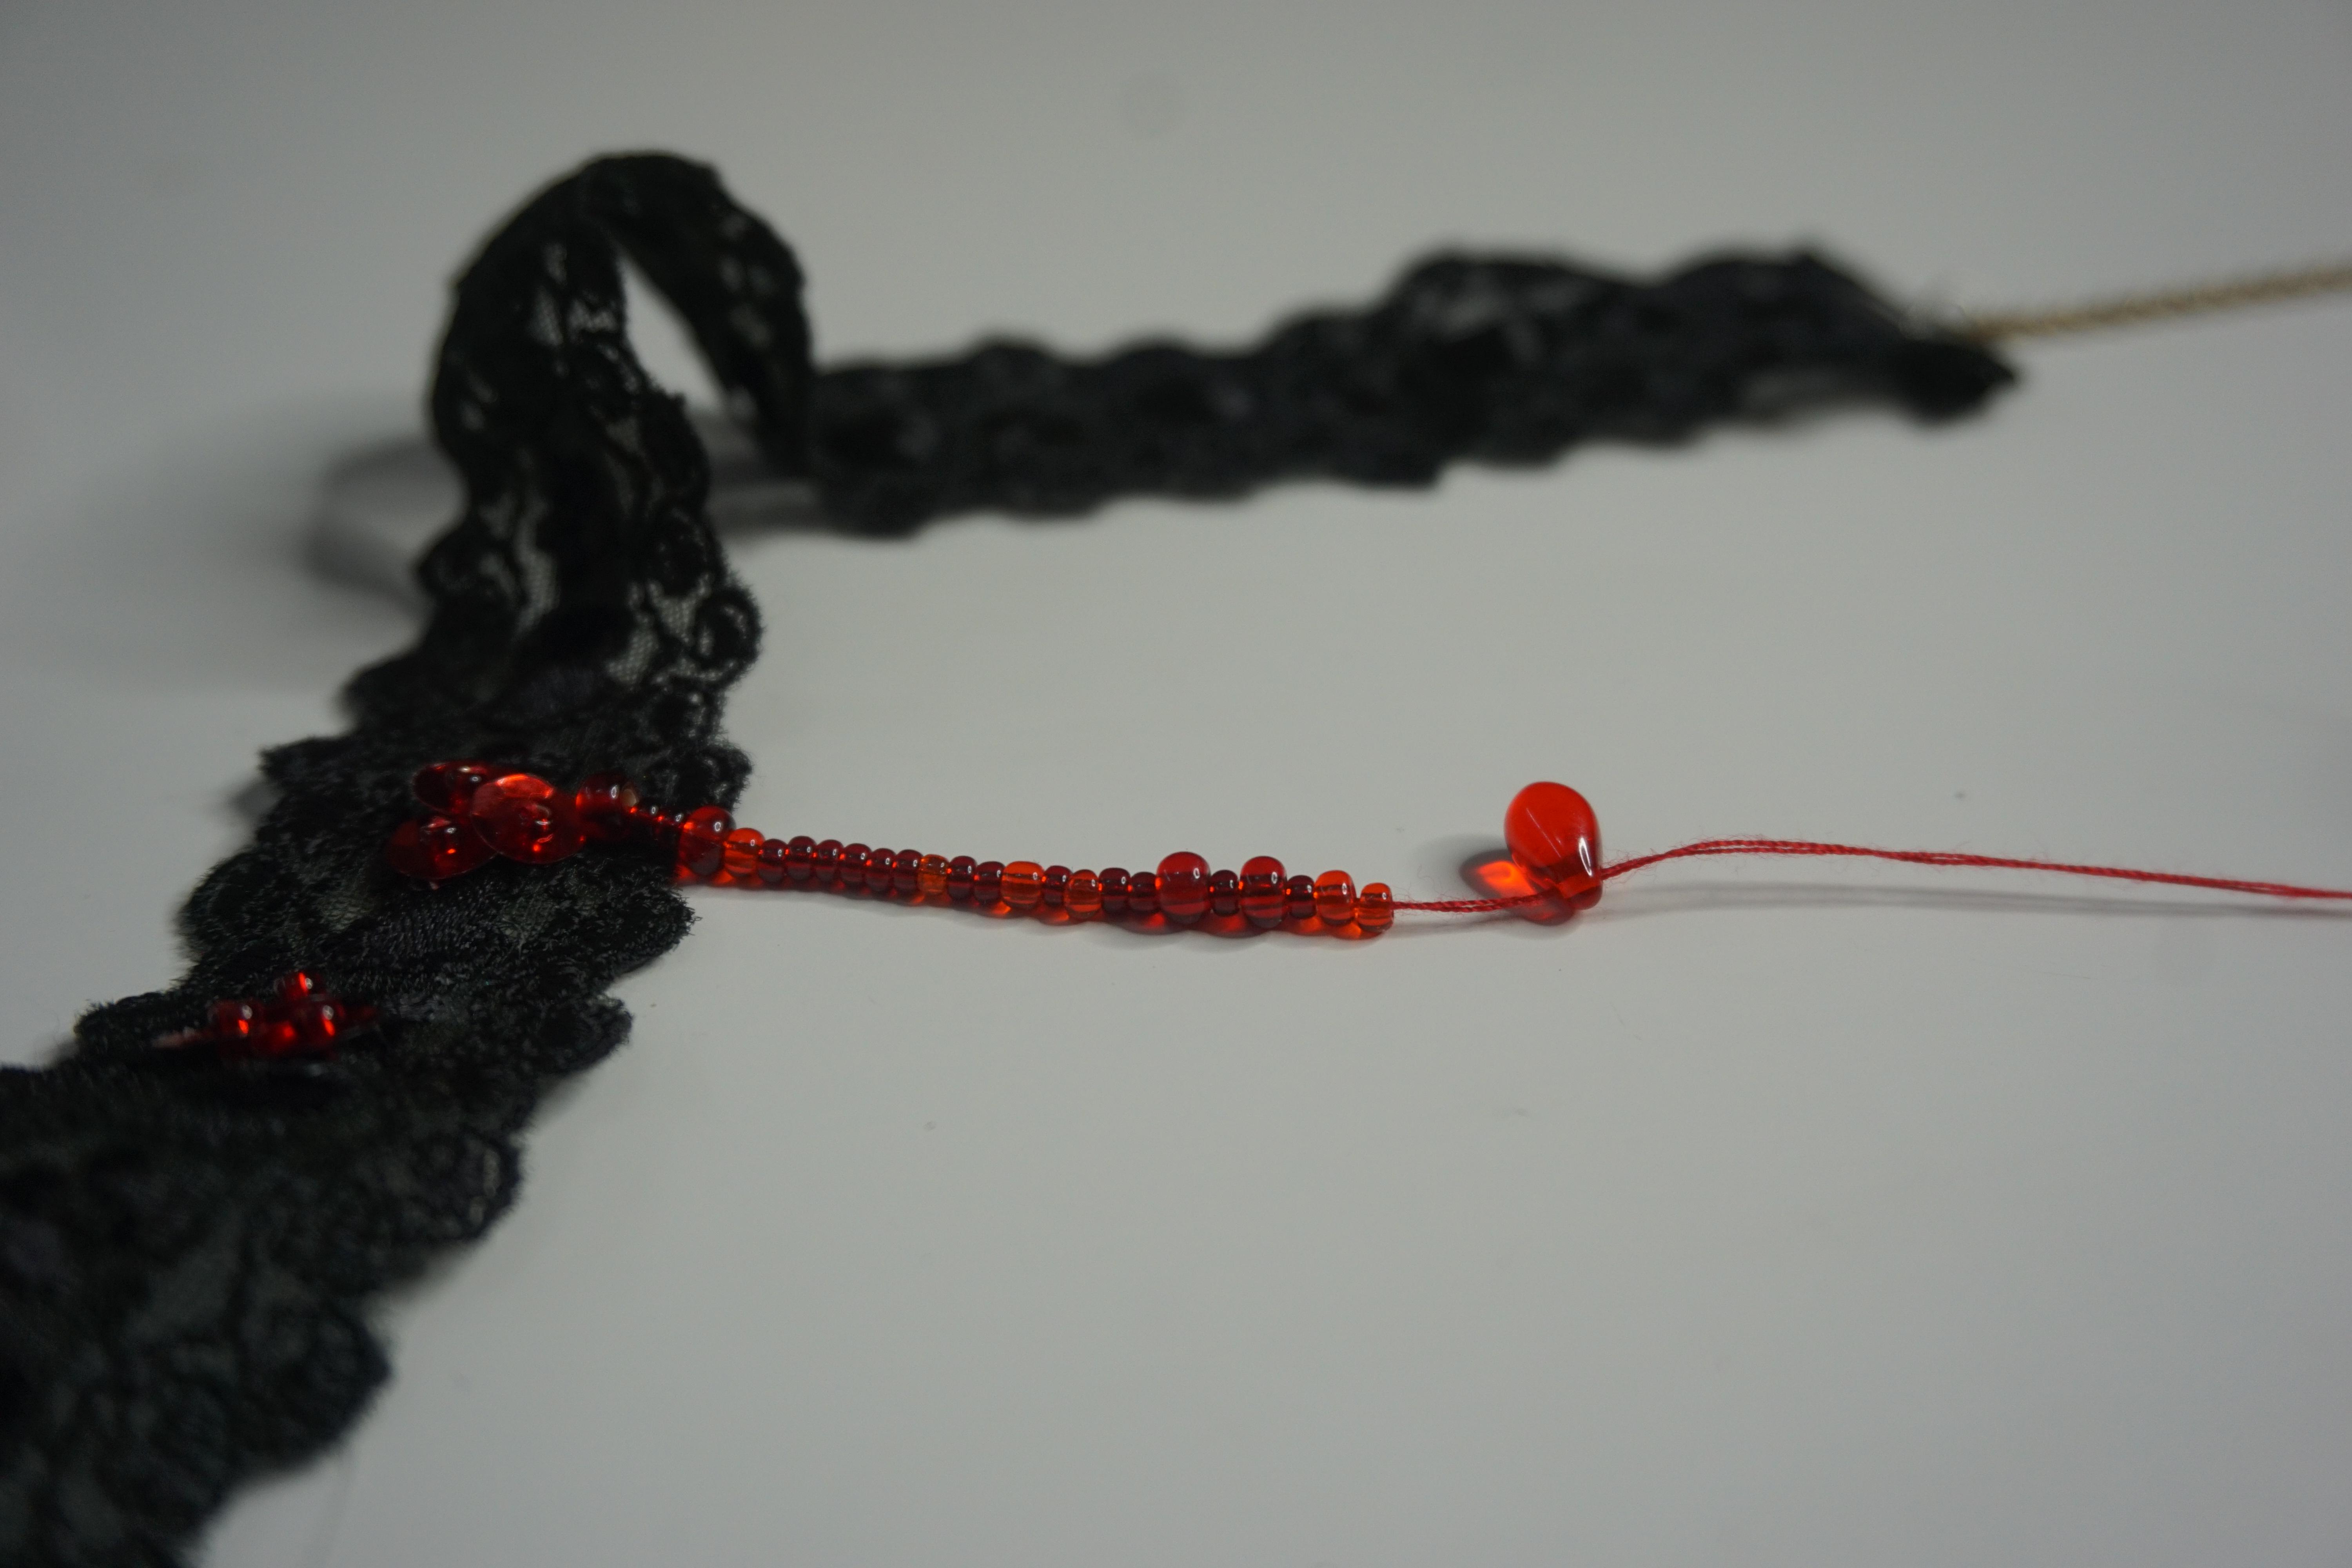


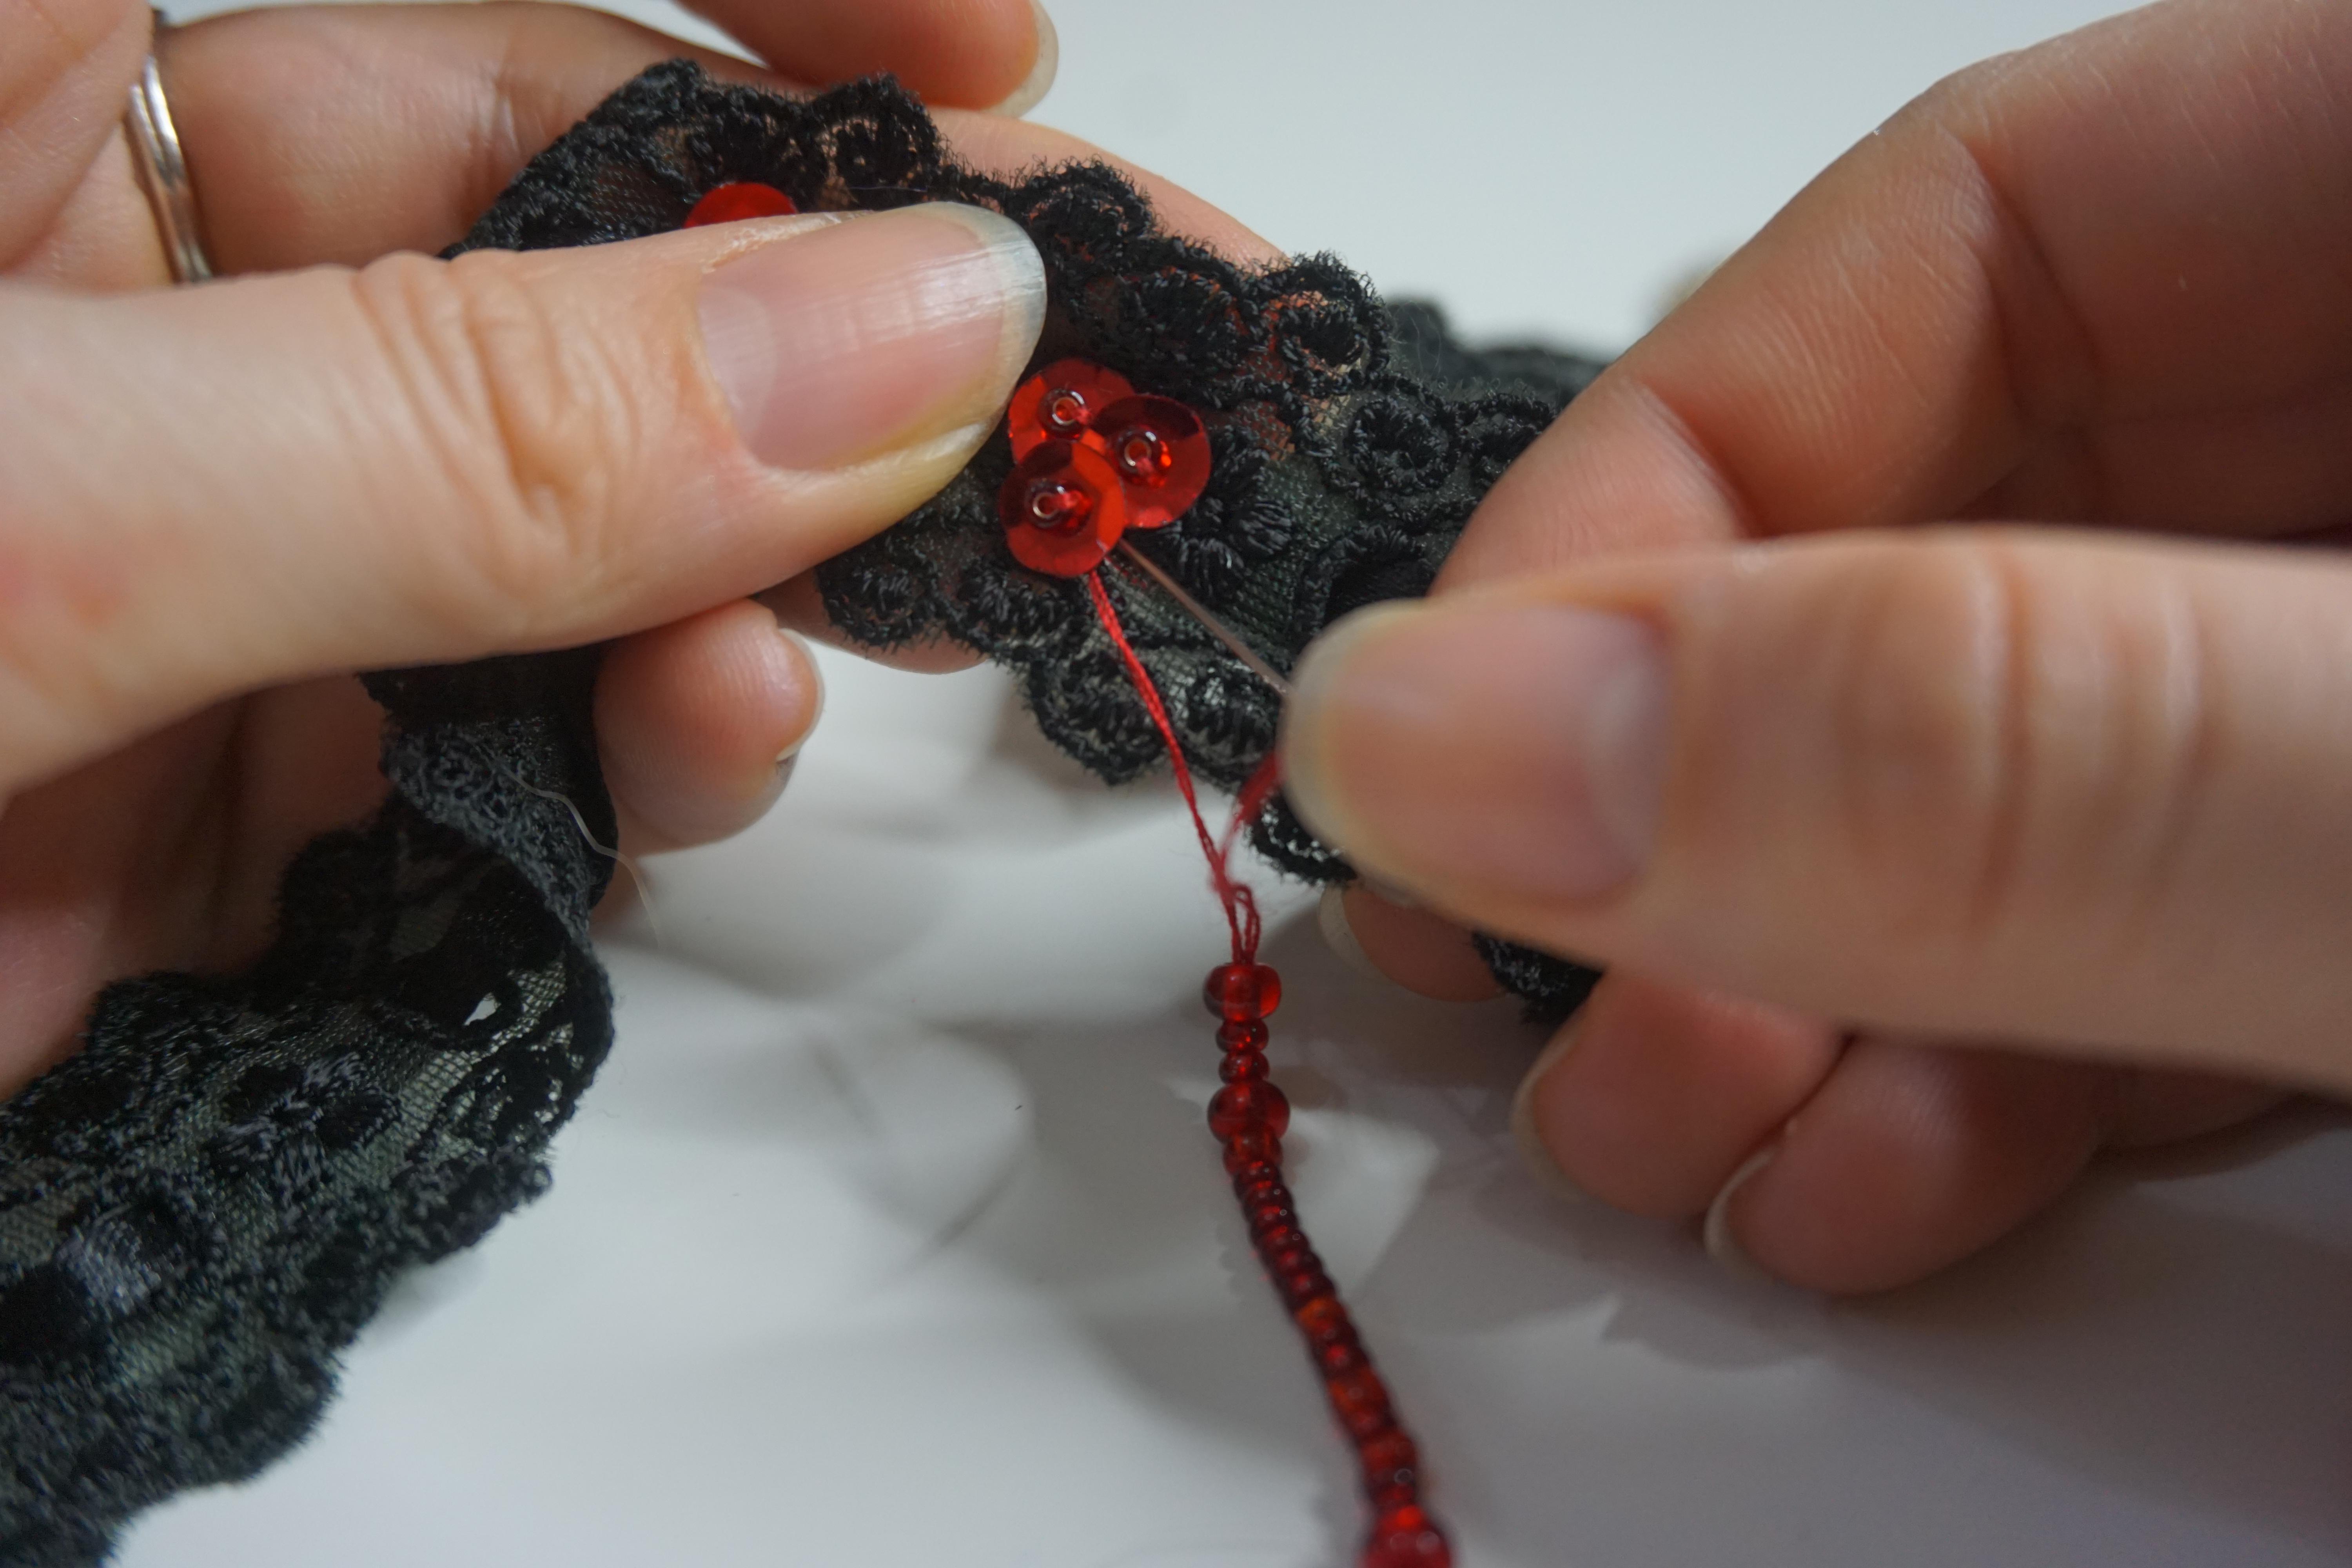


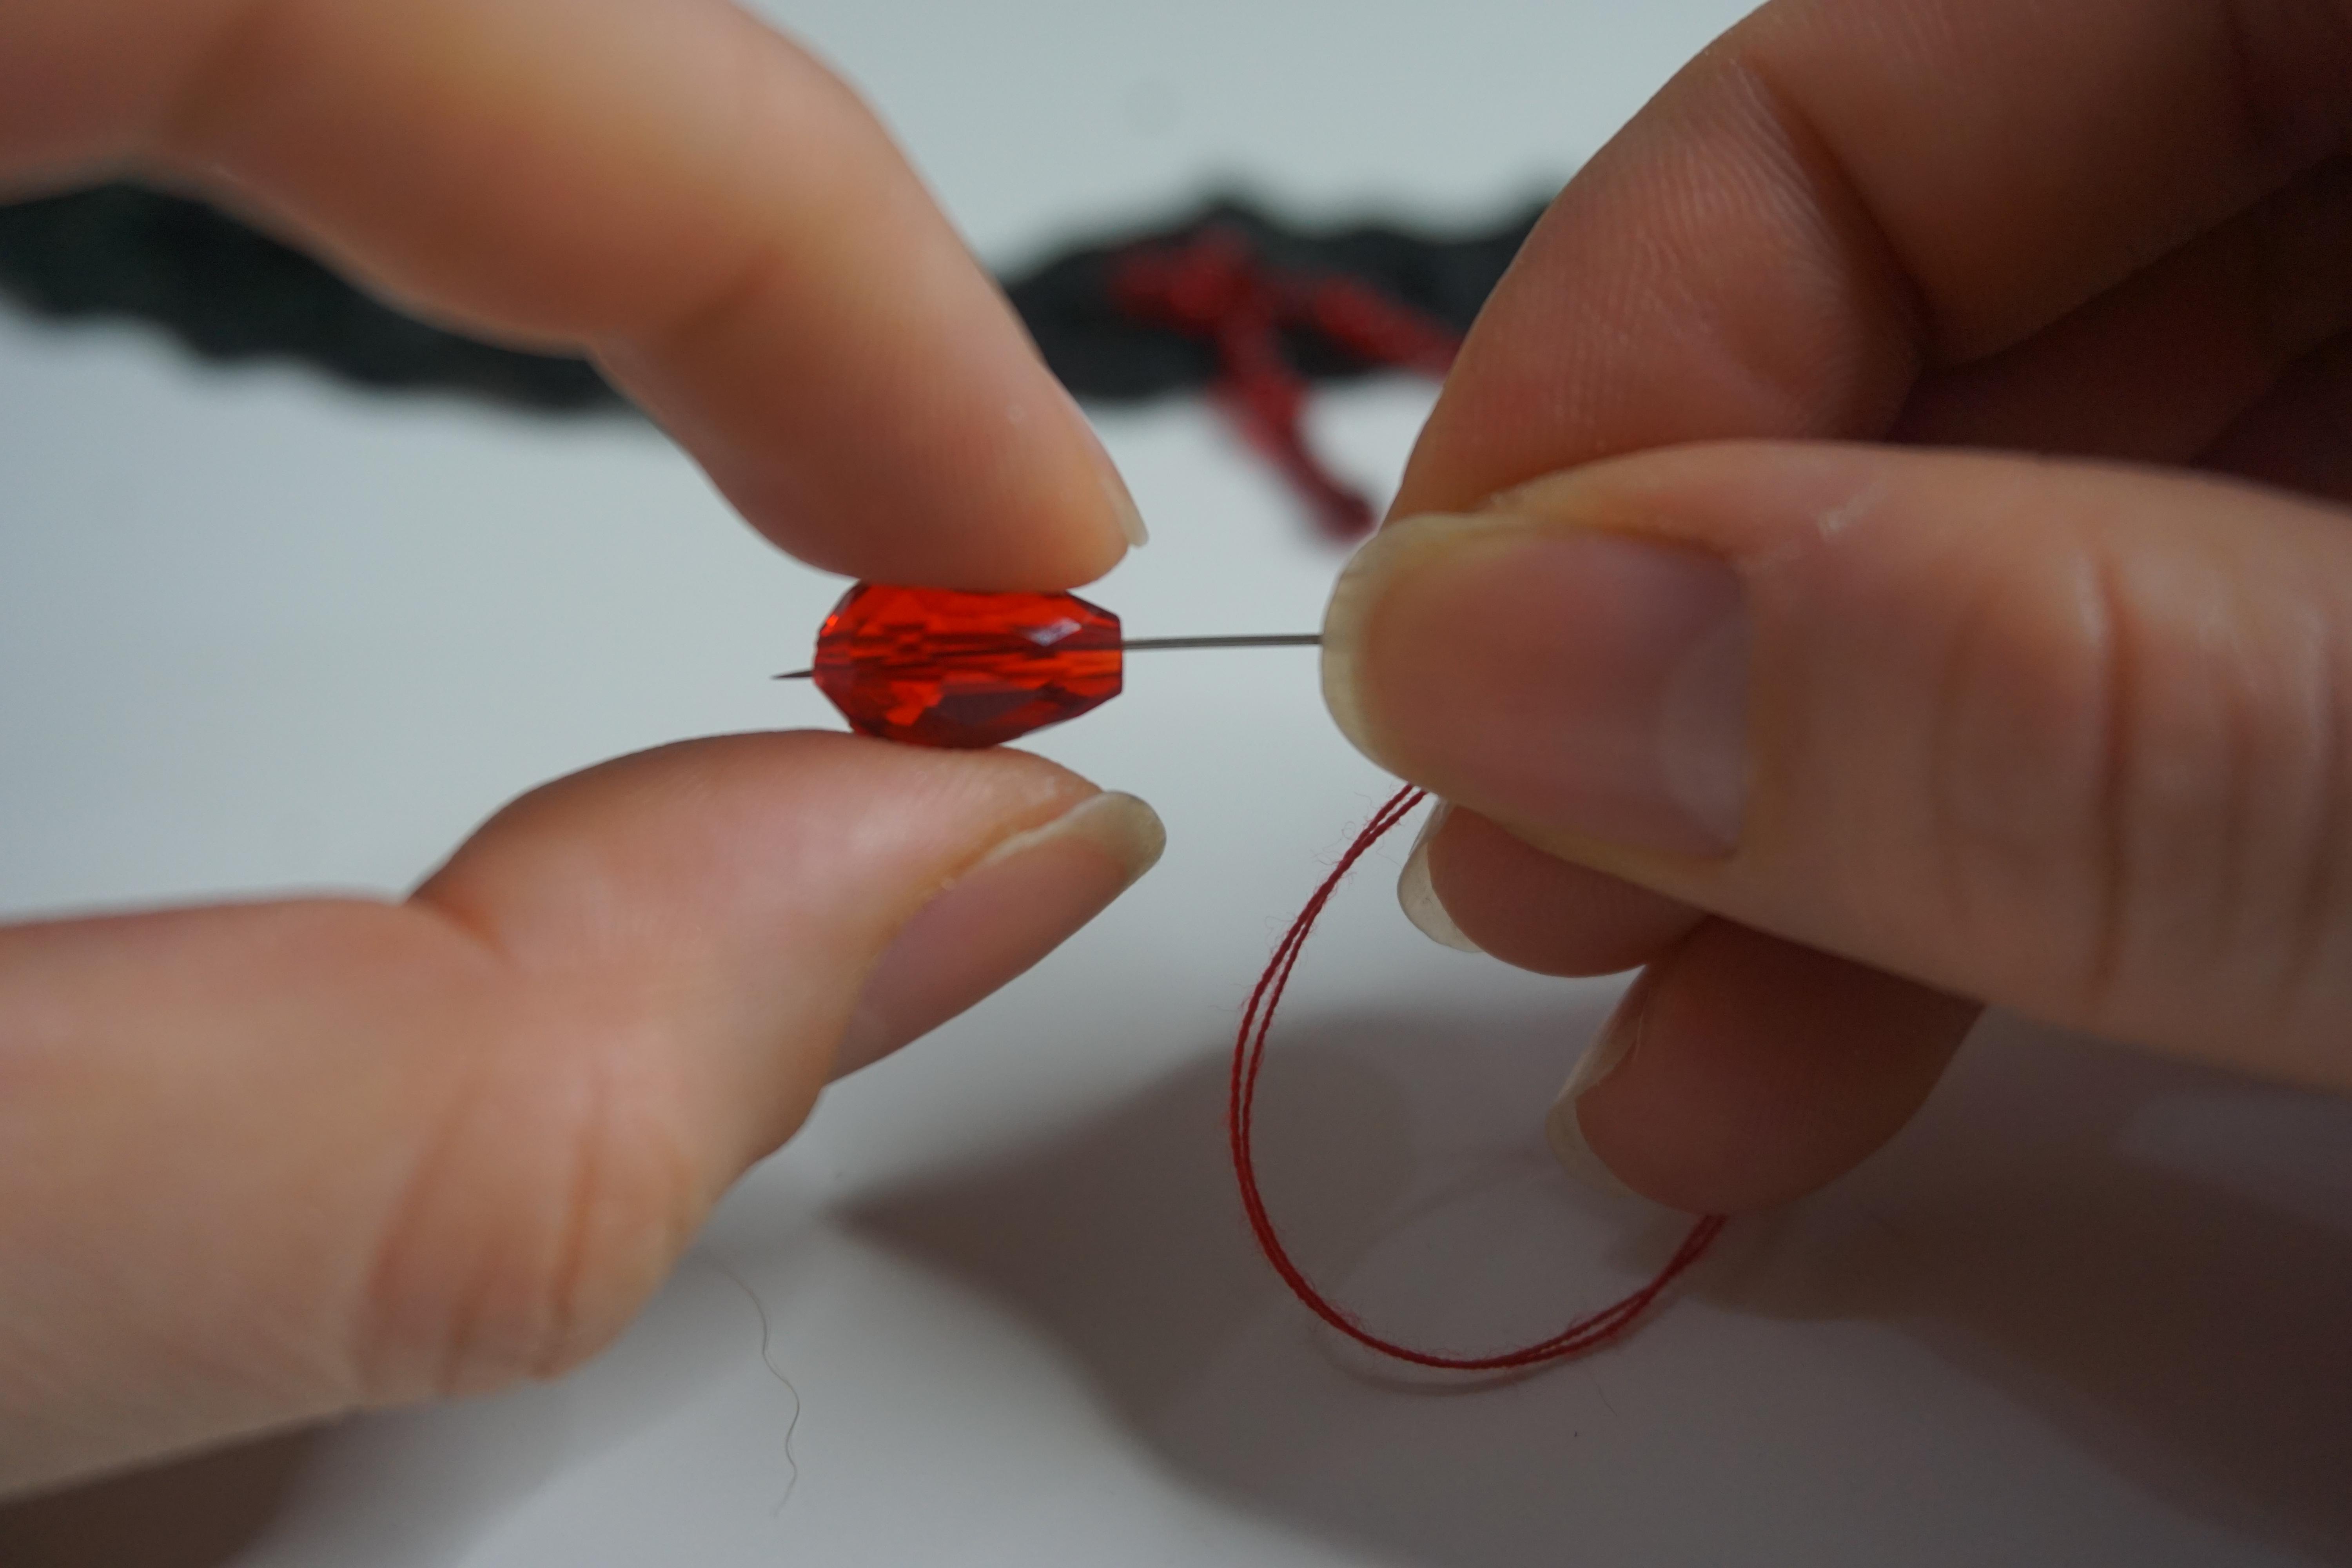
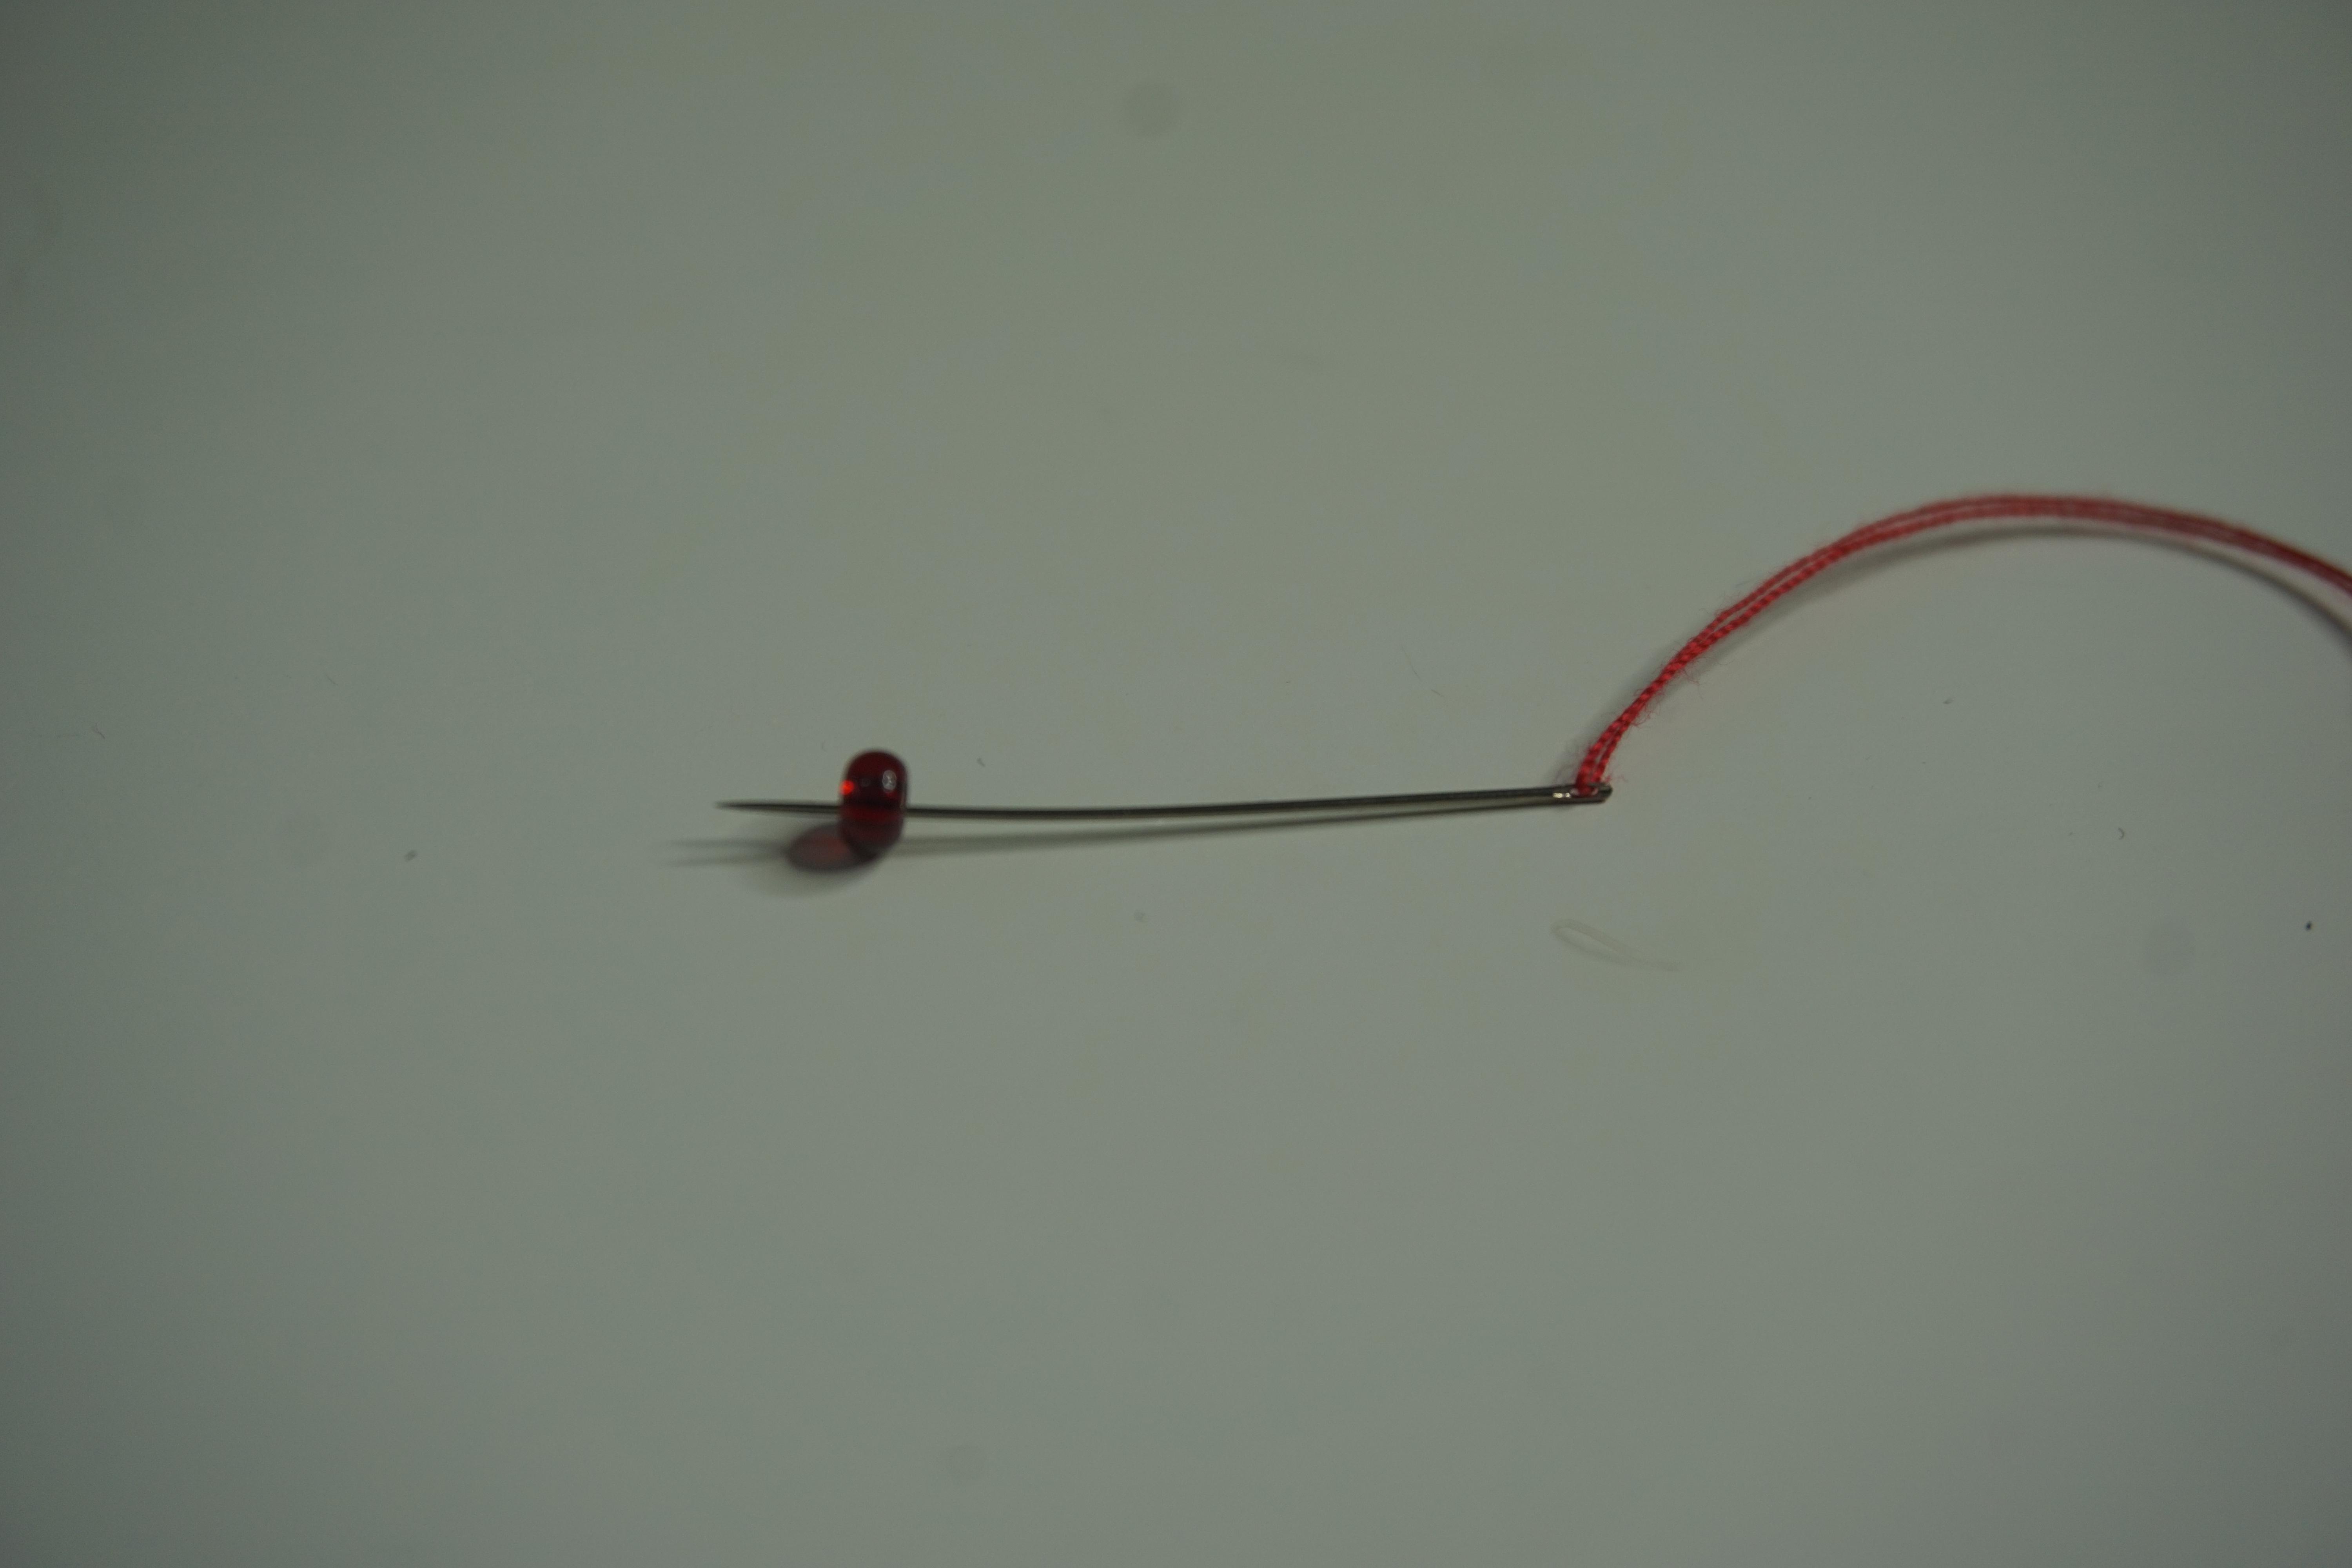
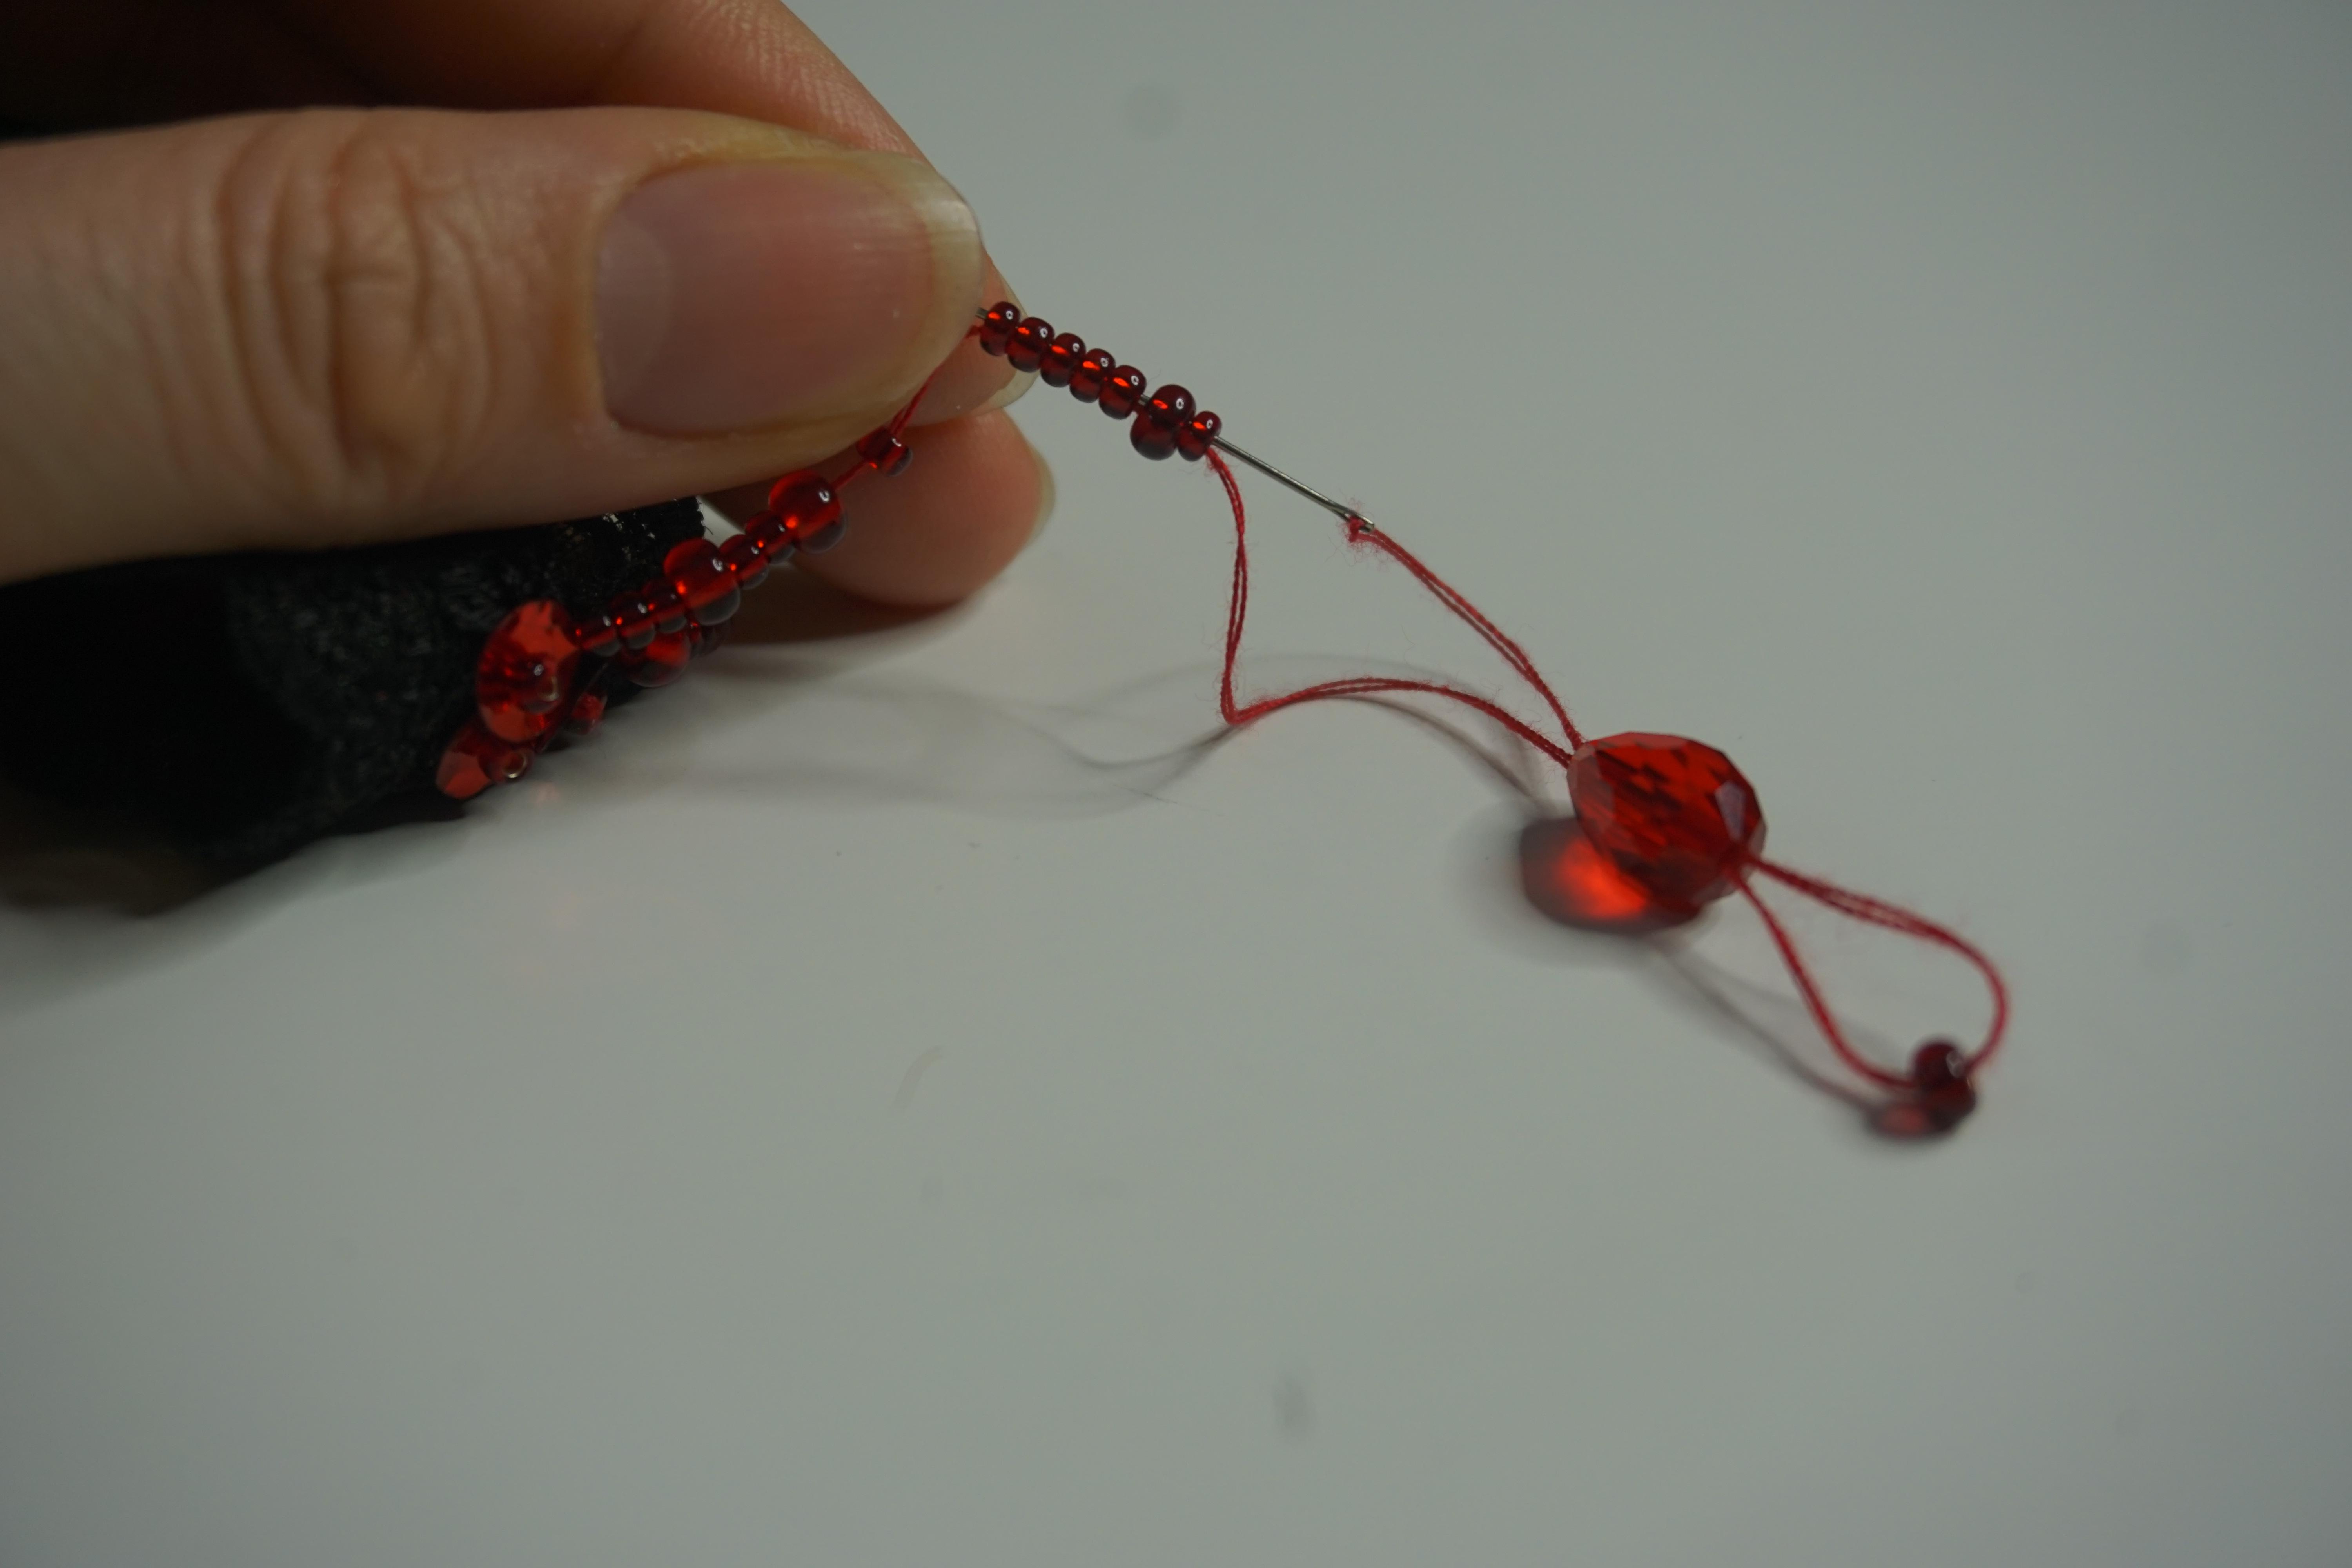
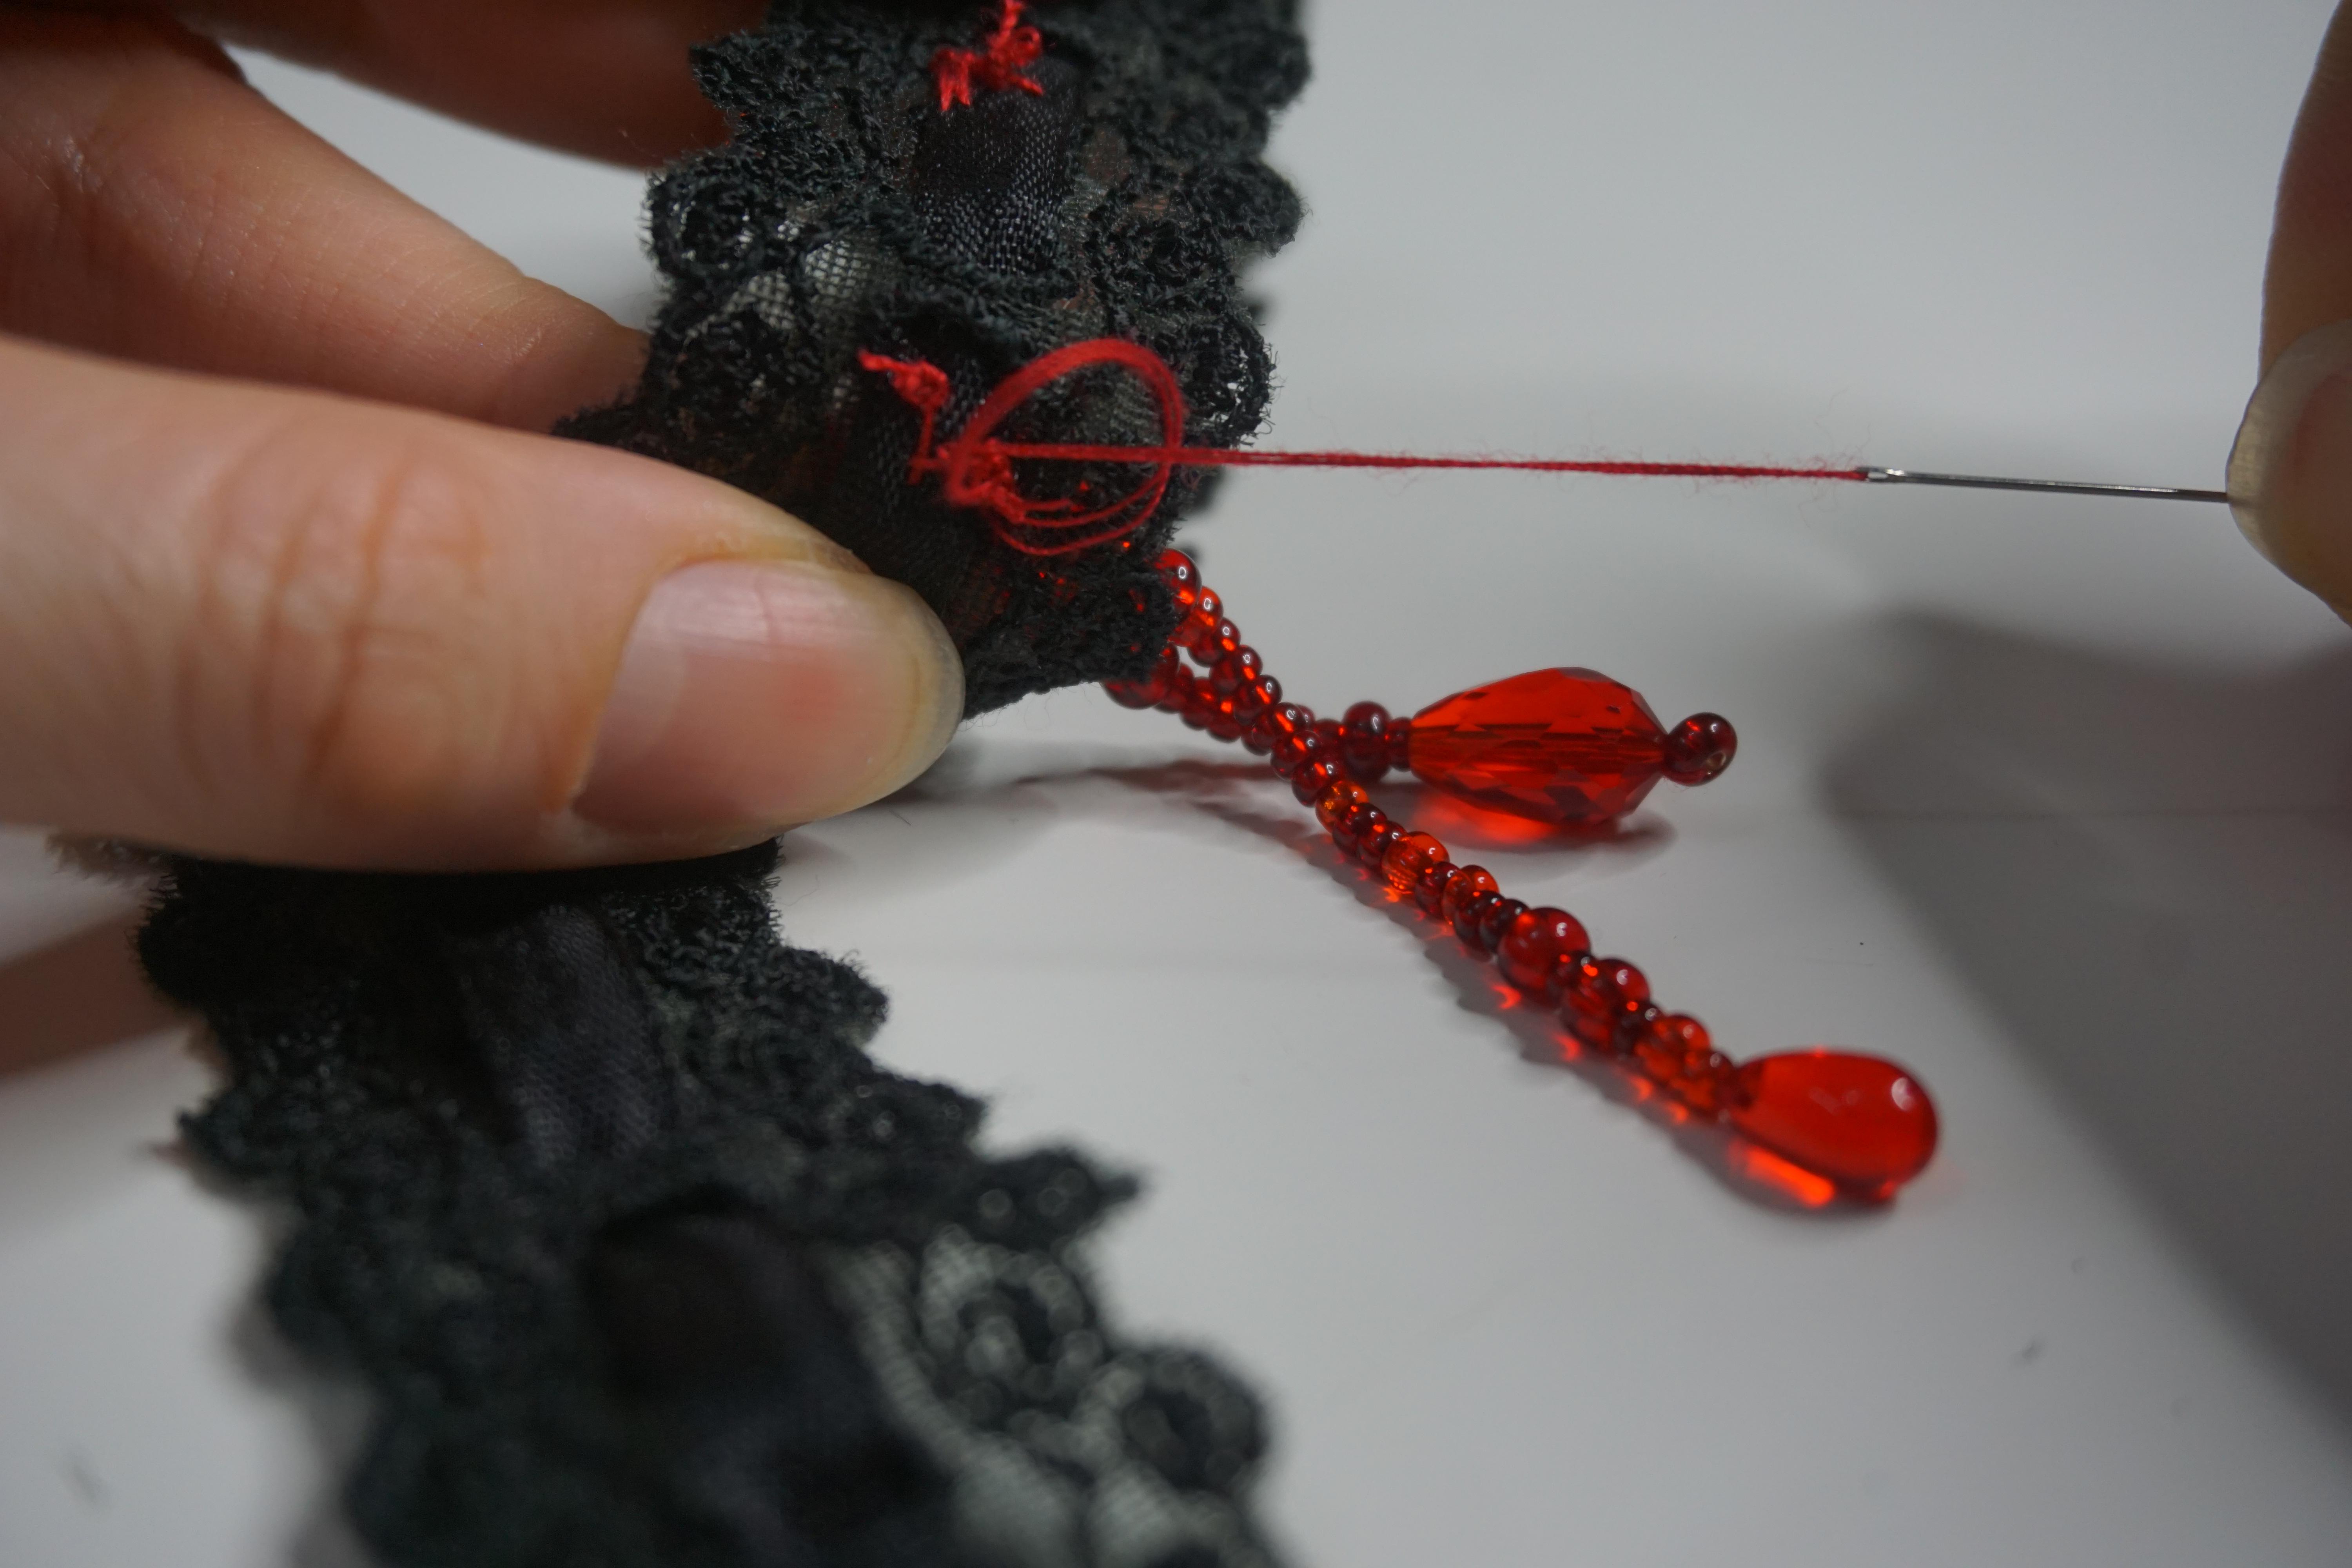
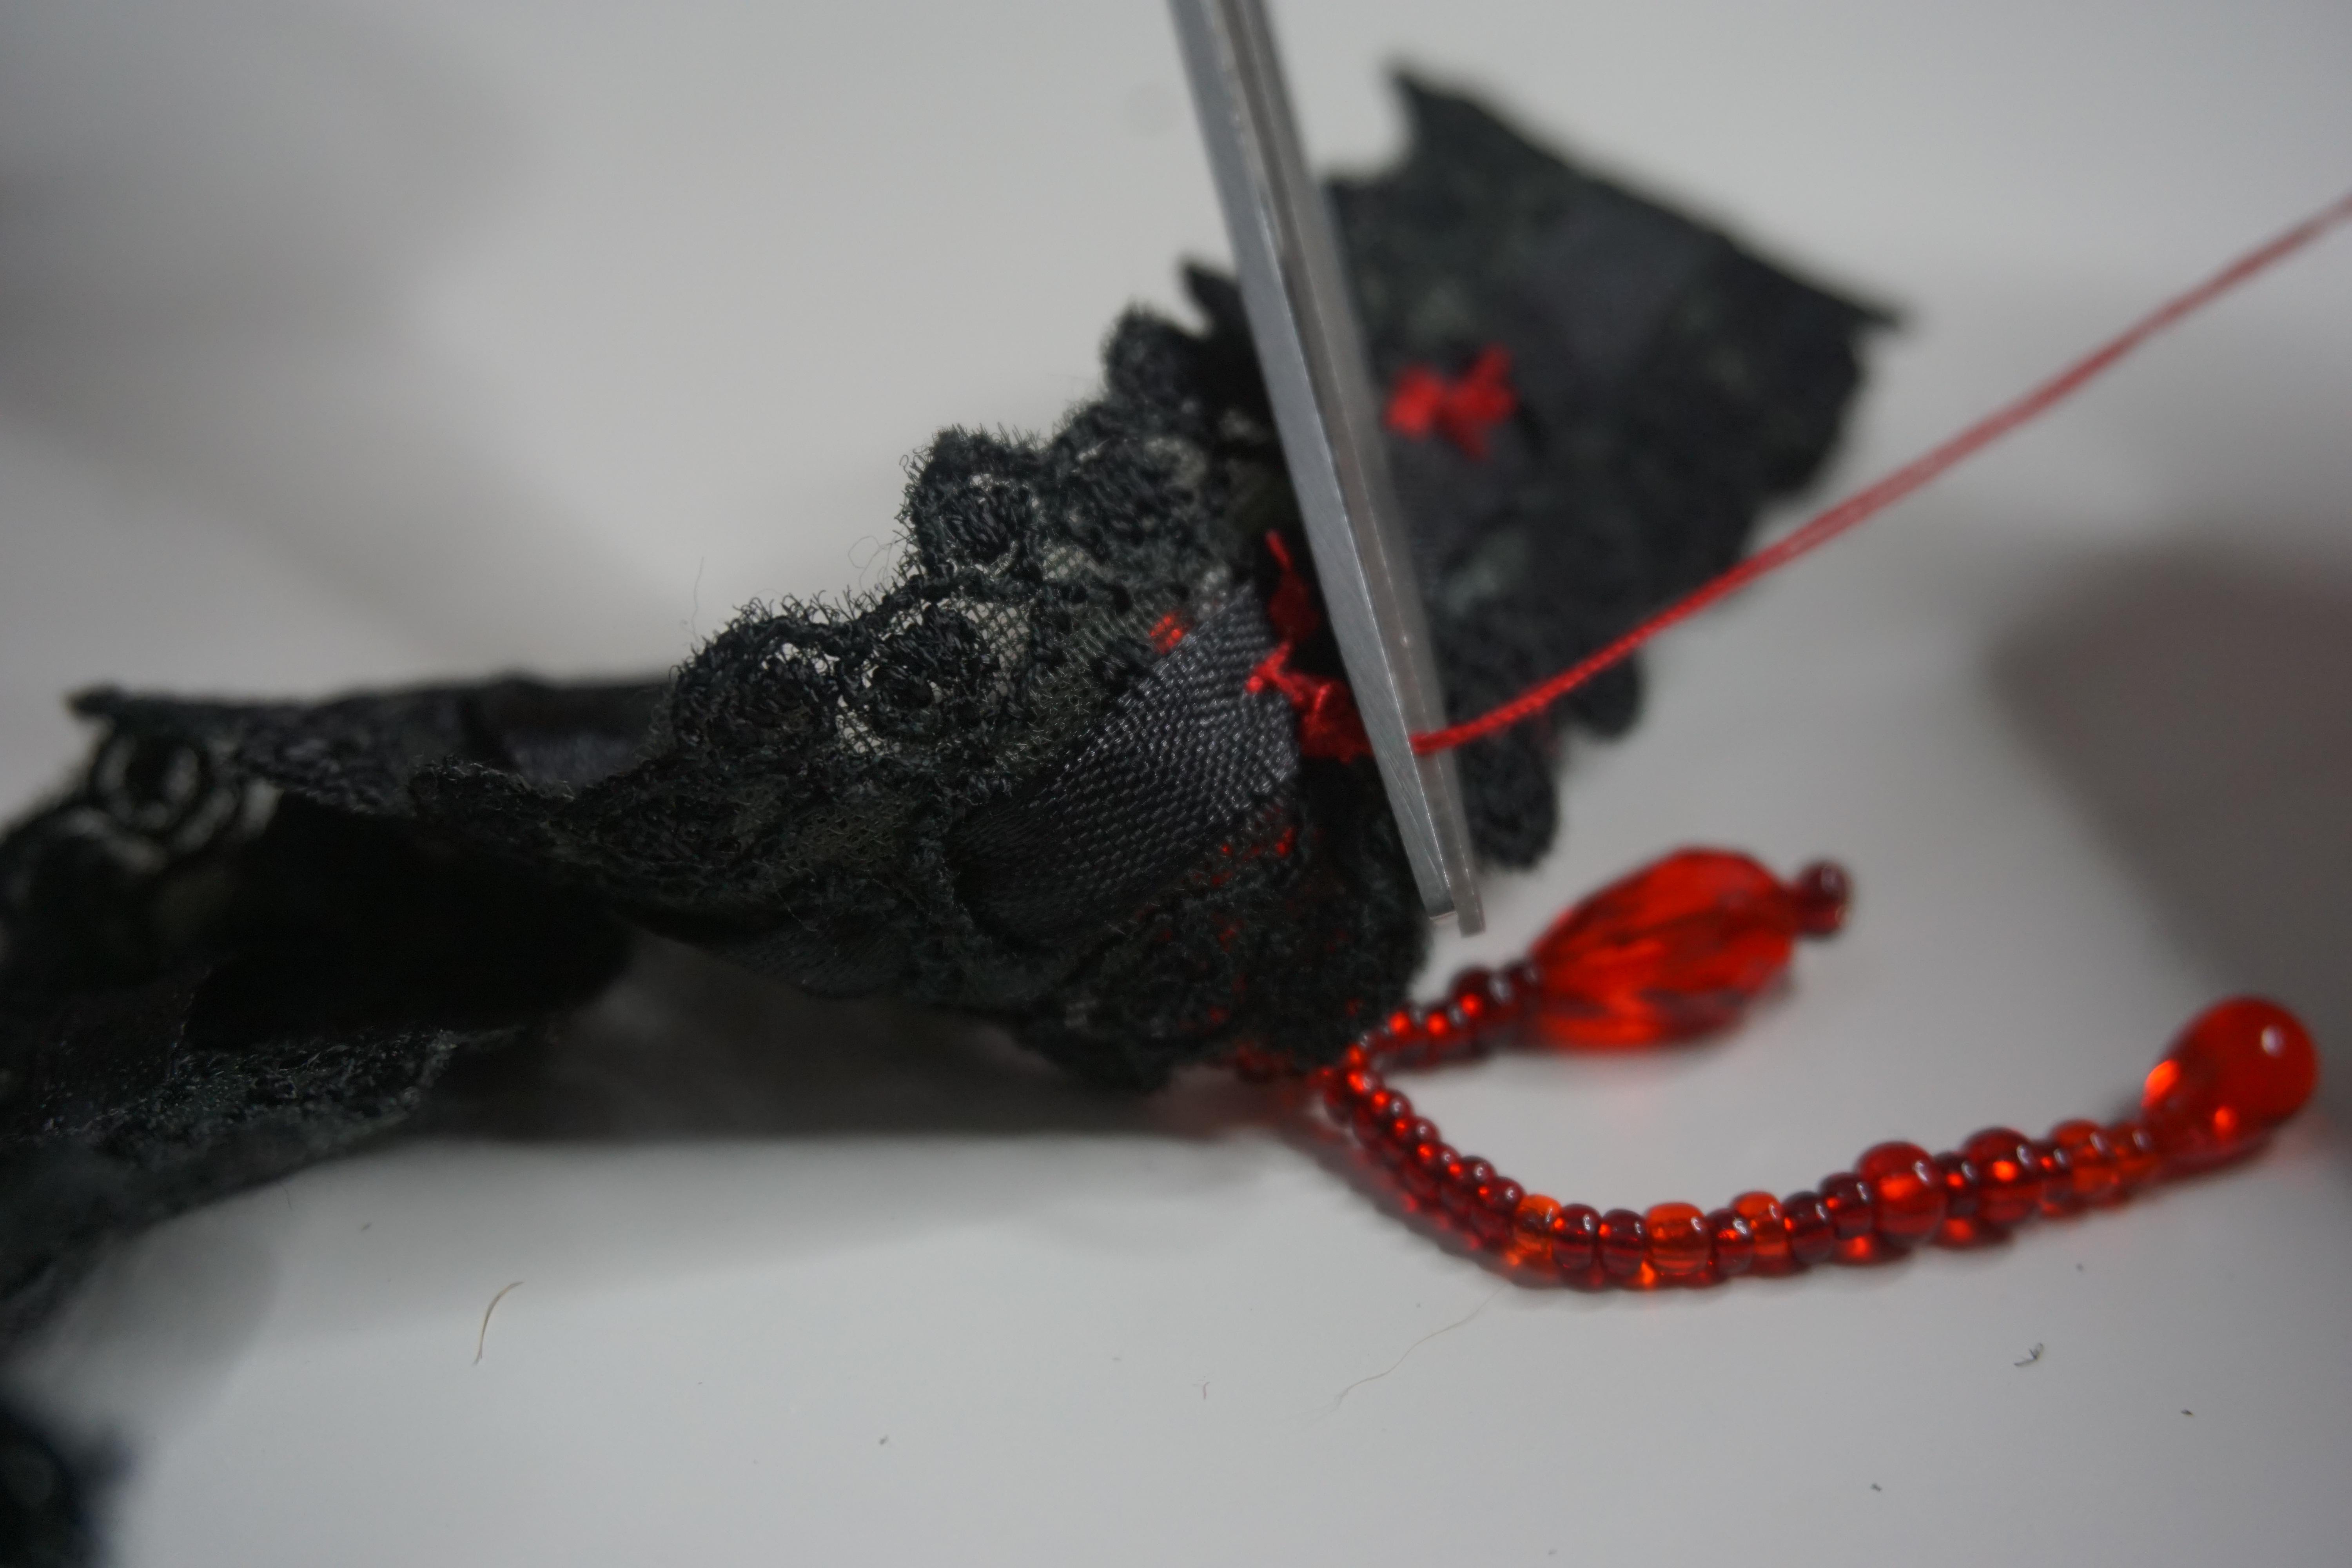
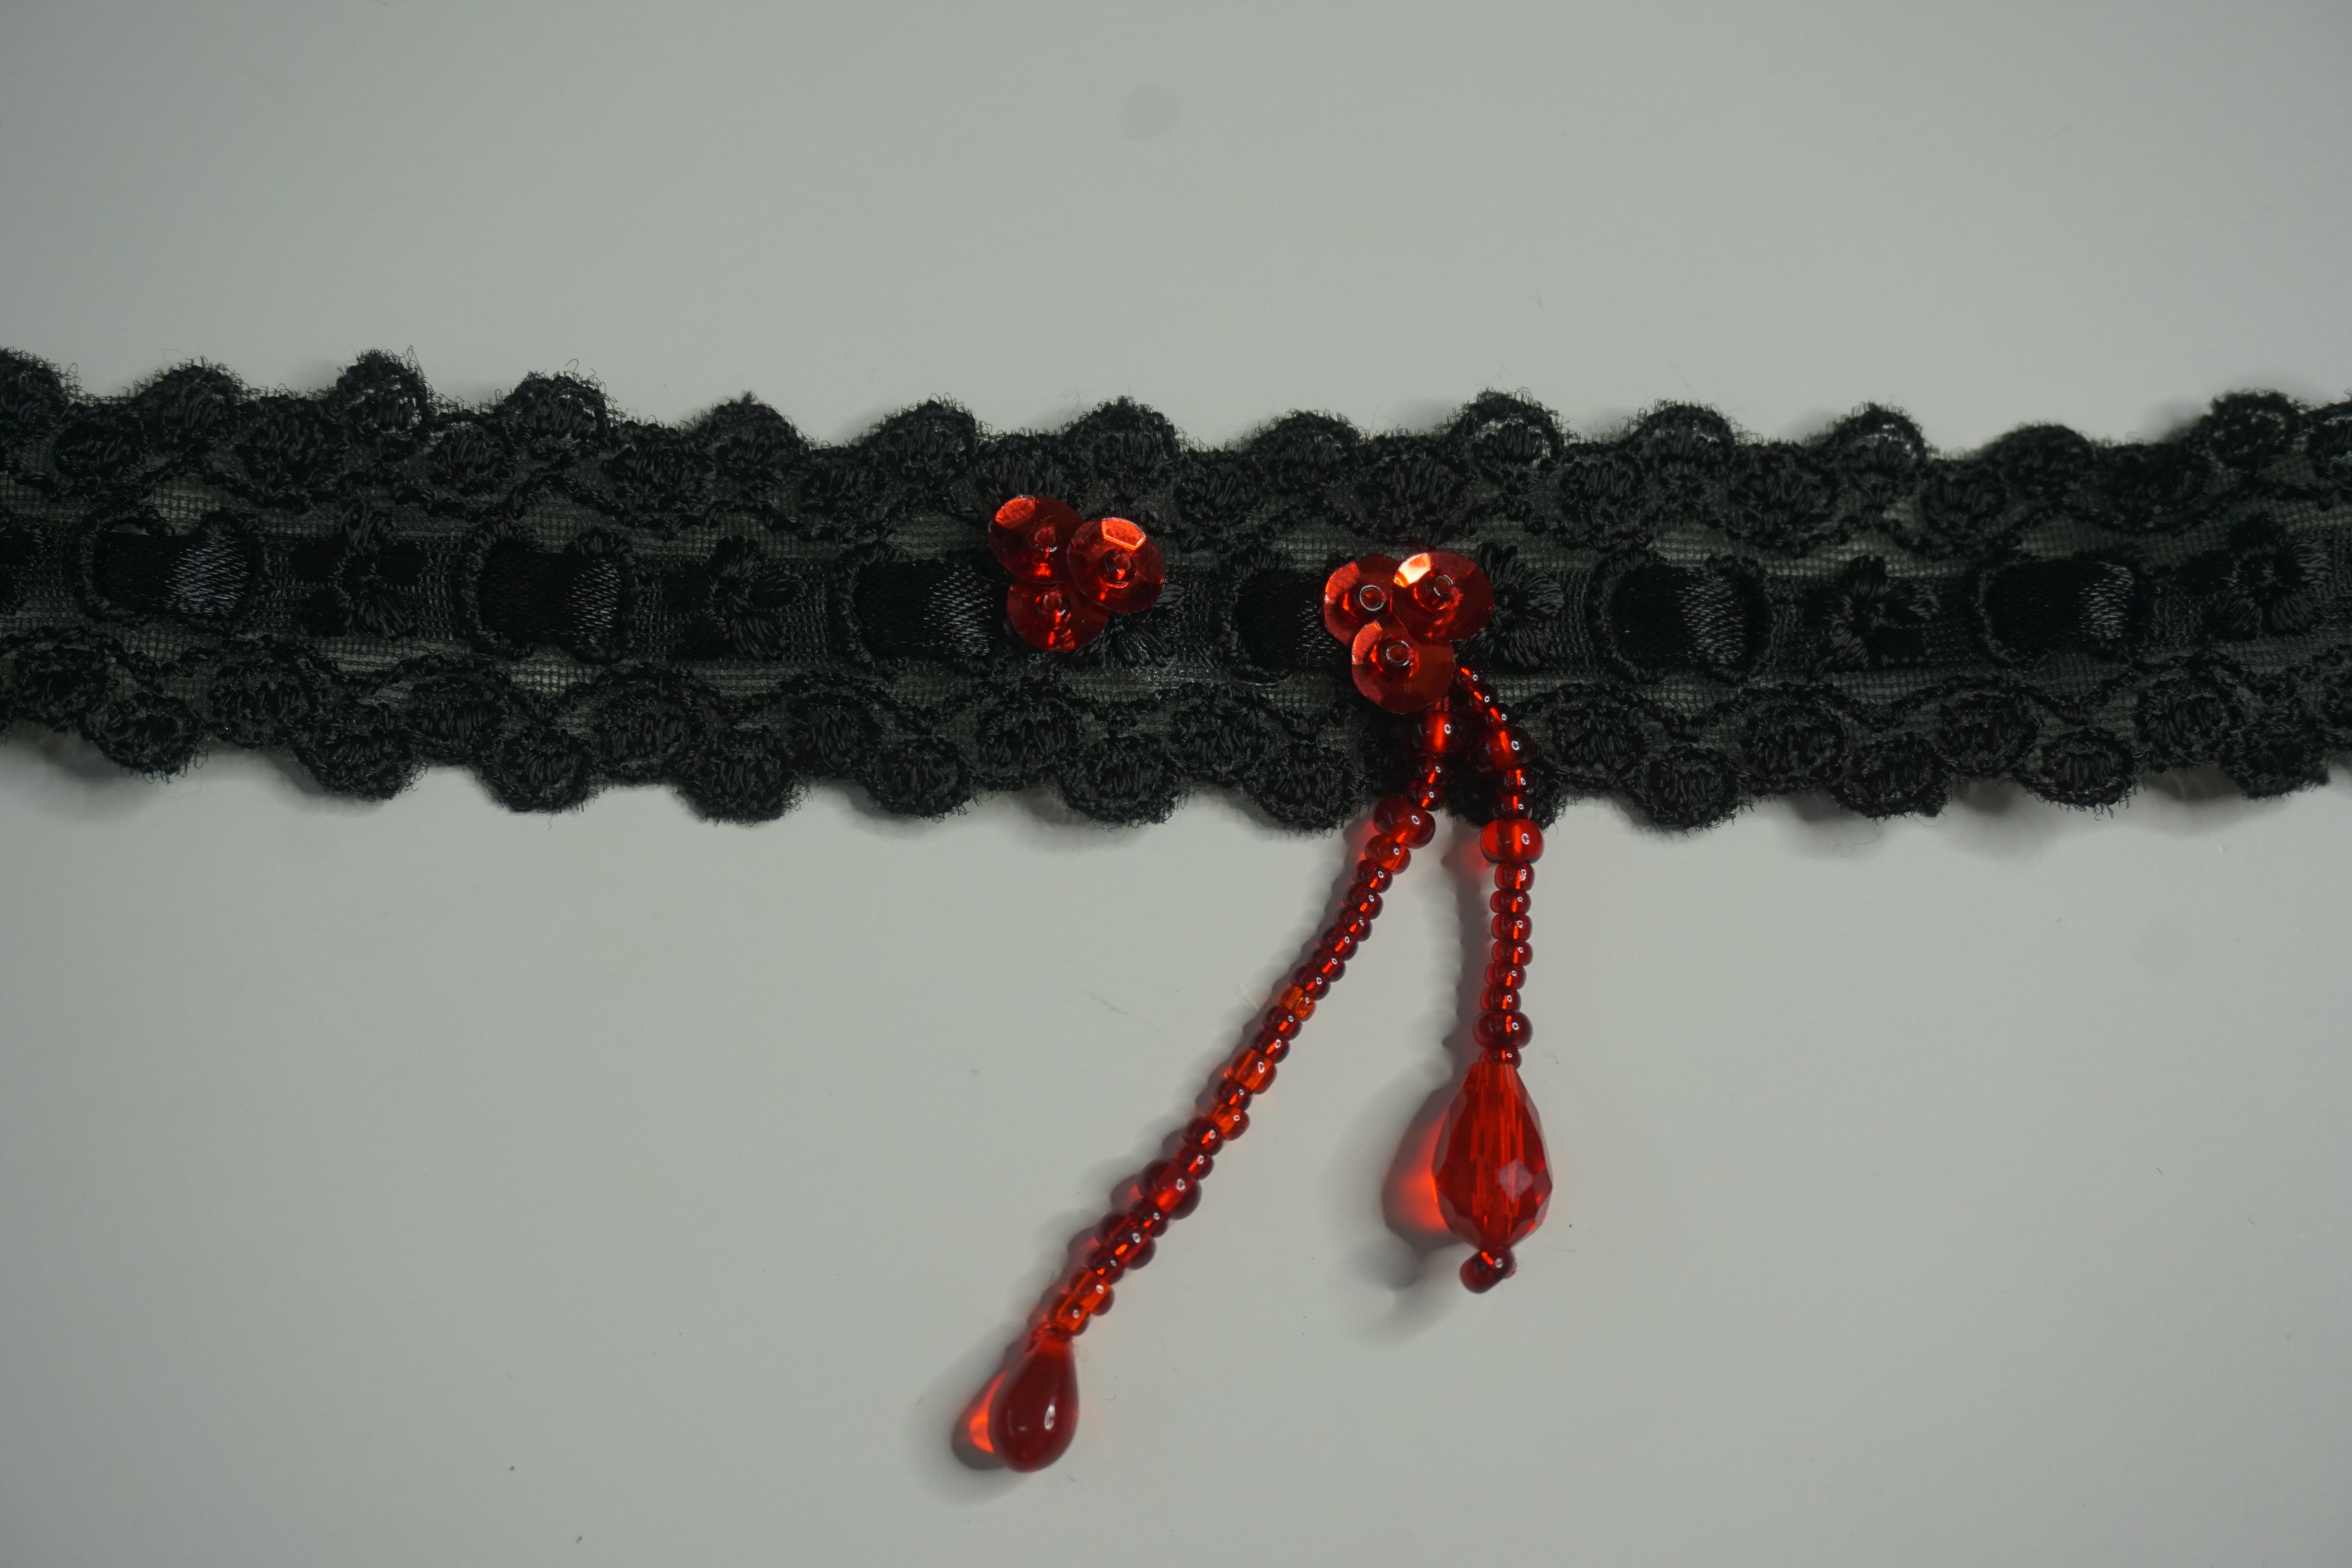

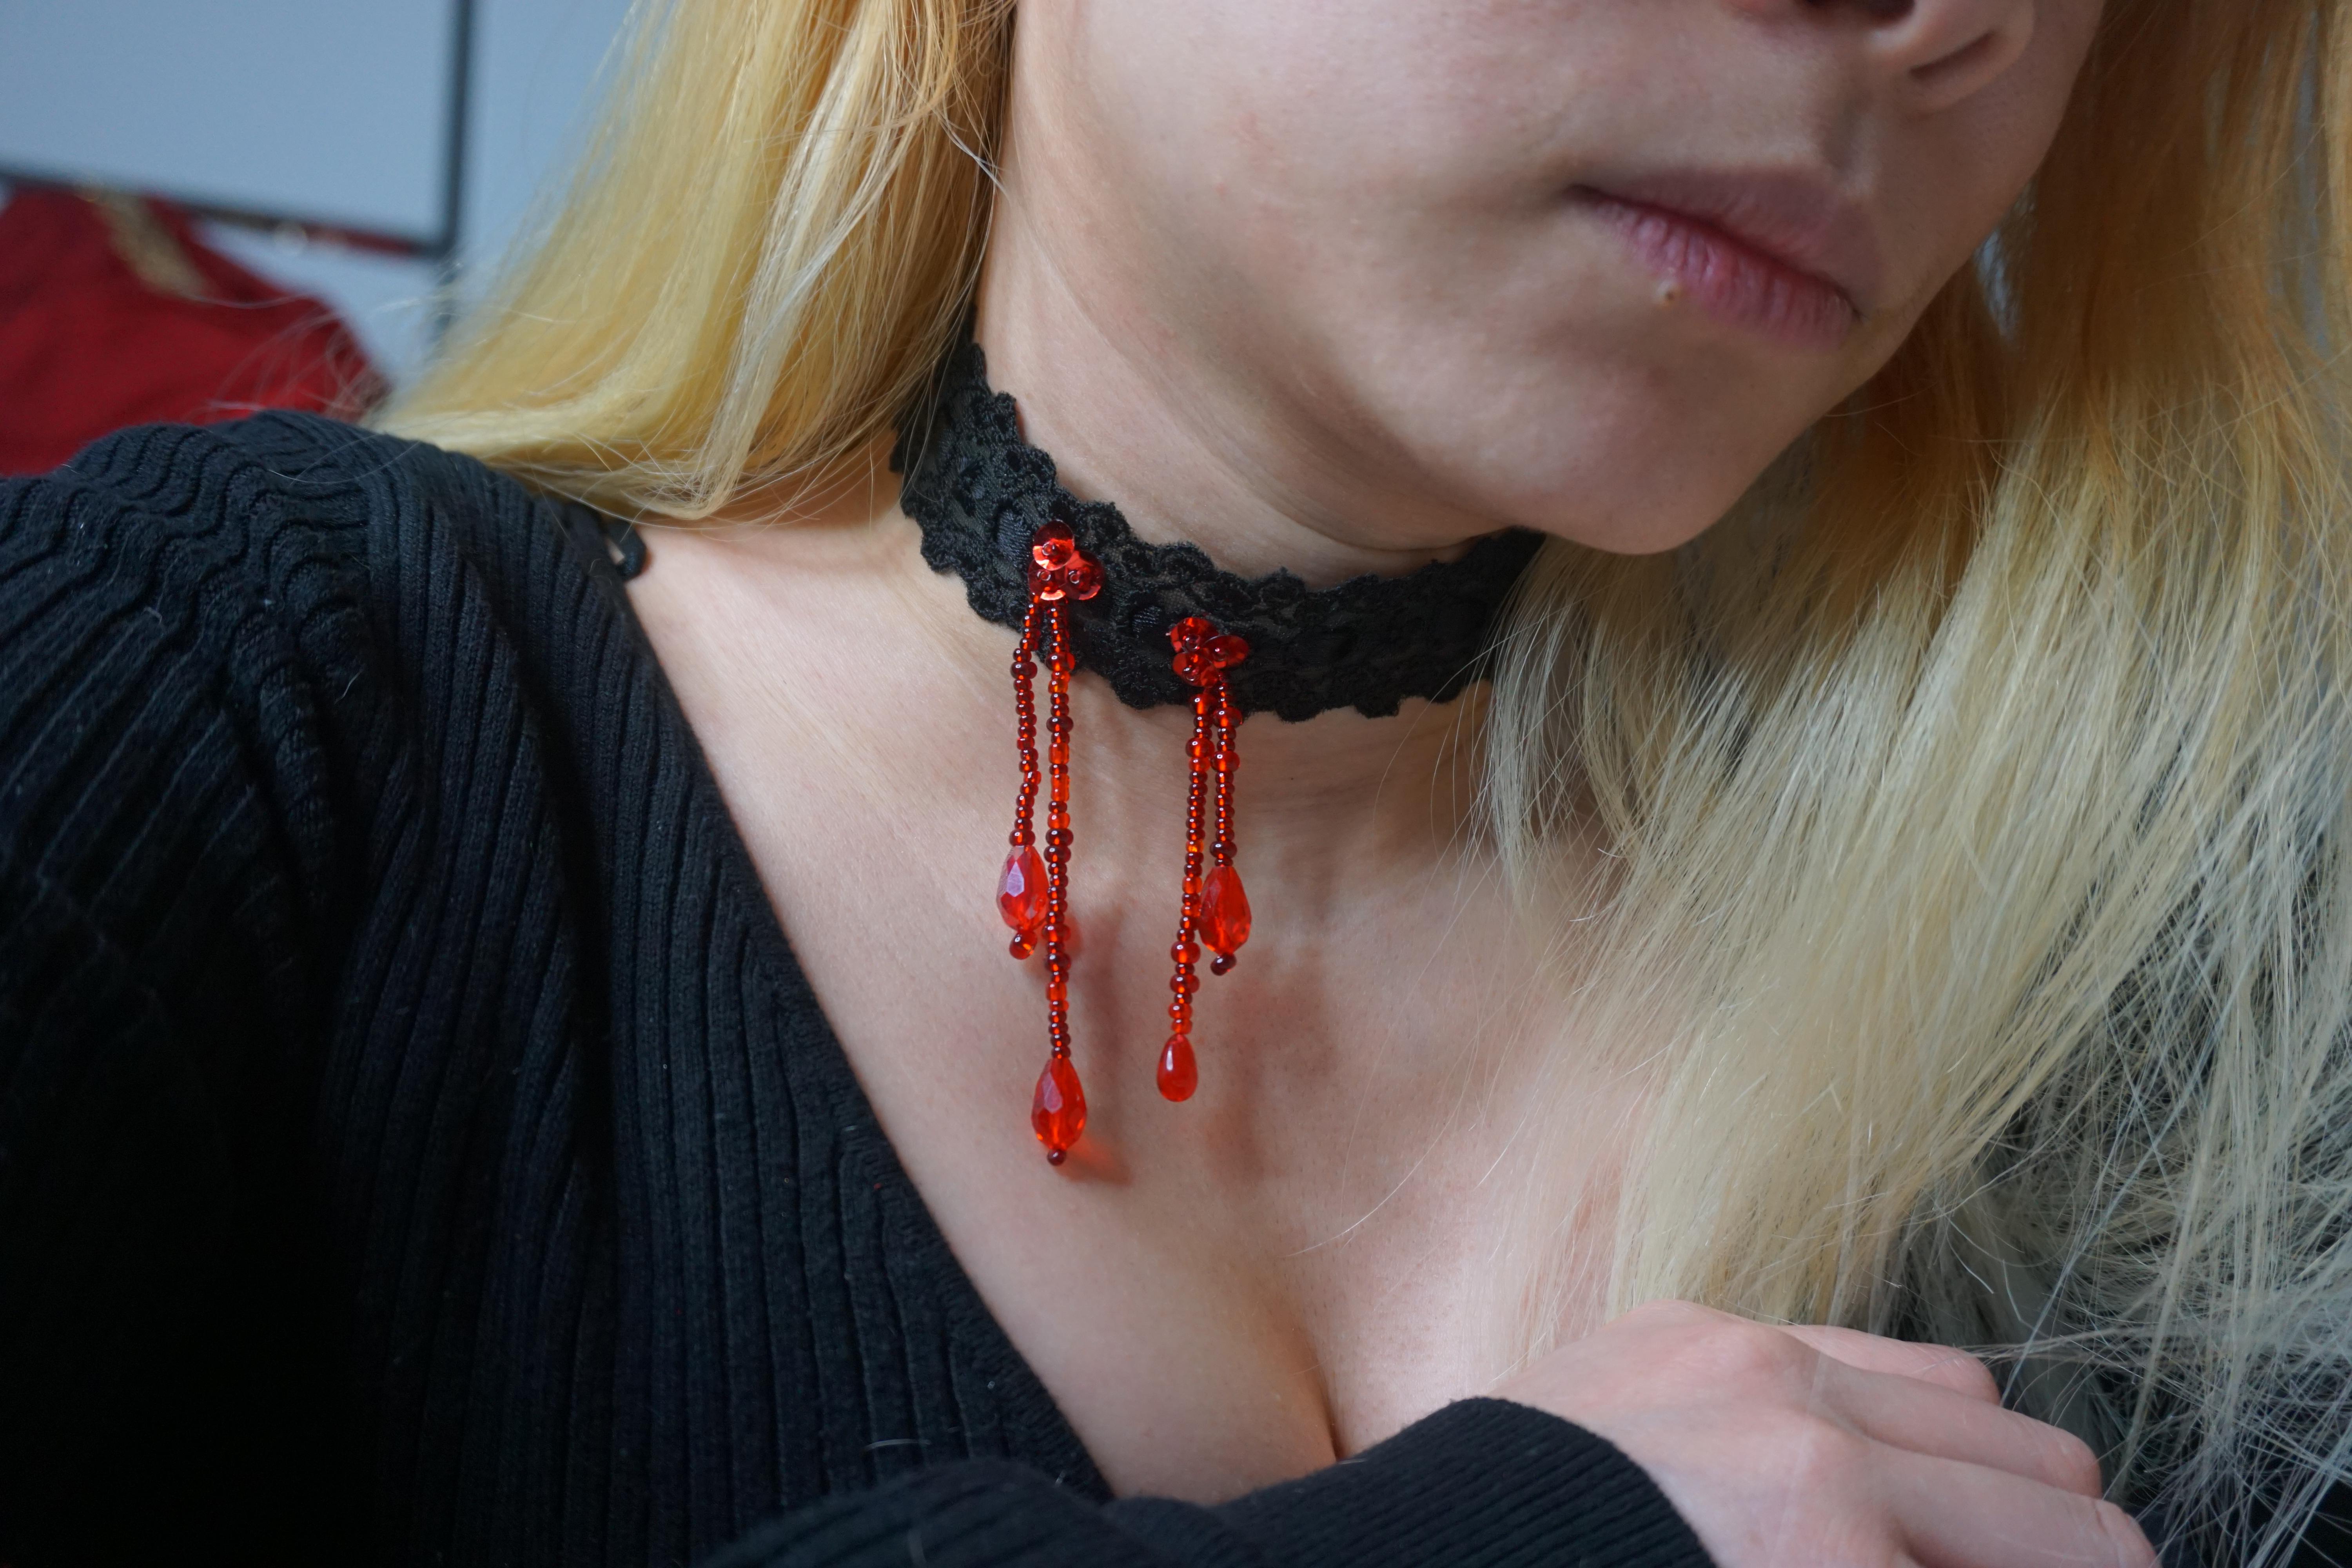
If you are creating the vampire bites look you'll only need a few strands.
- Create a new long strand of thread on a needle.
- Begin sewing from underneath the sequin to anchor the thread down.
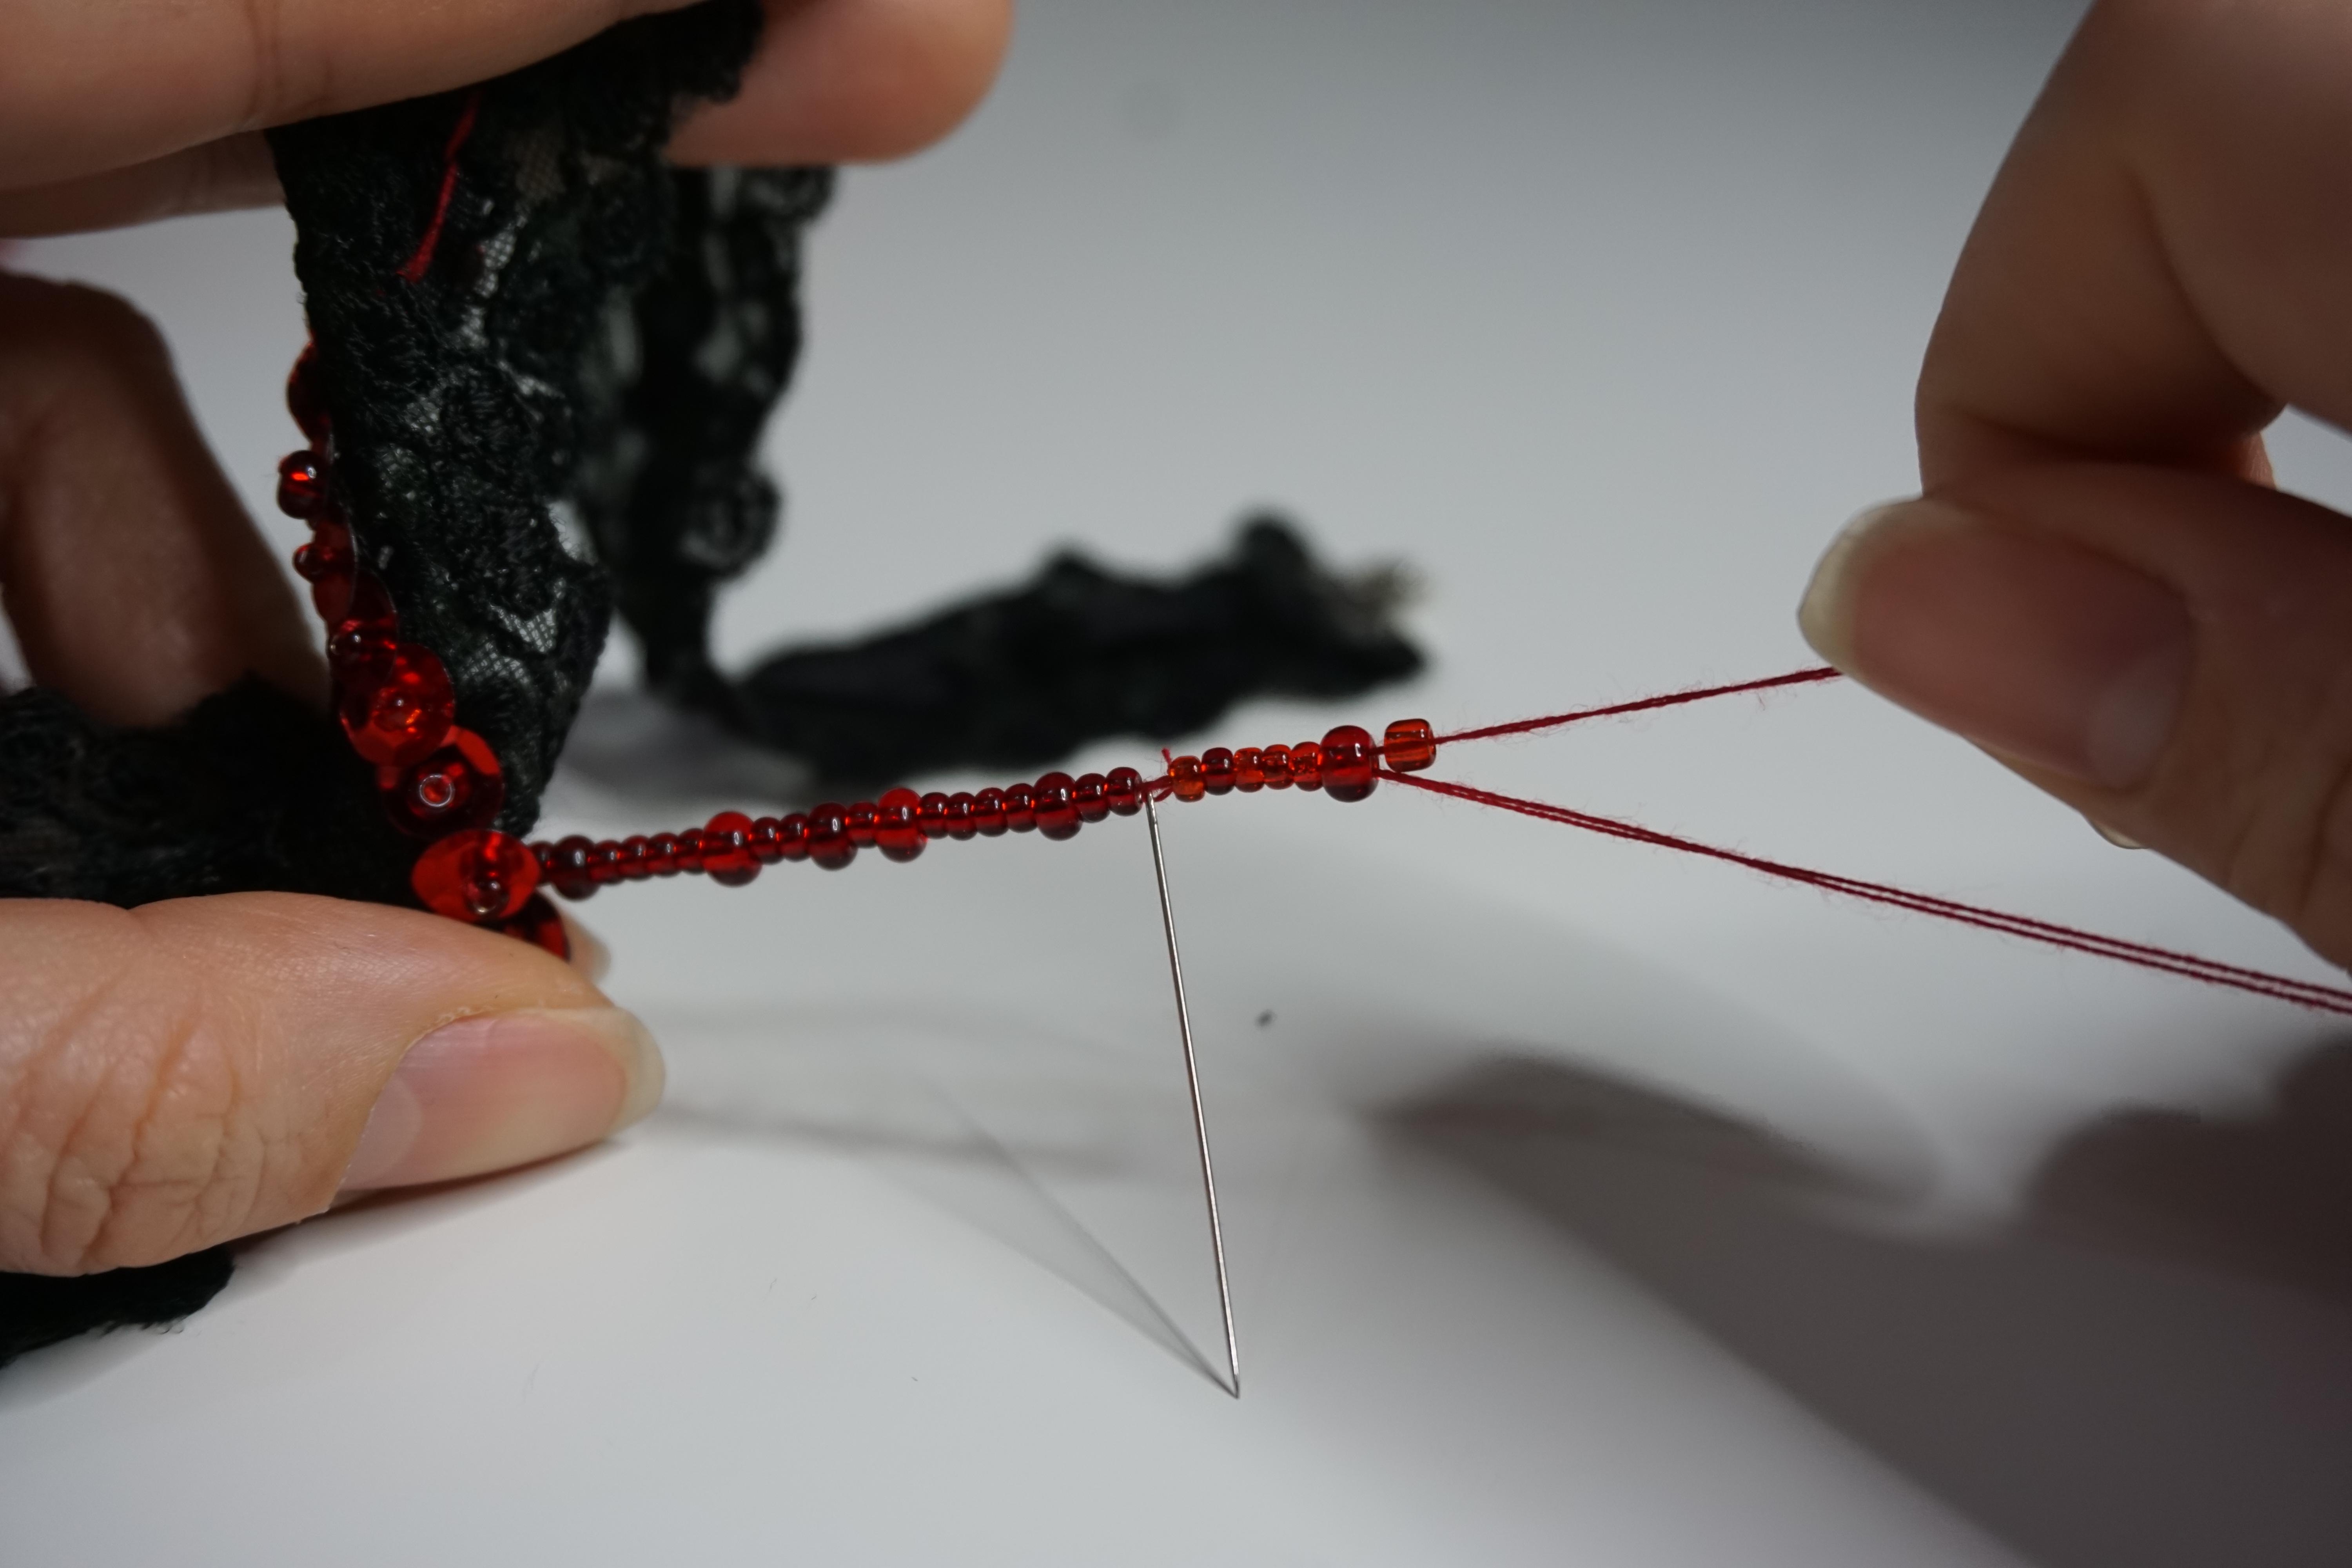
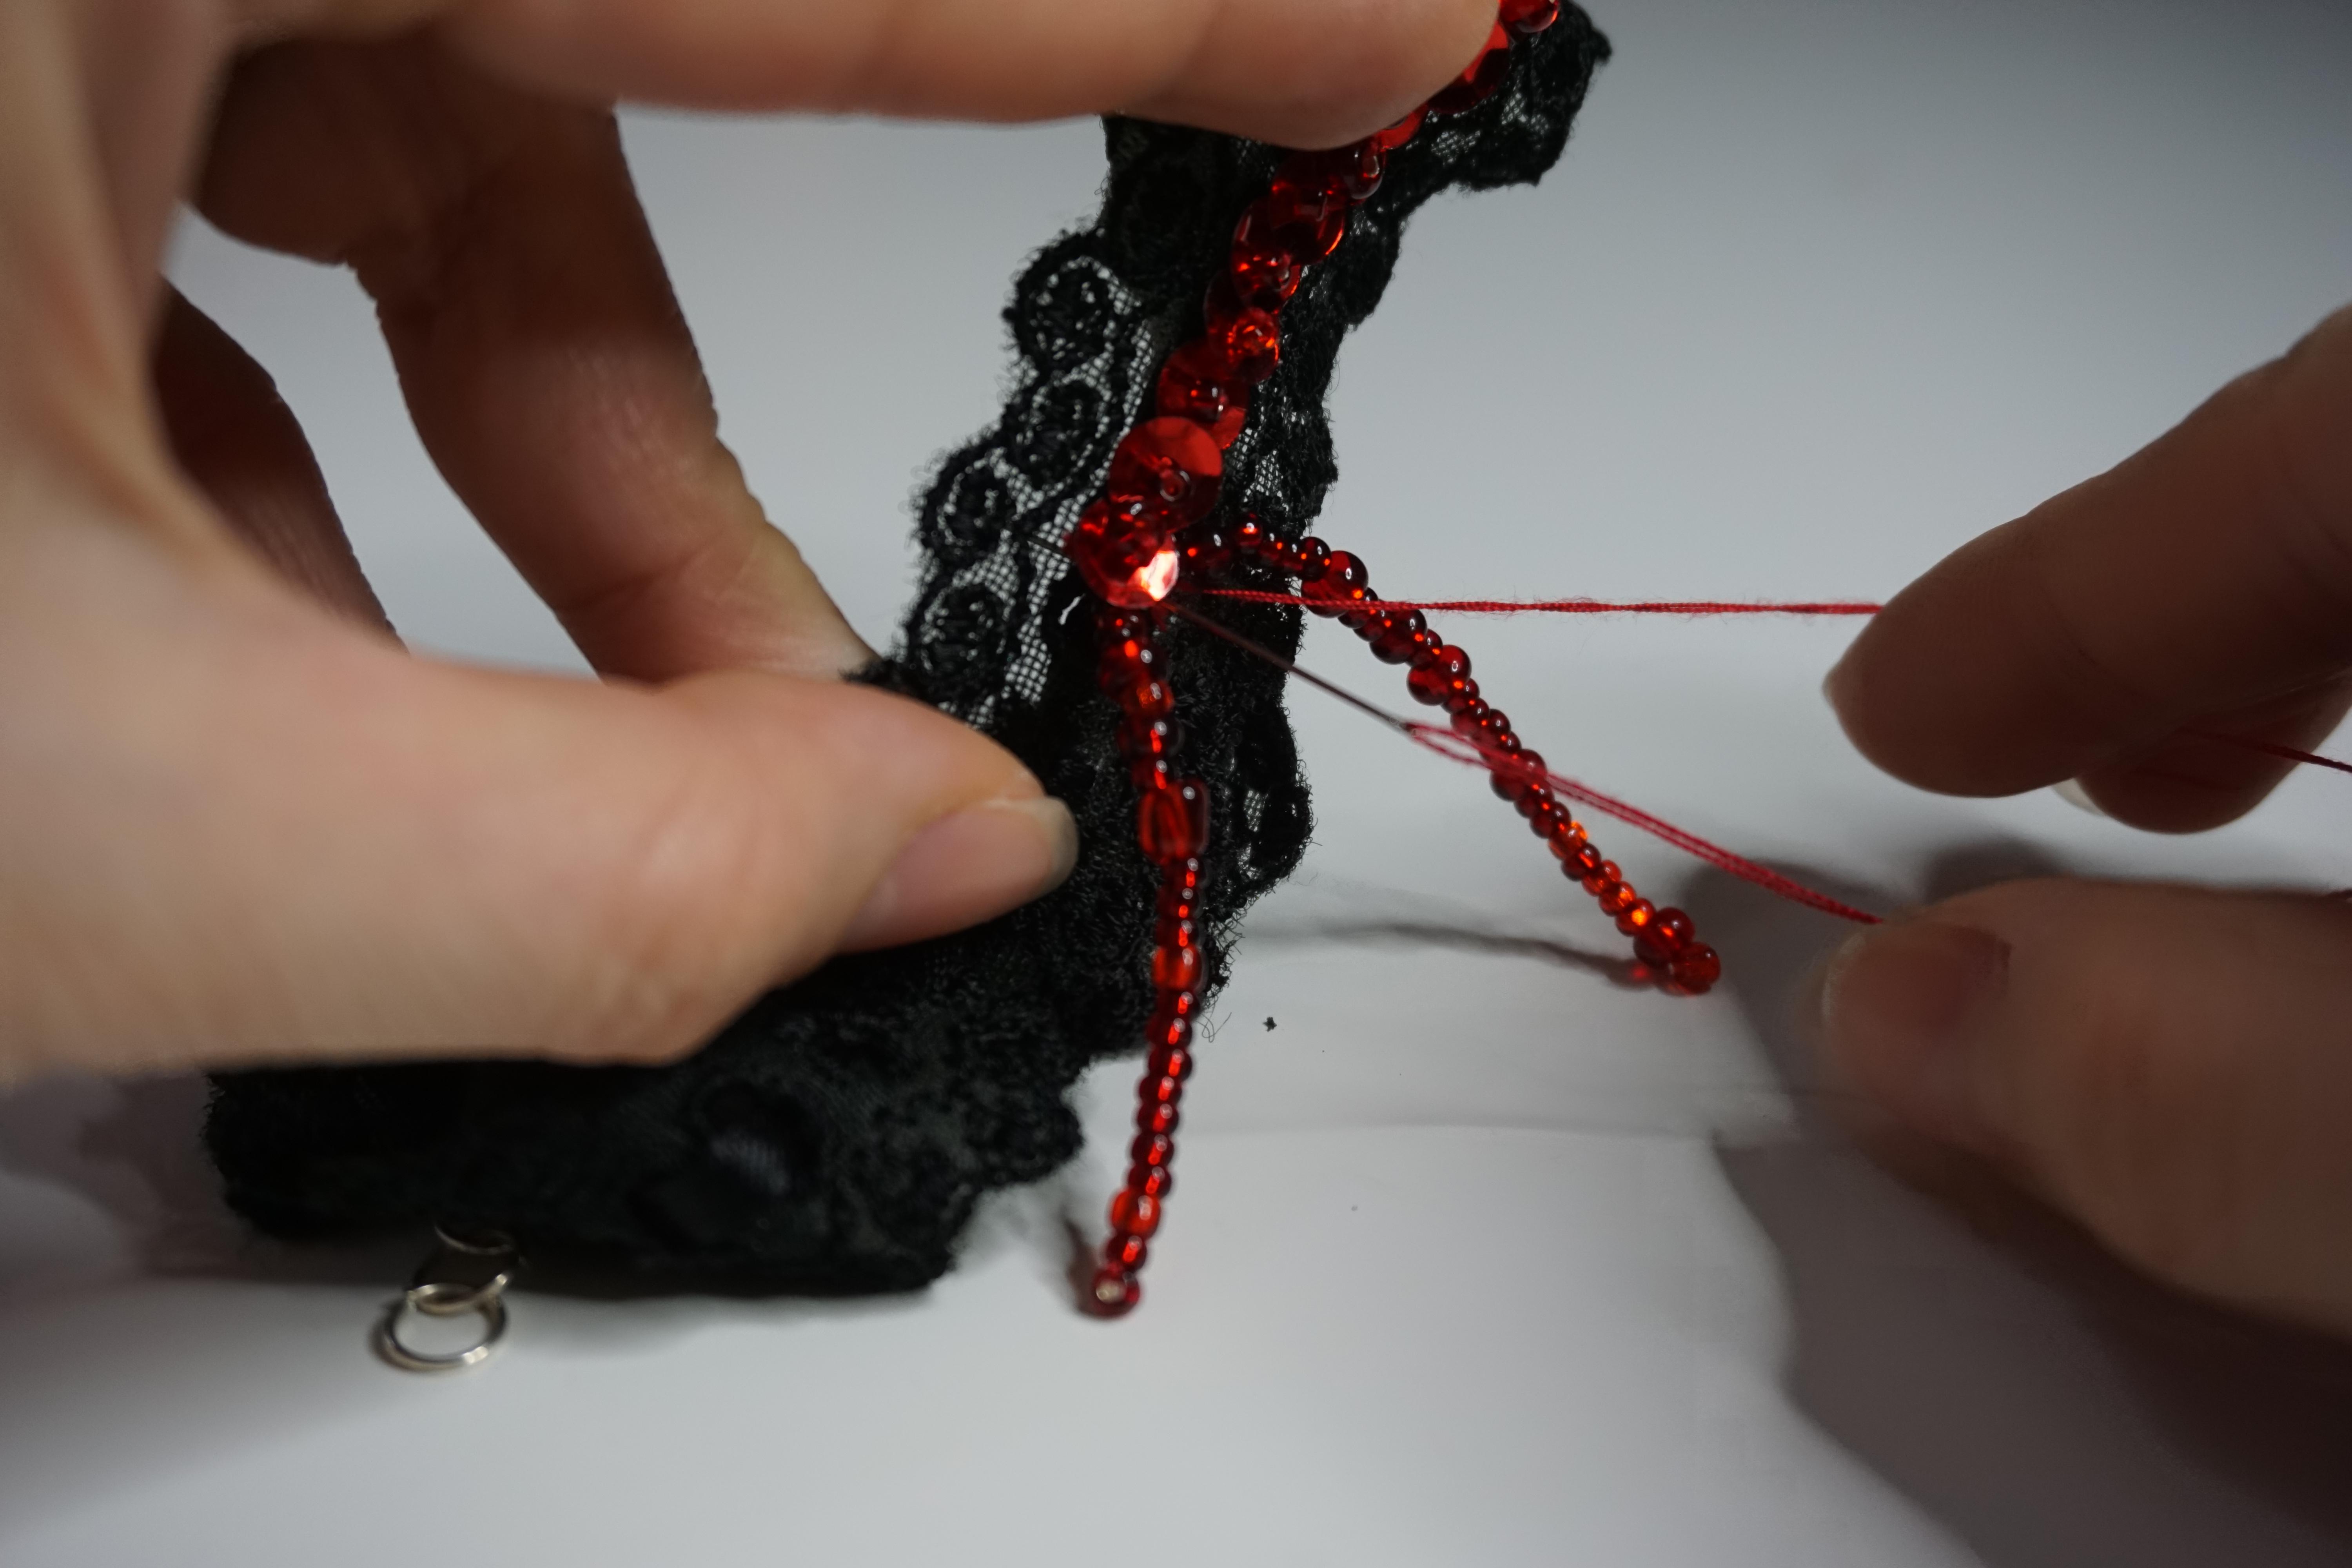
- Add seed beads until almost the desired length.
- Add a red droplet bead.
- Go back through all of the seed beads that were first added-on the thread.
- Sew through the choker underneath the sequin to hide the stitch.
- Repeat steps 2-6 until the desired effect for the first vampire bite.
- Sew through the stitches in the back of the choker and create a knot.
- Cut the excess thread.
- Repeat steps 1-9 for the second vampire bite.
B: Stands for BLOOD
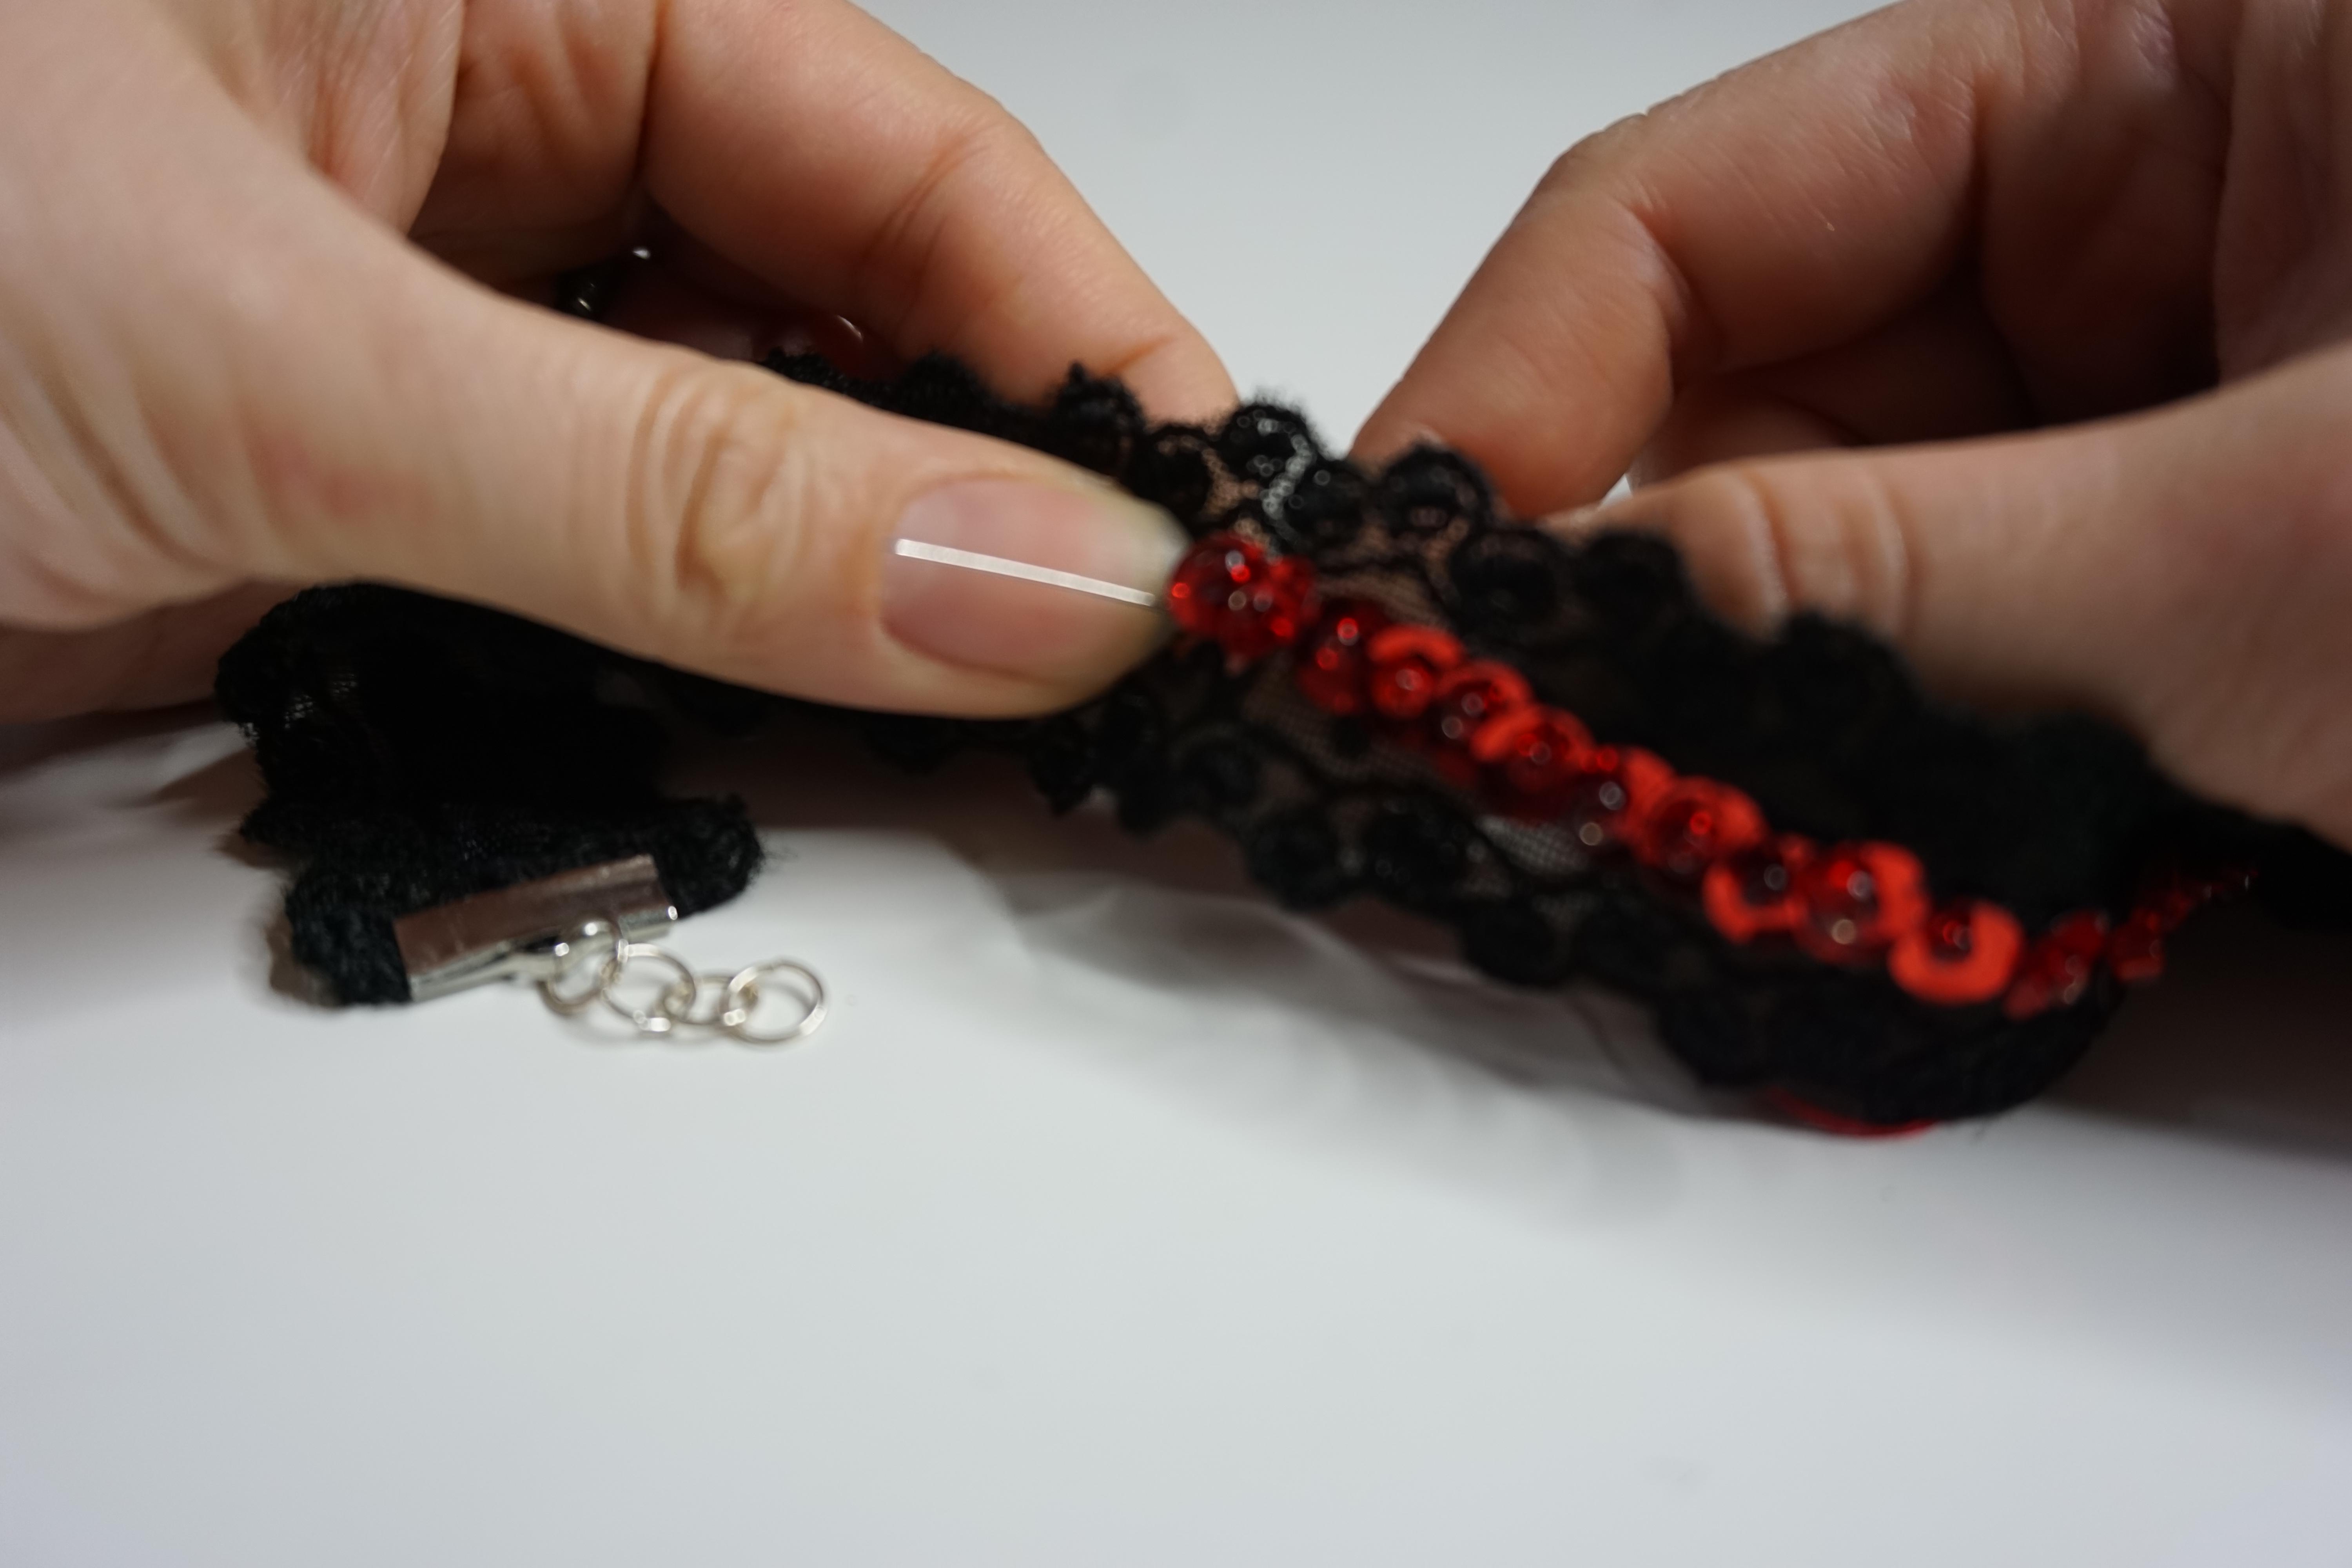


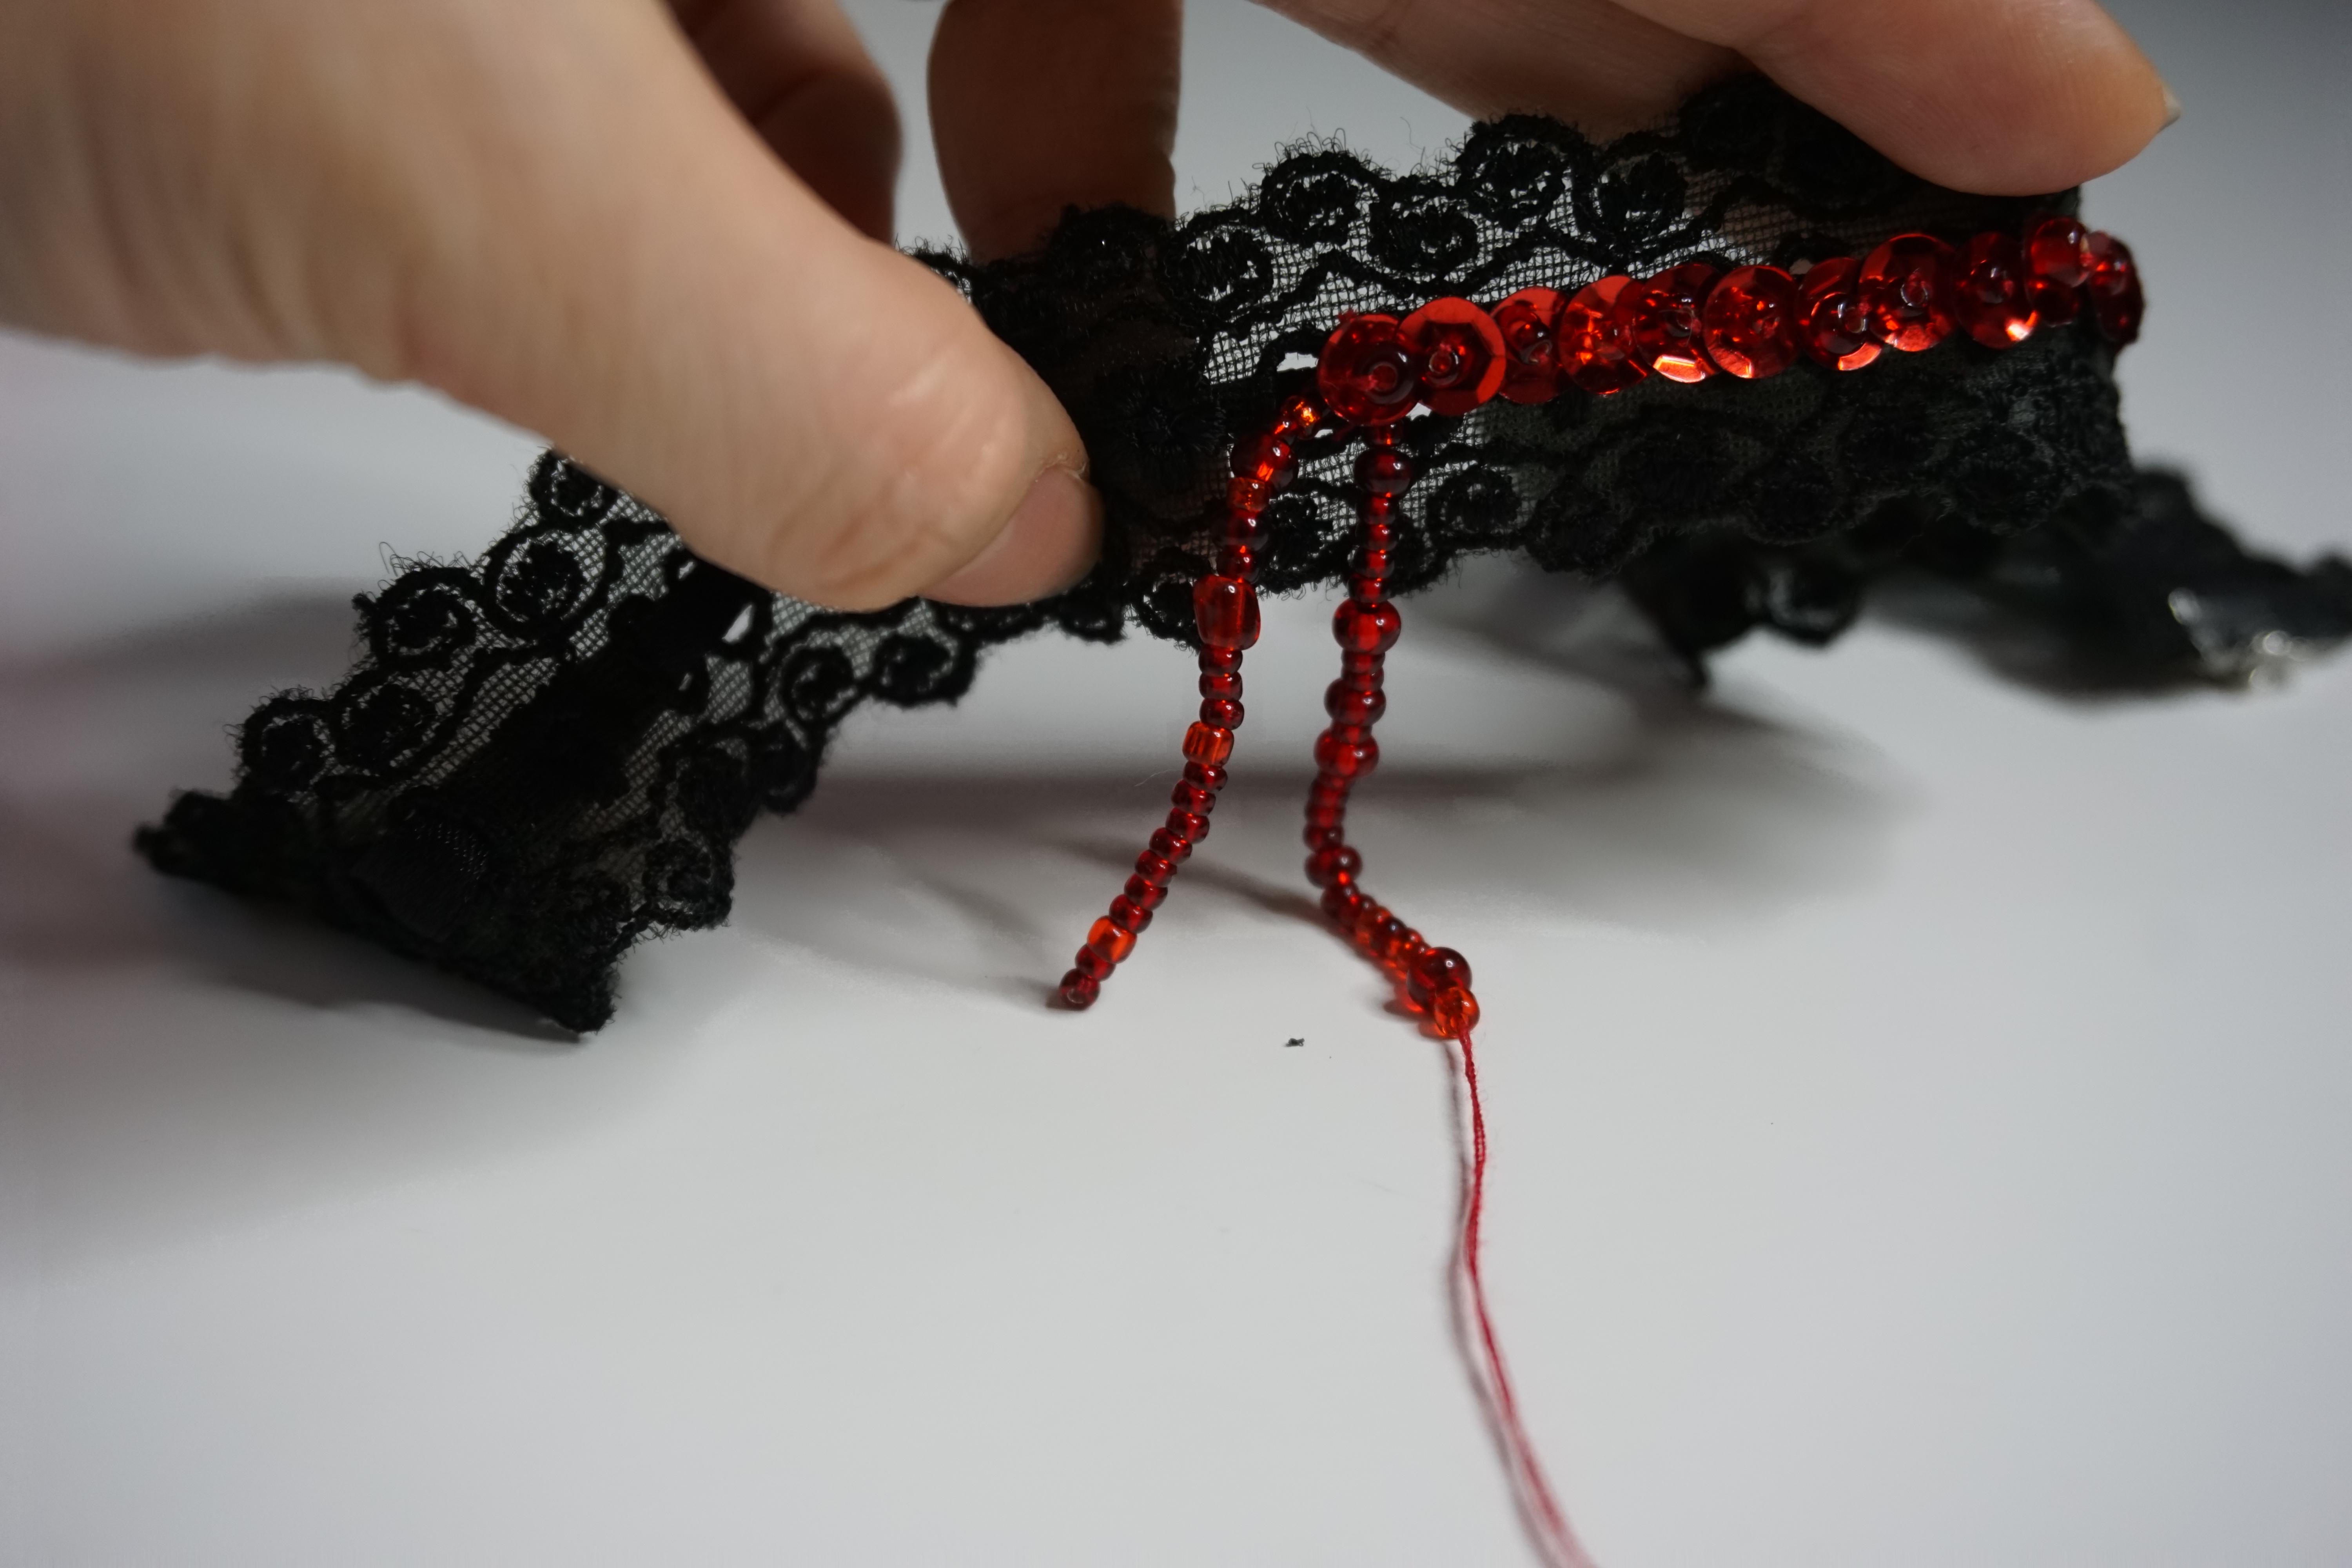





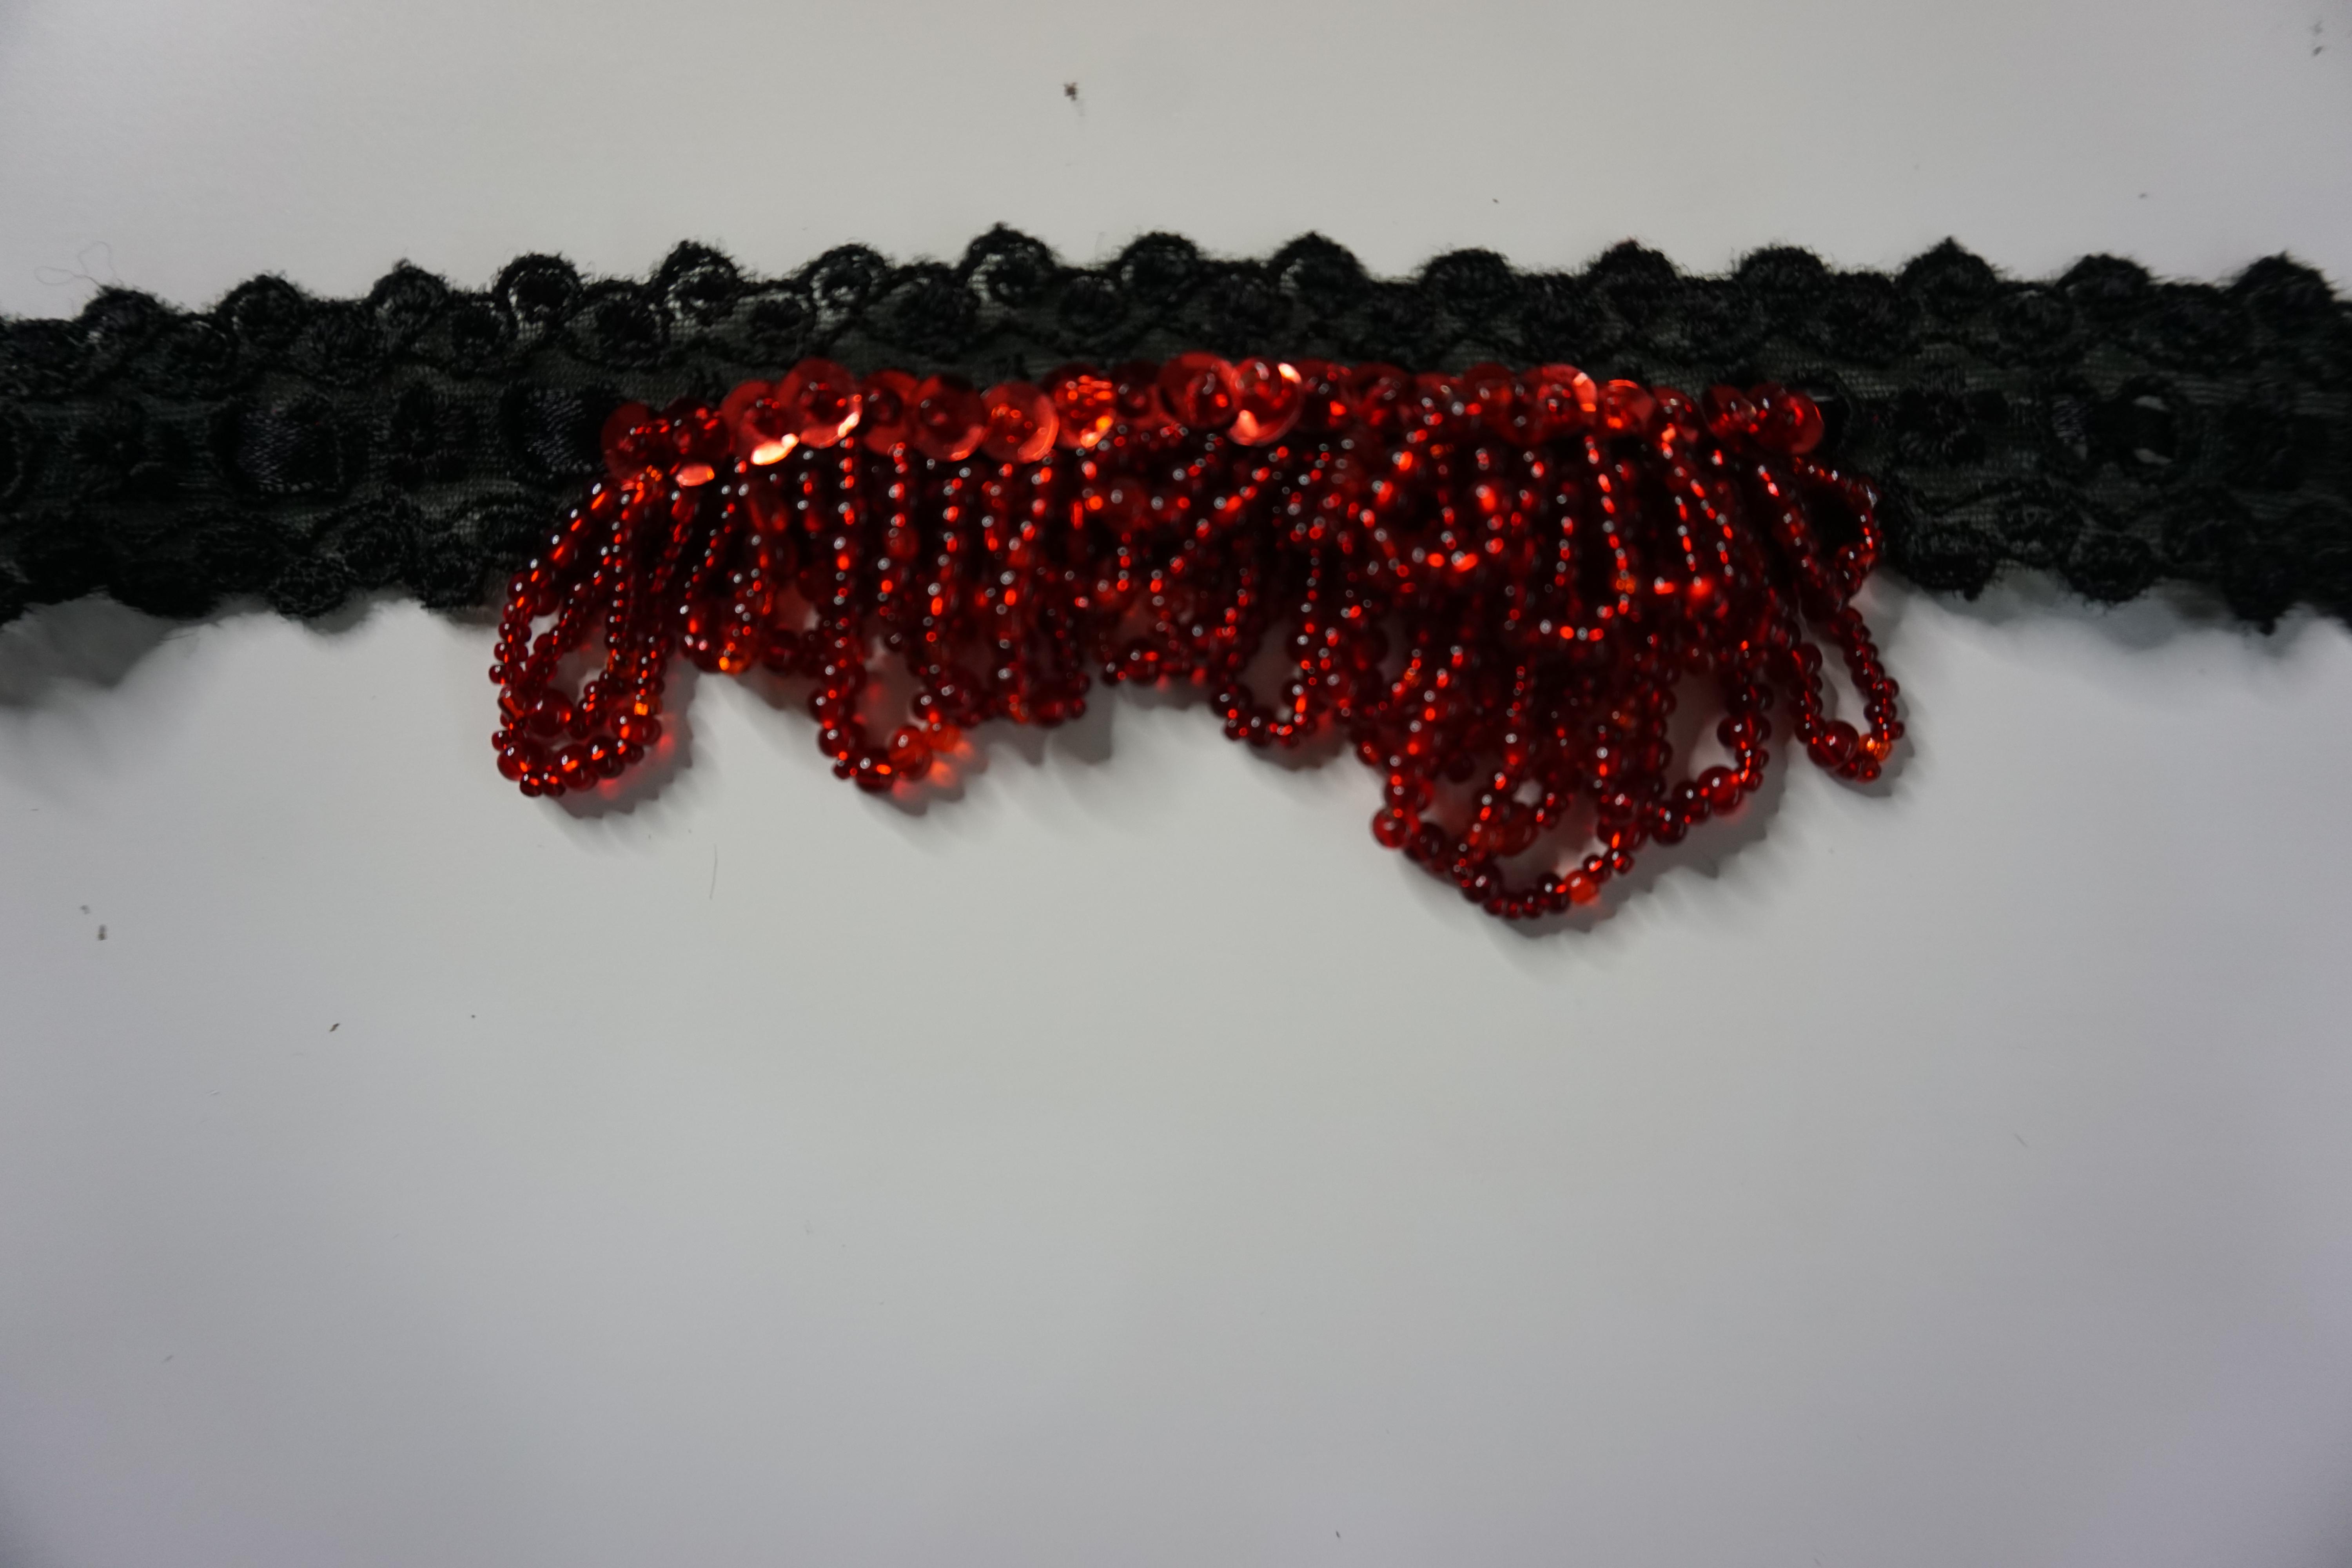

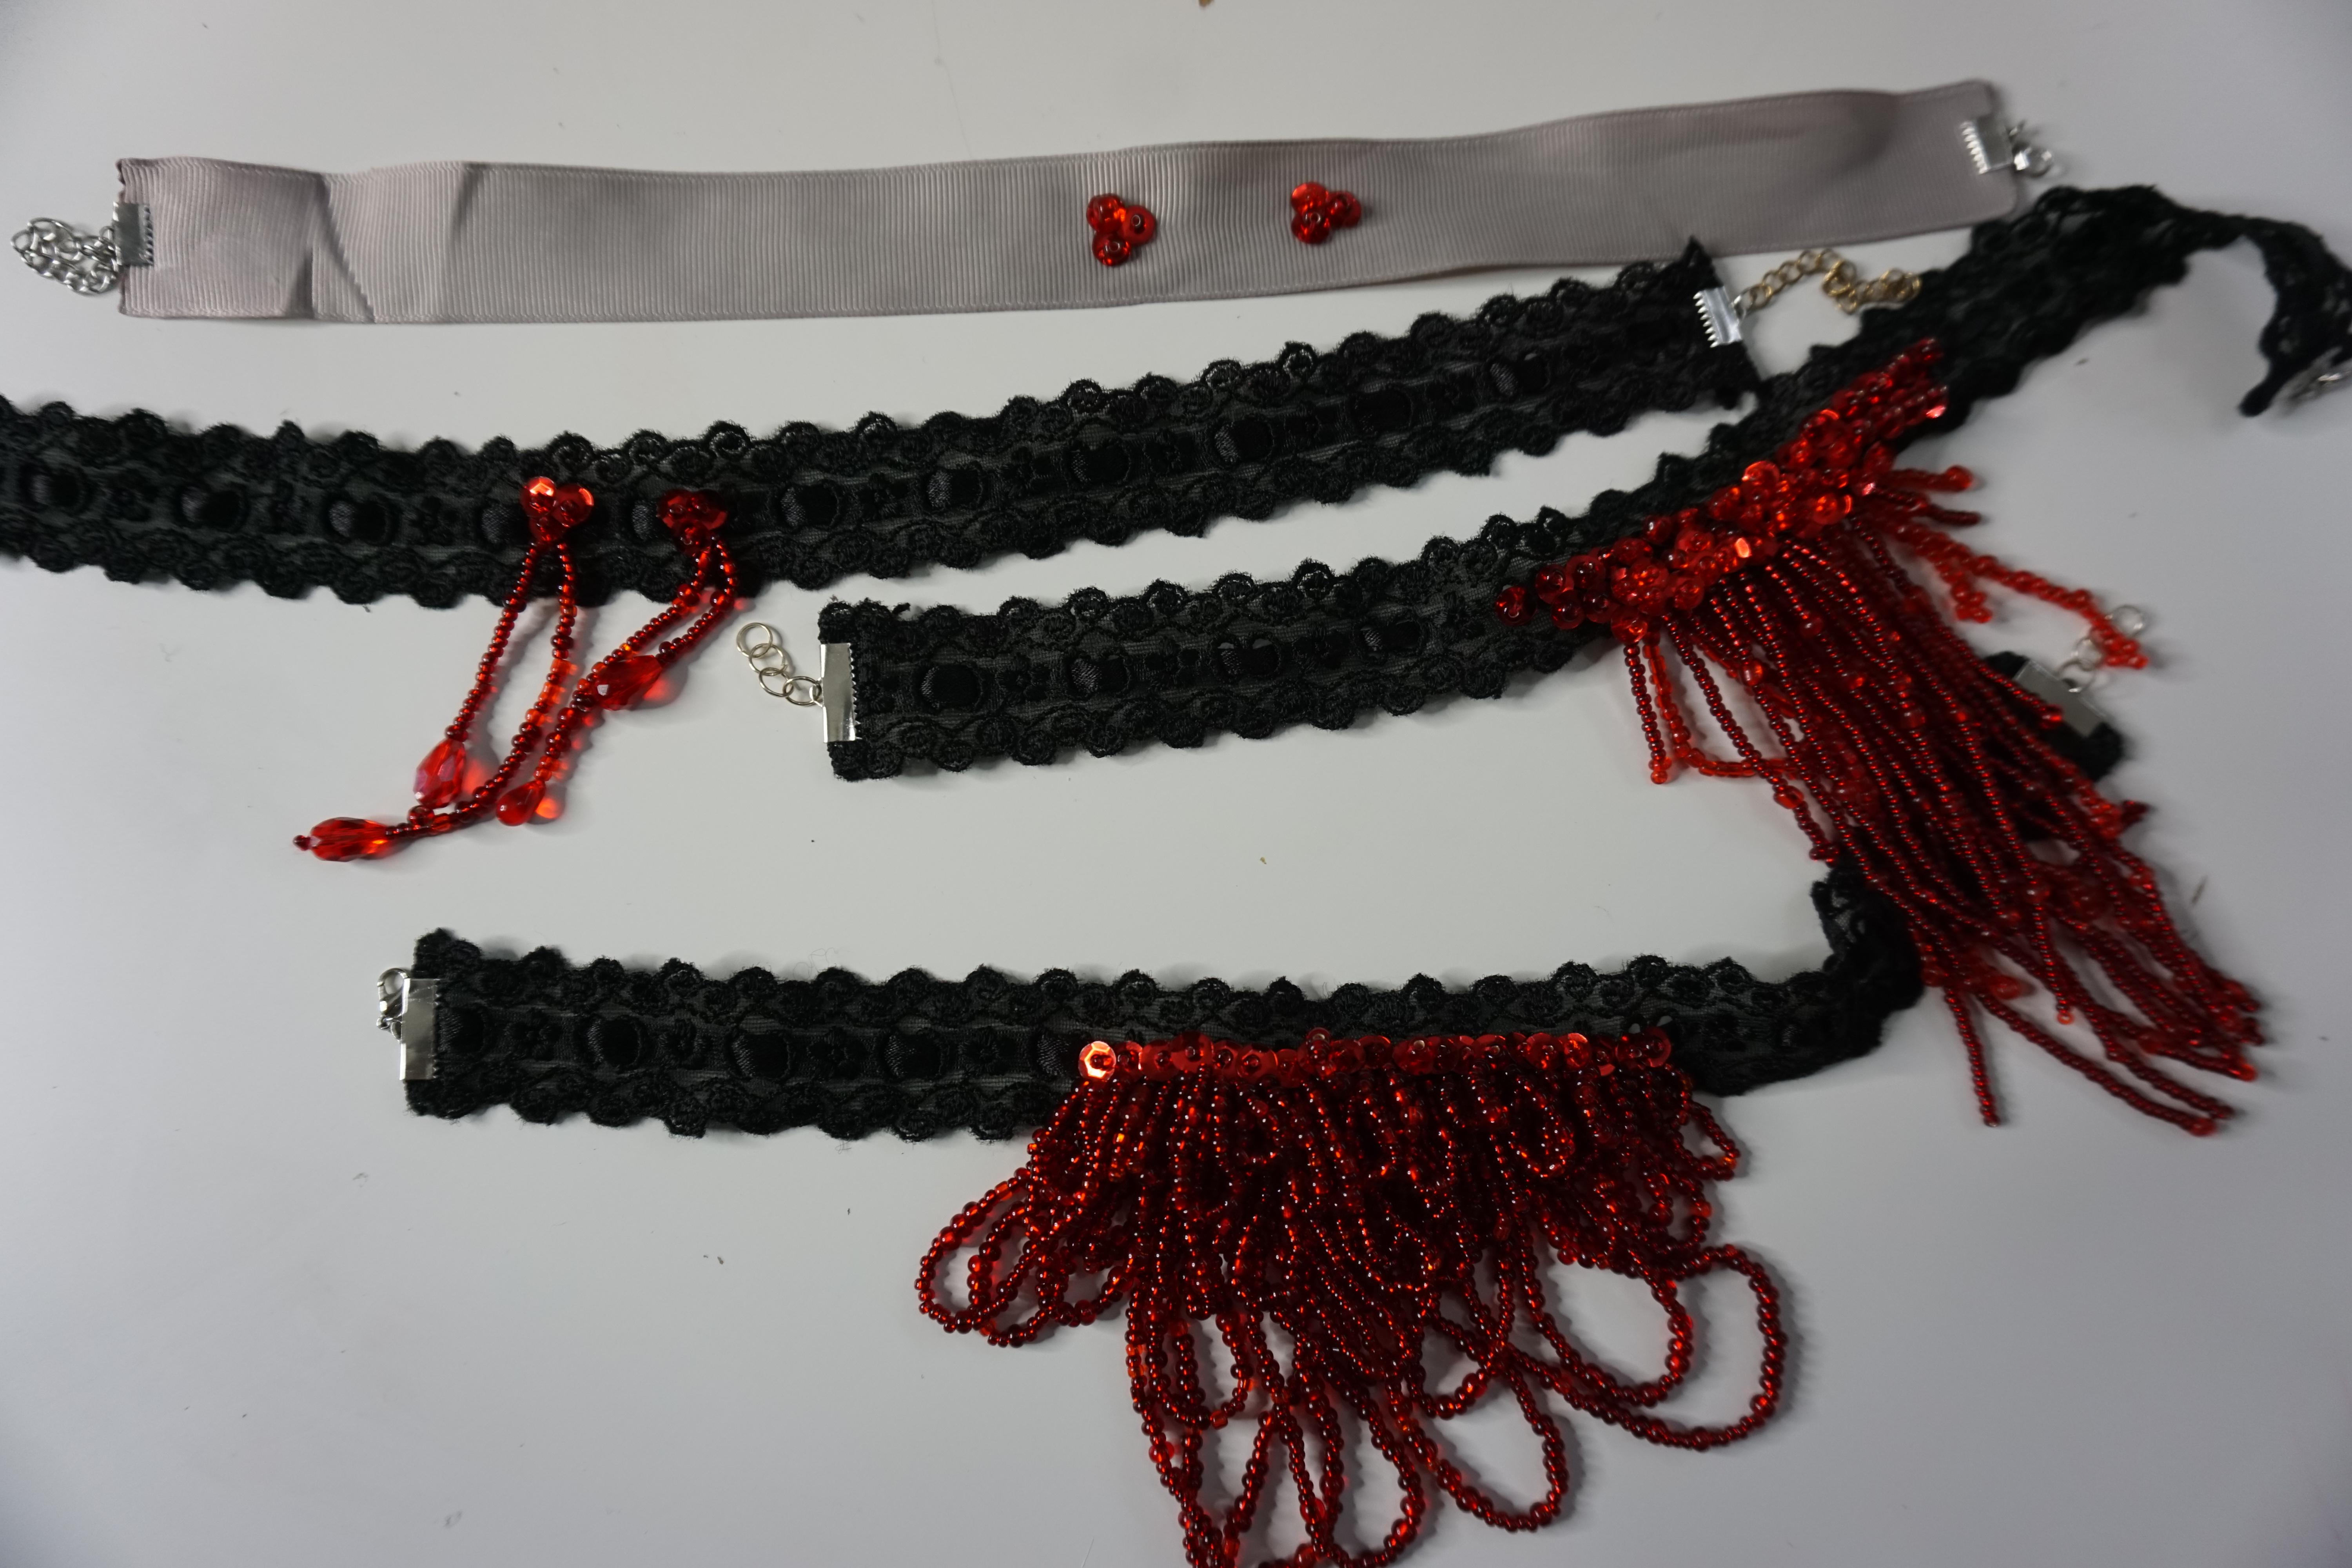
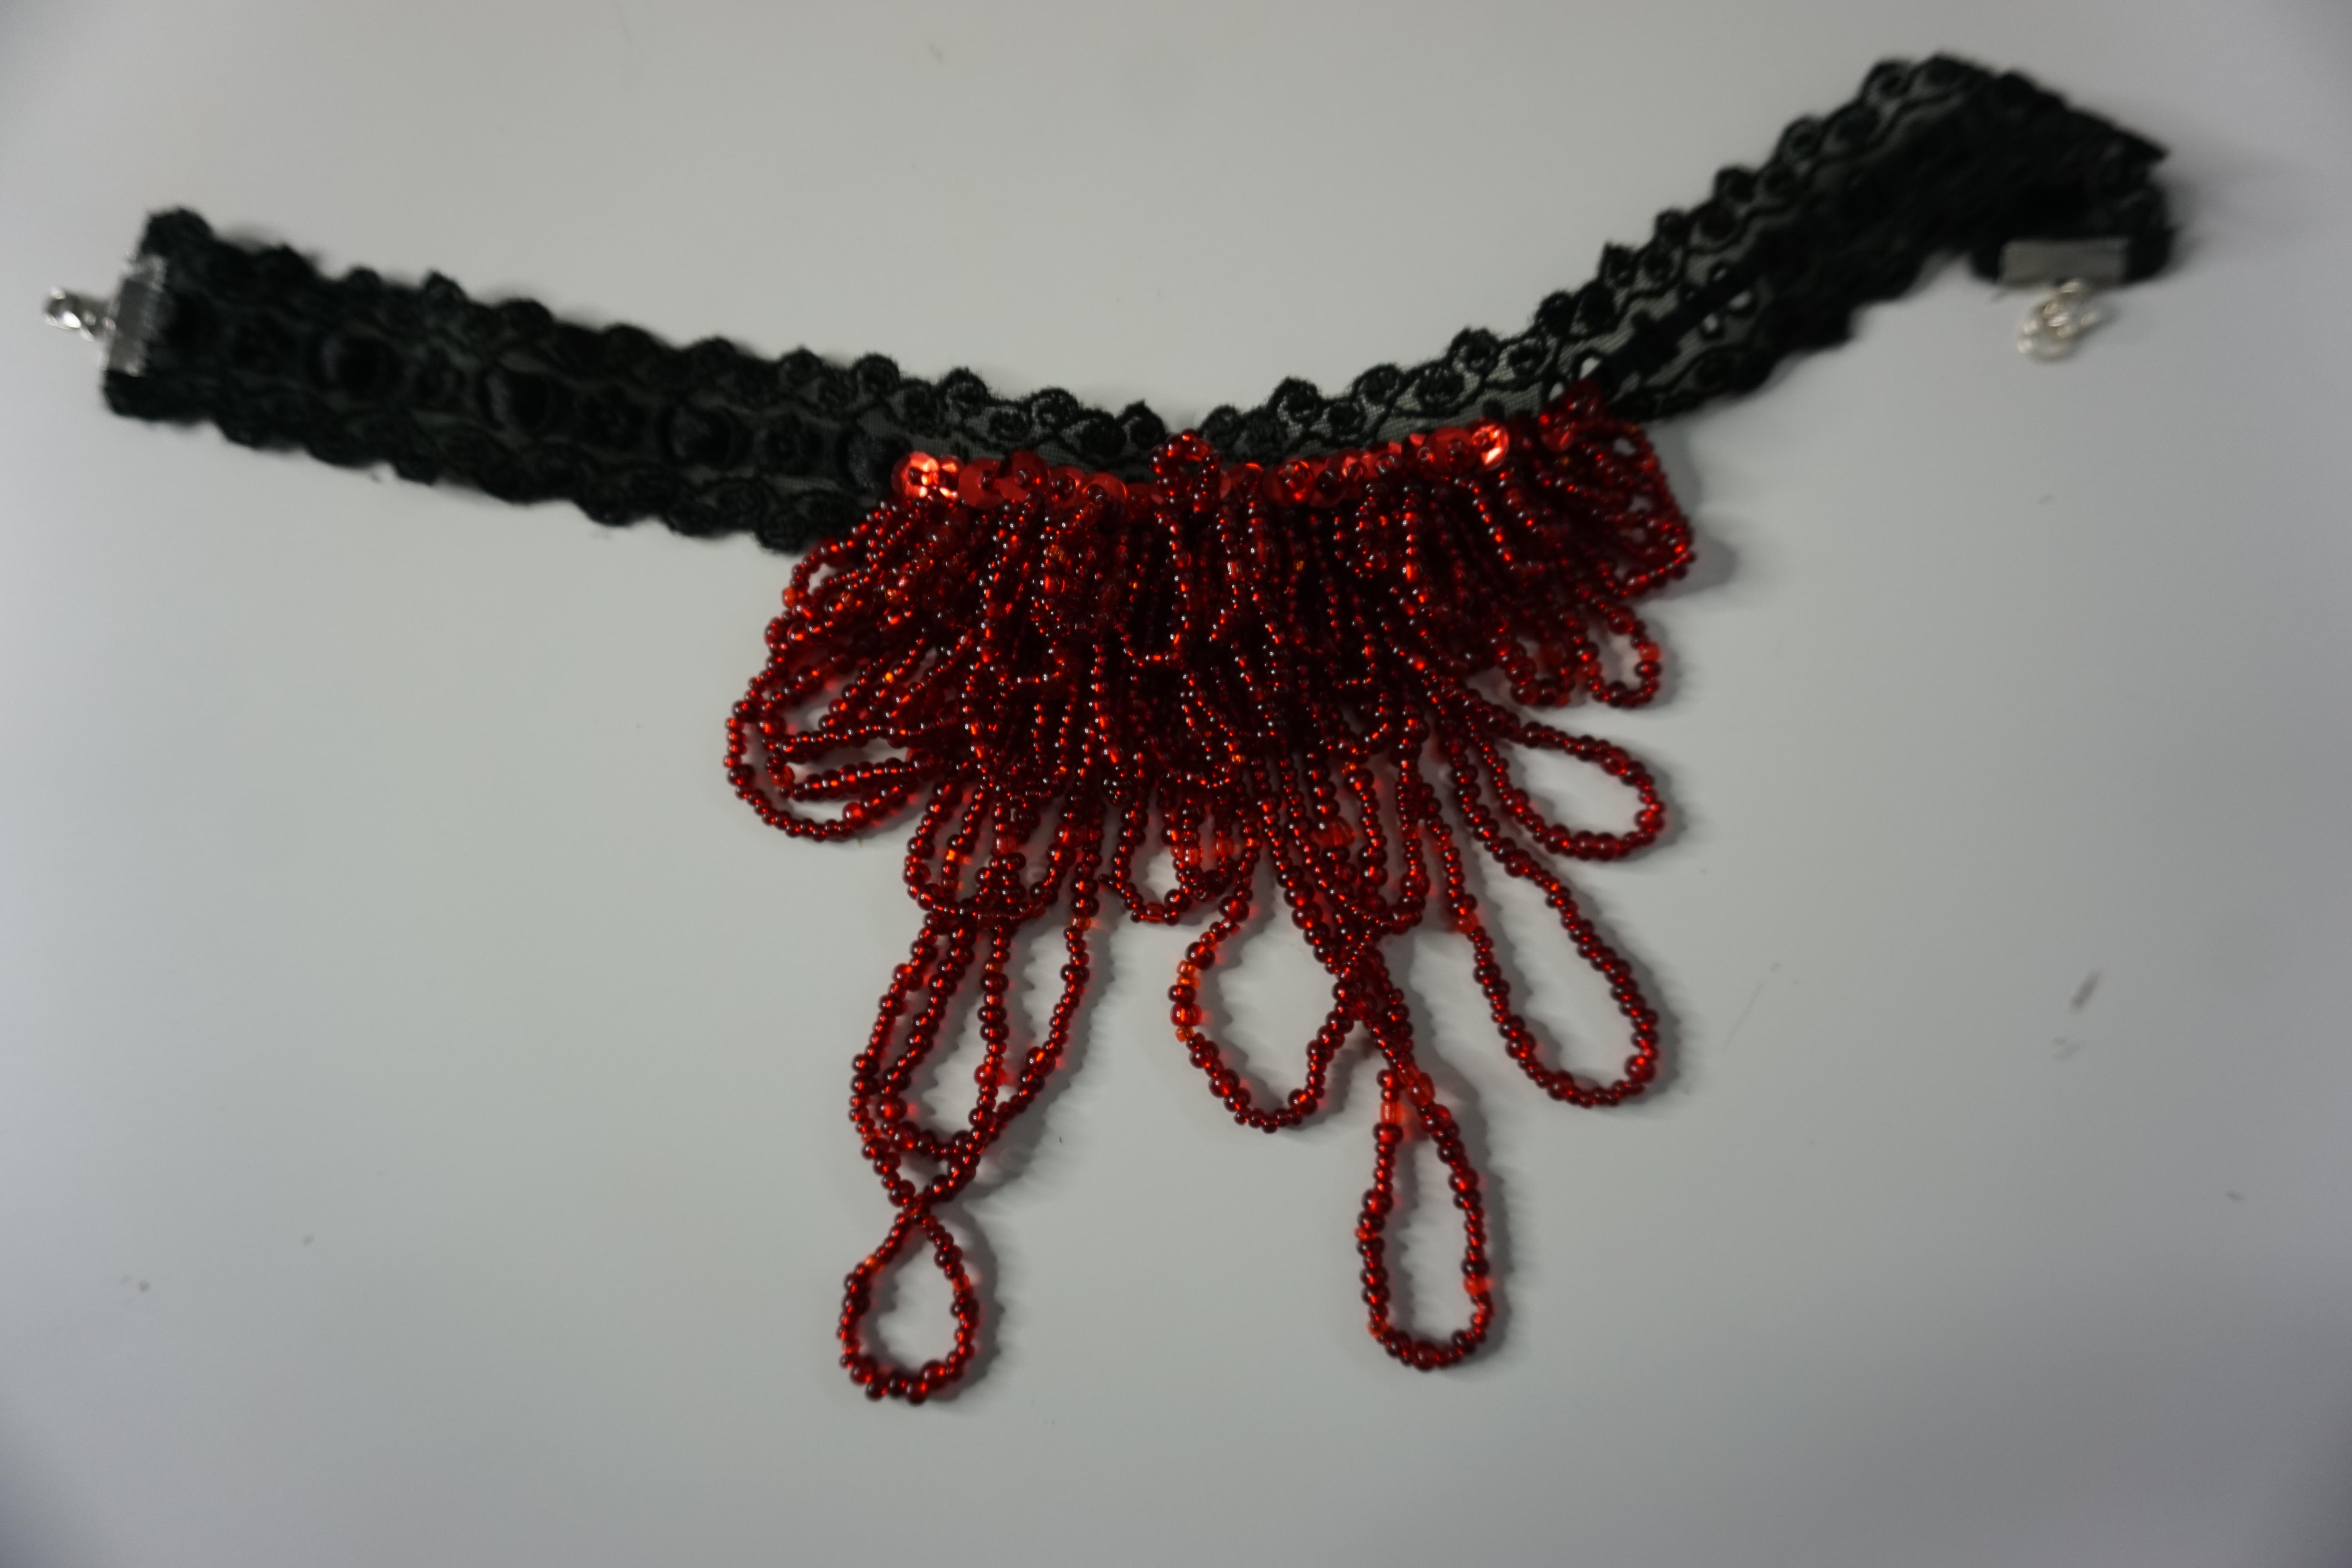

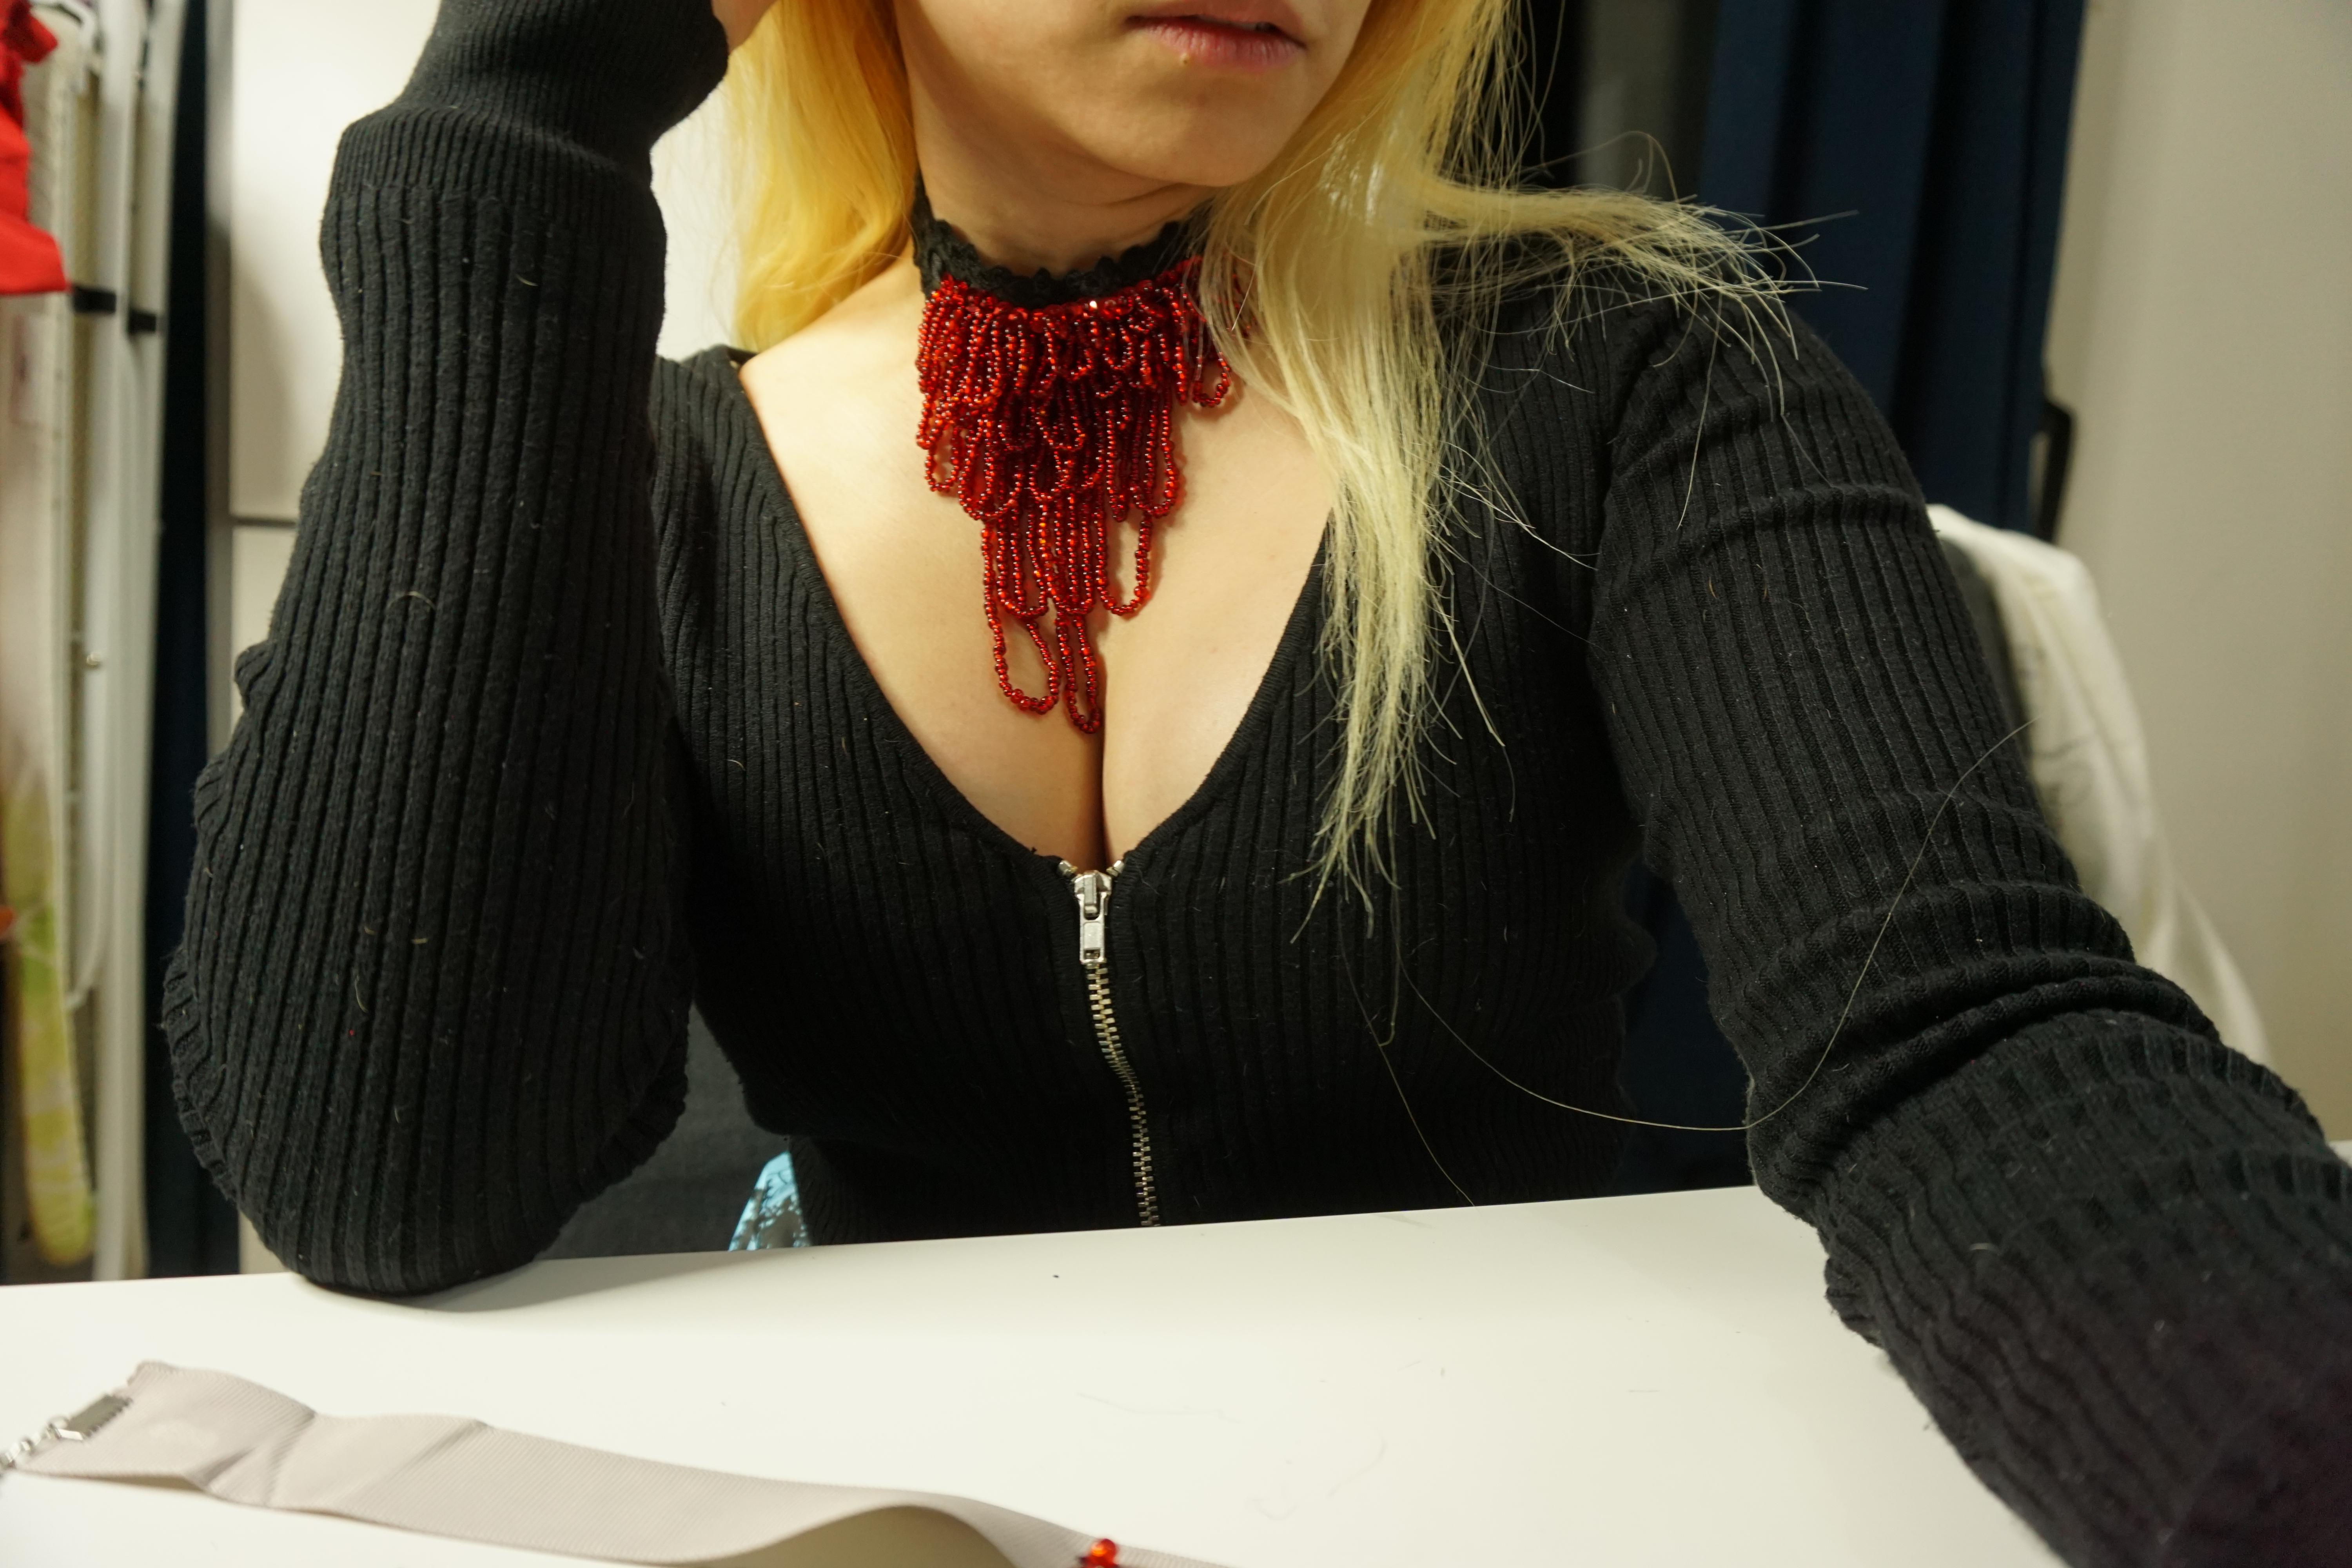

If you are doing a full-on gore effect you'll need to stick around for a bit.
- Create a new long strand of thread on a needle.
- Begin sewing from underneath a sequin from on side of the line.
I usually start from the left but the choice is yours. - Add a small amount of seed beads to hang.
- Go back through the second to last (penultimate) bead, and continue so forth until you reach the top. This will create an anchor without having to use a droplet bead.
- Create a stitch underneath a sequin.
- Add more seed beads than the last chain created.Either add a droplet bead or use a regular seed bead as your anchor, and sew back through all the beads until the top.
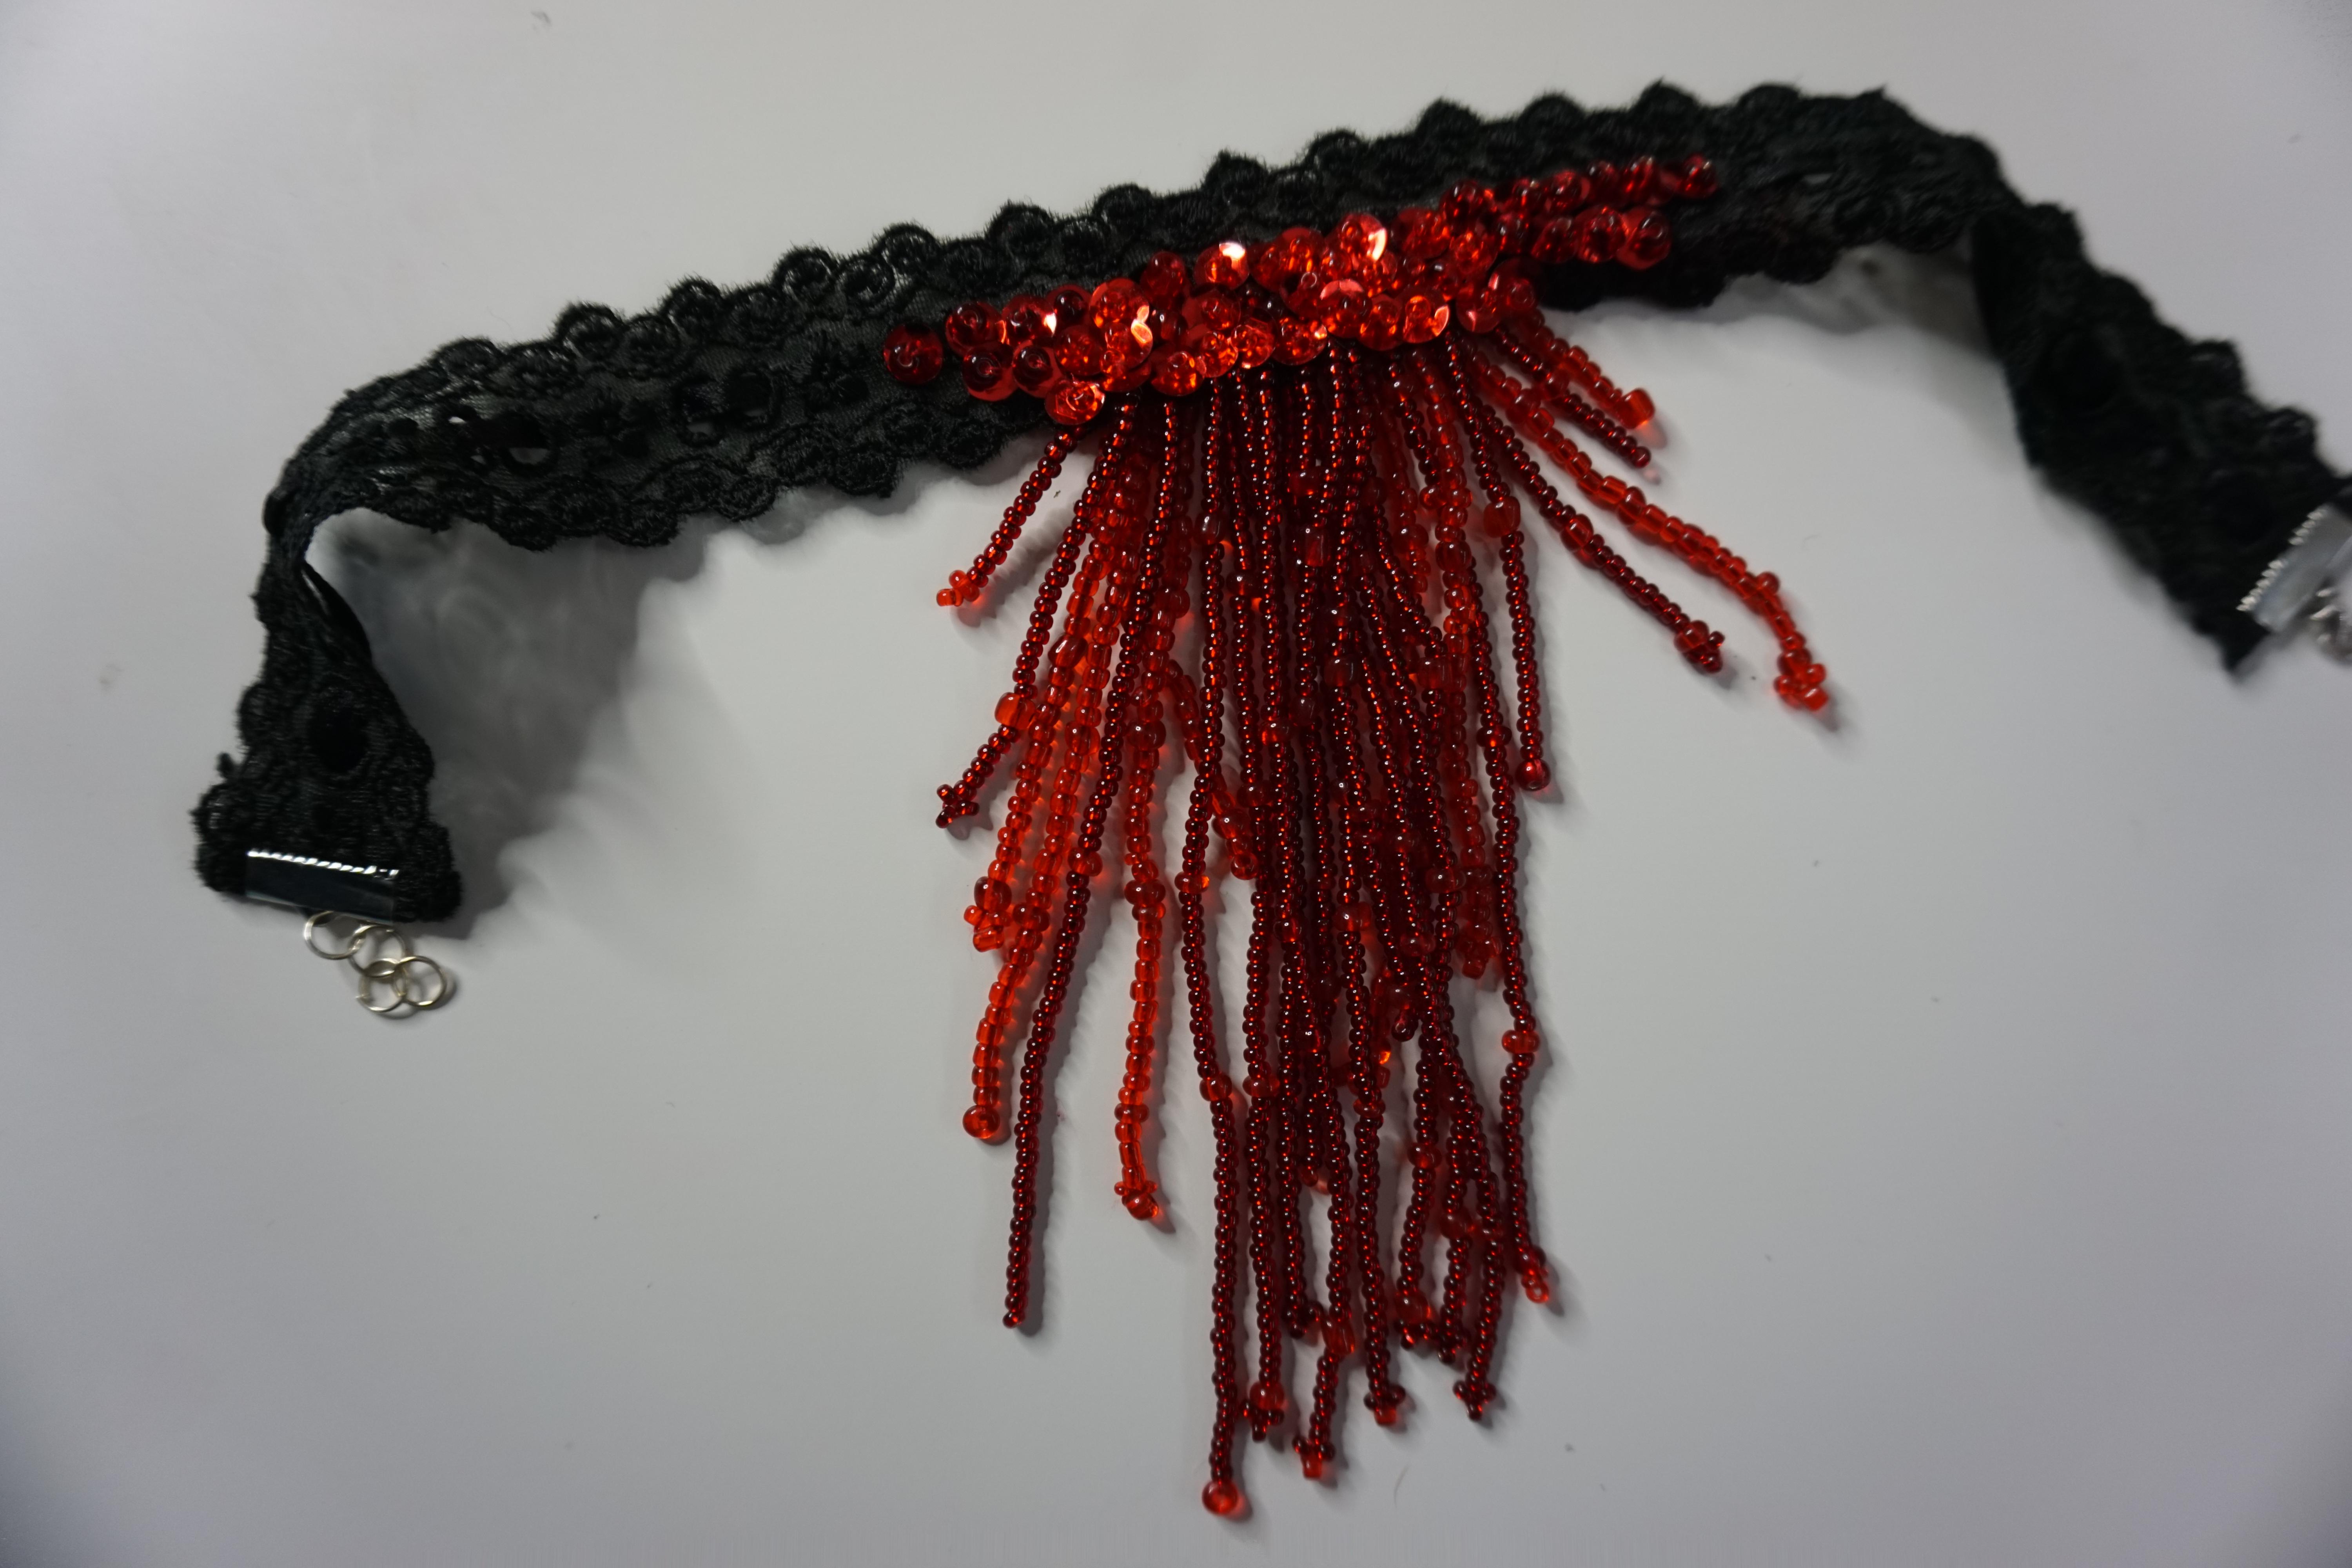
- Continue adding more strands of beads and gradually adding more to the strand to make it hang longer and drip longer until you reach the other end.
- Once you've run of out thread, make small knots into the choker behind the sequins to secure the hanging beads in place.
- Cut off the excess thread.
- Repeat the process until you're happy with your choker.
ALTERNATIVELY
If you want something a bit thicker you can change it up a bit with these steps instead of the ones above.
This one is a bit more bead-heavy but does get the message through in a different style.
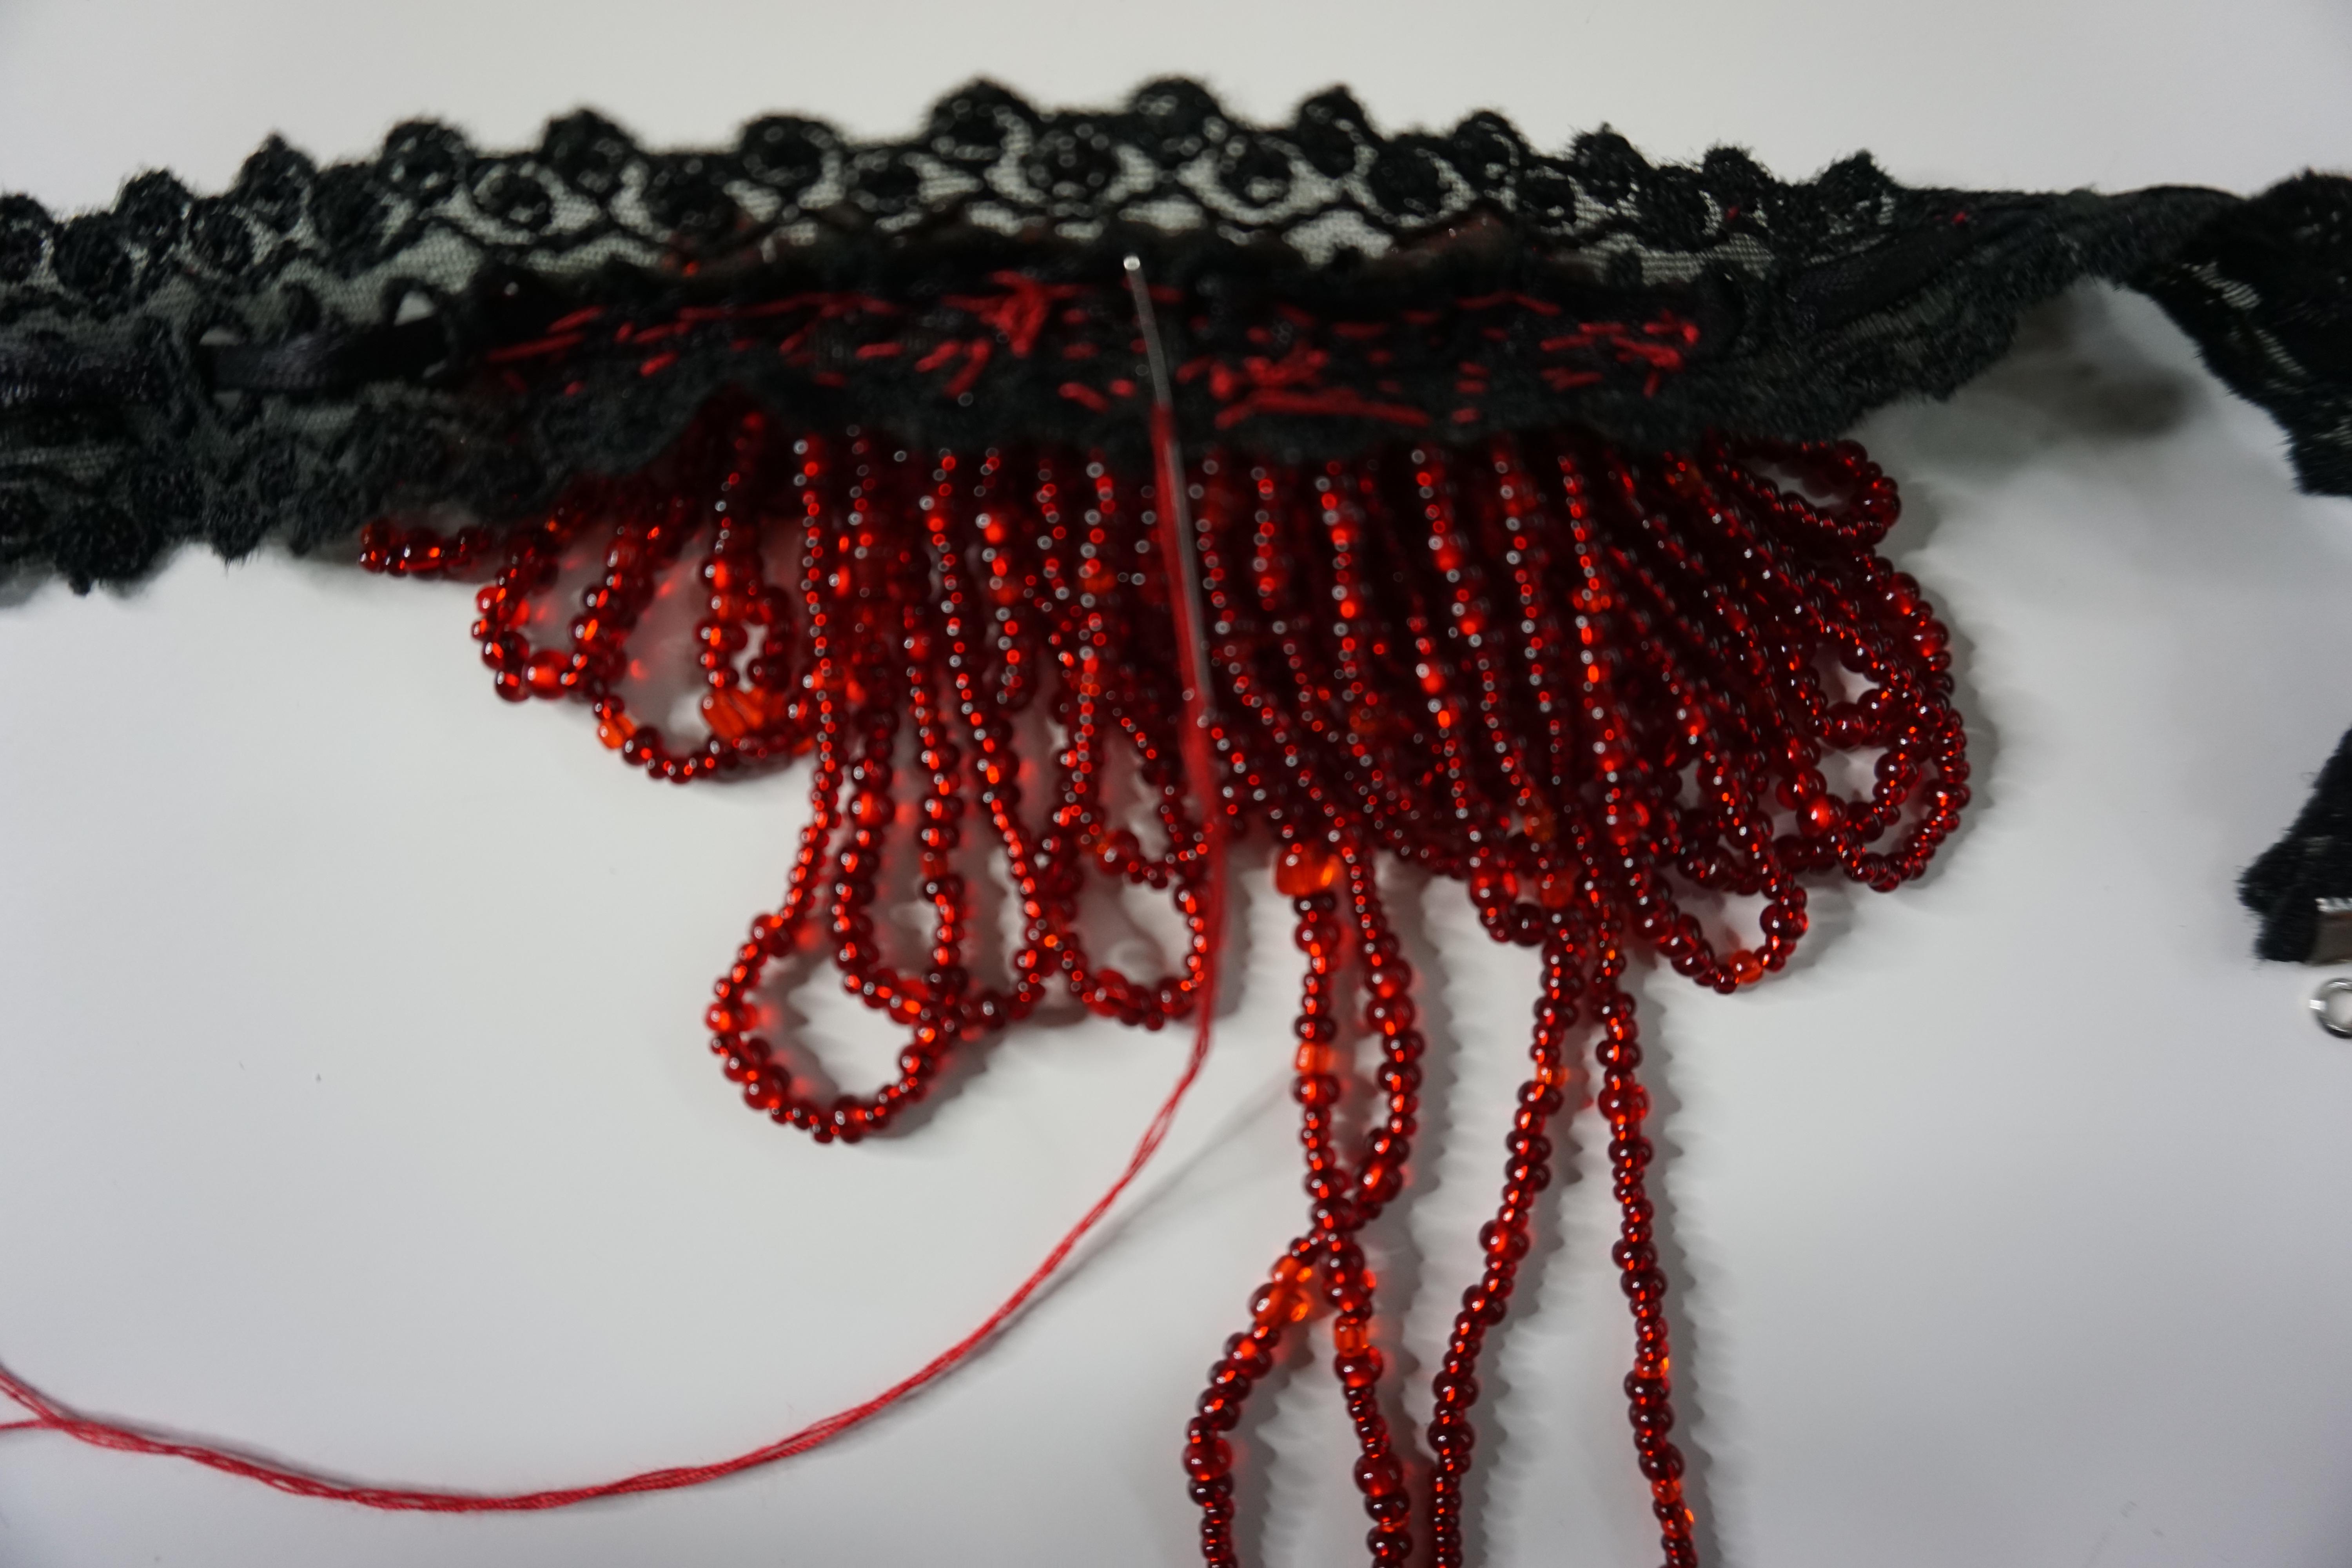
- Create a long string on a needle with a knot at the end.
And trust me, it should be long but be careful with how you keep it so it doesn't tangle. - Begin sewing a stitch from underneath a sequin to hide the knot.
- Add a decent amount of seed beads to the thread.
- Sew back into the choker underneath a sequin in the front side.
- Sew back to the front of the choker.
- Add more beads than the first time.
- Sew back into the choker not too far from the first stitches.
- Repeat steps 4-7 to create a long dangling mess of beads.
Feel free to add droplet beads in-between because the thread will turn into a loop. - When you run out of thread, create a few knots at the back of the choker.
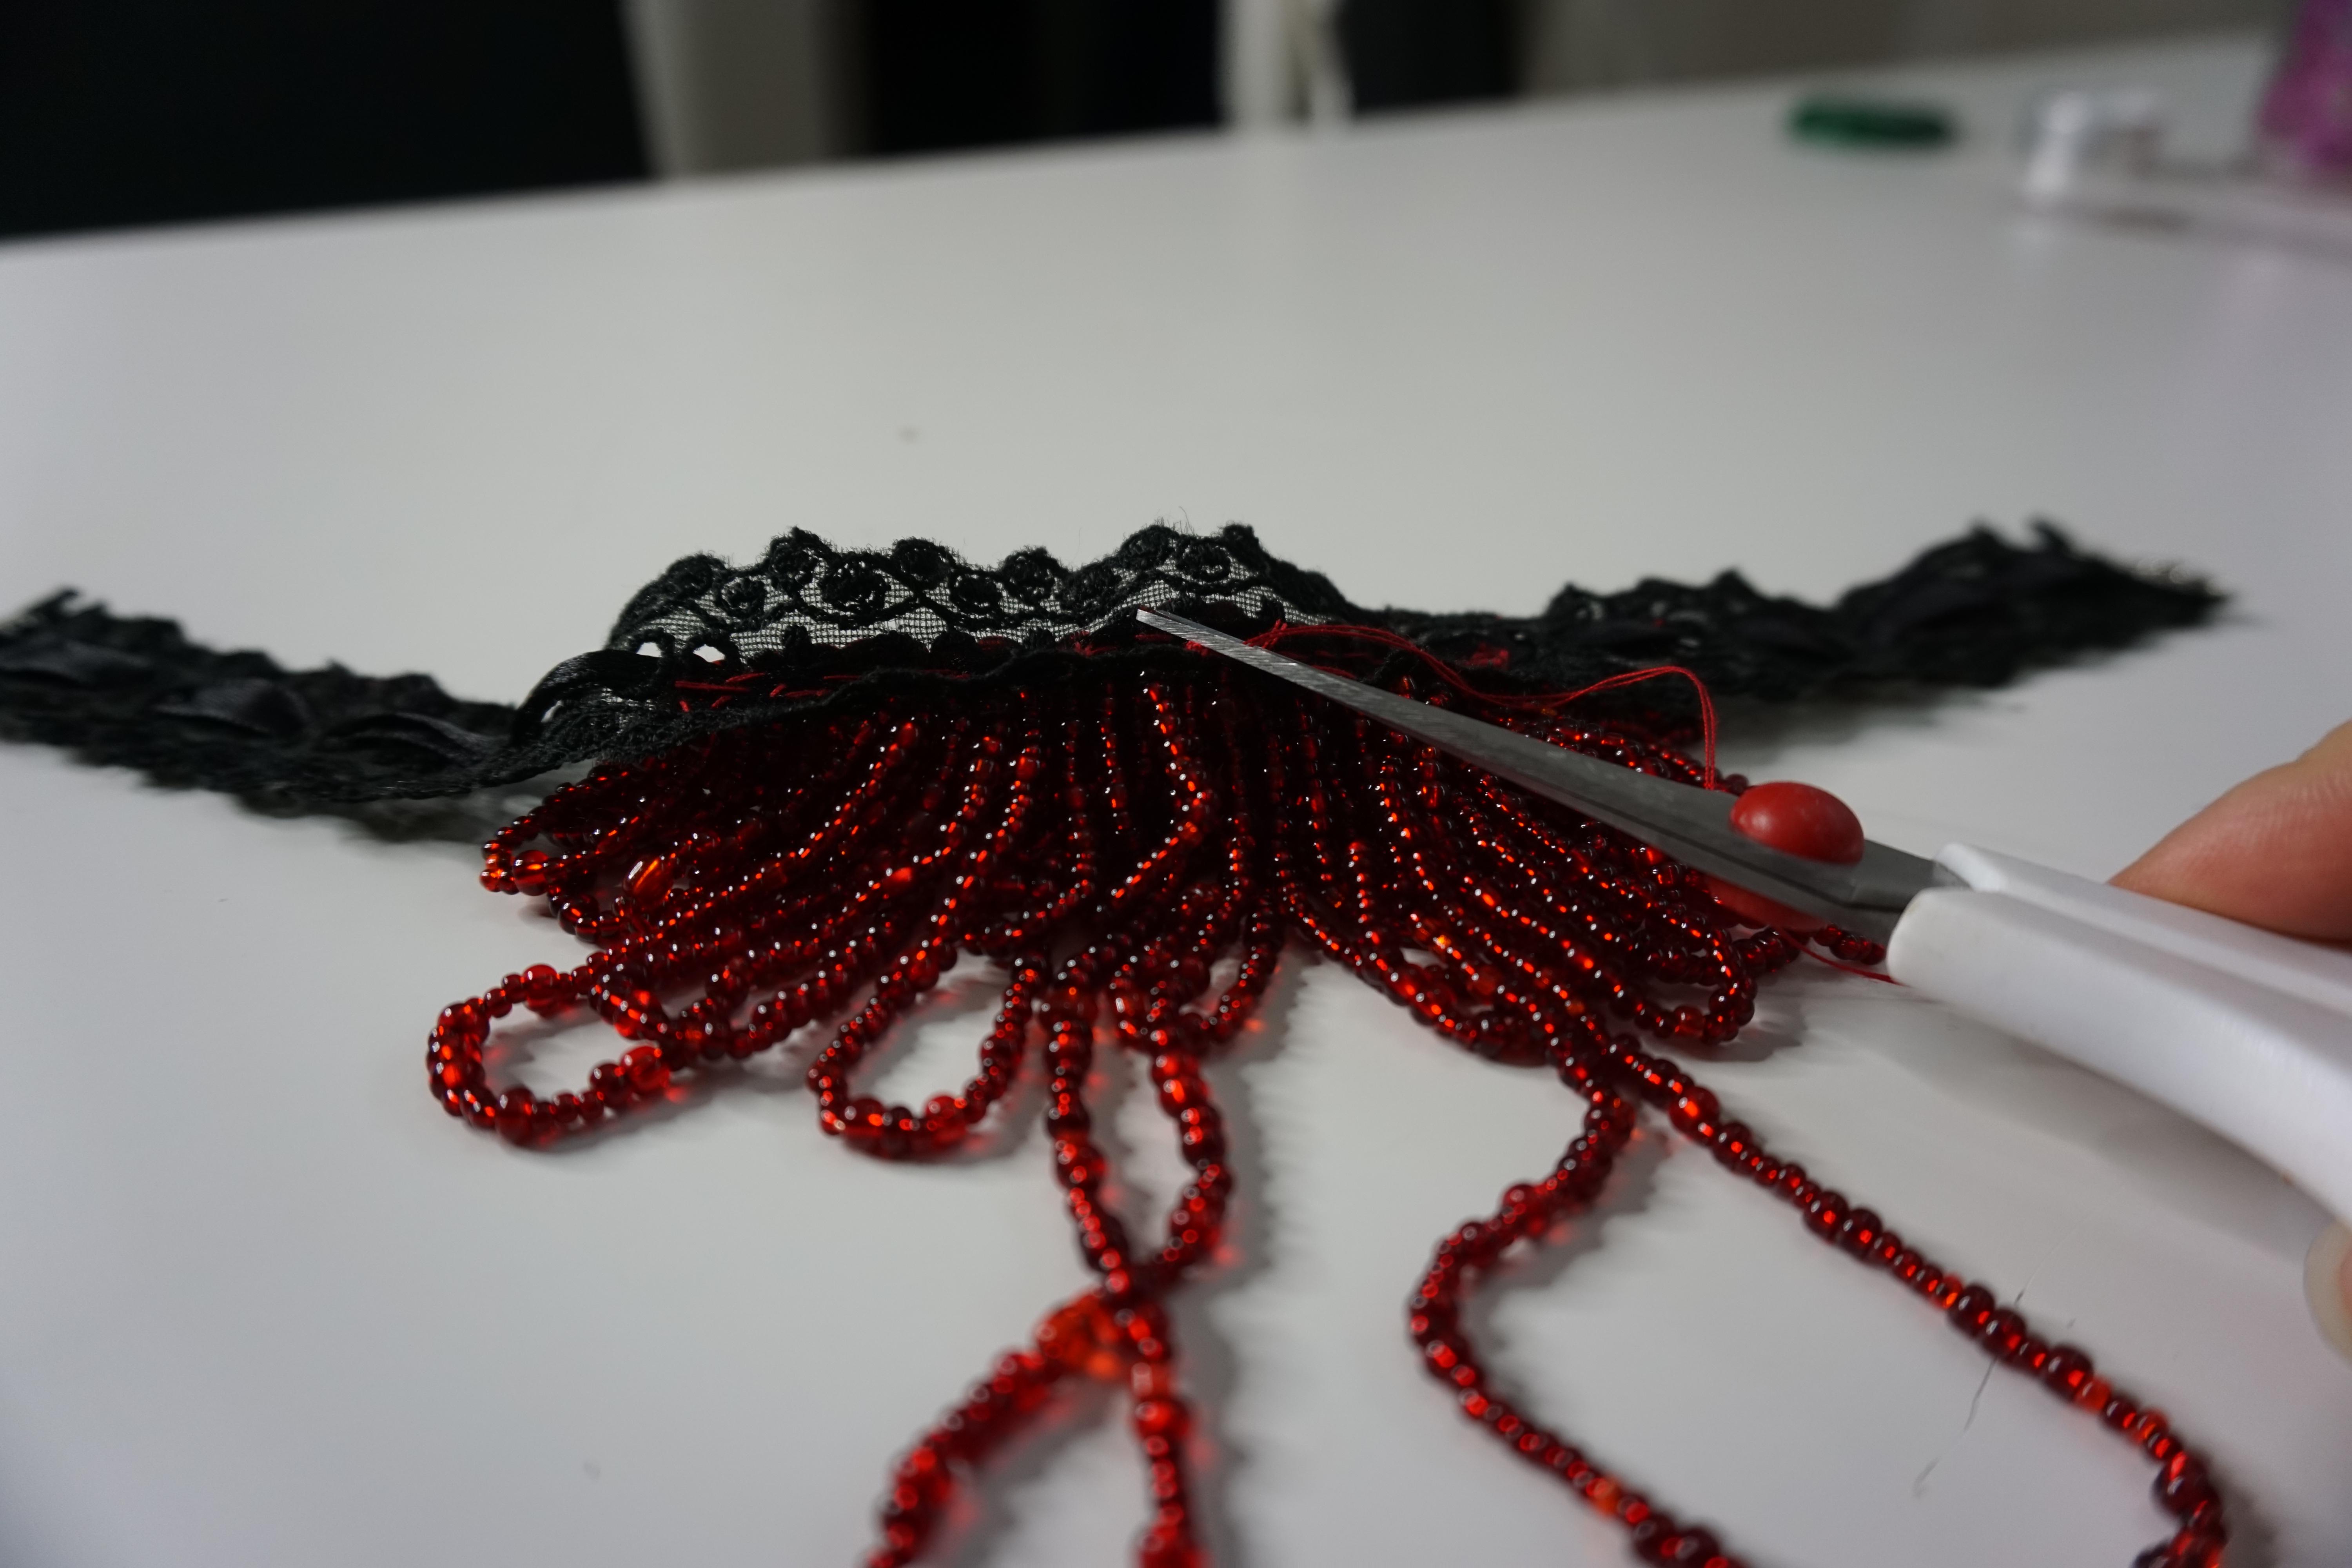
- Cut off the excess.
- If you want to add more continue with a new thread and creating beaded loops until the desired effect has been created.
- When finished making loops, secure the thread in the back of the choker with a few knots into the choker.
- Cut off the excess string.
AND YOU'RE DONE!! <3