How to Make Birthday Cards With Microsoft Word
220797 Views, 21 Favorites, 0 Comments
How to Make Birthday Cards With Microsoft Word

It is advisable to involve your kids in creating the home made birthday cards. This will save you money and also entertain your kids. Your relatives and friends will always be excited to receive birthday cards that have been made by your kids. In this article we have set down some tips on how to create the perfect birthday card using Microsoft Word.
Make Up Your Mind on the Content of Your Card.

It is very important that before you start making your card, you should have in mind the type of things you would like to put down in the birthday card. You should sketch the details down on a piece of paper so as not to forget.
Open the Microsoft Office 2010 or Any New Version on Your Computer.
This is pretty basic and you cannot miss it.
Lay Out a Template
.jpg)
.jpg)
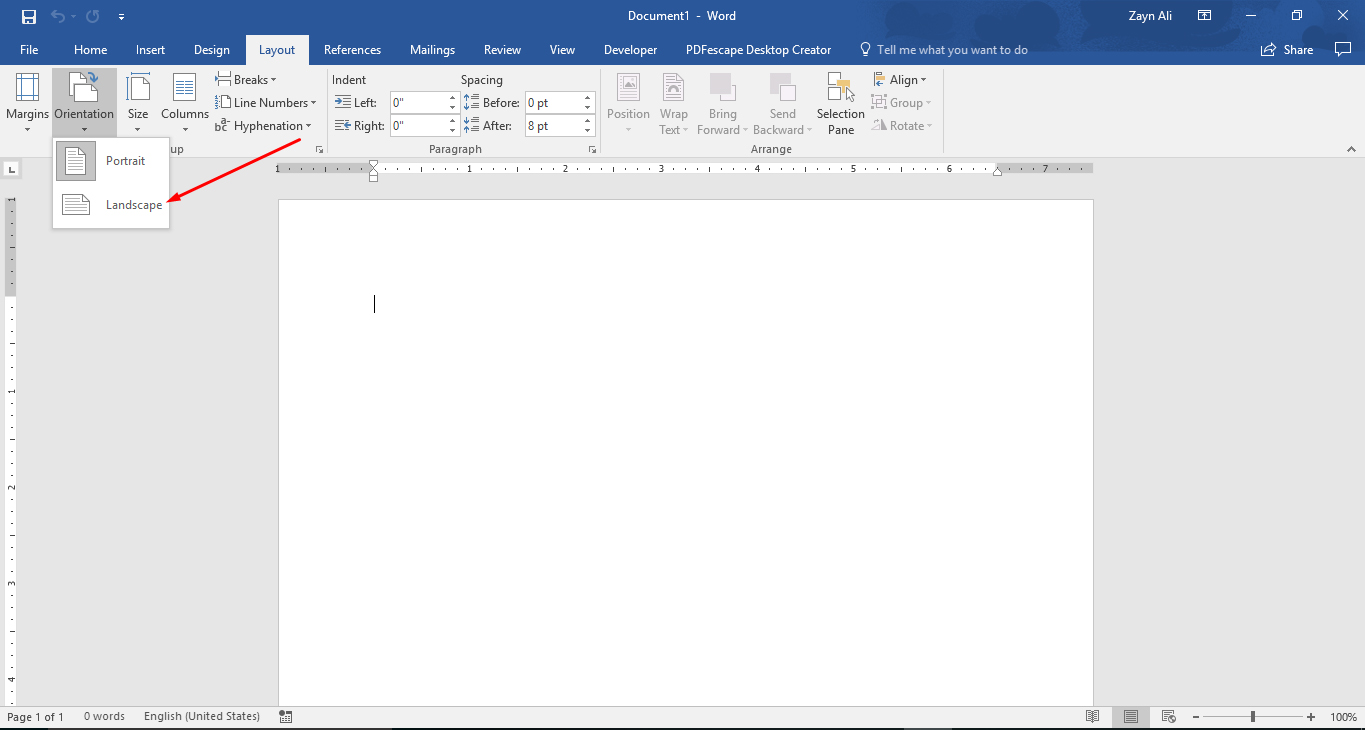
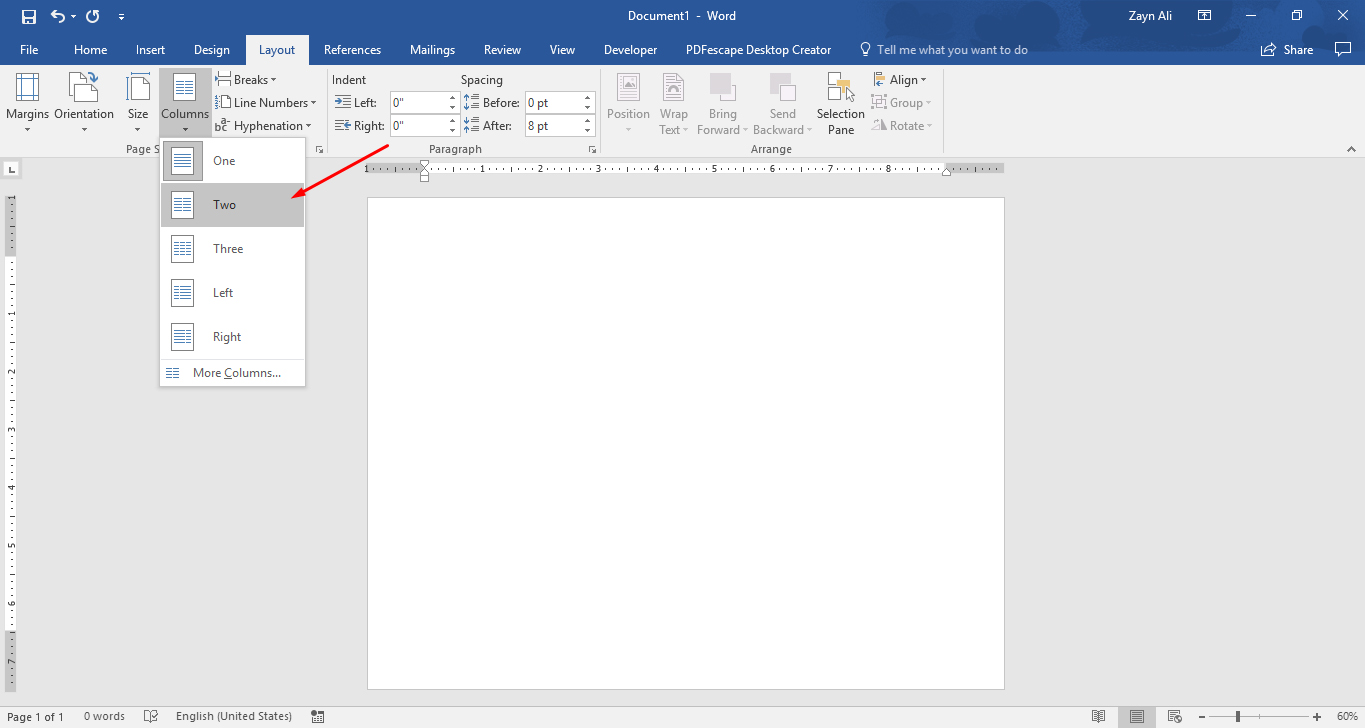
After opening the Microsoft Word app in your computer, head to the file section > New > Blank document. After that, go to the page layout section and select orientation and then select landscape. Finally, go to the column section and select the number of columns you would like( we recommend two columns ). Using two columns, you can now include images , any text you would like, and any type of decorations you would like to use on the column that is on the right side ( hand ) - this is what will make up the front of your birthday card. The fact that you are using columns means that even if you fold it after printing it, the birthday card will be nicely lined up.
You Ought to Change the Color of Your Background.
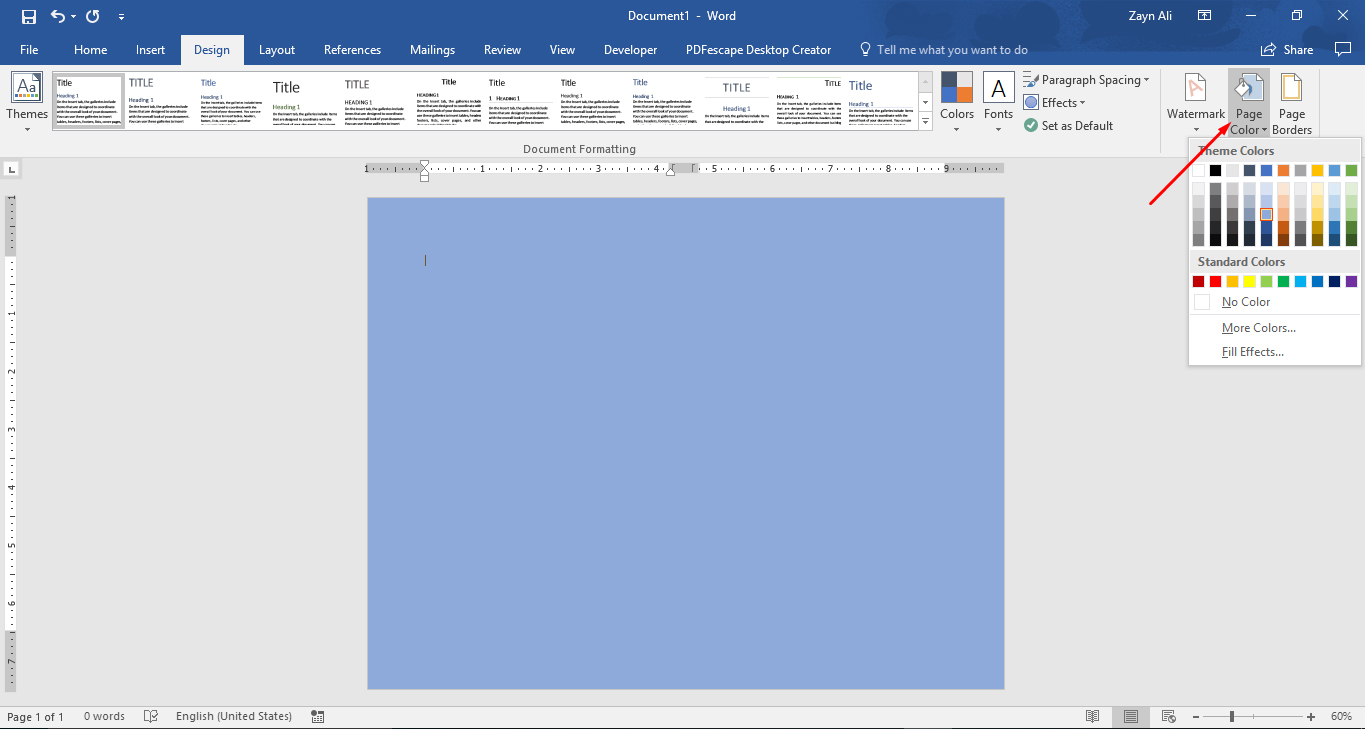
Click on the page layout section then click on the page color. The page color consists of many different types of colors that you can choose from. When choosing the right color, always consider the receiver's favorite color and not the color you prefer. You want the card to be perfect so as to make the receiver extremely happy. If you are not sure of the right color, then you necessarily do not have to put a background color. The background color will sometimes use up a lot of your ink, therefore it is not really a must.
Add a Border.
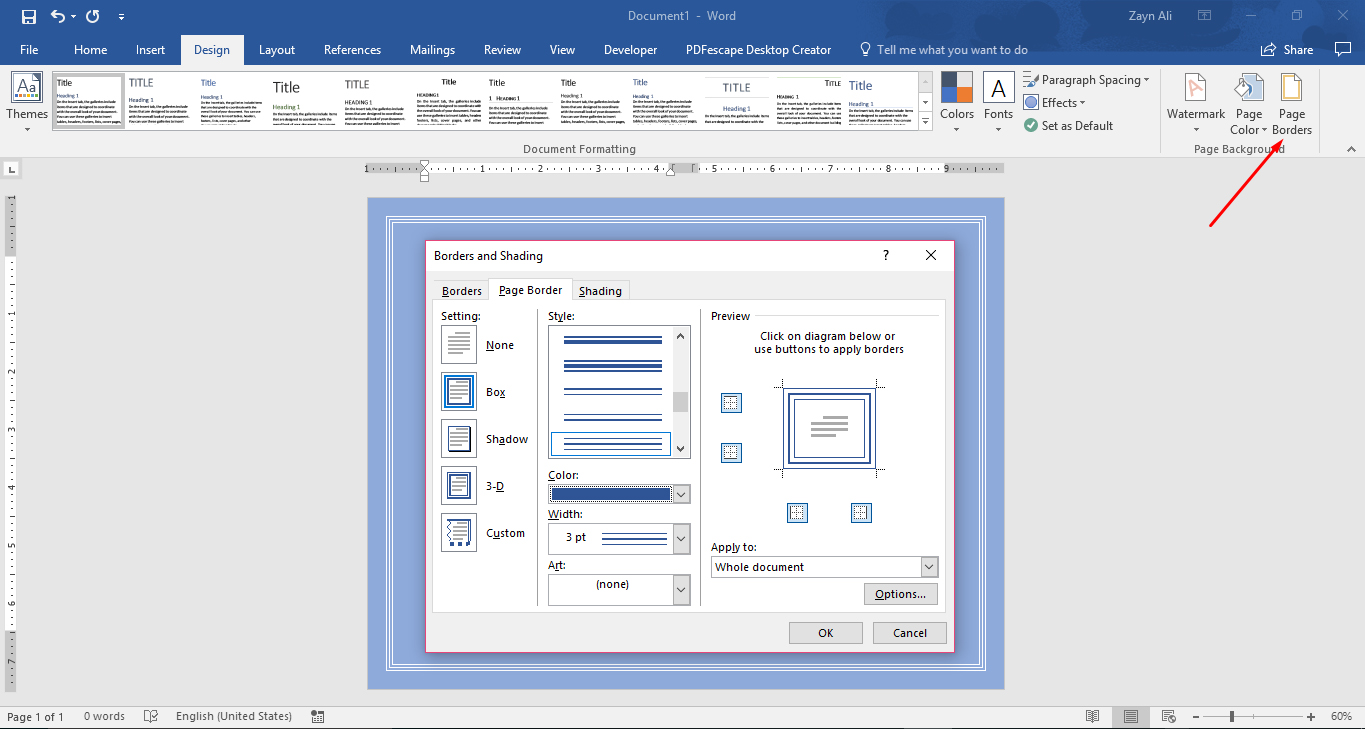
At this step, you should go the page layout section and click on page border. Choose any style that is fun and appeals to you ( these styles are available at the bottom in the Art box and it consists of several patterns, different kinds of balloons, stars and even hearts ). You should also choose the type of color.
Add the Appropriate Text.
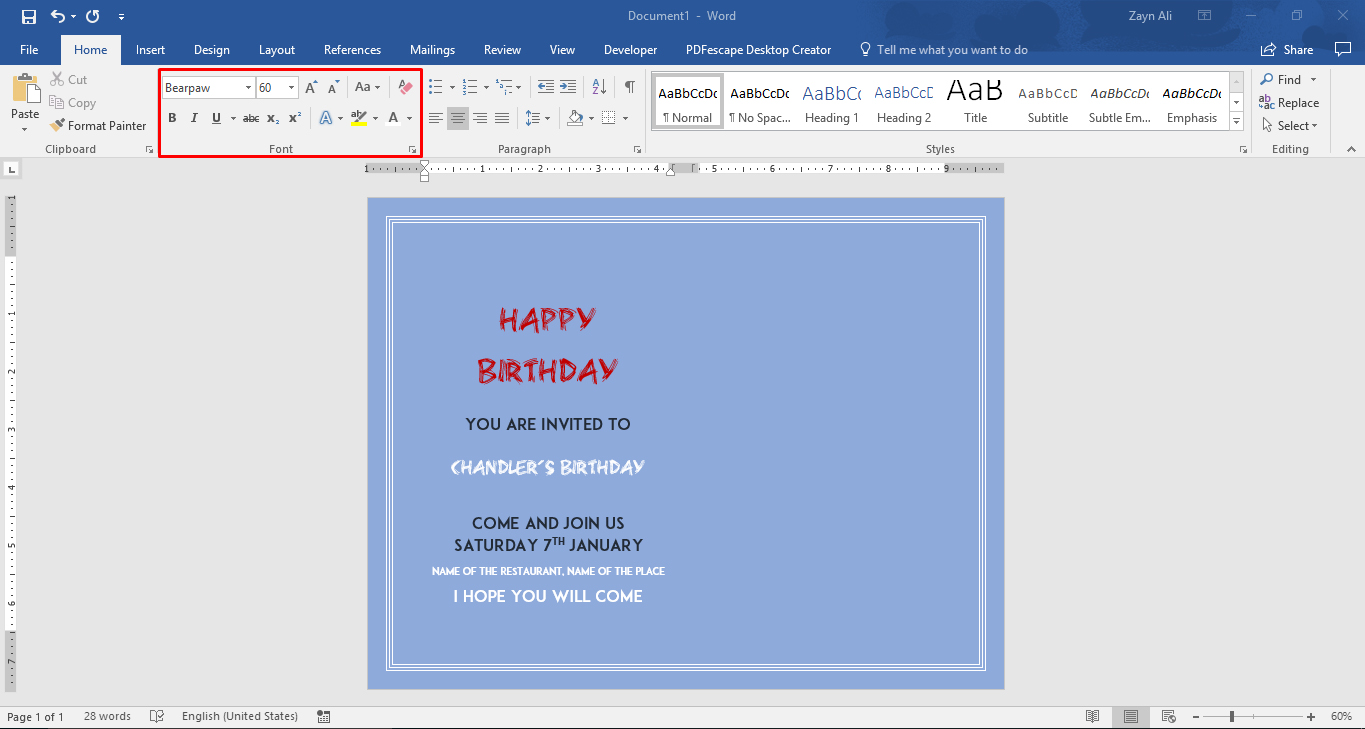
Head to Home and select Word Art section- here you can choose the type of text that you would like to use. You can decide on the text color or text size at this step.
Add the Clip Art.
If you are using new version like Office 360, 2013 or 16 then unfortunately Microsoft Office no longer provide clip arts. But if you are using 2010 or earlier version then go to Insert and click on Clip Art. Microsoft Word 2010 consists of many kinds of images you can pick and use. Click on the search section and type the word 'birthday'.
Insert Your Own Pictures.
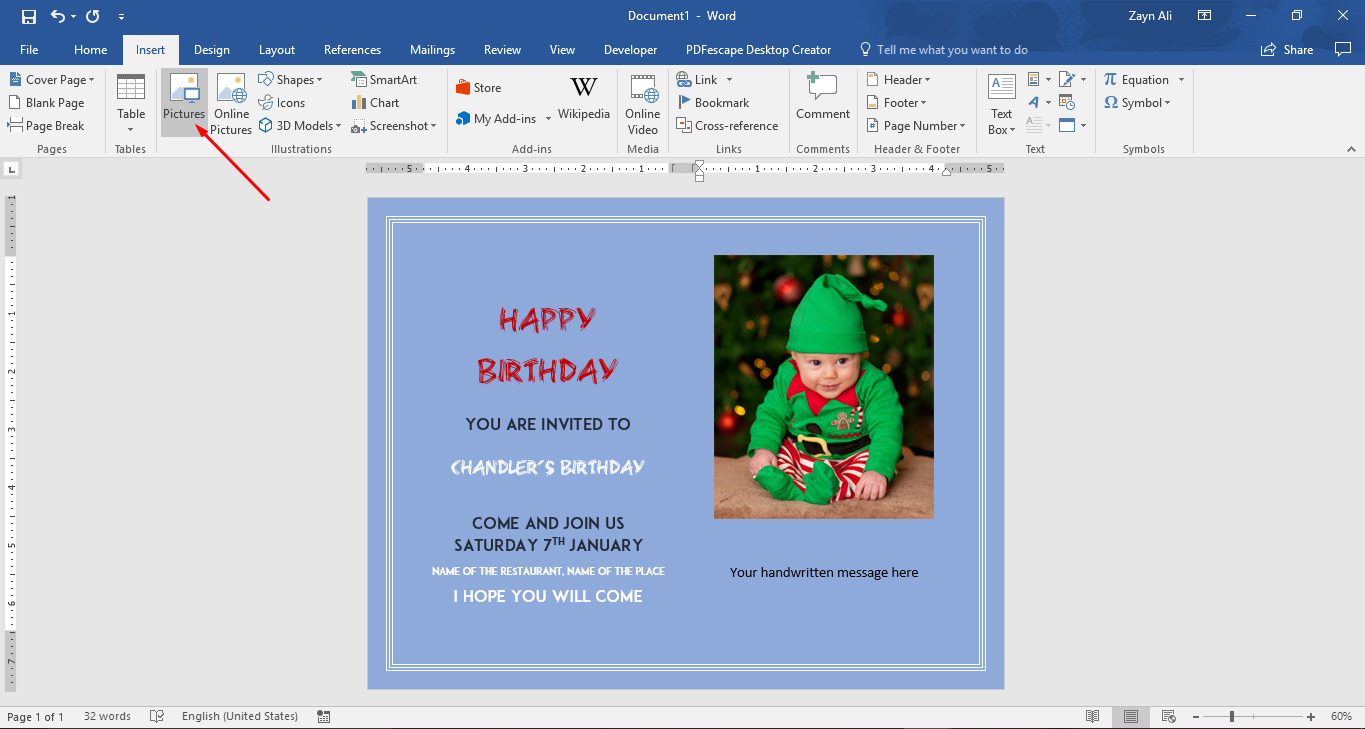
Go to insert and select pictures. You should have the pictures saved somewhere in a folder in your computer. Click on the folder which has the picture and select the one you are planning to use. You can decide to crop your picture or not. After you are satisfied, save the file.
Edit Your Card.
You should go through your card just to make sure everything is in order.
Print and Save Your Card.
Printing is done just like the way you print a normal power point file and the save it in your computer.
Some Tips on How to Make Adorable Cards:
- The message should be handwritten on the inside of the card. It gives an intimate touch if you have written the person's name and whom it is from by hand instead of using your computer.
- If you decide on using your computer and printing the birthday cards, it is recommended to utilize quality paper or even the thin cards.
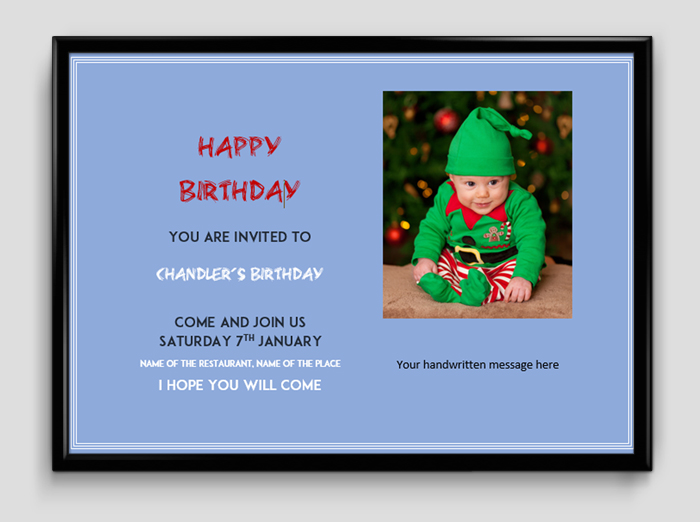
- The front of your birthday card should consist of your own photos. This is advisable even if you decide to use either your hand or your computer.
- Make the card's outline using the computer and then let your kids do the rest of the decorating work.
- If you are not very familiar with designing a card then use a template so all you will need to do is fill and print it.