How to Make Baby Weight Machine Using Arduino Nano, HX-711 Load Cell and OLED 128X64 || Calibration of HX-711
by inteliqo.iq in Circuits > Arduino
2813 Views, 1 Favorites, 0 Comments
How to Make Baby Weight Machine Using Arduino Nano, HX-711 Load Cell and OLED 128X64 || Calibration of HX-711

Hello Instructables,
Few days ago I became father of a cute baby 👦 . When I was in hospital I found that the baby weight is so critical to monitor the growth of baby. So I have an idea 💡 to make a baby weight machine of my self.
in this Instructable I will show you how to make a baby weight machine in less then 10$. This Machine can be used for other weighting purposes as well.
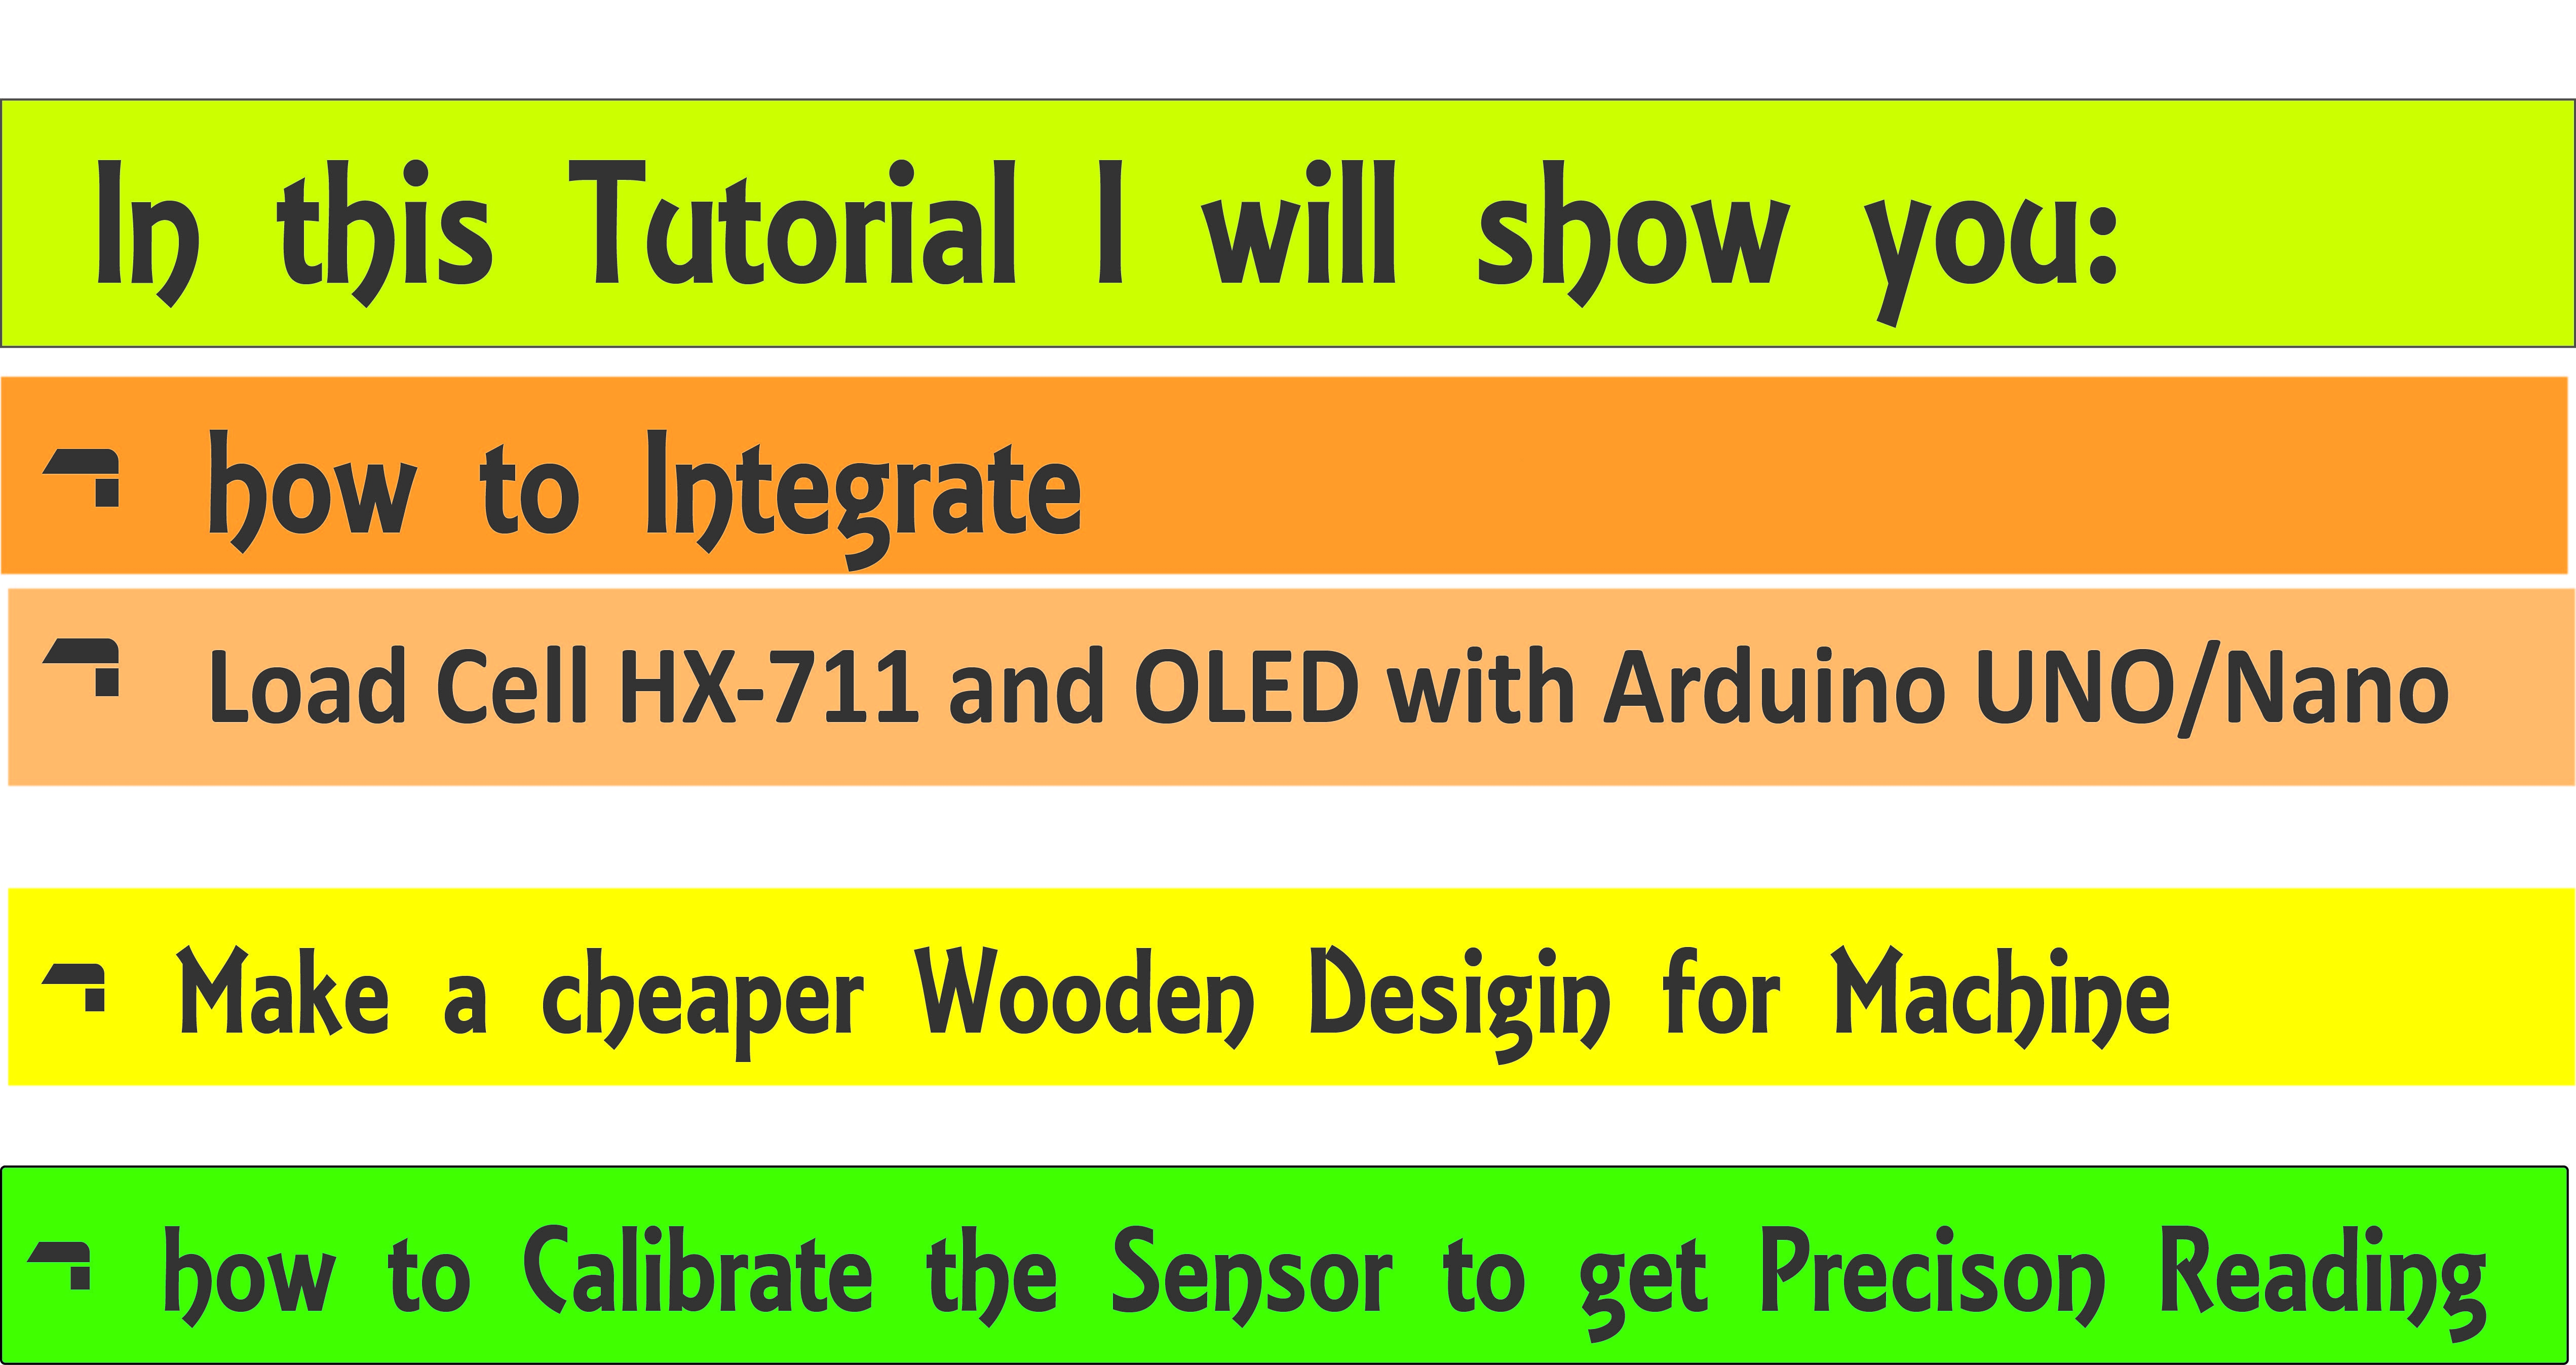
So the Tutorial will cover;
1. Wooden Pototype for weighting. Made from used planks.
2.Integration of Arduino uno/Nano with the OLED 128X64, load cell, HX-711.
3. Coding of the Arduino
4. Calibration of the sensors to get most precise readings.
Supplies
Arduino Uno / Nano
OLED 128X64
Breadboard
Load cell
HX-711 sensor
Arduino IDE
Step 1: Make a Wooden Prototype for the Weight Scale
.jpg)
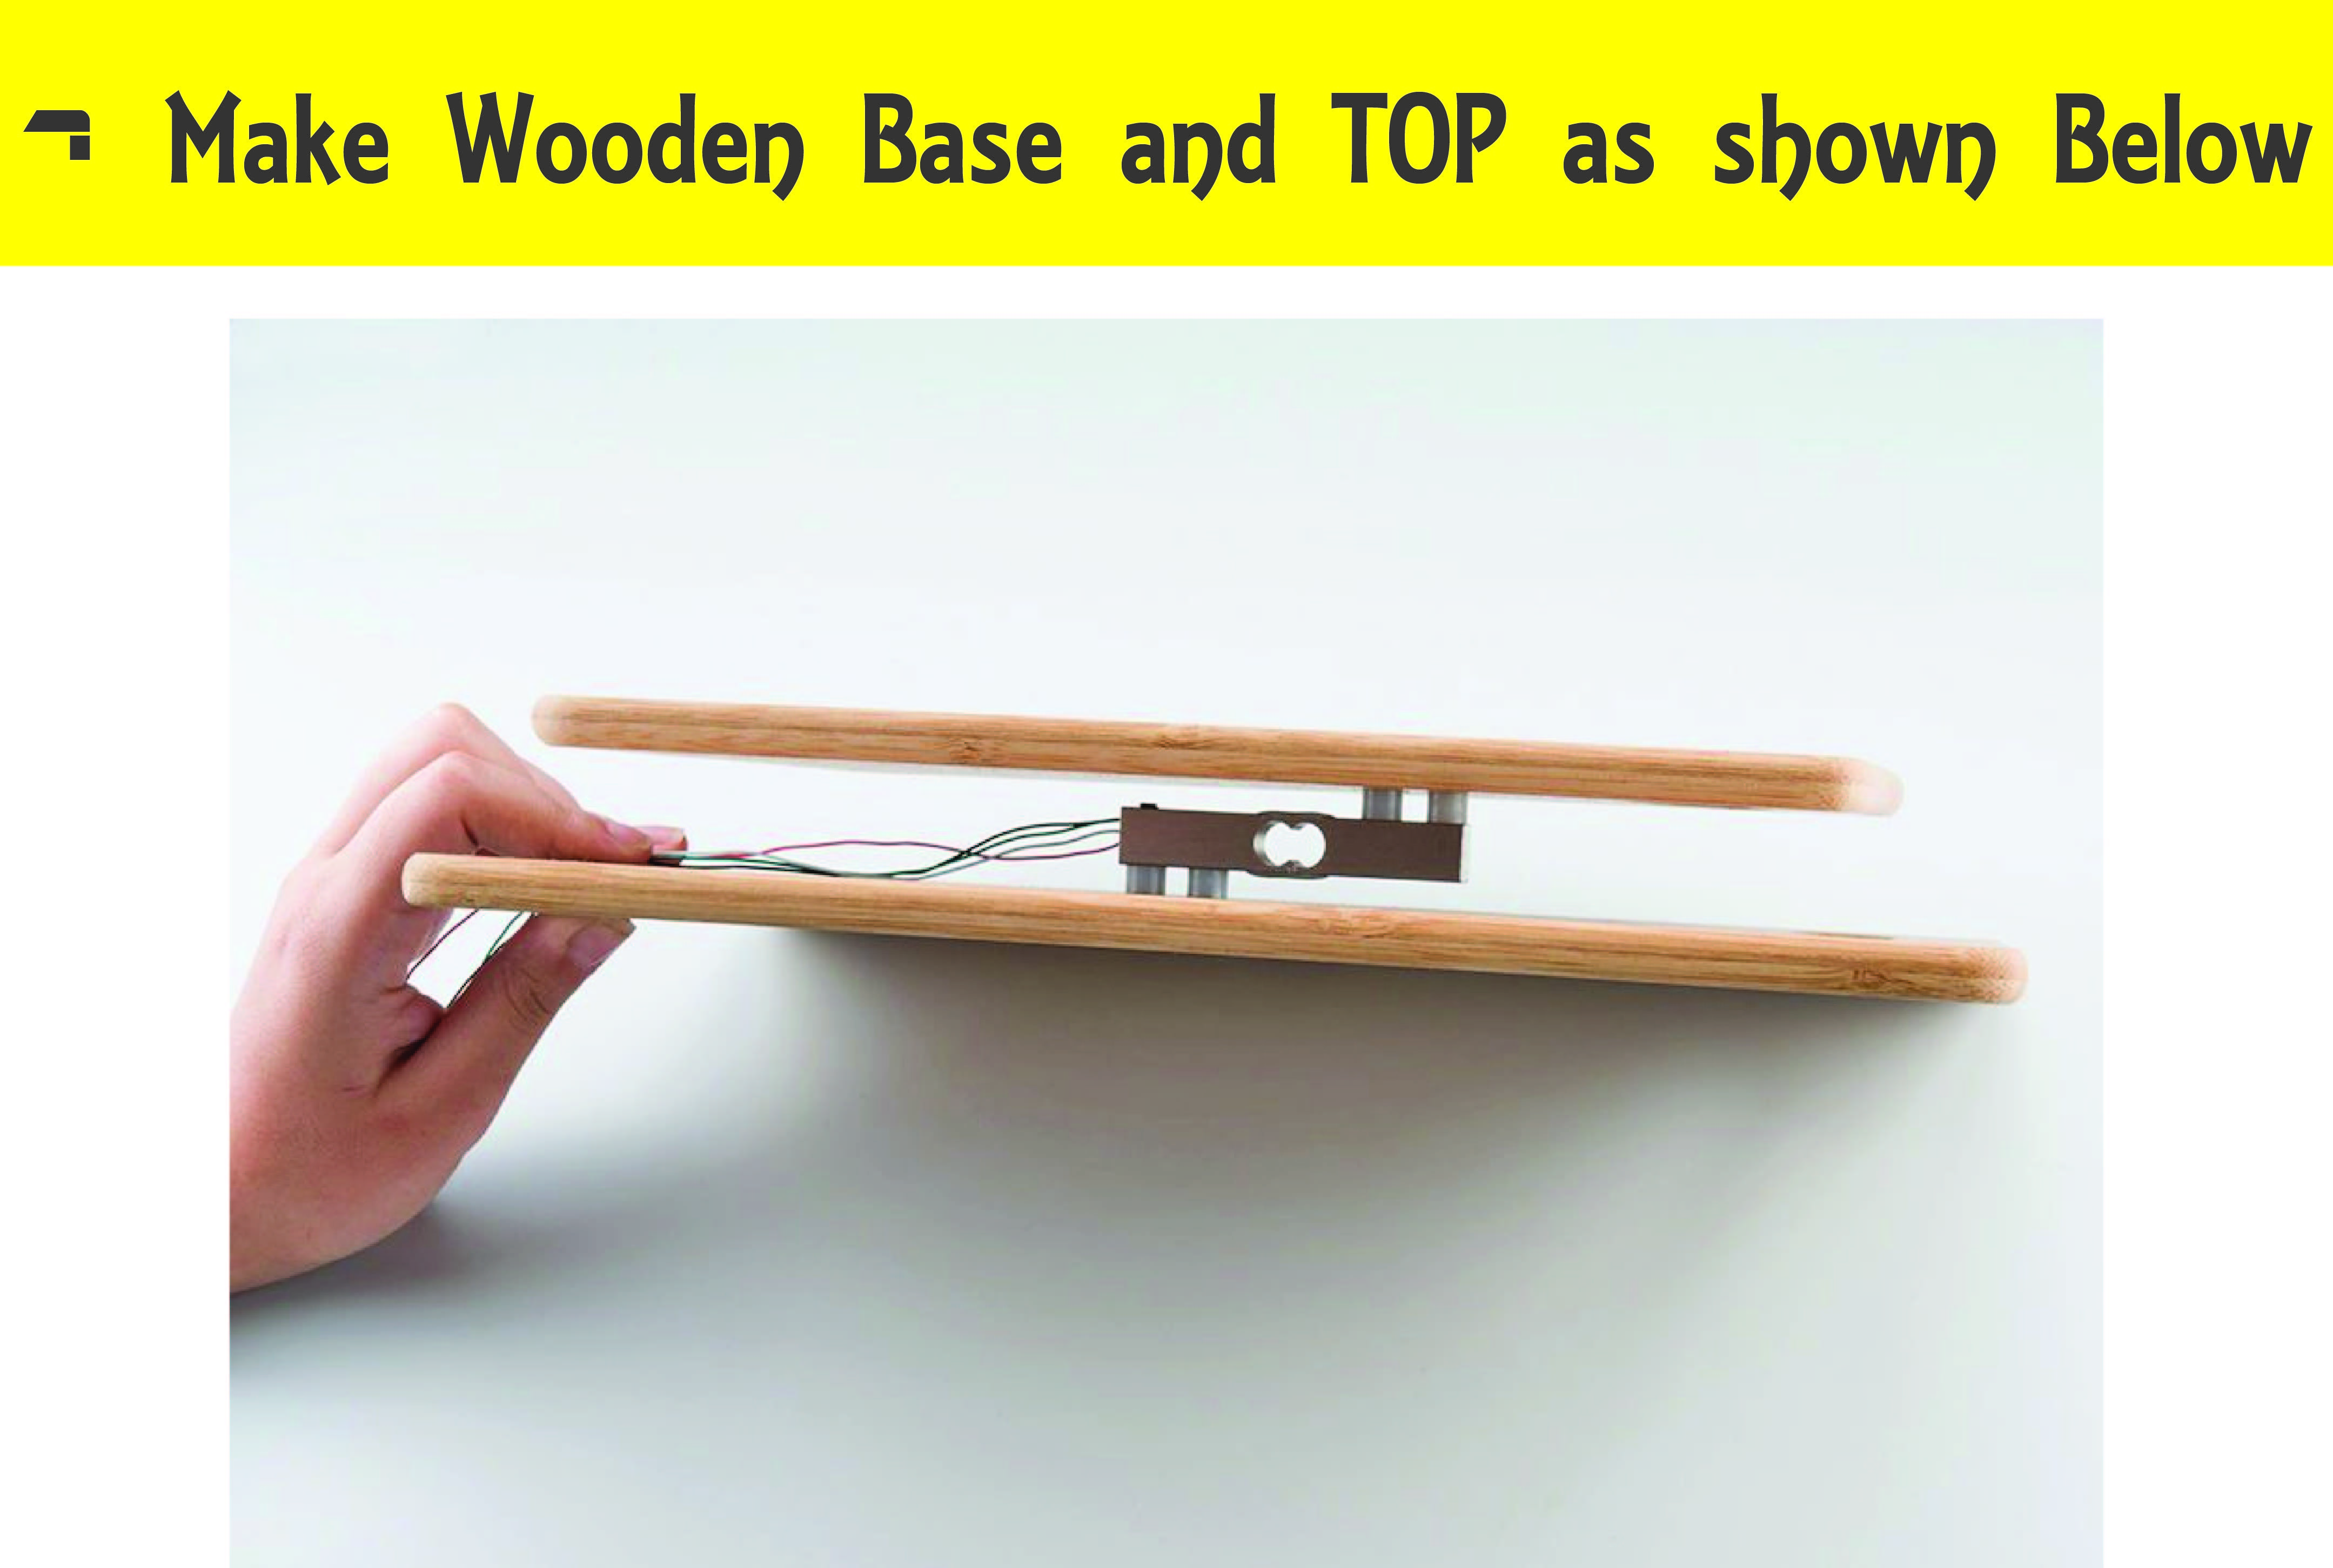
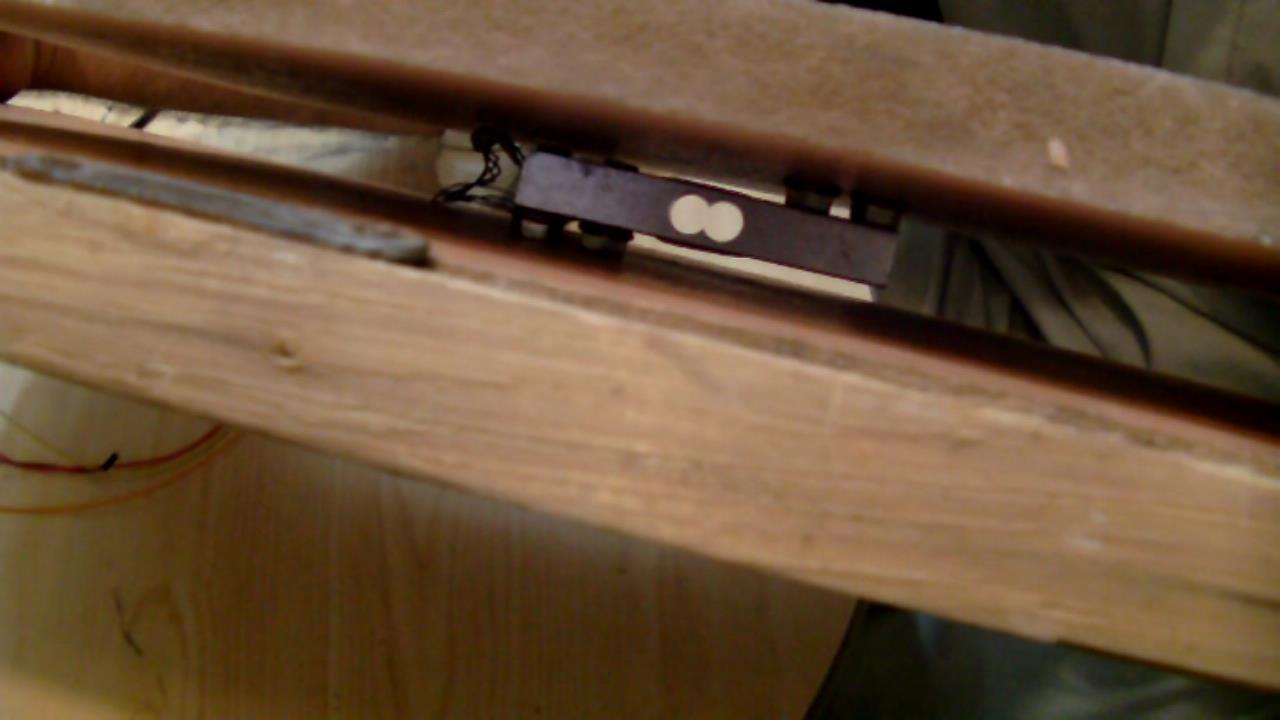
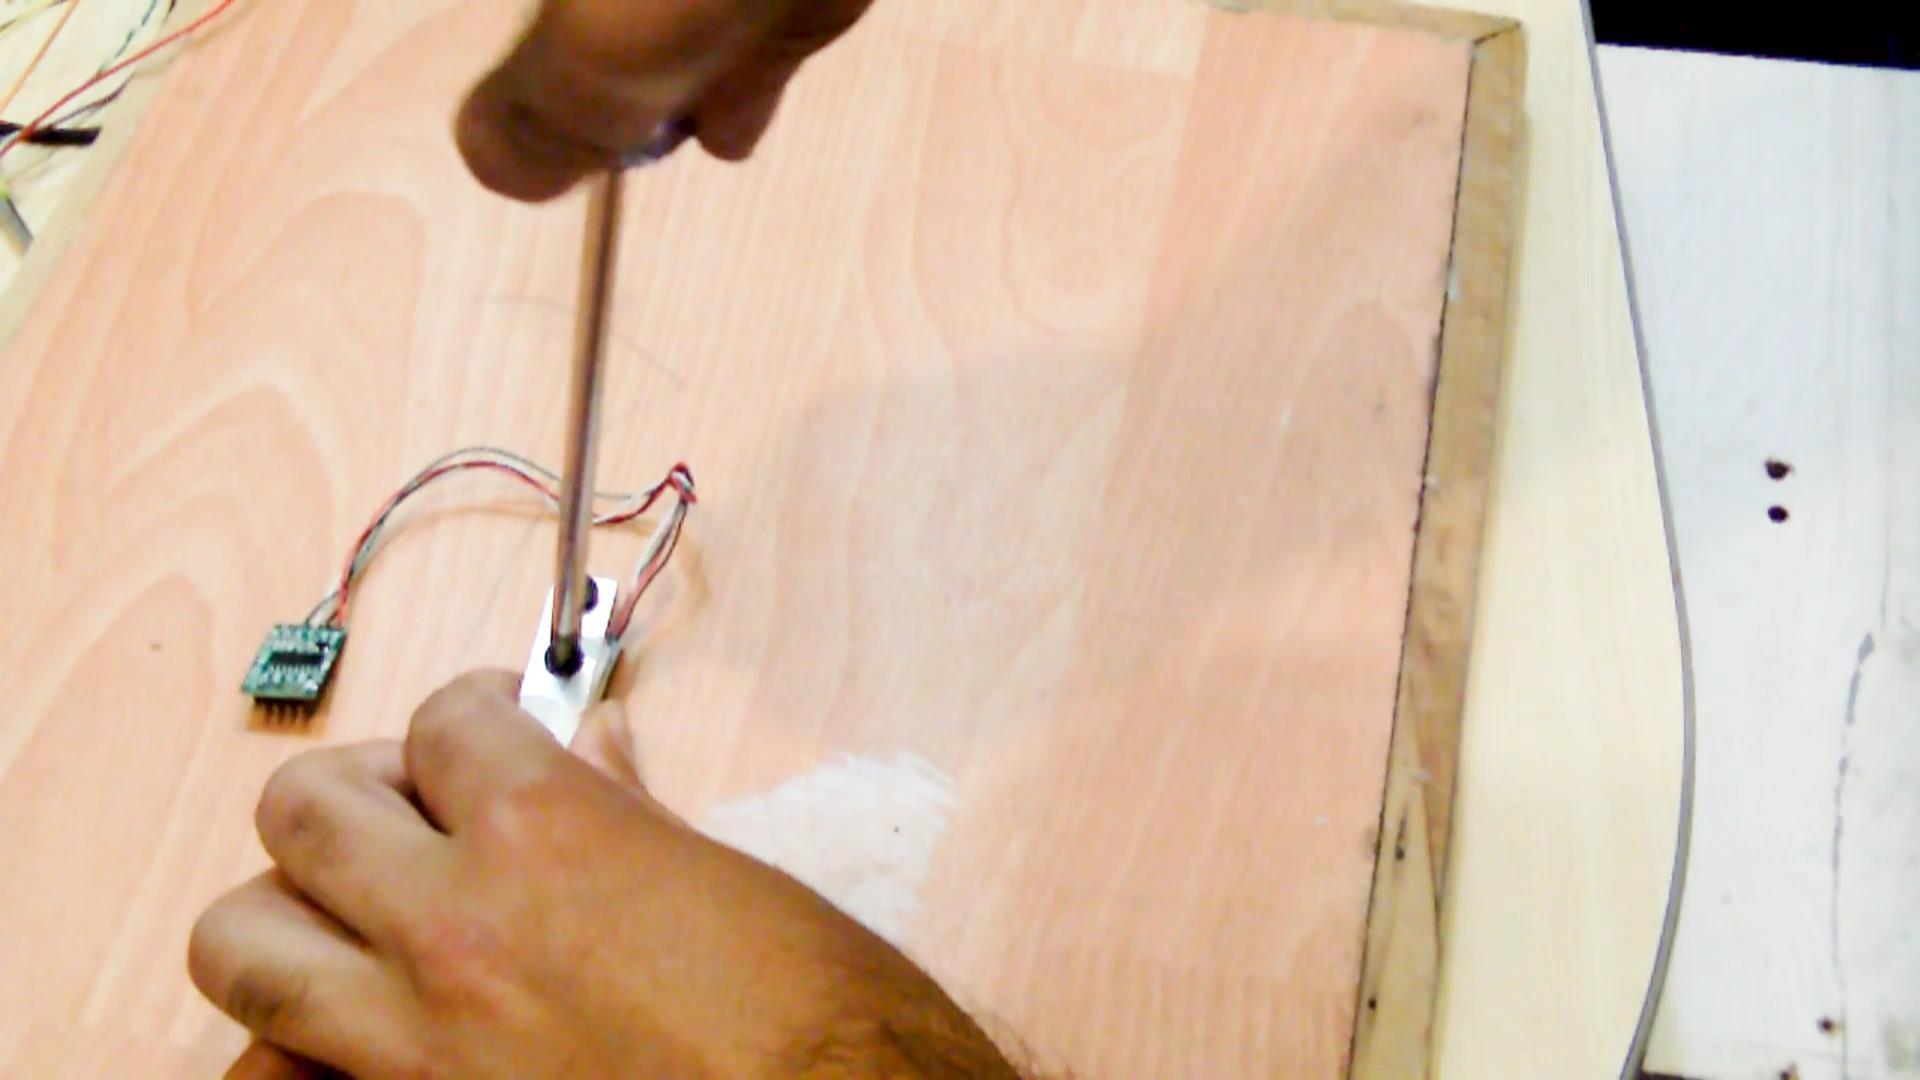
The first phase I started with is hardware. I needed a base and top for the load cell to rest on. I did not want to spend a lot of money, so I went to my store and found leftover pieces of wood.
The base was just a plank of 20x20 inches and have center holes to hold the cell.
One thing to be considered critically is that the arrow on the load cell is facing downwards, otherwise your readings will be opposite. First screwed the wooden screws with load cell to the base and make them as tight as you can. Now its time for the Top, I drilled two holes at center with exactly the same distance between the load cell holes. After that I tight the screws.
It looks cheap - it was, but it did the job perfectly. In fact, this is all you need for the load cell to work. Our primary objective - the base - was reached.
Step 2: Soldering the Load Cell and HX-711 and Creating Circuit
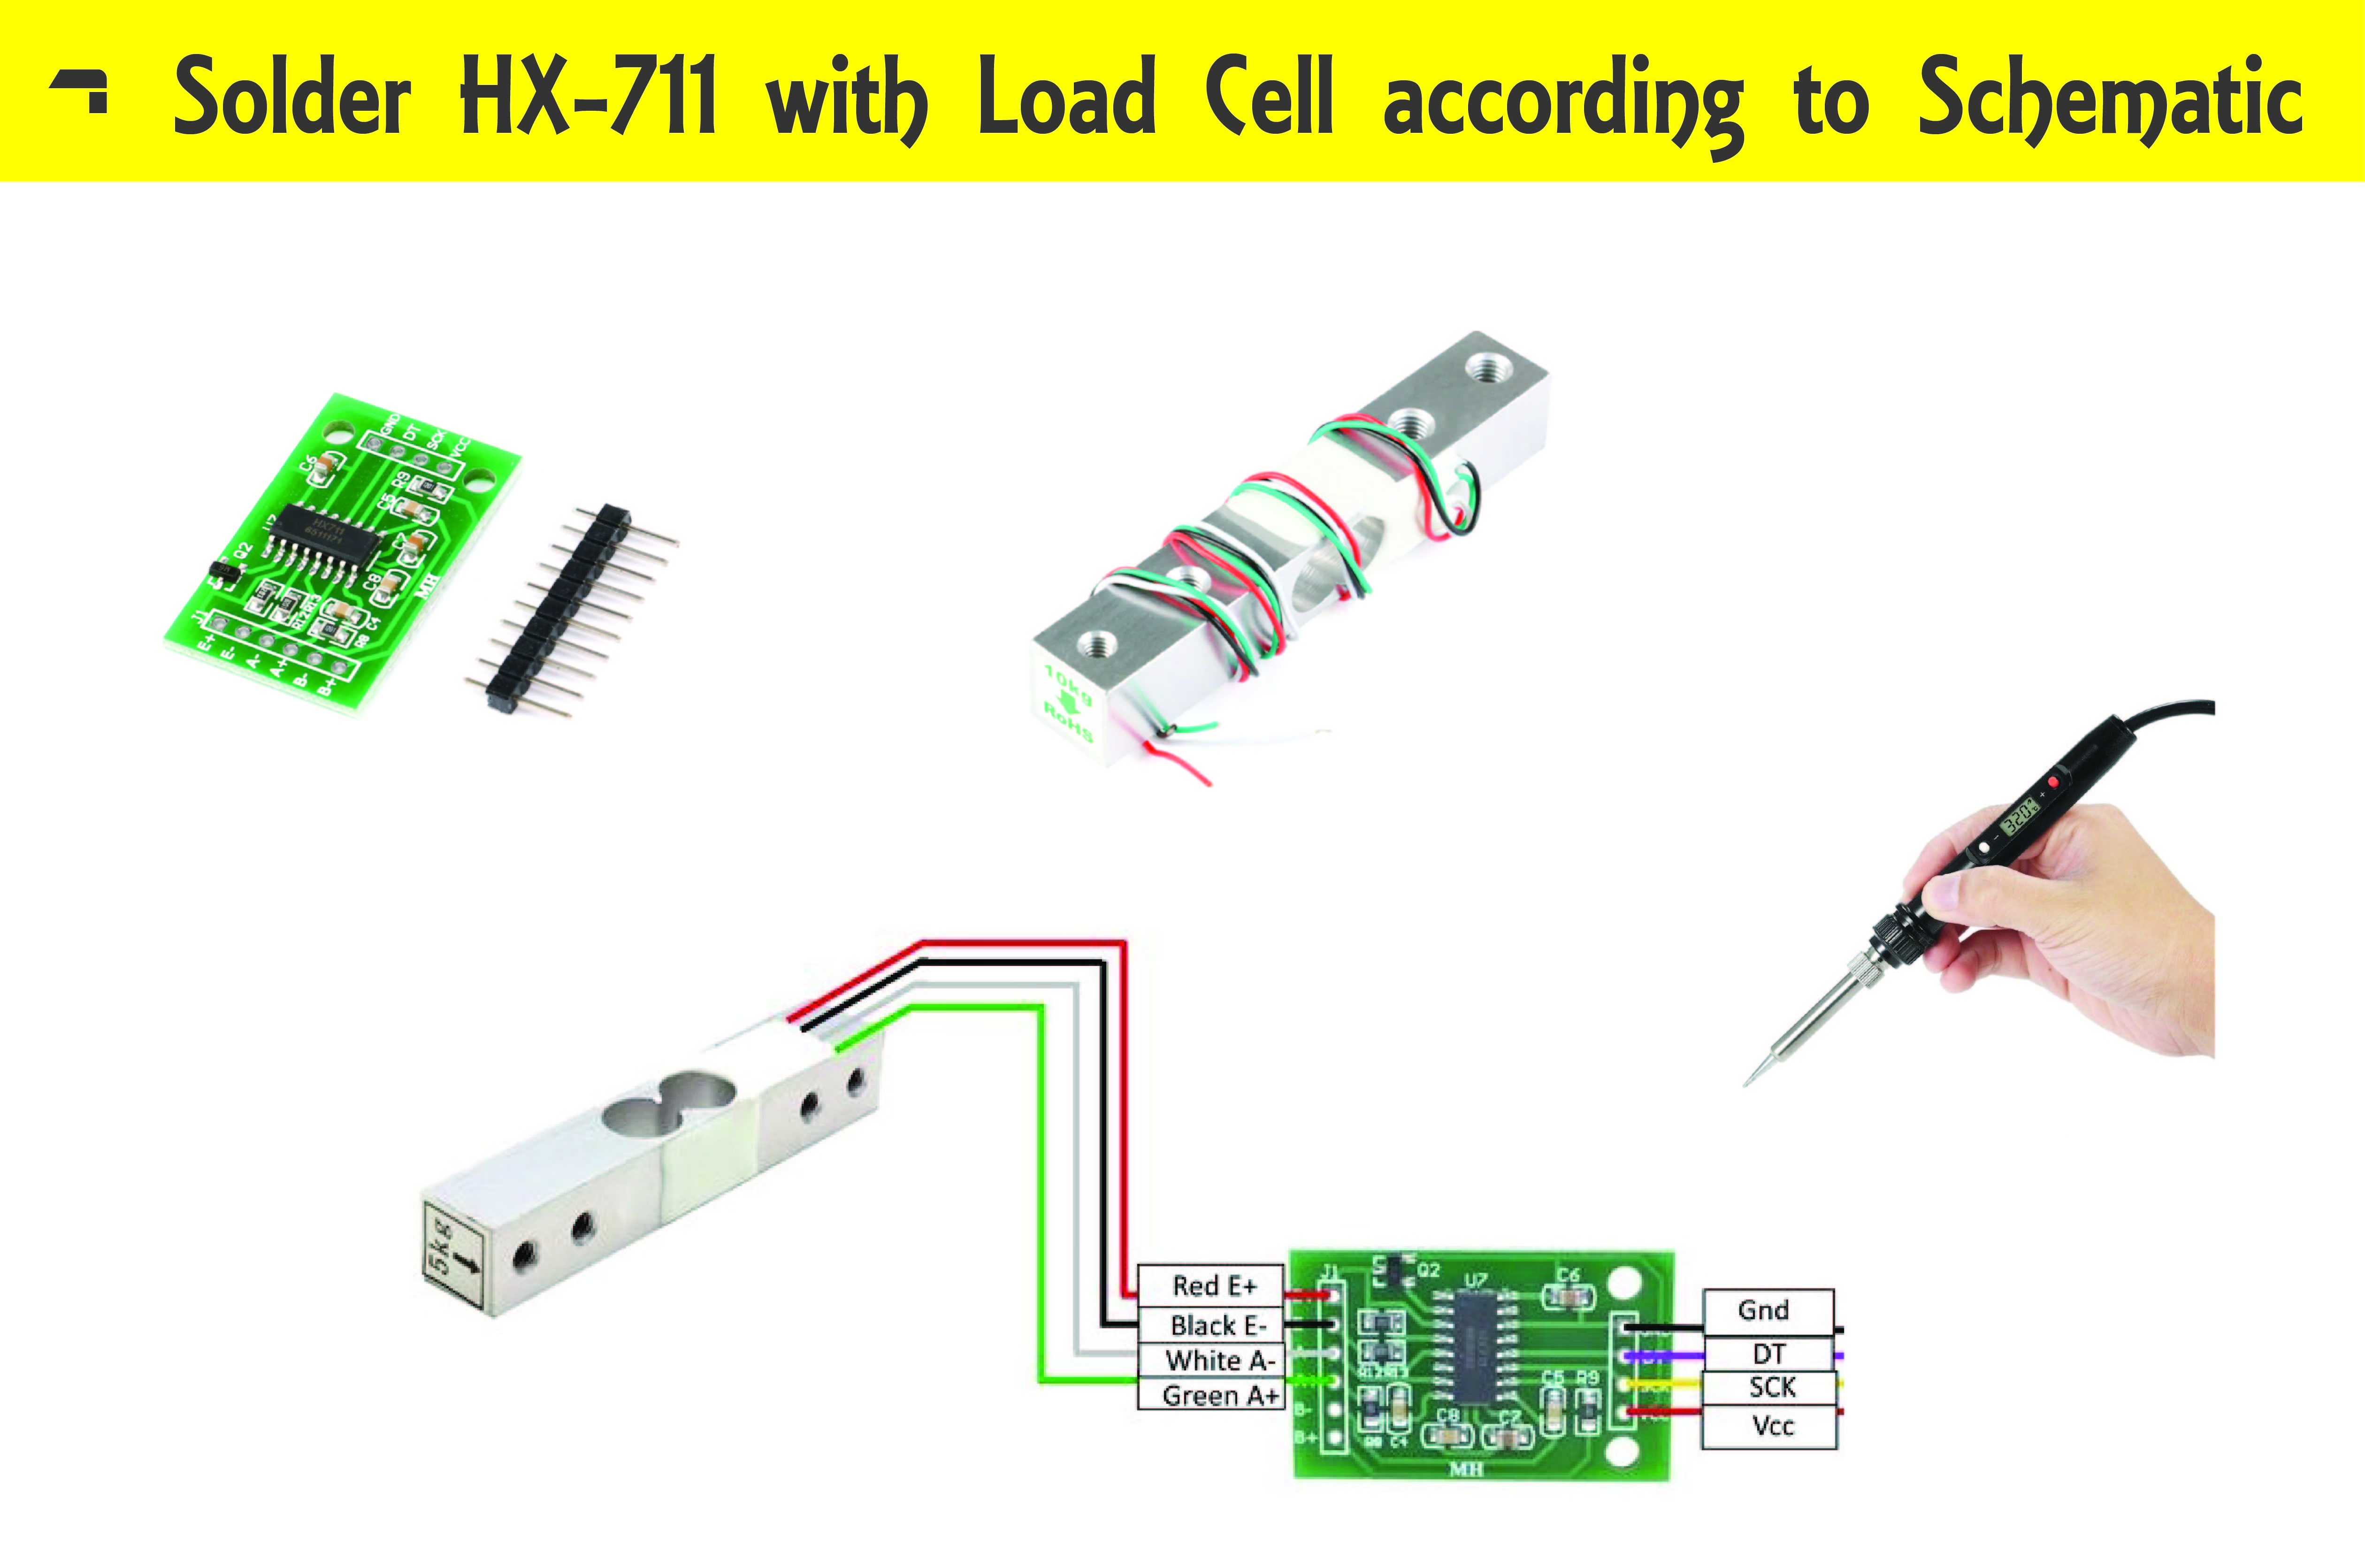
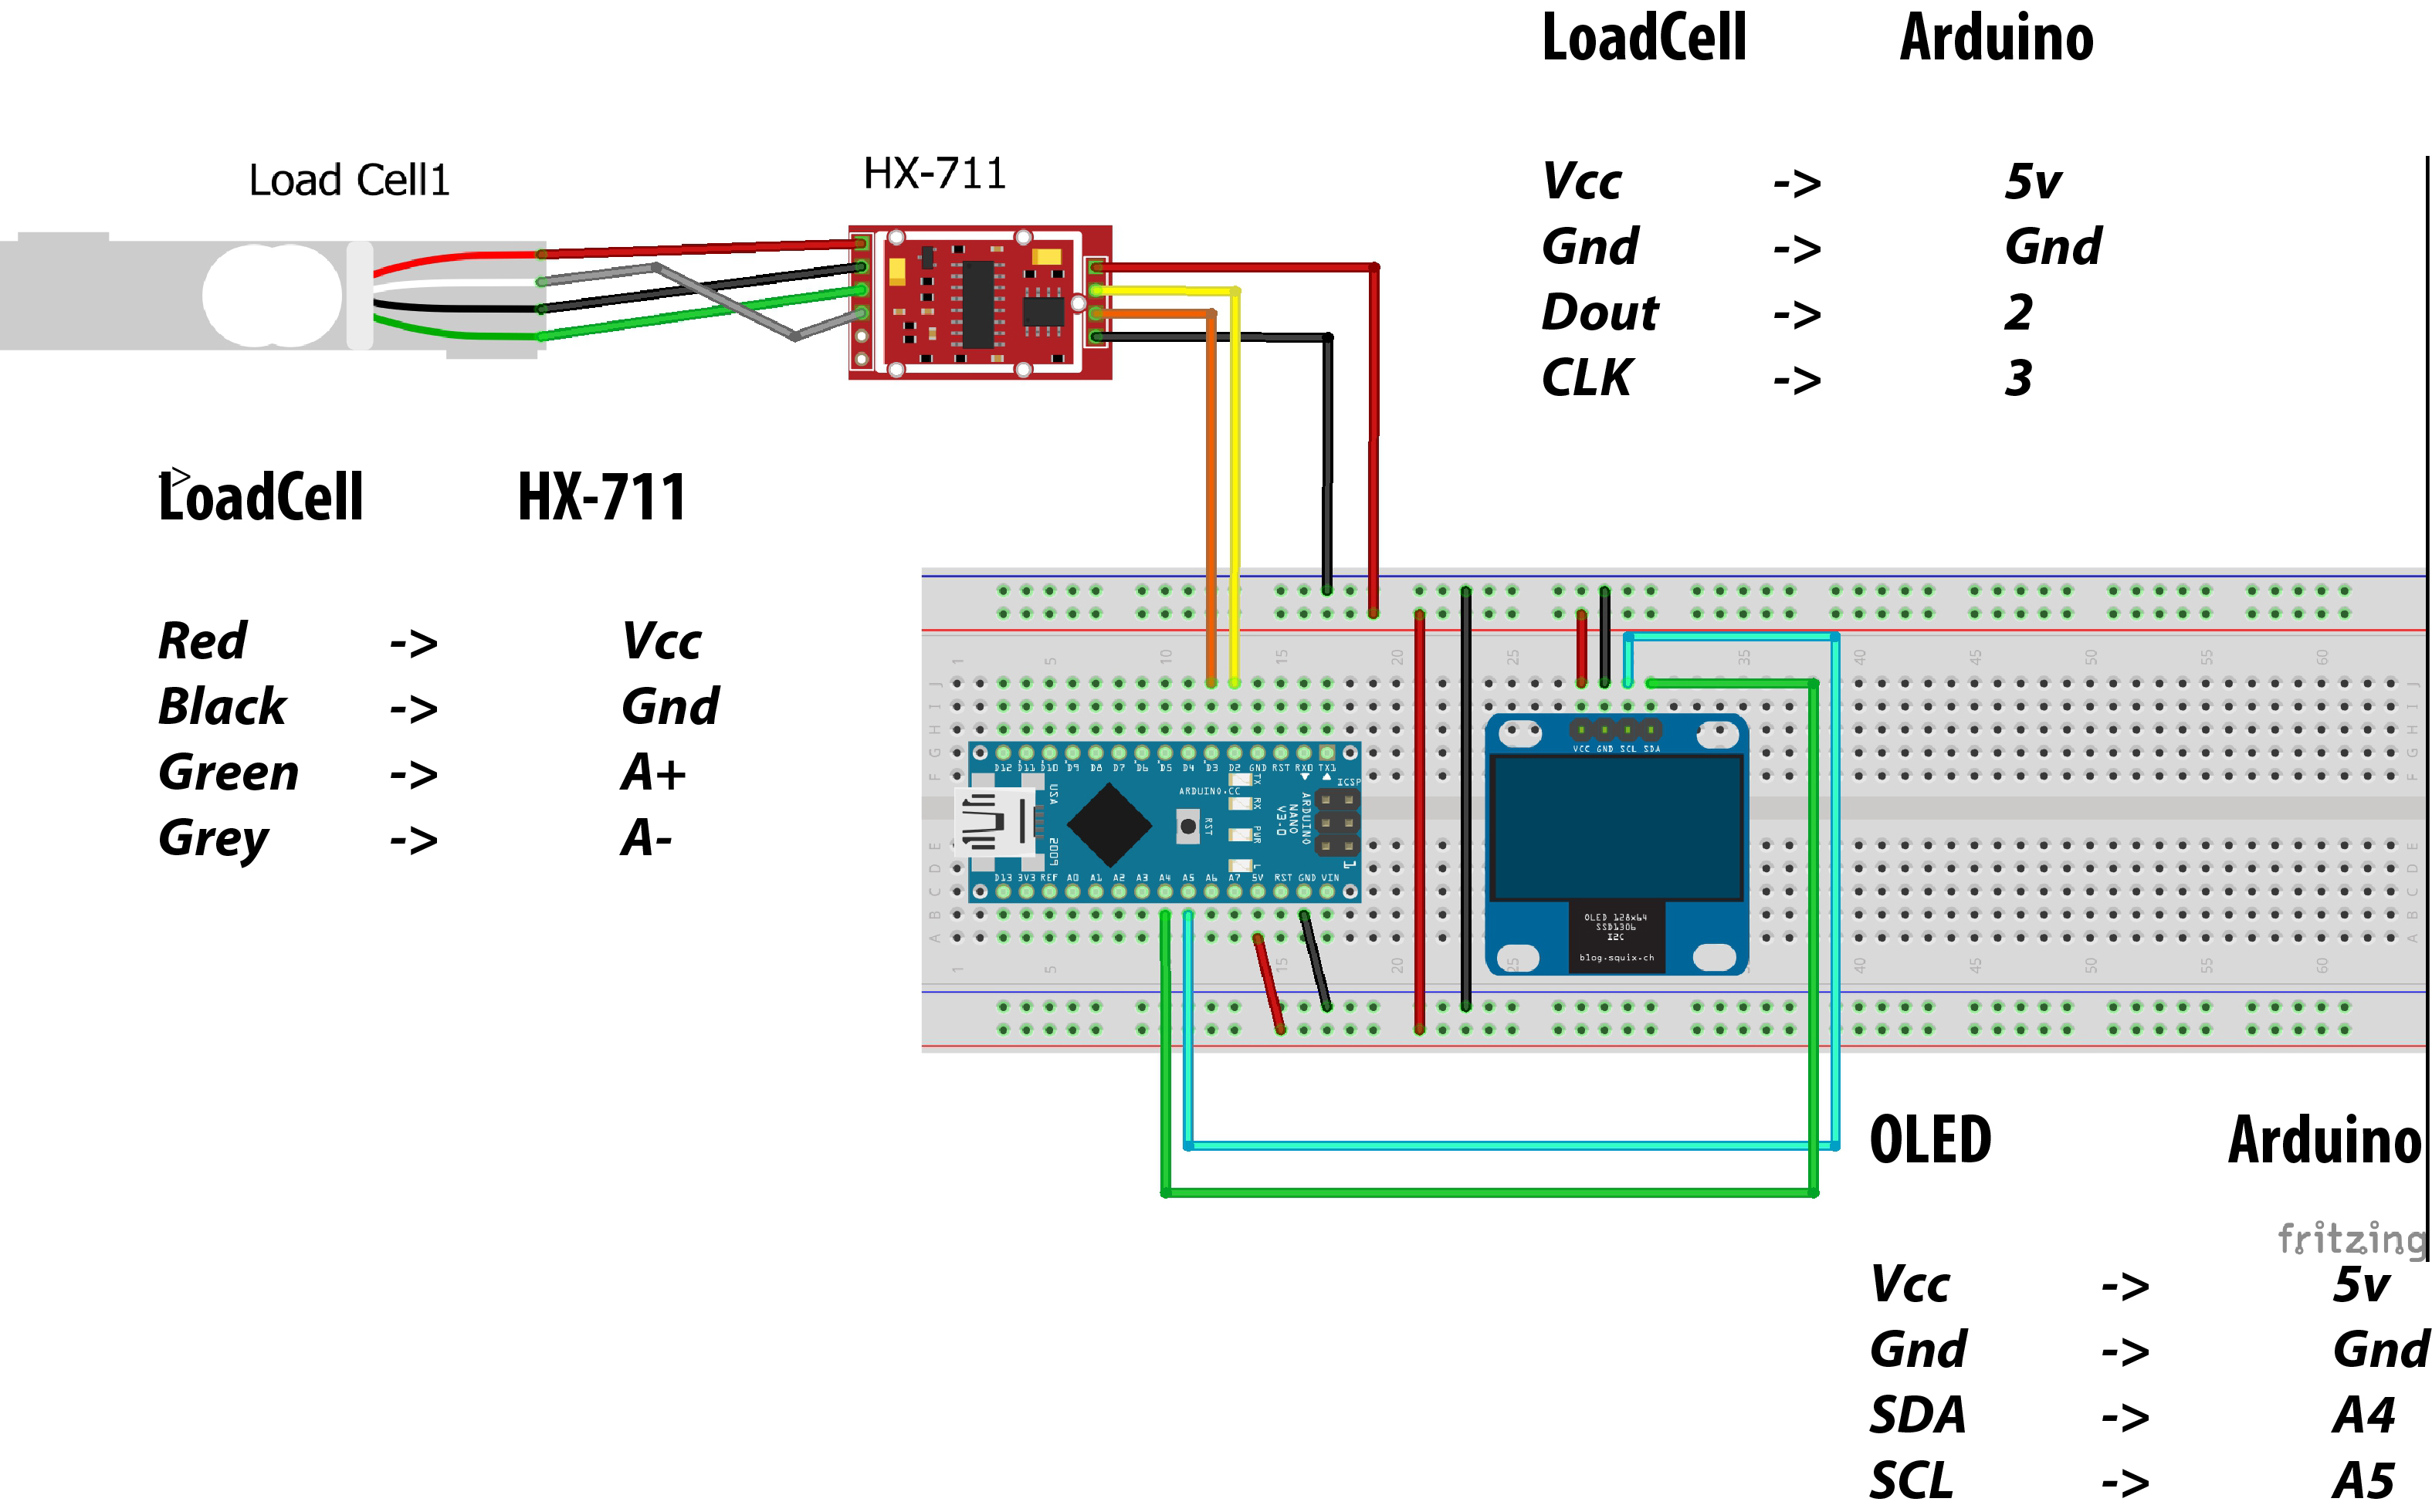
After completing the wooden structure it was time to start building the real machine.I used HX-711 amplifier as sensor so it need to solder the load cell pins onto the HX-711. Follow the pins connection mentioned below.
LoadCell HX-711
Red -> Vcc
Black -> Gnd
Green -> A+
Grey -> A-
Follow the Schematics given in the pictures.
While connecting Arduino with the OLED
OLED Arduino
Vcc -> 5v
Gnd -> Gnd
SDA -> A4
SCL -> A5
While connecting Arduino with the LOAD CELL HX-711
LoadCell Arduino
Vcc -> 5v
Gnd -> Gnd
Dout -> 2
CLK -> 3
Please refer to Schematic diagram given in the attachments.
Step 3: Download Libraries and Upload the Code
After making schematics its time to code the project. Download the required libraries and unzip them in
C:\Users\user\Documents\Arduino\libraries
Open the calibration sketch given in the attachments.
Step 4: Calibration the HX-711 Sensor
.jpg)
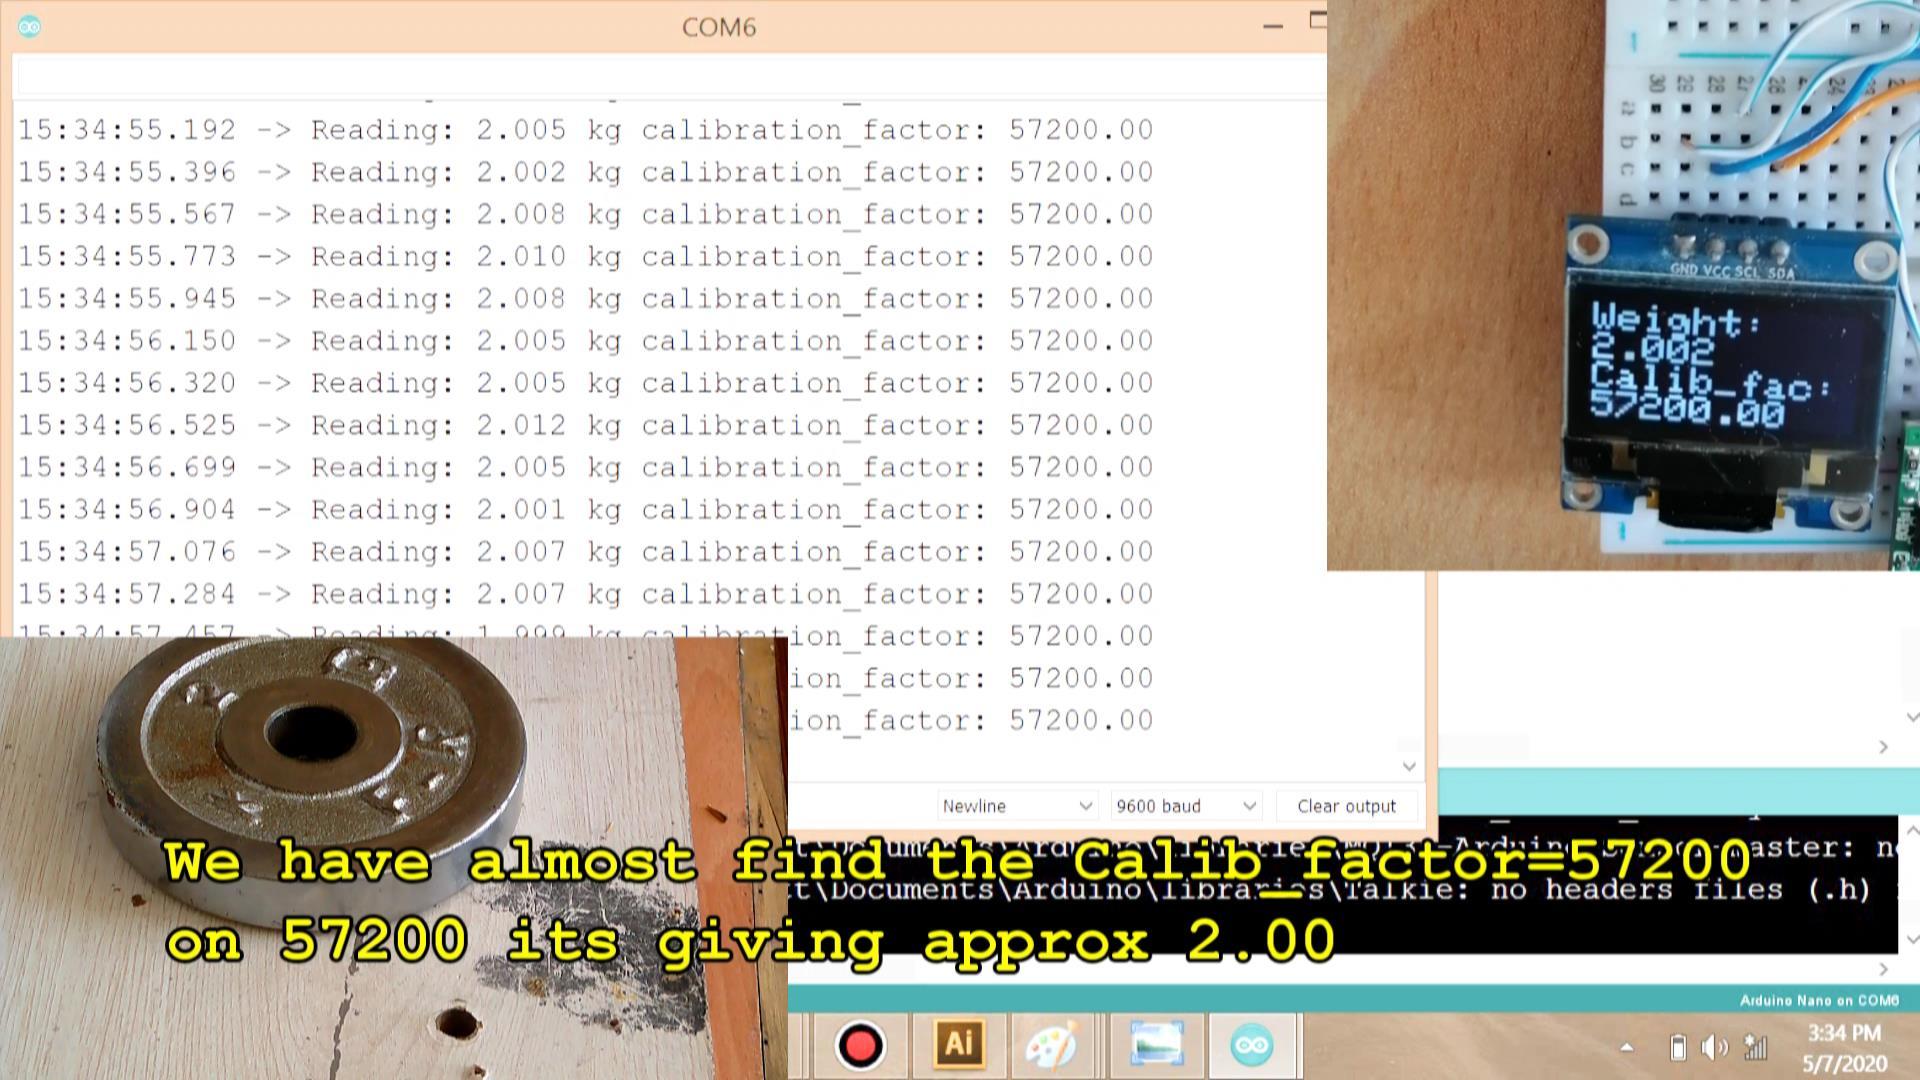
The calibration of the sensor is the most ticker part but I made a code that will help you in easiest way to calibrate your sensor. The Load cell comes with different weight limits from 5 kg to 100 kg. The sensor generate different resistance according to their specification and top weight so its required to calibrate the sensor.
So there is very simple method of doing so,
First get some known standard weight stone for e.g I used my exercise dumble plate of 2kg. Next put it on the top of the sensor and see the reading if it gives the value above then its actual weight for e.g 2.4 kg then the calibration factor has to be increased and vice versa.
So for calibration just start with the random but some relevant value in the calibration_sketch line 23 for e.g I started with 5000
float calibration_factor =5000;
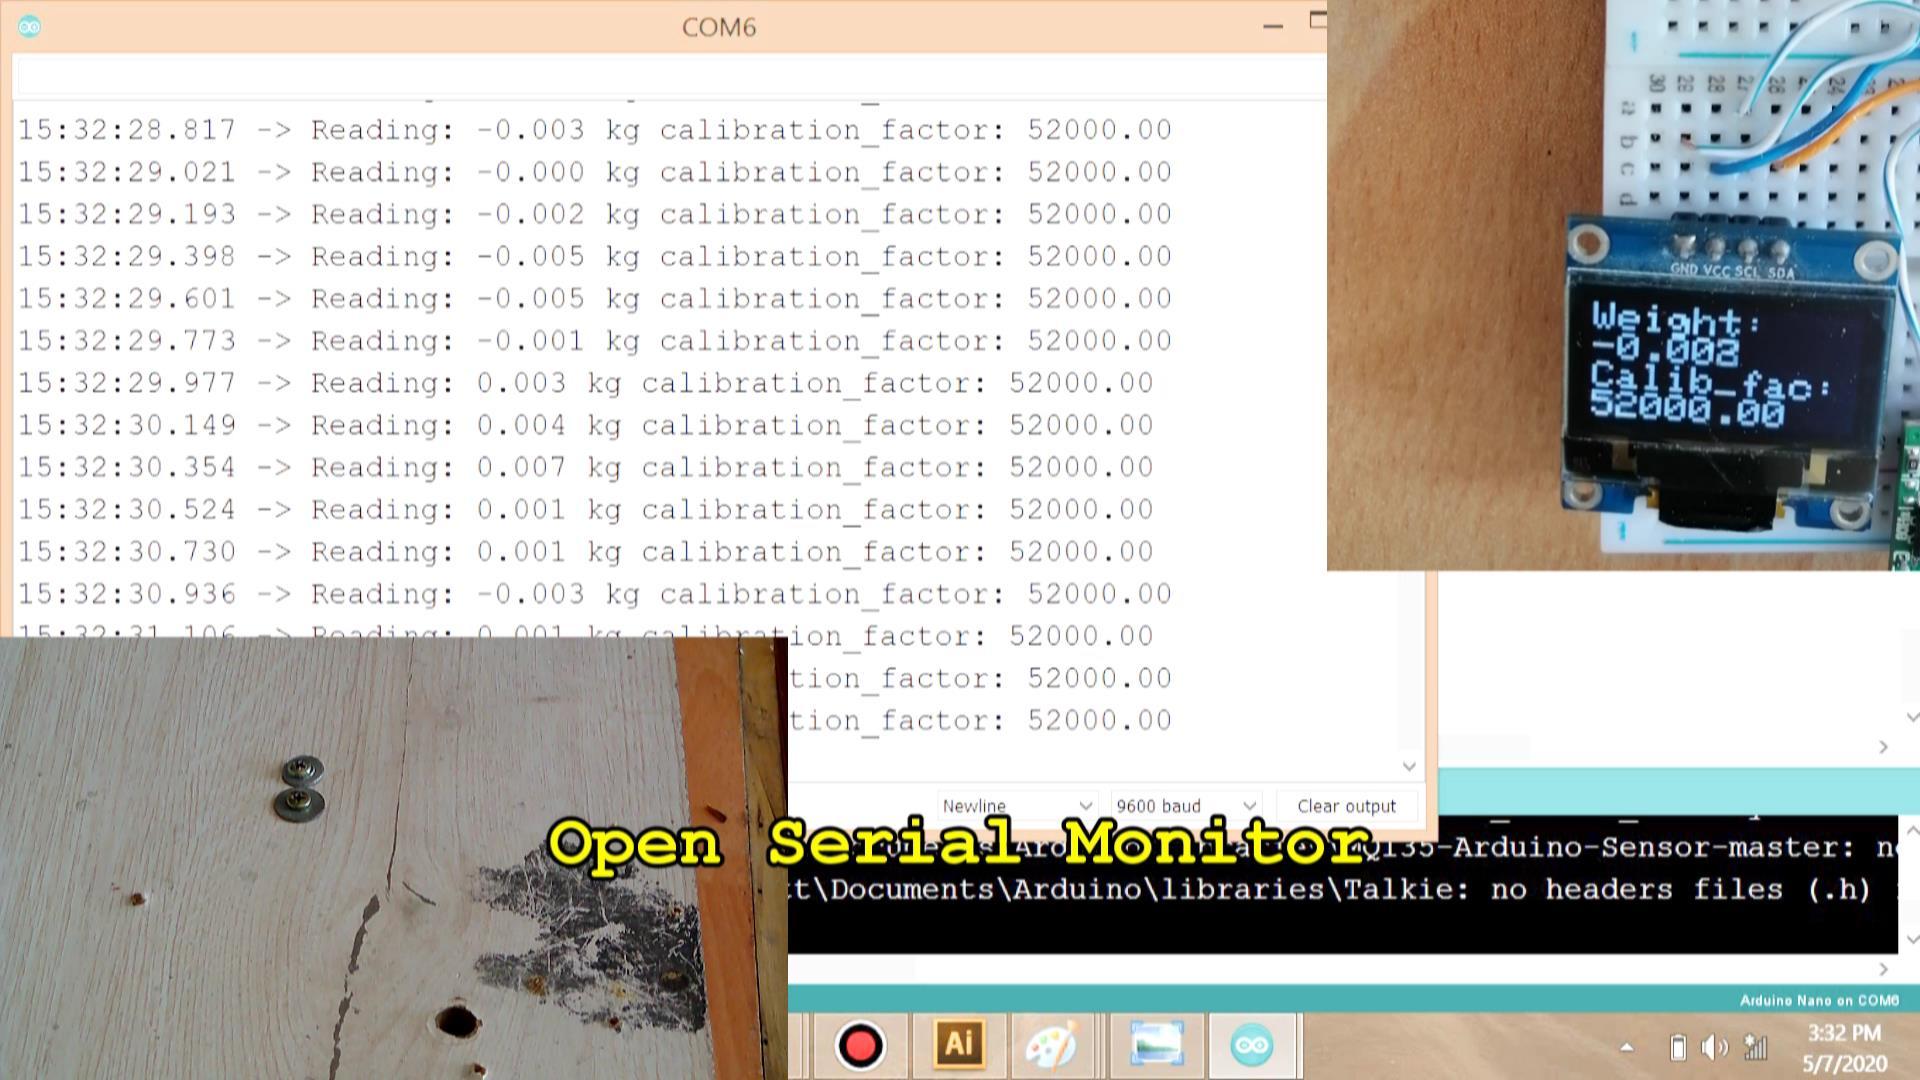
on 5000 it gives value above then 2 kg for e.g 2.3kg so I started to increasing the calibration factor by 100 in each step. To increase the calibration factor I had to open serial monitor enter 'a' in the text box and press enter. On each send it adds 100 in the calibration factor.
I kept increasing until it gave approx 2.00kg on calibration factor of 57640.
Now the crucial part was over I had found the calibration factor of my sensor.
Now there is no need of calibration code so I write other code that shows the weight in pounds and Kg. You have to enter the calibration factor in this code.
Step5: Time for Testing
.jpg)
.jpg)
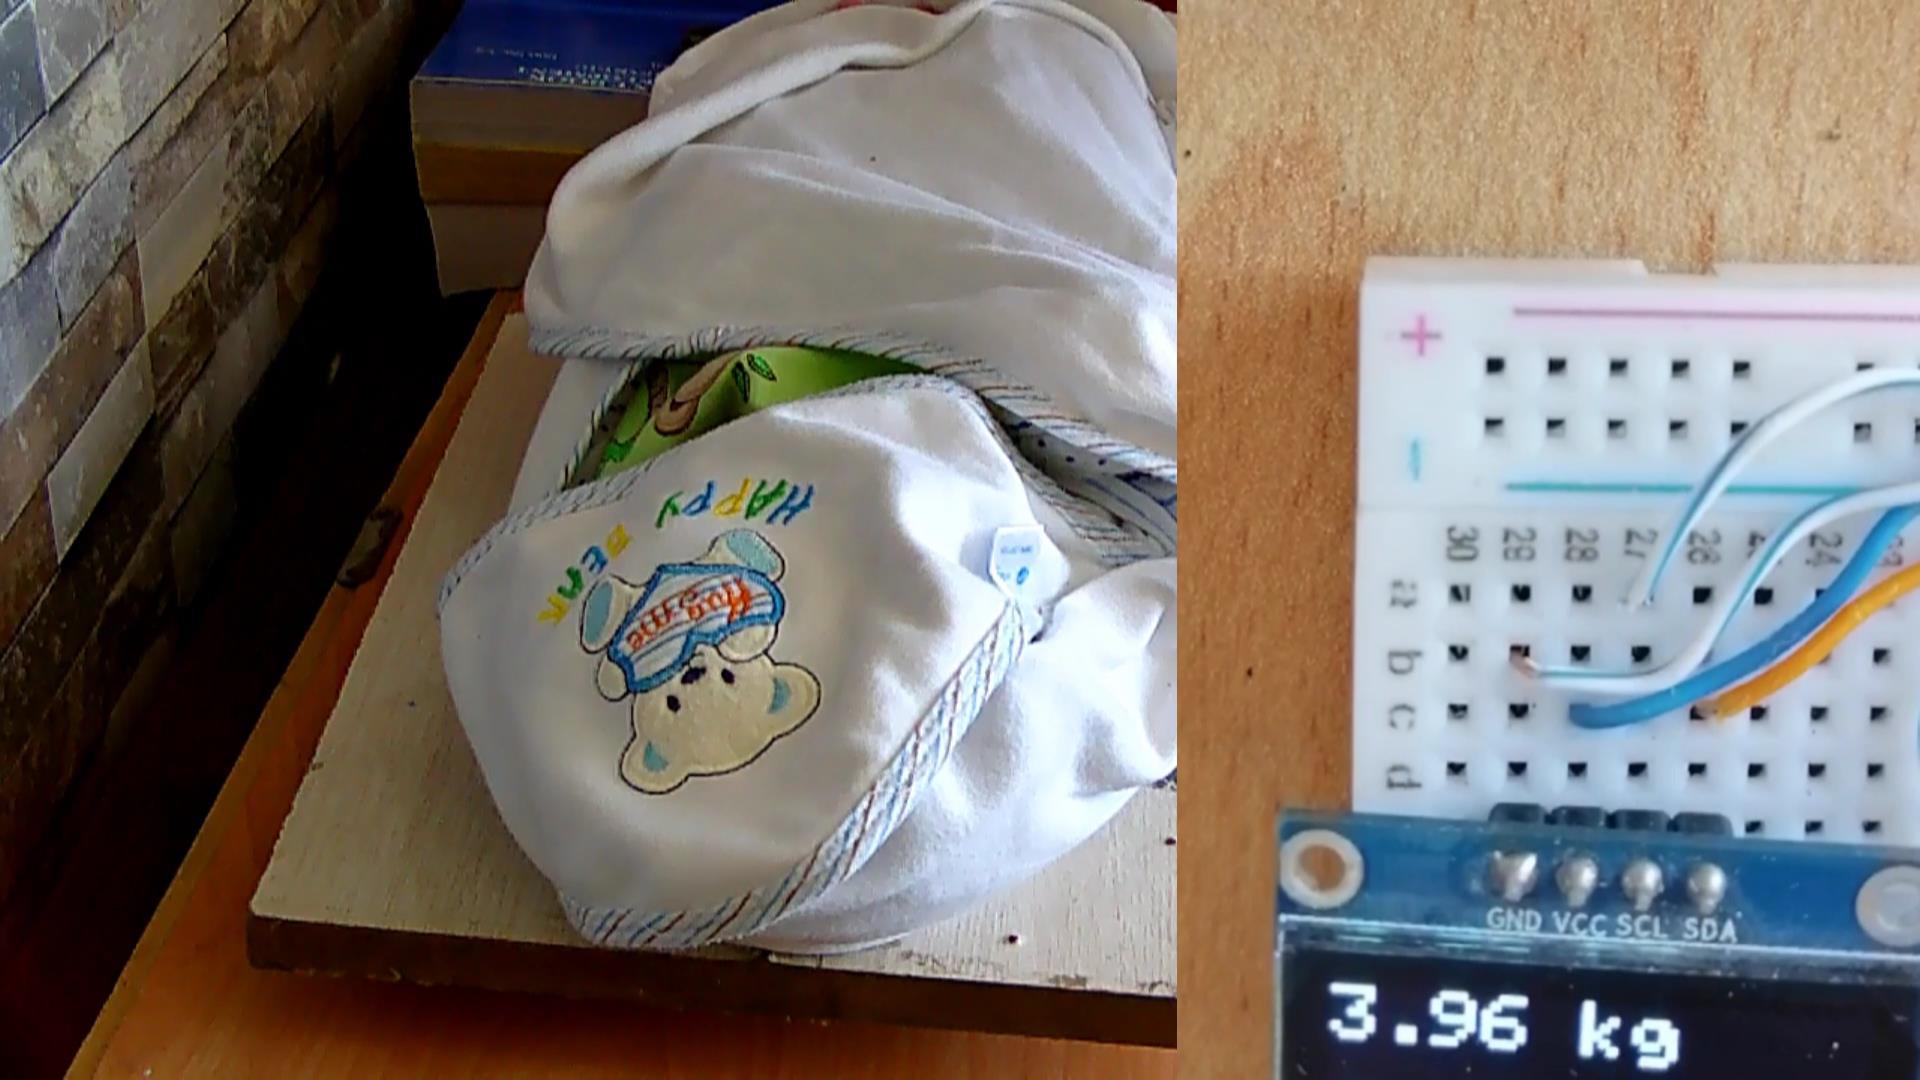
I put my baby on the sensor and gives 10% accurate weight. Now I can monitor my baby weight any time and can also use this prototype for other purposes as well.