How to Make Automatic Irrigation System Using Arduino
by The_Technocrat in Circuits > Arduino
50381 Views, 74 Favorites, 0 Comments
How to Make Automatic Irrigation System Using Arduino
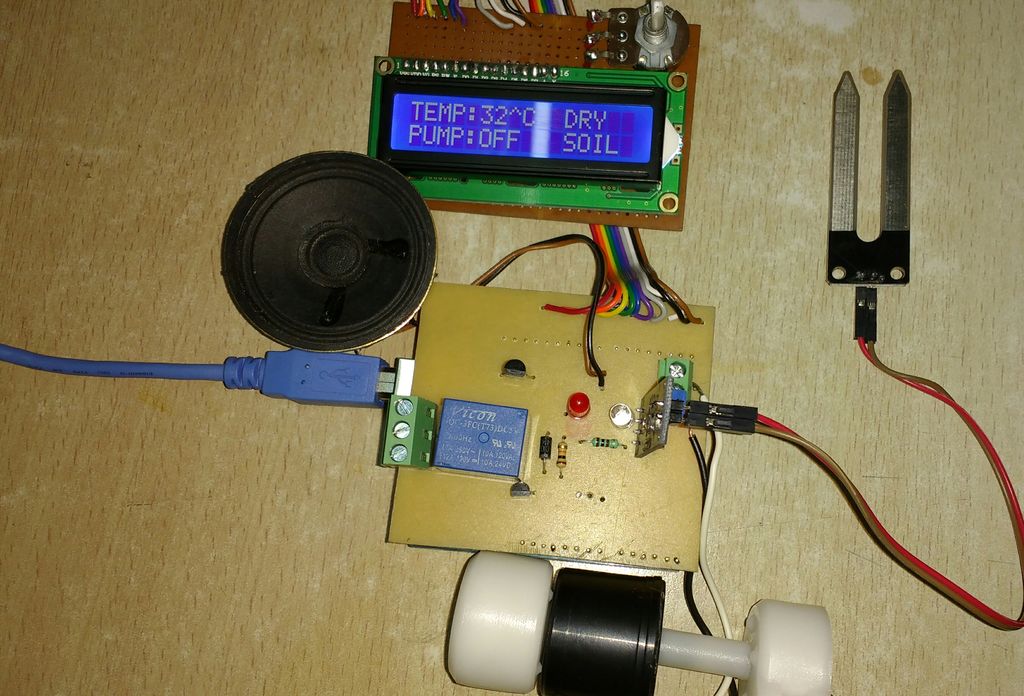
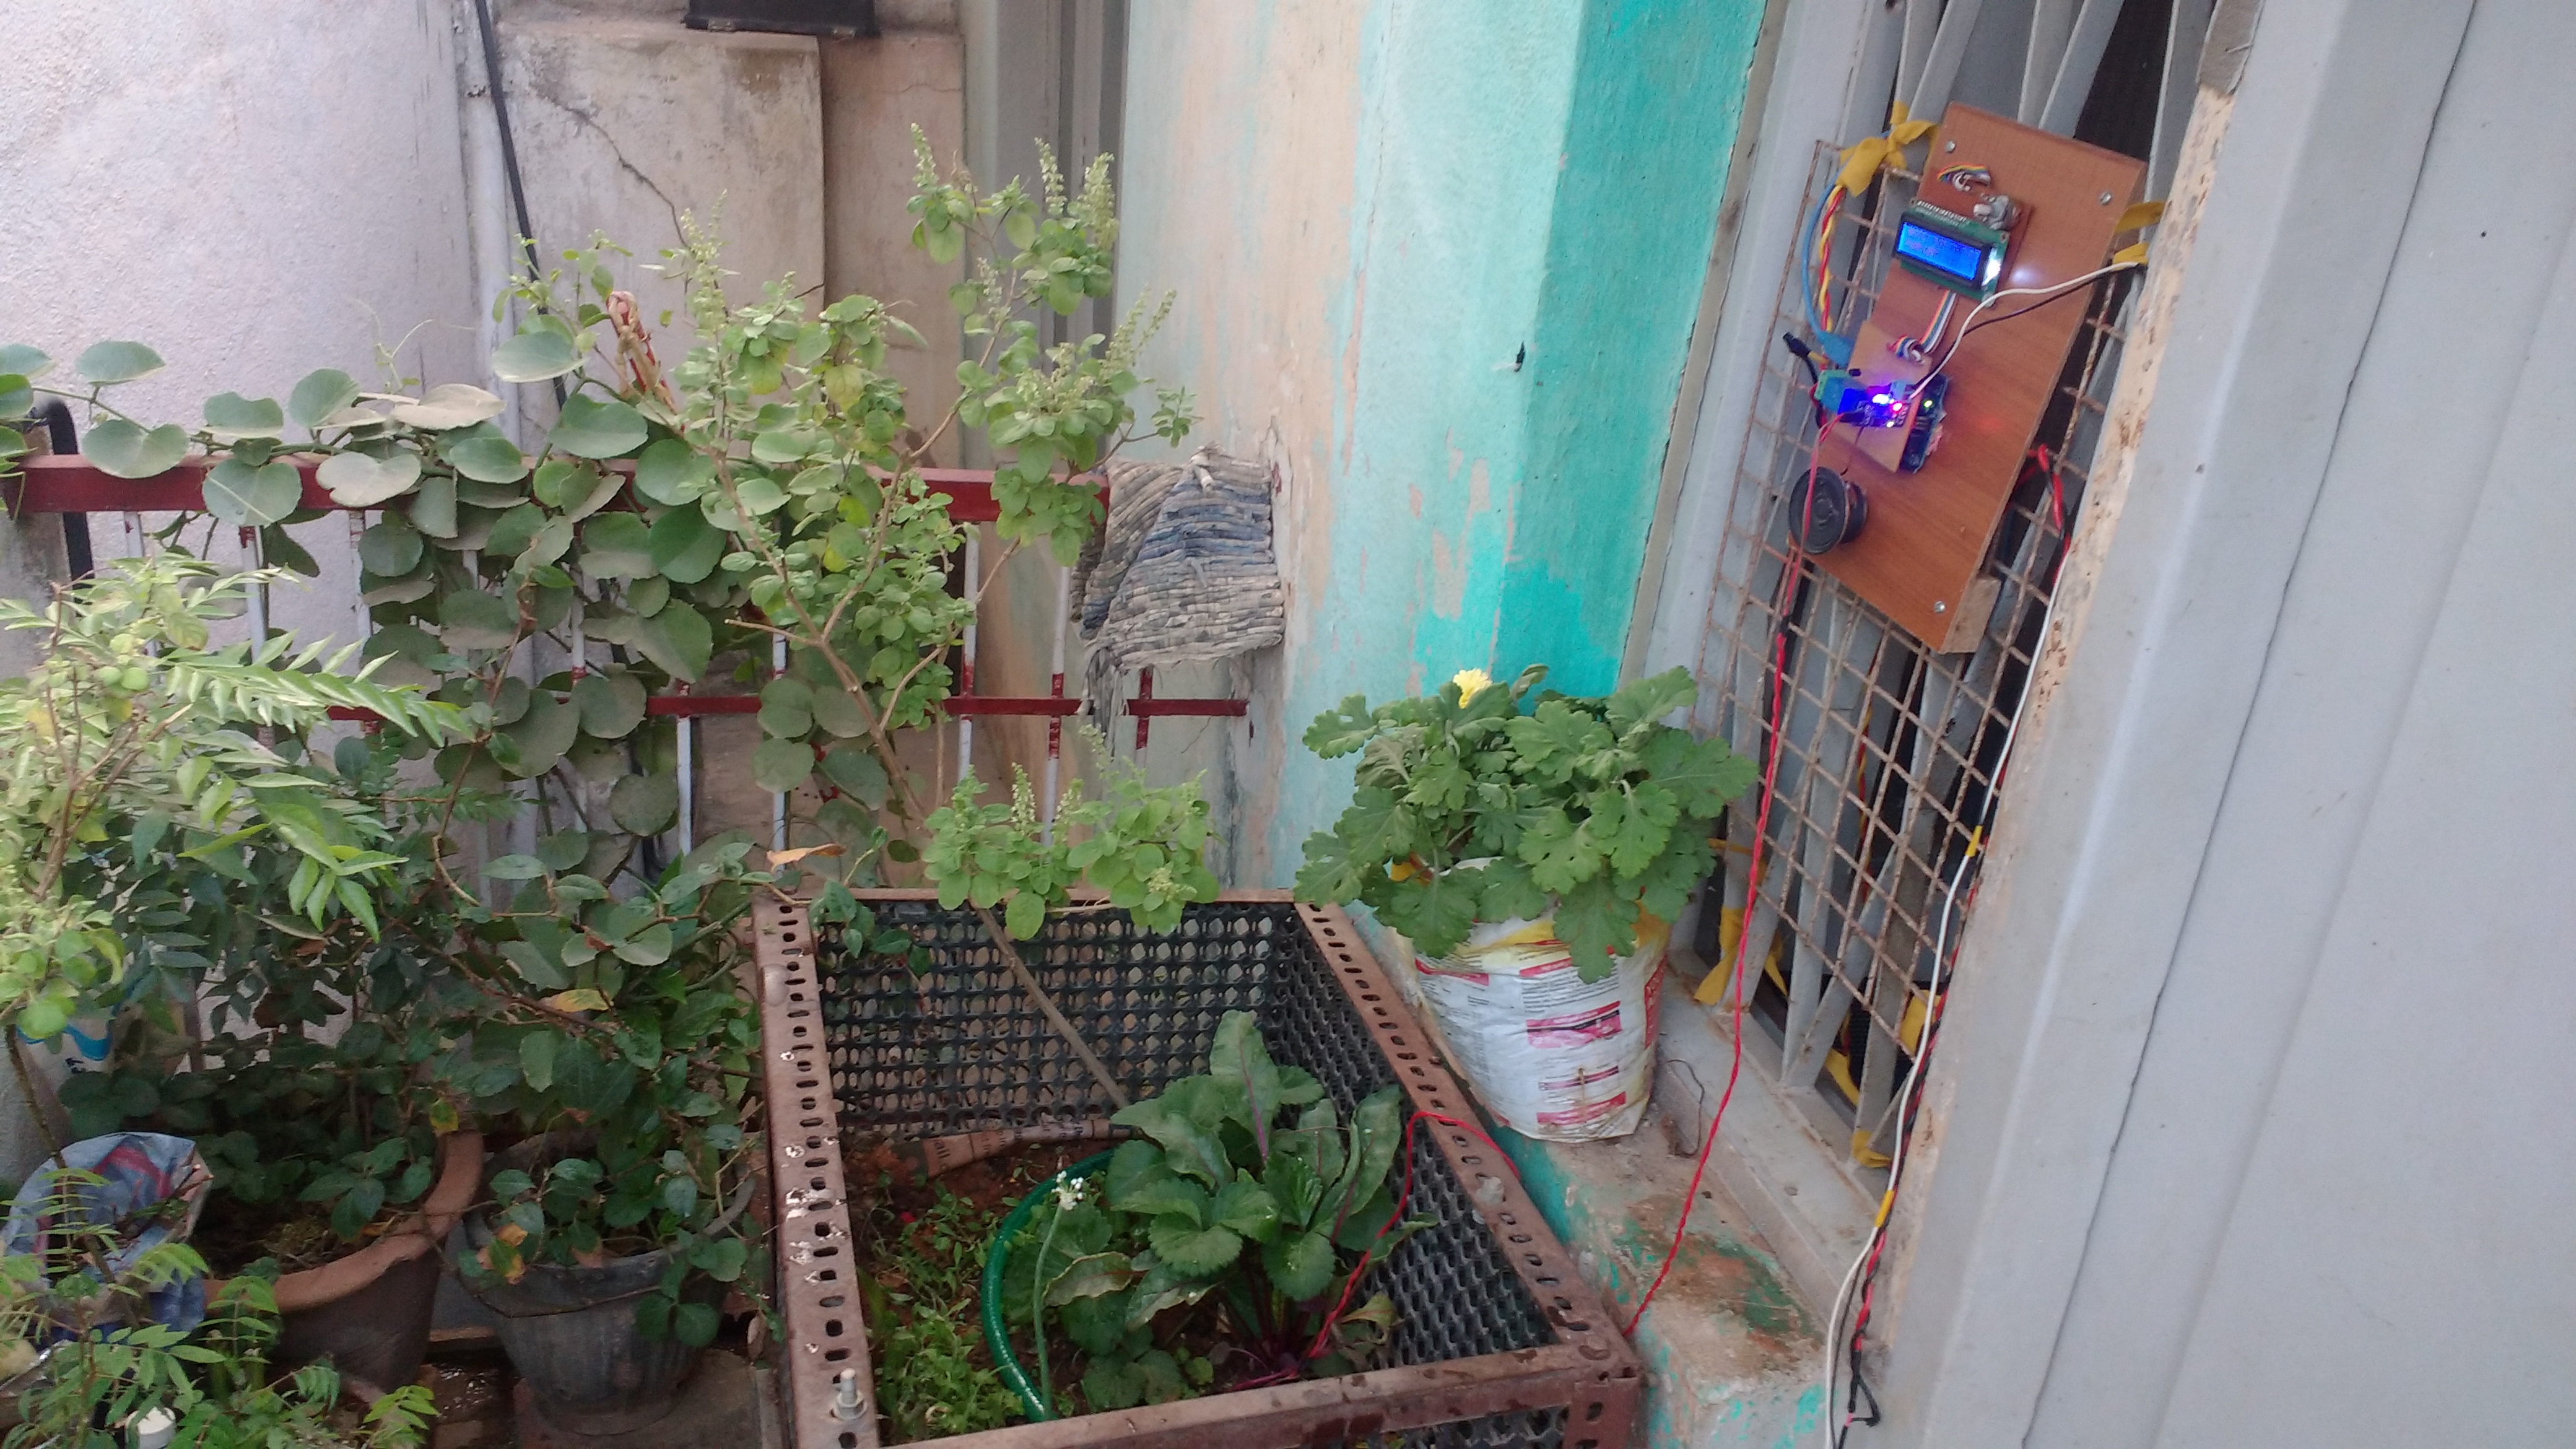
In this Instructables, I will show you how to build and implement an automatic irrigation system which can sense the water content in the soil and automatically irrigate your garden. This system can be programmed for different crop requirements and seasonal variations. This system is best suited for drip irrigation technique. I have also tested the system for different soil conditions and water availability.
Watch the linked video for easy understanding.
This System will help you to irrigate your backyard Garden or your Indoor Garden automatically and you need not to worry about watering your favorite plants in your busy schedule.
Arduino UNO is the brain of this system and all the sensors and display devices are controlled by it. A Moisture sensor is used to read the Moisture content of the soil. An LCD is provided to monitor the Soil Status, Ambient Temperature, and Status of Water supply(Water Pump).
Materials Required
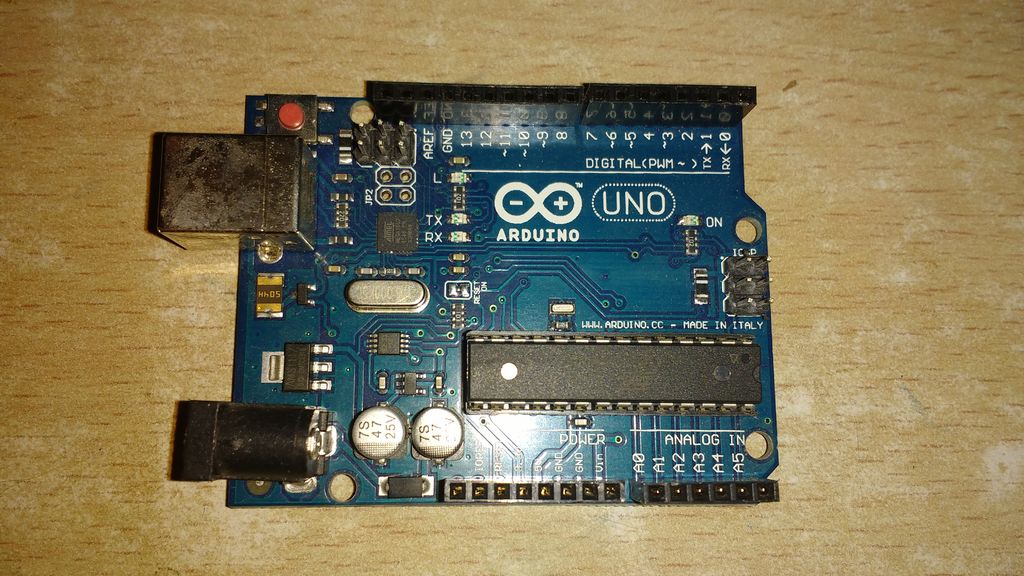
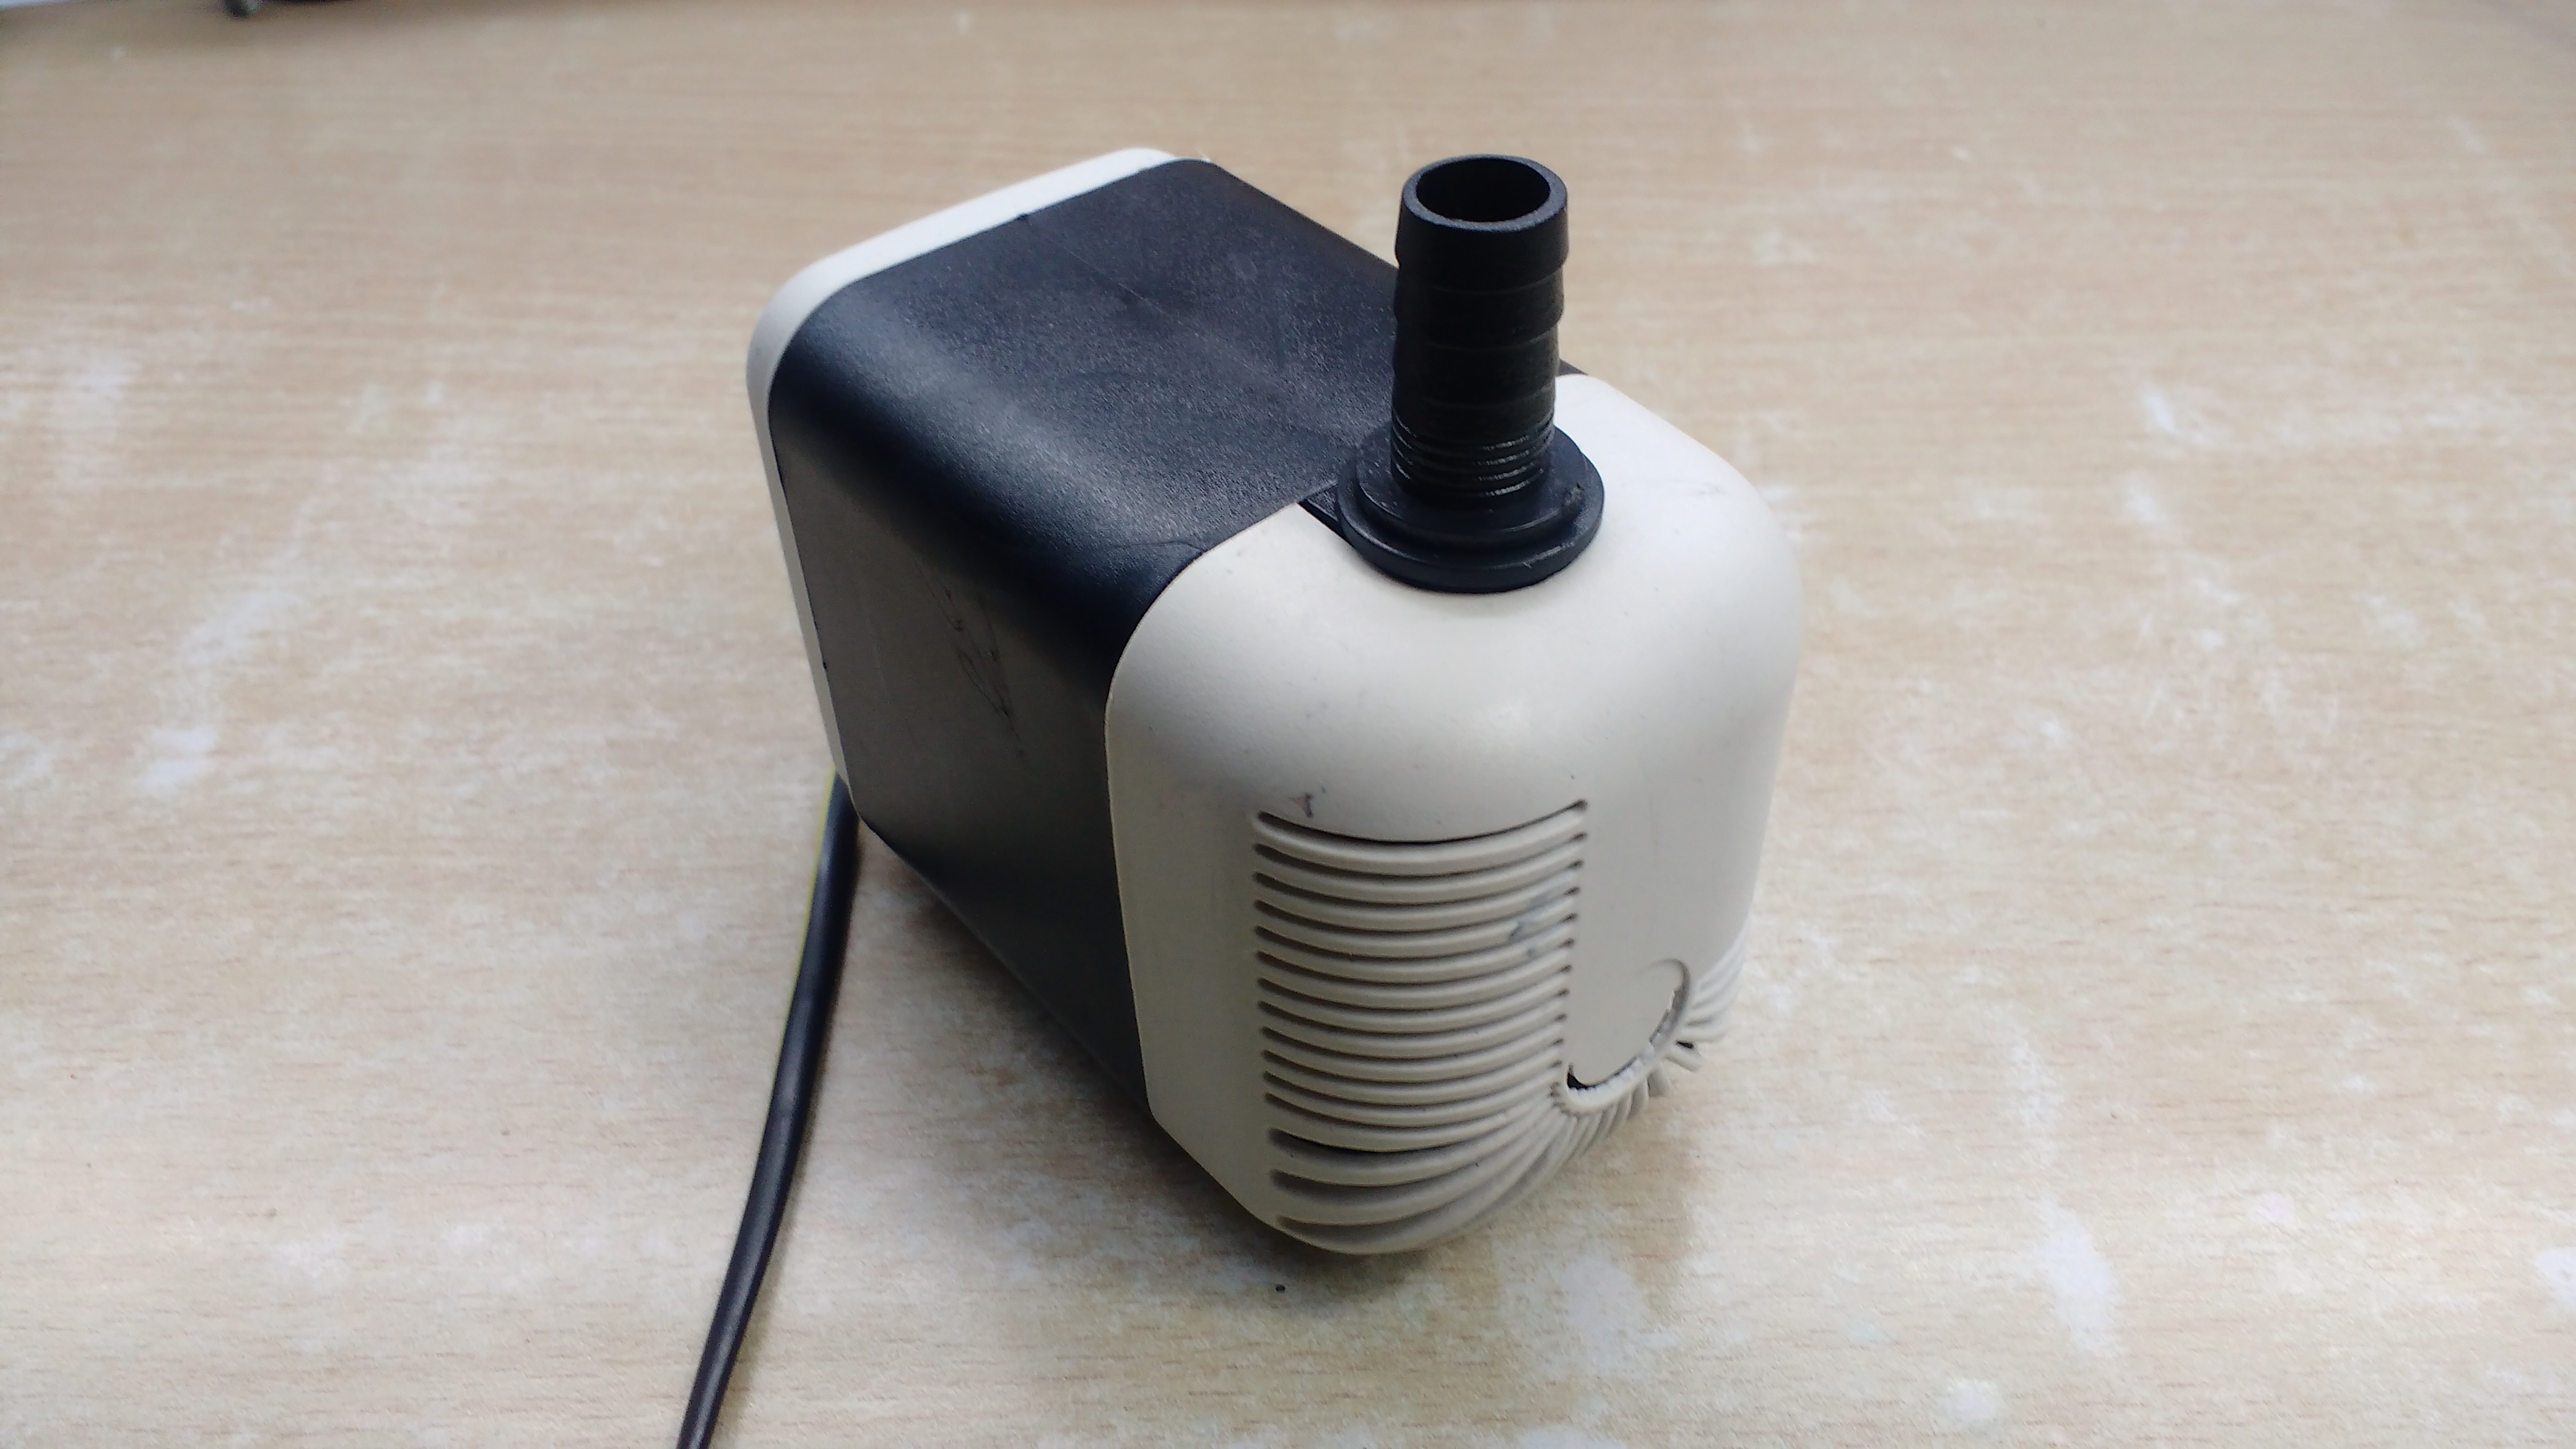
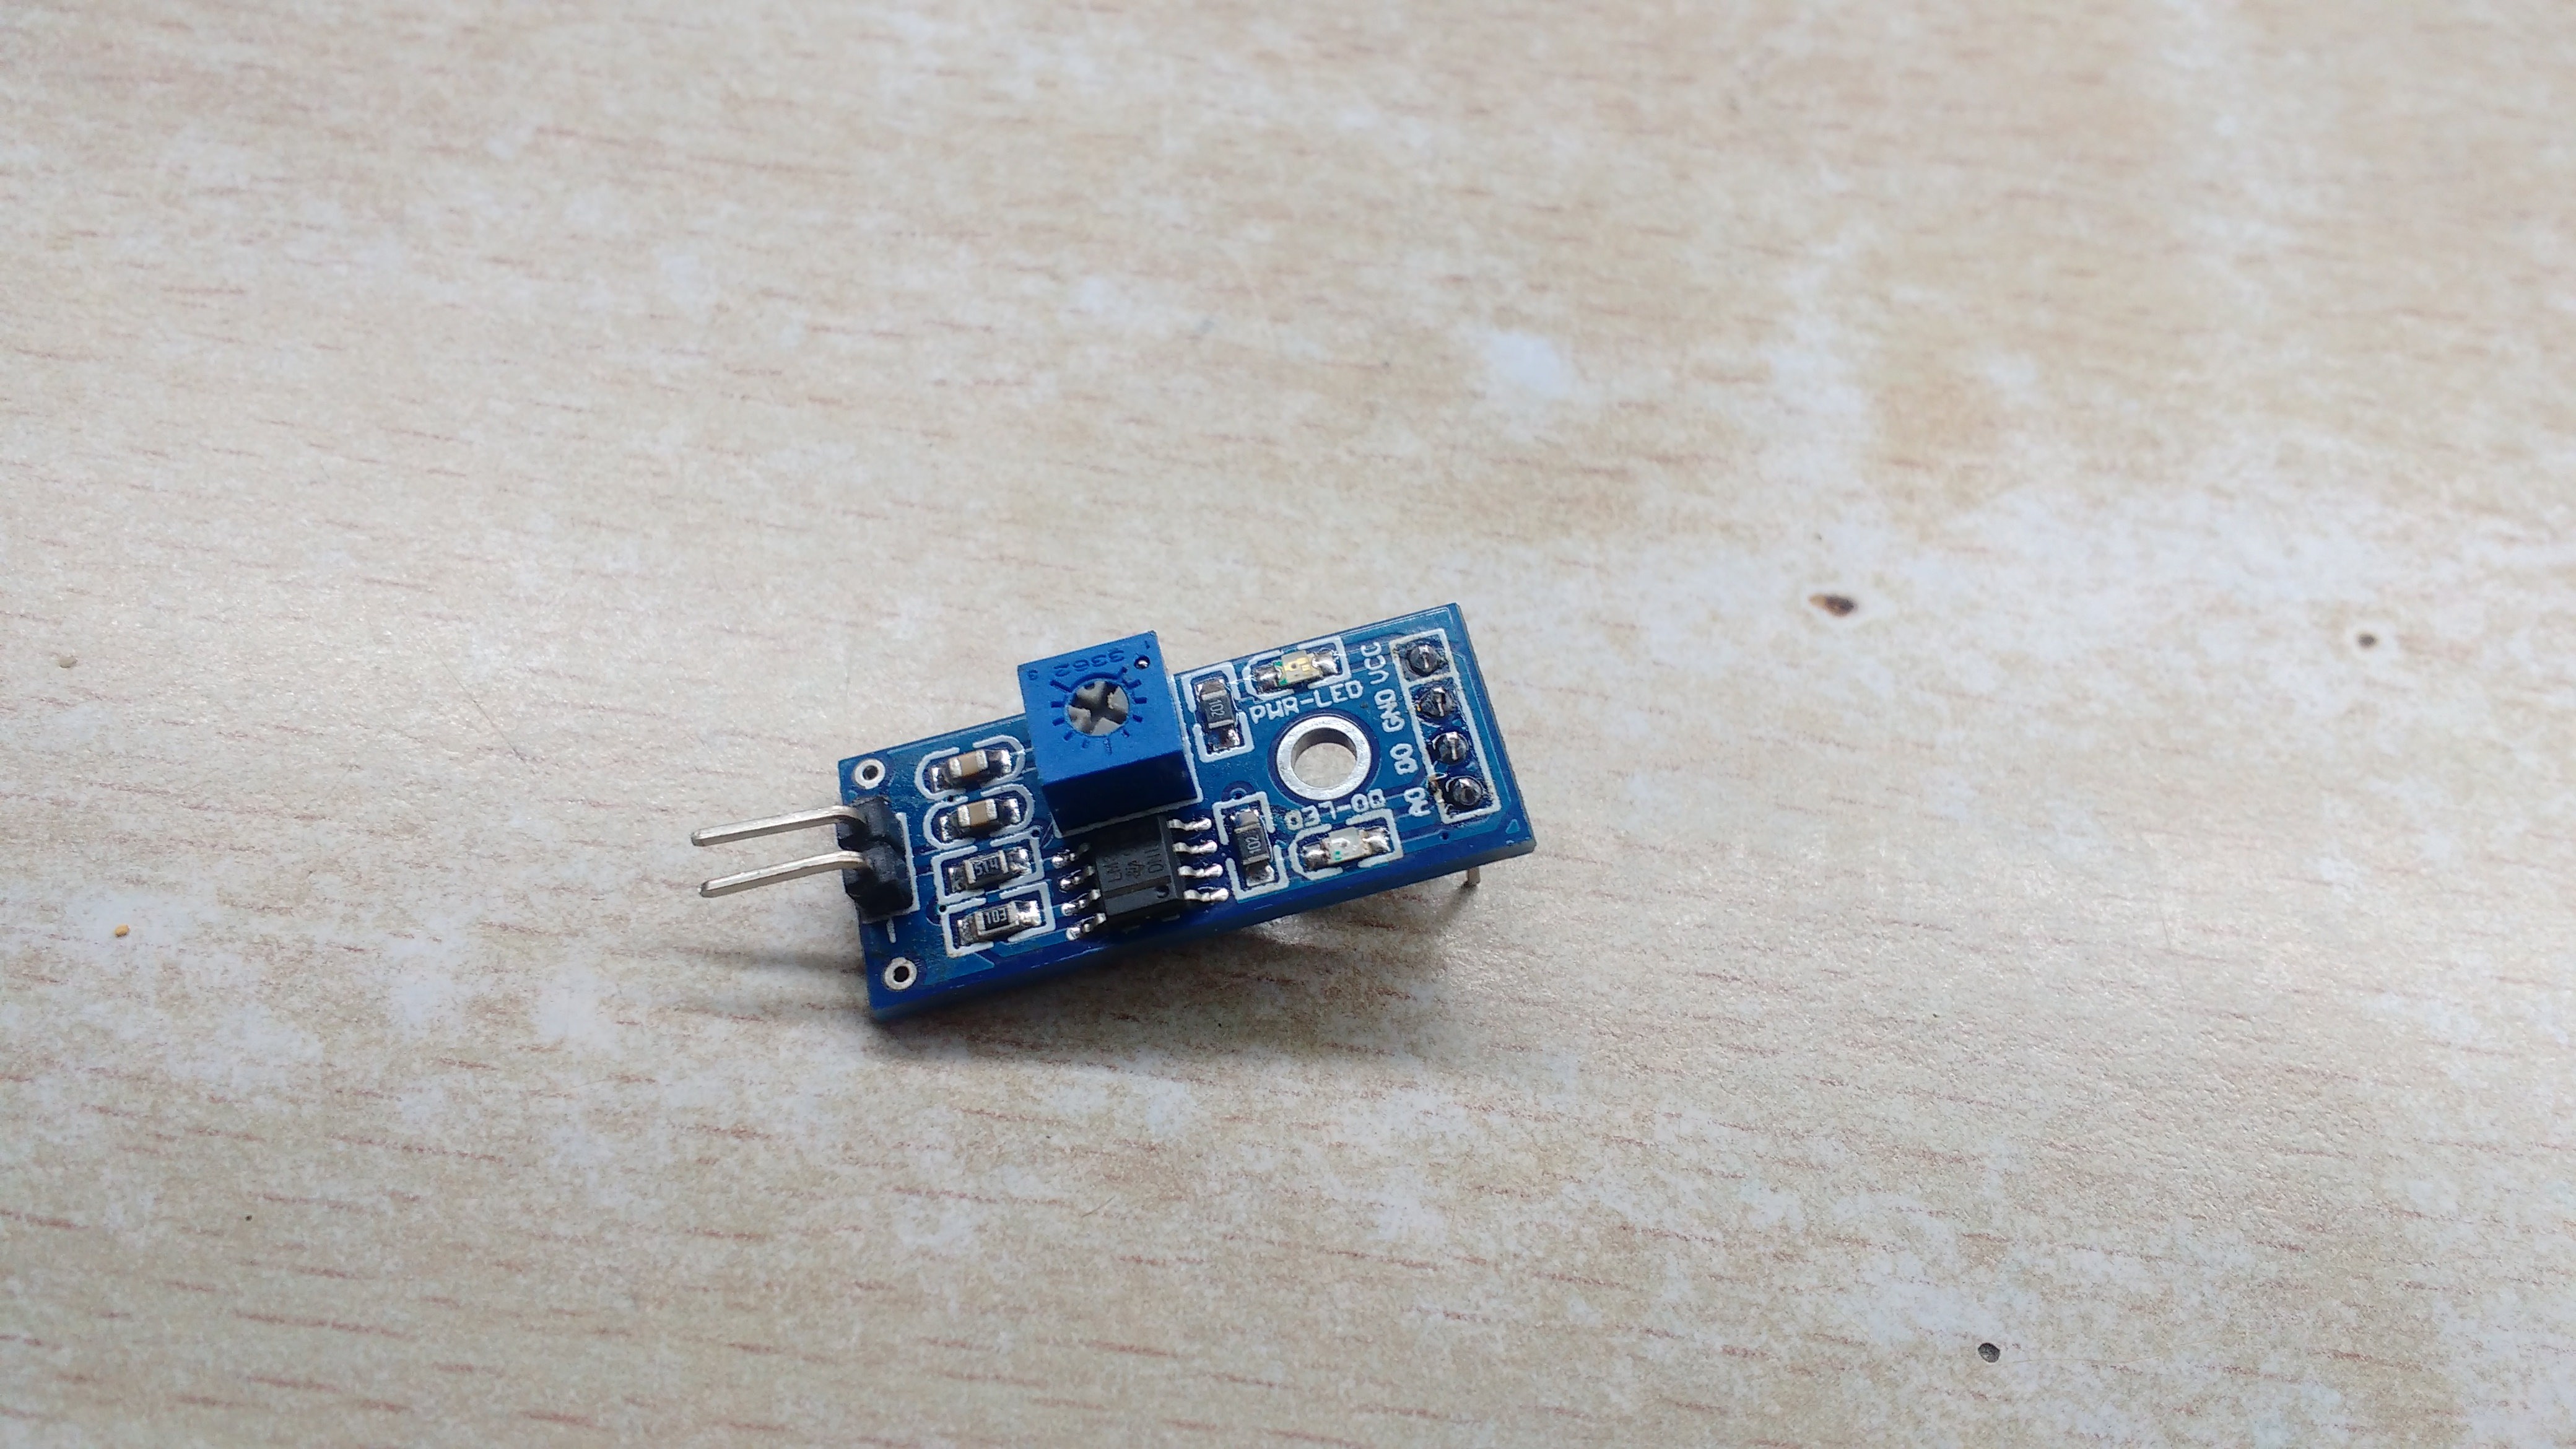
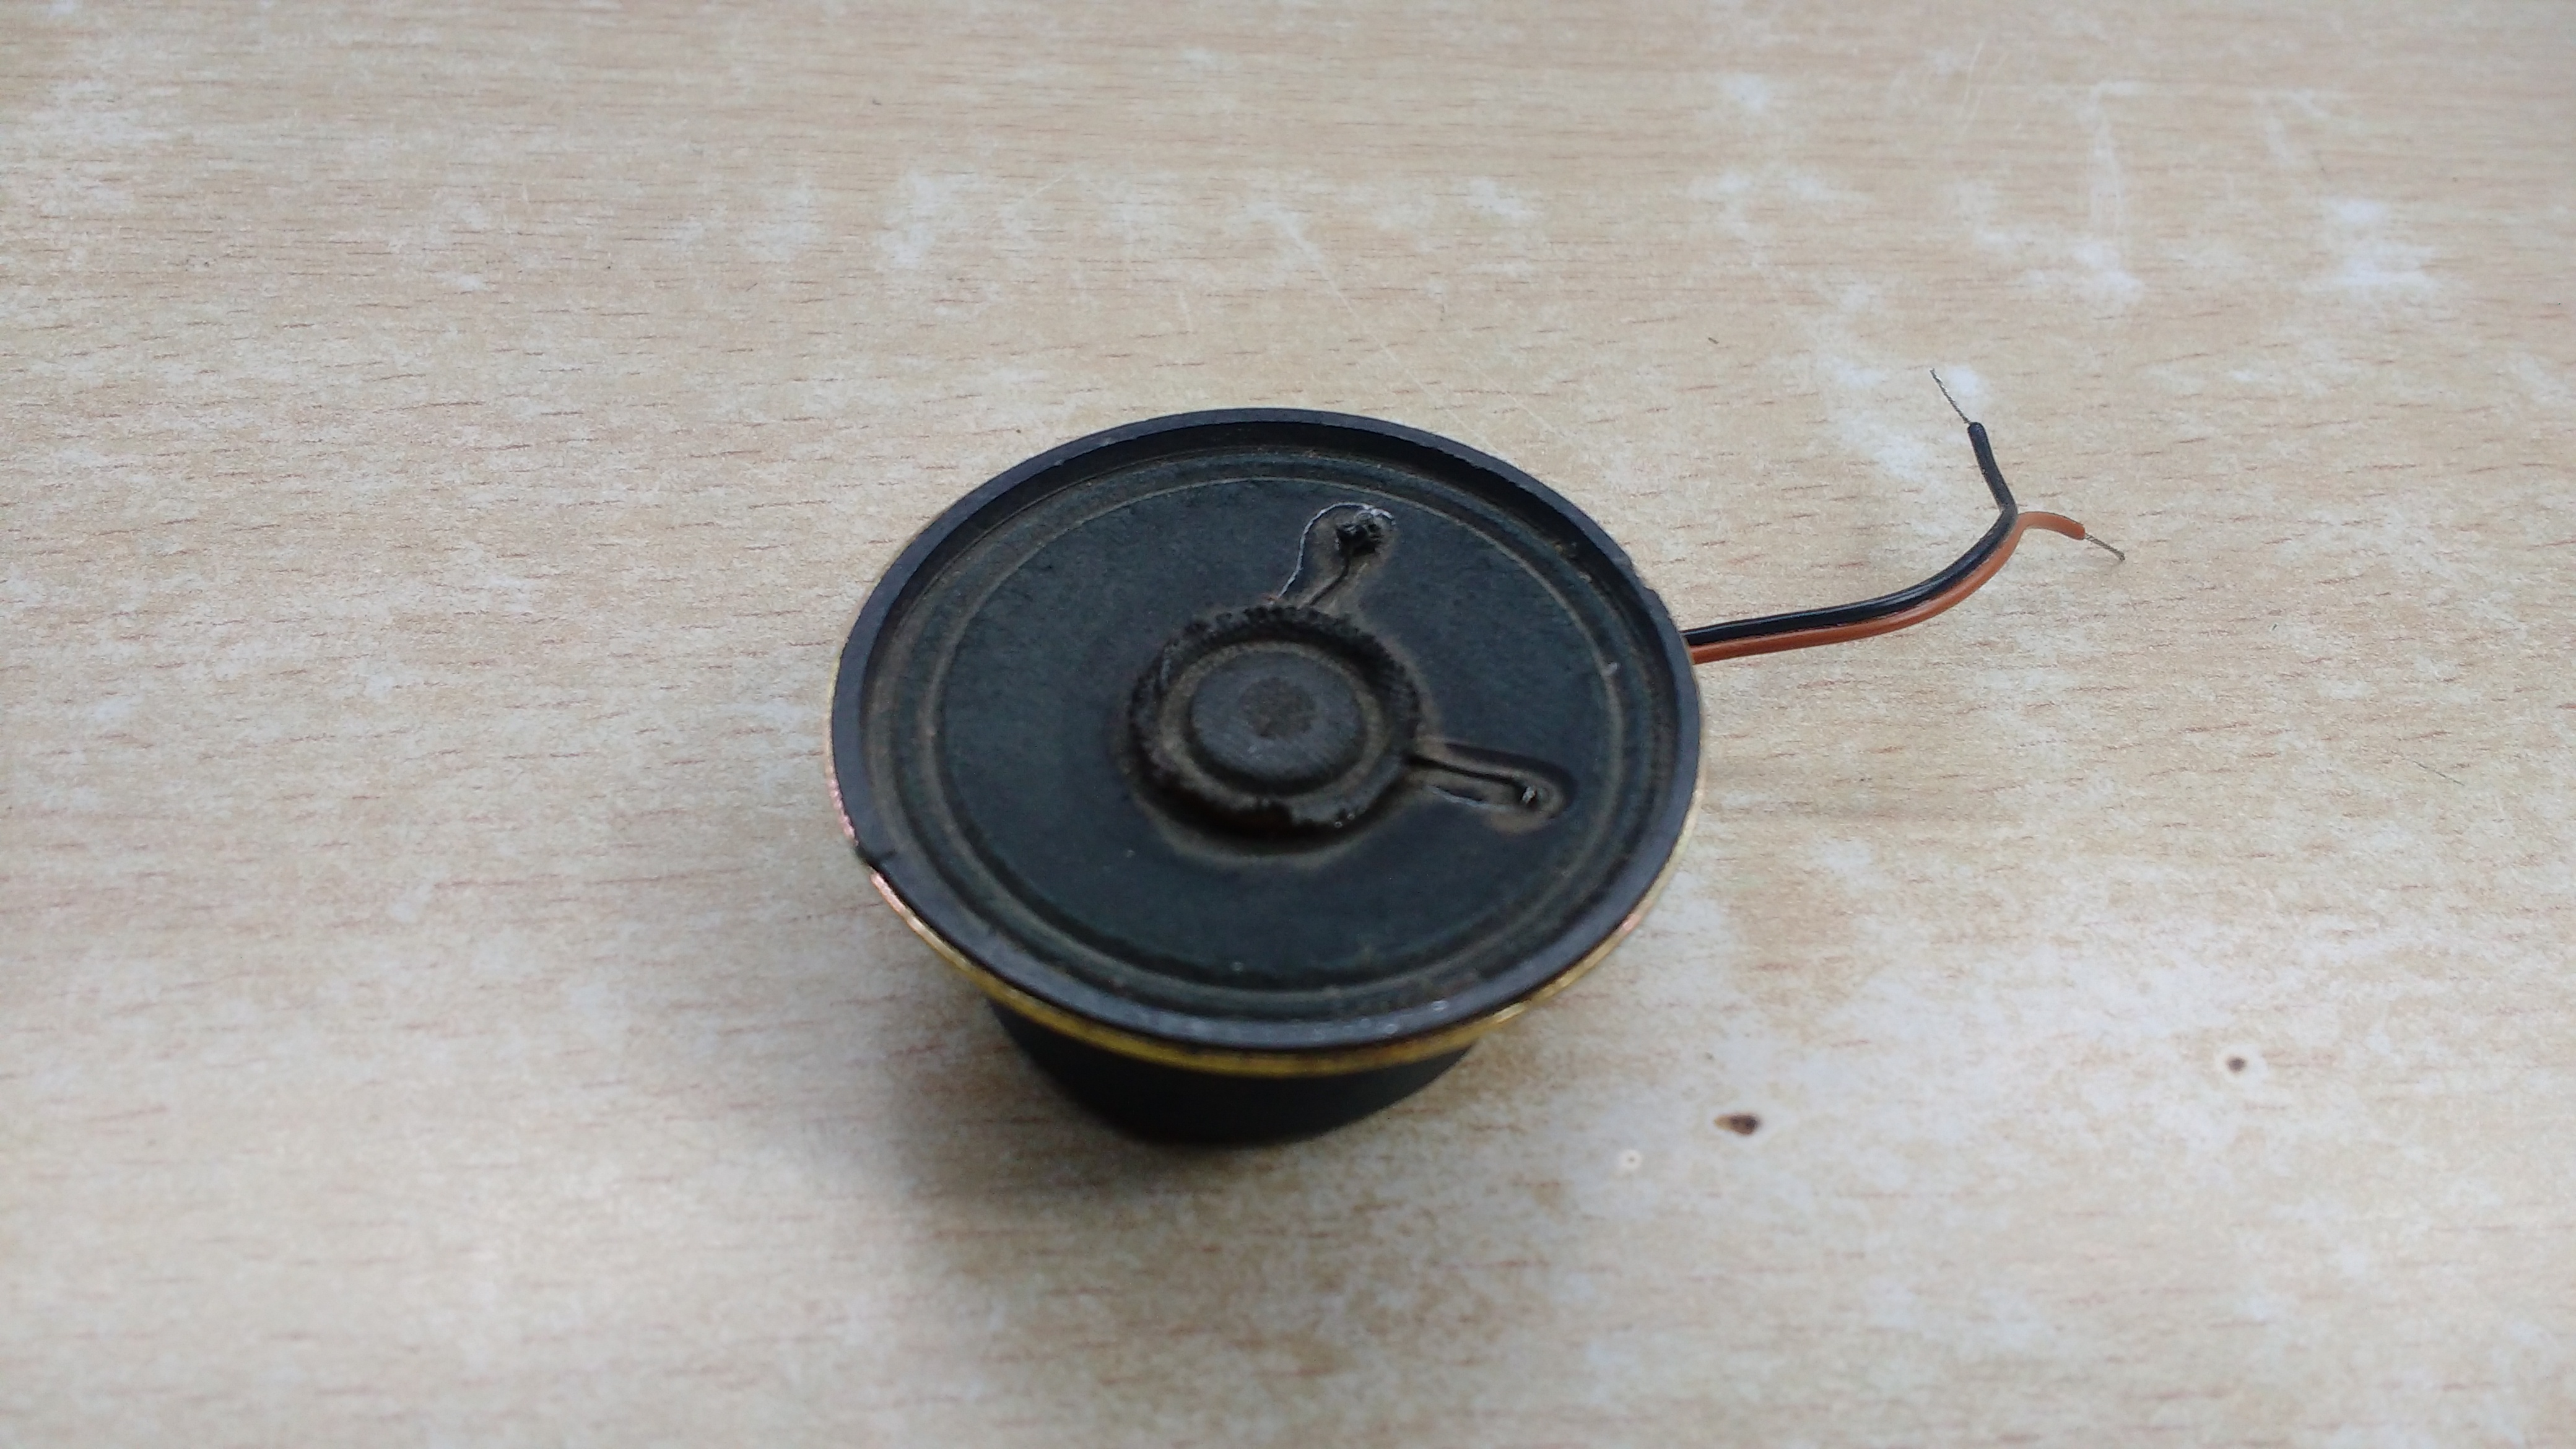
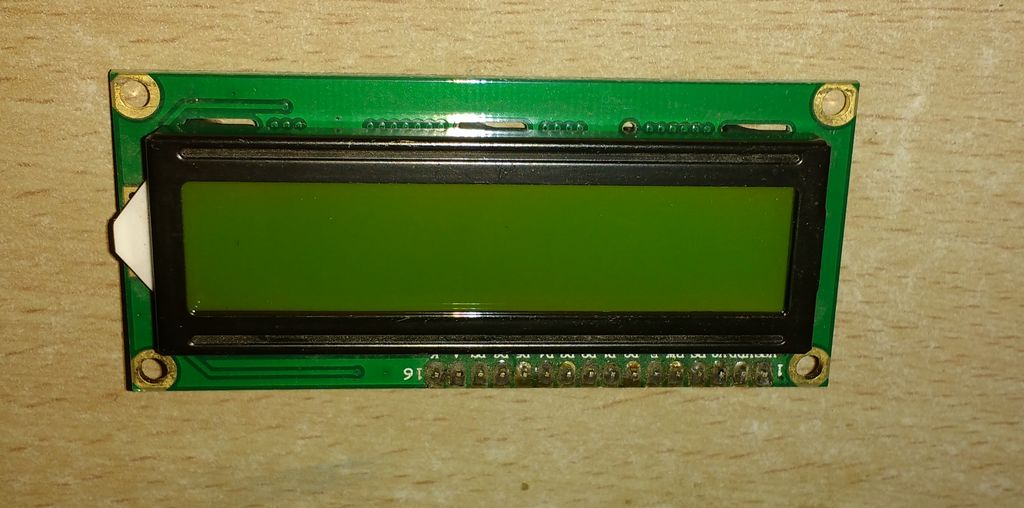
- Arduino UNO
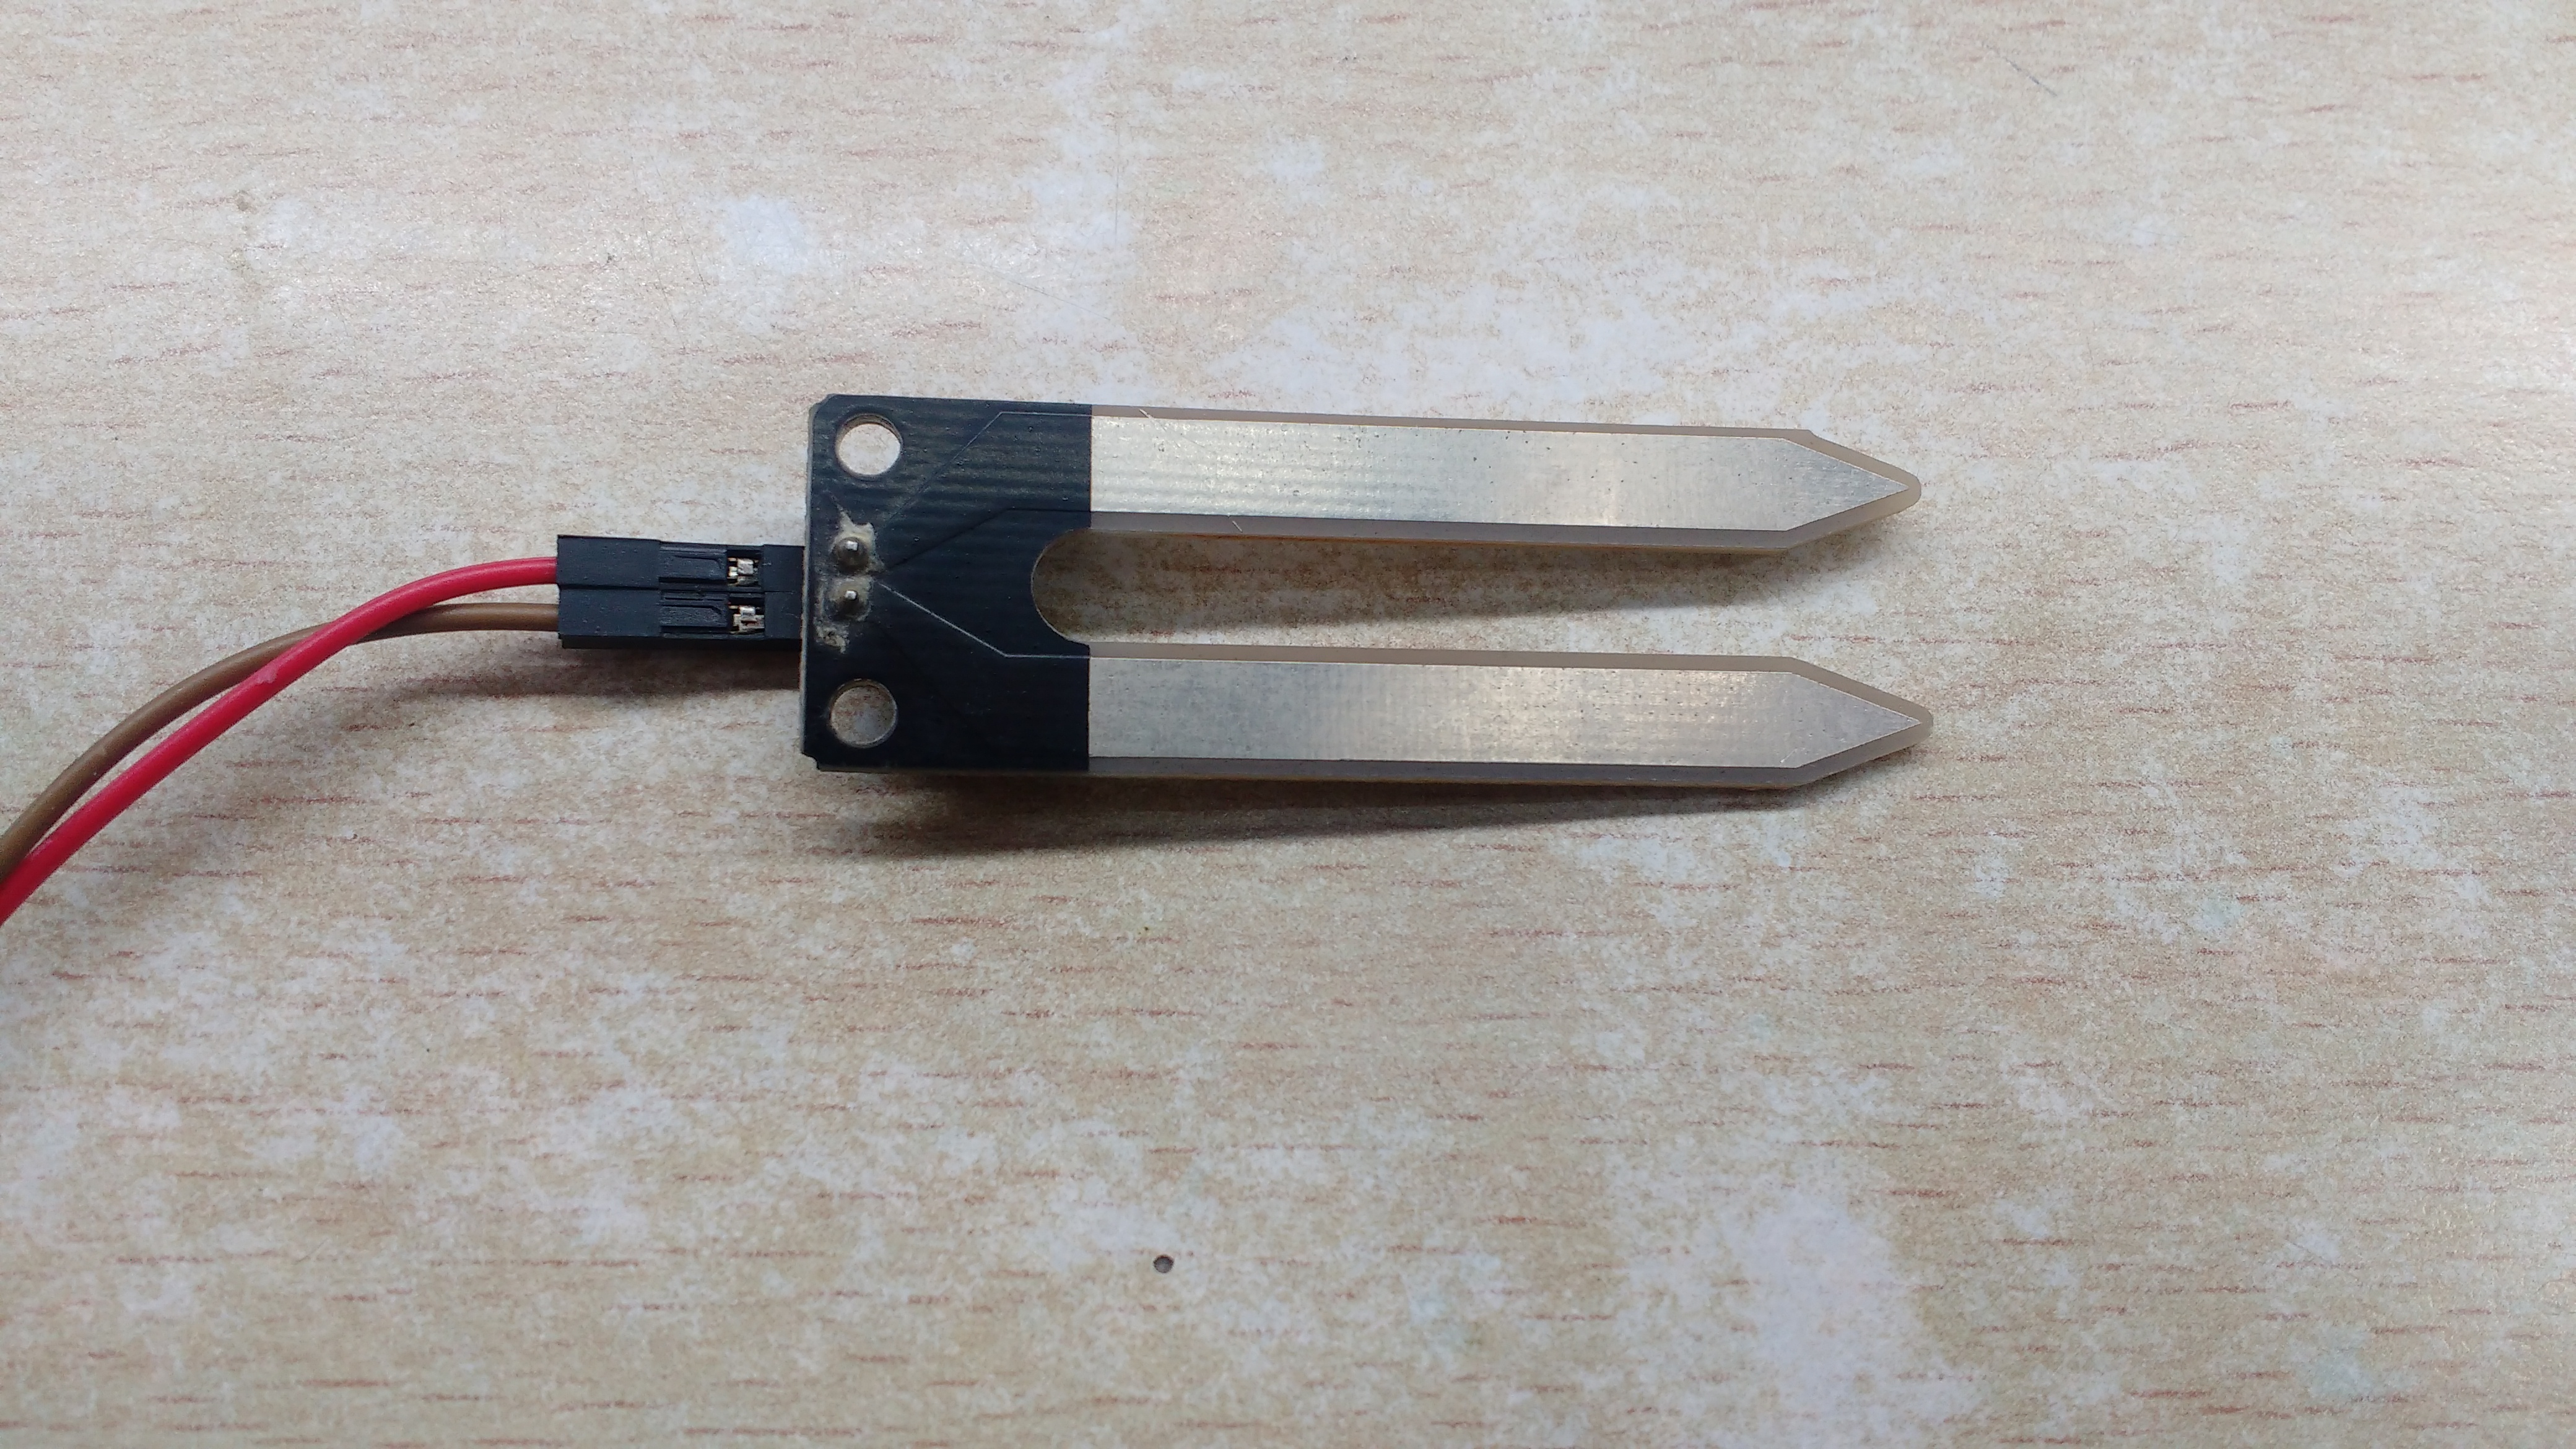
- Soil Moisture Sensor ( with LM393 Driver)
- LM 35 Temperature Sensor
- 16x2 LCD Display
- Water level Switch
- Speaker
- 5V Relay
- BC547 or similar NPN Transistors
- Resistors ( Refer Circuit Diagram)
- Potentiometer ( 10Kohm )
- 5mm LED
- 1N4007 Diode
- Terminal Strips and Screw Terminals
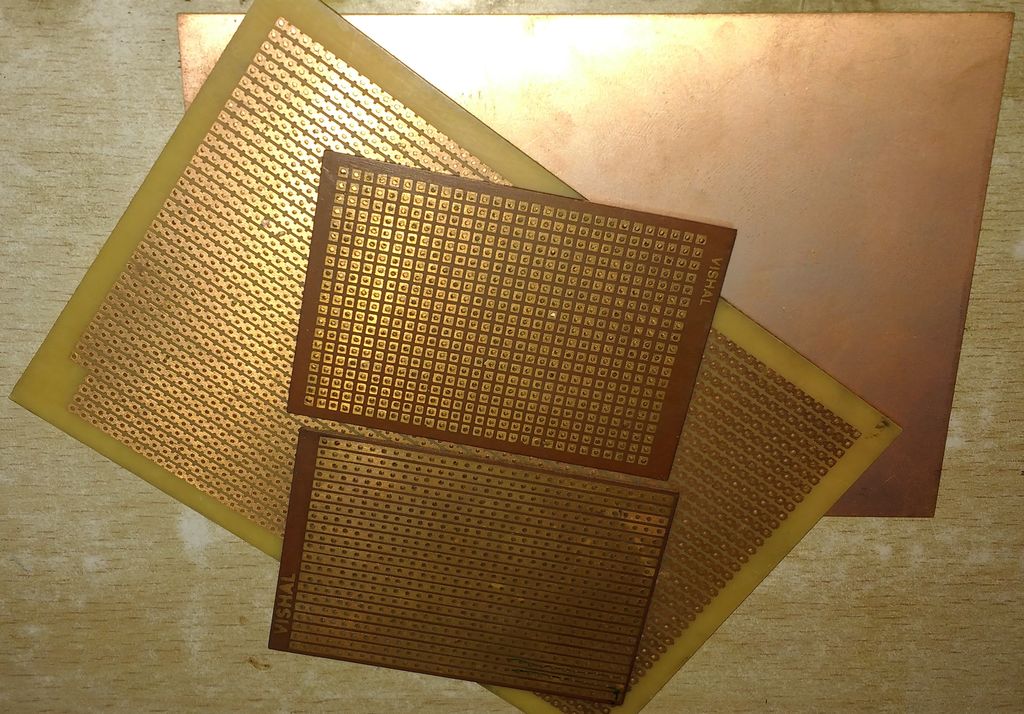
- PCB / Breadboard
- Basic tools and Soldering Kit
Build the Circuit
.png)
.png)
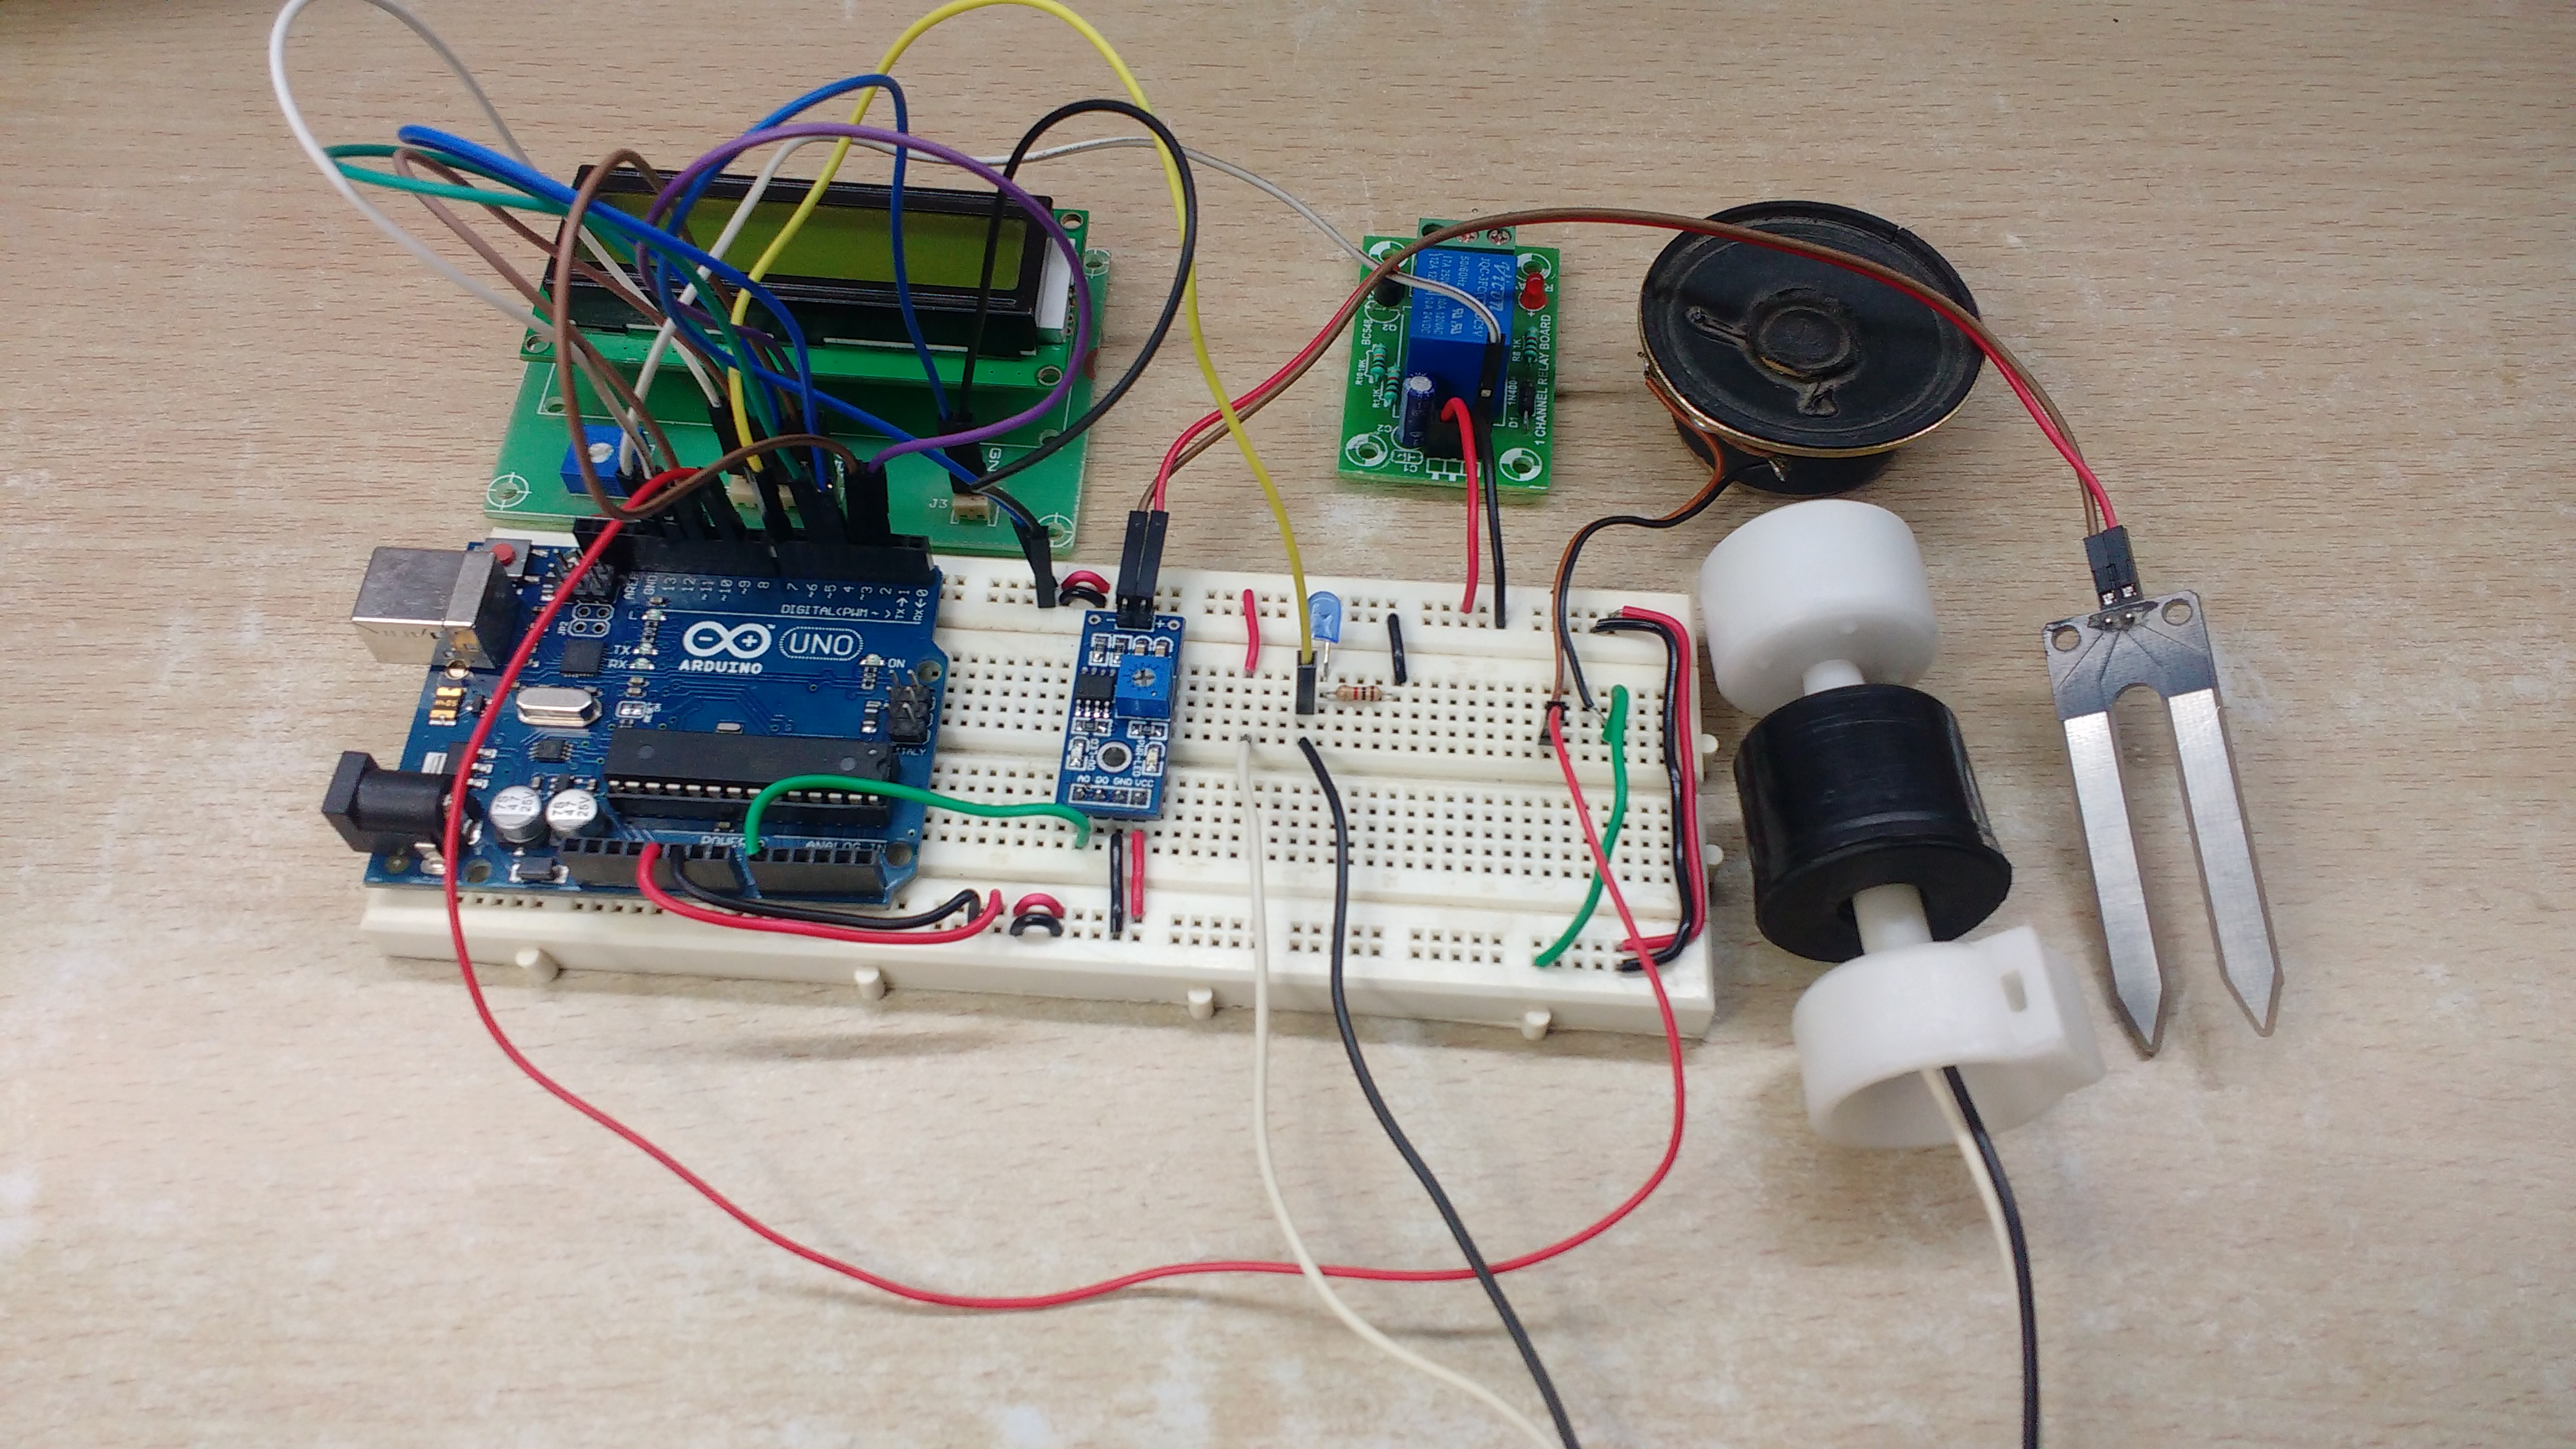
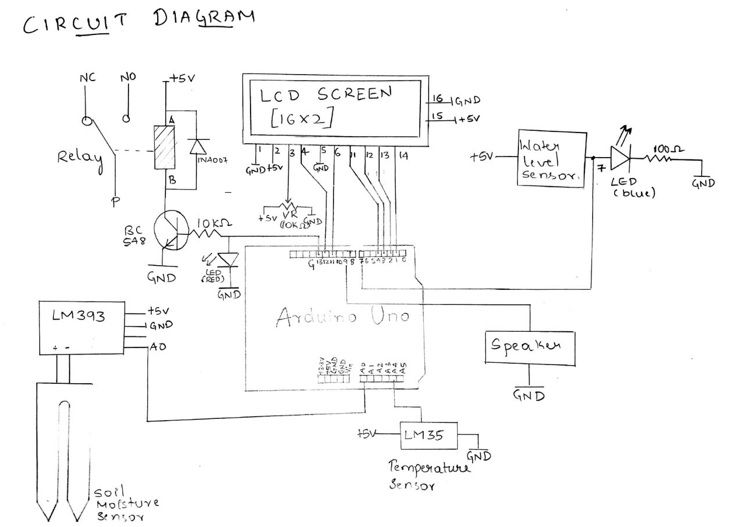
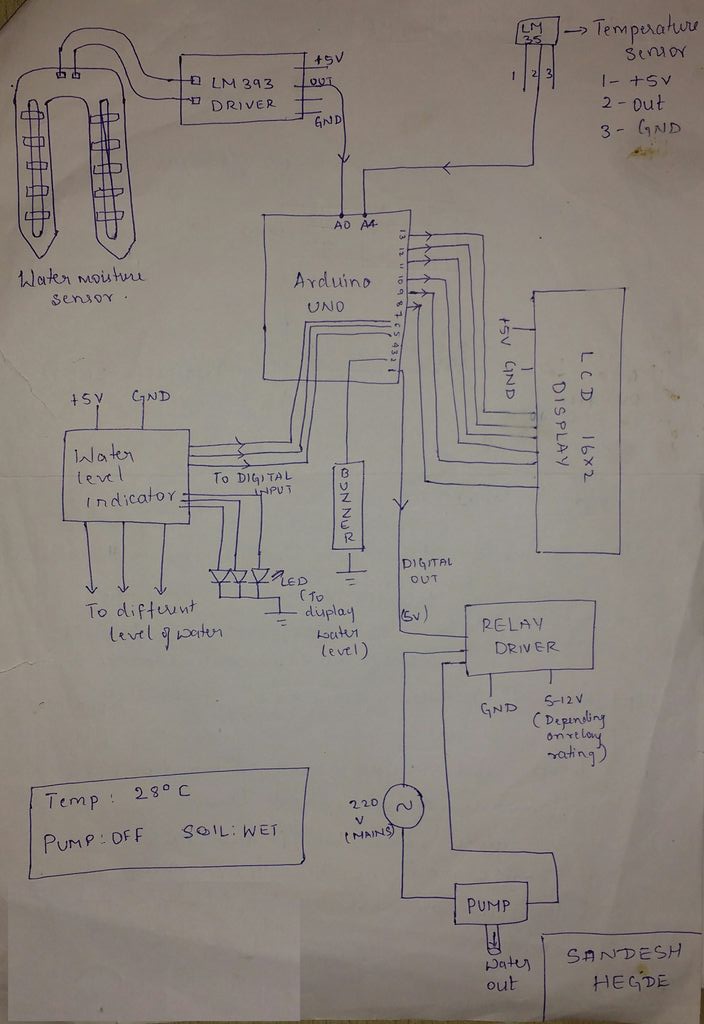
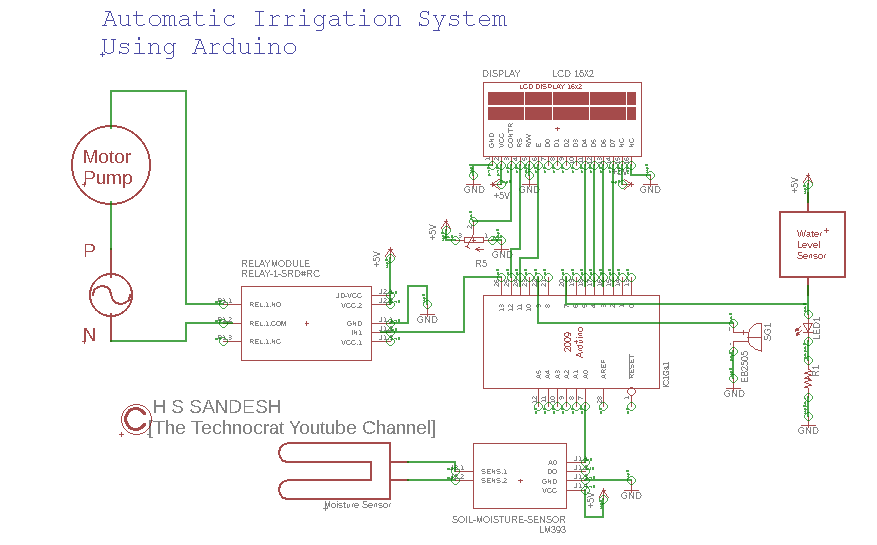
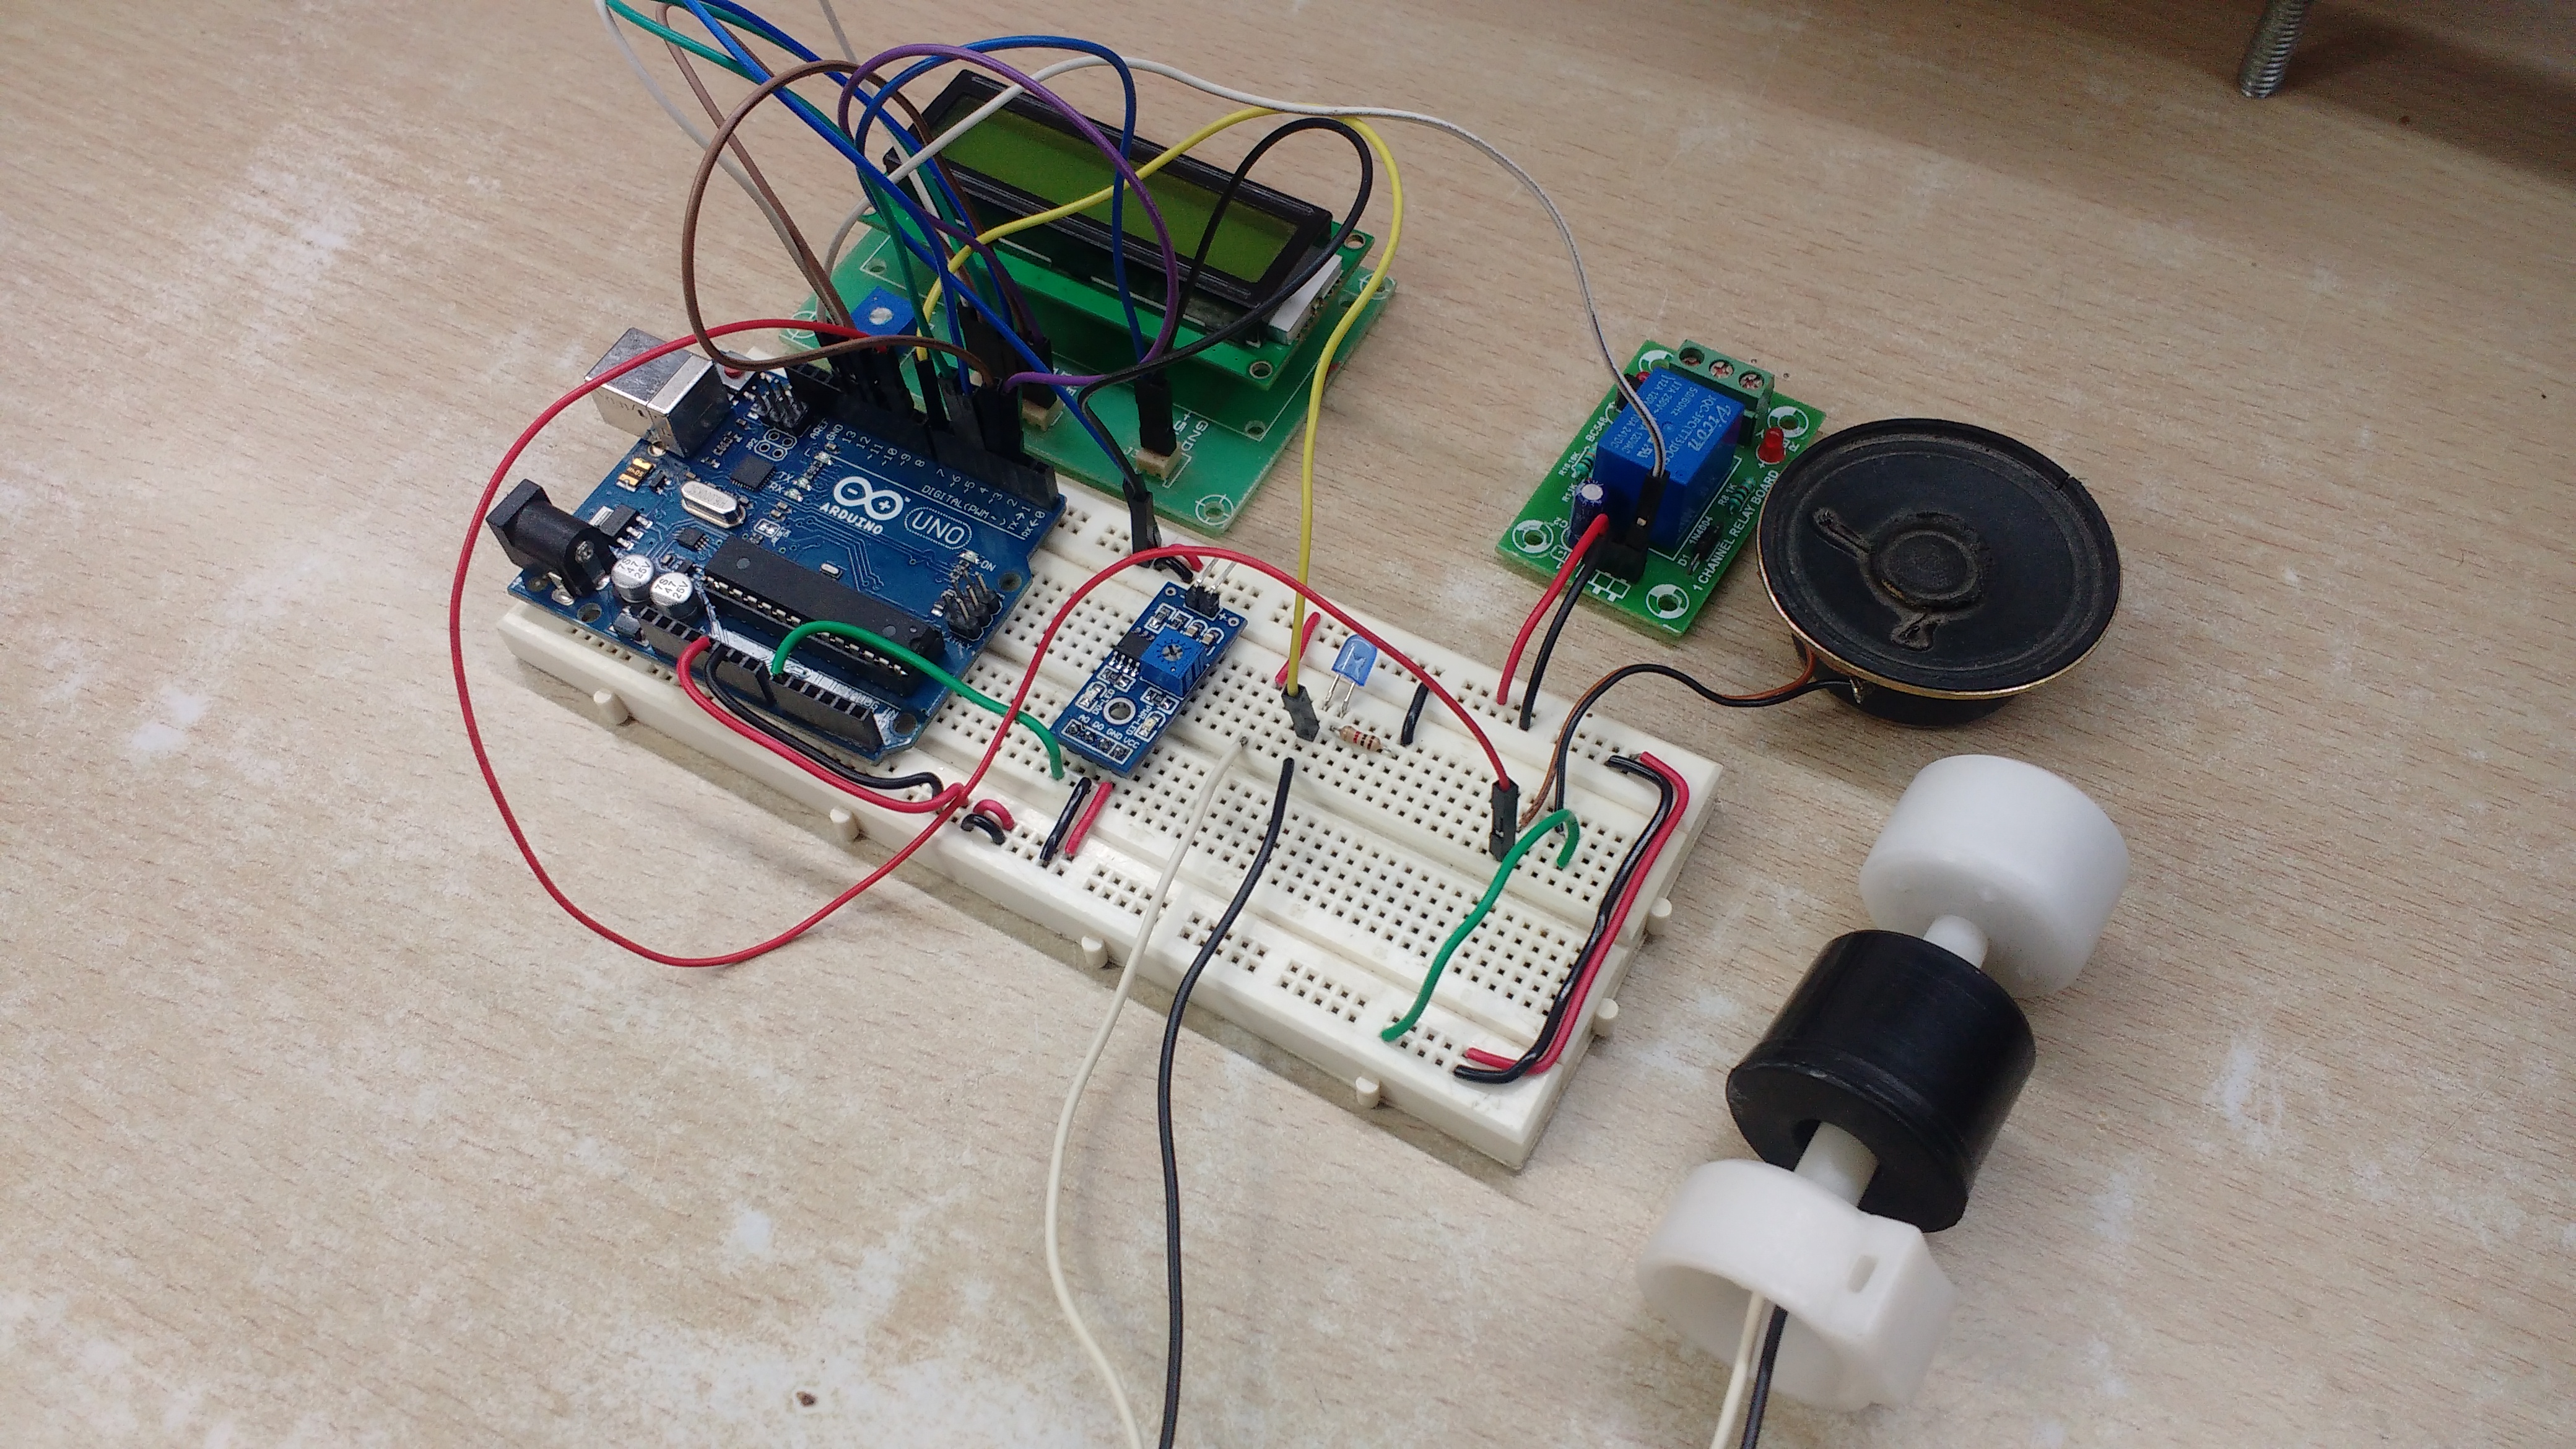
This circuit can be built either on Breadboard or on a PCB. For a temporary try, you can build this on the breadboard. Refer the circuit diagram for details. Make the connection as mentioned below.
ARDUINO PINS
0______________________________N/C
1______________________________N/C
2______________________________LCD-14
3______________________________LCD-13
4______________________________LCD-12
5______________________________LCD-11
6______________________________N/C
7______________________________WATER_LEVEL_STATUS_LED
8______________________________N/C
9______________________________SPEAKER
10_____________________________N/C
11_____________________________LCD-6
12_____________________________LCD-4
13_____________________________PUMP_STATUS_LED)_AND_TO_RELAY
A0_____________________________SOIL_MOISTURE_SENSOR
A4_____________________________LM35_(TEMPERATURE_SENSOR)
LCD-1_____________GND
LCD-5_____________GND
LCD-2_____________+Vcc
LCD-3_____________LCD_BRIGHTNESS
*A Bug reported for unstable temperature readings. Please avoid the temperature sensor. I will update the code once it is solved.
Working Principle of the Circuit.
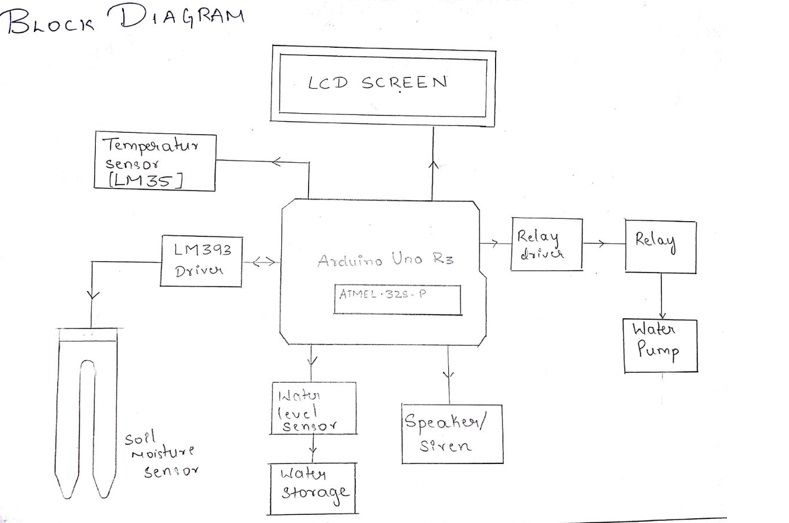
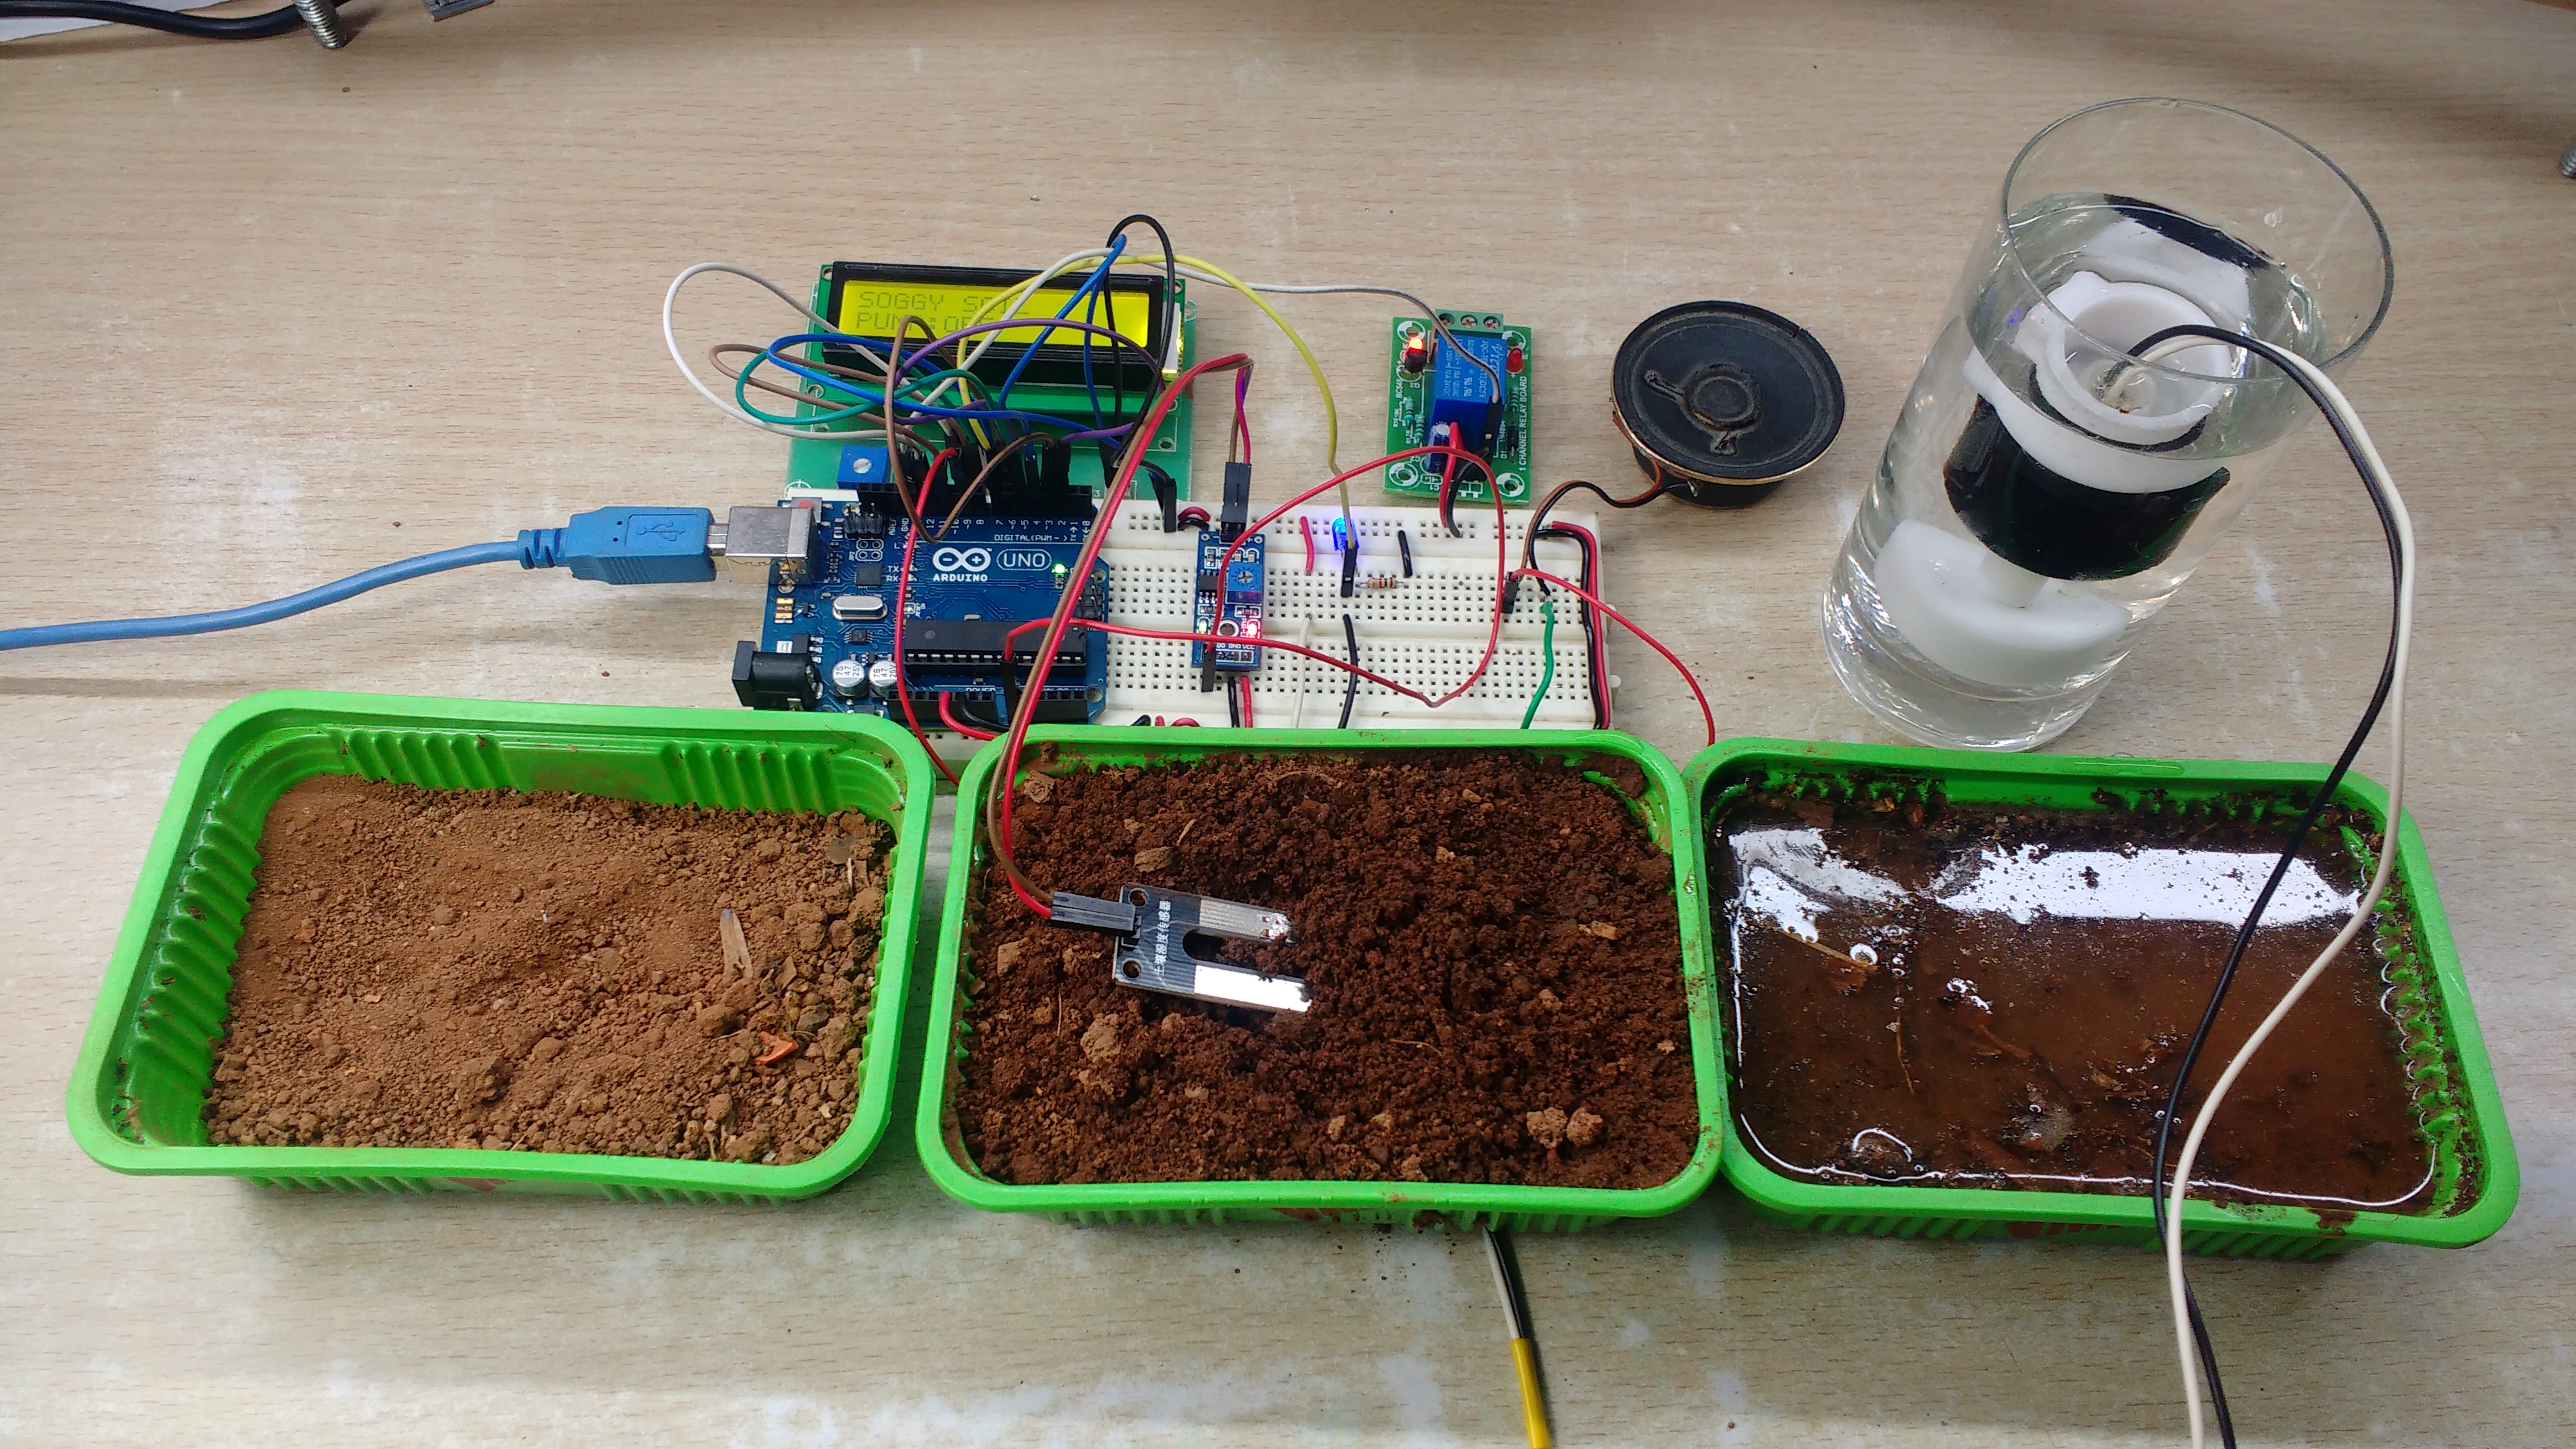
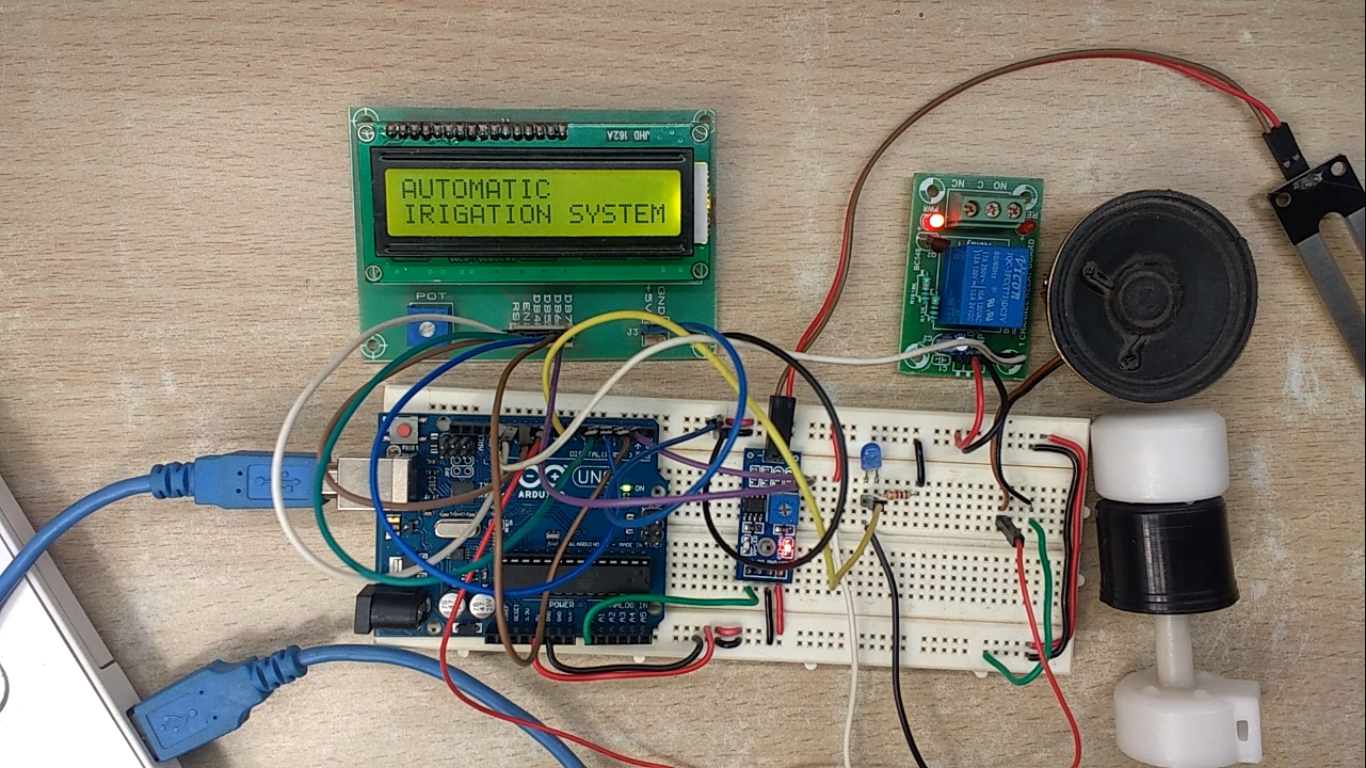
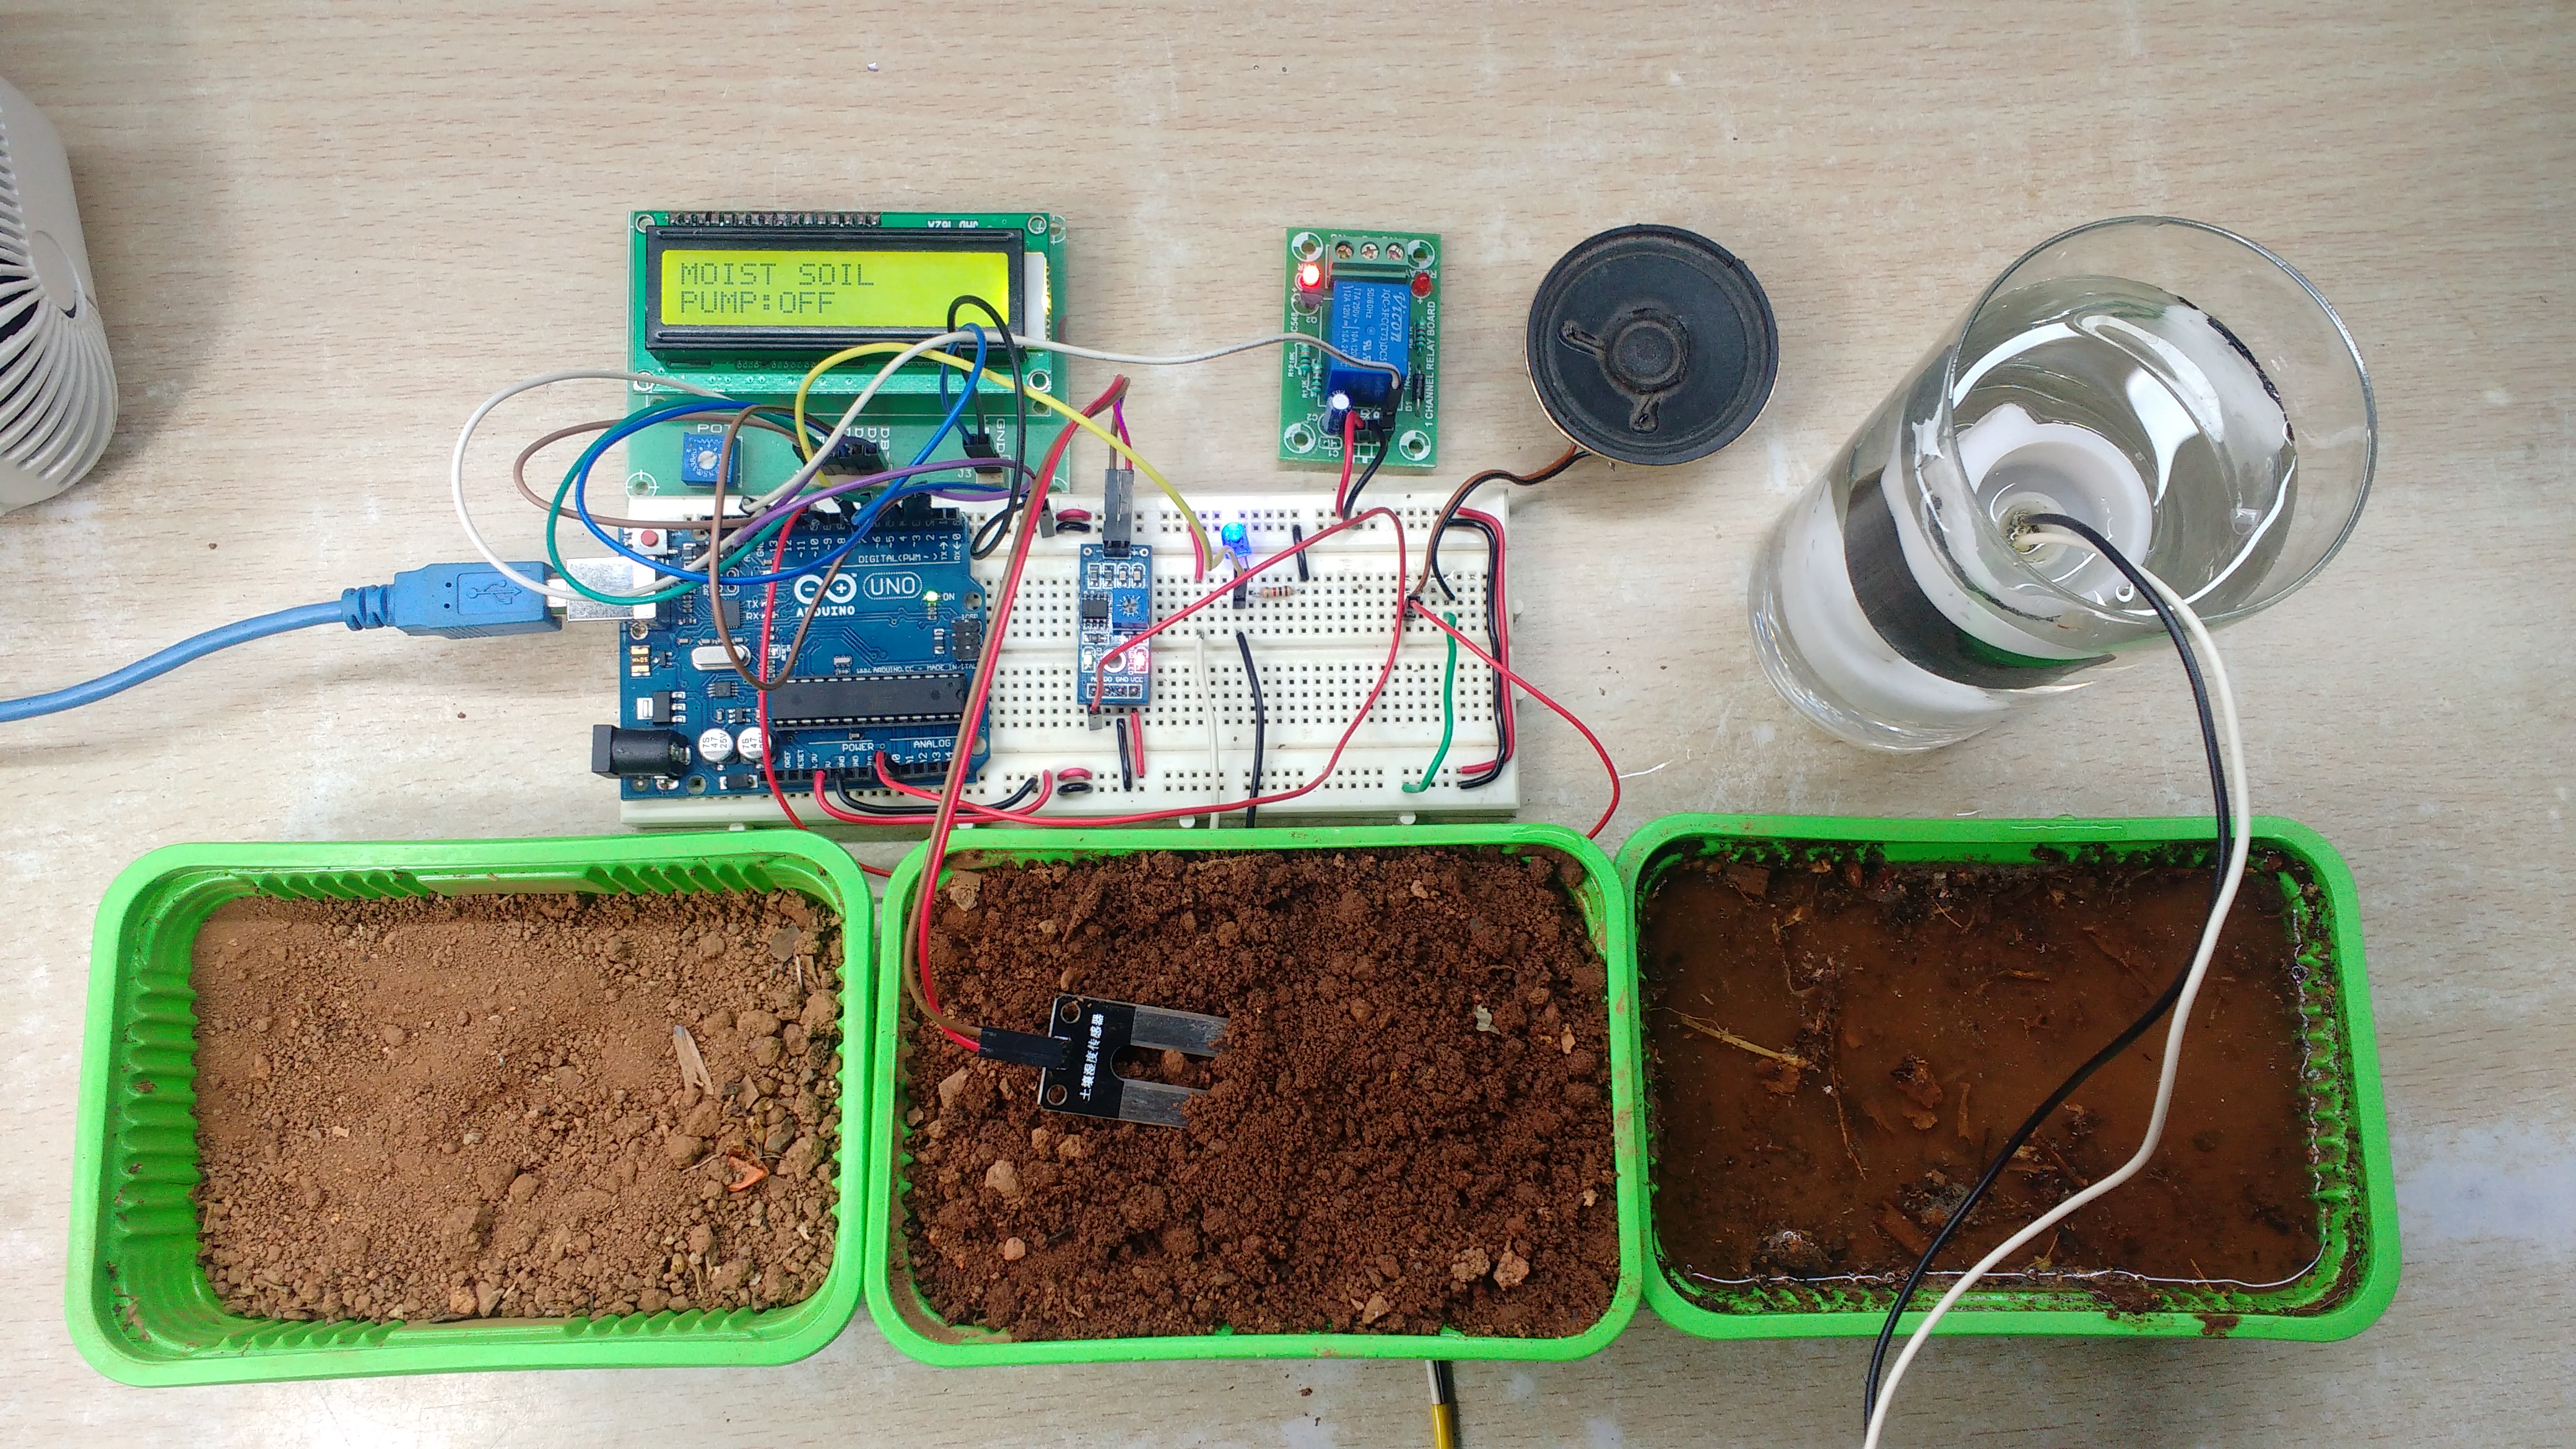
The Soil Moisture Sensor values depend on the resistance of the soil. The LM393 Driver is a dual differential comparator which compares the sensor voltage with fixed 5V supply voltage.
The value of this sensor varies from 0- 1023. 0 being most wet condition and 1023 being the very dry condition.
The LM35 is a precision integrated-circuit temperature sensors, whose output voltage is linearly proportional to the Celsius temperature. The LM35 operates at -55˚ to +120˚C.
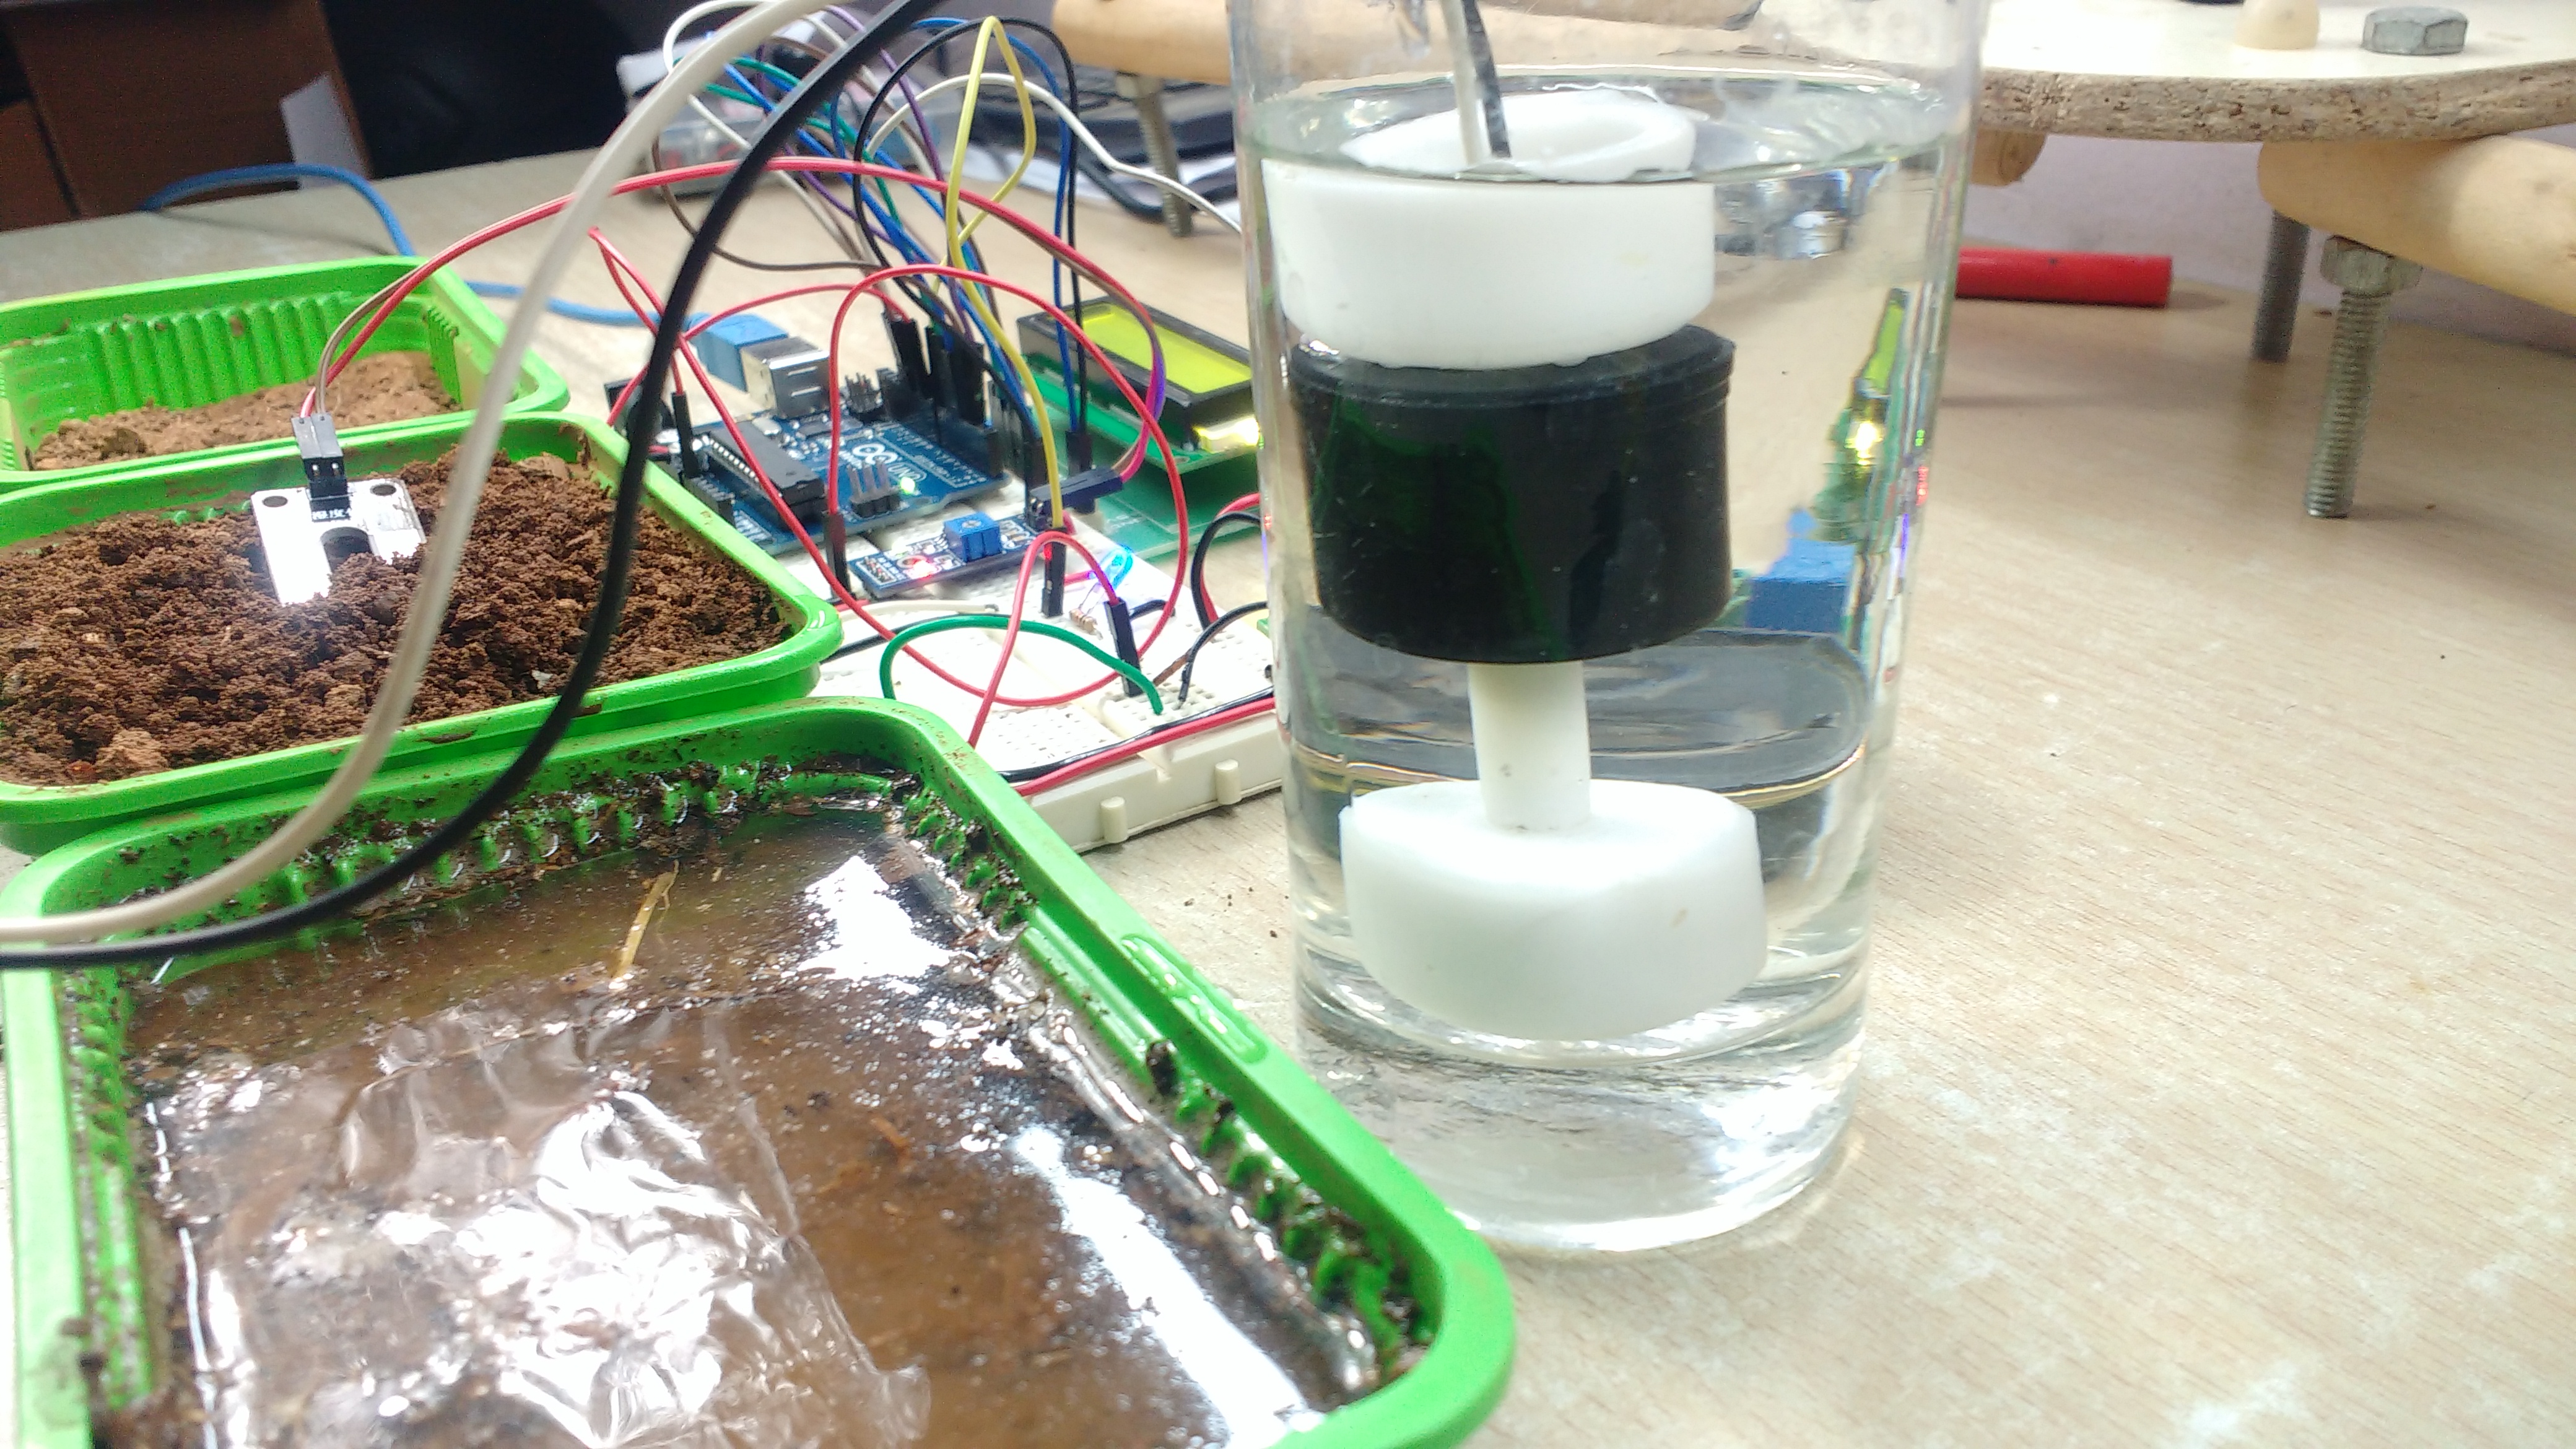
The Water level Switch Contains a Reed-Magnetic Switch surrounded by a floating magnet. When water is available it Conducts.
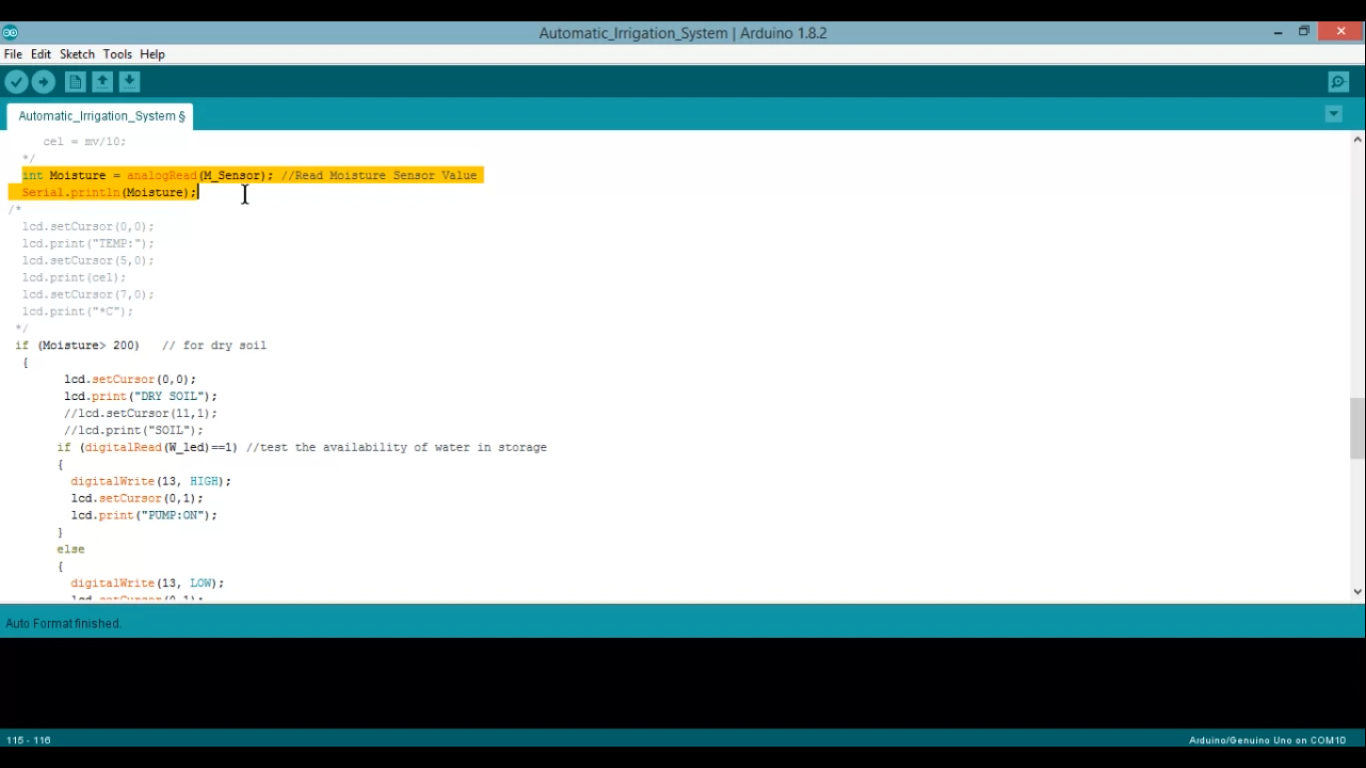
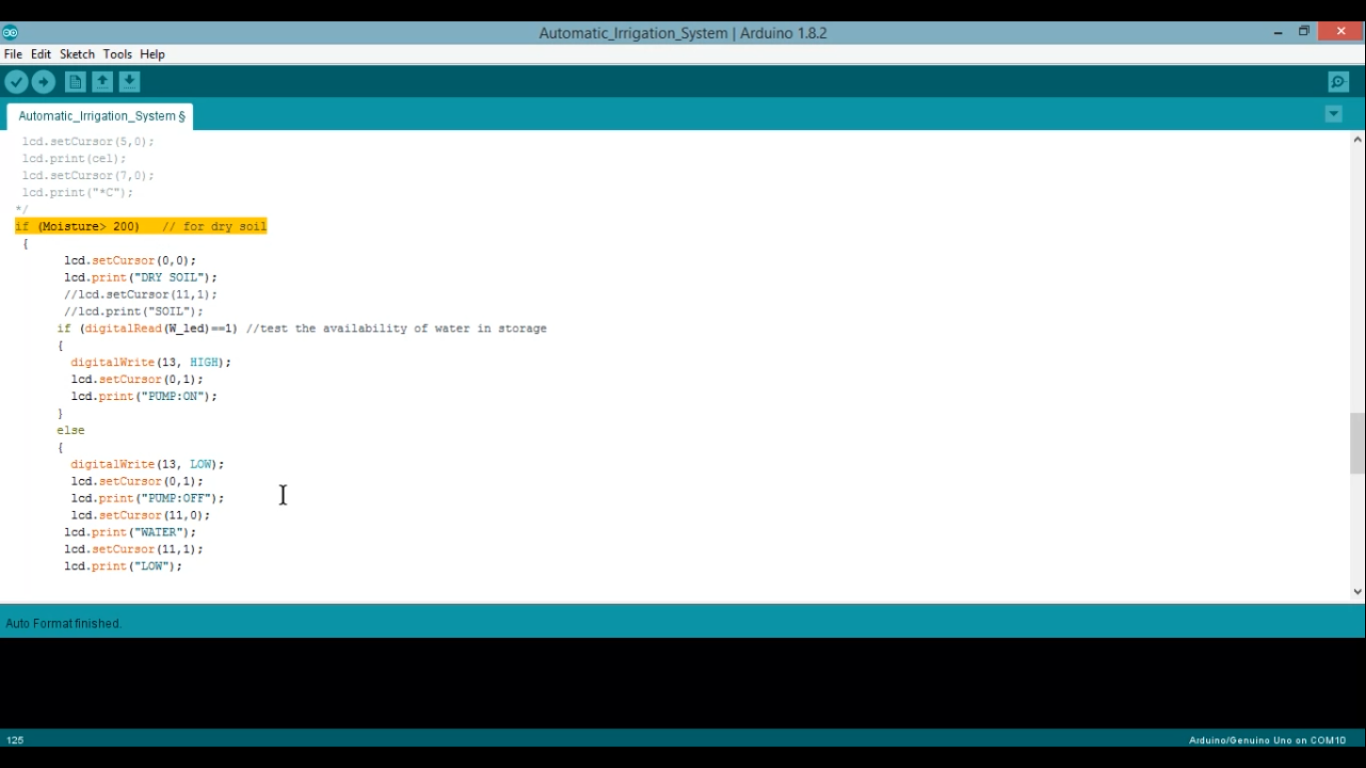
The Arduino reads the status of the soil using the Soil Moisture Sensor. If the Soil is DRY it does the following Operations....
1) Checks for the availability of water using a water level sensor.
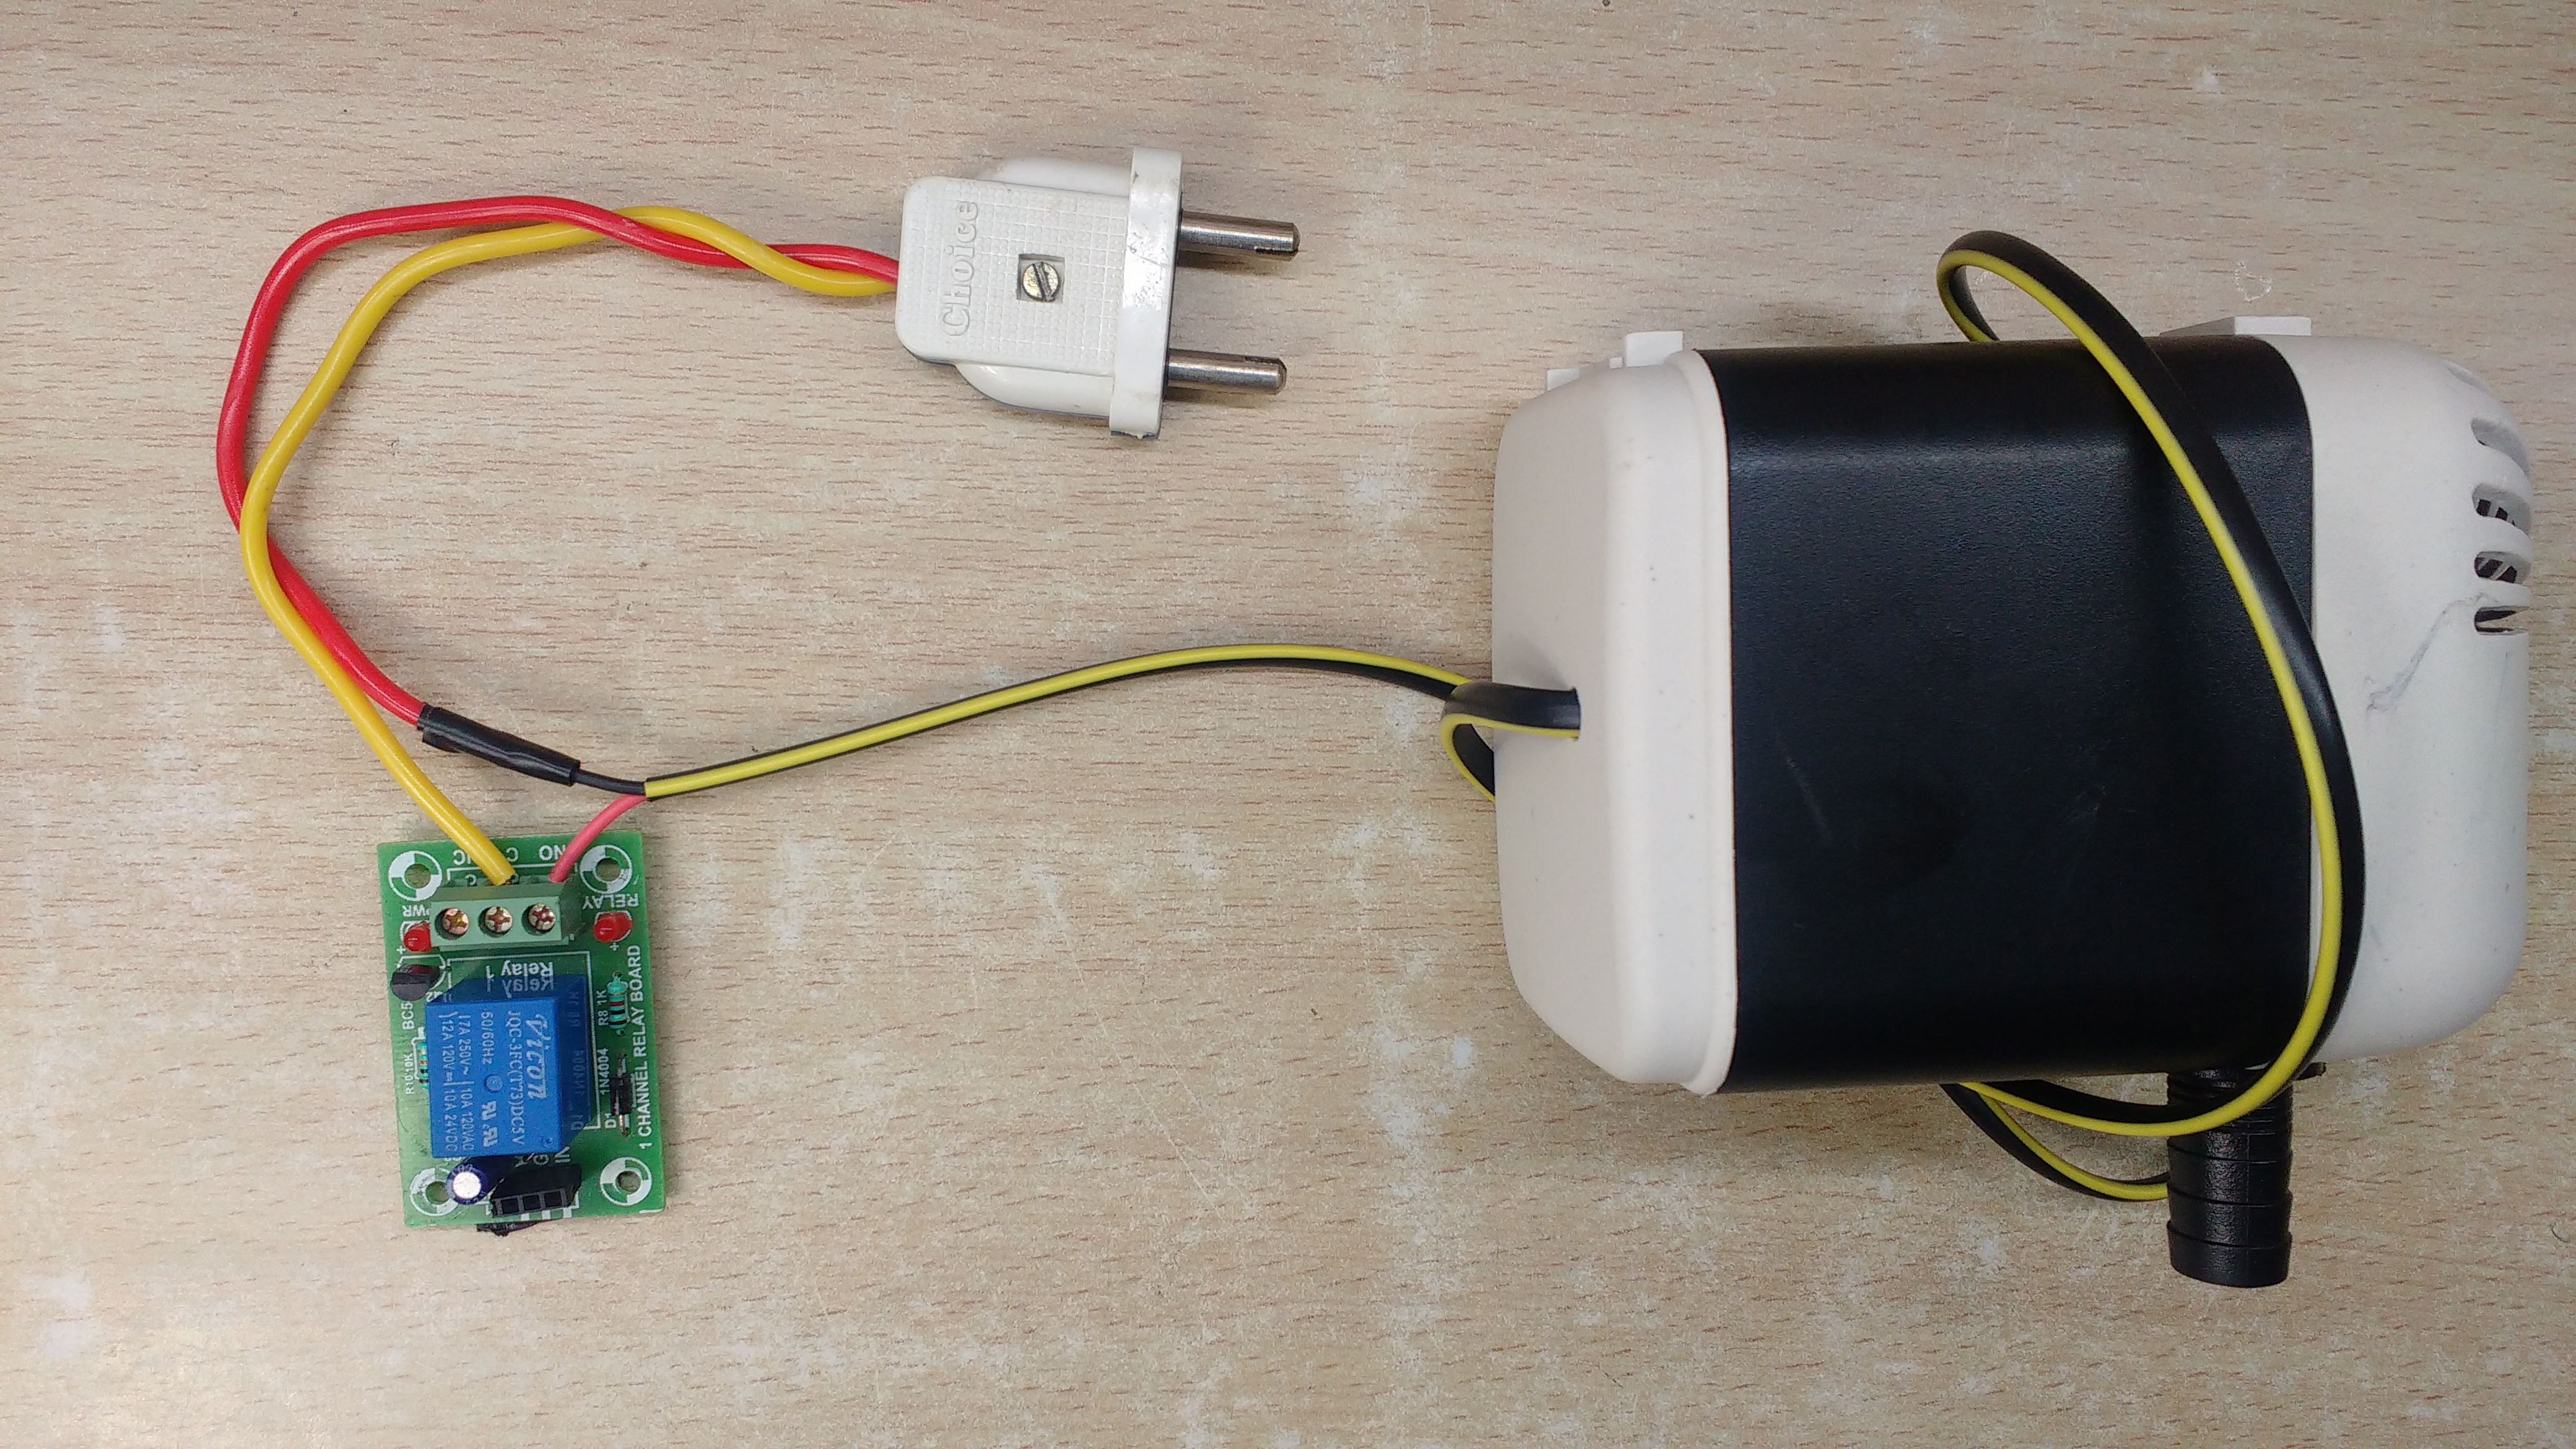
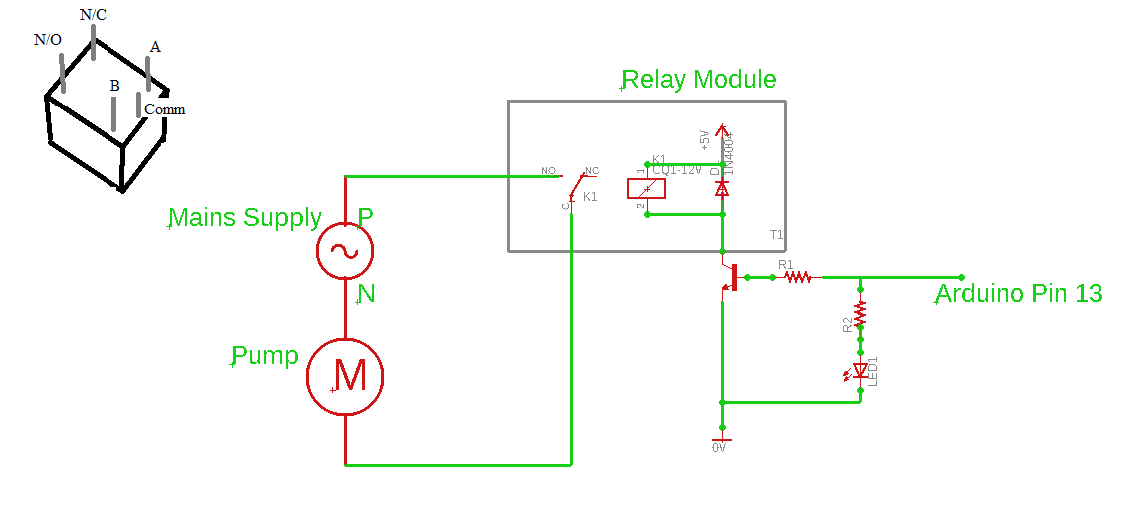
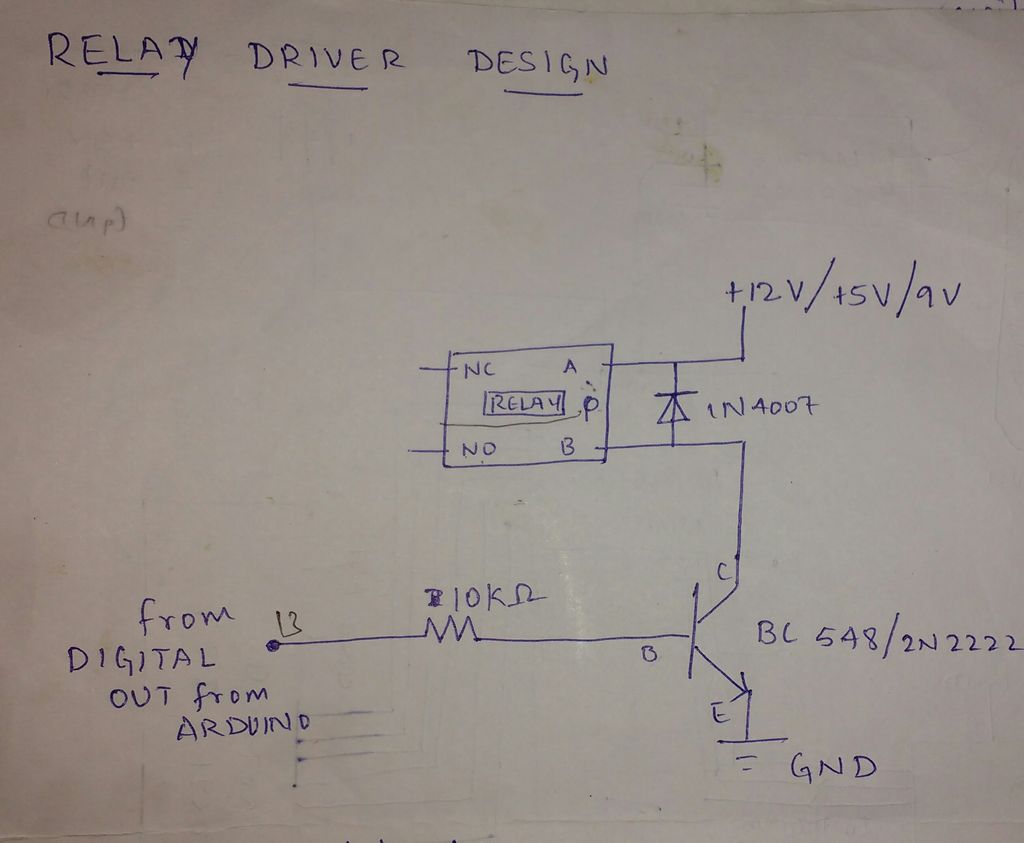
2) If the water is available, the Pump is turned ON and is automatically turned OFF when a sufficient amount of water is supplied. The Pump is Driven by a Relay driver circuit.
3) If the Water is Unavailable, you will be notified with a sound.
For any other conditions, the Pump remains Off and the Status of soil( Dry, Moist, Soggy), the temperature and the status of Pump are displayed on the LCD Screen.
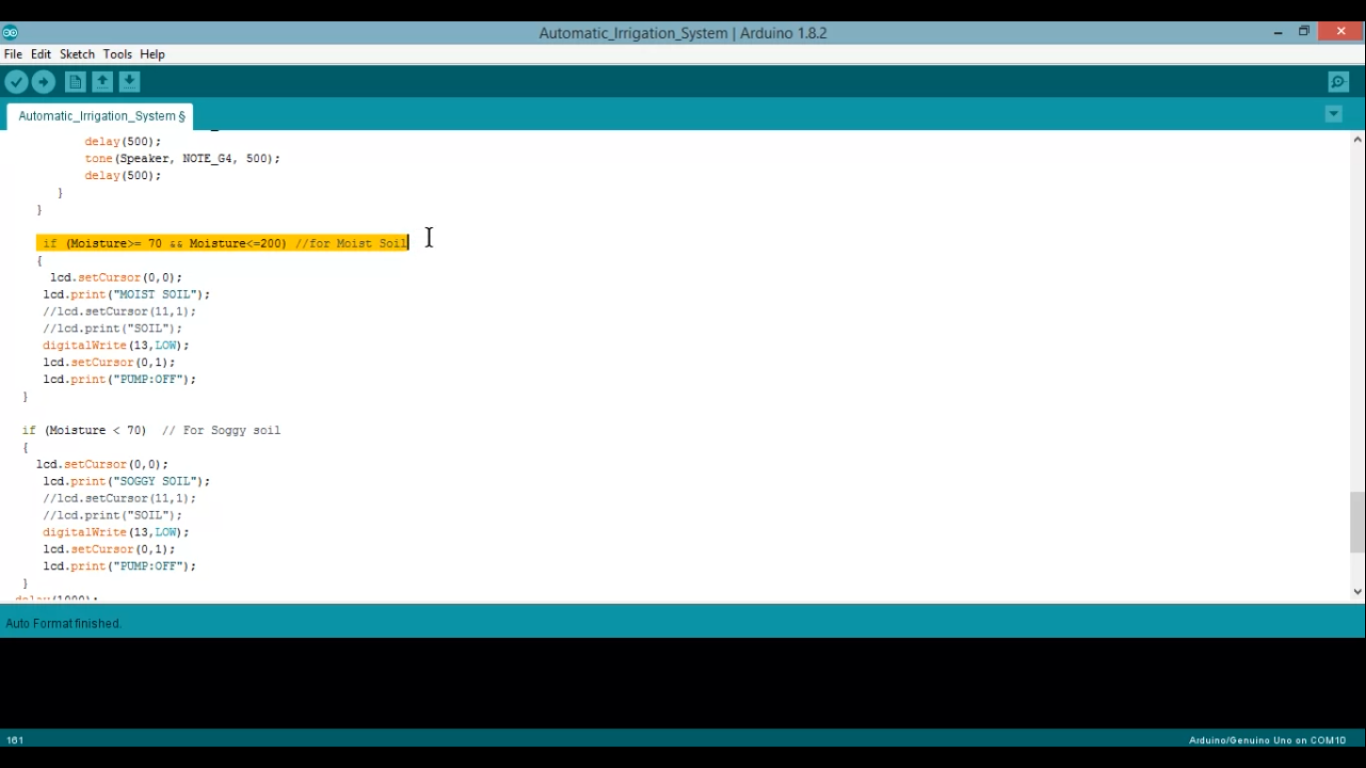
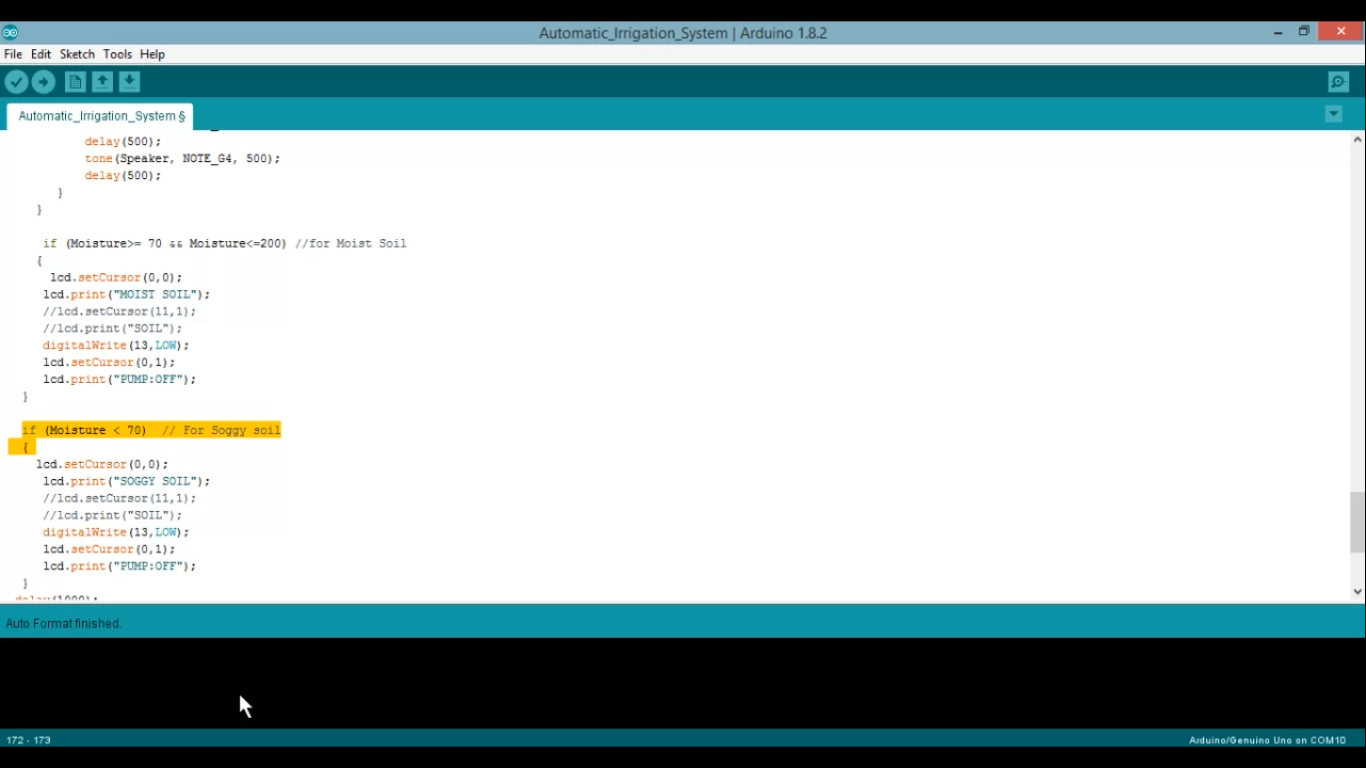
Arduino Code
Procedure
- Connect the Arduino to your computer.
- Download the attached code and open it.
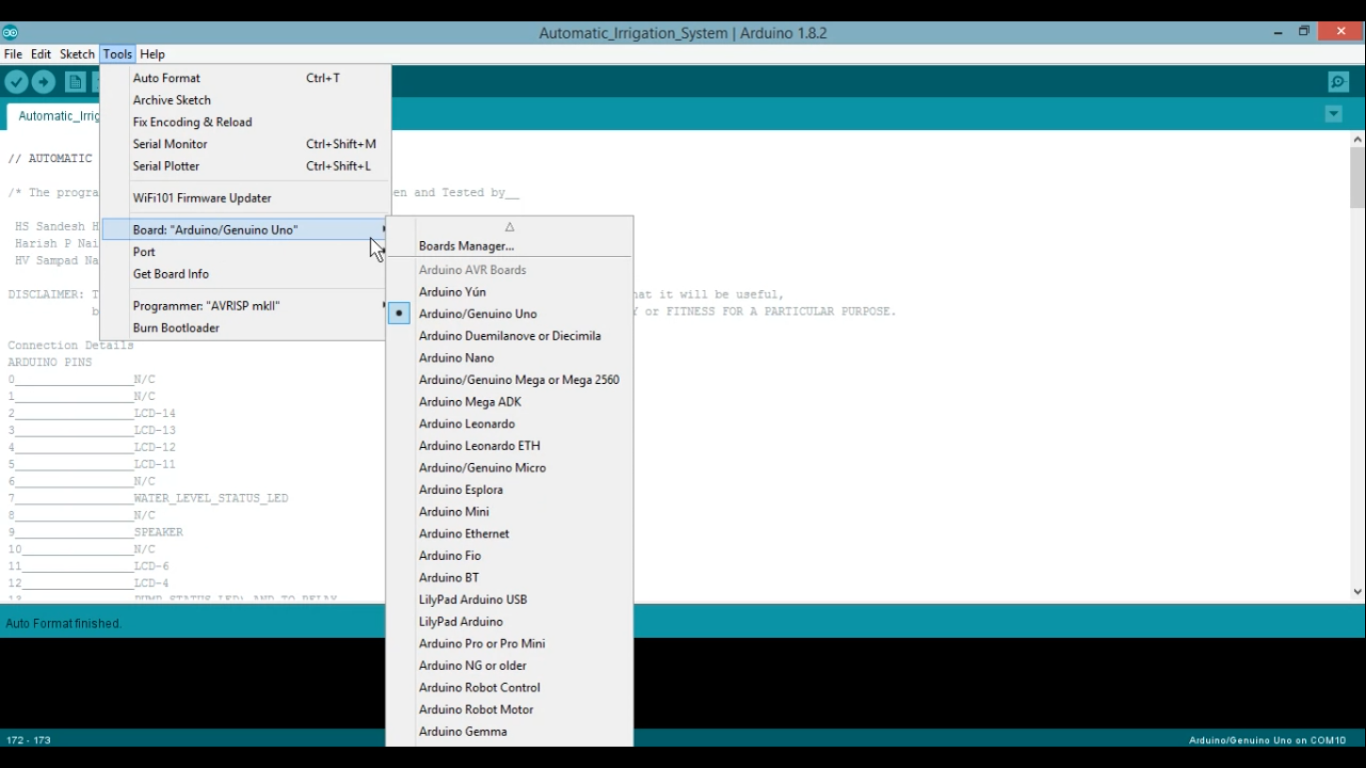
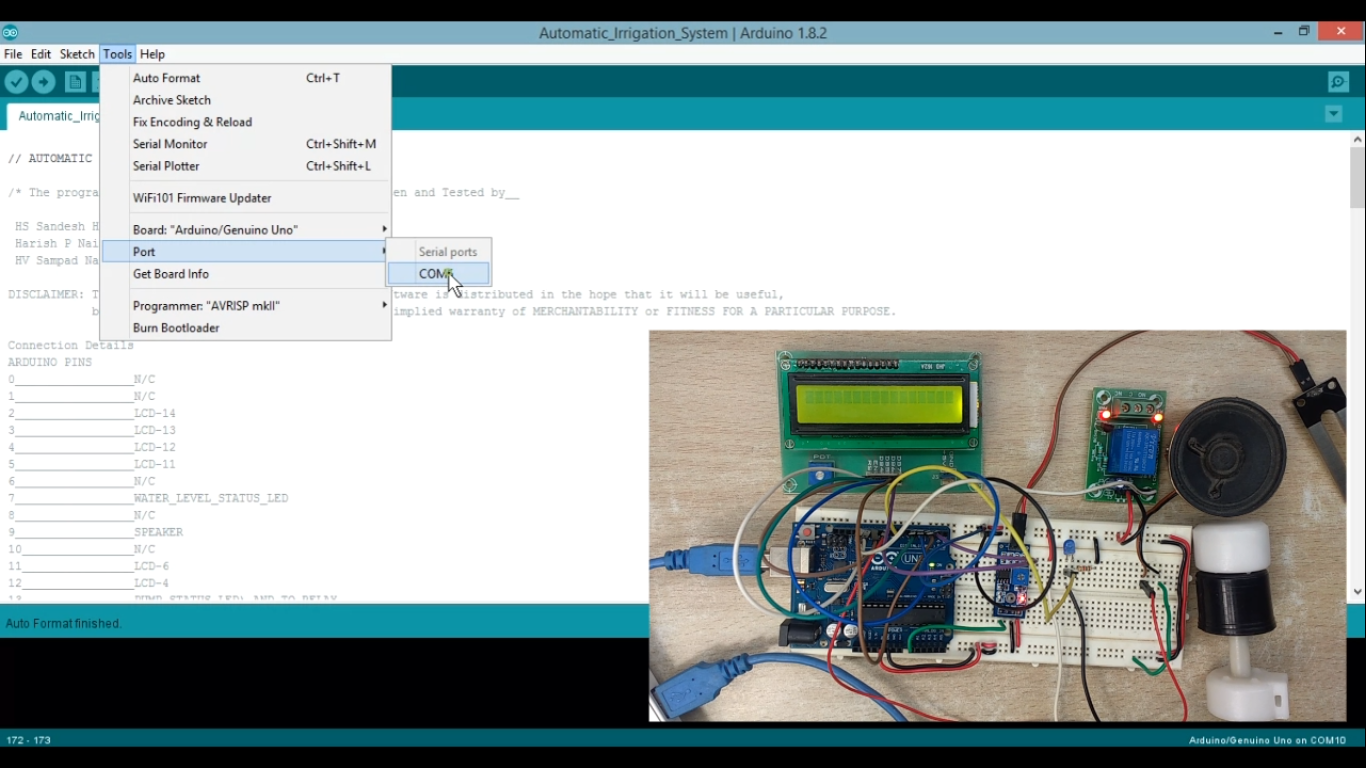
- Select your COM Port and your Arduino Board from Tools Option.
- Click Upload Button.
After the code is uploaded,open the serial monitor which displays the soil moisture sensor values ranging from 0-1023. Test the sensor for different soil conditions and note the sensor value for most appropriate soil condition and edit the values in the code for your application. If you want to change the sensitivity of the sensor for different soil conditions alter the values of the 3 conditions commented in the Code.
____________________________________________________________________________________
The temperature is calculated using the following formula X = ((Sensor value) * 1023.0)/ 5000
Temperature in Celsius =( X/10)
Downloads
Implementation and Testing
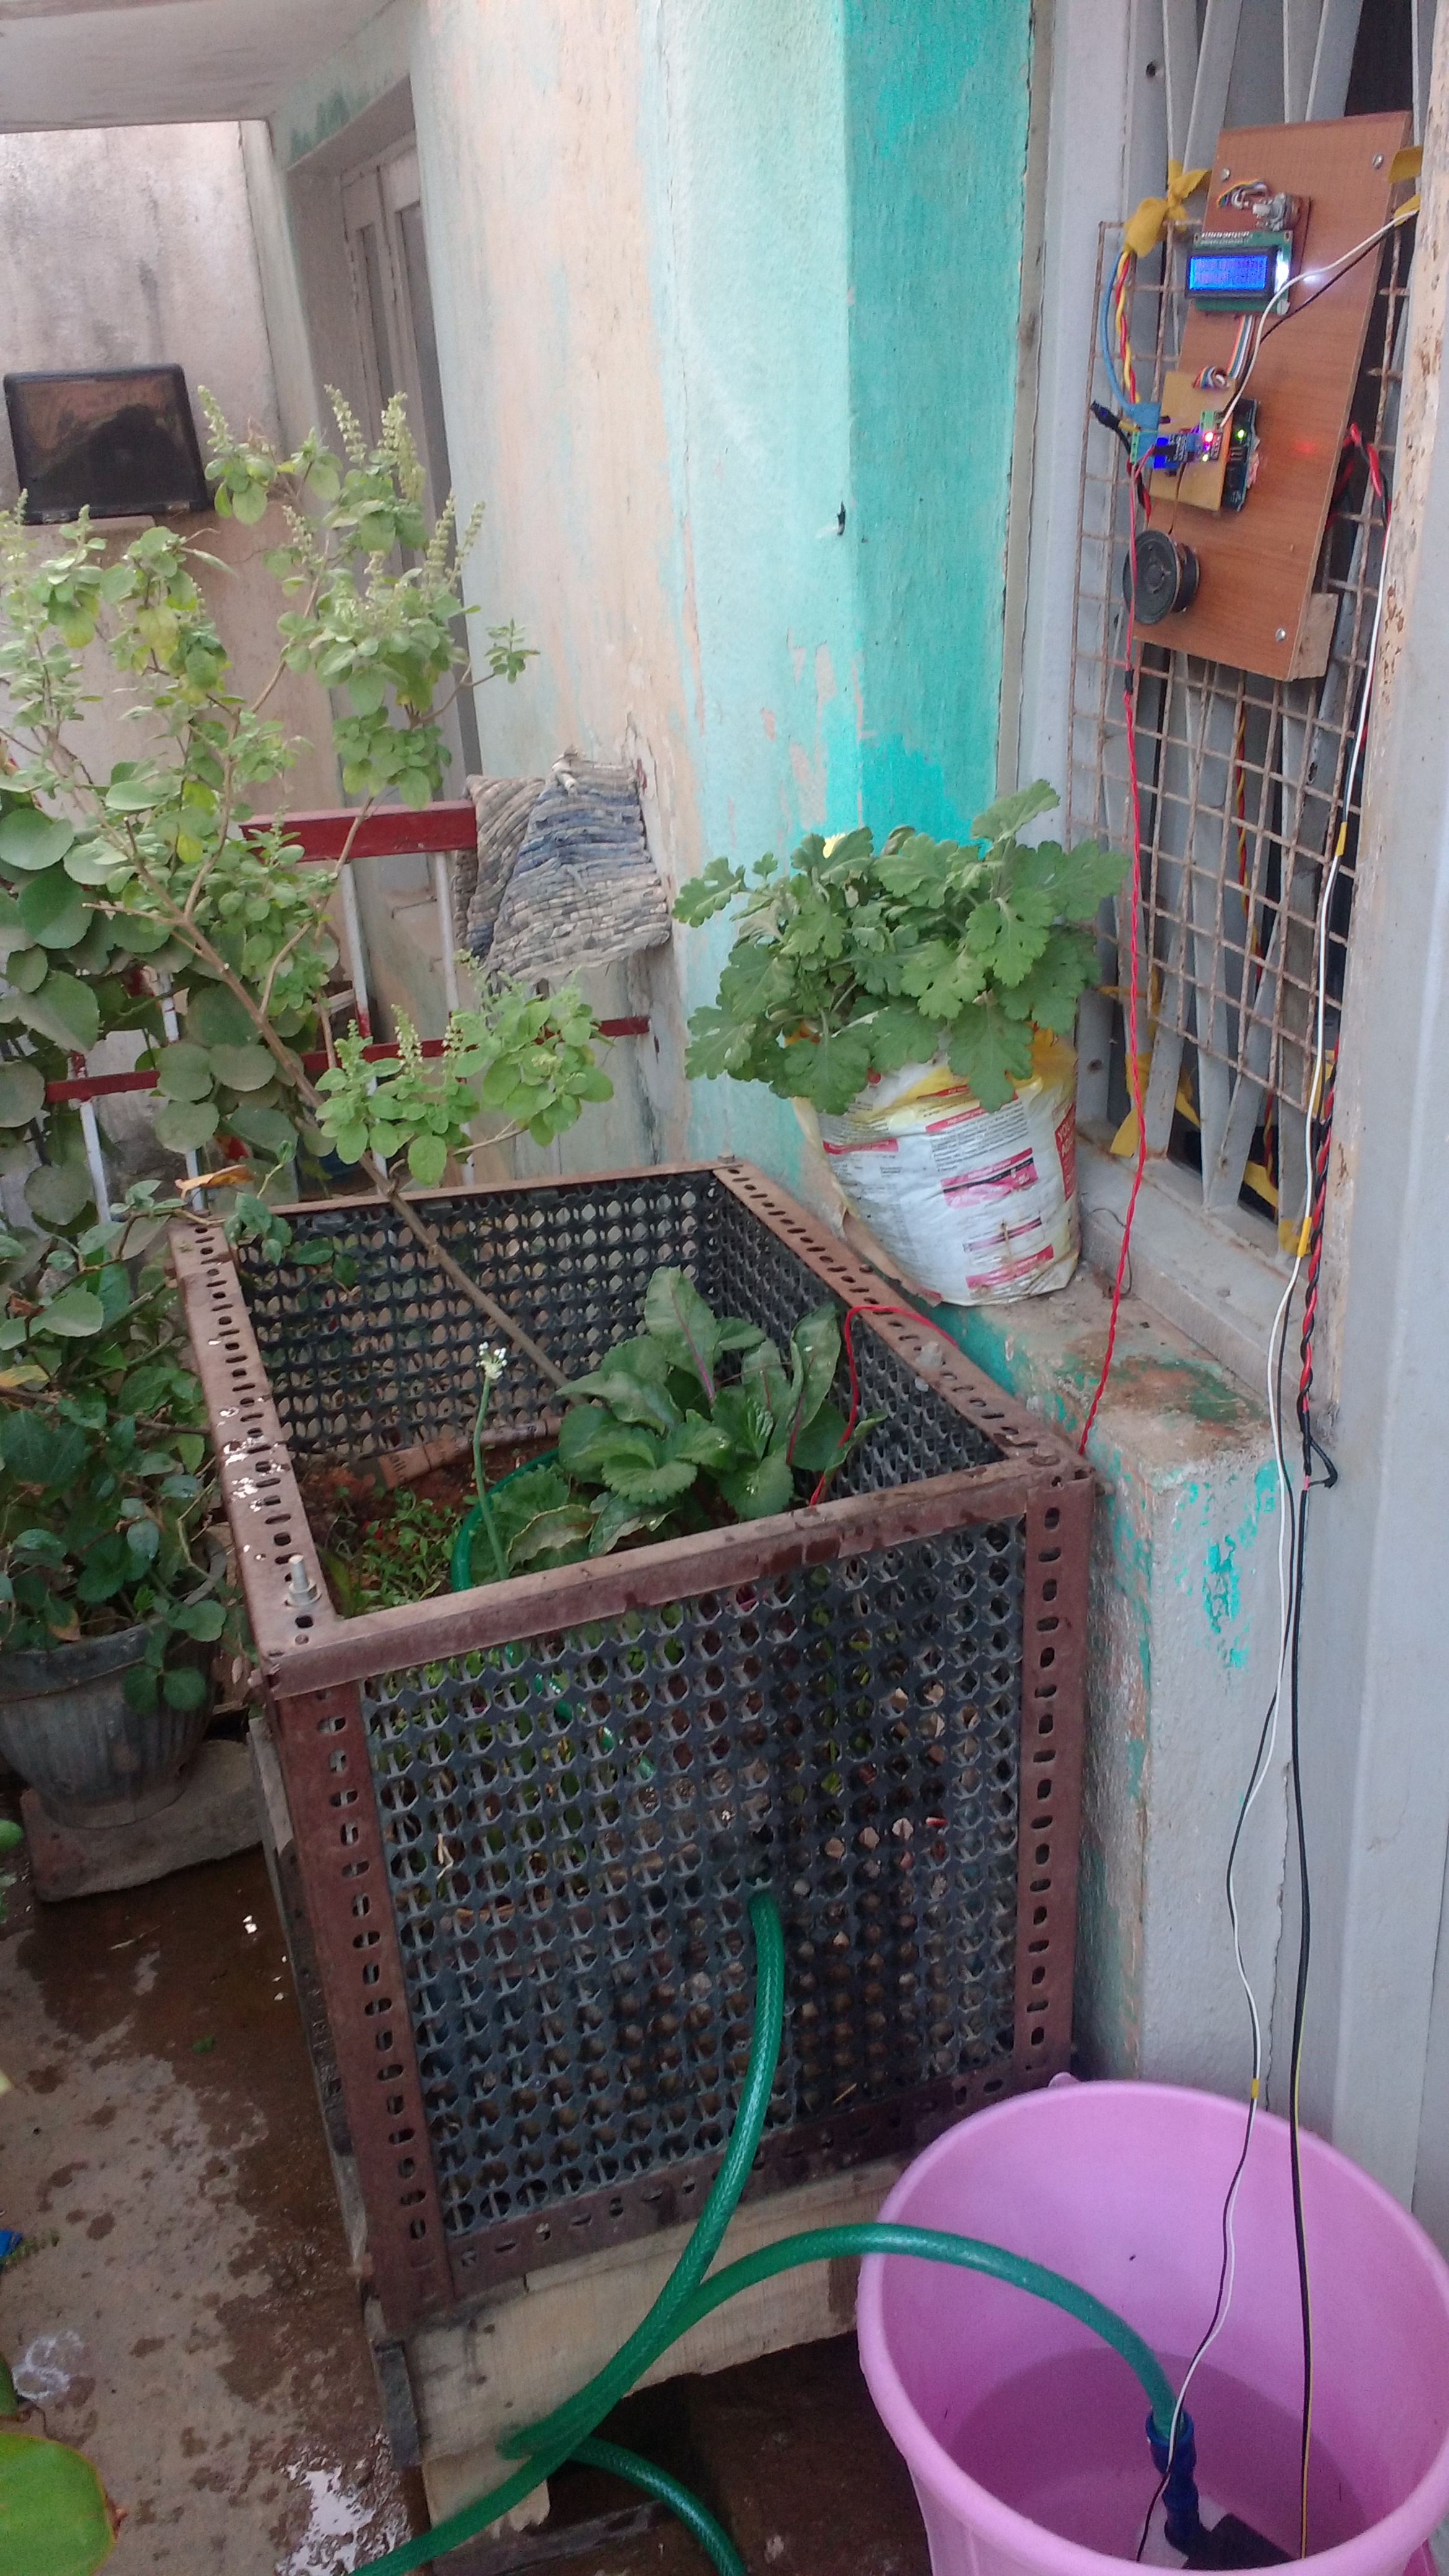
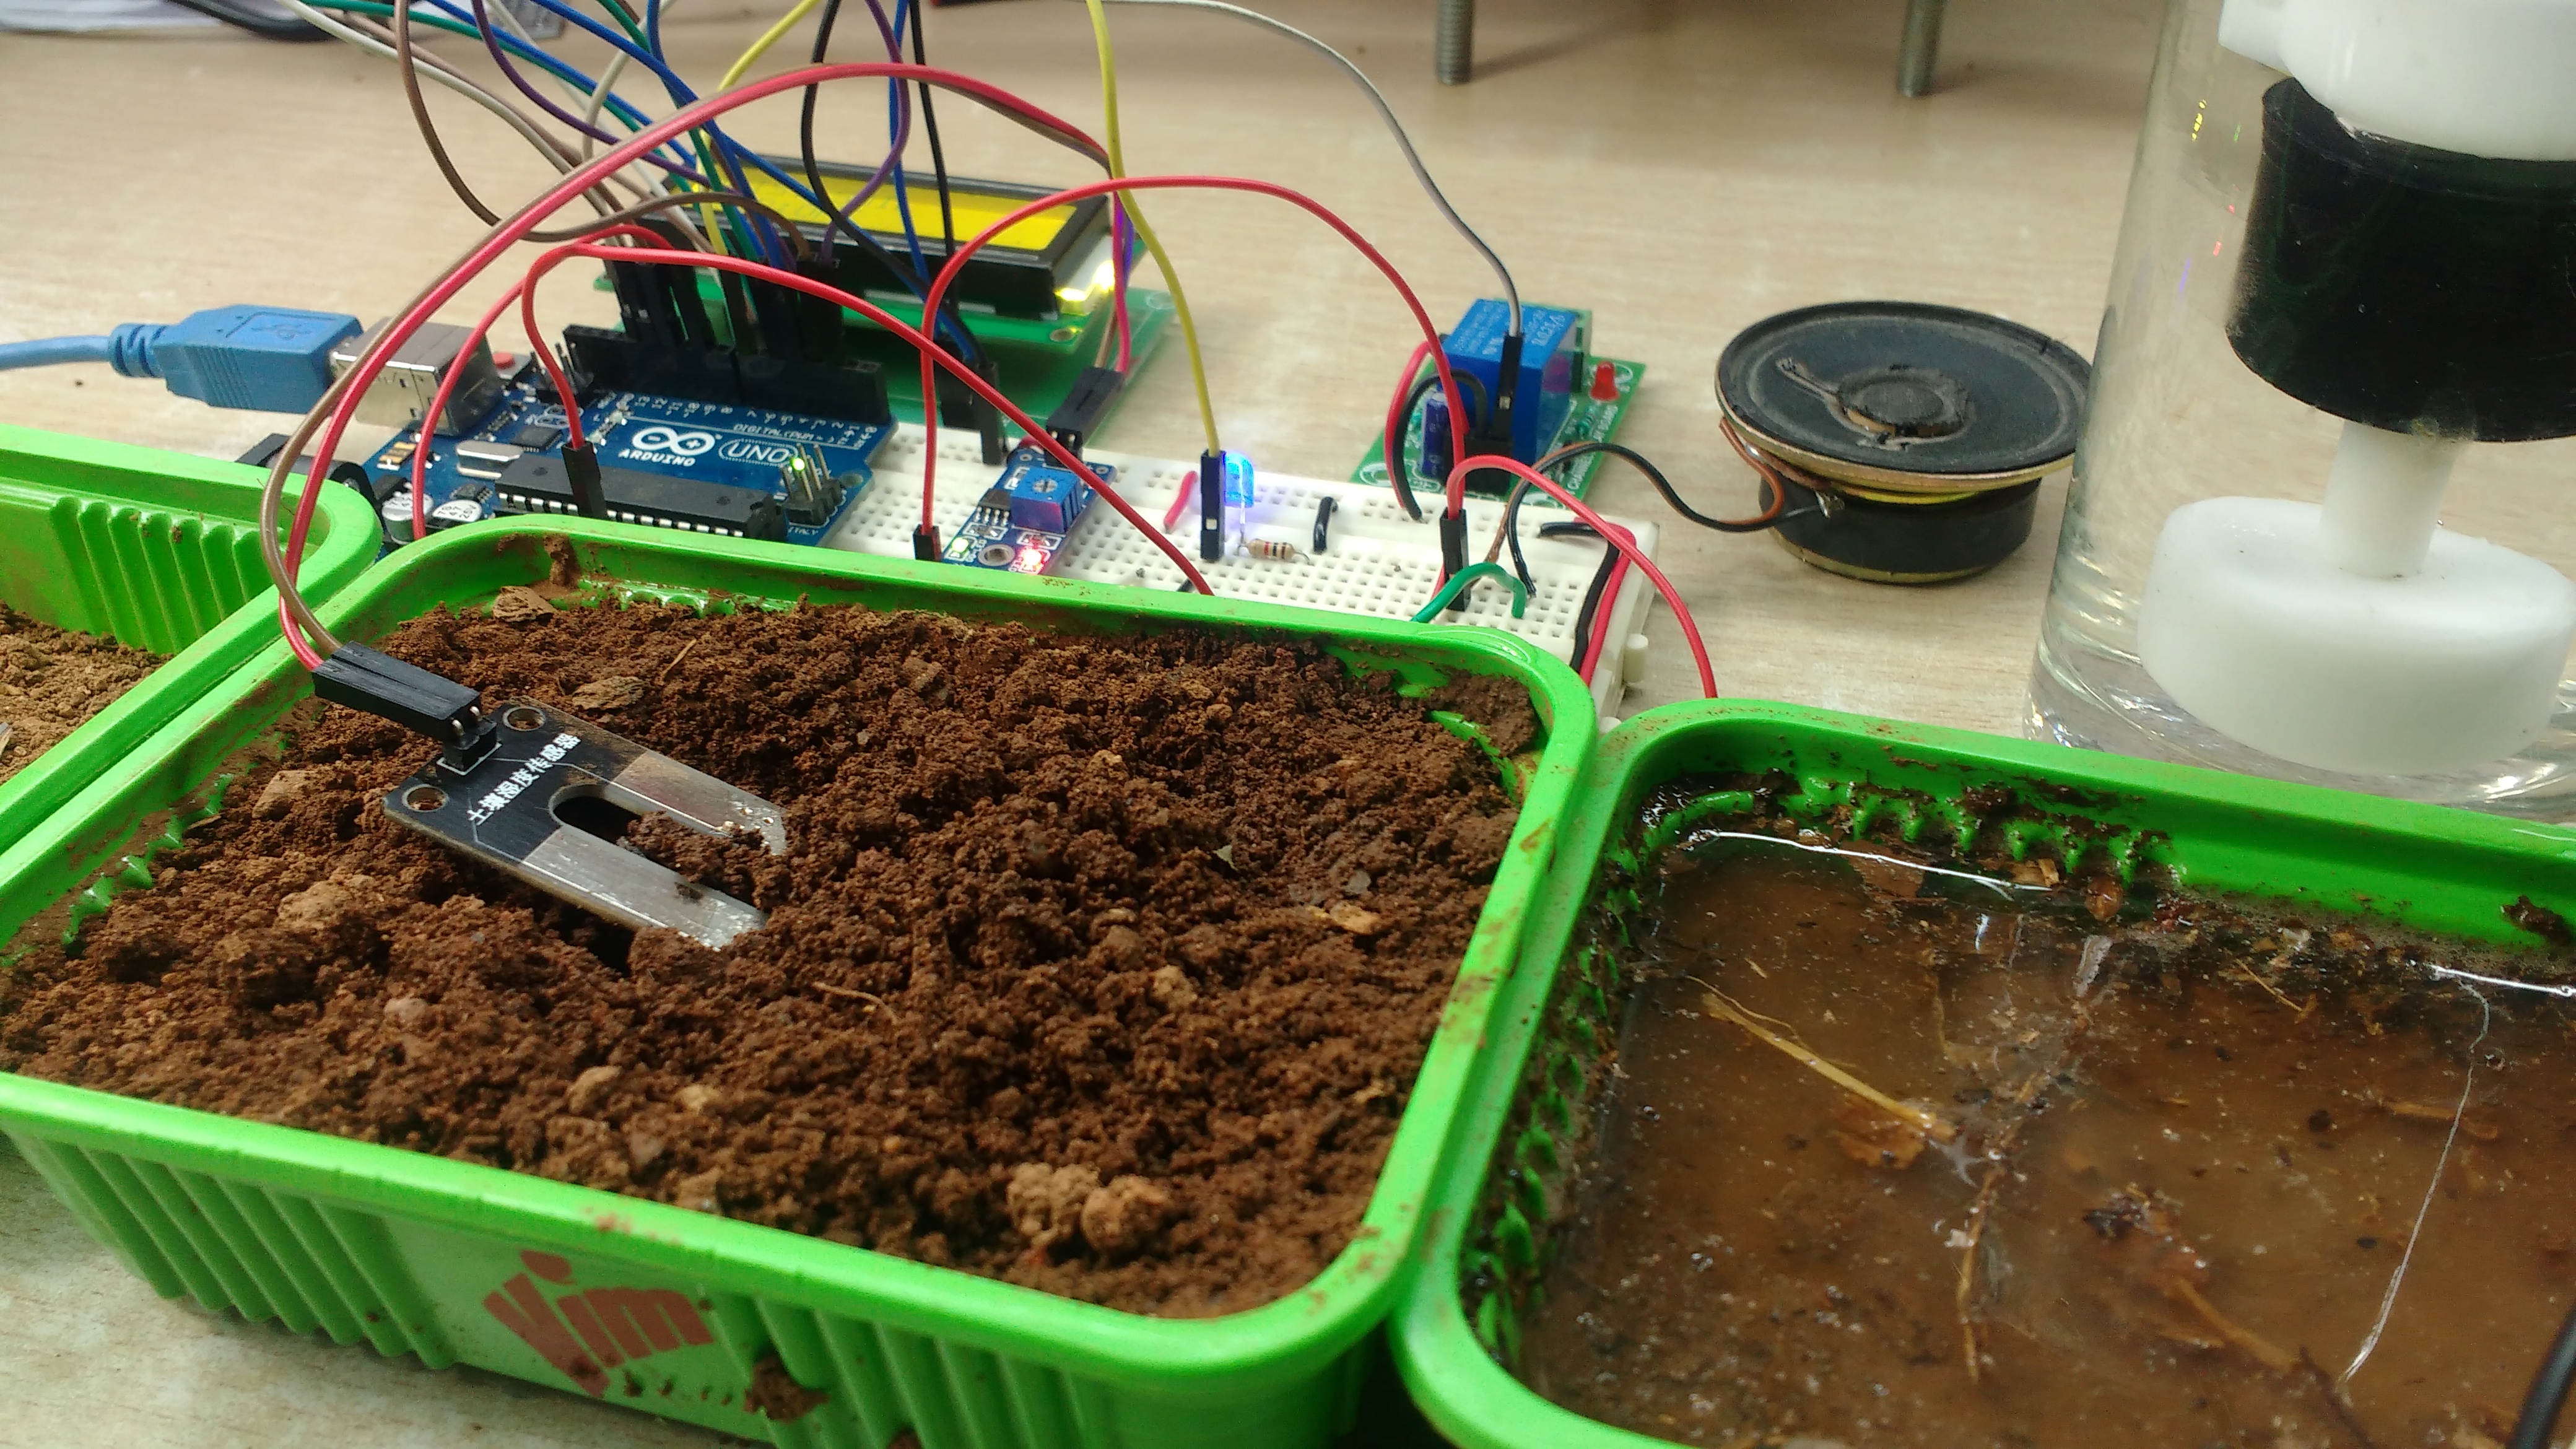
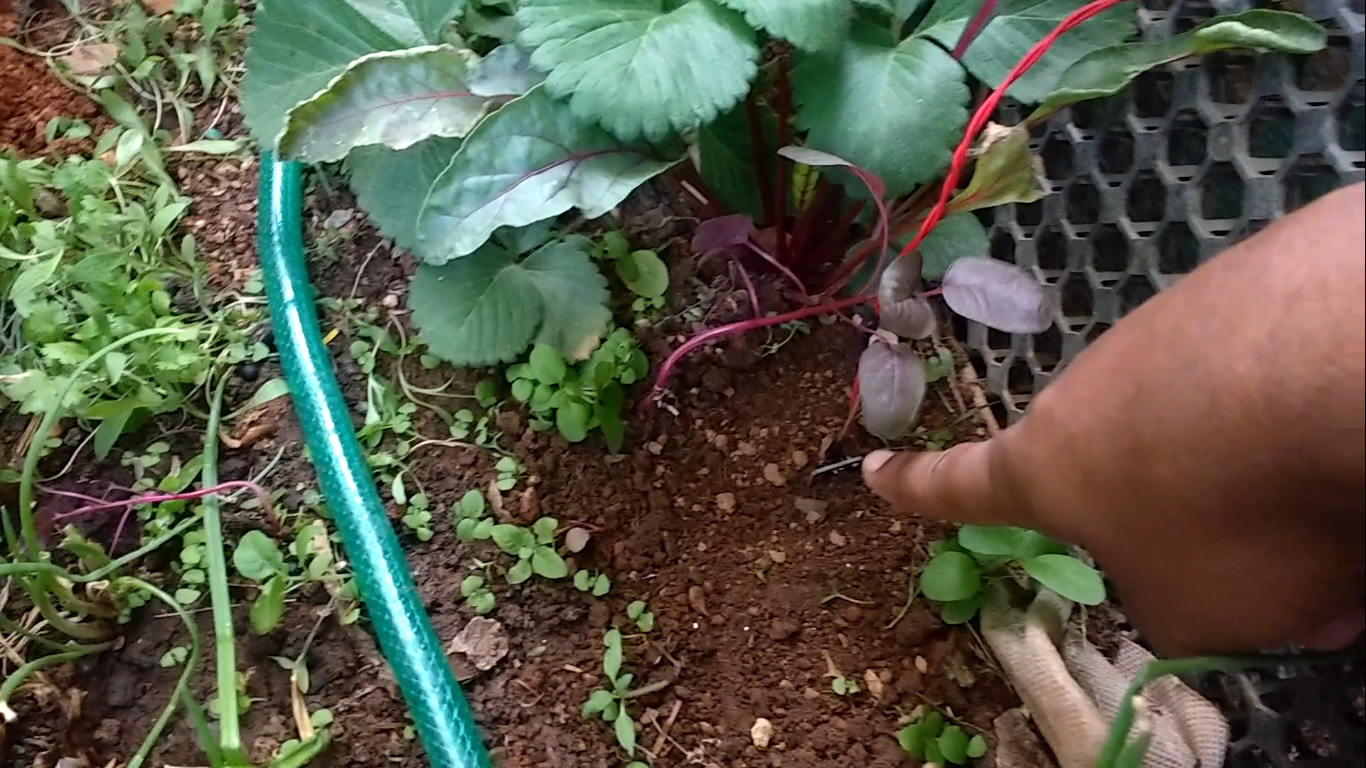
The following steps can be followed to test the project.
1) Connect the Arduino to the power supply (5V) via USB or External power source.
2) Bury the moisture sensor in the soil. Better place the sensor near the roots of plants for accurate measurements. Note: The wiring terminals are not waterproof.
3) Connect the Water pump to the Relay (N/O and Common terminals) and switch ON the mains. Refer the Circuit for connection details and pinout.
WARNING: HIGH VOLTAGES. UNDERSTAND THE WIRING BEFORE YOU PROCEED.
4) The temperature sensor can be placed on the PCB itself or on the soil. Do not immerse the sensor in water.
5) The potentiometer can be varied to adjust the LCD brightness.
6) Place the water level sensor in the water container/tank.
I have implemented this in my home garden and have placed the sensor near one of the plants. Also, I have placed the Pump and the water level sensor in a bucket of water. In the video, you can see that when I drop the water level sensor into the water the Pump is turned on until the soil becomes moist.
Although this works perfectly, there are minor bugs and improvements that can be made in this project. A Bug was reported for unstable temperature readings when both the sensors work together. I Will update if the bug is solved.
Further improvements users can implement:
- Add IOT feature for data analysis and remote control.
- Integrate with Drip Irrigation and multiple sensors at different places on the field.
- Improvise on the sensor performance so that it can be implemented in deep soil.
- Use more reliable temperature sensors.
- Humidity control and temperature control for greenhouses.
- Water mineral content and fertilizer concentration analysis.
If you come across any doubts or suggestions feel free to let me know in the comments section. If you built this, please let me know in the comments section.
Thank you
HS Sandesh
(The Technocrat Youtube Channel)