How to Make 3D Puzzle (Printable) With Tinkercad
by EeshaGodavarthi in Teachers > K
5123 Views, 32 Favorites, 0 Comments
How to Make 3D Puzzle (Printable) With Tinkercad
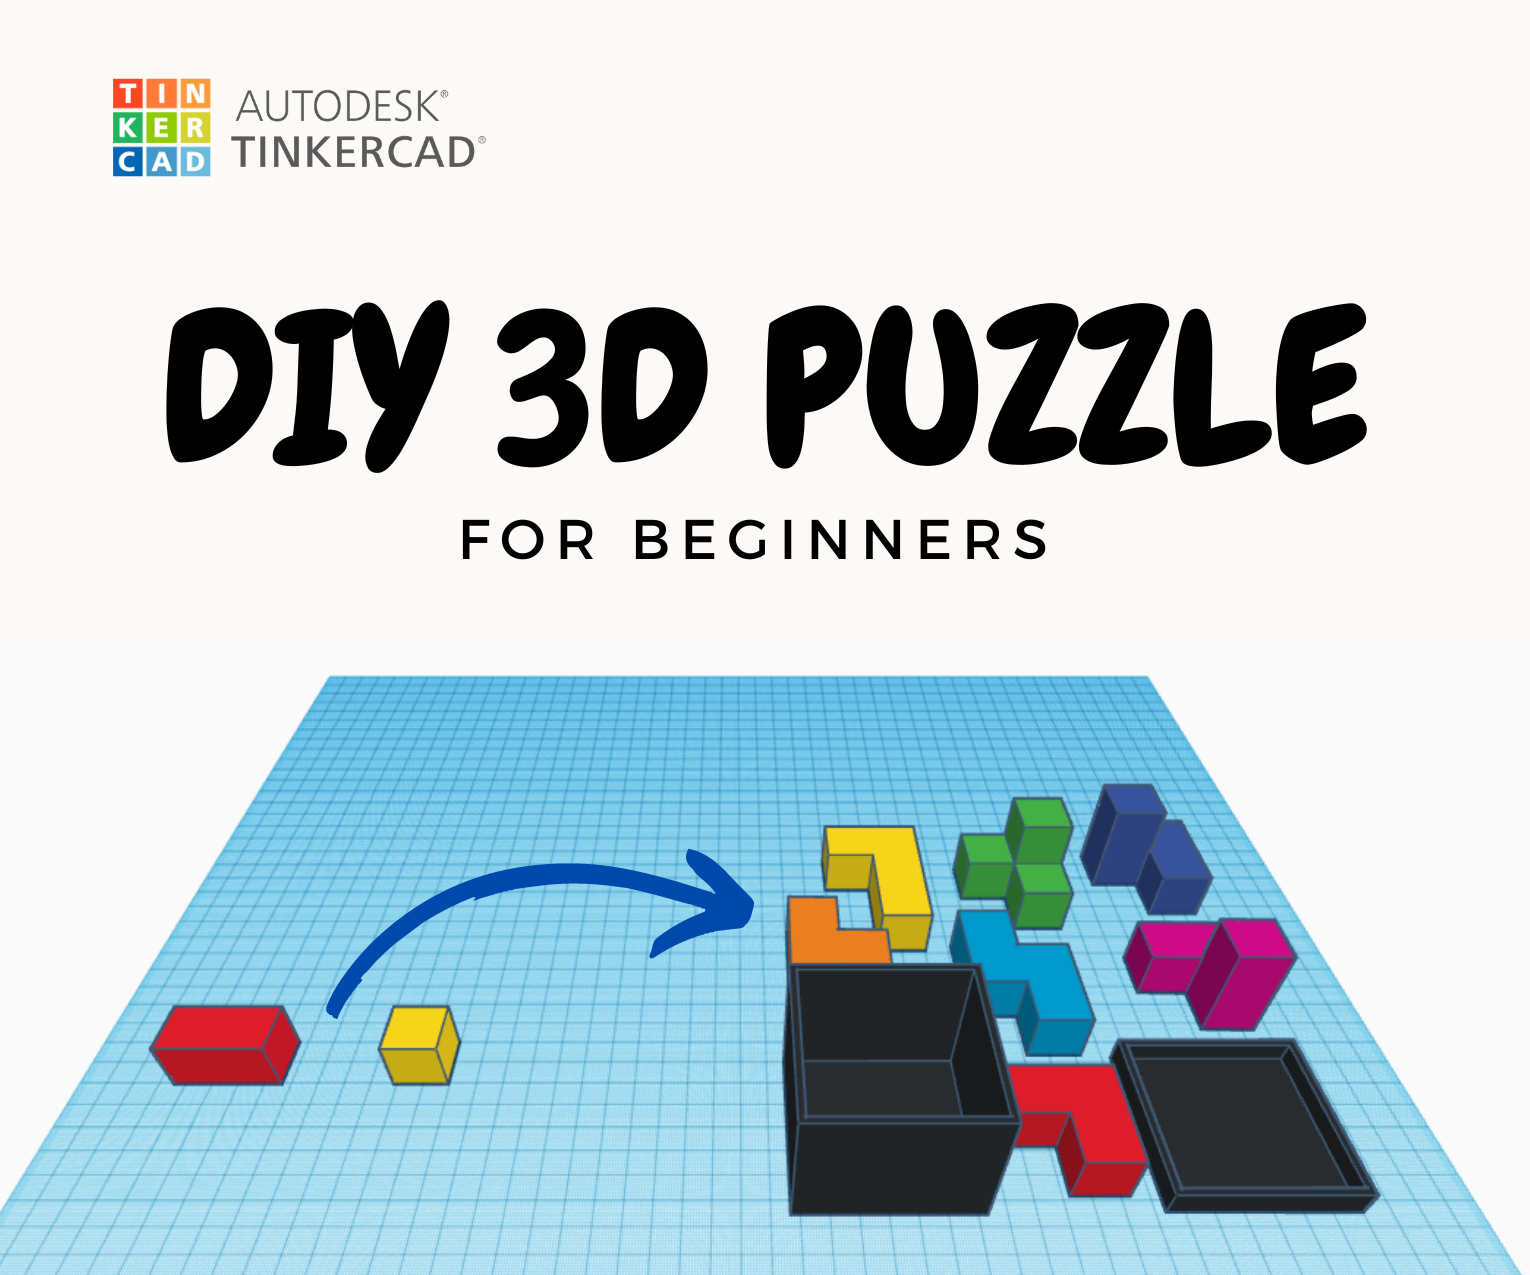
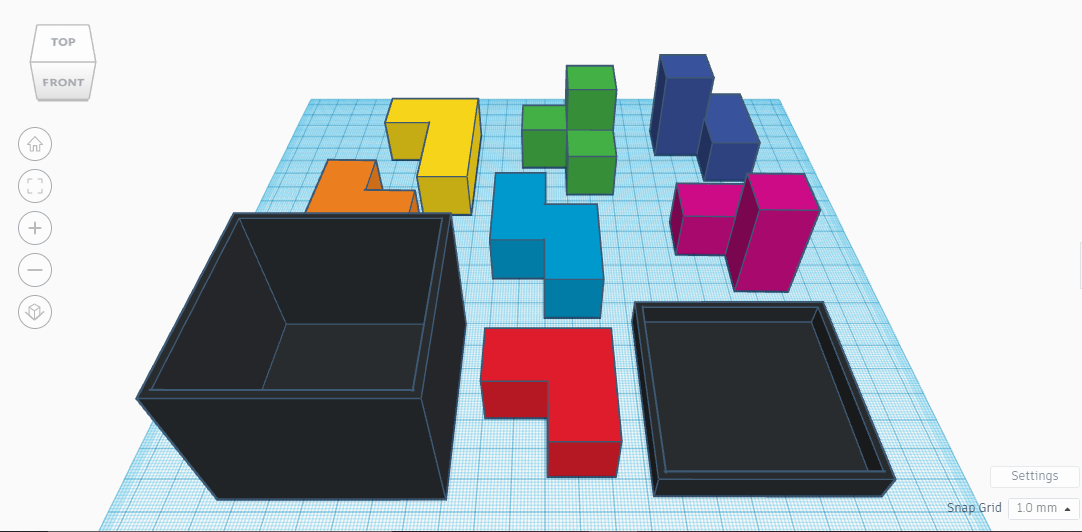
Hello everyone. In this instructable, we are going to learn how to make a DIY 3D puzzle with the help of Tinkercad. So a few days ago, I got the idea to create a puzzle that is simple as well as fun for my students and kids. So I would like to share my journey of creating such a colorful and beautiful 3D DIY puzzle in just 10 simple steps.
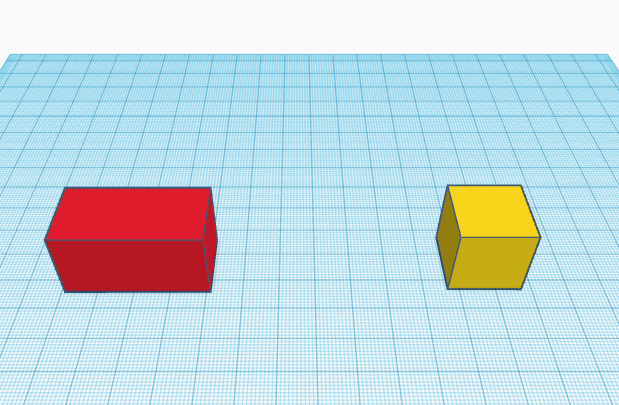
This whole process is so simple that the whole puzzle is just based on a single shape from the Tinkercad library. We are going to start this process with a simple cube and cuboid and end up making such a beautiful and fun-to-play puzzle.
This process does not require much previous experience with Tinkercad, so you shouldn't be facing any issues even if you are a beginner. I am going to attach the file of the 3D model below. So parents and teachers should feel free to download the file for reference and print it.
So let's get tinkering!
Downloads
Supplies

- computer with internet
- Tinkercad
- A sketchbook or a notebook with a pencil (optional, if you want to make any changes in the design).
Building Blocks of Puzzel
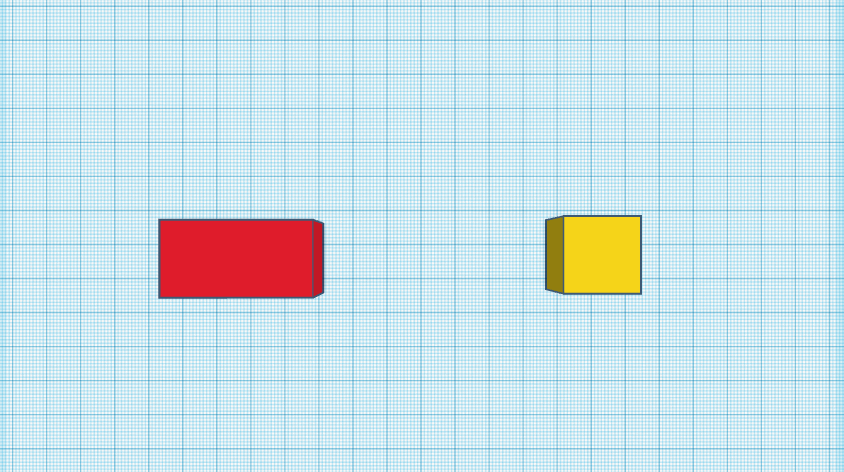
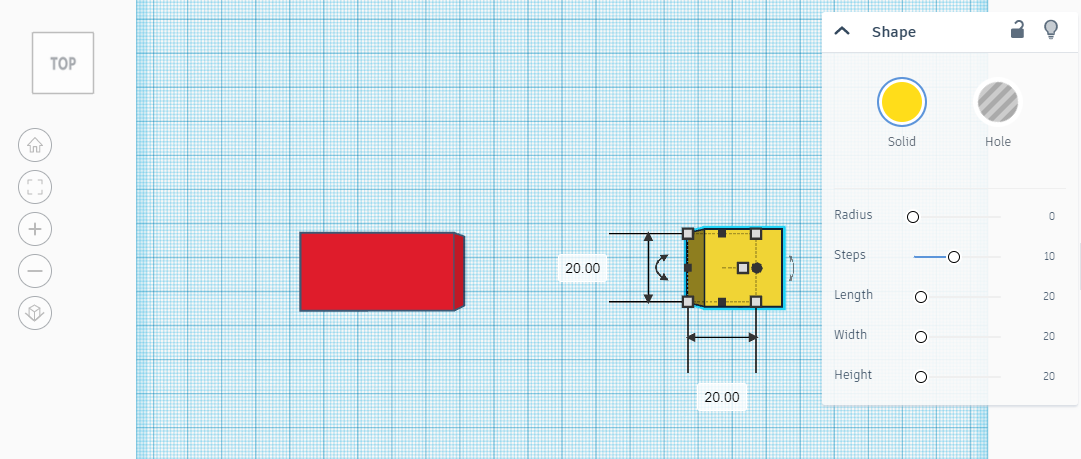
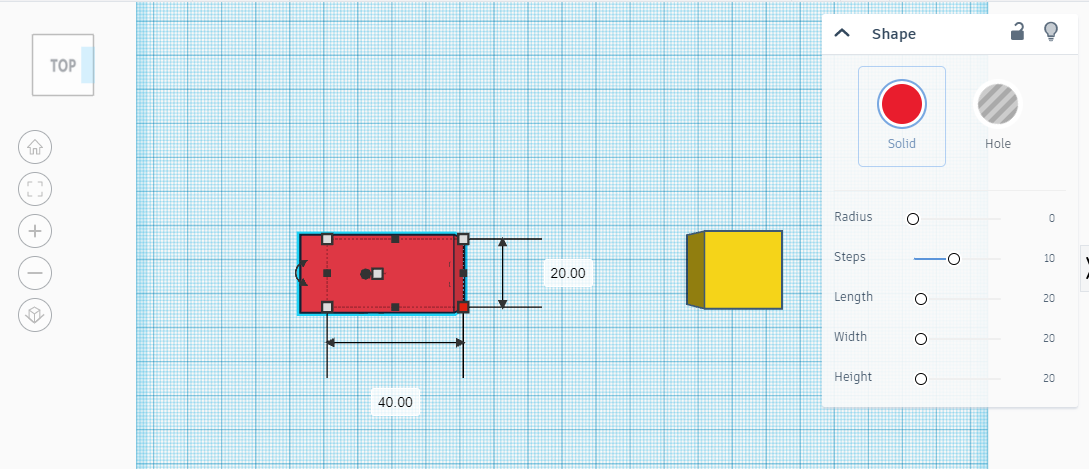
So, as I specified before, the whole project is going to be based on a single shape (the cube). So I took 2 cubes of dimensions 20*20 and 20*40 (cuboid) from the Tinkercad library. As you can see in the image above, the dimensions are specified. I request everyone to stick with the same dimensions as the puzzle pieces need to snap into each other.
We need to make sure they are proportional and of the same size. If you are looking to make a bigger one, multiply the dimensions by a number(n), but make sure the proportionality is maintained. This puzzle consists of 7 pieces and a box(with a lid).
You guys won't be puzzled while making this puzzle! So let's start assembling our blocks.
Assembling the Pieces
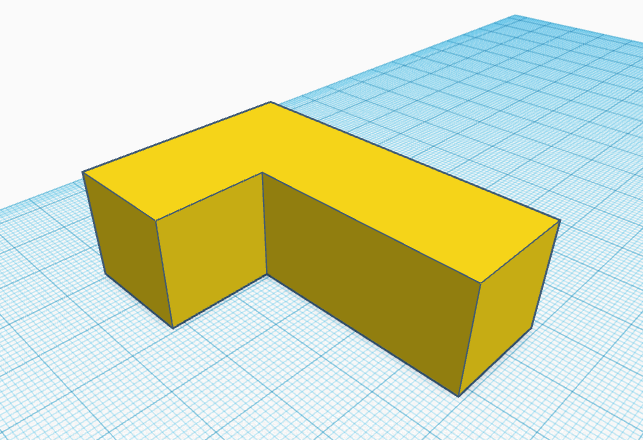
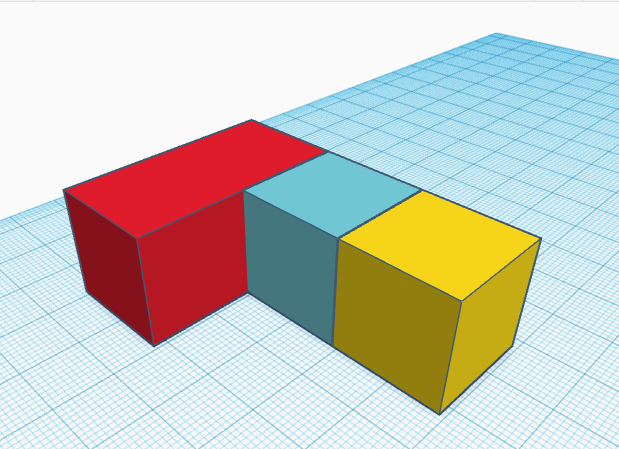
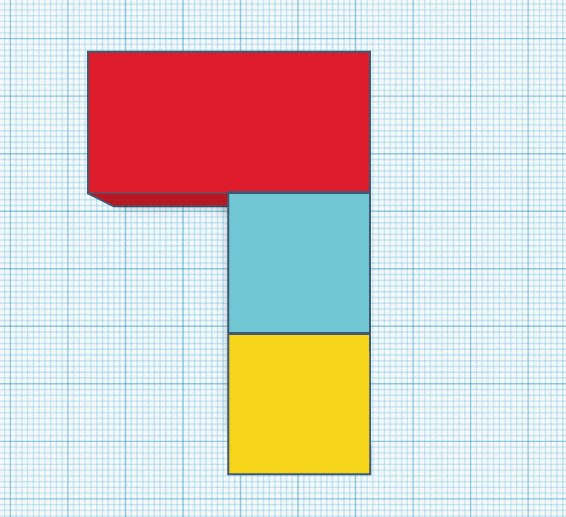
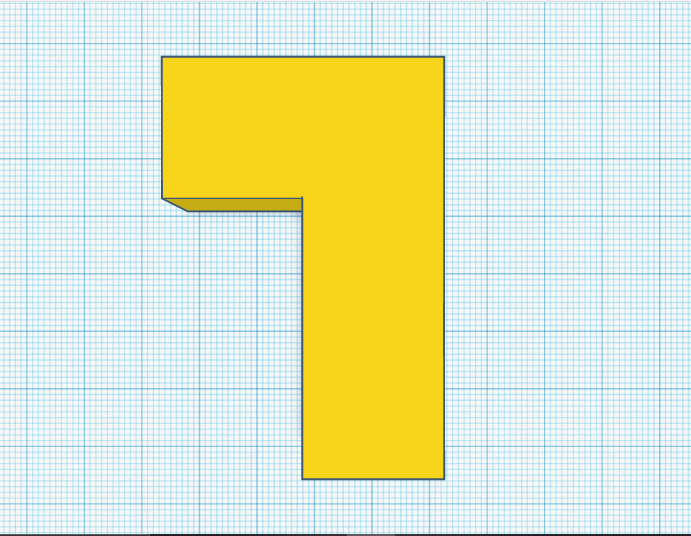
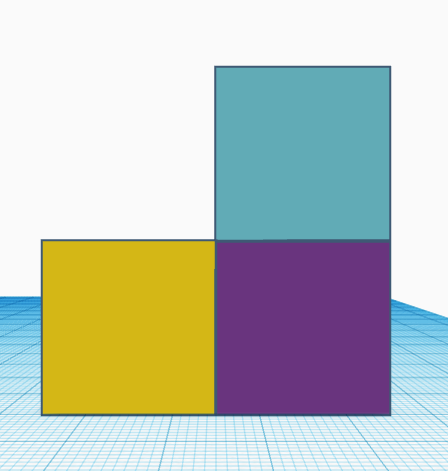
With the help of the 2 shapes we made earlier, we can now make the pieces of the puzzle just by rearranging them in the space. So, as in the image above, we are going to start with the first piece of the puzzle. For this piece, we need:
- 2 * (20*20)
- 1 * (20*40)
size blocks. As shown above, arrange them in an "L" shape pattern. To make your work easier, I prefer you guys to duplicate (ctrl+D) the blocks we made earlier.
Yes, all the other steps are going to be as simple as this one.
Making More Pieces
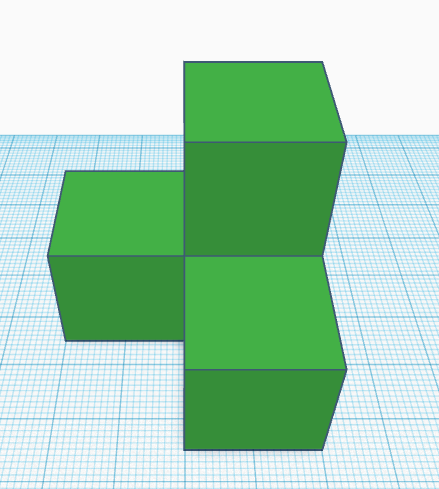
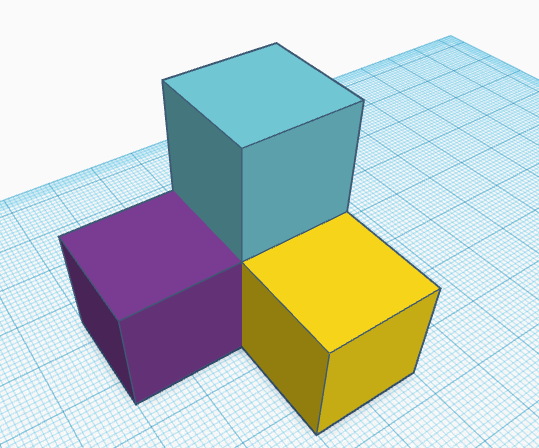
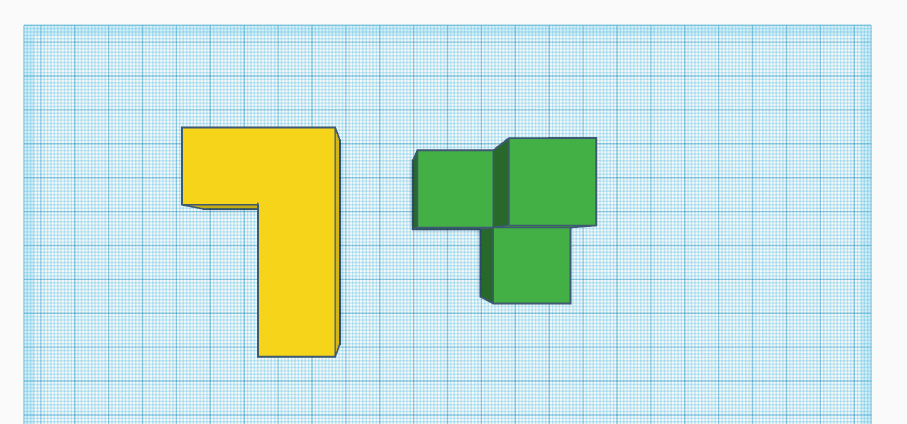
Similar to the last step, in this one, we are going to follow the same procedure but form a different pattern. For this piece, we are going to need:
- 2 * (20*20)
- 1 * (20*40)
Use the above image for reference, and try to keep them aligned just like Lego blocks. In this step, we are going to lift a piece off the surface by 20 units (the height of the block below).
3rd Piece
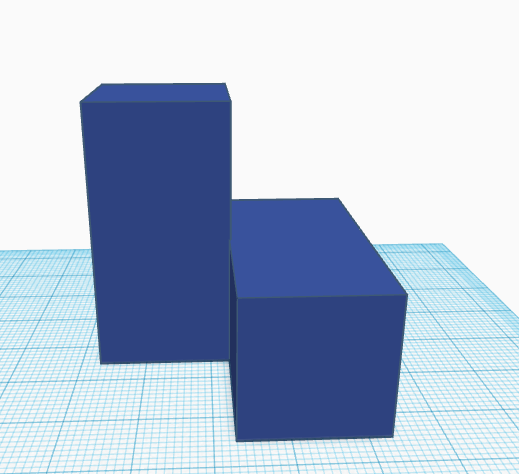
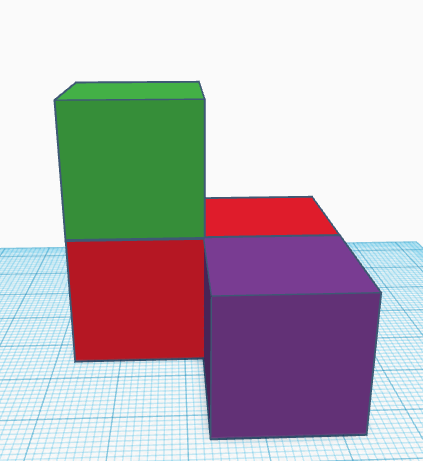
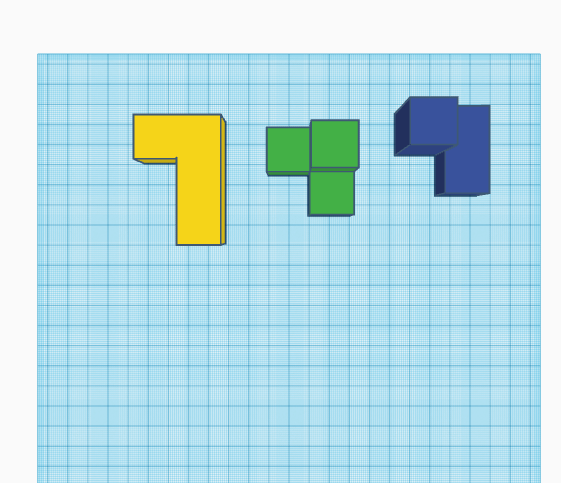
In this step, we need 3 blocks:
- 2 * (20*20)
- 1 * (20*40)
Try to arrange it in the pattern as shown in the above image. I suggest you guys skip steps 5-8 if you are able to replicate the images on your own without the need for any reference.
Remember to group the blocks as soon as you are done with the arrangement to form the piece.
Making the "T" Piece
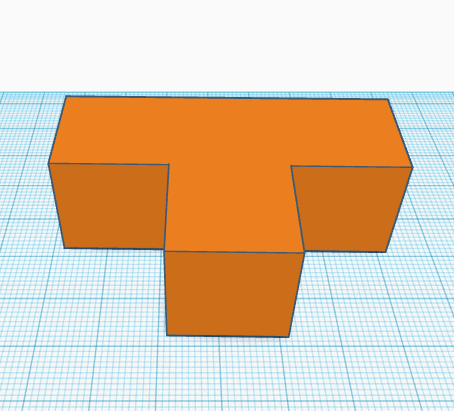
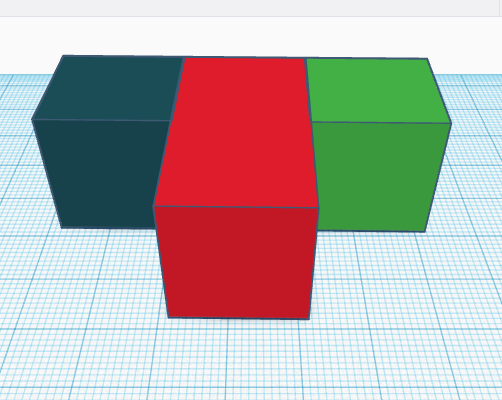
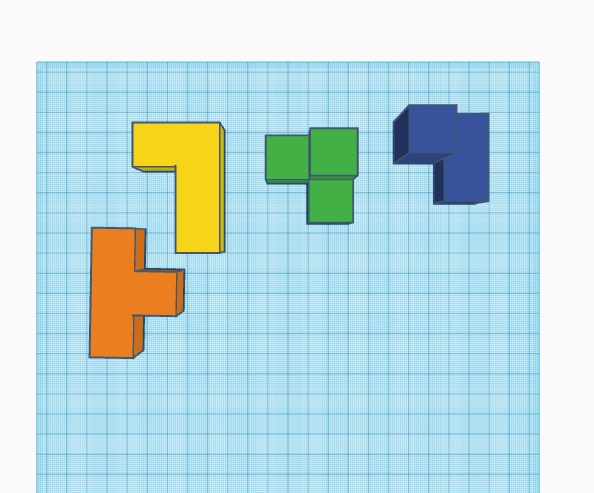
For this step, we are going to need 3 blocks:
- 2 * (20*20)
- 1 * (20*40)
Place the cuboid(red) vertically and the cubes(blue and green) on both sides of it.
Yikes! We are halfway done.
Piece 5/7
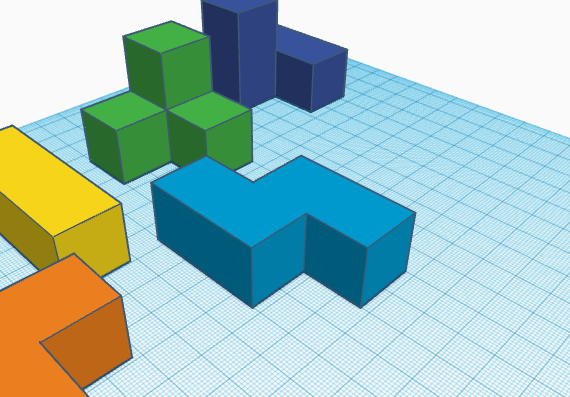
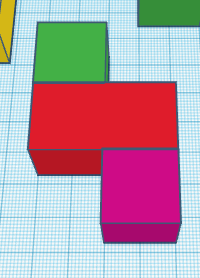
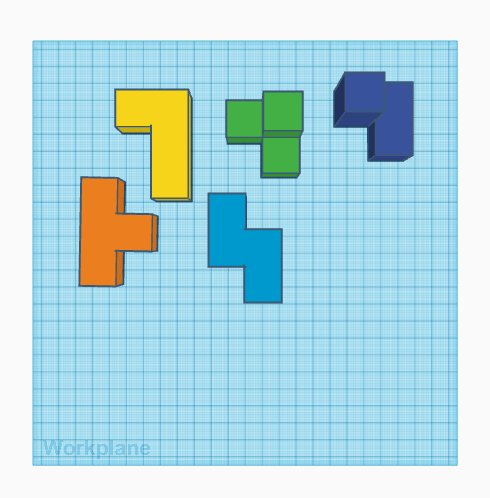
For this step, we are going to need 3 blocks:
- 2 * (20*20)
- 1 * (20*40)
Place the cuboid(red) horizontally and the cubes(green and pink) on both sides alternatively.
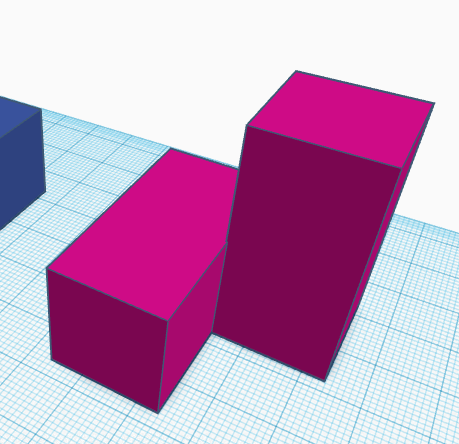
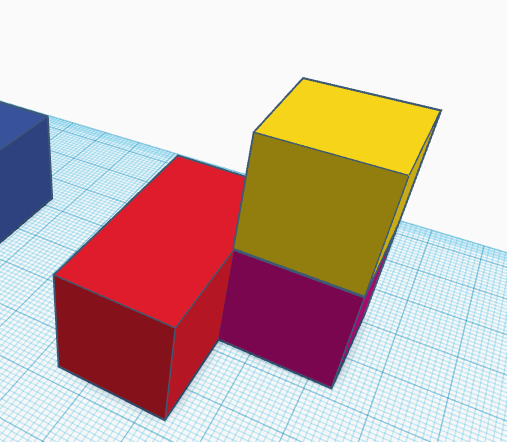
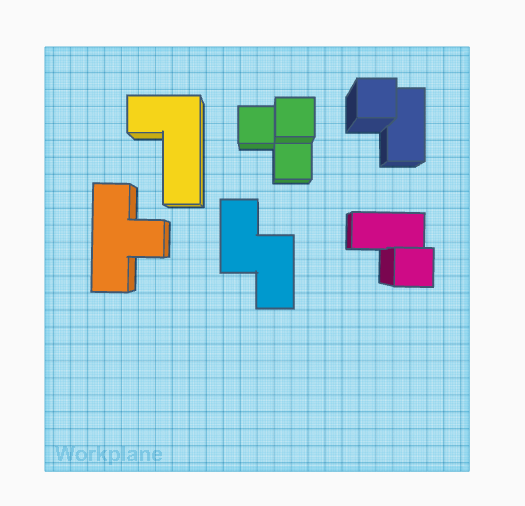
For this step, we are going to need 3 blocks:
- 2 * (20*20)
- 1 * (20*40)
Place the cuboid(red) horizontally and the cubes(yellow and pink) on top of each other.
Piece 007
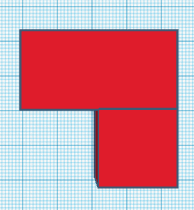
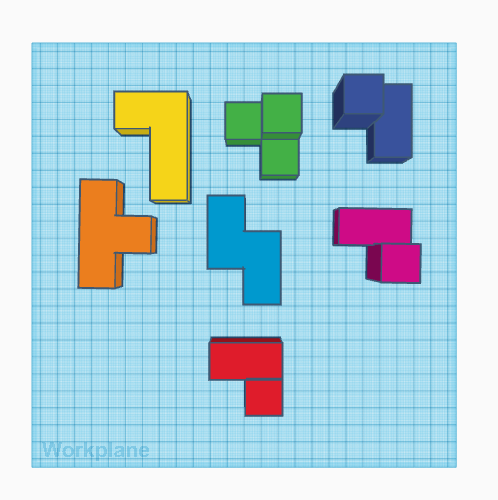
The simplest piece and the last piece of the puzzle. This piece has only 2 blocks:
- 1 * (20*20)
- 1 * (20*40)
In this one, we are going to form a small "L" shape with the help of 2 blocks(one big, one small). Now that we have completed creating all the pieces of the puzzle, it's time to make a box for it.
Creating the Canvas
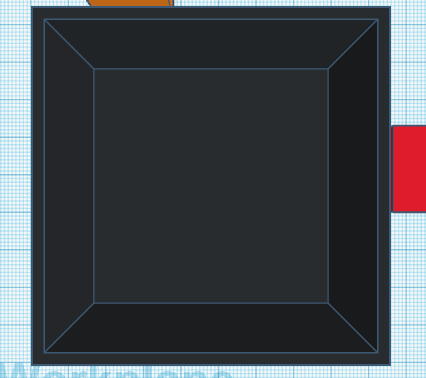
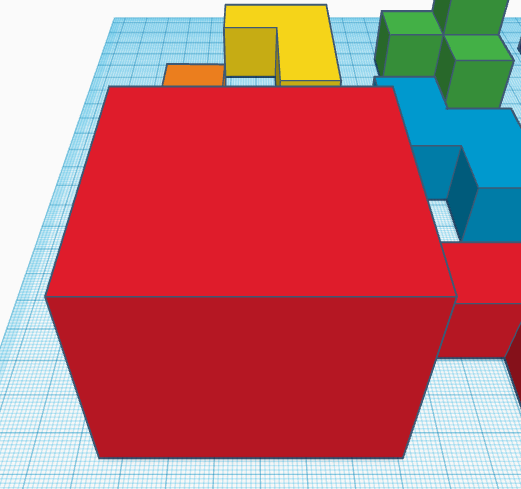
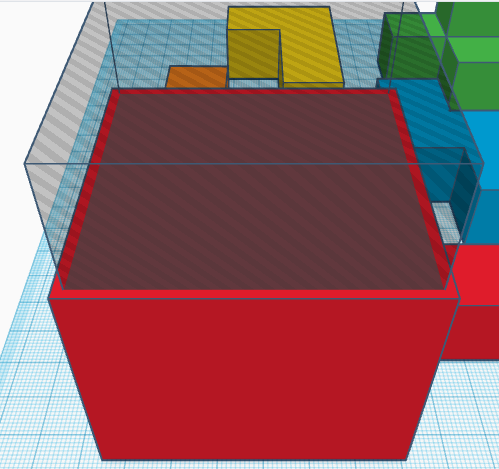
We now need a place to assemble or store the puzzle. For this, we are going to use a cube of dimensions 66*53 (side*height) and place a hole in it on the side of 63 units. This will generate a hollow box with a thickness of 3 units and give us 3 units of excess space in the box to avoid any jams.
Make sure you leave some excess space around the edges for it to function smoothly.
Covering the Canvas
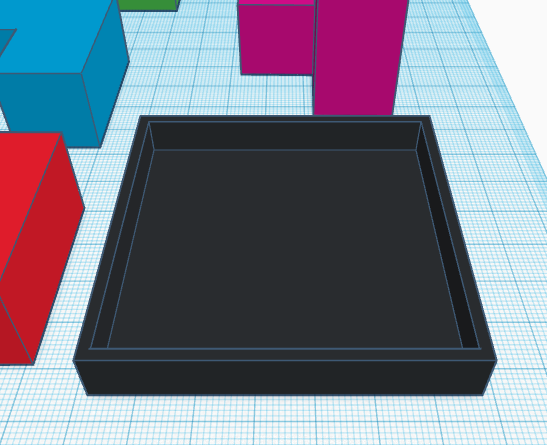
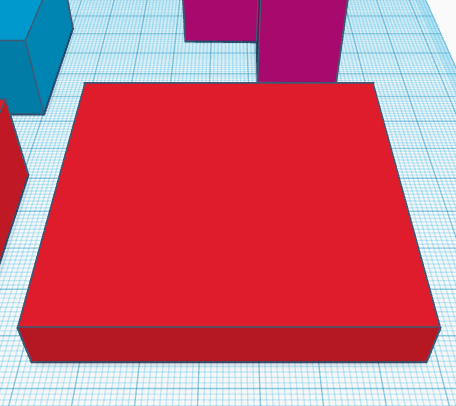
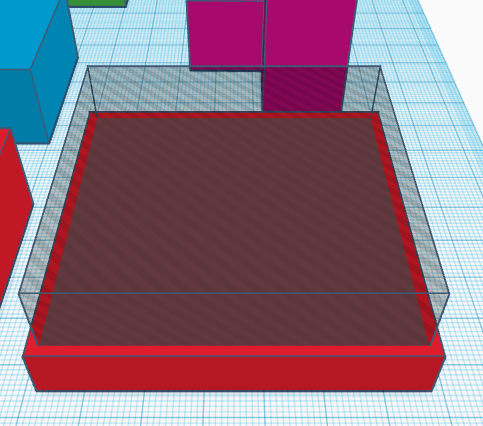
Now, in order to finish this puzzle, we are going to create a lid for the box. To create this box, we are going to follow a procedure similar to the previous one. That is taking a cuboid of size 66*10(side*height) and placing a hole in it of length 63 units.
This will generate a box of 63*63 units. It's better if we calculate the area occupied by the pieces and the area of the box at once.
Make sure that you have multiplied the dimensions correctly if you are trying to make a bigger puzzle. The 3D model of the puzzle is attached below. Assemble the puzzle virtually once before printing to make sure that there are no issues with it.
Tinkercad is the reason why this process was simple and friendly, the wide range of tools they have on offer is just amazing.
For more interesting DIY activities and models which will help the students/kids learn and improve, follow me on Instructables. If you have any questions or suggestions, please leave them in the comments. Make sure that you share your work with the community by clicking the "I Made It" button below.