How to Make 3D Printed Structure Using Principal of Tensegrity?
by Hemant Ghorpade in Teachers > 6
2573 Views, 27 Favorites, 0 Comments
How to Make 3D Printed Structure Using Principal of Tensegrity?
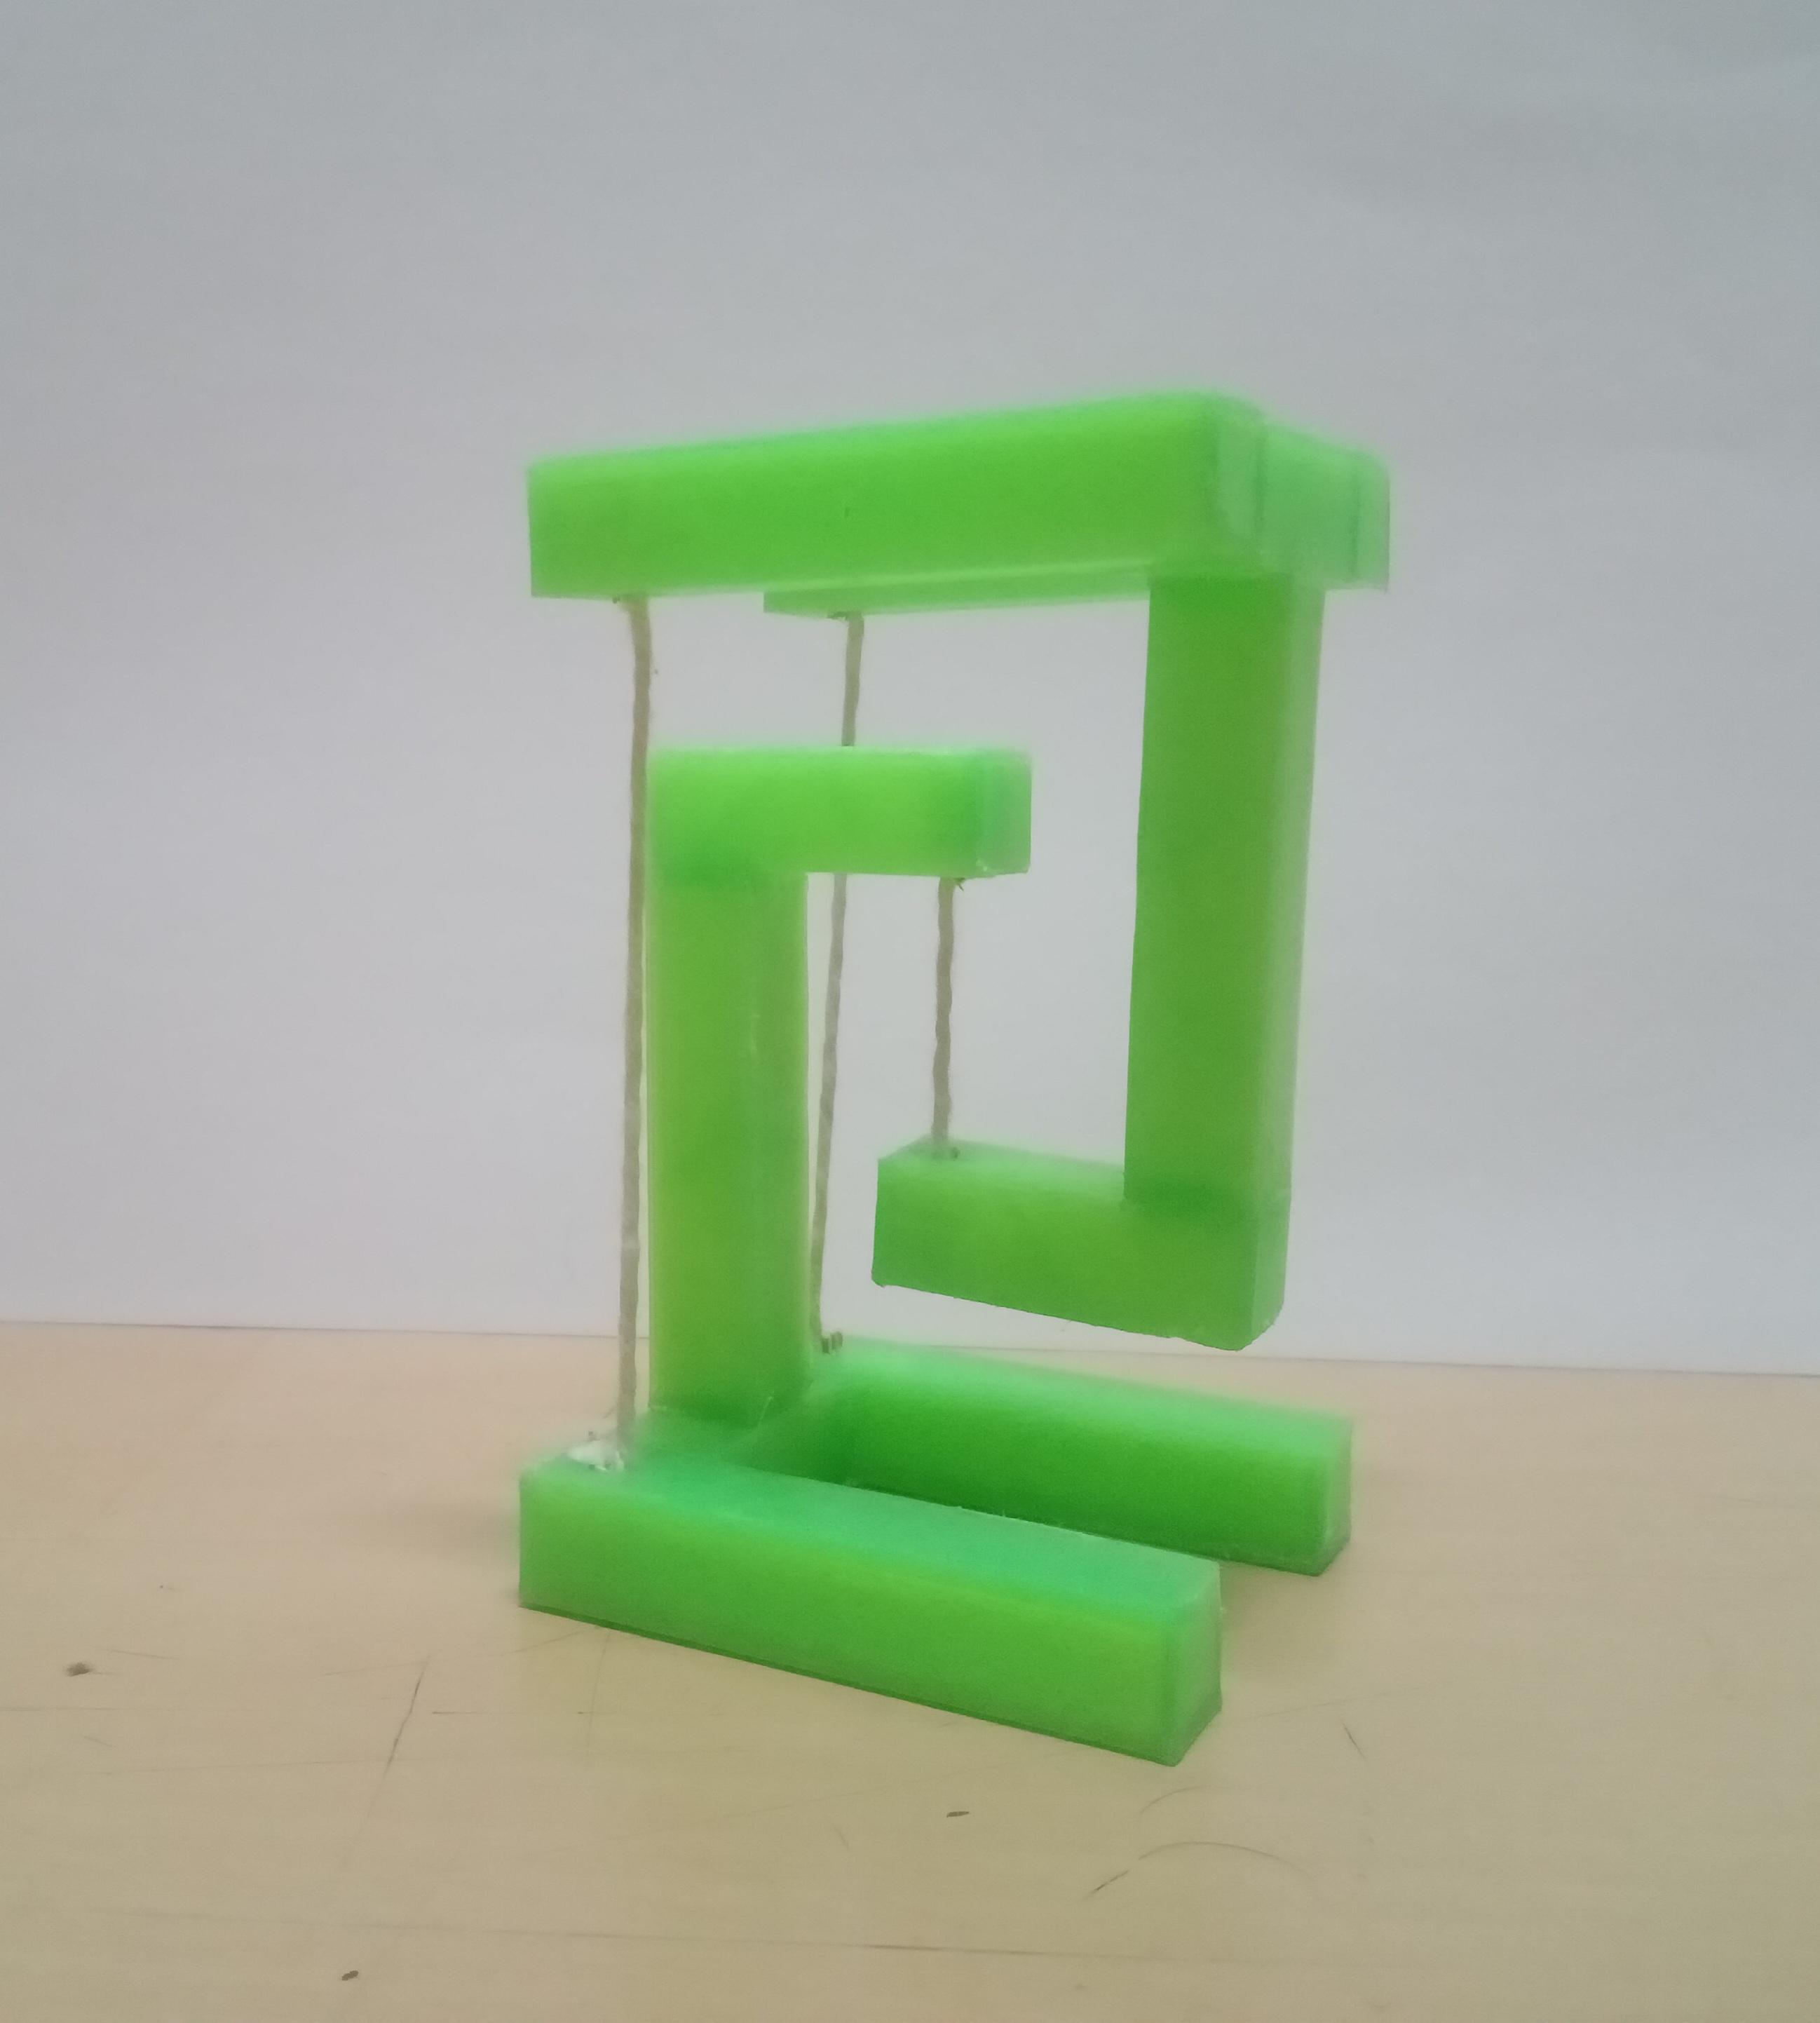


This is a mini version of Tensegrity structure
The tensegrity structure is created using 3D printed designs.
To design we have used Tinkecad. Then designs are 3D printed & assembled.
Tensegrity or tensile integrity:
It describes a system of isolated, compressed components within a network of chords (in our case thread) that are under continuous tension.
Tensegrity is a design principle that applies when a discontinuous set of compression elements is opposed and balanced by a continuous tensile force, thereby creating an internal prestress that stabilizes the entire structure.
Tensegrity structure is widely used in long-span space structures in civil engineering.
Example of Tensegrity in India:
A Structure is build based on Tensegrity at Science Park - Science City - Kolkata, India.
Let us see step by step, How to design & build tensegrity structure using Tinkercad & 3D printer respectively.
Teachers can teach students following things using this Instructable.
- How to make design using Tinkercad?
- How to make Tensegrity Structure?
- Concept of Tensegrity.
- Concept of Centre of gravity.
Supplies
3D Printer
3D Printing Filament
Thread
Tooth Picks/Match sticks
Measuring Scale
Glue
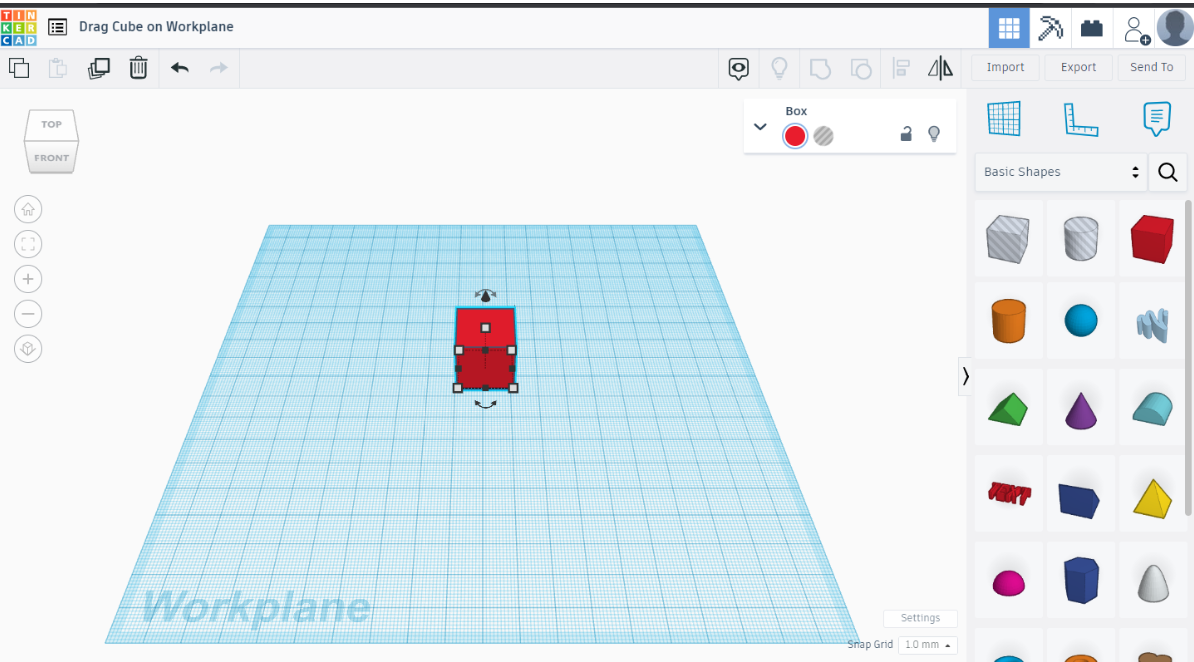
Drag a Cube on the Workplane of Tinkercad
_New.png)
Tinkercad is a free web application for the 3D design, electronics, and coding. One can open an account (its free) with Gmail ID. Login to account & go to Designs icon available at left side column. Then click on the design icon. Then click on create & 3D design. You will land on the work plane. Drag A solid box from right hand column available in basic shapes.
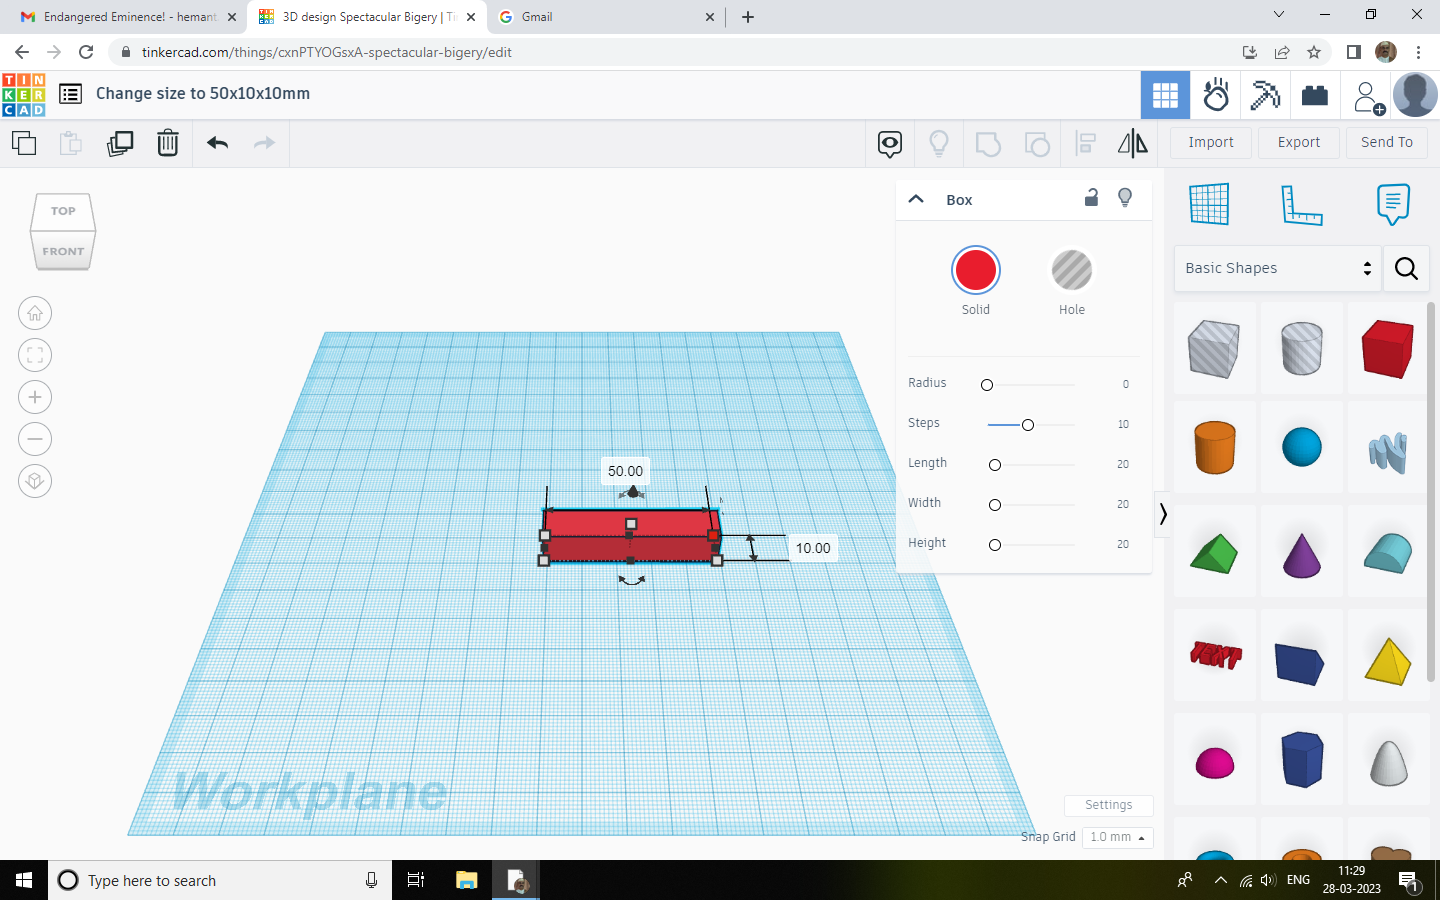
Change the Size of Cube to 50x10x10mm
.png)
- Select cube.
- Click on white squares at vertices.
- You will see dimensions. Change them to 50x10x10mm.
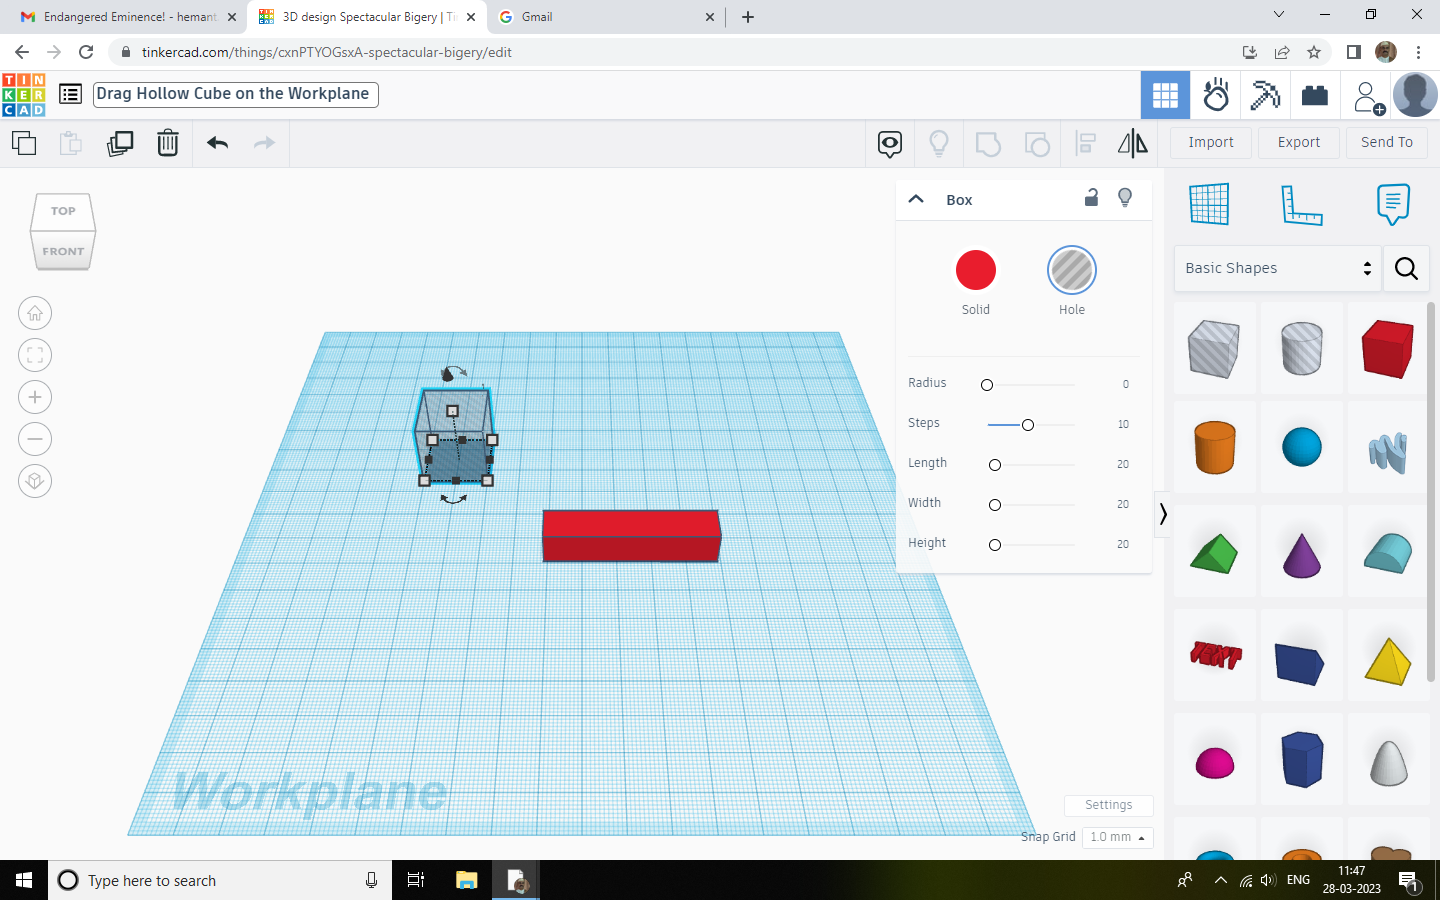
Drag a Hollow Cube on the Work Plane
.png)
Drag A Hollow Cube On The Work Plane
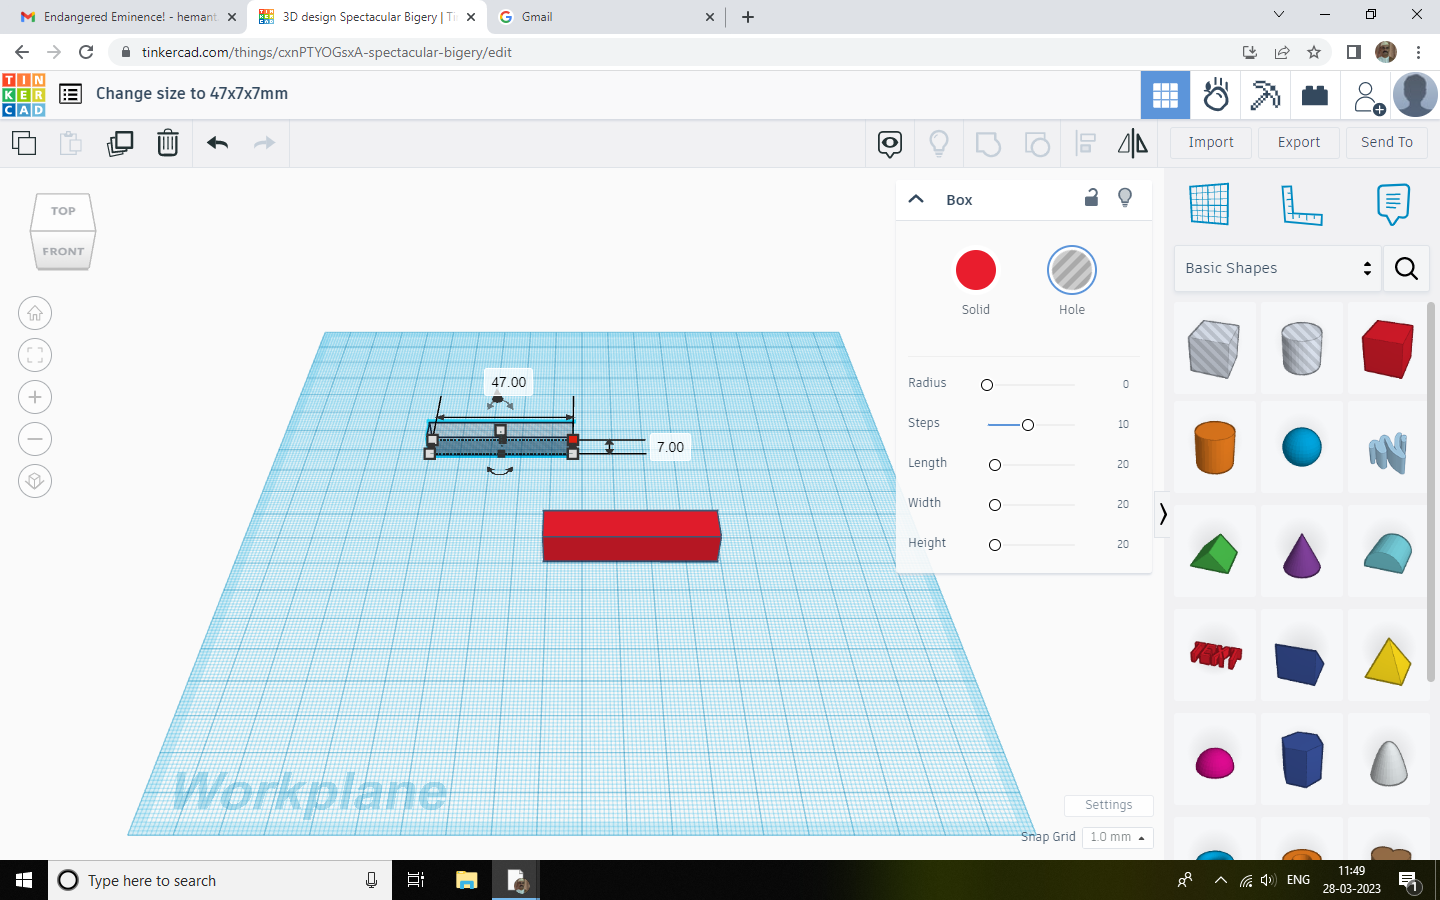
Change Hollow Shapes Size to 47x7x7mm
.png)
- Select the hollow cube.
- Click on white squares at vertices.
- You will see dimensions. Change them to 47x7x7mm.
Insert Hollow Shape Inside Solid Shape
.png)
Drag Hollow shape inside solid shape.
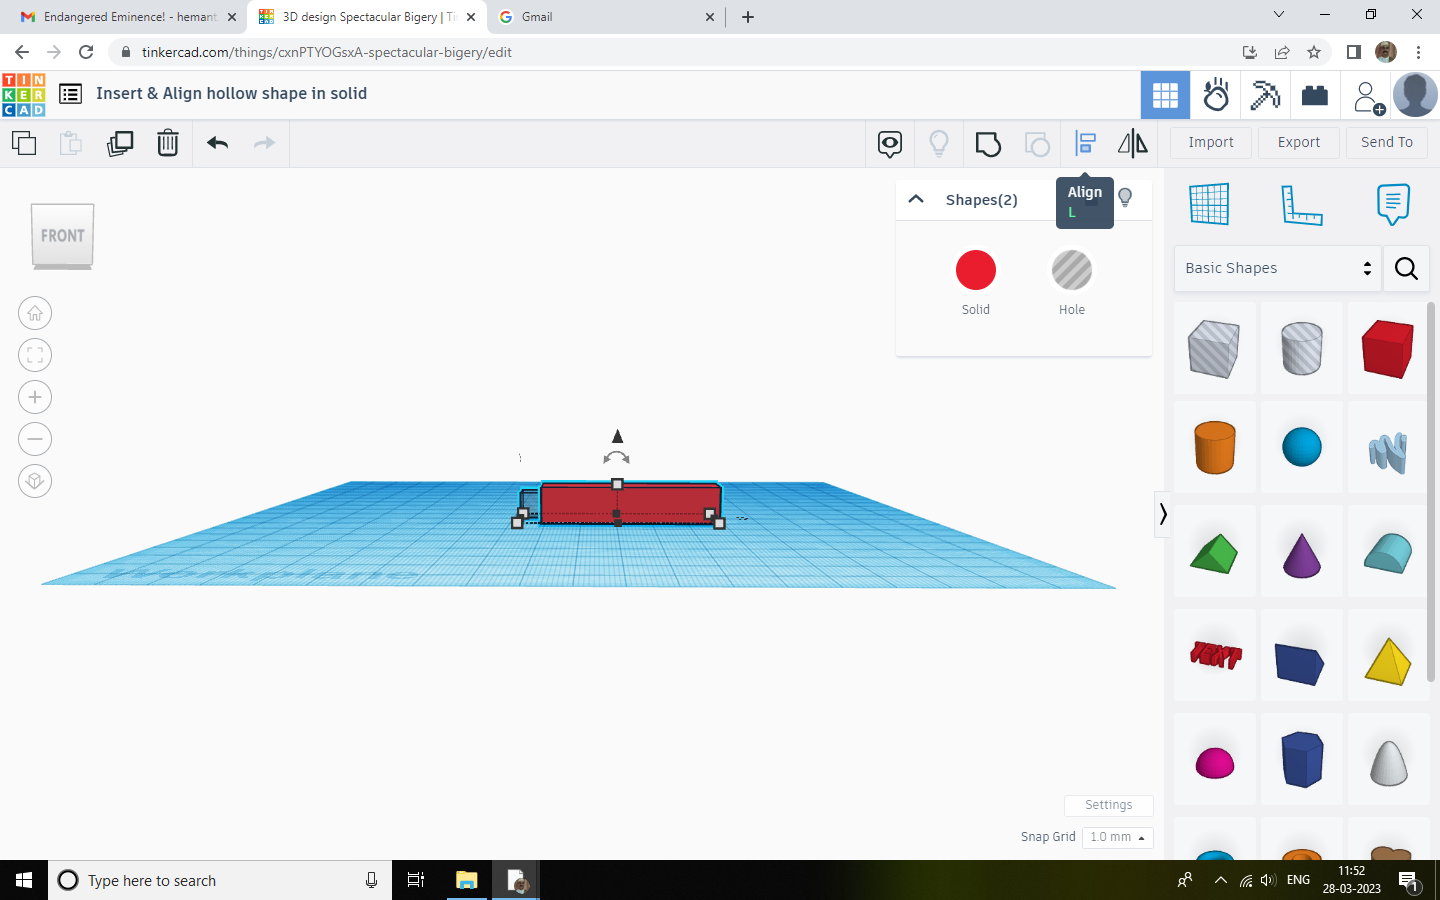
Align Hollow Shape With Solid Shape
.png)
- Align Hollow & Solid shape using align command in top toll bar.
- Click on three black center circles as shown in above photograph.(Once selected these circles will fade in color as shown.)
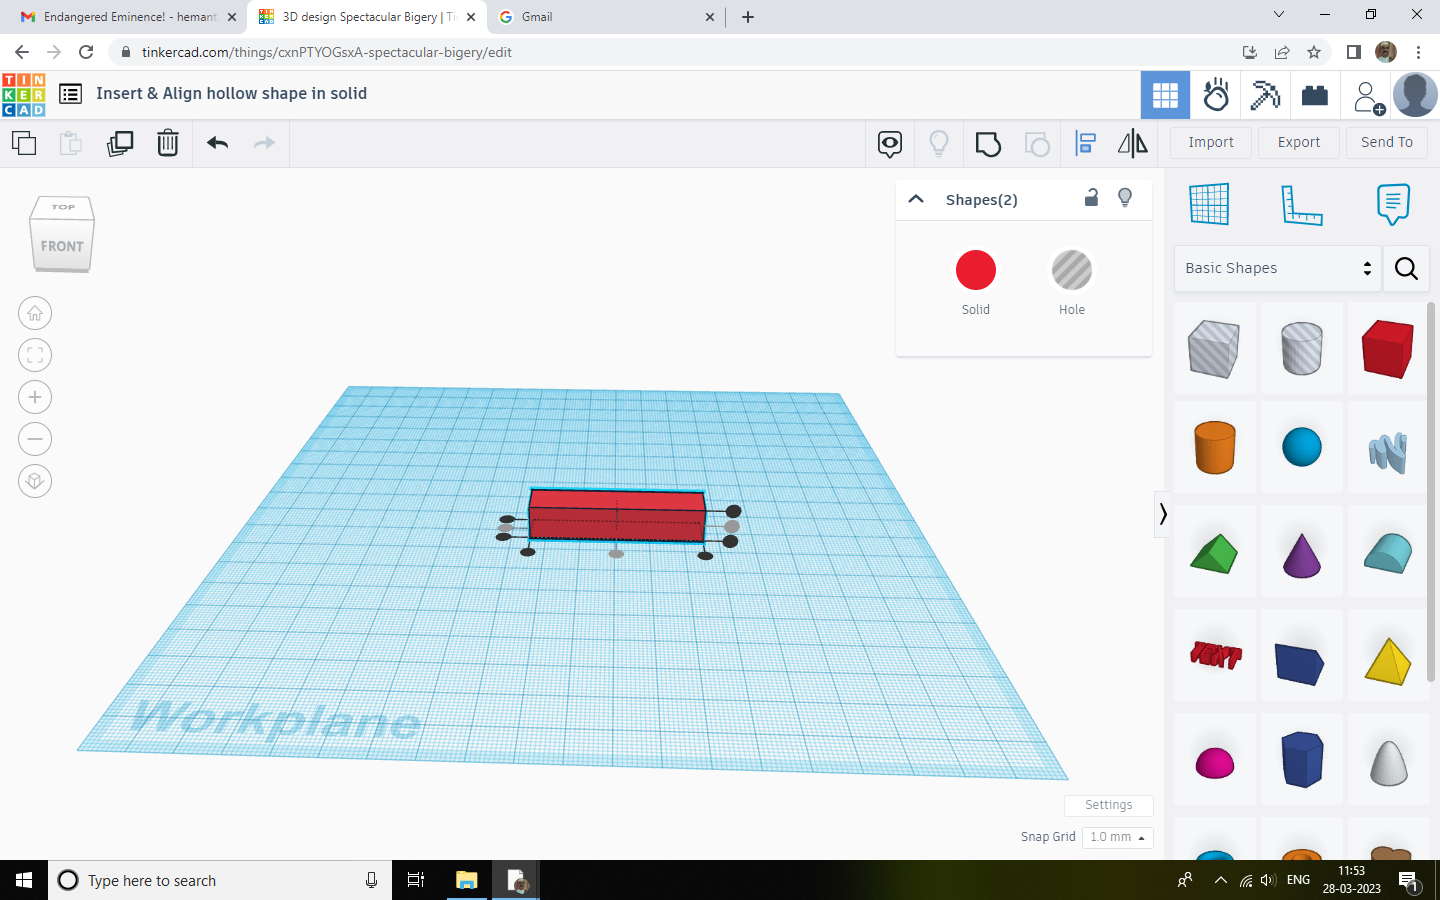
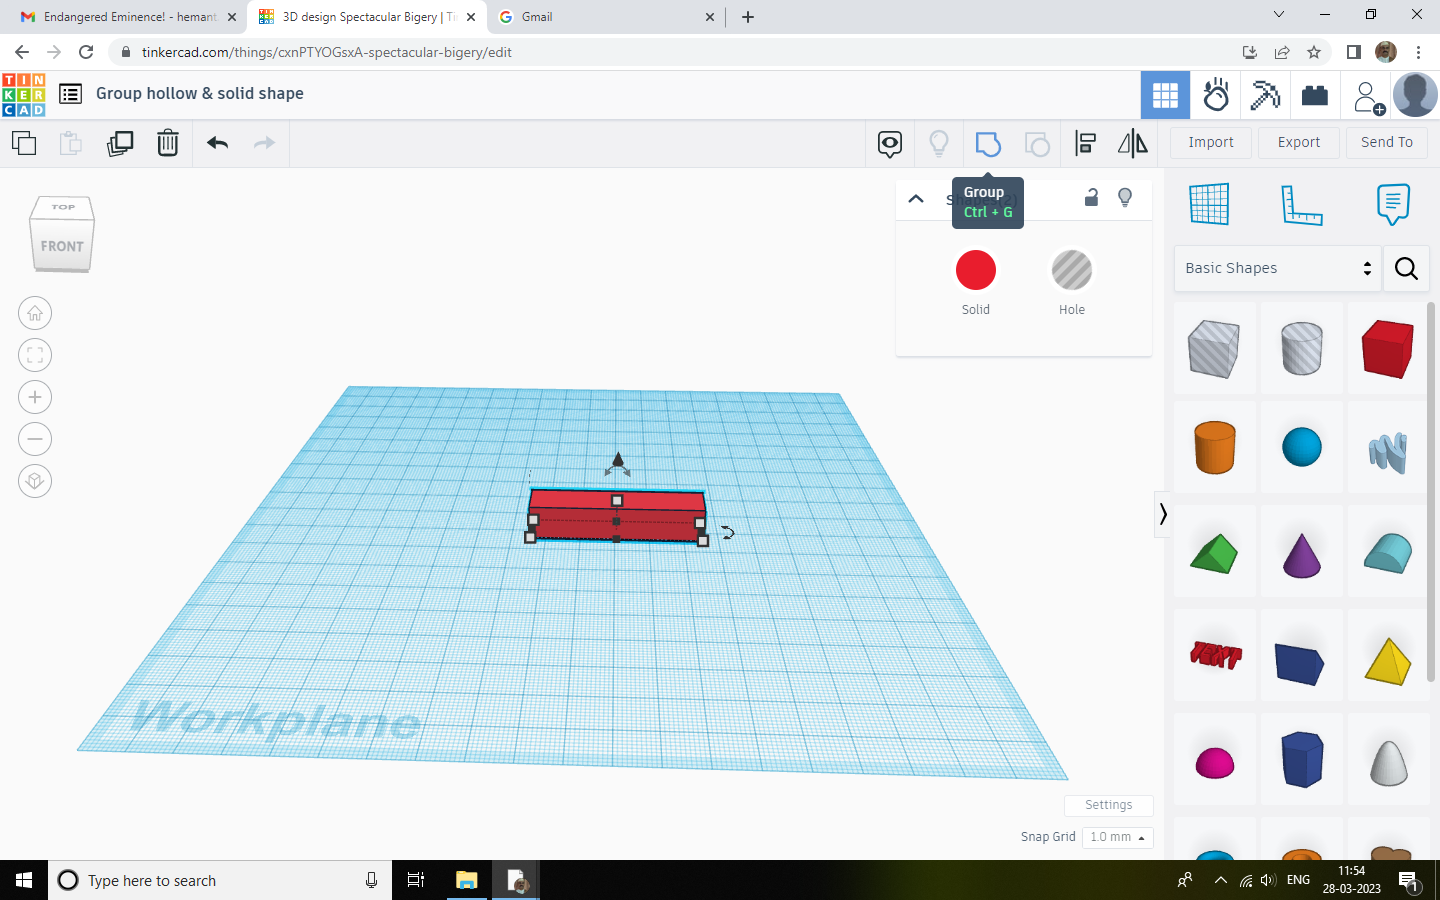
Group Hollow & Solid Shape
.png)
- Select hollow & solid shape.
- Group these two shapes using group command icon at the top tool bar.
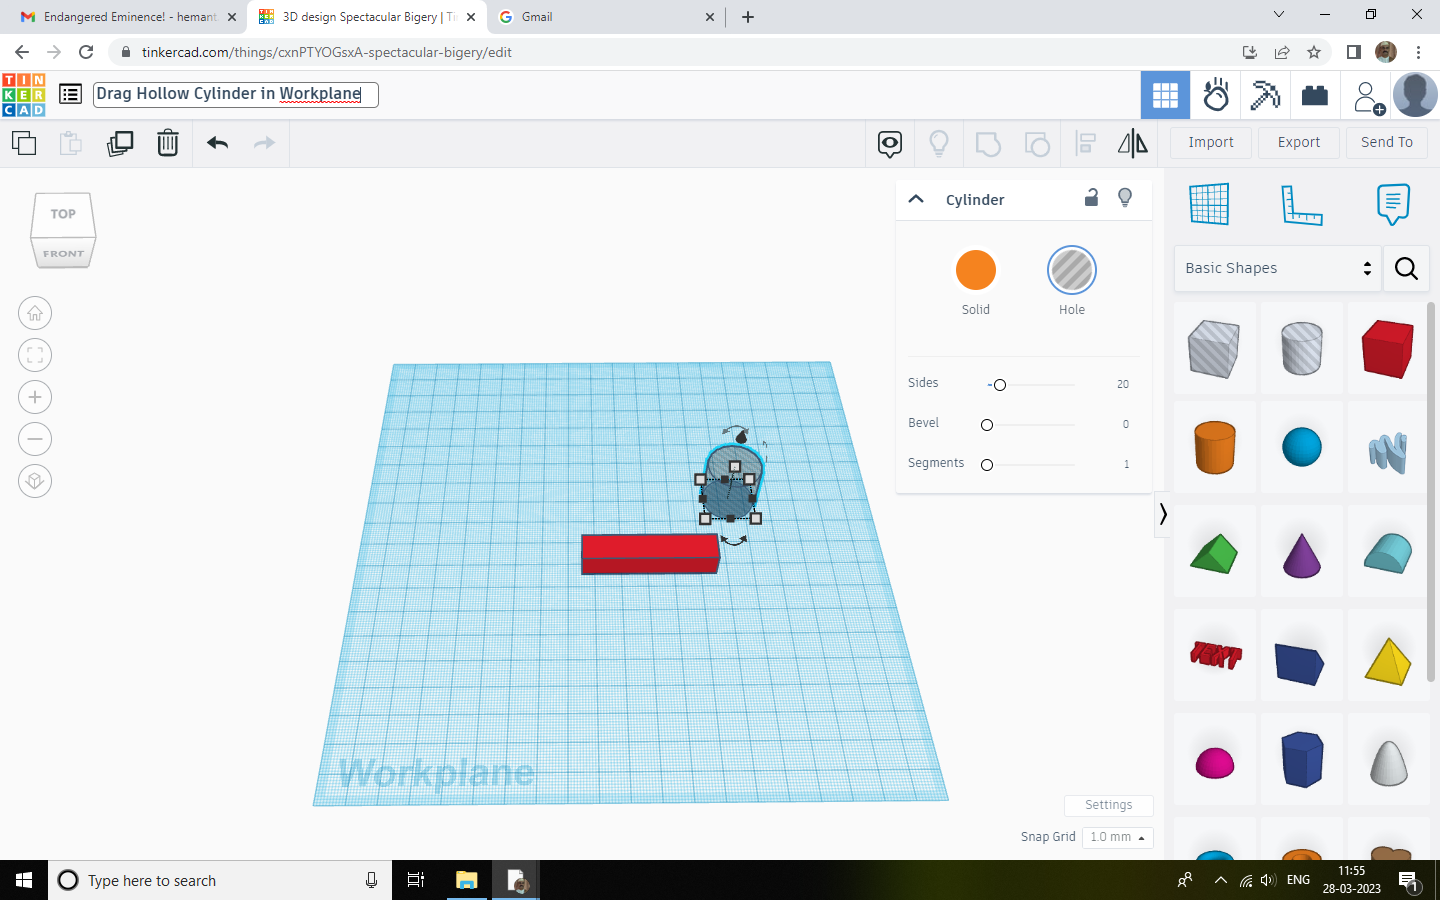
Drag Hollow Cylinder on the Work Plane
.png)
Drag Hollow Cylinder On The Work Plane
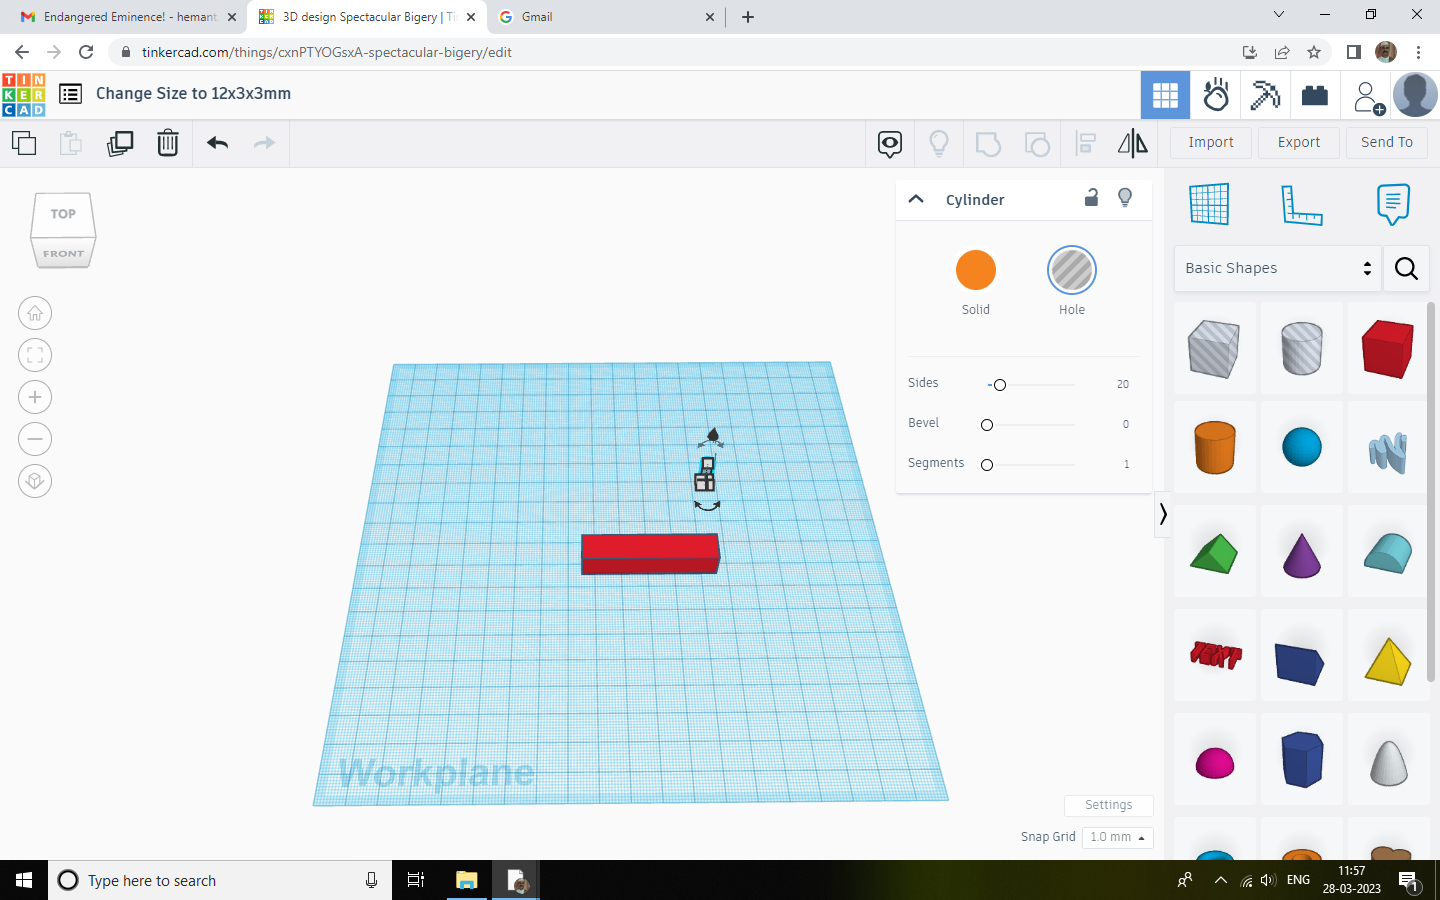
Change Size of Cylinder to 12x3x3mm
.png)
- Select the hollow cylinder.
- Click on white squares.
- You will see dimensions. Change them to 12x3x3mm.
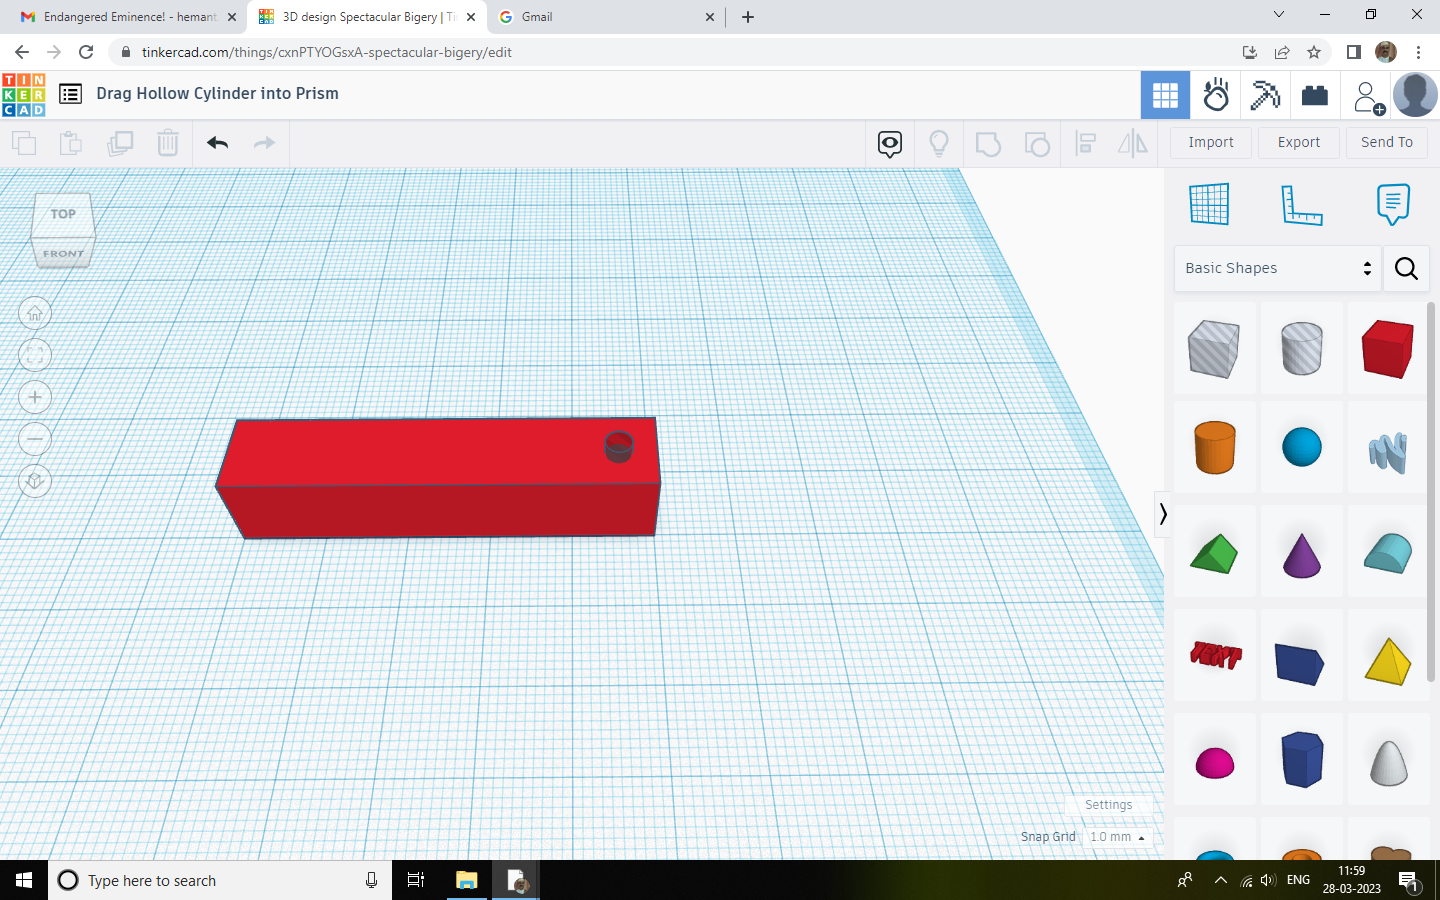
Drag Hollow Cylinder in the Solid Prism Shape
.png)
- Drag Hollow Cylinder In The Solid Prism Shape
Align Shapes With Width of the Prism
.png)
- Align Hollow & Solid shape using align command in top toll bar. (Refer to step no. 6)
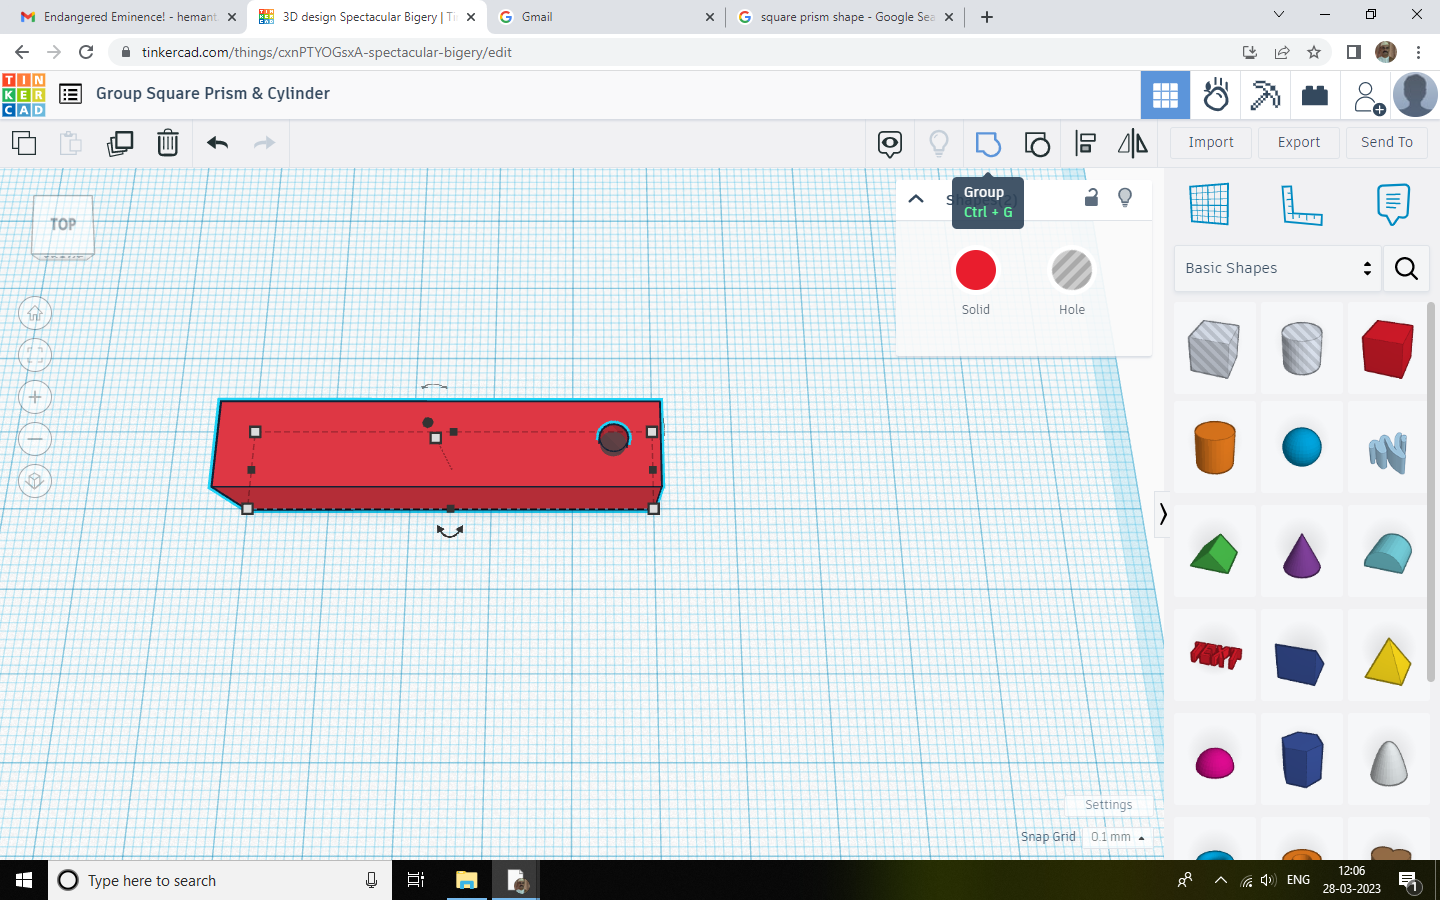
Group Square Prism & Cylinder
.png)
- Group Square Prism & Cylinder
- Group these two shapes using group command icon at the top tool bar.
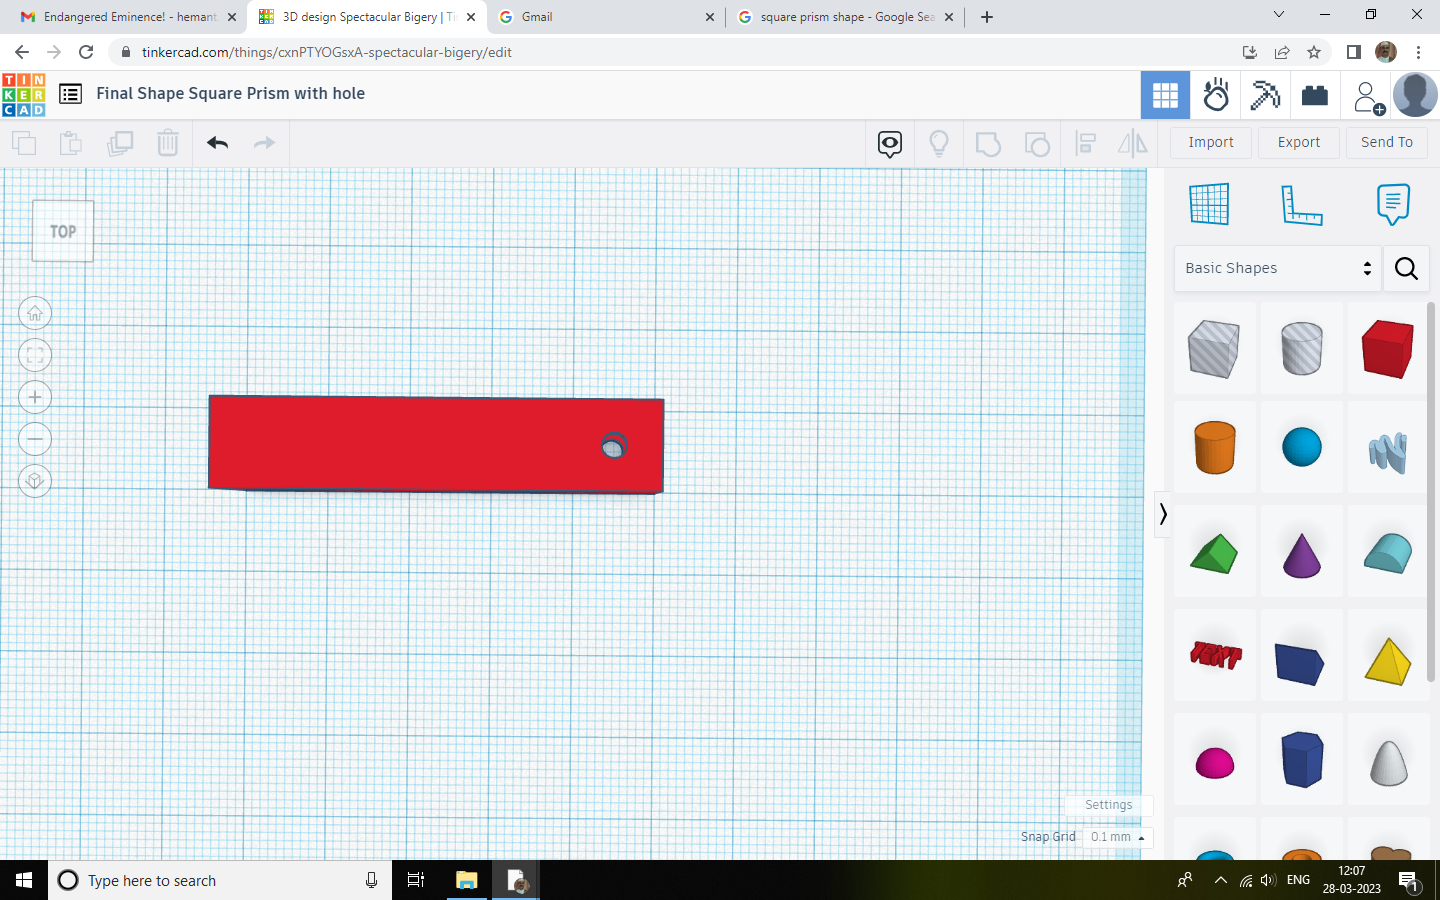
Final Shape With Square Prism & Hole.
.png)
Required shape of square prism with hole is ready.
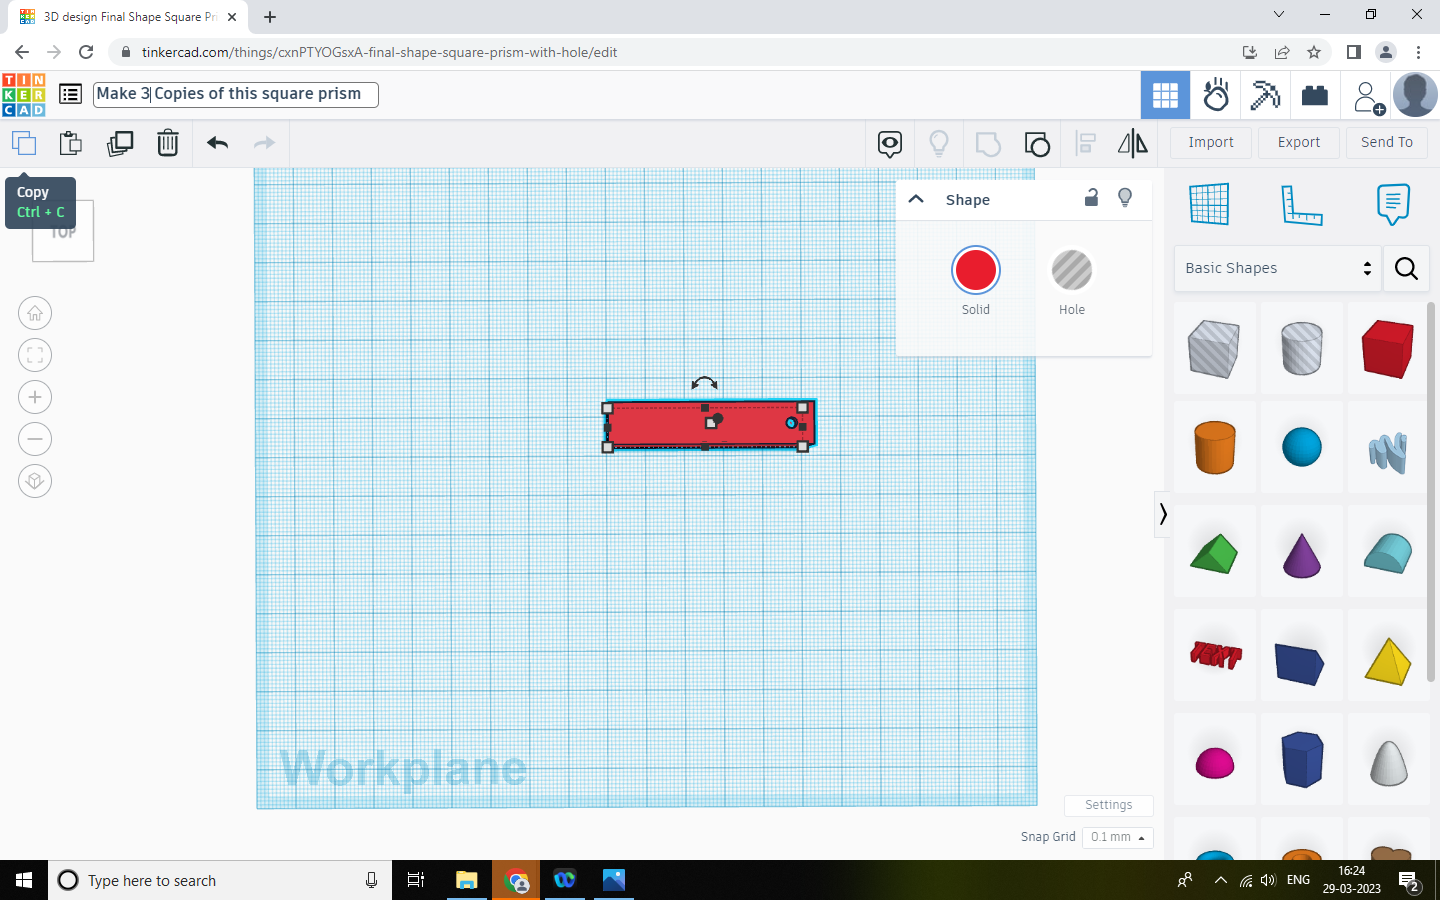
Make Three Copies of This Prism
.png)
Make Three Copies Of This Prism using copy & paste icon on top toll bar.
4 Copies of the Square Prism With Size 50x10x10mm
.png)
Design of 4 Copies Of The Square Prism With Size 50x10x10mm is ready. Export .stl file & do 3 D printing.
Repeat Steps 1 to 13 and Design a Square Prism With Size 29x10x10mm
Copy Size 29x10x10mm & Create a Design of 2 Pieces - 3D Print Them
Design Of 2 Pieces of the Size 29x10x10mm is ready. Export .stl file and do three D Printing.
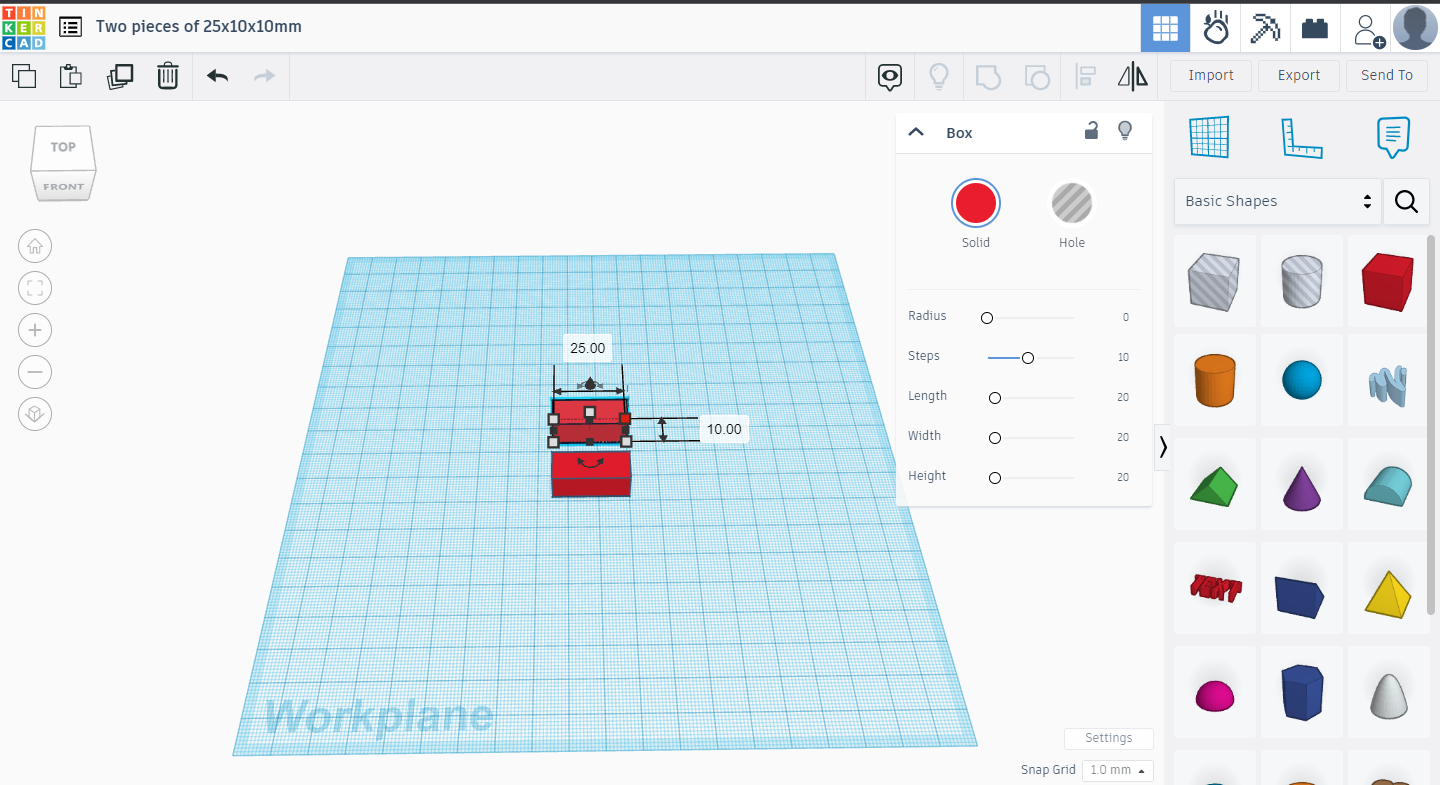
Drag a Cube on the Work Plane
_New.png)
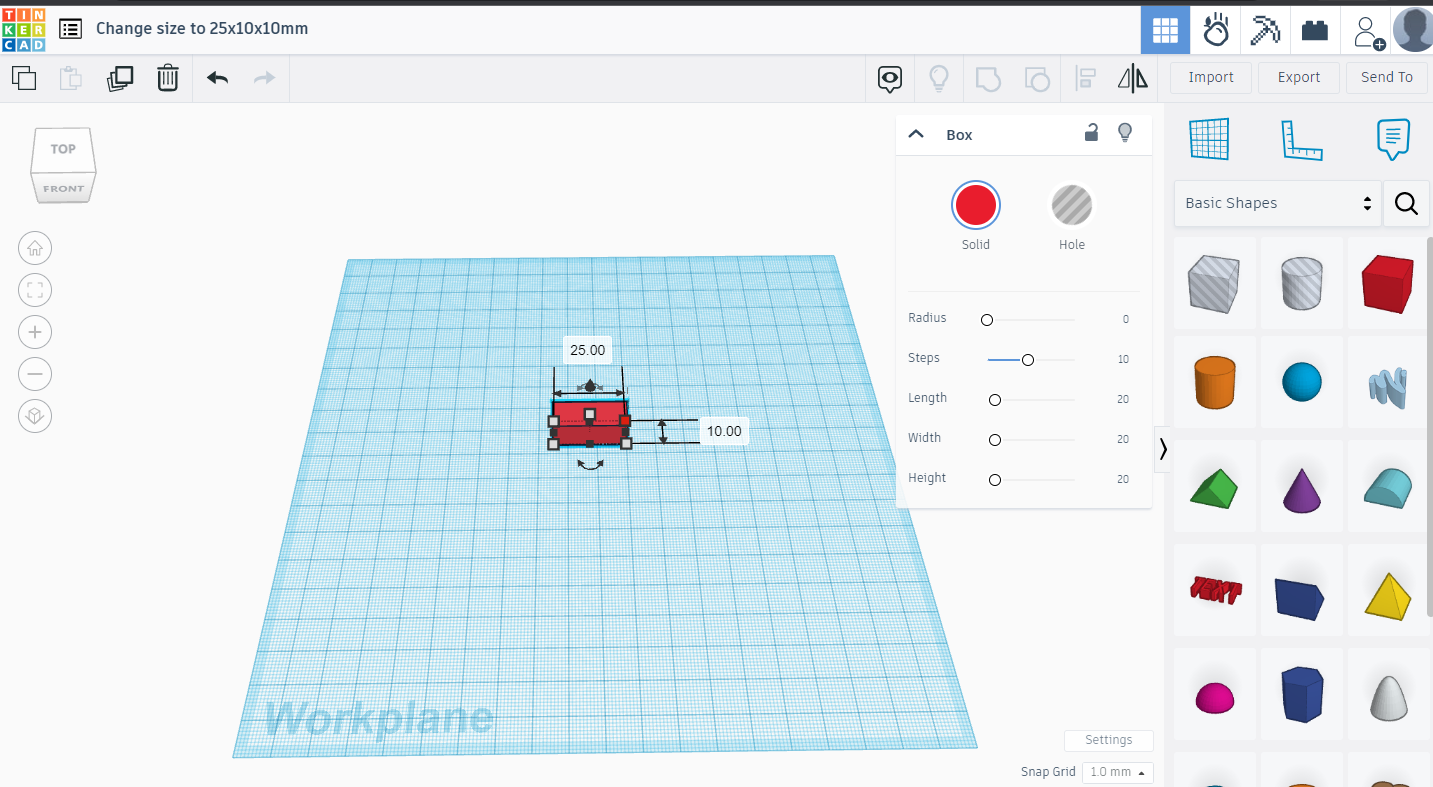
Change It's Size 25x10x10mm
.png)
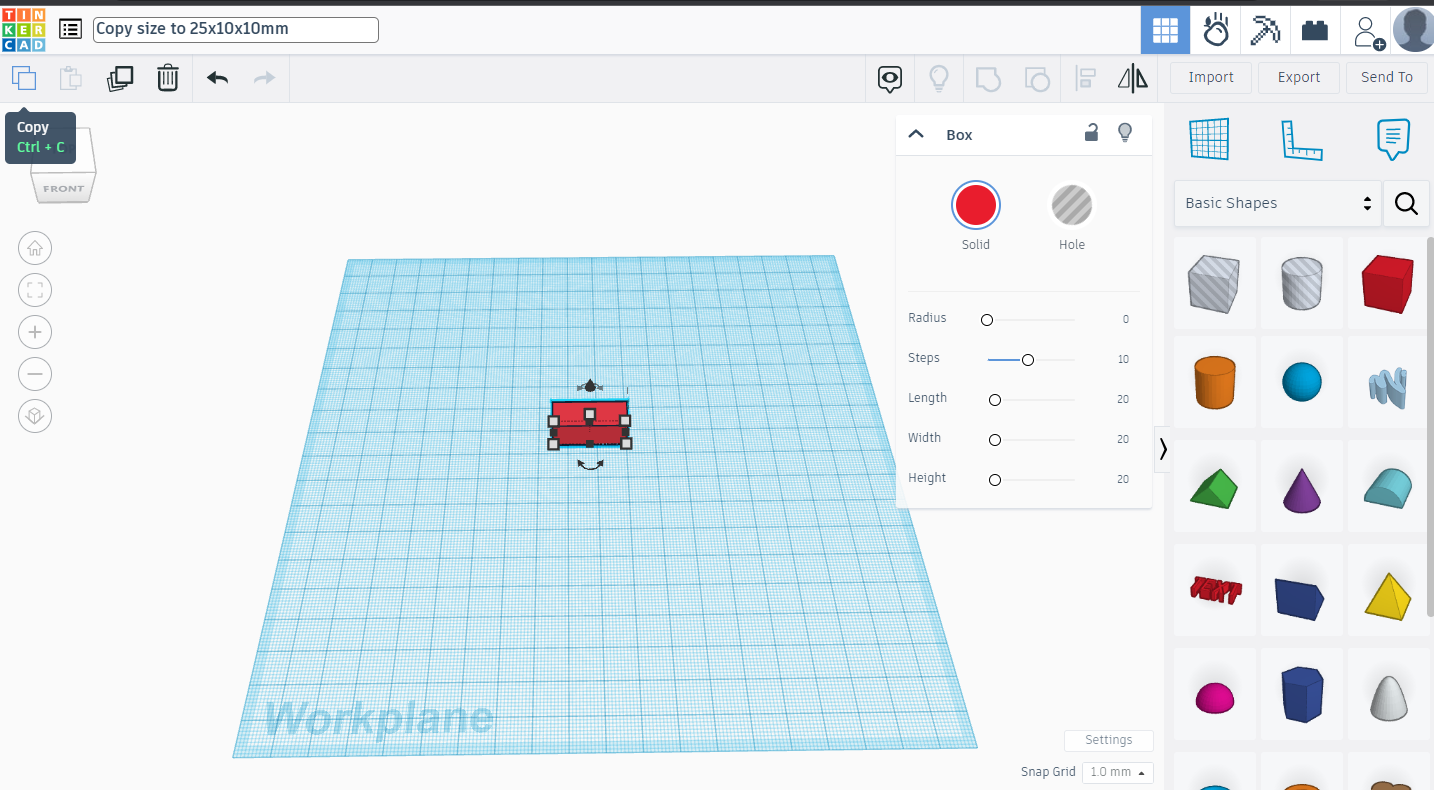
Make a Copy of Size 25x10x10mm
.png)
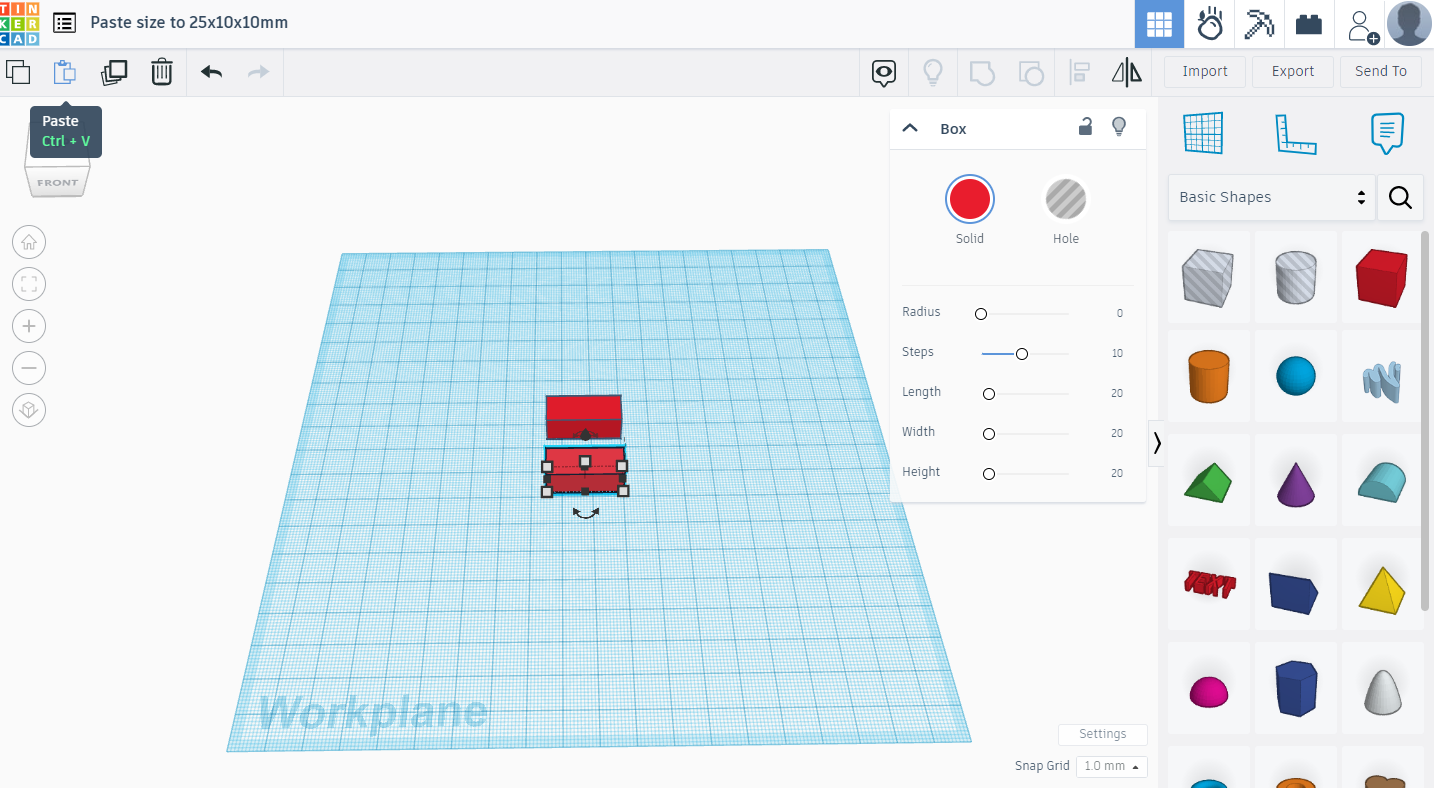
Paste It
.png)
Design of Two Pieces With Size 25x10x10mm Is Ready
.png)
Design of two pieces with the Size 25x10x10mm is ready. Export .stl file and do three D Printing.
Repeat Steps 18 to 21 and Design Size 44x10x10mm Instead of 25x10x10mm
Repeat steps 18 to 21 with size 44x10x10mm & design two pieces of size 44x10x10mm. Export .stl file and do 3 D Printing.
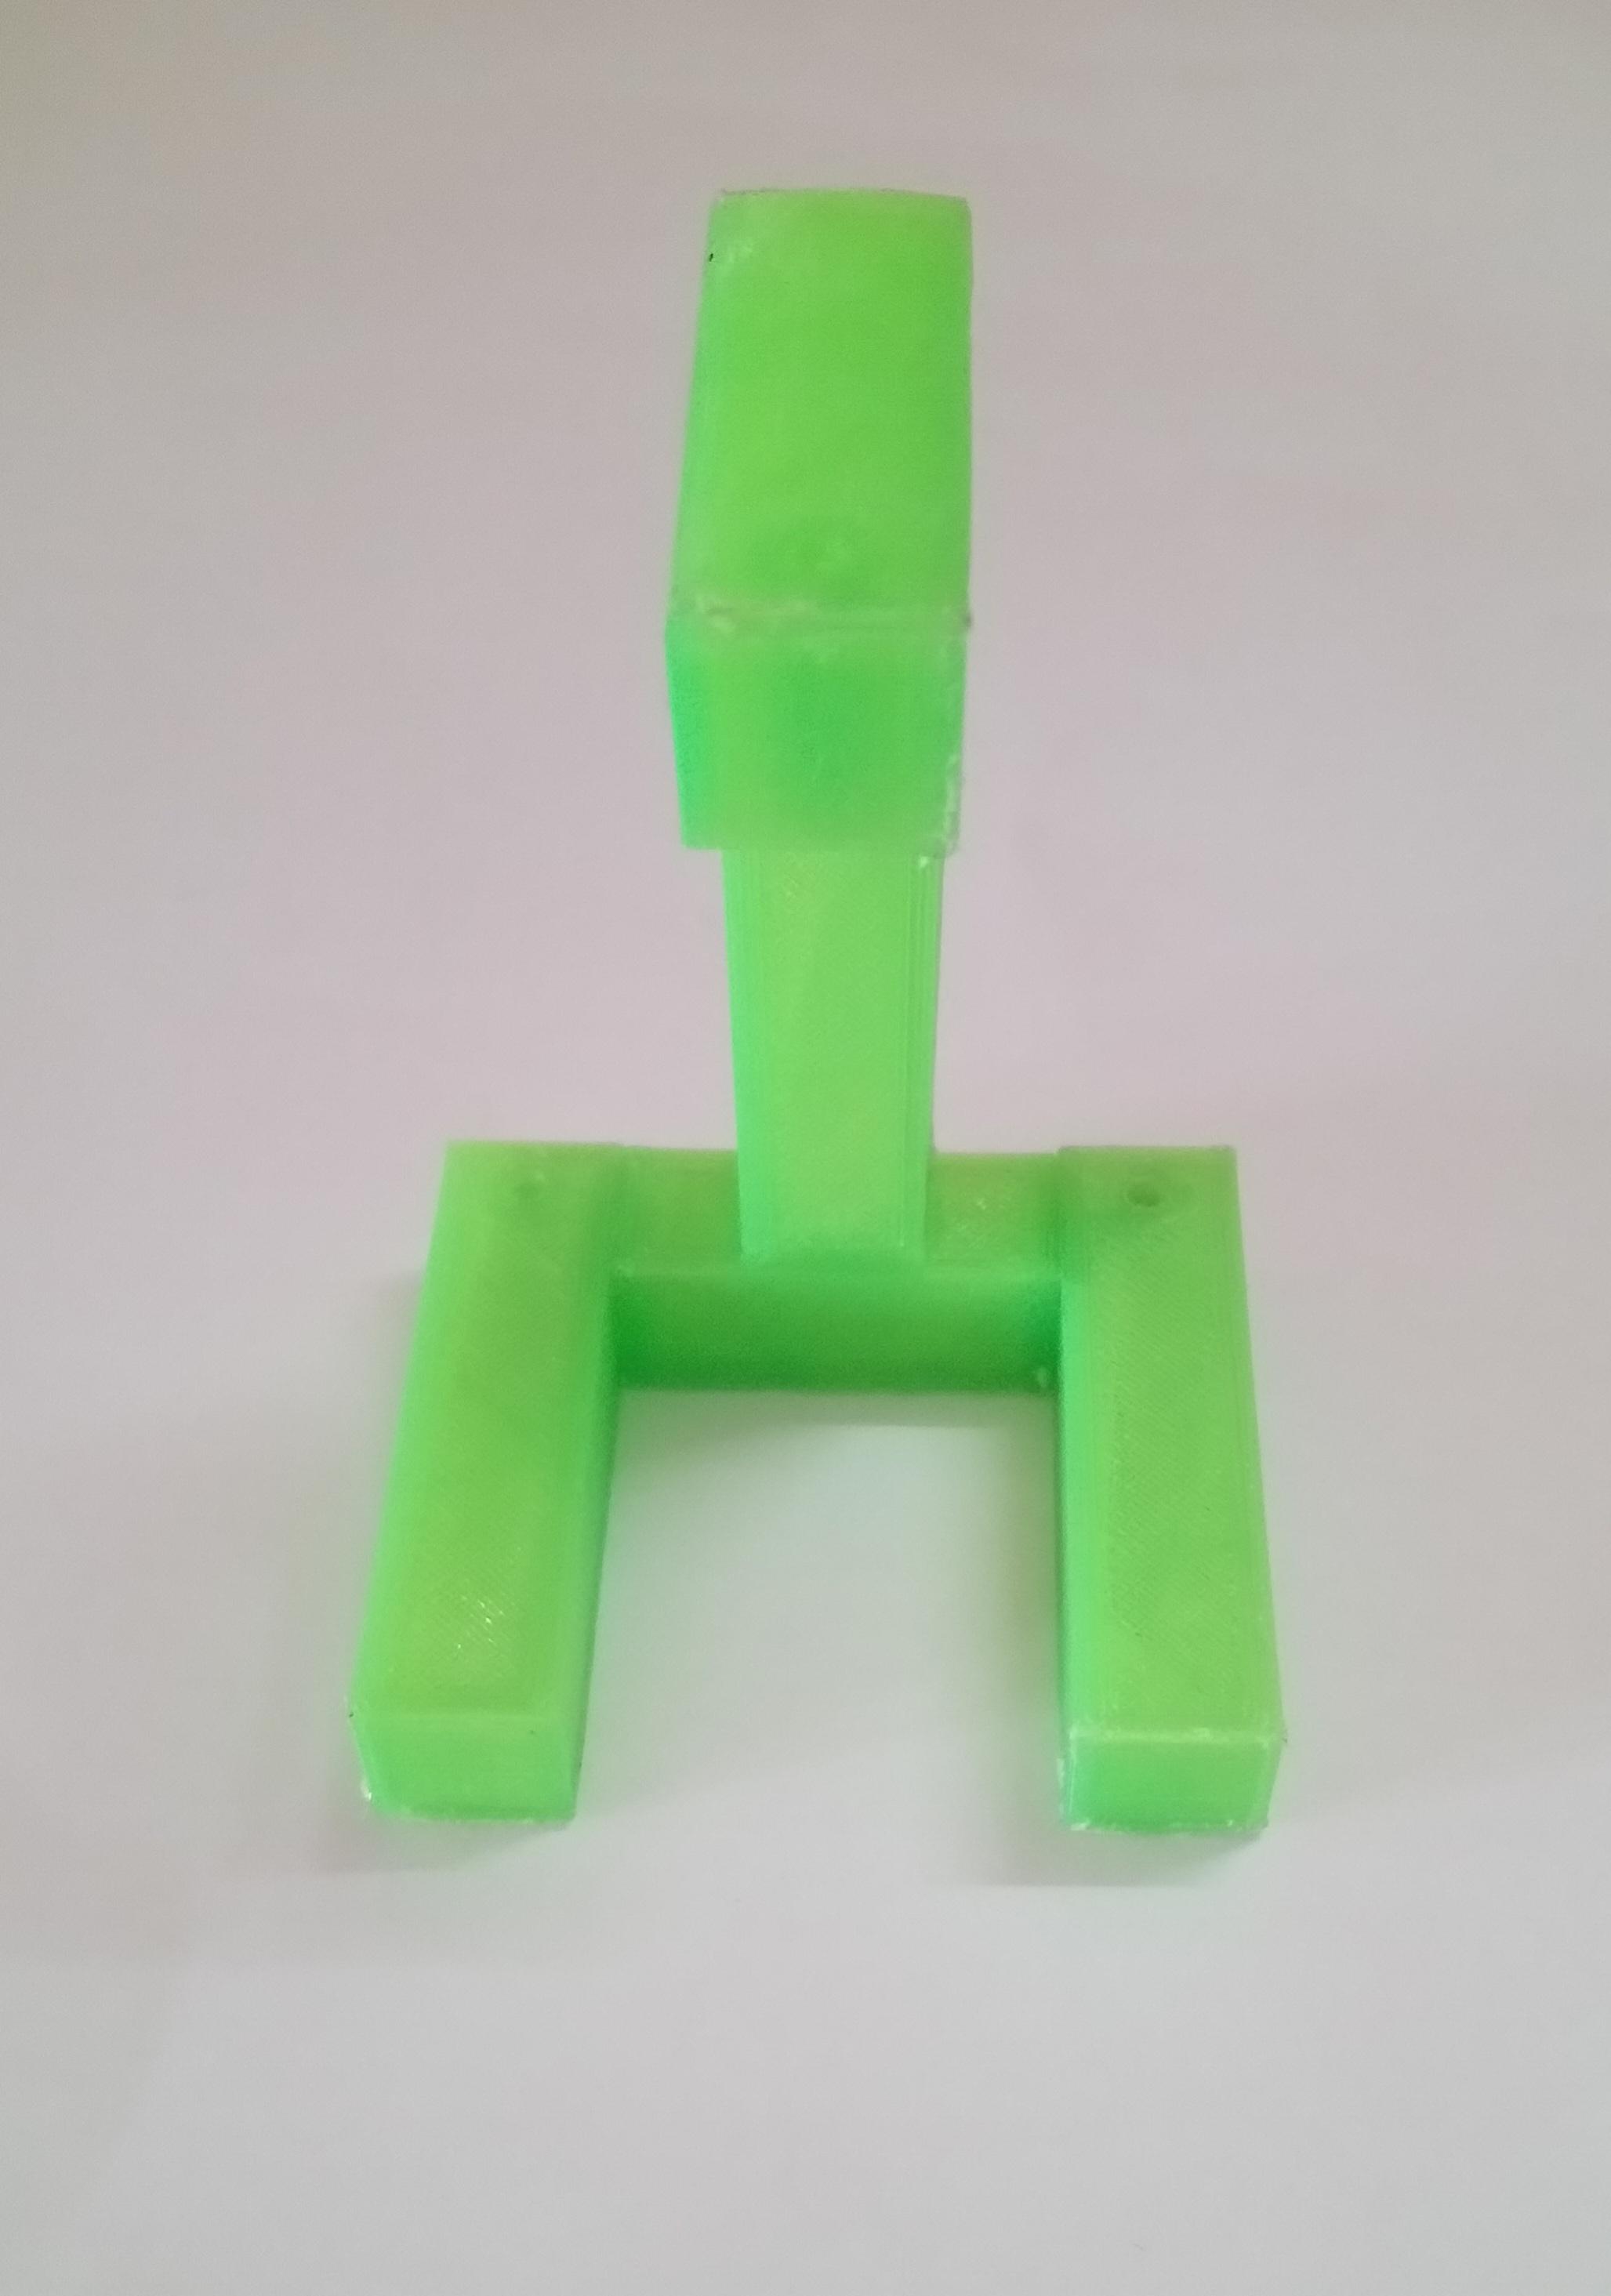
Take Two Shapes of 50mm Length & One Piece of 25mm Length
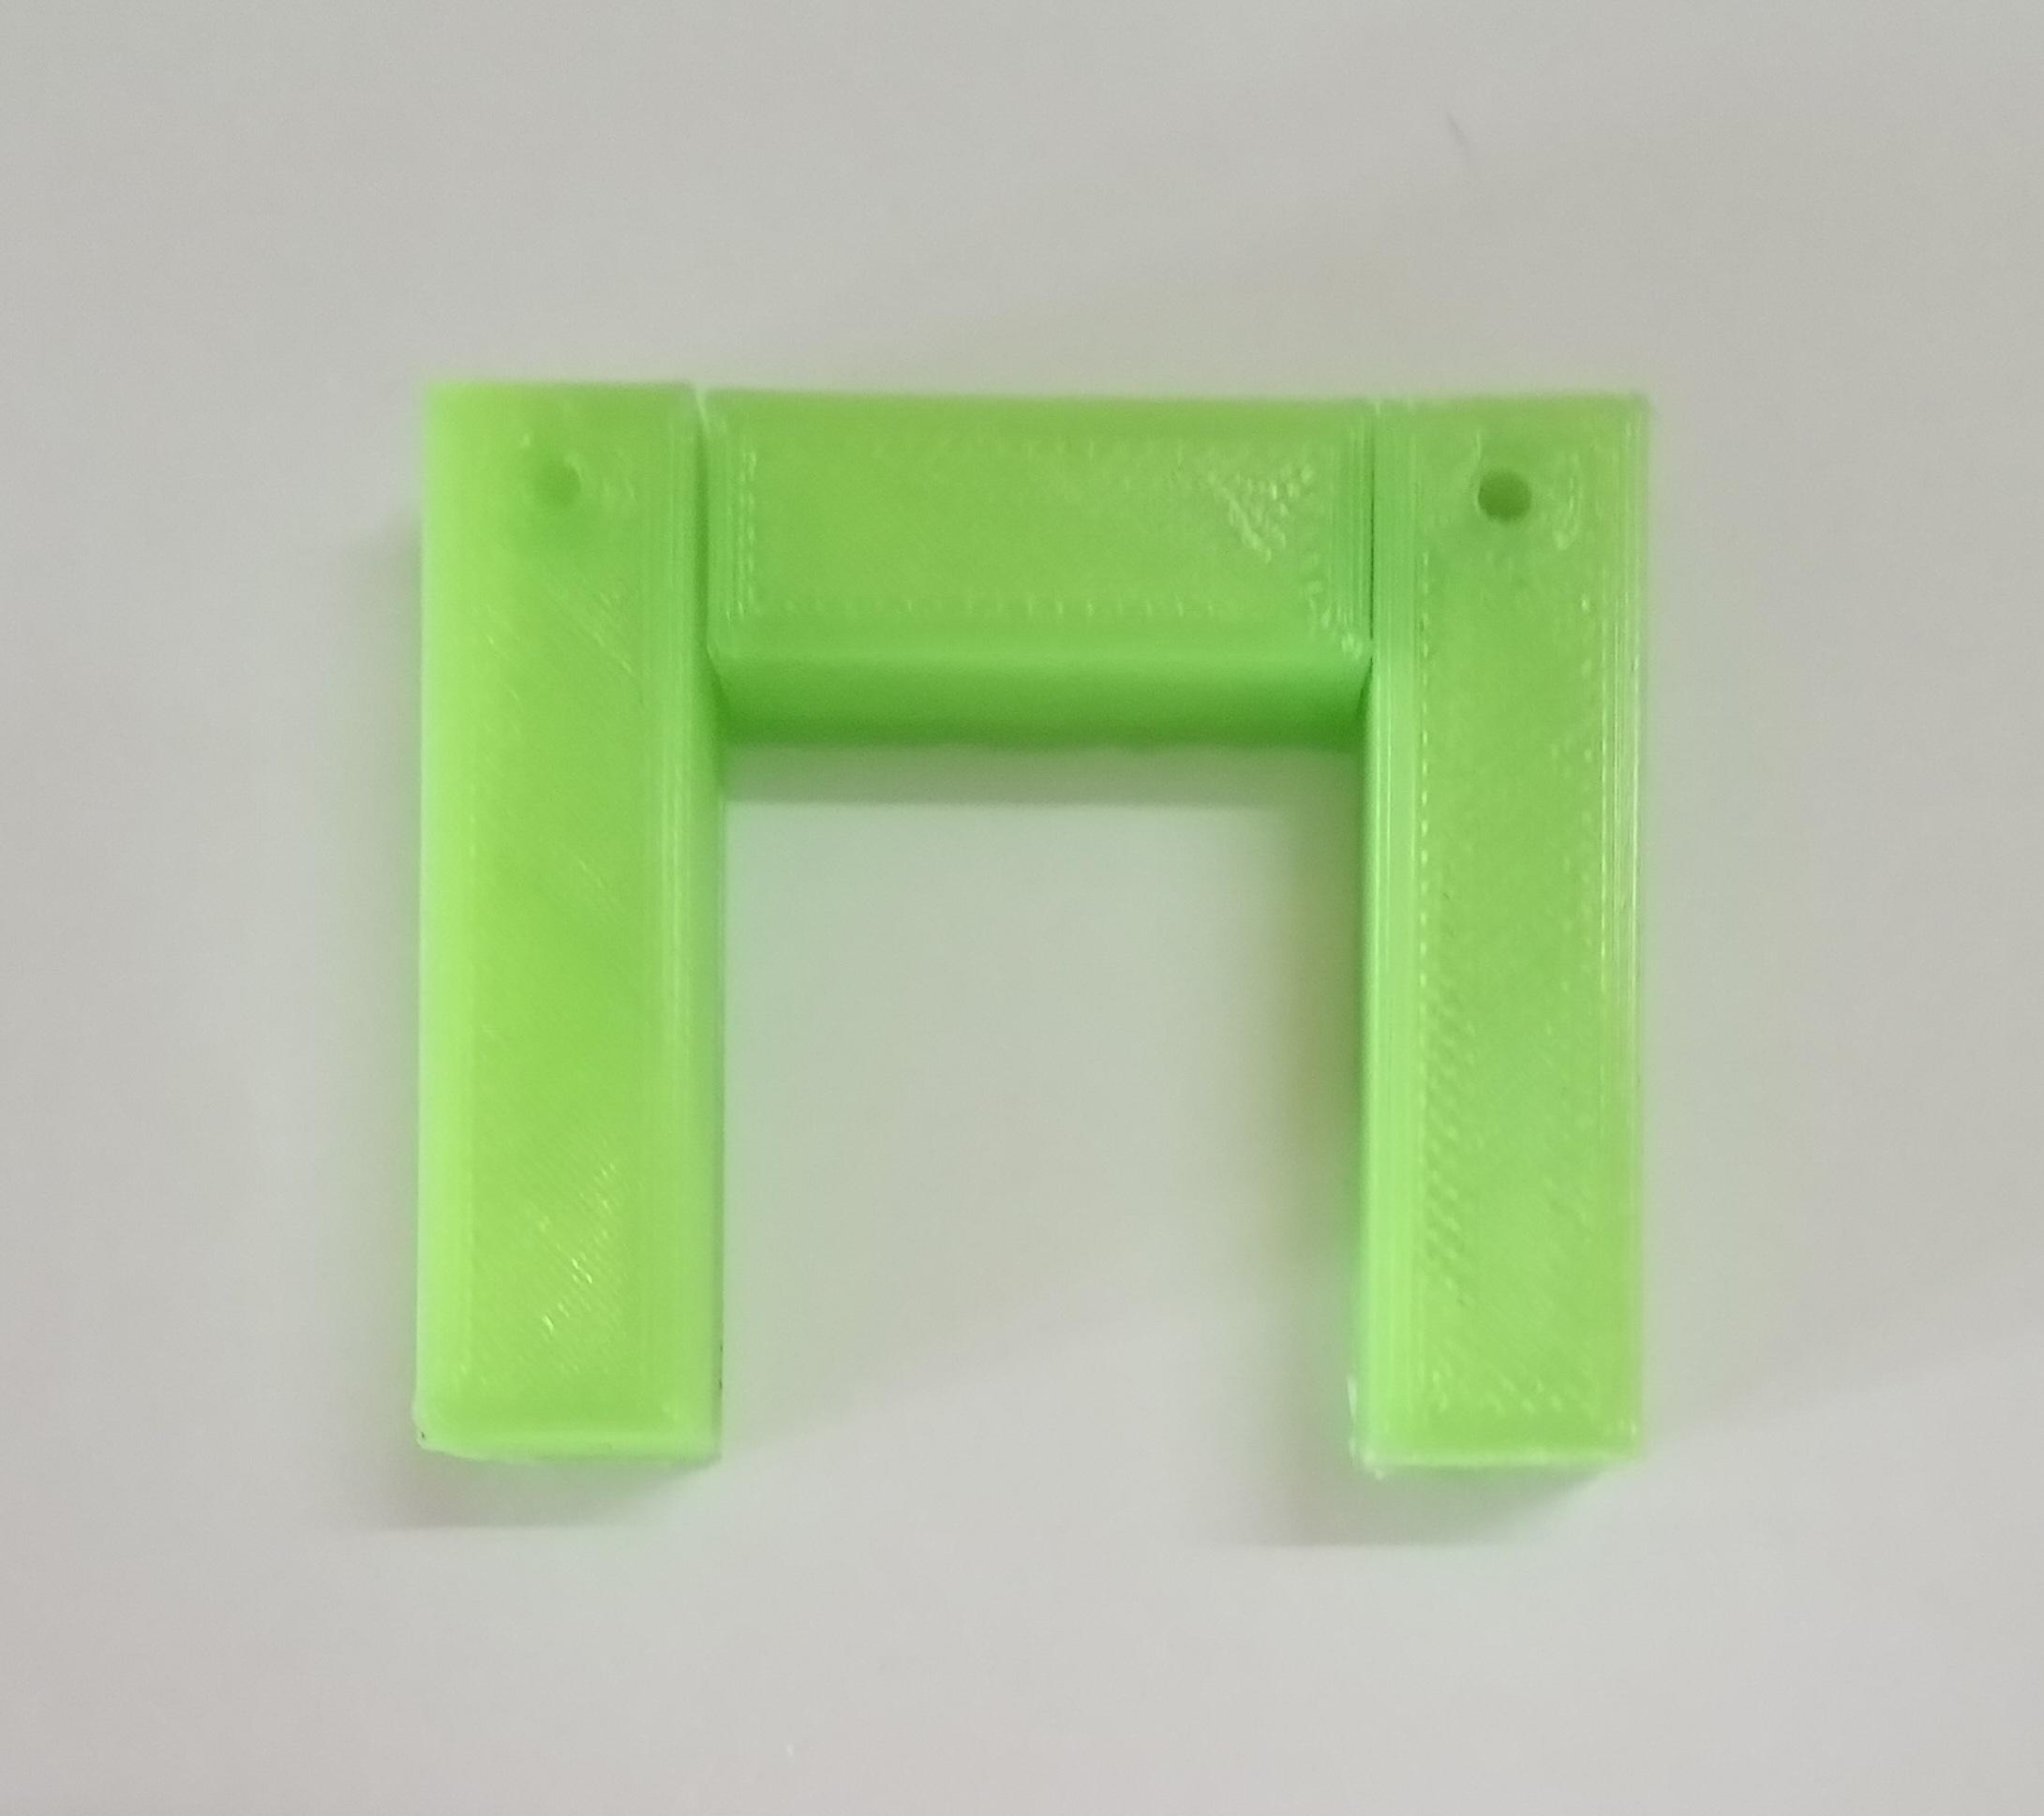
Take Two Shapes Of 50mm Length & One Piece Of 25mm Length, paste them with help of glue as shown in photograph (see position of holes)
Paste 44mm Length Piece
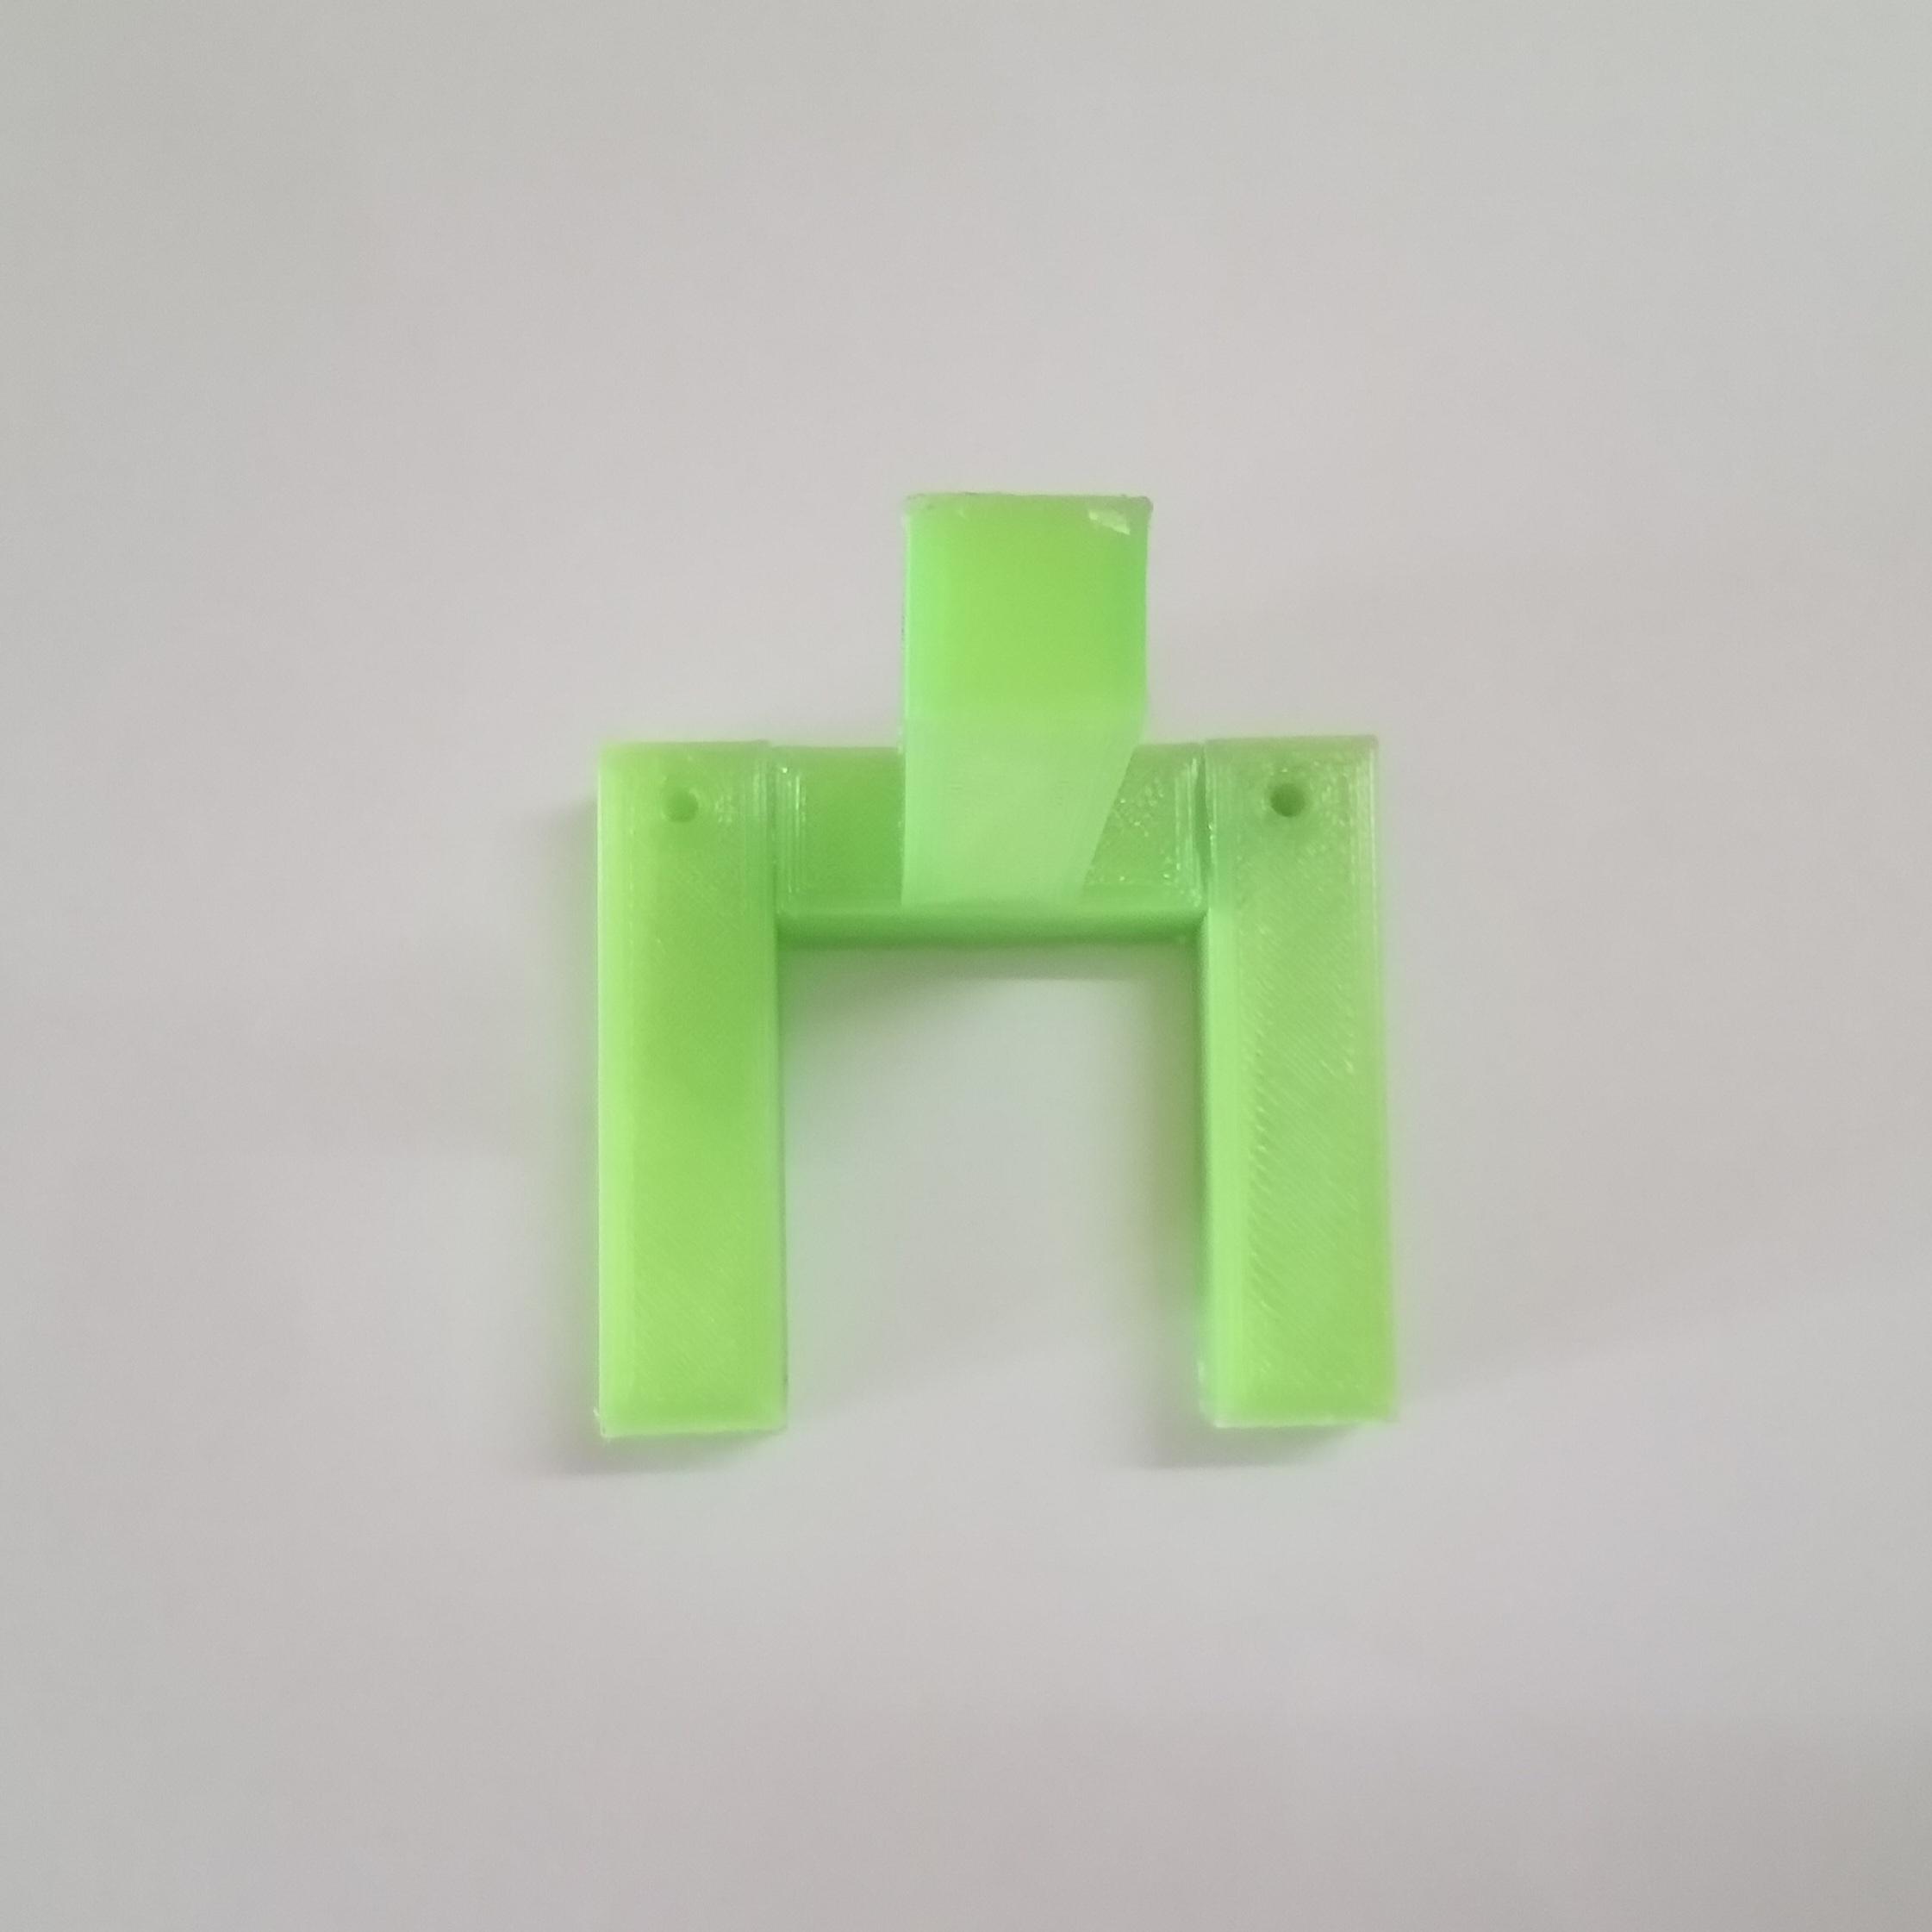
Paste 44mm Length Piece at the center of 25mm piece as shown above.
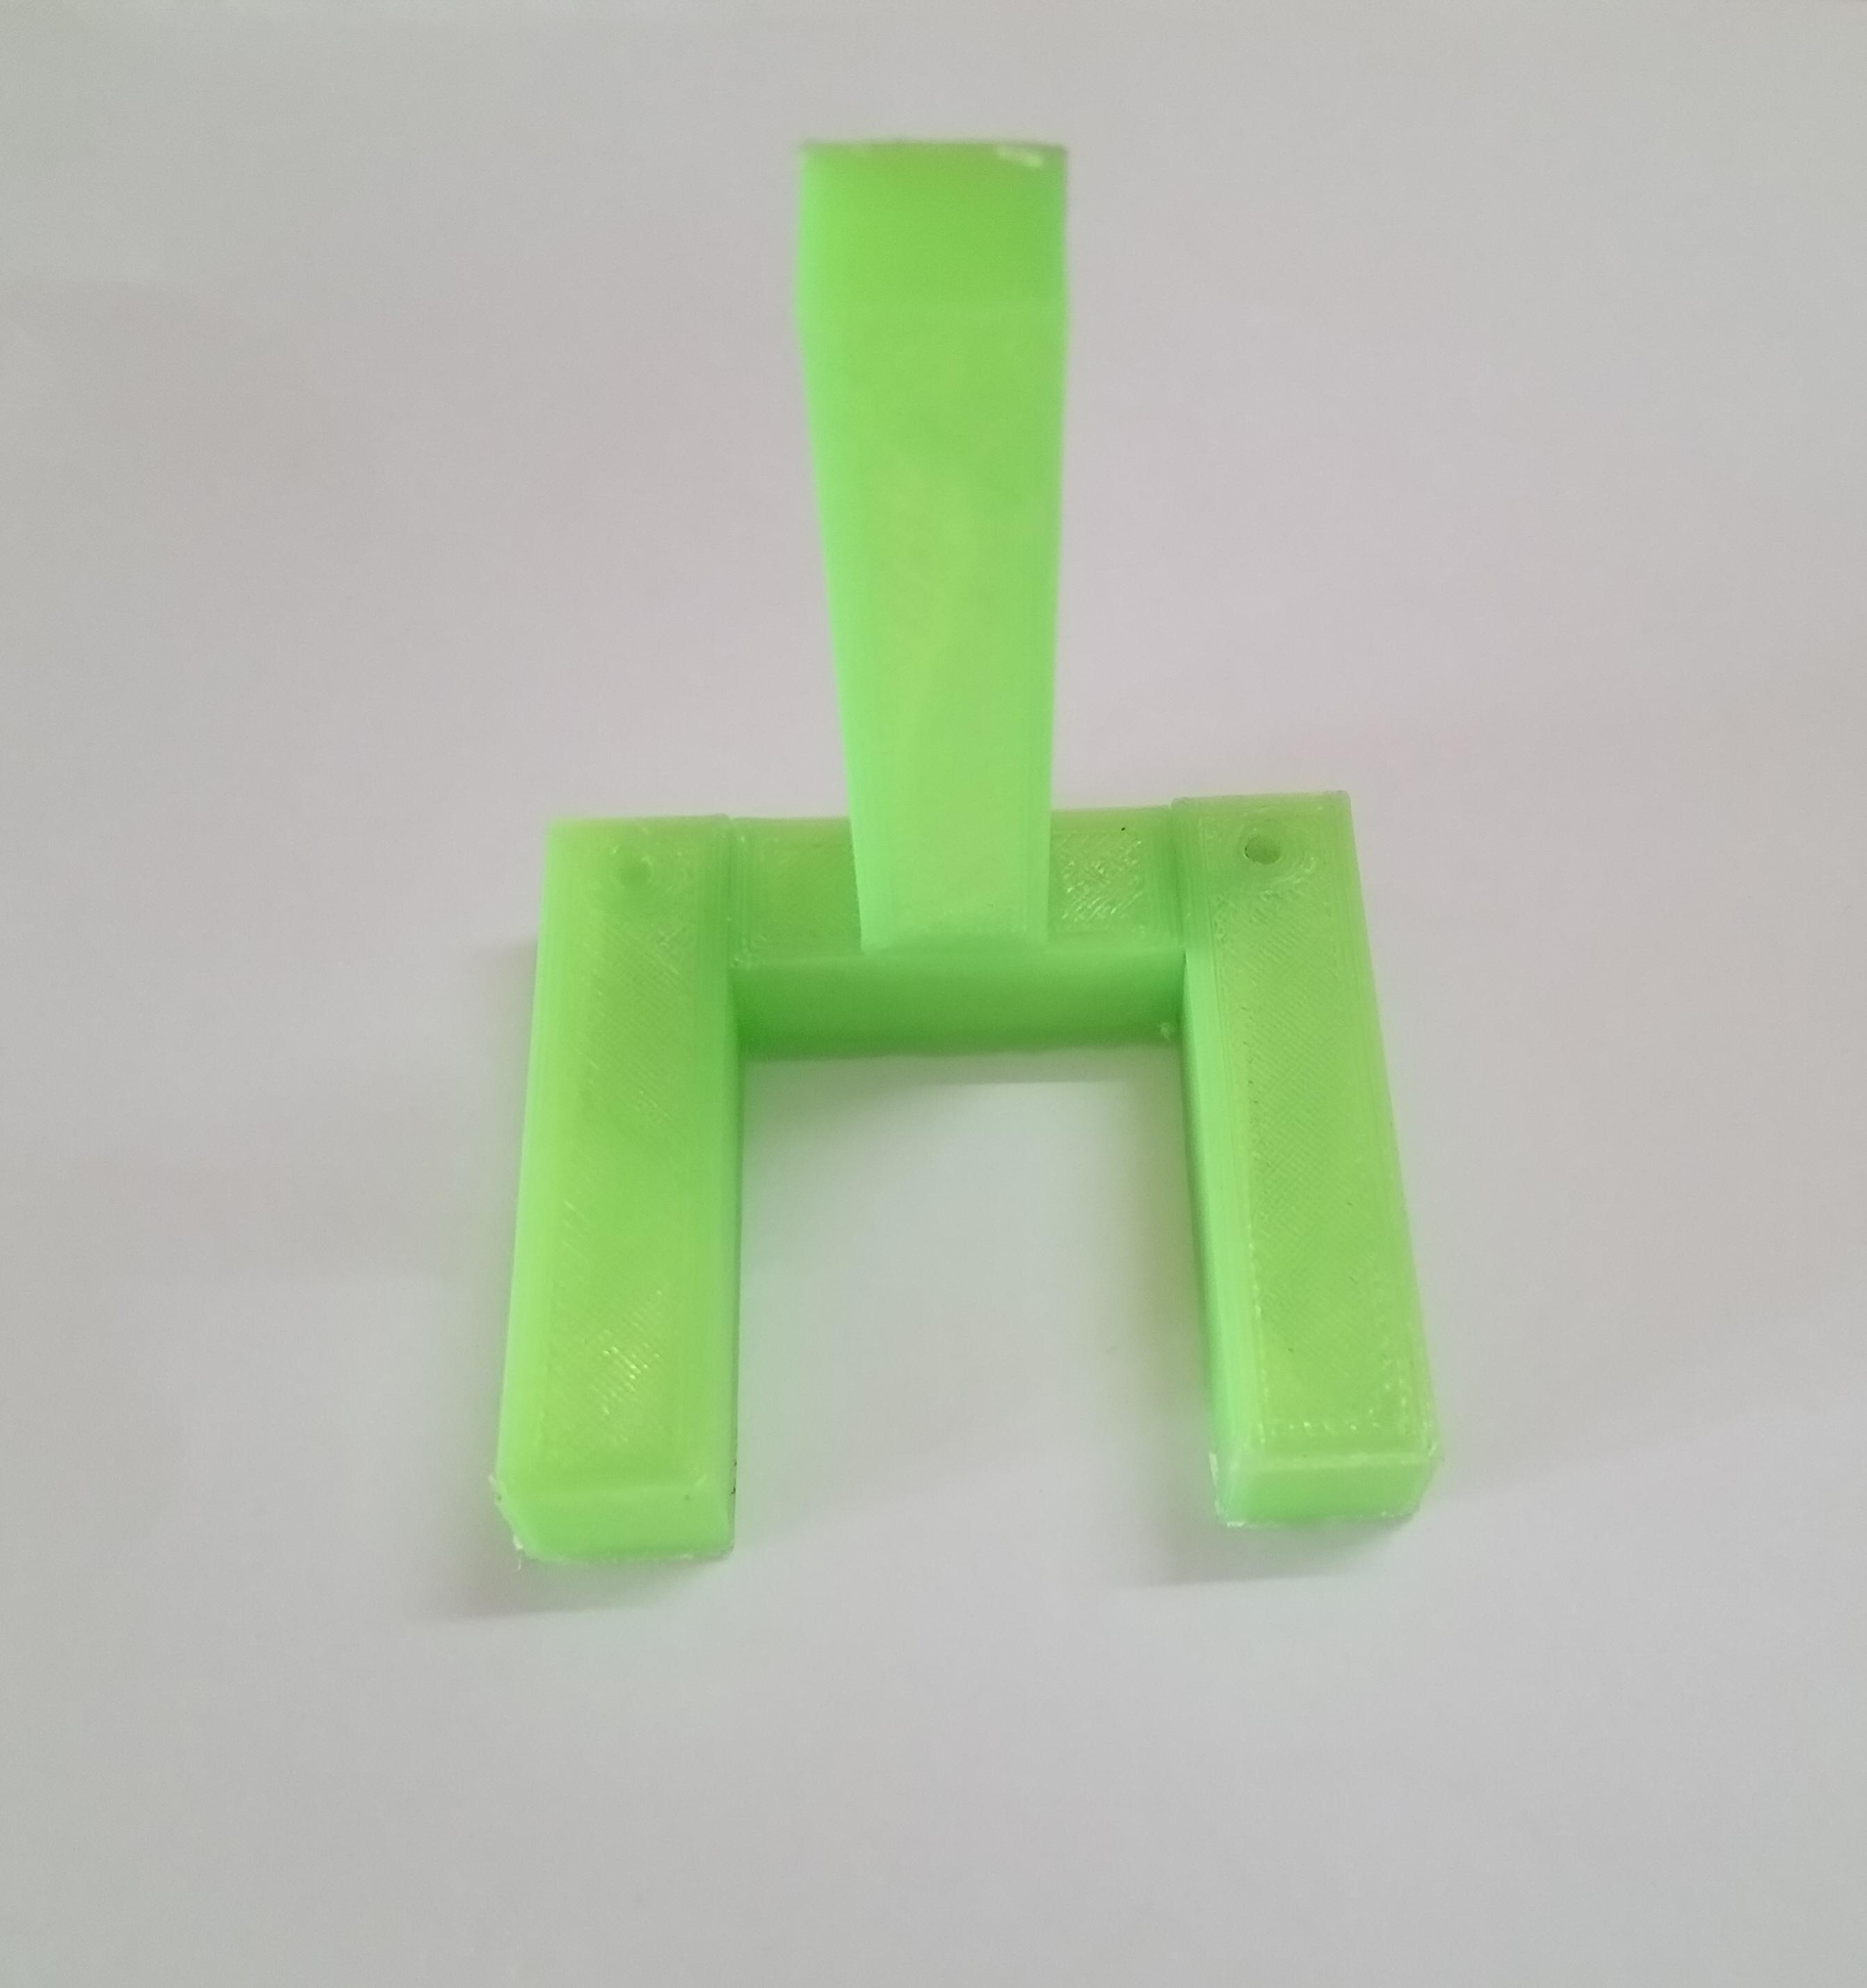
Paste 29mm Length Shape
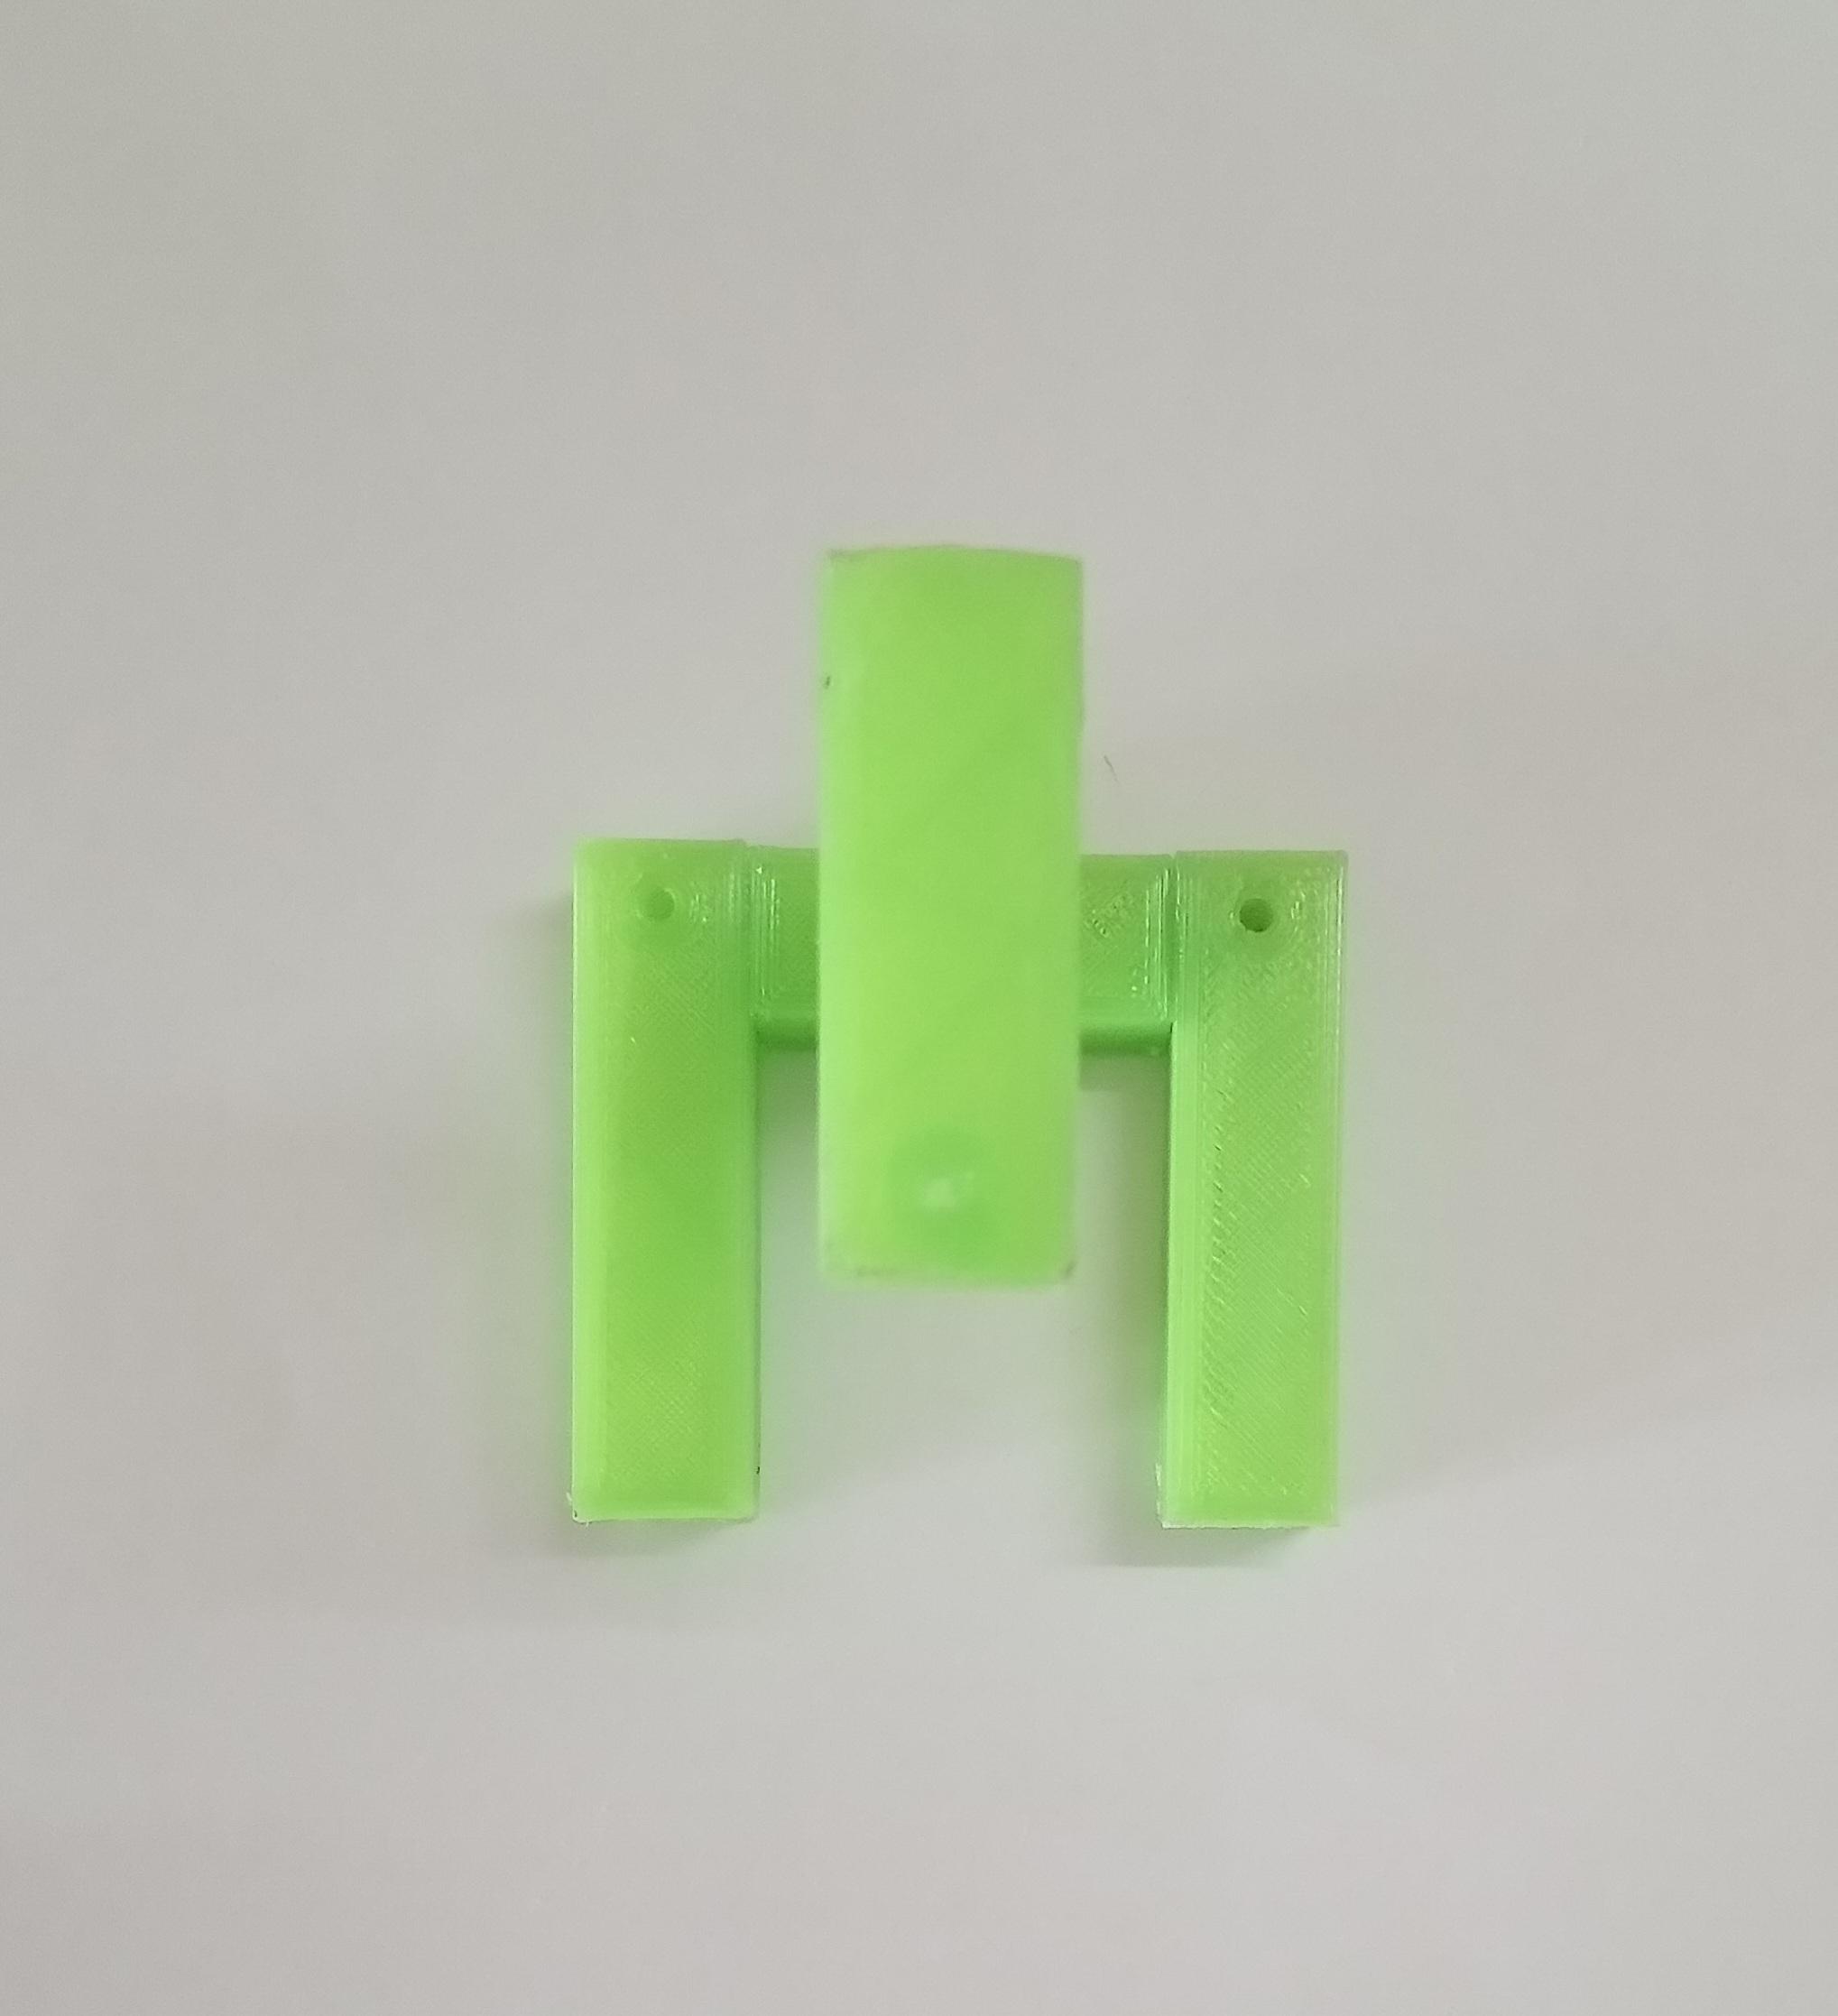
Paste 29mm Length Shape as shown. Hole on this piece should be away from 44mm piece.
Paste Two Pieces of 50mm With One Piece of 25mm
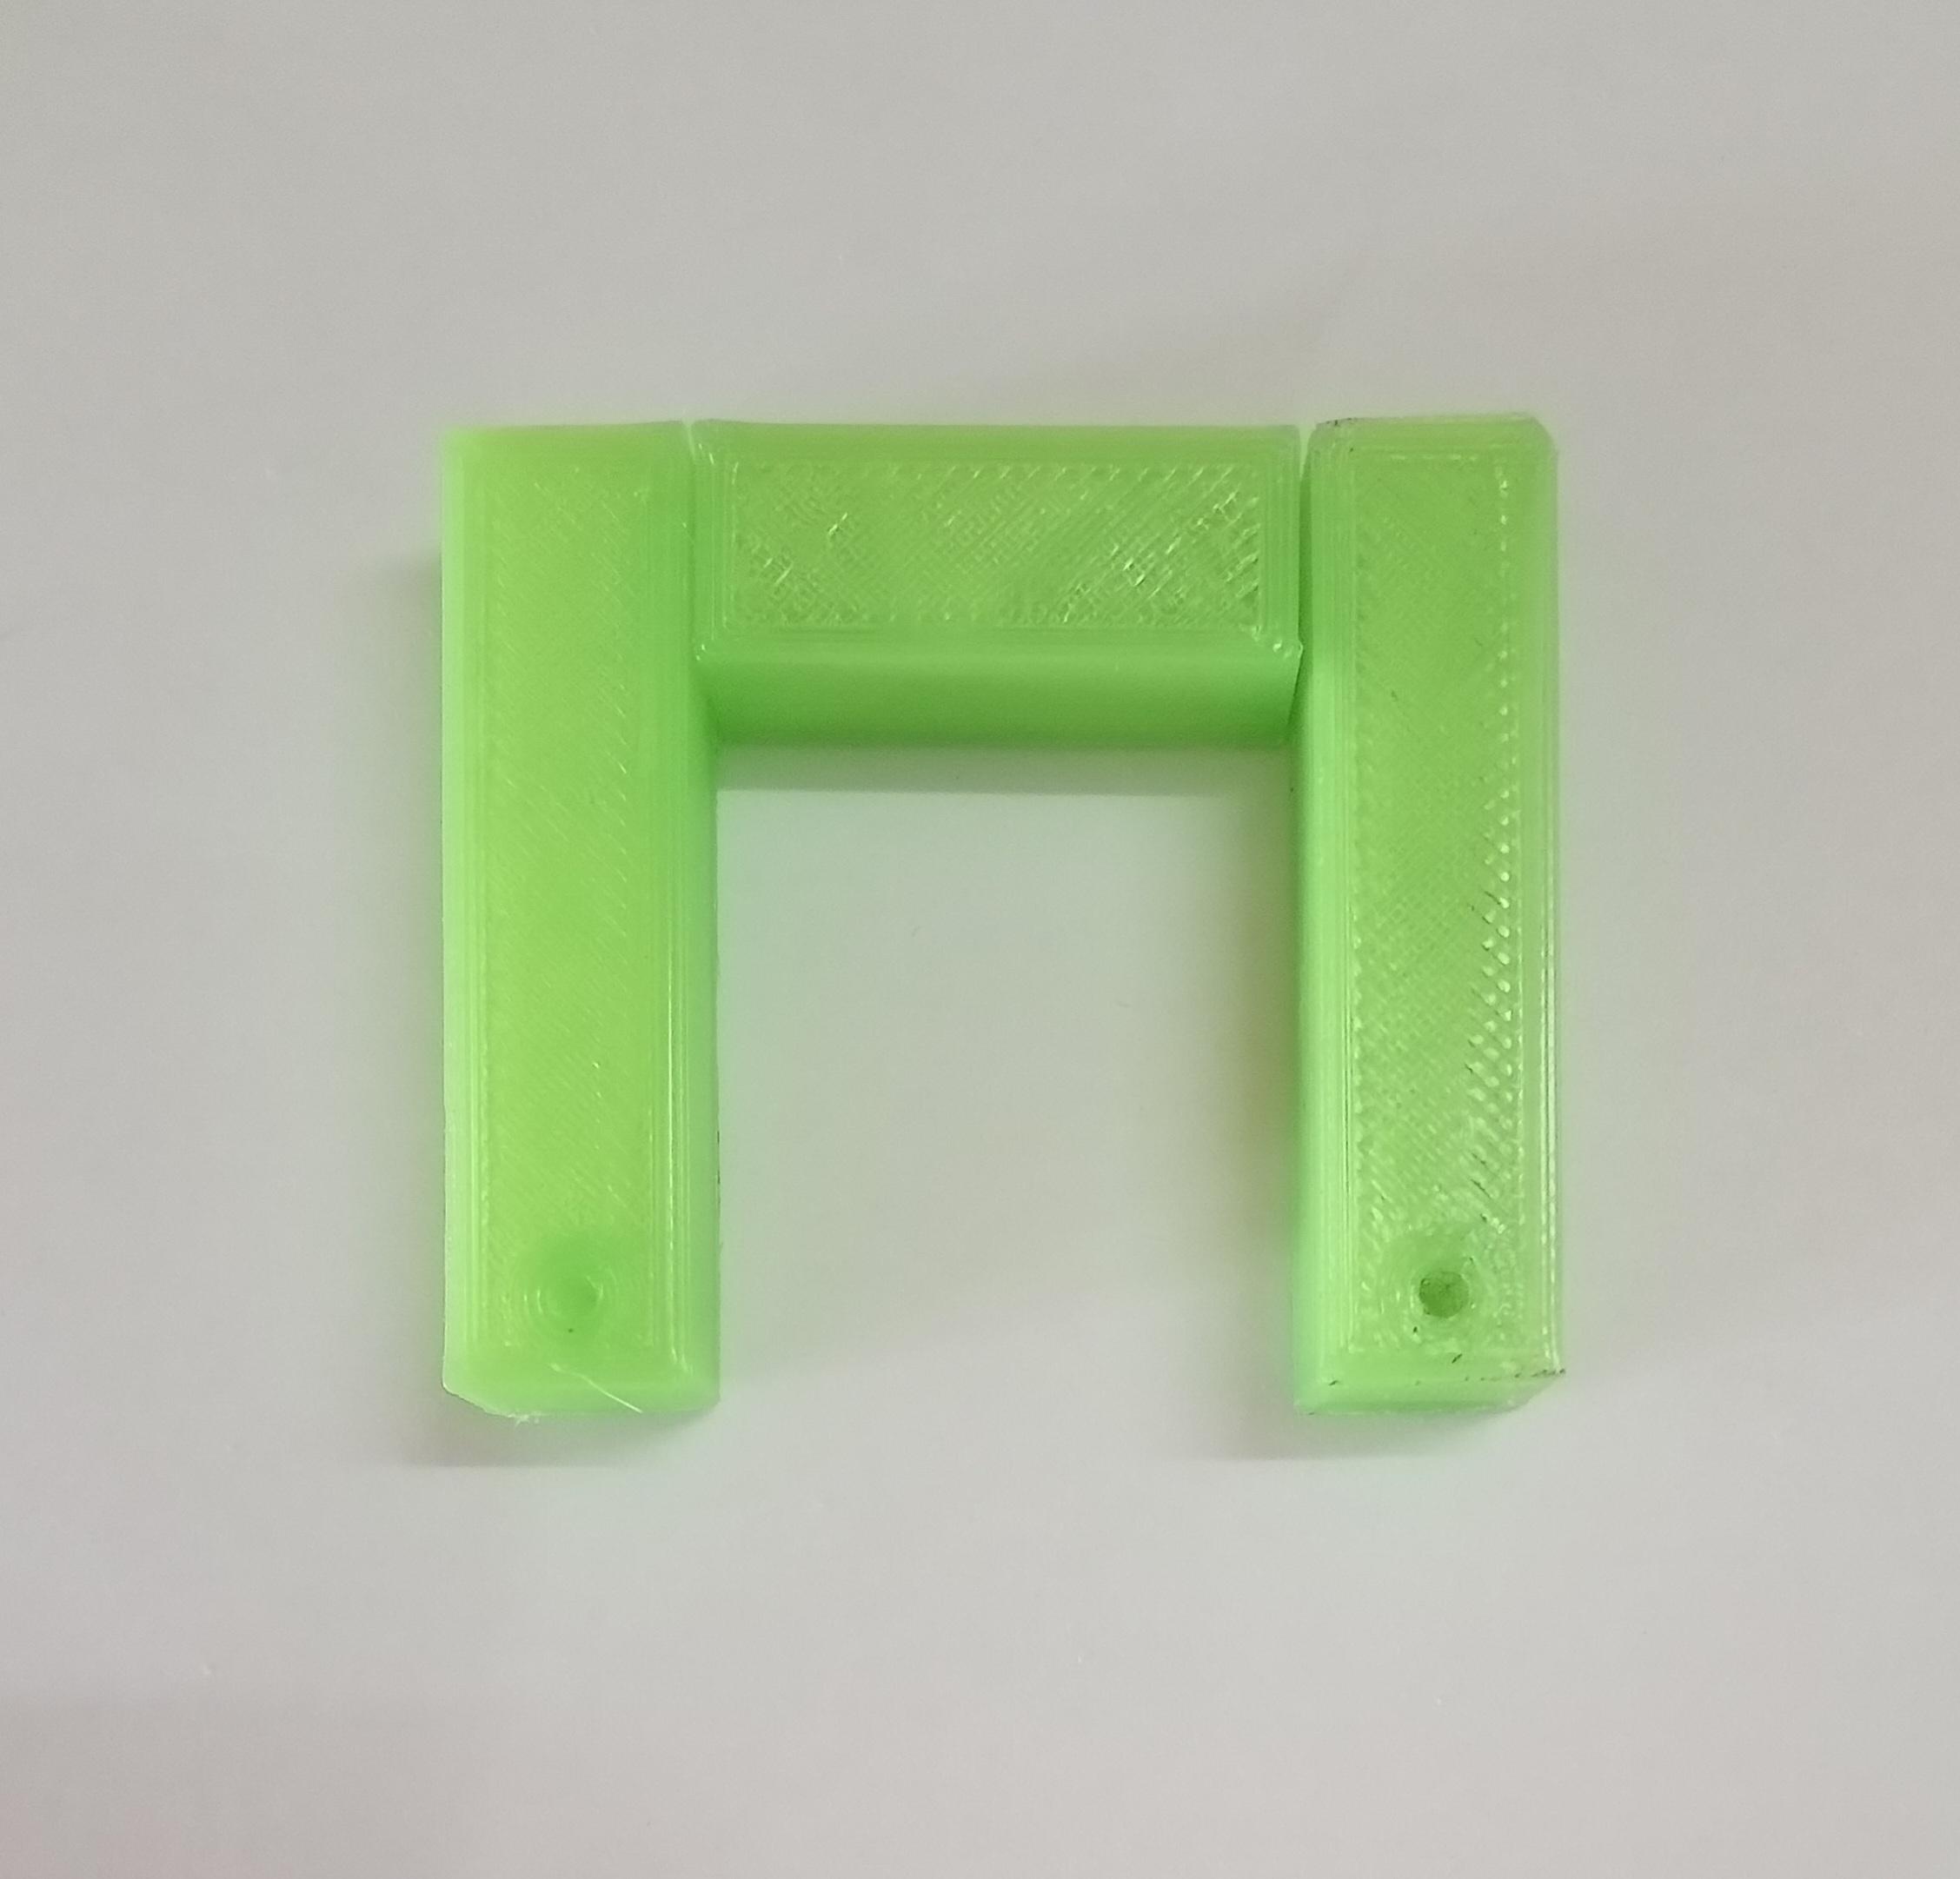
Paste Two Pieces Of 50mm With One Piece Of 25mm as shown. Holes should be away from 25mm piece. Repeat step 25 & 26. Now two structures are ready. Both structures are having 5 pieces each. Only difference in these structures is the position of the hole on the 50mm long piece.
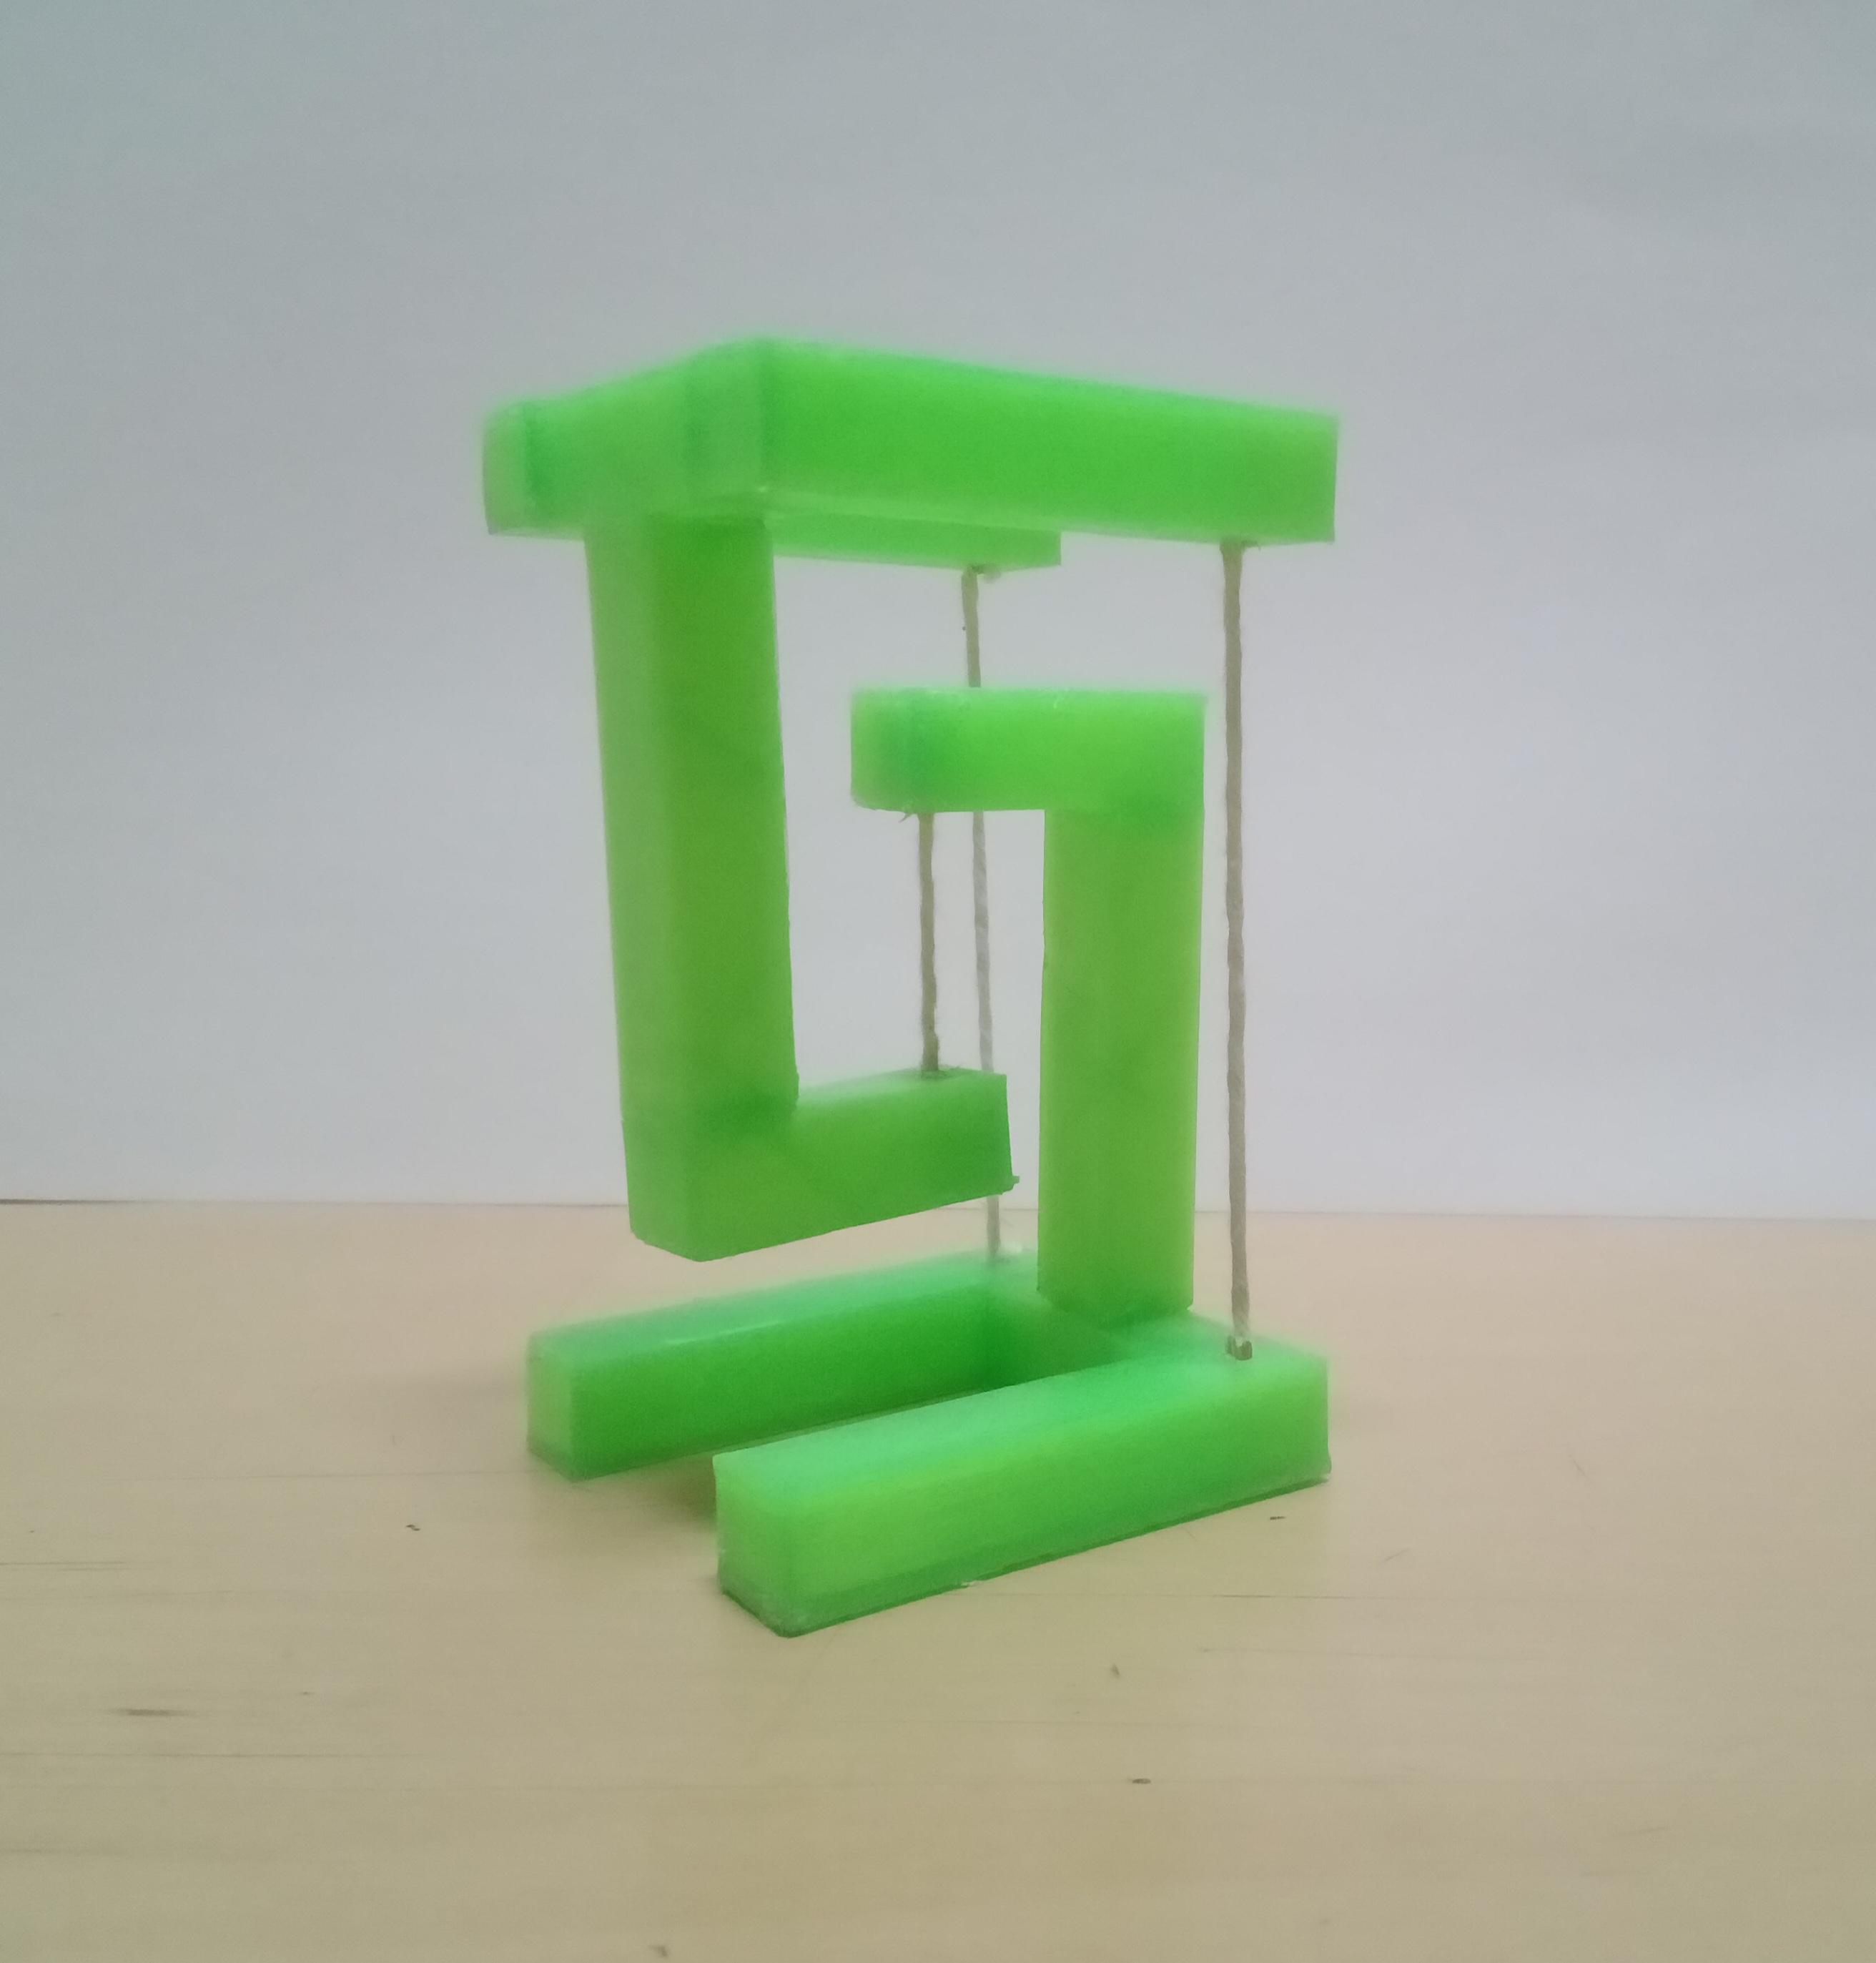
Connecting Two Structures.
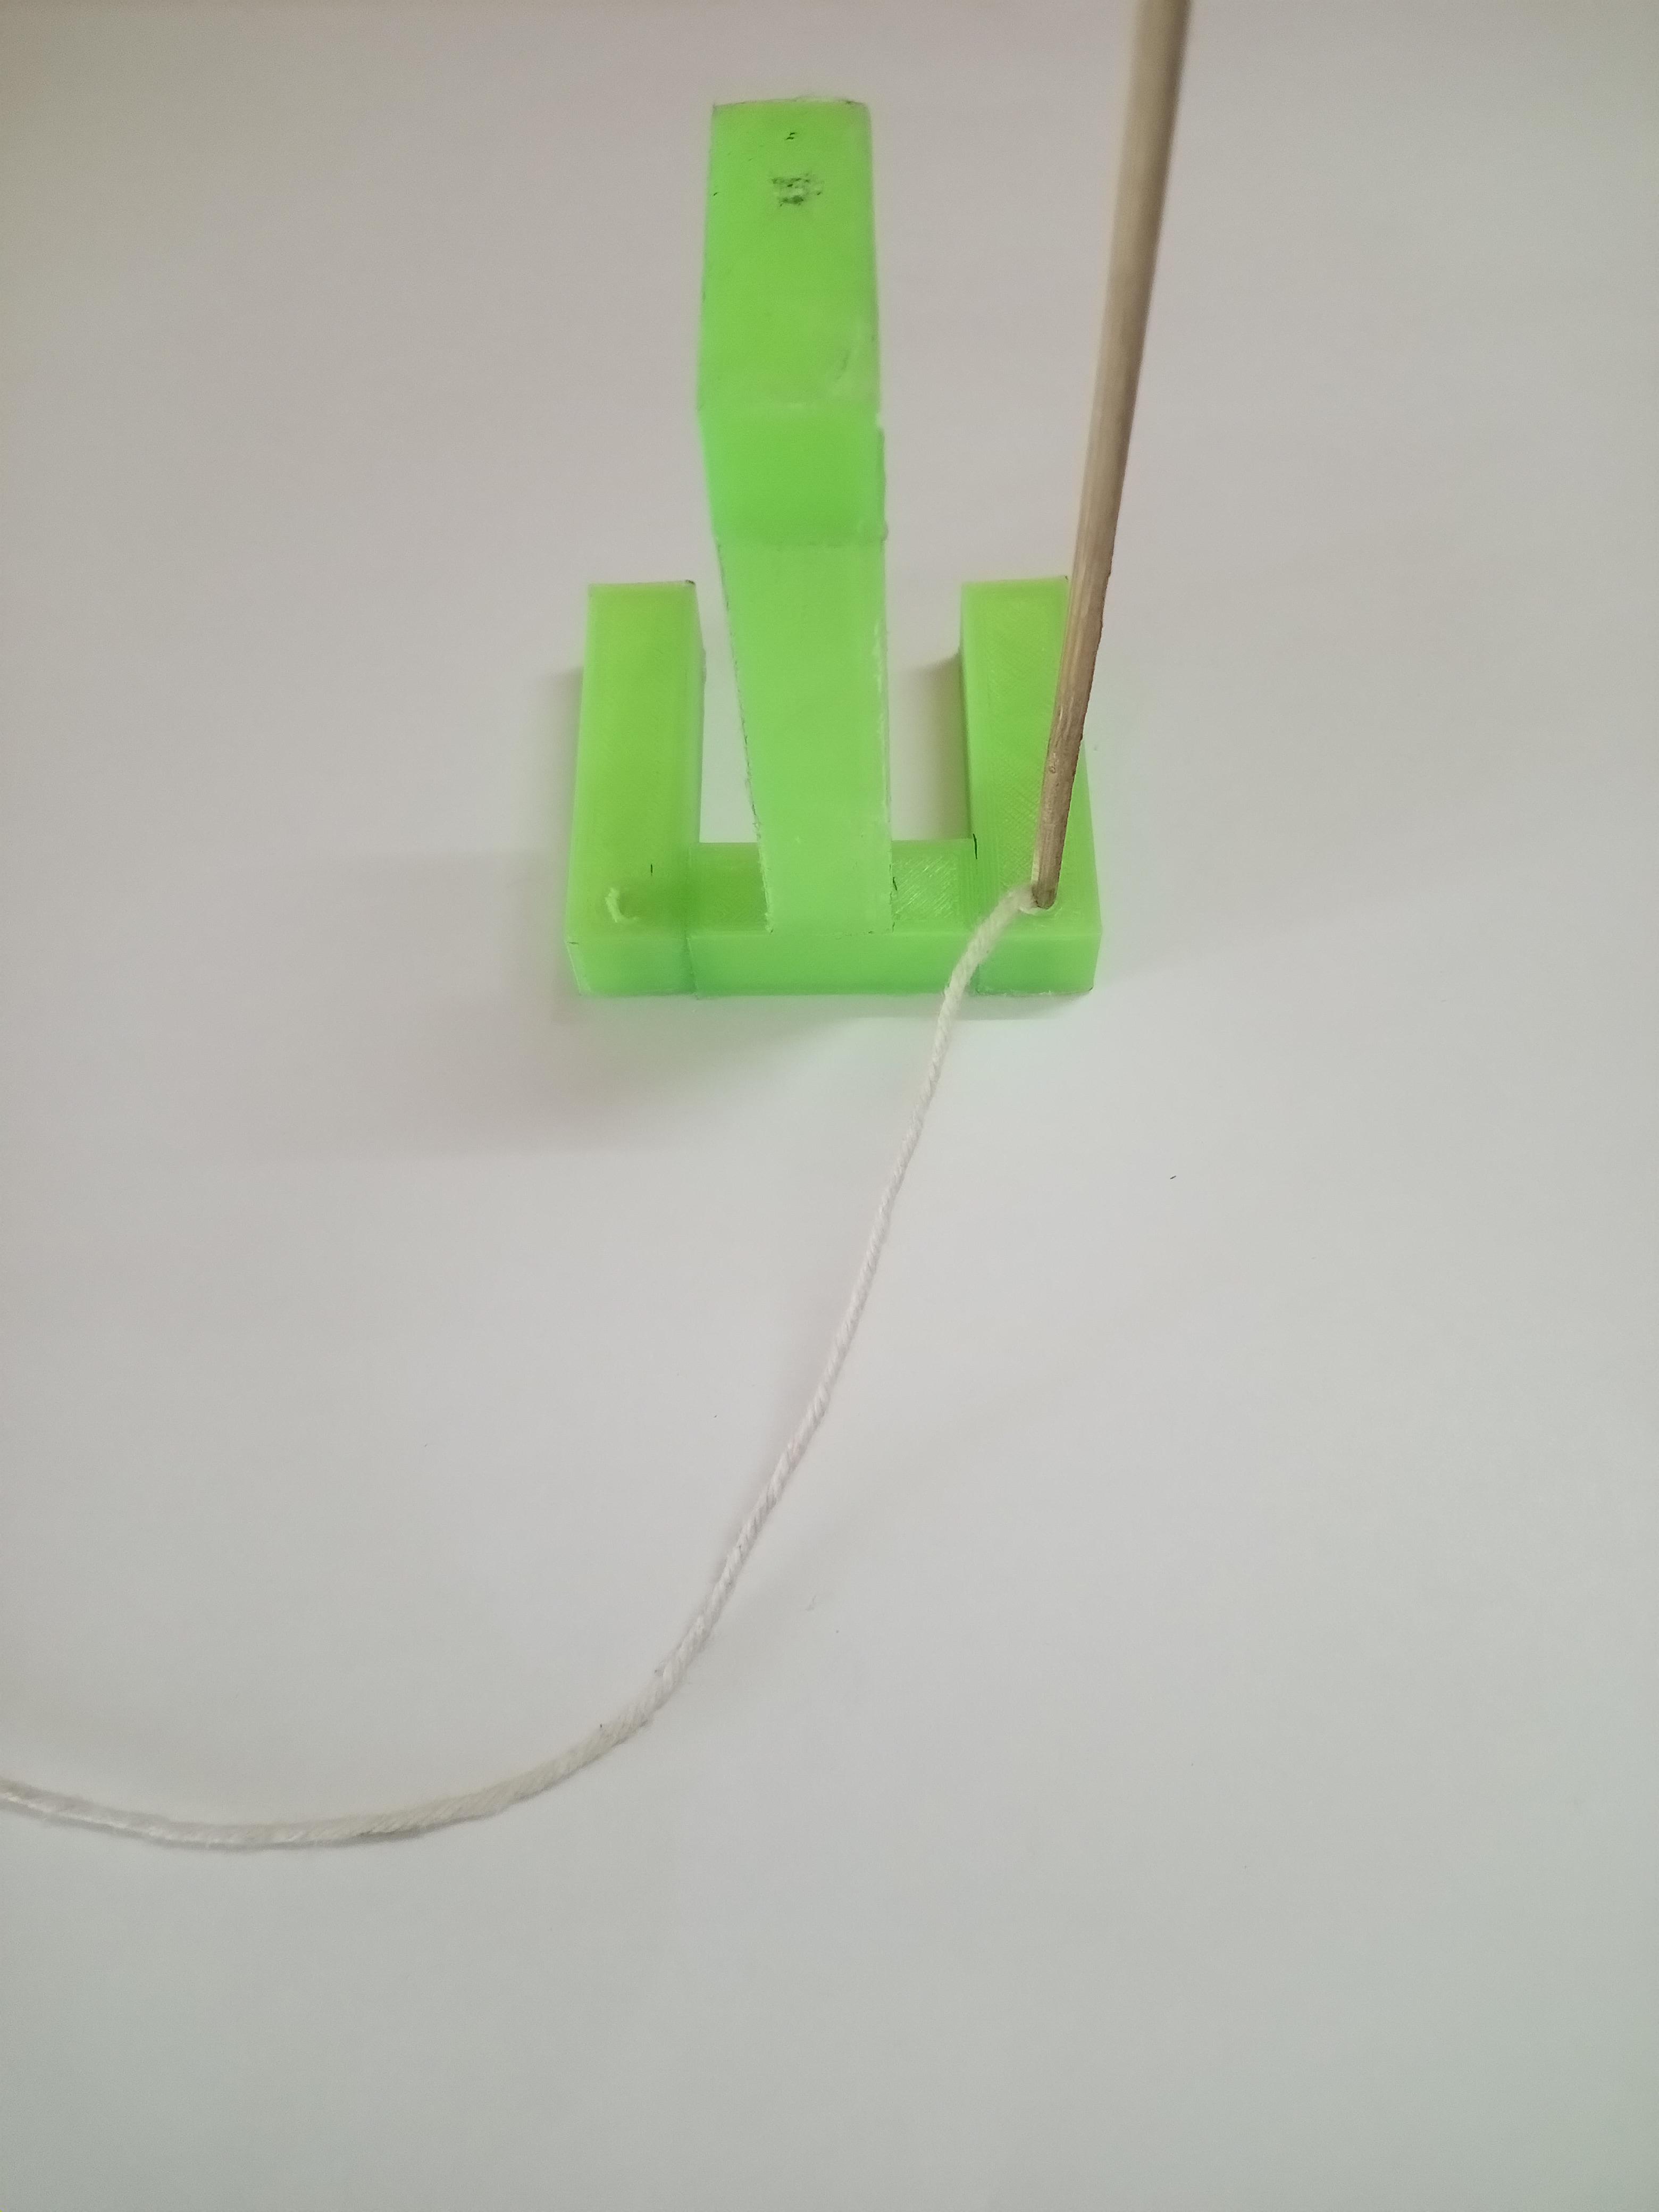
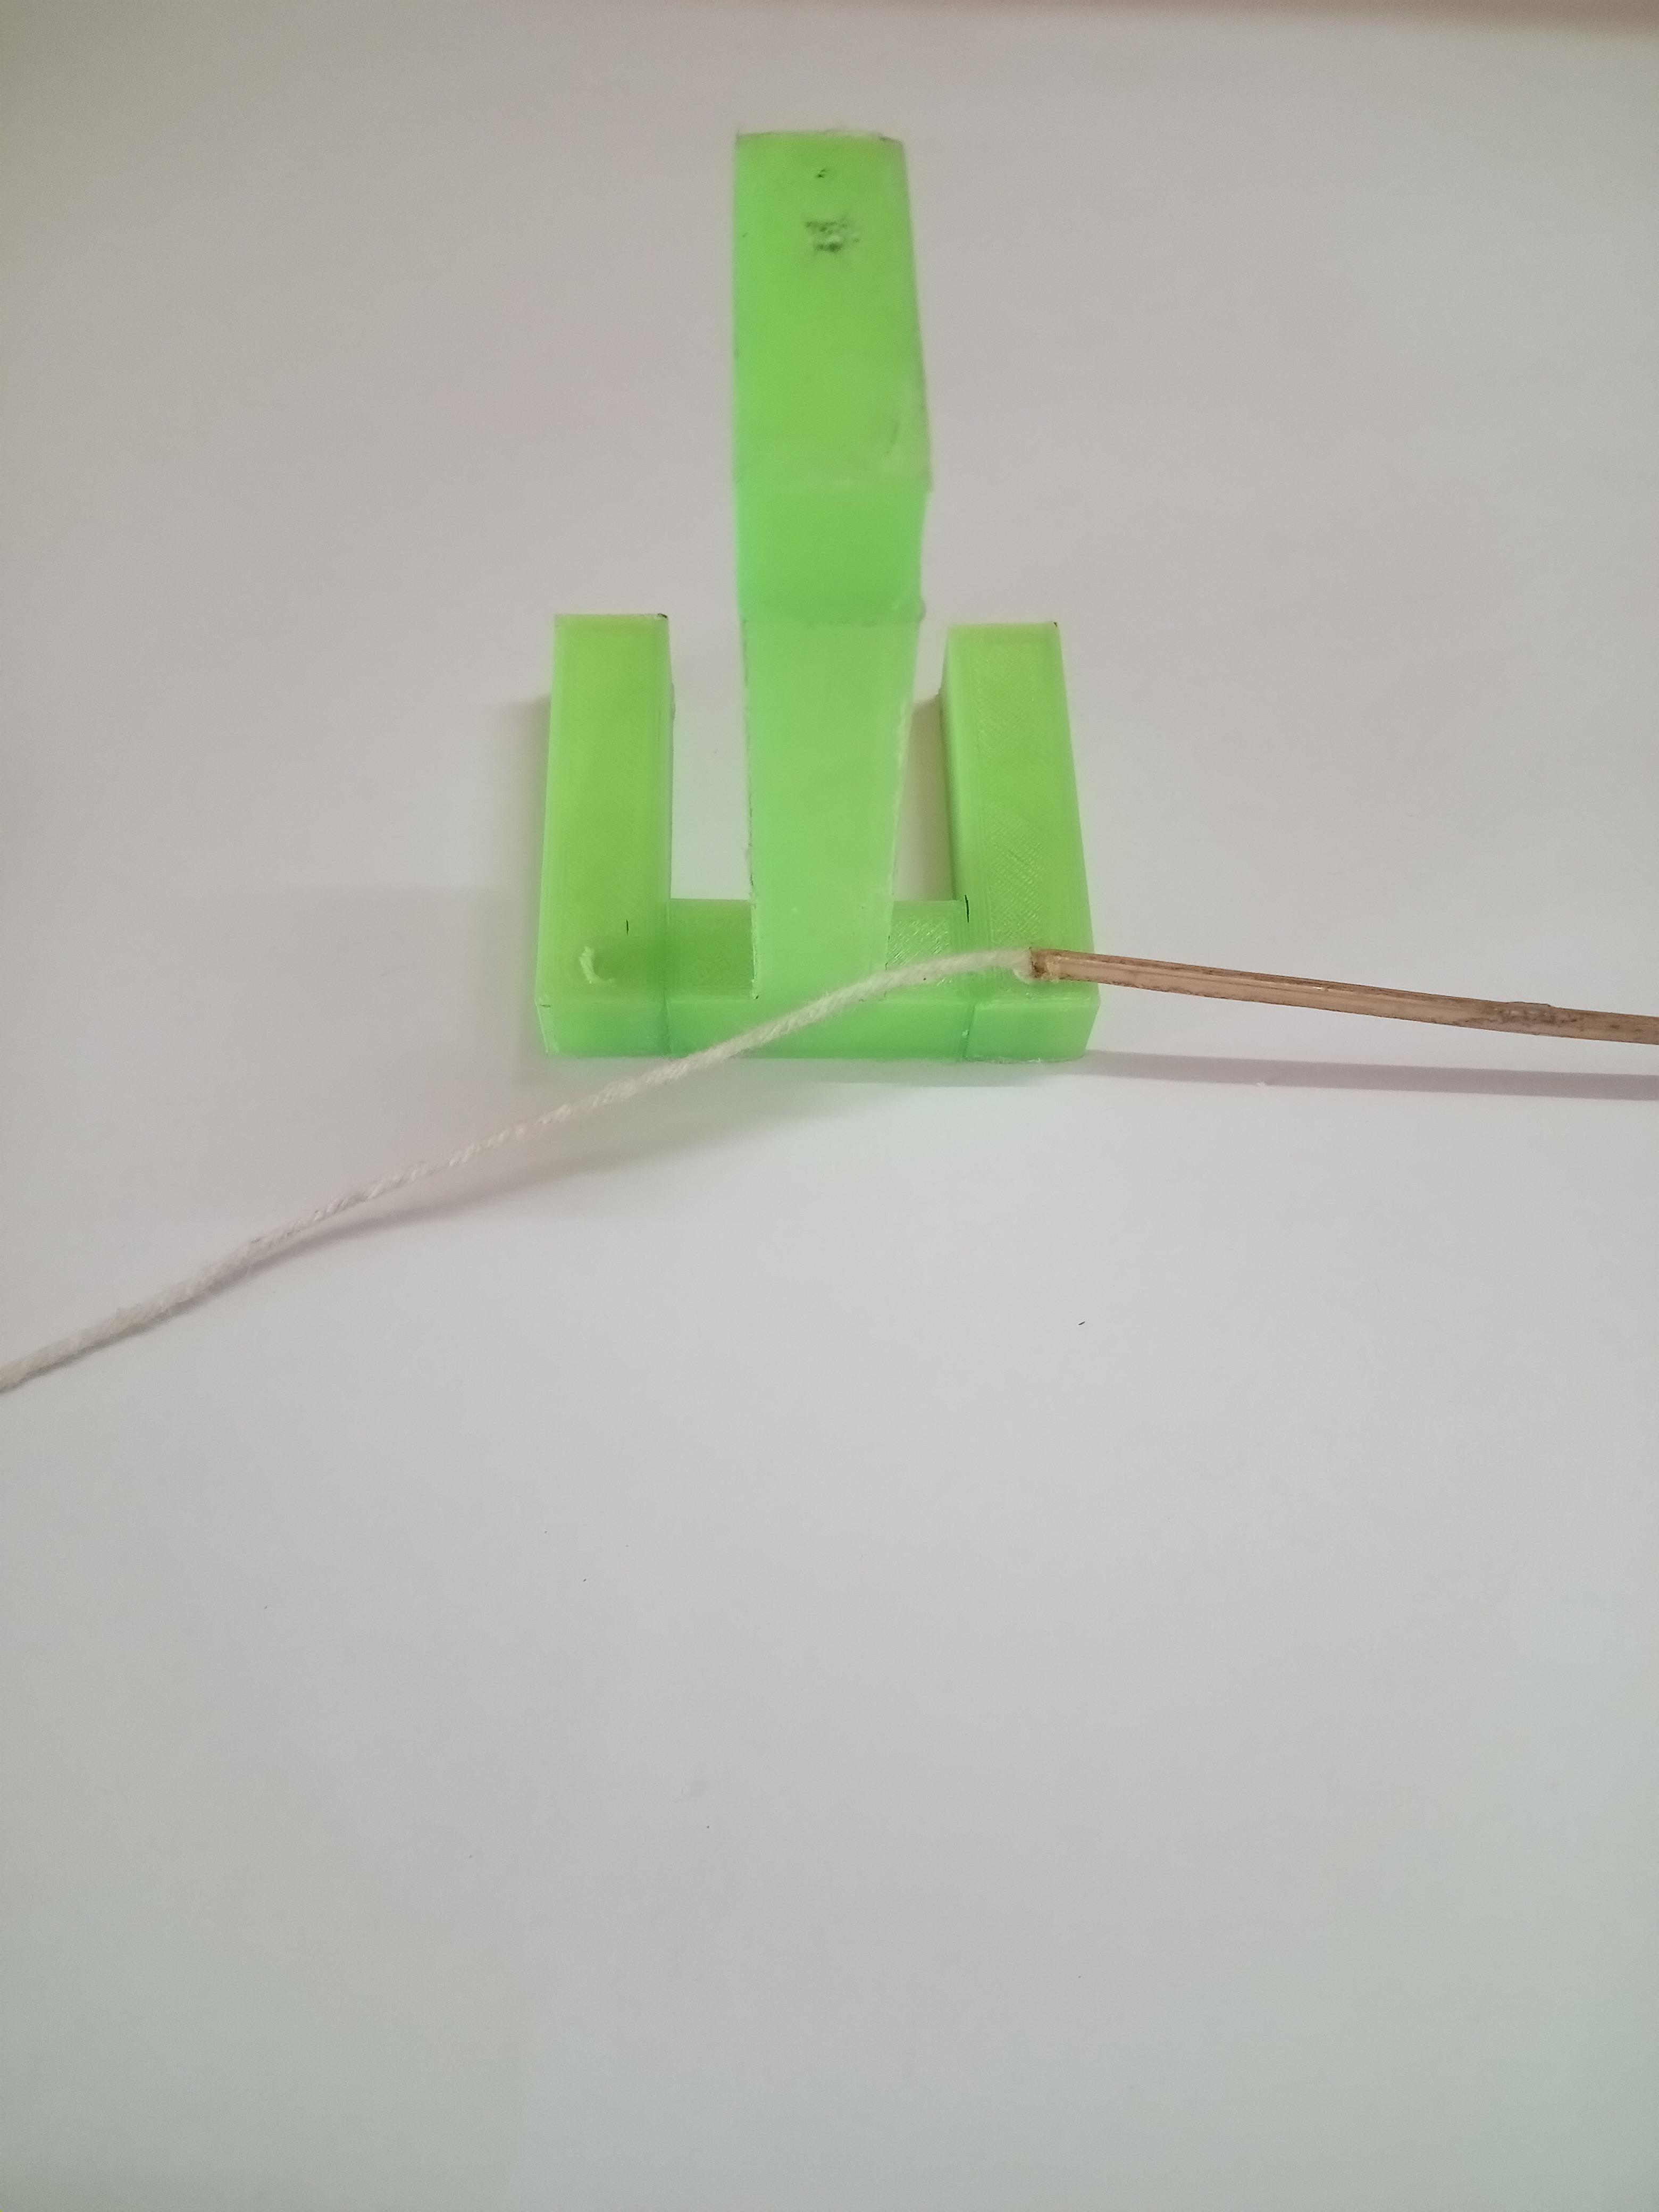
Two structures need to be connected using thread & match stick/ tooth pick. First of all connect two holes on 29mm long pieces. Length of thread should be 4cm from outer edge of each piece. Insert thread on inside hole on 29mm long piece. Insert match stick so that thread will be fixed in hole. (Instead of match stick, one can use super glue gel also to fix thread in the hole.)
Then we need to connect holes on 50mm long piece. There should be 8.7mm long thread length from the outer edge of the both the connecting pieces. To see how to connect refer images in the step number 30.
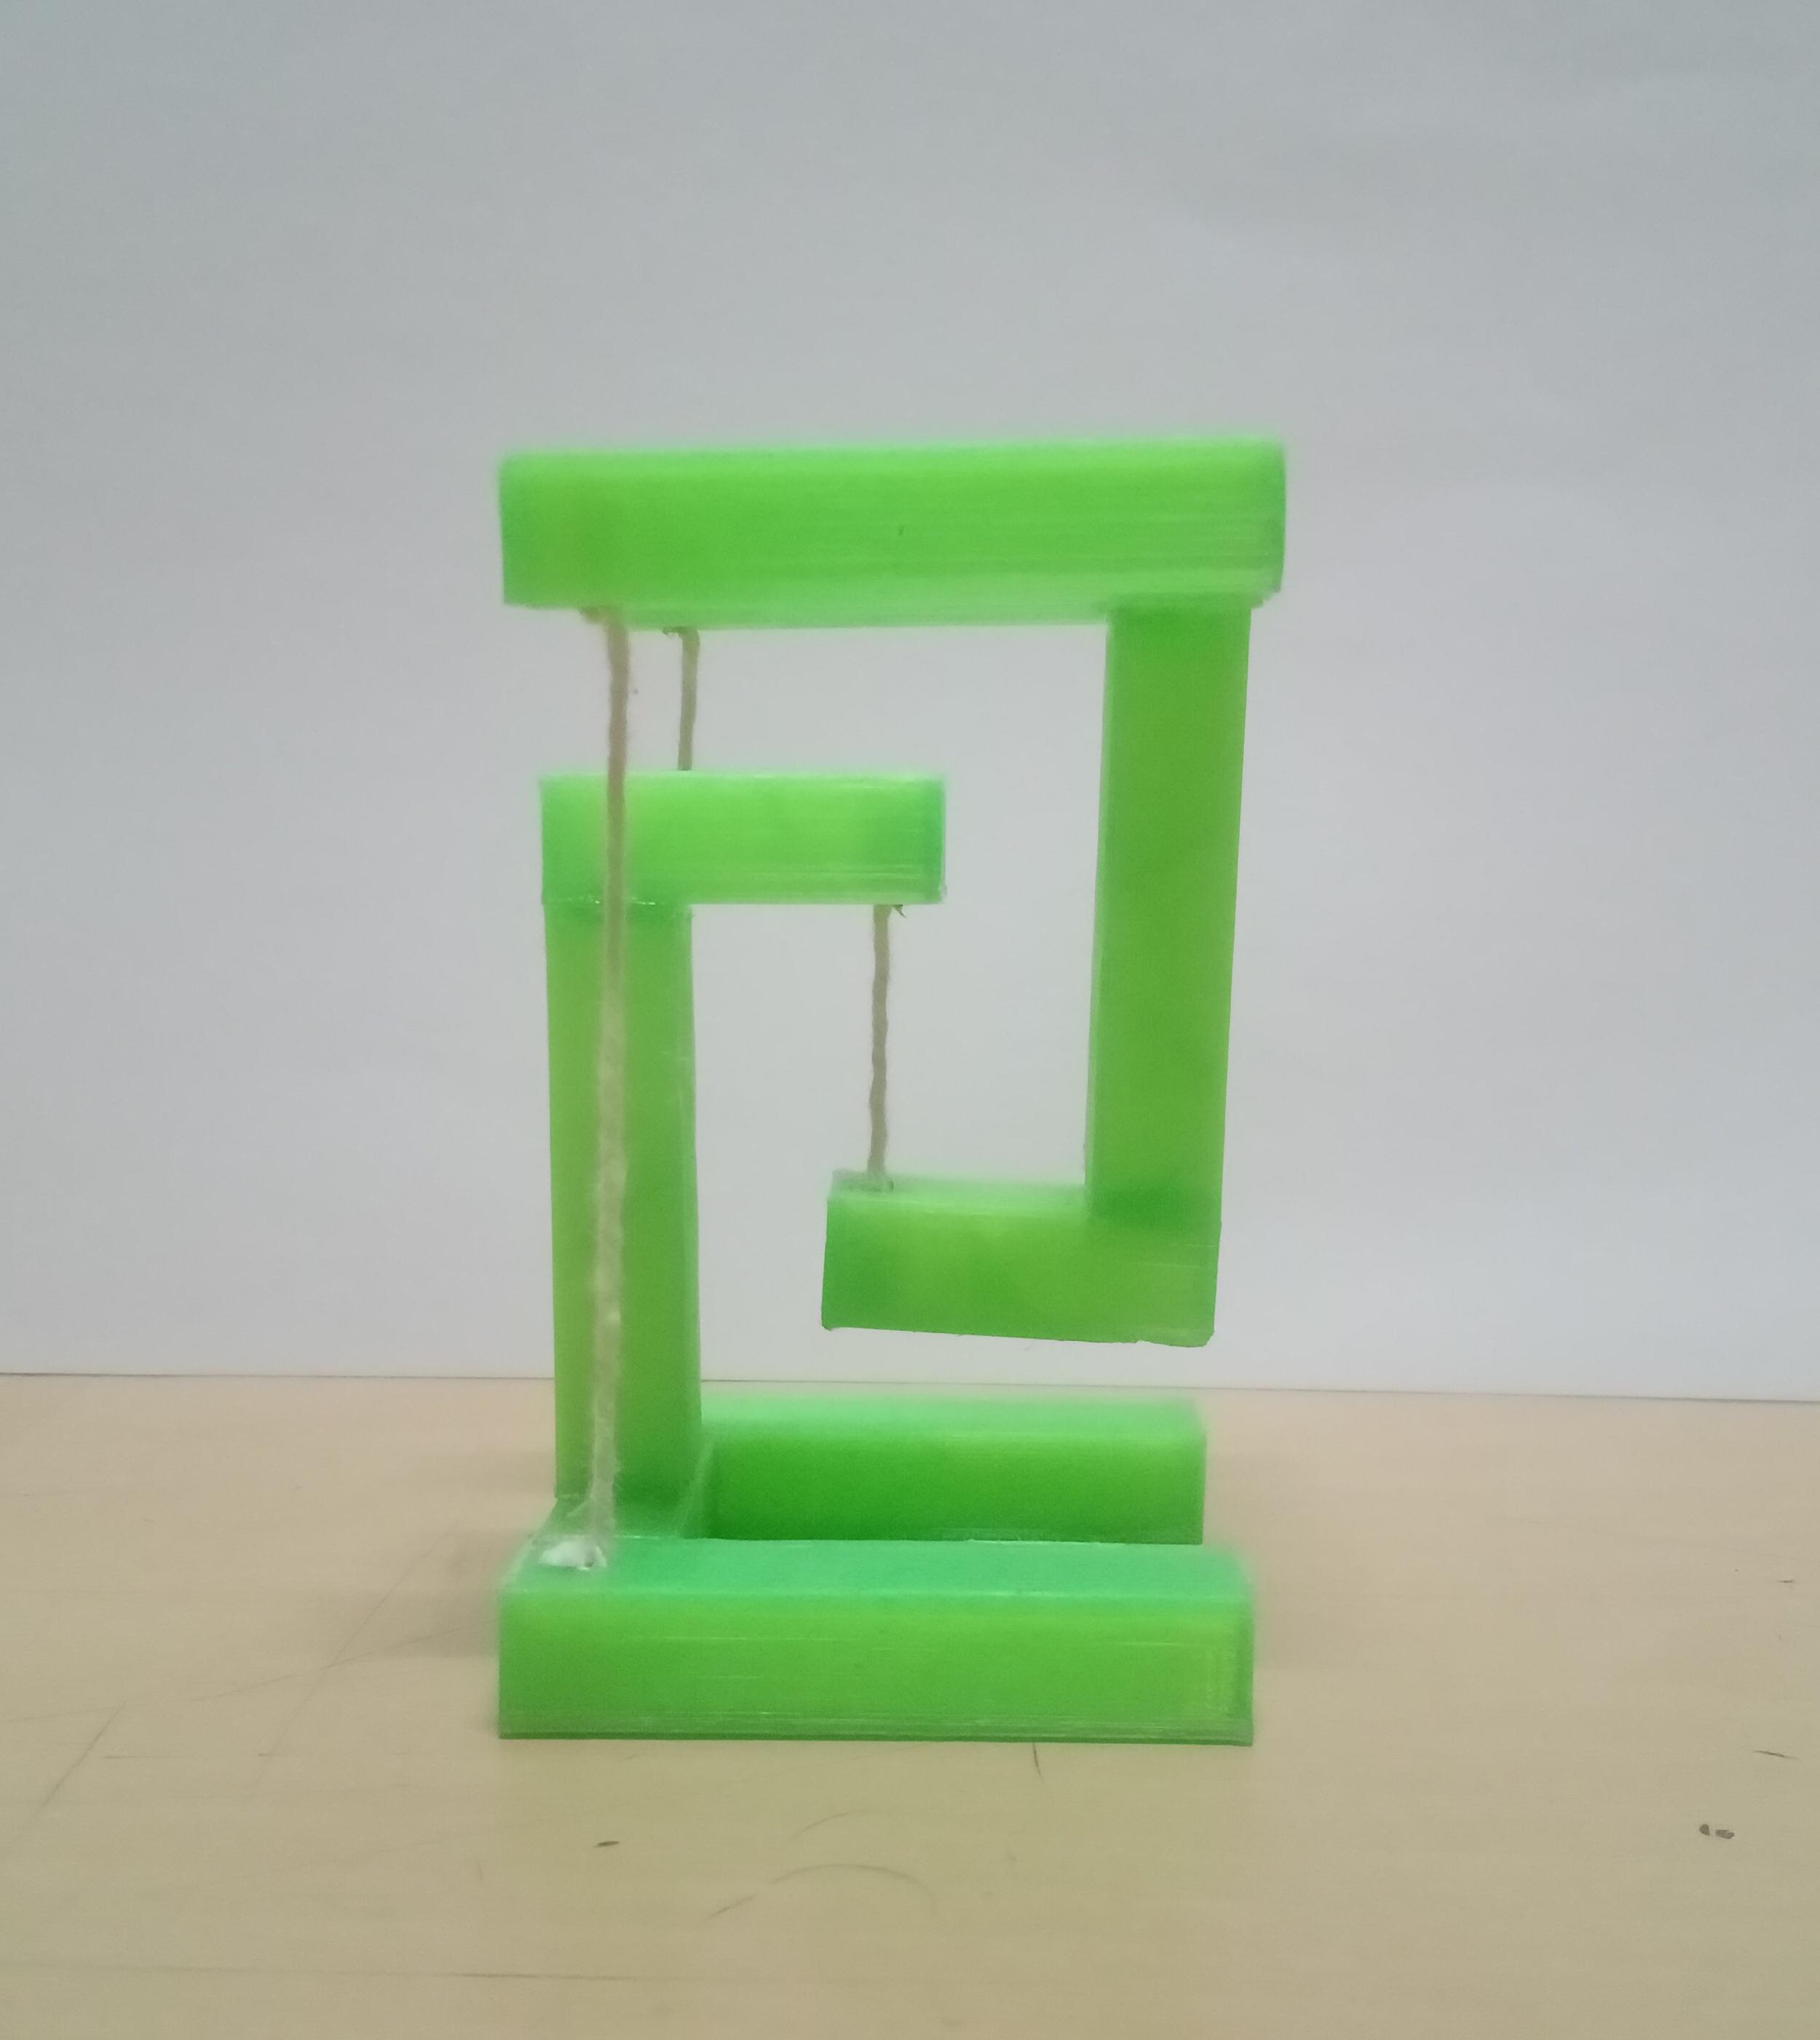
Make sure to adjust the length of the thread so that there should be enough tension in all three threads & they should be straight.
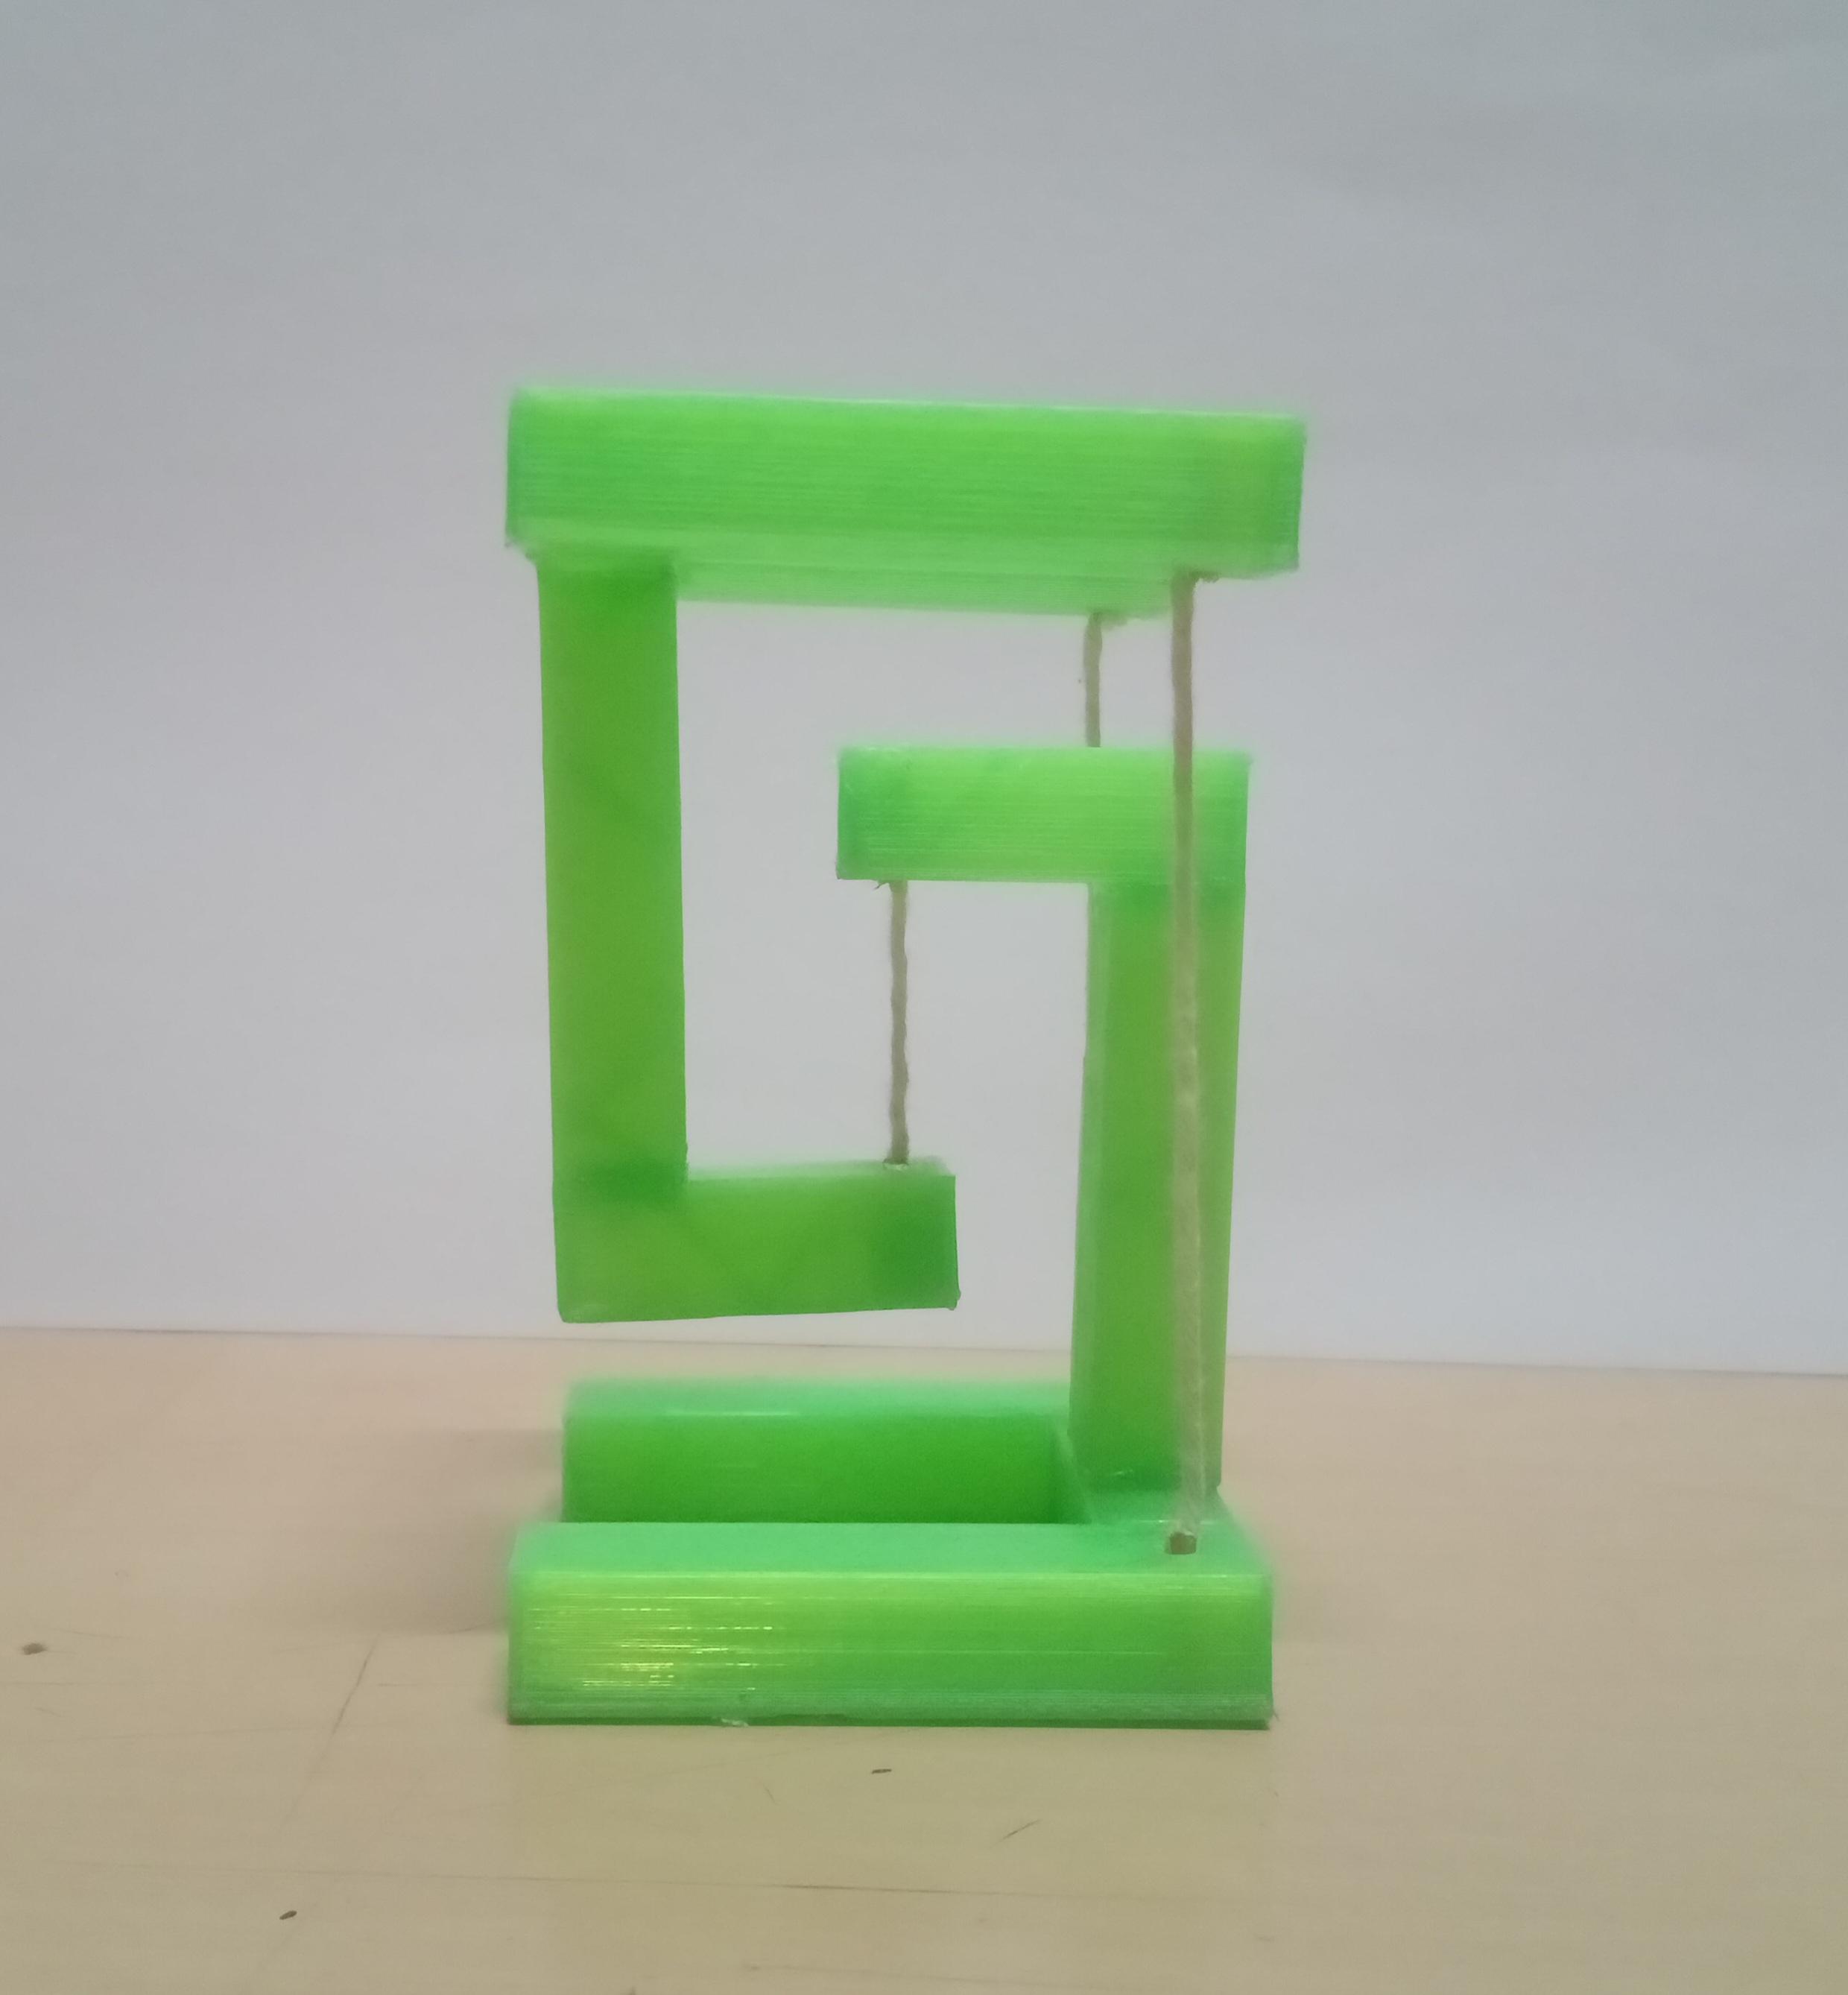
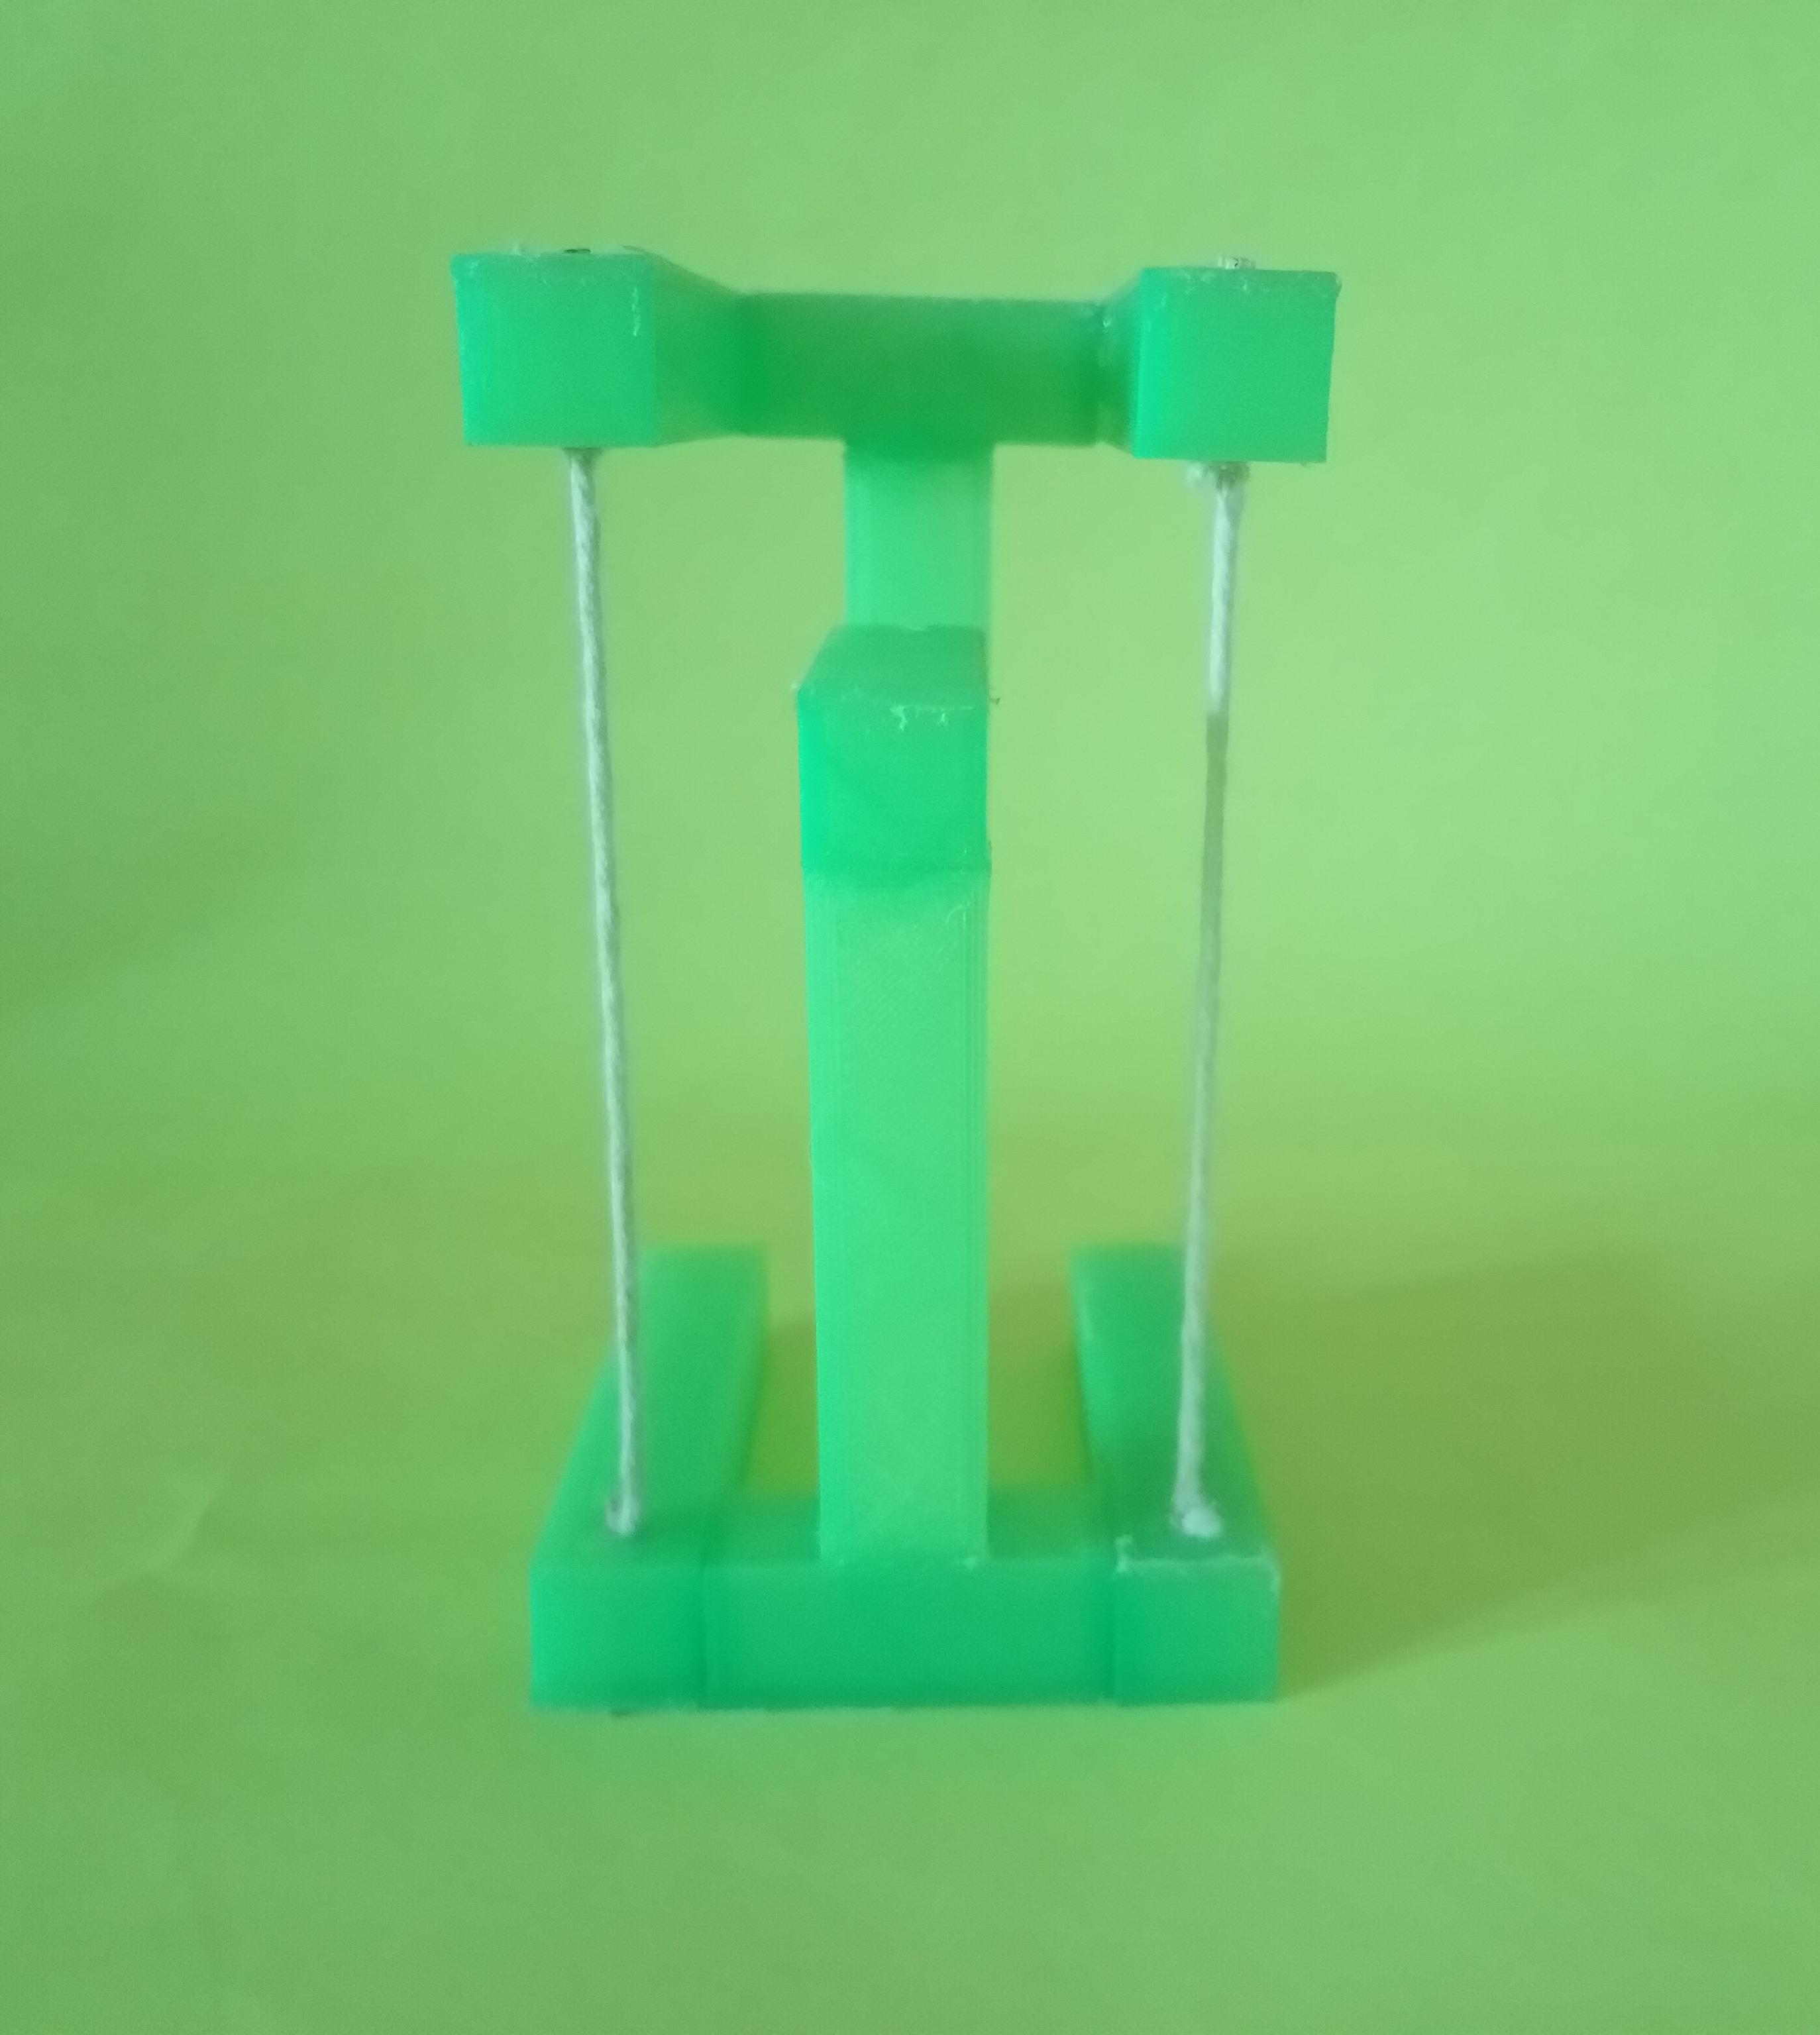
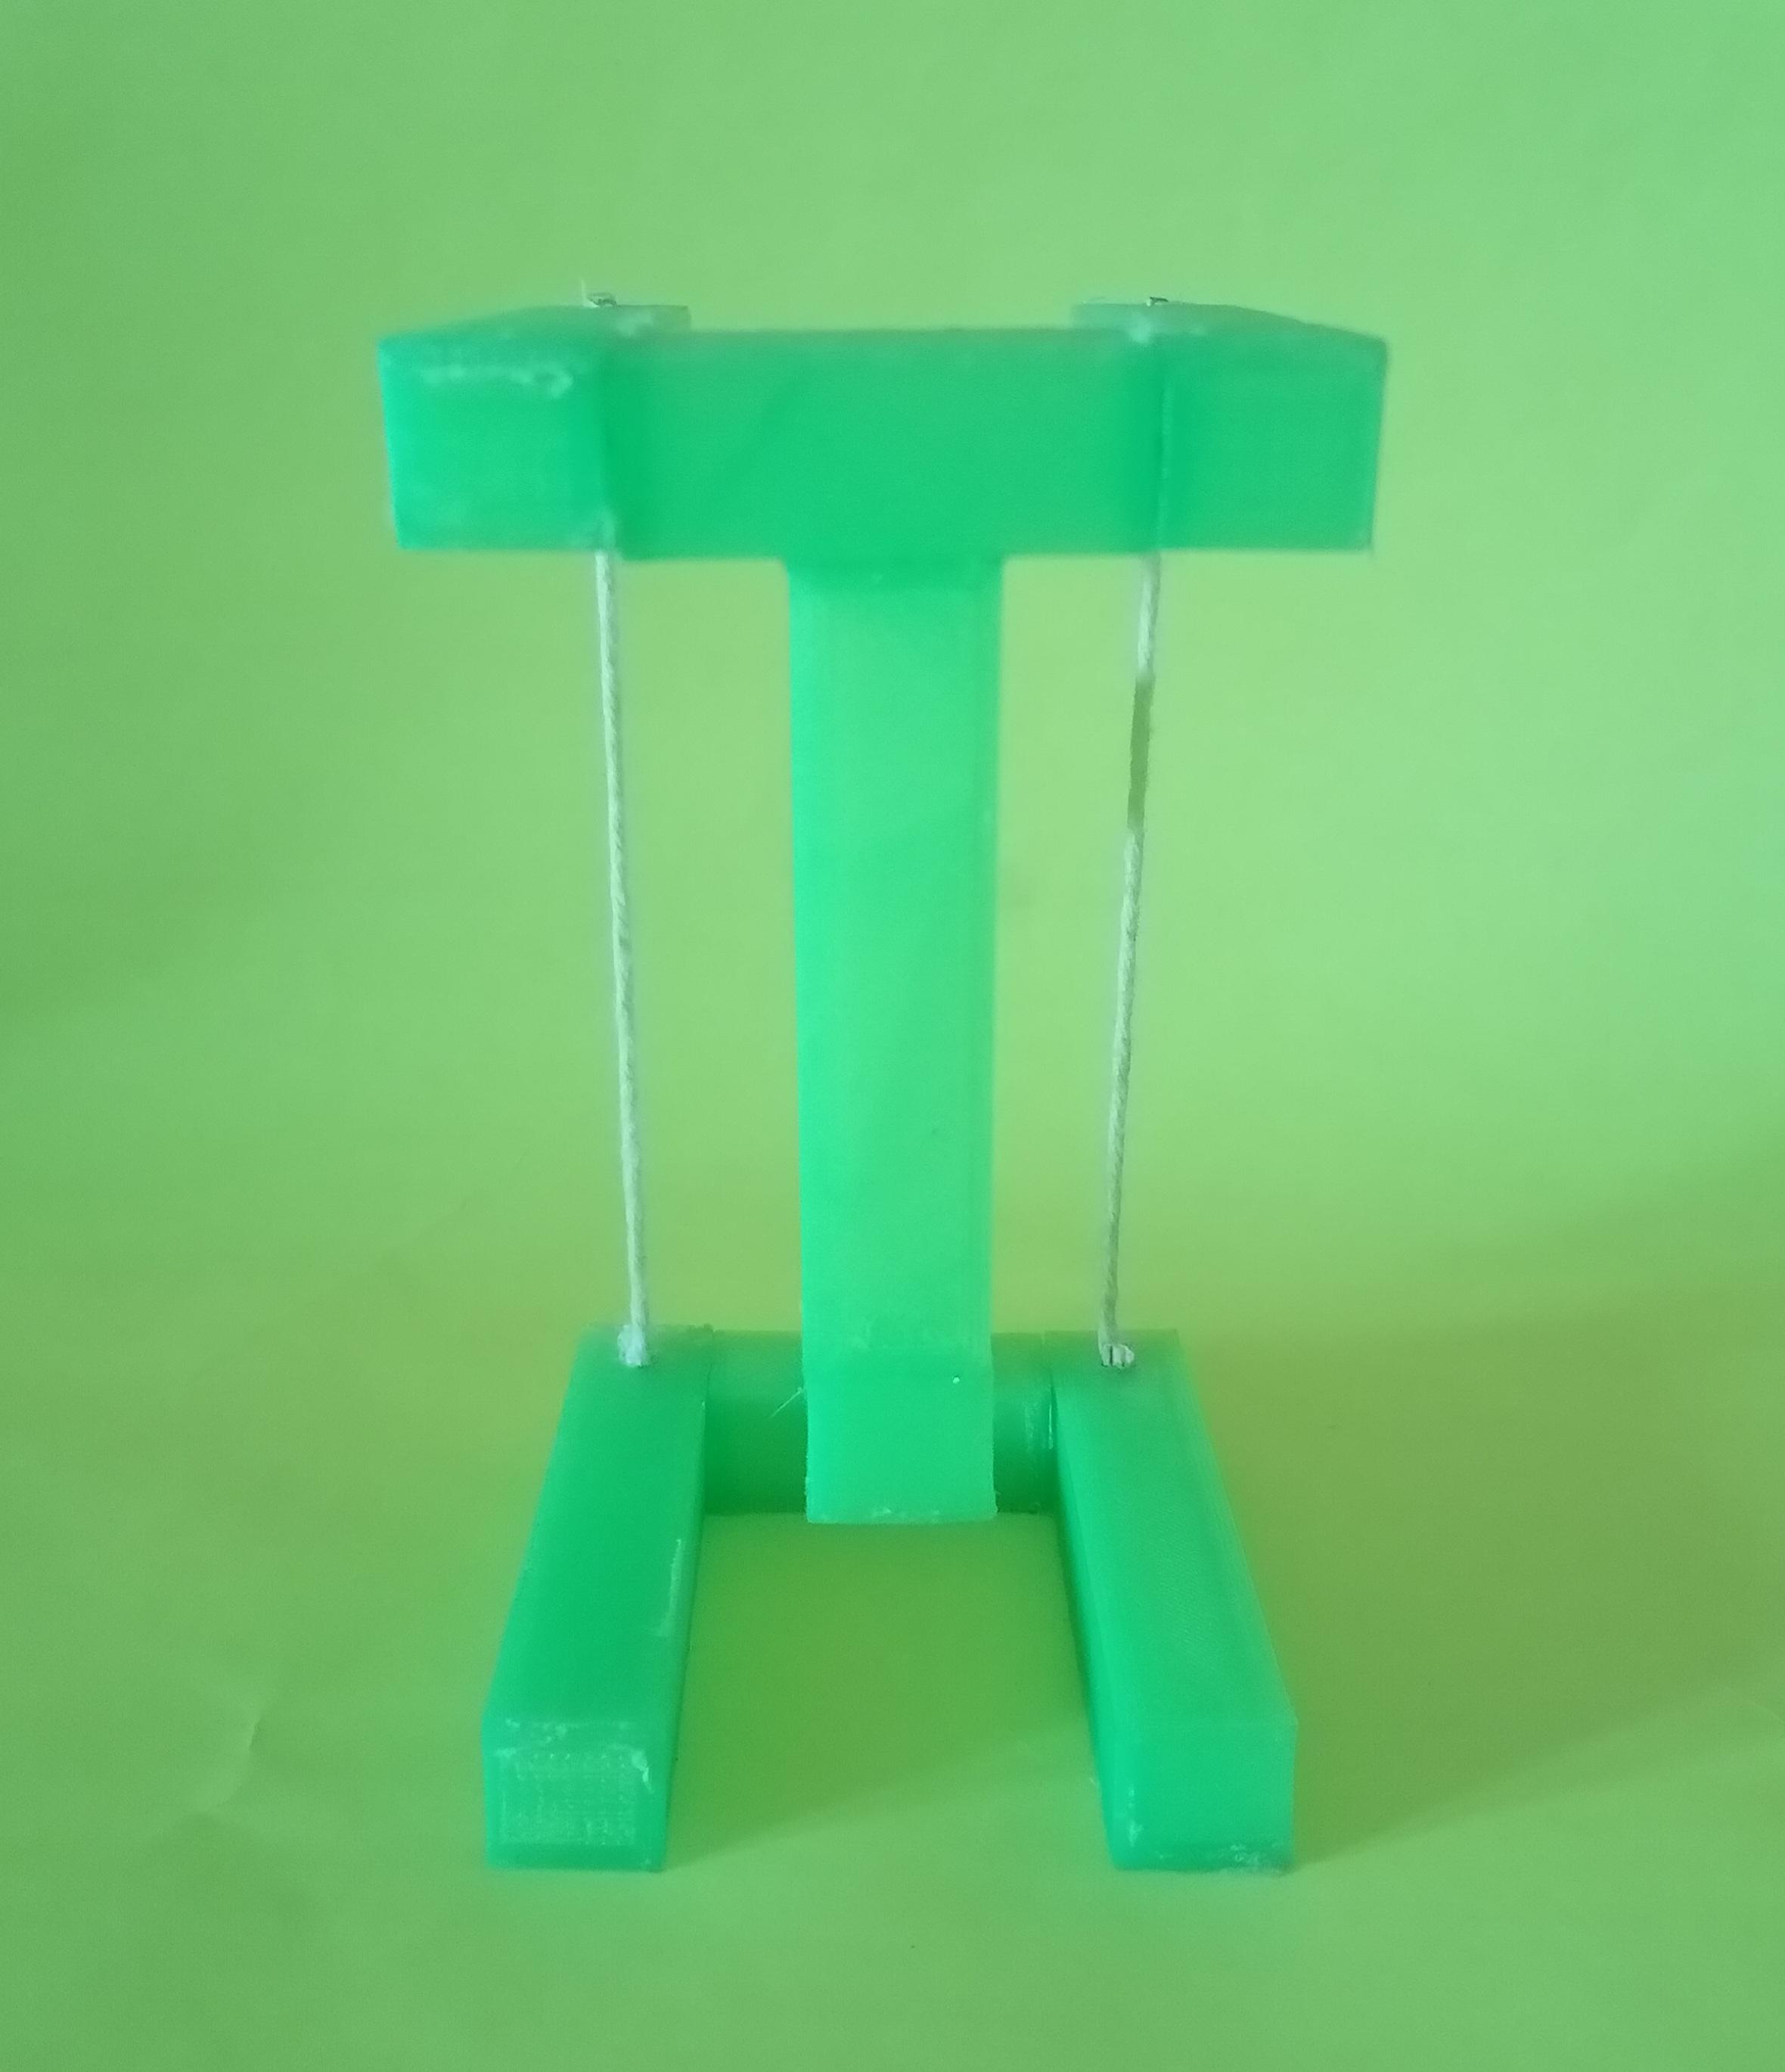
3D Printed Mini Tensegrity Structure Is Ready.


Video Link of the 3D Printed Tensegrity Structure
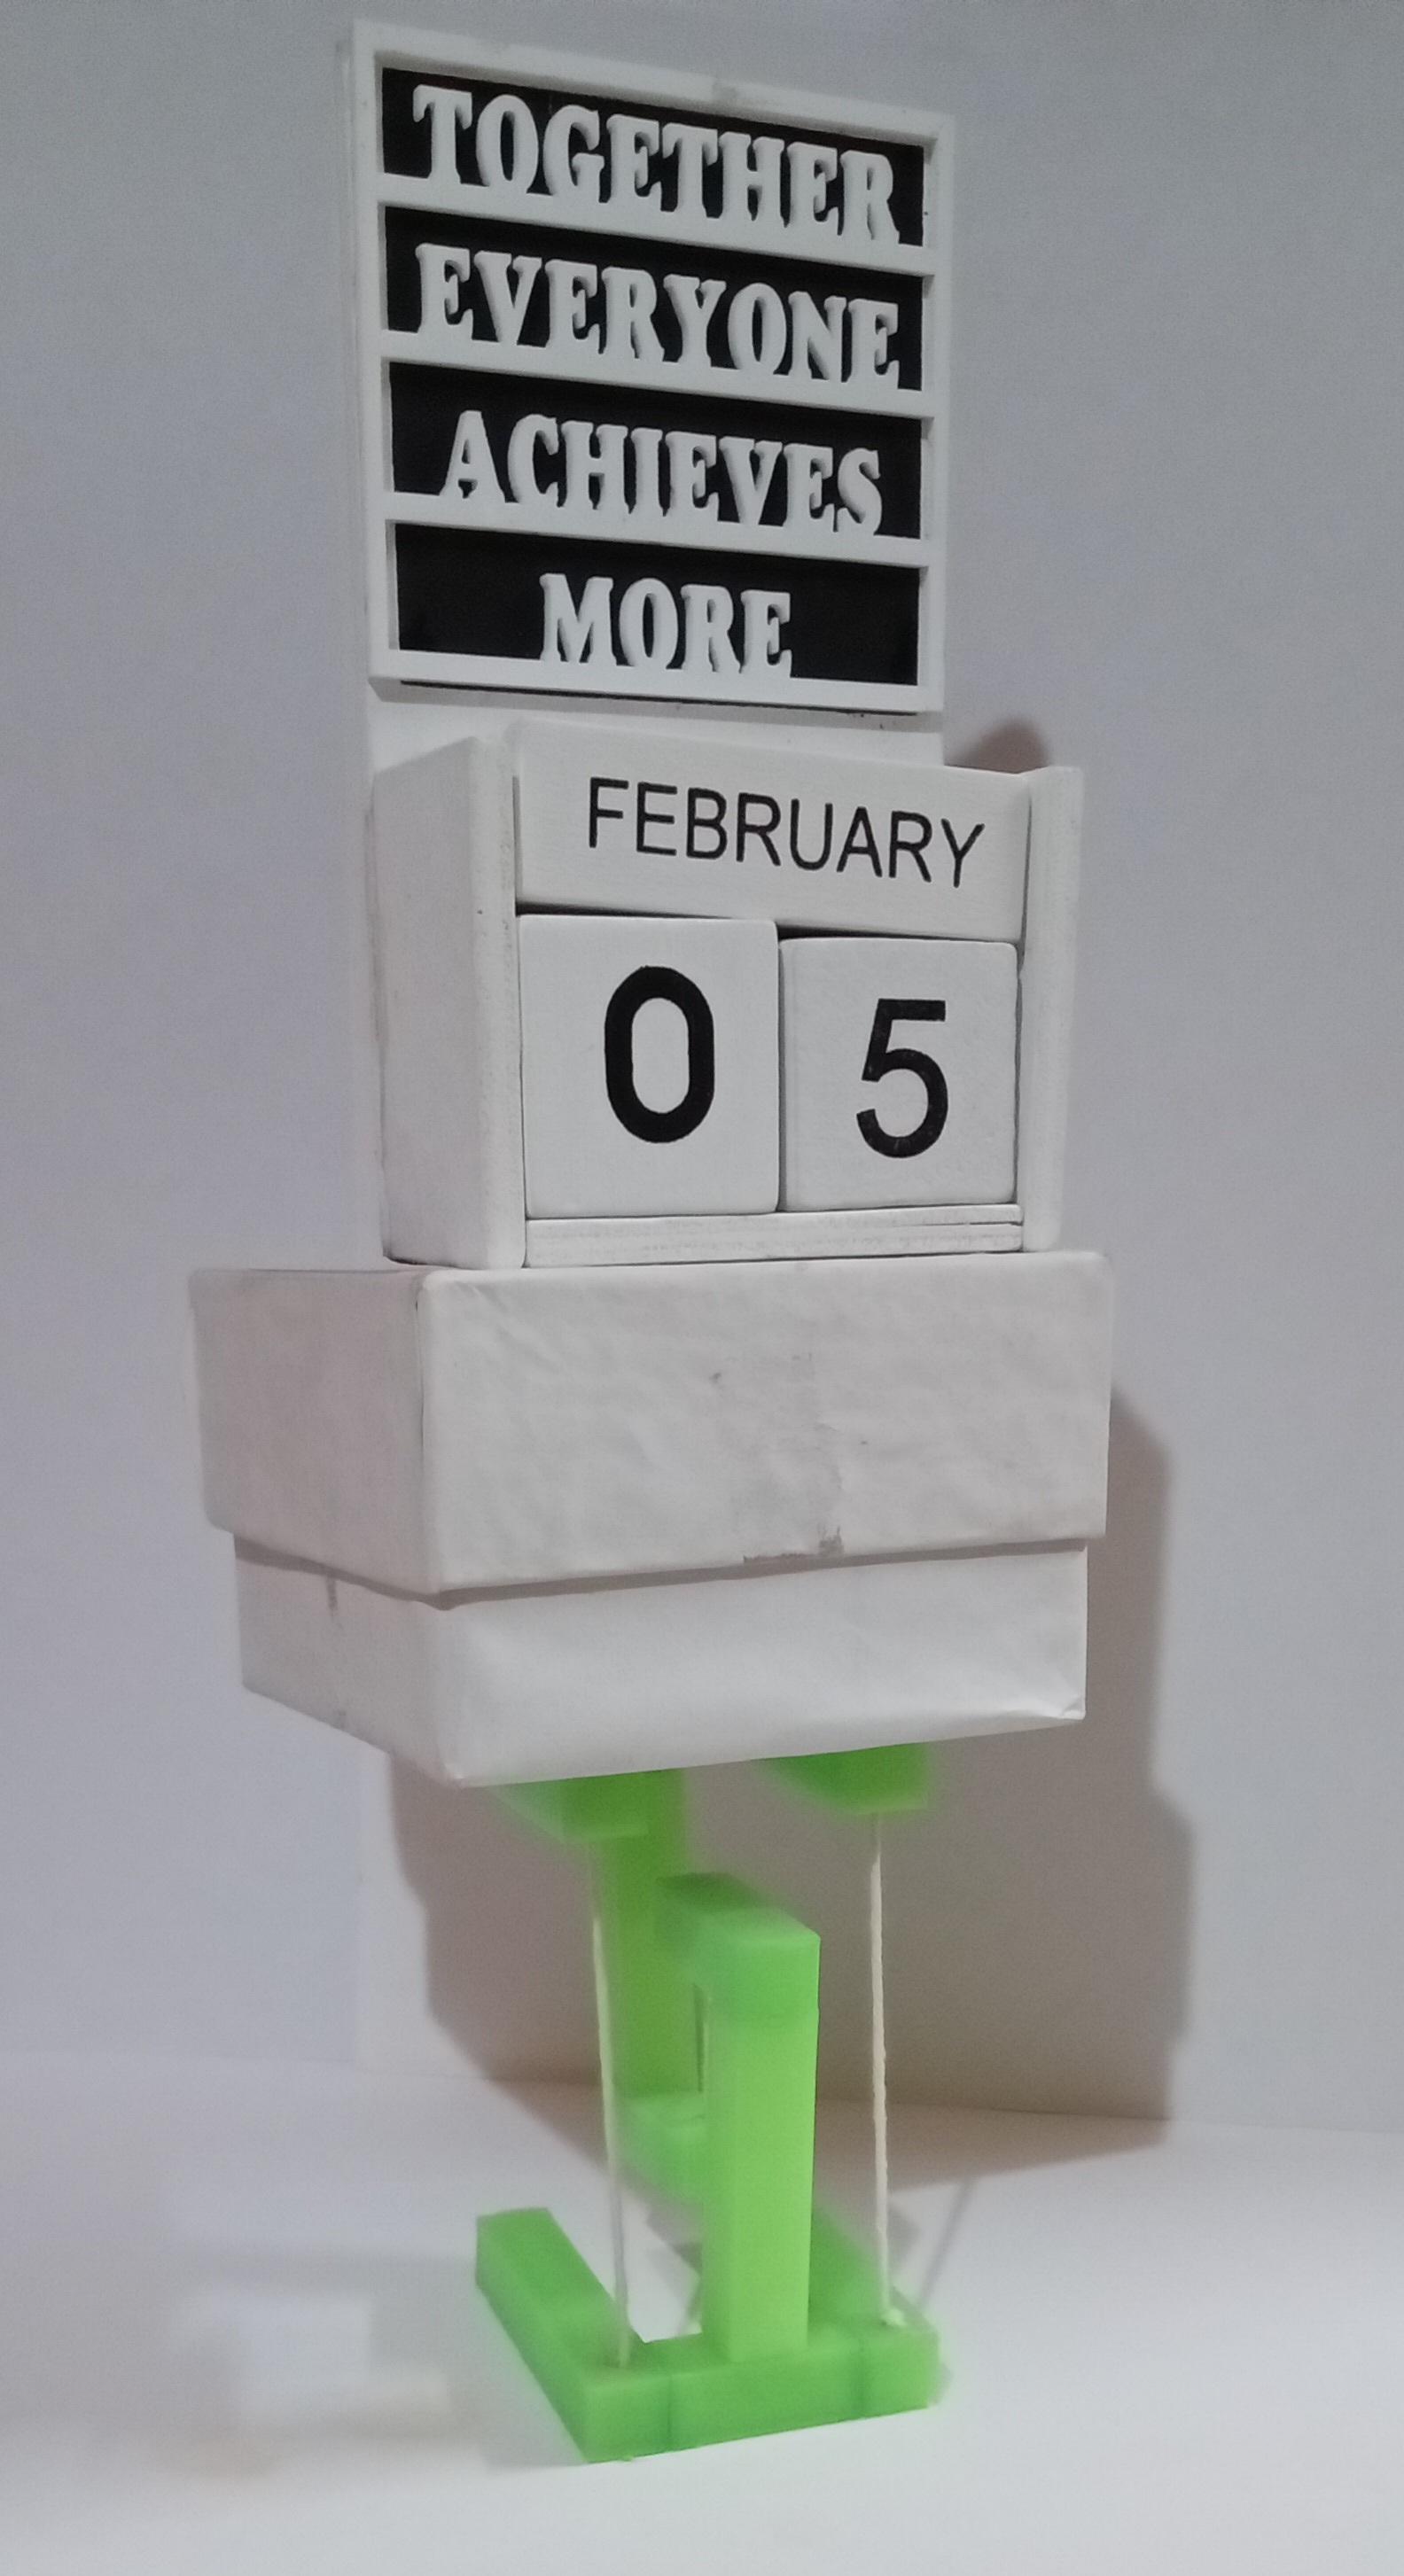
Empty Box Kept on Tensegrity Structure
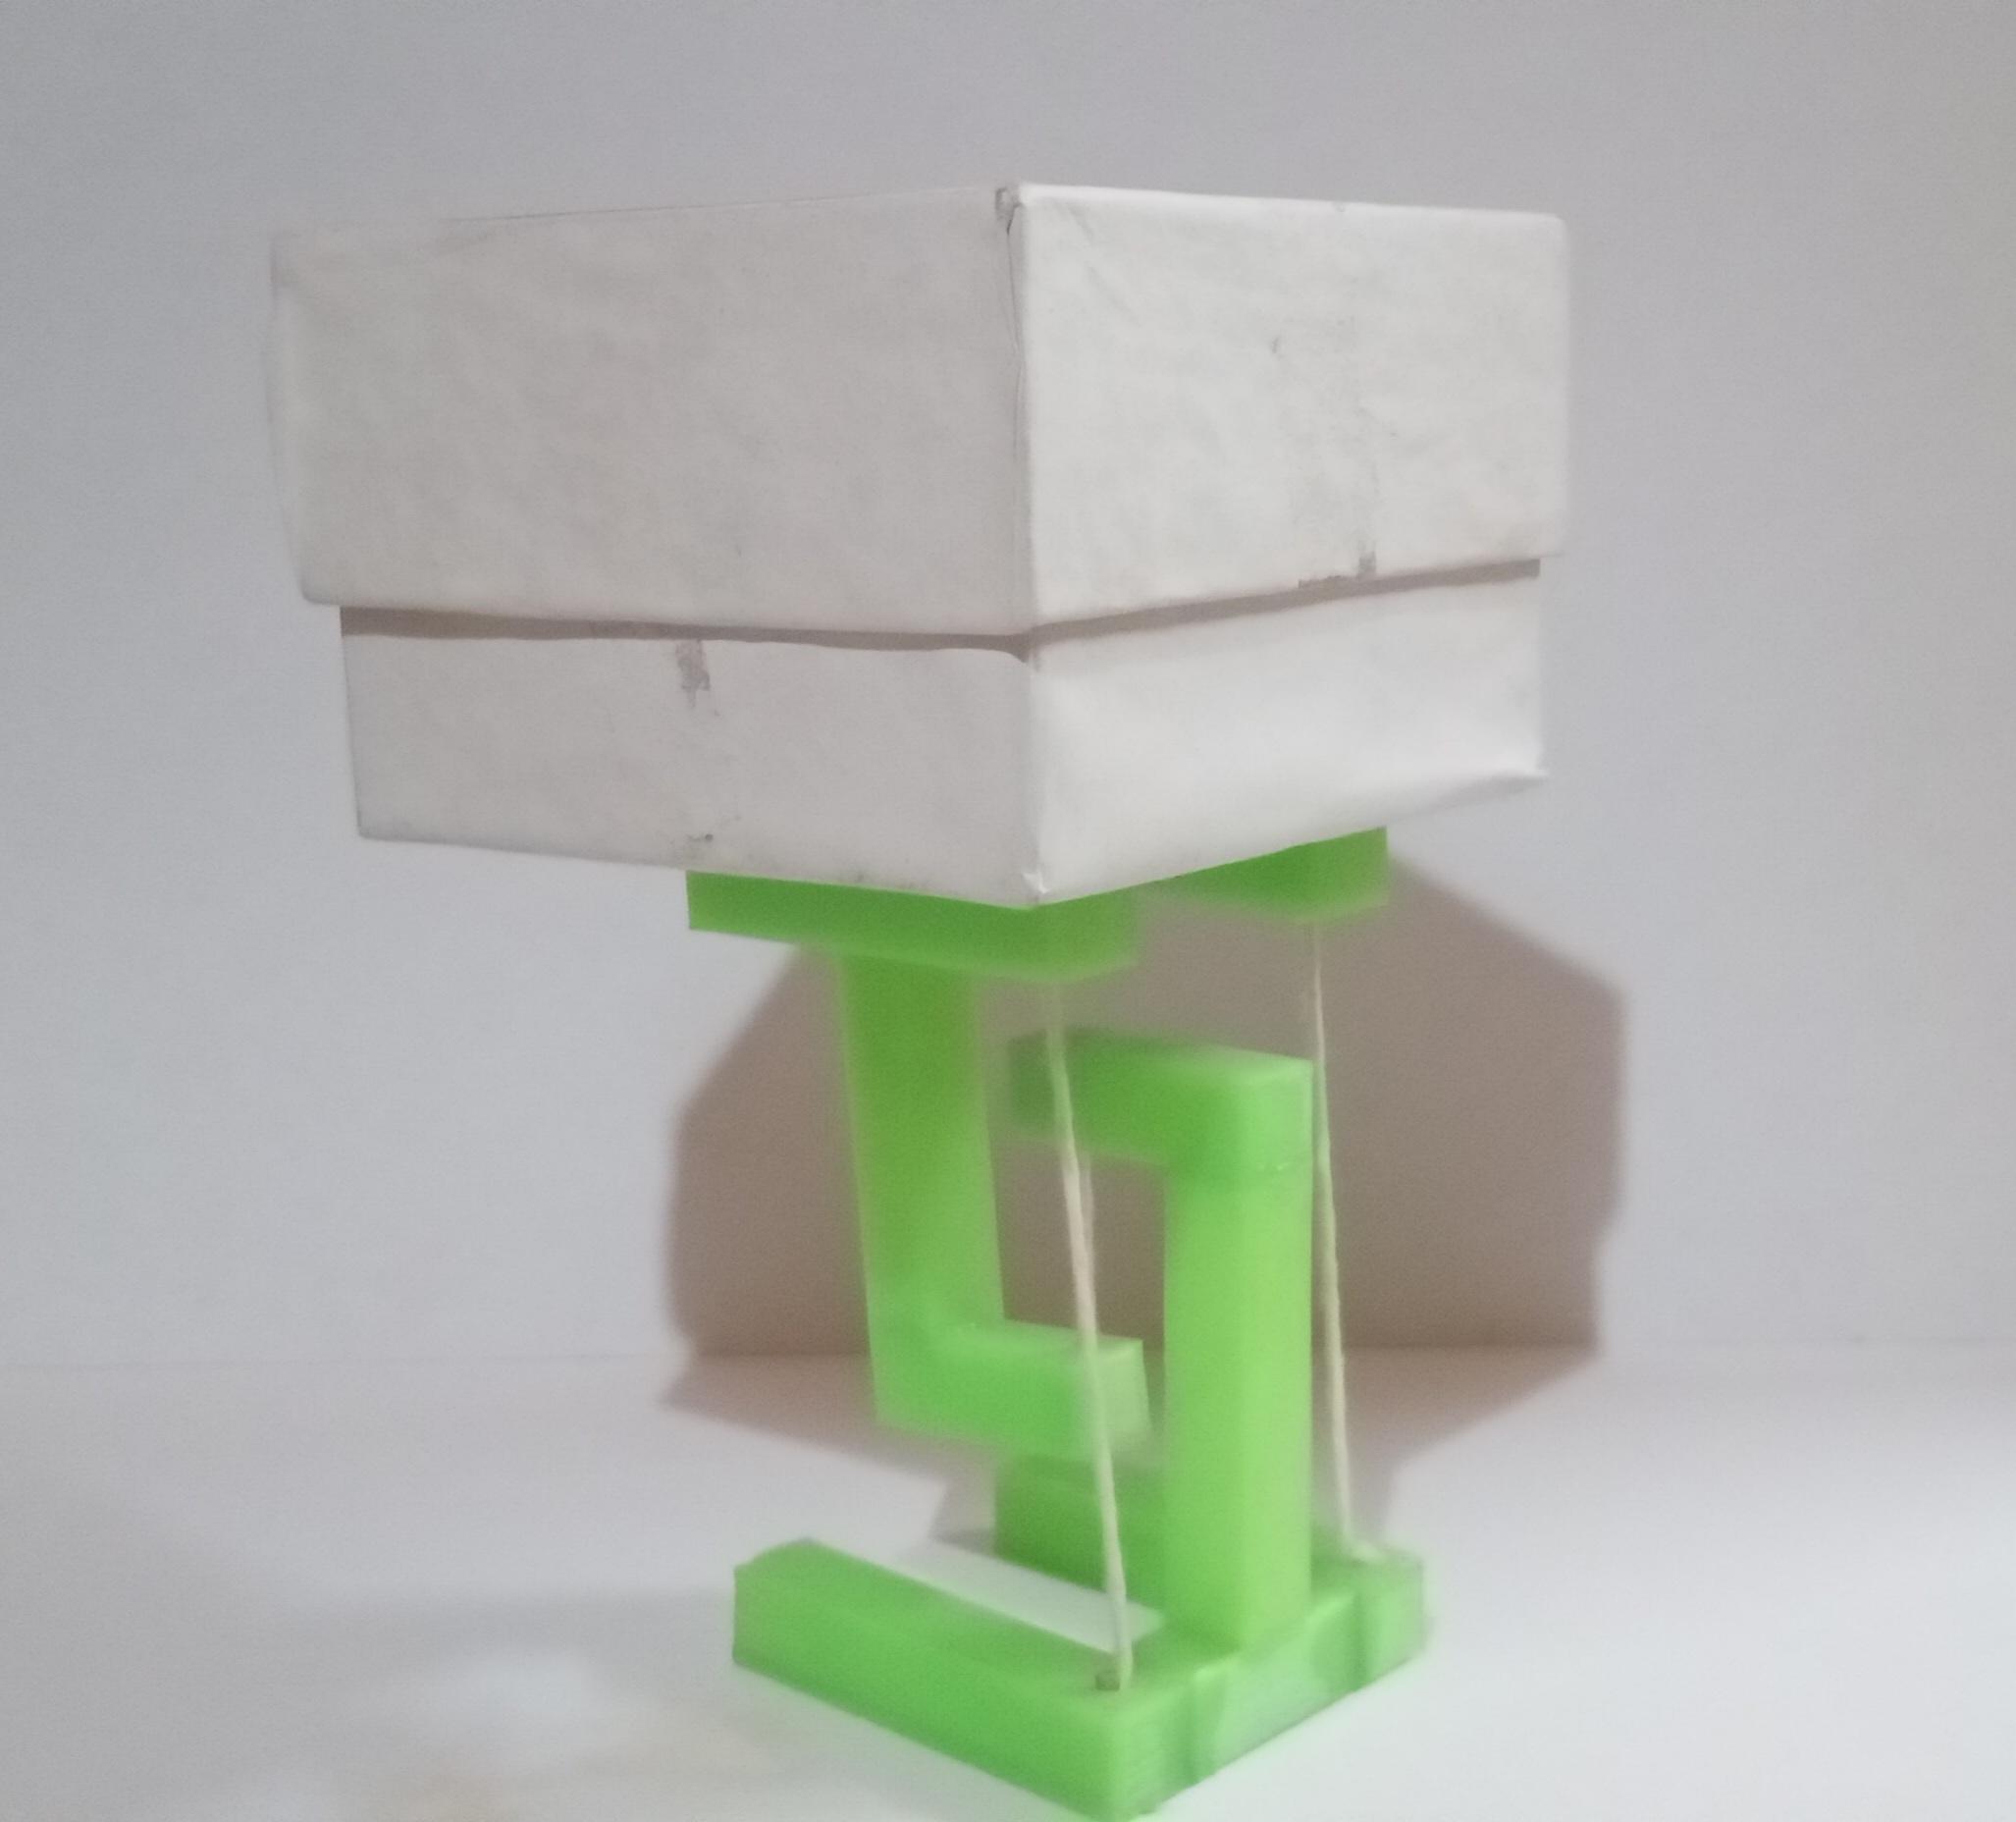
8cm x 8cm x 5.5 cm empty card board box is kept on the tensegrity structure.
It is very important note that center of the gravity of tensegrity structure is somewhere at the front of the middle string. While putting card board box one should adjust the card board box's position such that even after putting box on the structure it remains stable.
Empty Box & Wooden Calendar Kept on Tensegrity Structure

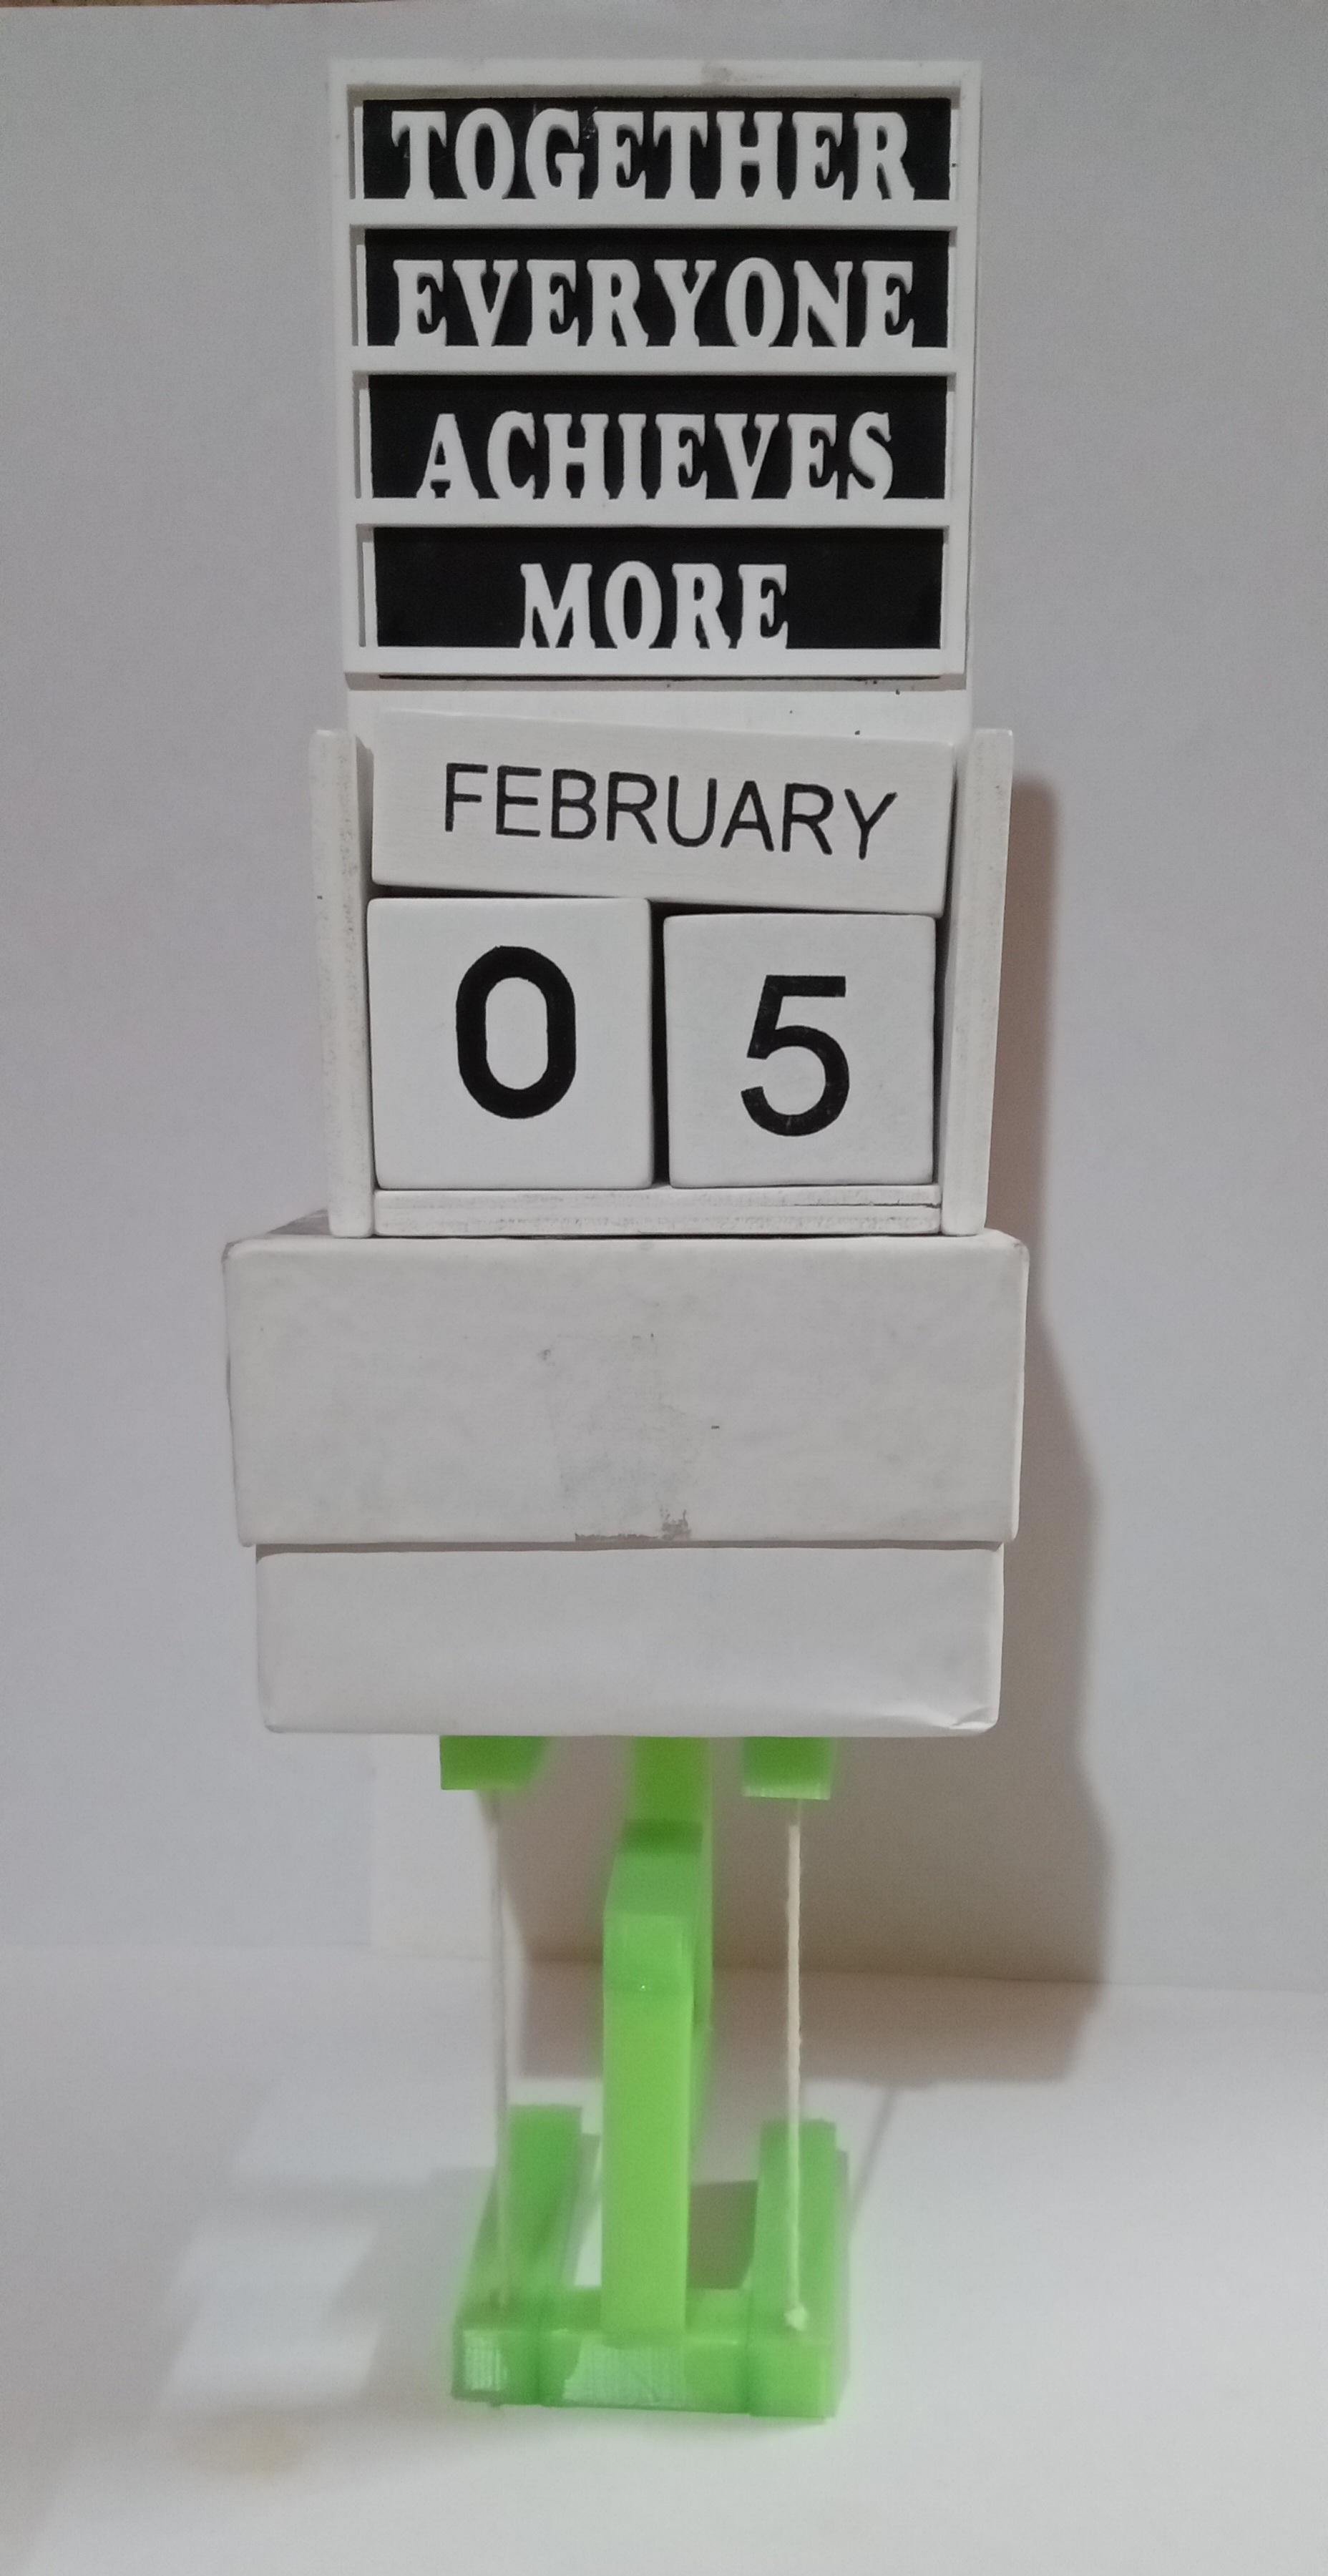
8cm x 8cm x 5.5 cm empty card board box plus 3.5cm x 7cm x 12cm wooden calendar kept on tensegrity structure. It is holding it comfortably.
With this teachers can explain concept of tensegrity & center of gravity.