How to Make 3D Printed Glow in the Dark Wall Decals
by RefiningDesigning in Workshop > 3D Printing
4054 Views, 59 Favorites, 0 Comments
How to Make 3D Printed Glow in the Dark Wall Decals
.png)
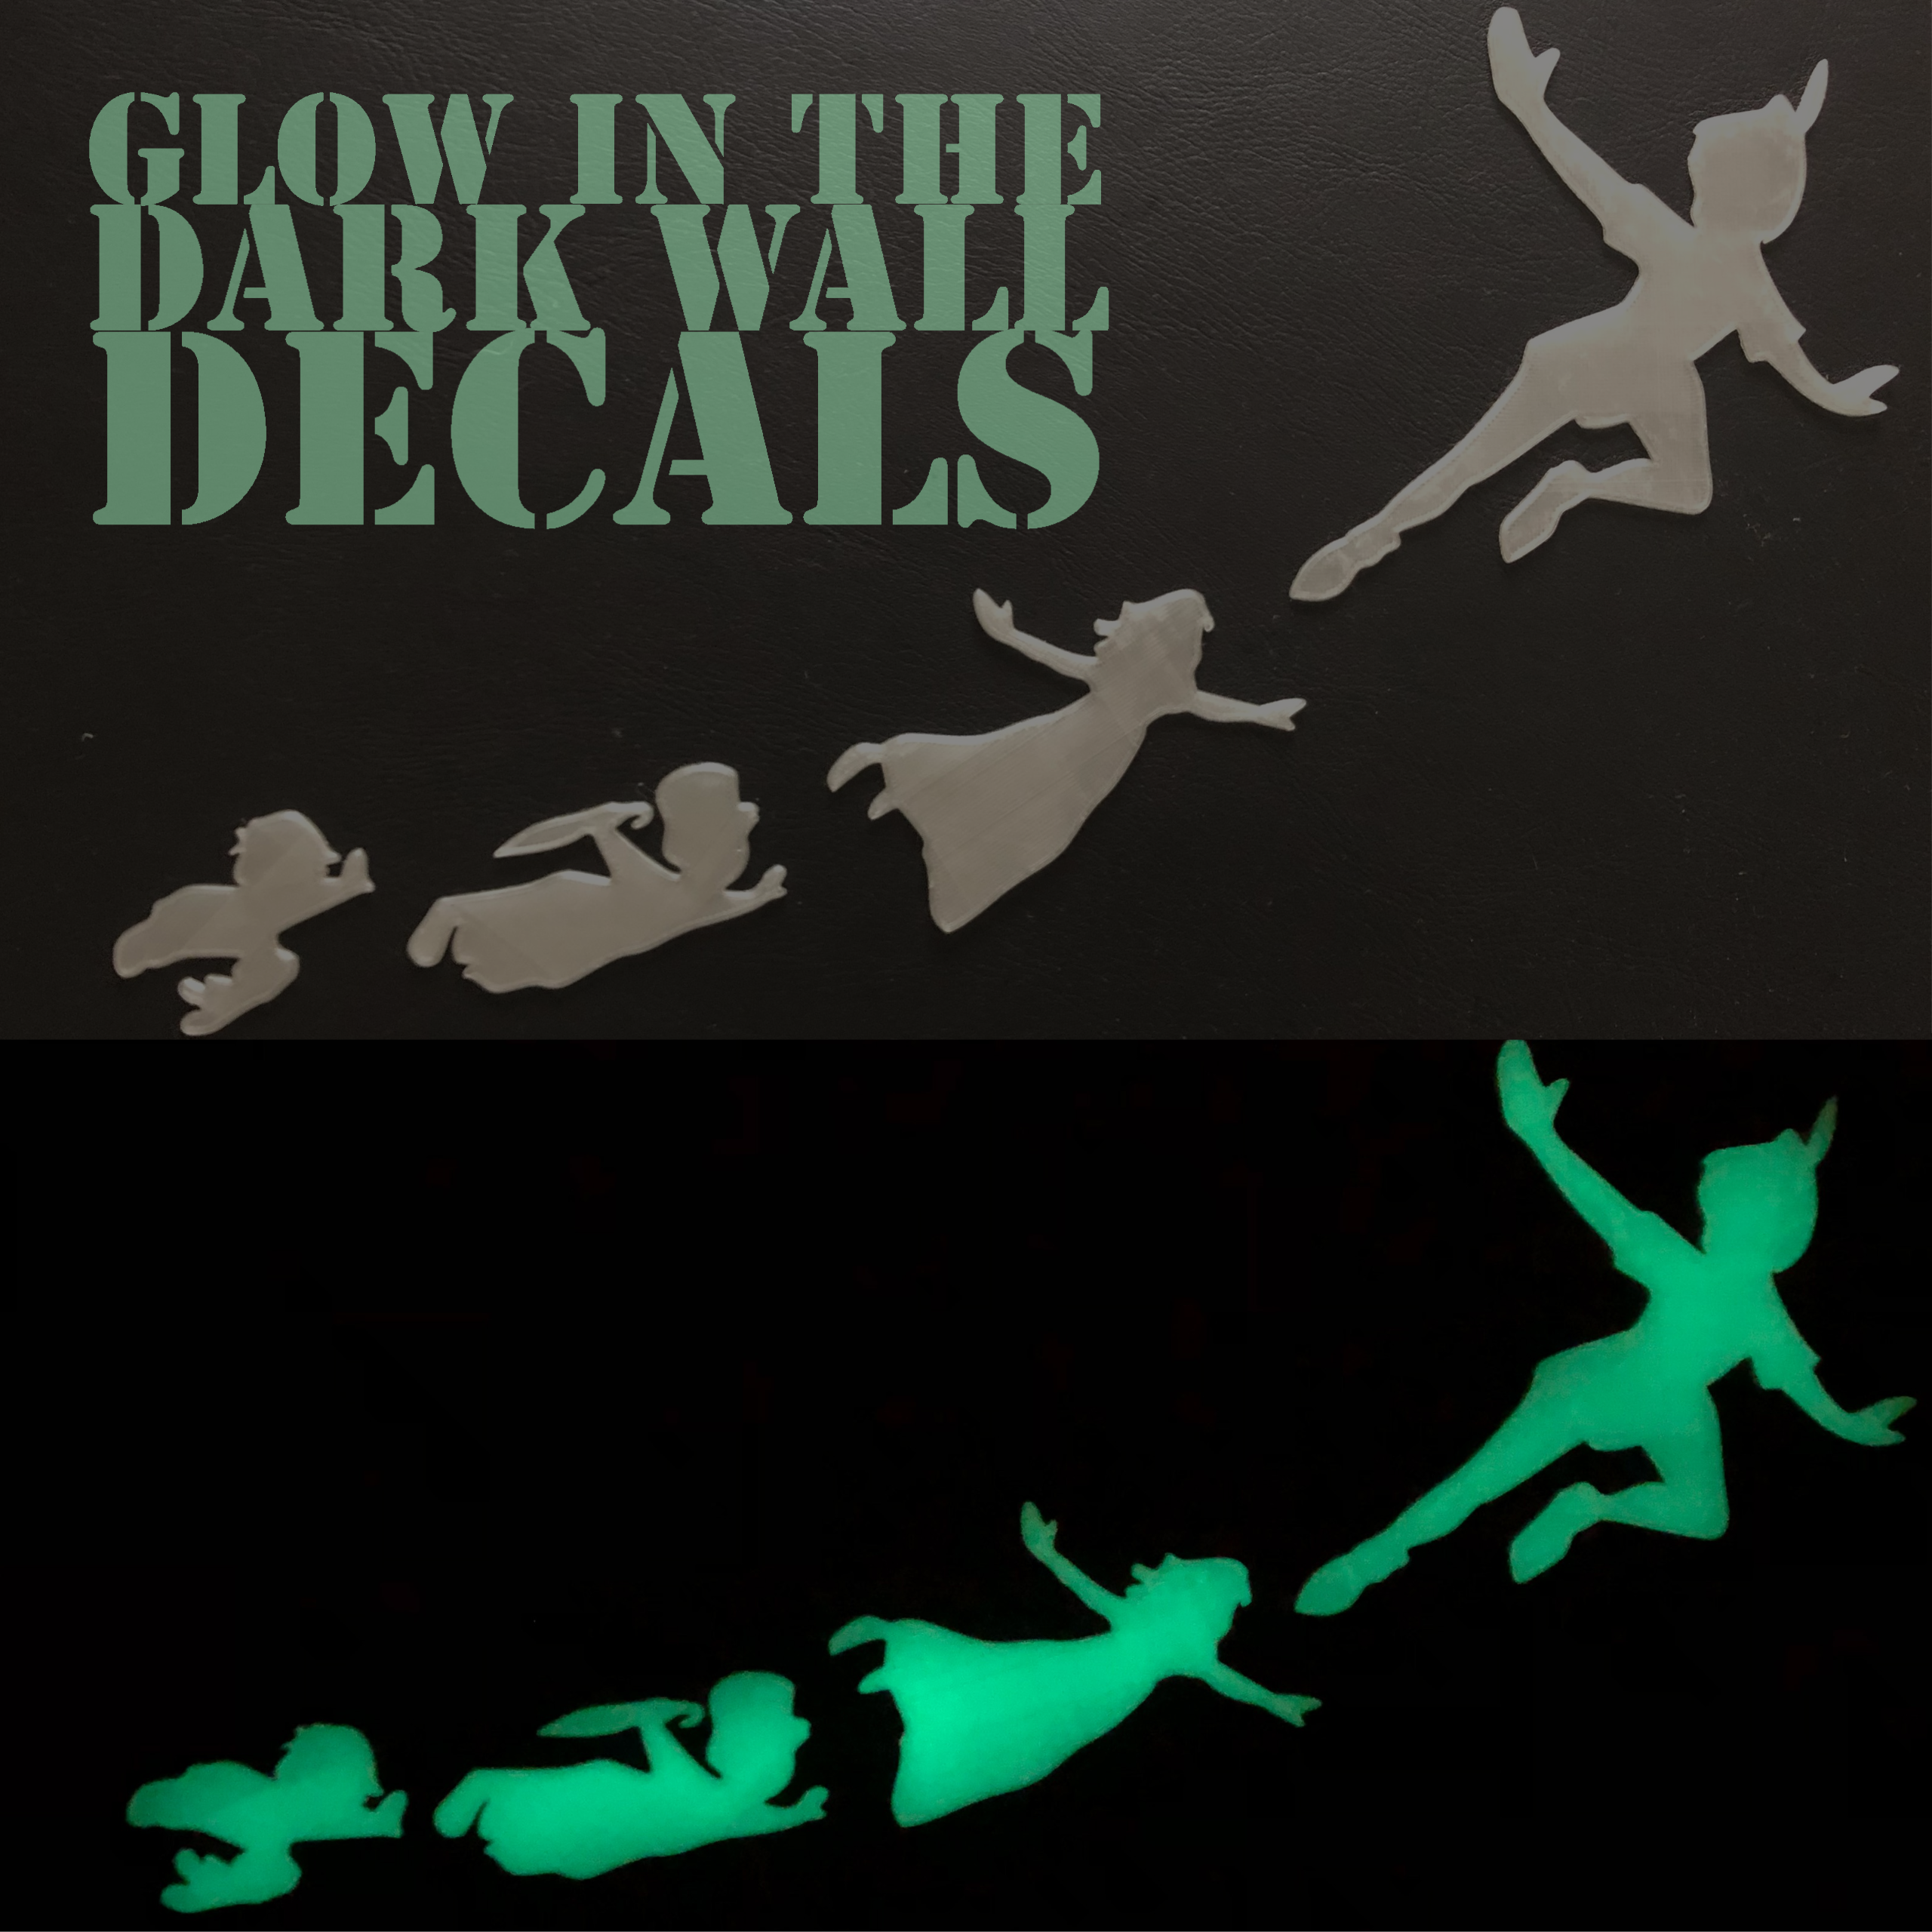
In this Instructable I am going to show you a quick and easy 3D printing project to make your own custom decals!
I think that we have all seen the classic adhesive backed glow in the dark stars that you can buy to decorate a wall or ceiling of your room, however they often lack variety and are quite basic shapes.
If you have just bought a 3D printer or have never modeled a project yourself and rely primarily on community sourced STL files, this is a simple and easy project to start your journey off right
Supplies
A 3D printer
Glow in the dark filament - I used this PLA by GEEETCH on amazon: https://www.amazon.co.uk/gp/product/B07PZKSRCW/re...
Choosing Your Design
My girlfriend has had some of those stick on glow in the dark stars on the ceiling of her room since she was a kid. She is also a huge fan of the Disney film Peter Pan. So I thought a great first project using glow in the dark filament would be adding the silhouettes of Peter, Wendy, John and Michael flying to Neverland to her existing nights sky. And if things go well I may add a bonus of the two stars that guide their way as well.
Finding Your Source Image
.png)
.png)
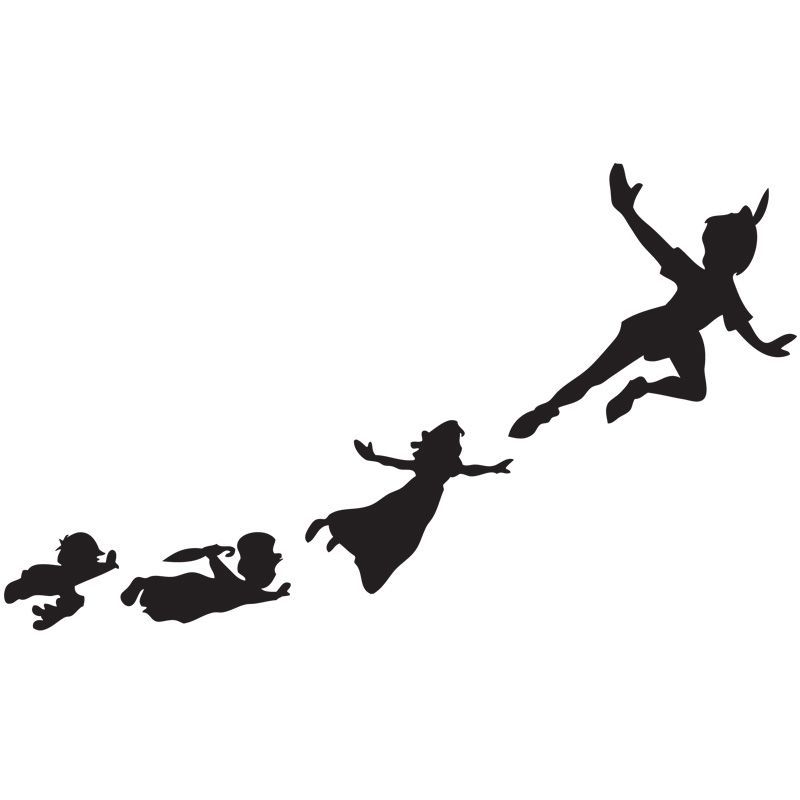
This step is really flexible, you can either hand draw a design yourself on paper and take a photo of it to import to the computer or find some existing artwork which you would like to replicate.
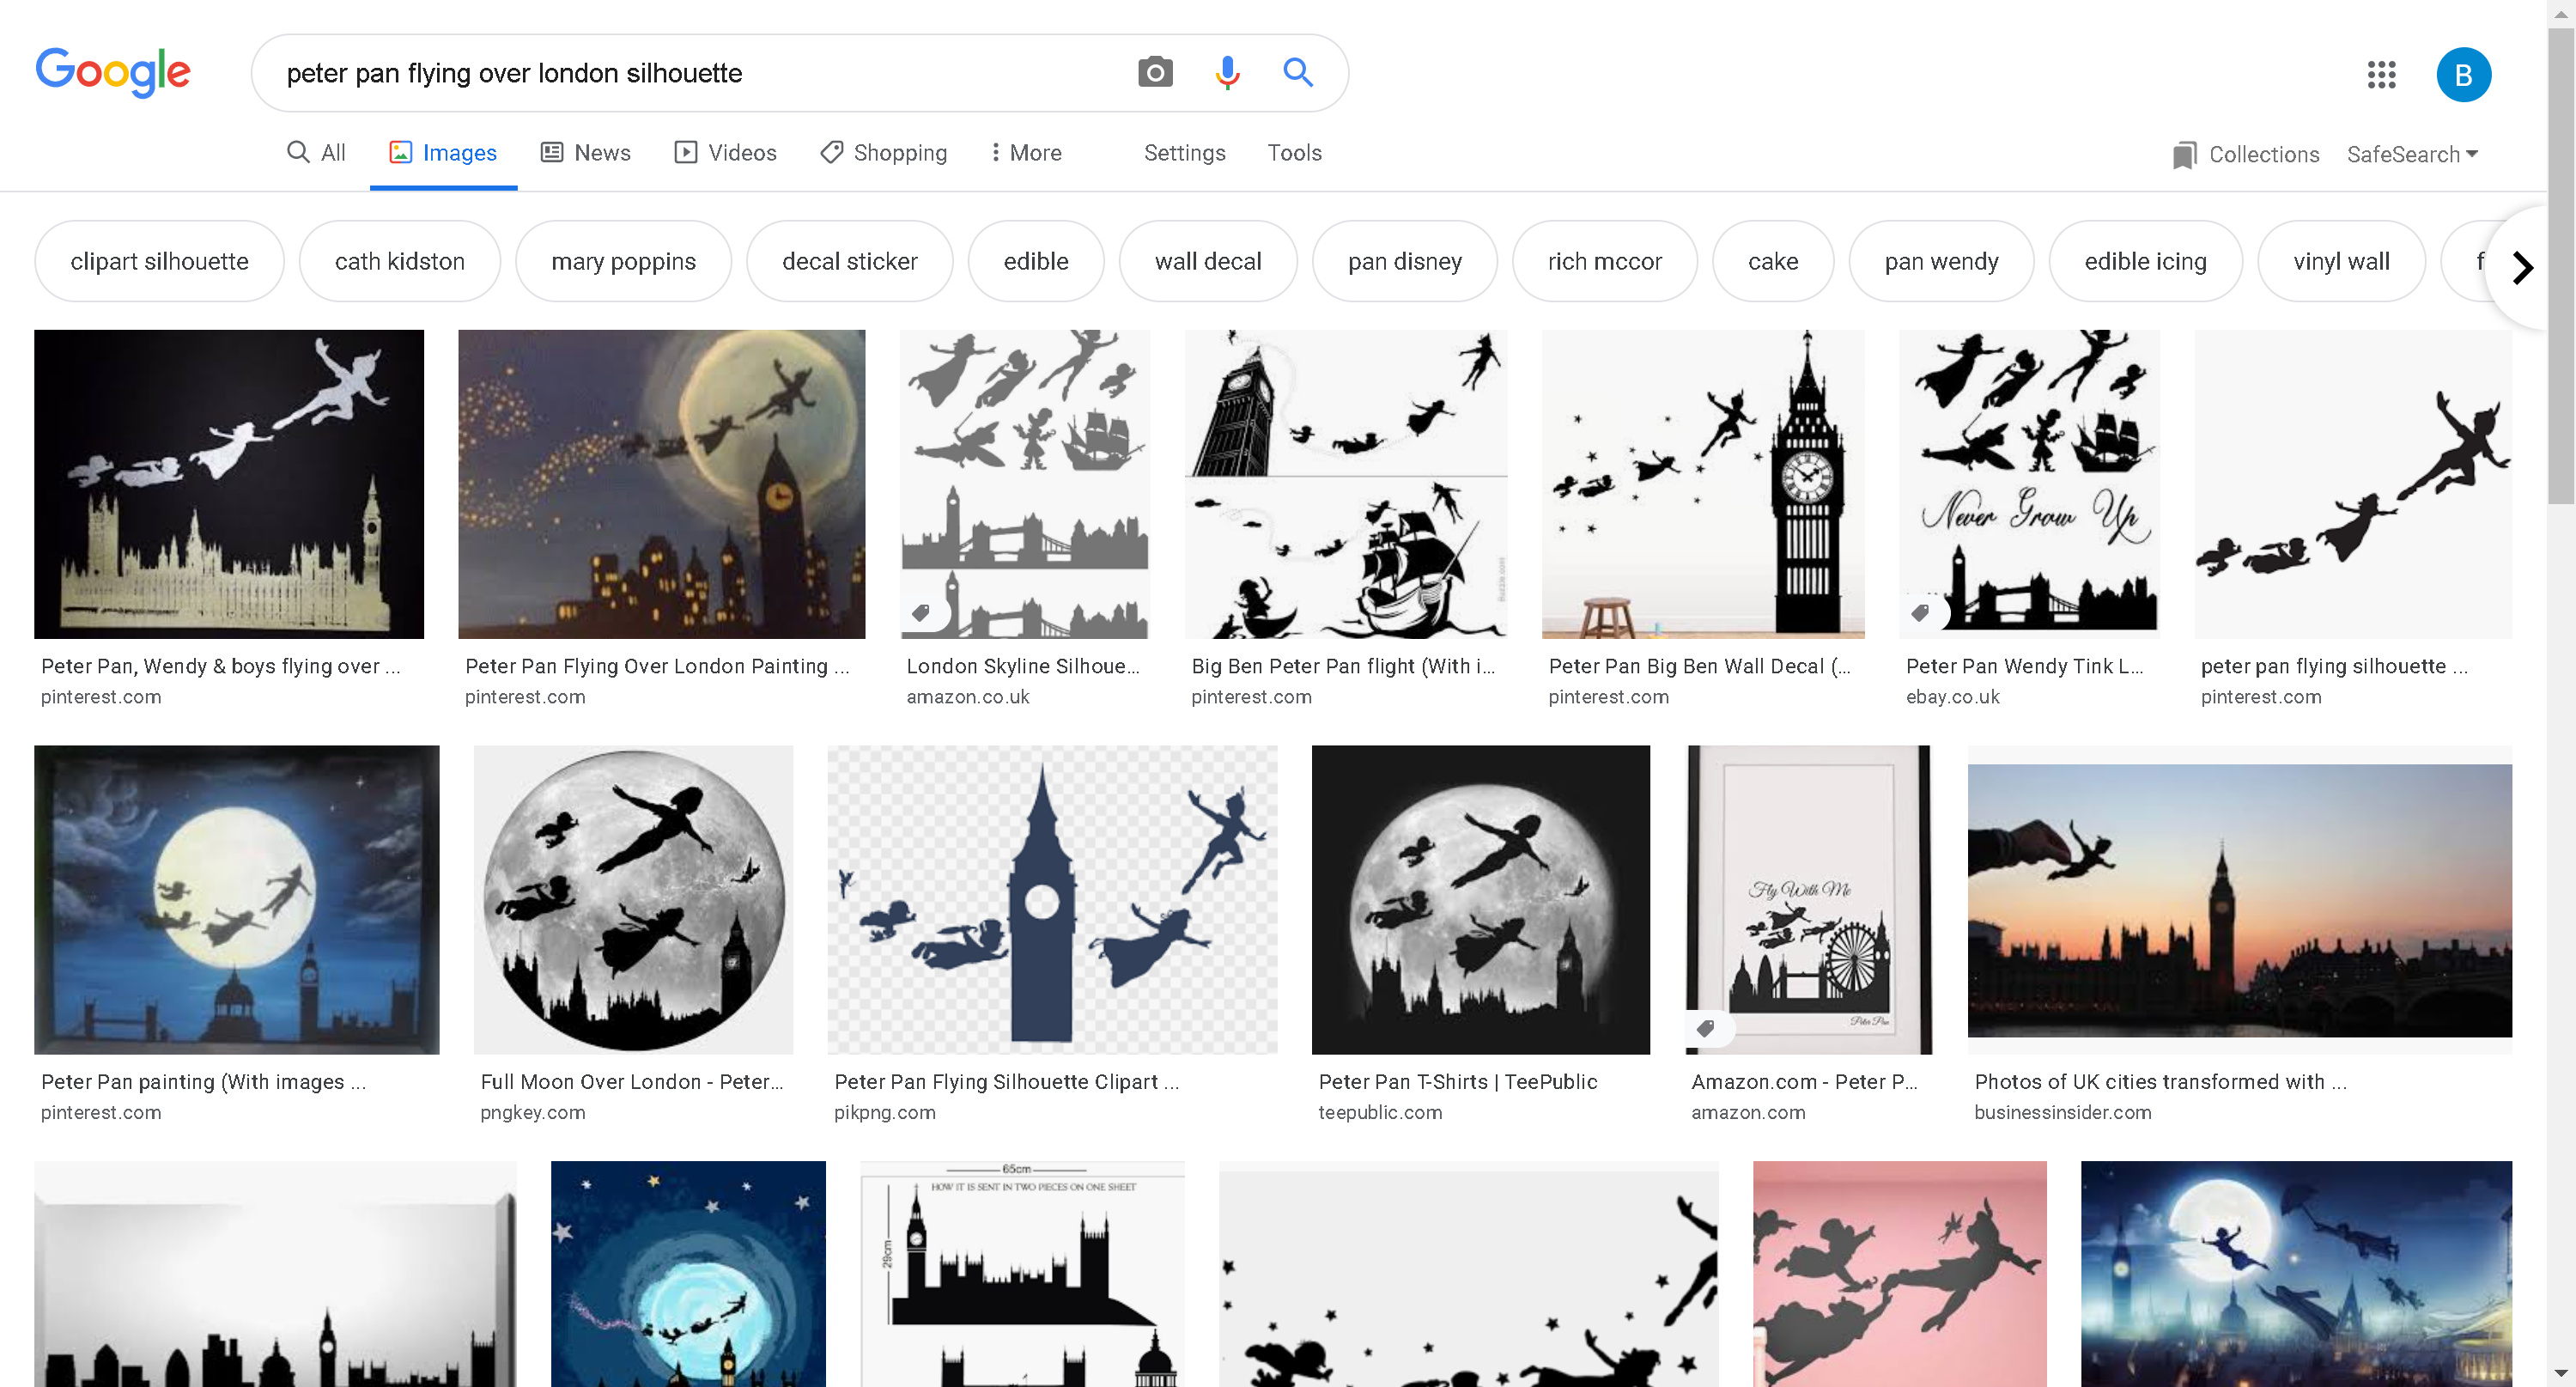
For my purposes, I was replicating the iconic image from the 1953 Disney film so I started with a quick google search of "peter pan flying over london silhouette" using key words is a great way to find a design that you like. As this is going to be 3D printed and end up being one colour with the glow in the dark filament, I felt that the final product would be most striking if I used a silhouette as the base image.
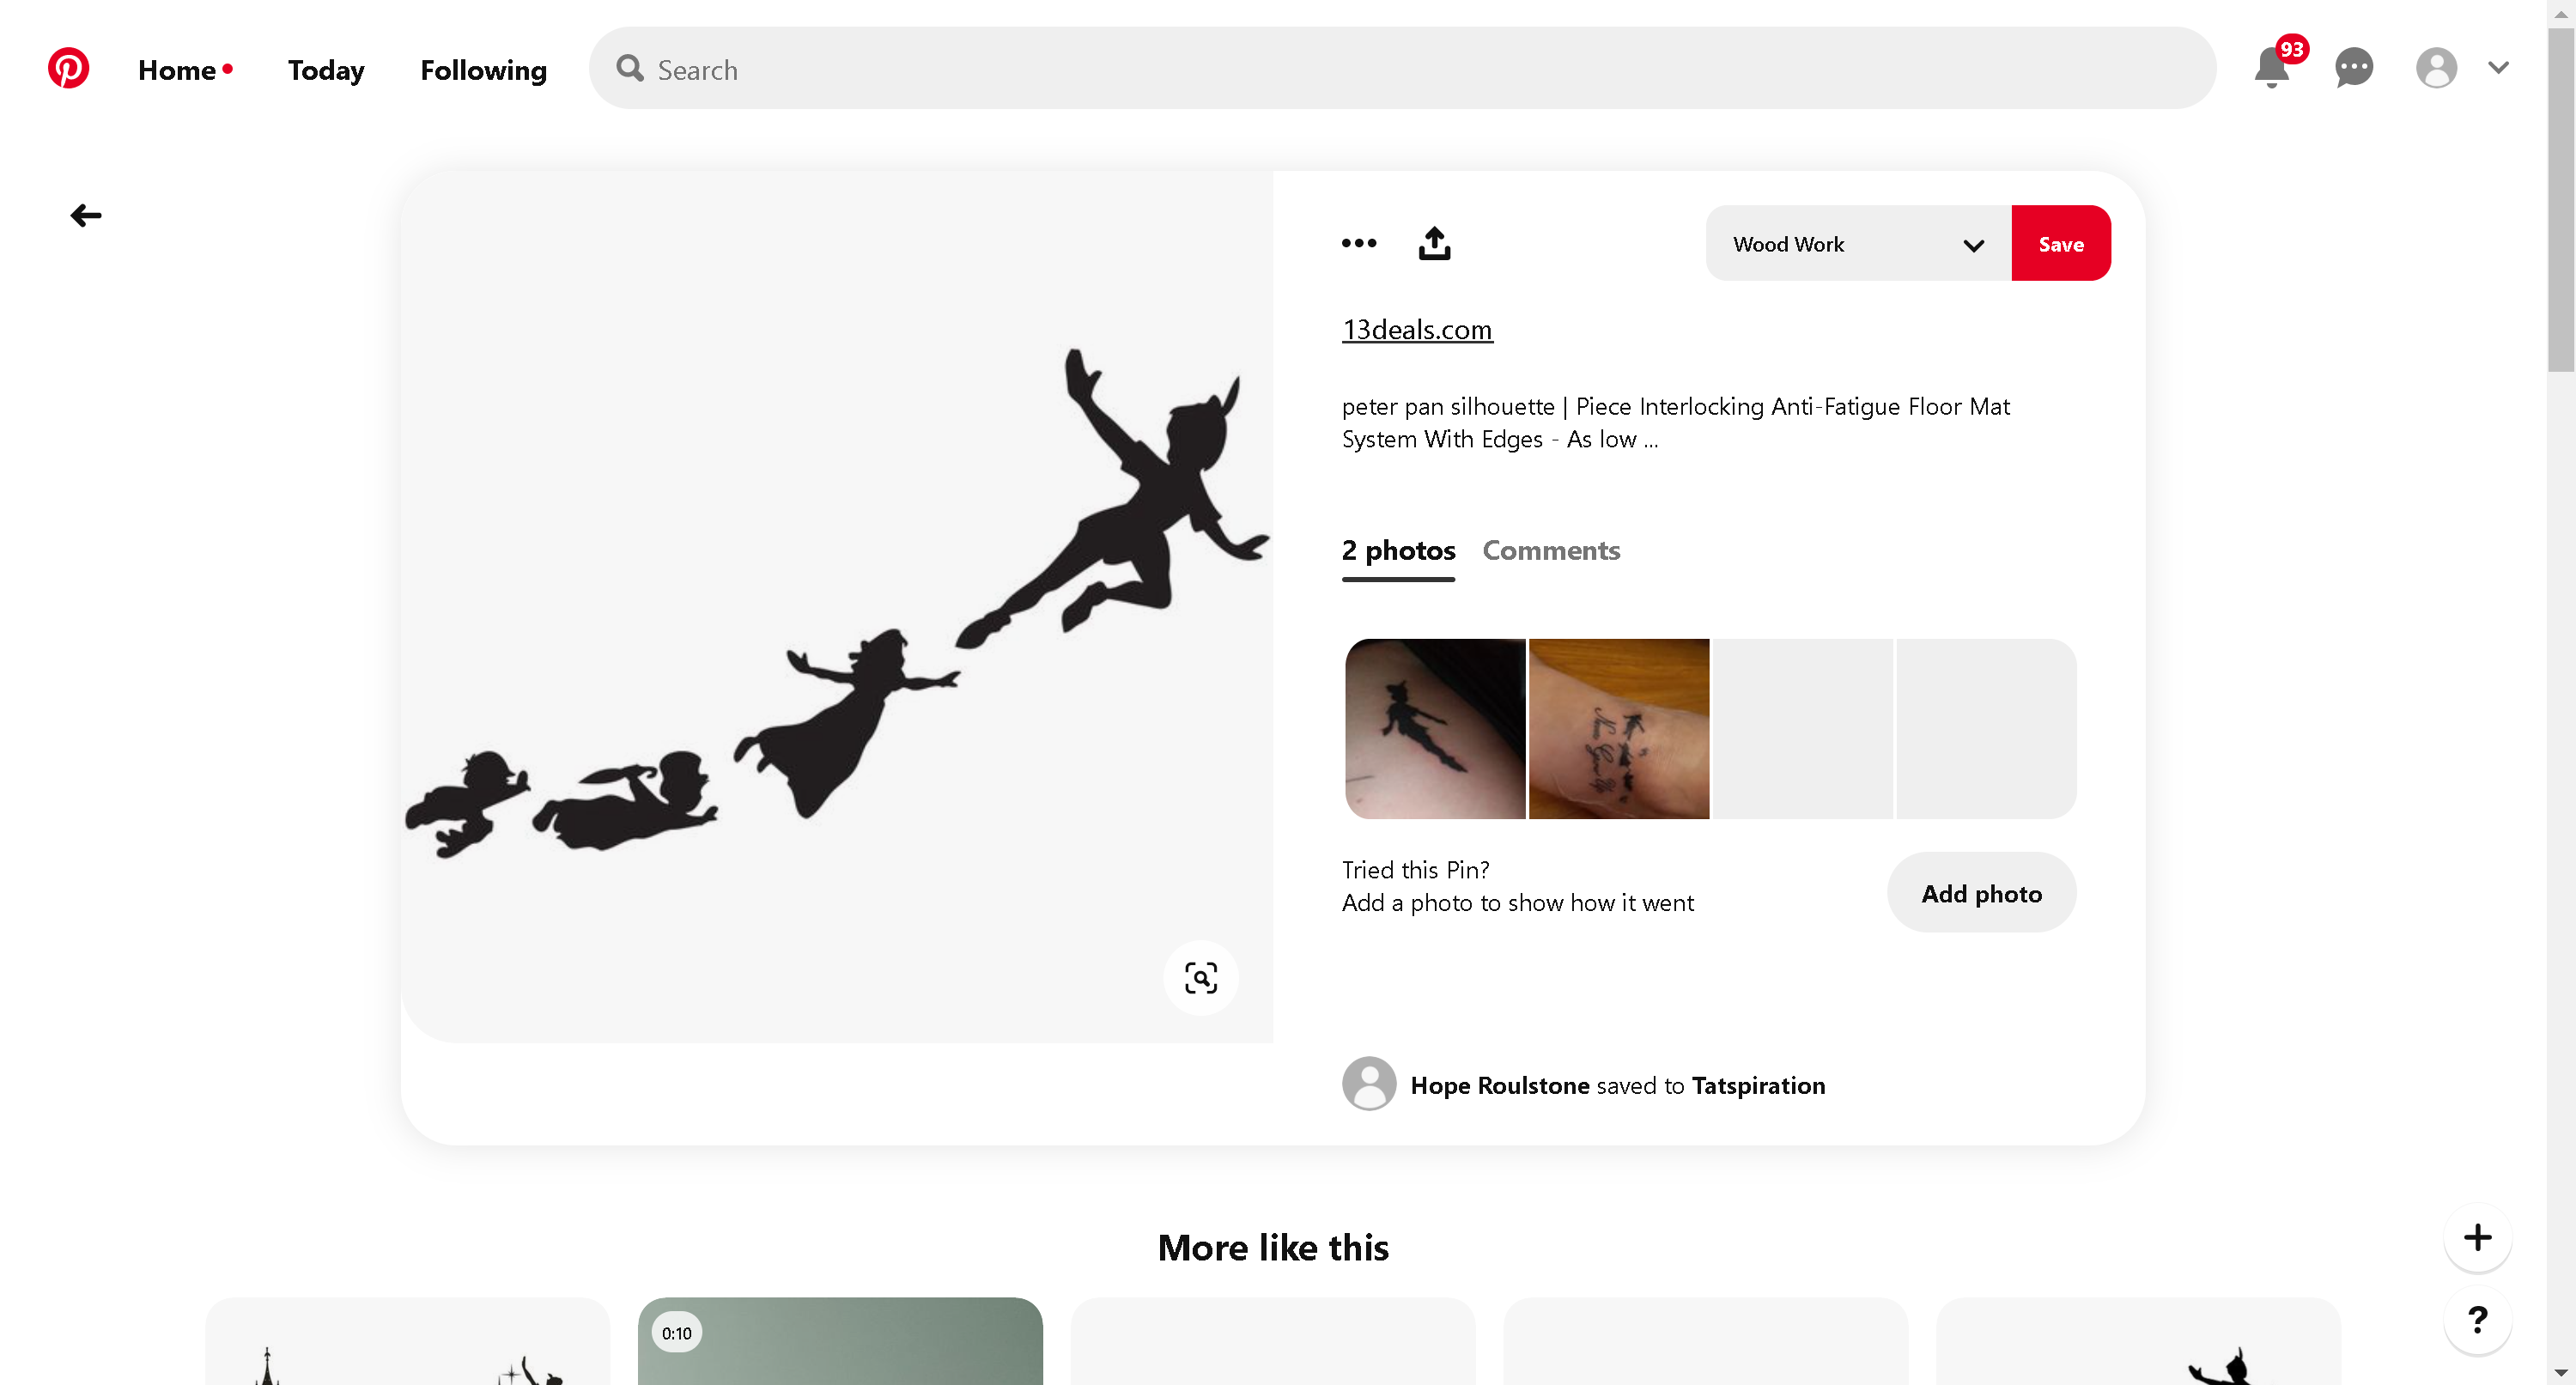
I finally settled on this black and white image I found on Pinterest.
Considerations to make when choosing your image:
Although a silhouette is most likely they easiest image for this process, you could easily make a more intricate design, however be aware you are going to be printing this object out so it will only be one colour.
Using black and white images is possible if they are in blocks of colour similar to say a pop art style.
Similarly, for ease of printing, you will want your print to be in one piece, so make sure the design is all connected and there are no sections of the graphic floating in the middle. You can print multiple pieces it will just involve more work down the line as you need to line the sections up when mounting them and this could result in a wonky looking final product.
If you can find a vectorised image it will make your life a lot easier! Preferable file formats are DXF or SVG however, I will show you how a regular image will work too.
What Is a Vector Graphic?
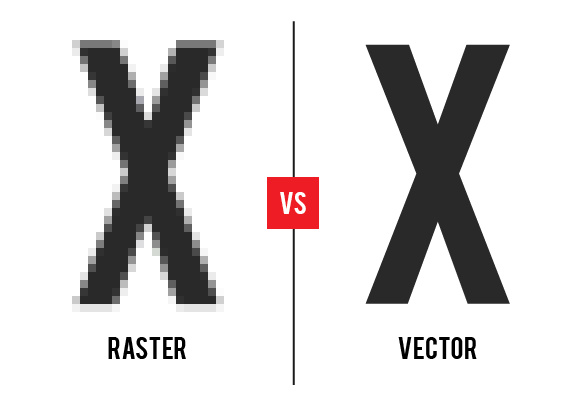
The different between a non vector (raster) graphic and a vector graphic is, in simple terms, that a vector graphic is easier to edit and utilise in CAD softwares. This is because a Vector image is a graphic made up of lines, curves and points that can be defined by mathematical equations (think of how functions work in math). A non vector graphic is usually artwork done by colouring in square pixels to create the desired image at a specified resolution. A vector image therefore is more easily editable as you can select individual lines and curves and manipulate them in one go. A vector graphic can also be scaled to however small or large you wish while remaining smooth linework.
TL;DR Vector graphics are your friend in 3D modeling.
How to Vectorise an Image
.png)
.png)
.png)
.png)
.png)
.png)
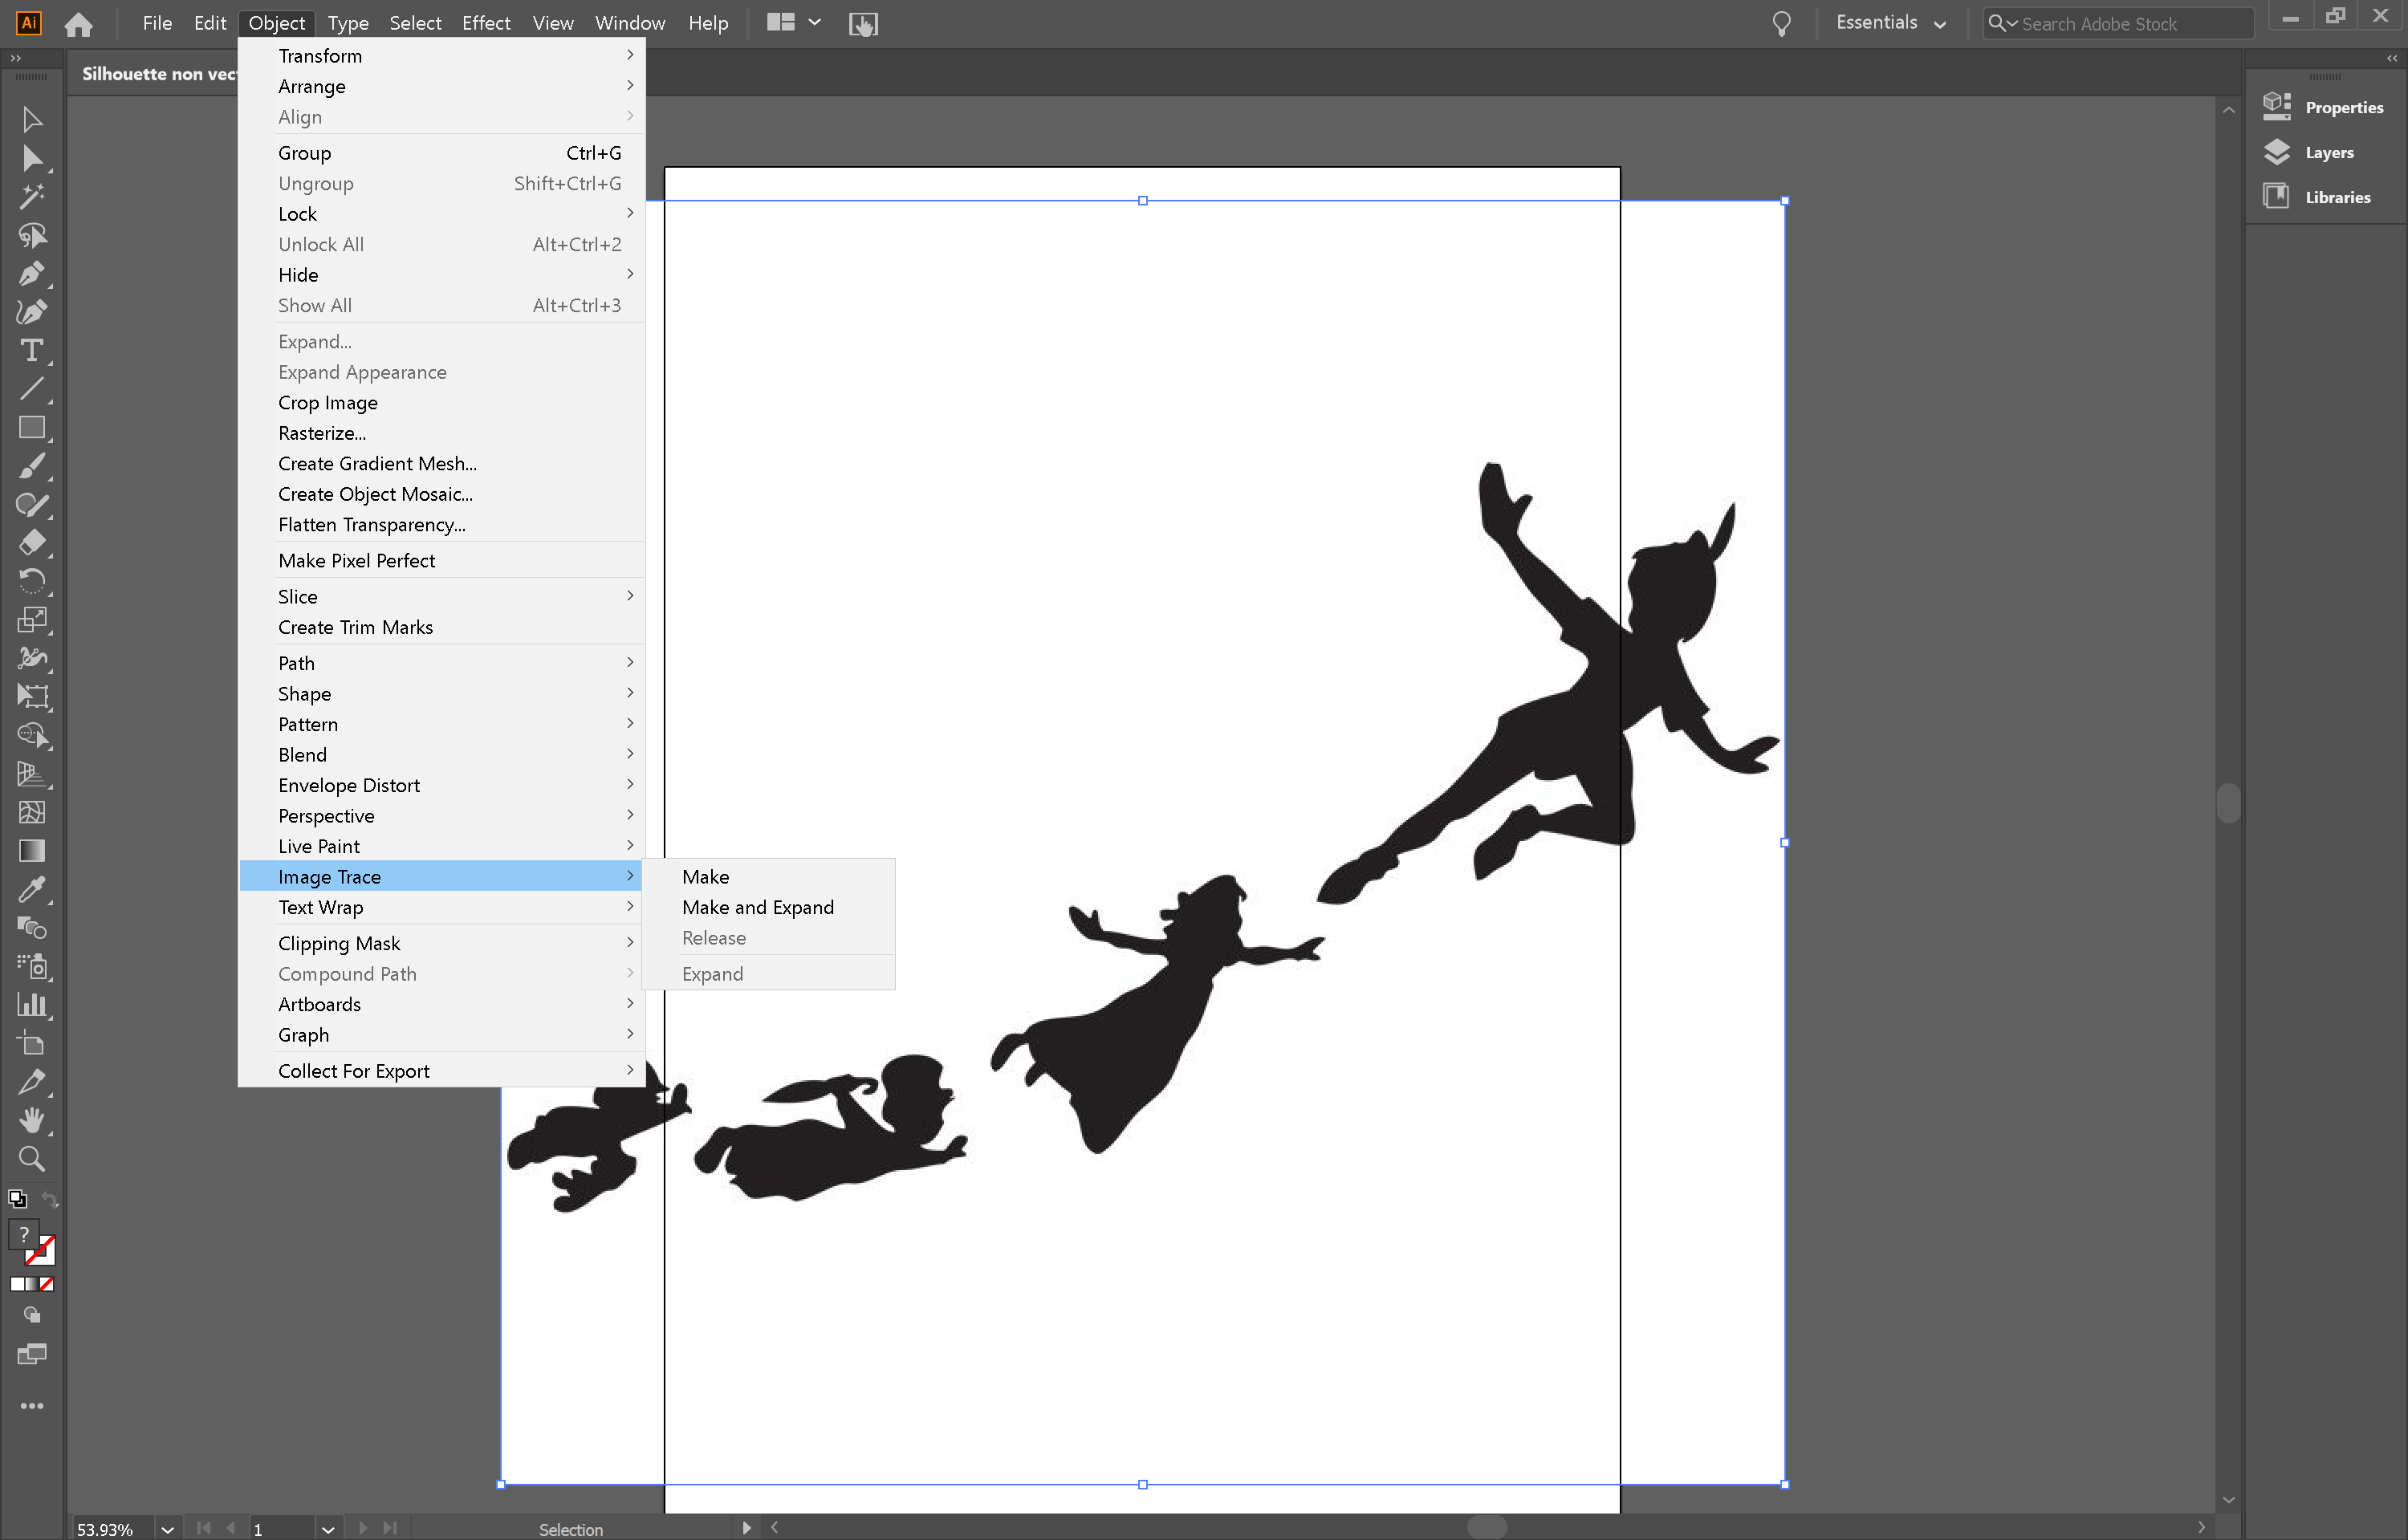
I have found a very easy way to vectorise an image is using Adobe Illustrator. In Illustrator, there is a great tool called image trace which does exactly this. This tool does definitely have its limitations, however if you have a fairly clear image to start with, this should work fine for your purposes. This tool makes it quick and easy to make any edits to the image in illustrator until you are happy with it.
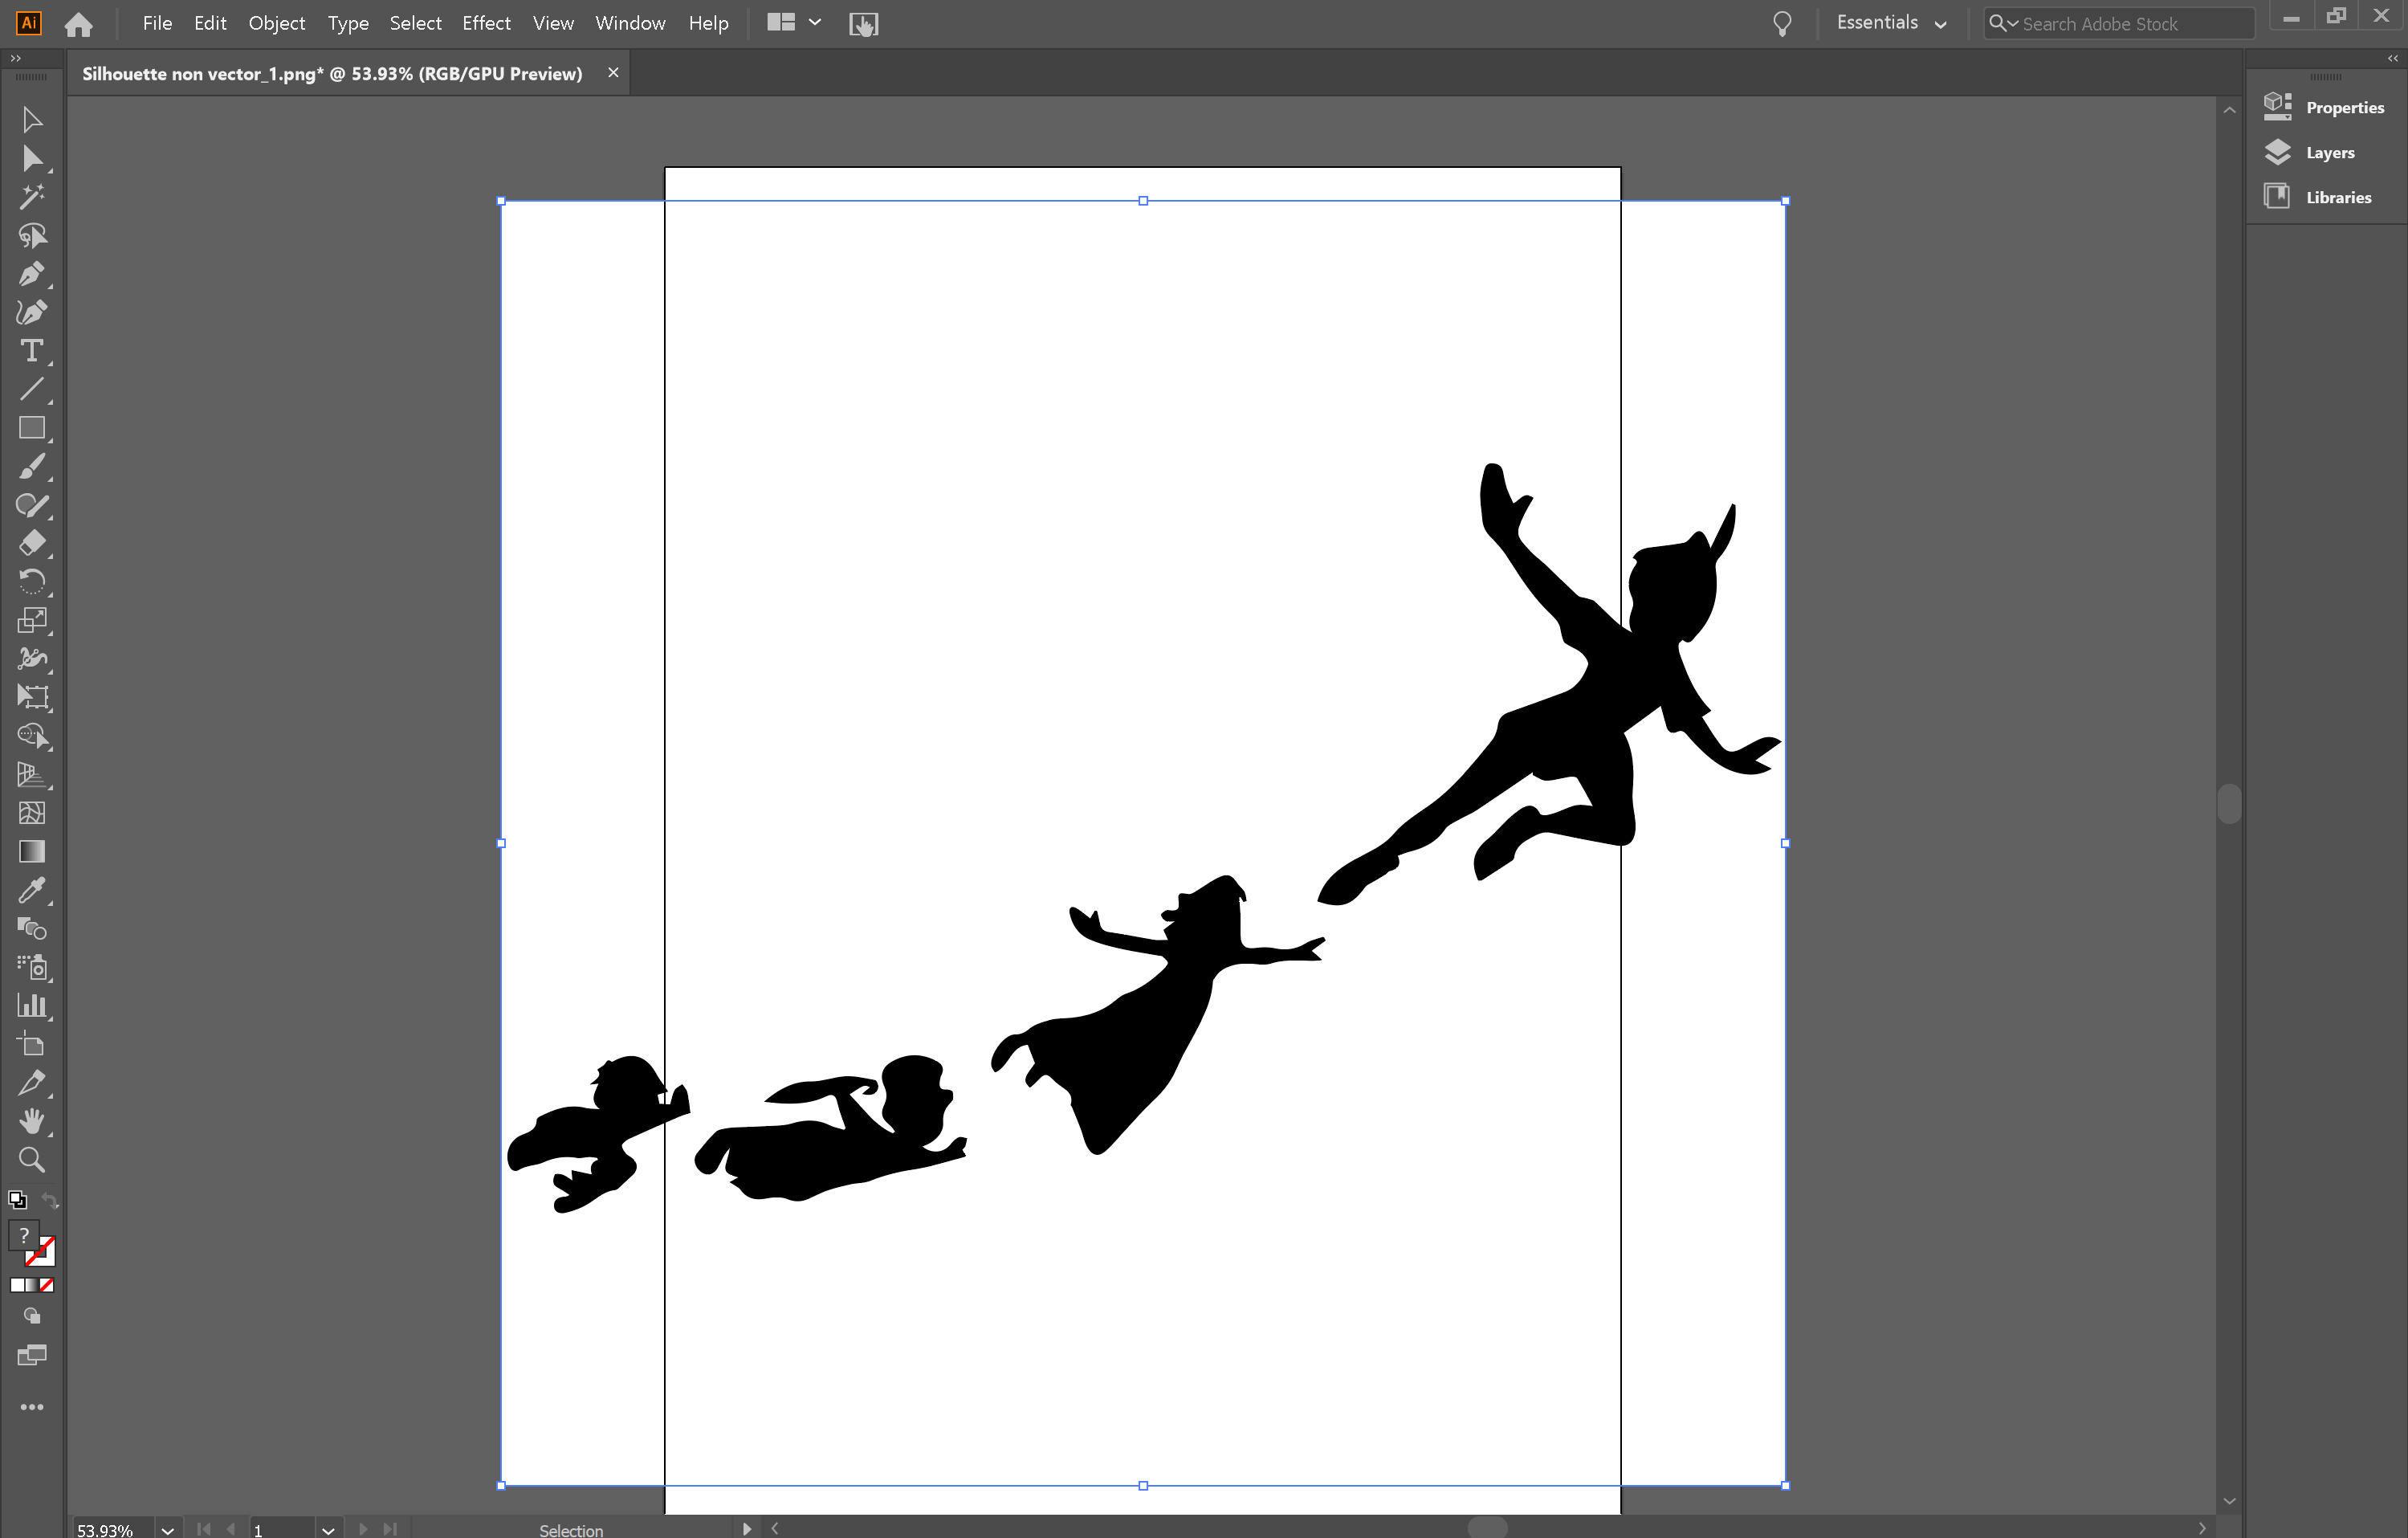
To use image trace, select you image, then under the object subheading of the toolbar, select image trace, then make. You can see that for my image it slightly rounded over some of the points but still looks like a clean recognisable image.
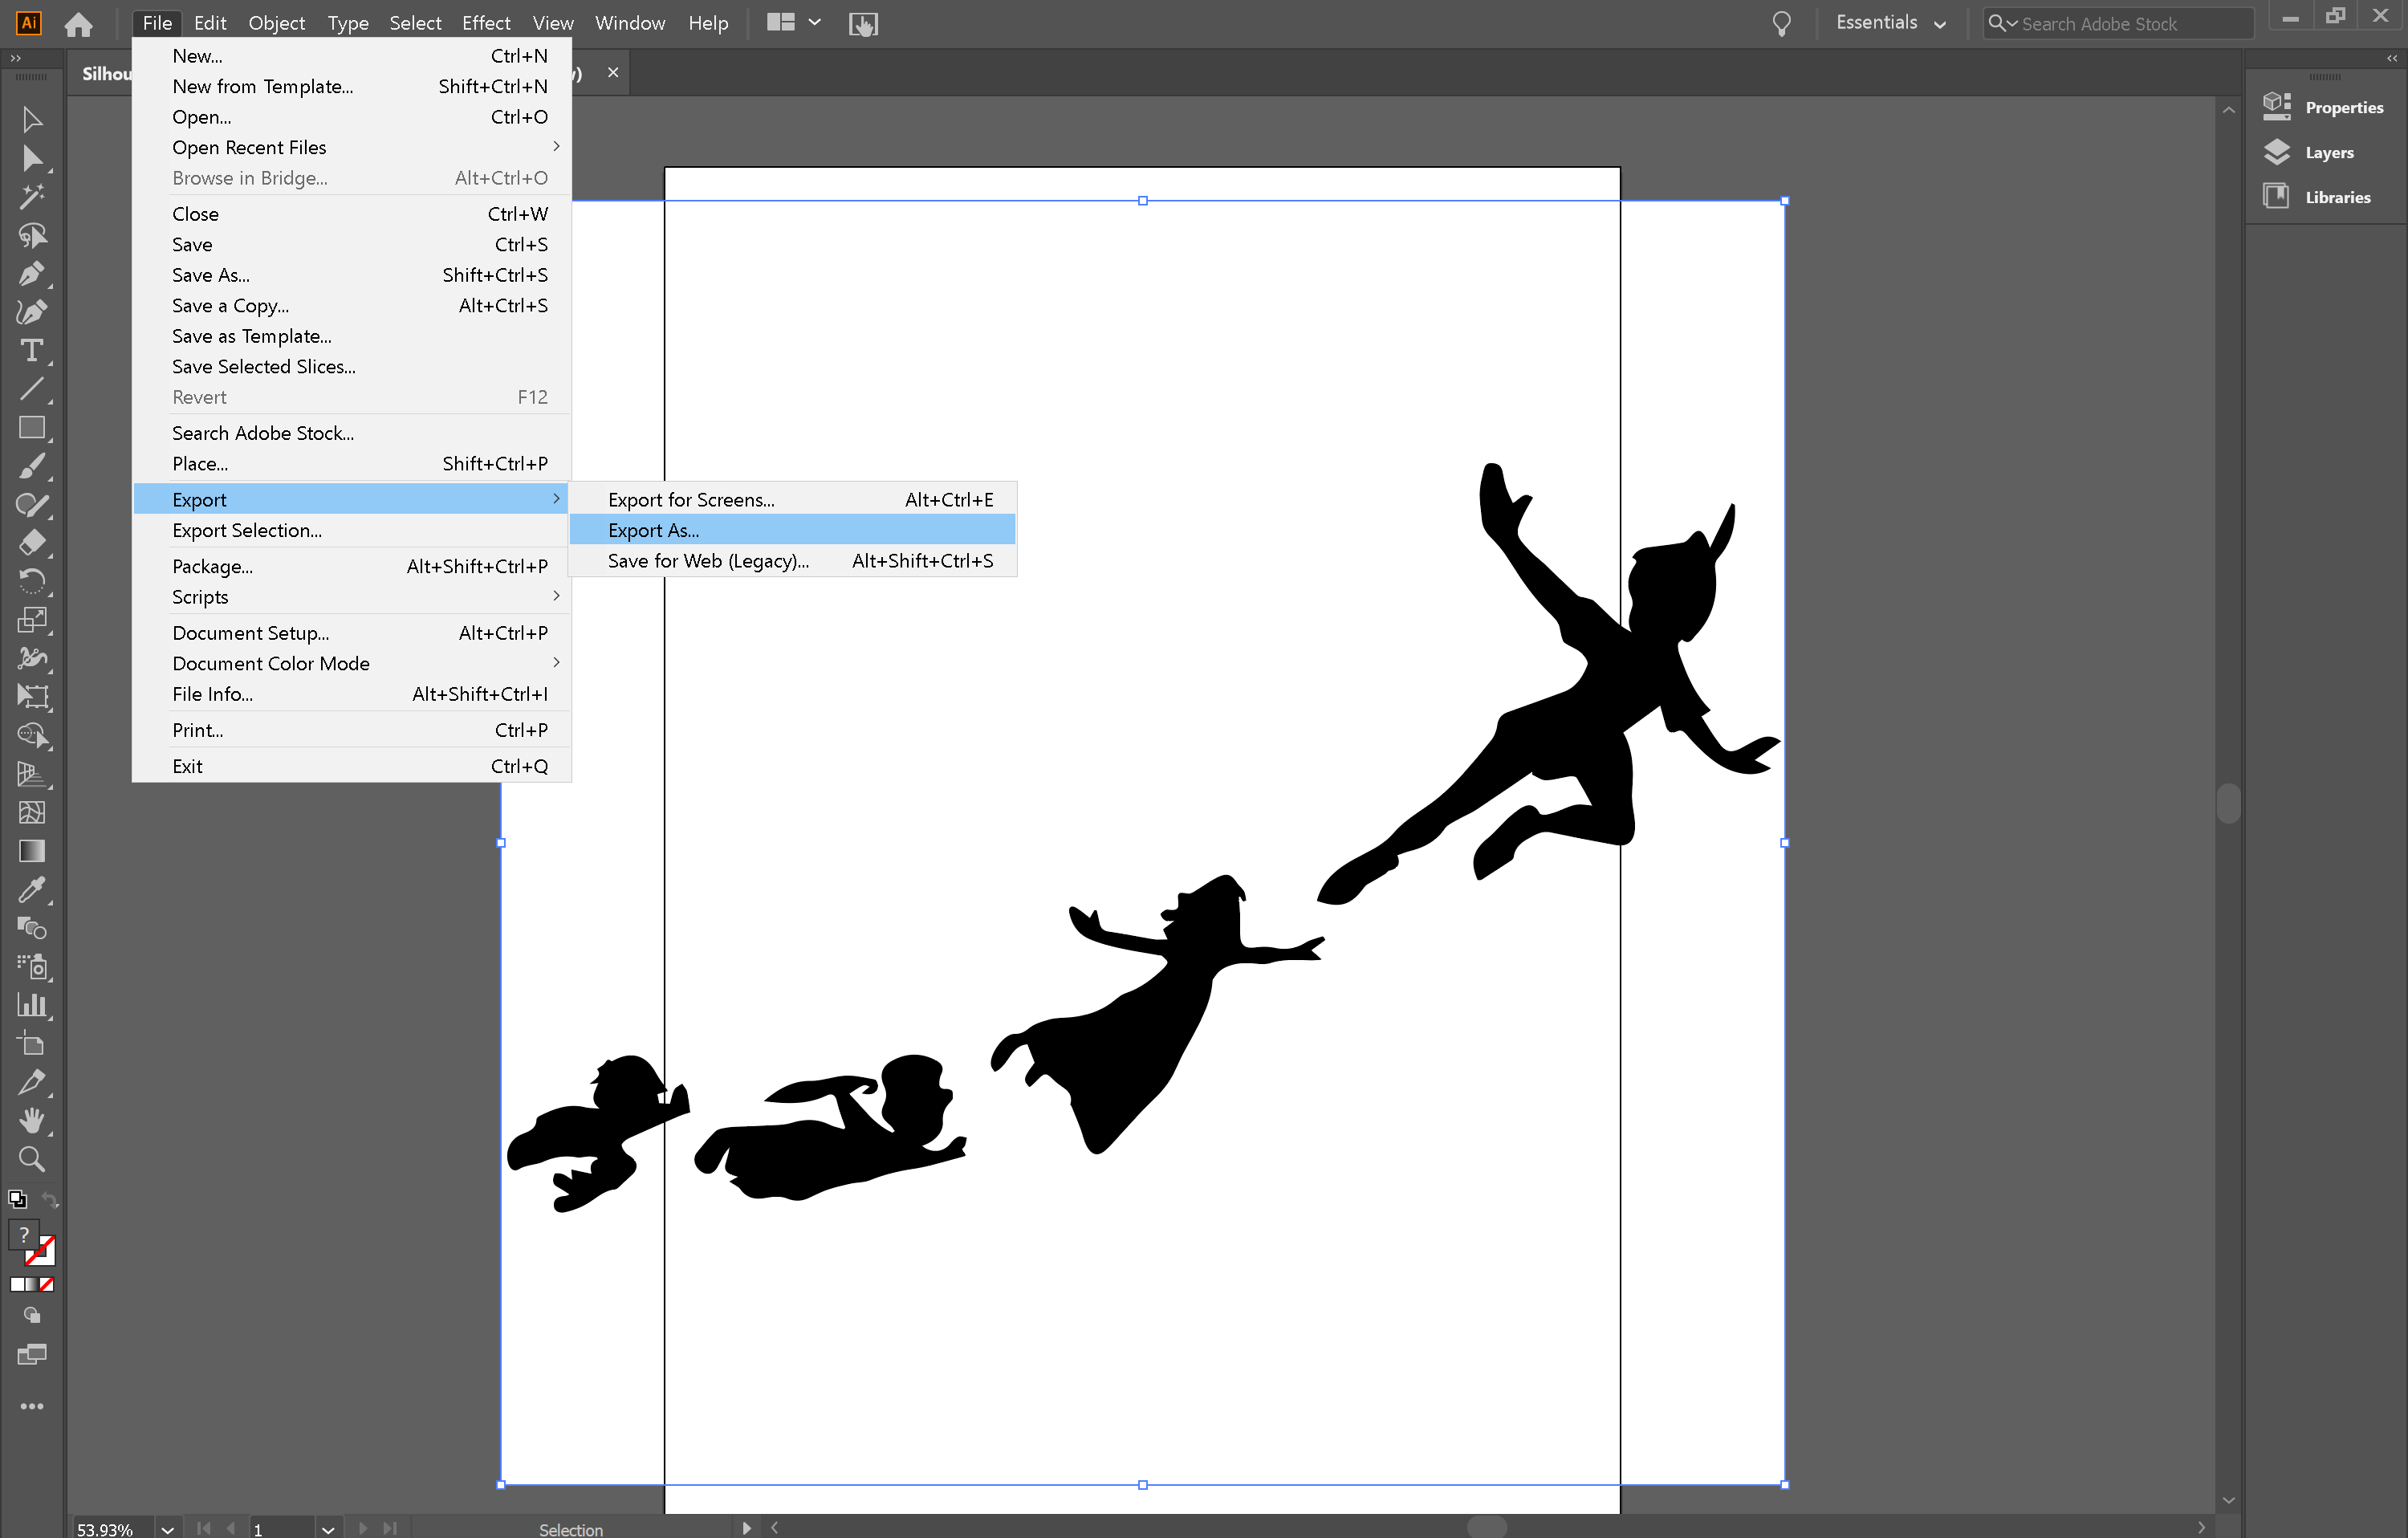
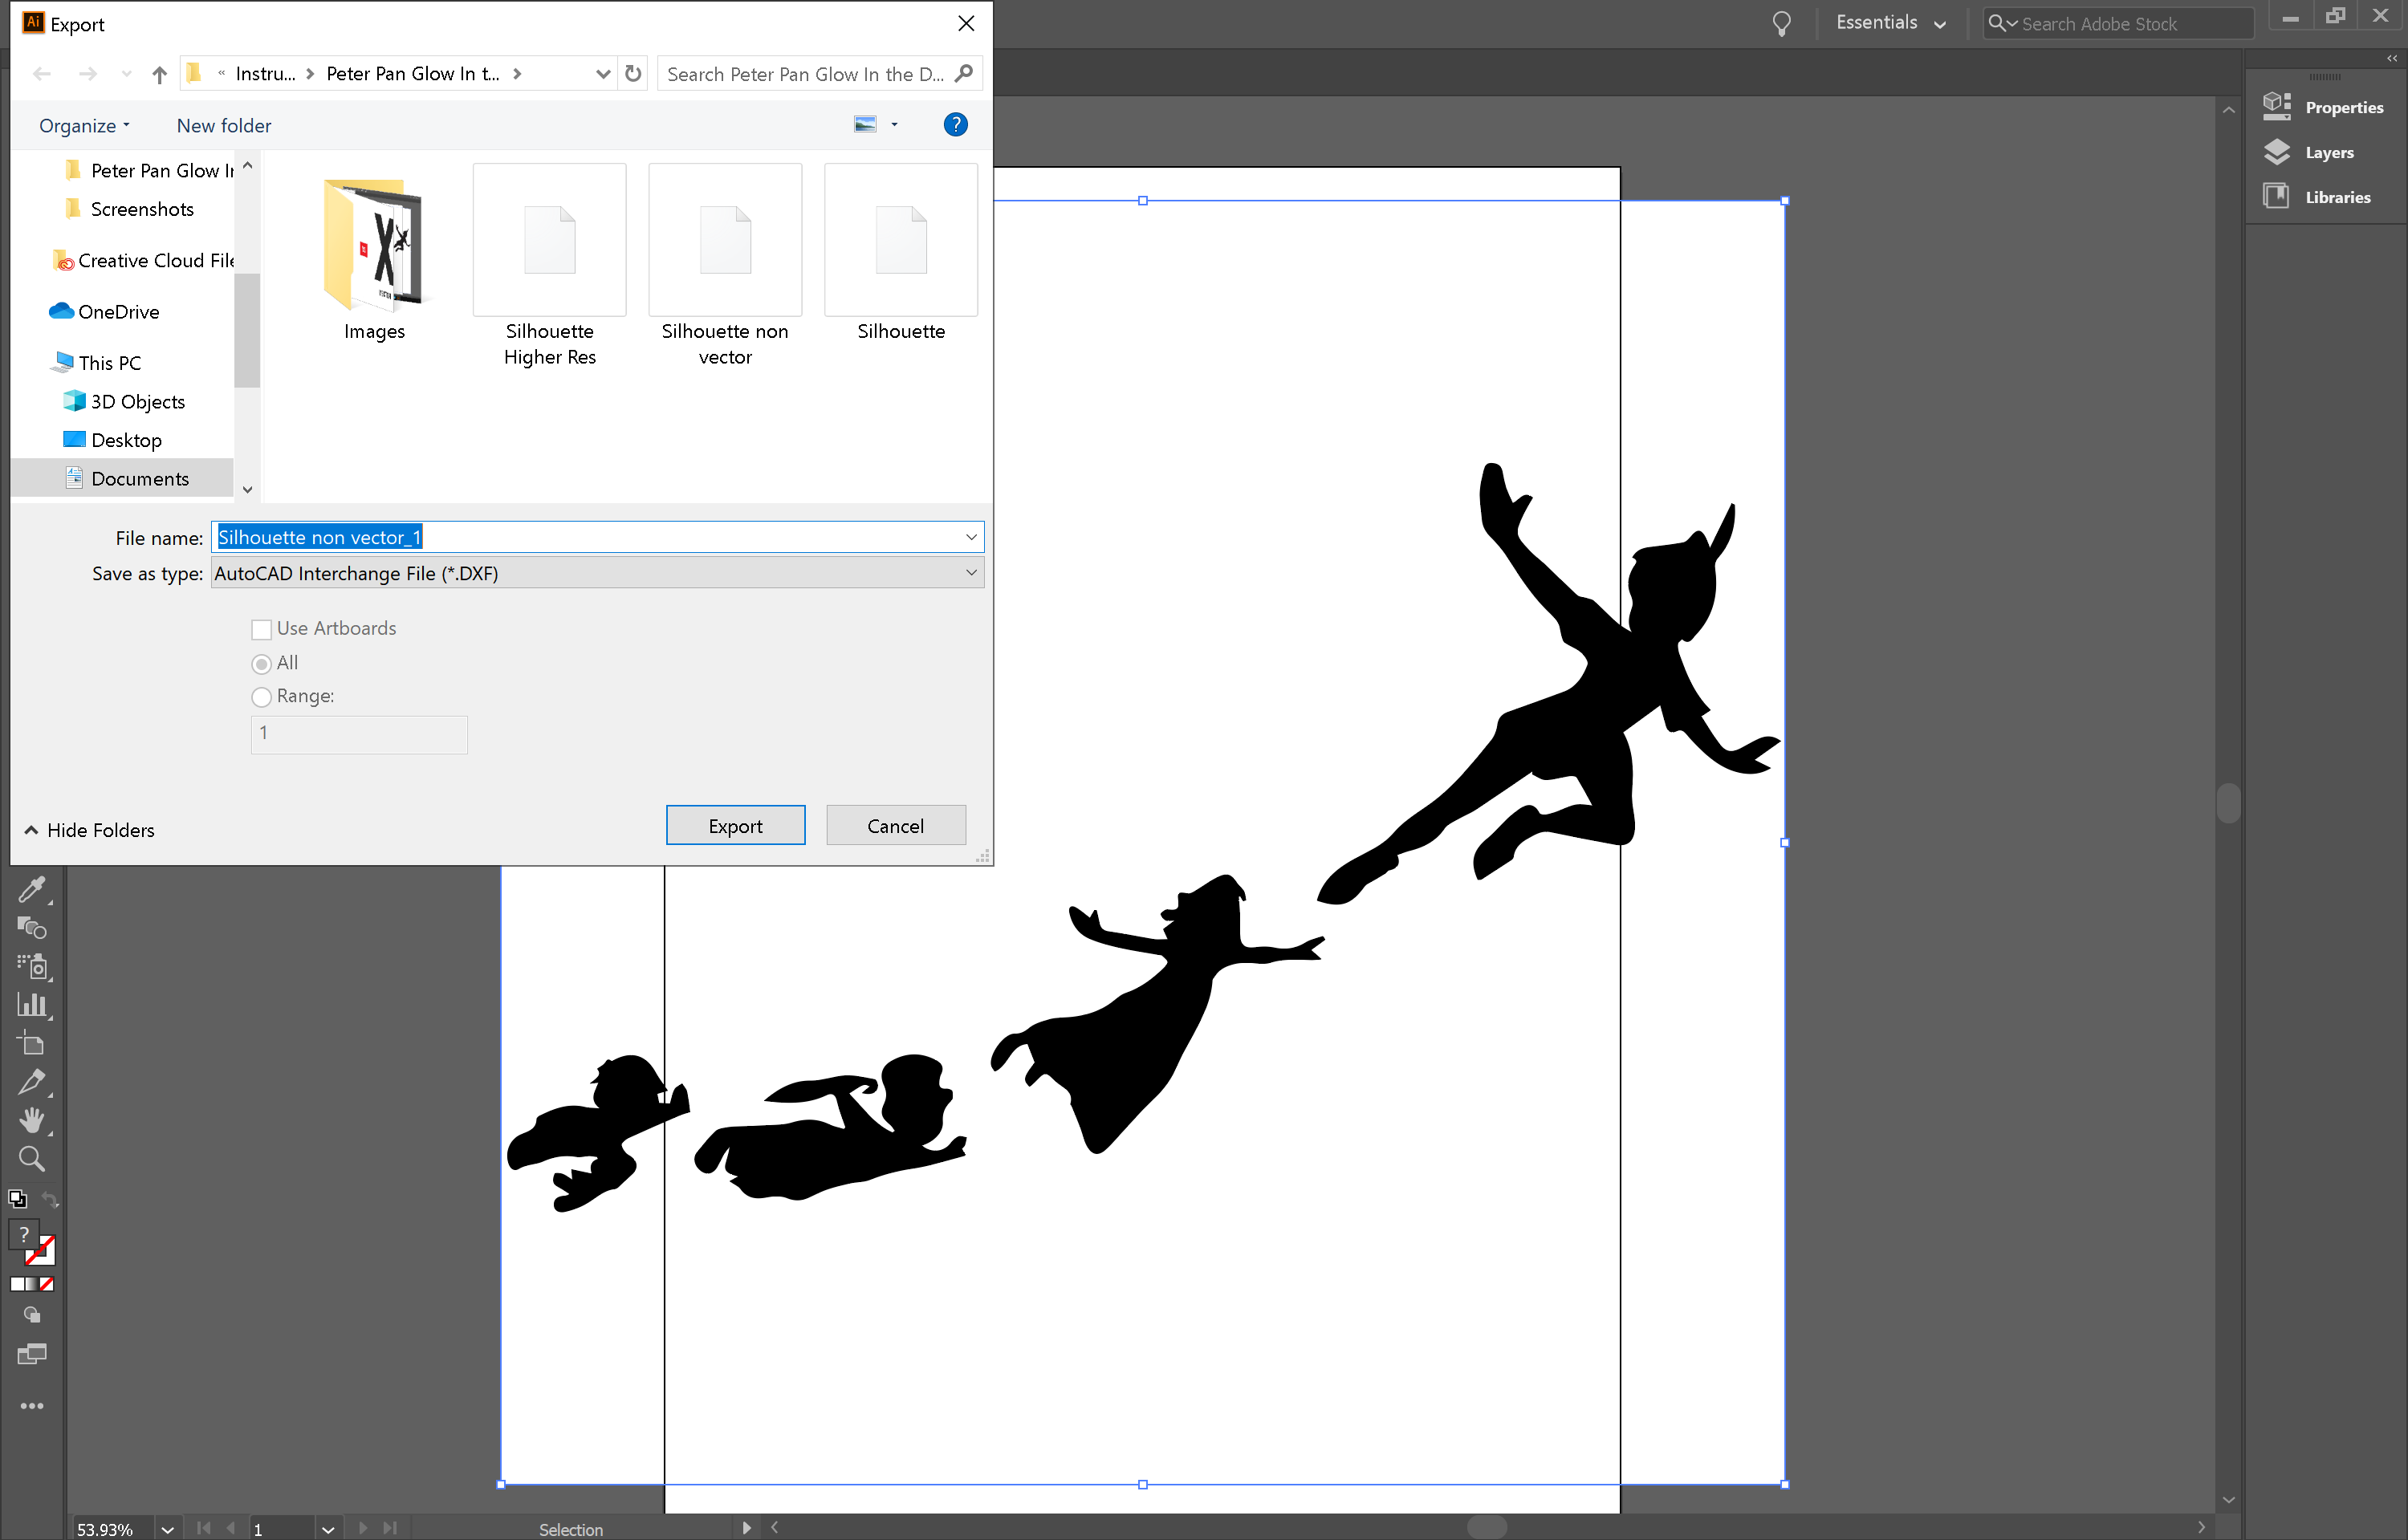
In order to import this as a sketch in your CAD program, you will want to export this new line-work as a DXF file type.
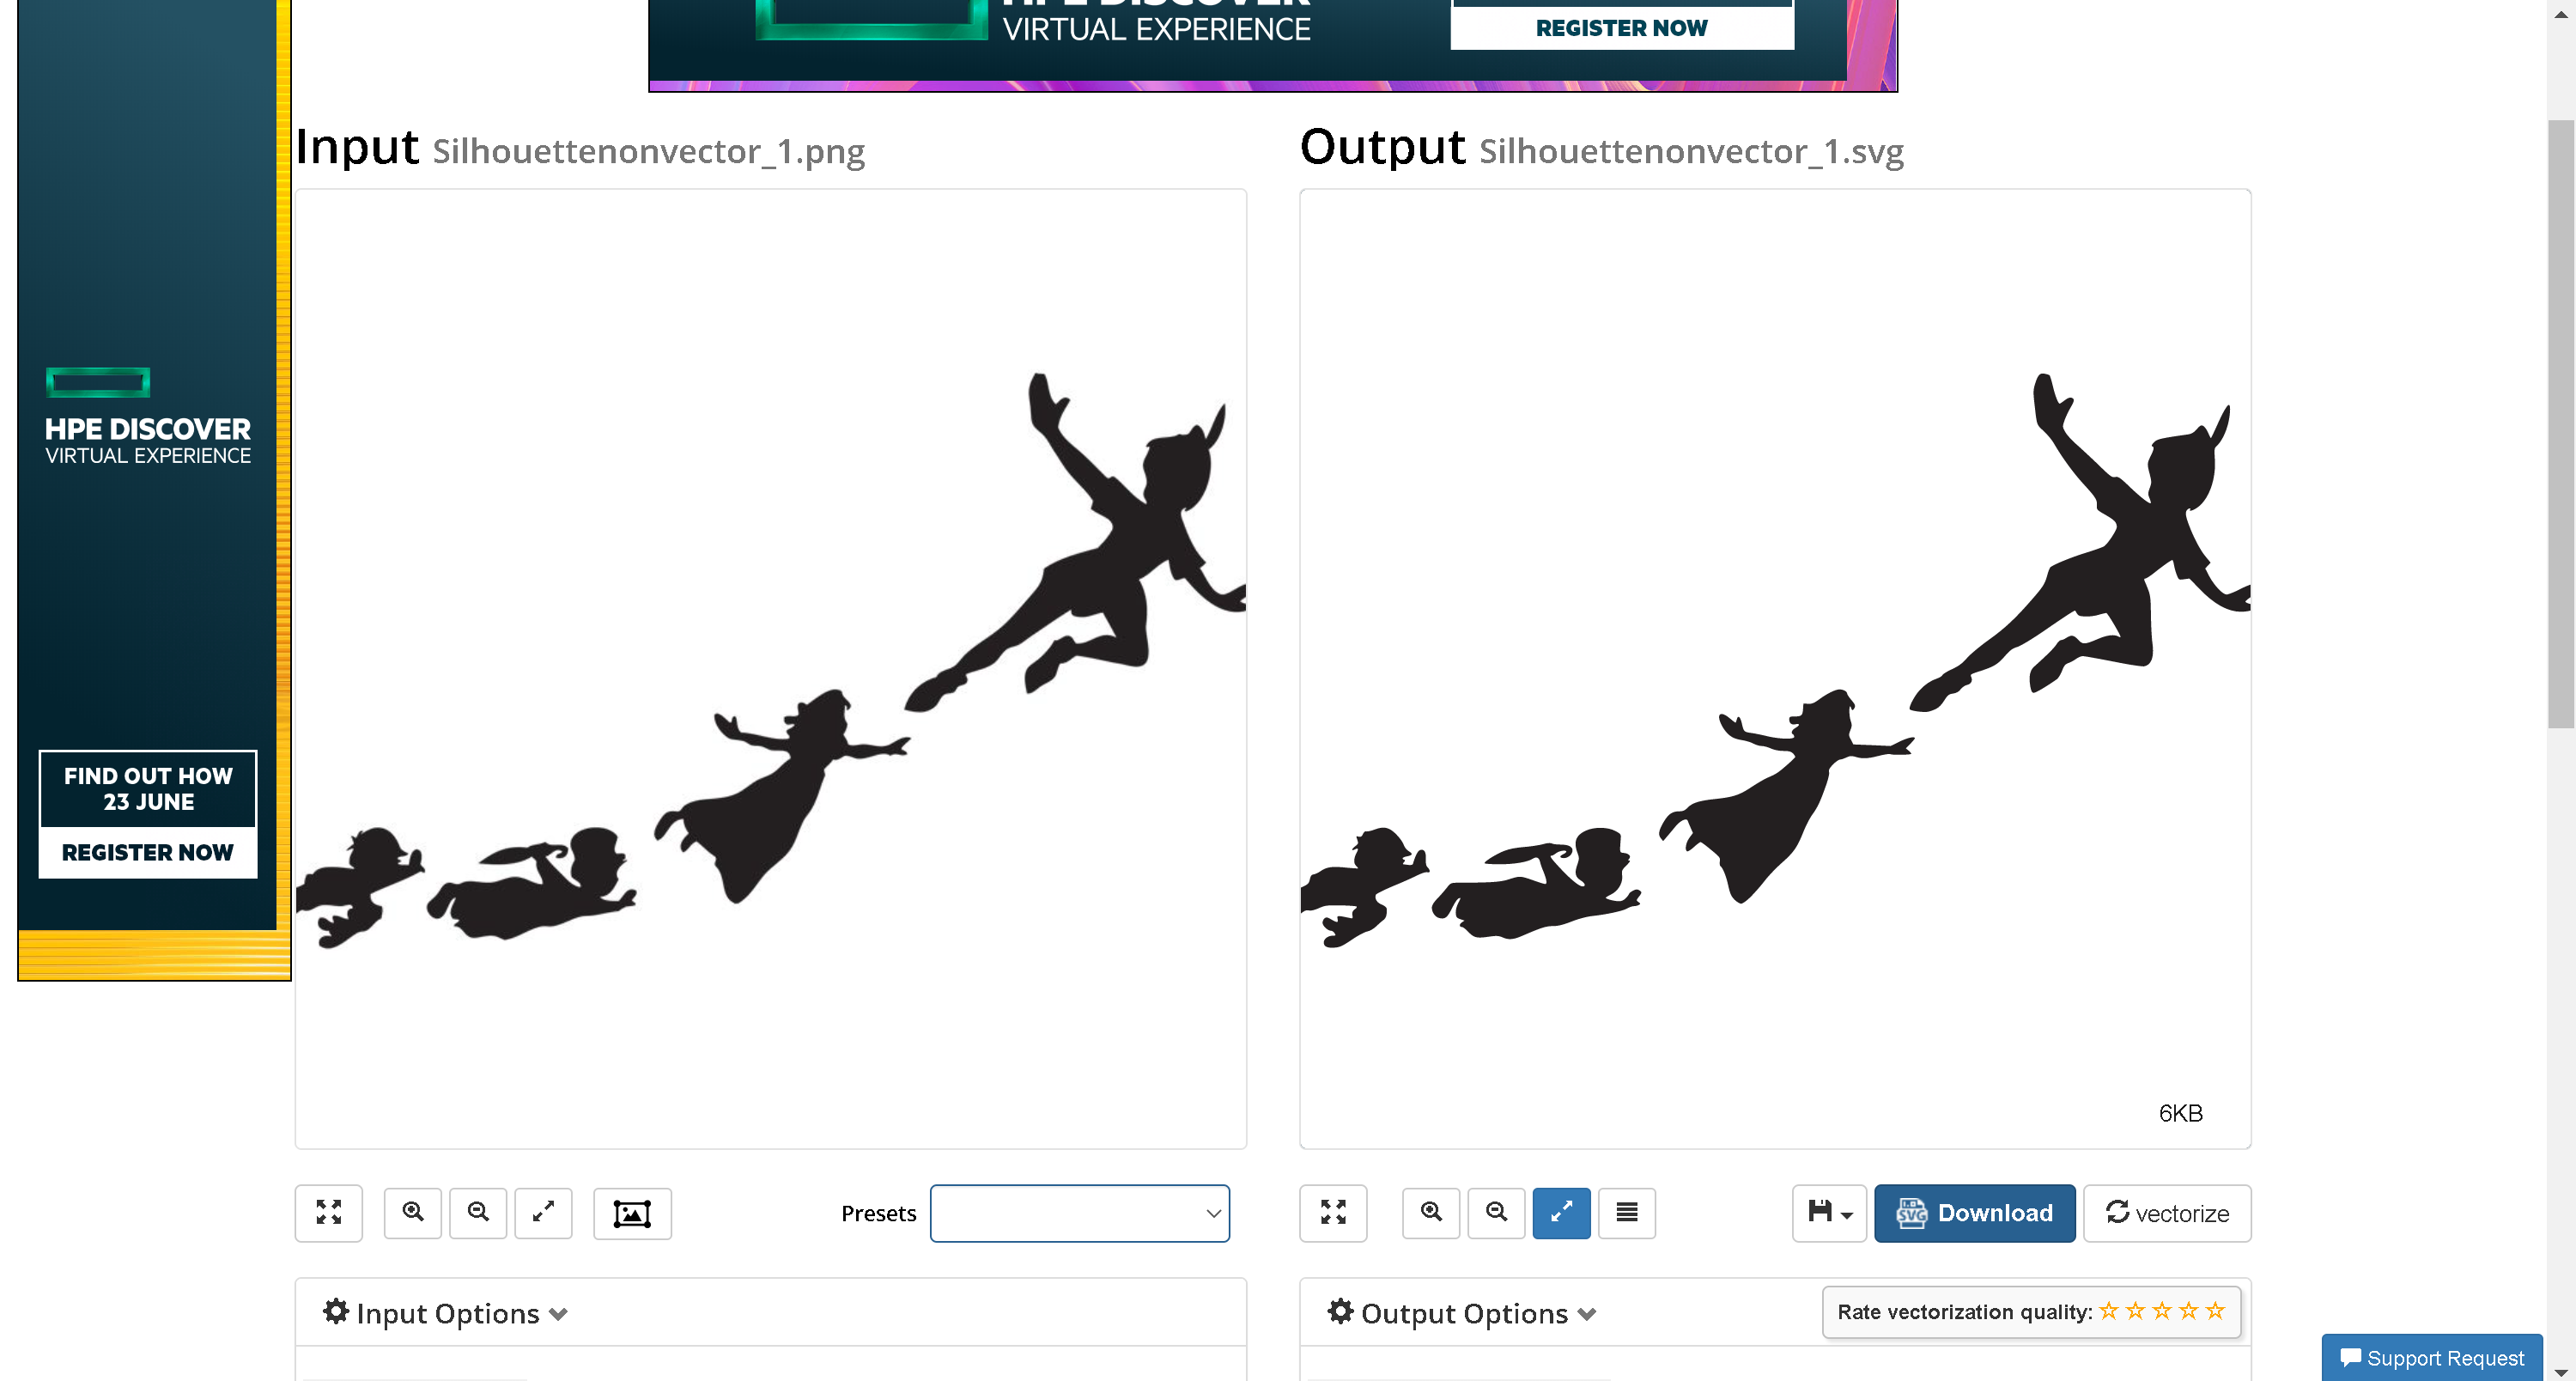
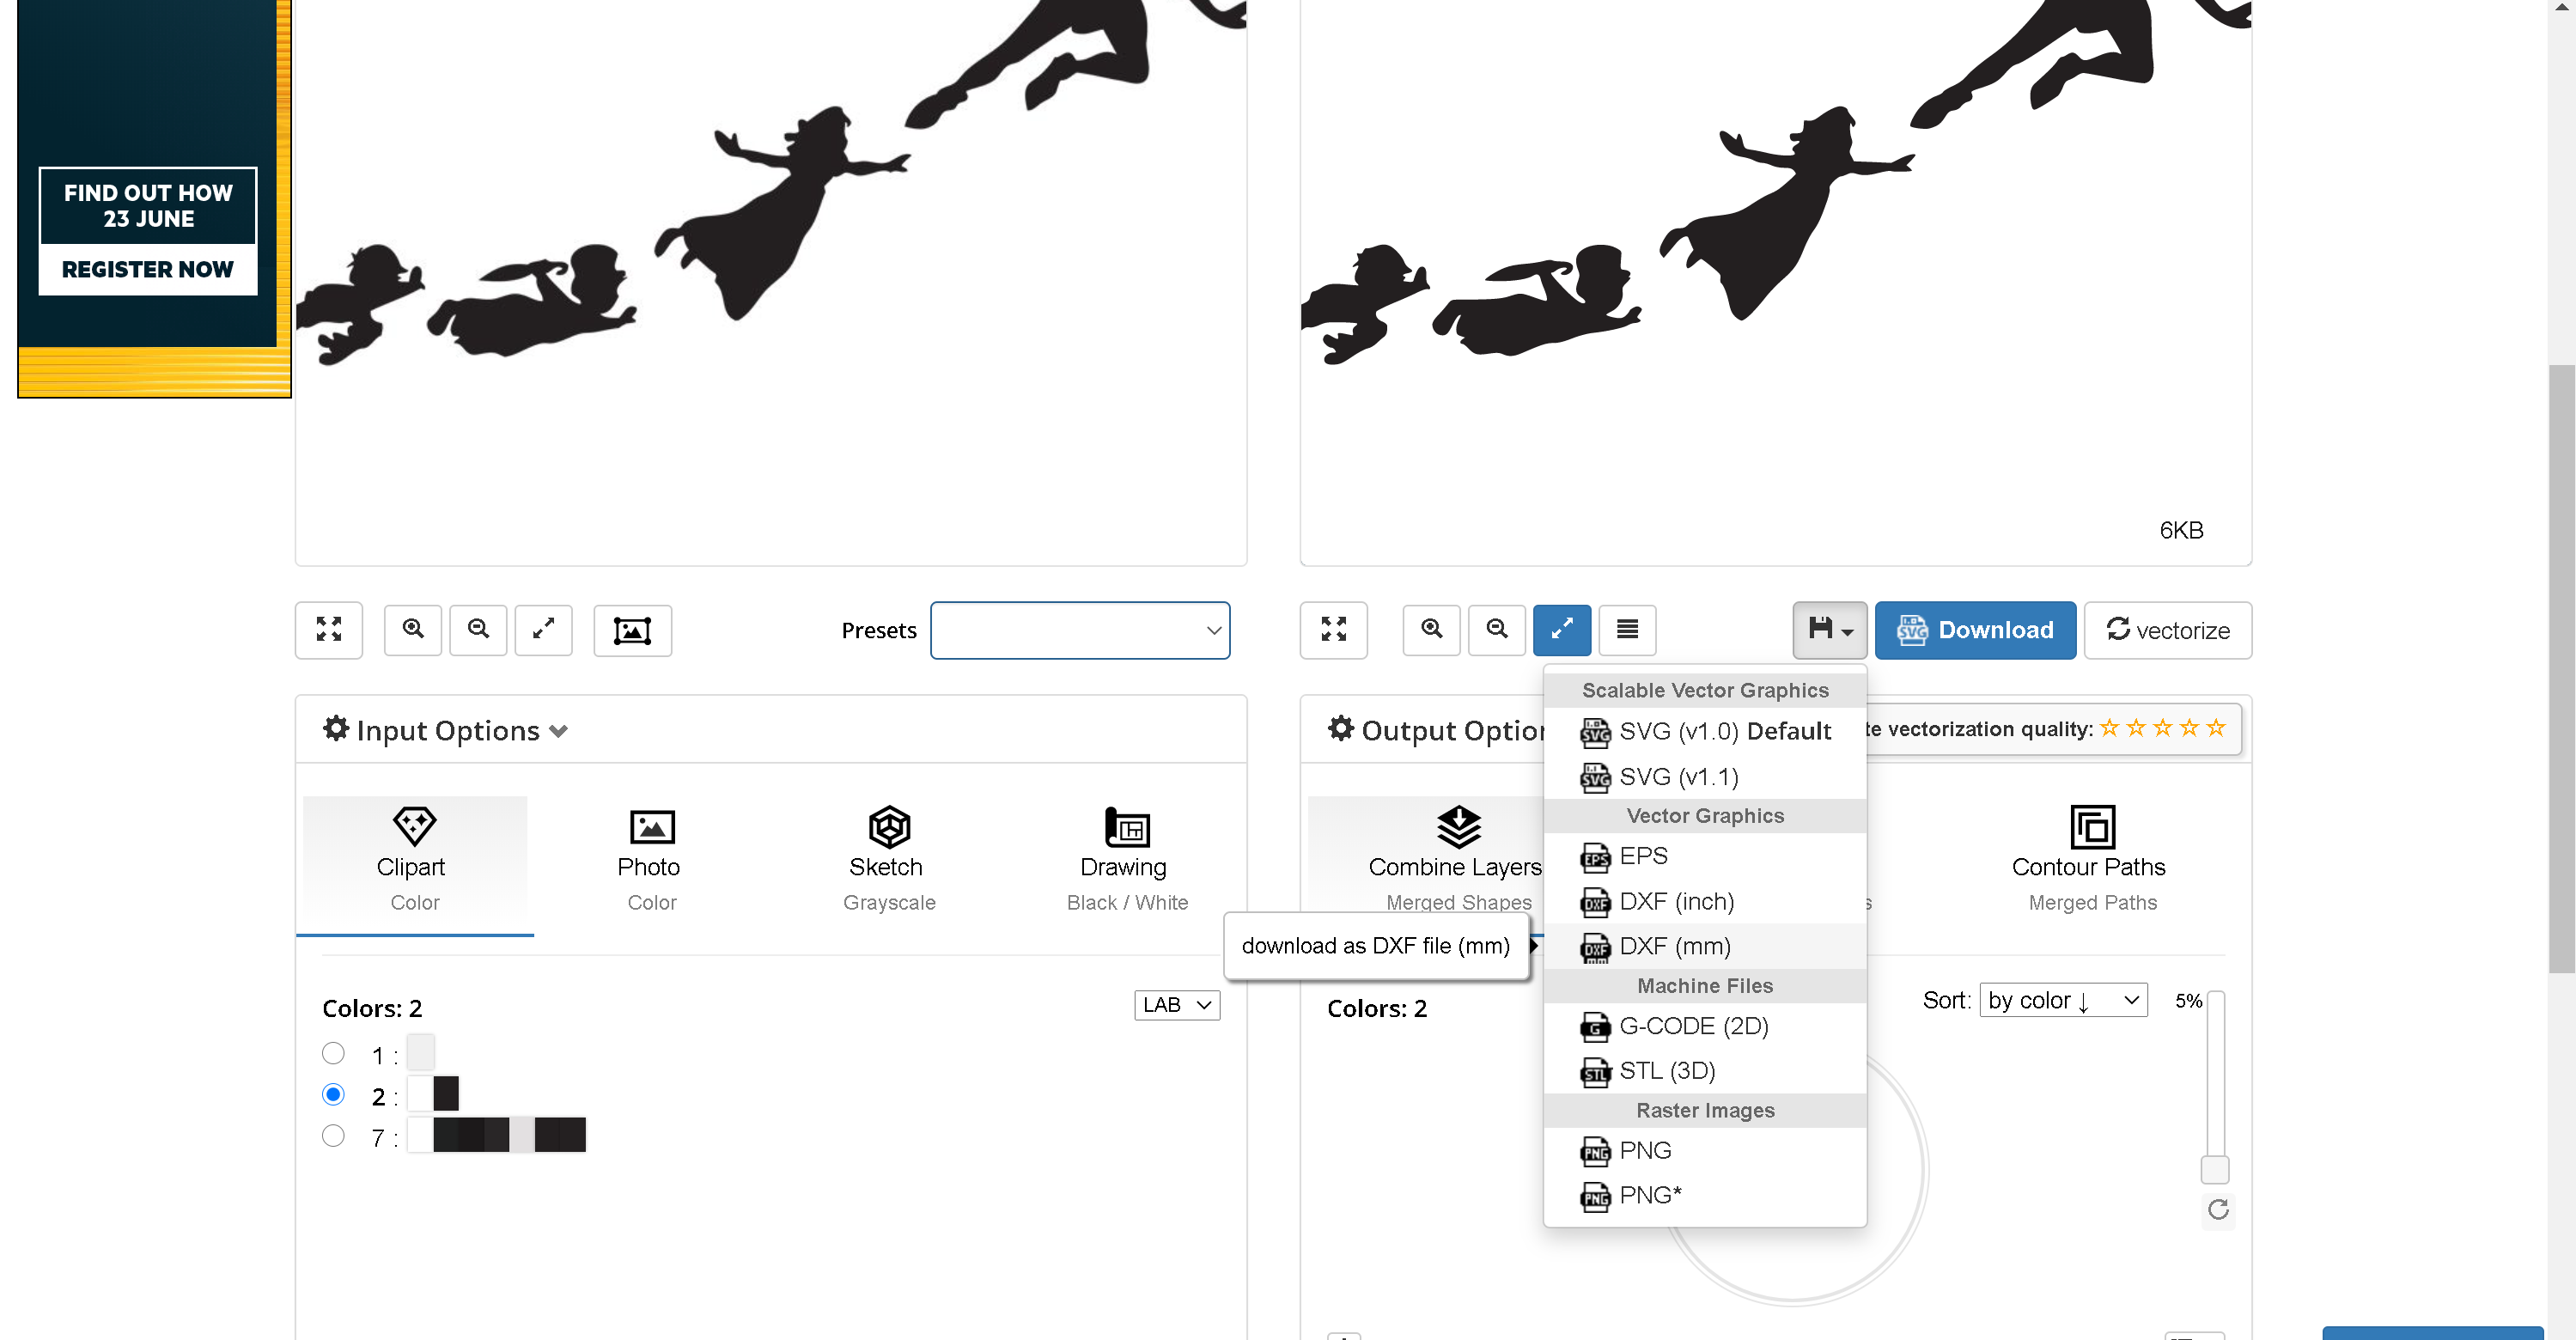
If you do not have access to adobe illustrator or if image trace has not had the desired output, there are a variety of great online vector converters, I have found that https://www.vectorizer.io/ works really well in the projects I have used it for. The process is a slot simpler, you upload the image you would like to vectorise and then download the output as an DXF file.
The online Vector converters seem to be a bit hit or miss, if you have a clear outline like the image I am using, they can produce even more detail than Illustrators image trace function. However, if the lines on your image are lower quality or from a sketch, when the converter vectorises the image it may make lots of small curves to try and best fit a sketchy image, that then means that the image is not a continuous outline and you will encounter problems at the next step.
Both of these methods have their strengths, but which will work best ultimately depends on the image you are starting with.
Importing Into CAD
.png)
.png)
.png)
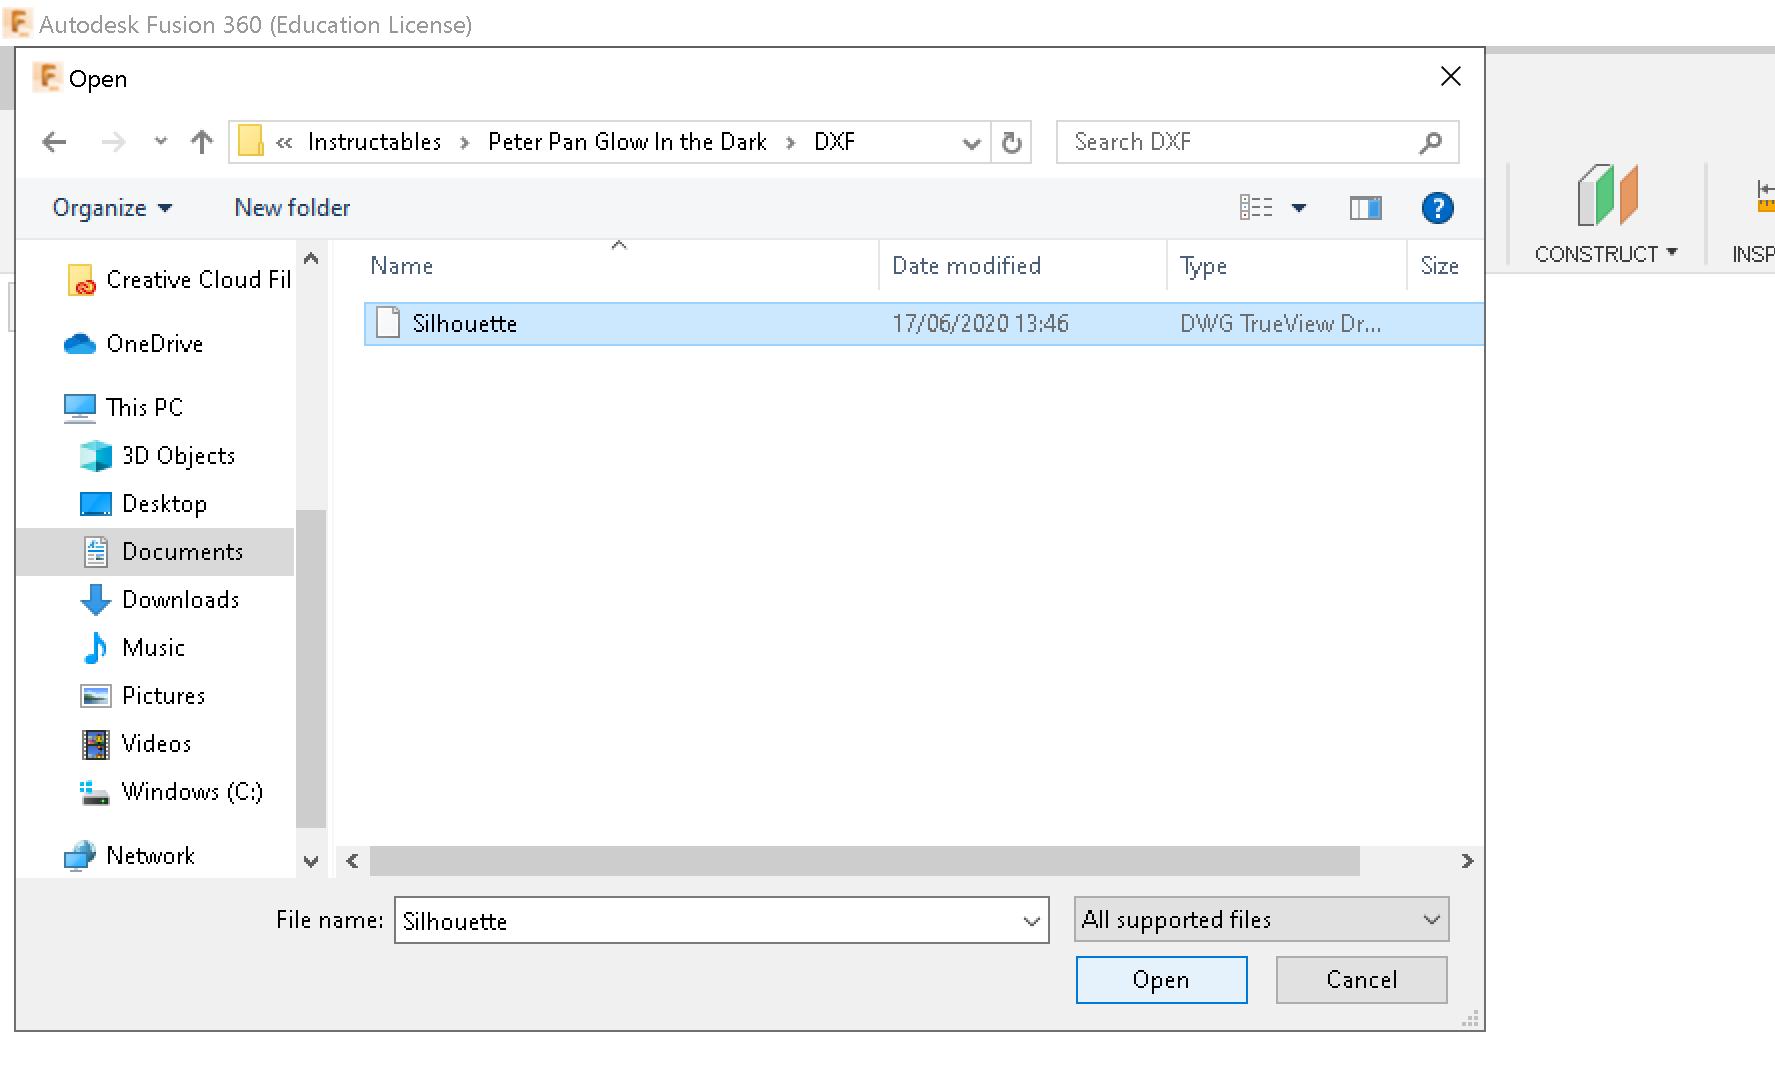
My CAD software of choice is Autodesk Fusion 360, which is available for free in an education edition, but most programs such as SolidWorks will function in the same manner.
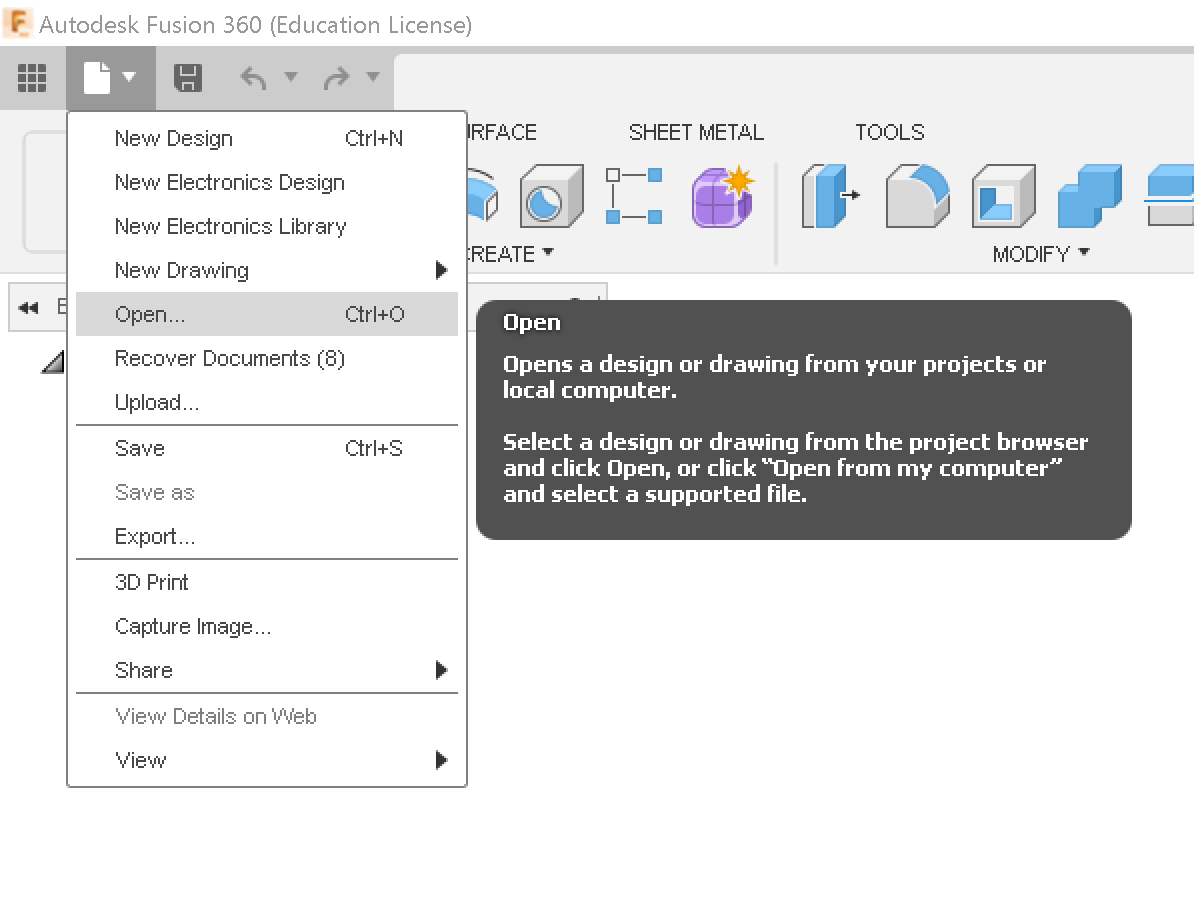
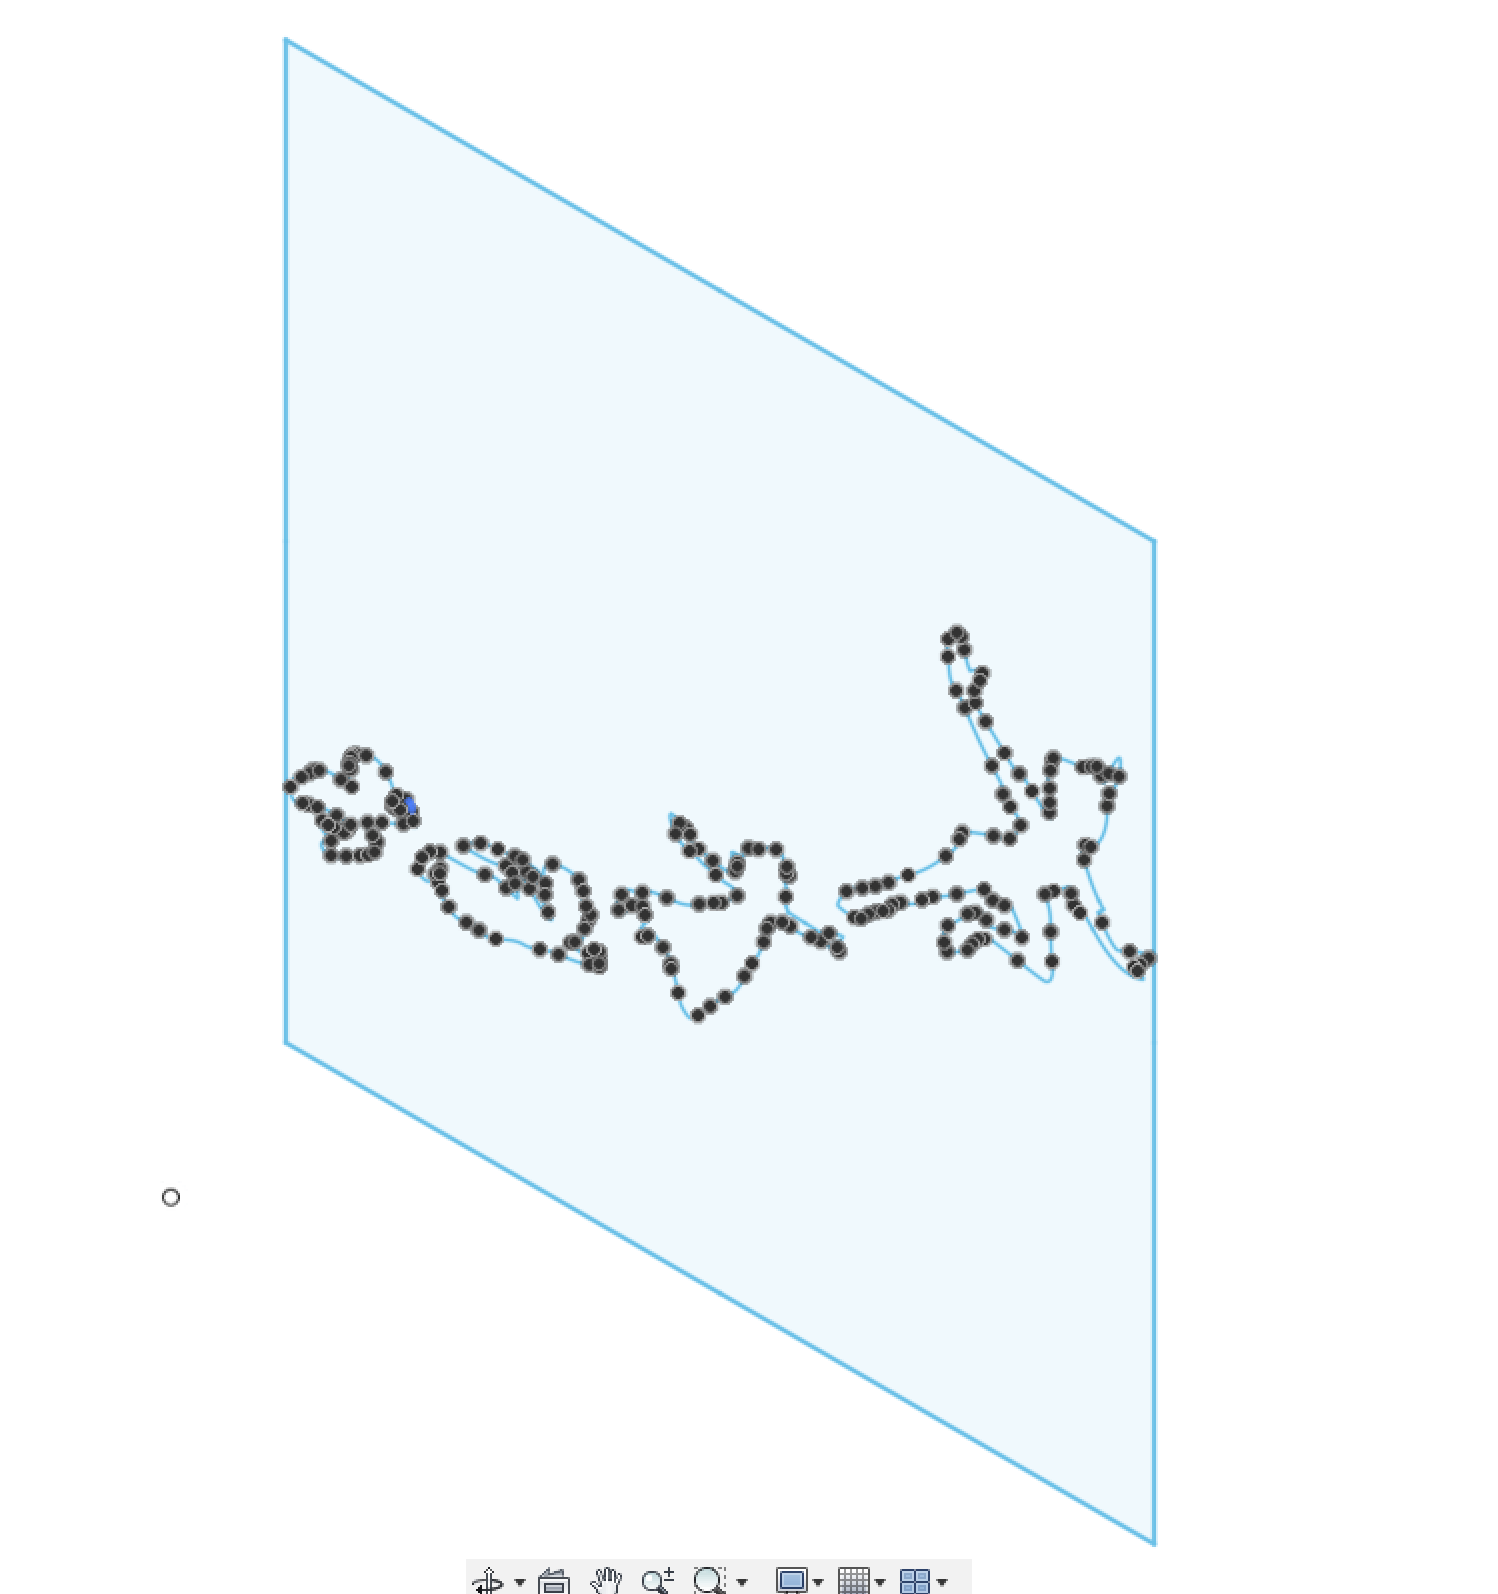
In Fusion 360, simply go to the the file icon in the top left of the screen and open the DXF file you have saved. It will then be imported to Fusion 360 as a new sketch.
Scale Your Image
.png)
.png)
.png)
.png)
.png)
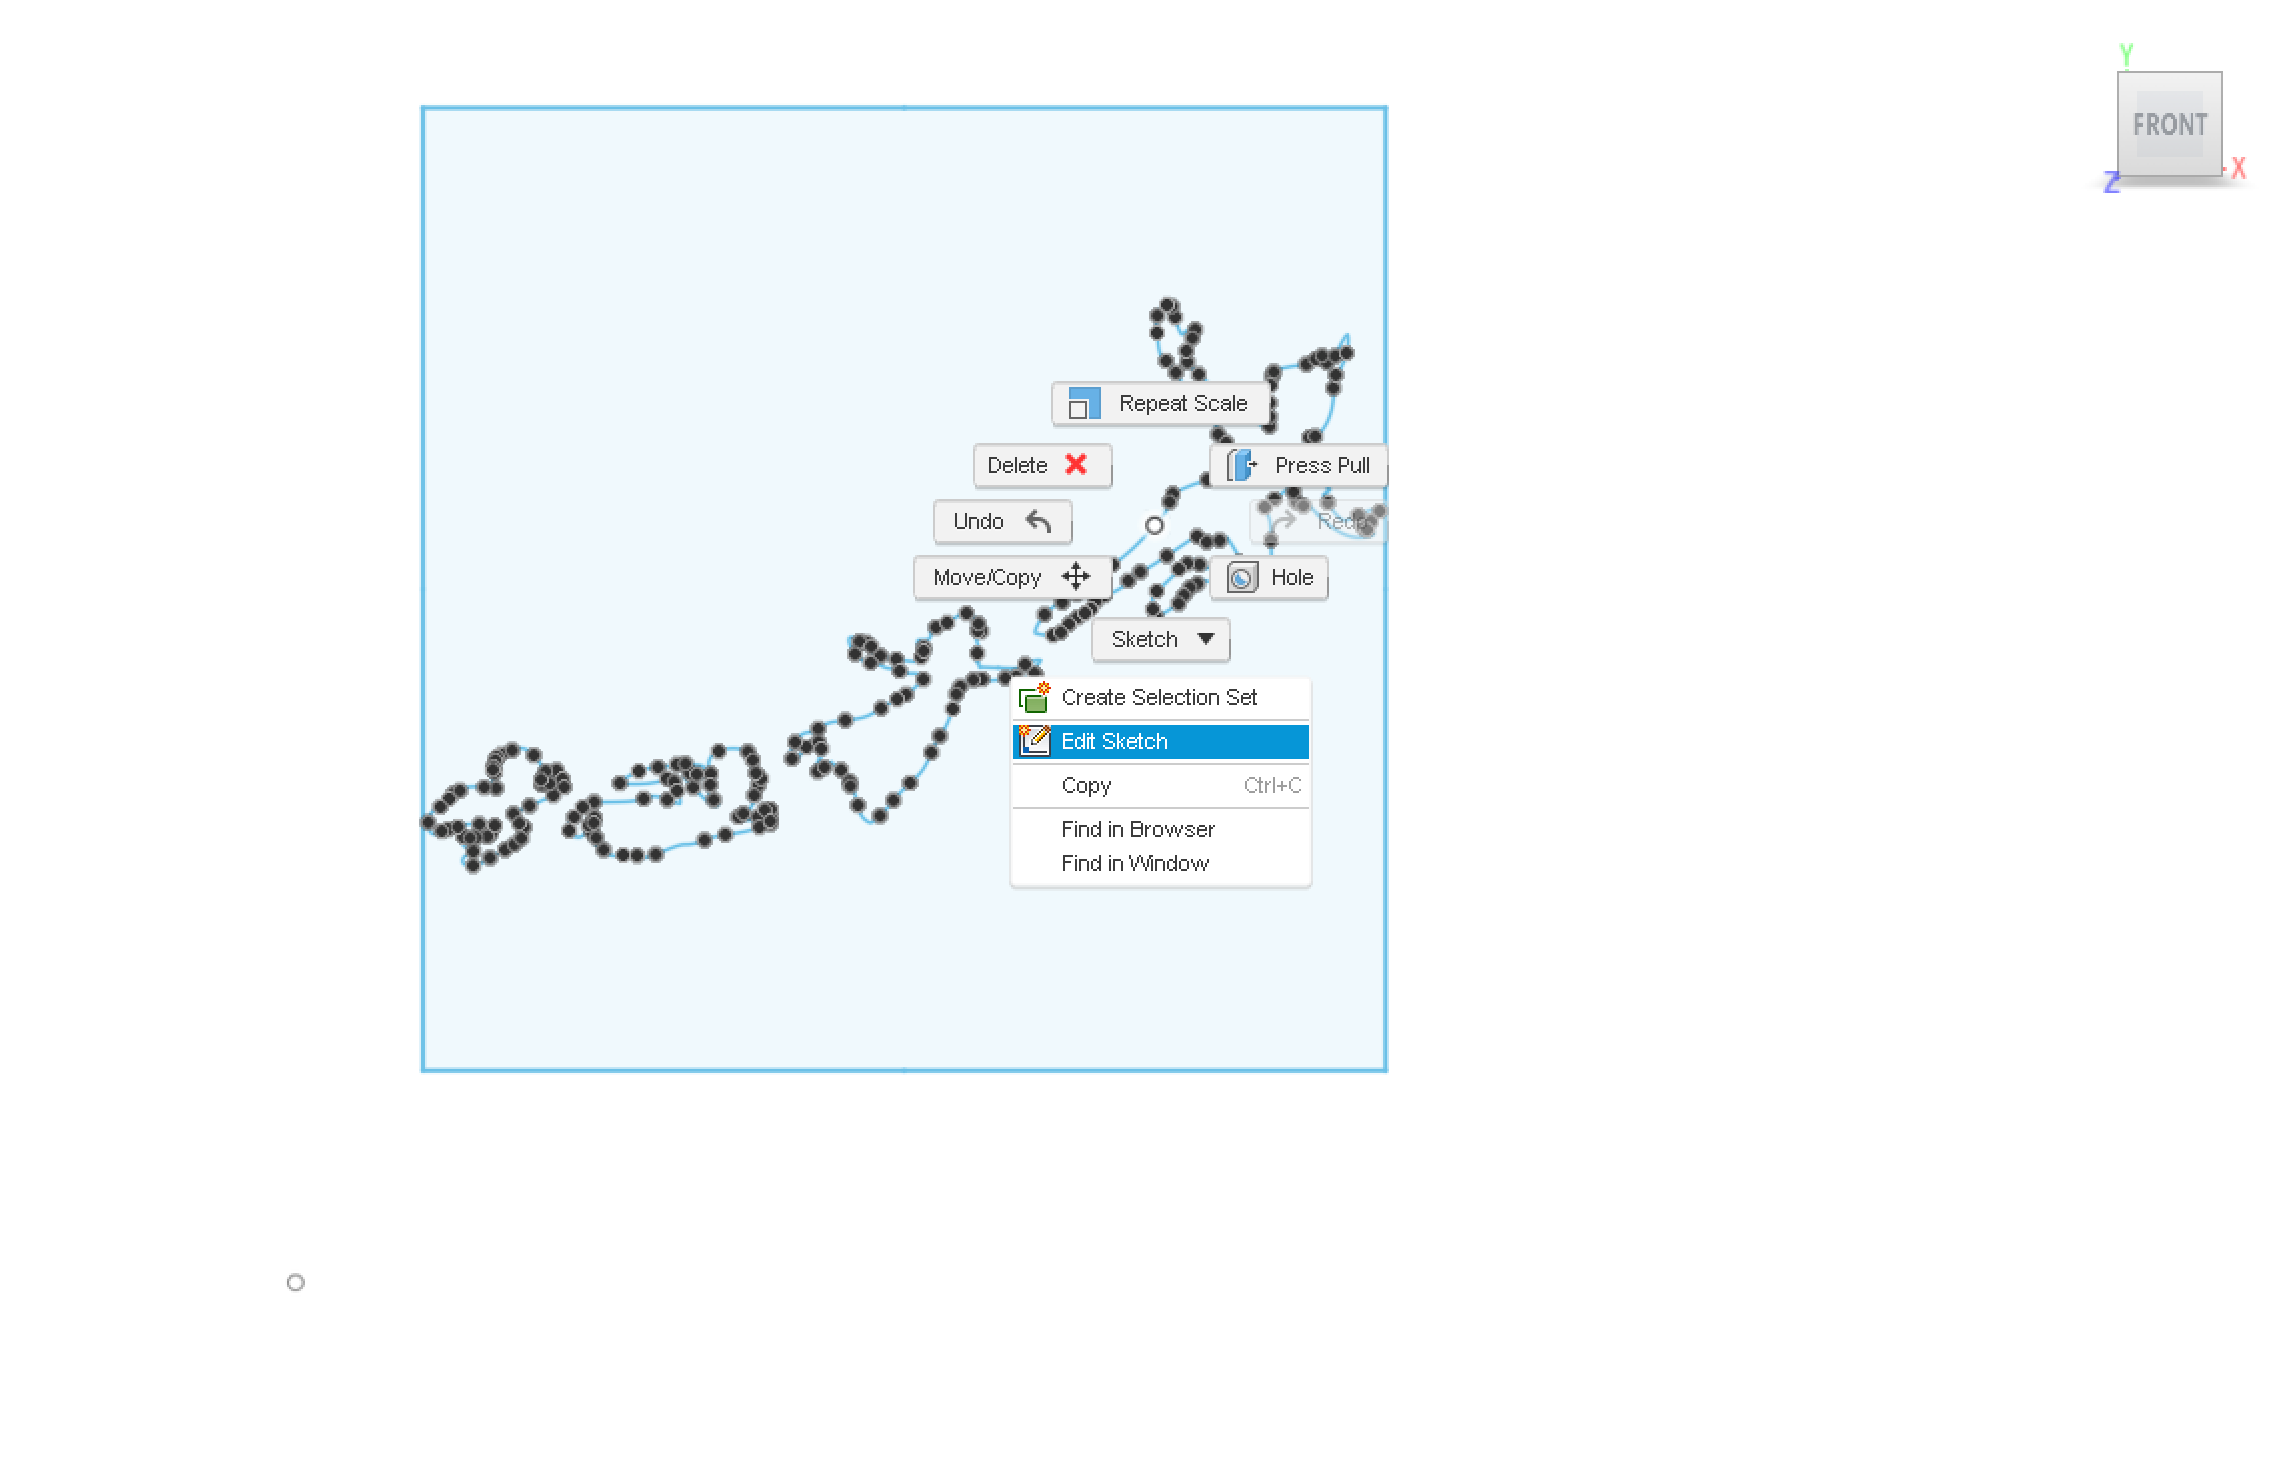
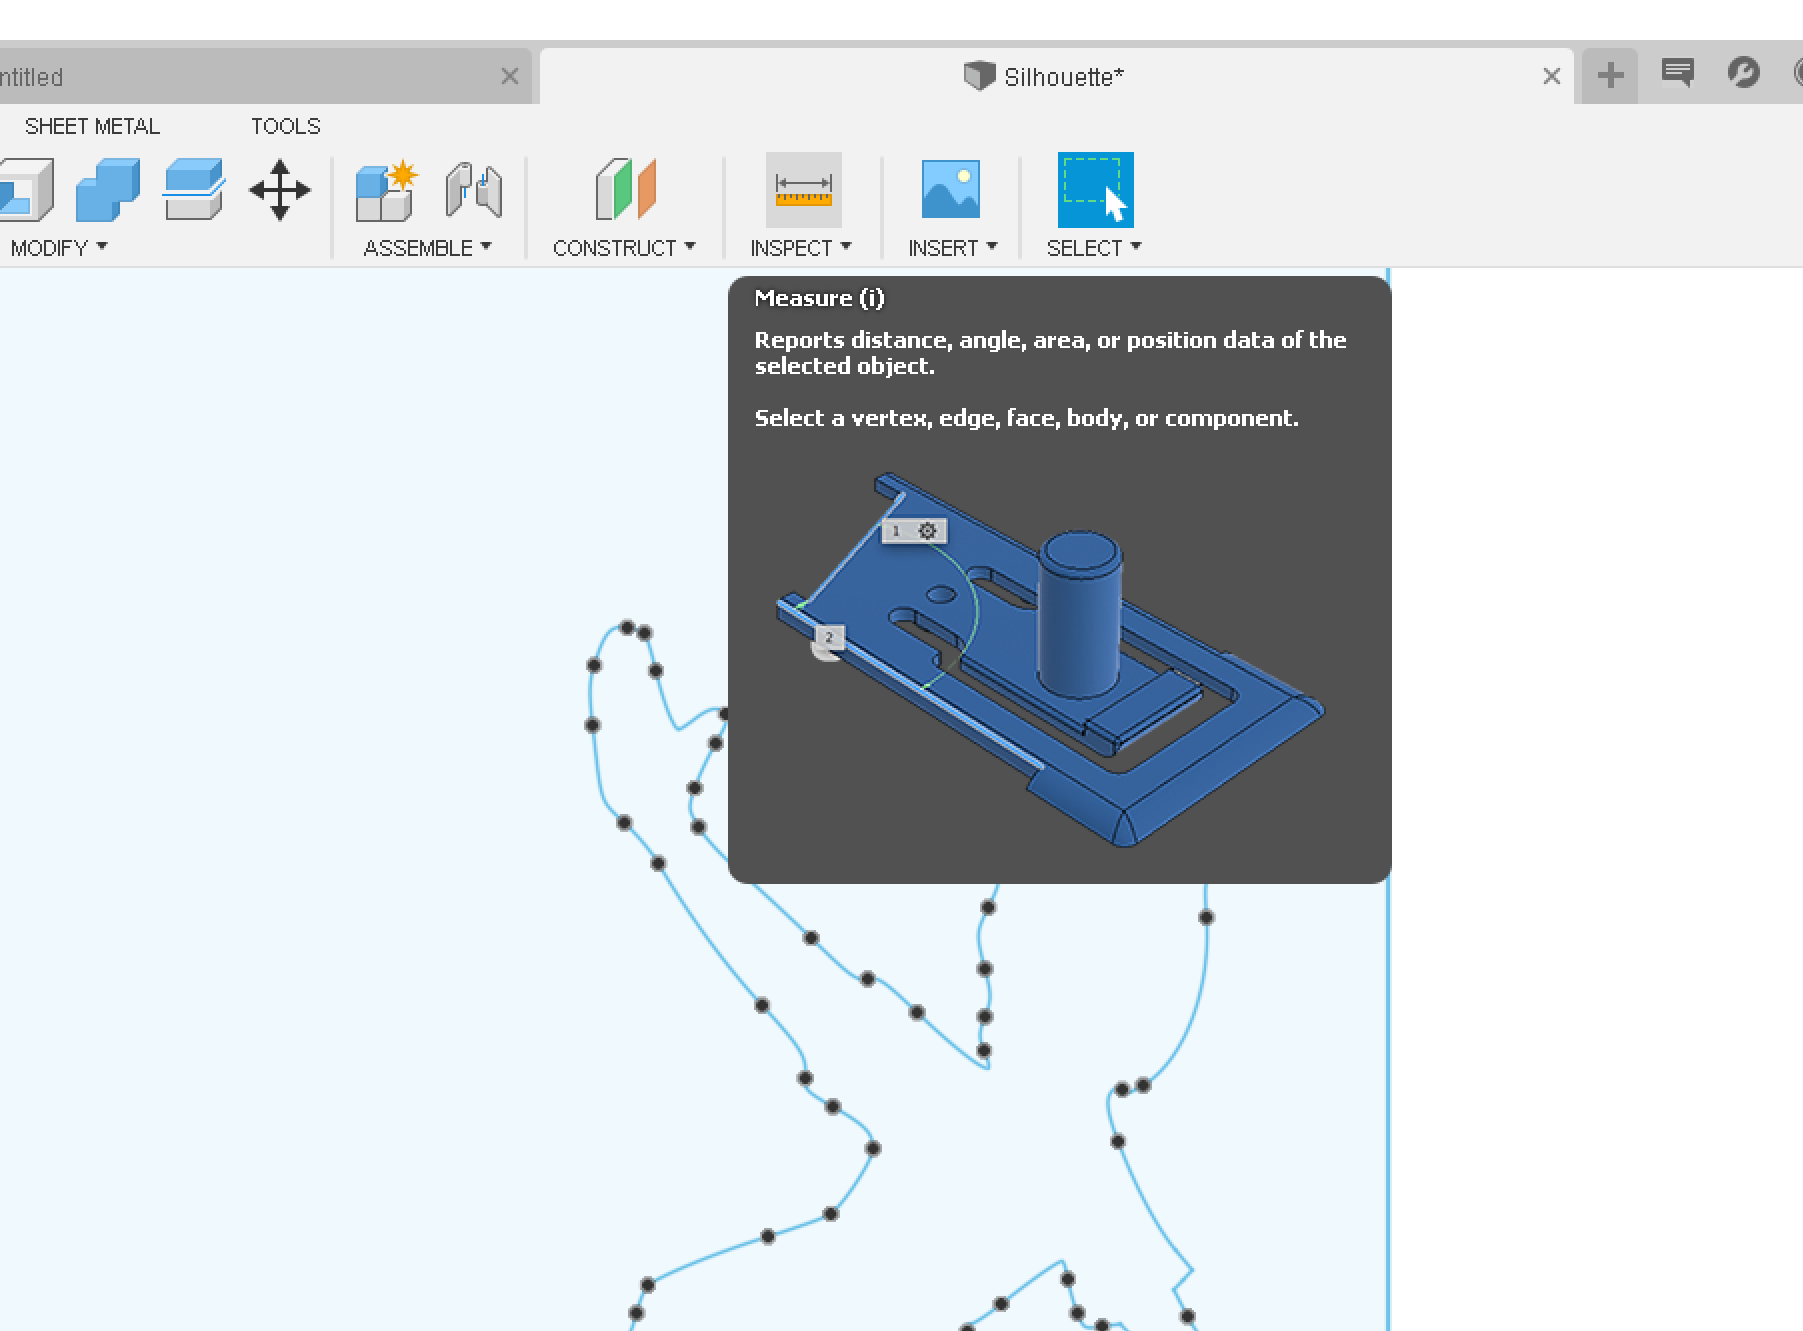
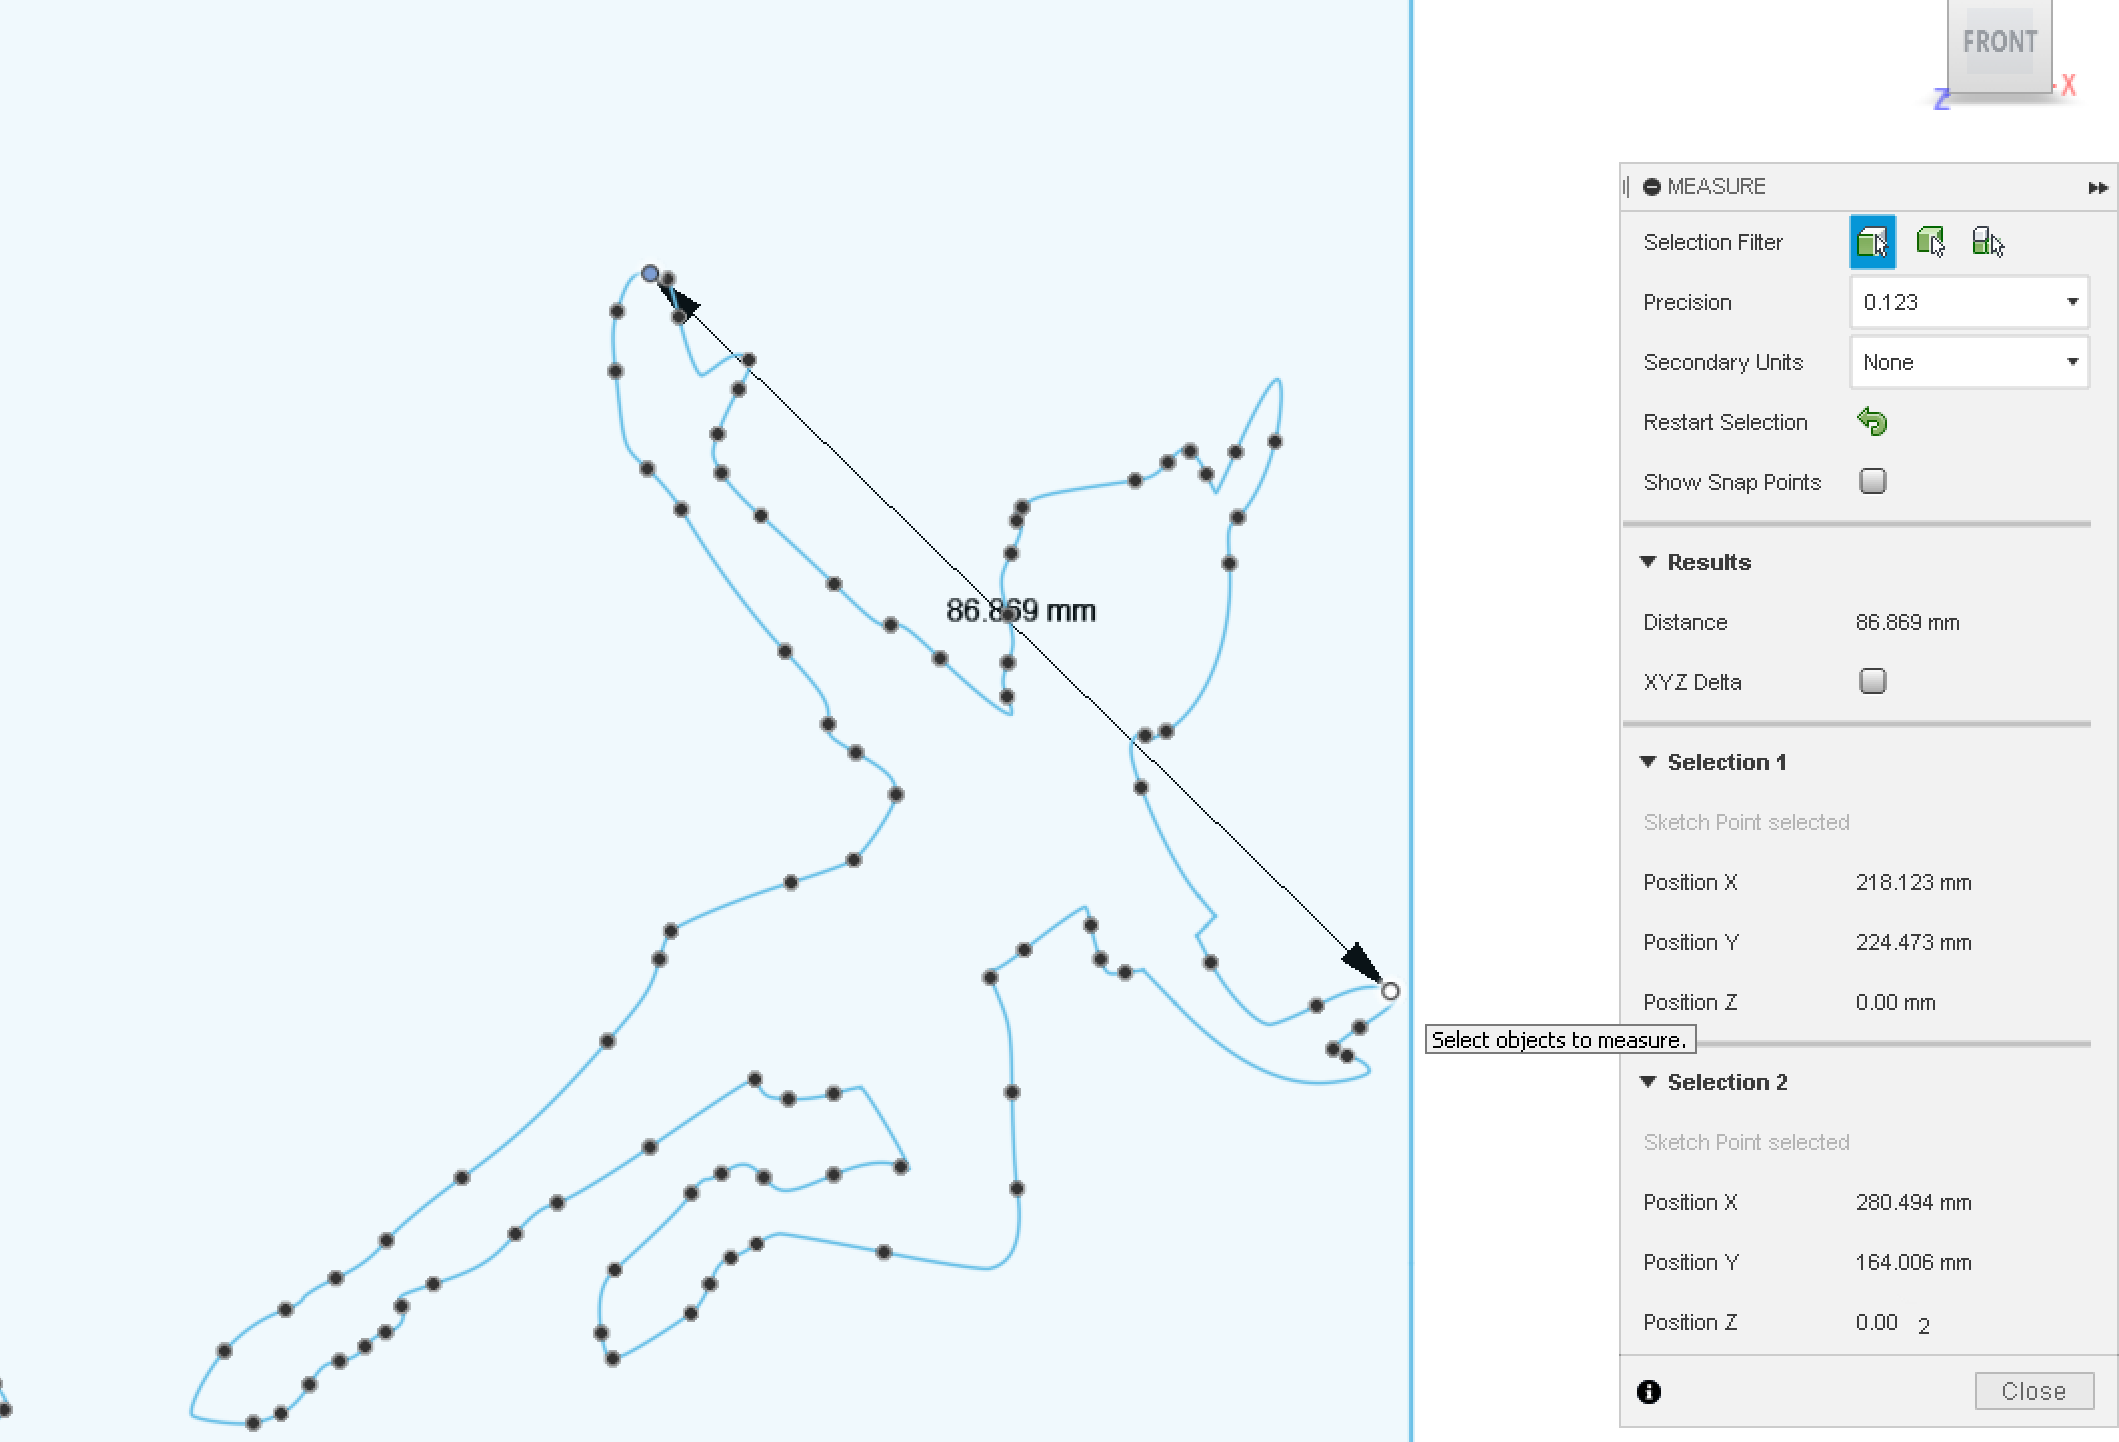
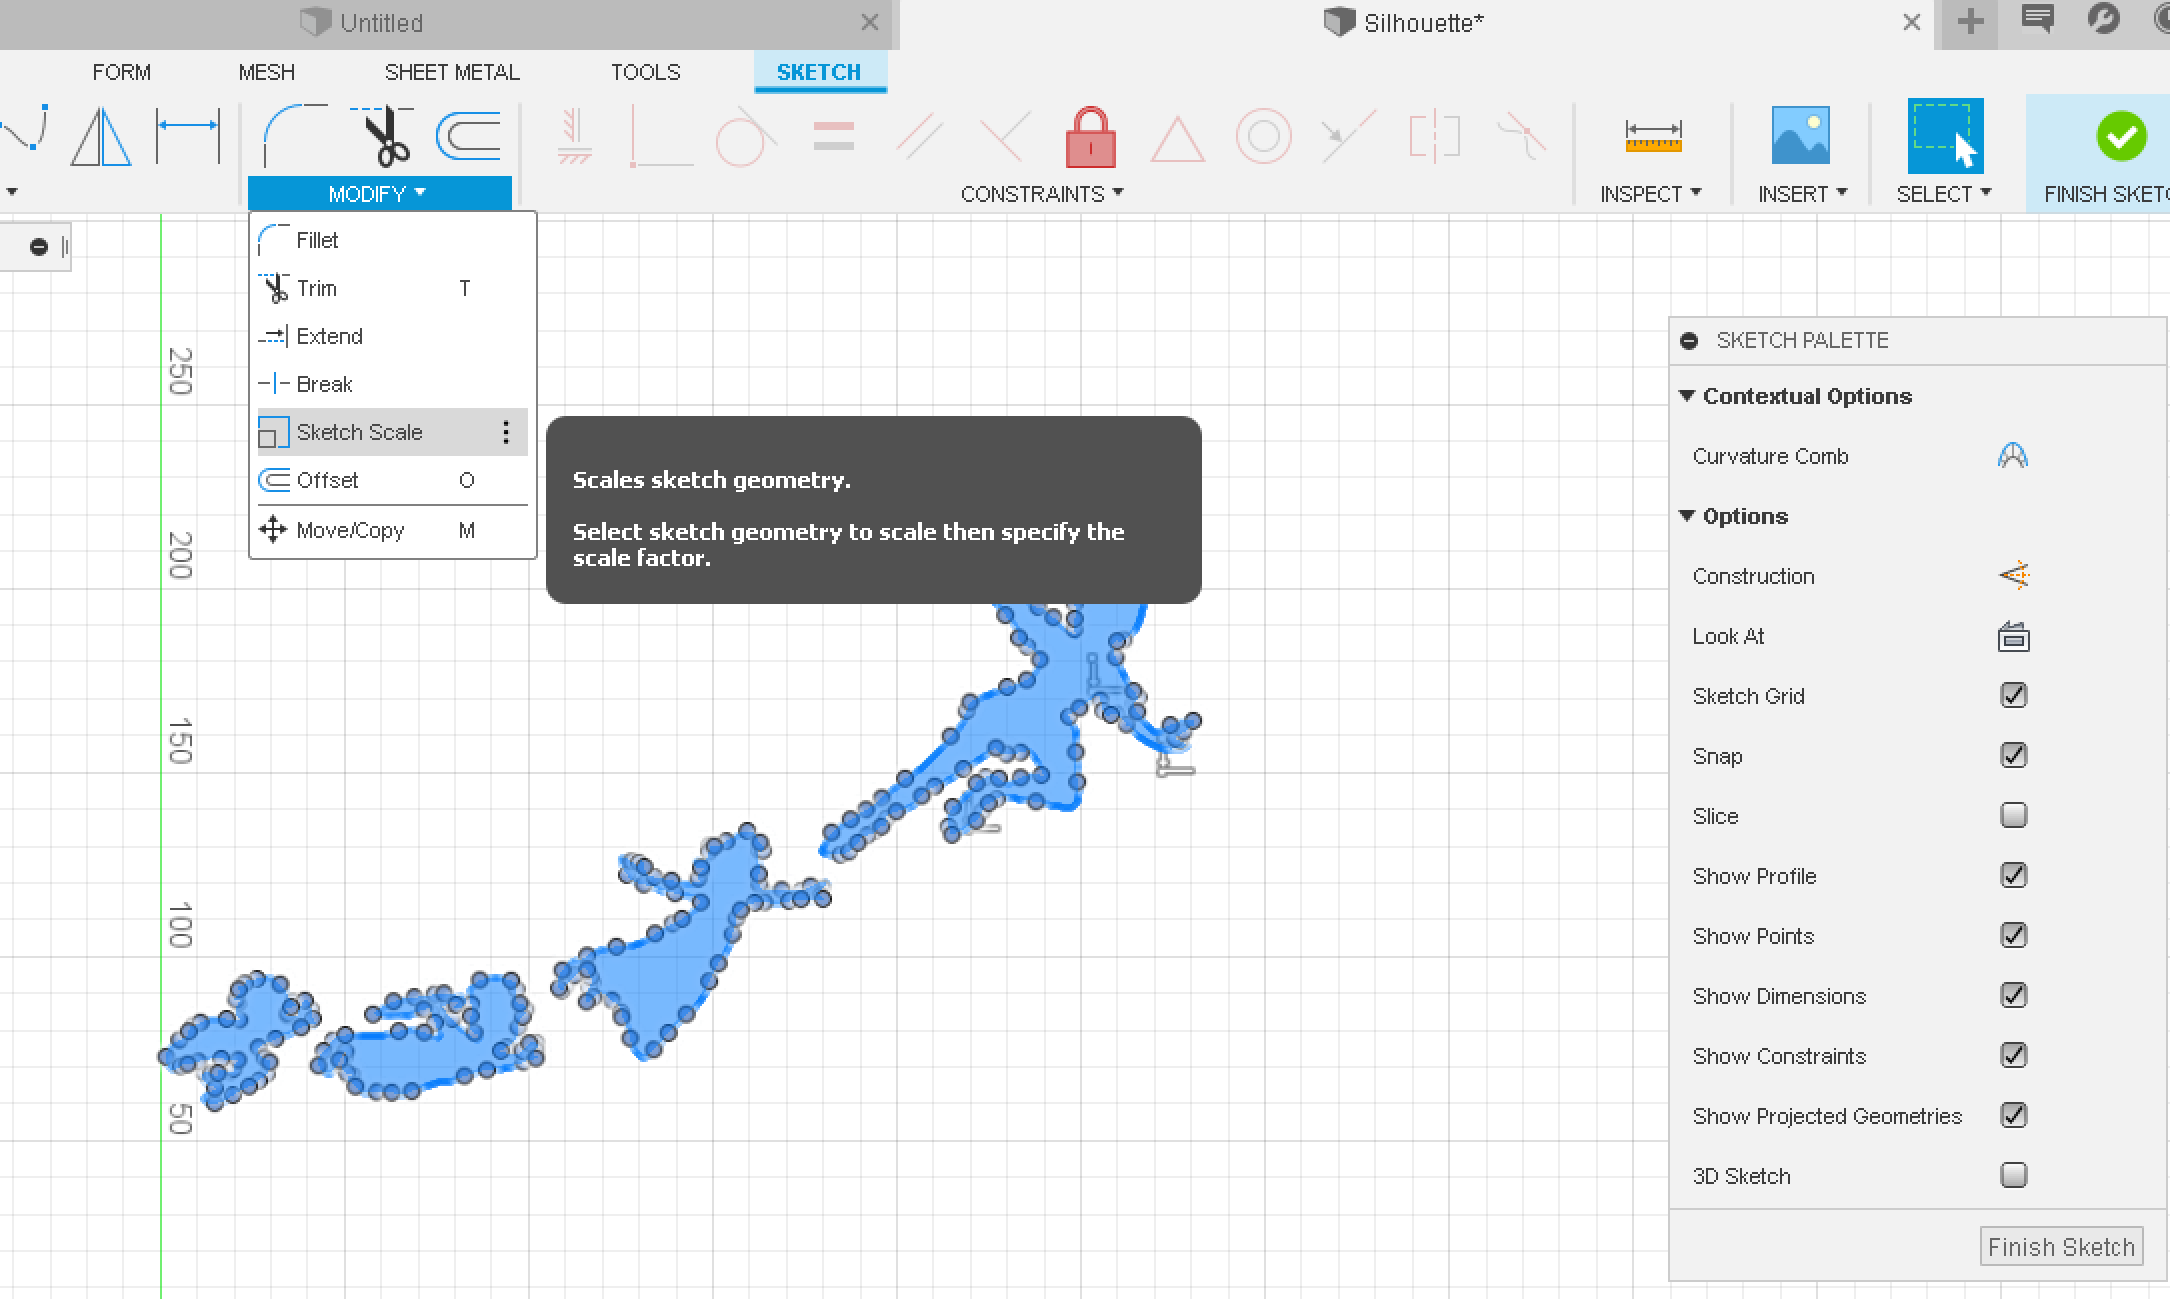
Right click on the sketch and select 'edit sketch' you will now be brought into the sketch workspace and have new a different toolbar. on the toolbar select the measure tool and then pick two points on your image and measure the distance between them.
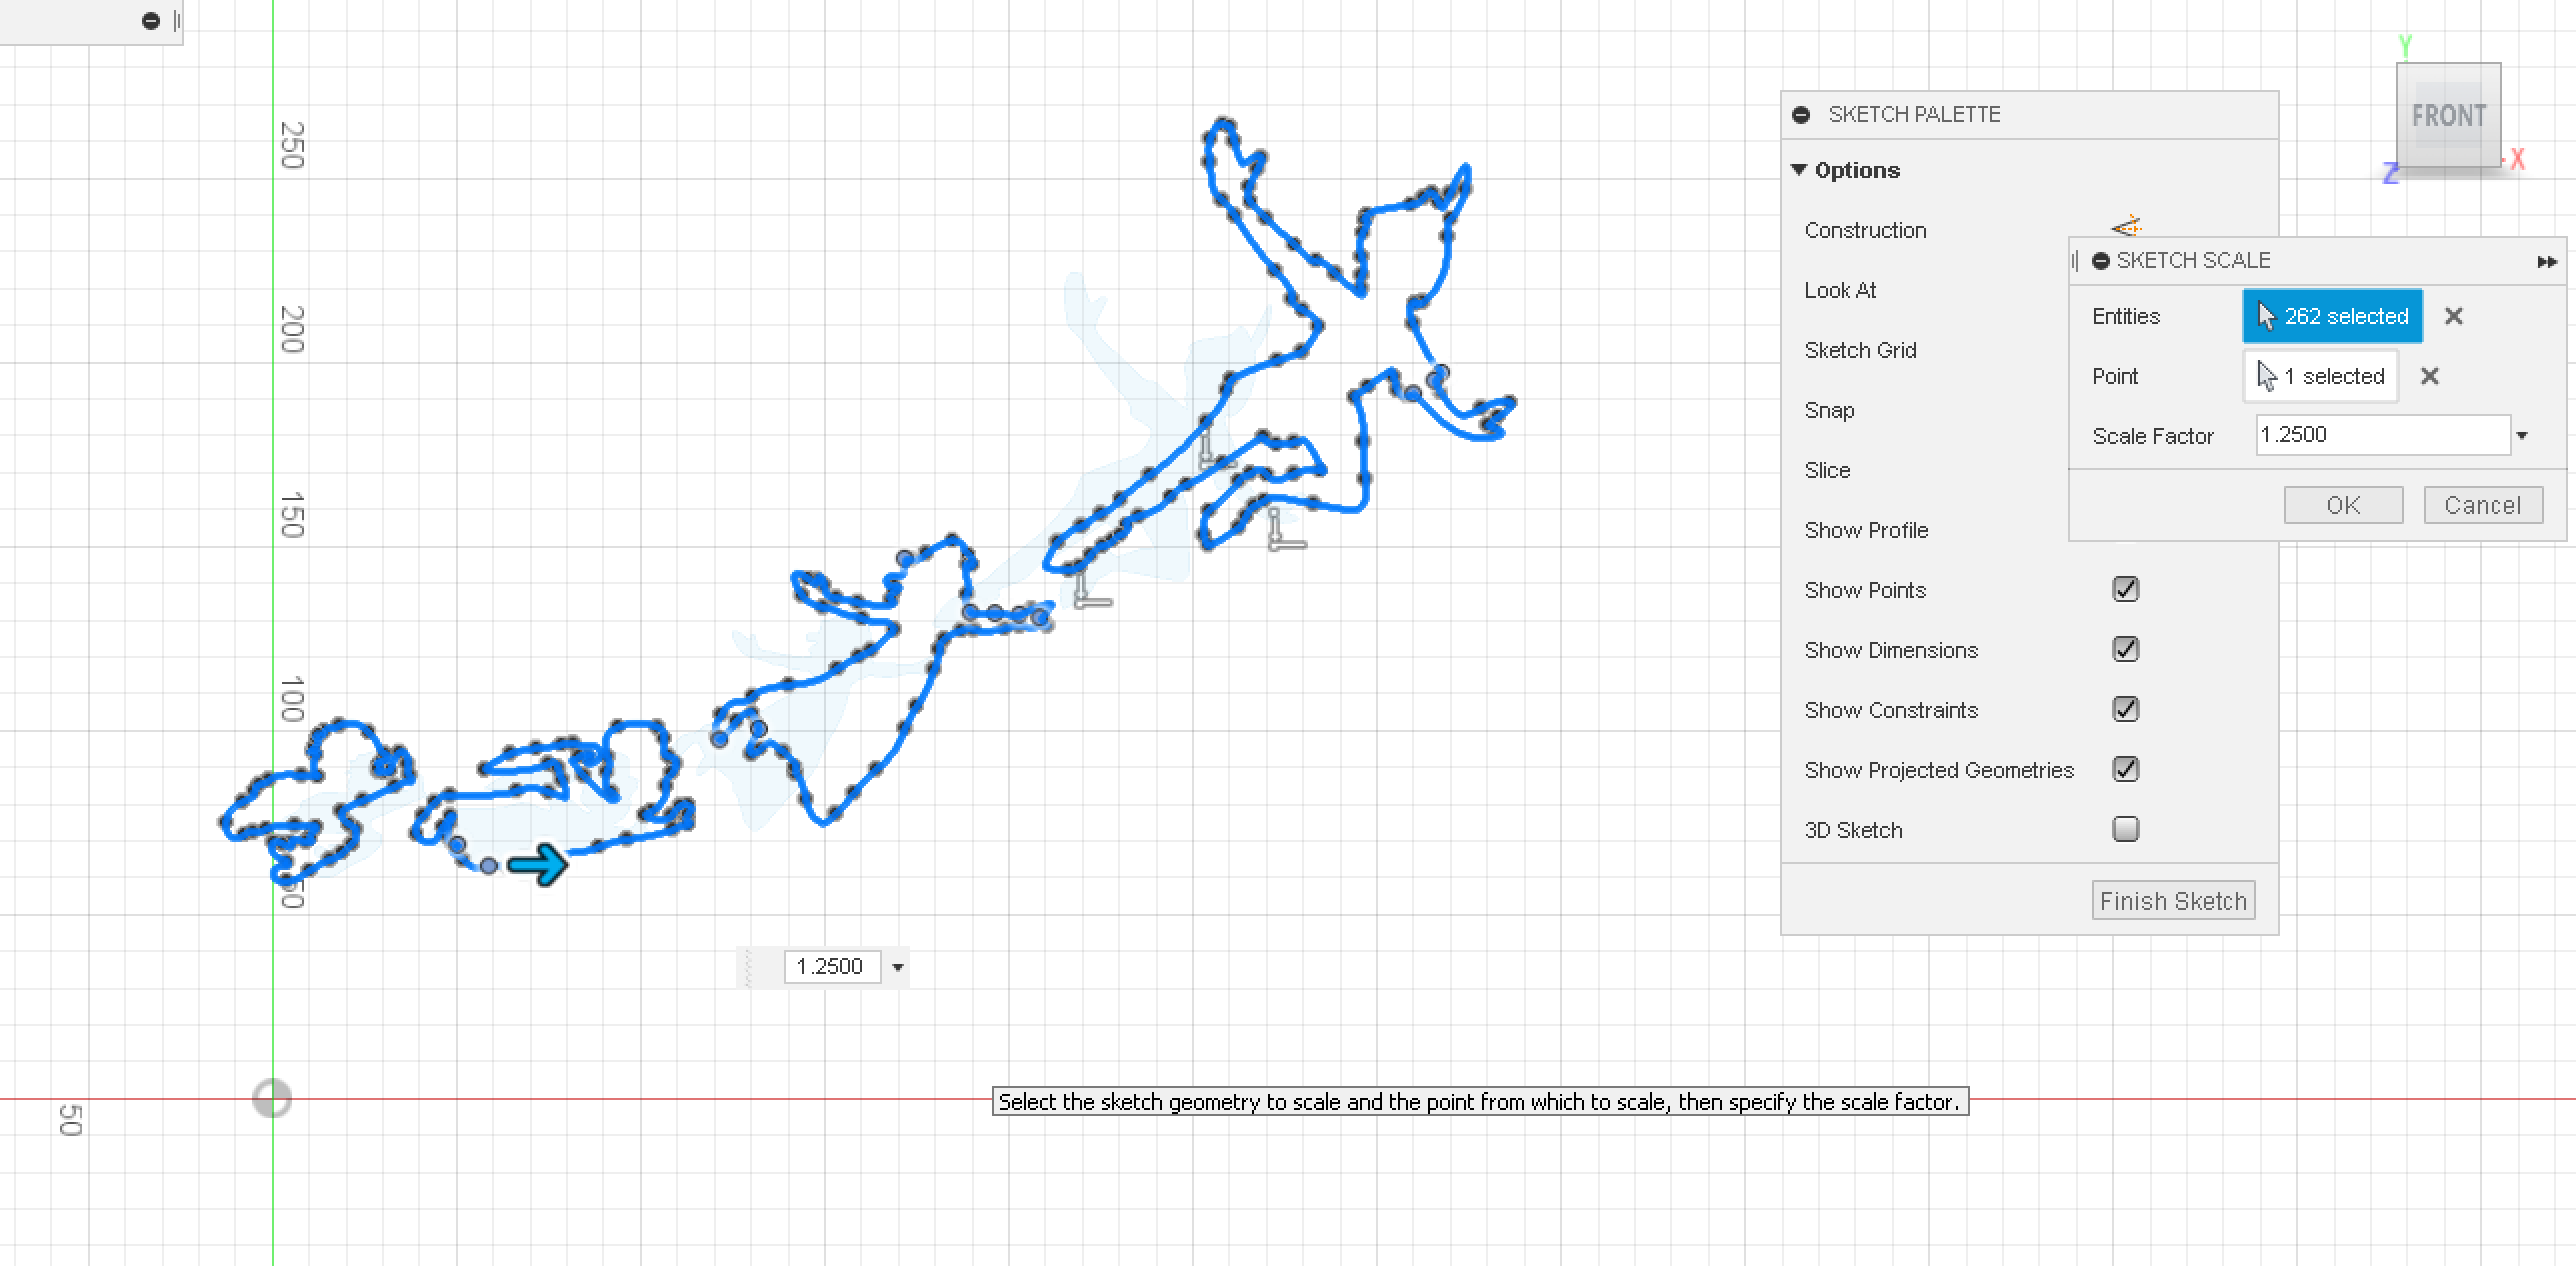
Some graphics will be off in scale when you first import them, however it is very easy to just adjust them till the image is the size you want.
Extrude the Image
.png)
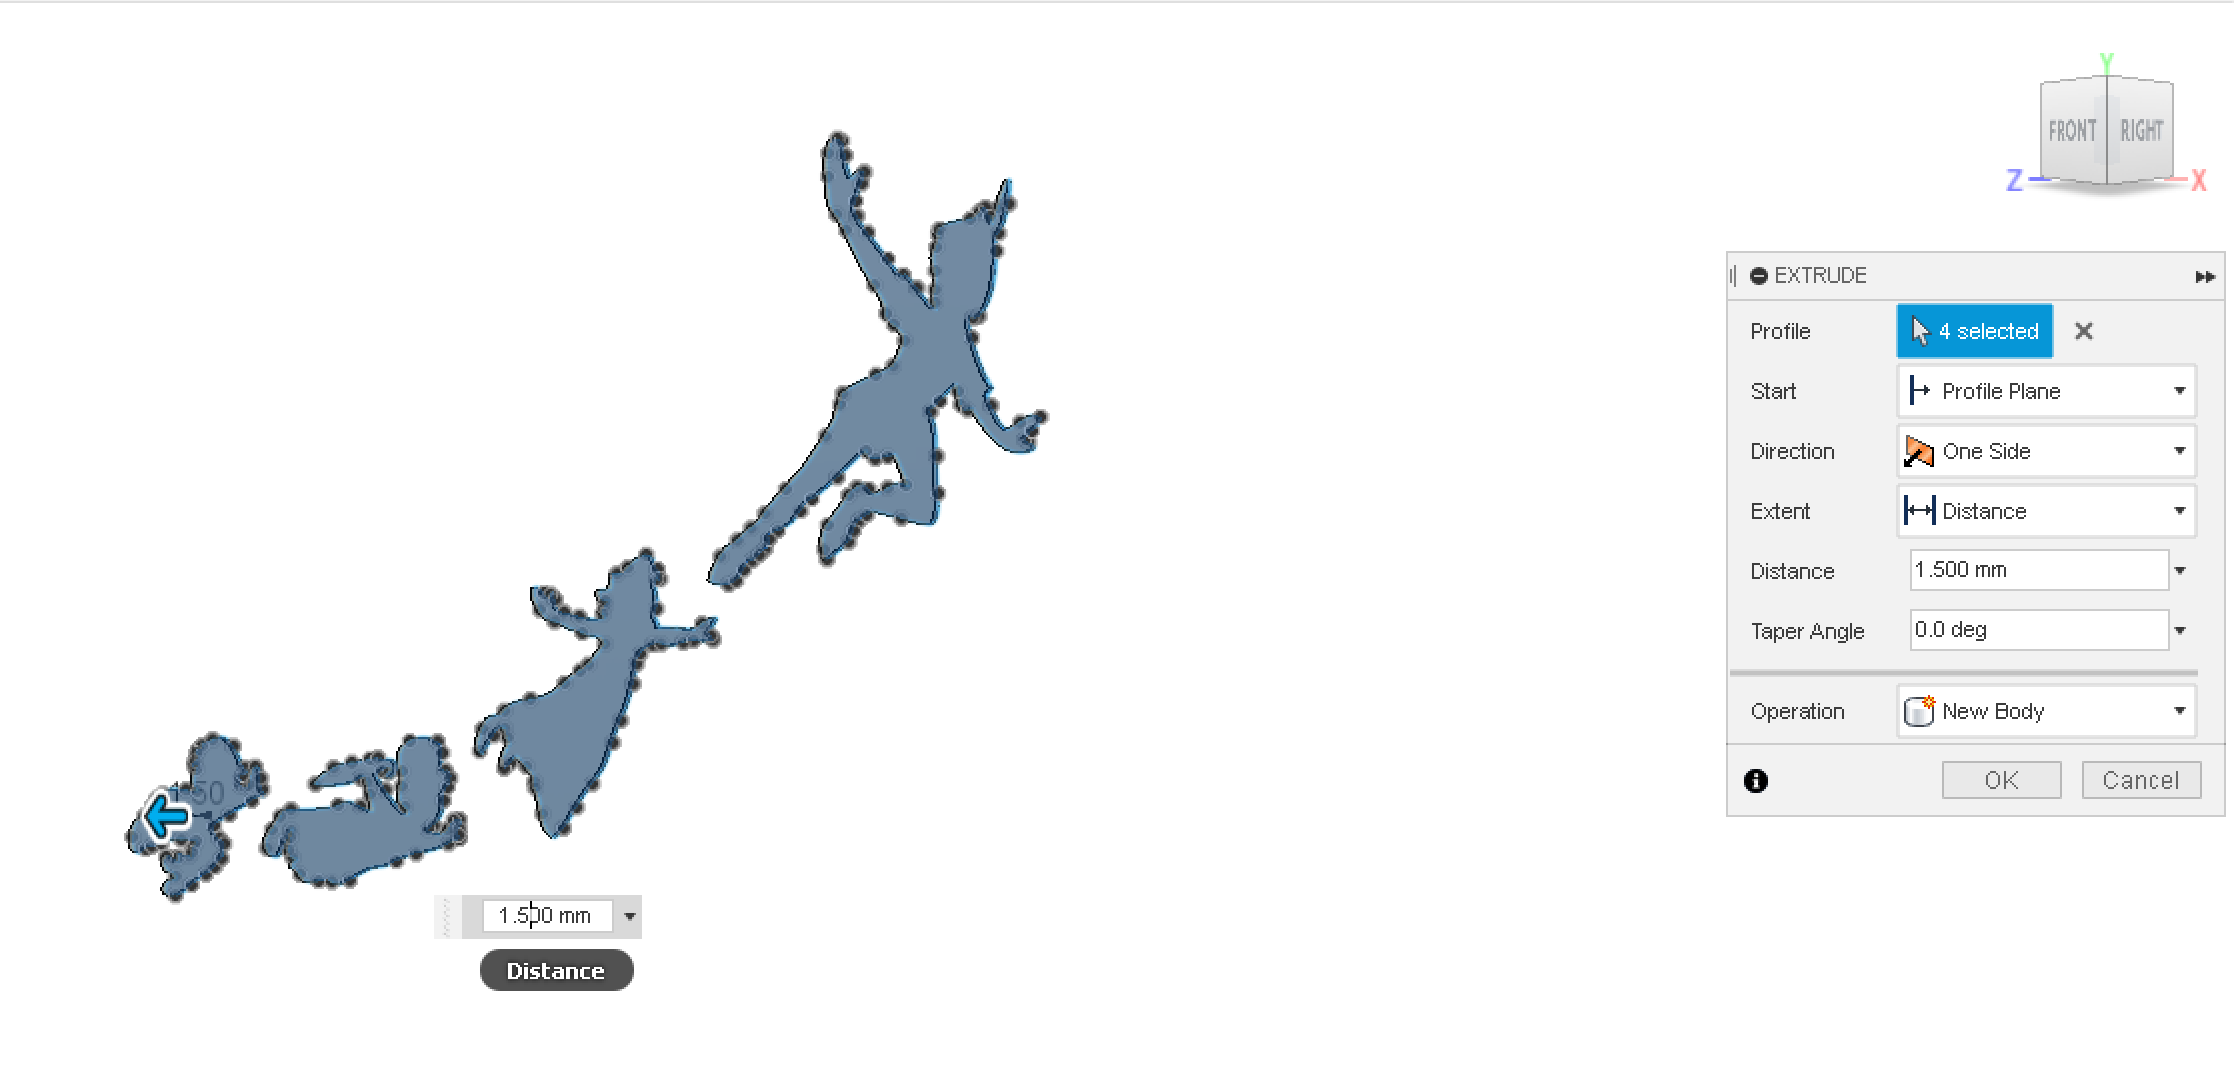
Now, to make this into a 3D printable object you will need to extrude your 2D sketch to give it depth.
I found for my purpose the perfect size was 1.5mm however, you can select whatever size works best for your purposes.
Be wary of going too thin though as this may make the final object more likely to warp or bend either during the print or when being removed from the bed.
Export the File to Print
.png)
.png)
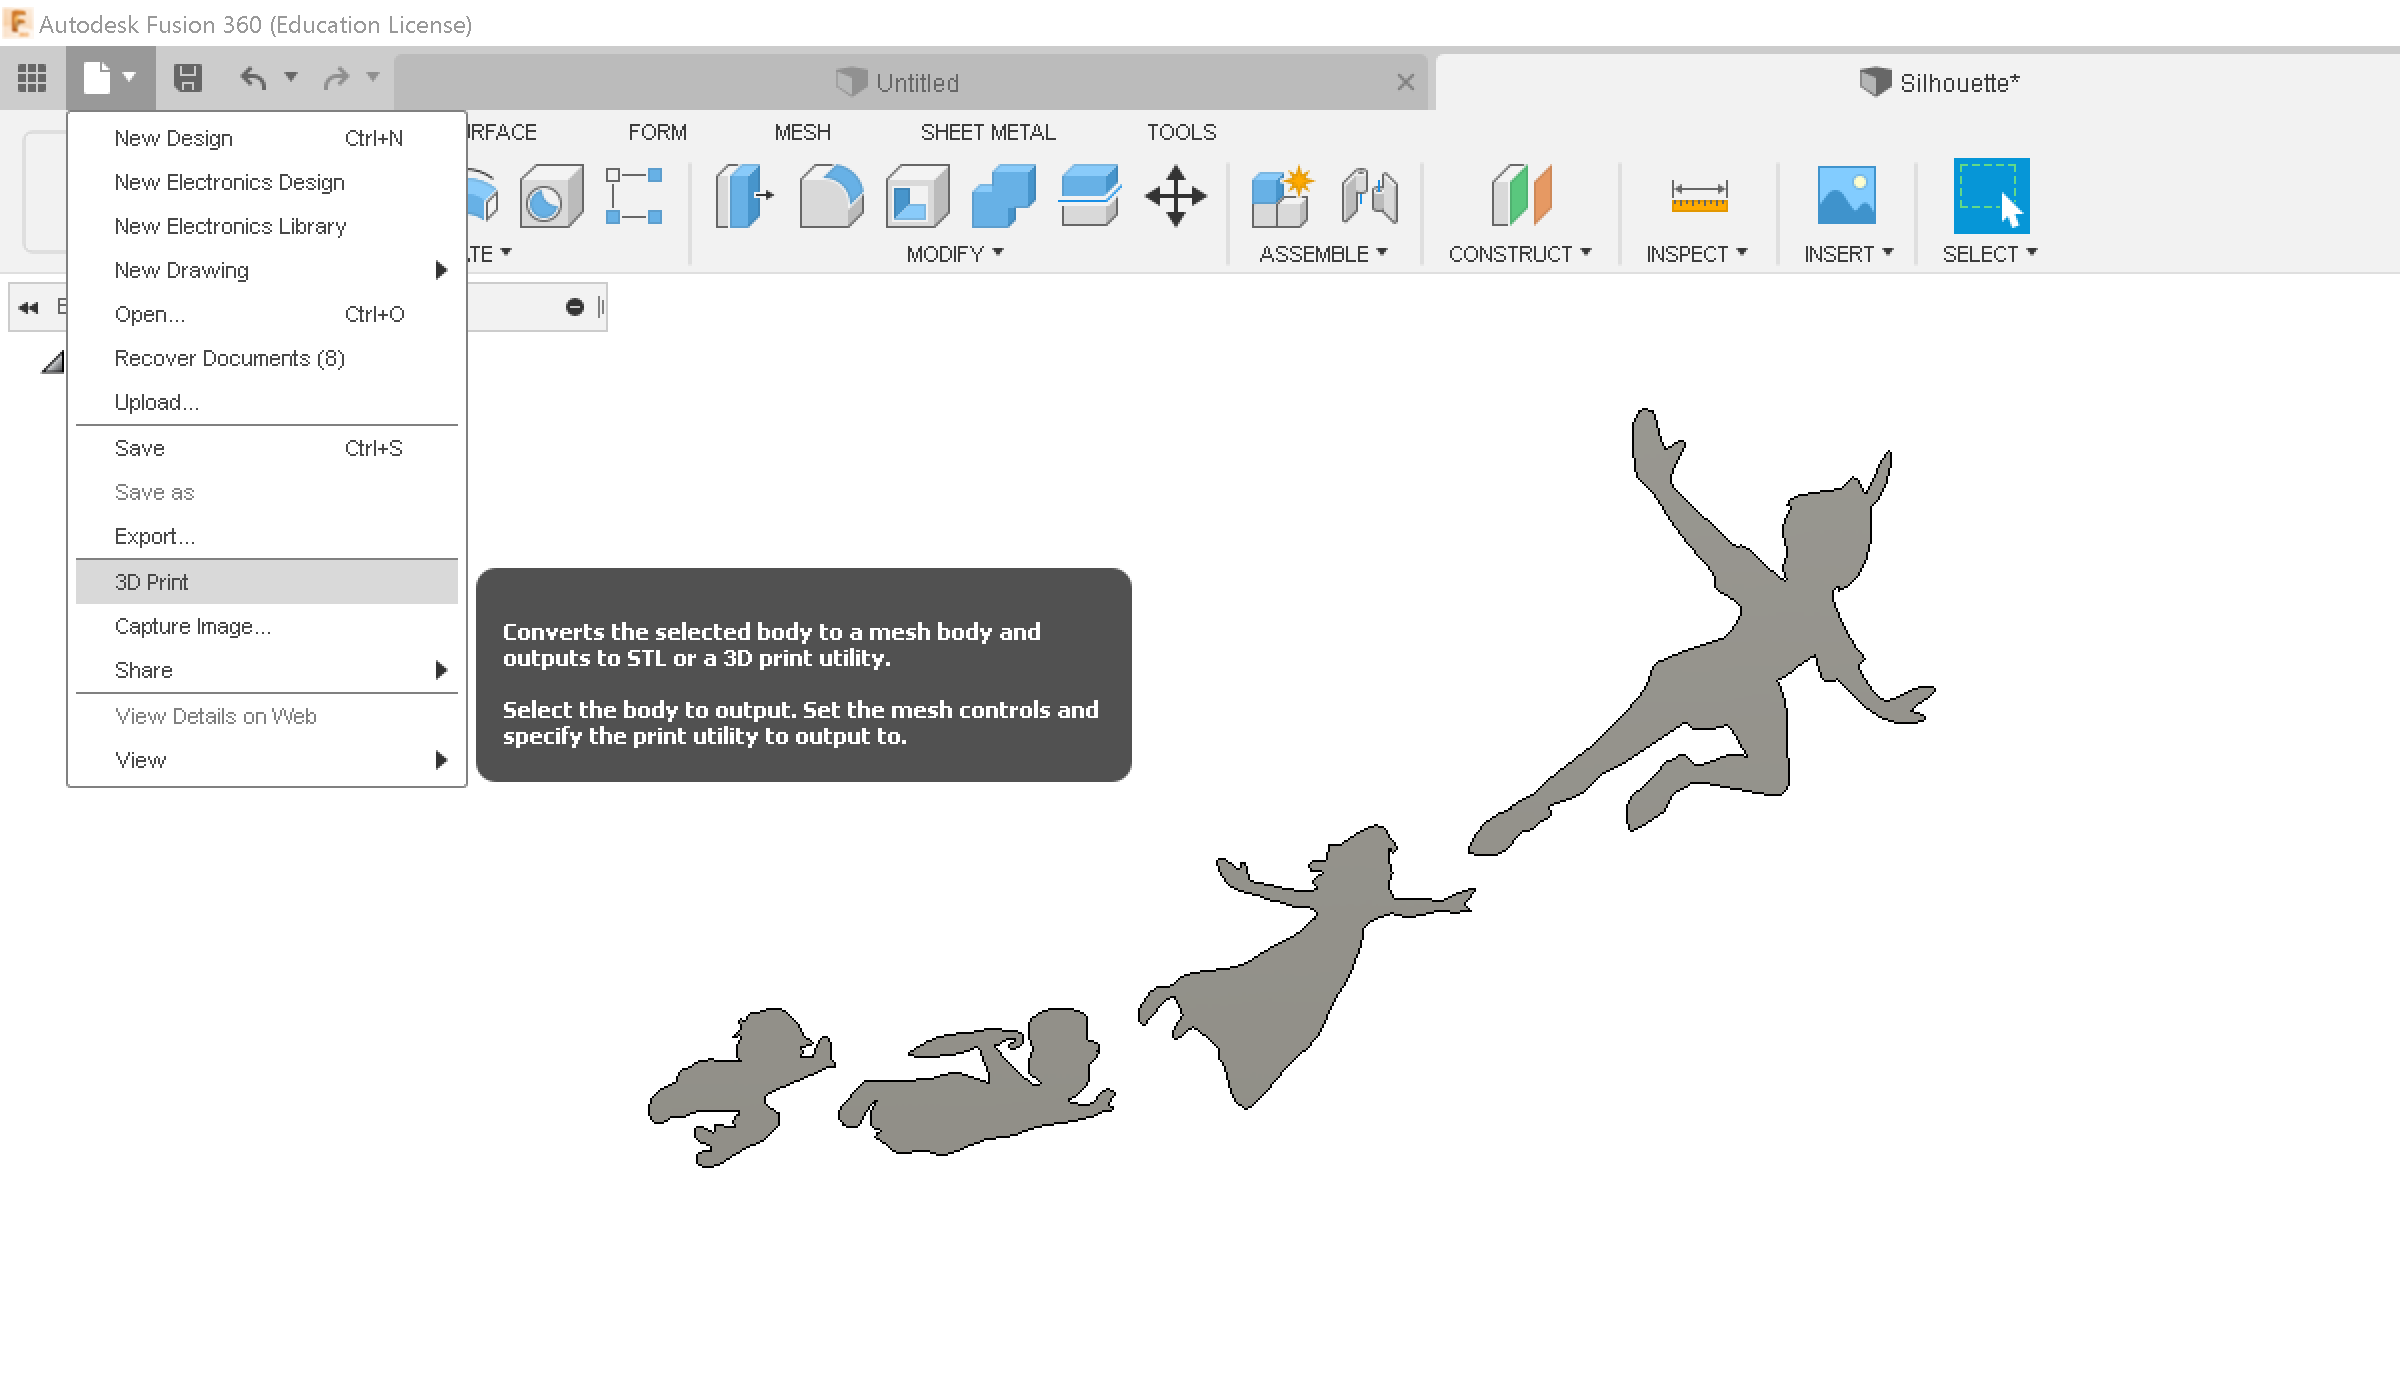
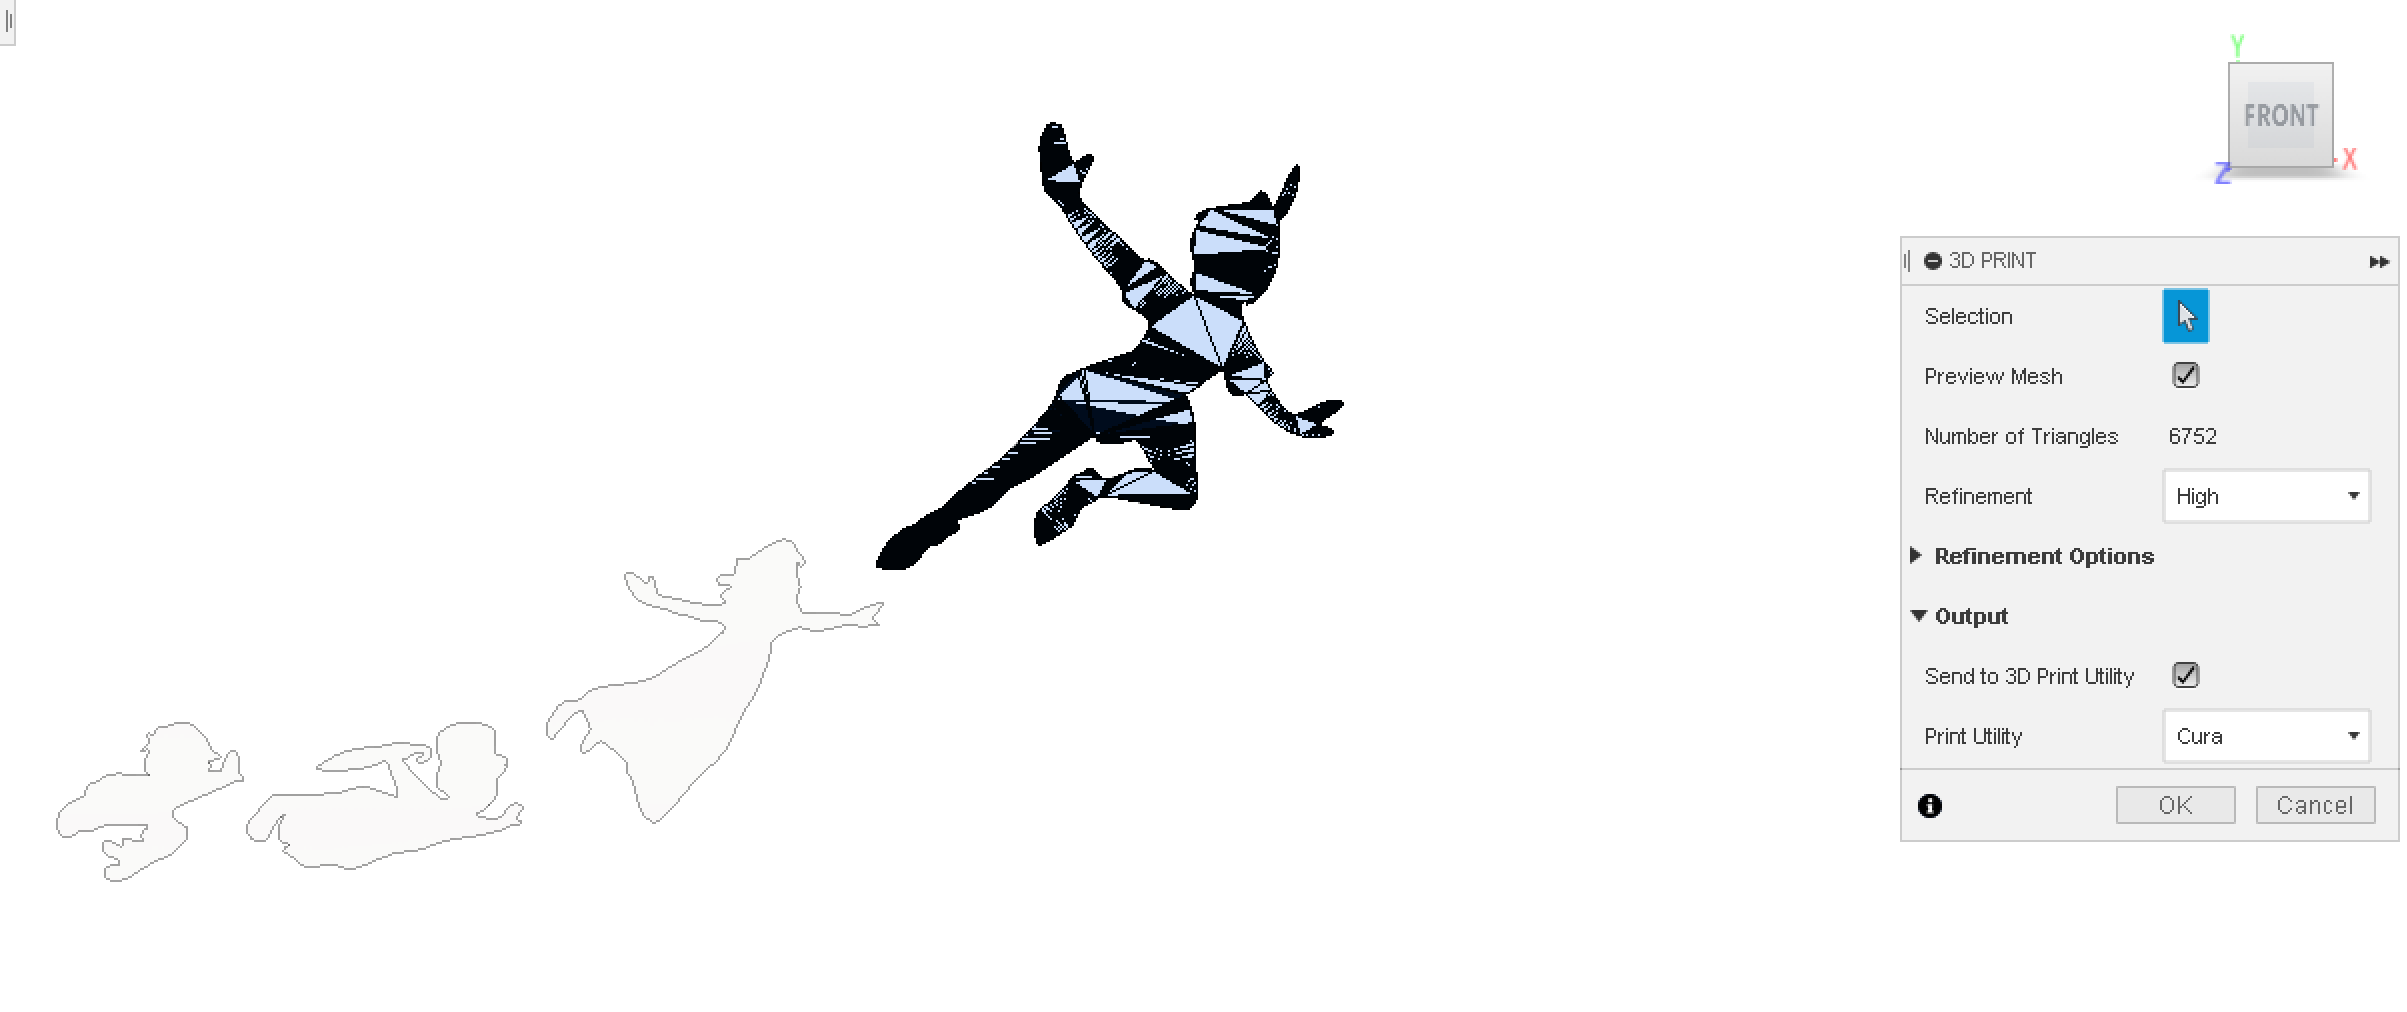
The next step is to export your file to your slicing software, in Fusion 360 you can export directly to a slicer or export as an STL and then import to a different software manually. This option can be found back under the file tab.
Slice and Print!
.png)
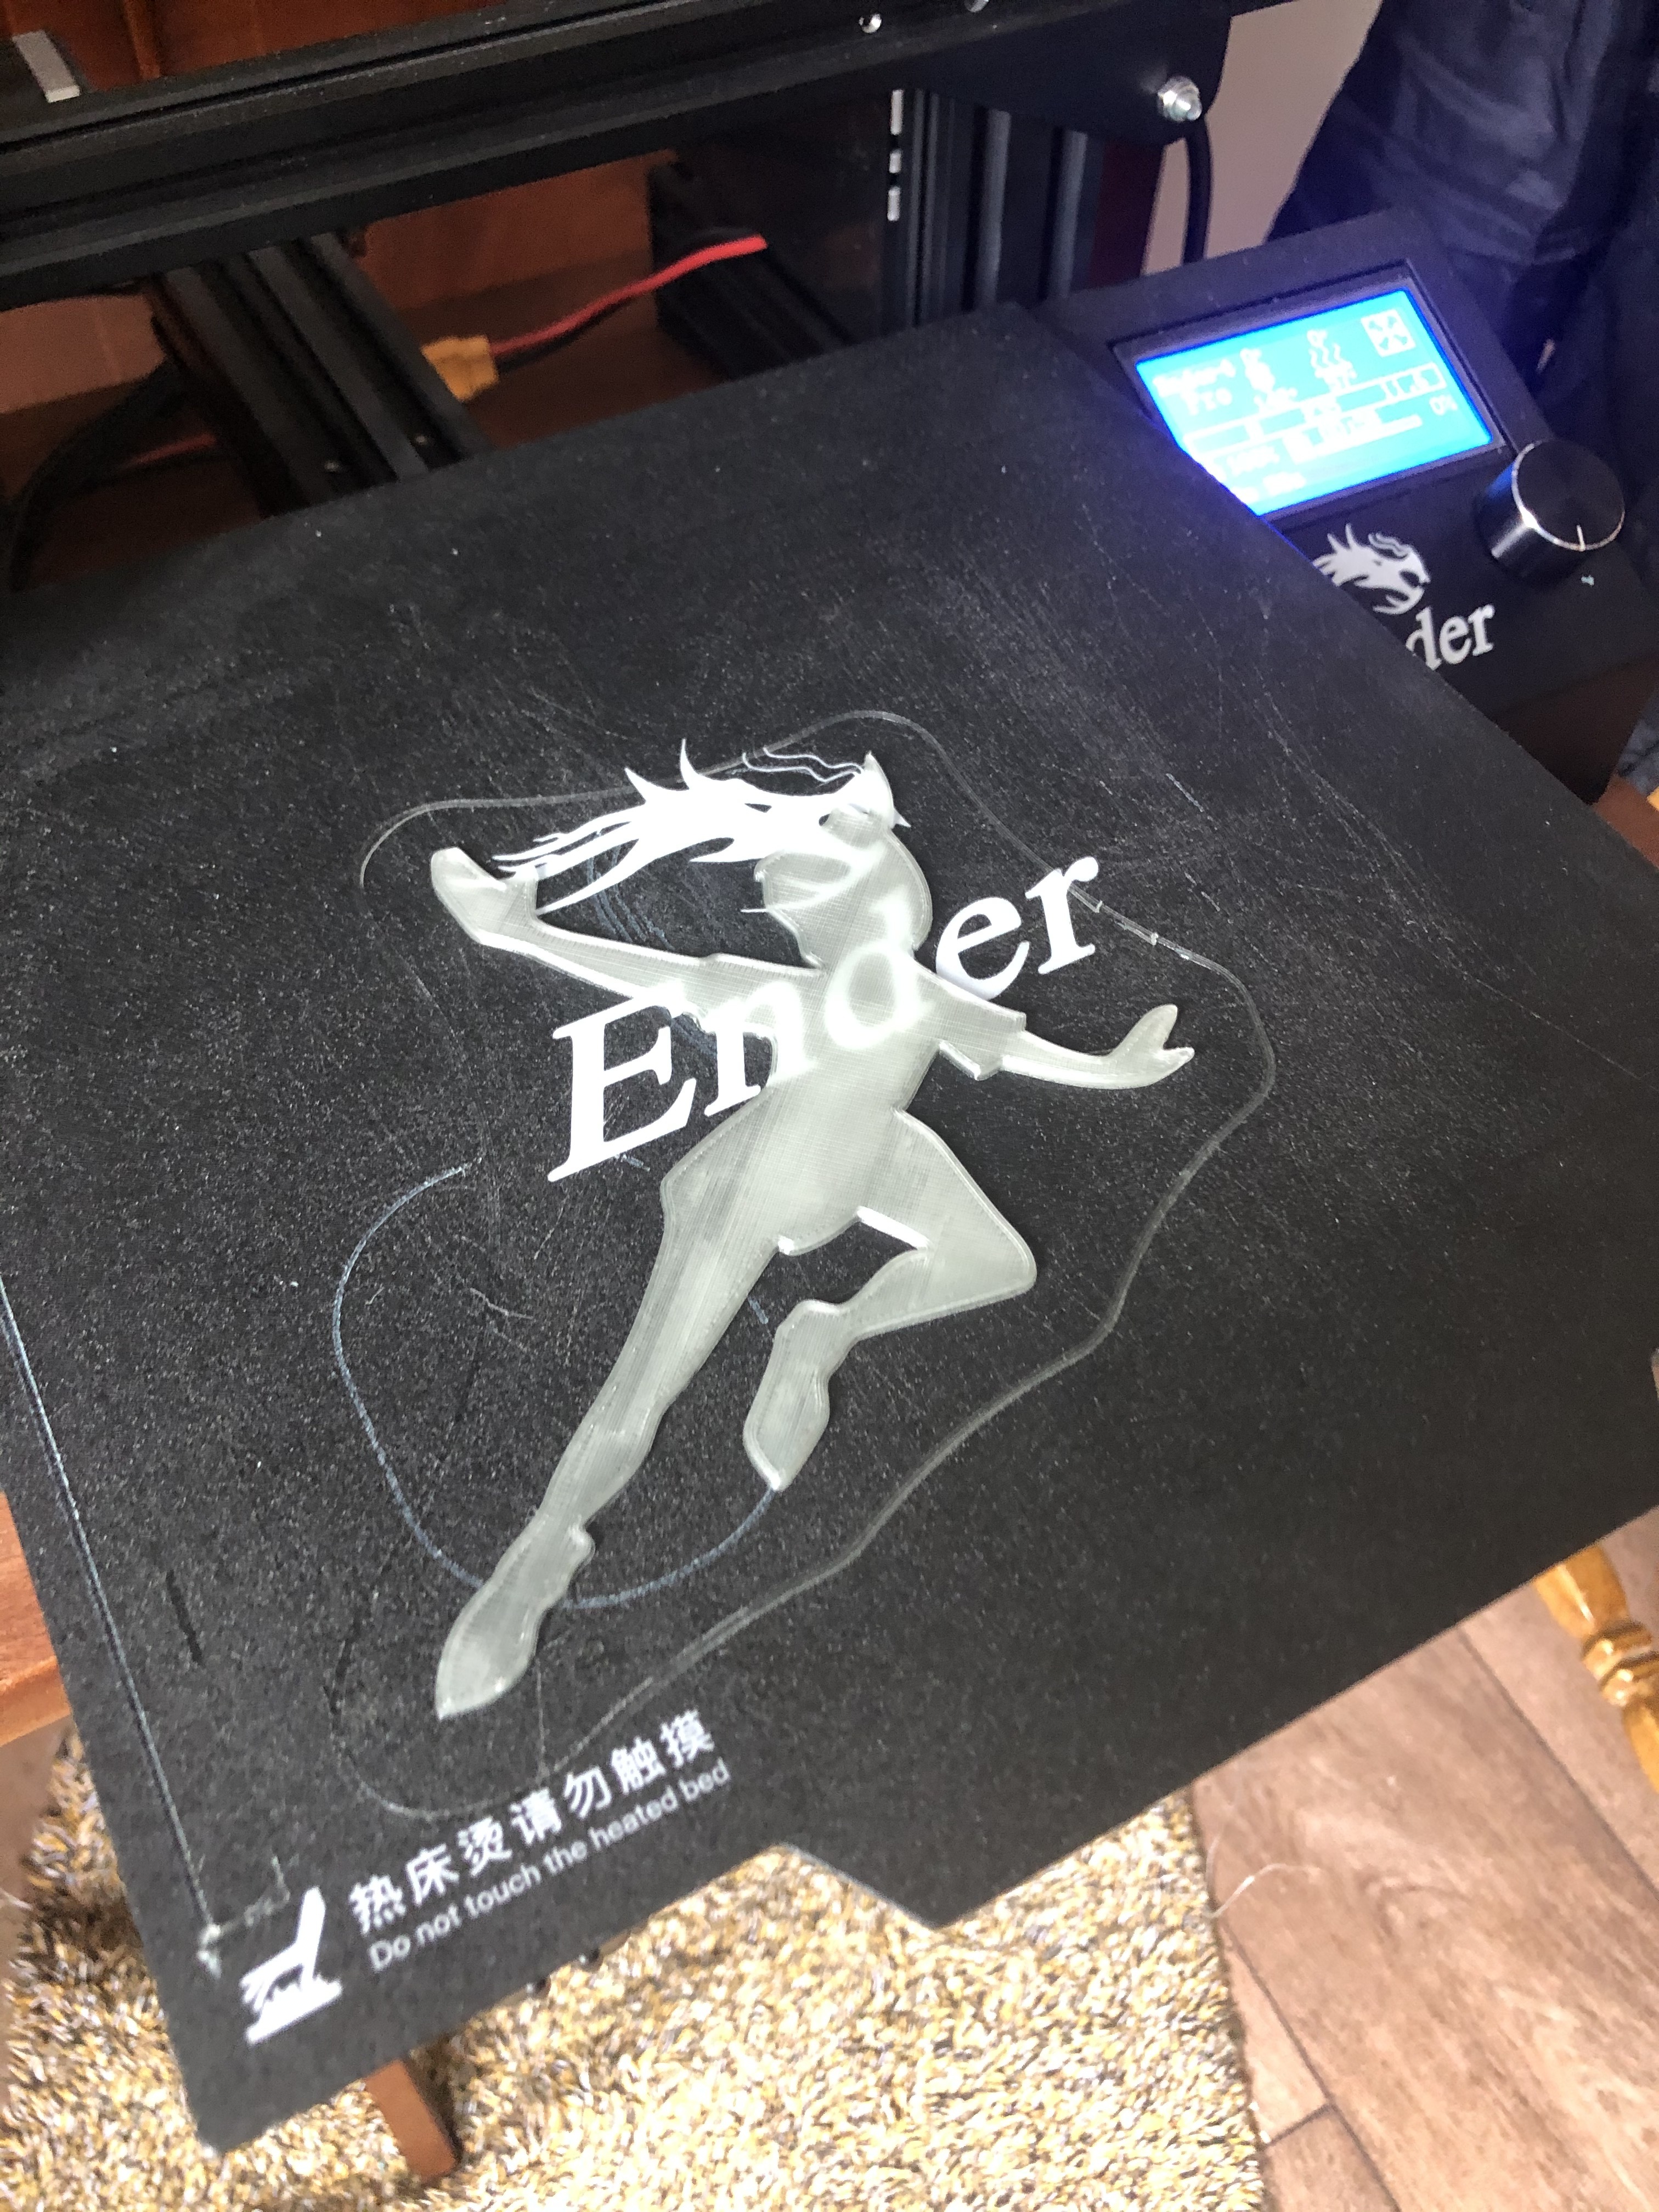
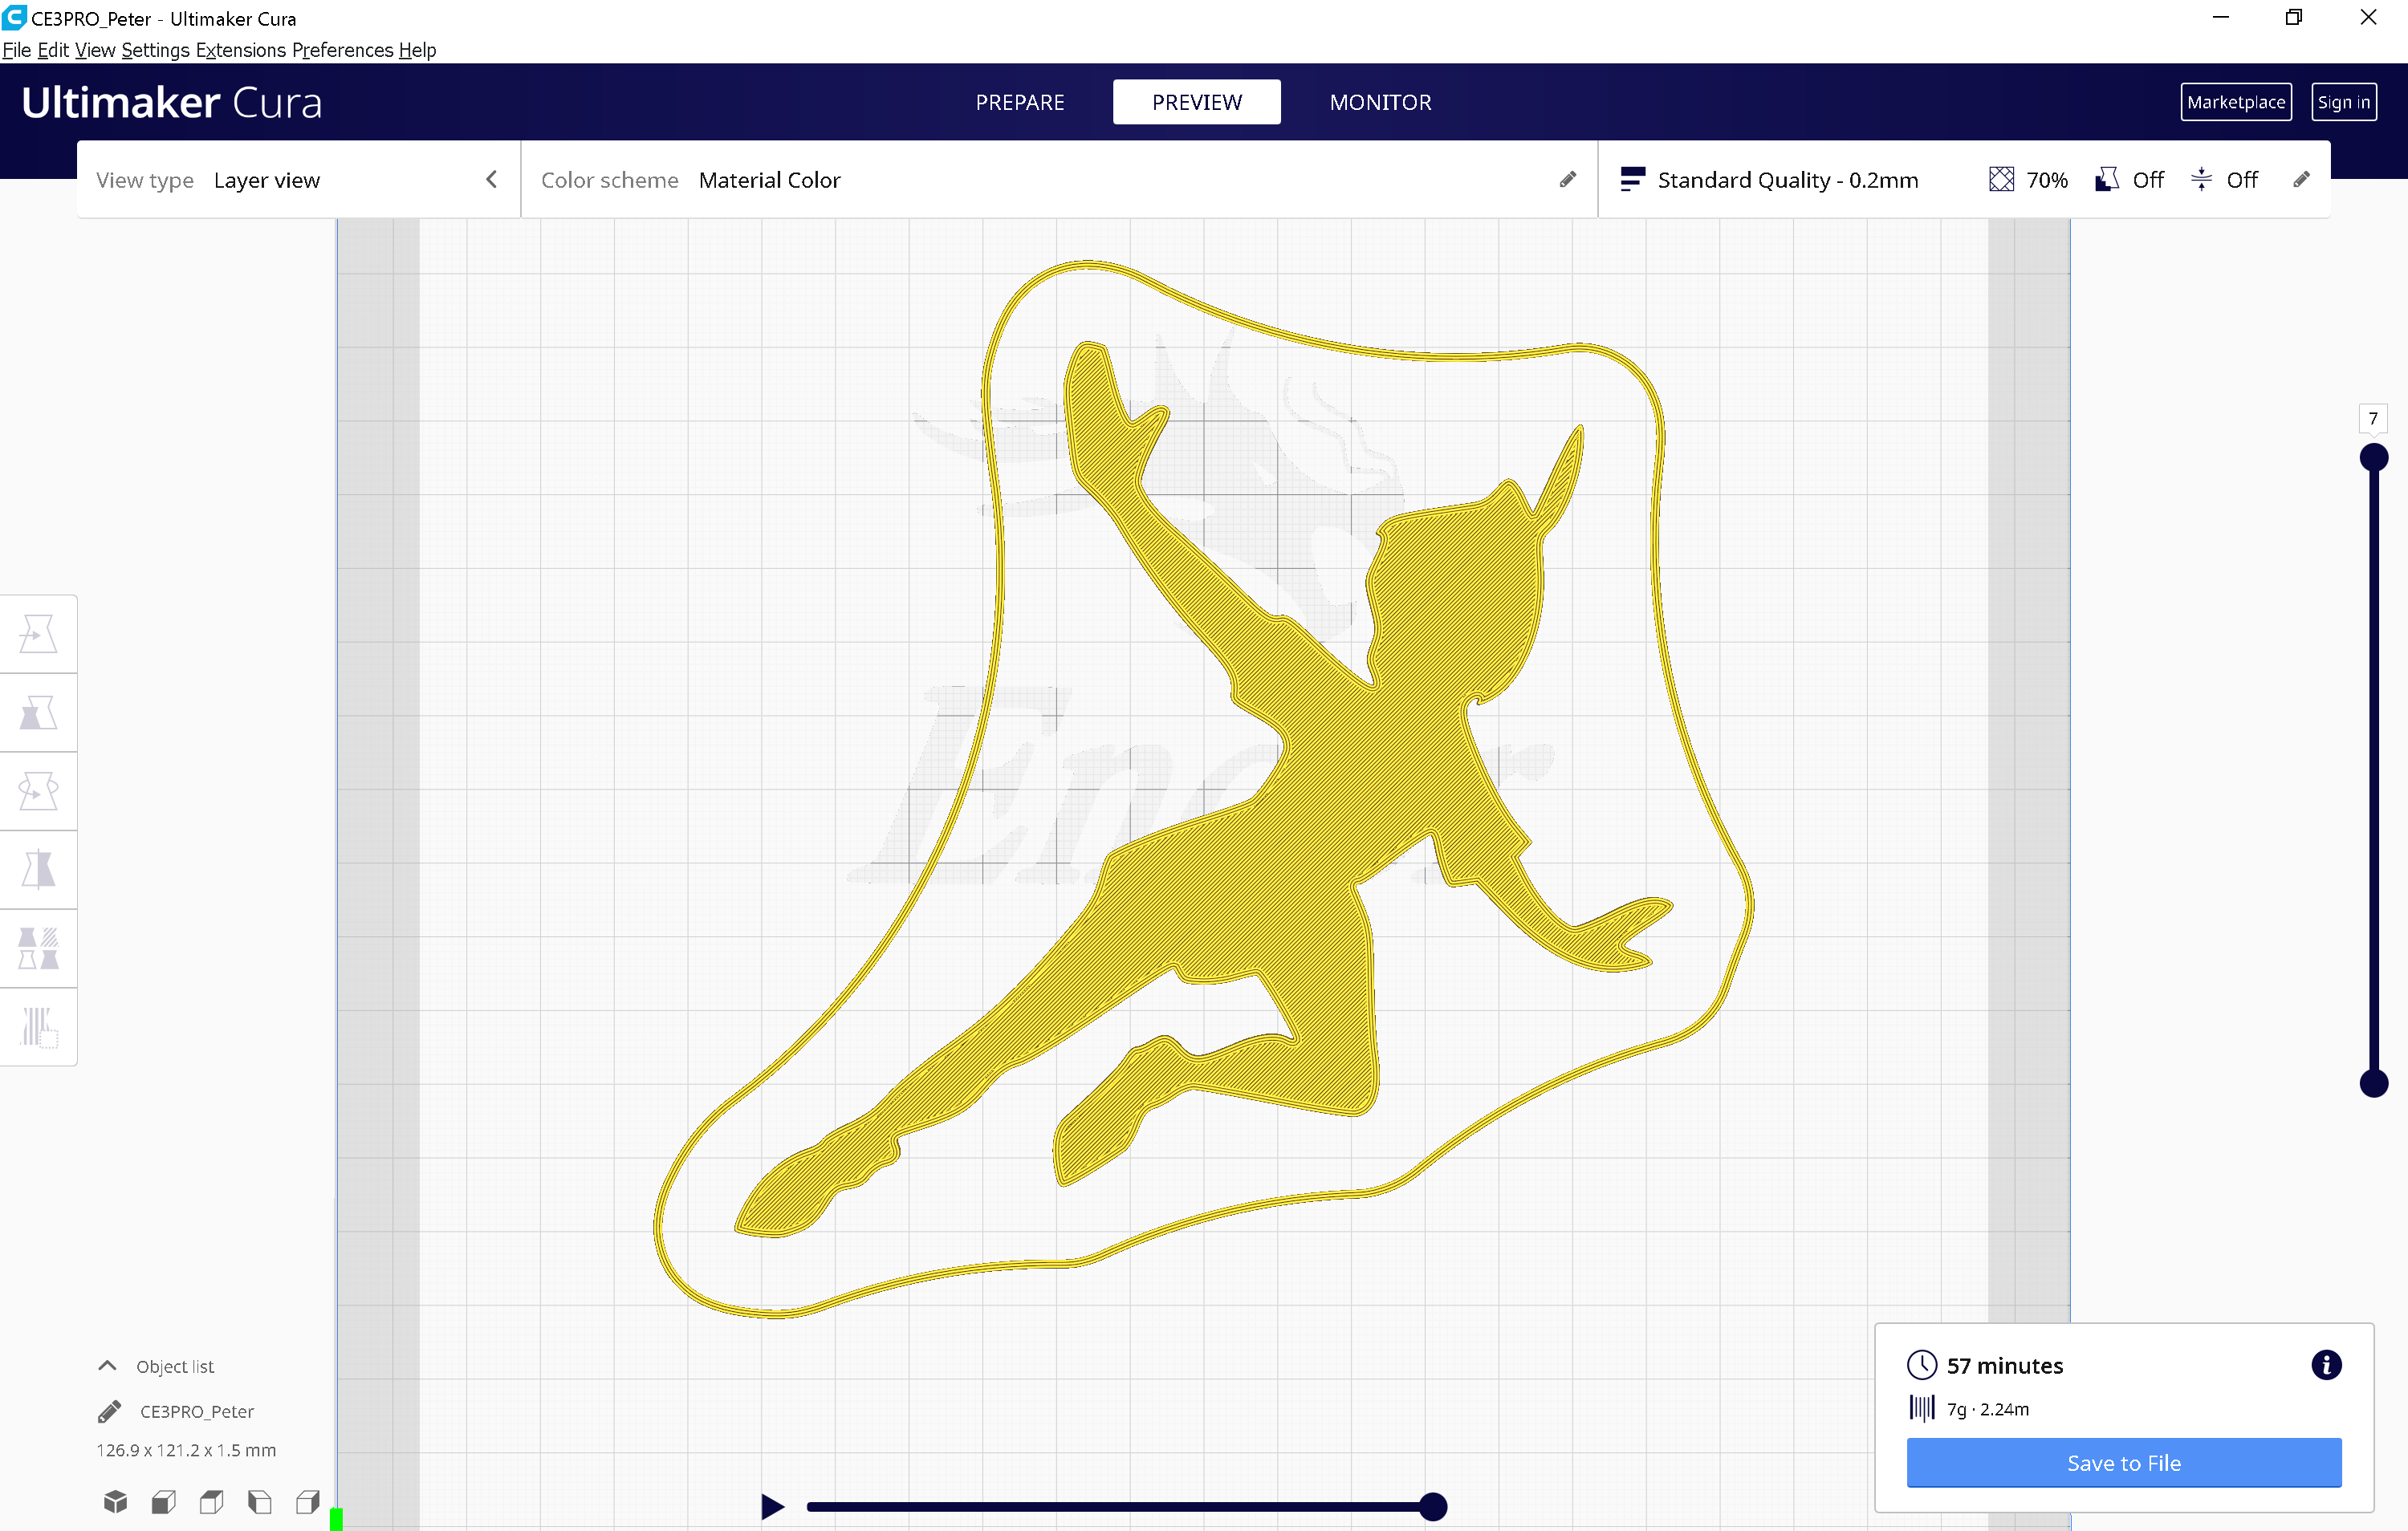
Import the model into your slicer and then save the G-code ready to print! For these decals you do not need a high detail print in your Z dimension as the model is only a silhouette of an image, so 0.2mm layer height should be more than enough.
Make sure your bed is very level as these flat prints with thin segments tend to curl up at the edges and can easily ruin your print. If you are facing these challenges sometimes a thin layer of glue stick can help the print adhere to the bed and help you produce a much cleaner model.
Test It Out!


Once I had printed each model, I wanted to check and see that my prints glowed the way I wanted them to before sticking them in place.
And they worked great! I have seen other glow in the dark filament that barely glows, this one gave me great results and will fit in perfectly with the existing glow in the dark stars.
Mount Your Decals
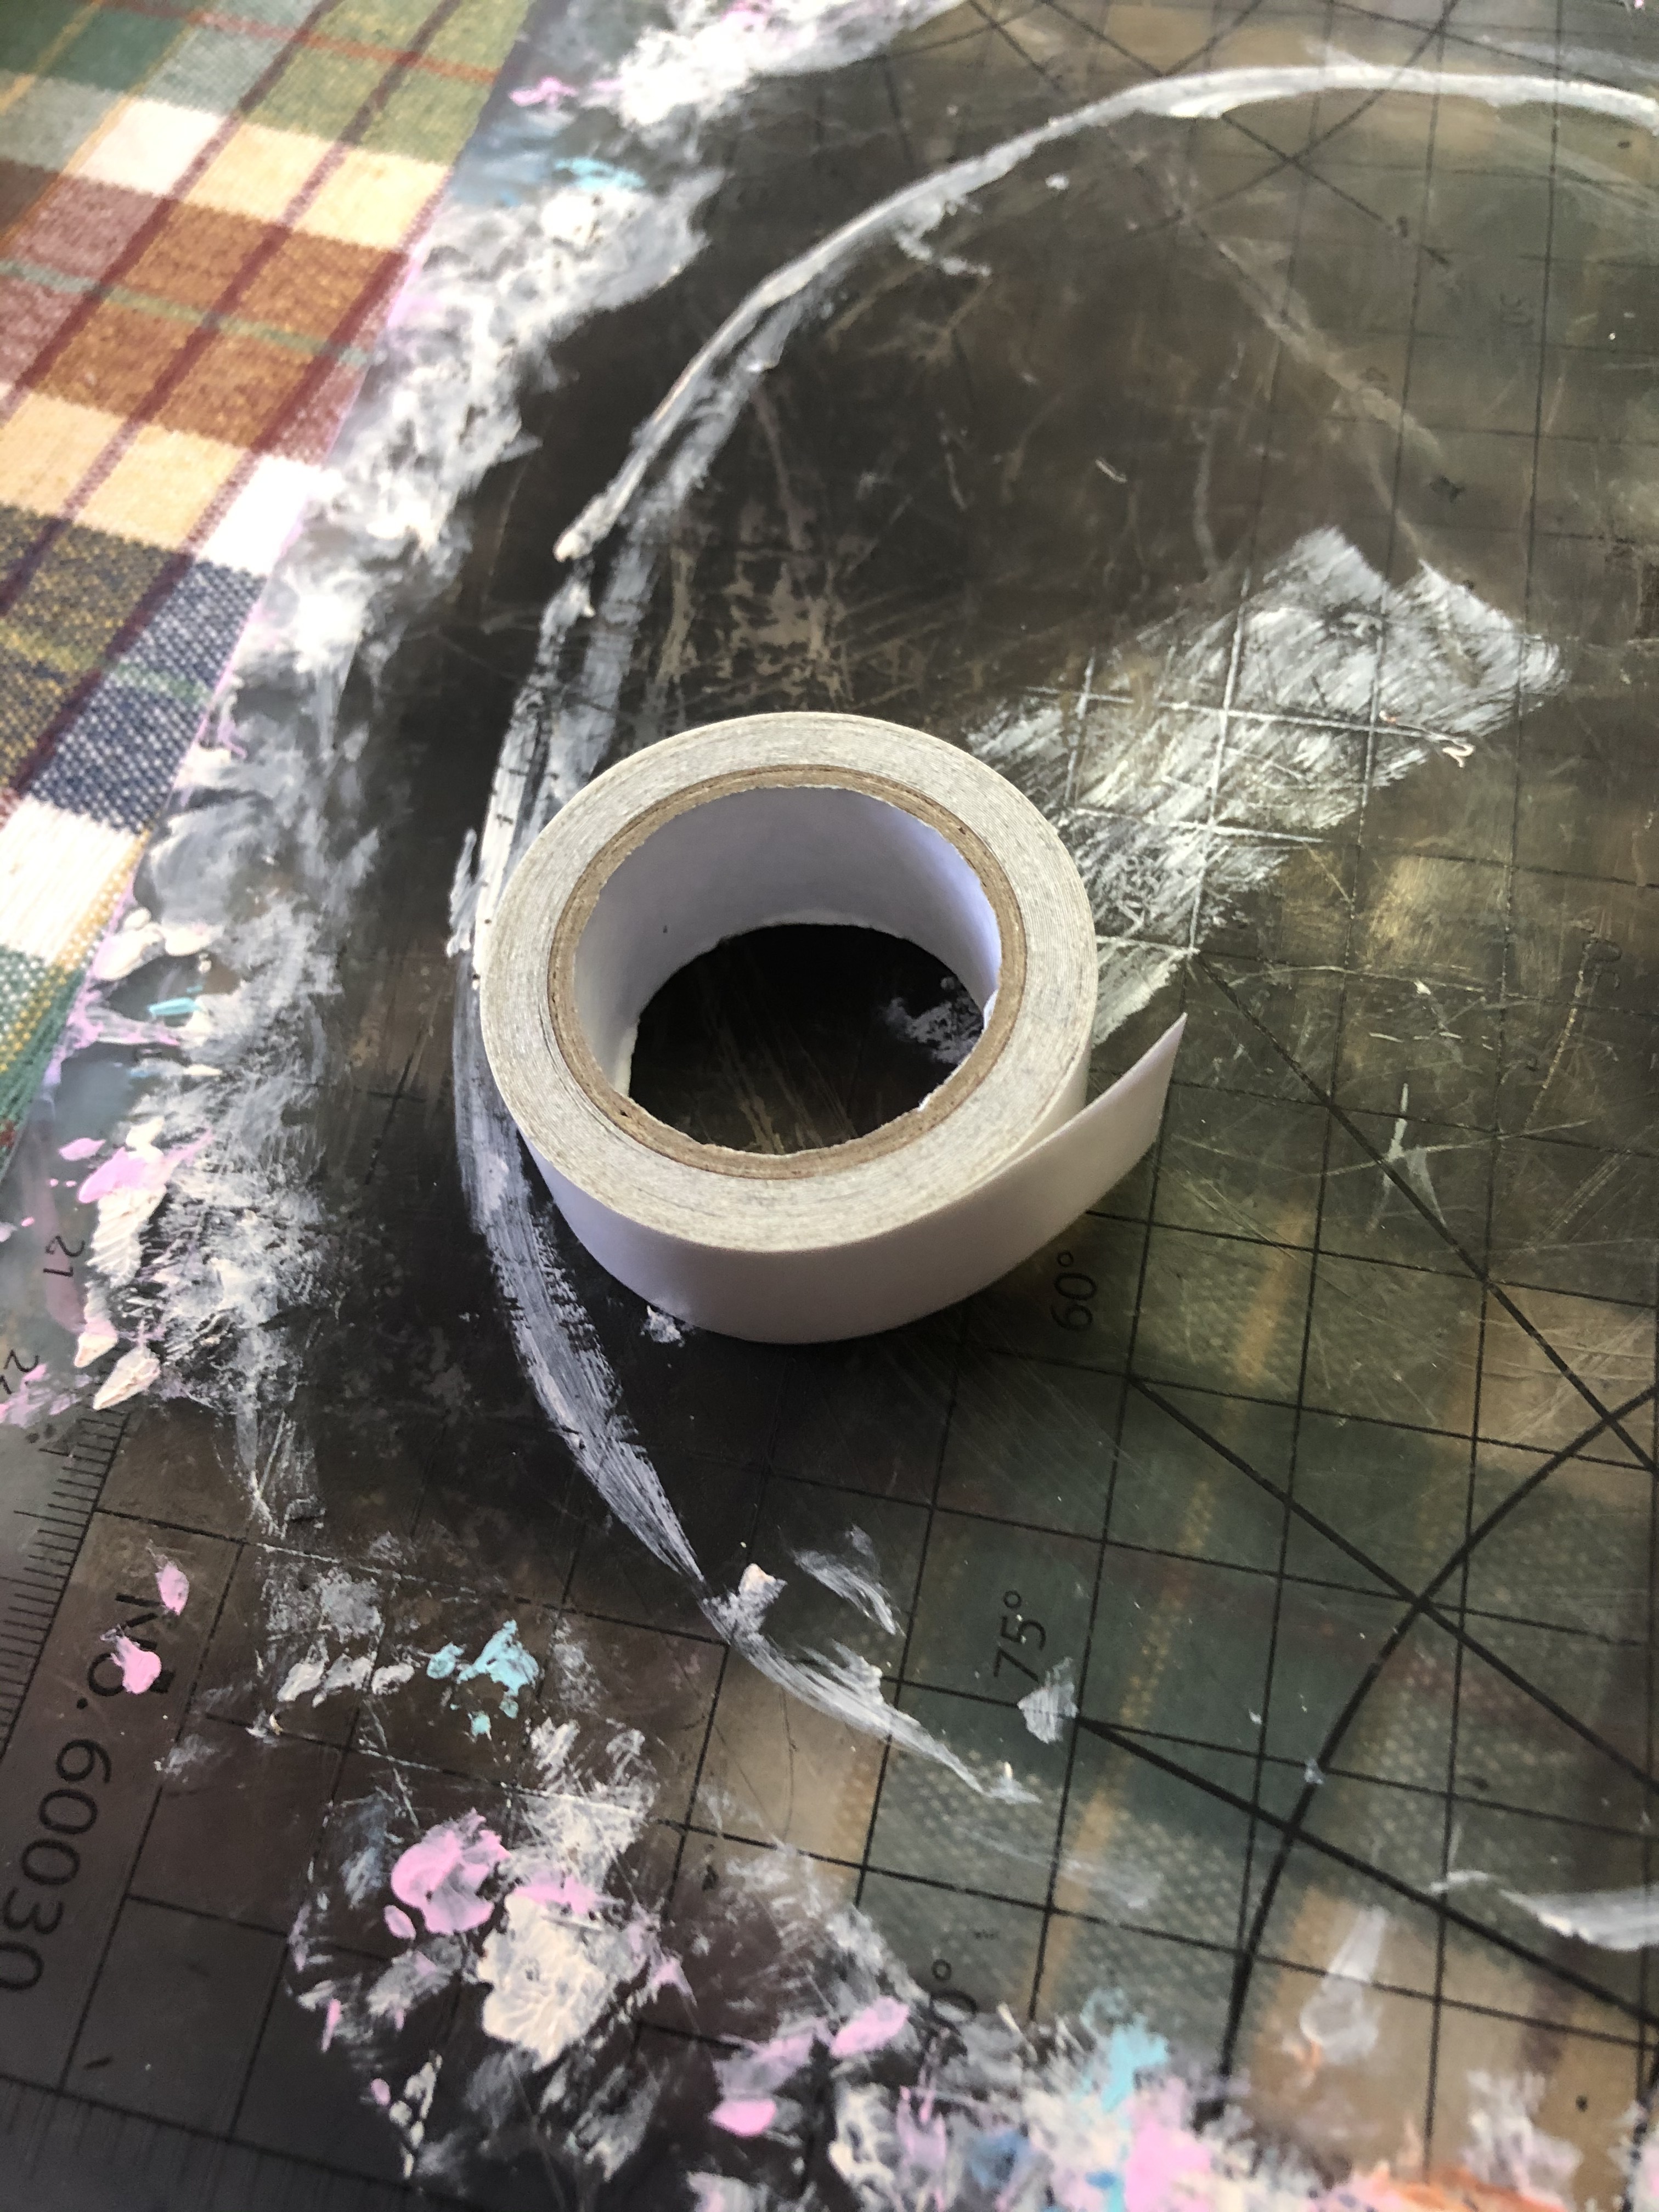
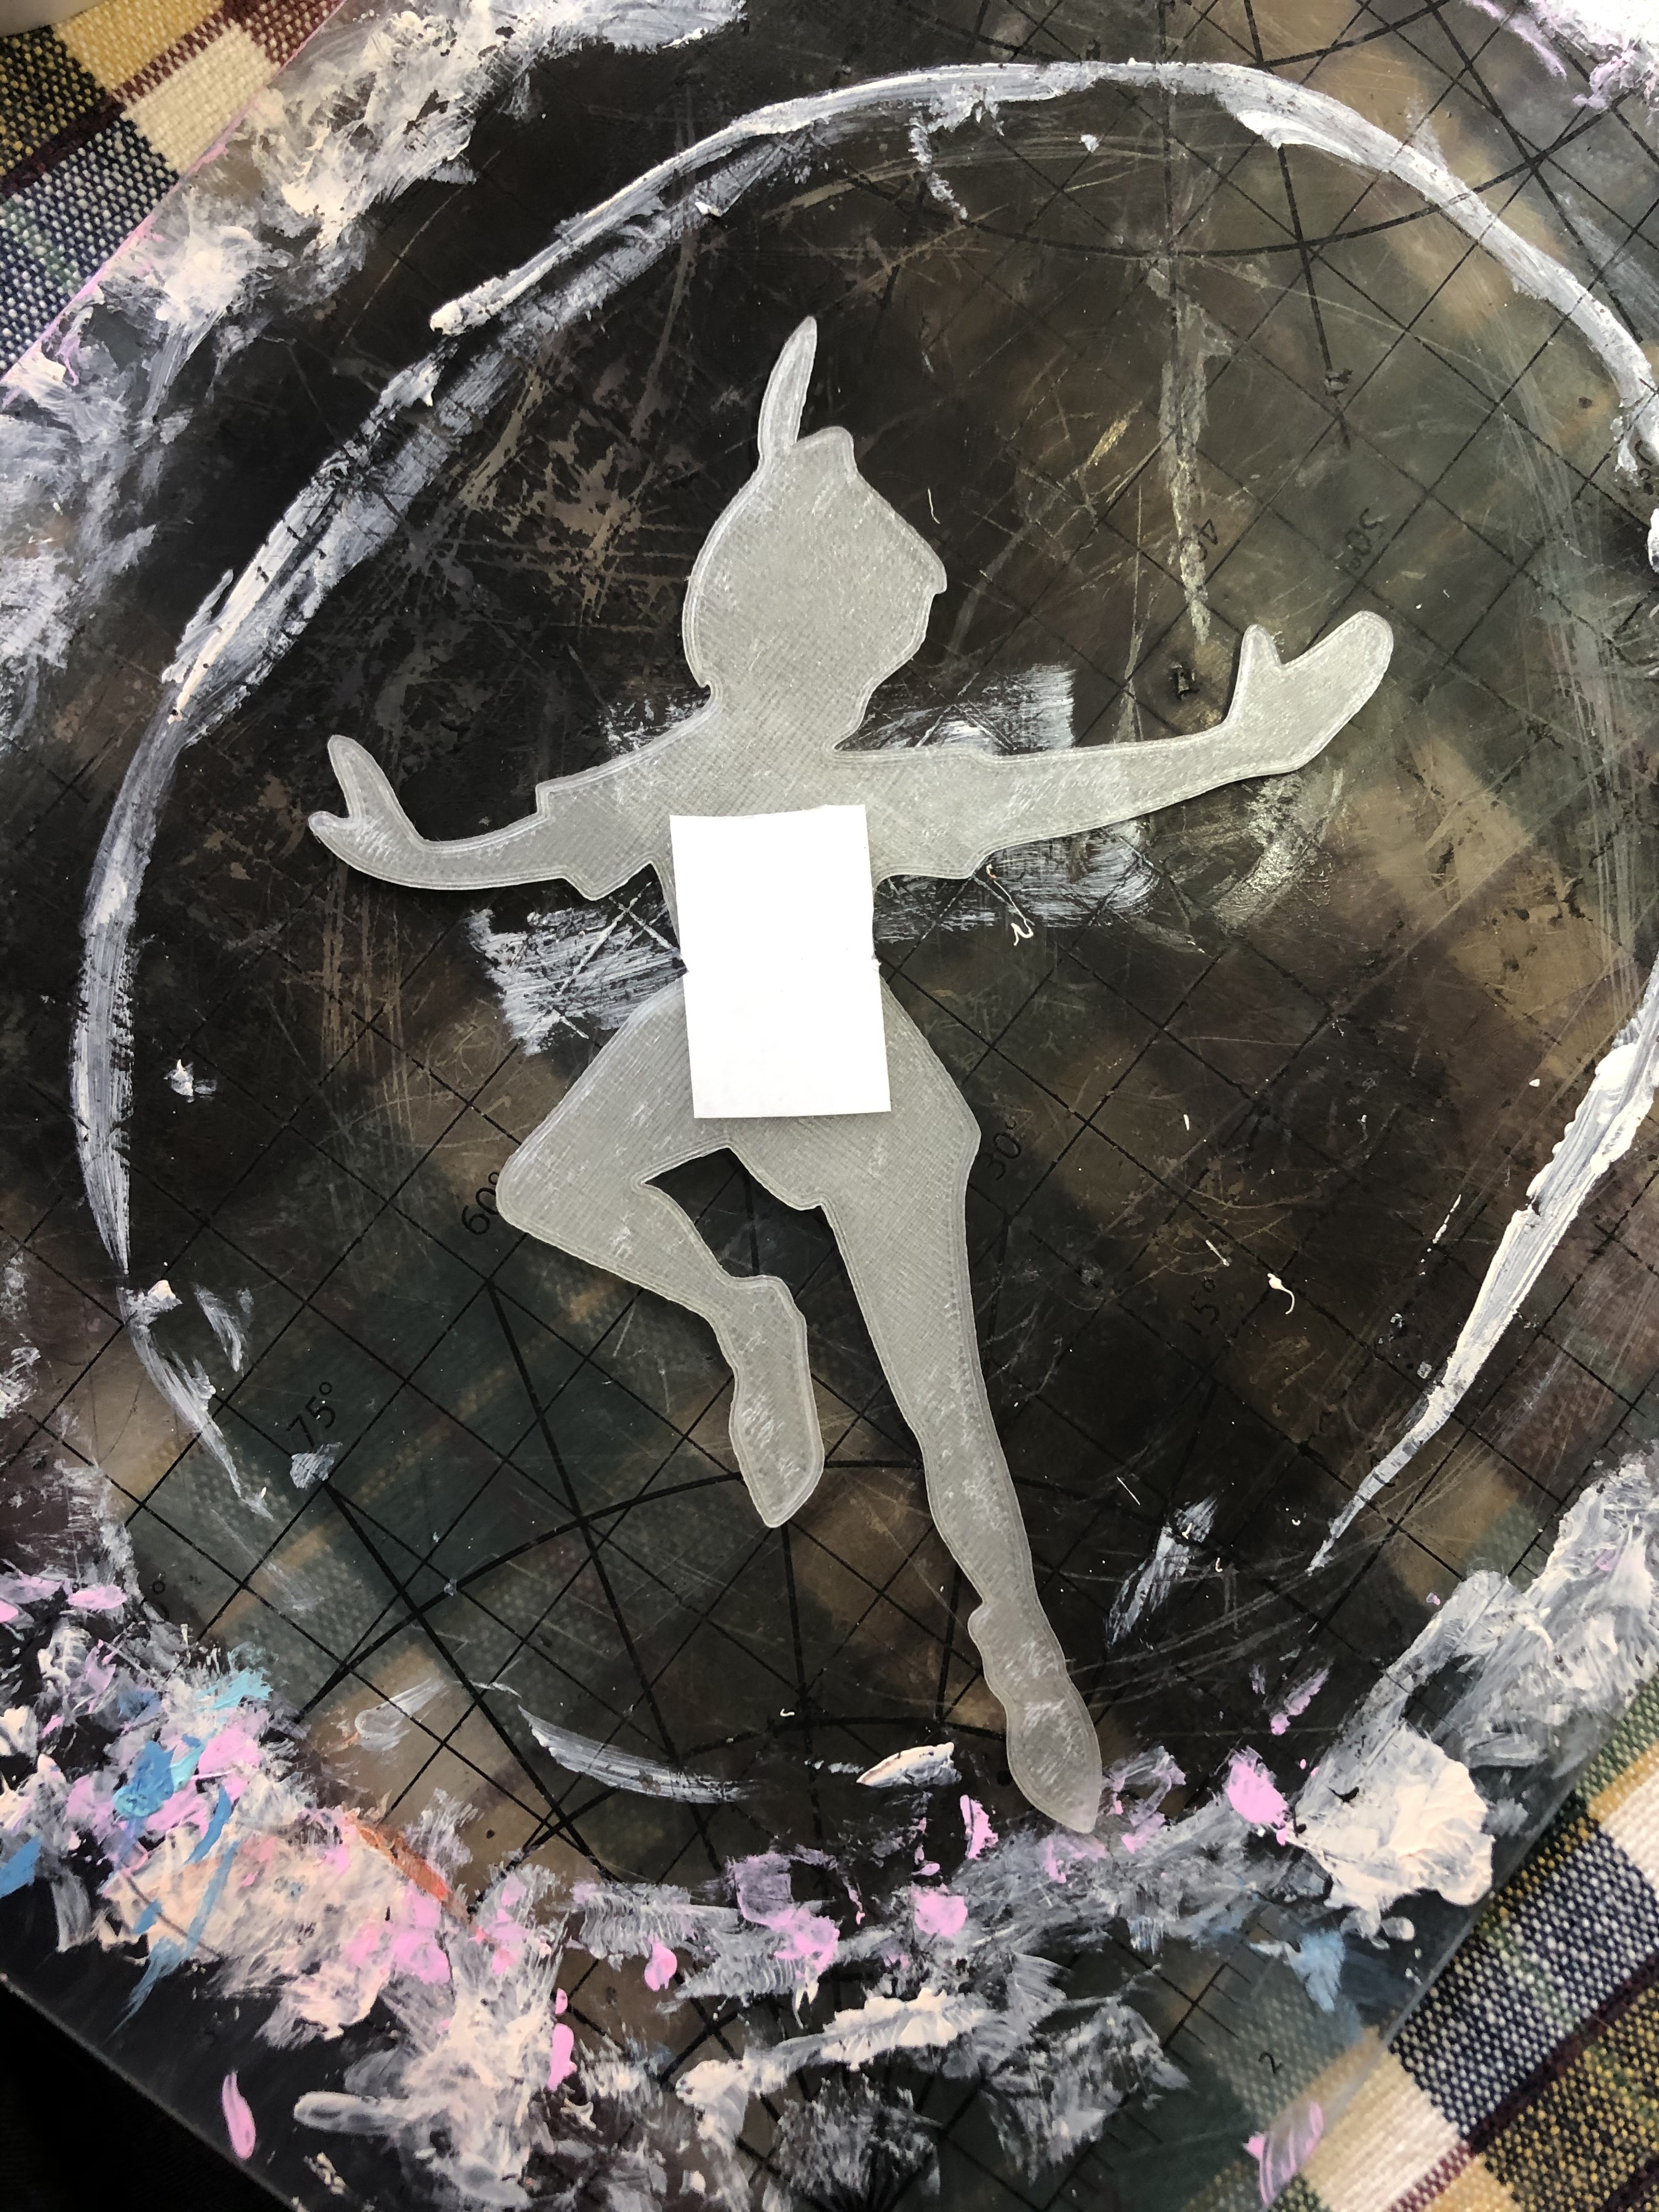
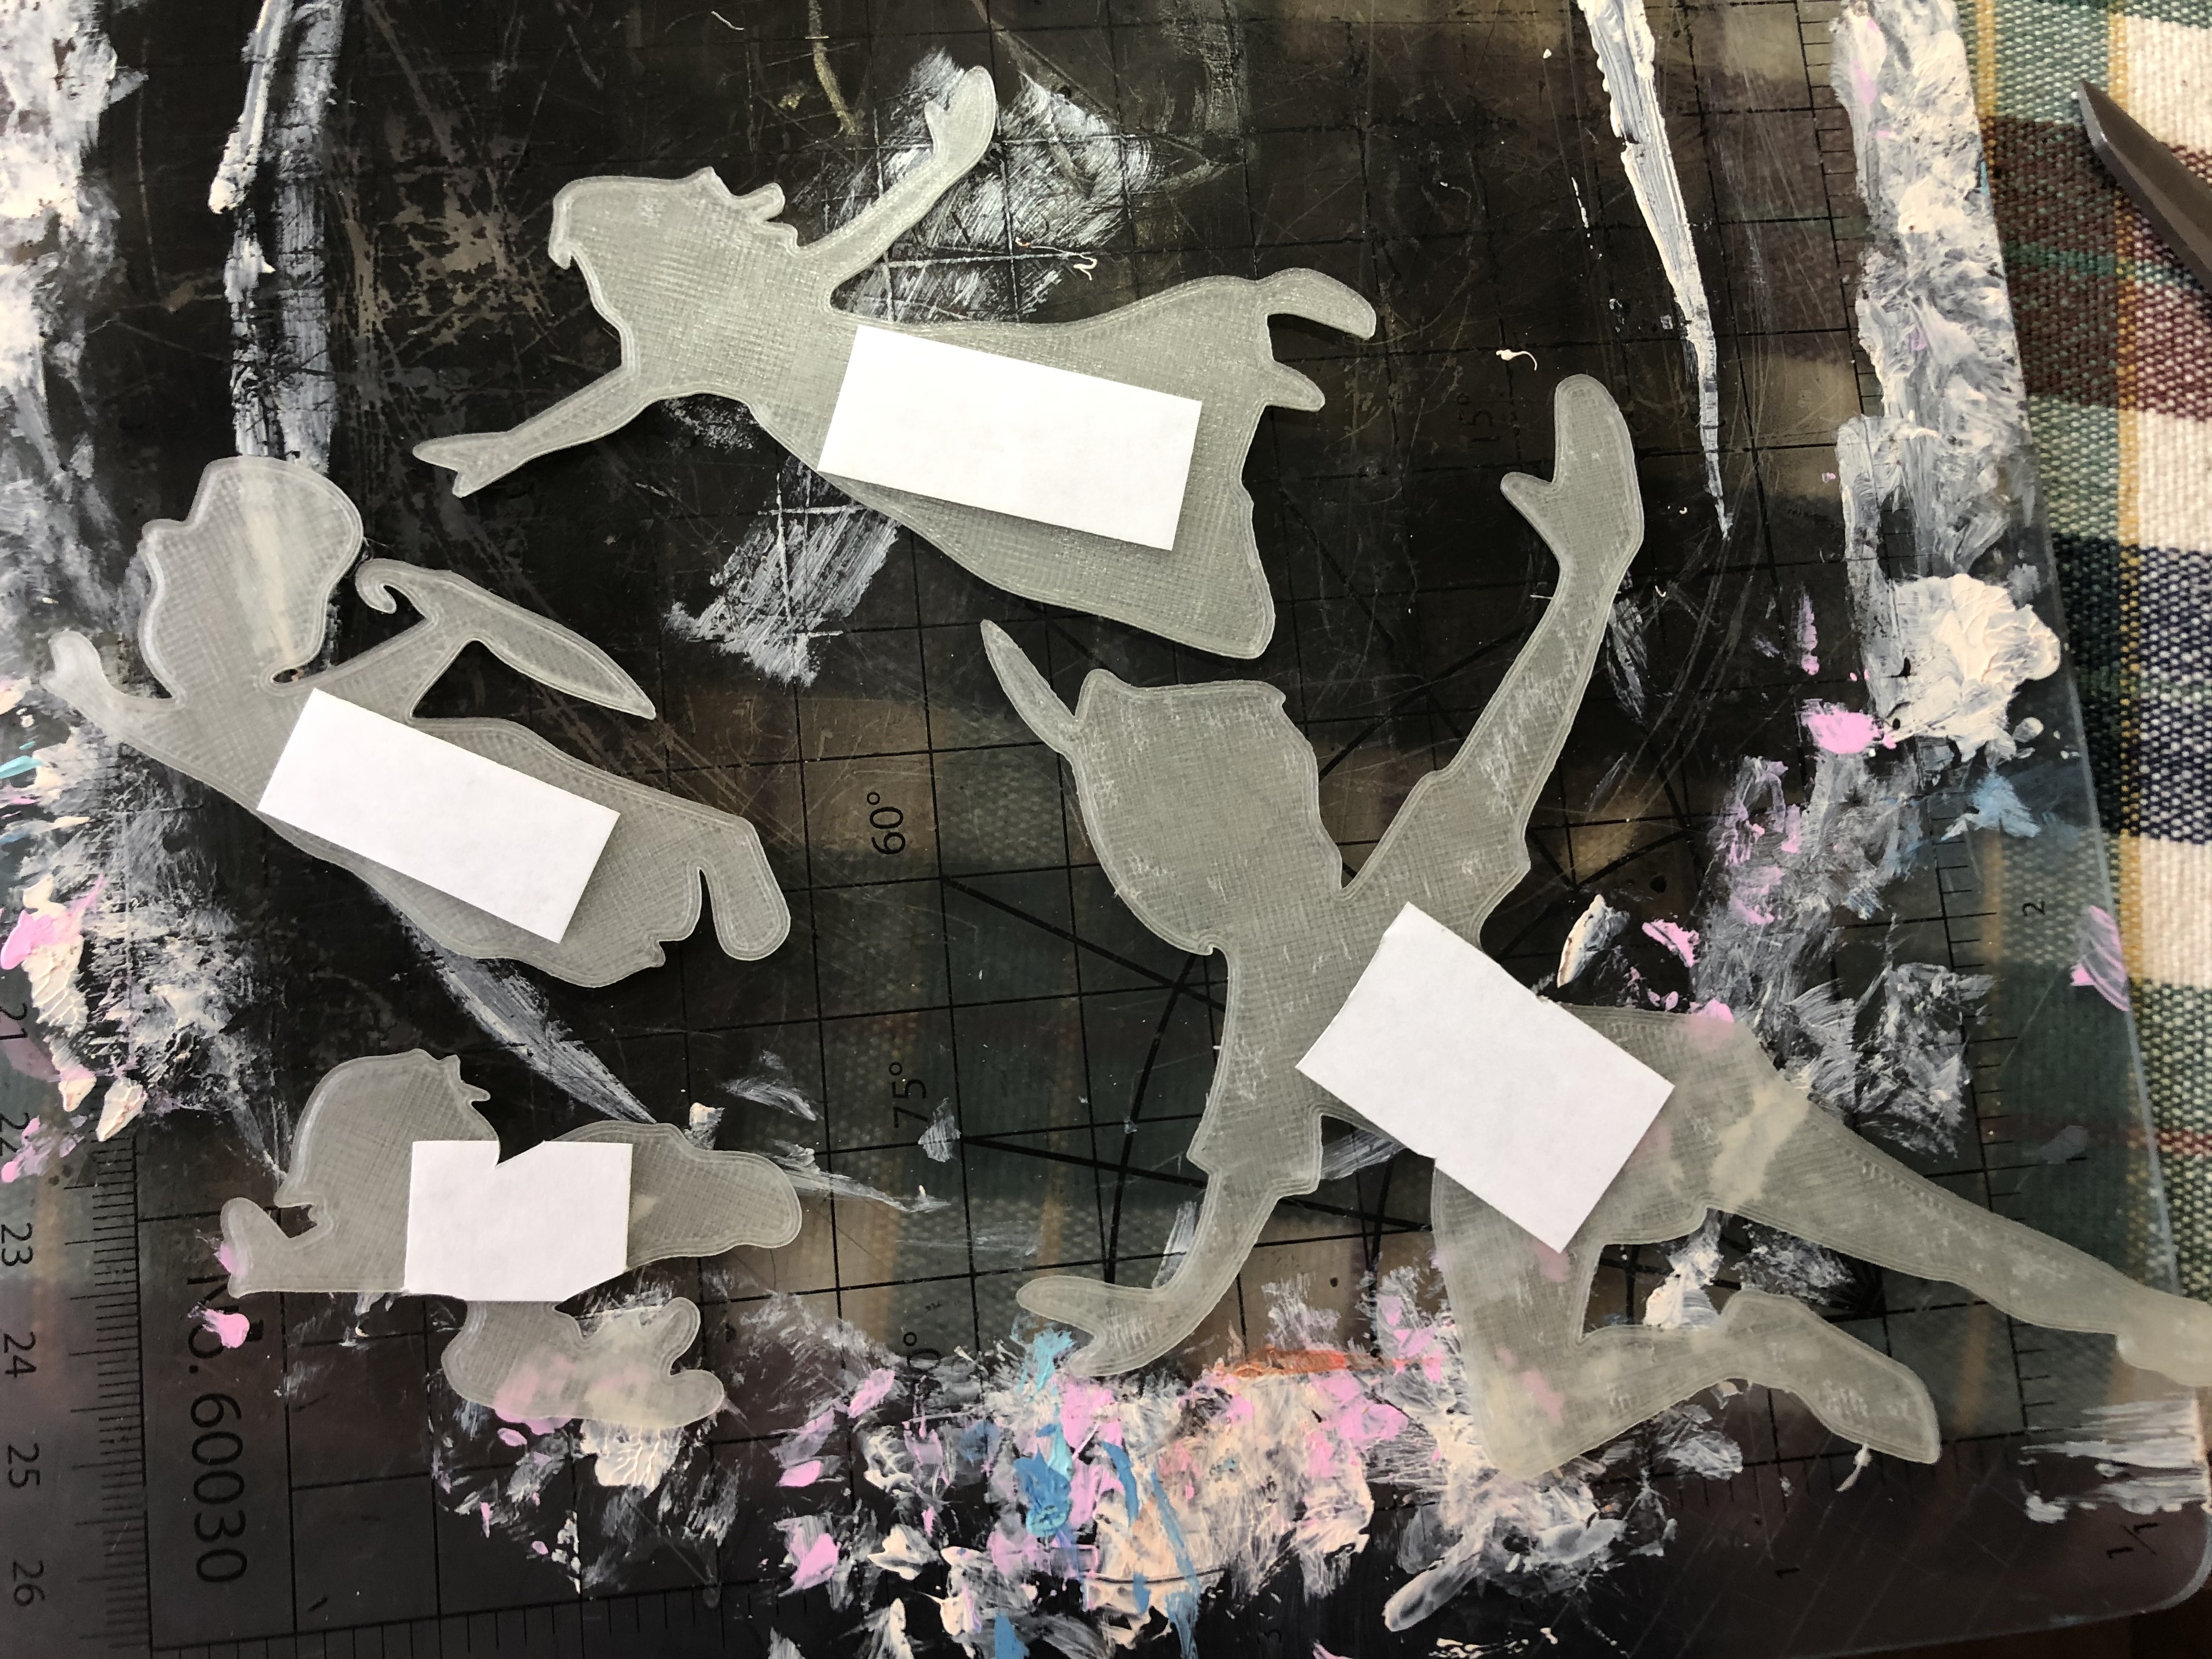
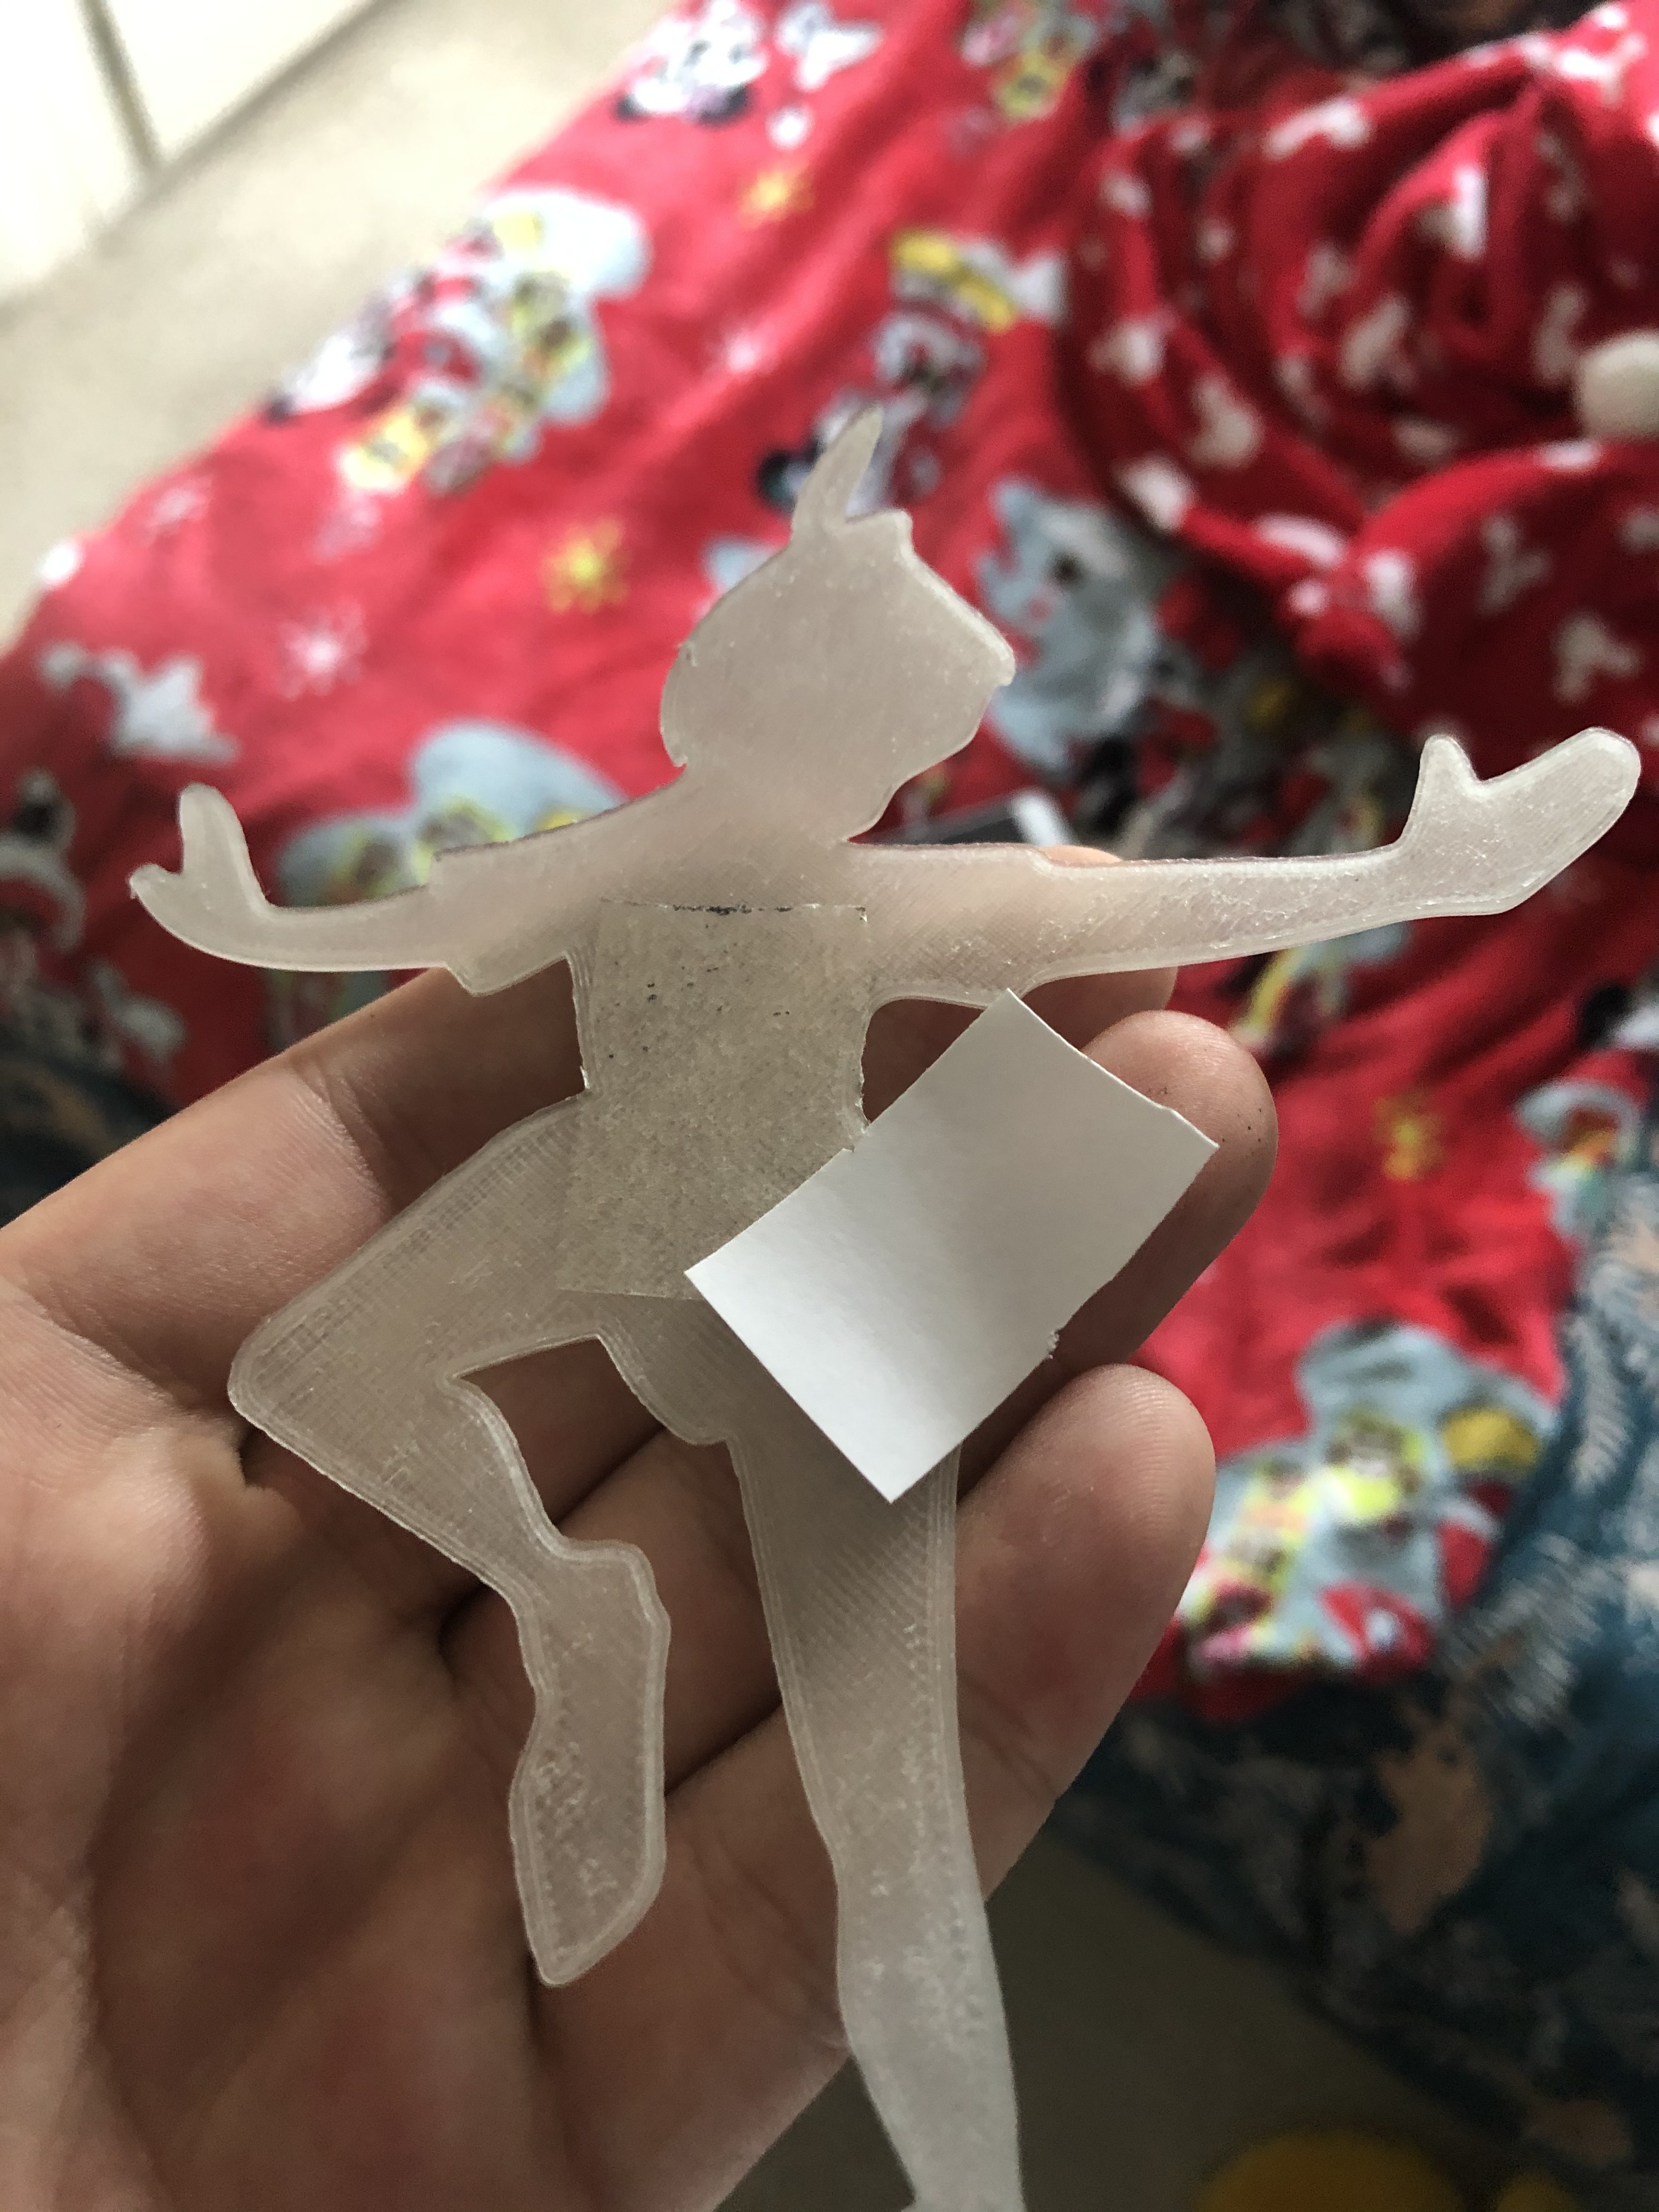
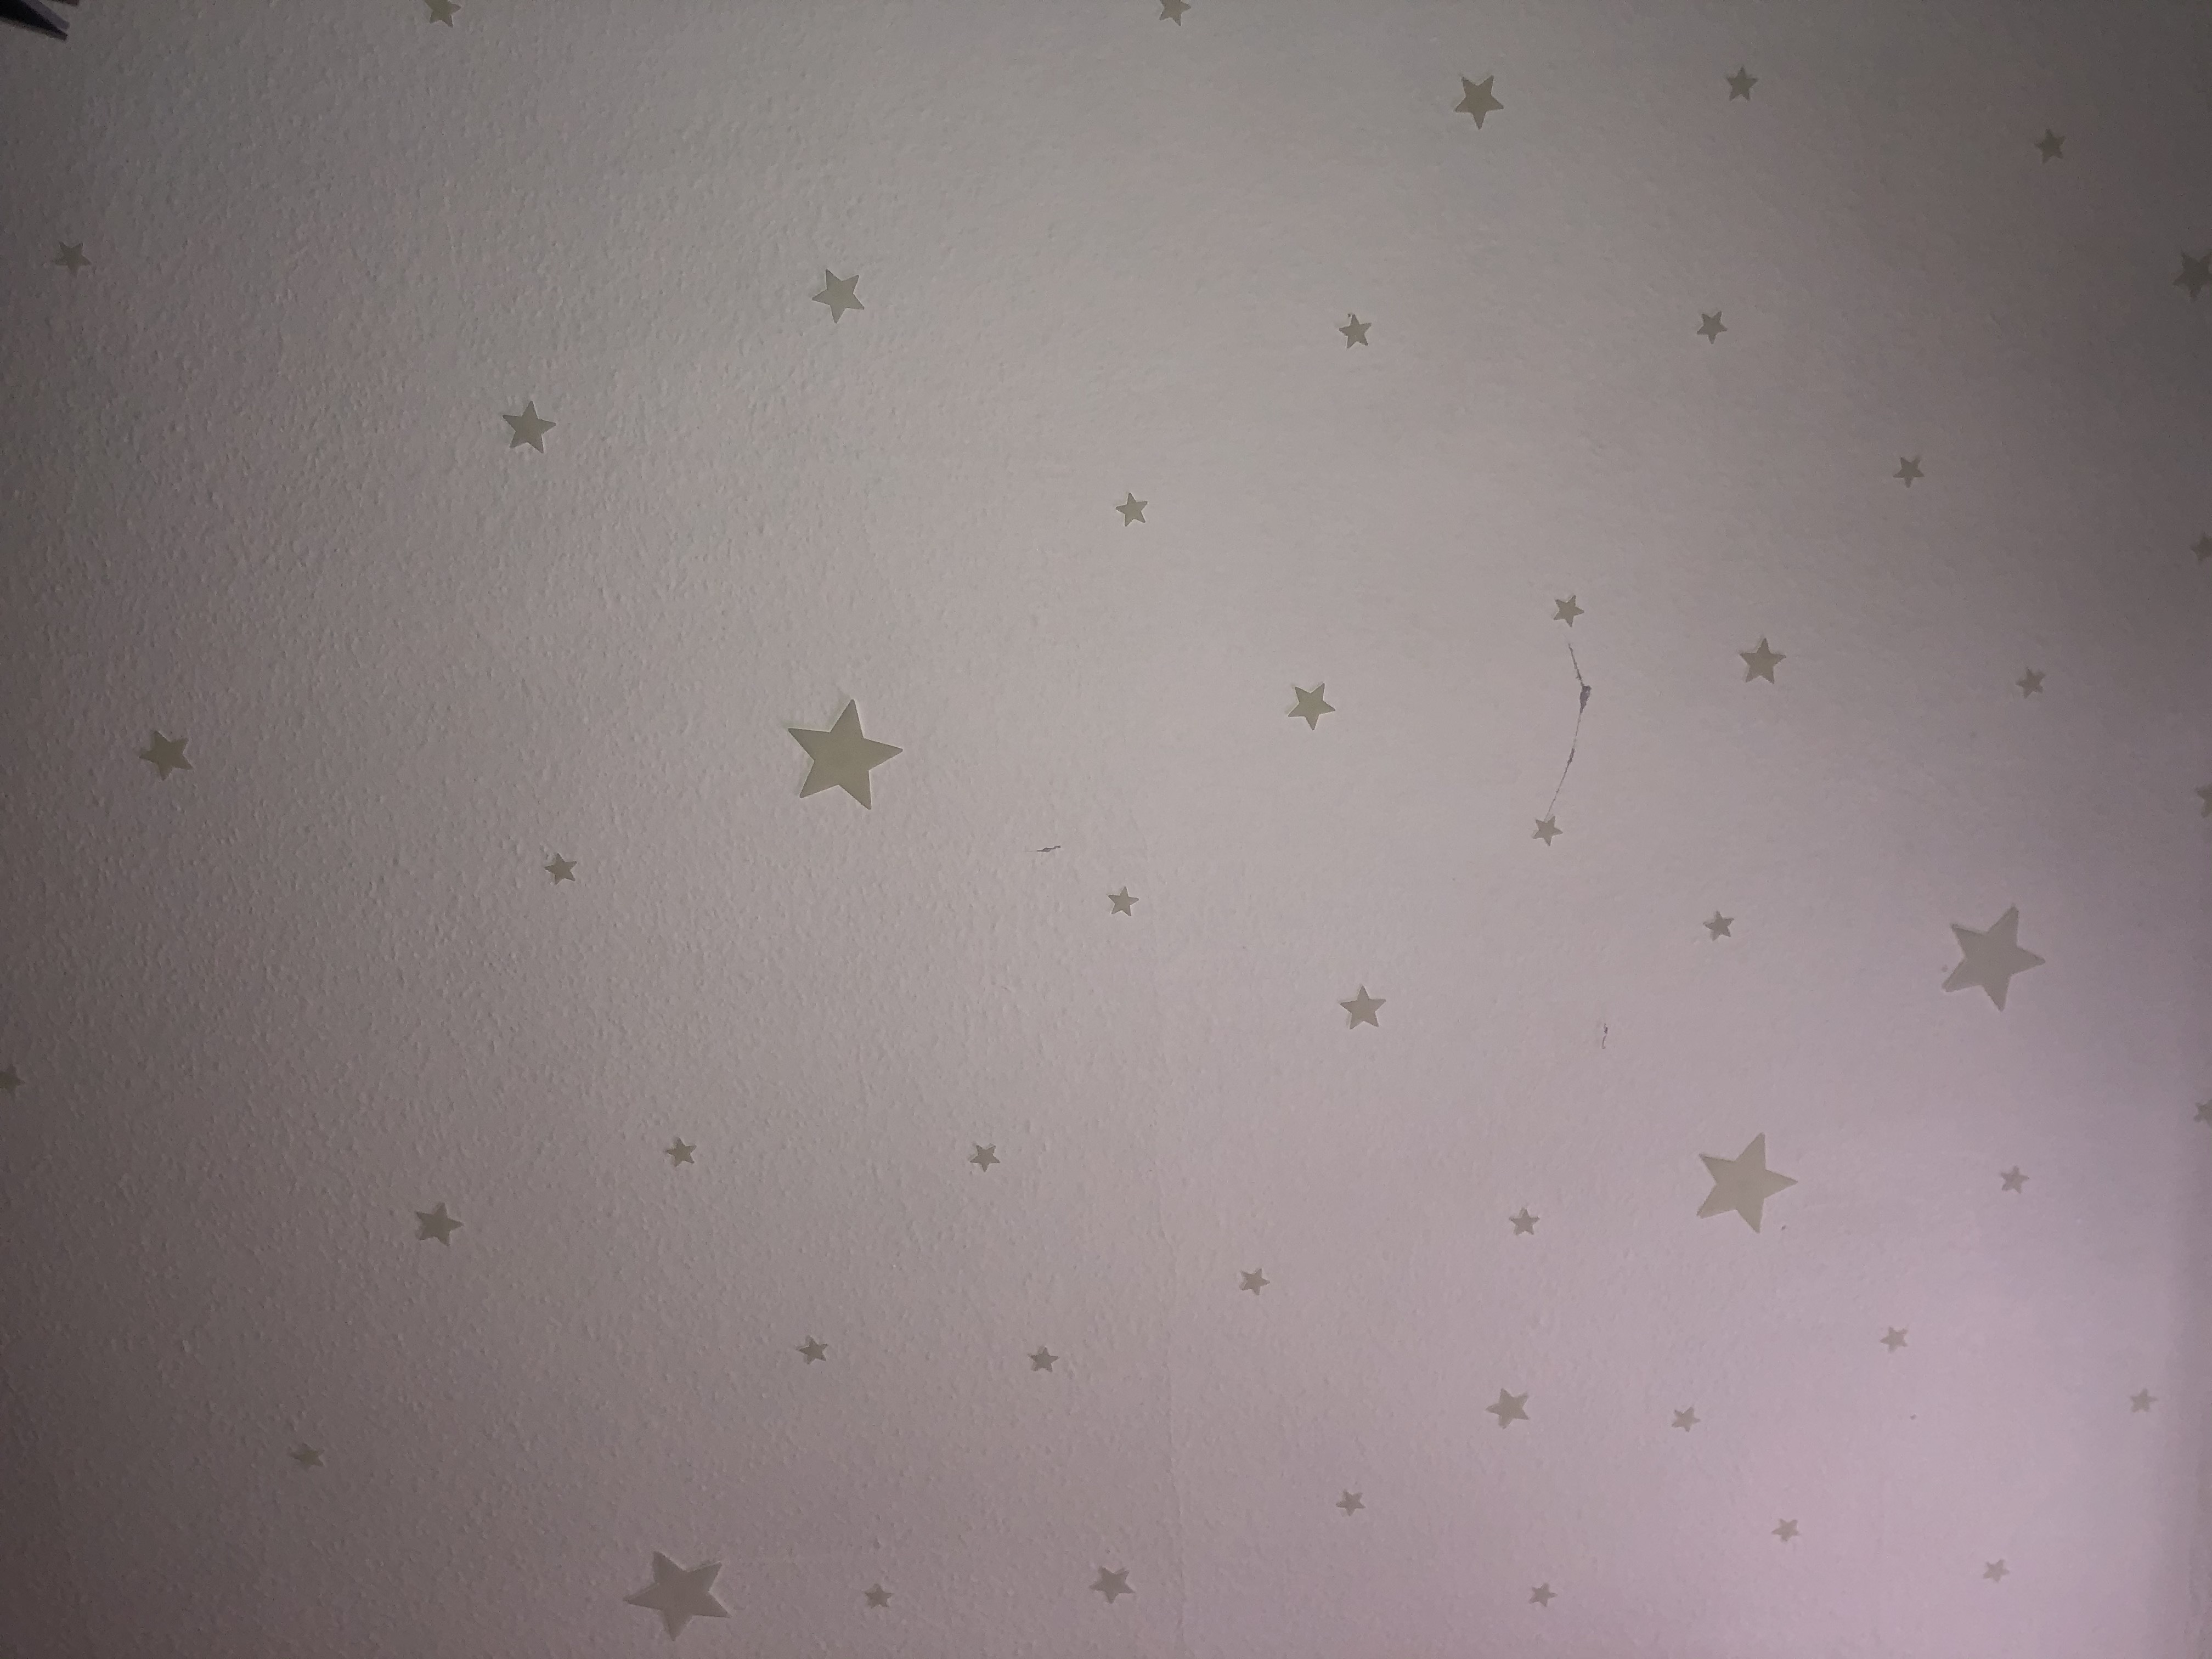
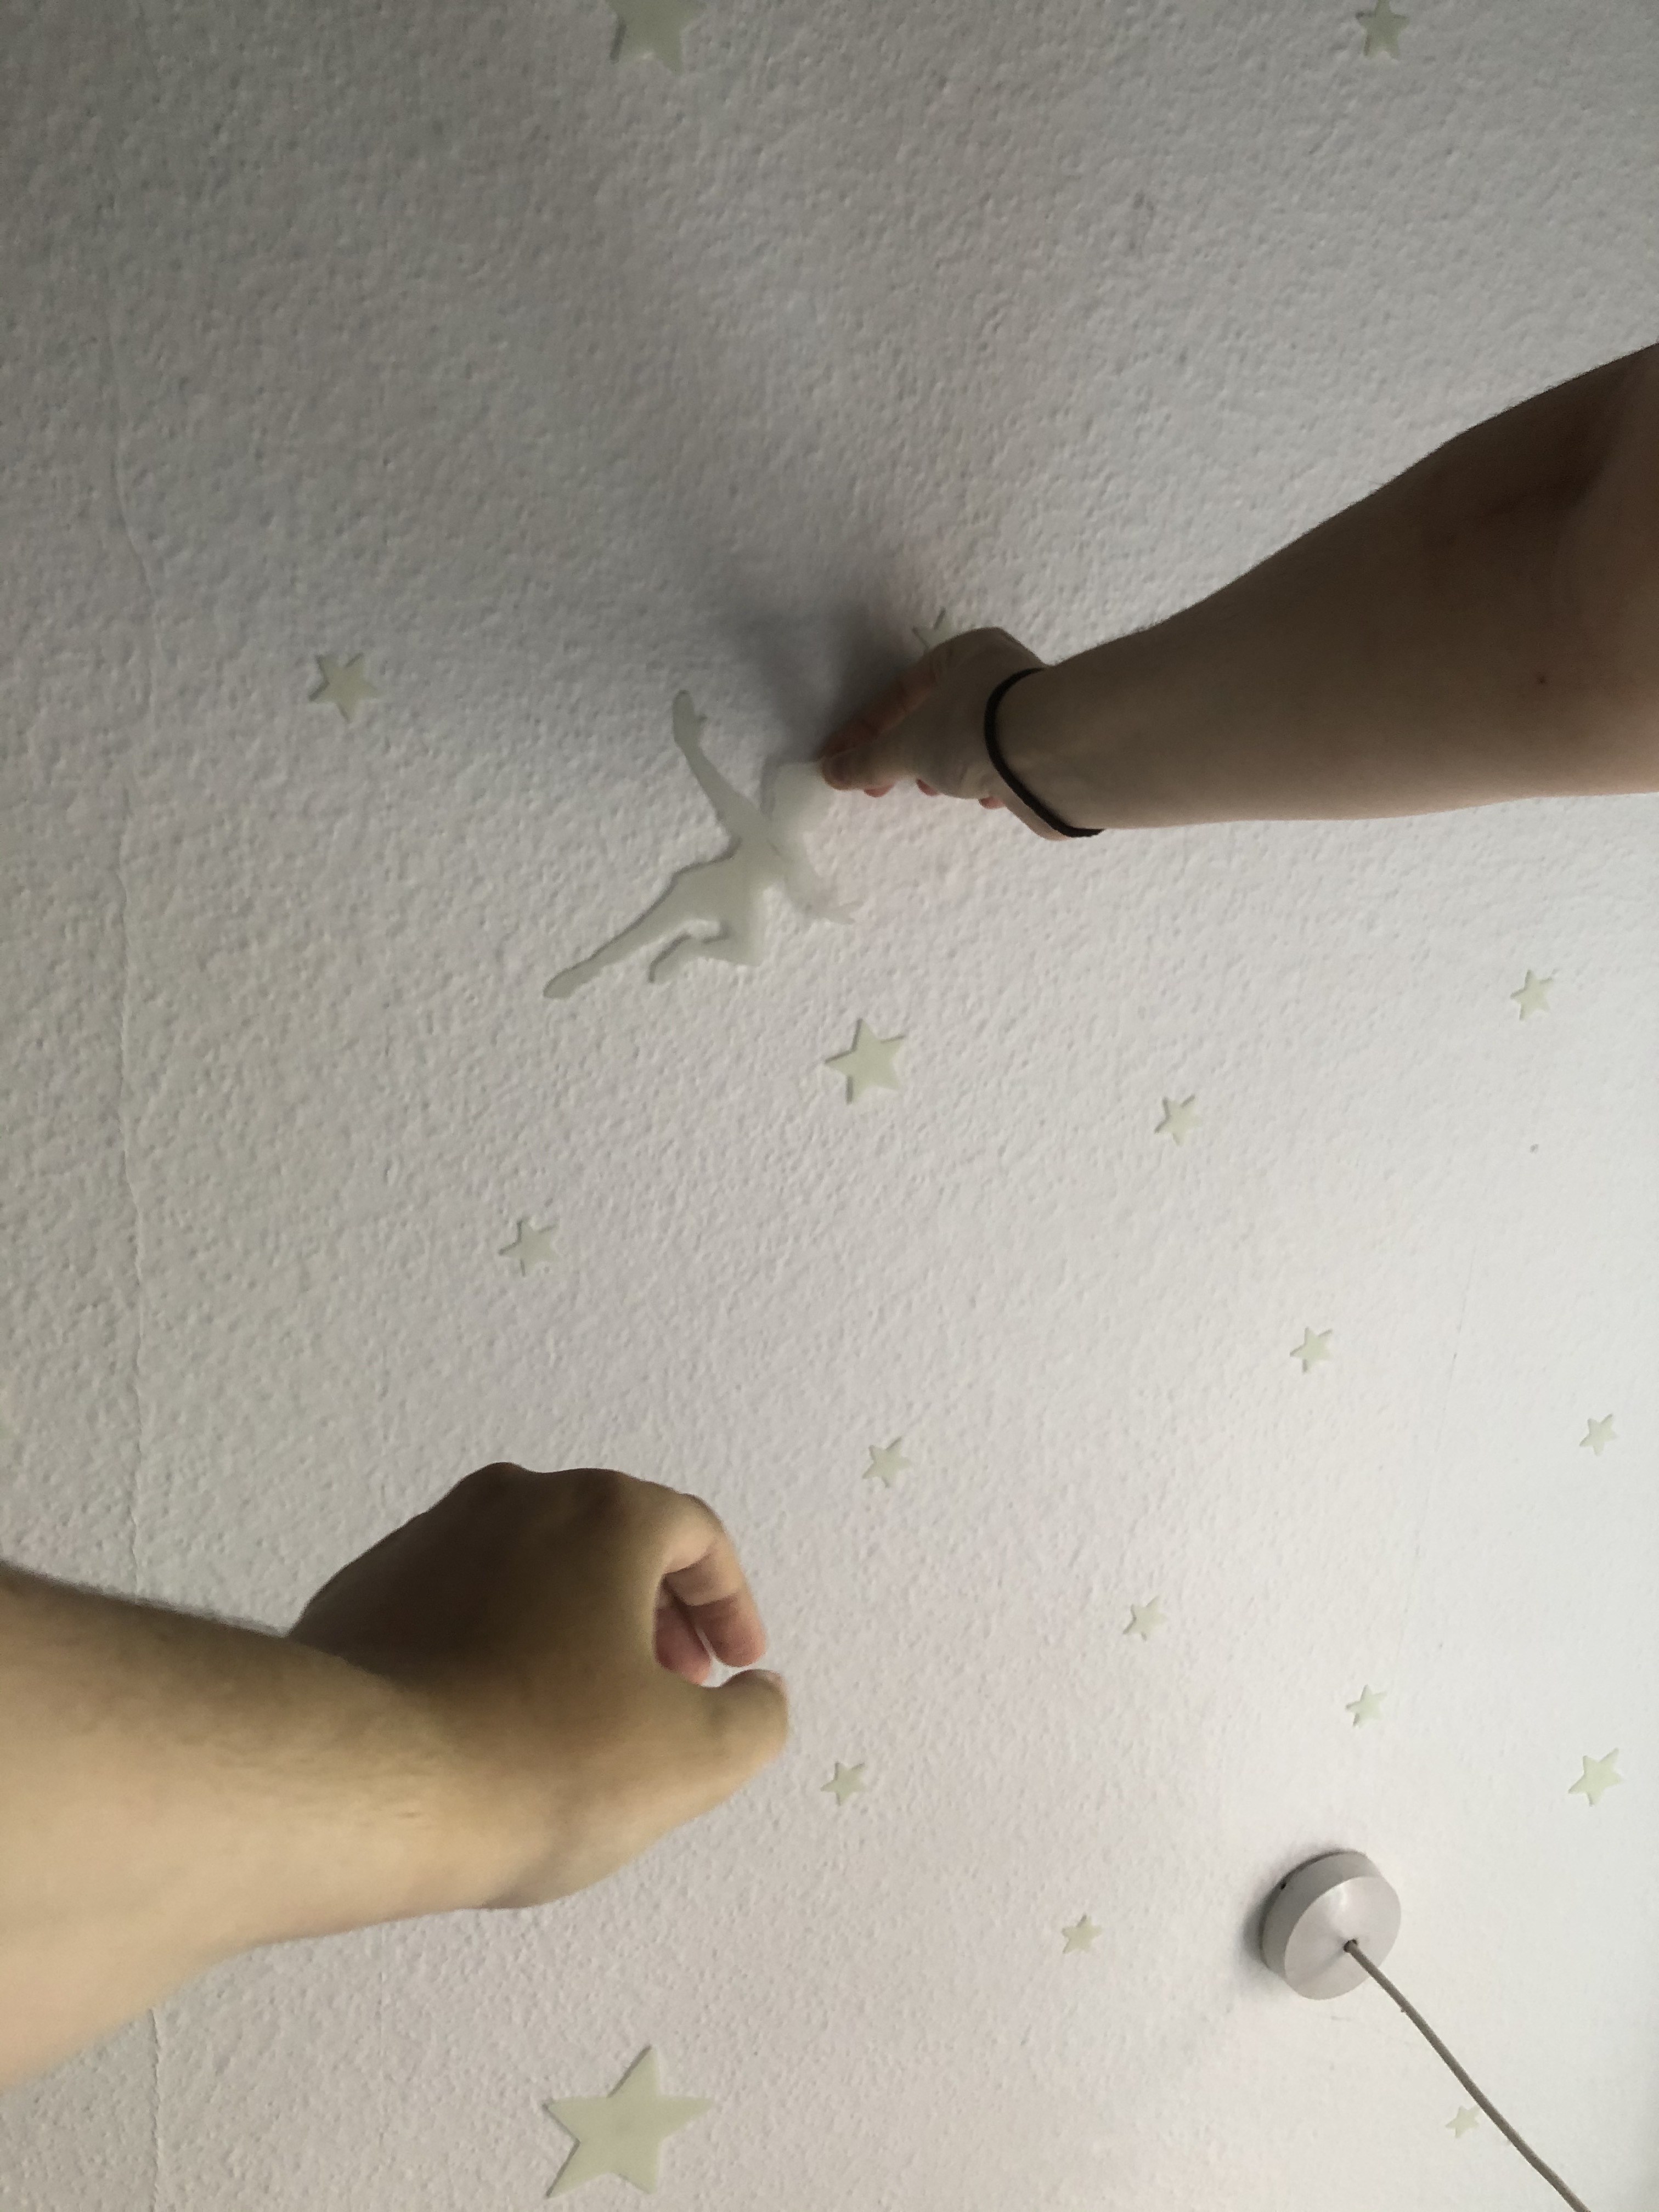
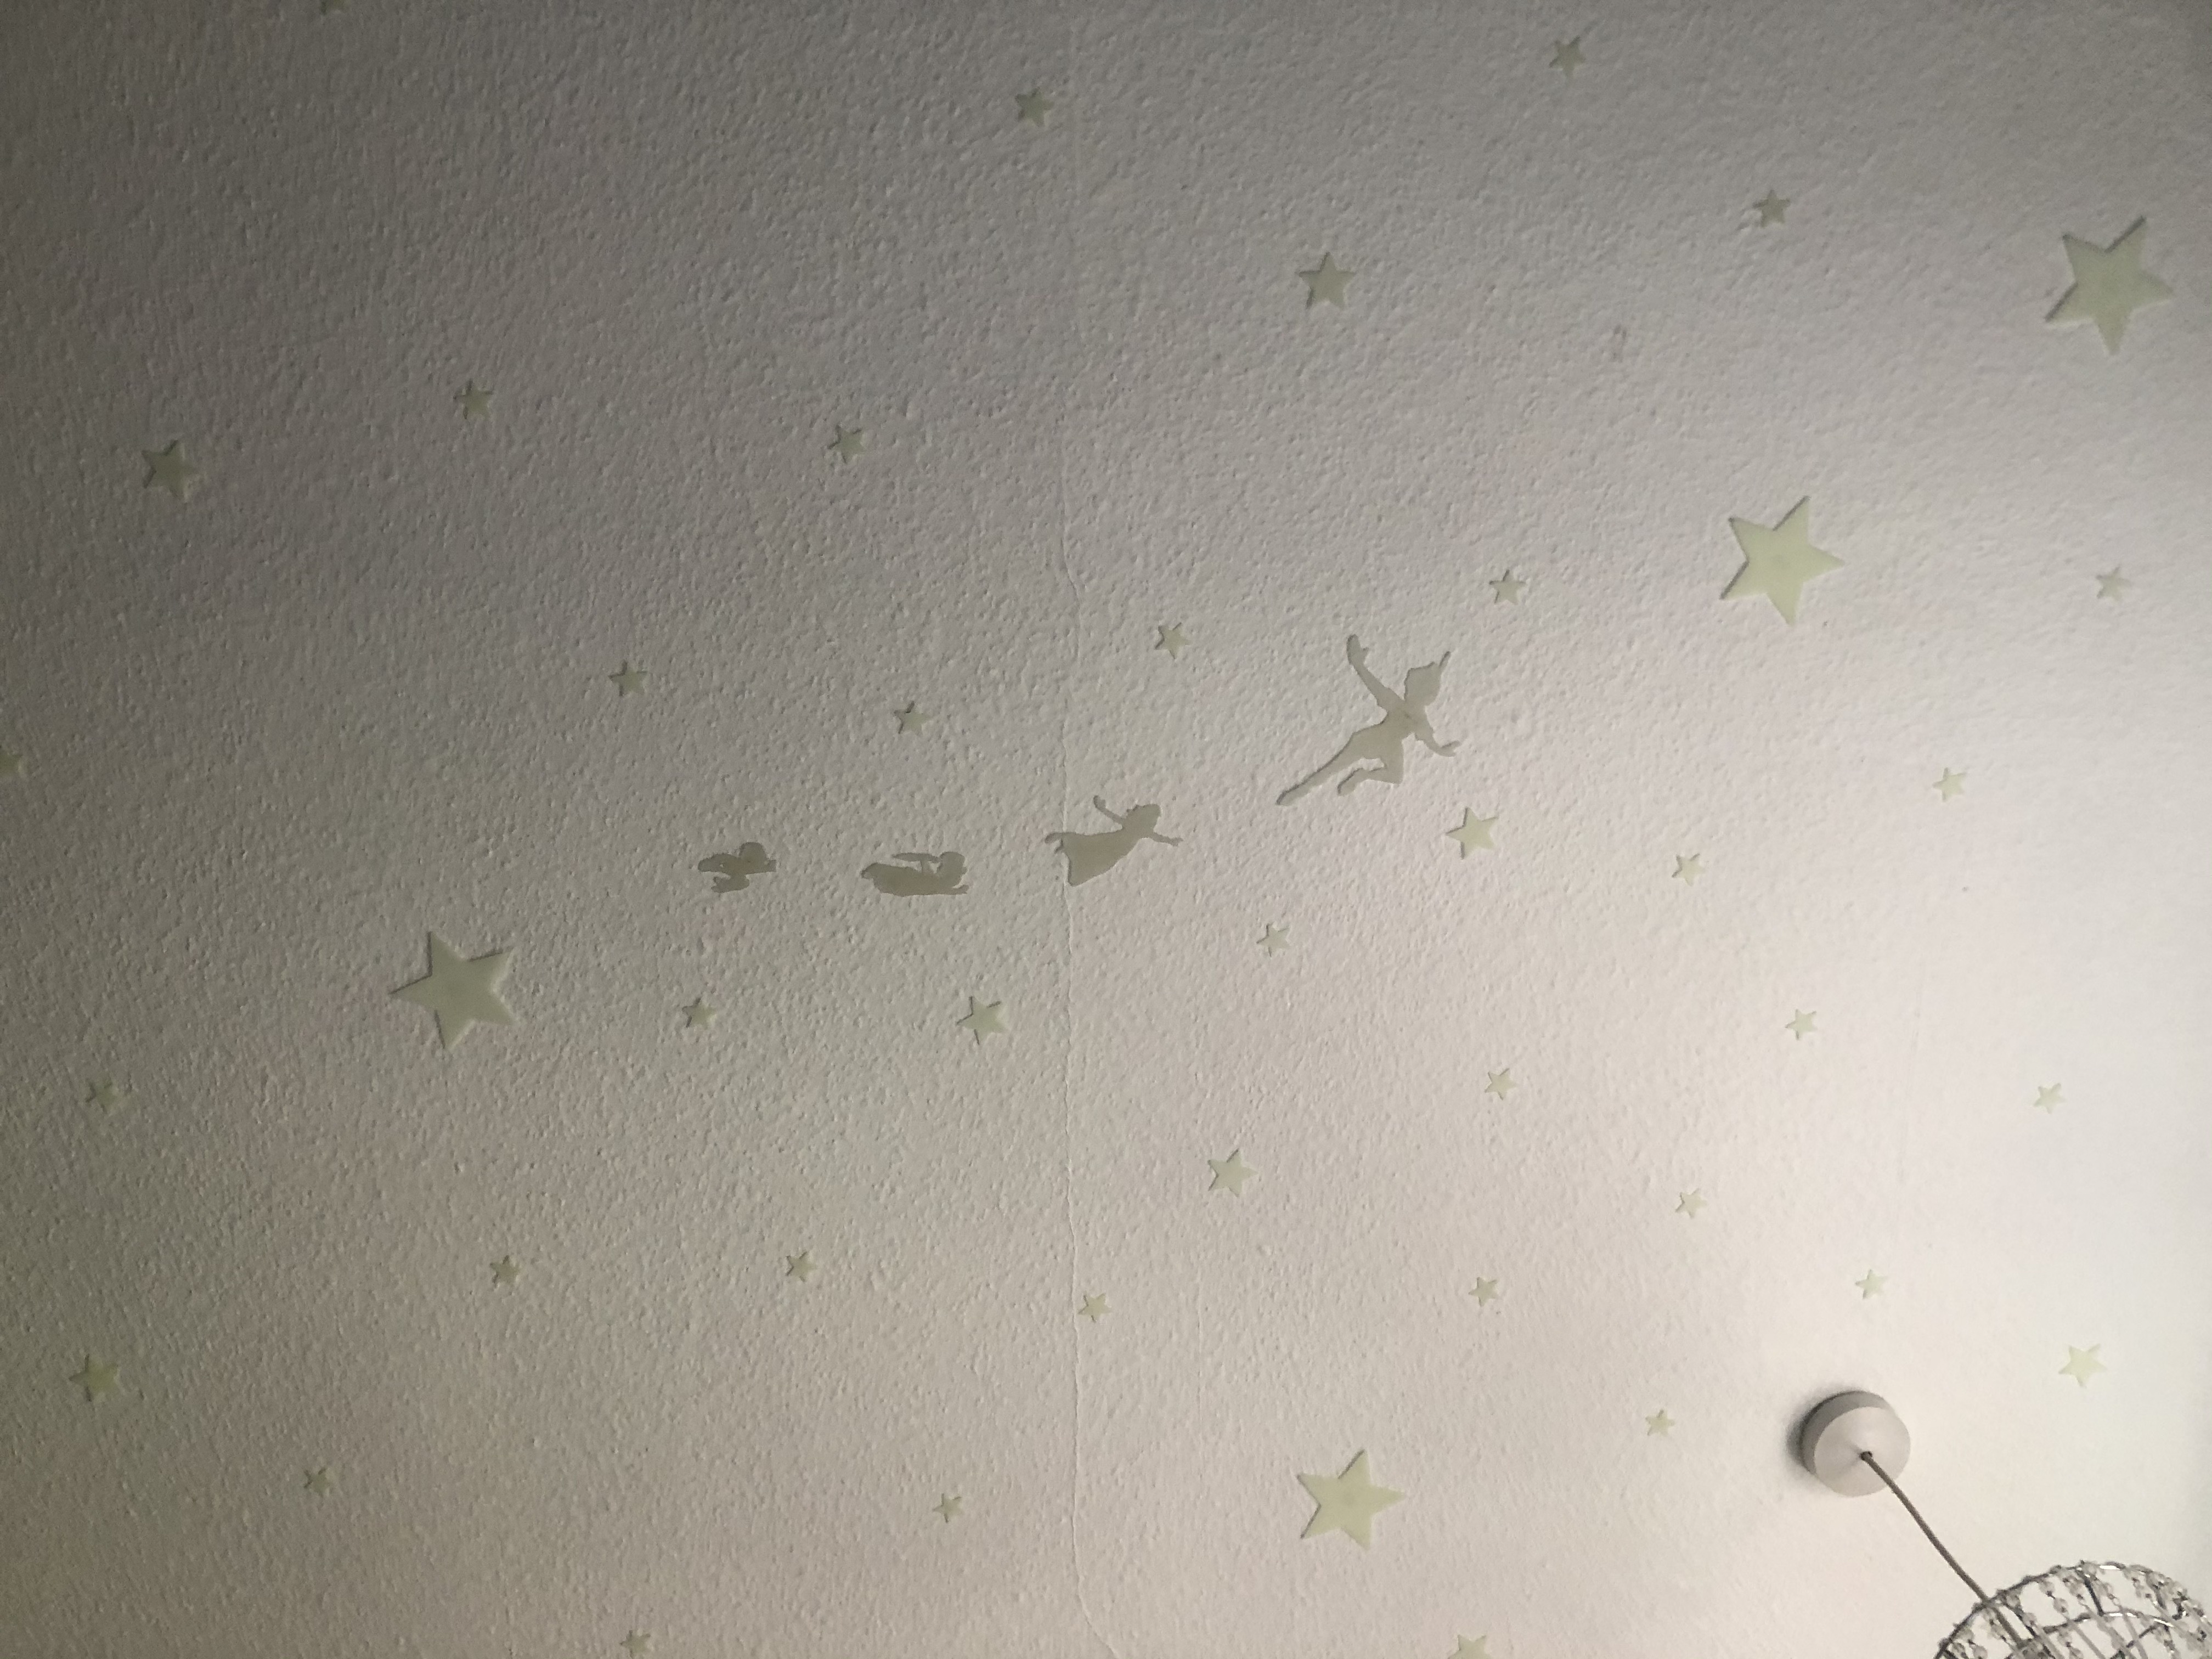
You can hang these decals in whatever way you'd like, but as I made these to be added to an existing set of adhesive backed stars, I found some double sided tape on the back of each print to be the best mounting solution for me.
You could easily add a hole into your model for a screw/nail and mount it to your wall or to say the front of your door as a new door sign, this was just the solution that worked best for my needs.
Experiment
Once I had finished with my initial goal of making the peter pan decals, I wanted to experiment and see what other cool things I could make with this process.
I loved the way my decals came out but I wasn't a fan of the limitation of only having quite simple silhouettes that would work with this method. I wanted to find a way to be able to make more detailed parts that might have faced challenges with my current method if they had small parts that would require careful placing and arranging after being removed from the build plate.
So I settled on attempting dual colour printing for the first time!
Preparing a Model
.png)
.png)
.png)
.png)
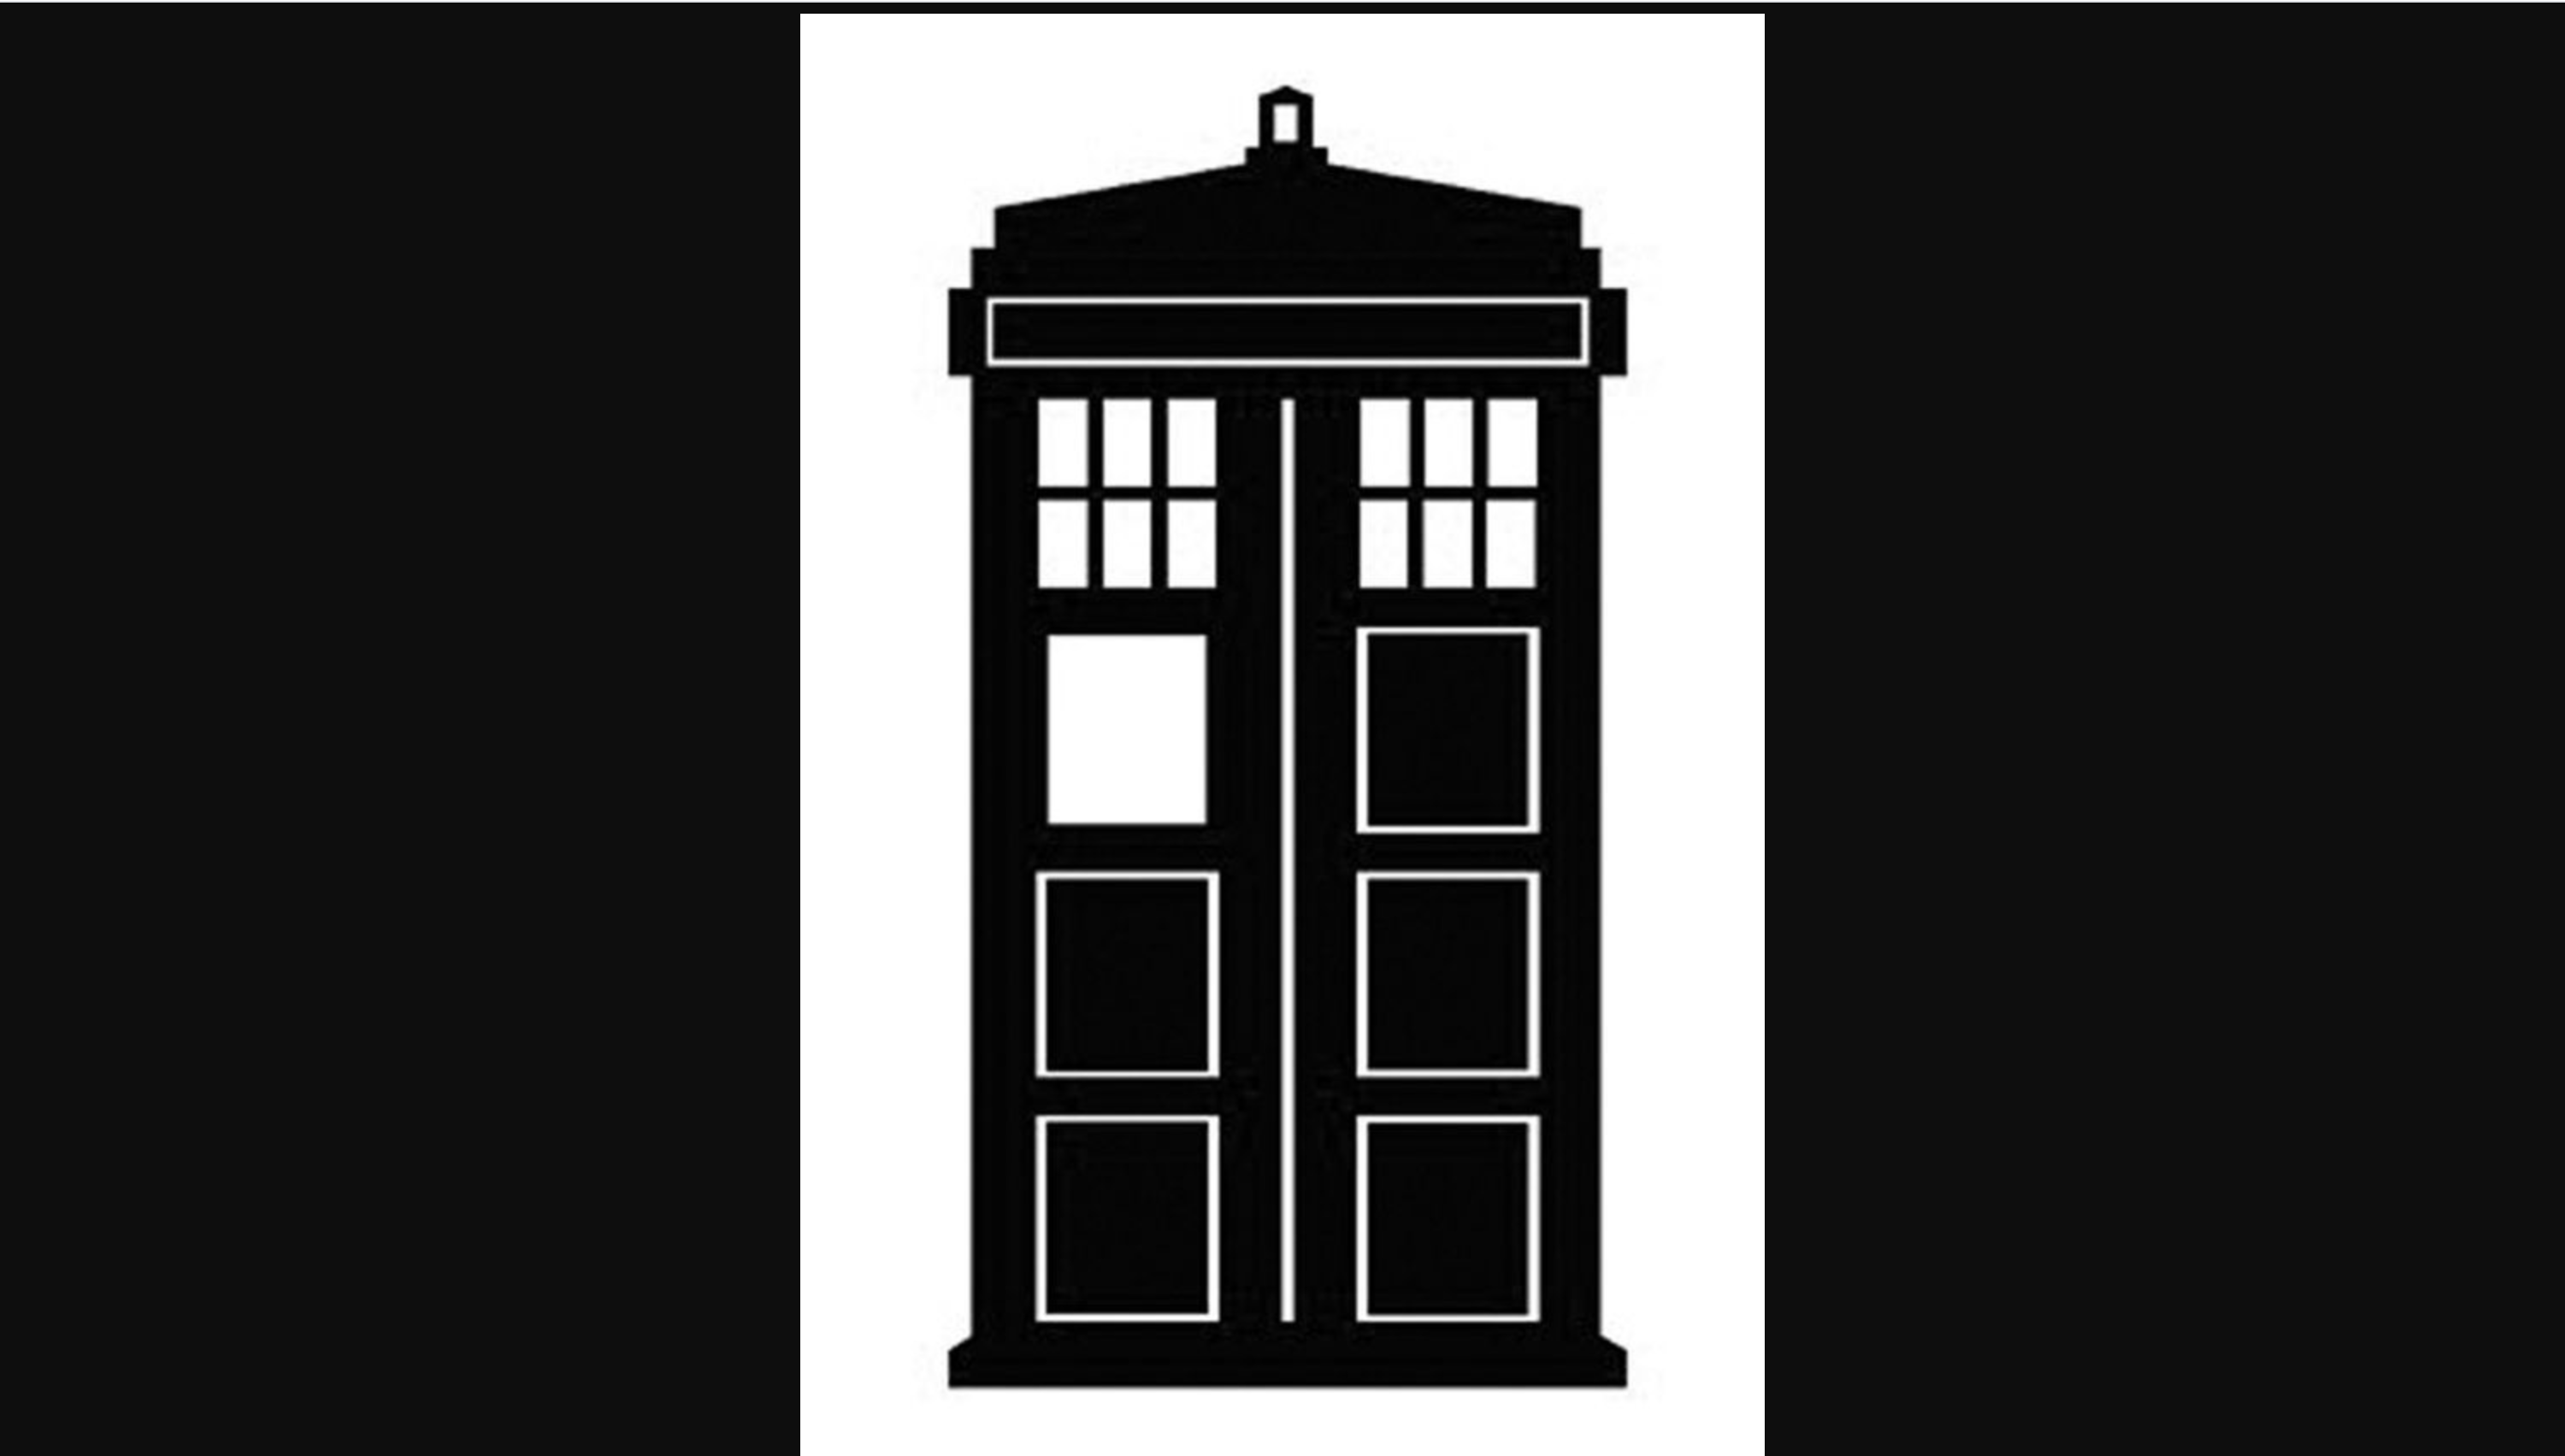
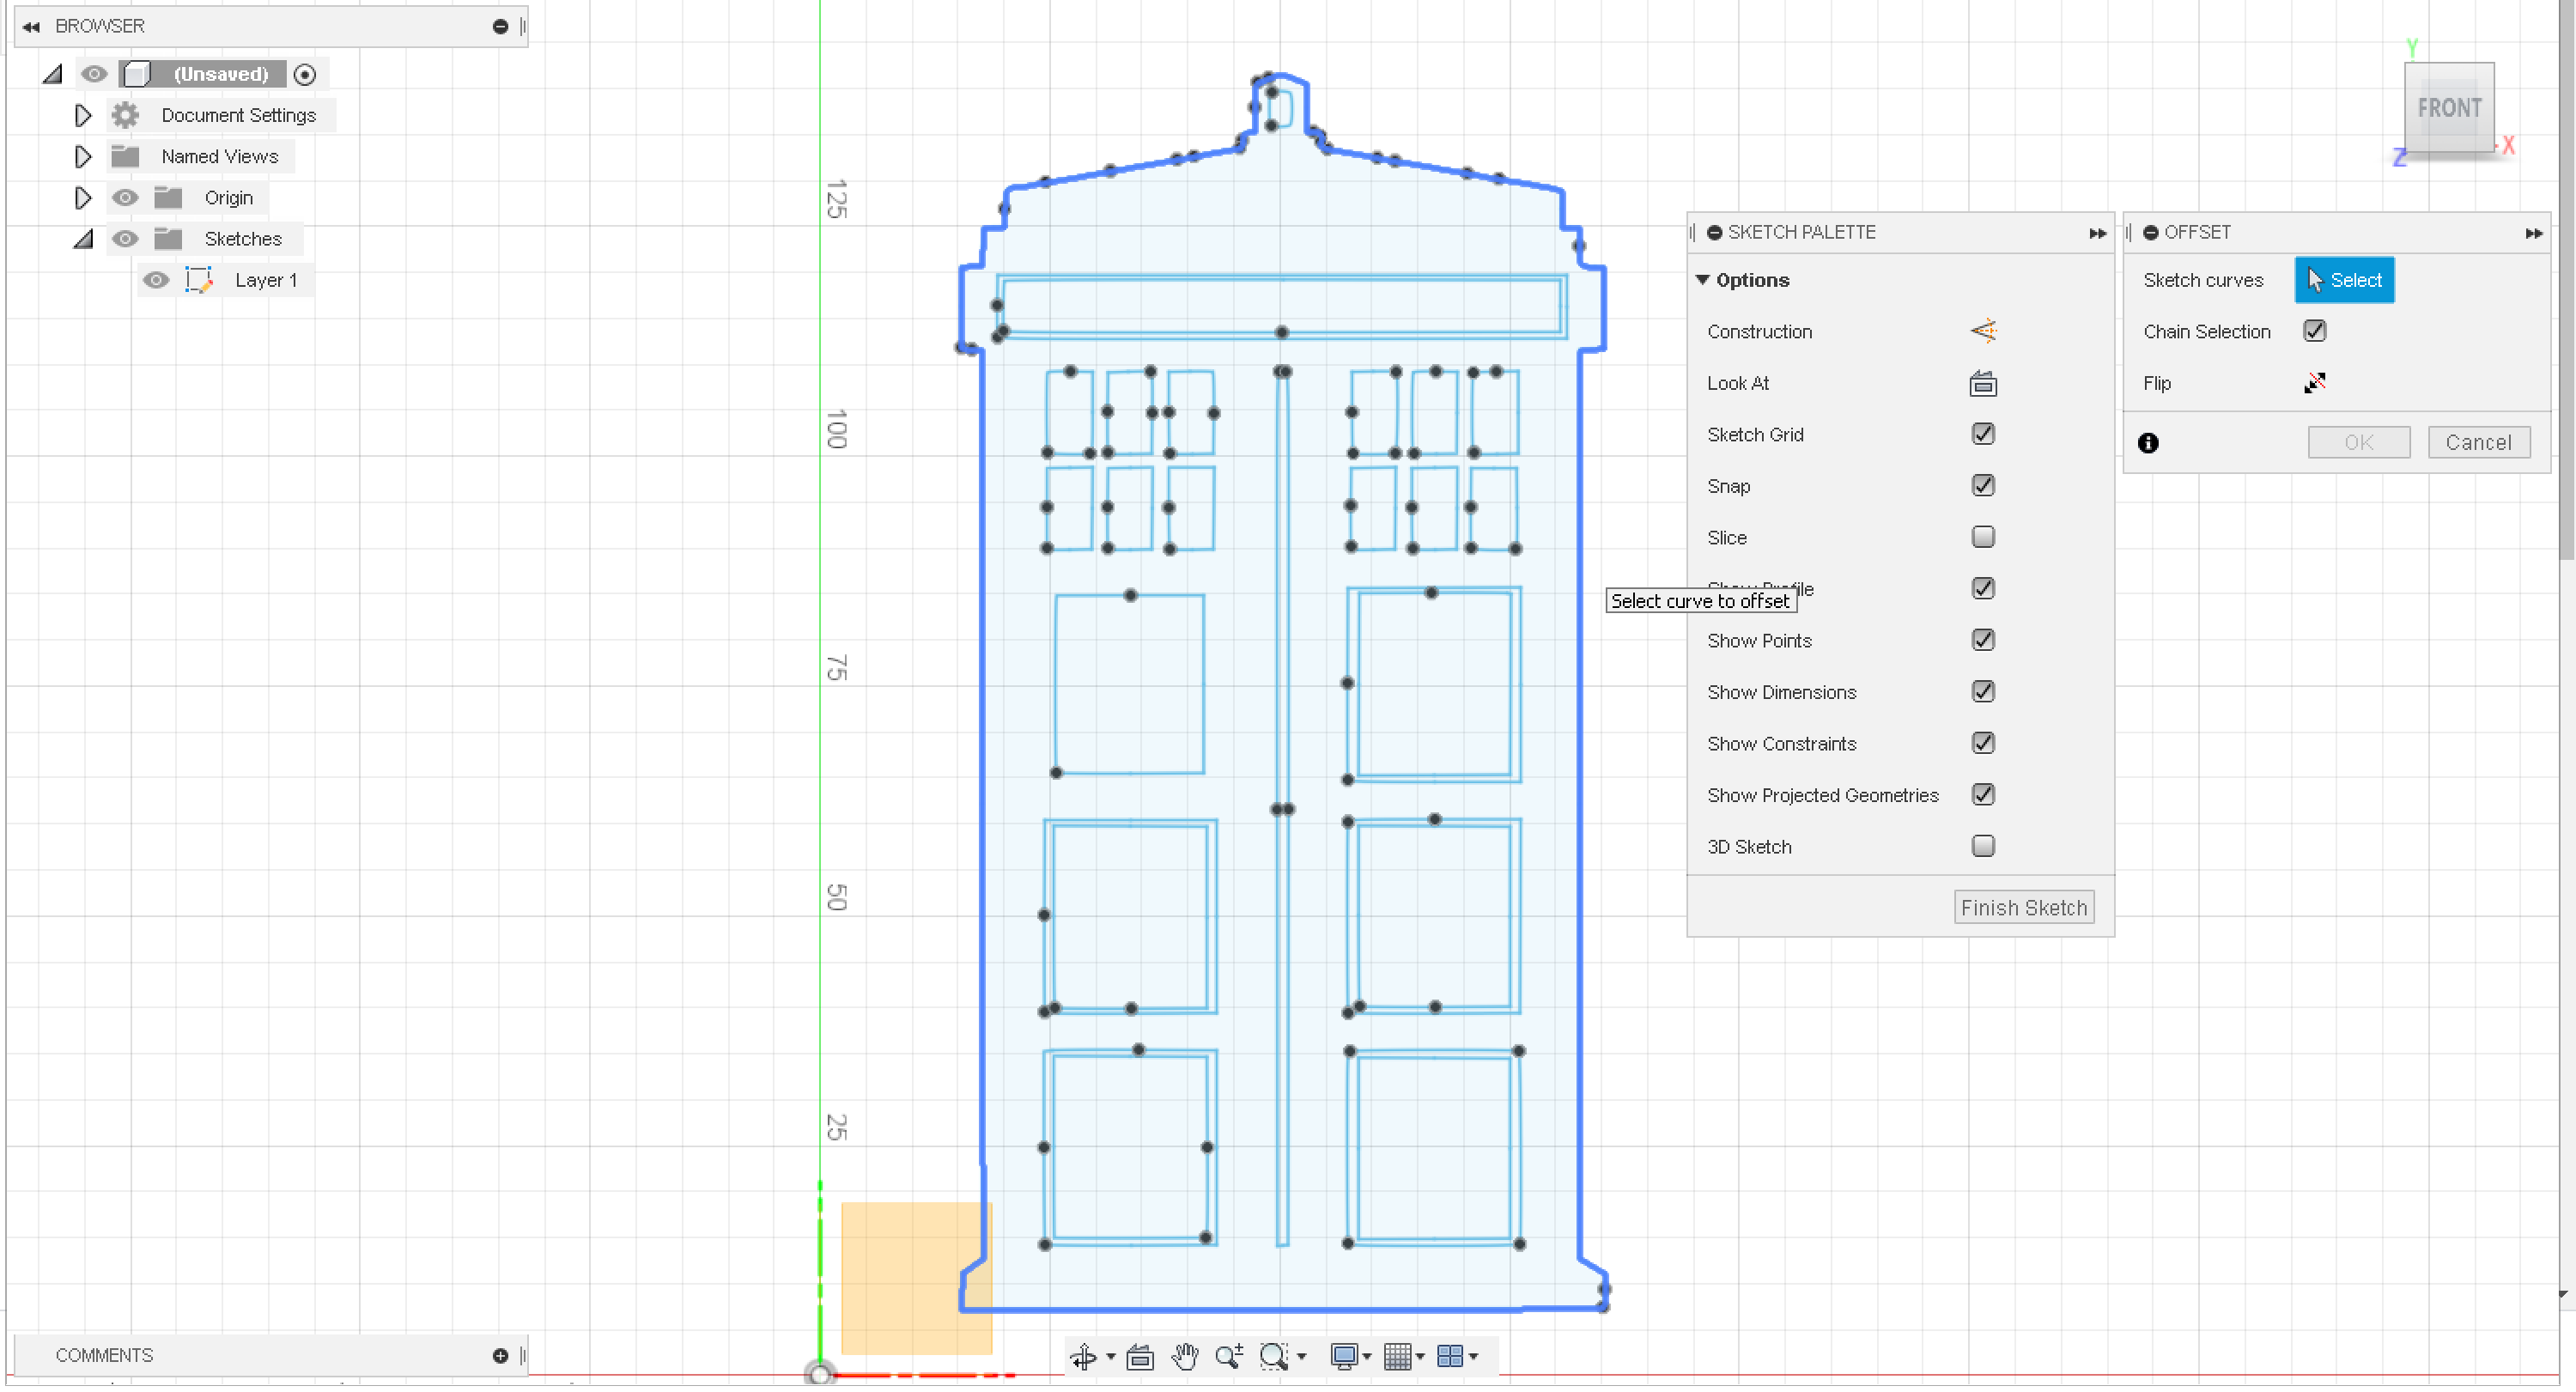
I wanted to try a bit more complicated model to test dual colour printing with, so settled on the TARDIS from doctor who. The separate rectangles within the image would be very fiddly to line up and stick down if printed by themselves, so this is a great model for this technique.
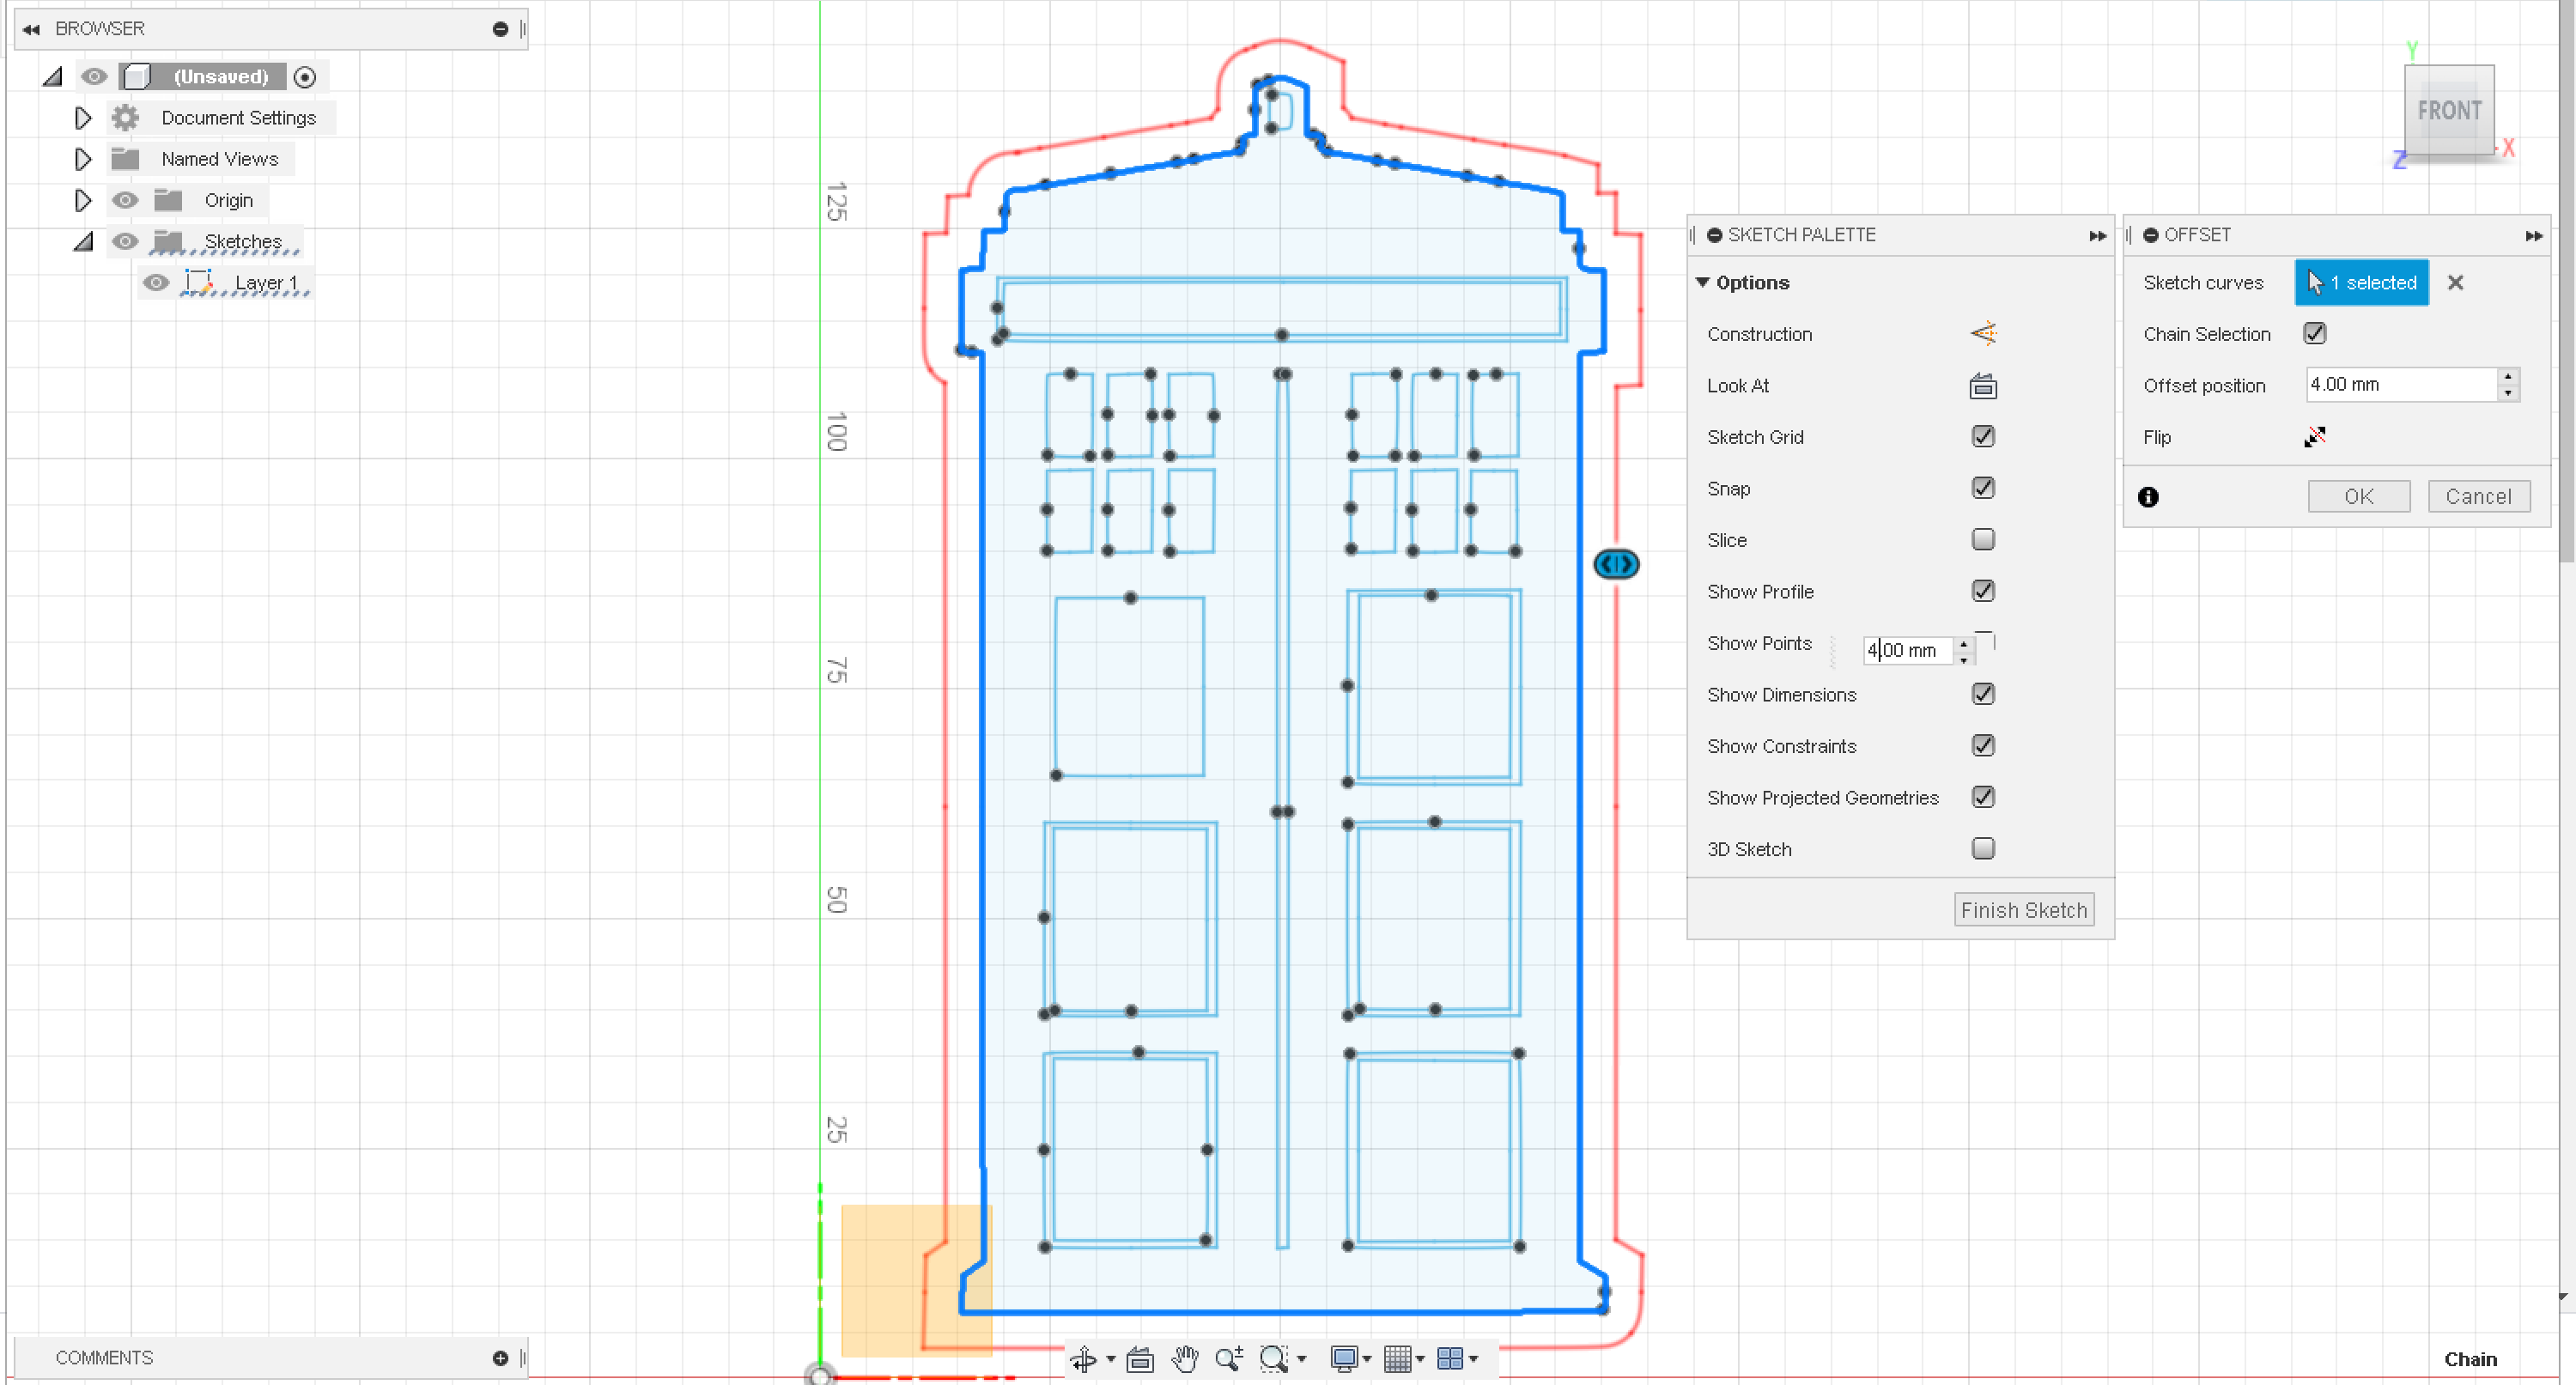
I prepared the decal in the same way as before except that I used the offset too to add a border to the whole image. If you look closely you can see some curves that are magnified when the shape is offset and so it does not appear to match the perimeter properly. This is due to the process of turning the image into a vector image, to match the corners, in some parts of the image the corner was filleted slightly which means the offset will be filleted as well. You could easily adjust this with a few lines in the sketch workspace, but it didn't bother me that much so I left it how it was.
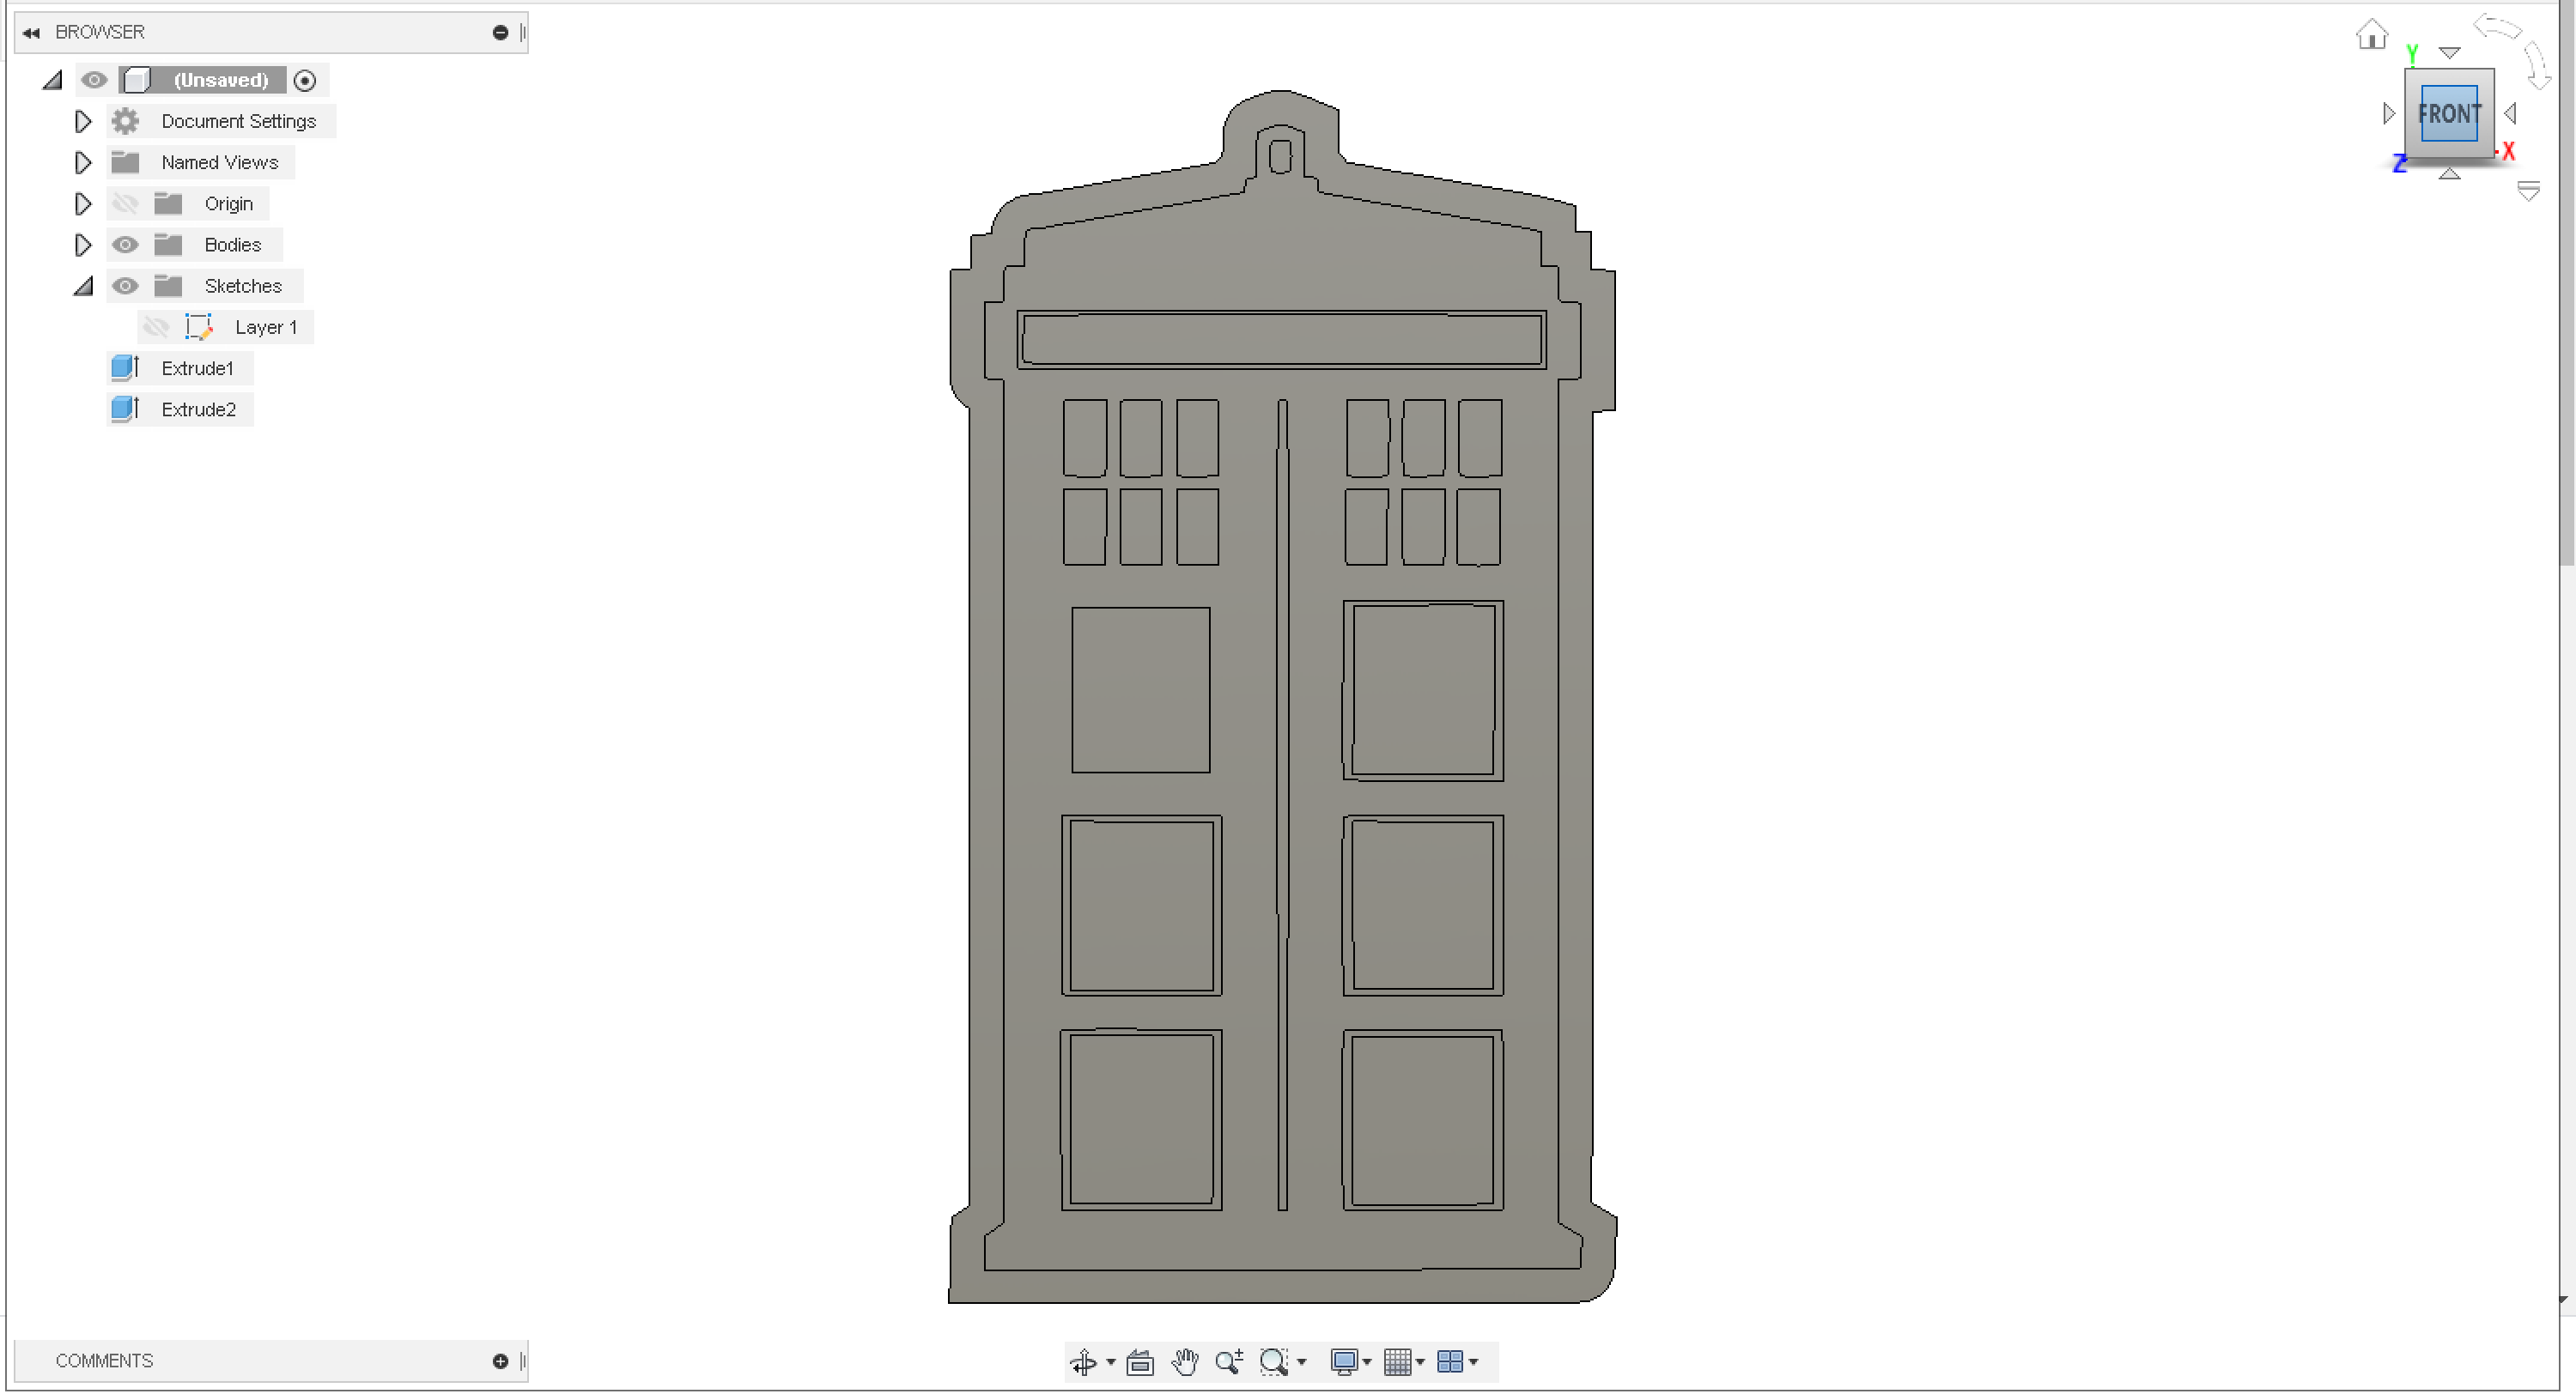
I then extruded the all of the areas of the sketch to form a blank piece to be the background. I could then select the areas I wanted to glow and extrude them in the opposite direction. I would recommend 1/1.5mm in each direction to make a thin but strong decal.
Slicing for Dual Colour Printing
.png)
.png)
.png)
The real secret to dual colour printing is in the slicing of the model.
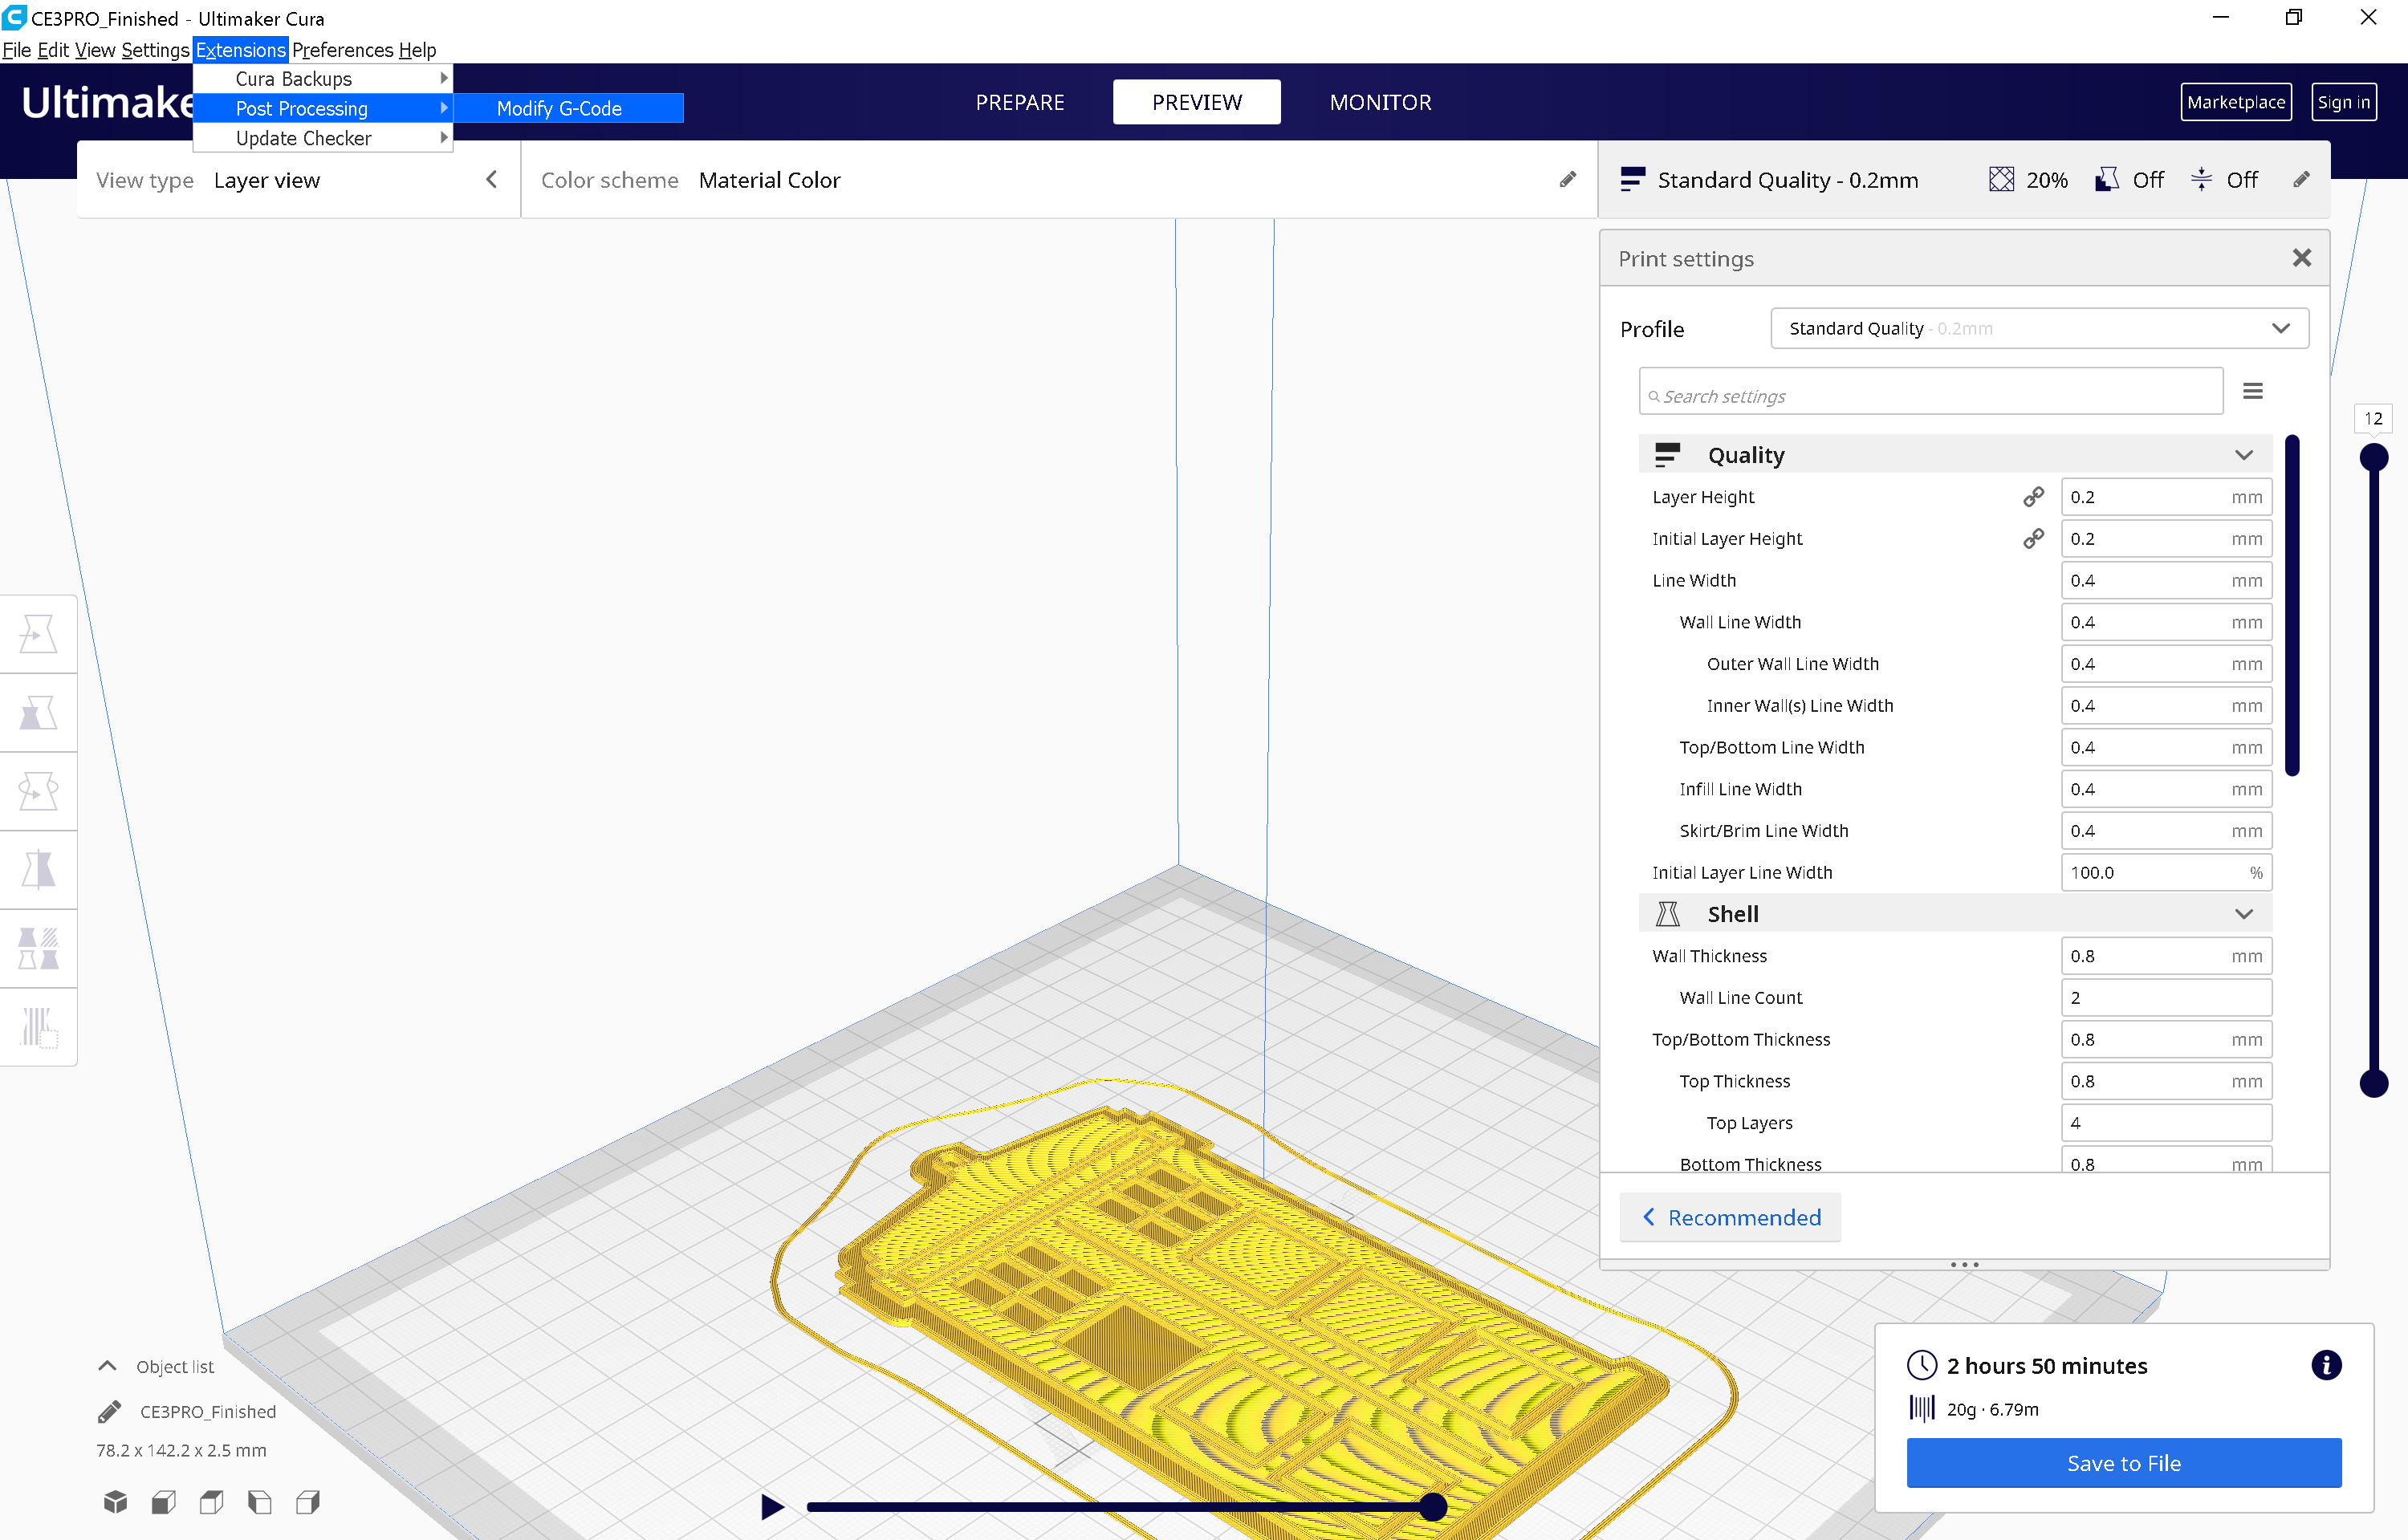
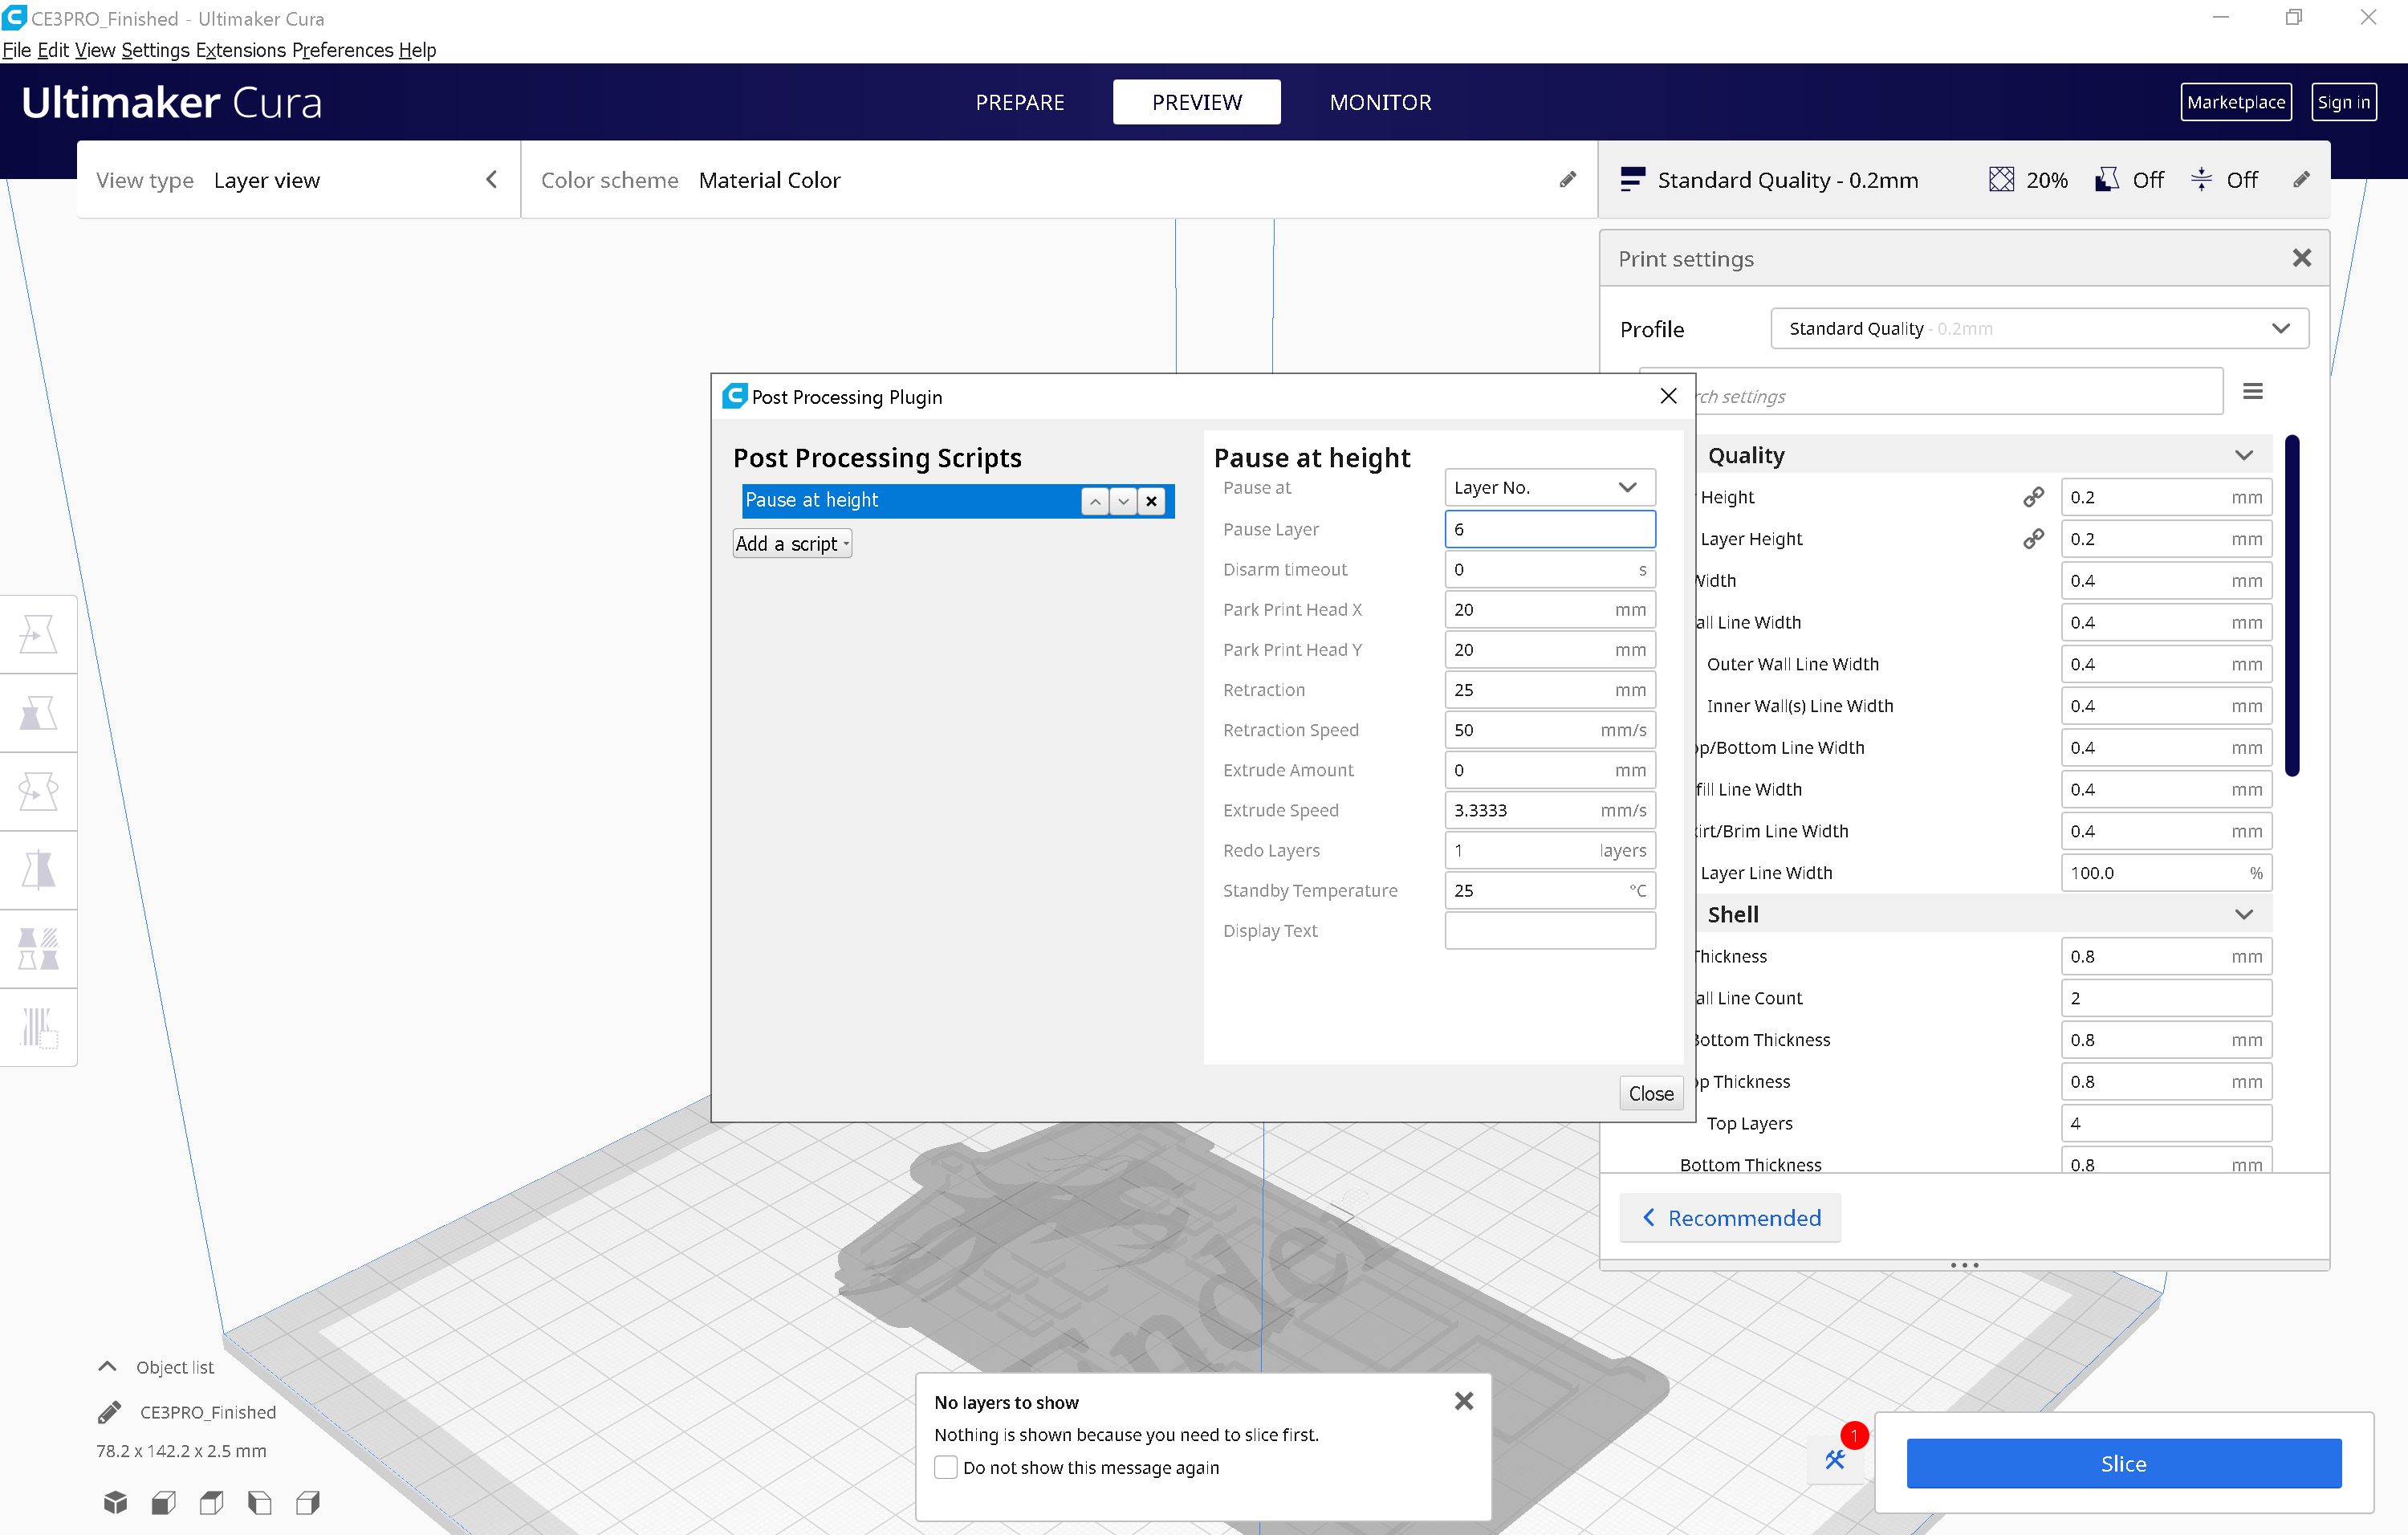
Once you have imported your model, slice as normal and then preview the print, you can then use the scroll bar on the right hand side to move through the model layer by layer. Using this tool, identify which layer the area that you want to glow begins to print separate from the background. If you have a 1mm background and a 0.2mm layer height this will be the 6th layer of your model.
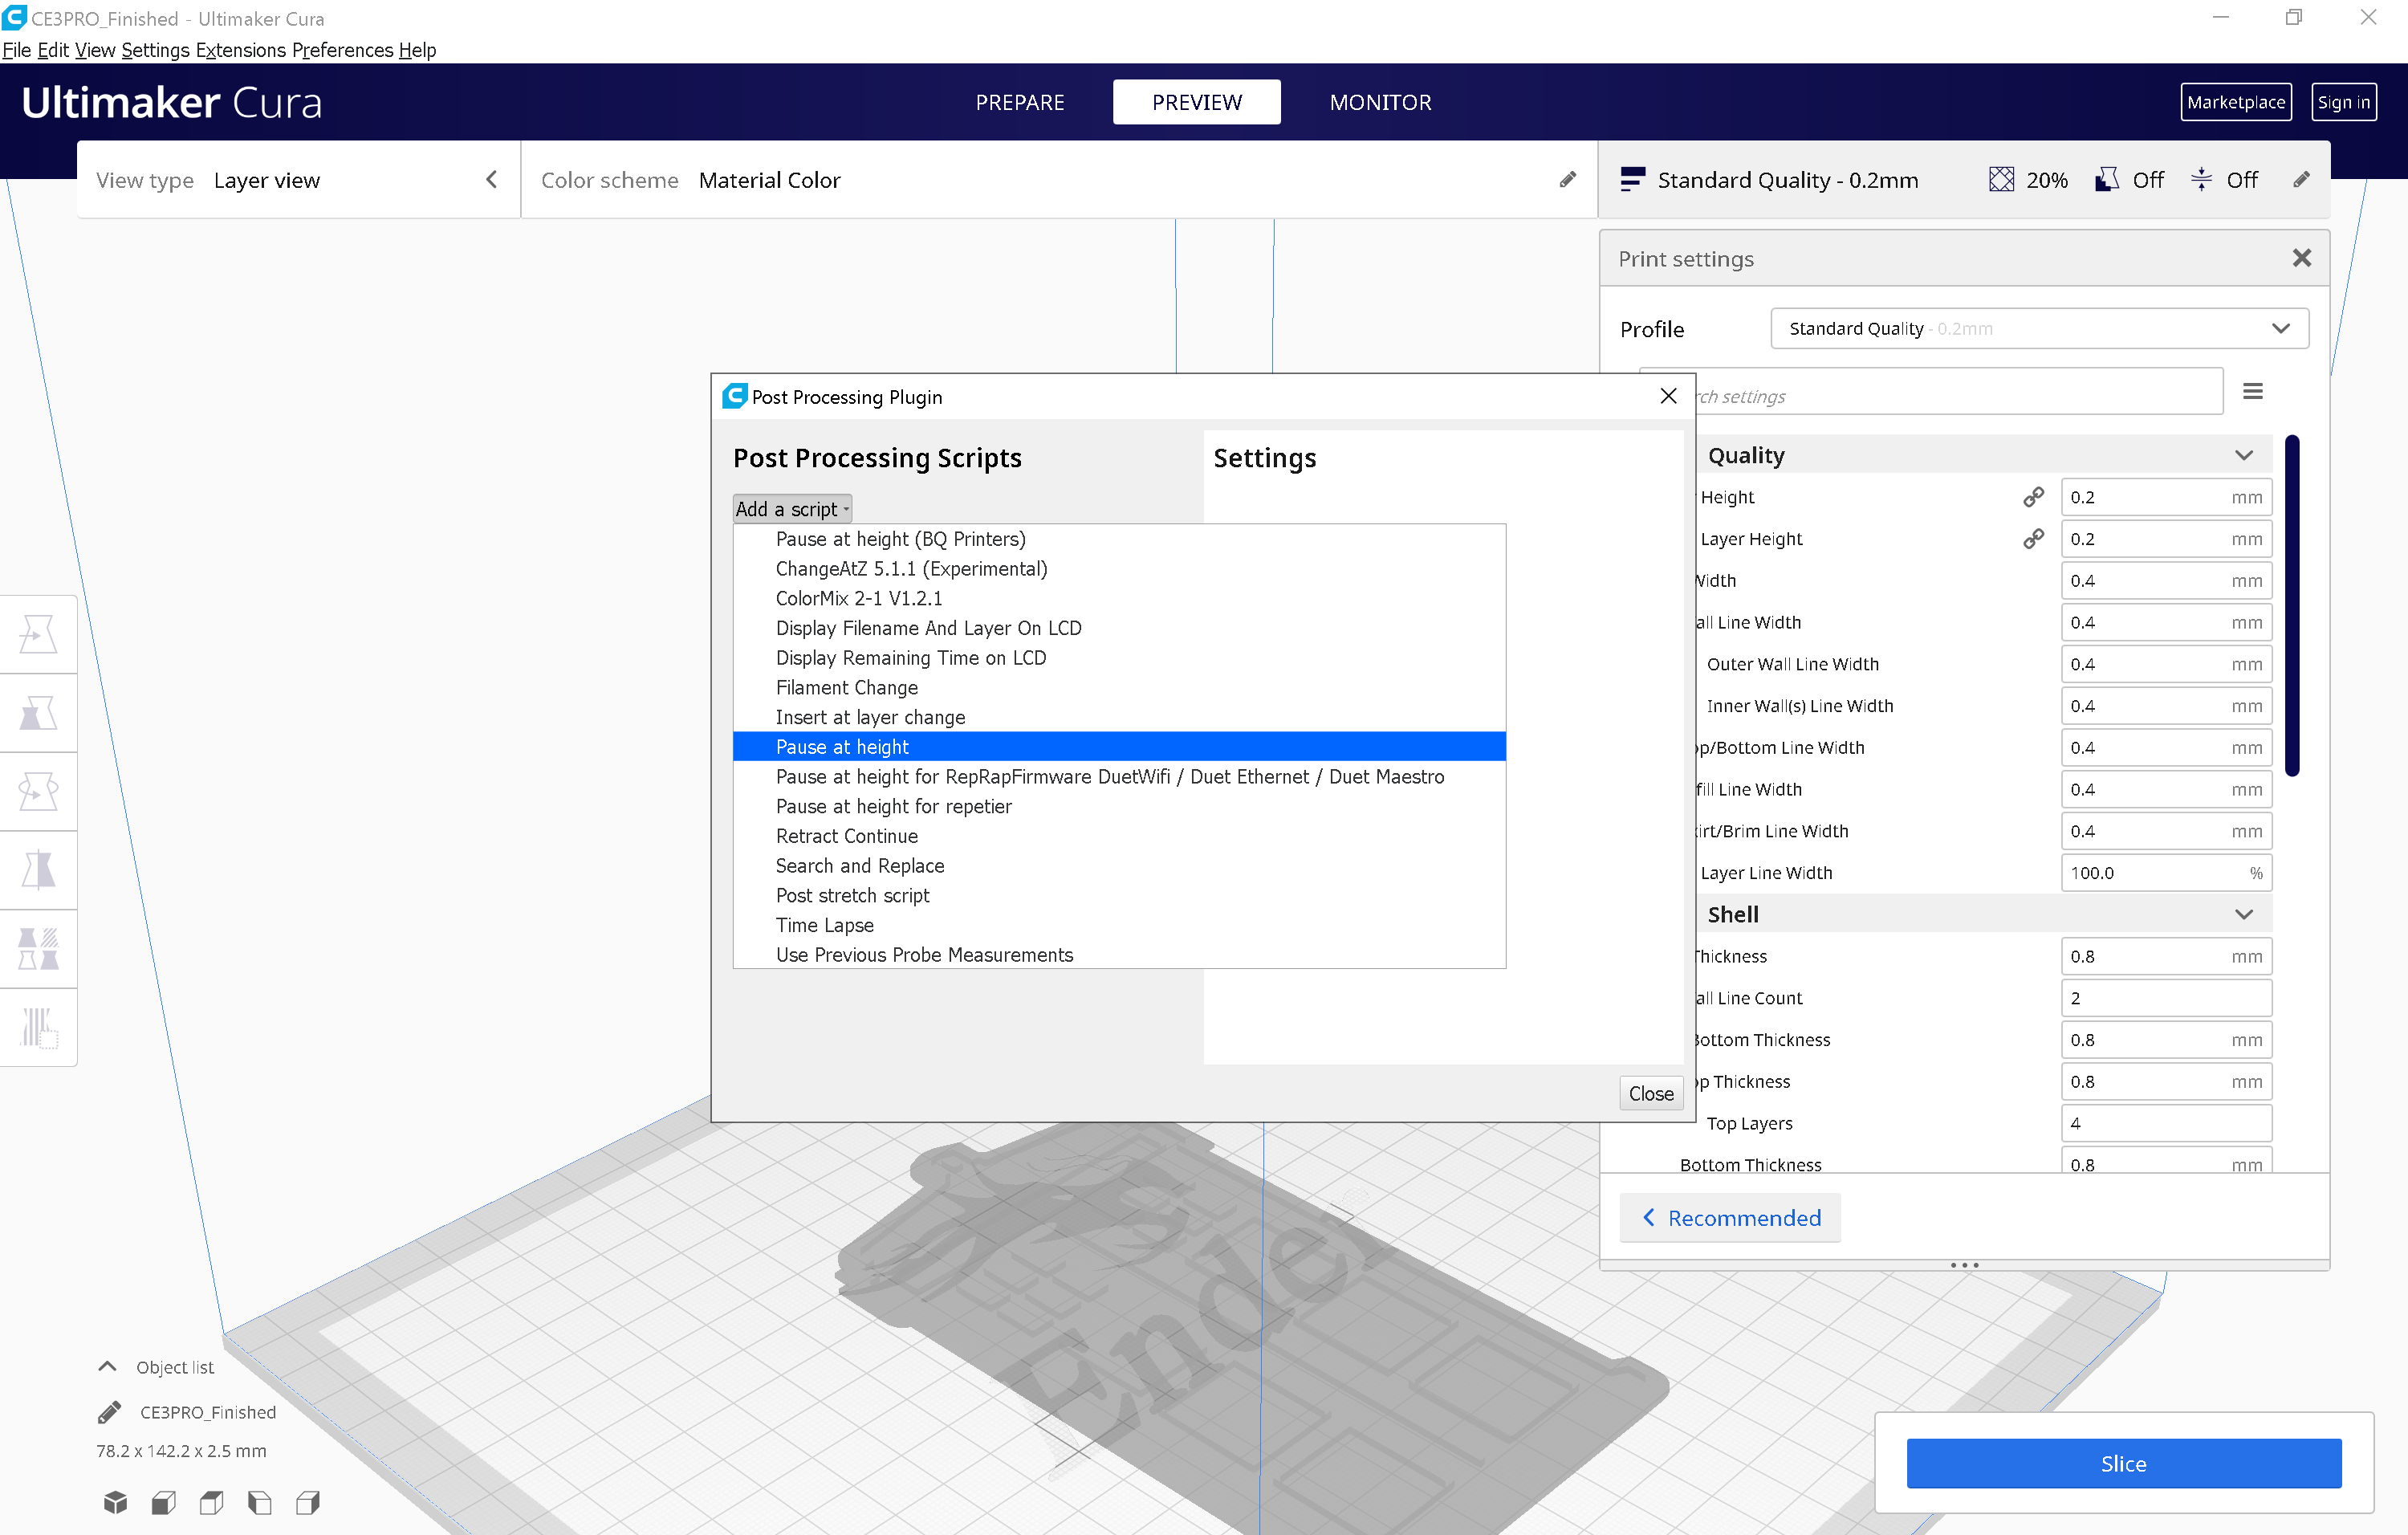
On the toolbar at the top of the program click Preferences > Post Processing > Pause at Height.
This tool will allow you to add to the G-code of your print a stop at a specific height/layer of your model, providing an opportunity to swap your filament and provide a dual colour print. Copy the settings I have entered but adjust the layer height so it matched the layer needed on your model.
Slice again and your model is ready to print.
Printing
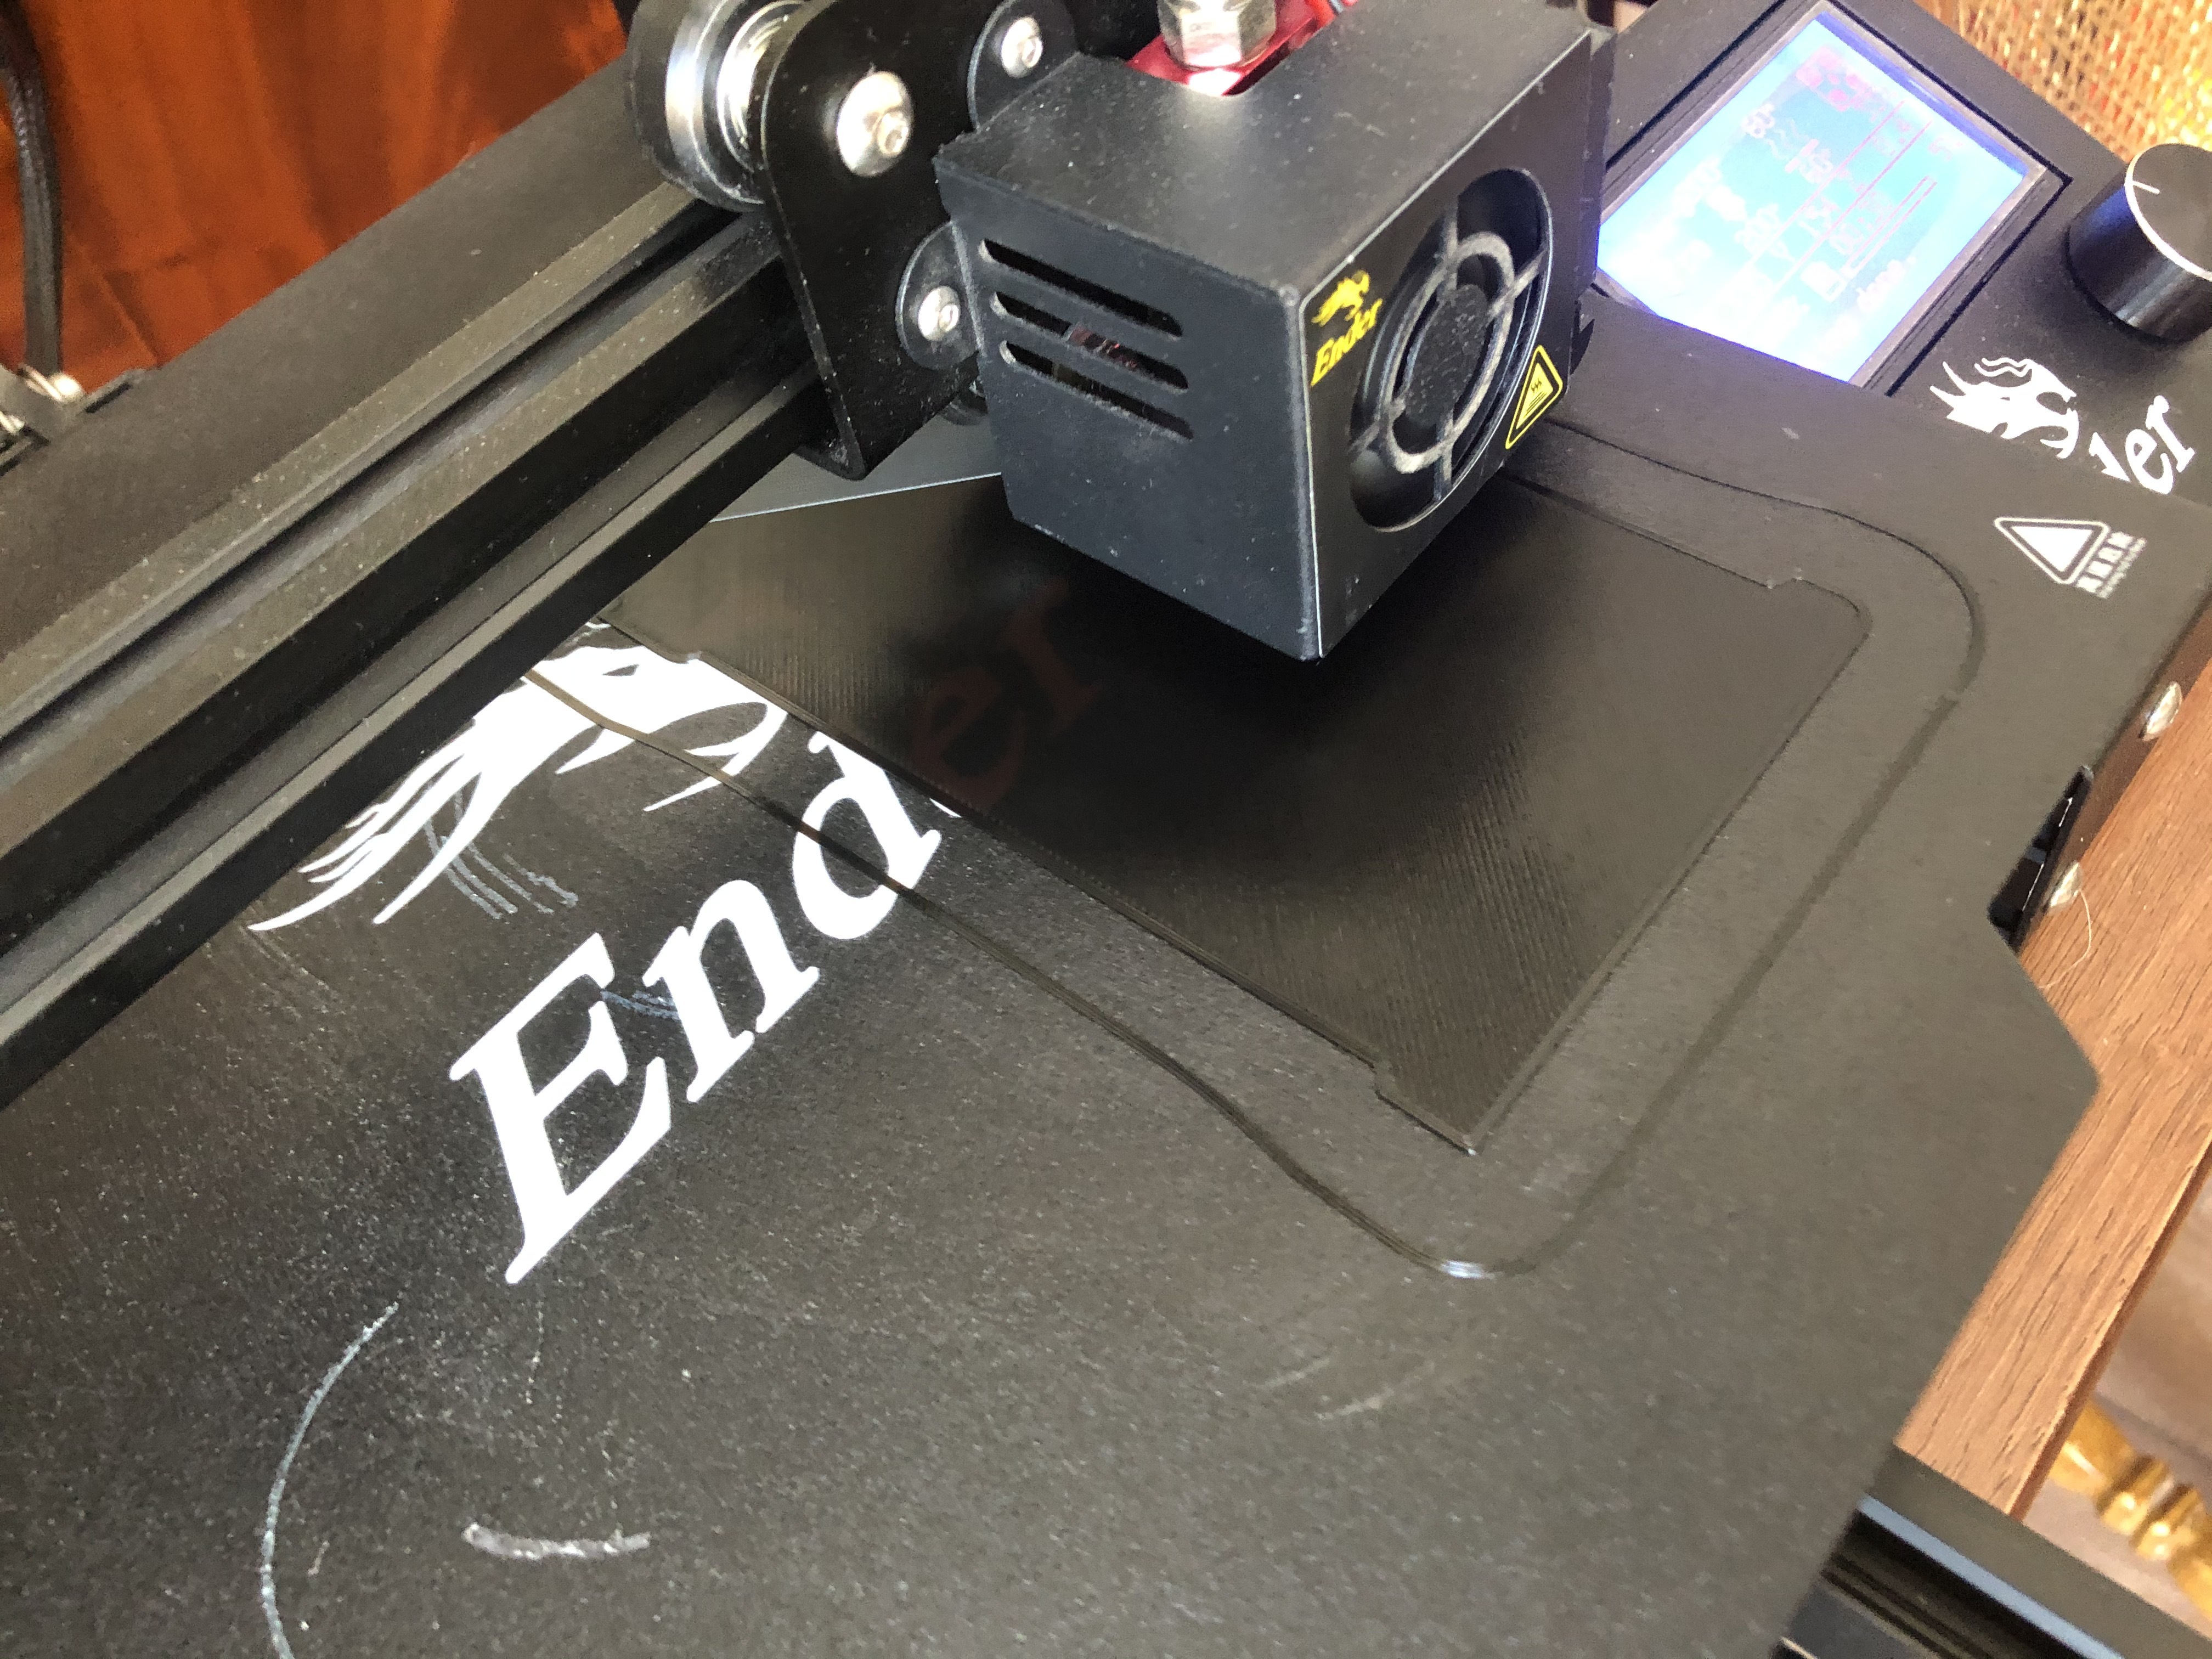
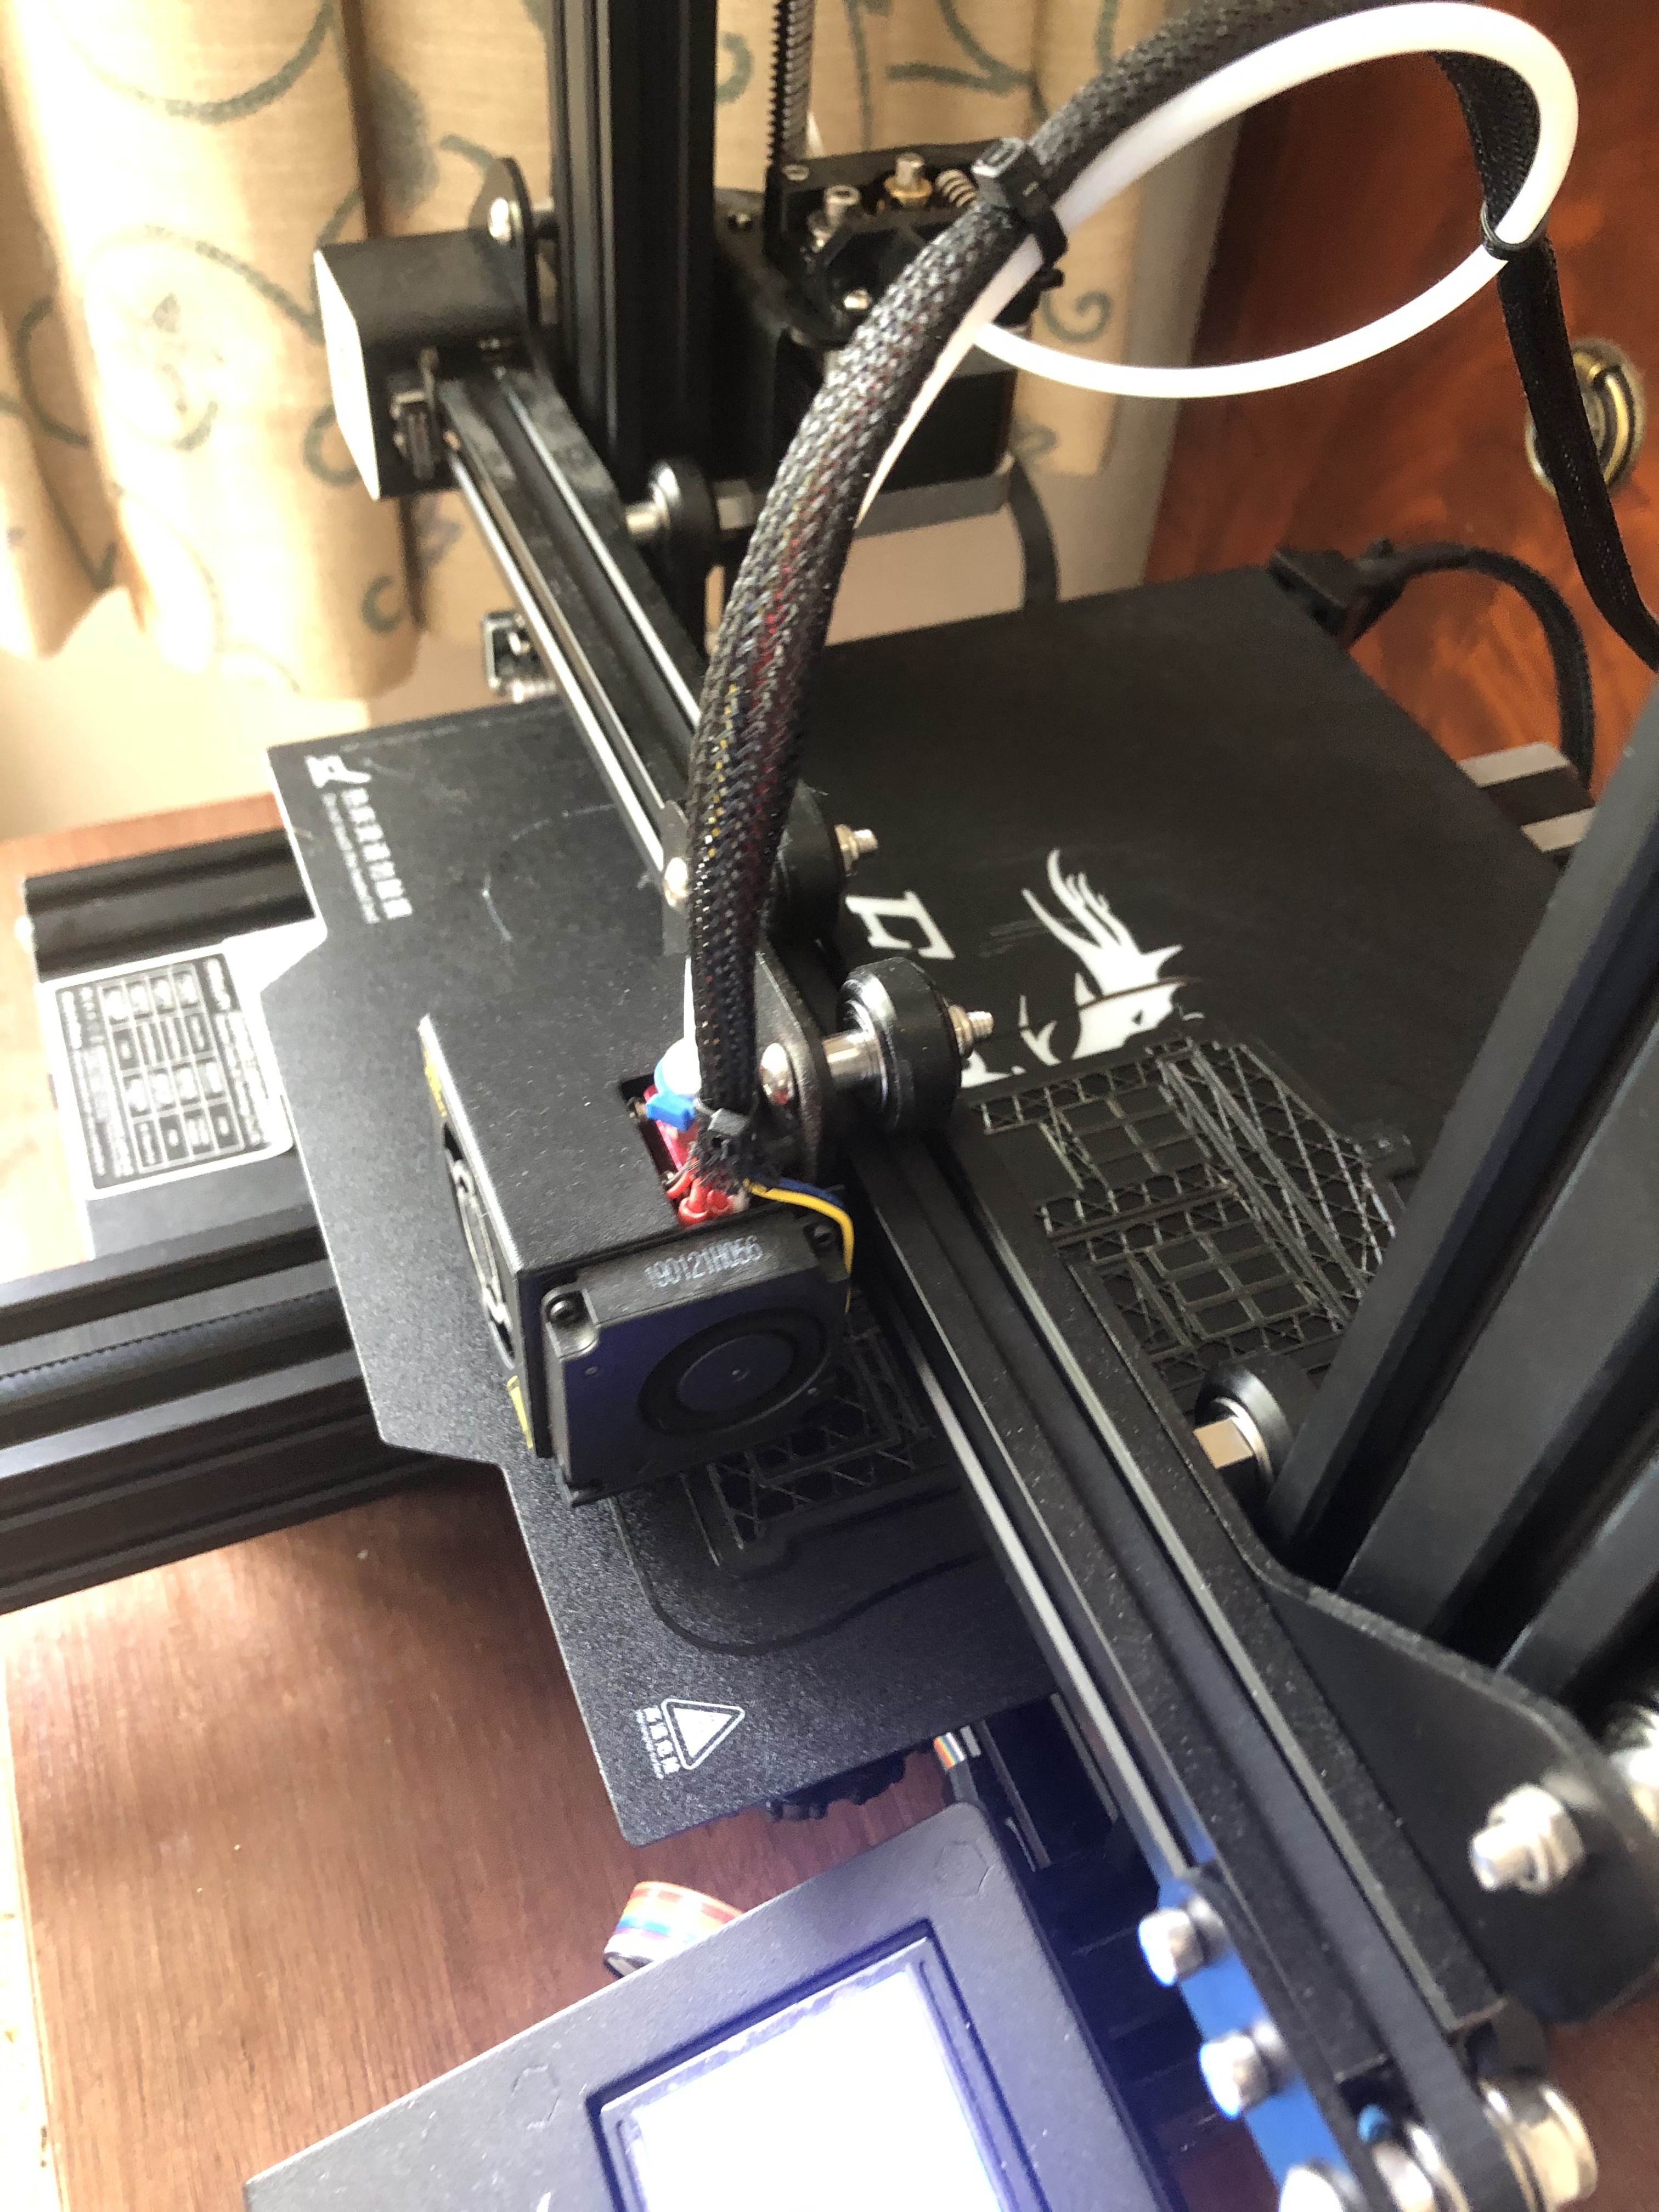
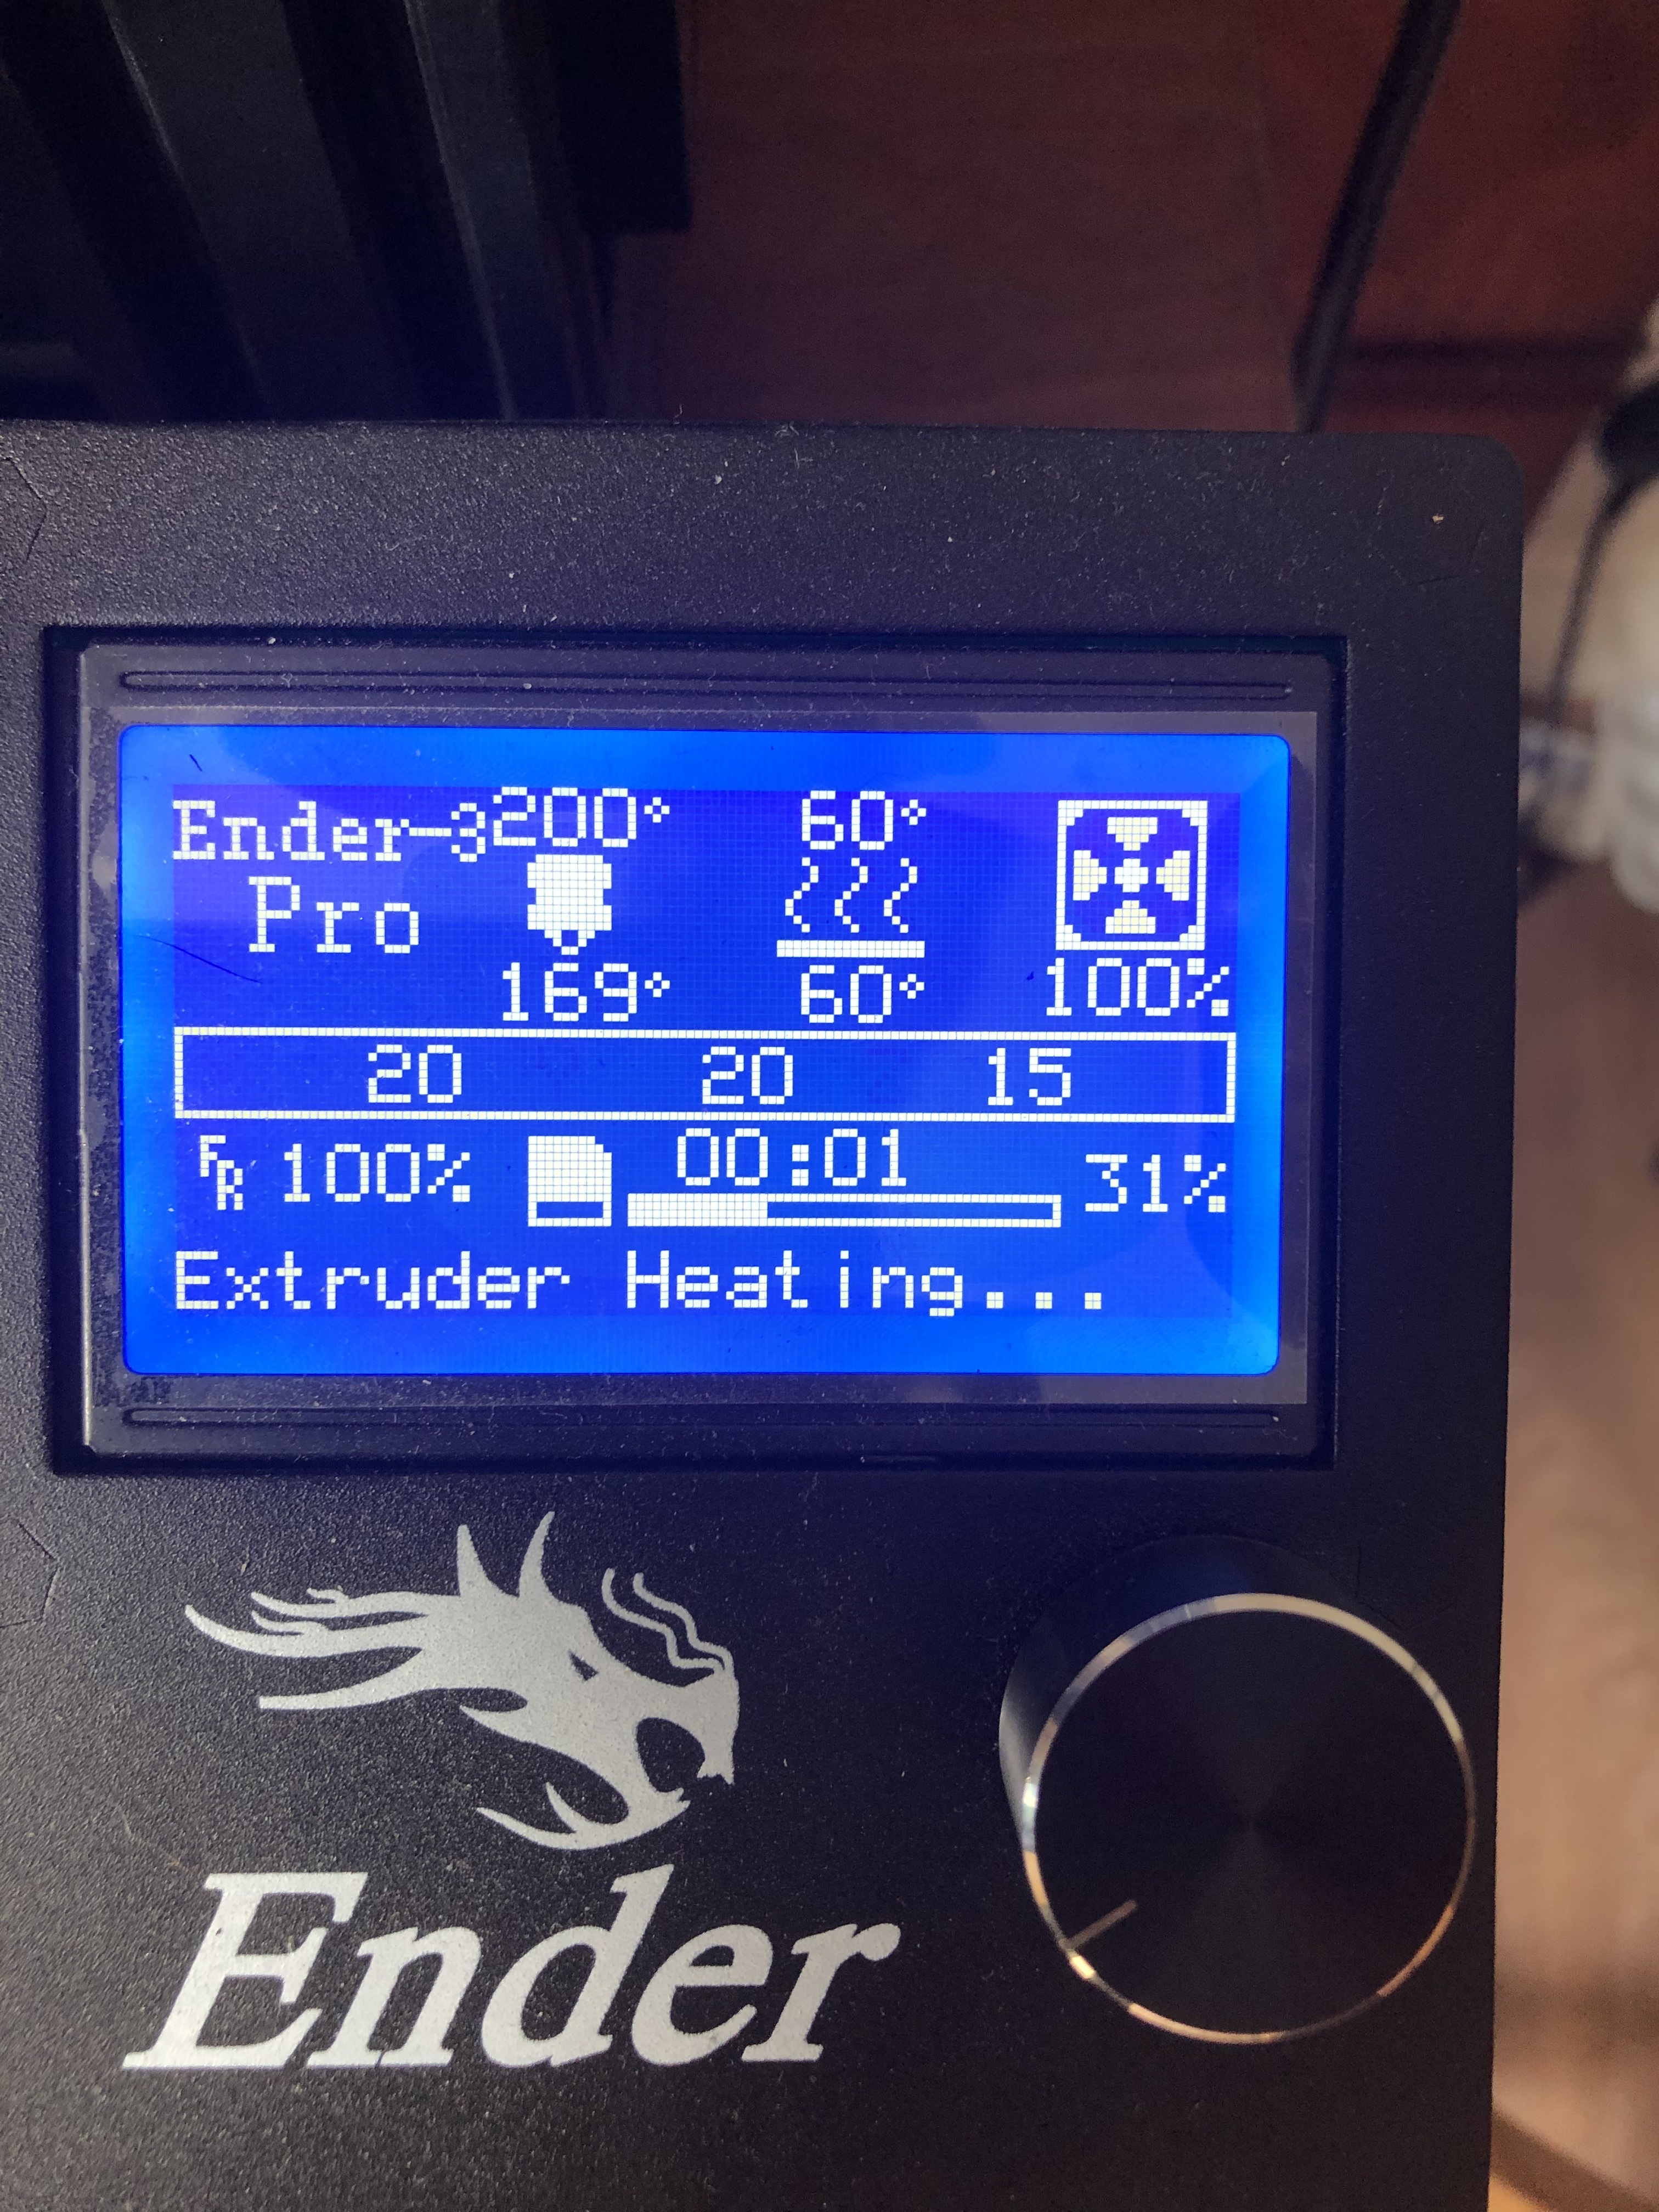
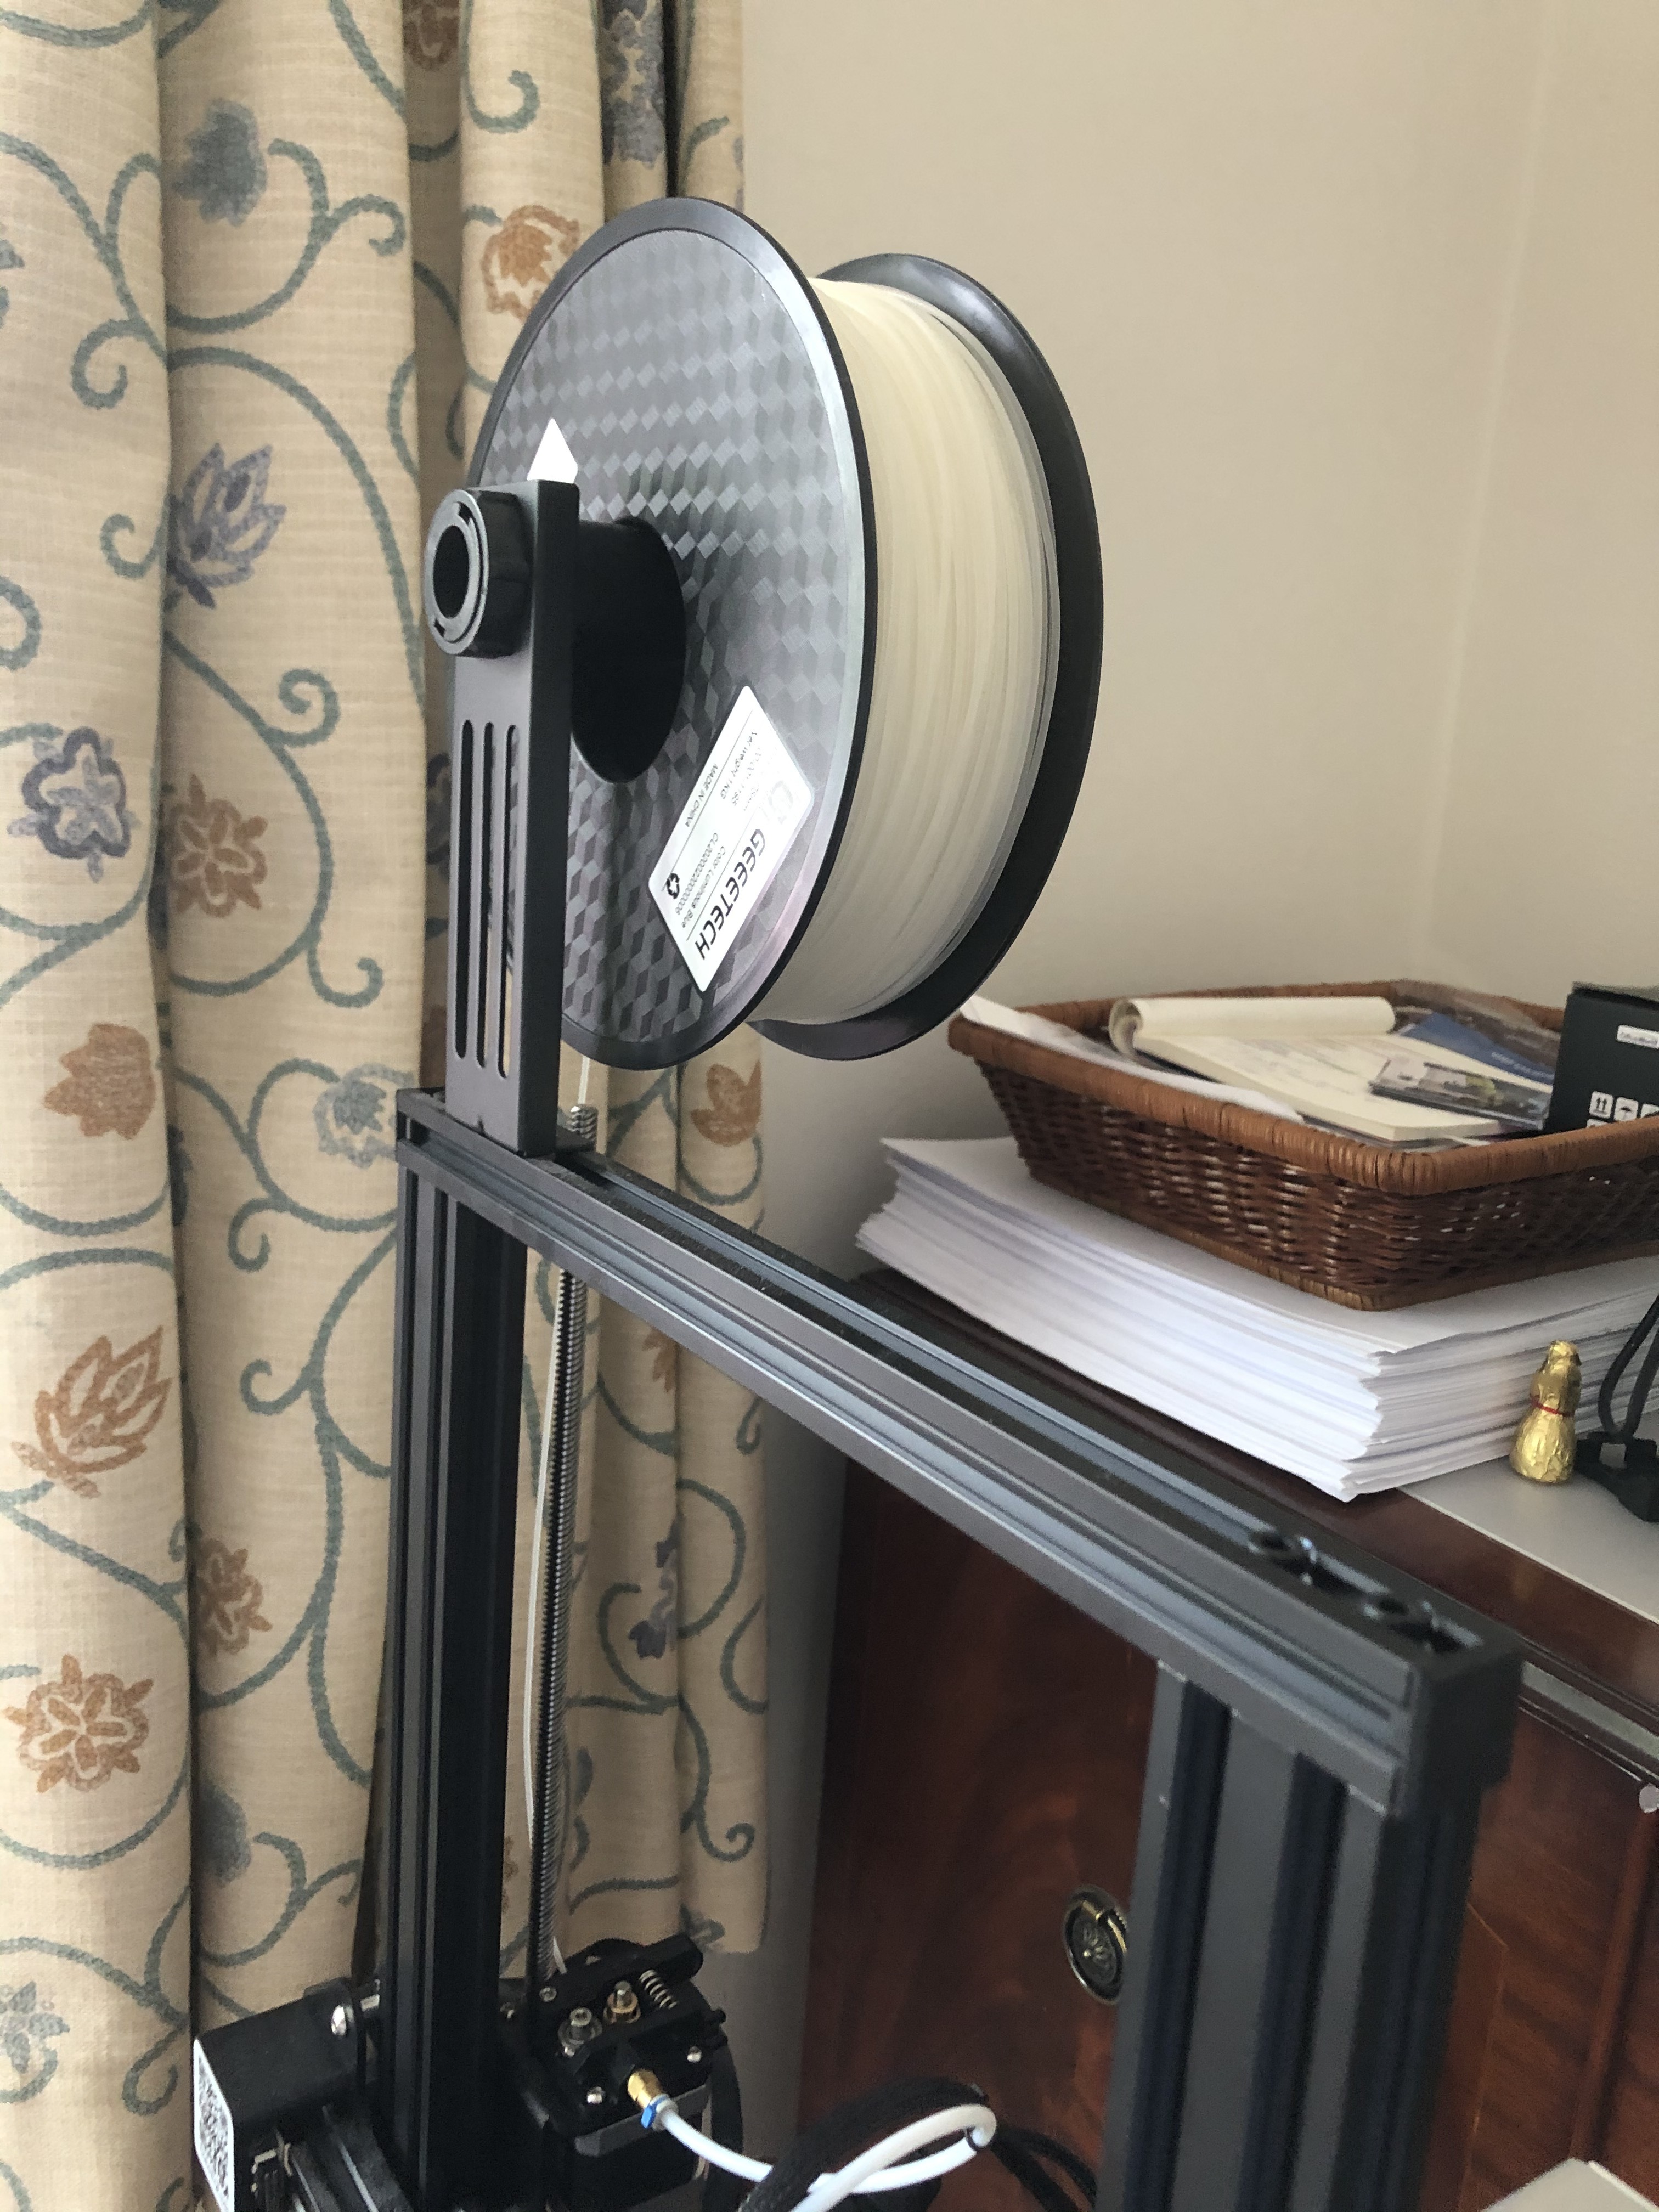
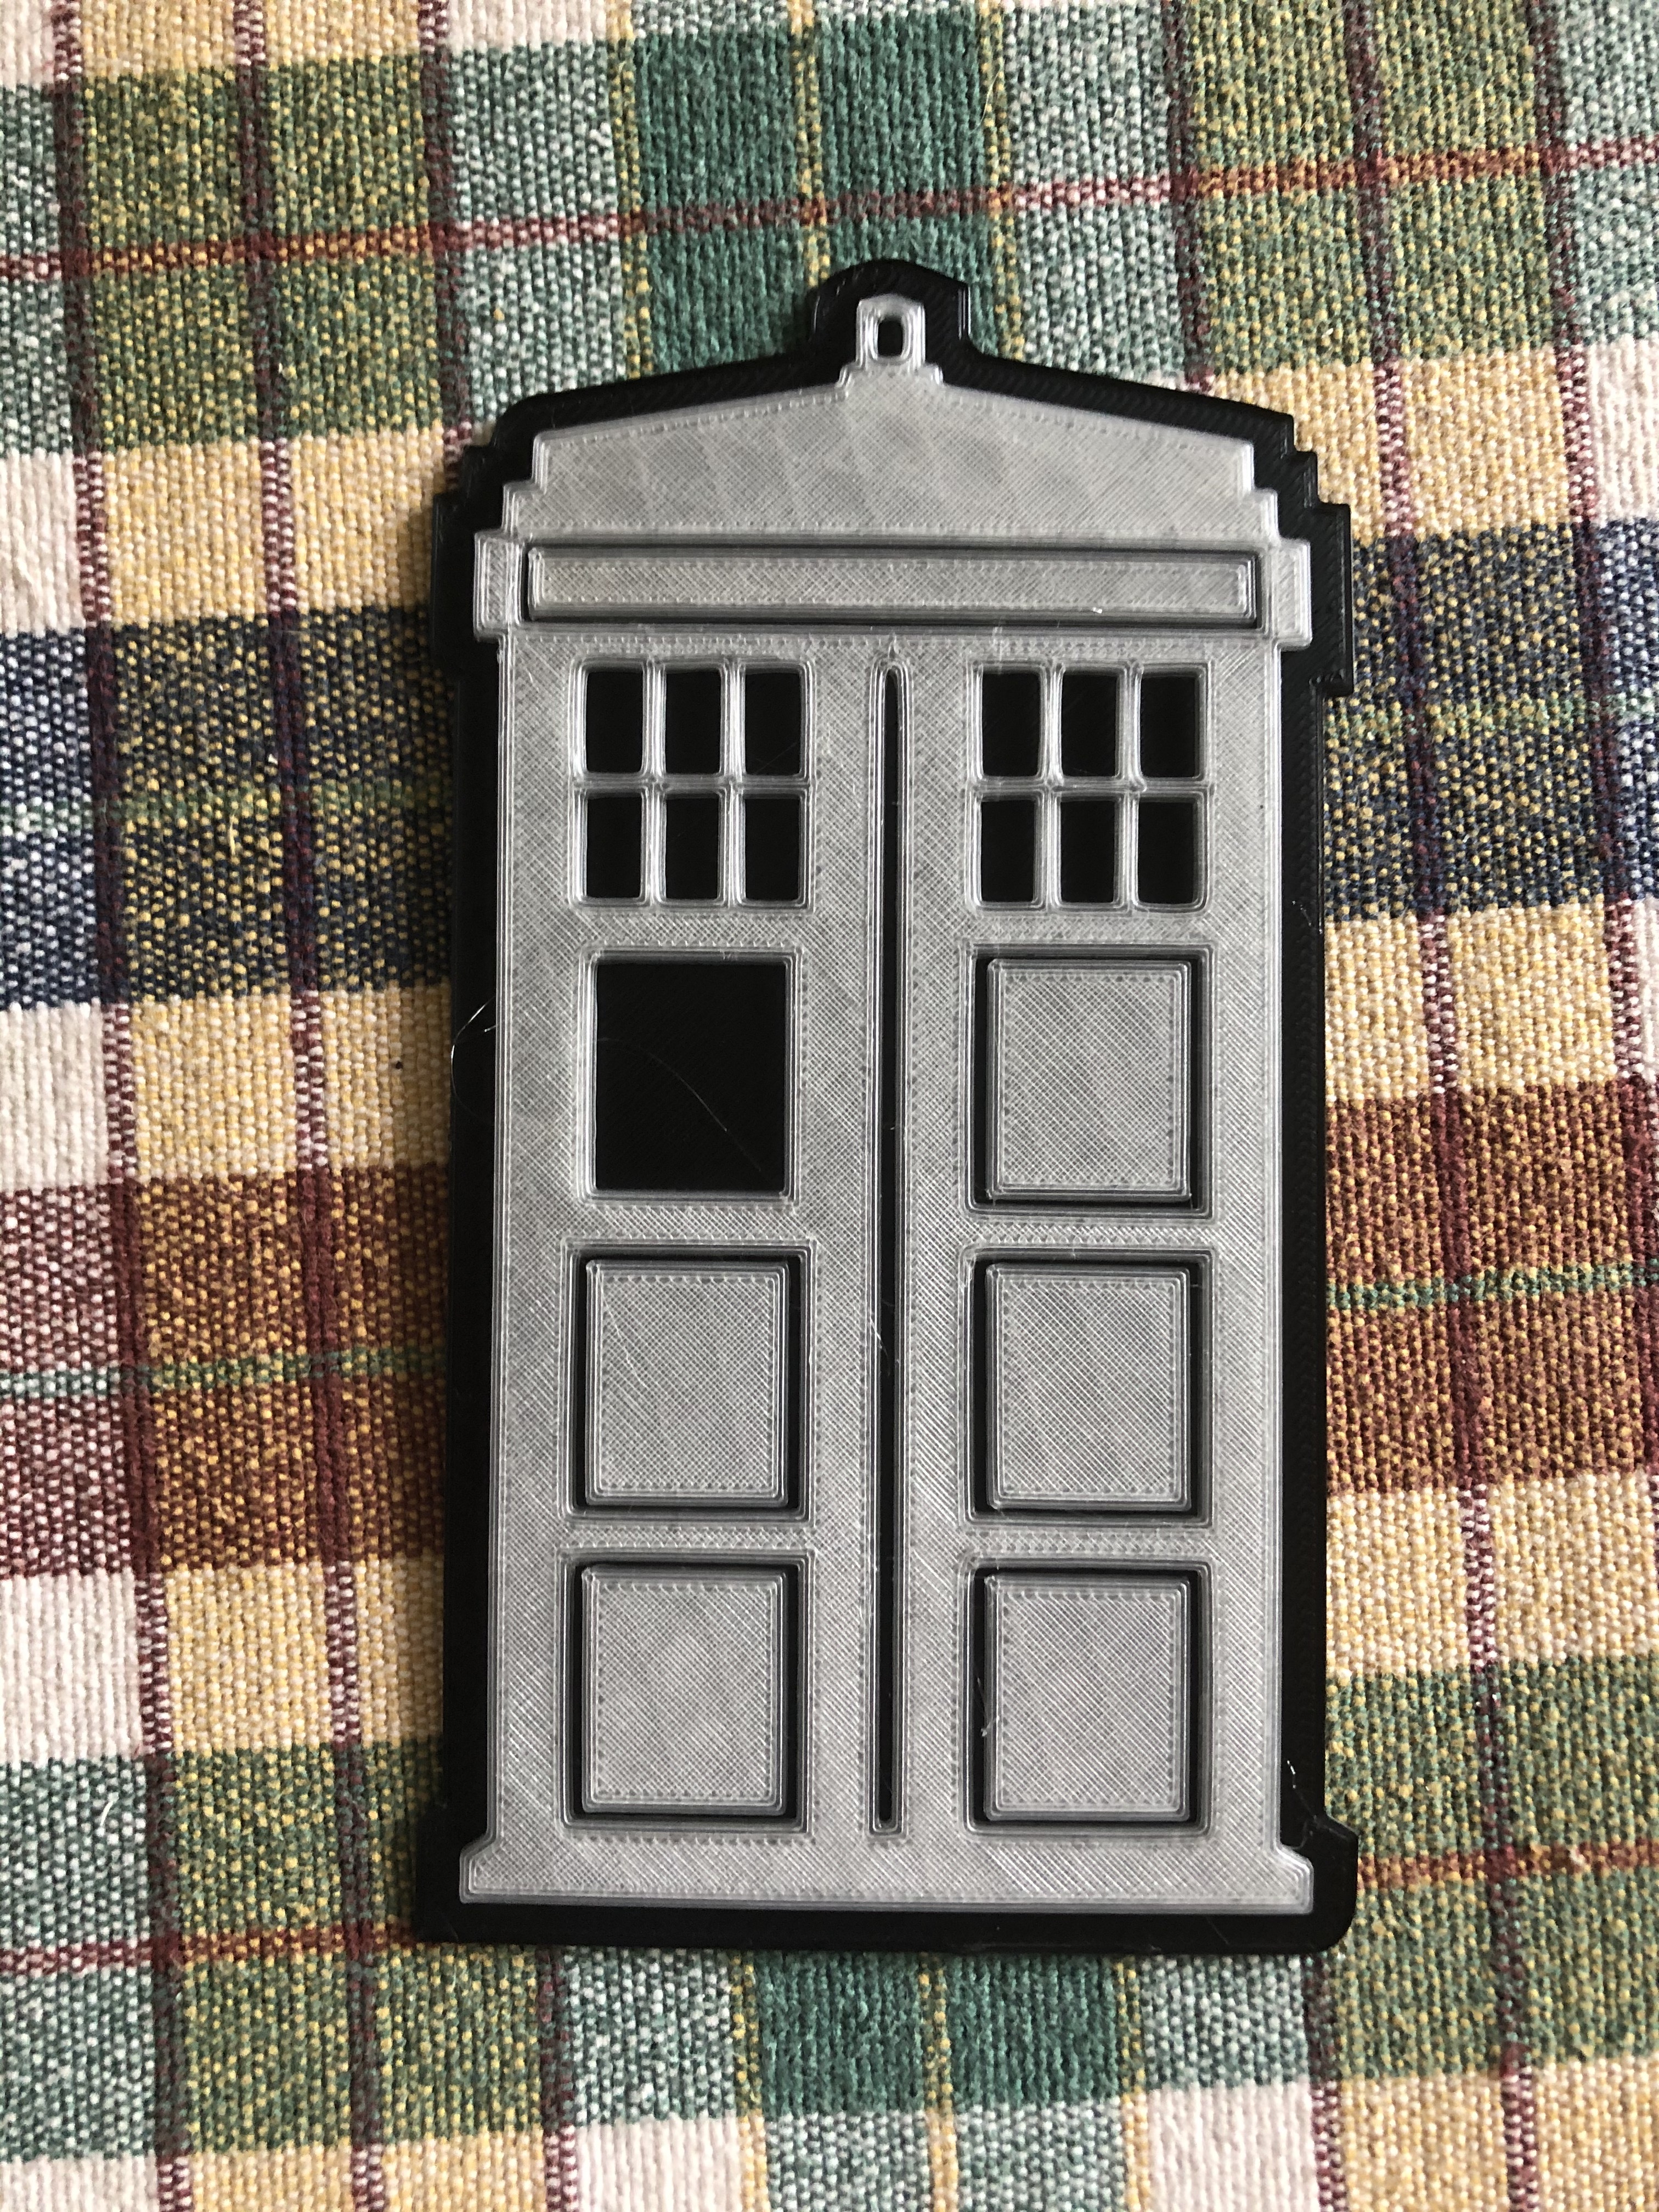
Send the model to print as normal. When the print pauses, remove the filament you have been using and replace with the second filament you would like to continue the print with.
For my model I made the background black and wanted the TARDIS to glow blue. I therefore swapped to a Geetech luminous blue filament when the print paused.
When reloading the filament, you want to do this when the nozzle is hot to be able to extrude the remainder of the background colour out and ensure a smooth transition to the new colour. You can do this by resuming the print and feeding the filament in when it reaches around 170 degrees, this should give you a bit of time to feed the filament till it is cleanly extruding the new colour. If you do not think this will give you enough time, which may be the case if you, like me, are going from a very dark colour to a light transparent colour, you can simply resume the print and then manually pause it and use the prepare menu to heat the extruder and then resume the print when you are satisfied with the filament change.
You can then resume the print and it will finish in the new colour.
This allows for even more glow in the dark decal designs and the black background almost disappears in the darkness. This would be great for something like a door sign as it has a very legible two tone print in the light and produces a fantastic glowing effect in the dark.
Enjoy!
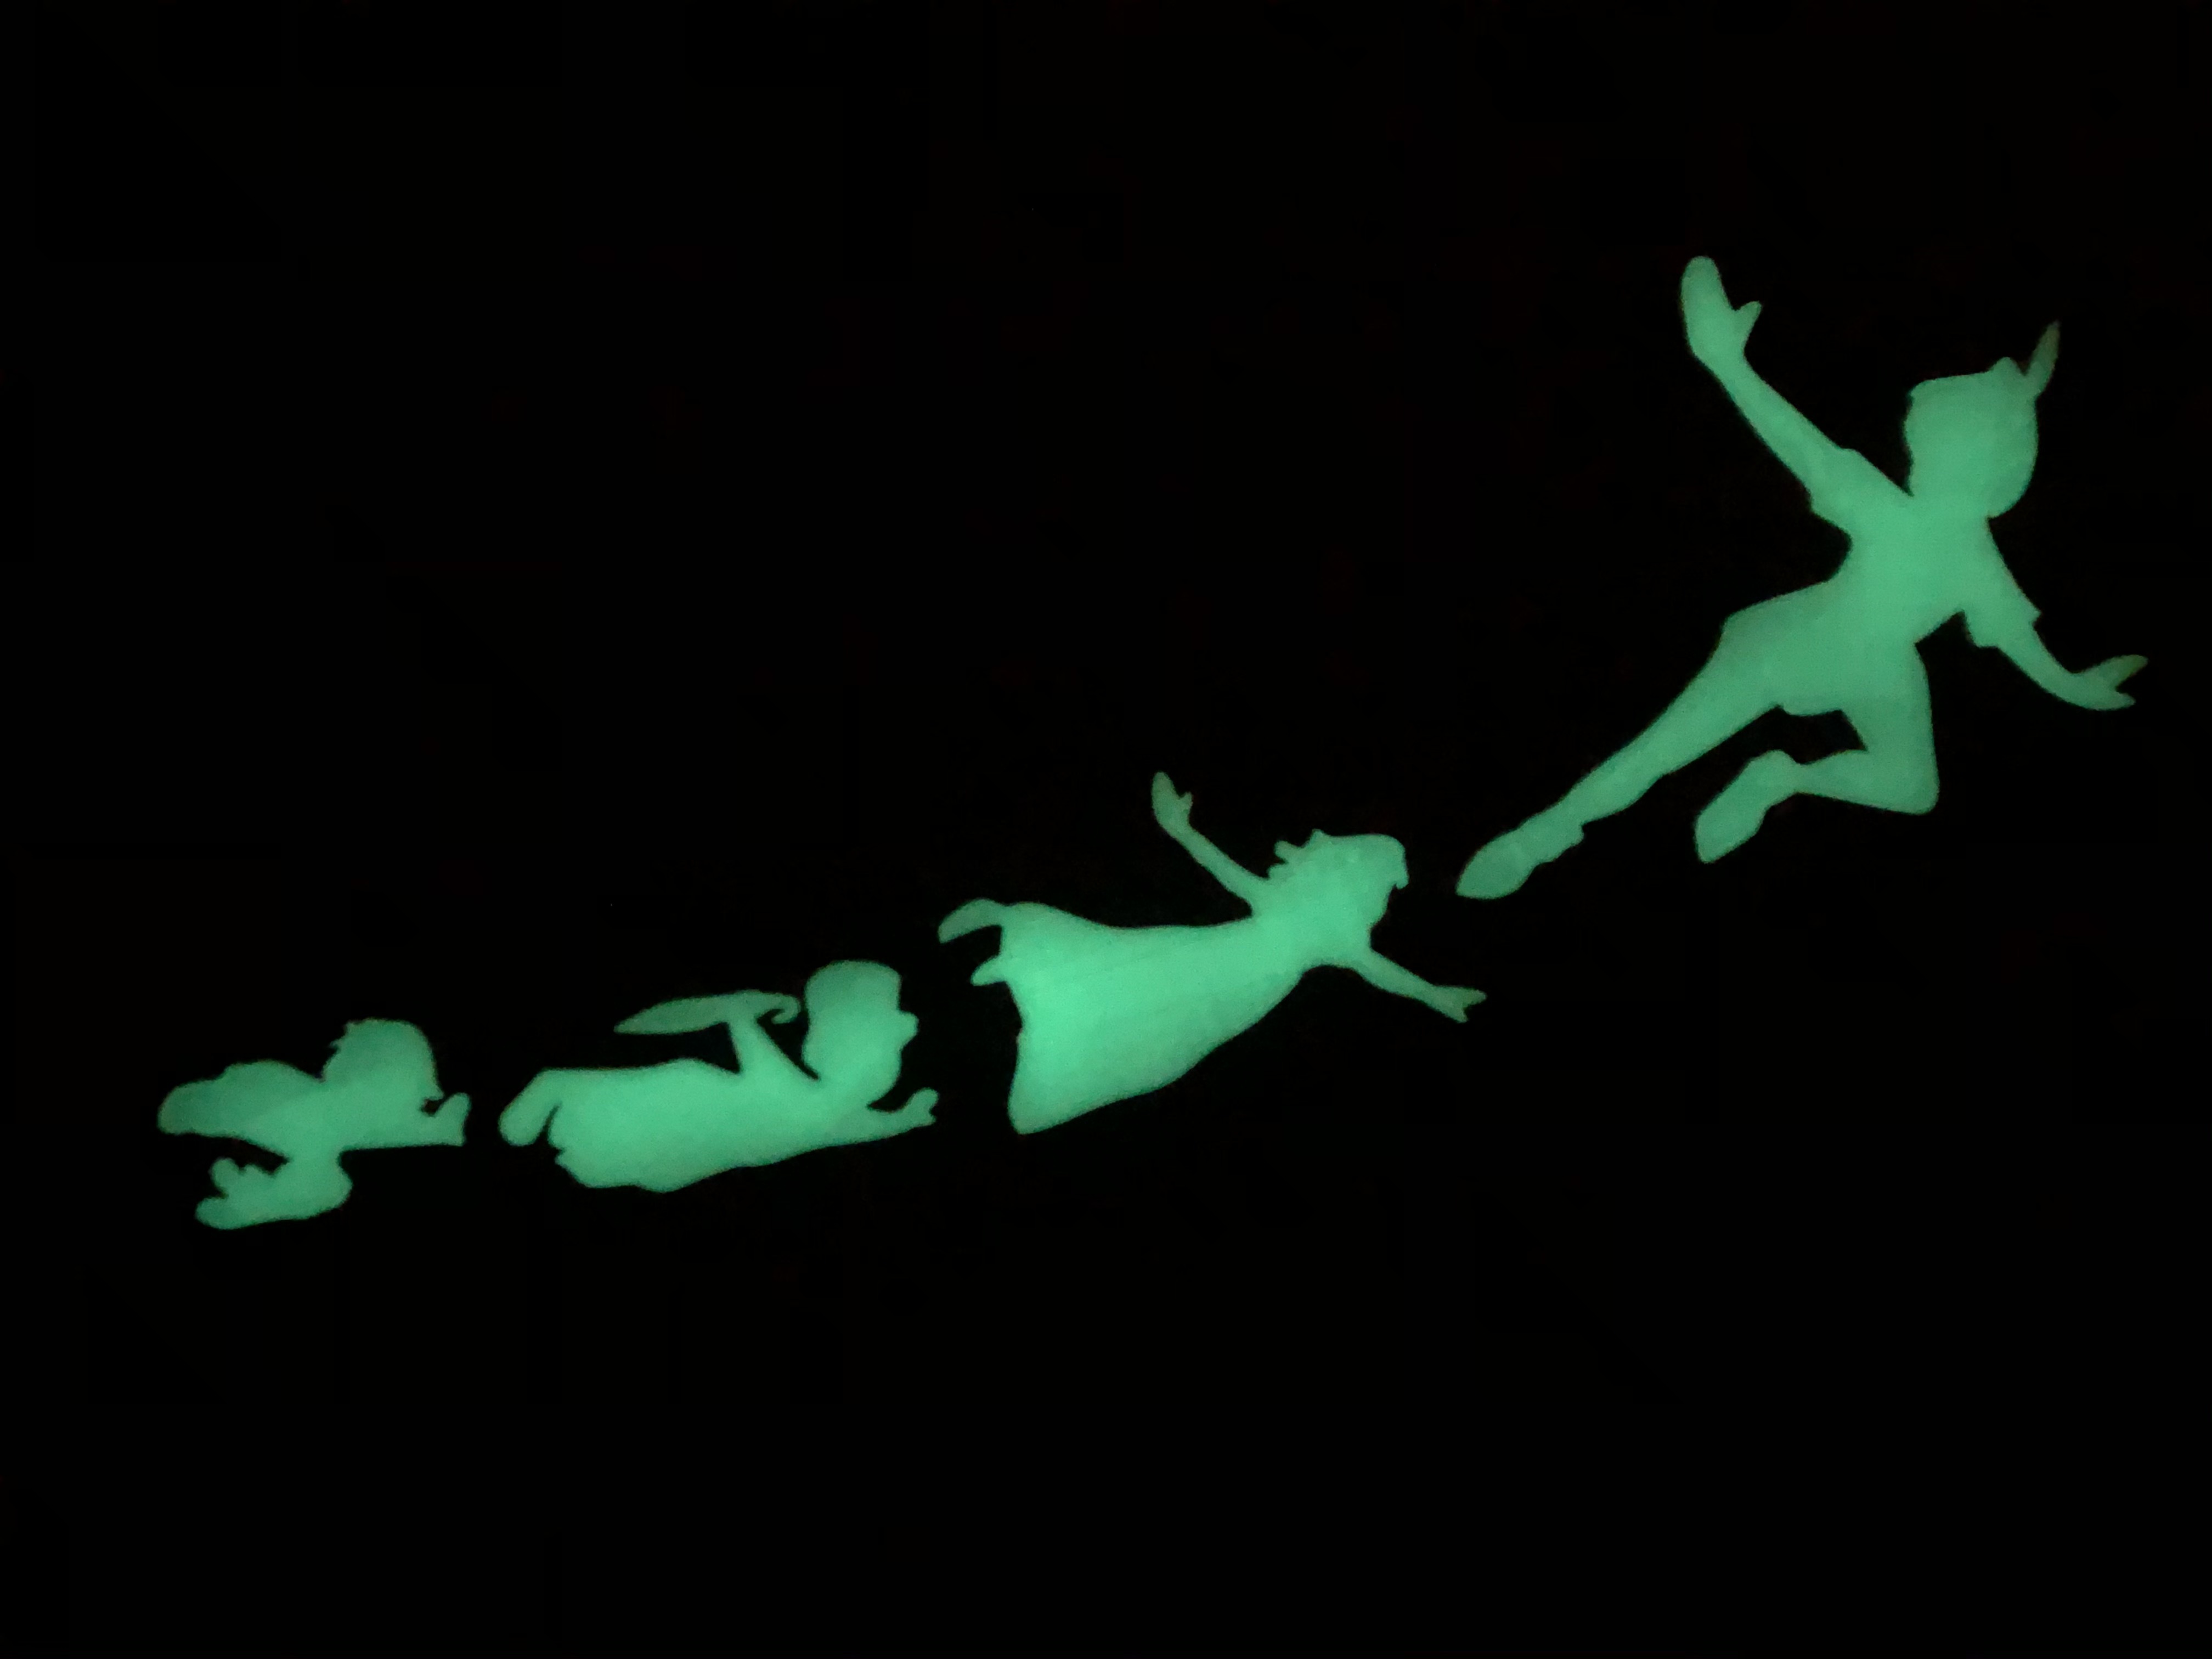
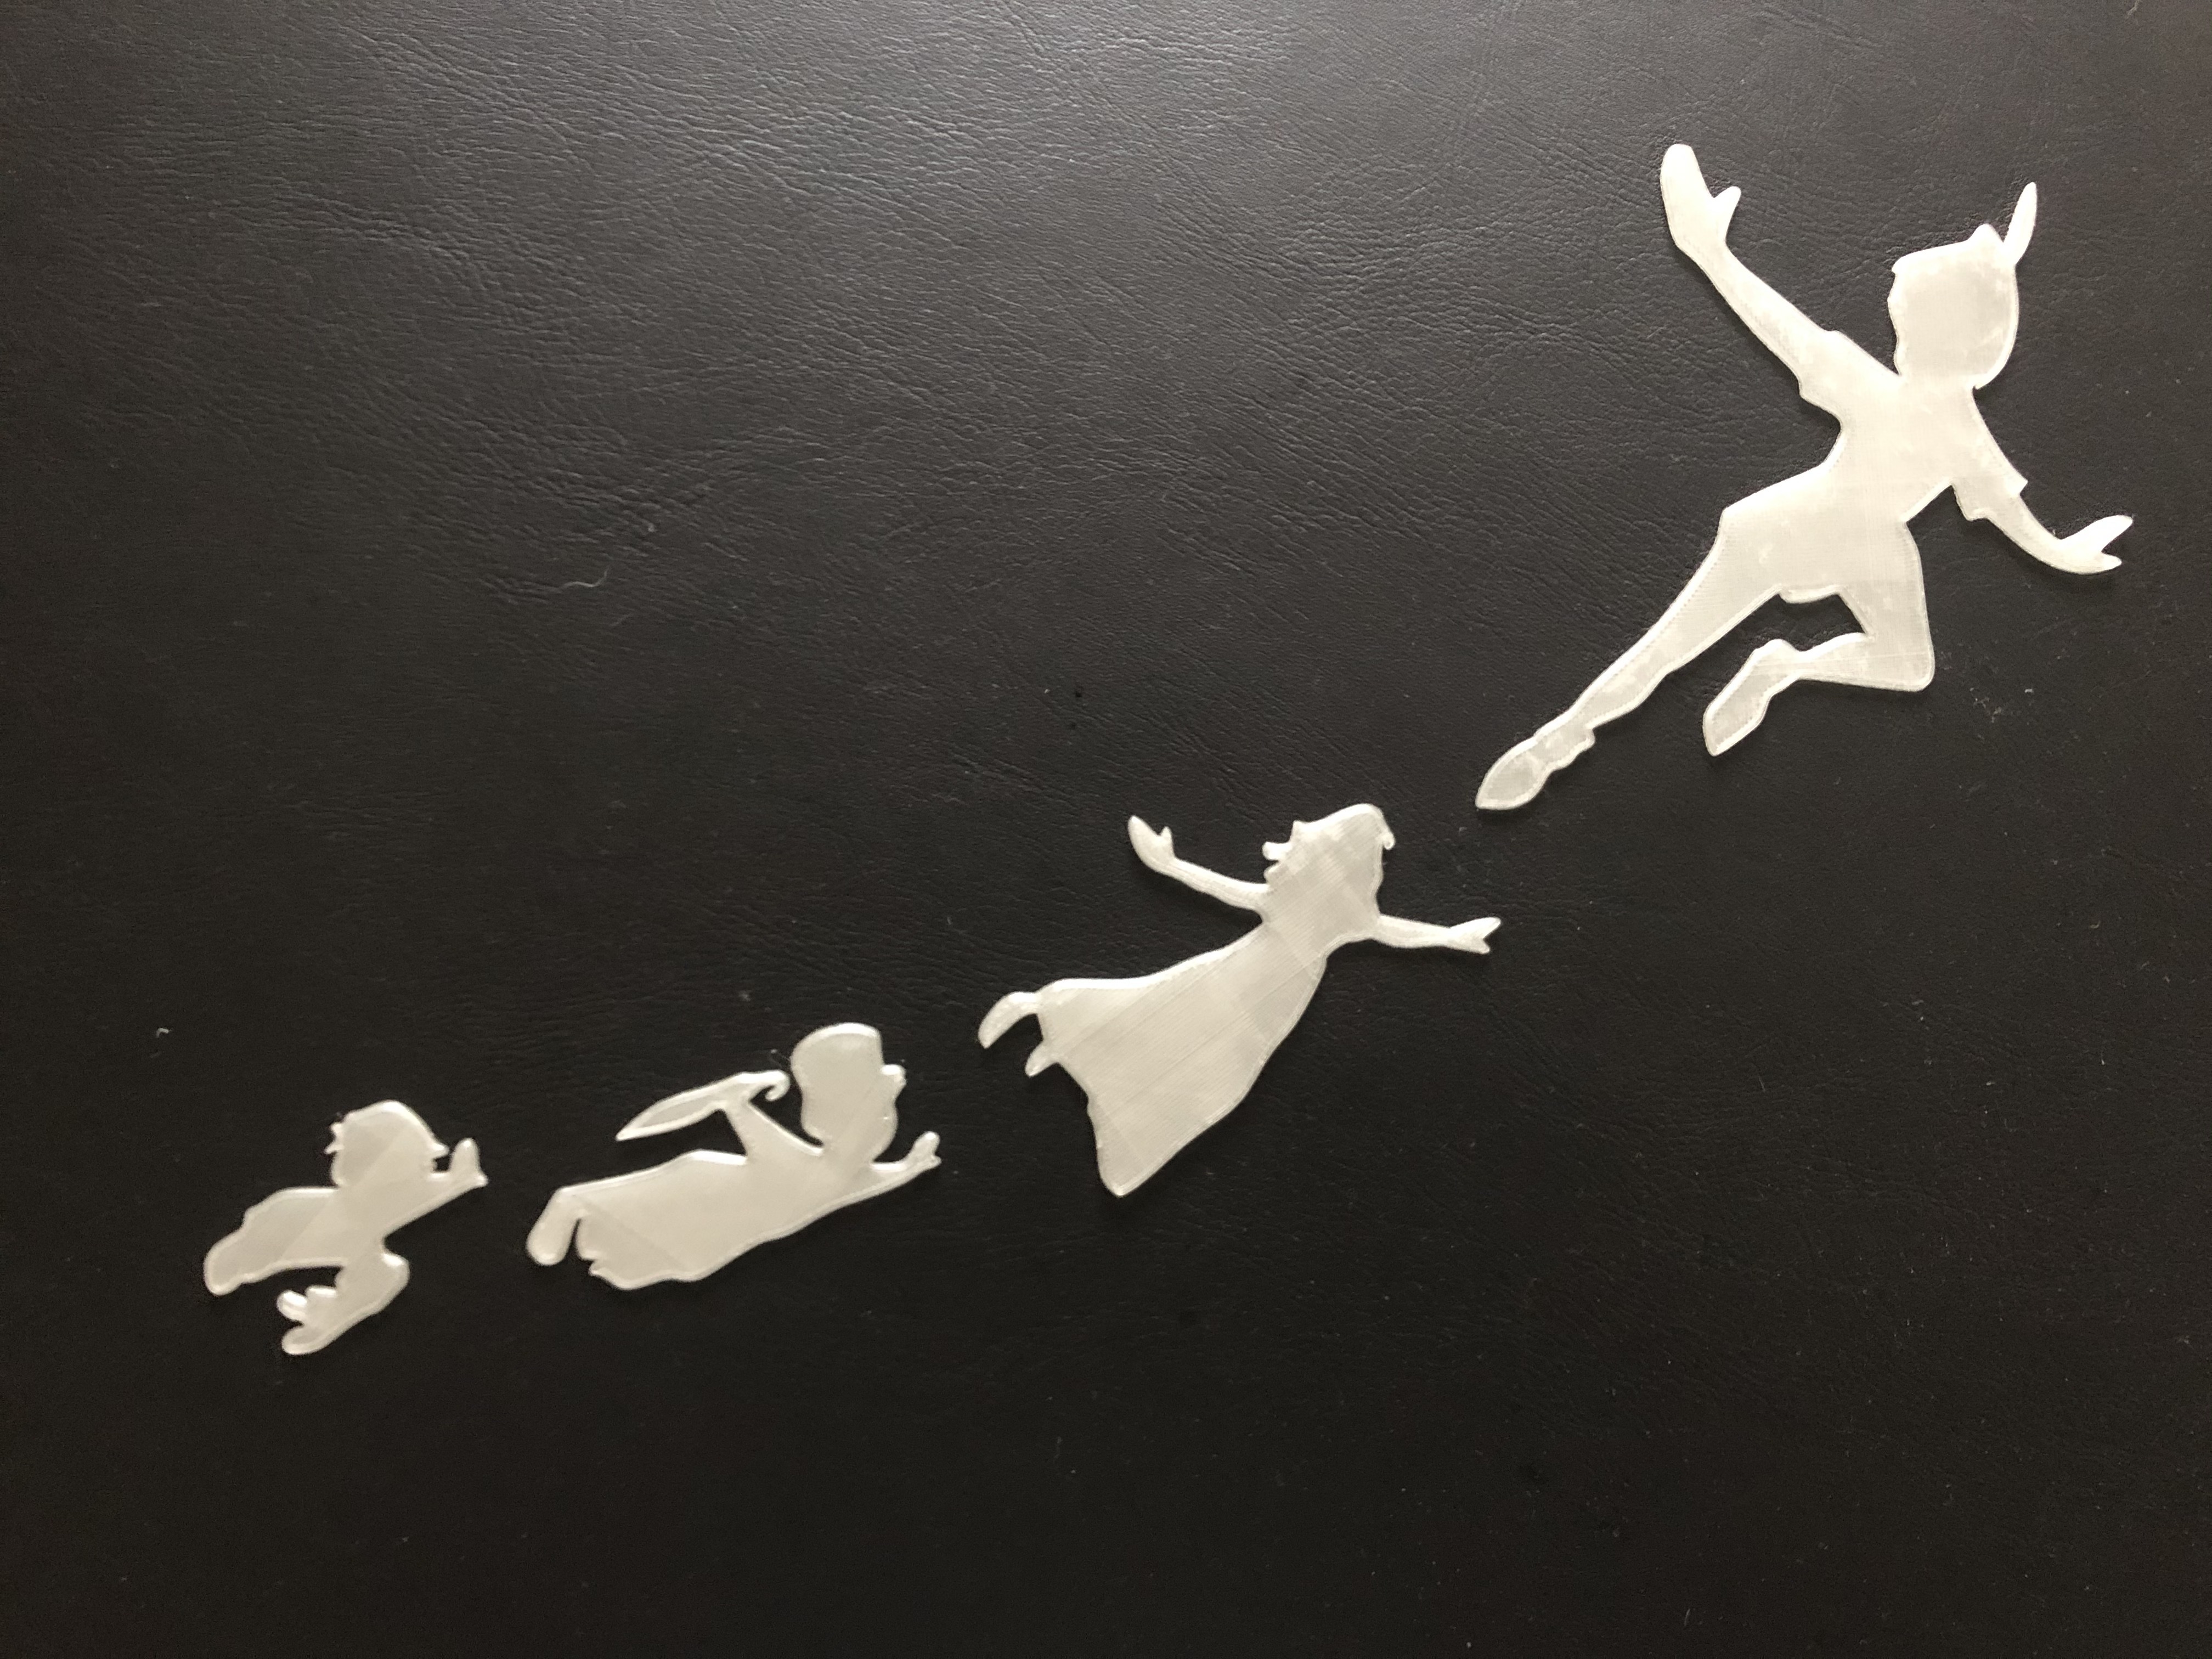
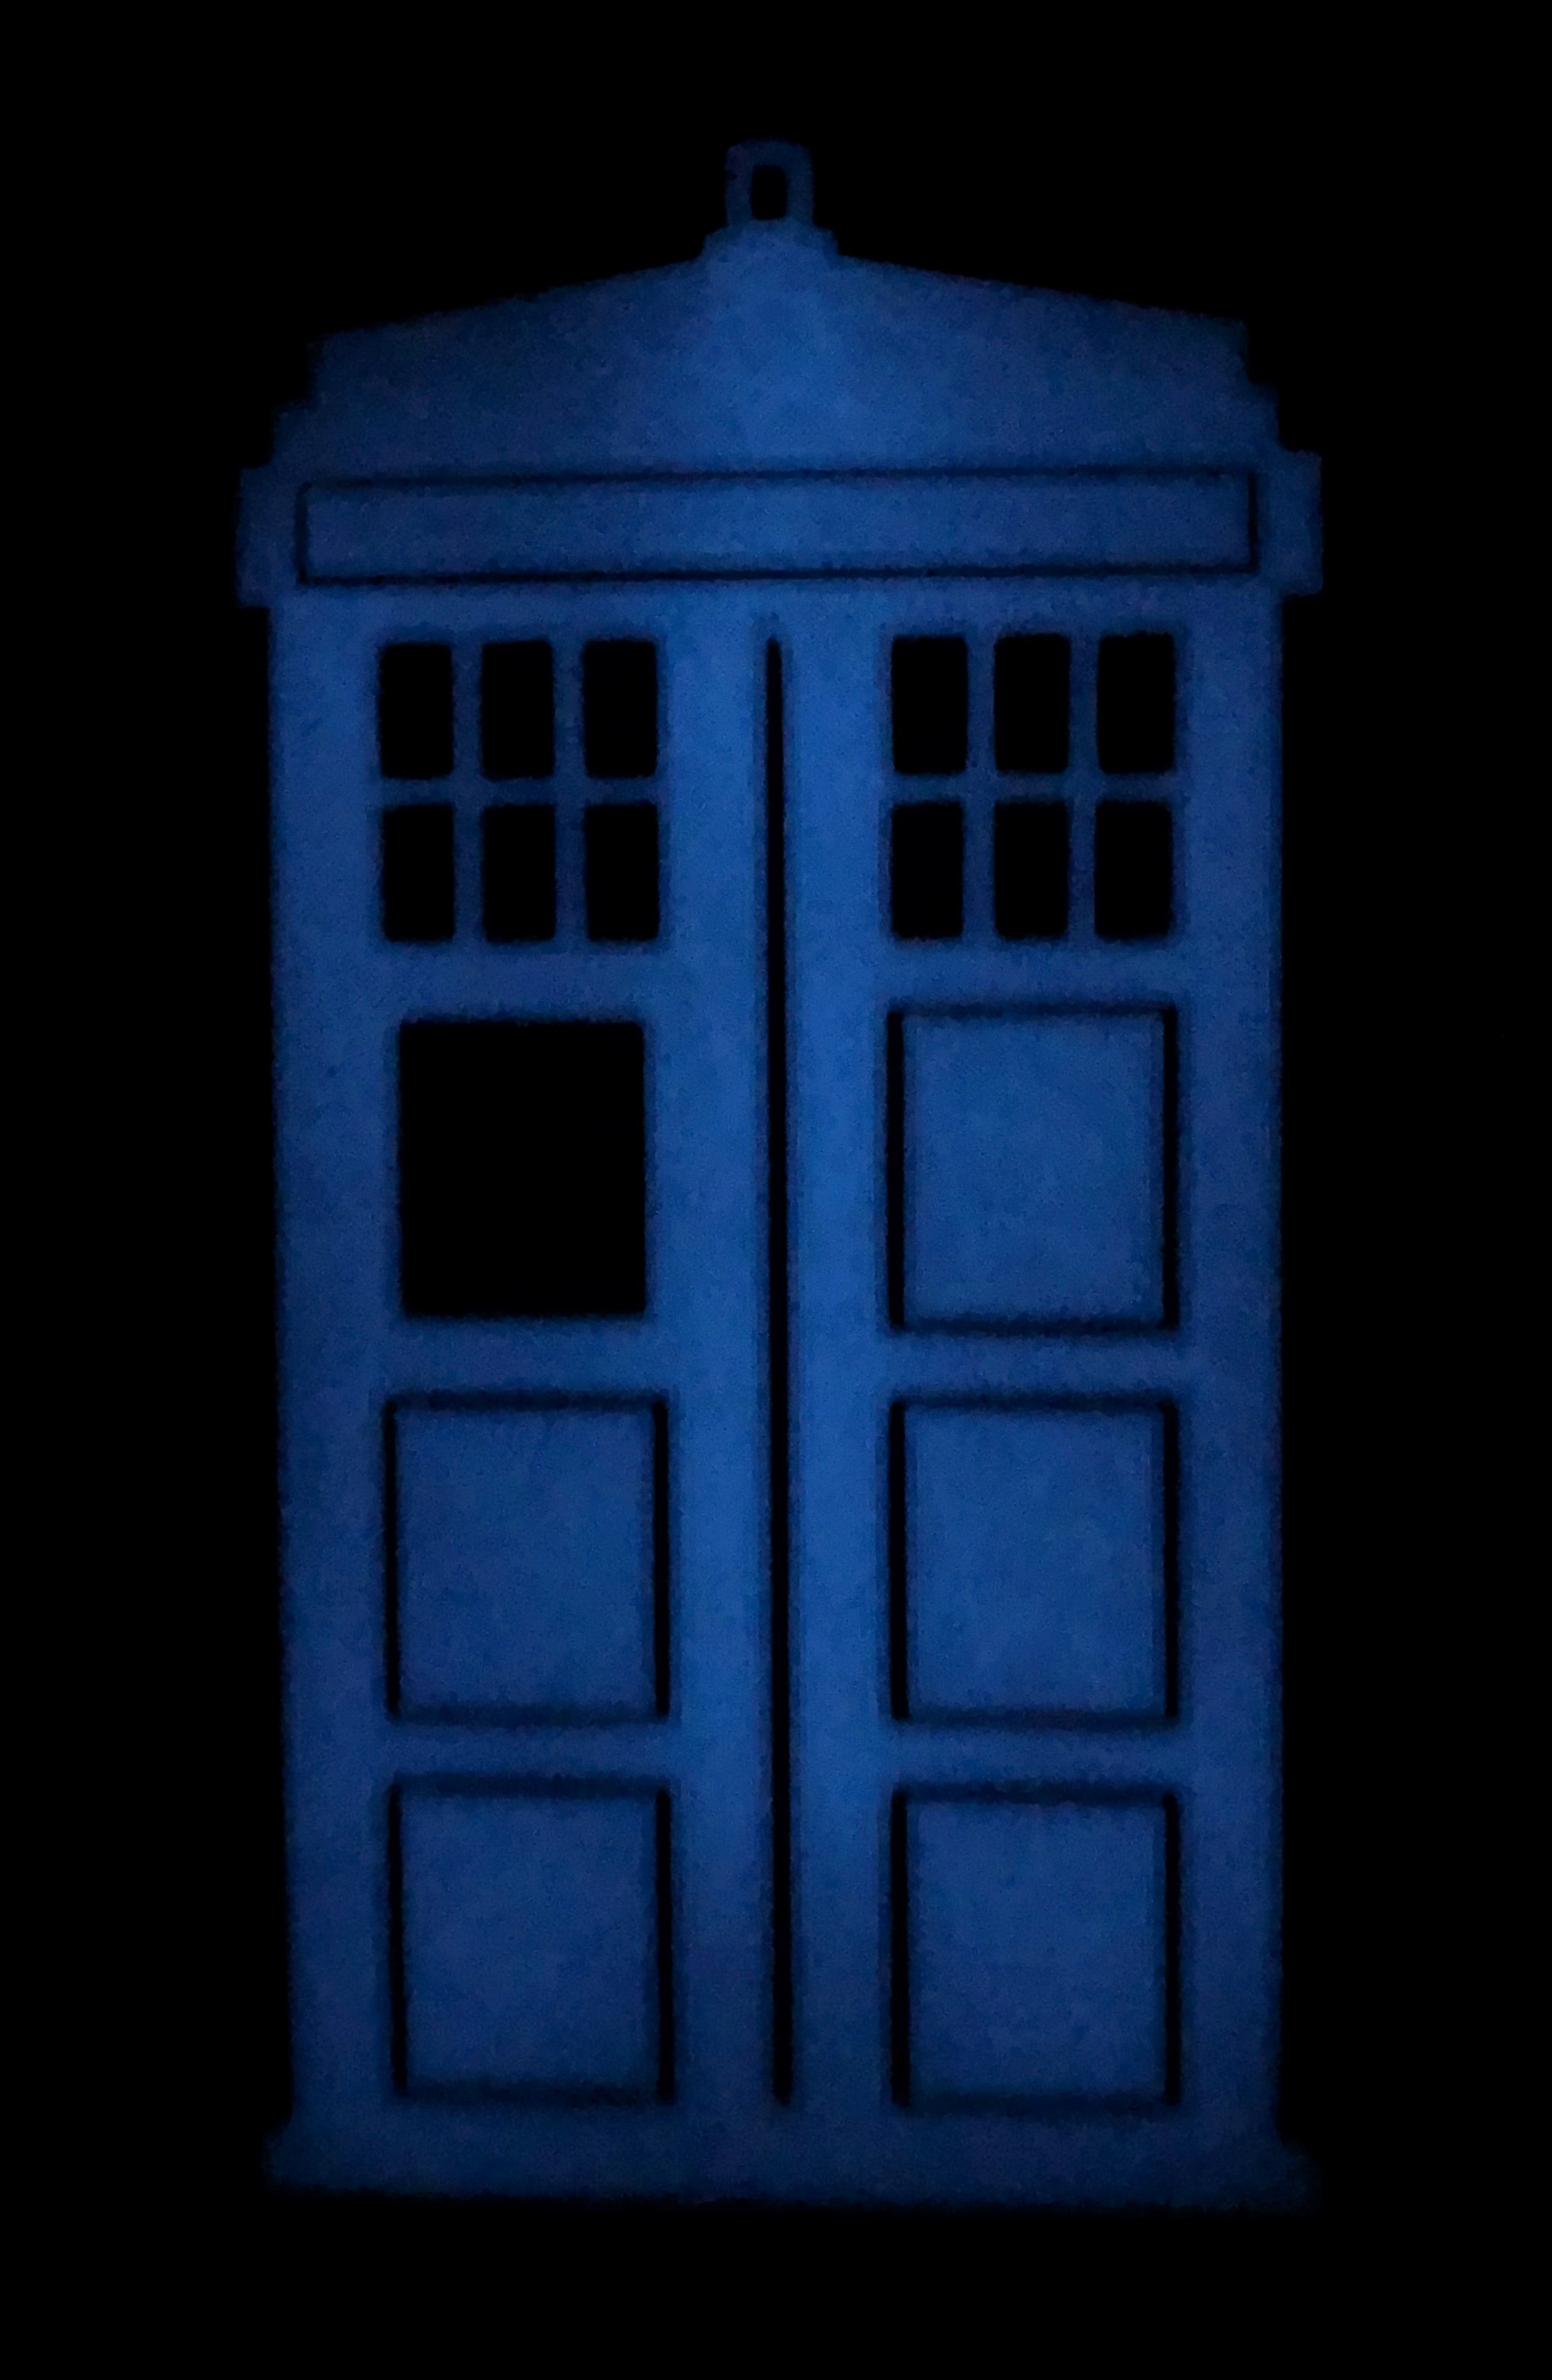
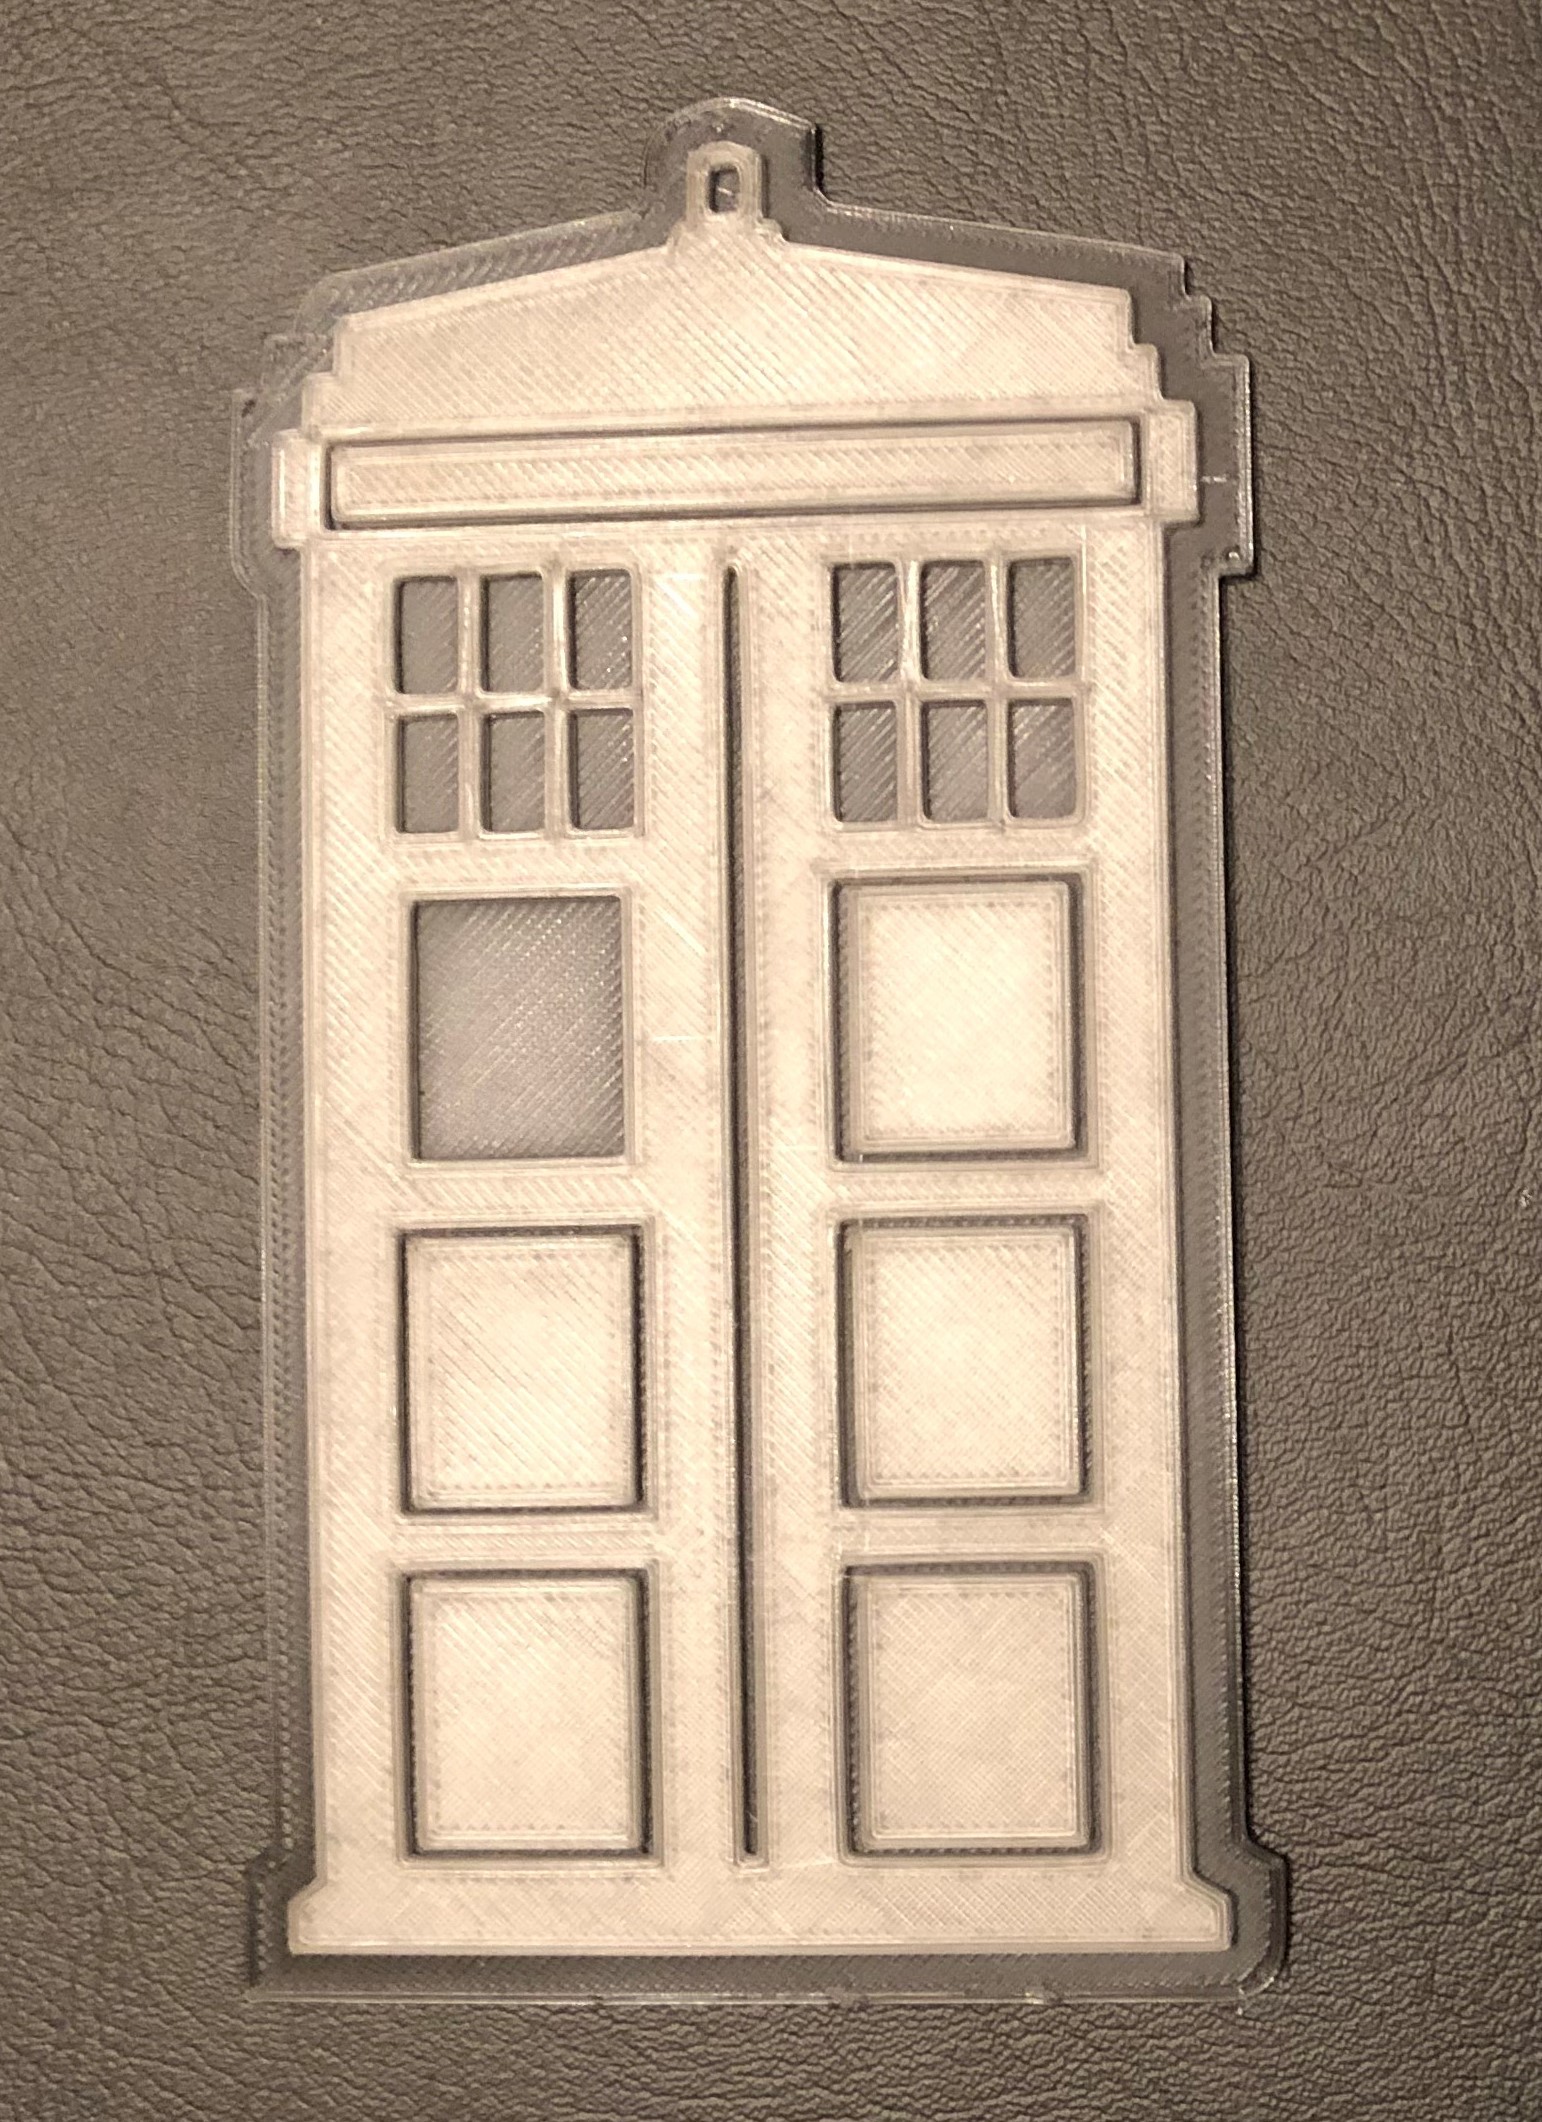
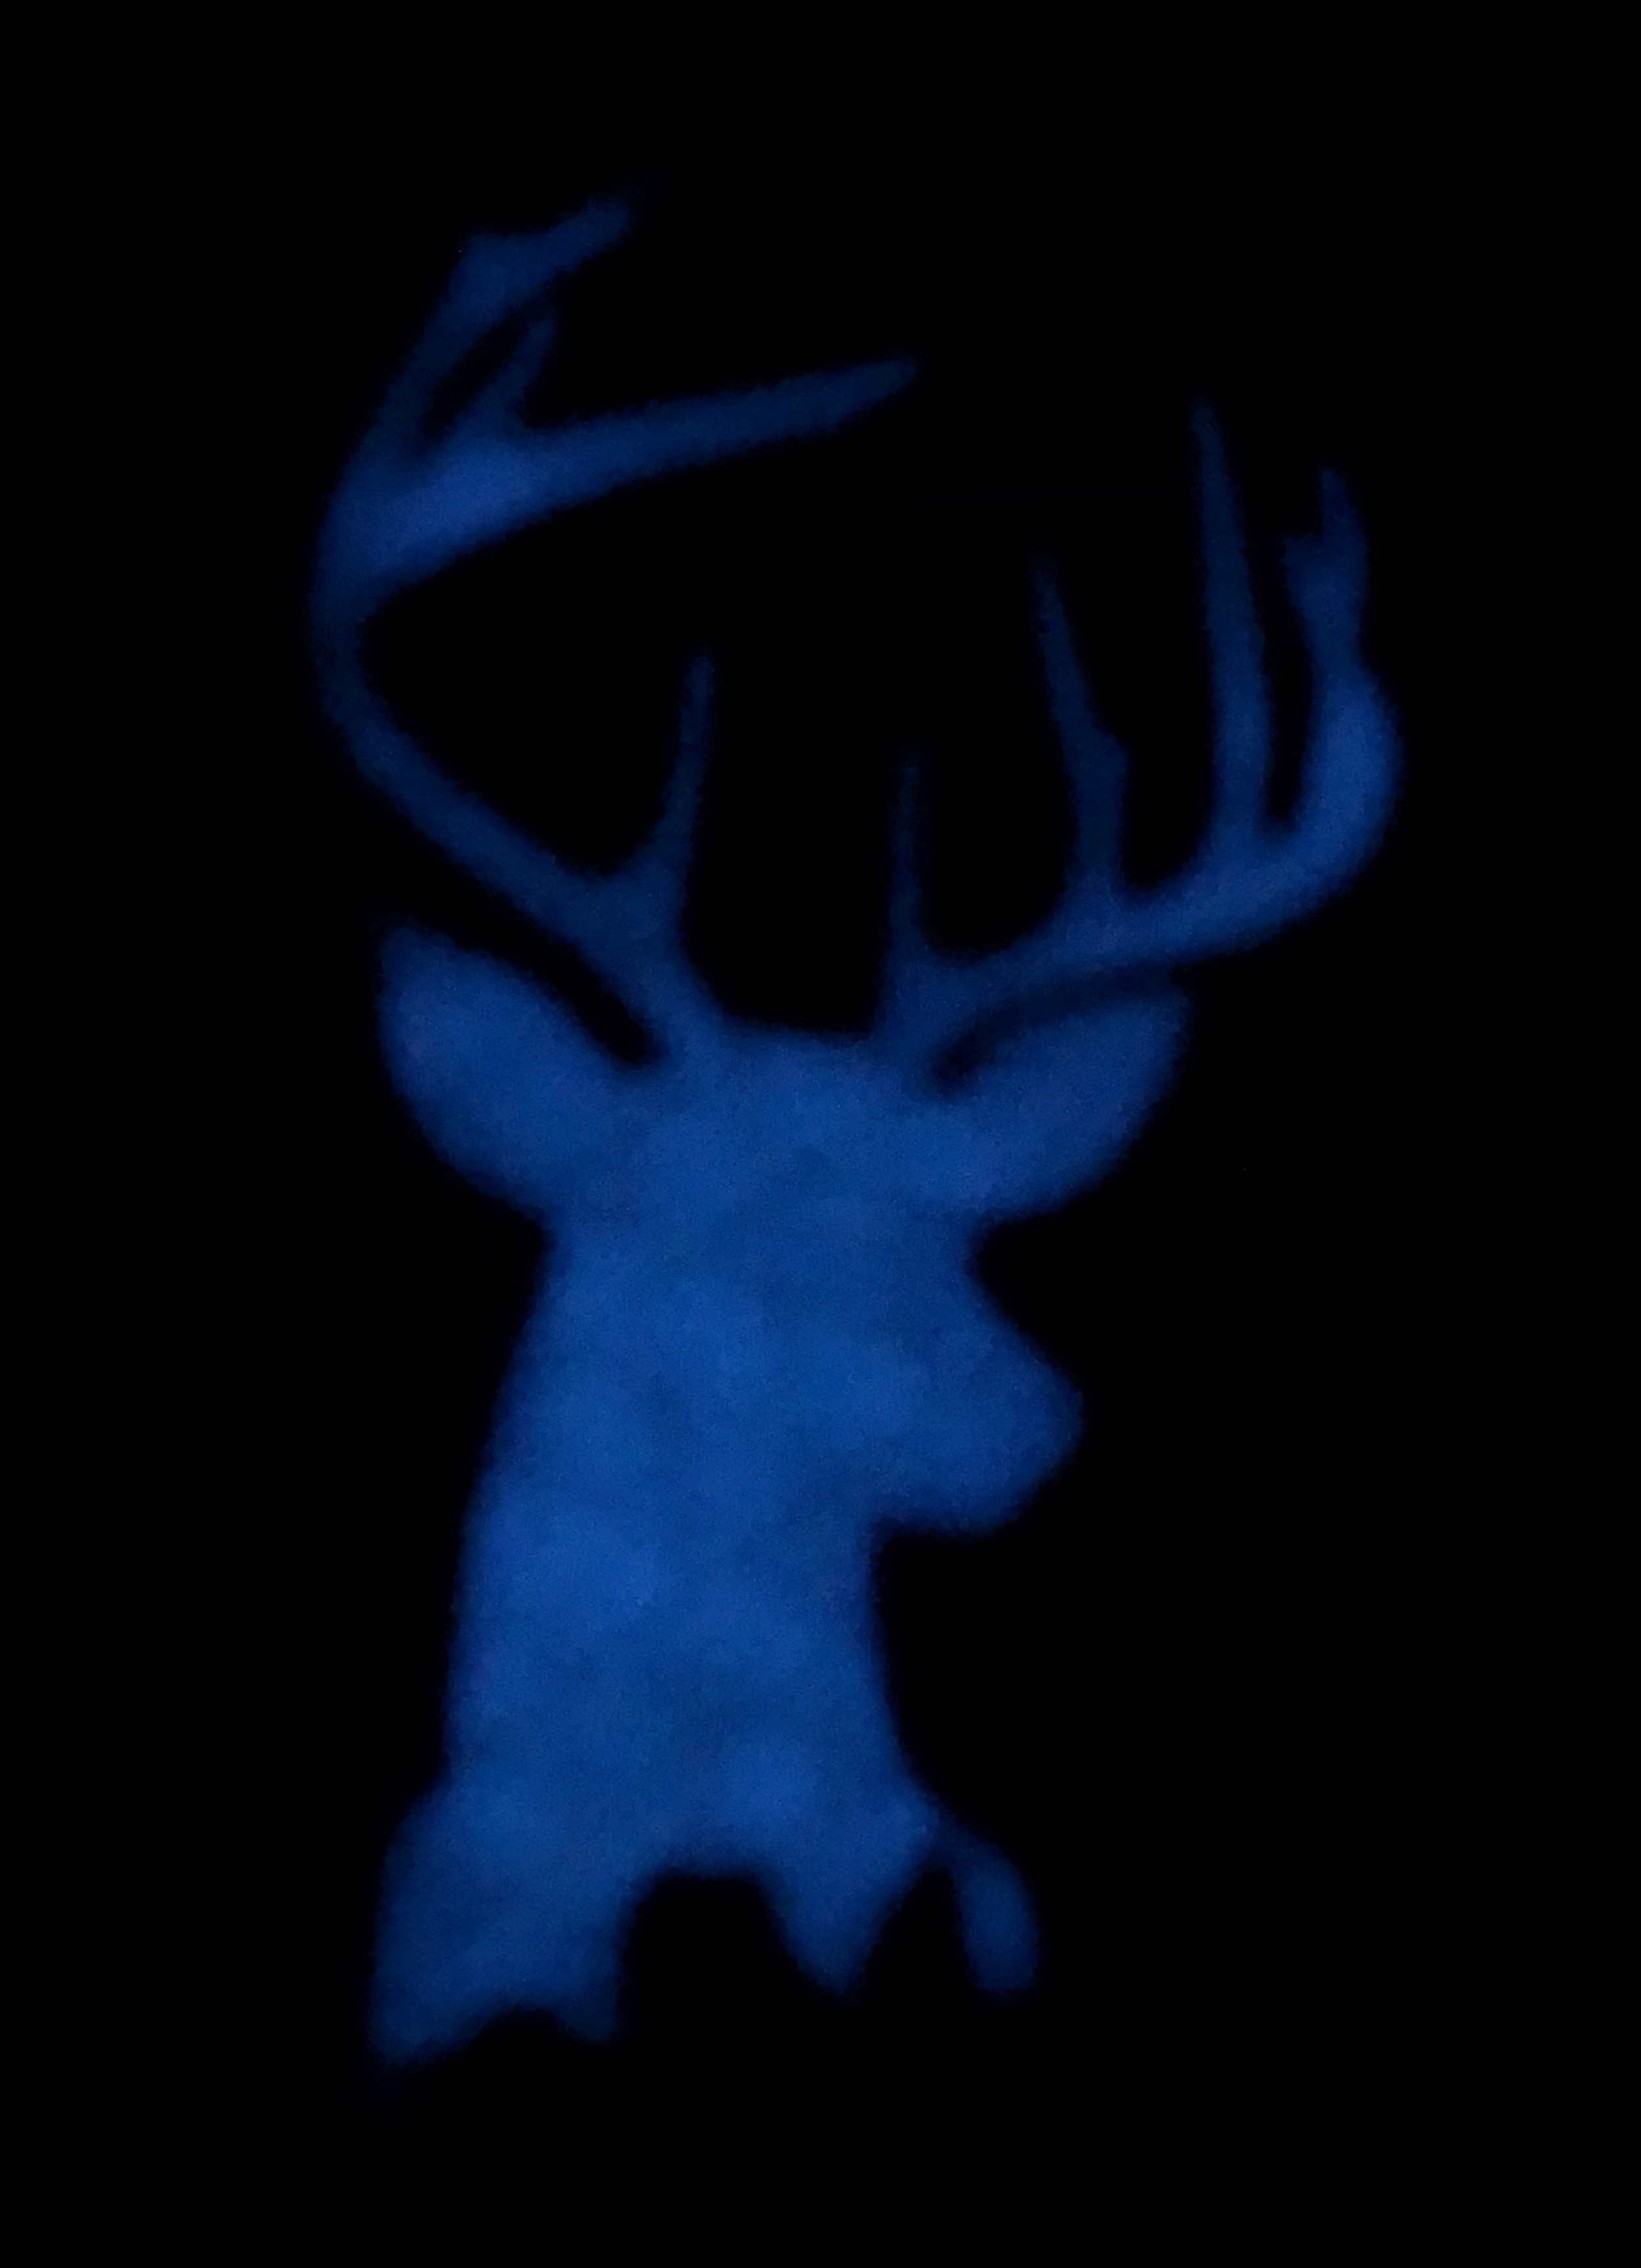
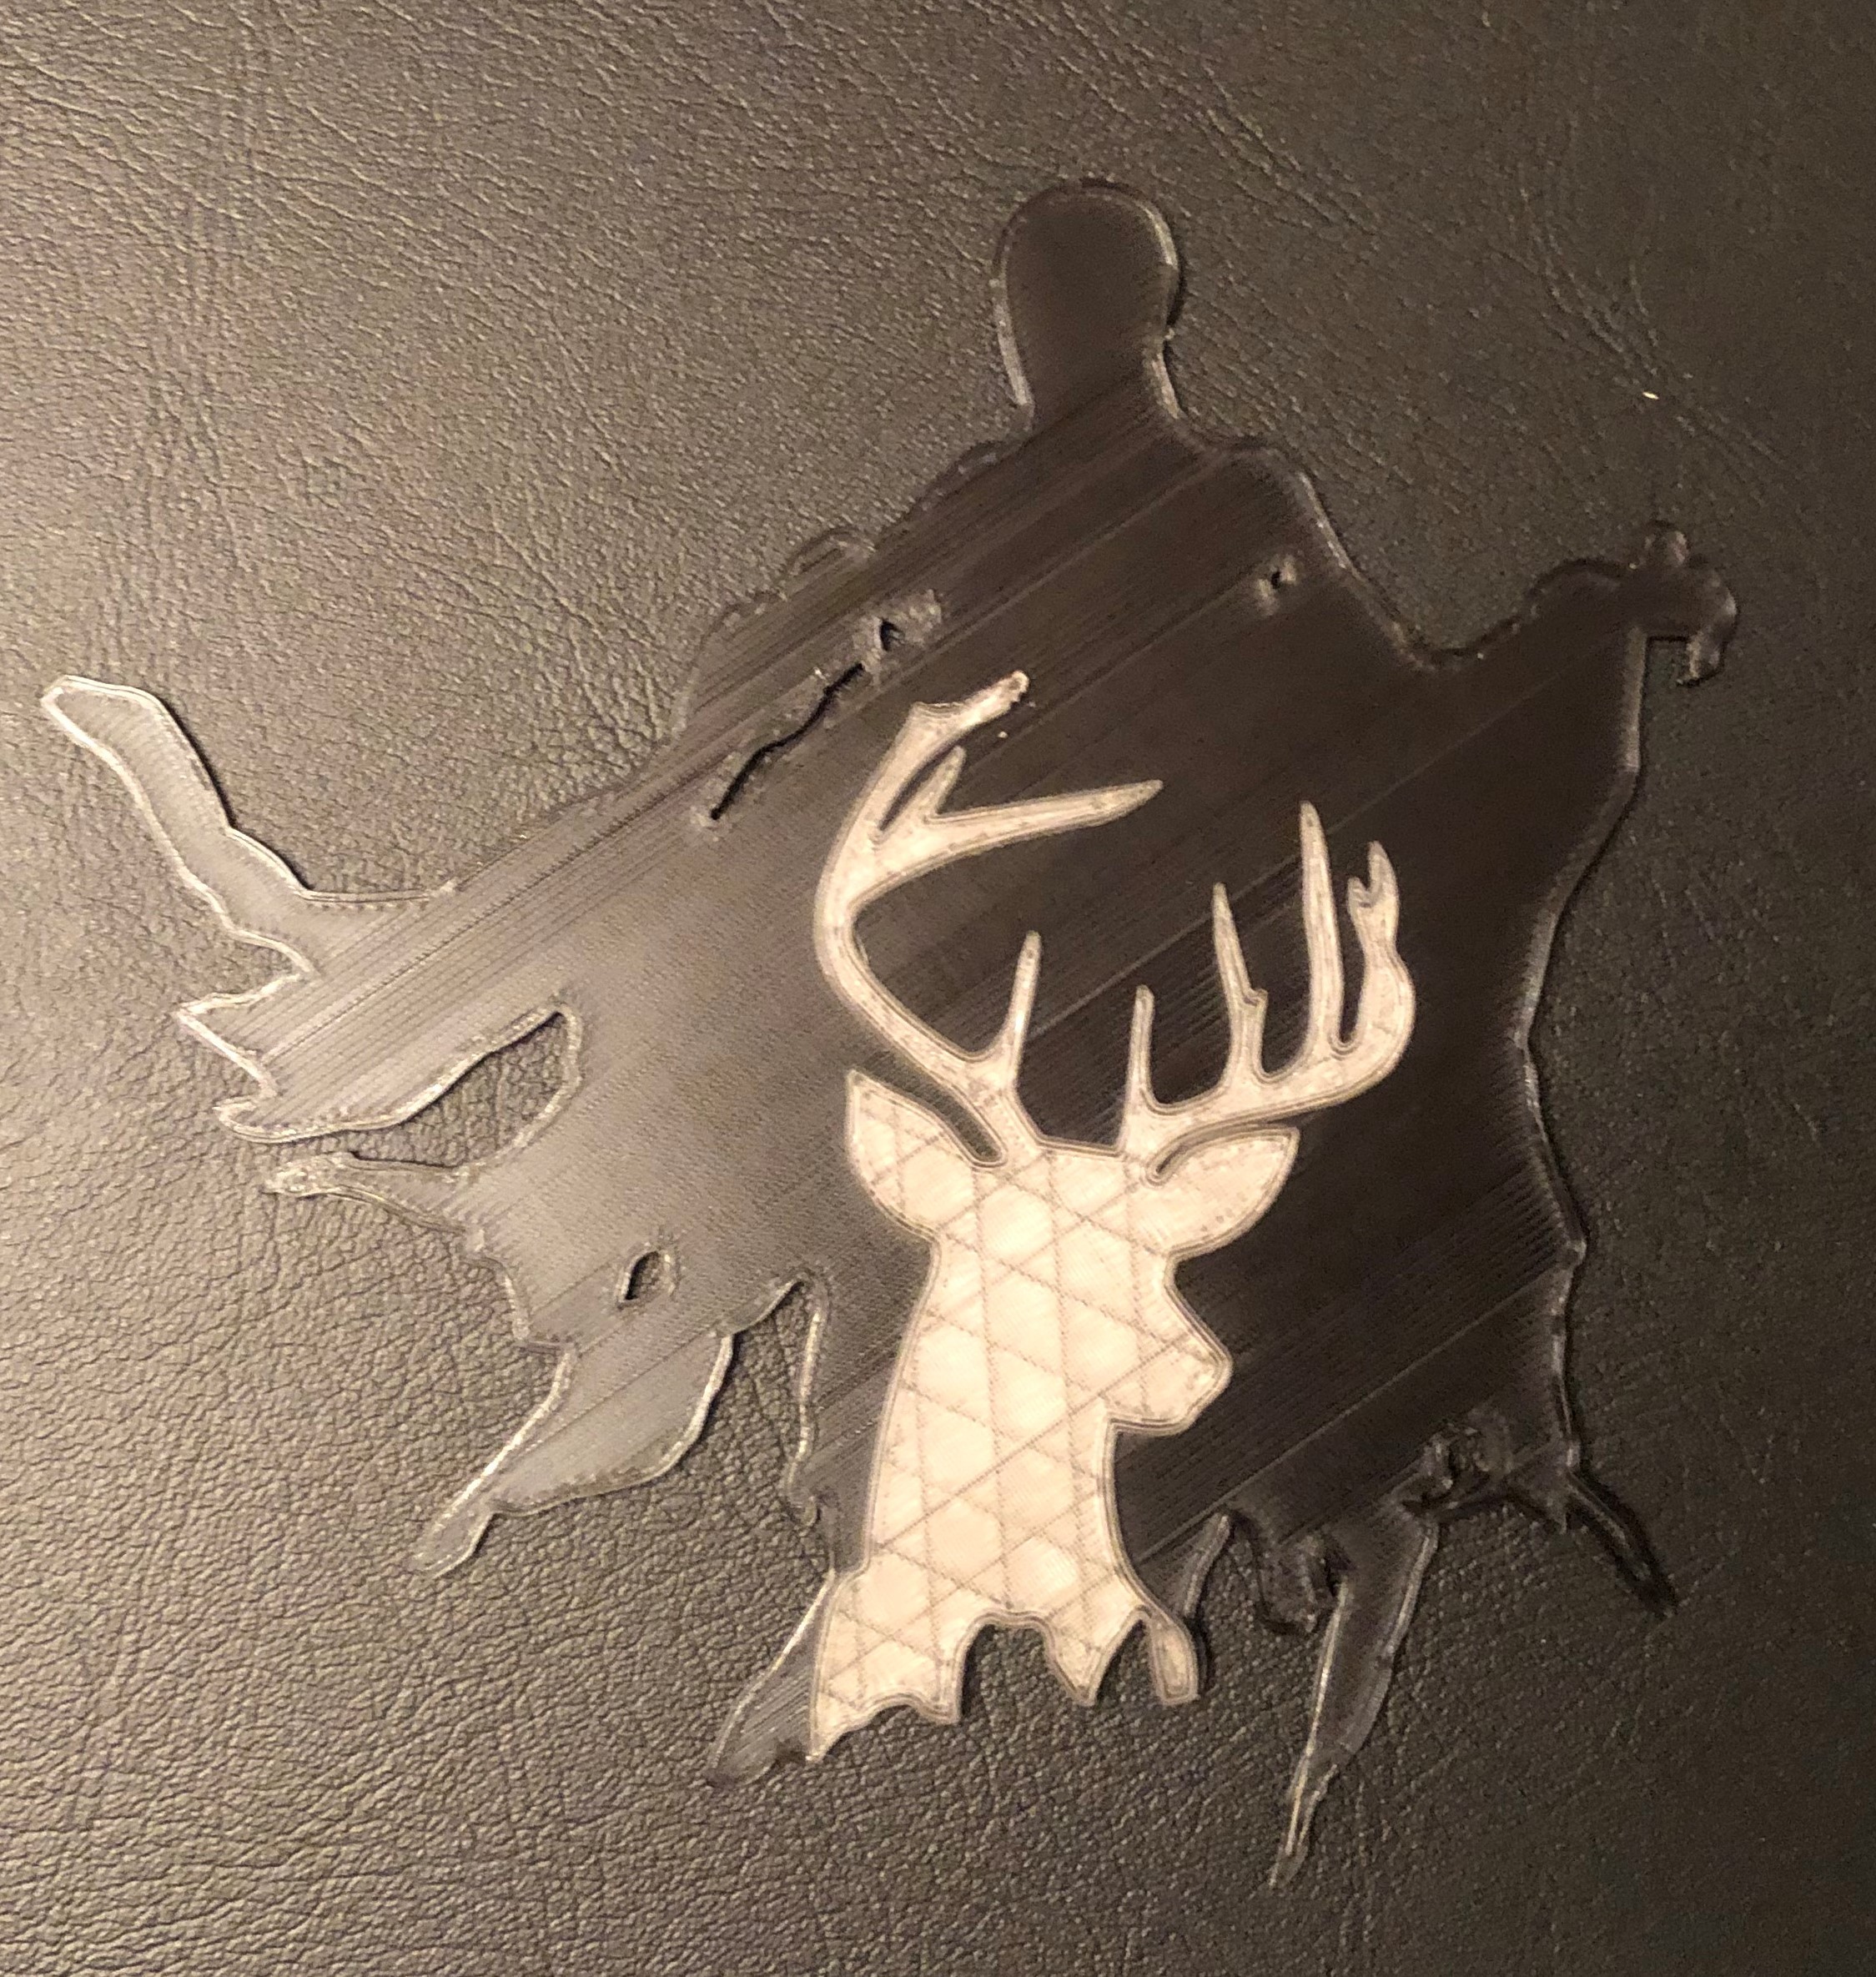
These prints turned out better than I expected and this method can easily be used for an endless variety of cool signs and decals.
I made myself a Harry Potter decal using a DXF of a dementor and a stag to make a cool two toned sign with a glowing blue patronus at night.
I have found from my few prints with them that the green glow in the dark filament does glow quite a bit brighter than the blue version, so you may want to keep this in mind when making your own!
I am already thinking about other ideas I can make and the cool unique gifts and artworks that can come from this. A fan of Zelda? Make a yellow and glowing blue triforce sign or a silver and blue hyrule shield. Fan of Star Wars? What about an R2D2 that glows when the lights go out. Or a tree of Gondor for Lord of the Rings?
My next thought is to add text using the text tool in fusions sketch workspace. I think this could be a great way to make some cool signs with an added glow in the dark pop!
The possibilities are endless and the only limitation for what you can create is your imagination and what you can come up with!
I hope you enjoyed this Instructable and I'd love to see any projects you make with this technique!