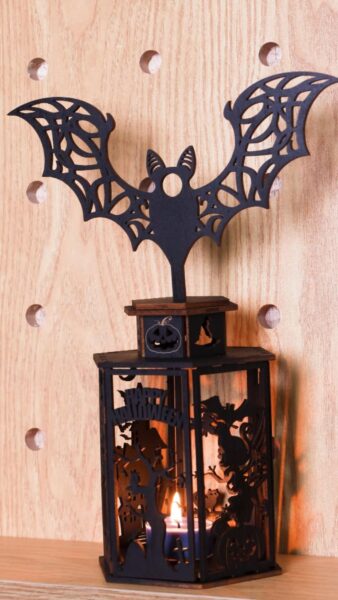
How to Laser Cut a Halloween Candle Holder
by thunderlaser-nolan in Workshop > Laser Cutting
75 Views, 1 Favorites, 0 Comments
How to Laser Cut a Halloween Candle Holder

Halloween is just around the corner—and what better way to light up the night than with a candle holder you make yourself?
This project blends creativity with craftsmanship, letting you design a spooky yet elegant Halloween centerpiece. Whether it’s a flickering bat silhouette, a haunted house pattern, or a pumpkin design, your laser-cut candle holder will cast magical shadows and add an eerie charm to your home or party. Grab your materials and let’s get glowing!
Supplies
Machine Used
Thunder Bolt 30W
Material Needed
3mm Basswood
Settings
Cutting
Speed:10mm/s
Max Power:40%
Min Power:10%
Number of Passes:1
Engraving
Speed:500mm/s
Power:25%
DPI: 300
Downloads
Paint the Wood
Before cutting, spray your wood board evenly with black fireproof paint. This not only gives your candle holder a sleek, spooky look but also adds a layer of protection. Let it dry completely before moving to the next step.
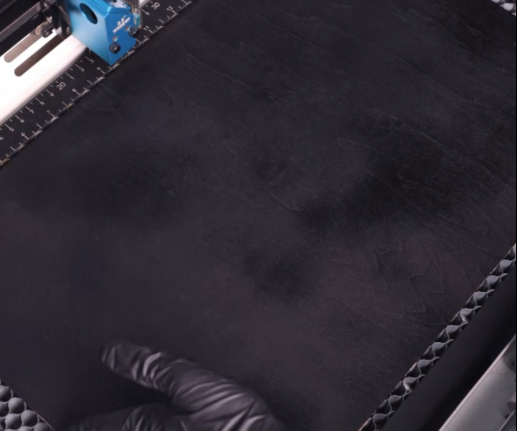
Place the Wood on the Laser Bed
Once the paint is dry, place the wooden board flat on your laser cutter’s honeycomb bed. Make sure it’s well secured with masking tape or magnets so it won’t shift during cutting.
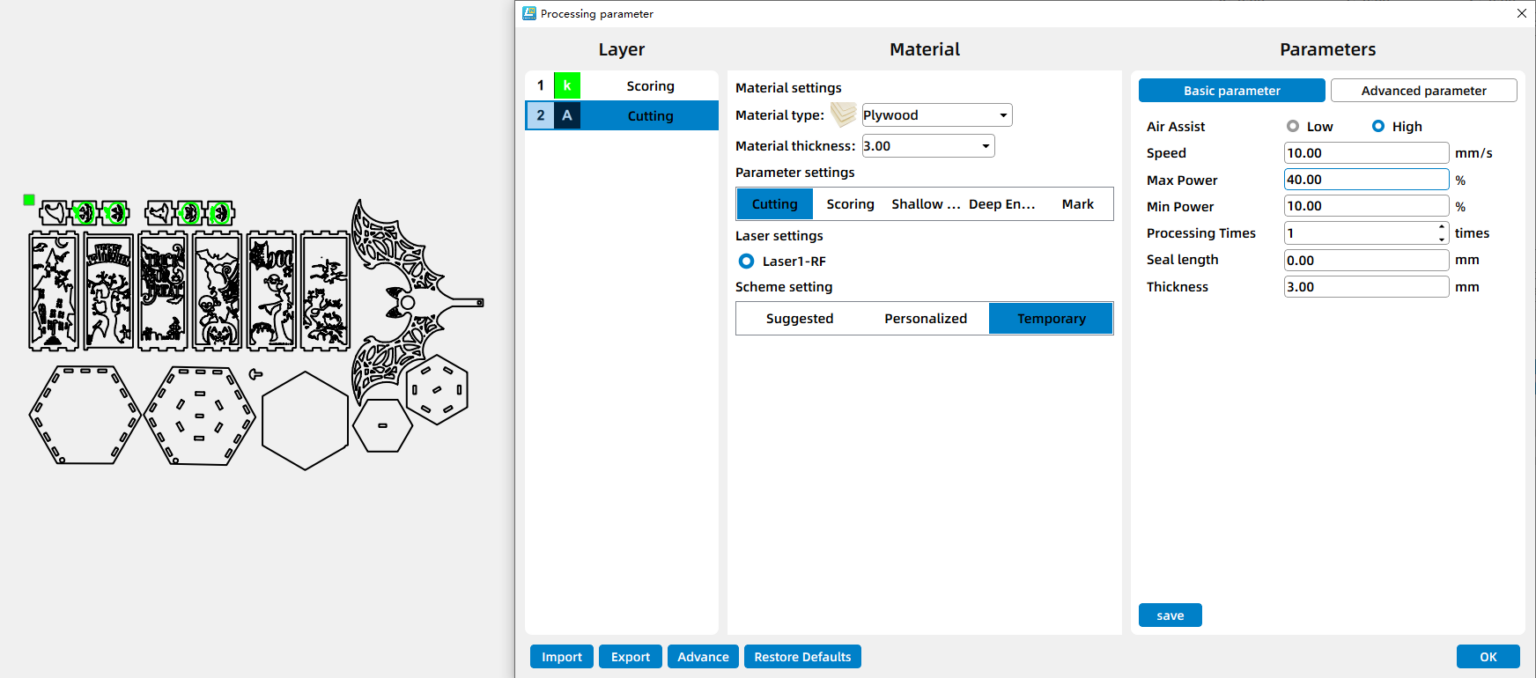
Open the File and Check the Settings
Open LaserMaker (or your preferred laser software) and import your Halloween design. Assign colors/layers for engraving vs cutting. Scale the design to the final physical dimensions. Double-check everything, and decide if you want to add or subtract elements according to your preferences. For the laser cutting layers, pay extra attention to the power setting.
Focus Your Laser Machine
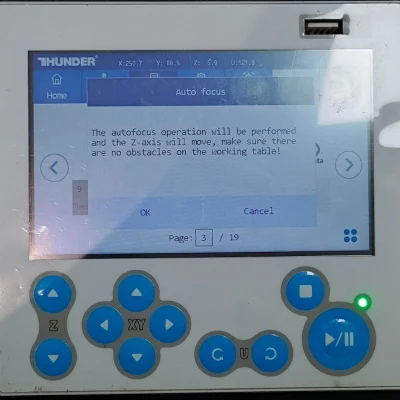
Proper focusing ensures neat, polished edges. If your machine has auto focus, use it for quick setup. For manual focusing, lower the laser head with the focus stick until it touches the wood surface at a perfect angle. Always double-check before cutting.
Frame the Design and Start Laser Cutting
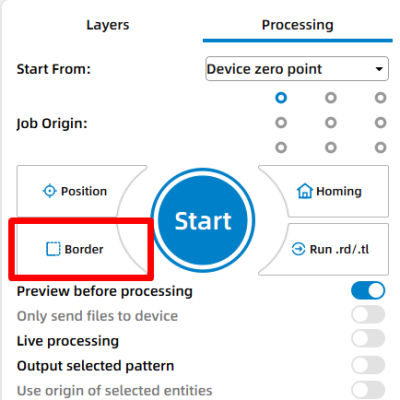
Then click “Frame” or “Border” to preview your cutting area and make sure the design fits nicely on your board. This confirms your material placement and avoids wasting wood. Adjust as necessary. Once everything is set, start the laser job.
Monitor the Laser Cutting Process
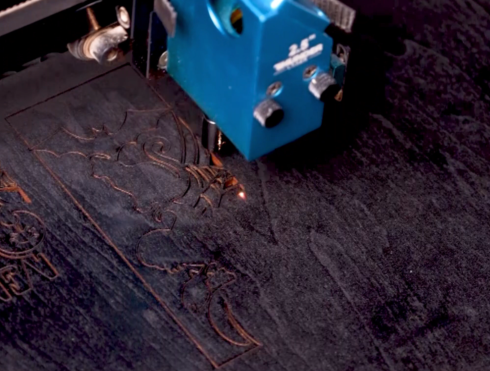
Stay close to the machine while it’s running and watch the cutting and engraving progress. Keep an eye out for excessive smoke, small flame-ups, or any movement of the material that could affect the outcome. Make sure your workspace is well-ventilated, and rely on air assist if available to achieve cleaner edges on the wood.
Clean and Assemble the Candle Holder
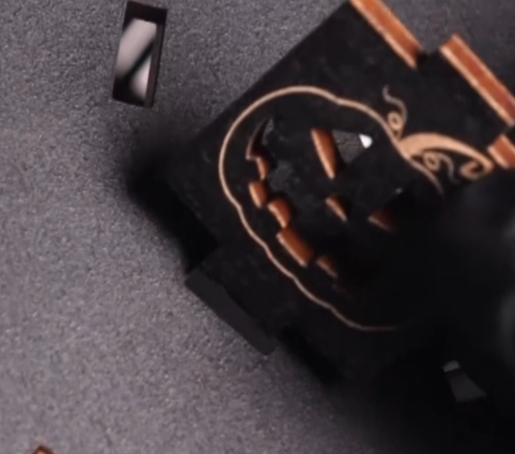
Once the laser job is done, carefully remove all the cut pieces from the machine. Before assembly, wipe each piece gently with a wet tissue to remove any smoke marks or residue left from cutting. Then, align the interlocking tabs and slots and fit them together to form your candle holder.
Complete the Task
Once assembled, the candle holder is ready to use now! Just put the candle into it and light the candle and enjoy the warm, flickering shadows.
