How to Laser Cut a Film Strip
by DaisyM46 in Workshop > Laser Cutting
899 Views, 0 Favorites, 0 Comments
How to Laser Cut a Film Strip
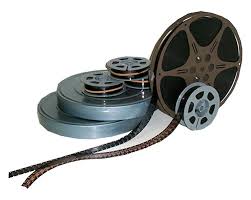
This instructable will go over the process of using a laser cutter to etch a design onto a piece of 16mm film. It will follow the process that I used to create said film strip in my Arts 490 class at UNC.
Gather Materials
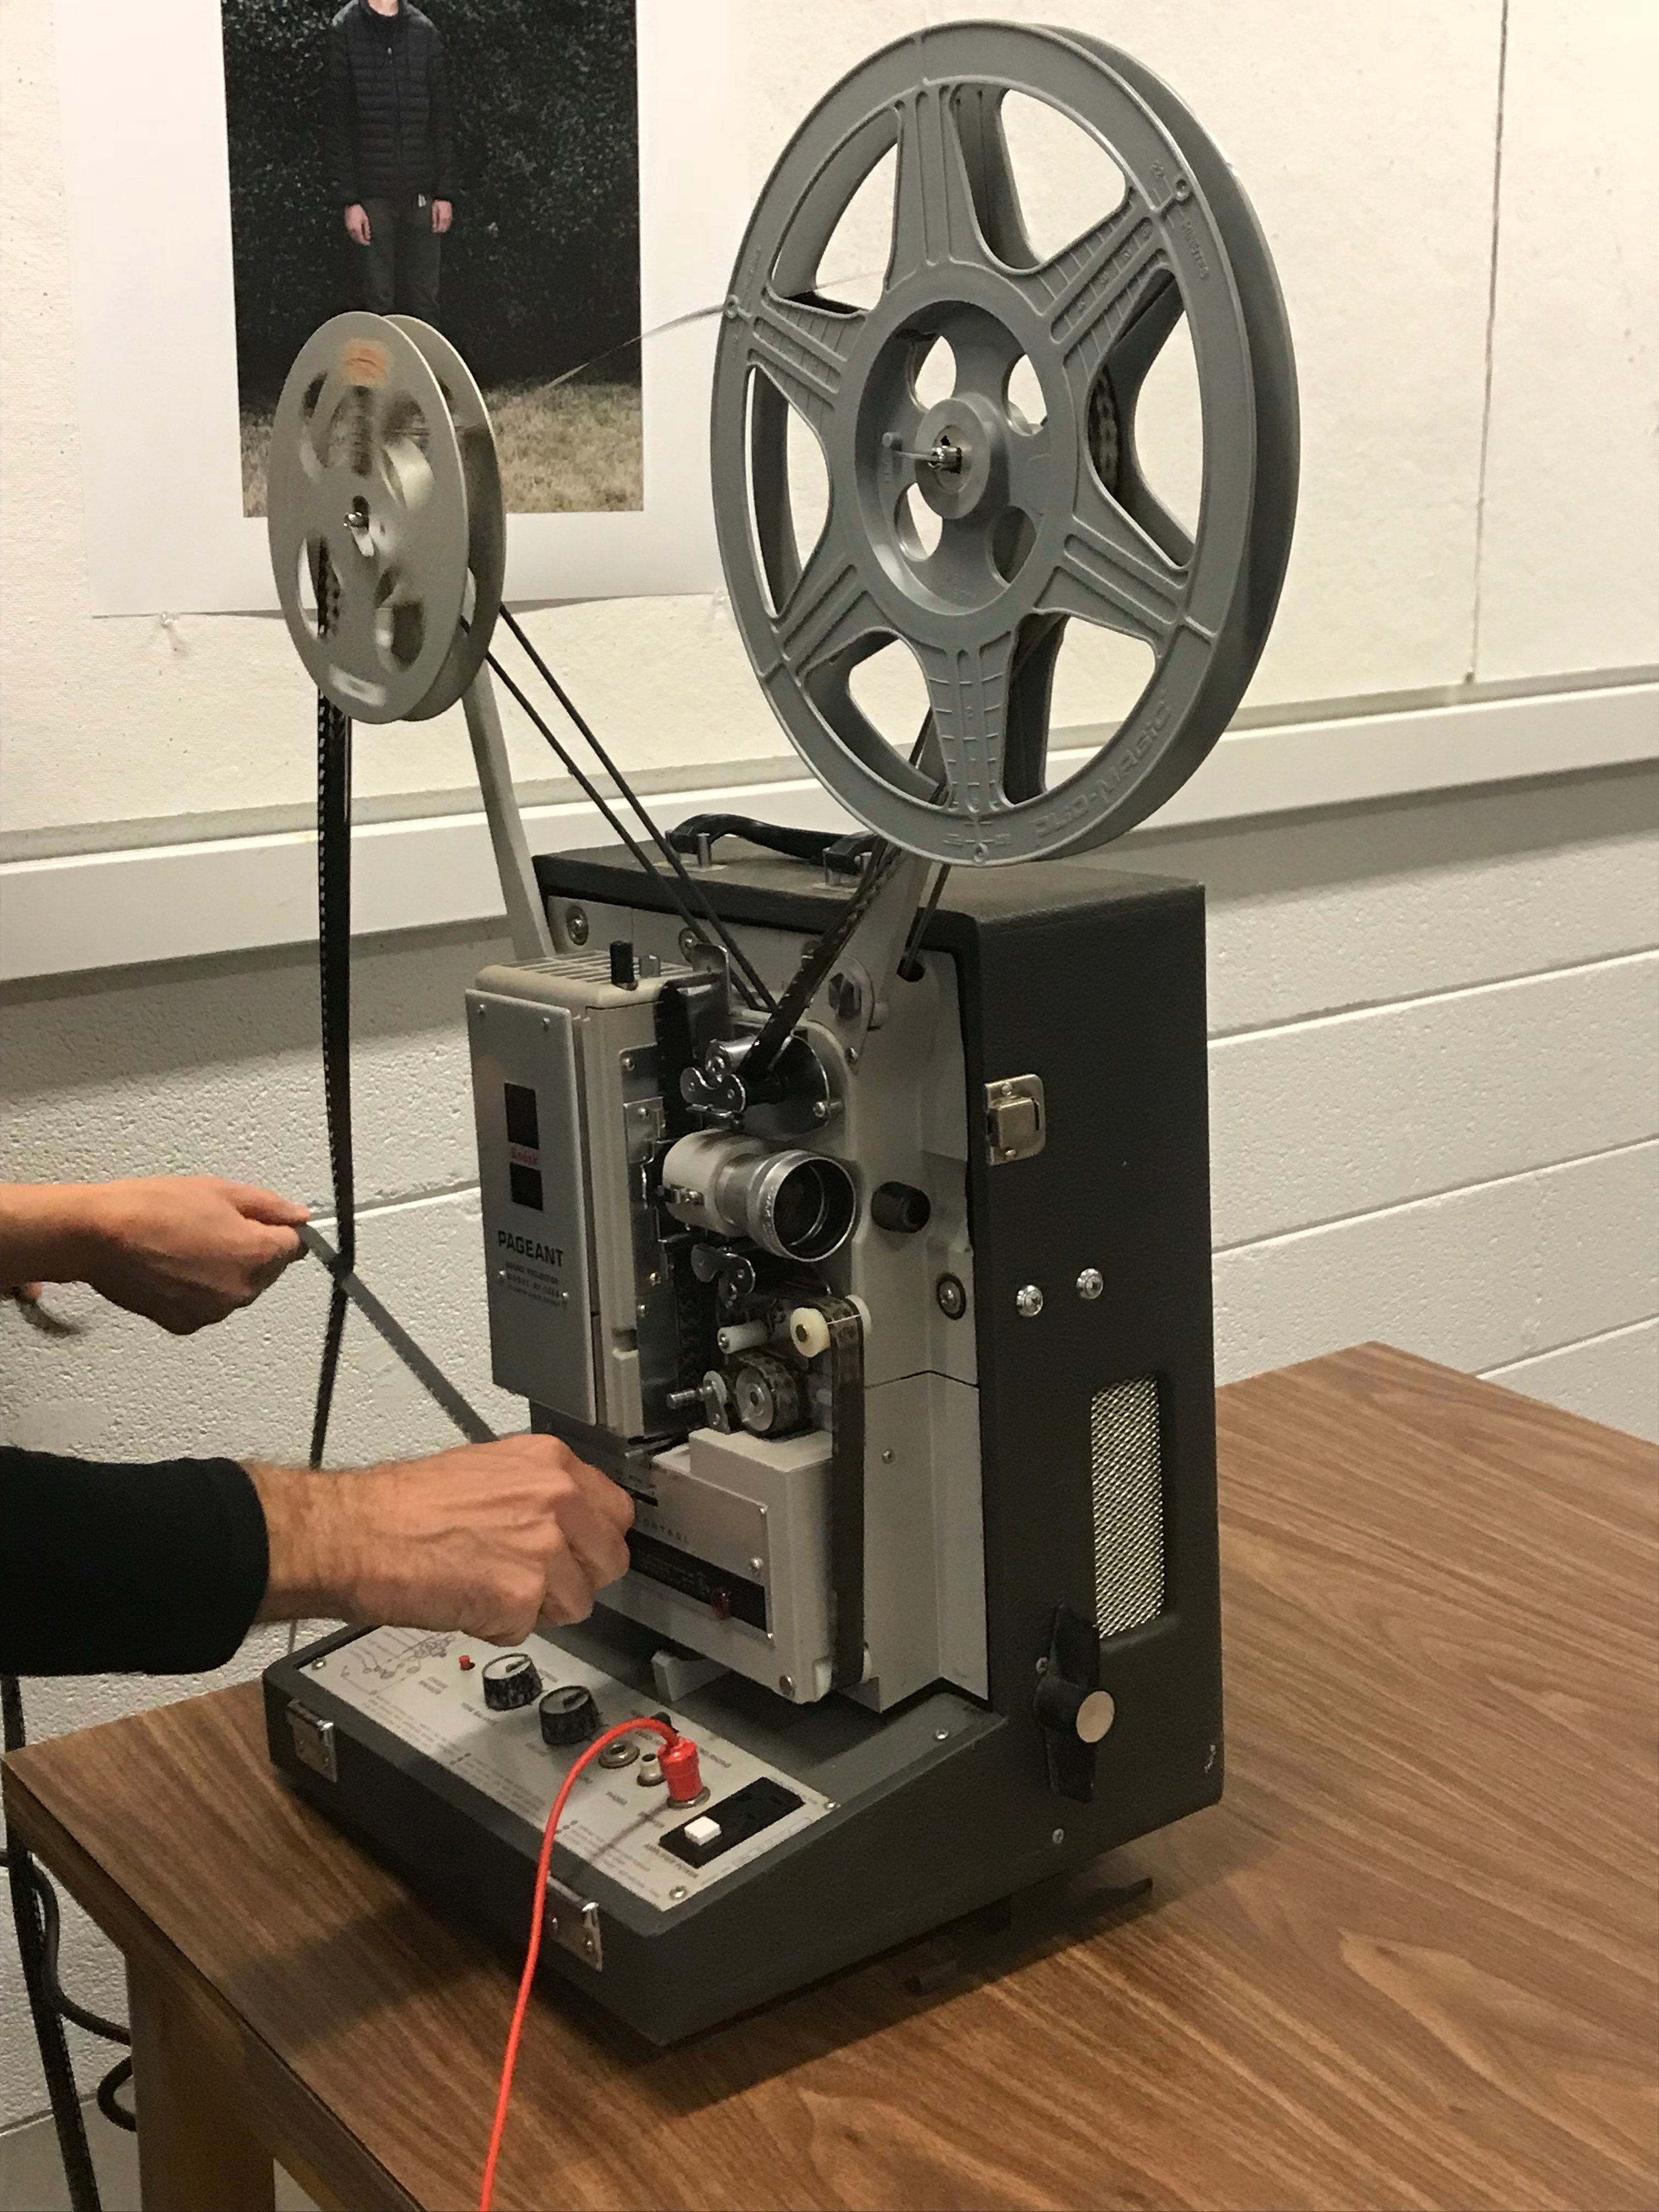
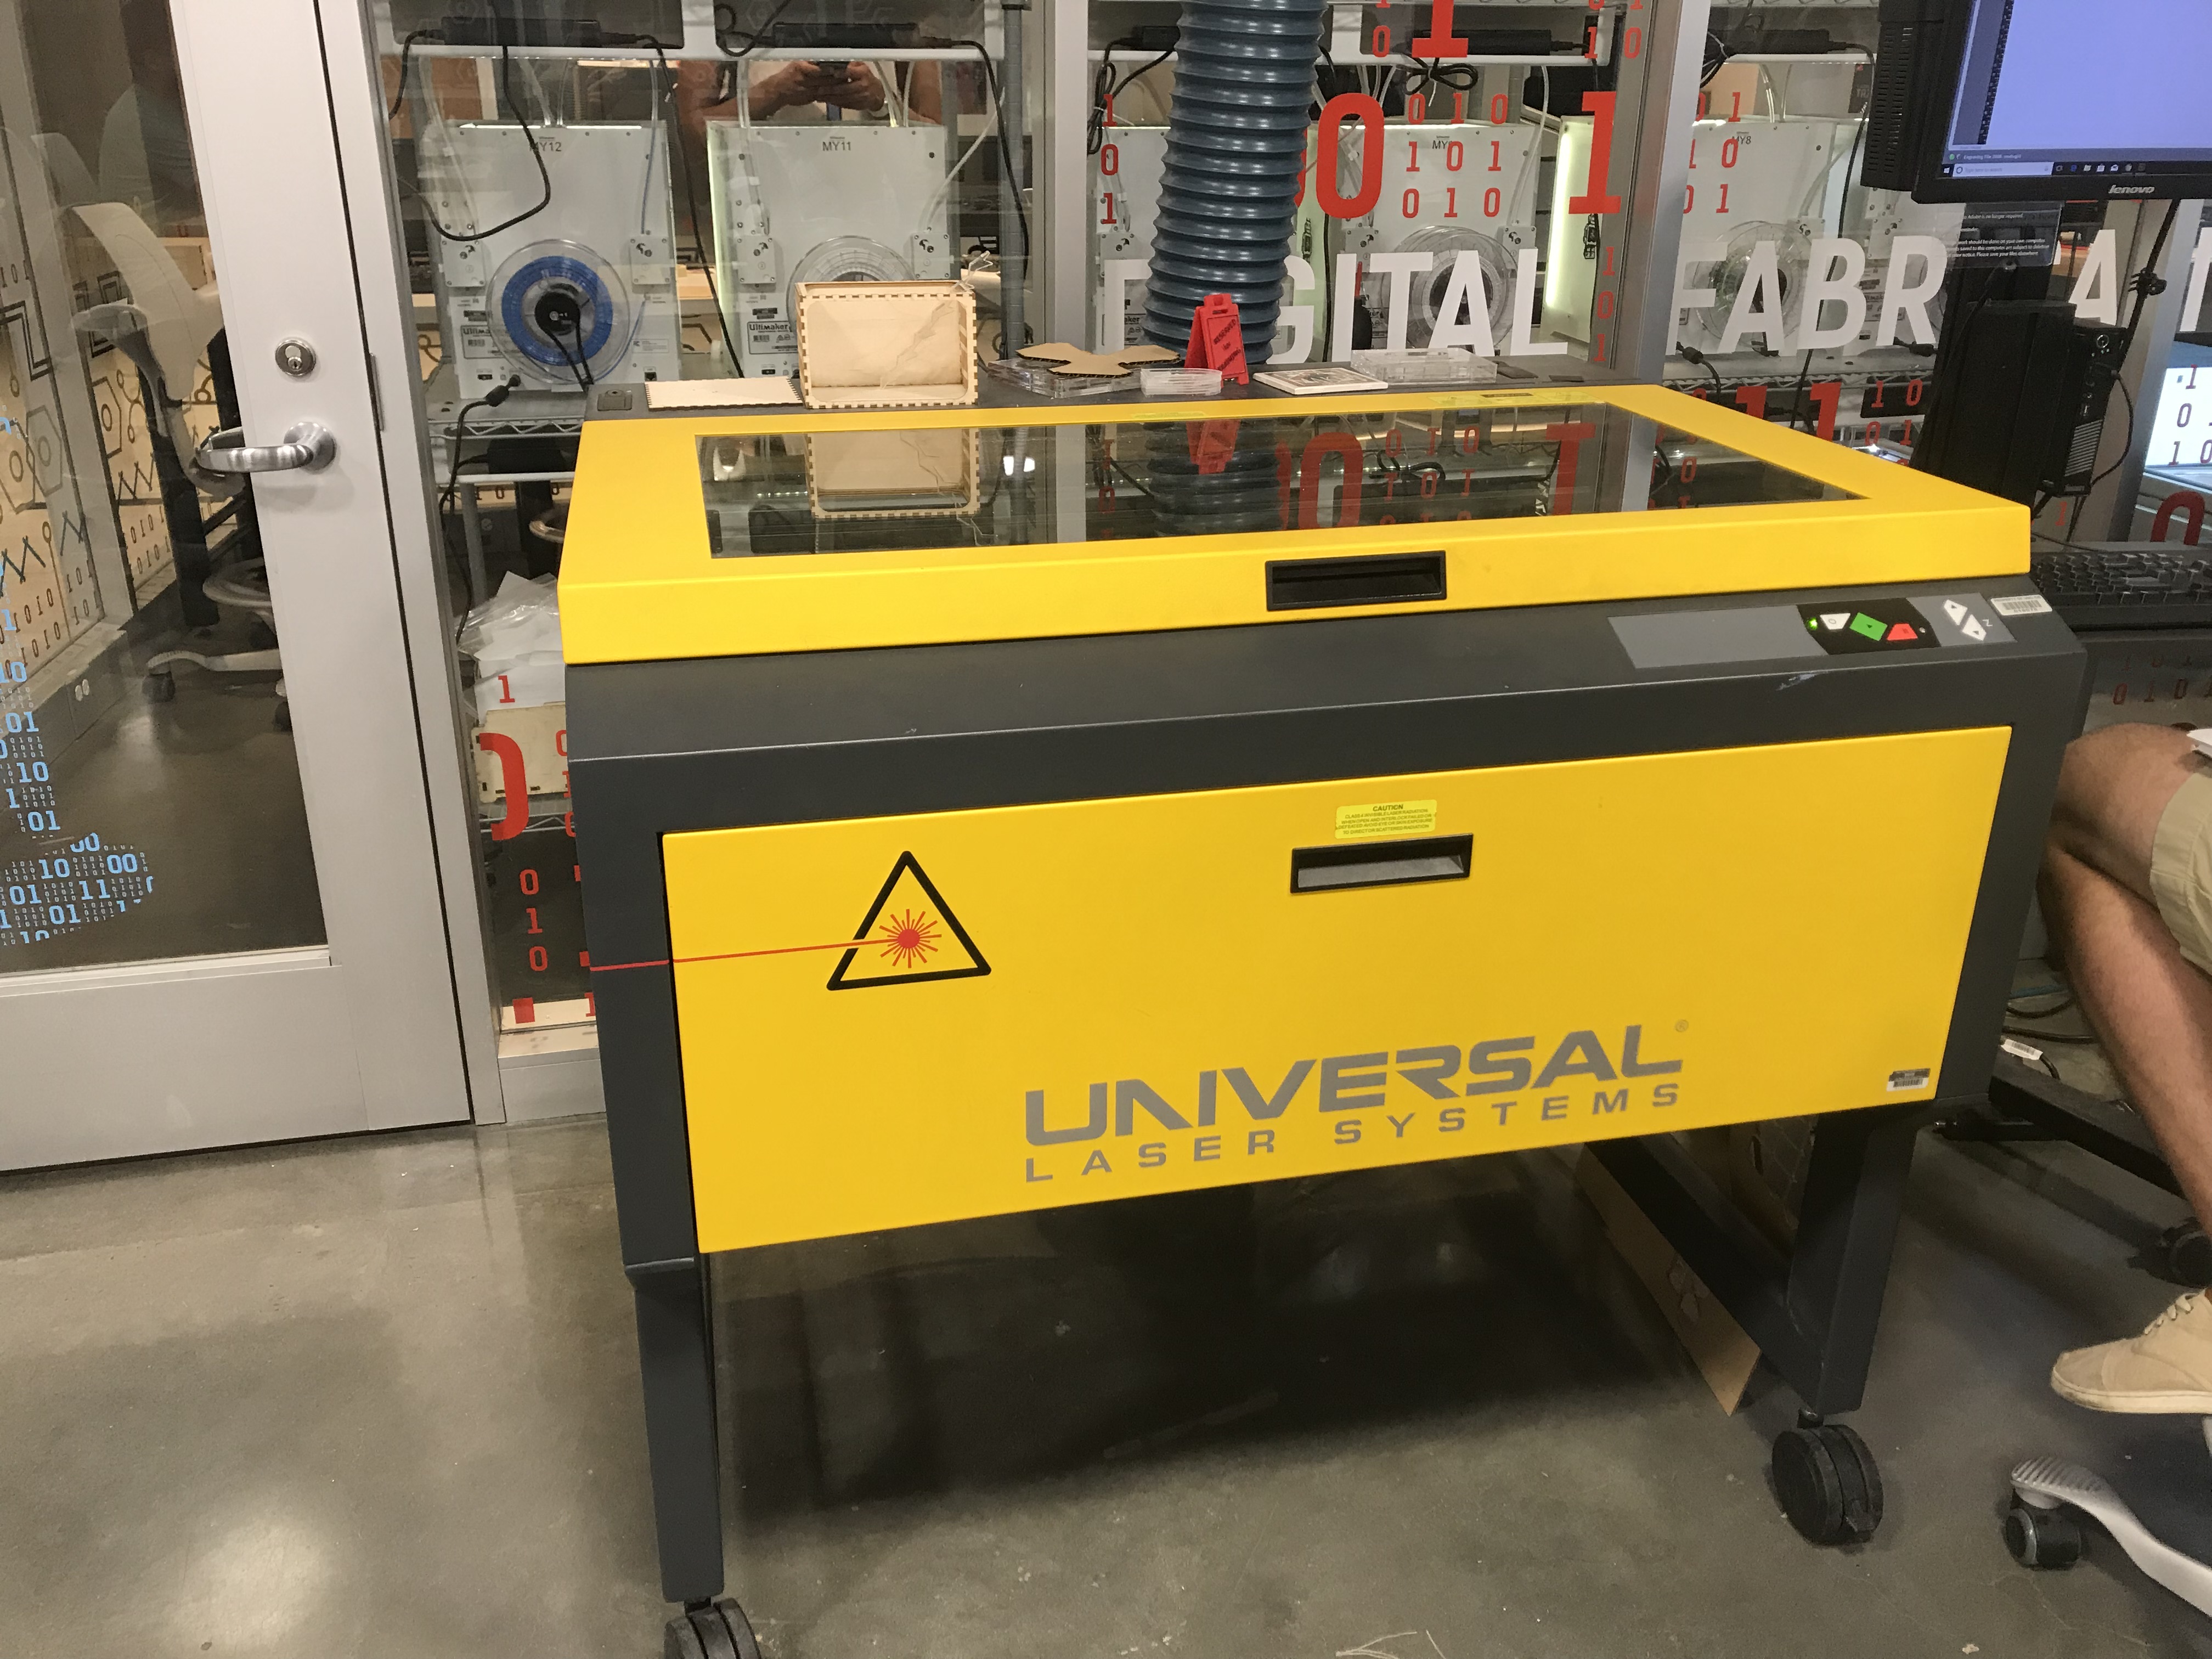
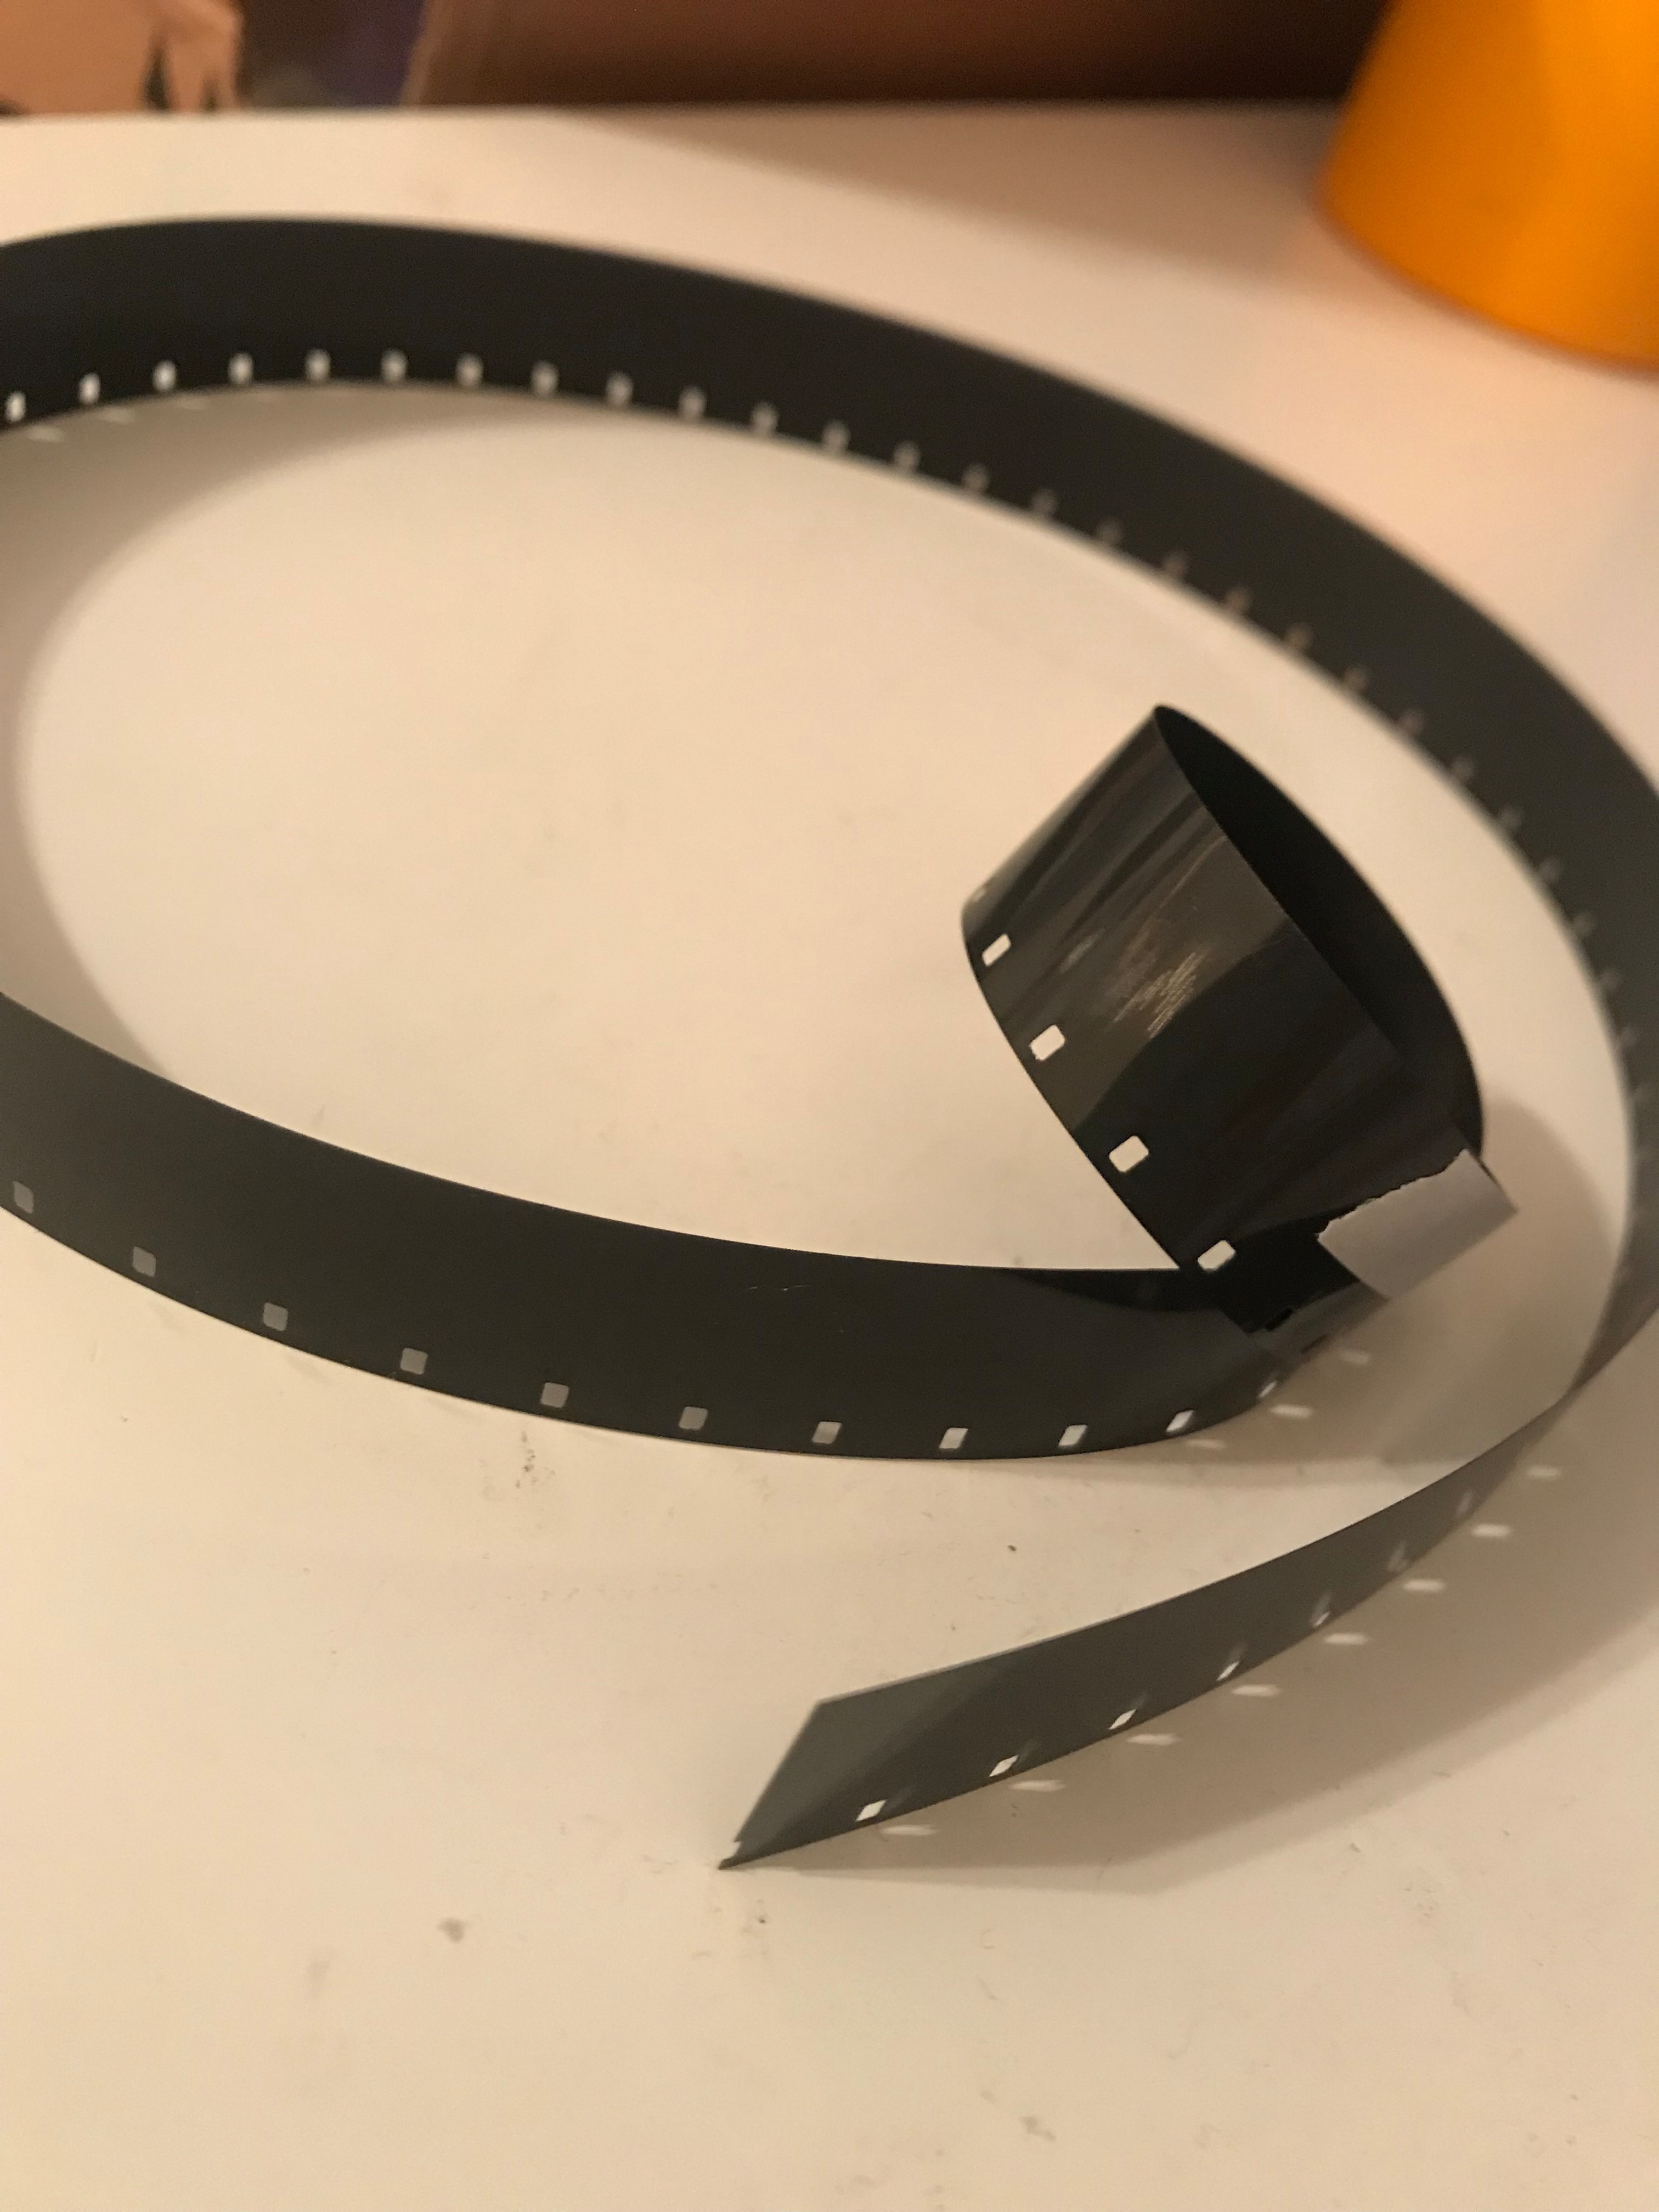
Here is a compiled list of all materials that you will need to complete this project...
1. Laser cutter
2. 1 piece of 16mm film (or as many as you would like, depending on how long you want your film to be and how many pieces you want to have as backup in case something goes wrong-I would recommend 2 pieces)
3. film projector
4. tape
5. computer with Adobe Photoshop and Adobe Illustrator capabilities
Along with step 5, having some knowledge of how to use Photoshop and Illustrator would be highly recommended.
6. USB drive
Design in Adobe Photoshop
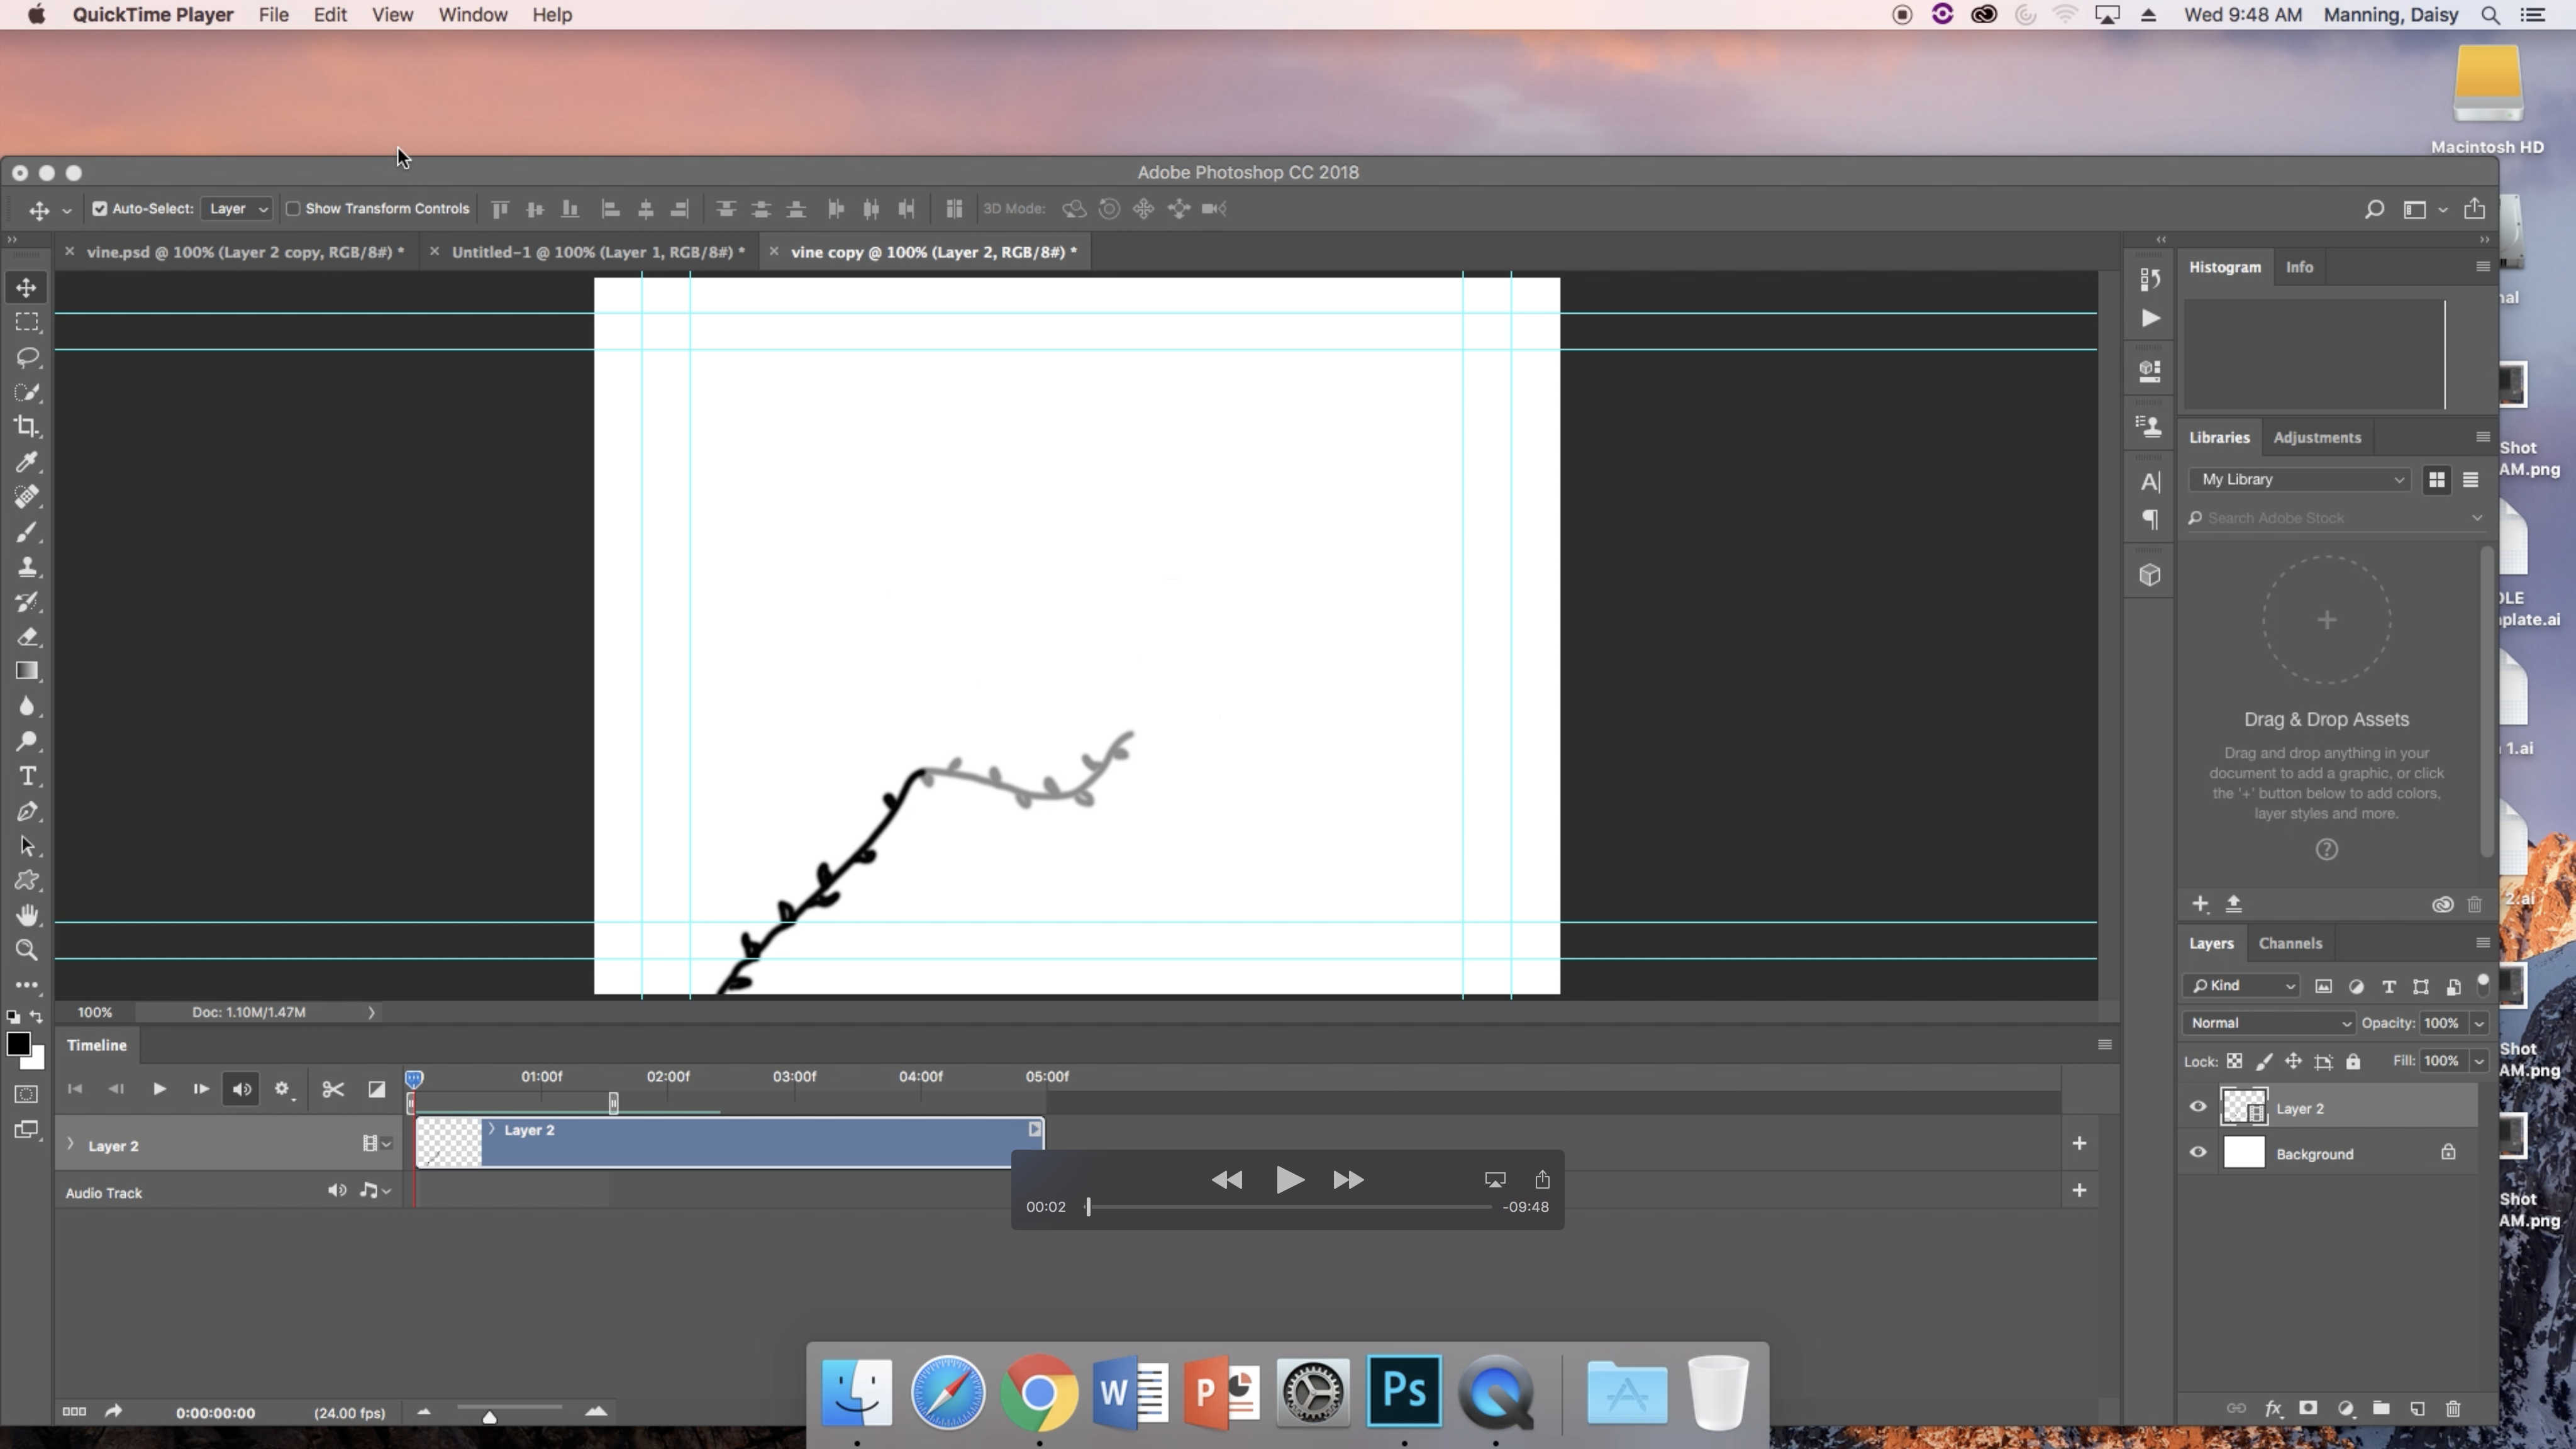
This is the creative part of this process. Now is when you actually design what you want to be (eventually) etched onto the film strip. It's important to remember here that your design will be very, very tiny when actually transferred onto the film strip.
To start, open Adobe Photoshop on your laptop or desktop. Open the film option. This will be your layout for design. Create a new video layer and drag the bottom bar so that you will be able to see each individual frame. To the right, you can click a button that will give you a popup menu and the option to turn on onion skins. Do this, and you'll be able to see your previous frame drawings.
Now, you can begin designing! Remember to shift the bar each time you add to your design to move to the next frame. Once you have completed as many frames as you want, which, for my class project was 48, you're ready to go to the next step.
Export to Adobe Illustrator Pt. 1
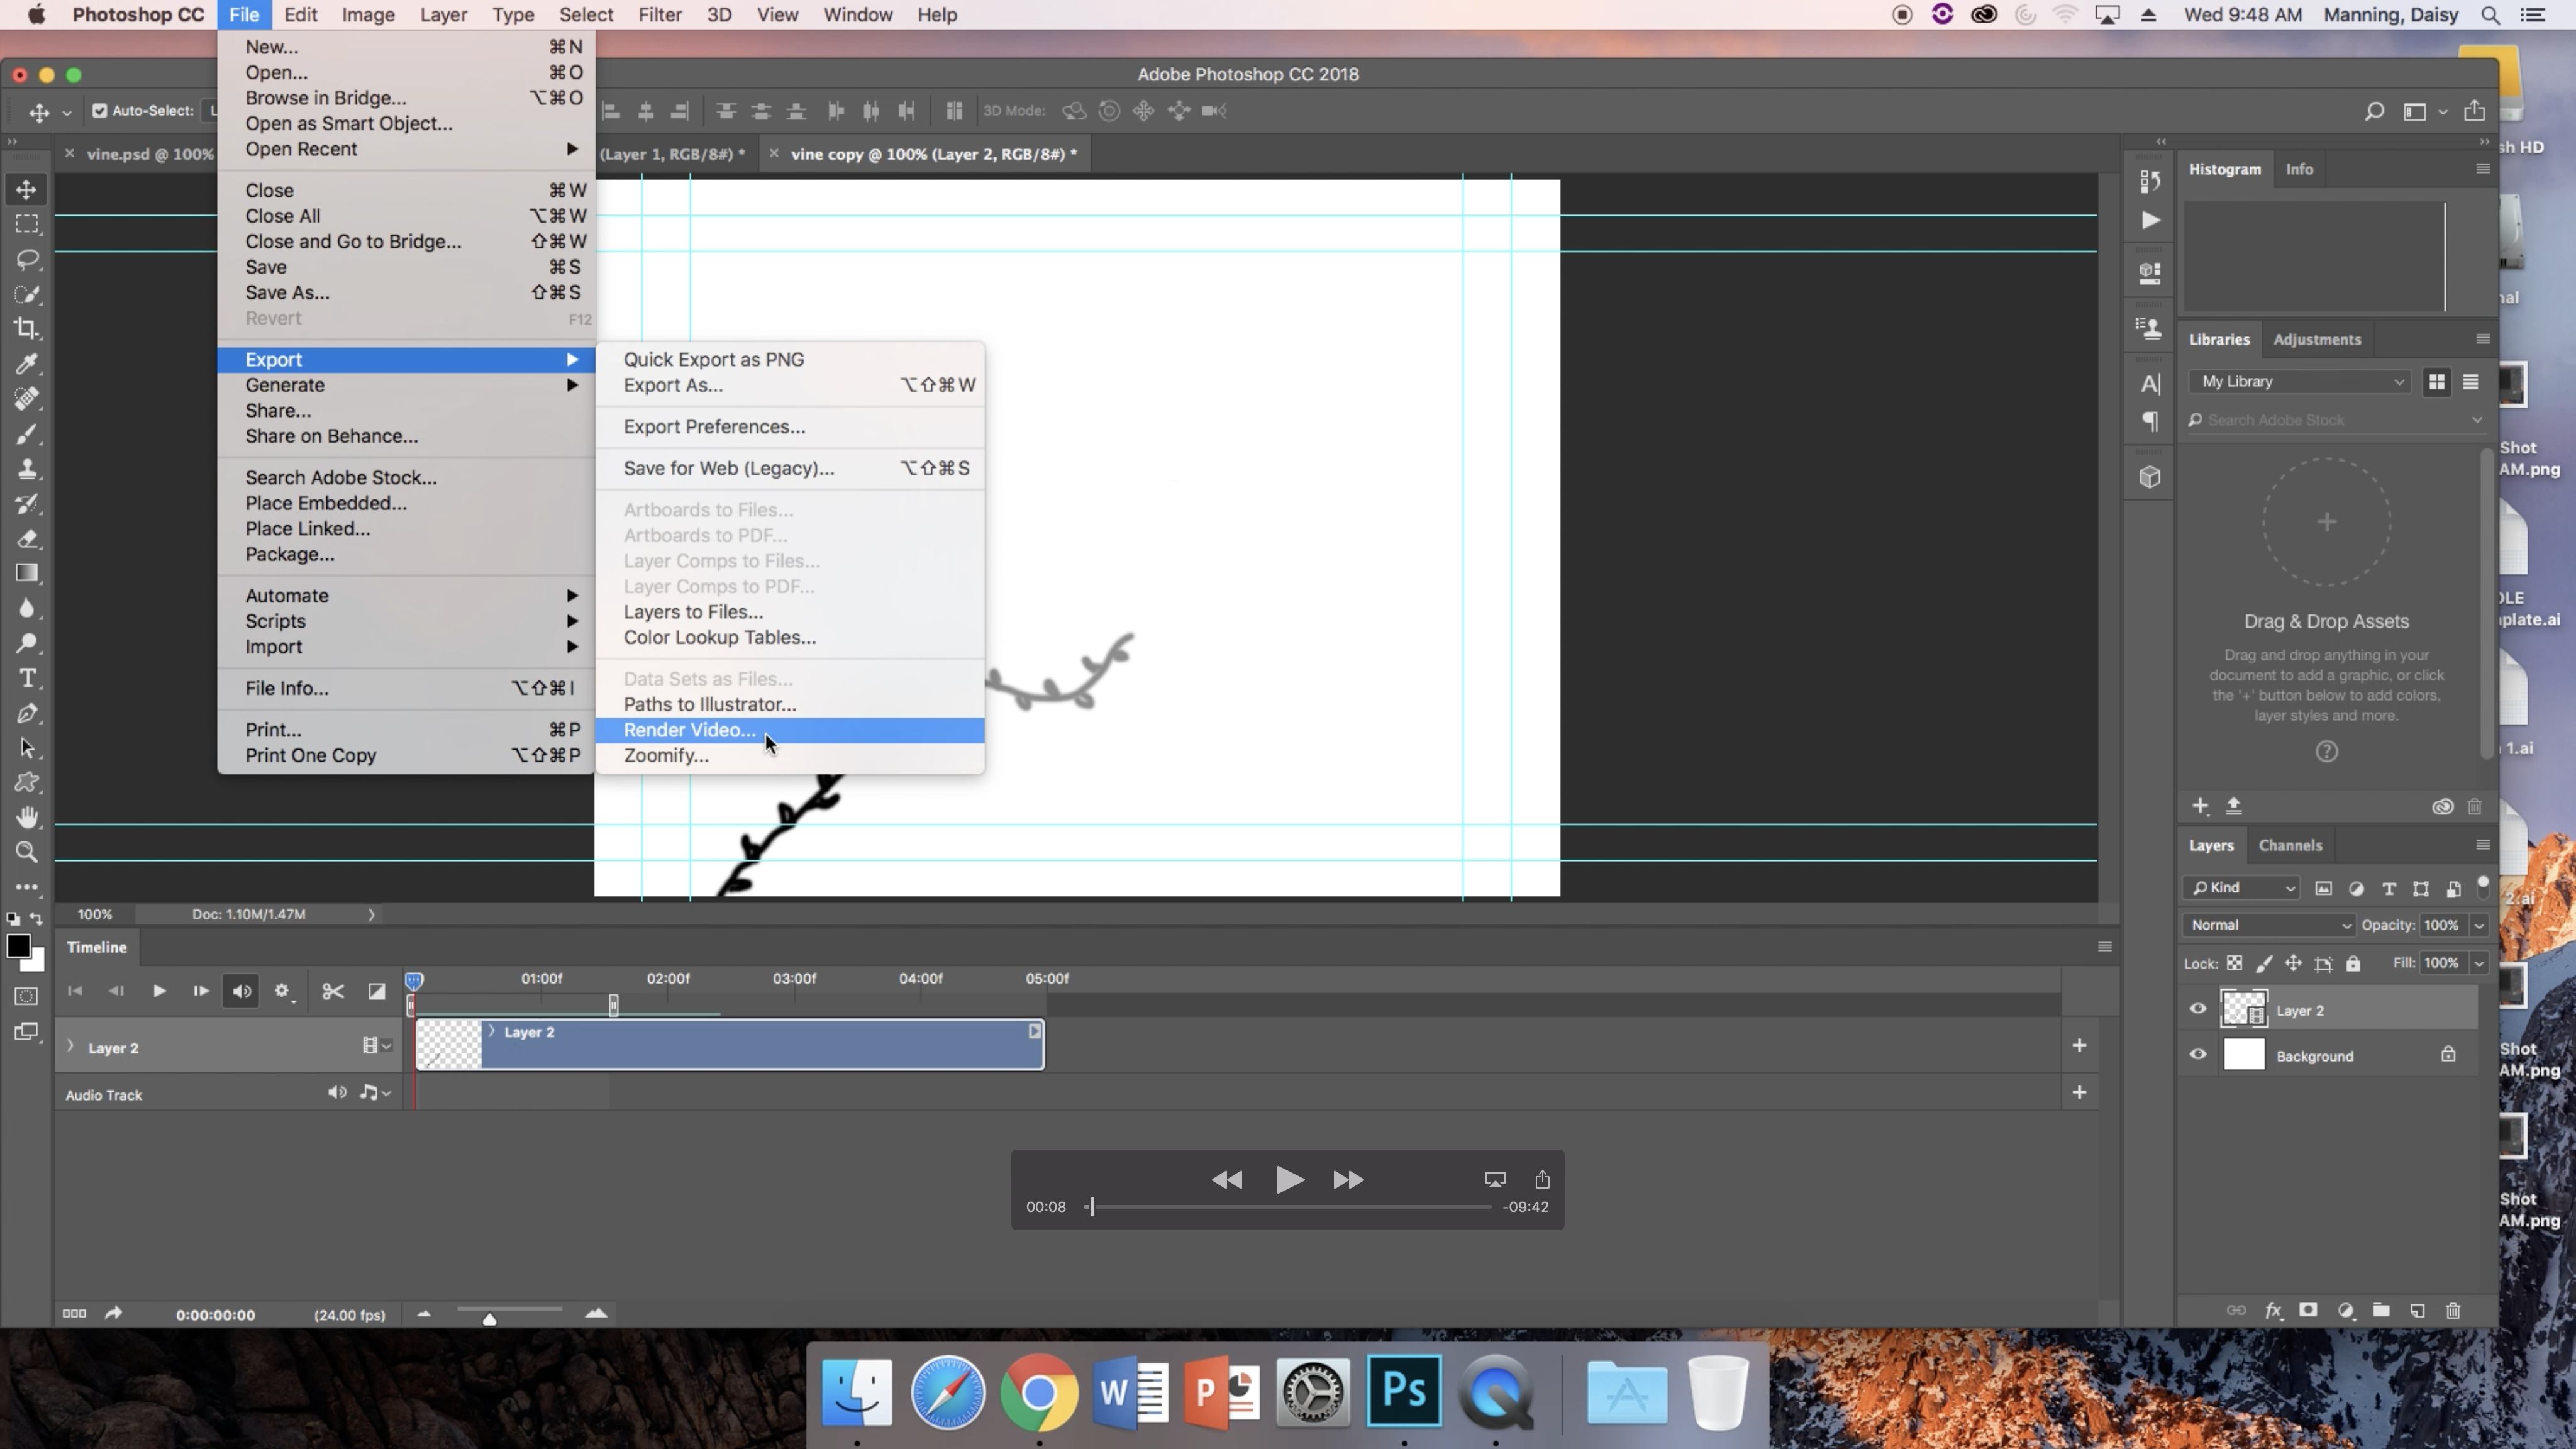
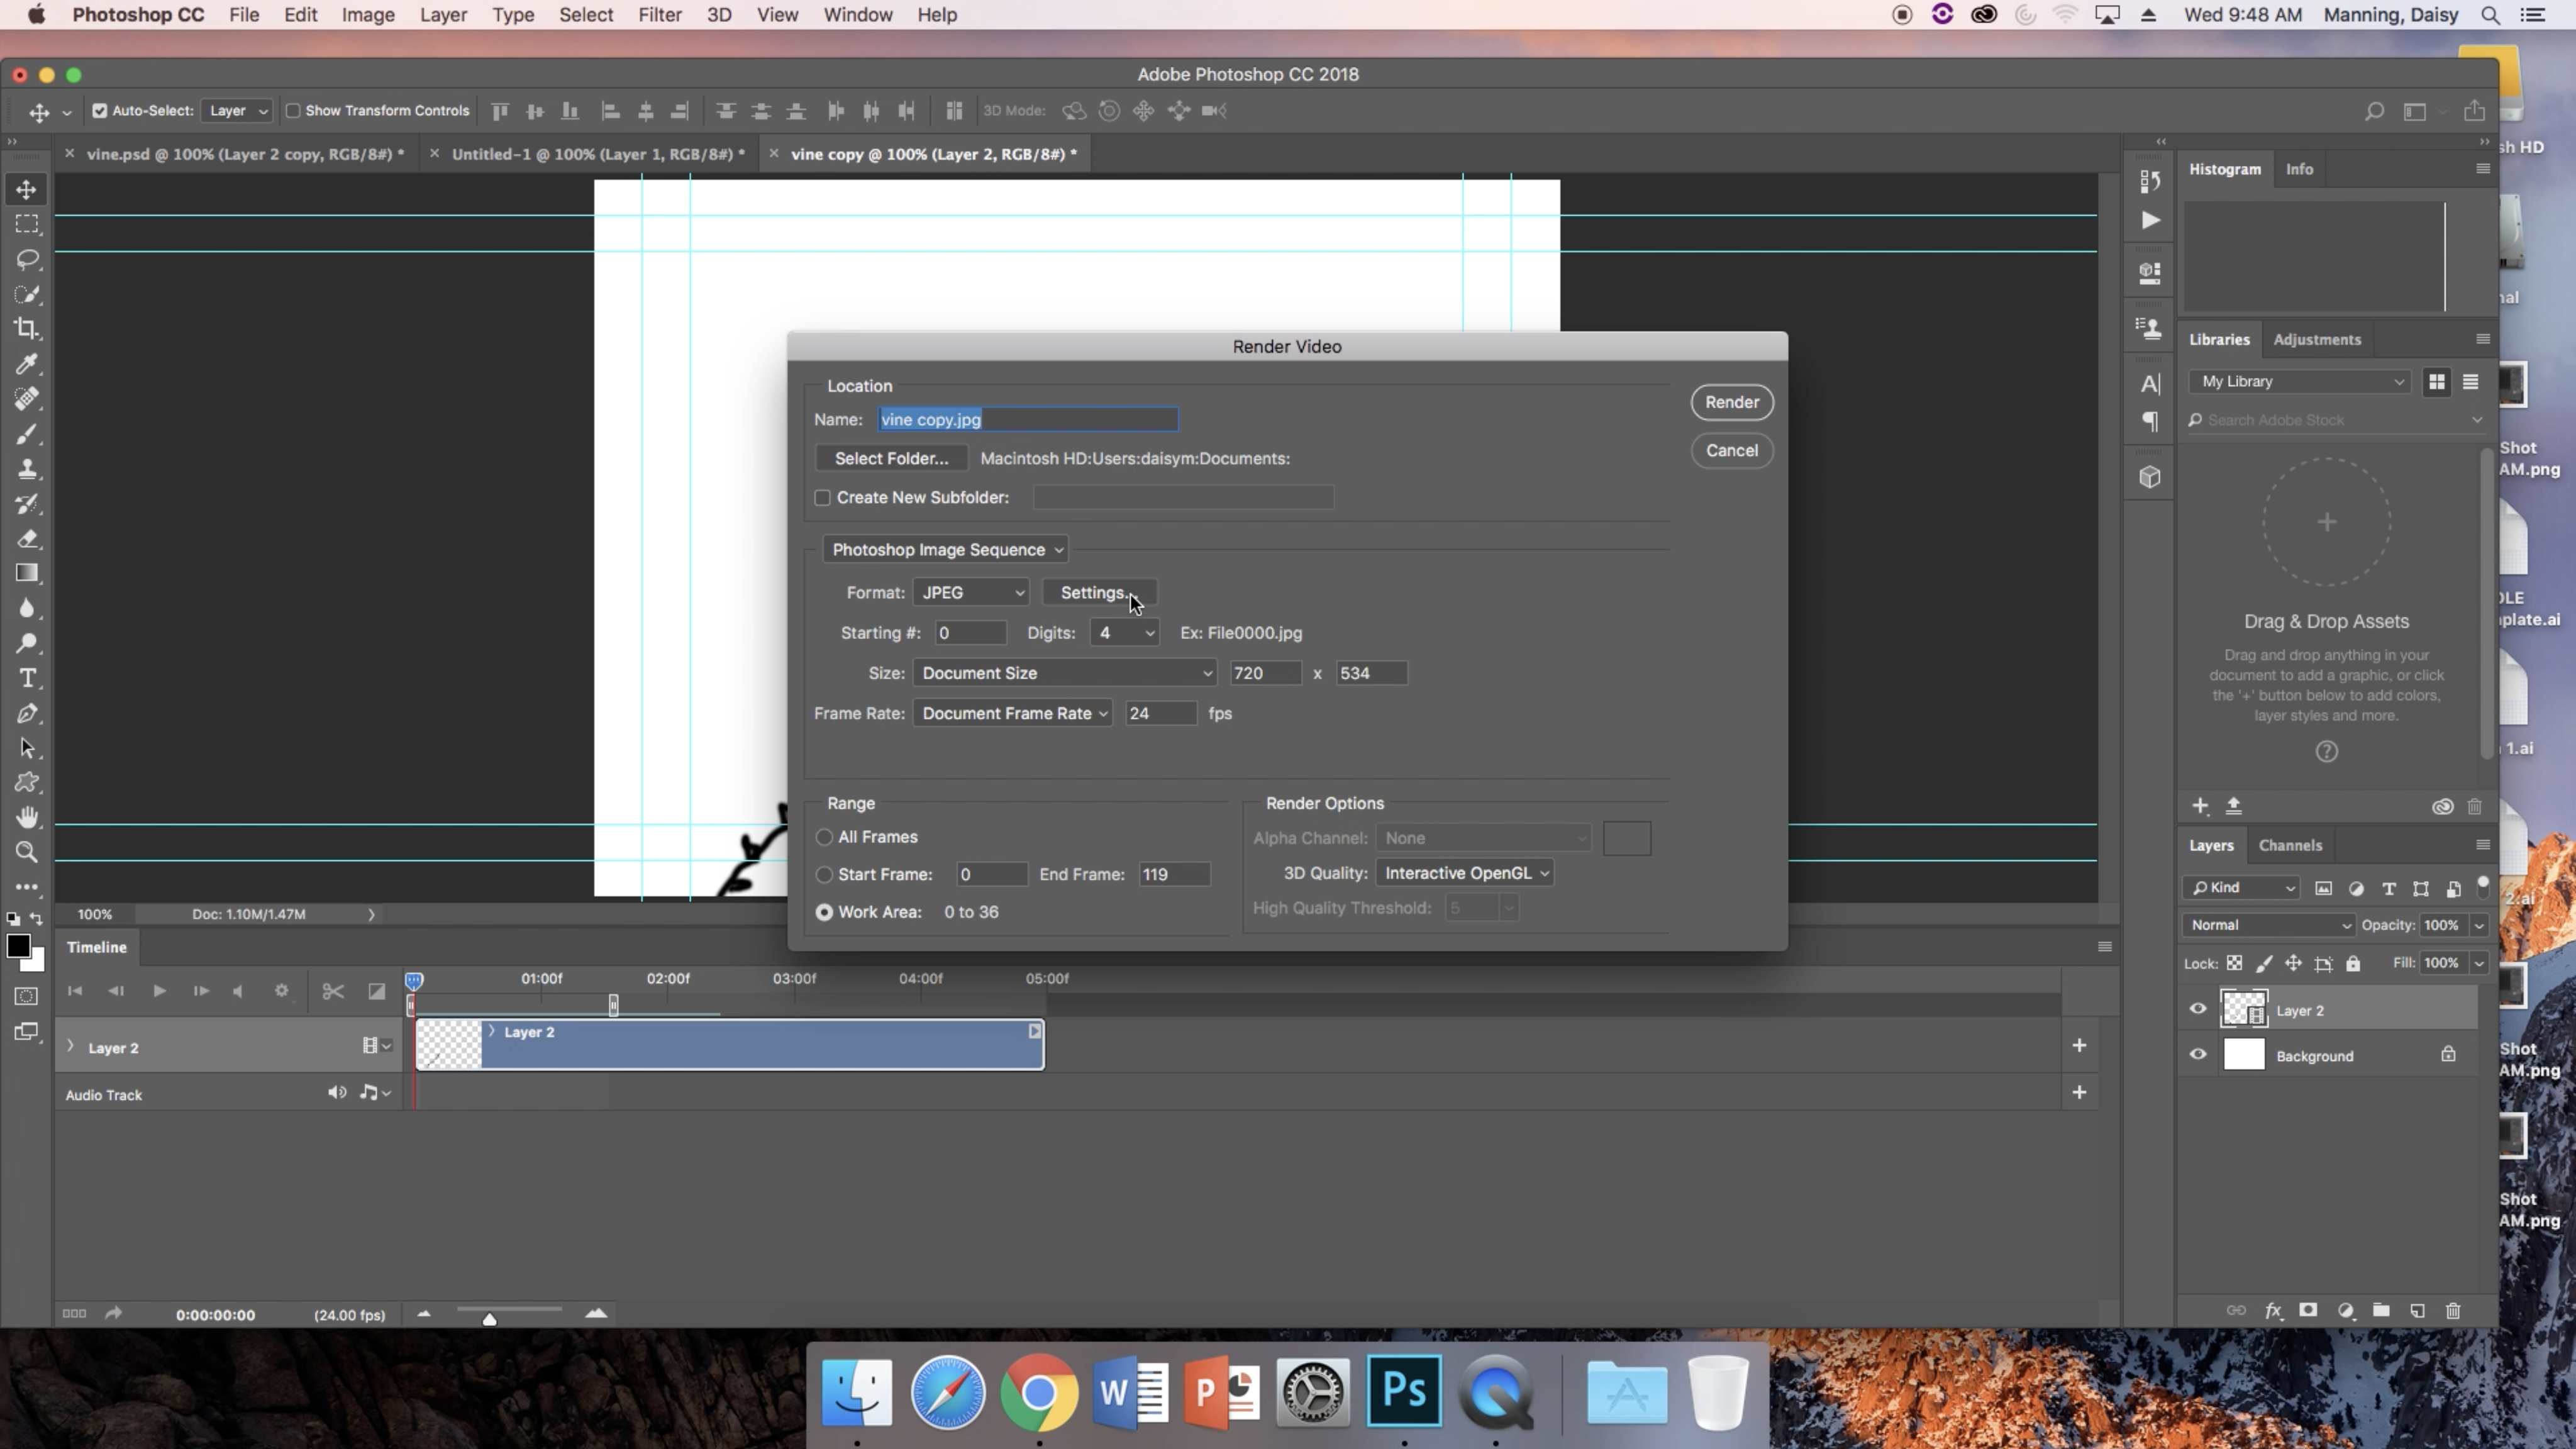
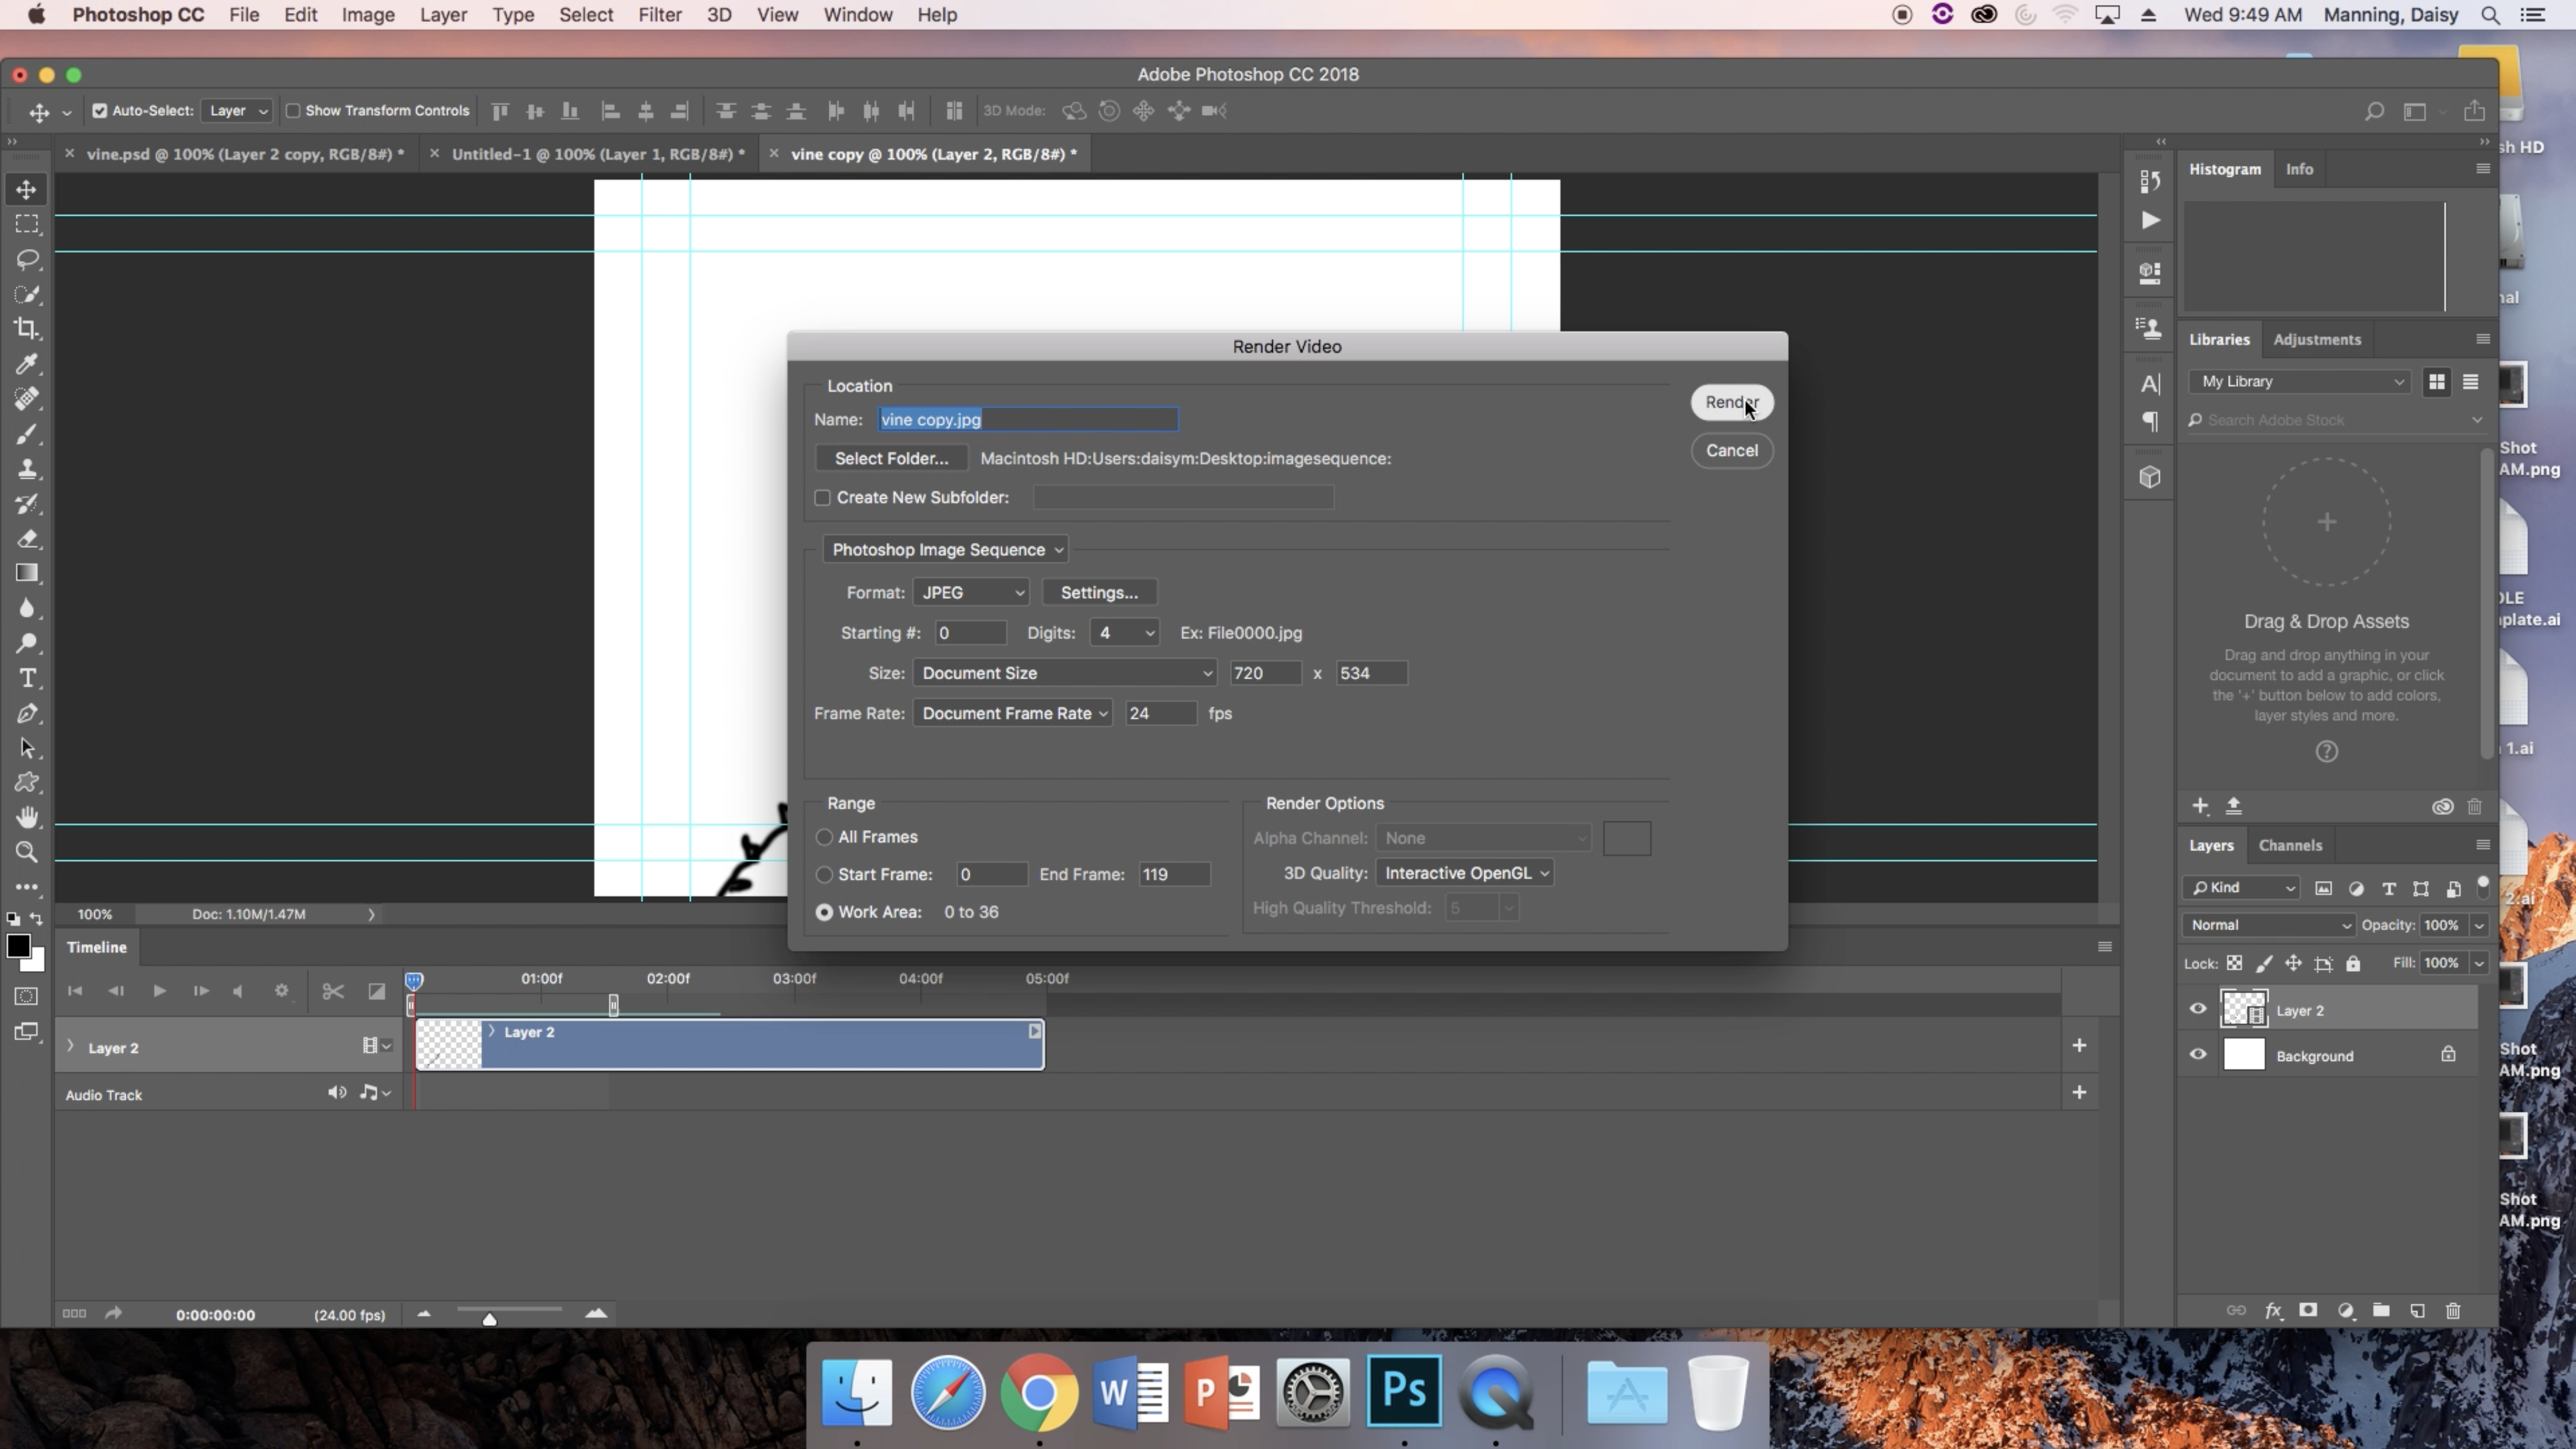
This process is a tedious one, but necessary for eventually having your design on a USB drive that will allow you to laser cut. I'll list each individual step below. I won't add a photo for every single step, since there are many, but I will go over the process in detail. There are lots of steps here, so bear with me. Before I begin, let me also say that for the purposes of my class project, I was provided with a .psd file that perfectly matched the size of my 16mm film strip. I would advise creating or finding something similar, because that will be an important part of the process. For this step-by-step, I will be showing you how to complete the project with this .psd file of the film.
Once you've completed your design in Adobe Illustrator, you'll need to click "File," "Export" and "Render Video." When the popup appears, change "Adobe Media Encoder" to "Photoshop Image Sequence." Then, you'll have to select a folder to send your rendered video to. When you go to select a folder, create a new folder on your desktop (or any location). Call it whatever you want, but ideally make it something obvious, like, "Image Sequence." Once you've created the folder, click render.
Export to Adobe Illustrator Pt. 2
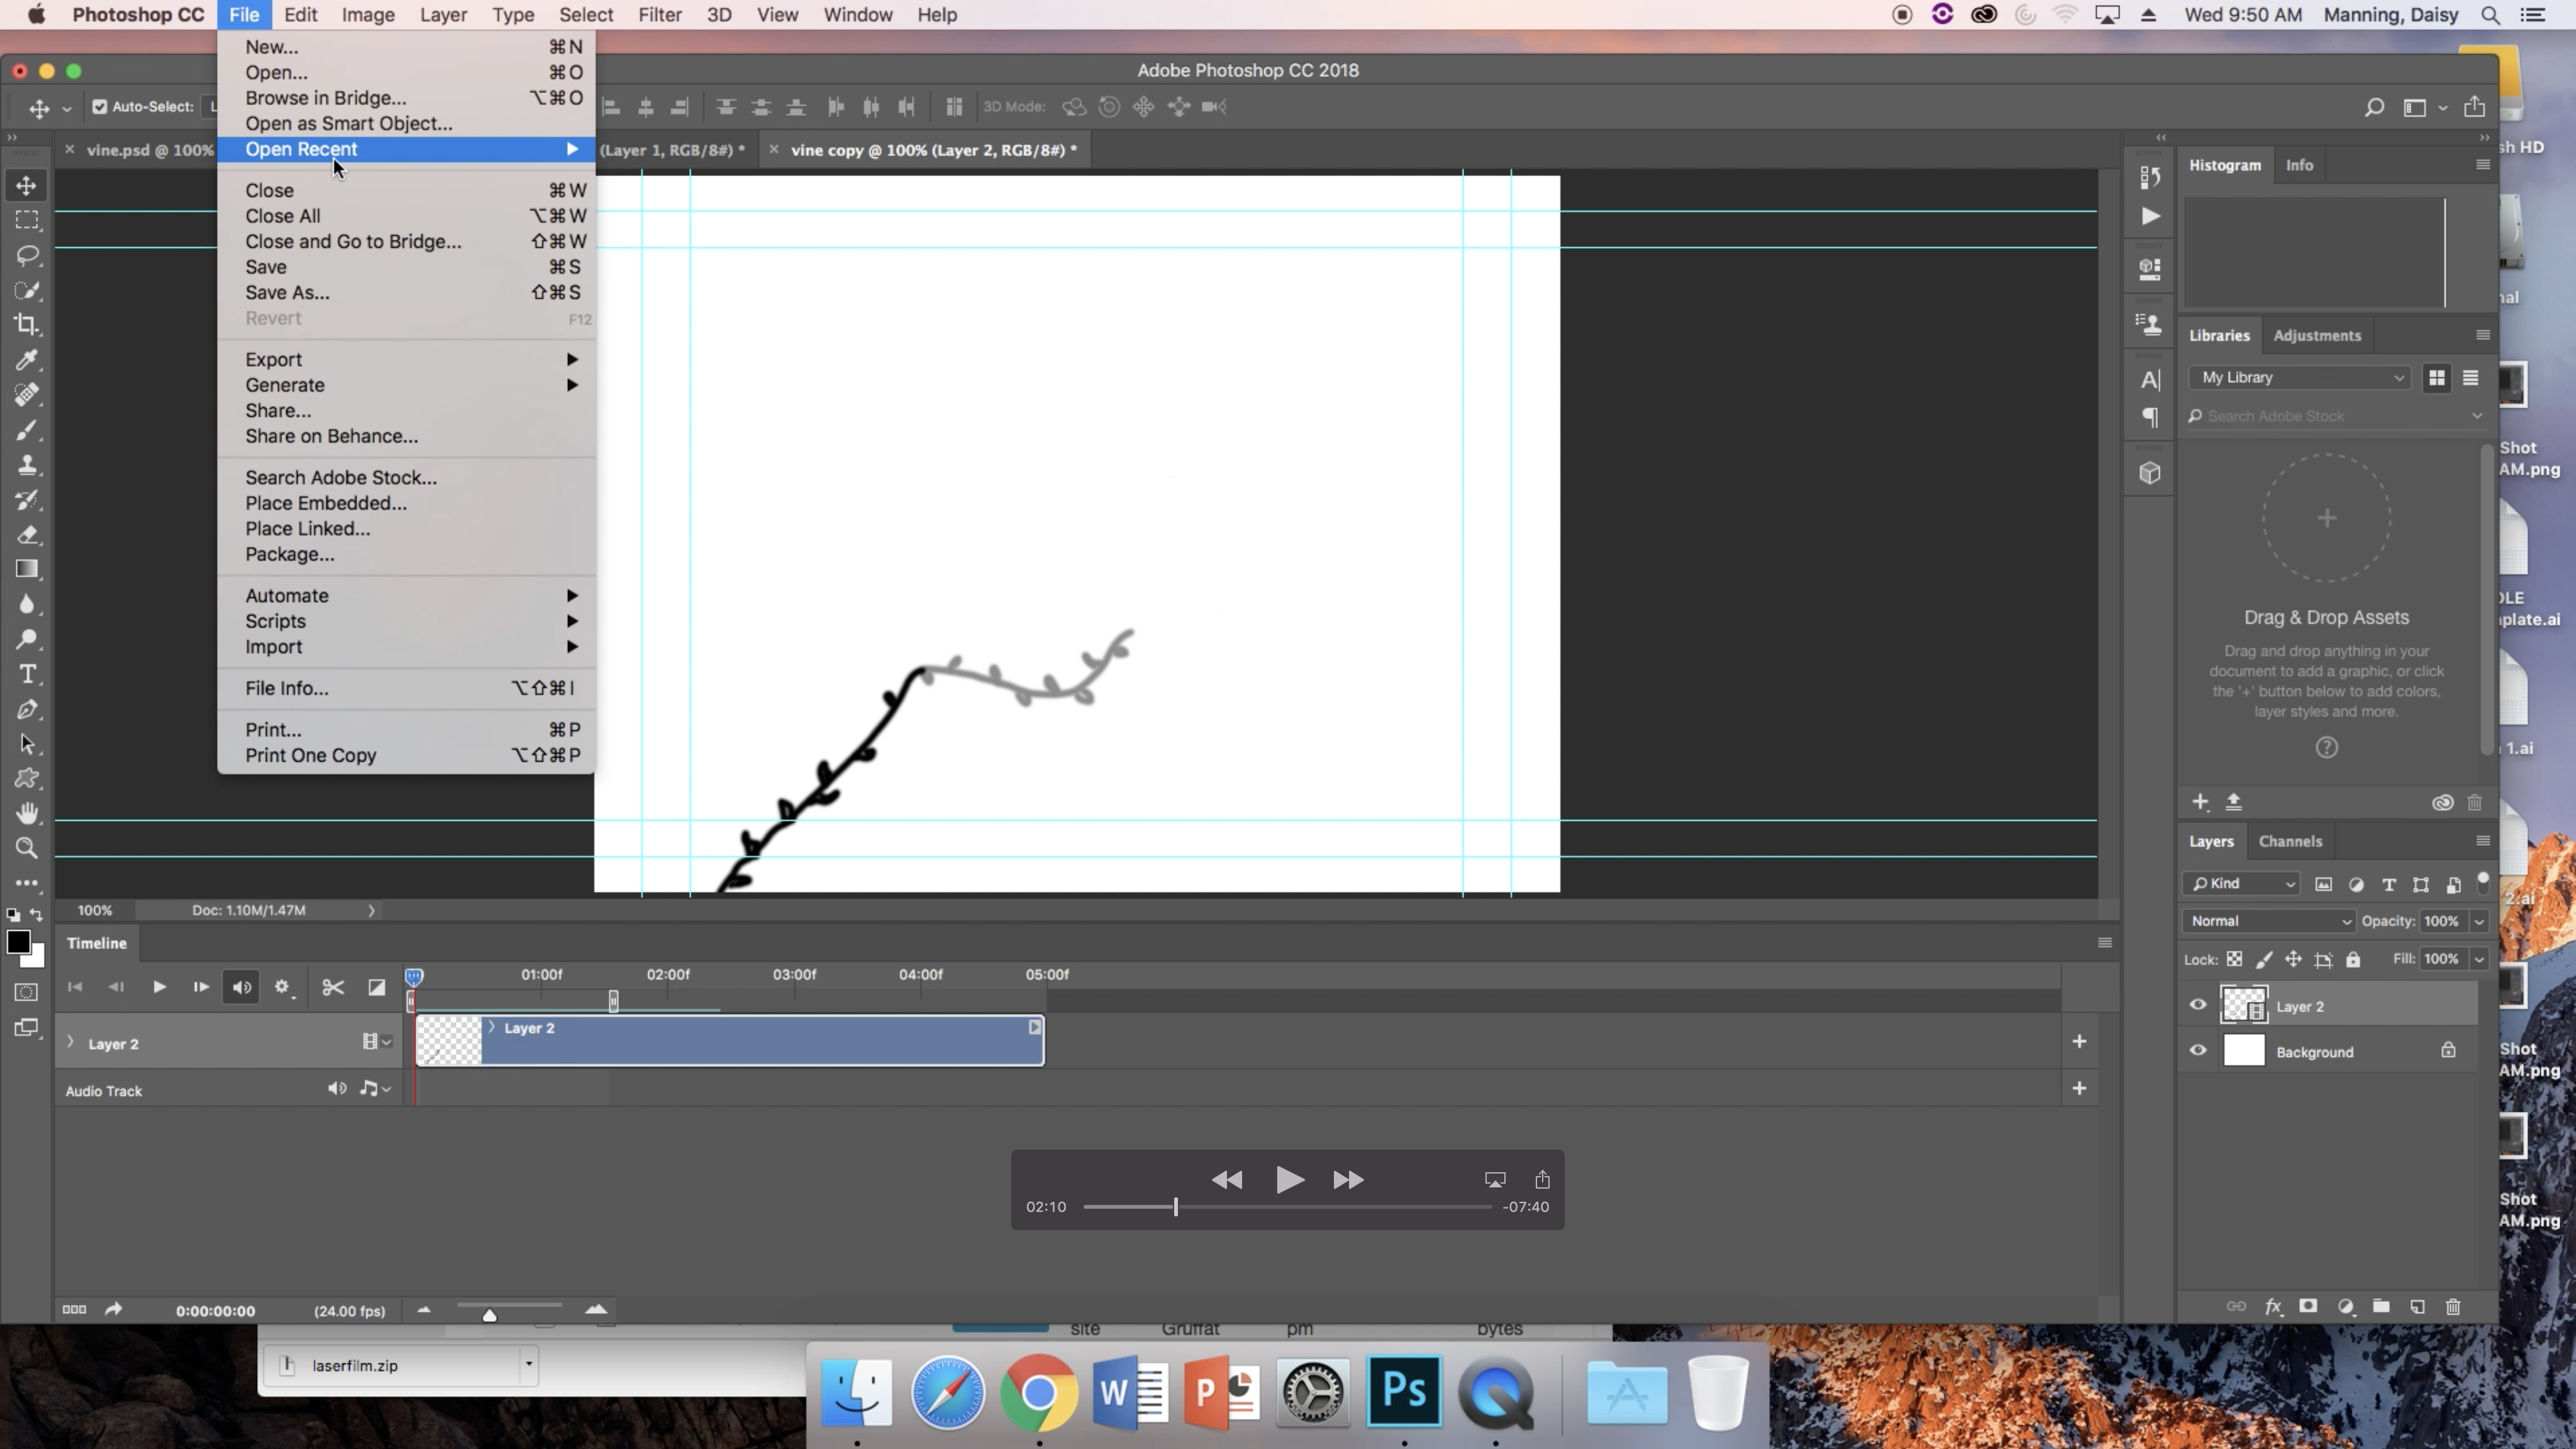
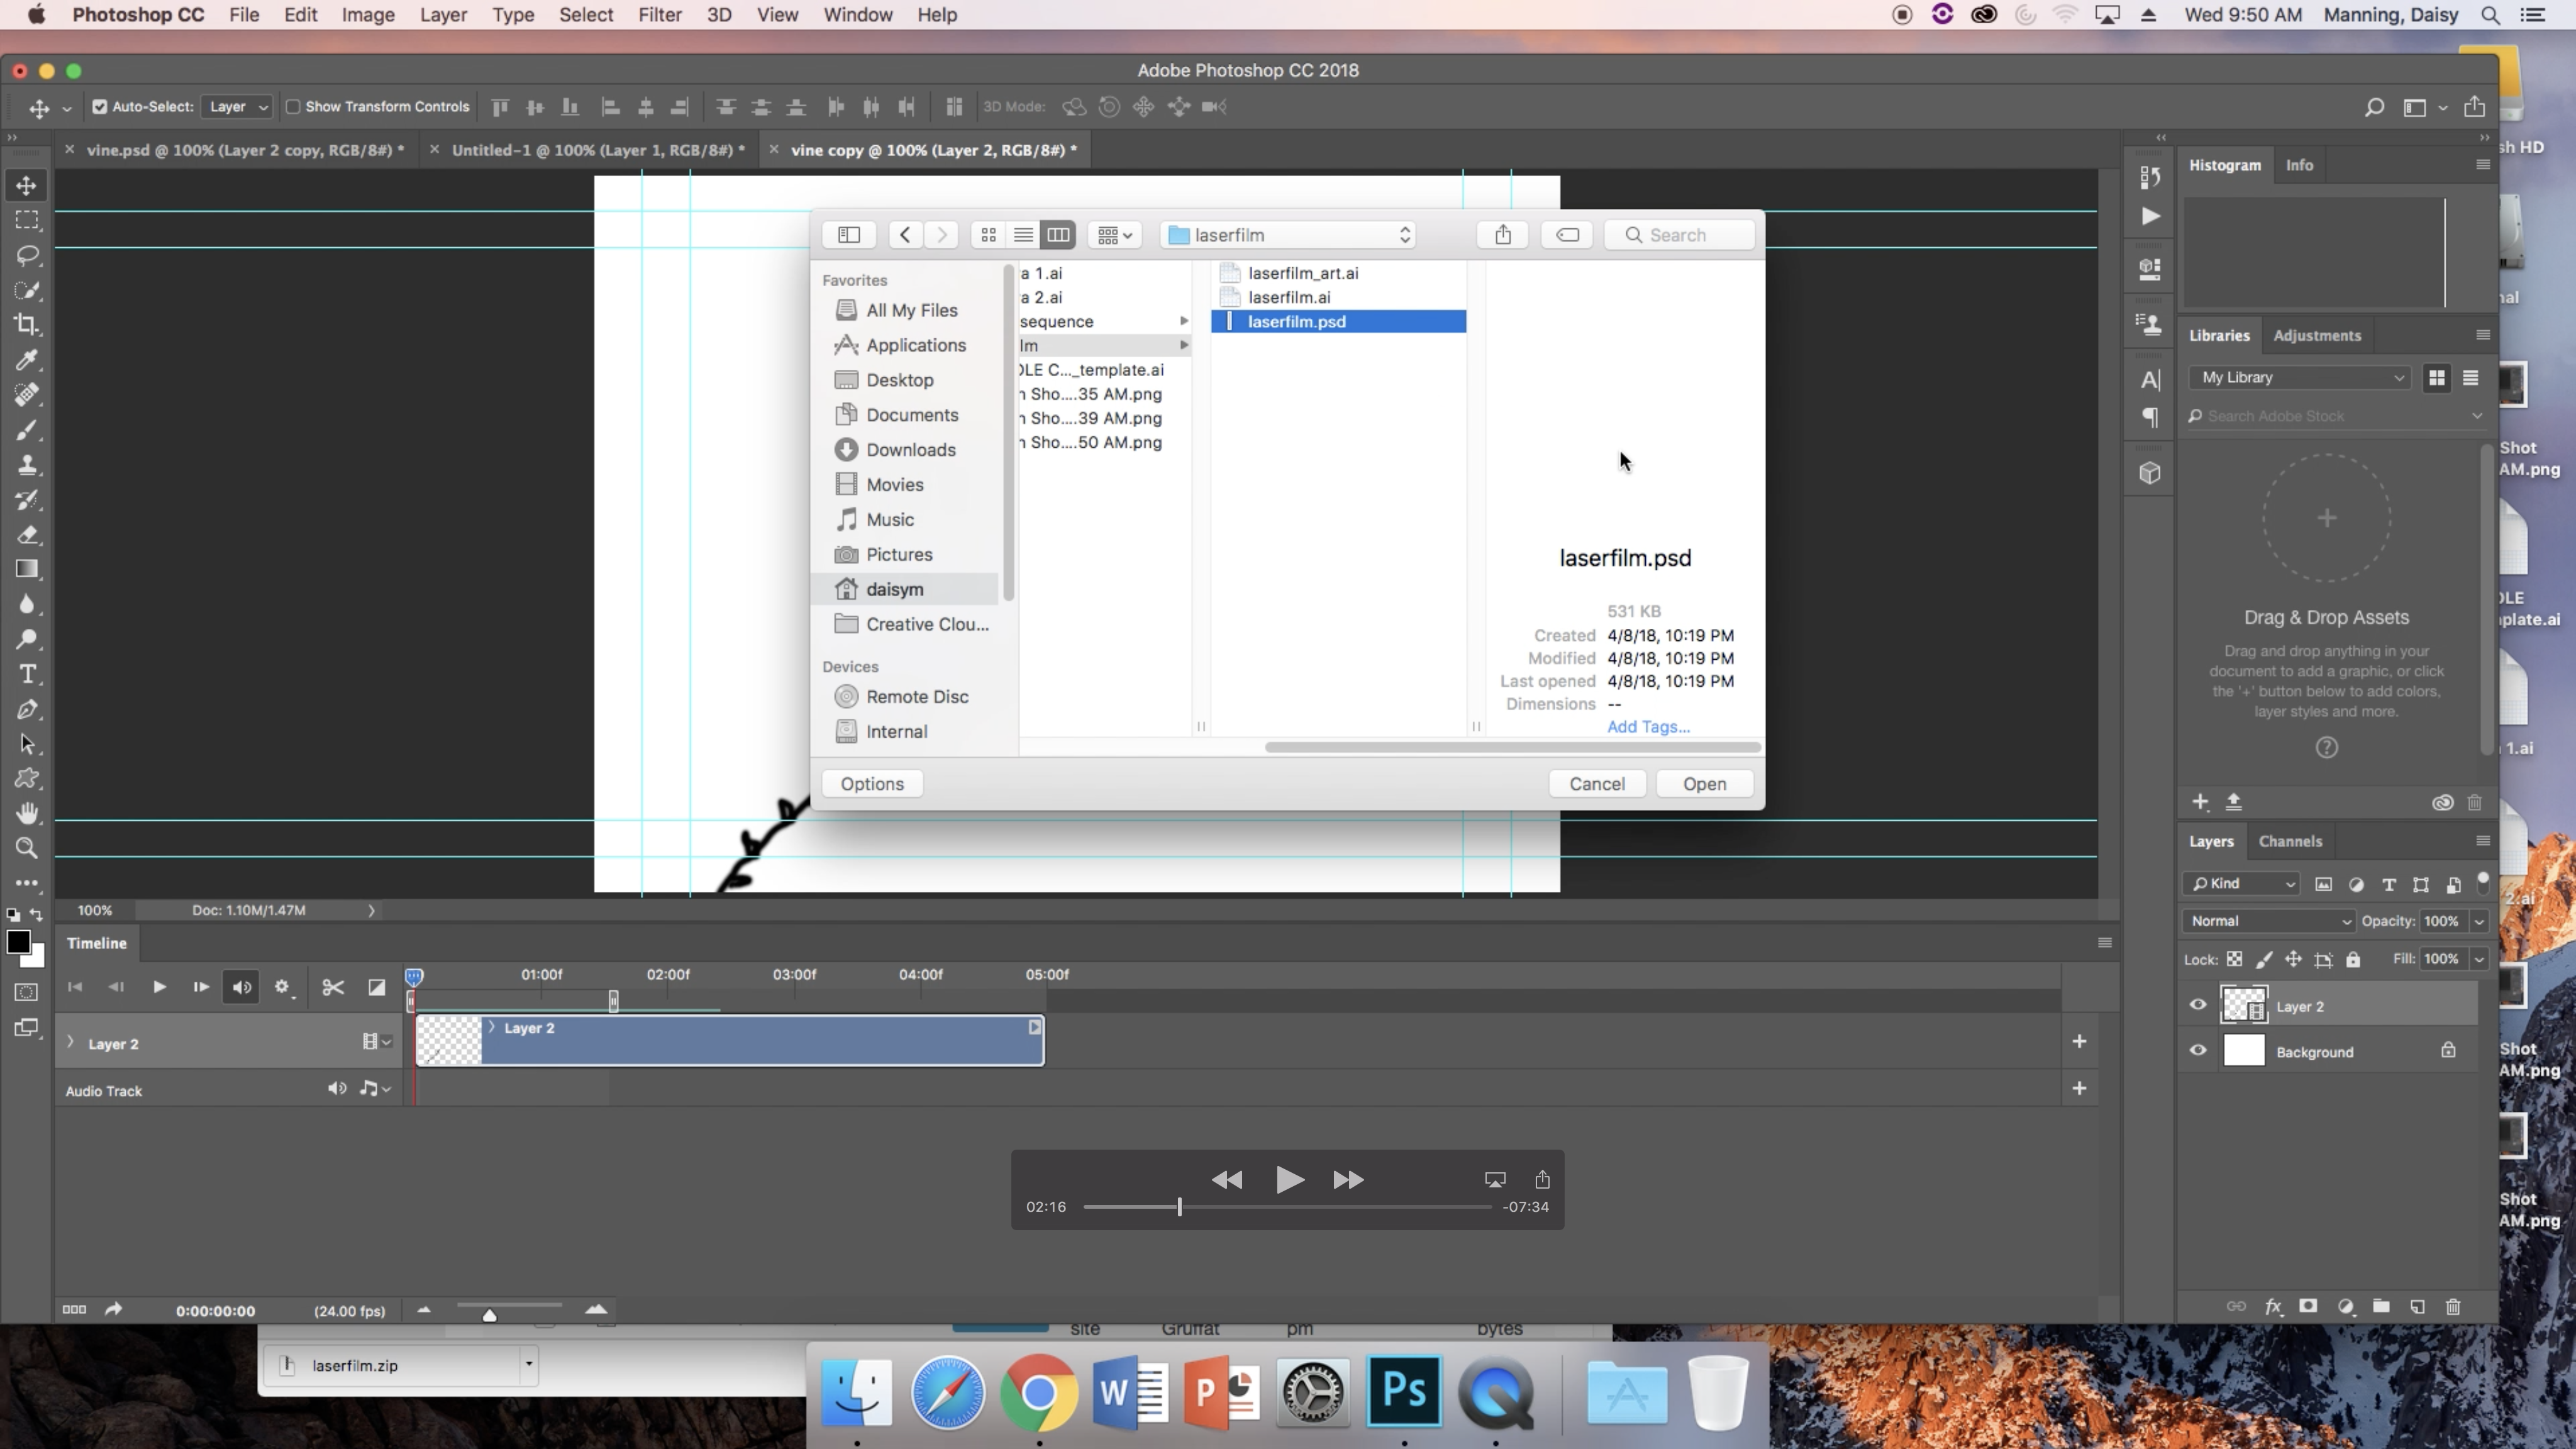
Next, click "File" and "Open Recent." Find the .psd file with the film strip outline, and open it.
Export to Adobe Illustrator Pt. 3
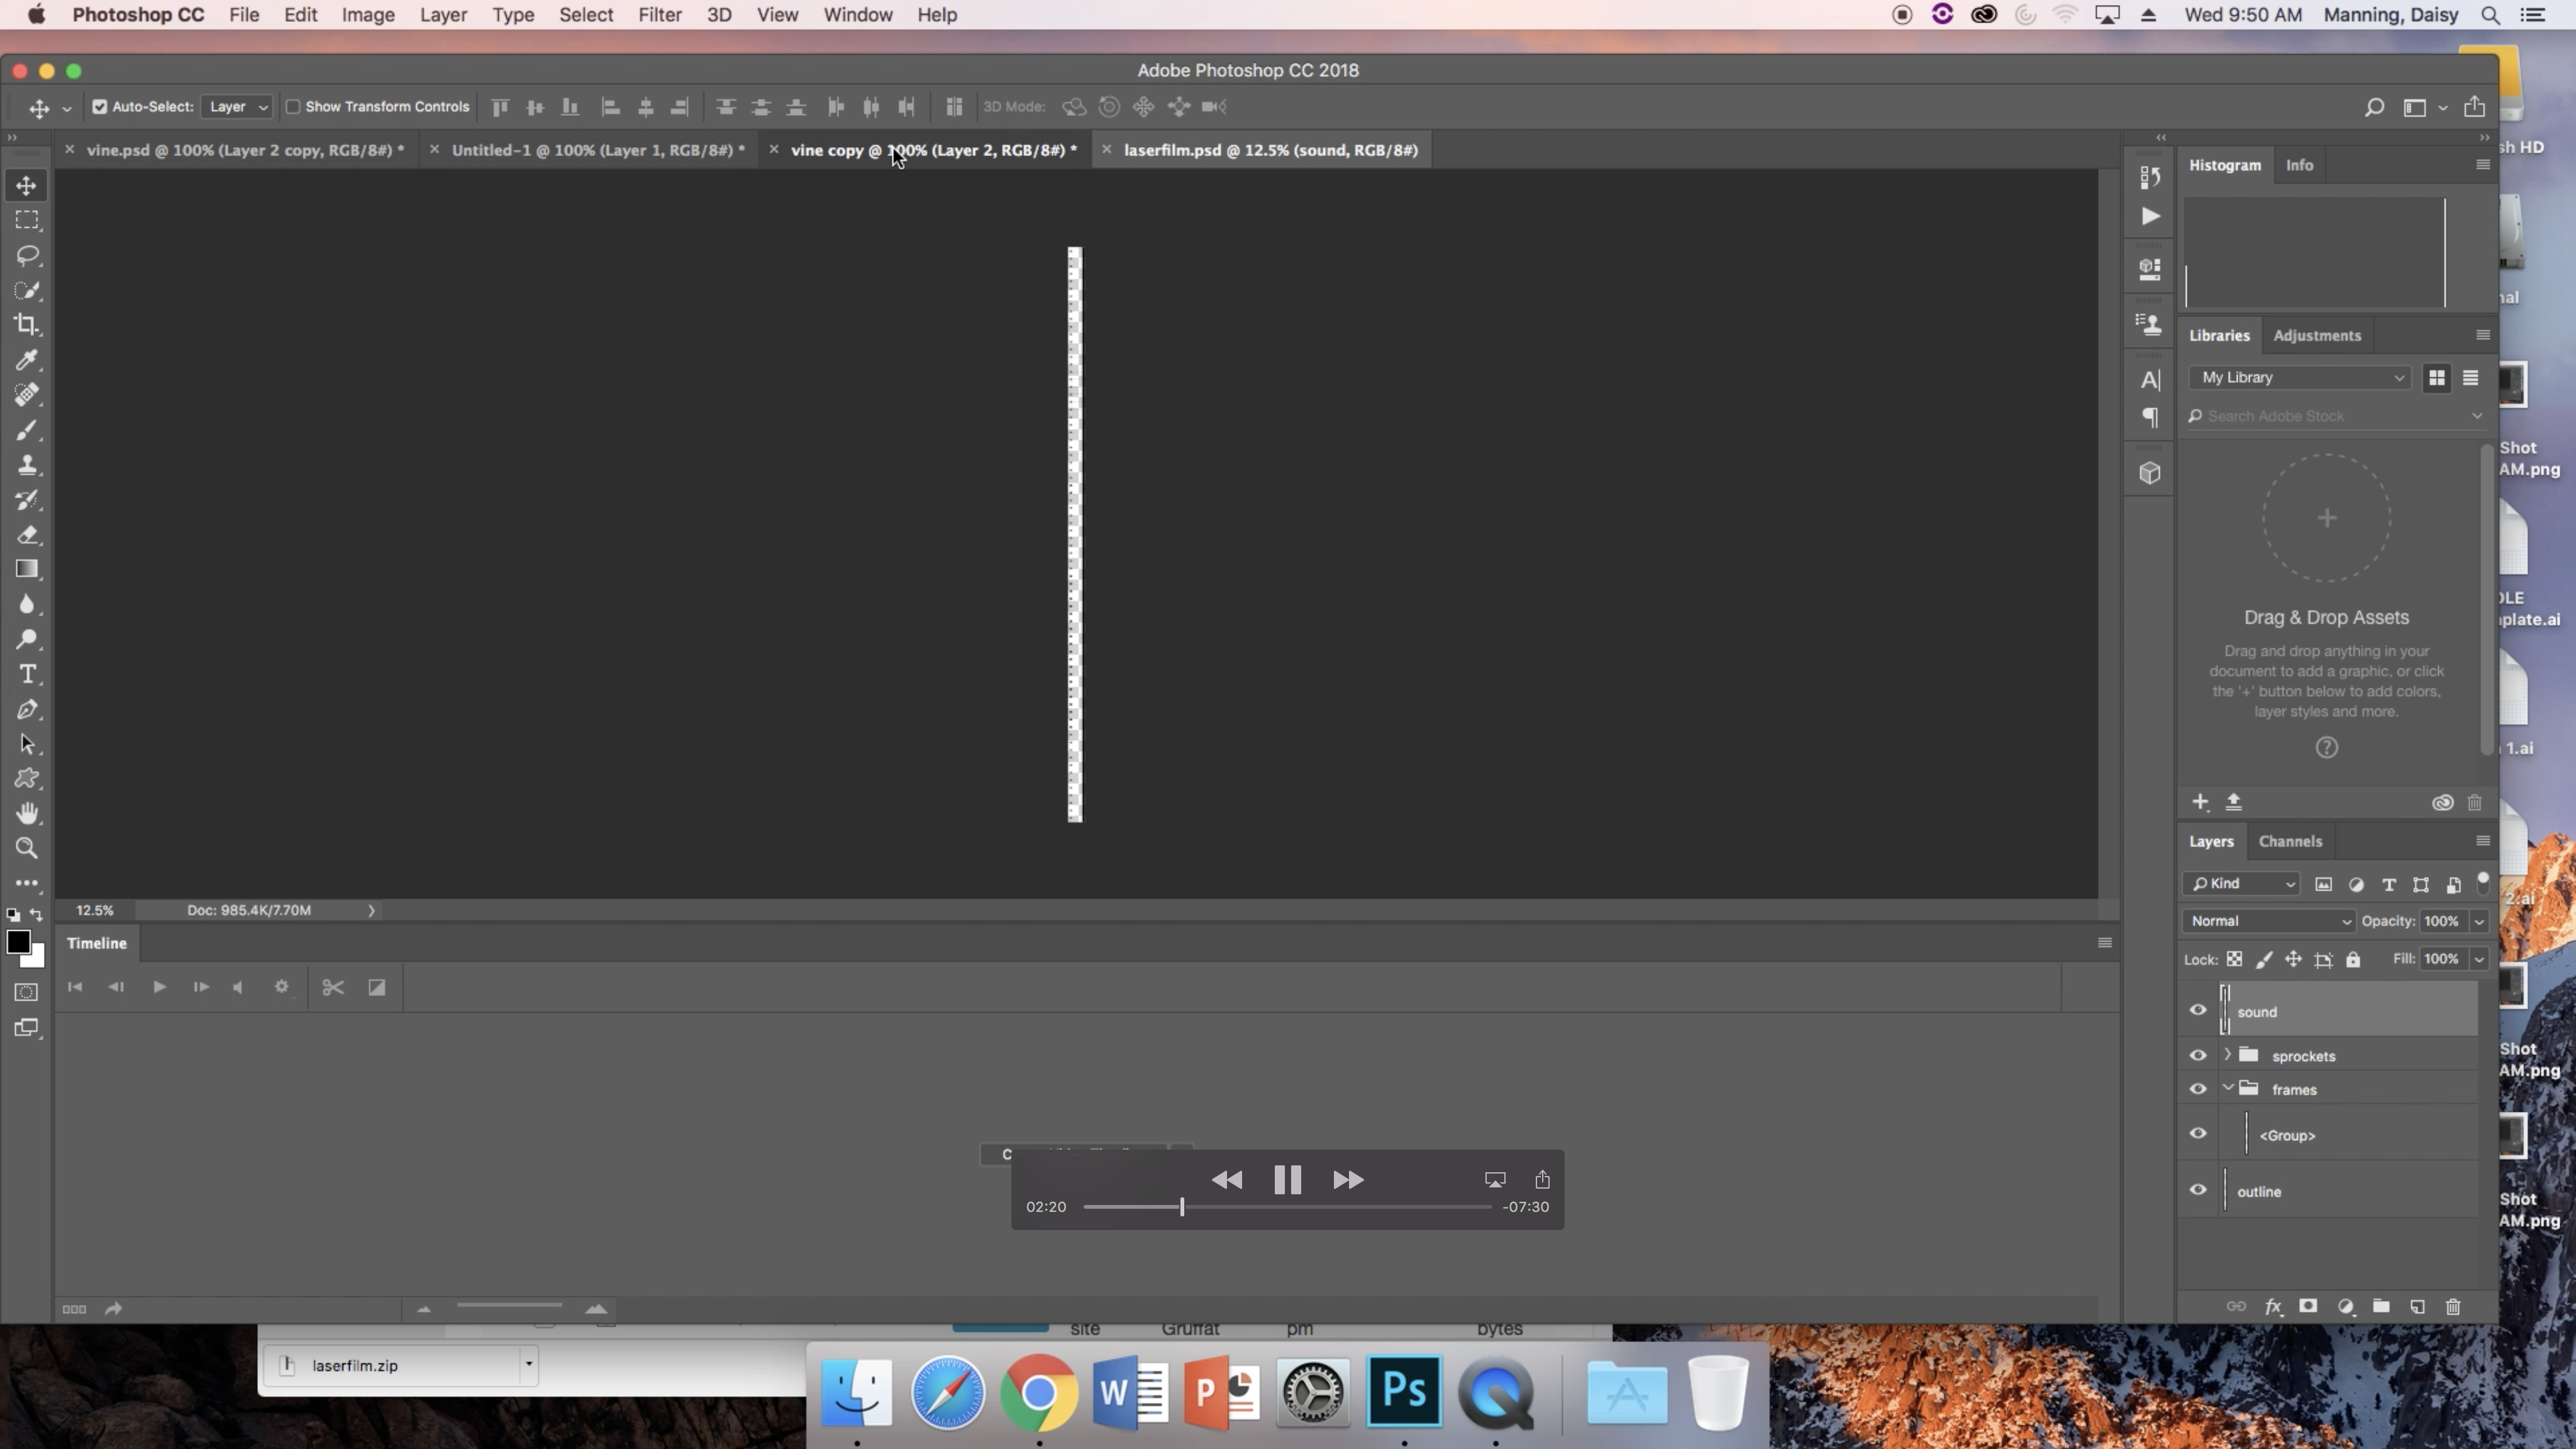
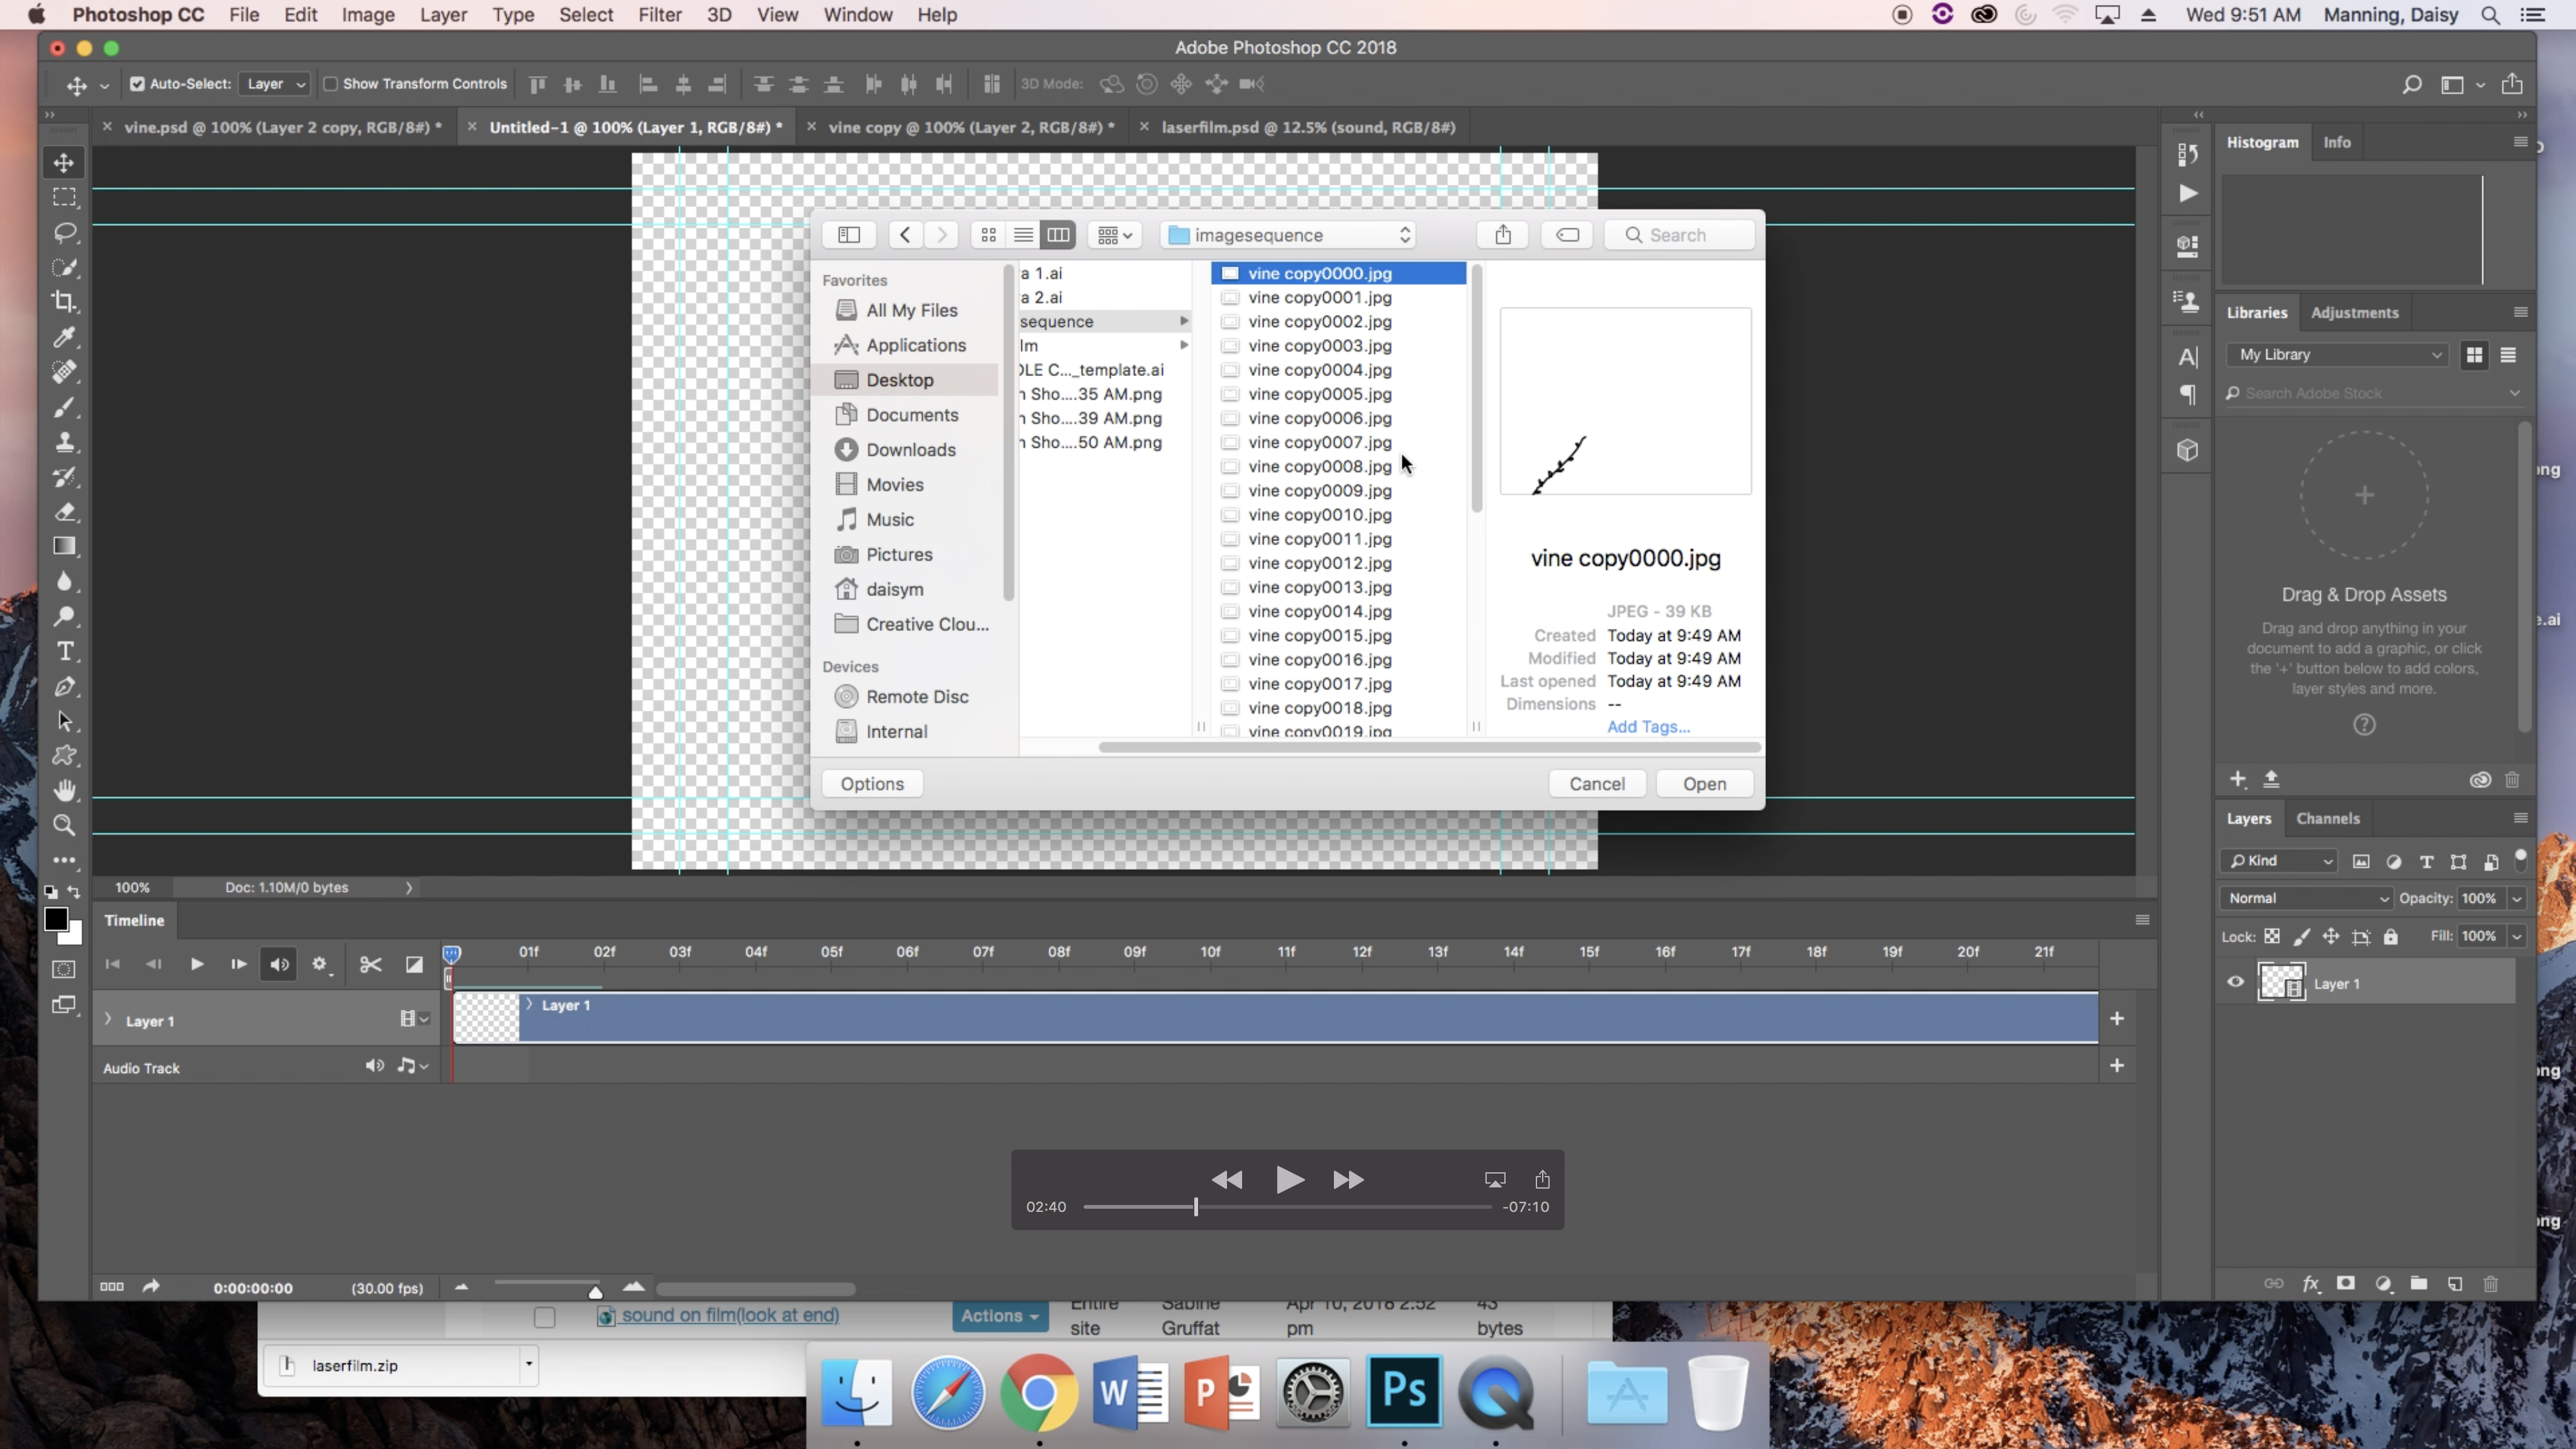
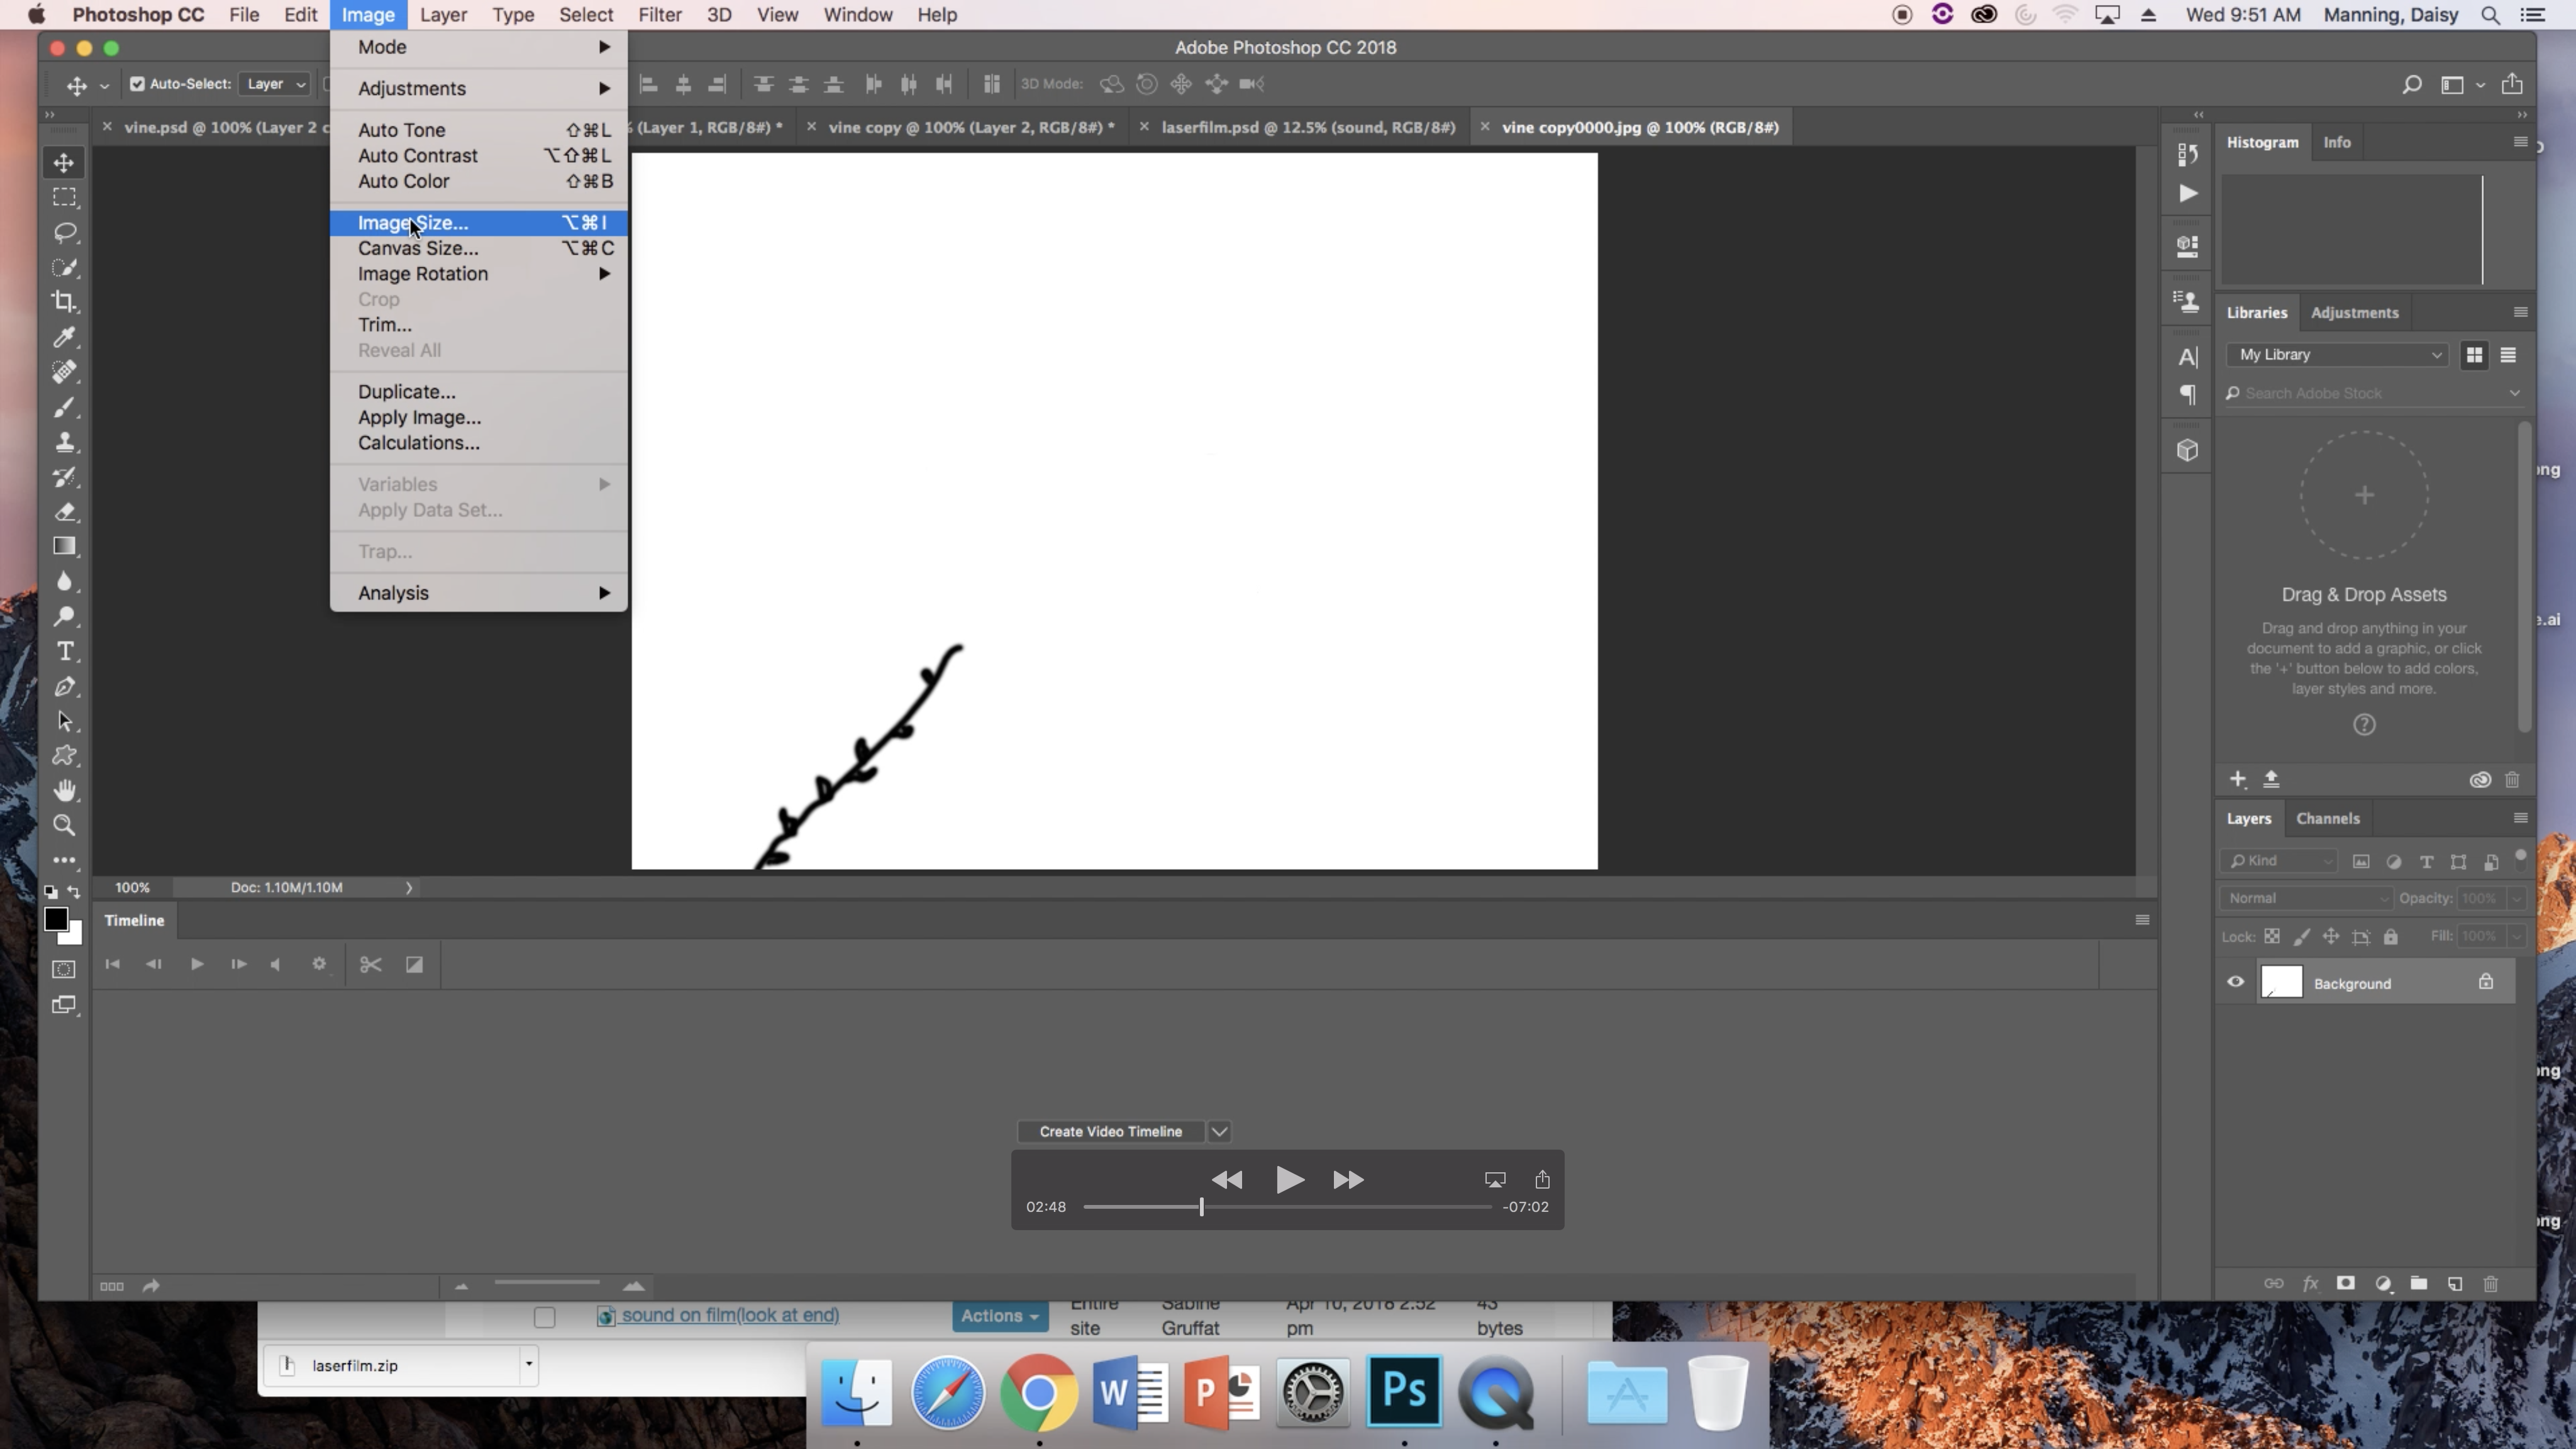
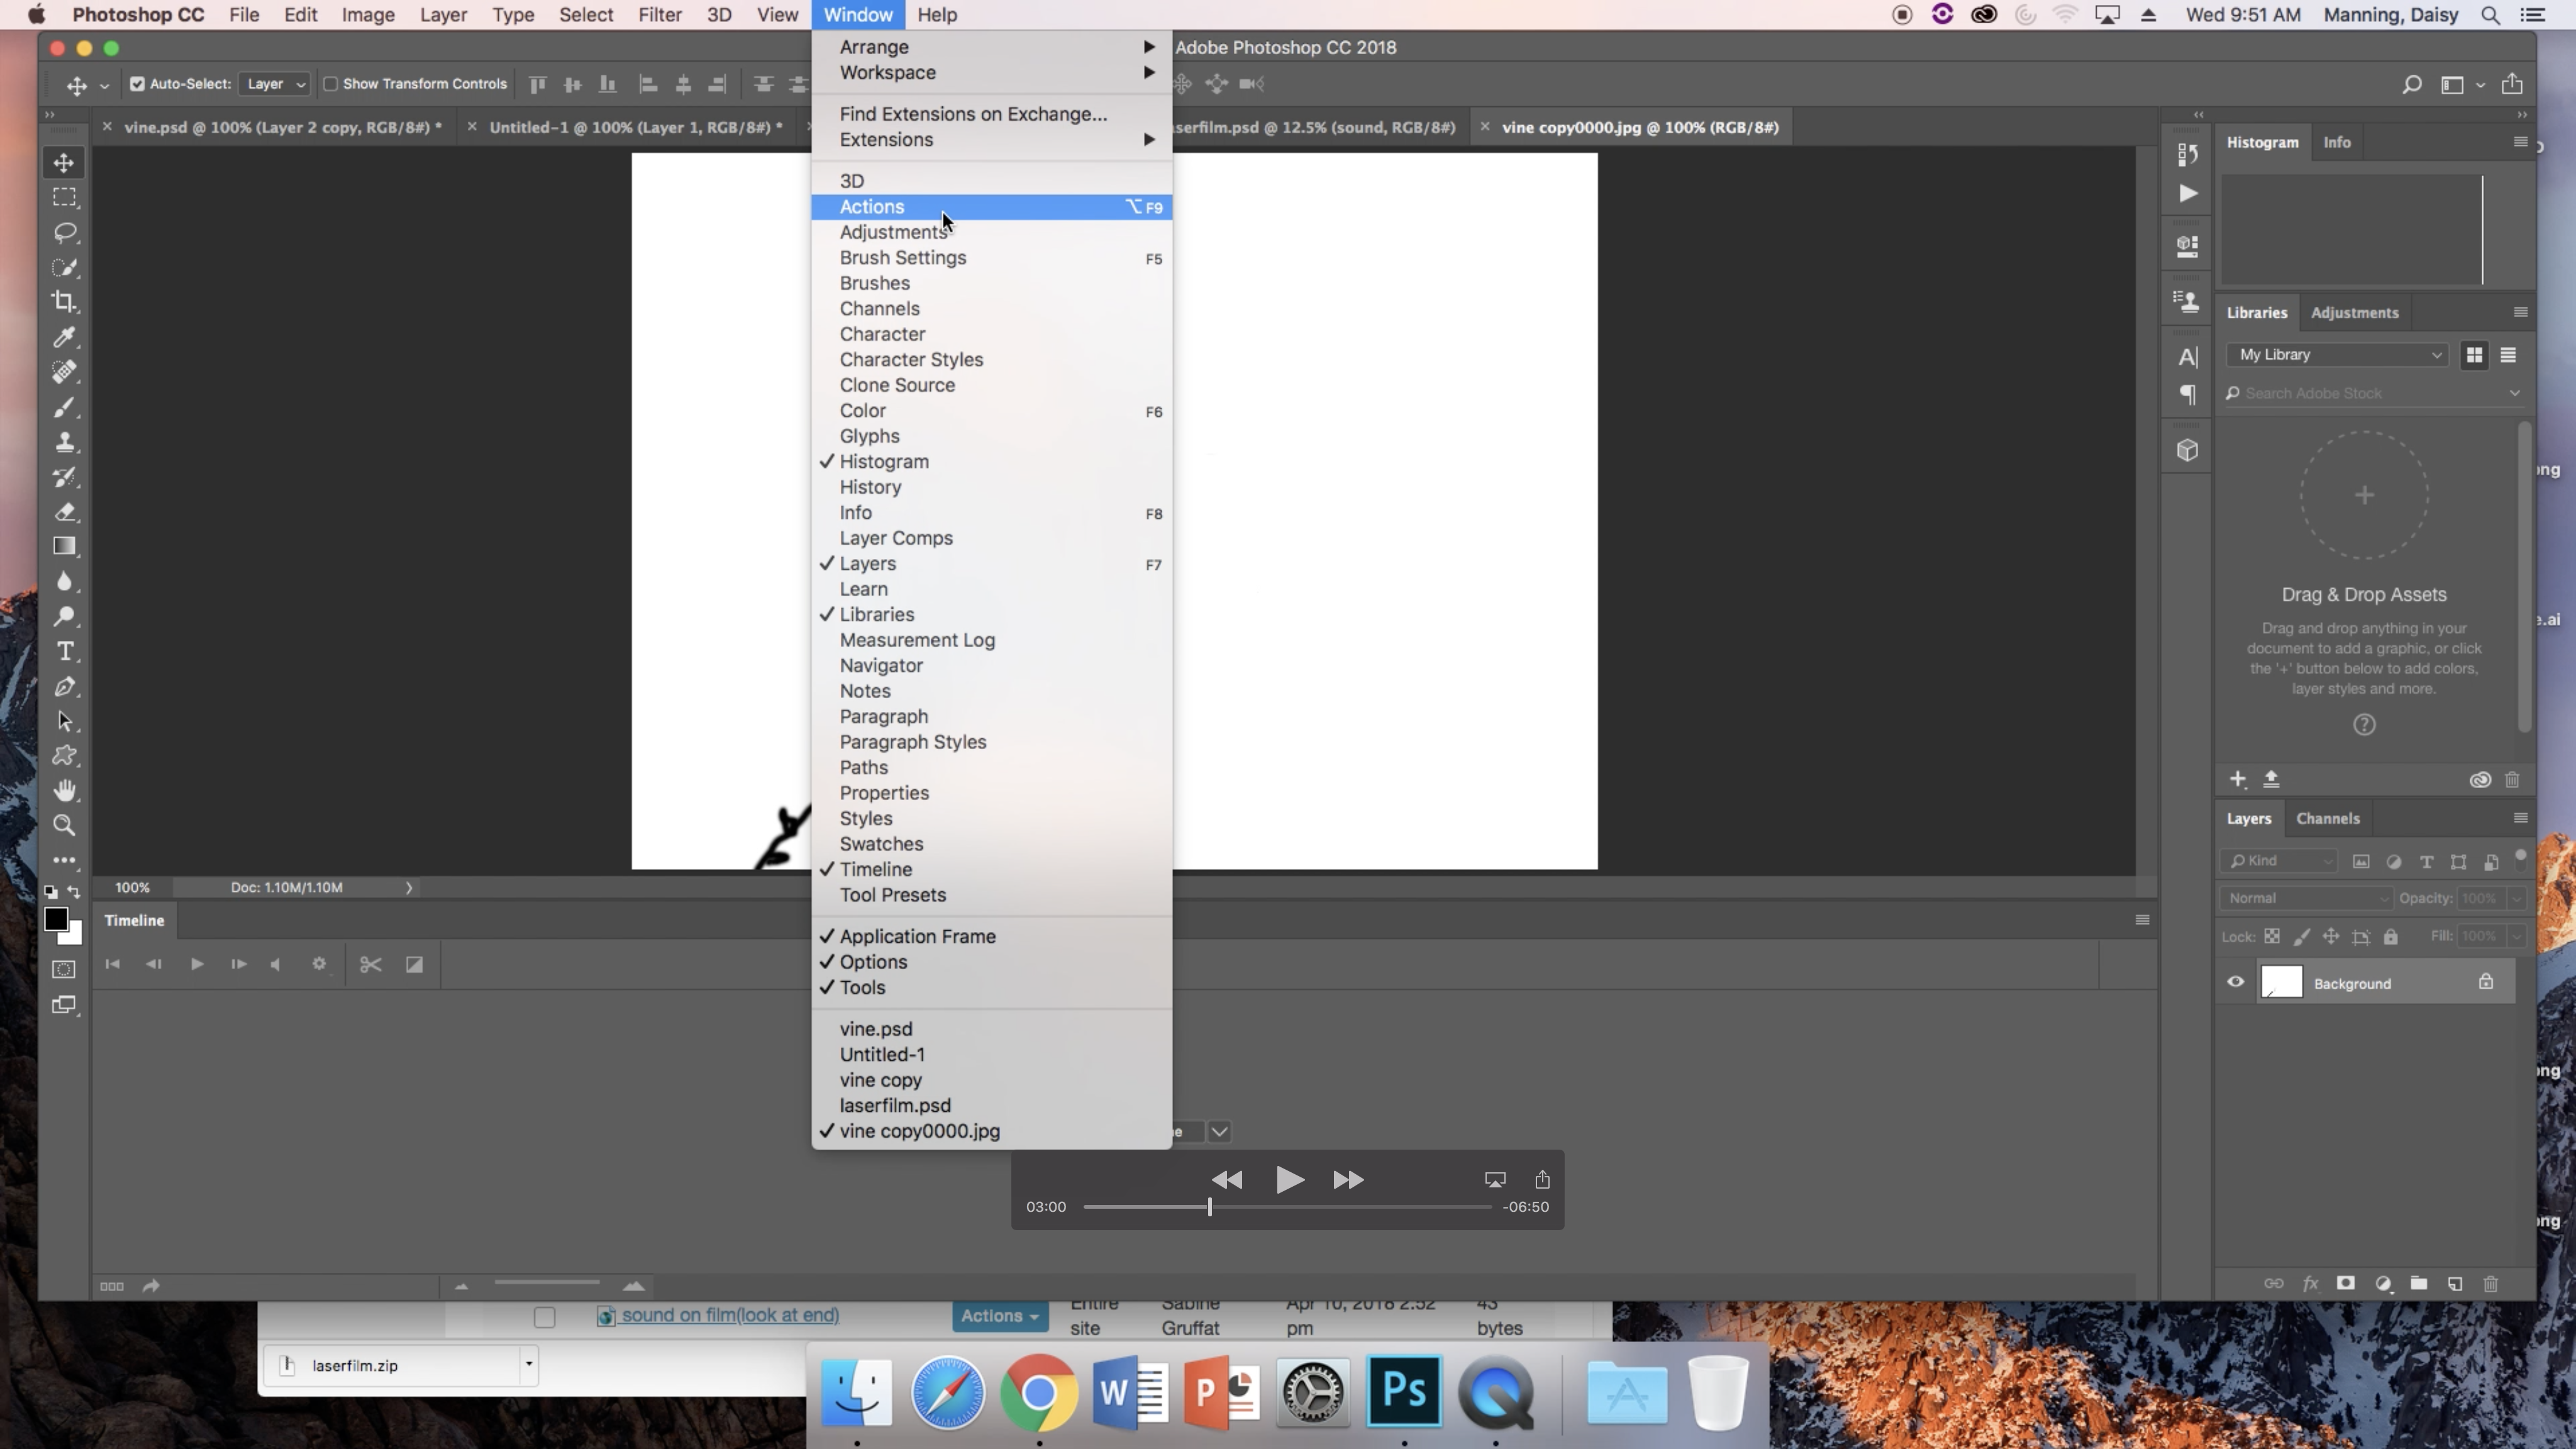
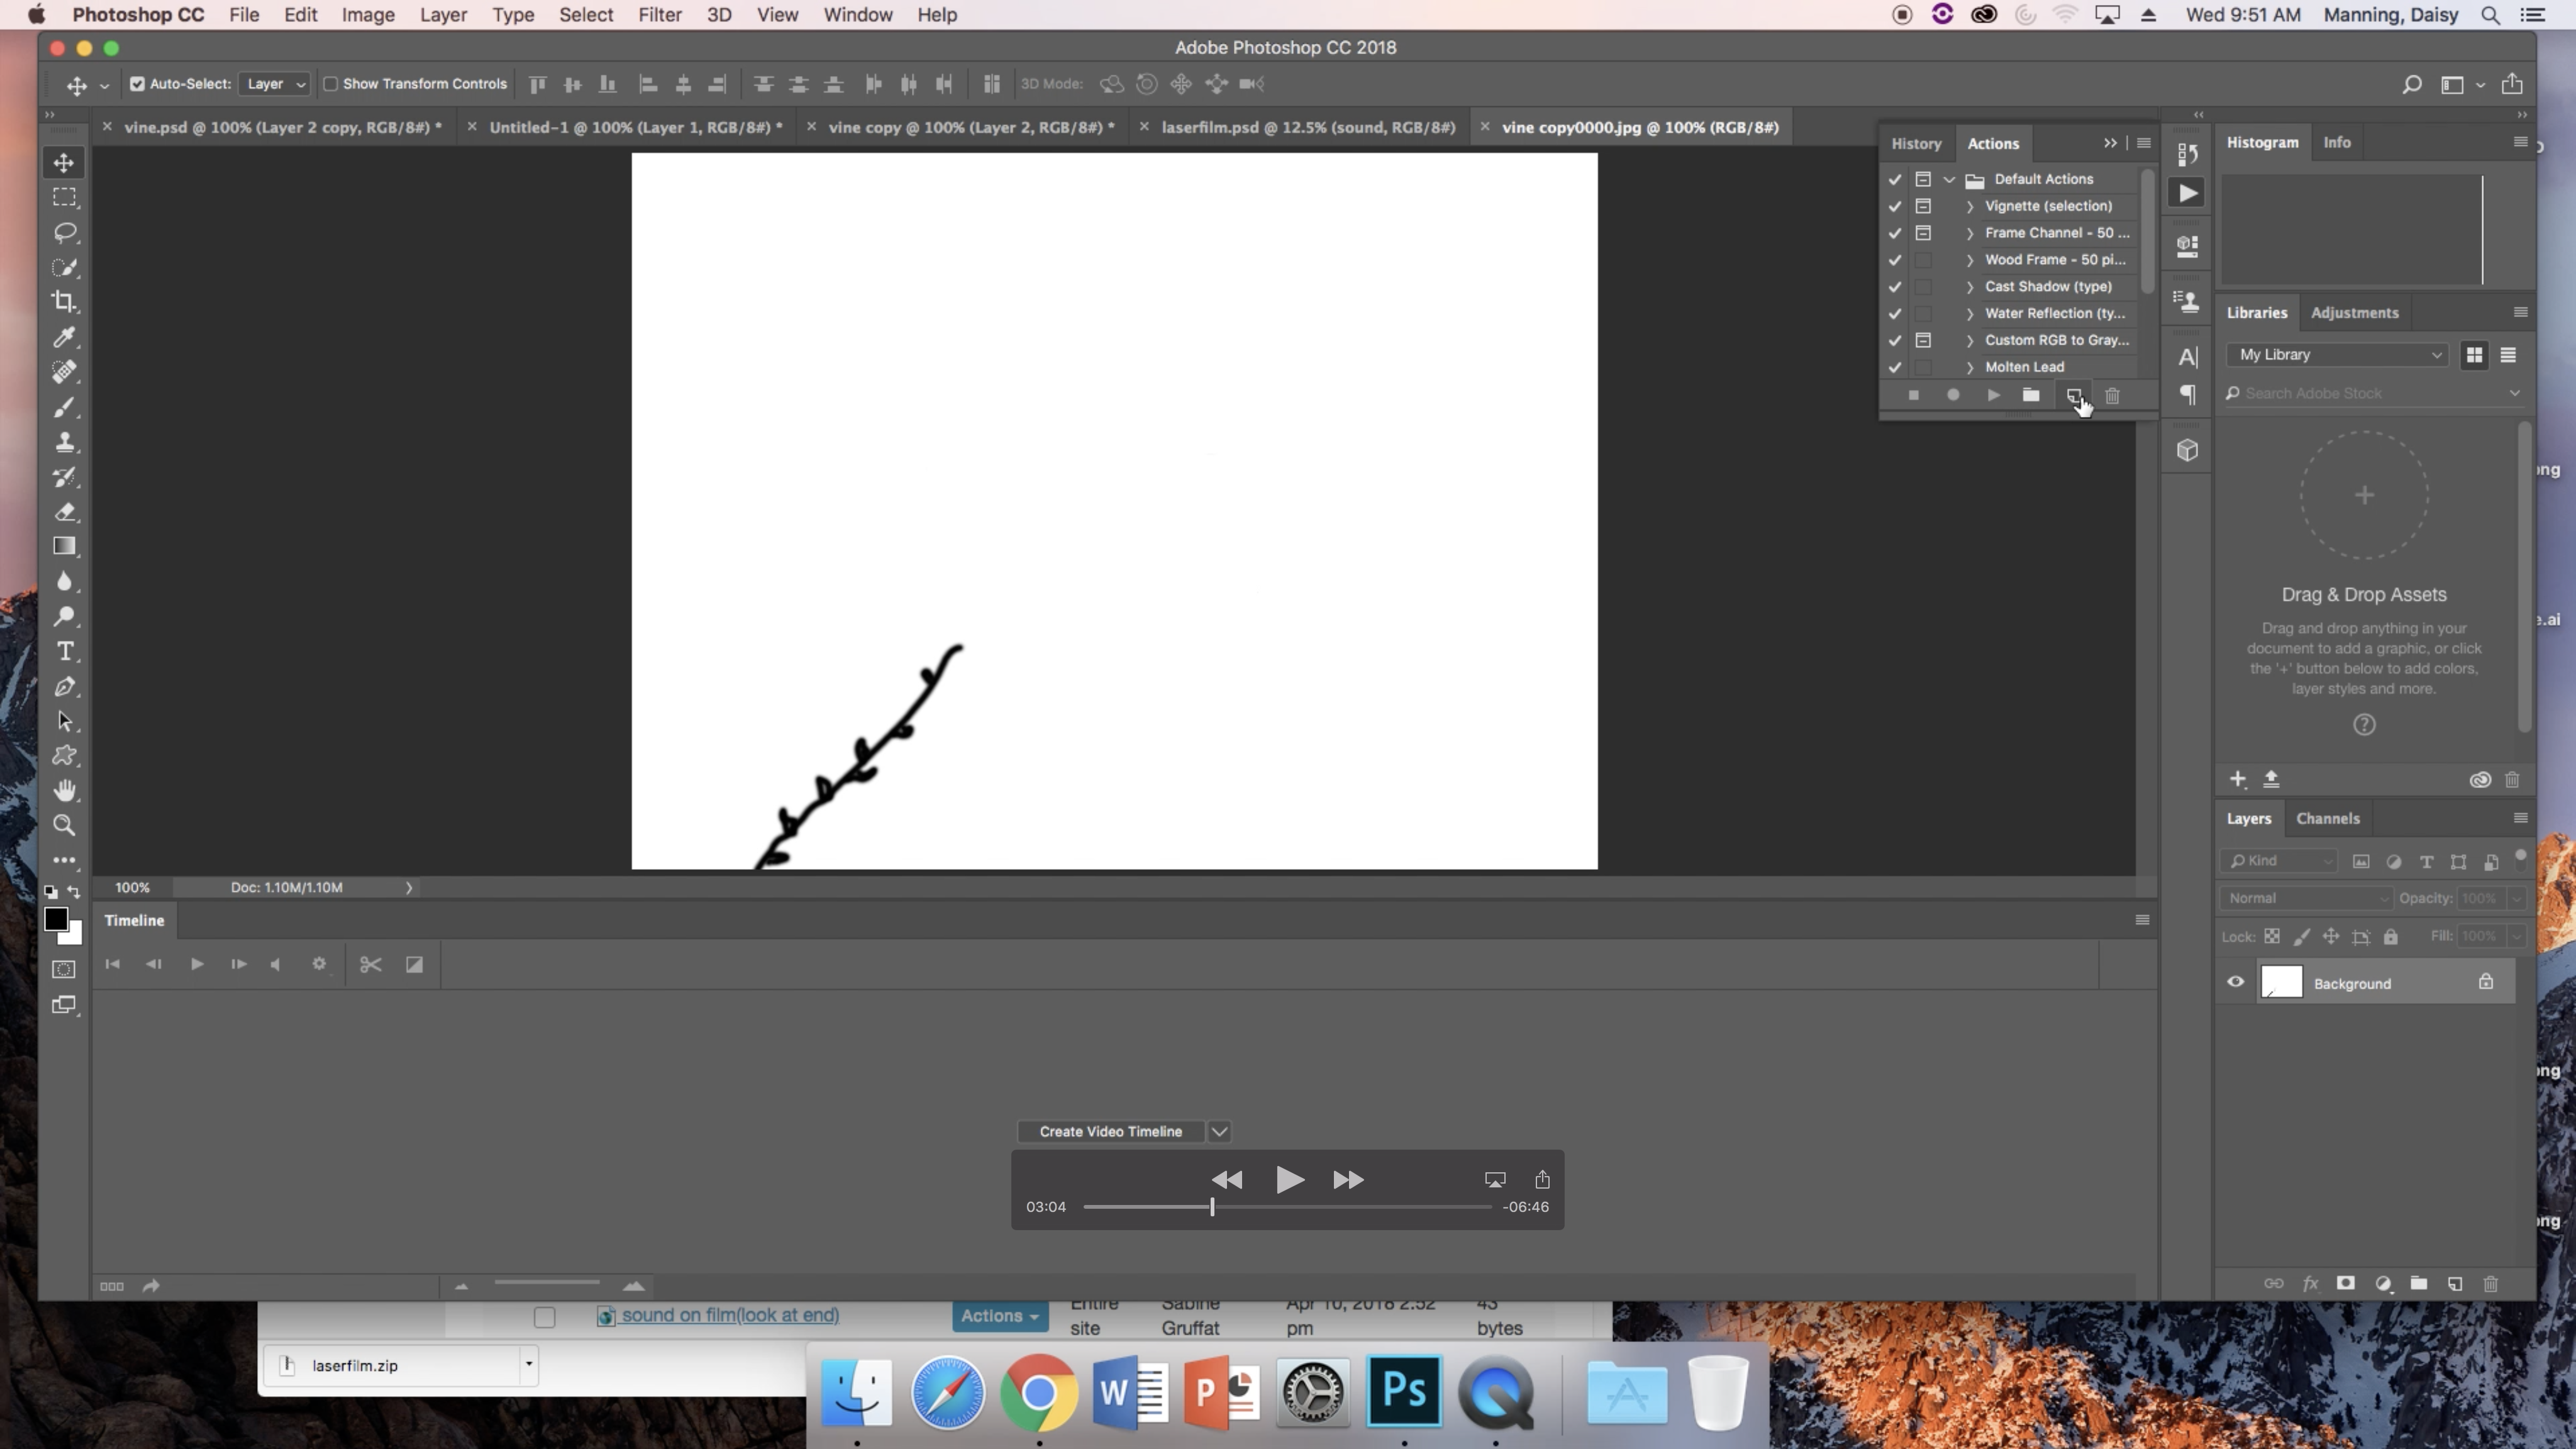
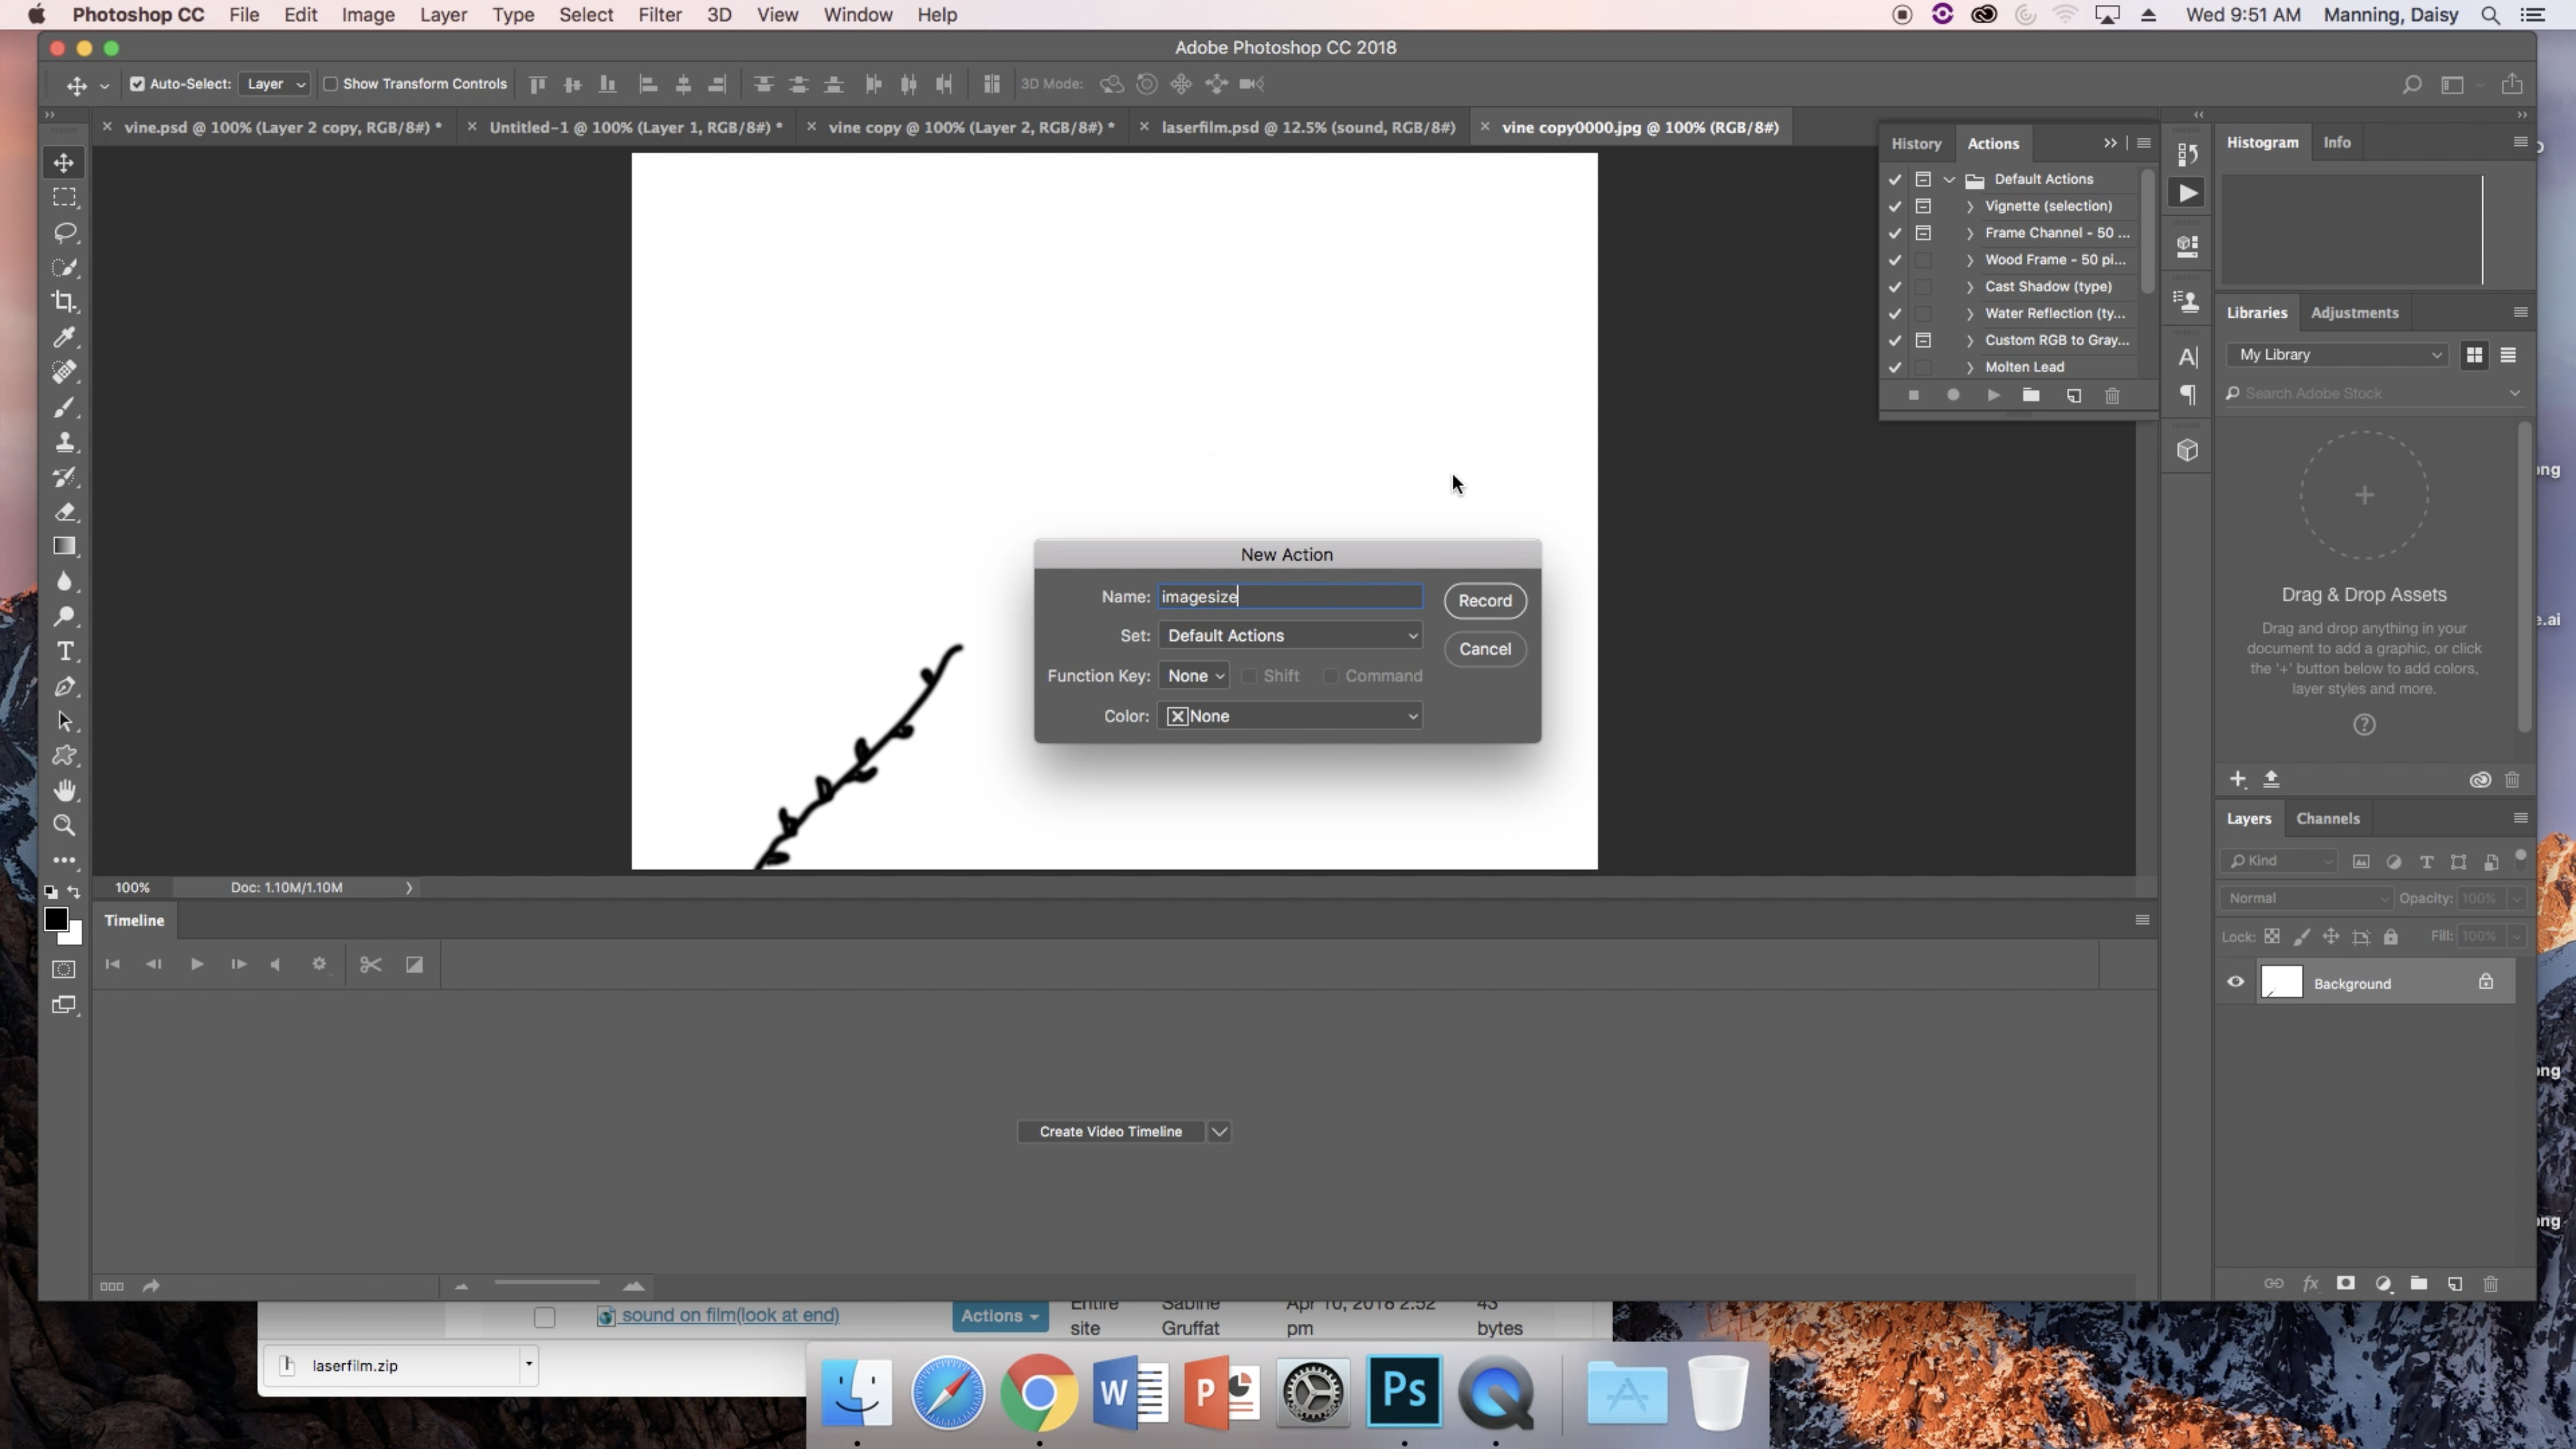
The purpose of opening the .psd file with the film strip layout is because each of the individual frames that you have created will need to be "placed" onto the strip in order to etch the designs. Now, we can start the process that is getting each of those frames onto the strip.
Click "Window" and find "Actions." When you click it, a small popup box will appear in the upper right corner of your screen. Click the partial square button one from the right side on the bottom row of this popup box before you begin the next steps of the process. It will prompt you with a popup asking you to save your action. Name it what you would like, save and continue.
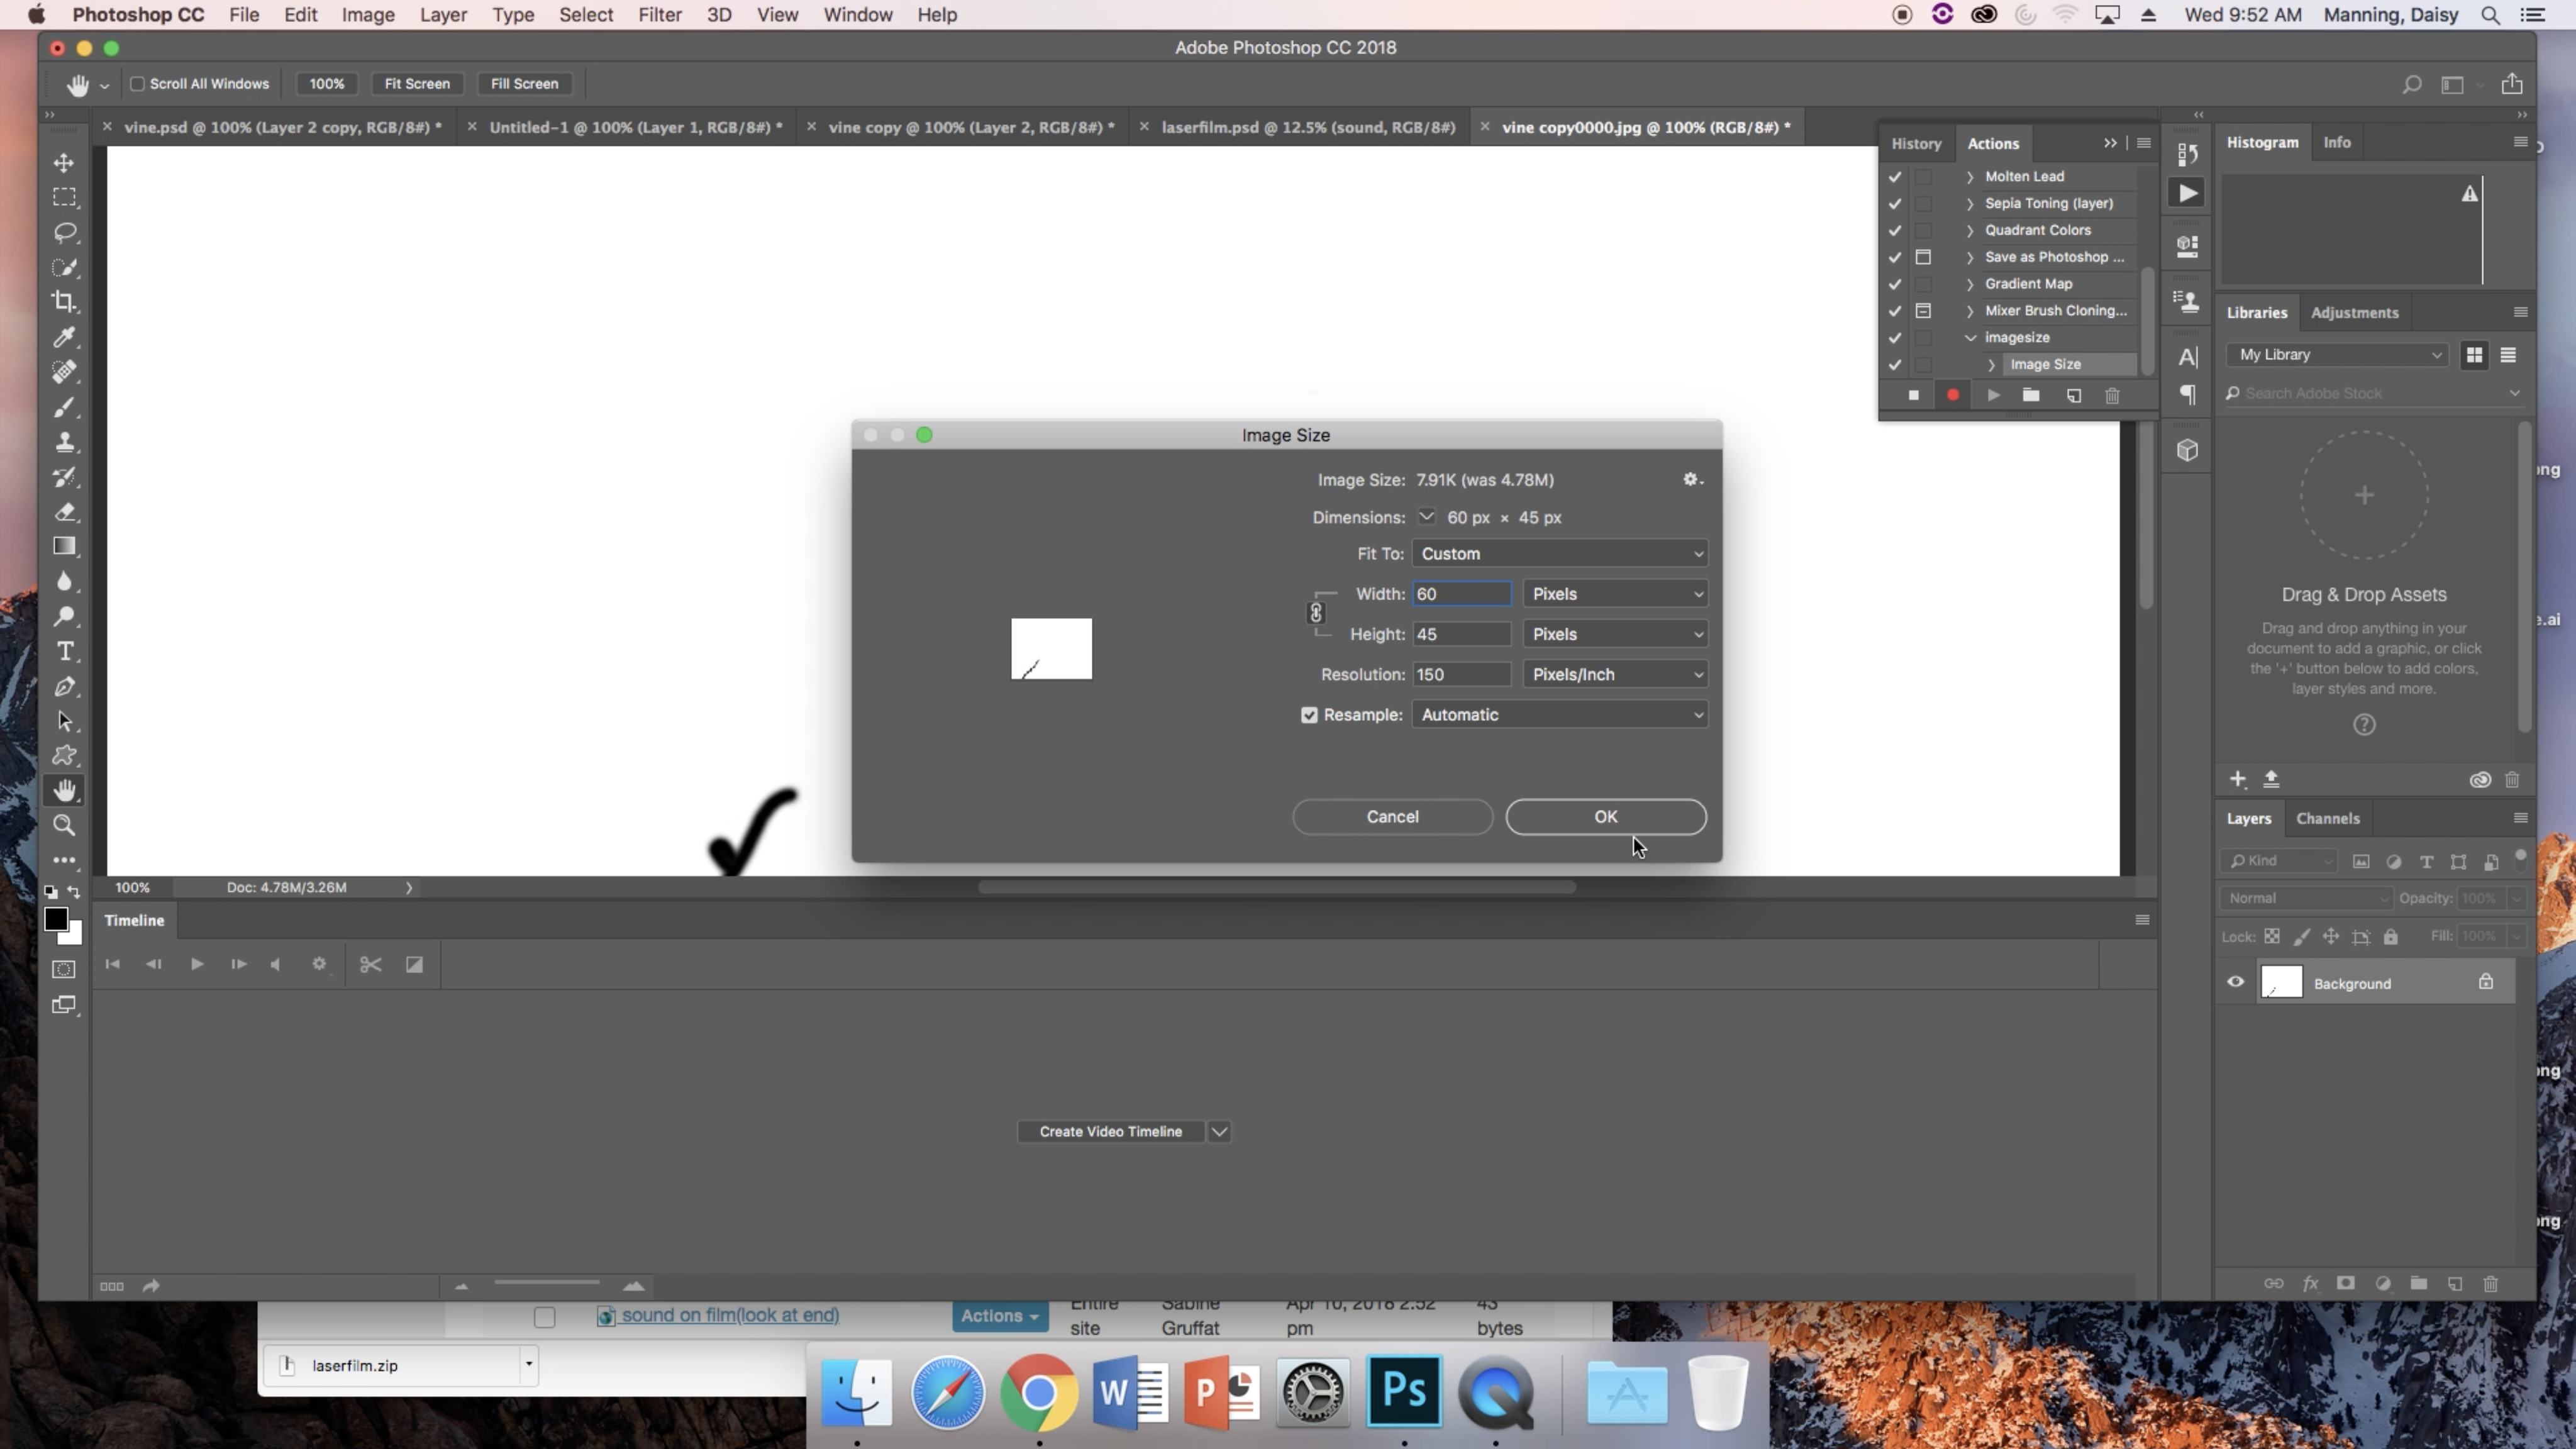
Click "File," "Open" and go to the first of the frames from your sequence, and open it. Then, click "Image" and "Image Size." Now is when you'll have to shrink down the images on each frame. Make the resolution 150 pixels/inch, the width 60 pixels and the height 45 pixels. This fits the image to the size that it needs to be in order to fit on the film strip. Click the round stop button on the upper right hand corner popup box.
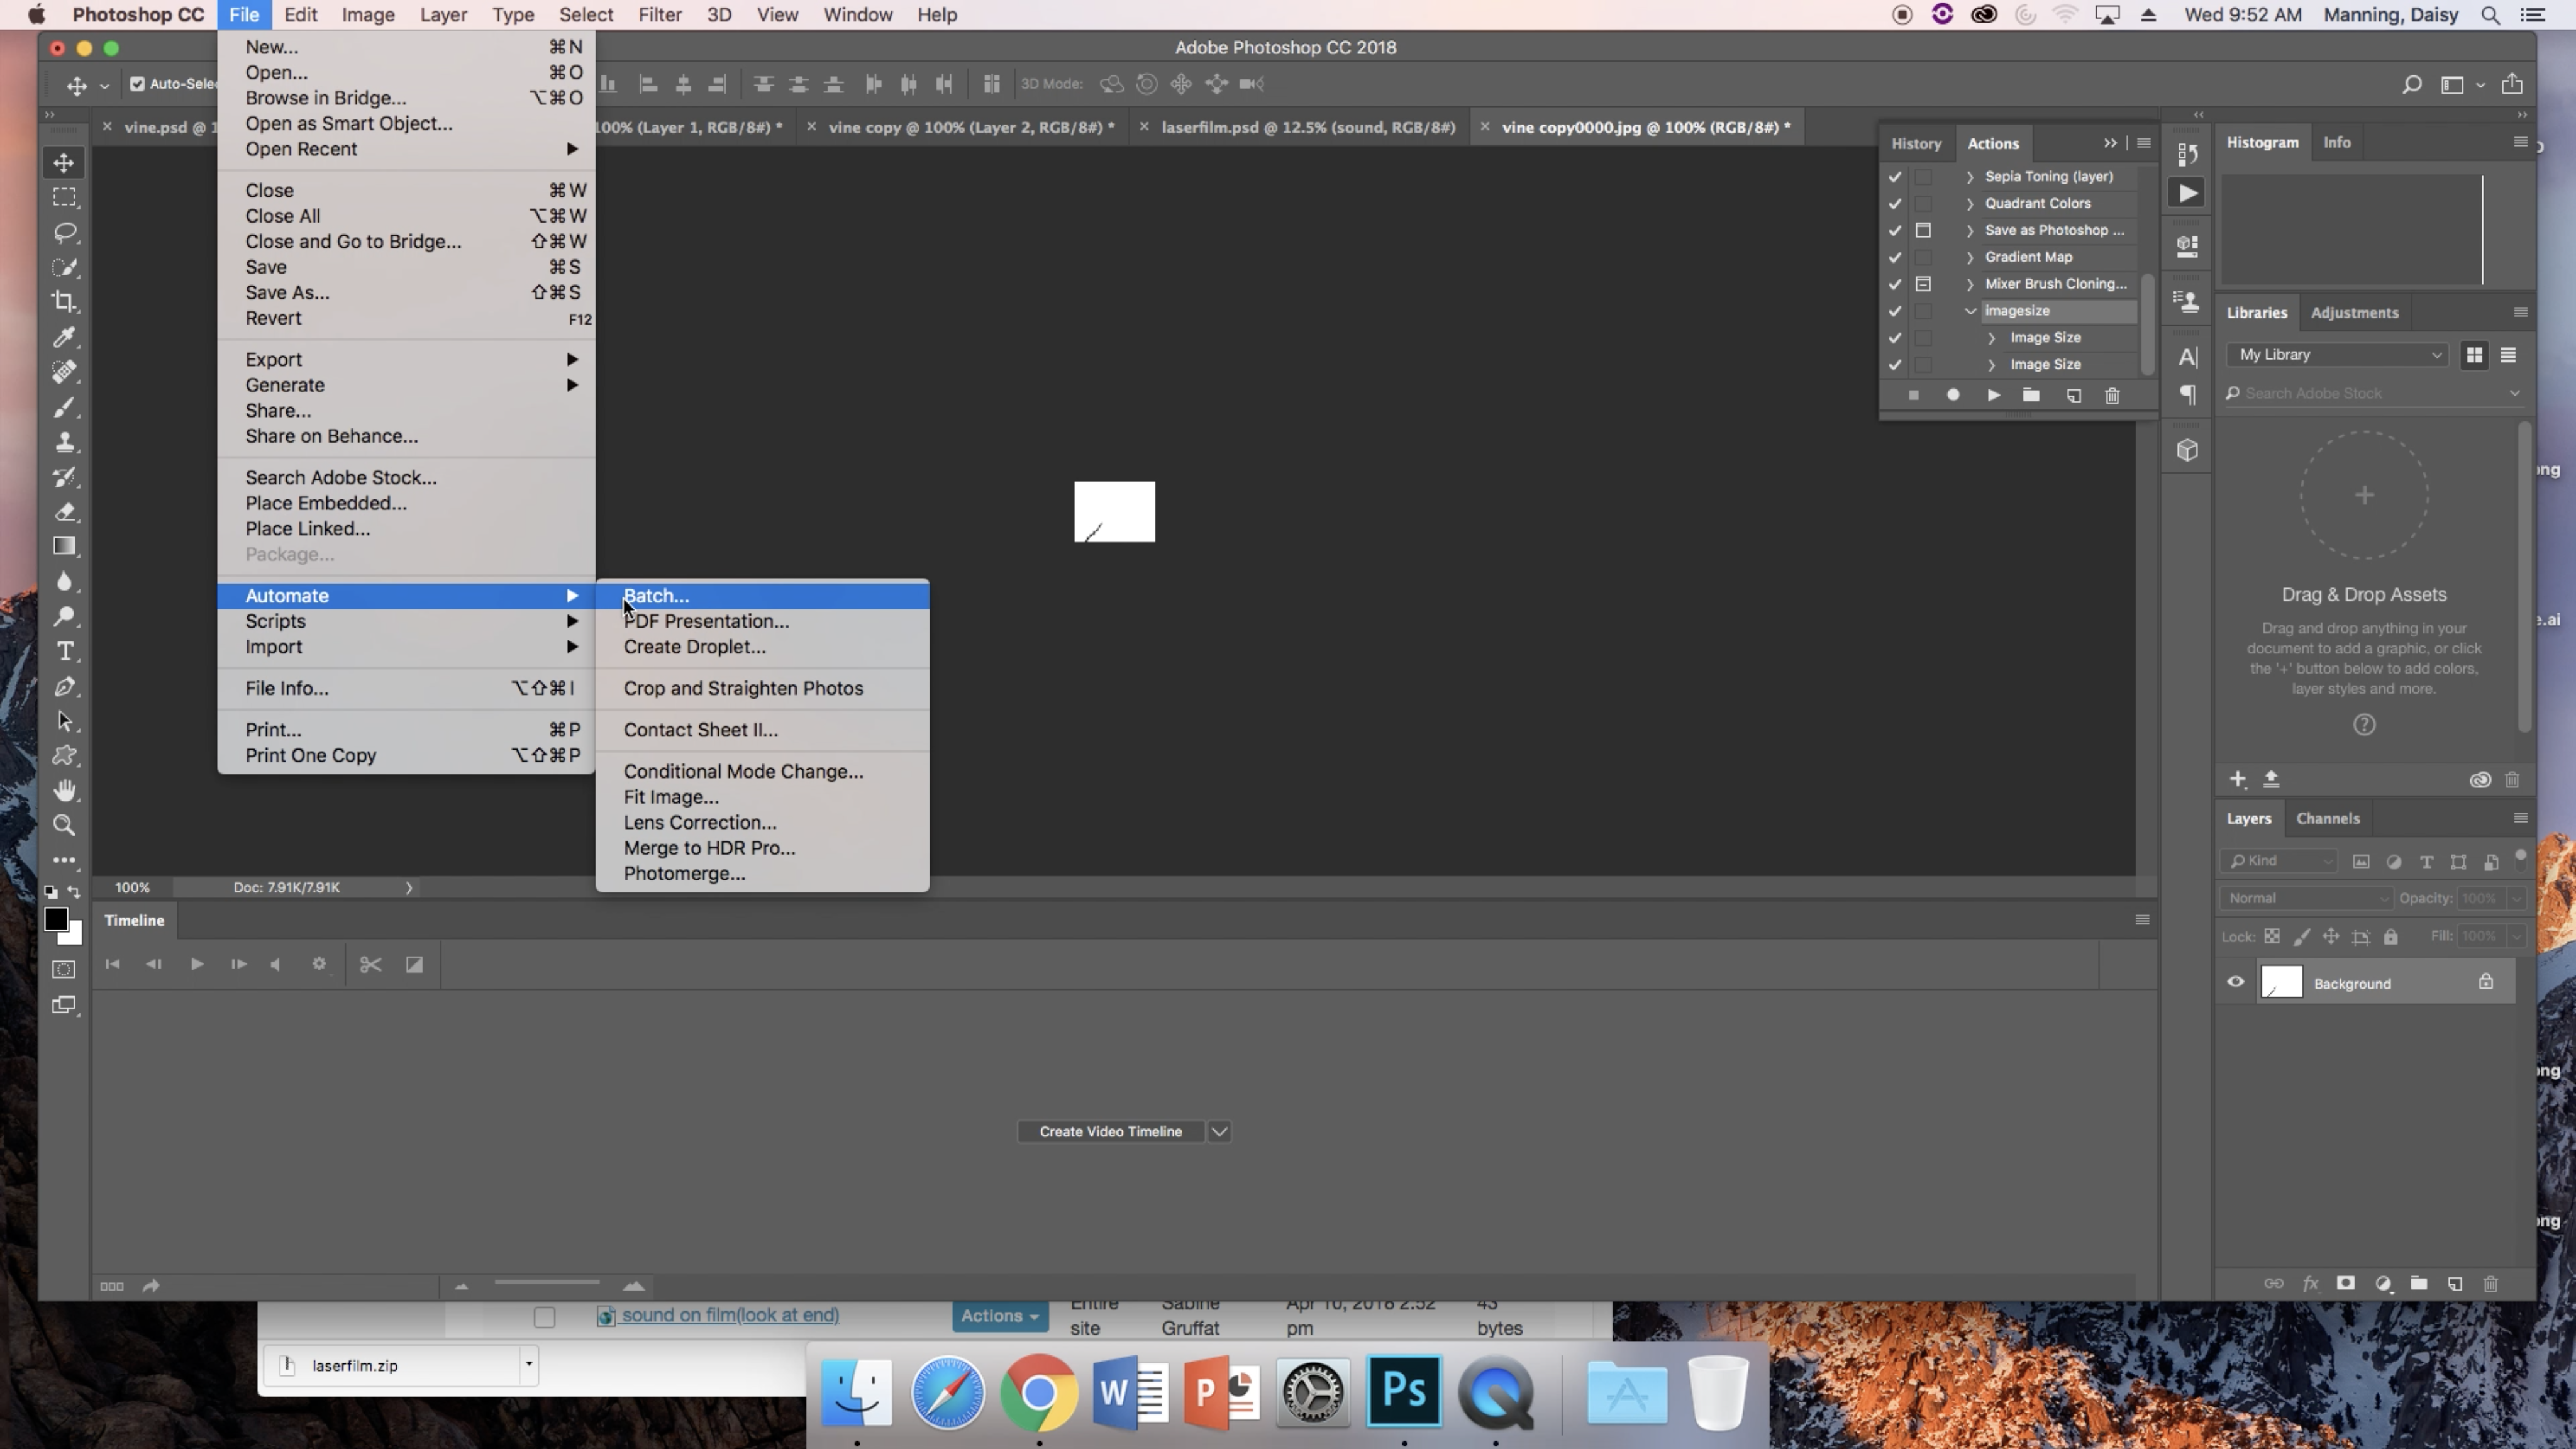
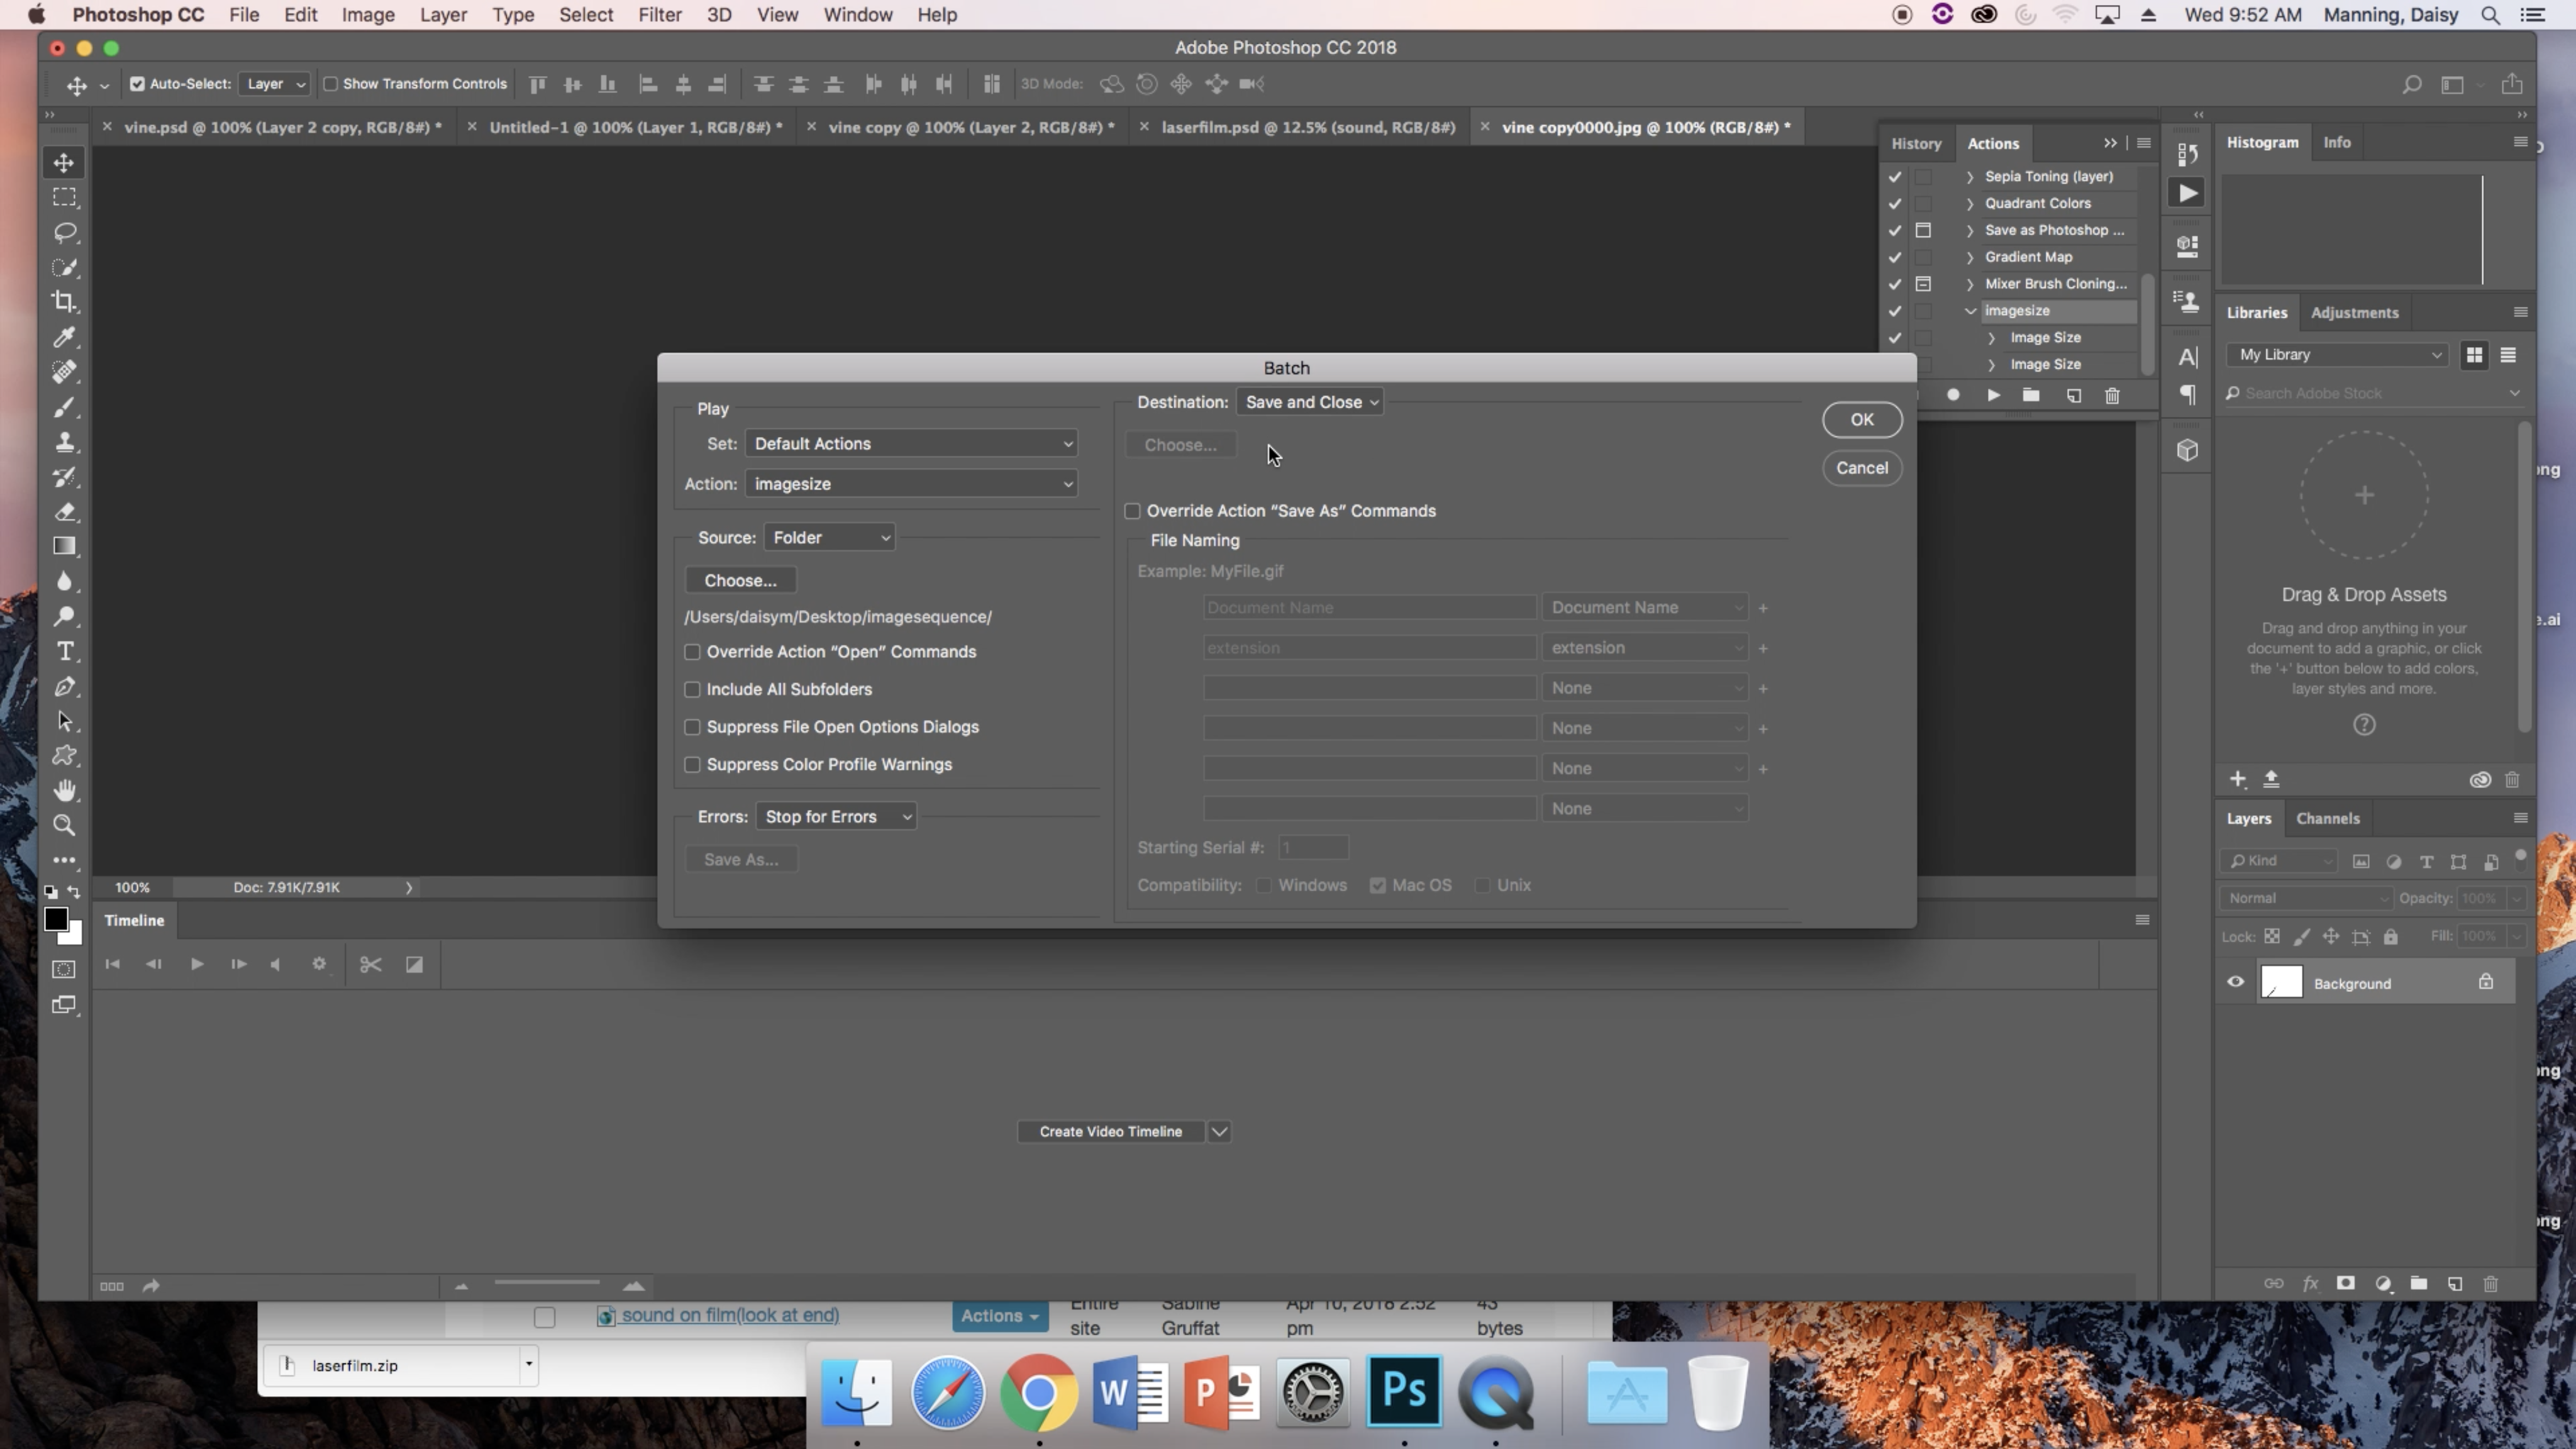
Then, click "File," "Automate" and "Batch." This will open each of your saved frames and adjust them to the settings that you just gave to your first image. When you're prompted with another popup box, choose the folder (or create one) where you want the images to be saved. Choose the "save and close" option so that after each image is adjusted to size it is closed back out.
Export to Adobe Illustrator Pt. 5
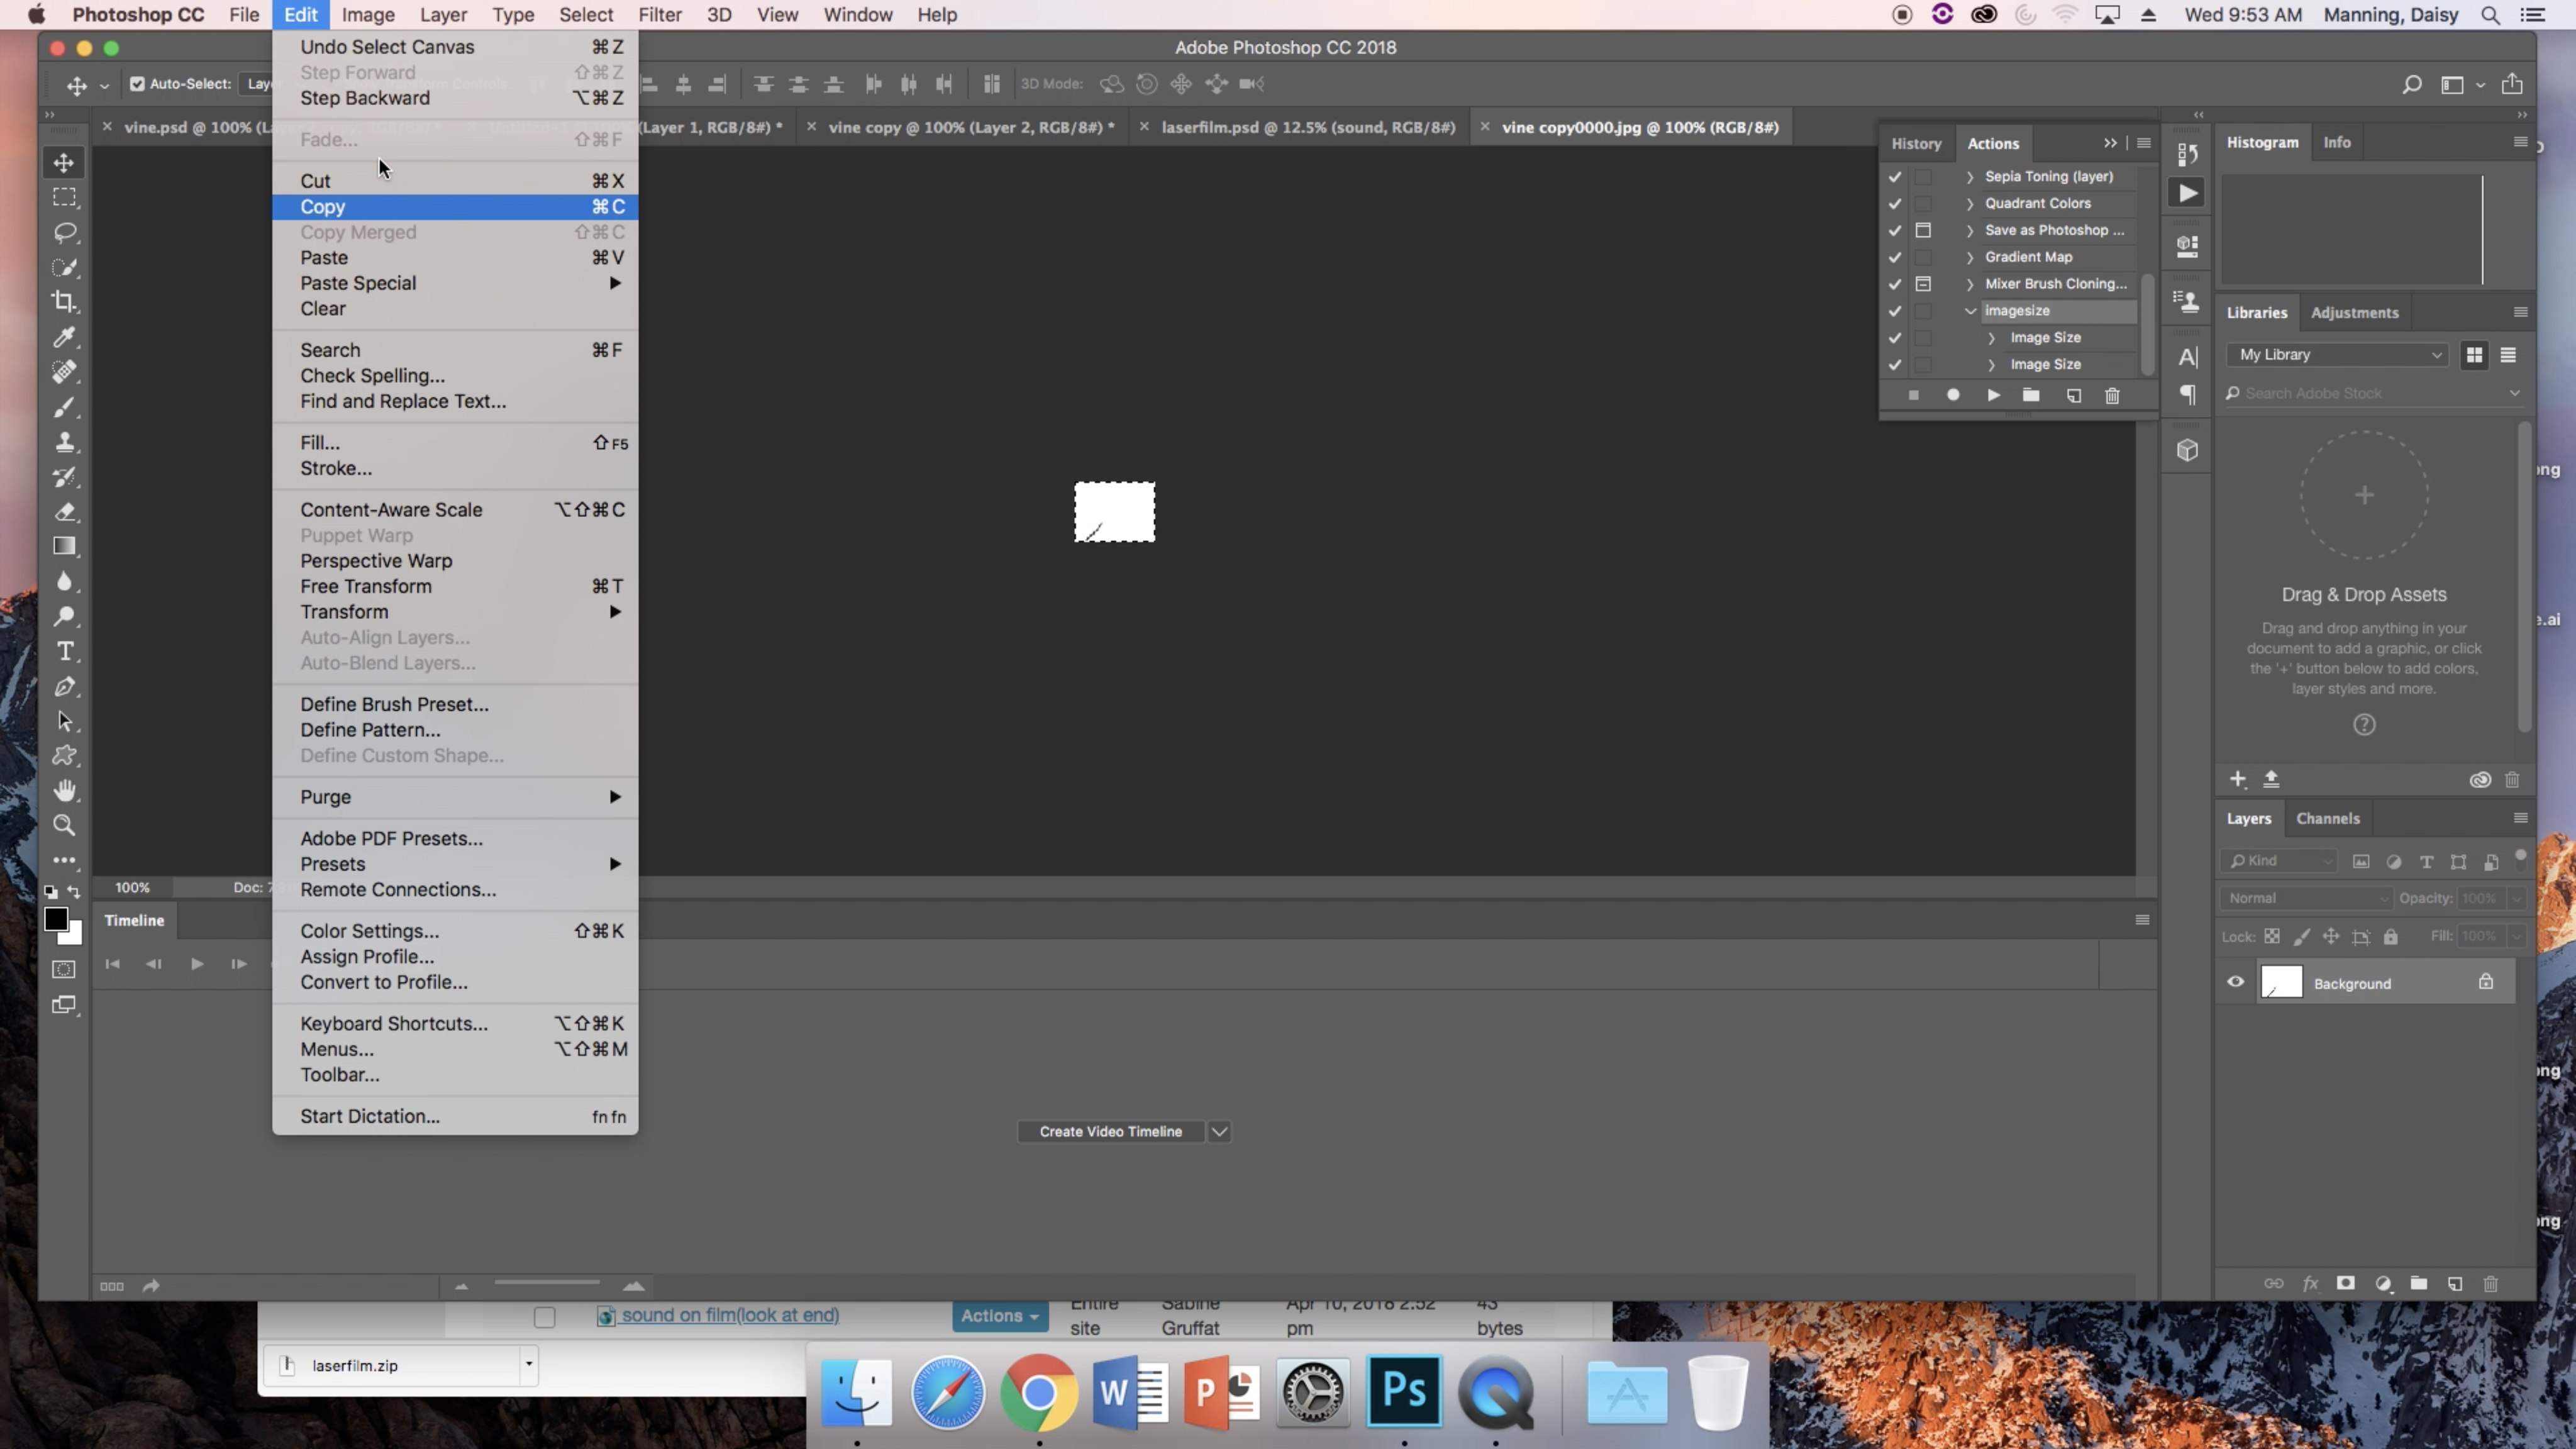
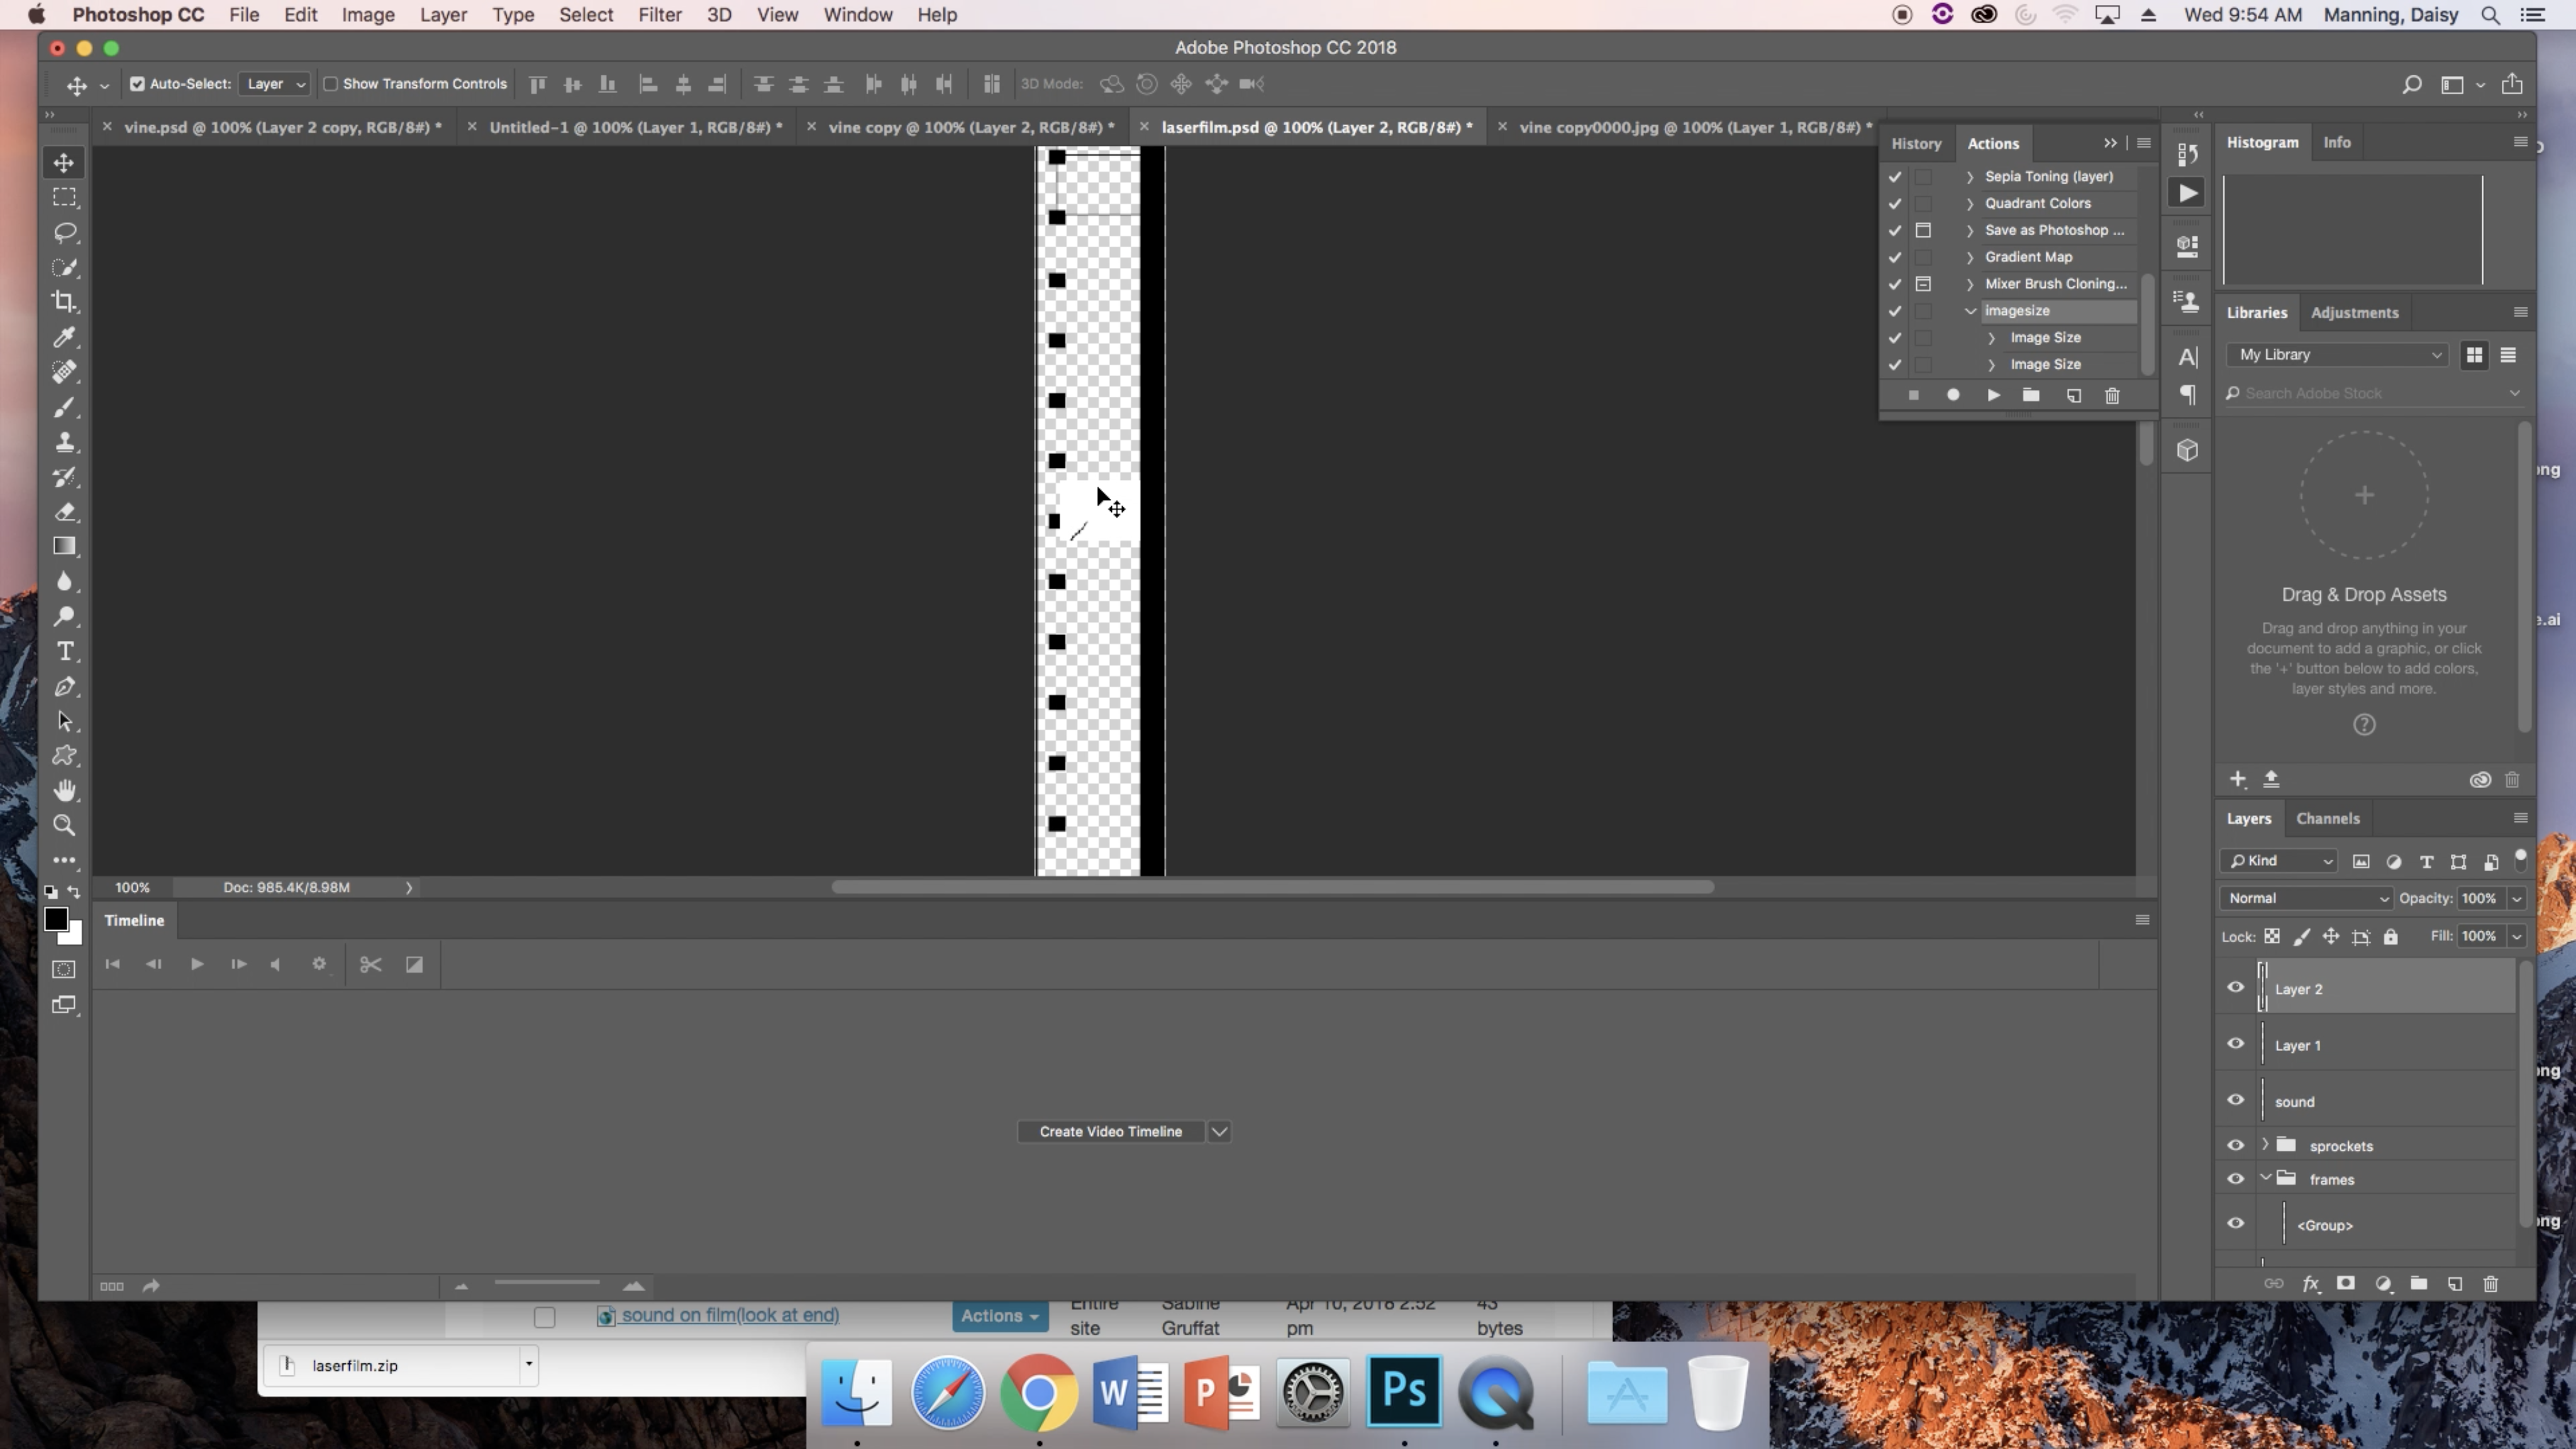
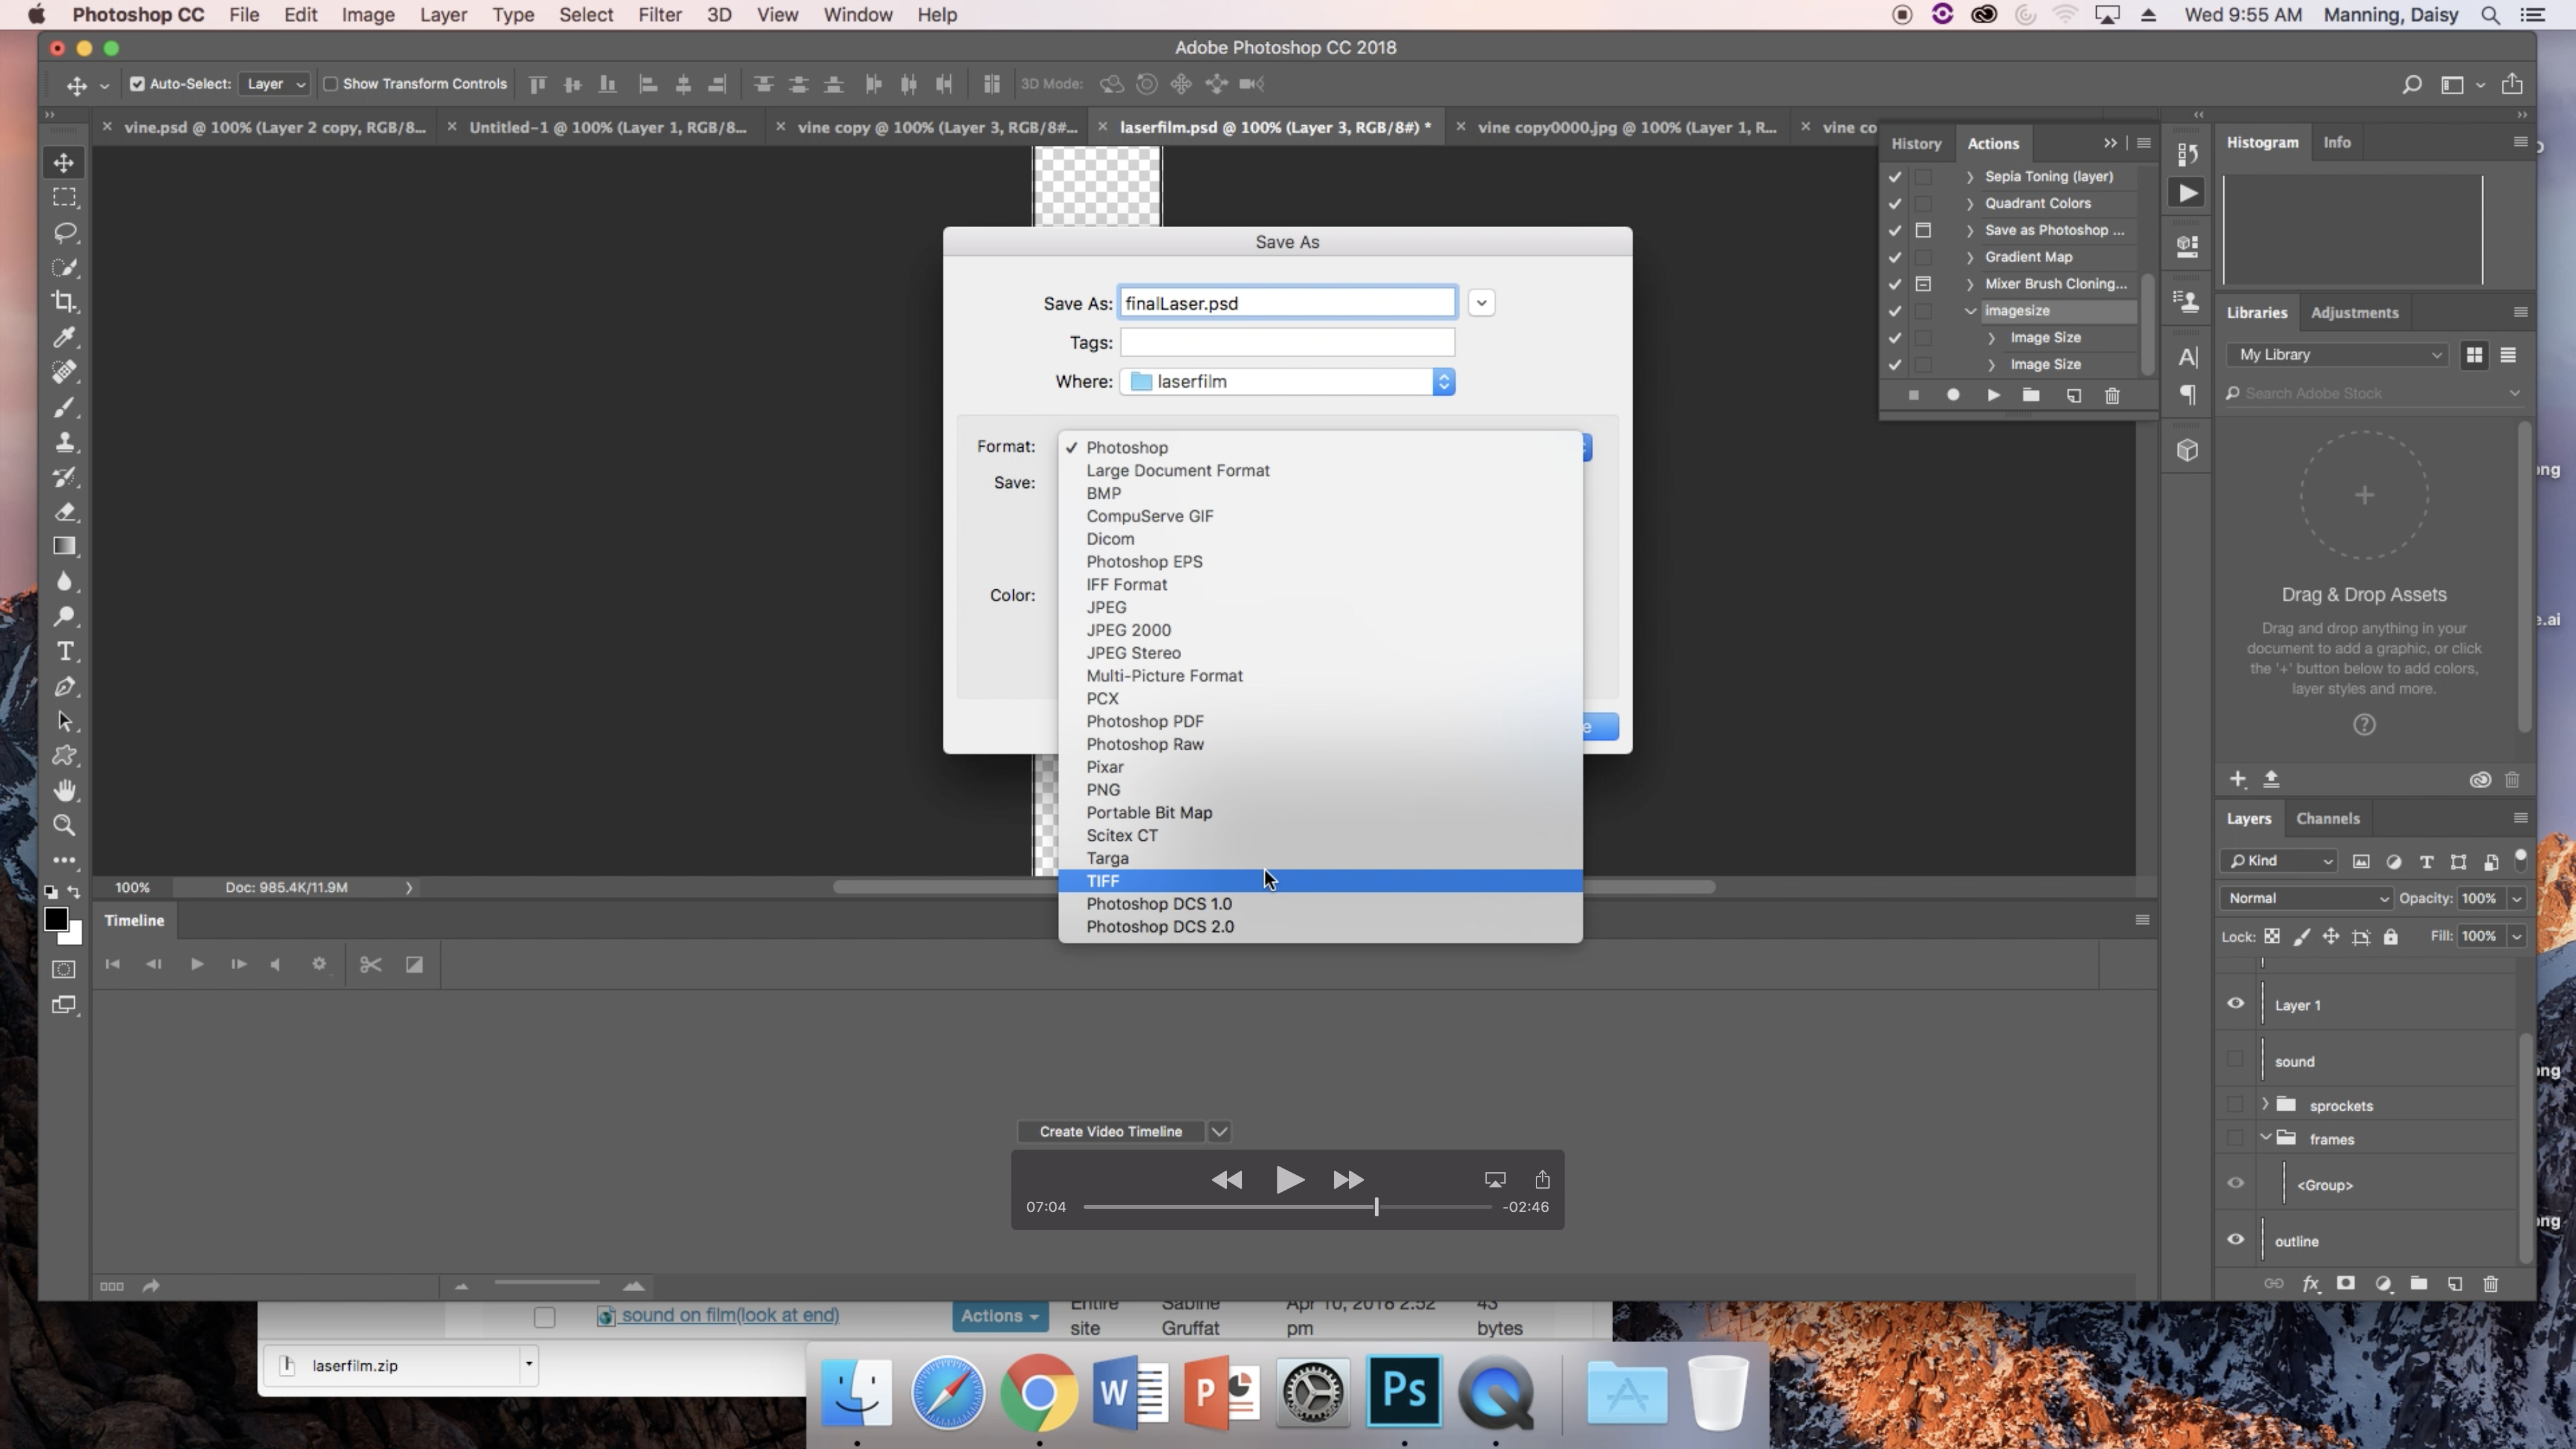
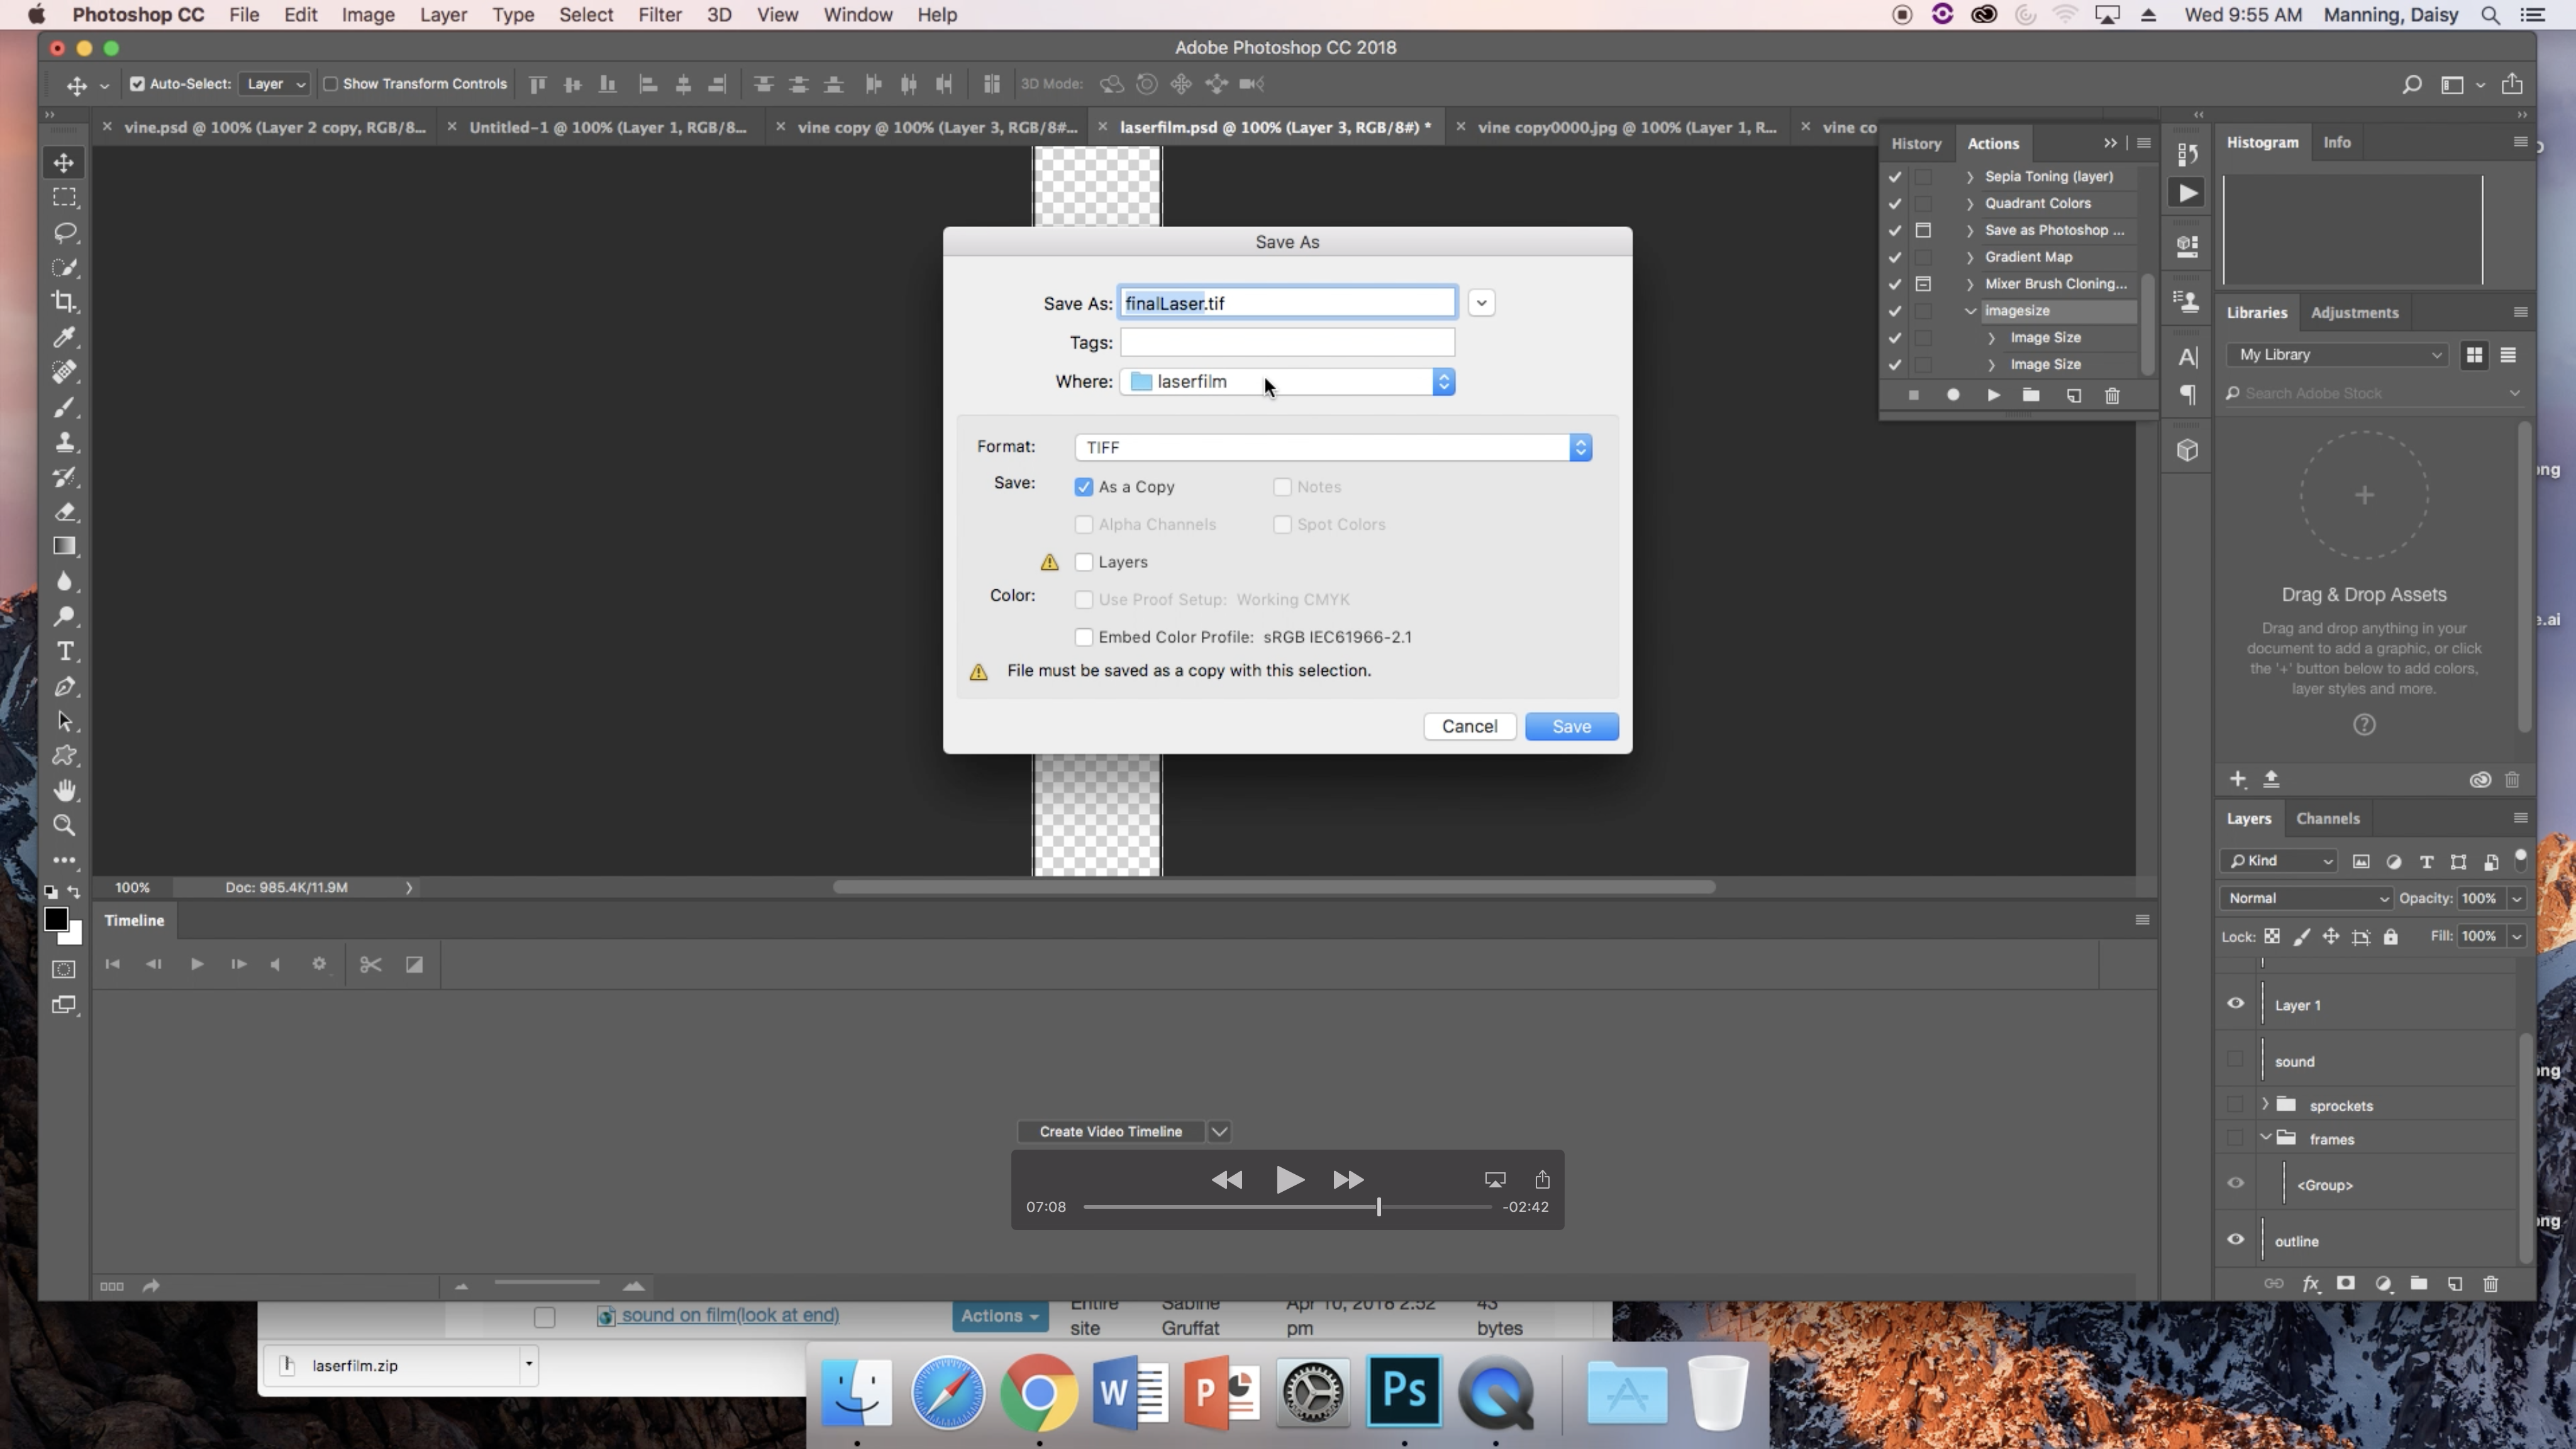
The final steps of this long process are to copy and paste each frame onto the film strip template. Unfortunately, this means clicking "File," "Open" a lot, and each time opening one of your frames. If you only have a few frames, this won't take very long. If you have 48 frames, it may take some time, so be prepared. Copy each image and paste it onto the template, then move the images around so that they are perfectly lined up on the film strip.
When you've finished that, click "File," "Save As." You'll need to change the format to "TIFF," deselect "Layers" and select "As a Copy."
Illustrator
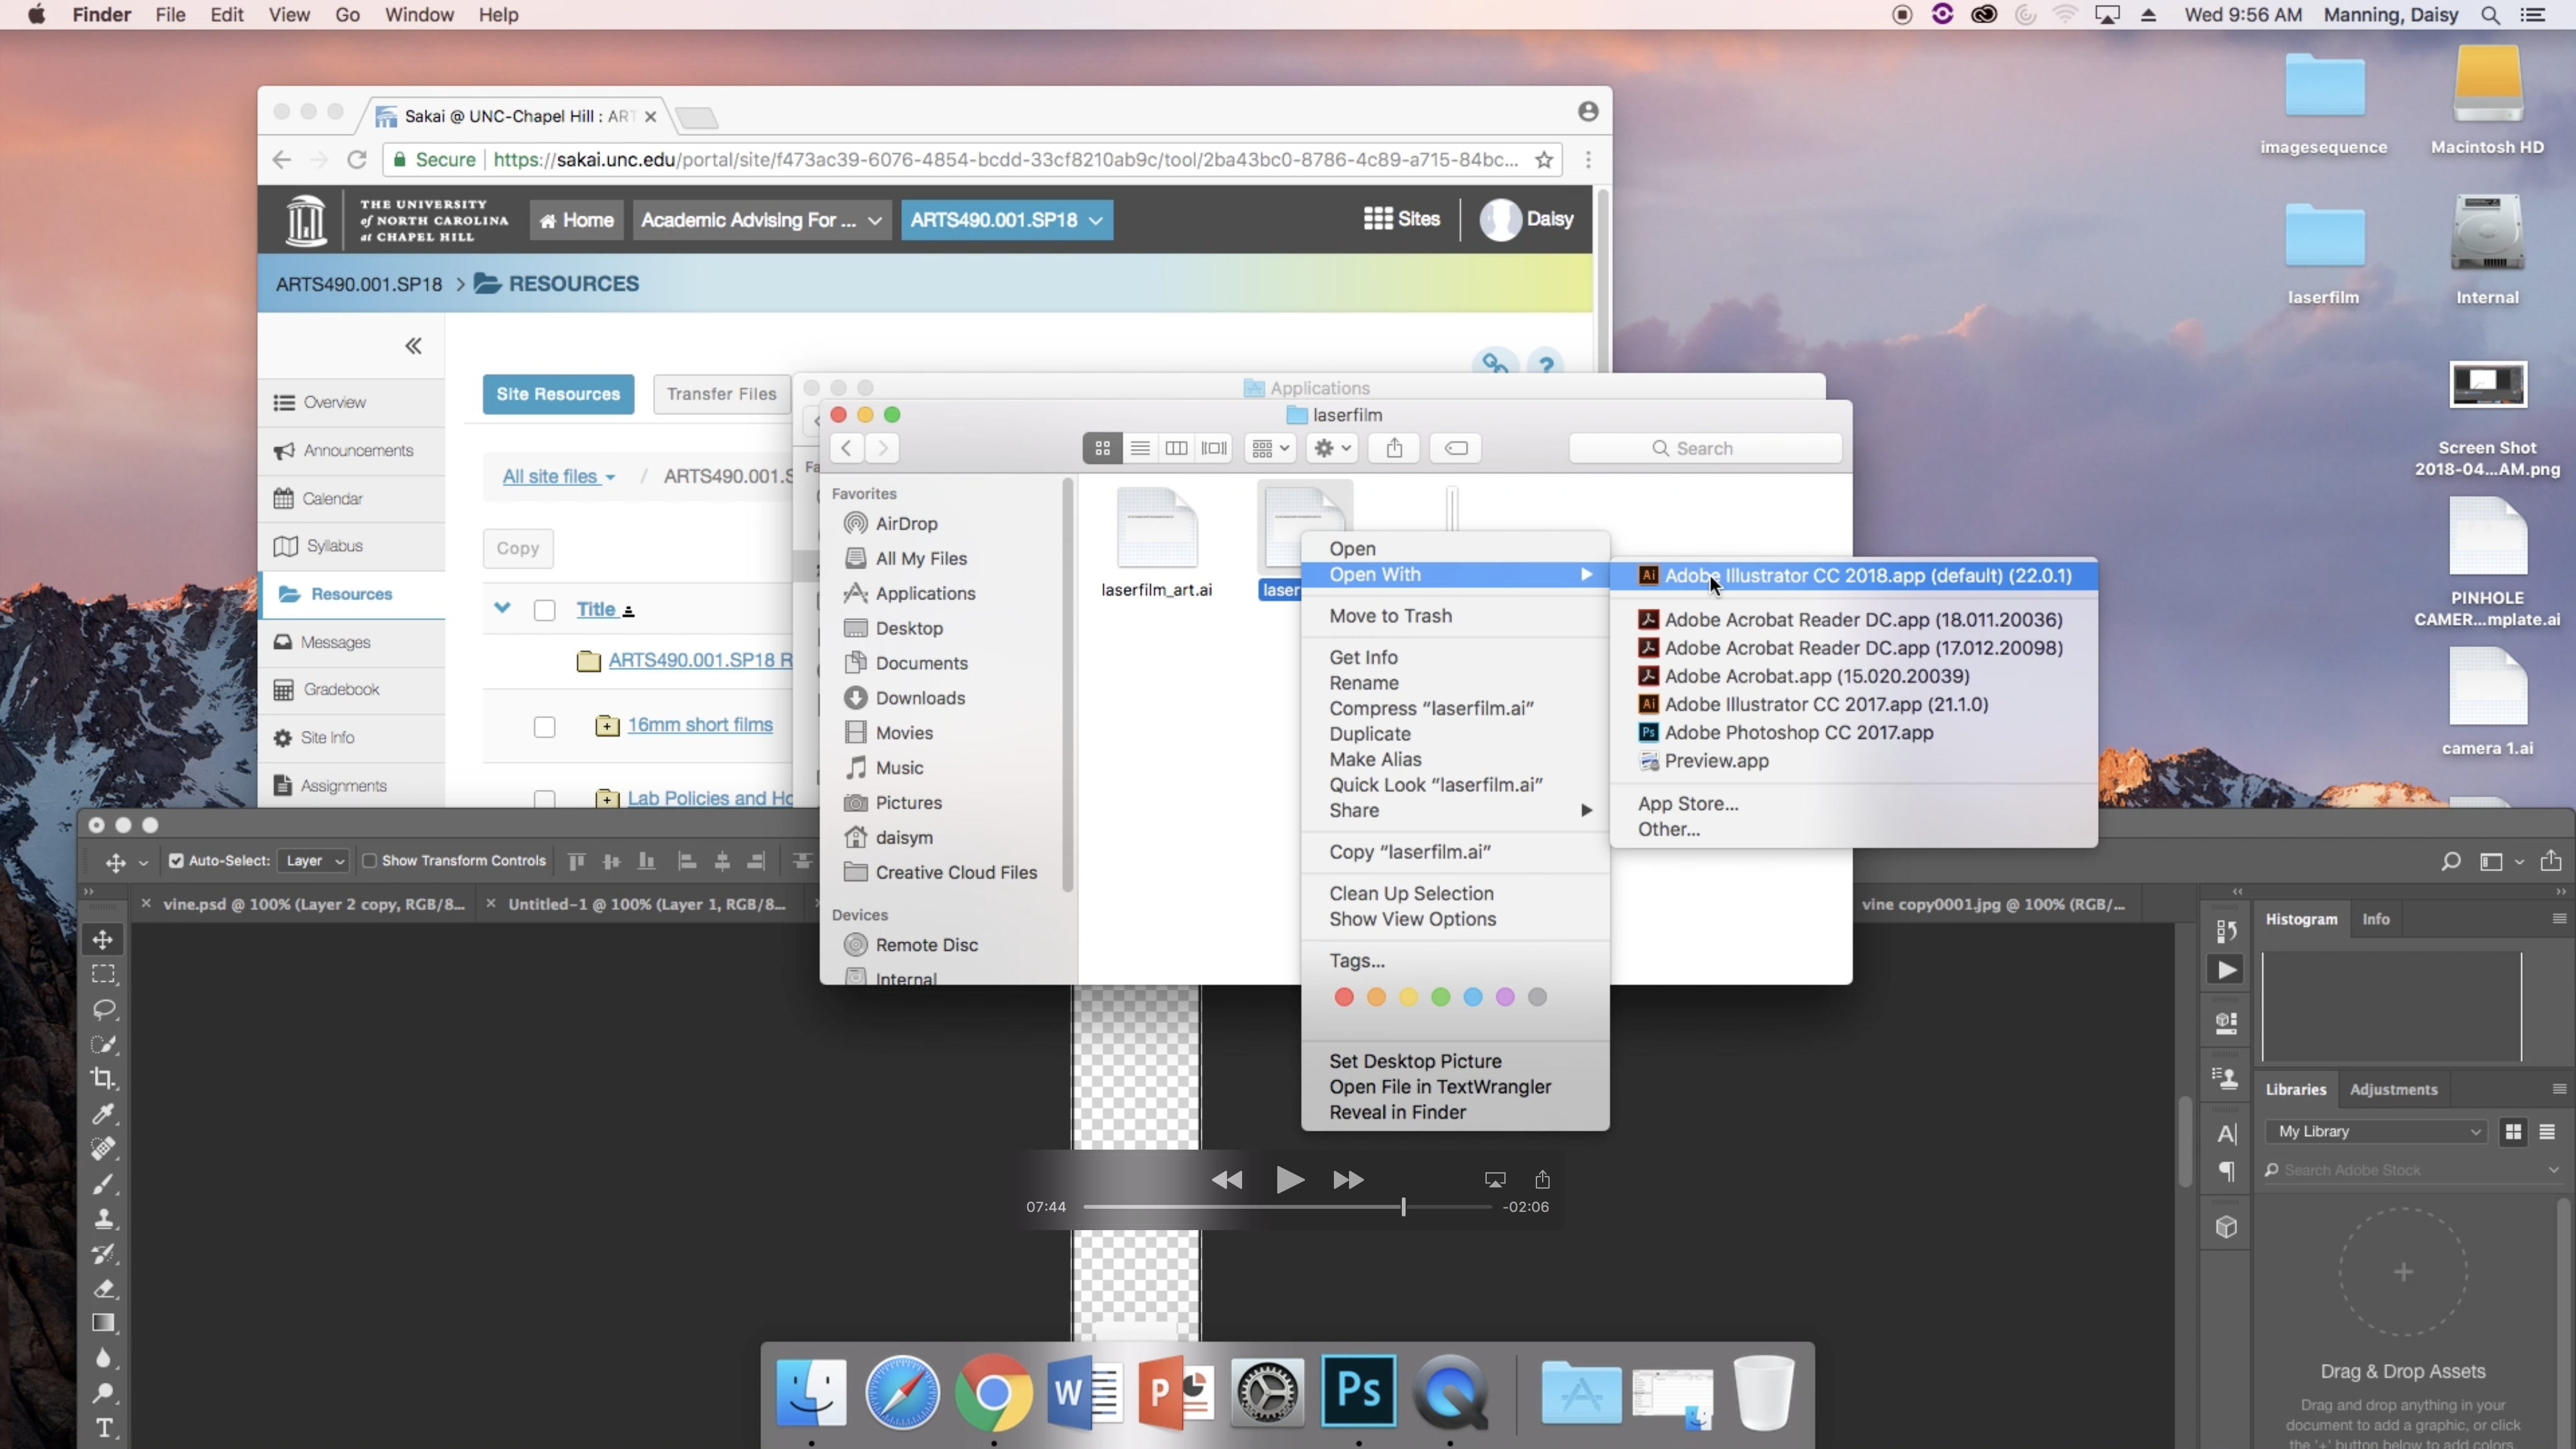
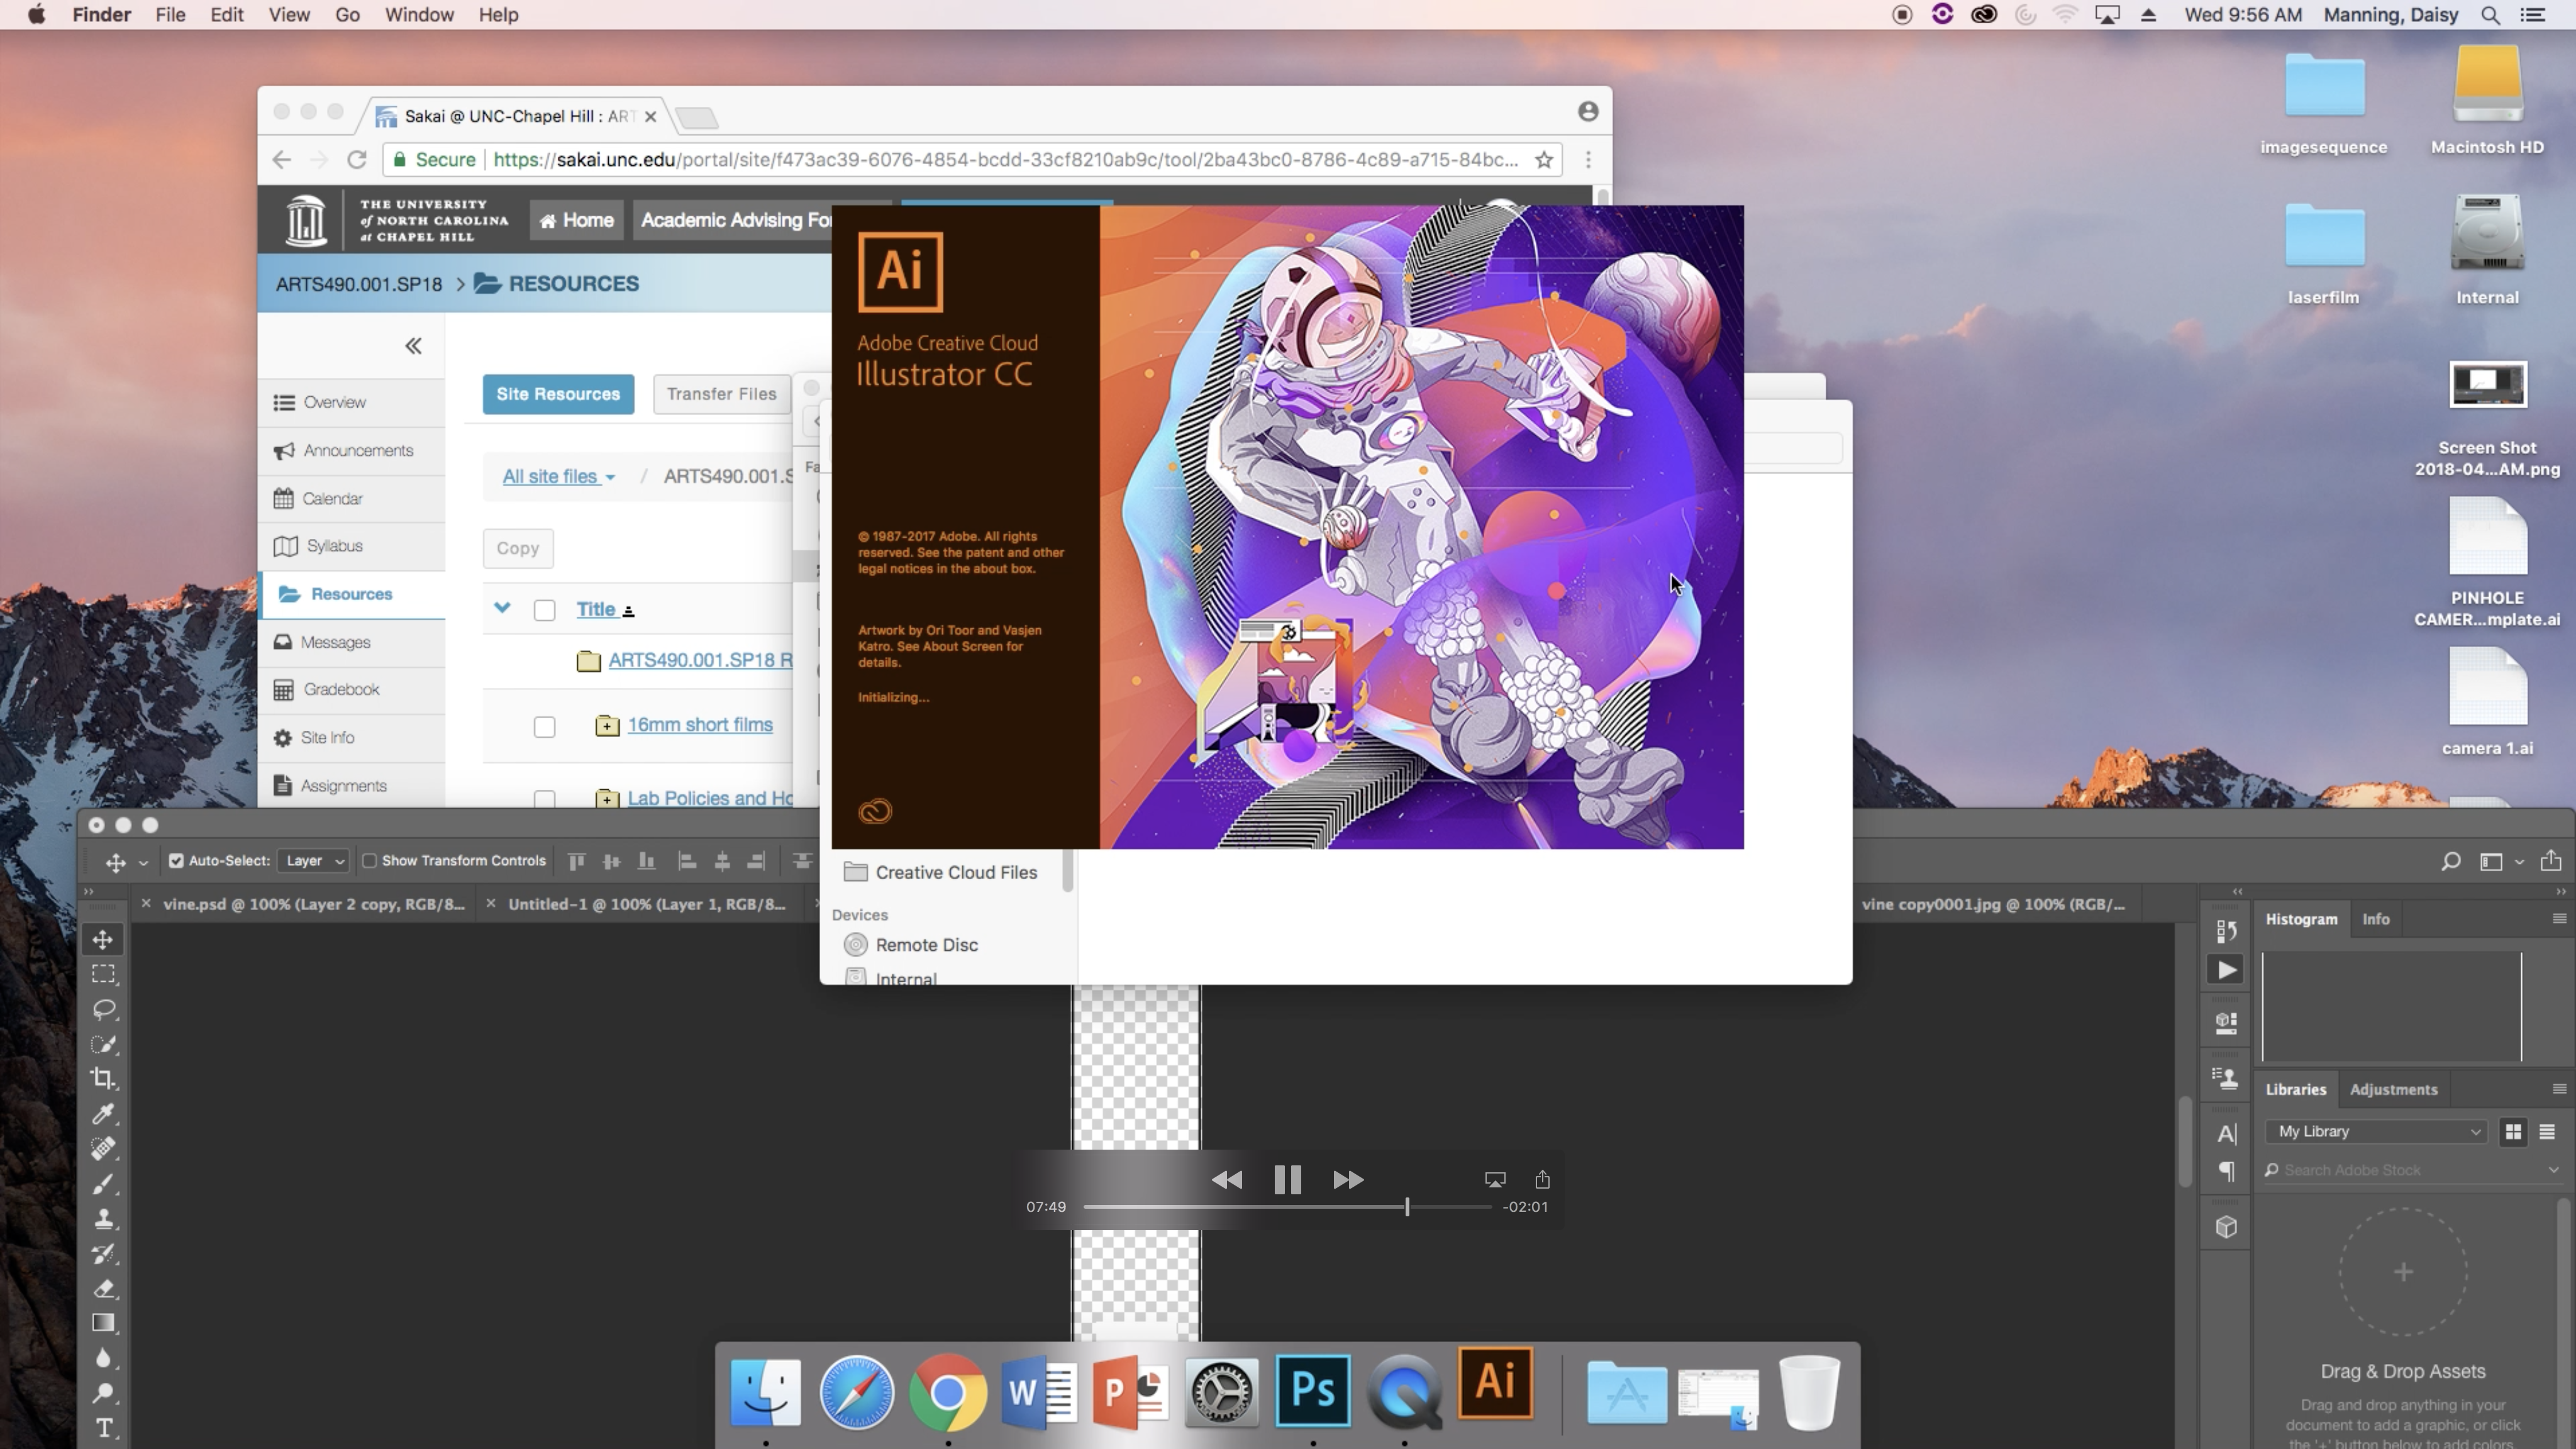
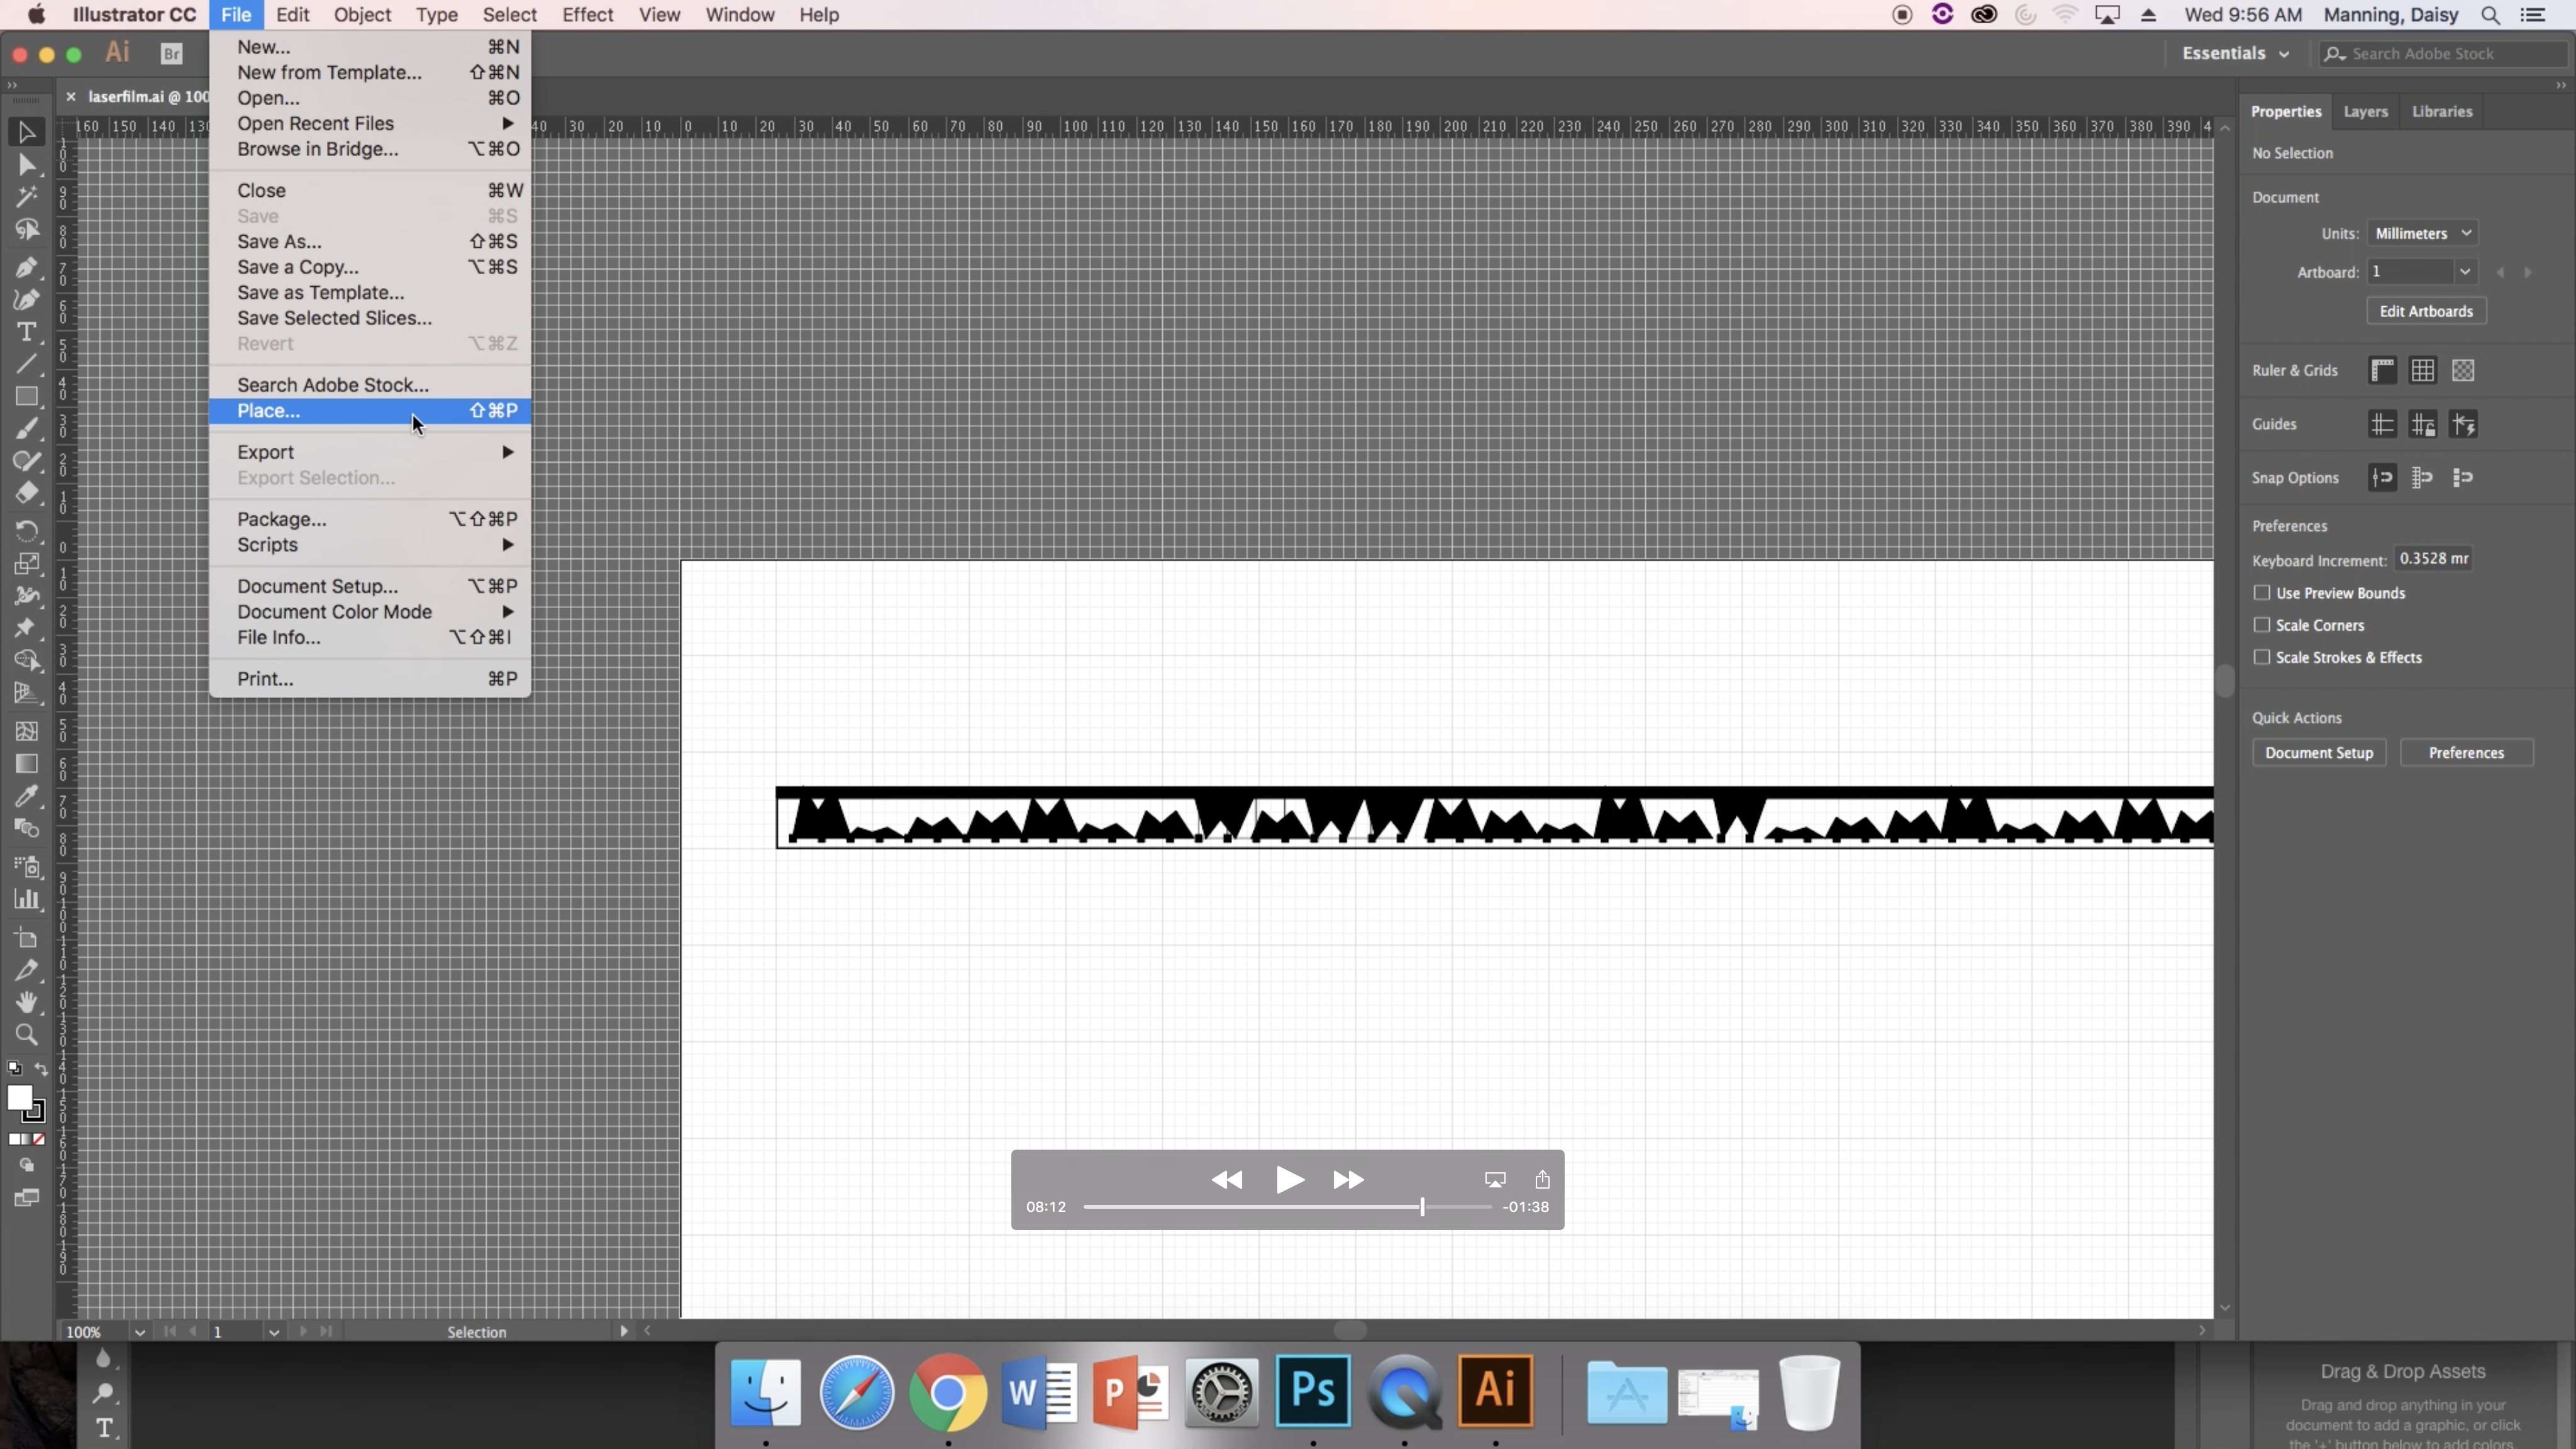
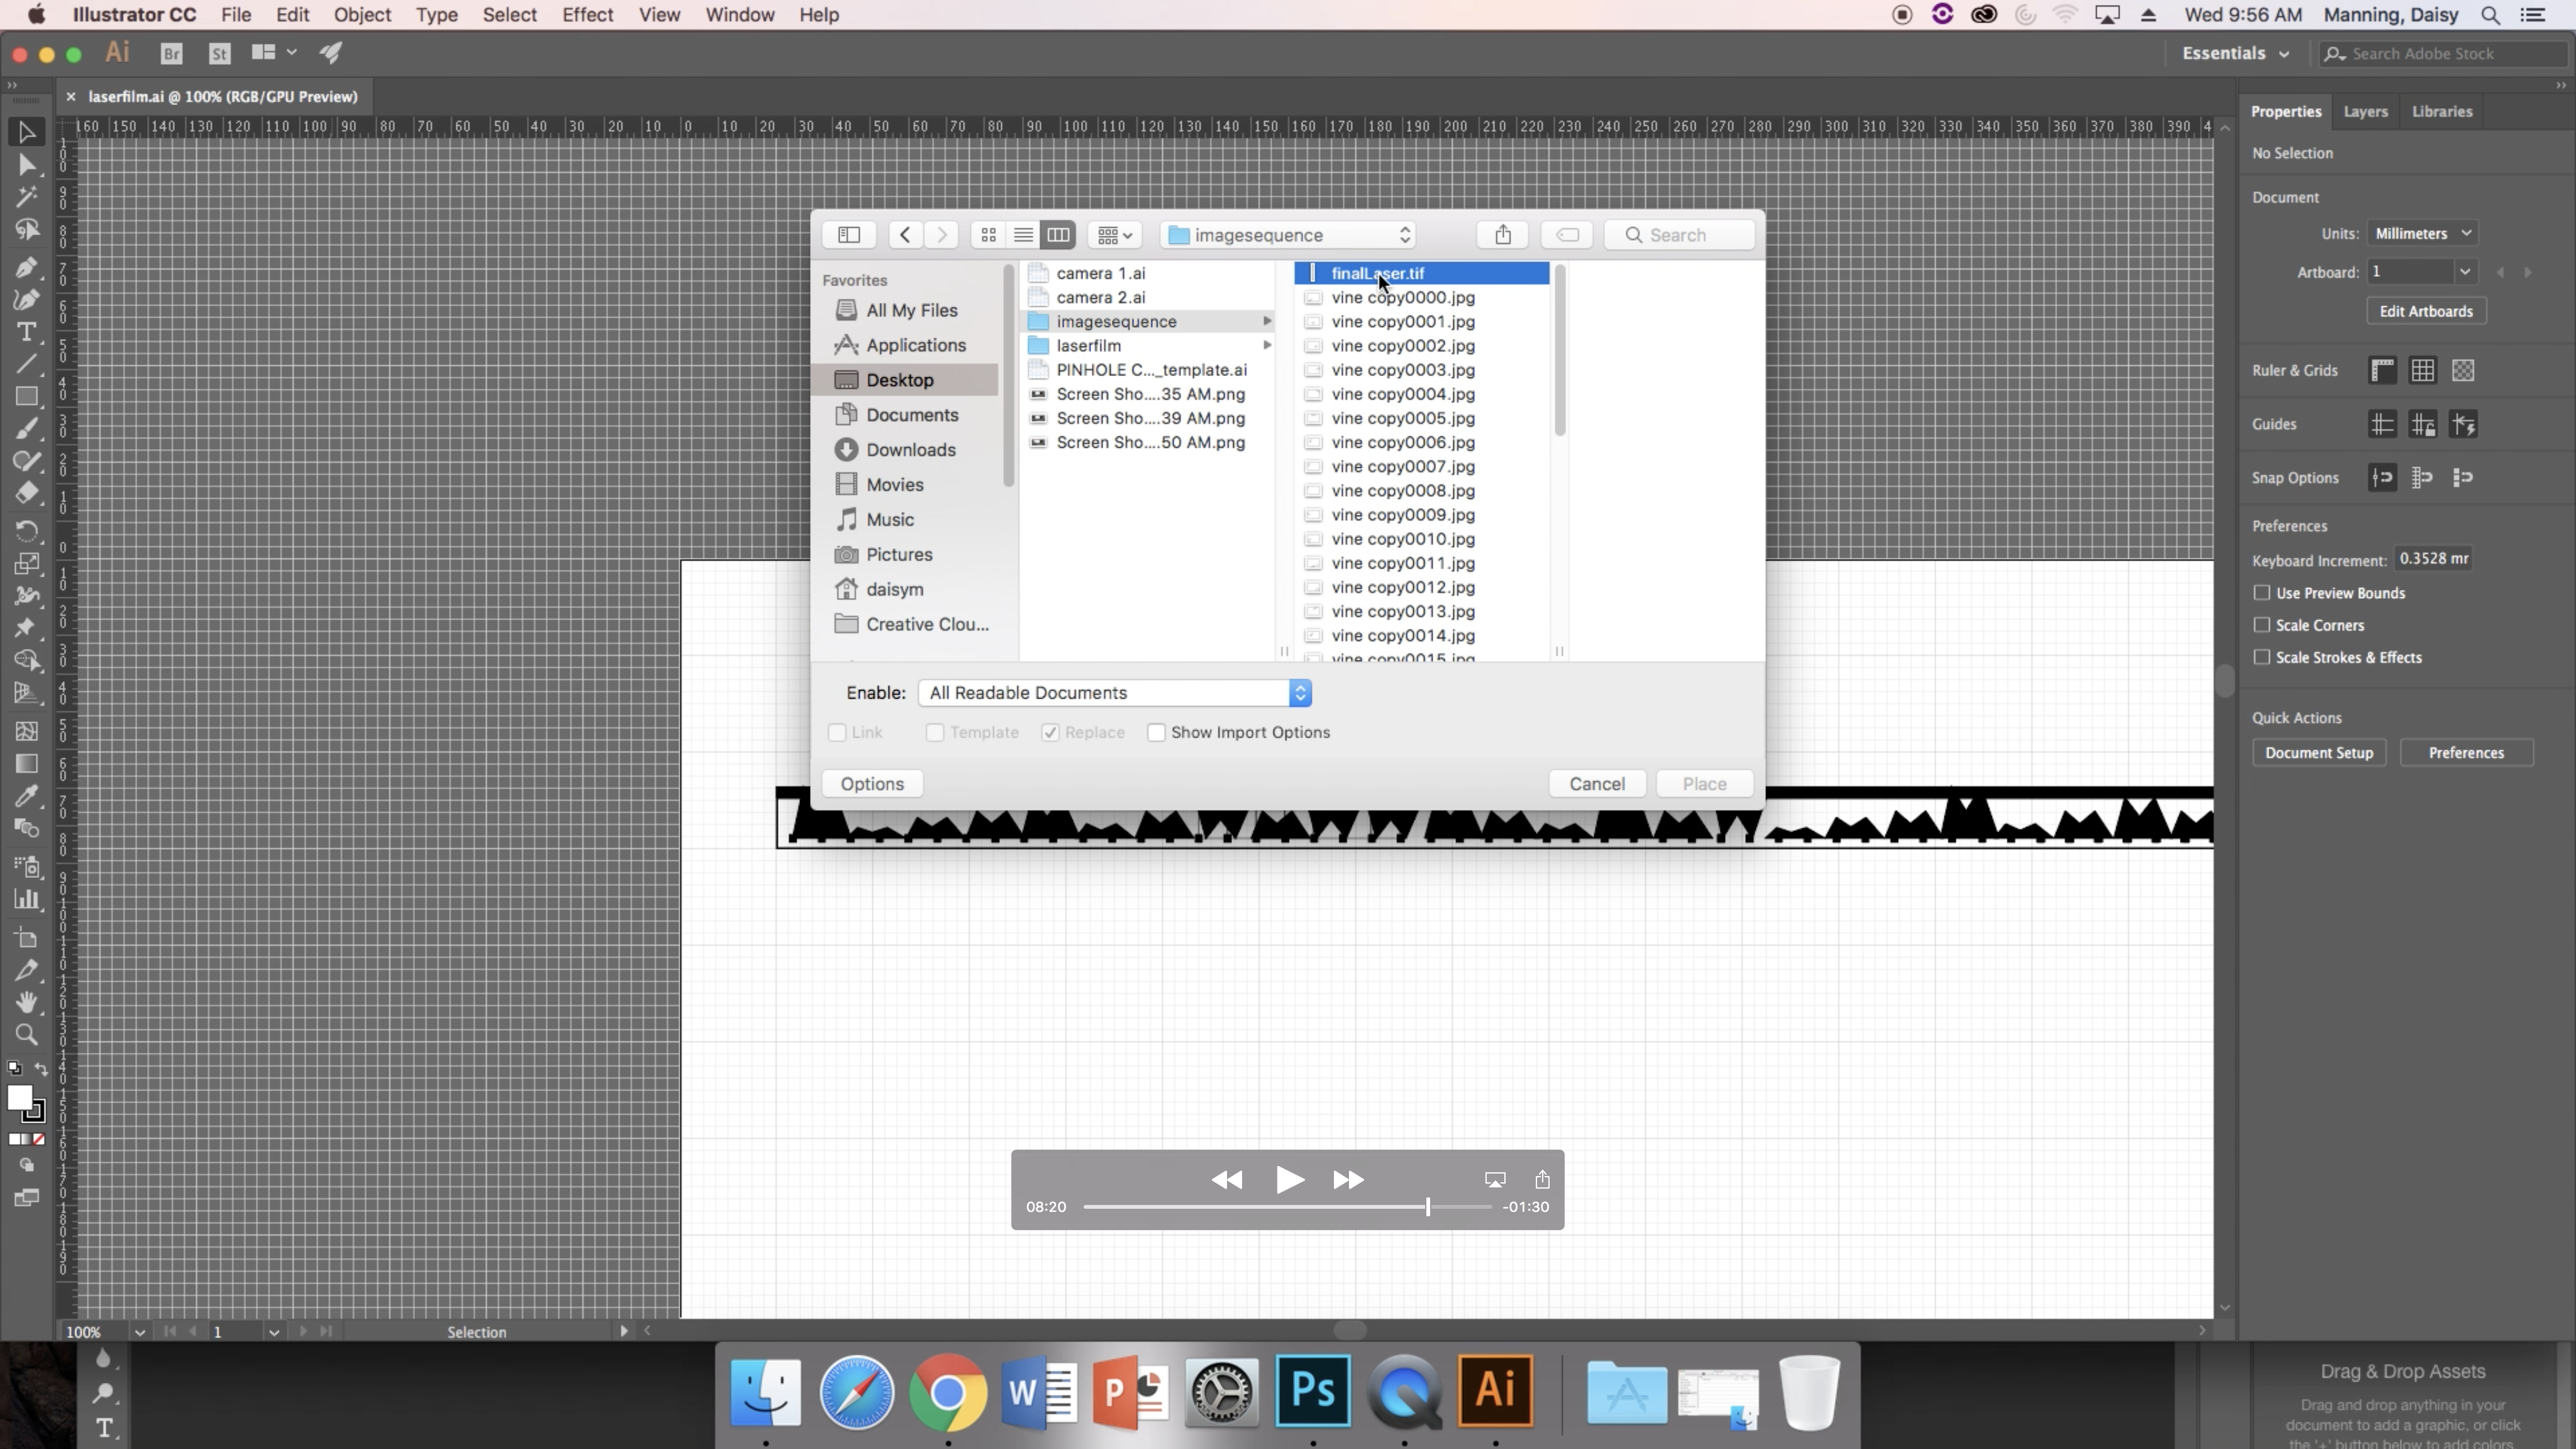
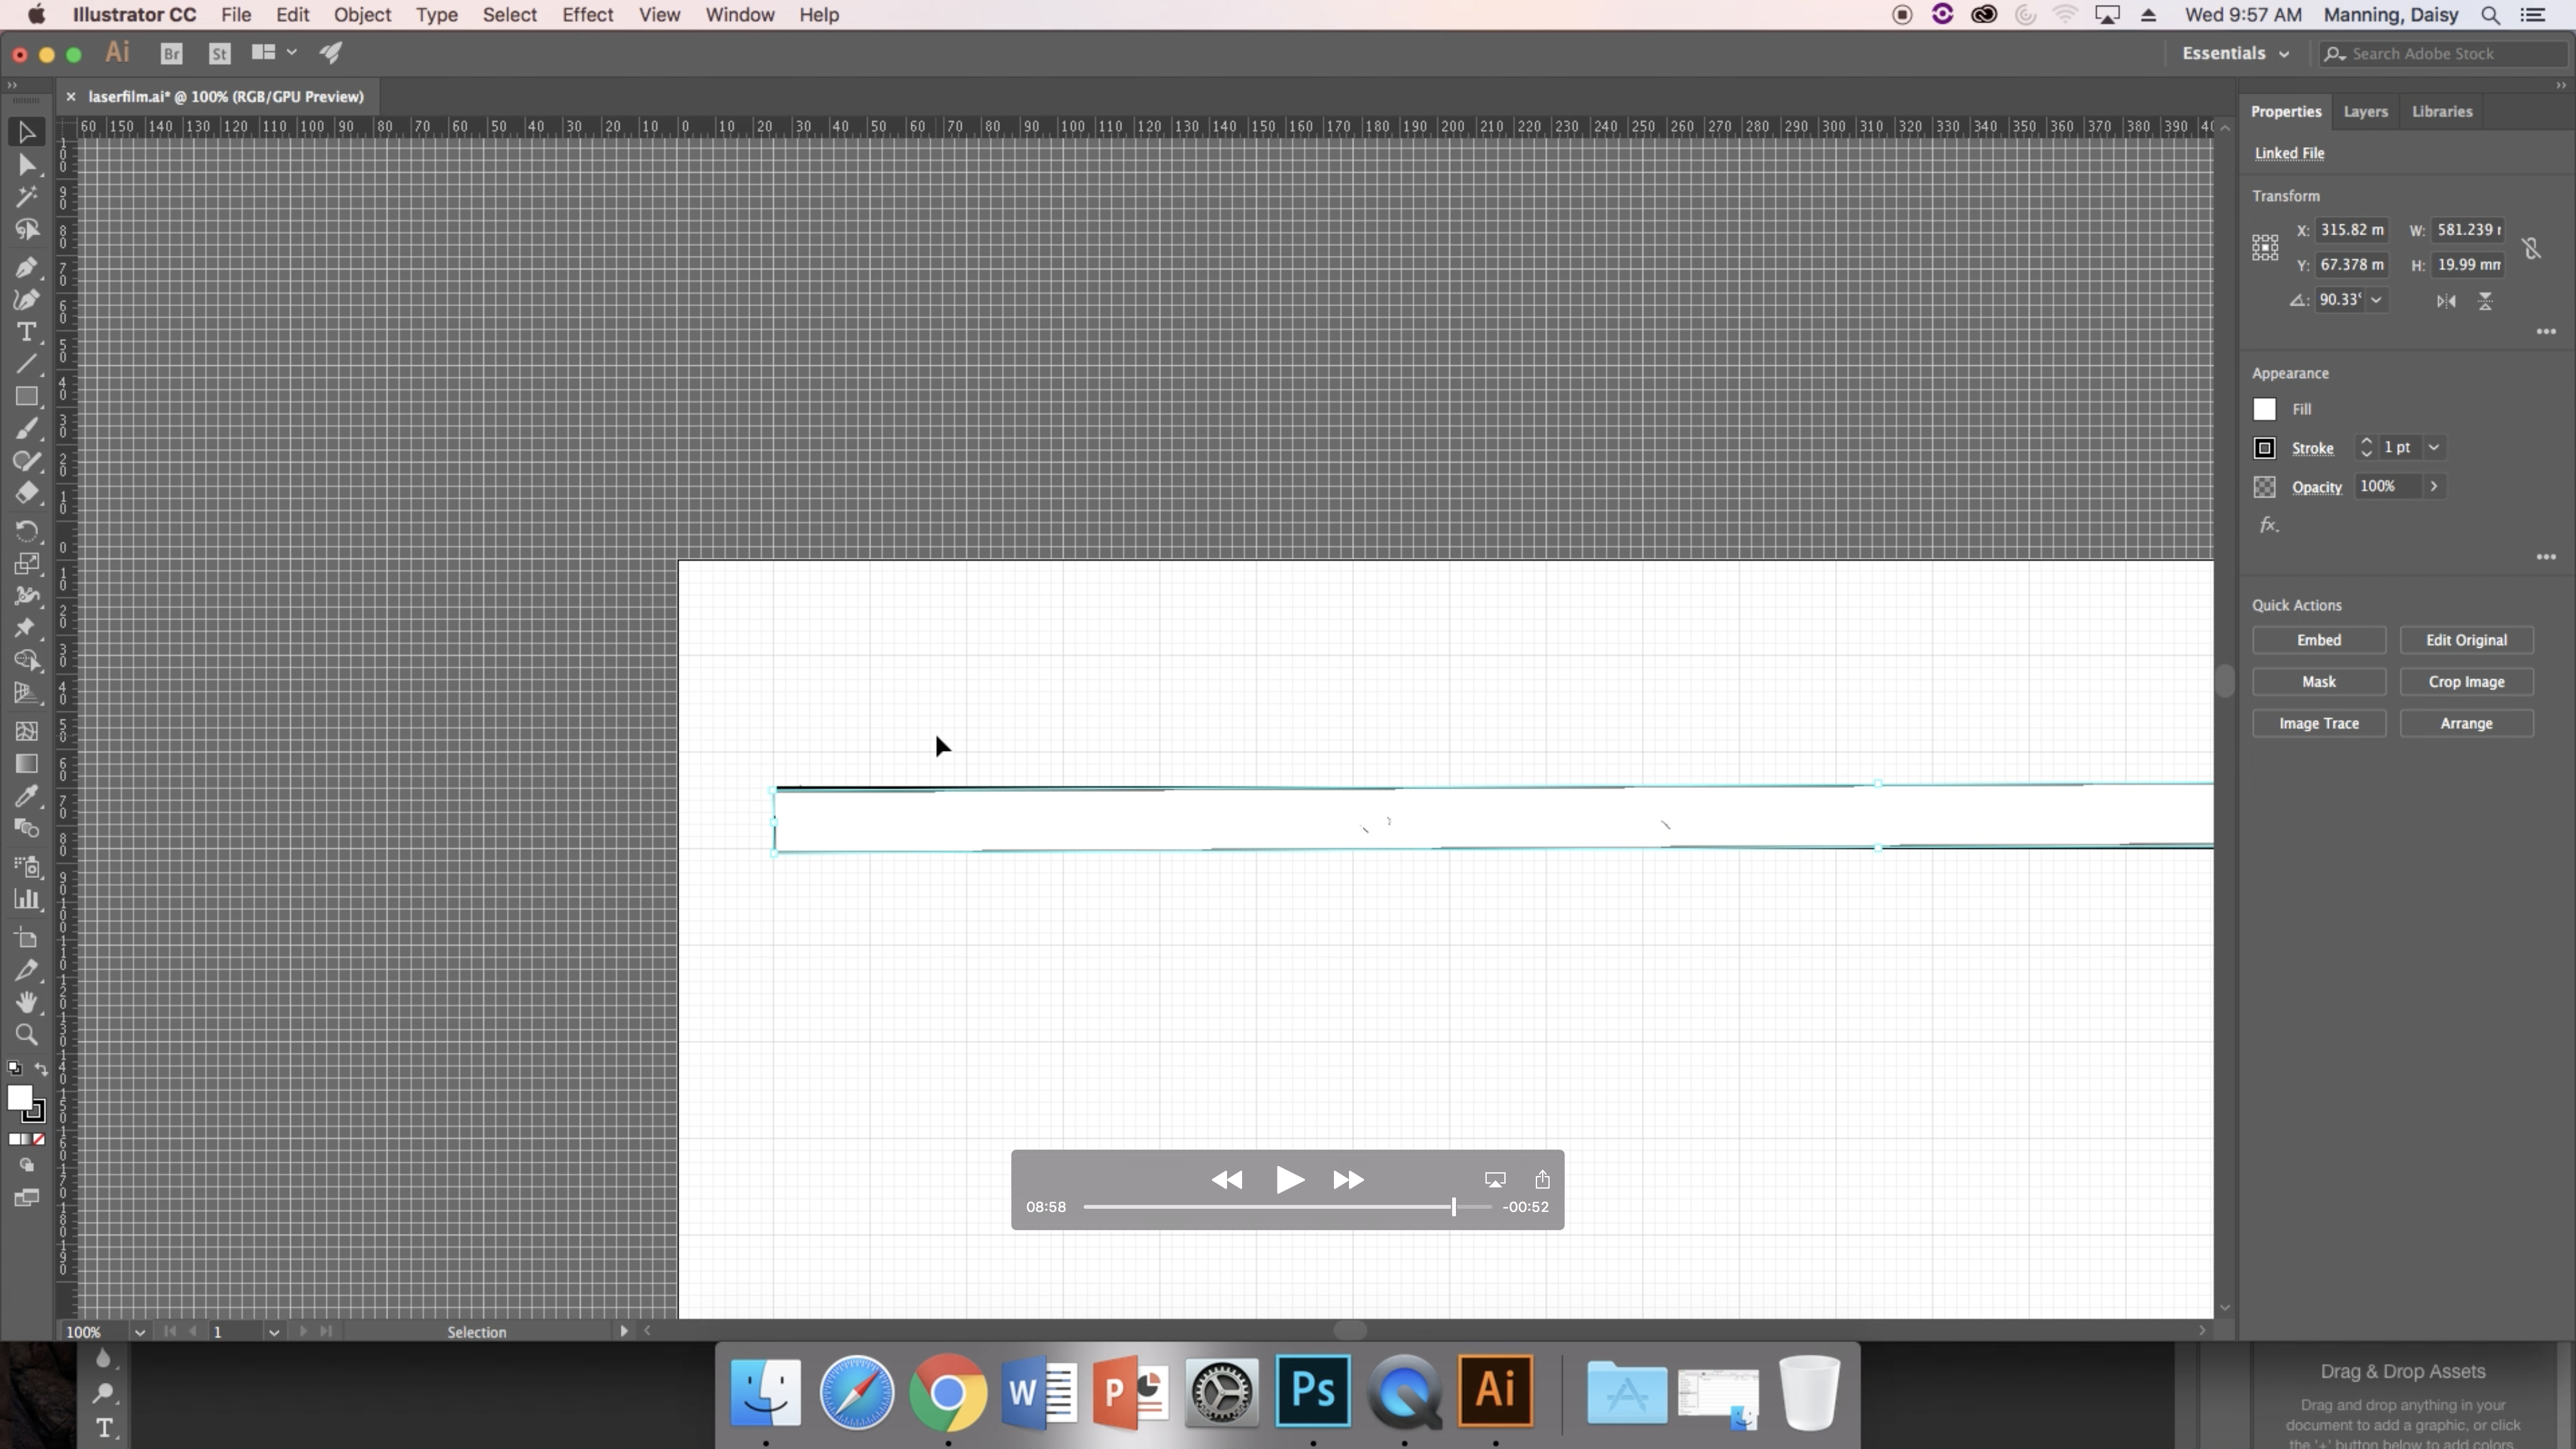
Again, I was fortunate enough in this class to have had many of the steps laid out in advance for me. We were provided an Illustrator template of the laser film to use in conjunction with the Photoshop template. I am still explaining this process through the lens of having these things.
Open the Illustrator template file. Click "File" and "Place;" choose the TIFF file that you just saved. This will allow you to place your TIFF onto the template. Adjust it so that the two match up perfectly. Save this, as it is the file that you will need to open up when you plug your USB drive into the laser cutter.
Congrats, you're almost done! The most difficult parts are over.
Laser Cut
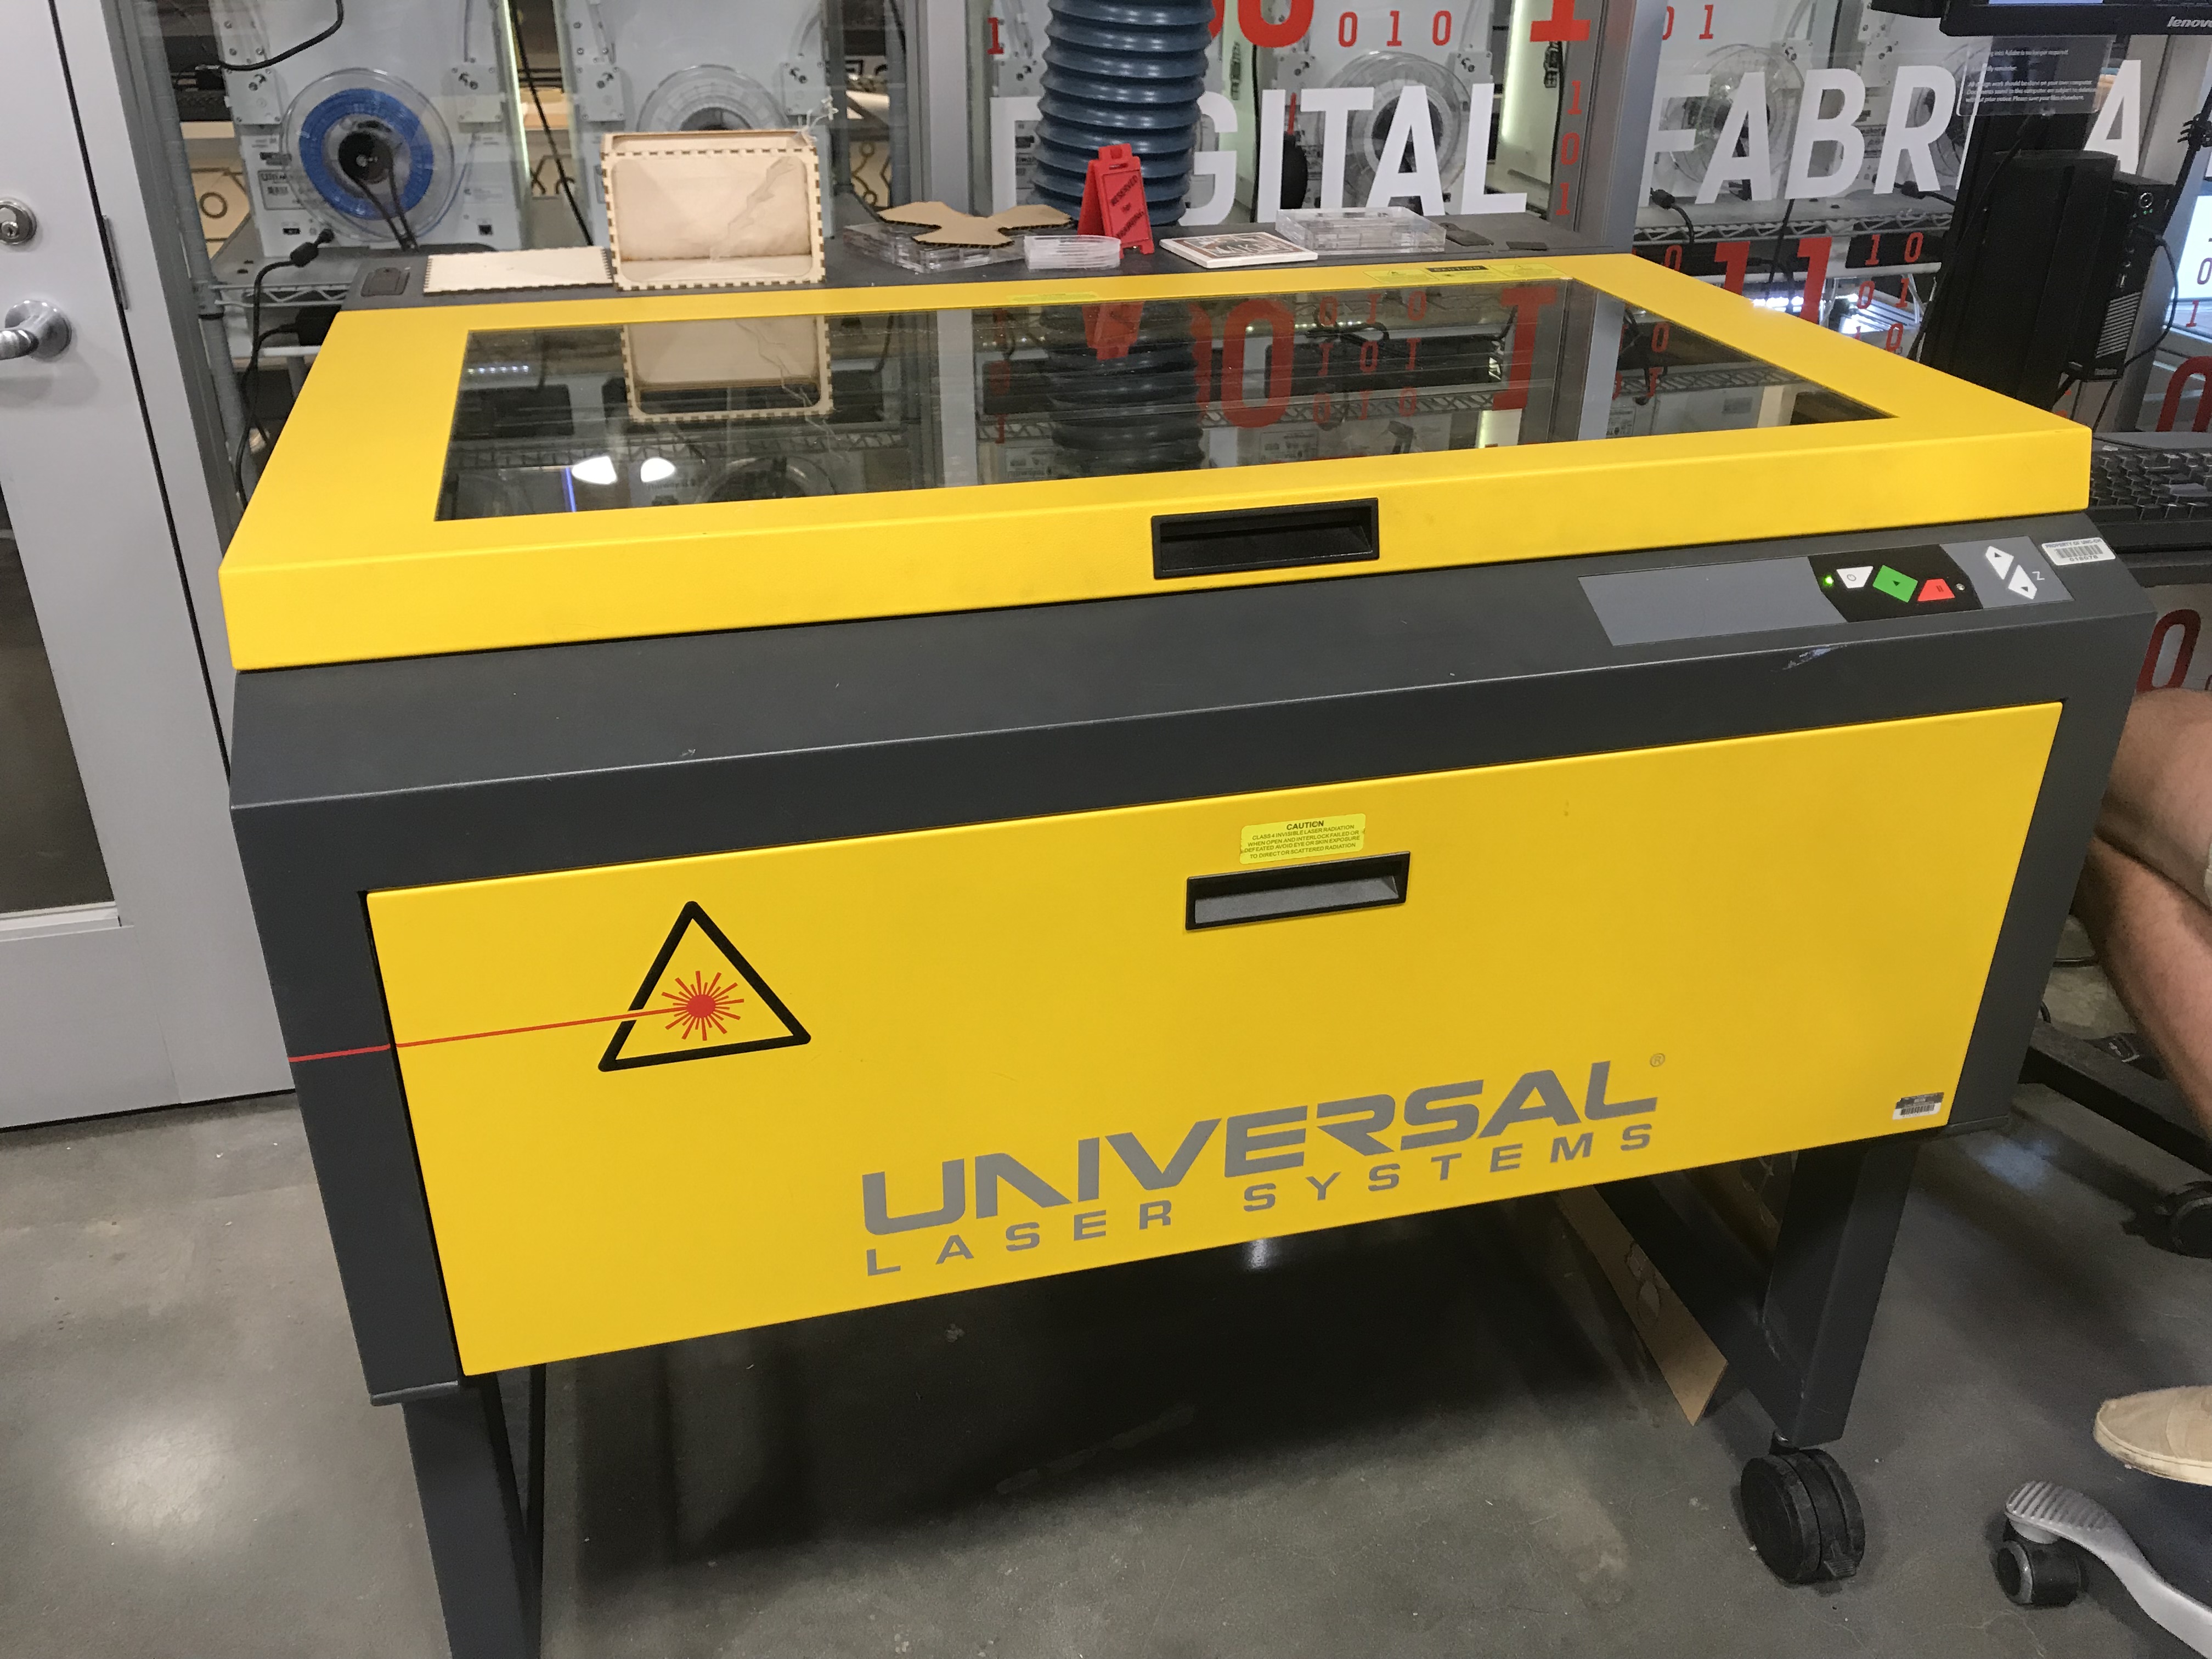
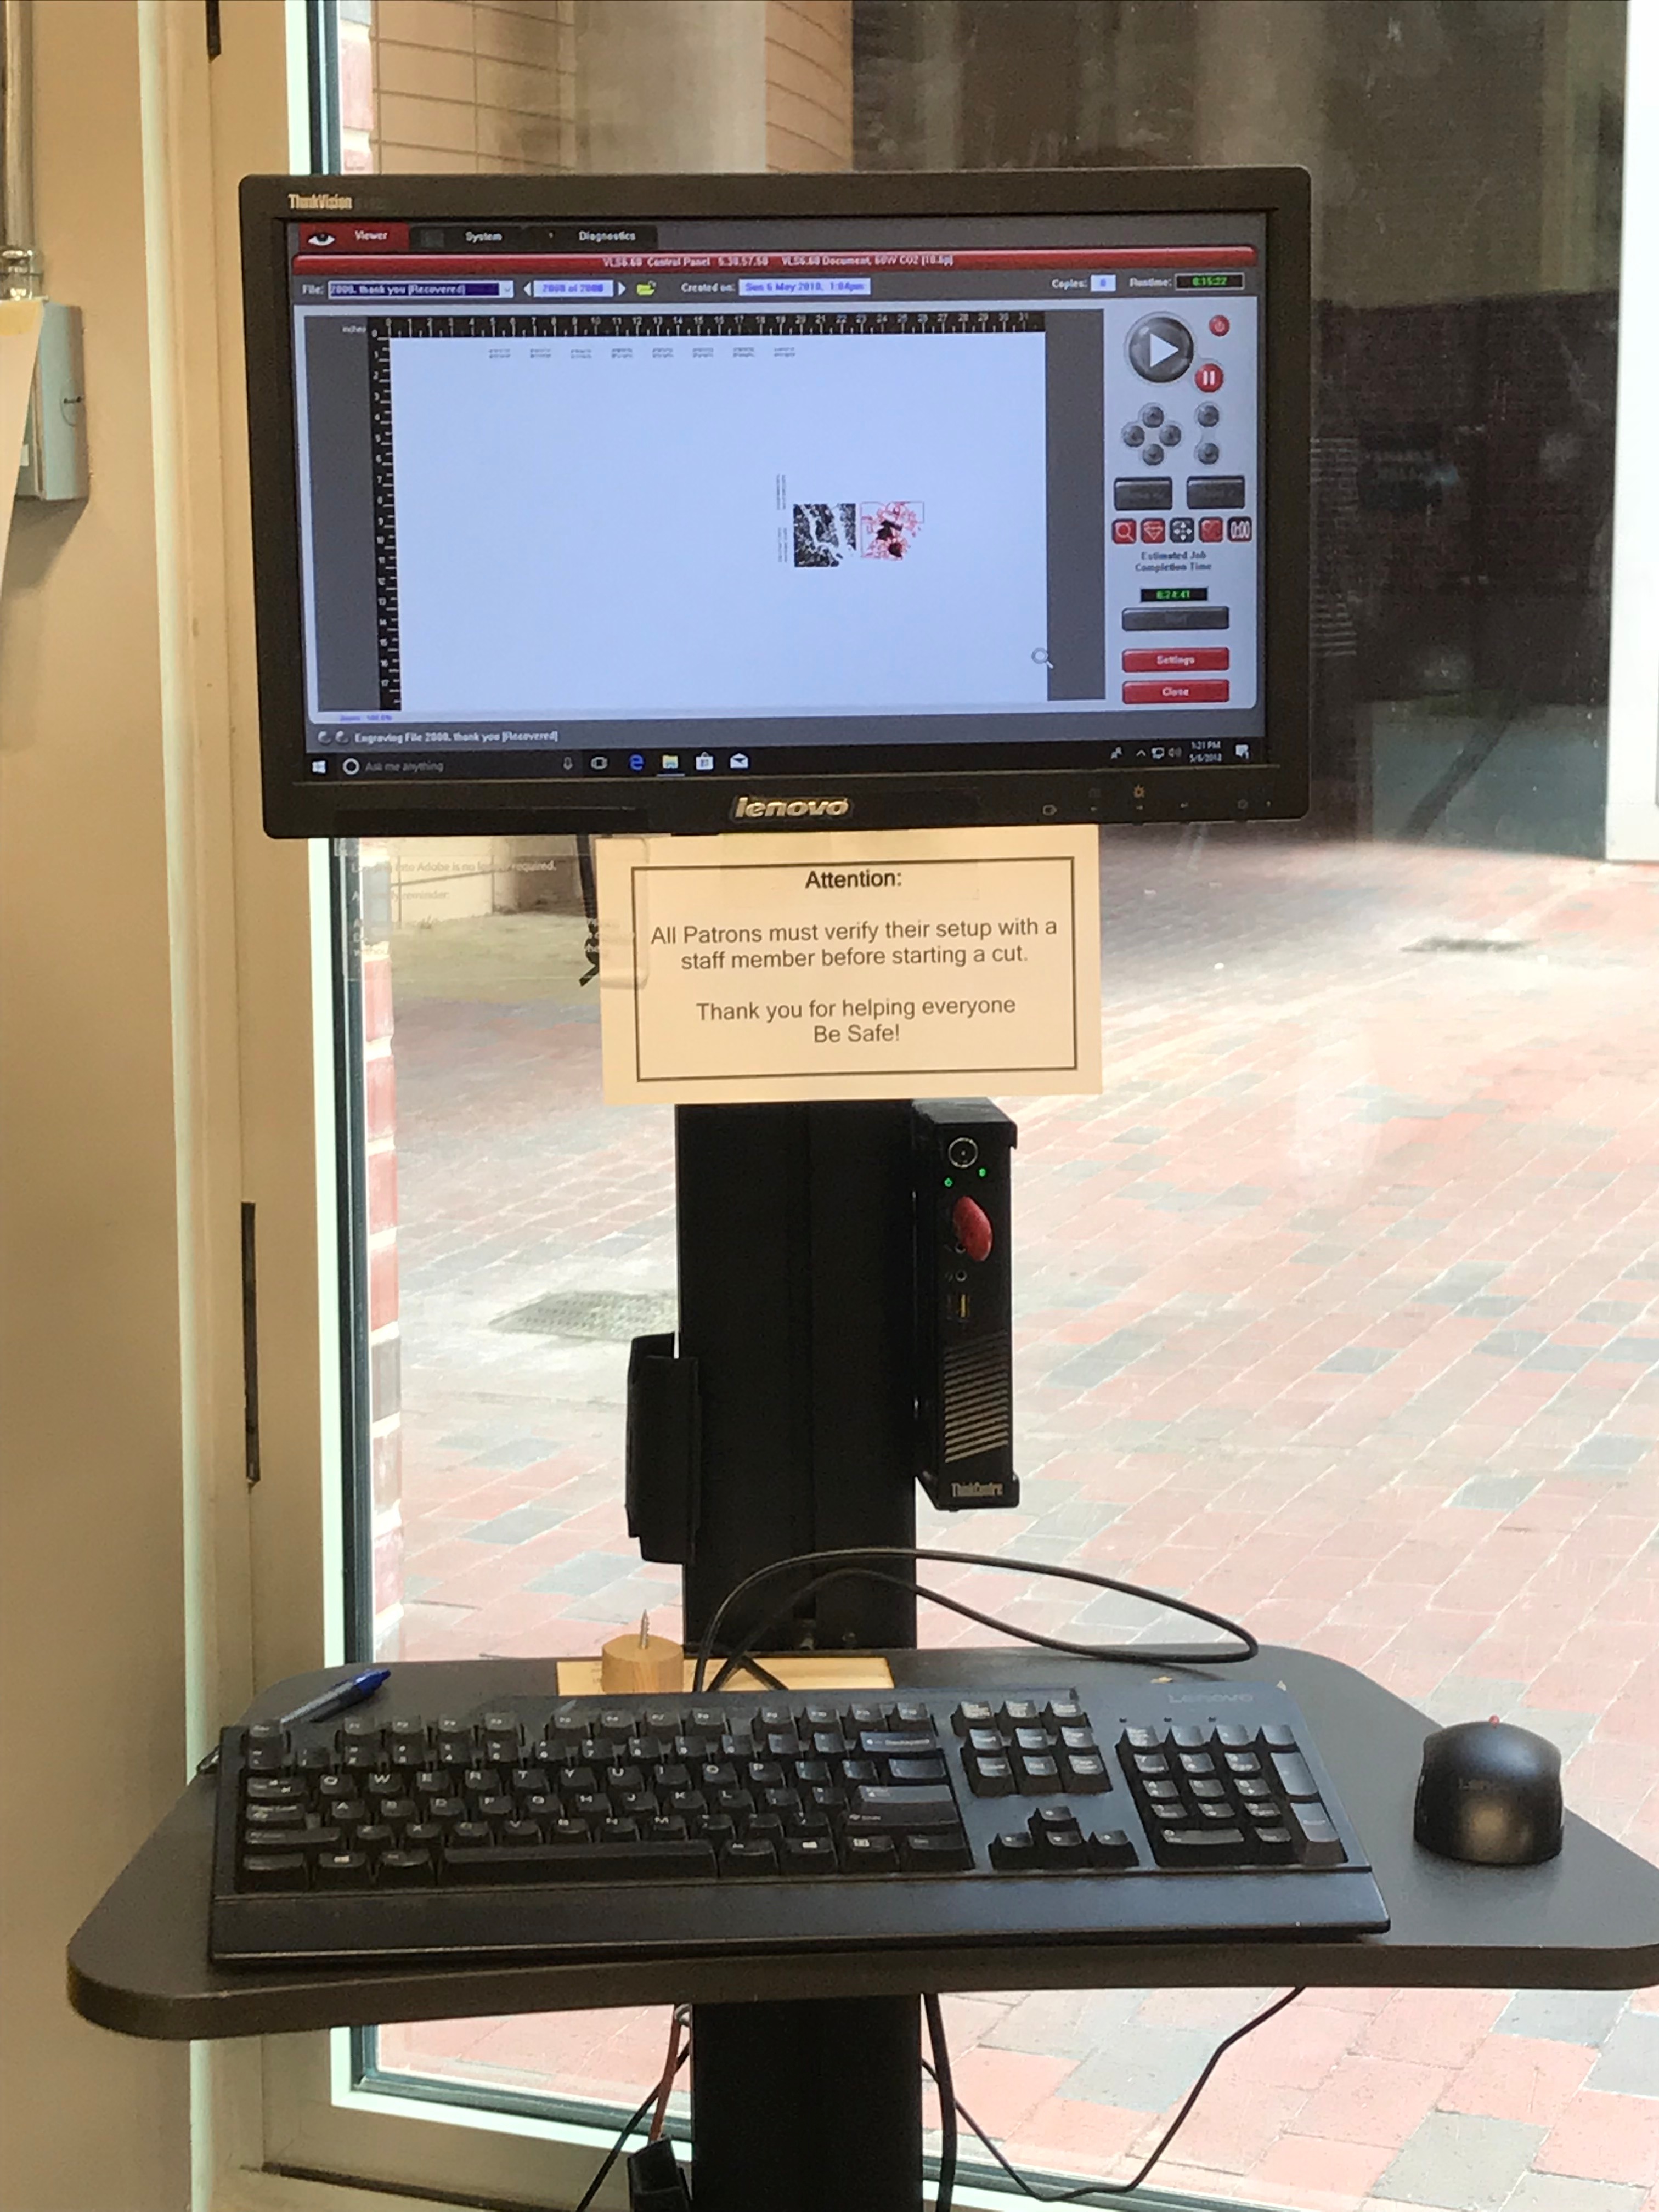
Now for the fun part! It's time to make your design come to life on the 16mm film. For this part, you'll need your USB drive with your saved files and a laser cutter. Put the USB drive into the laser cutter computer and find your Illustrator file. While this is happening, you'll need to take the platform out of the laser cutter. To do this, you'll need a friend to help slide the platform out and carefully place it somewhere close by. Open the front door of the laser cutter and slide the platform out. When you finish, be sure to put the platform back for the next person.
Use a few small pieces of tape to secure your film. I would recommend taping it to a small piece of wood or another flat, laser-cutter-friendly surface.
Open your file on the computer attached to the laser cutter. I'll list, in order, the buttons you'll need to click: open, print, setup, preferences, materials database, plastic, polyester, myler, apply, manuals control, black, adjust ppi to 1000, apply, okay, print, done. This is done in the Illustrator file that you opened. Now, open the laser cutter application. Again, here are step by step button clicking instructions: check settings, materials database, polyester, mylar, apply, okay.
Use the pointer tool to adjust the laser to where your film is. When you're ready, click start. The rest of this process of creating is very long, but this step is relatively short. The etching itself should take no more than a few minutes. Use caution and follow all protocols when using the laser cutter, and be sure to take care of the machine.
Watch Your Film!
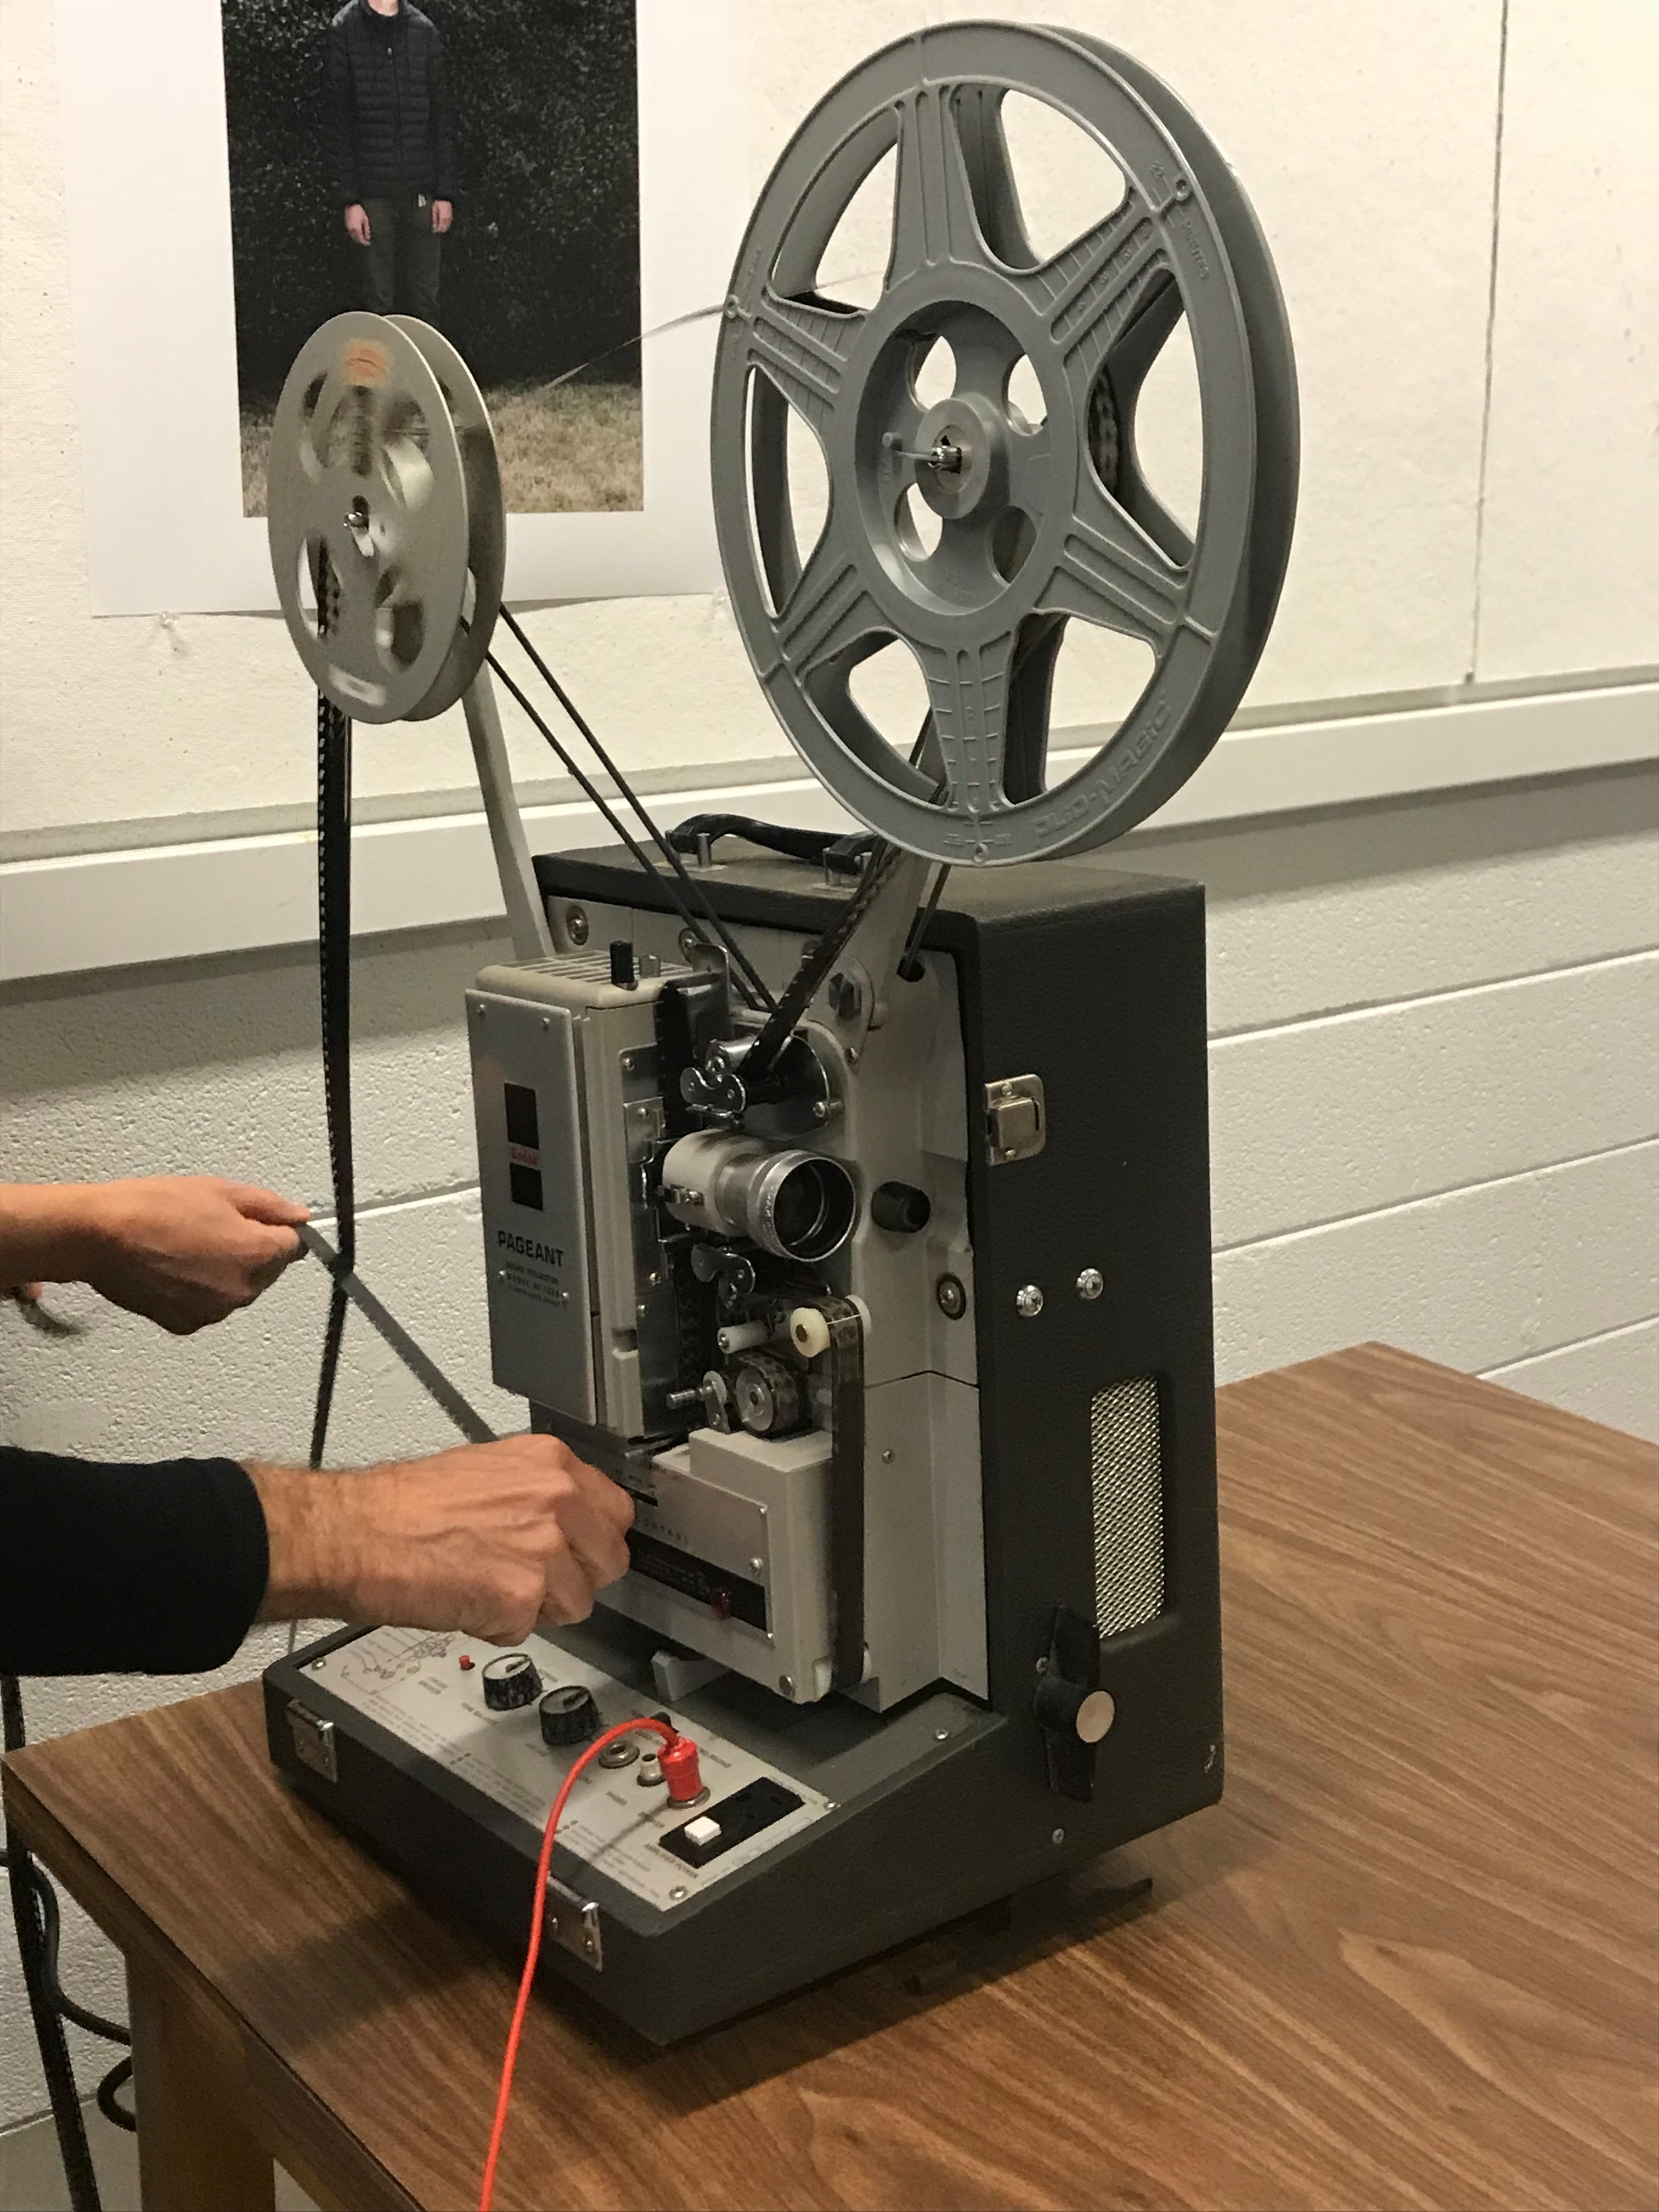
My class was fortunate enough to have access to a film projector for use during this project. We were all able to have our film strips spliced together and turned into a short film for us to watch.
If you have access to a projector, insert your film and watch your hard work come to life.
Happy filmmaking!